
Konmo's 1990 Turbo VVT Swap


Thread Starter
Junior Member
iTrader: (2)
Joined: Dec 2014
Posts: 307
Total Cats: 23
From: Salinas, CA
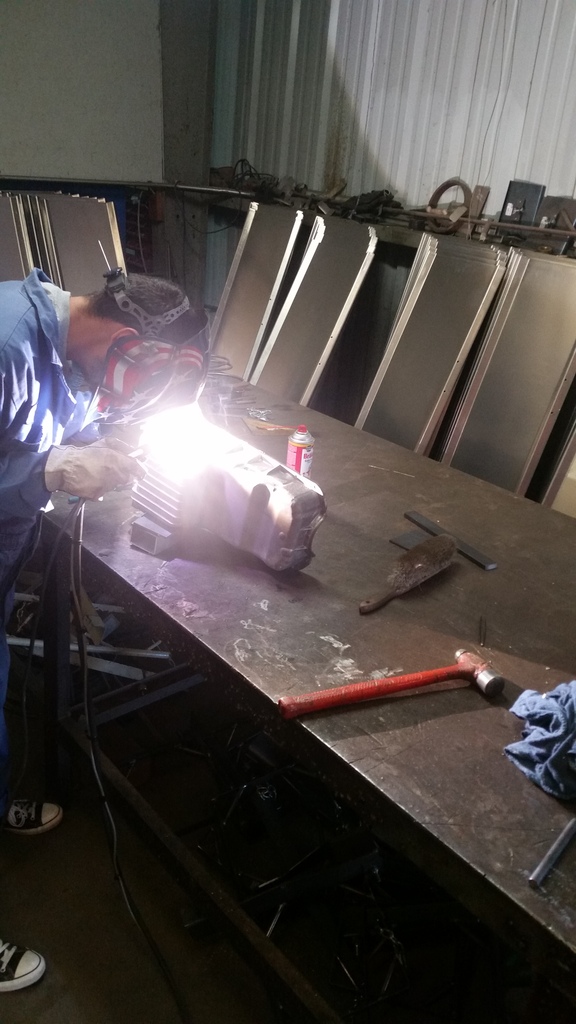
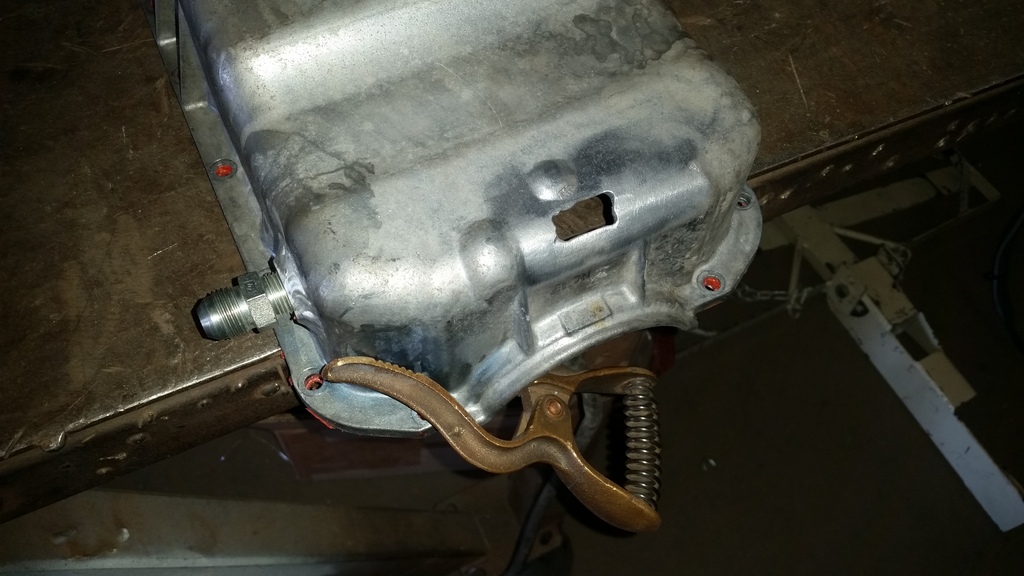
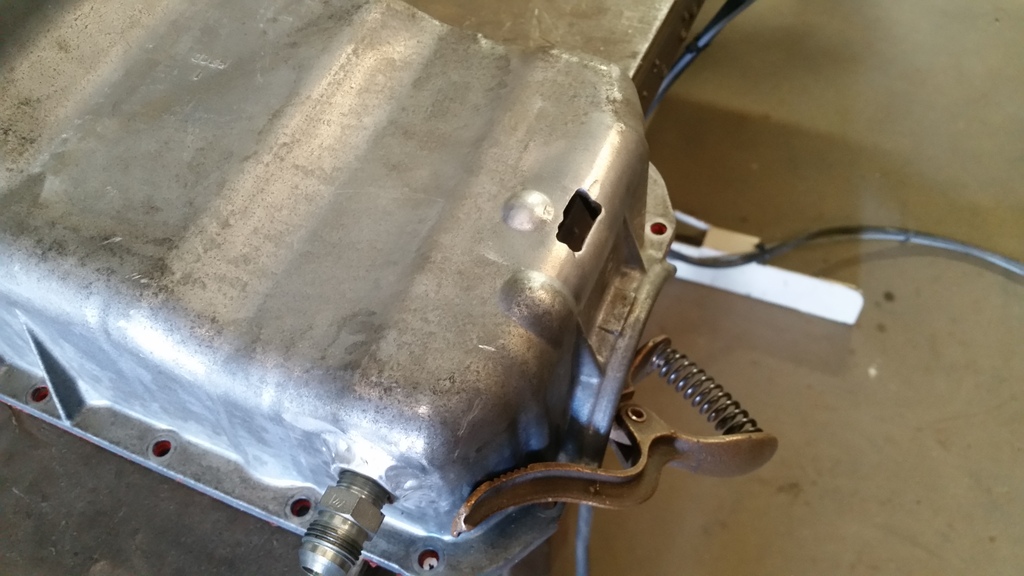
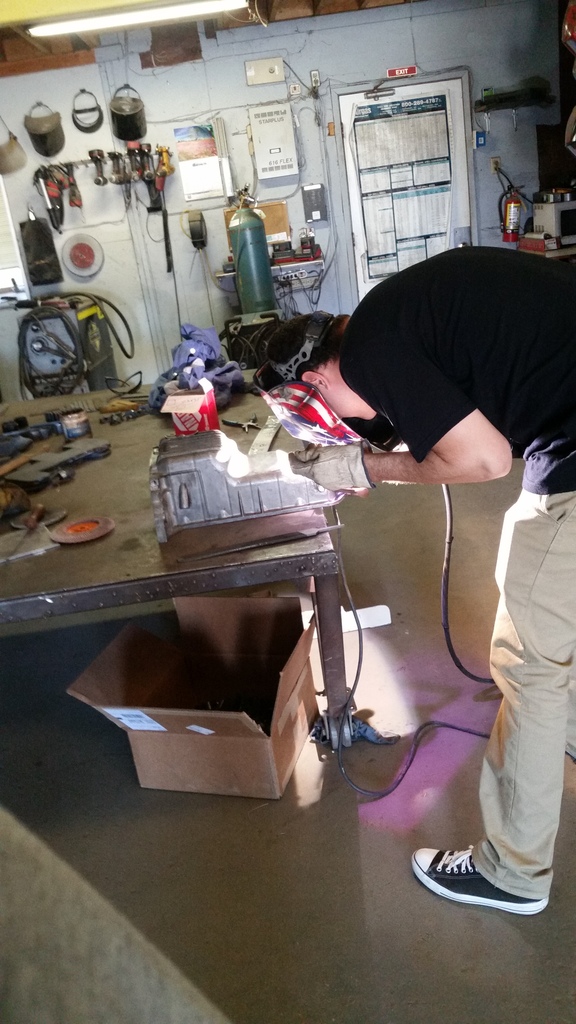
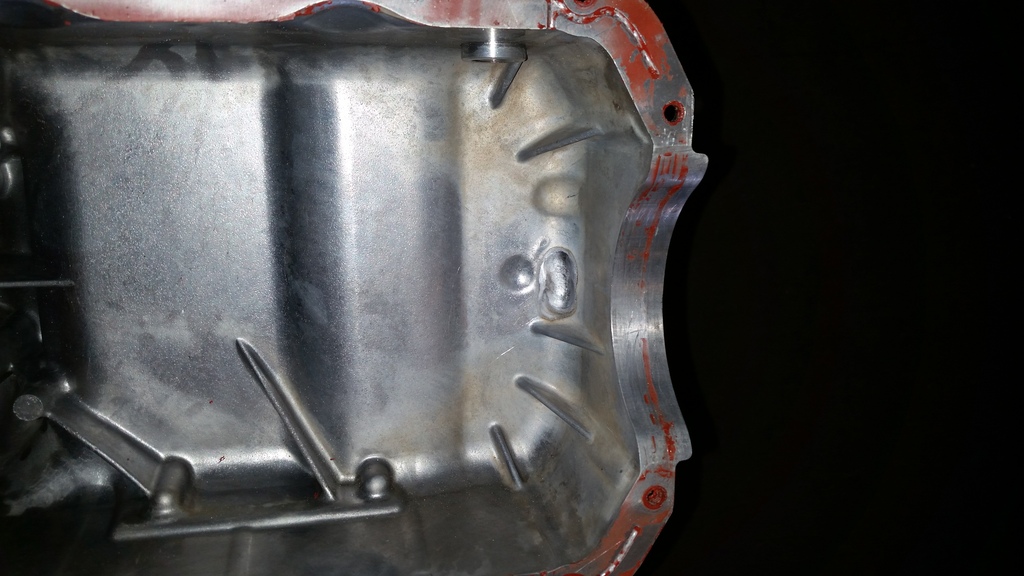
I started focusing on the engine now. I removed the oil pan to clean it up and prep it for a oil return bung (3/8 in. NPT) and another bung for oil temp(1/8 in. NPT). My buddy works at an agriculture welding/fabrication shop so I got him to help me out. I'm not a welder myself, but I think it came out pretty good.
oil return
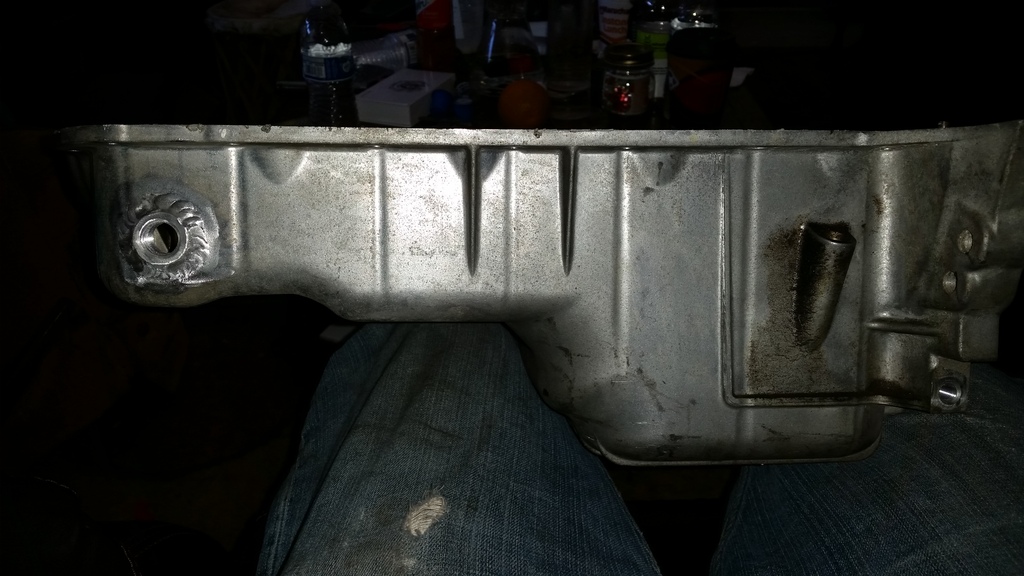
oil temp
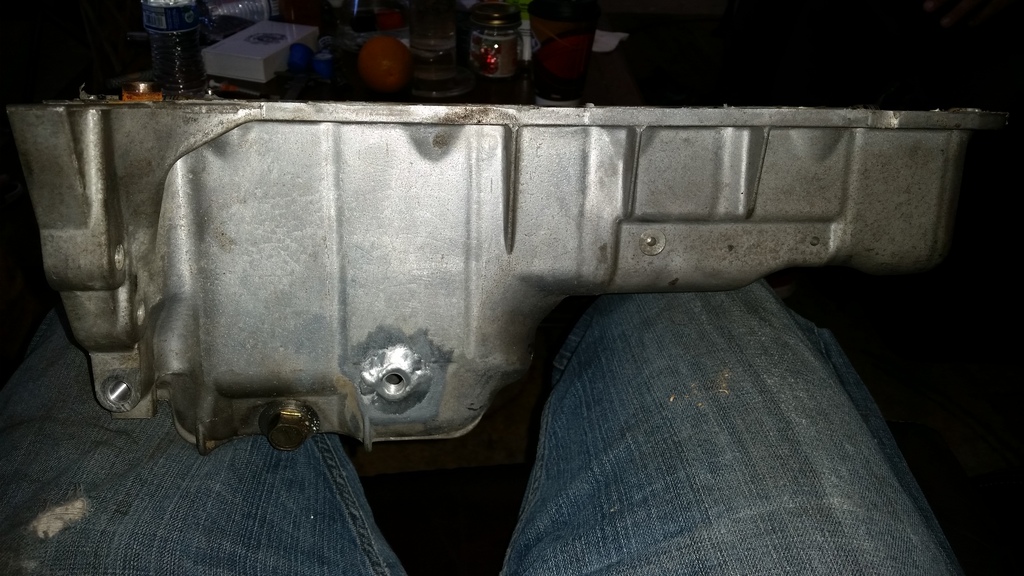

oil return

oil temp

Reply
 0
0

0
Thread Starter
Junior Member
iTrader: (2)
Joined: Dec 2014
Posts: 307
Total Cats: 23
From: Salinas, CA
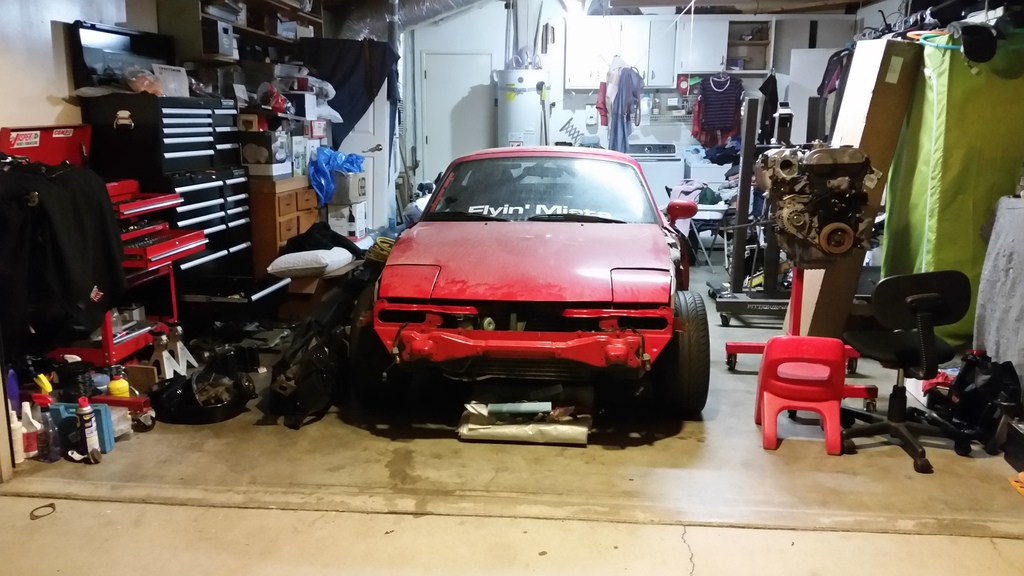
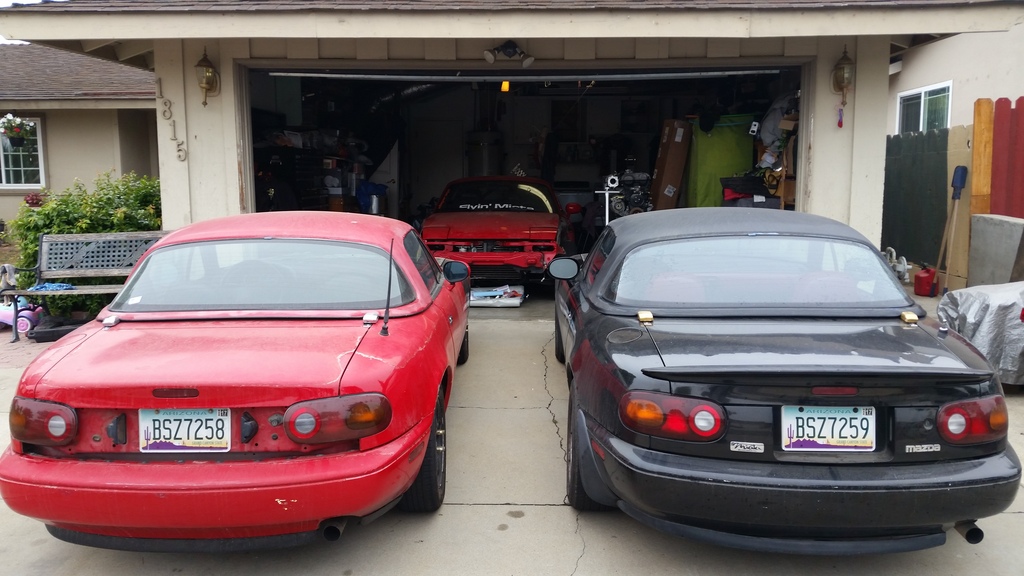
Again the car was rolled into the garage since most of the parts were already installed on the car. you can see the engine next to it on the engine stand getting ready to be installed.
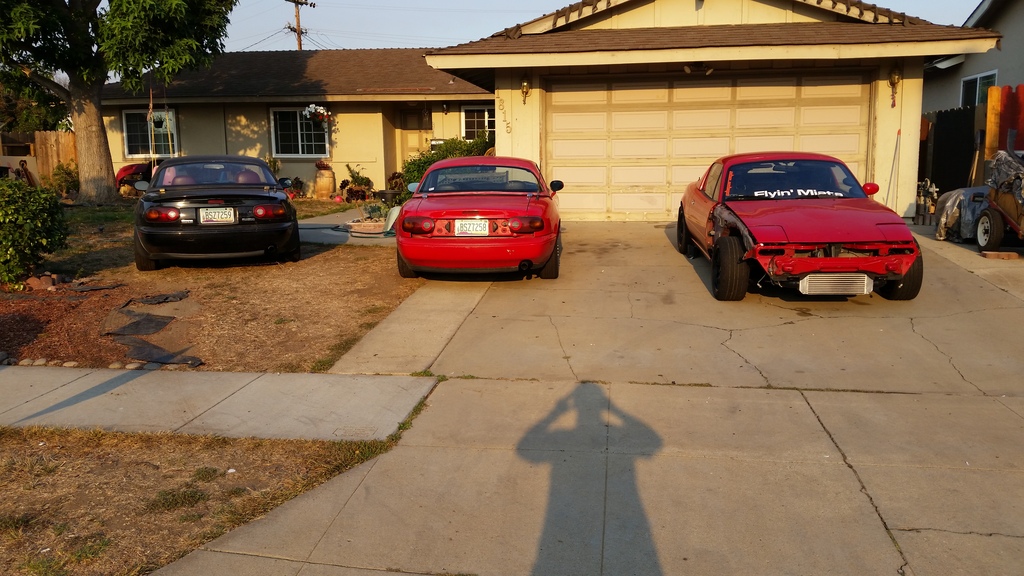
Driveway full of miatas

Driveway full of miatas

Reply
0
0
Thread Starter
Junior Member
iTrader: (2)
Joined: Dec 2014
Posts: 307
Total Cats: 23
From: Salinas, CA
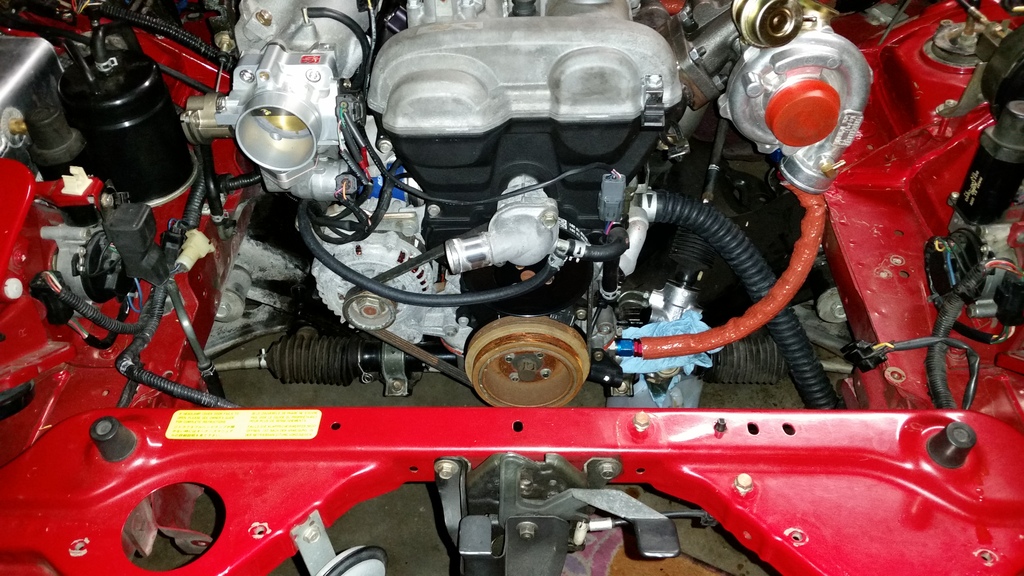
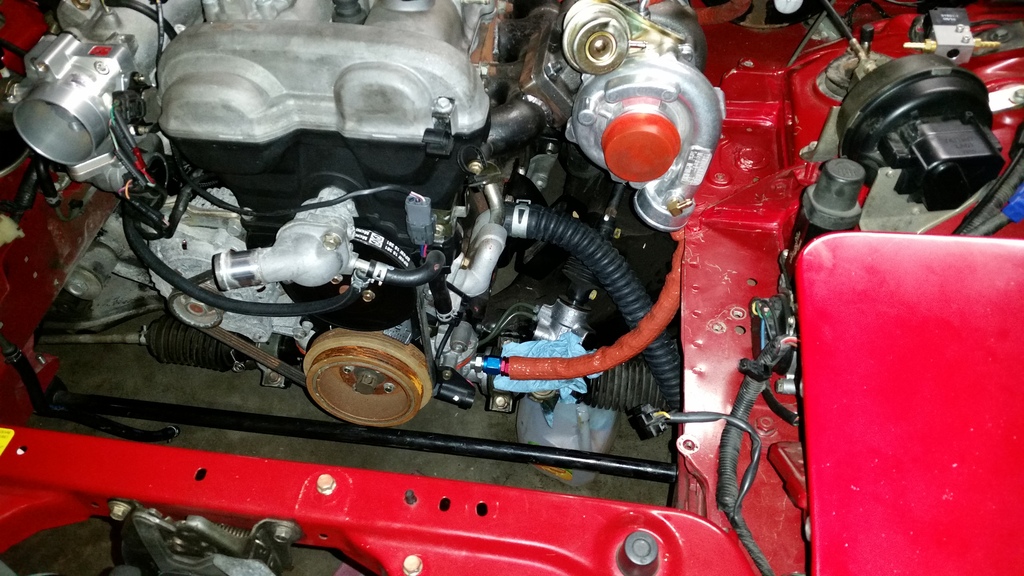
installed the turbo manifold and turbo/oil lines onto the engine. I also installed a Fidenza lightweight flywheel and a ACT HD clutch kit, but I forgot to take pictures of that.
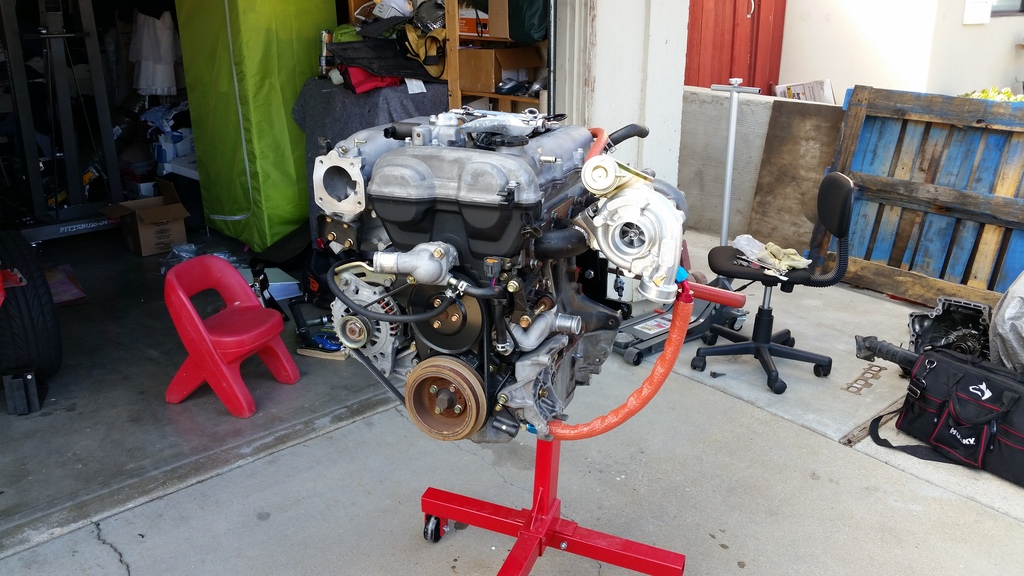
And well since that was done, it was time to go into the car.
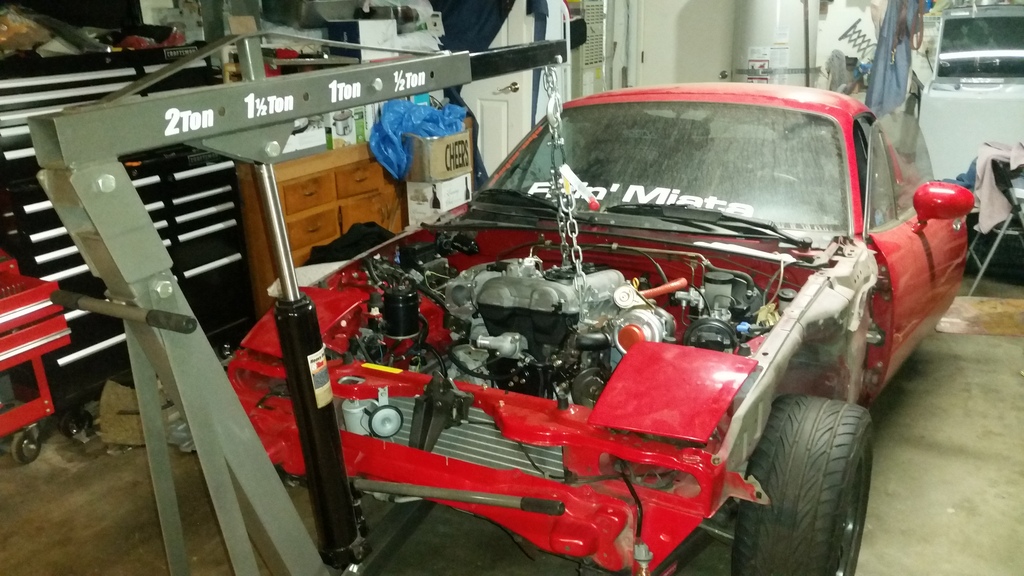
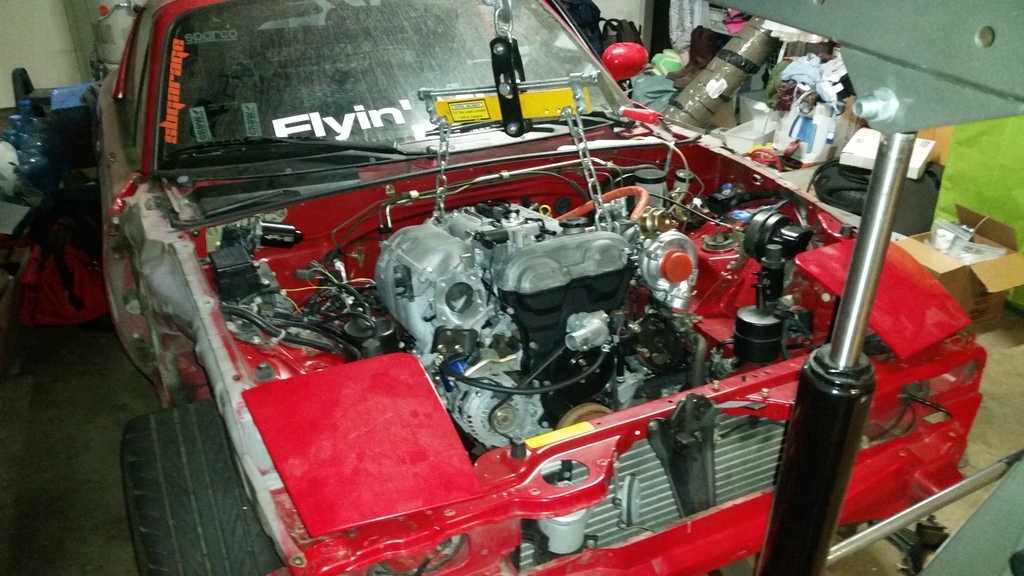

And well since that was done, it was time to go into the car.


Reply
0
0


Thread Starter
Junior Member
iTrader: (2)
Joined: Dec 2014
Posts: 307
Total Cats: 23
From: Salinas, CA
Next I started working on my fuel system. For this I had a dual feed fuel rail, not sure what brand and some ID1000 injectors.
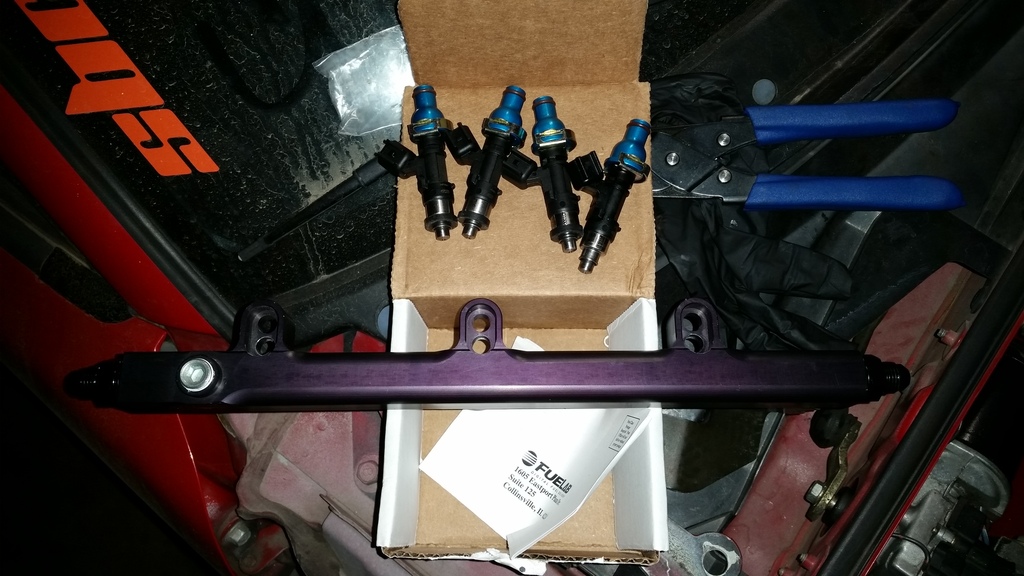
I was going to make my own braided lines with AN fittings so I bought the fab9 premium fuel line/regulator kit. It came with a fuelab 515 series fpr and all the fittings/hose needed. This was the end result which turned out well if you ask me.
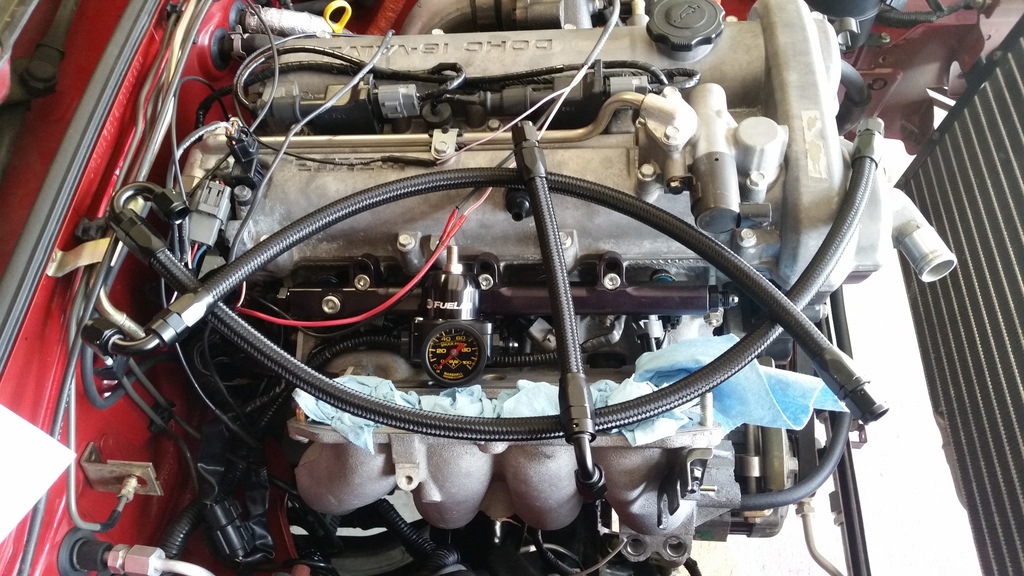

I was going to make my own braided lines with AN fittings so I bought the fab9 premium fuel line/regulator kit. It came with a fuelab 515 series fpr and all the fittings/hose needed. This was the end result which turned out well if you ask me.

Reply
0
0
Thread Starter
Junior Member
iTrader: (2)
Joined: Dec 2014
Posts: 307
Total Cats: 23
From: Salinas, CA
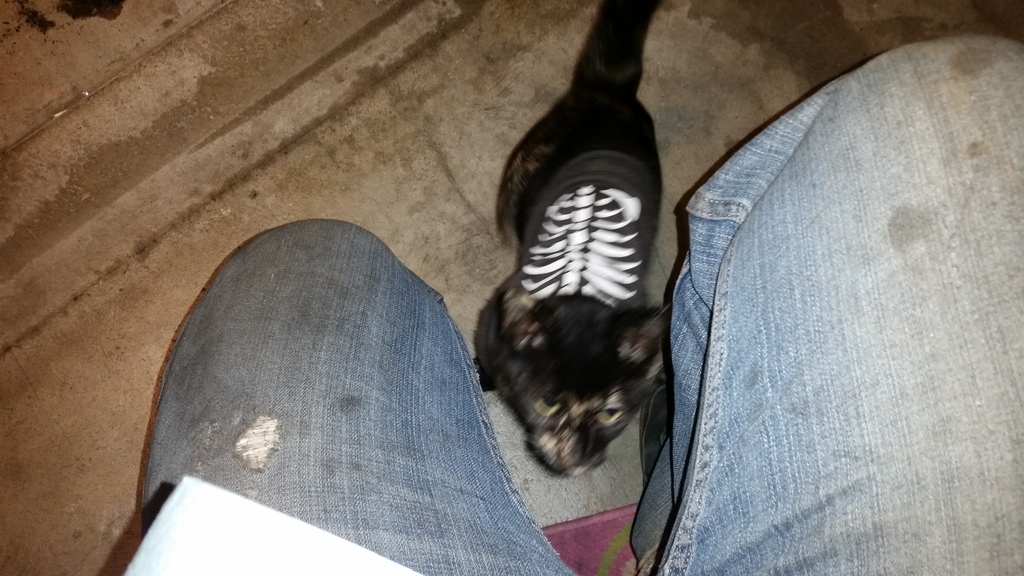
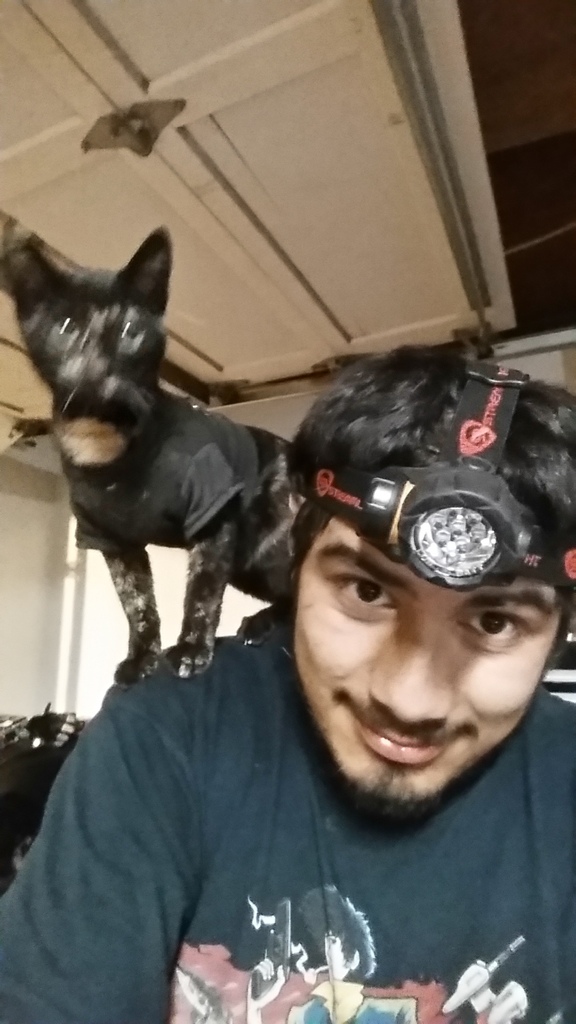
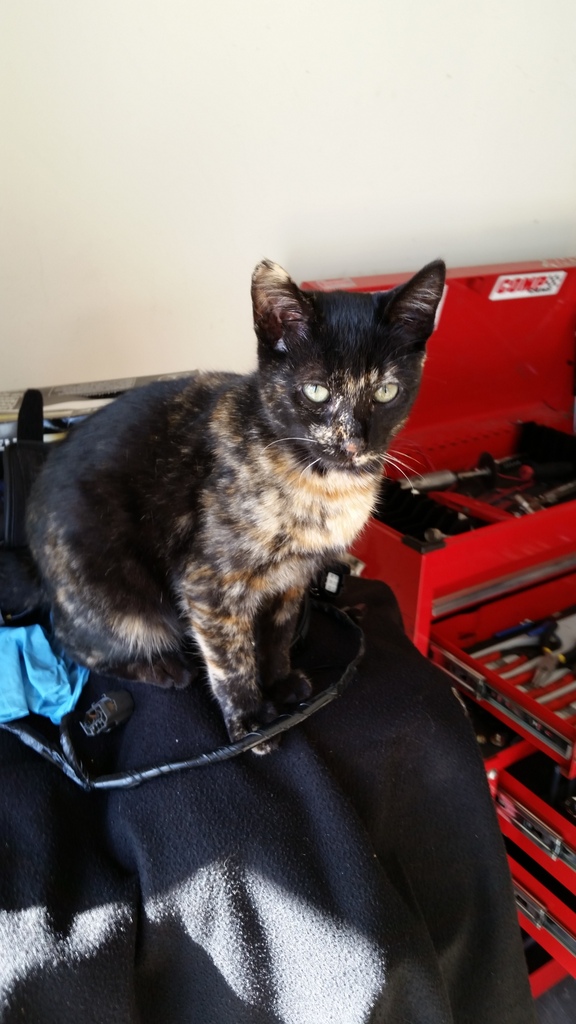
I didn't take many pictures of the wiring changes I had to do for the VVT swap, however I did take pictures of the random cat that decided to show up the next 3 days while I did wiring and other work. I thought it was pretty funny. She was just supervising the turbo install.


Reply
0
0


Thread Starter
Junior Member
iTrader: (2)
Joined: Dec 2014
Posts: 307
Total Cats: 23
From: Salinas, CA
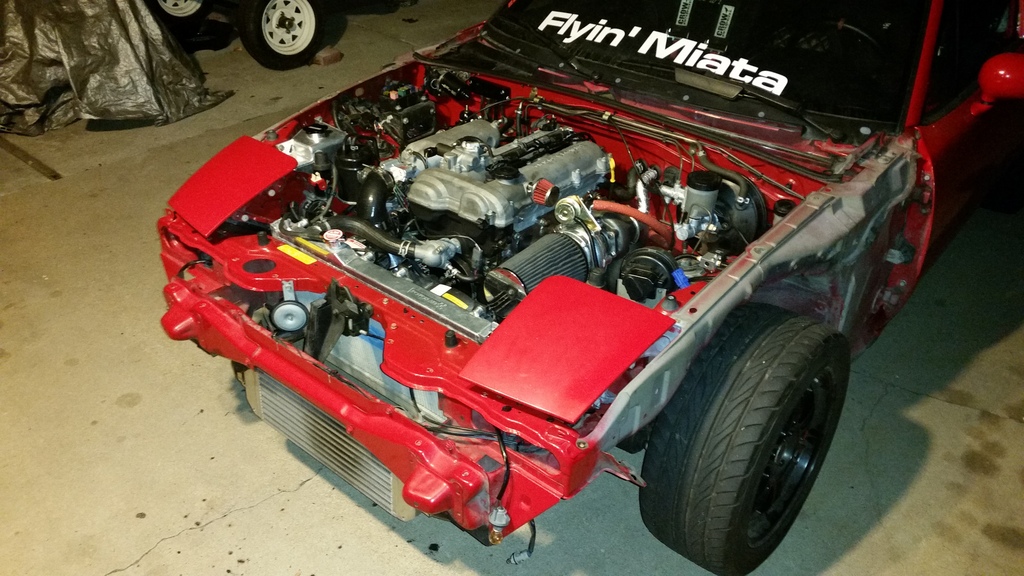
I couldn't figure out the best way to route my intercooler piping. I was using 2 in. piping on the hotside and mostly 2.5 on the coldside. However even with 2 in. pipes, the PS hoses/pump and AC lines were in the way. So what did I do? This...
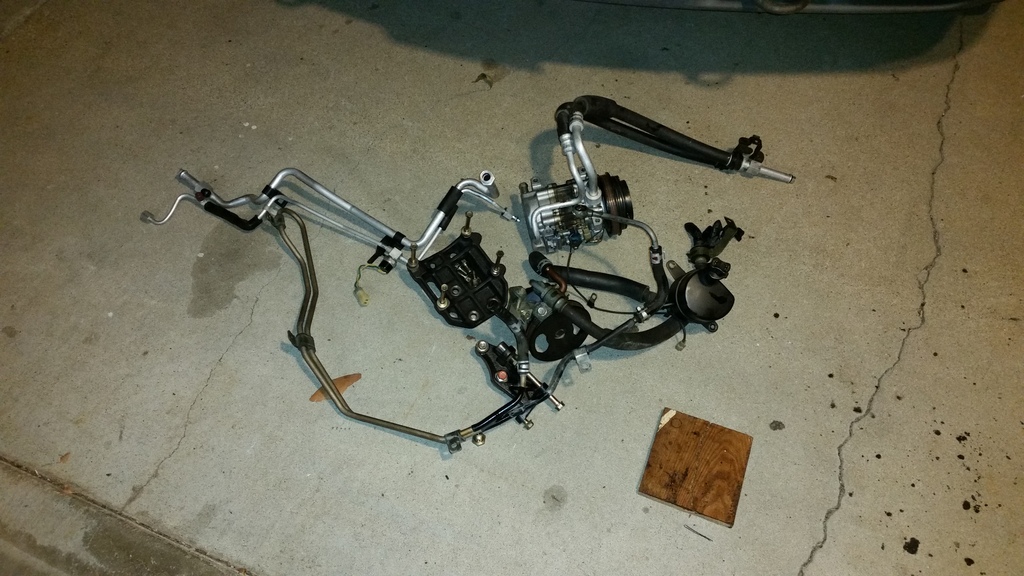
So much room for activities now lol


So much room for activities now lol

Reply
0
0


Thread Starter
Junior Member
iTrader: (2)
Joined: Dec 2014
Posts: 307
Total Cats: 23
From: Salinas, CA
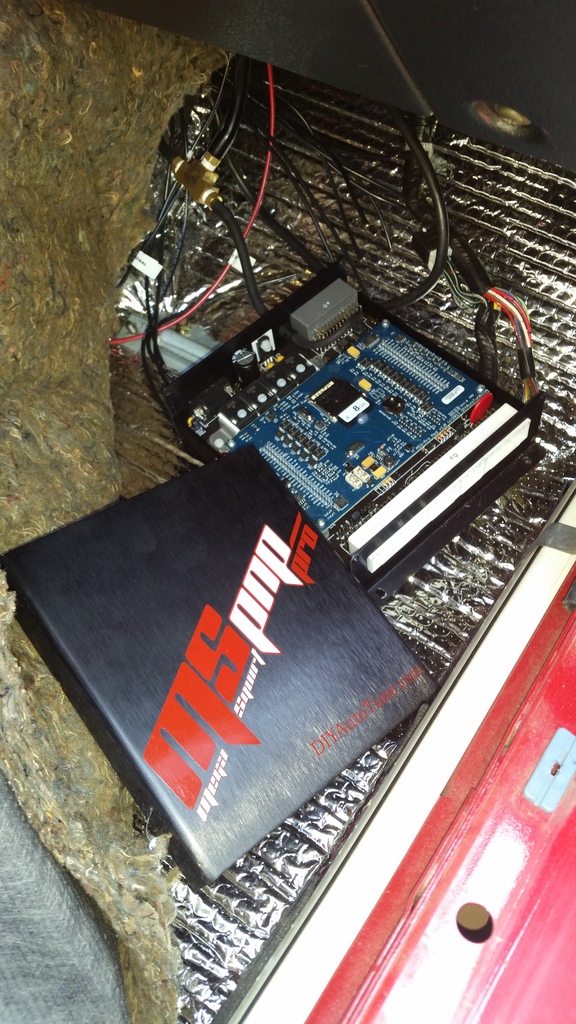
And of course I need an ECU to run all this stuff, so I started wiring in the MSPNP Pro that I had also sitting in my room waiting to be installed on the right car.
Installed a big K&N filter that I happened to have laying around and it just barely fit.
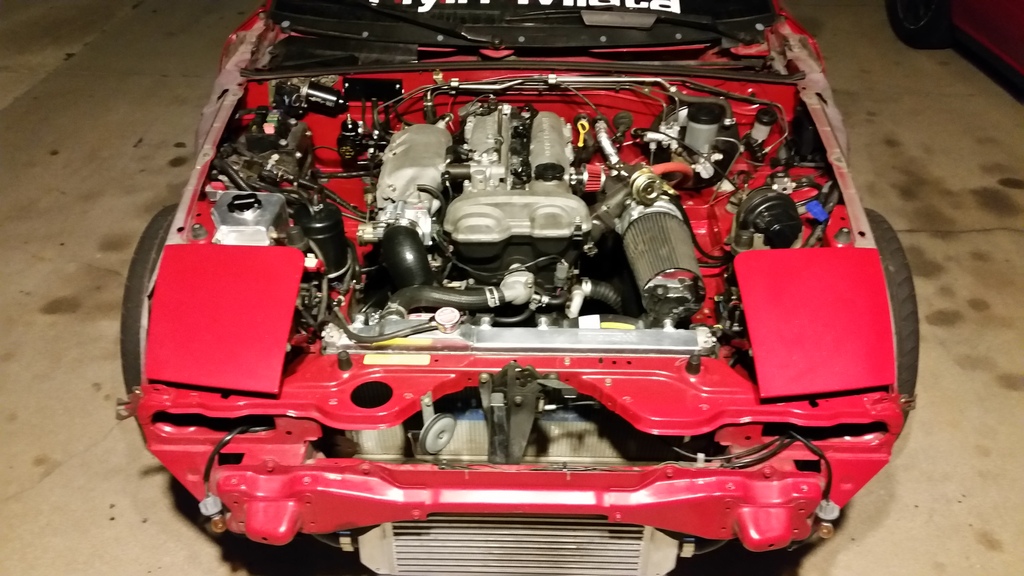
Put the hood back on and I rolled it out of the garage again.

Installed a big K&N filter that I happened to have laying around and it just barely fit.


Put the hood back on and I rolled it out of the garage again.

Reply
0
0
Thread Starter
Junior Member
iTrader: (2)
Joined: Dec 2014
Posts: 307
Total Cats: 23
From: Salinas, CA
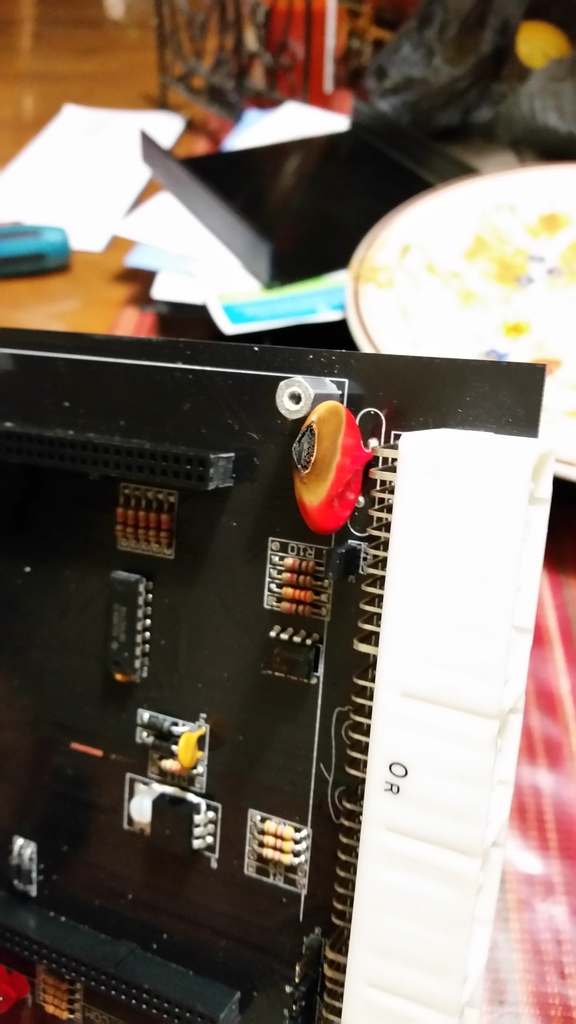
Now we get to the not so good part of the build...I was a happy camper for about a day or two. I hadn't really driven it to much, I was first trying to tune my idle. Once I finally did go on the road, I took it for a cruise around town and I hoped onto 101 south. It was driving fine for about an hour, I was about to get home when all of a sudden my lights started to flicker then my wipers turned on by themselves. Right away I knew something was wrong, I turned right to go into a shopping center parking lot and as I turned the car shut off and smoke started coming from the passenger side floor area. I thought oh noooooo this can't be good, and of course, it wasn't. This is what happened to my megasquirt ECU.
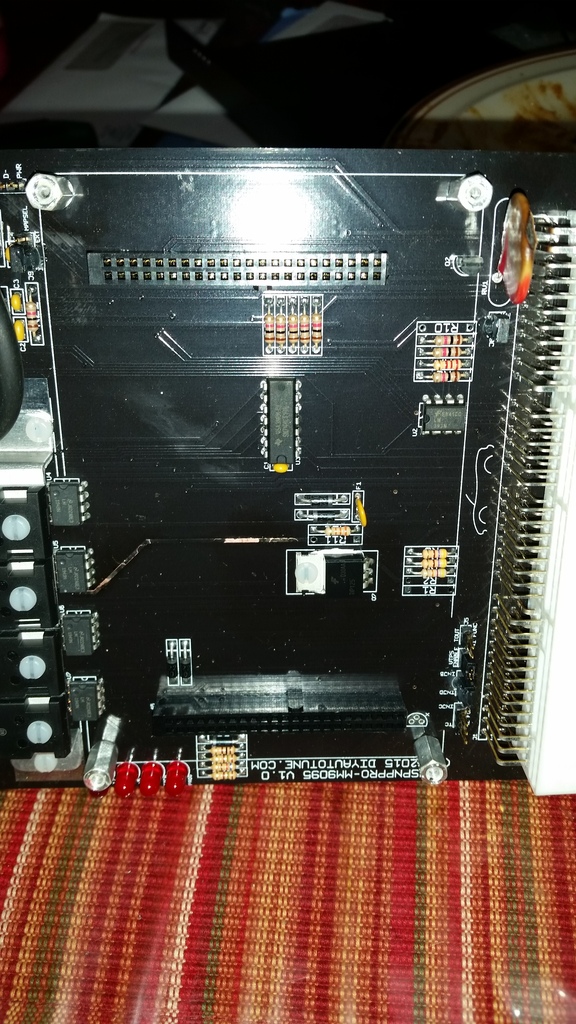

Right away I started looking at getting it repaired. This happened at night, the next day I had already shipped it back to DIYAutotune for repairs. I also was trying to figure out why the ECU got fried. I started a thread over at mt.net and people started giving their 2 cents of what could've cause this. One of the persons said that it looked like their was too much voltage going to the ECU. Then asked if I was using the original VVT alternator, which I was. I hadn't run the extra wires from the ecu that were needed for alternator control and things started to make sense. I remembered that I had been taking a log during that drive so I opened up the log. Just like they suspected, the alternator had been overcharging my battery, which it ruined by the way. The voltage at the ECU had been slowly rising, right before the ECU got fried and the log stopped, the voltage was at 26 volts! I'm surprised it even ran for that long at such a high voltage.


Right away I started looking at getting it repaired. This happened at night, the next day I had already shipped it back to DIYAutotune for repairs. I also was trying to figure out why the ECU got fried. I started a thread over at mt.net and people started giving their 2 cents of what could've cause this. One of the persons said that it looked like their was too much voltage going to the ECU. Then asked if I was using the original VVT alternator, which I was. I hadn't run the extra wires from the ecu that were needed for alternator control and things started to make sense. I remembered that I had been taking a log during that drive so I opened up the log. Just like they suspected, the alternator had been overcharging my battery, which it ruined by the way. The voltage at the ECU had been slowly rising, right before the ECU got fried and the log stopped, the voltage was at 26 volts! I'm surprised it even ran for that long at such a high voltage.
Reply
0
0


Thread Starter
Junior Member
iTrader: (2)
Joined: Dec 2014
Posts: 307
Total Cats: 23
From: Salinas, CA
I was pretty bummed out because I really wanted to take it to the yearly Miata event at MRLS. I had a little under a week before the event. I had an older MSPNP2 ECU that I had been using on my first miata. I knew that I could still run the car with it, but would have to do a few changes to the wiring and also I could not control VVT with it so I left it unplugged.
I got it up and running and I made it to the event the following weekend. It was worth it. There were lots of cool miatas there and I got a ride along on deviate, 949 racing's K swapped miata. Best of all, I was able to sign the 1 millionth miata :smile:
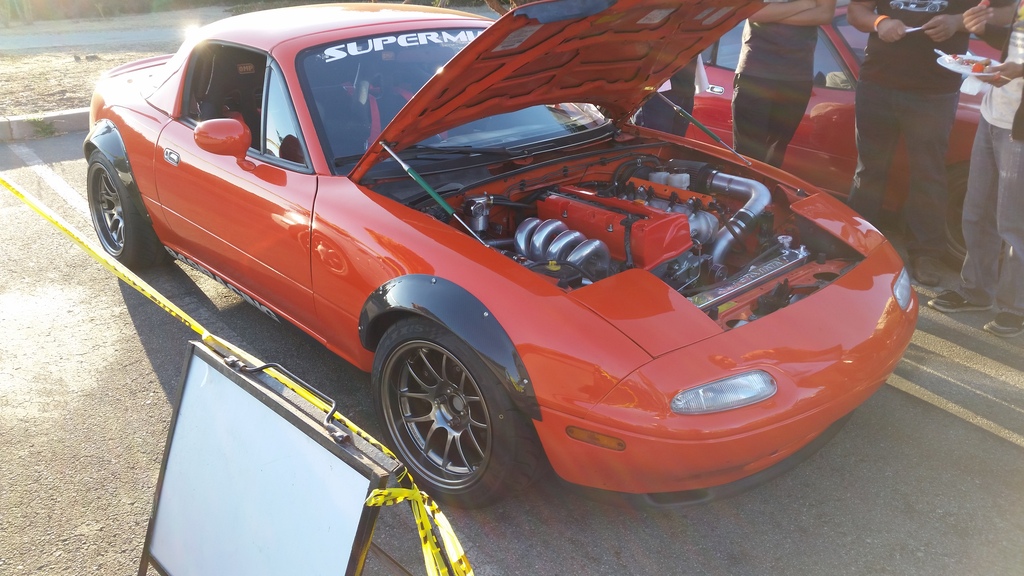
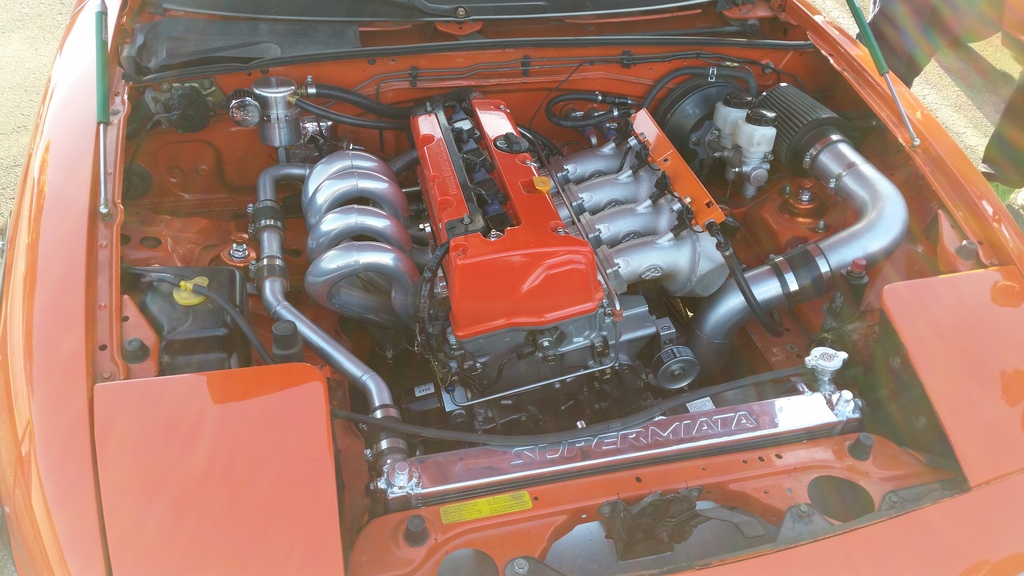


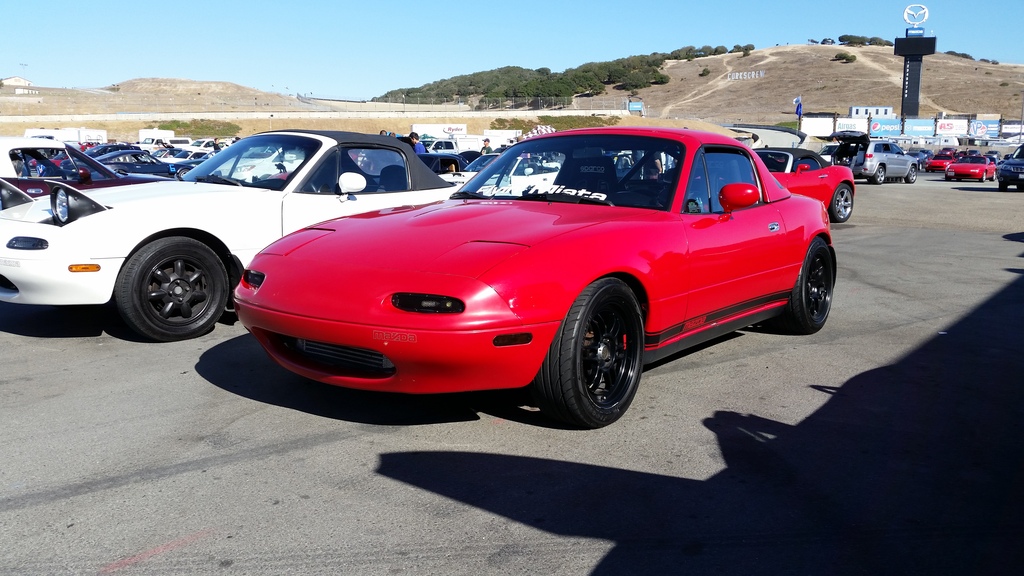
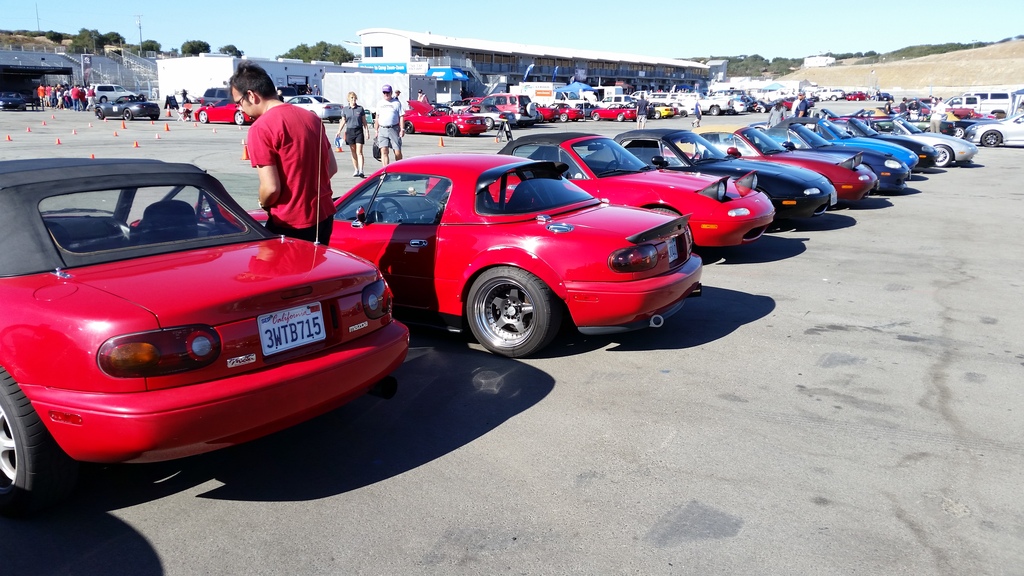
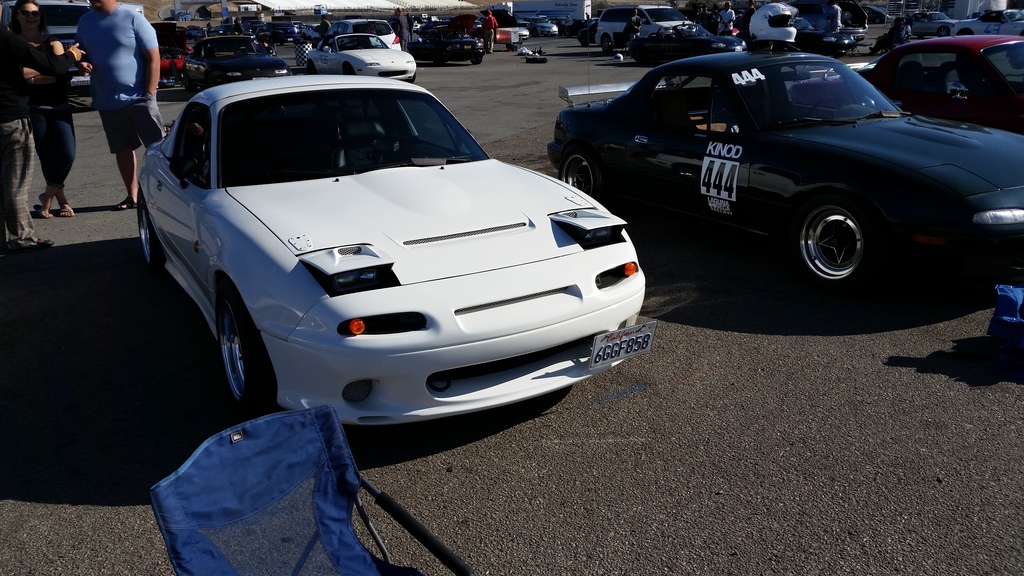
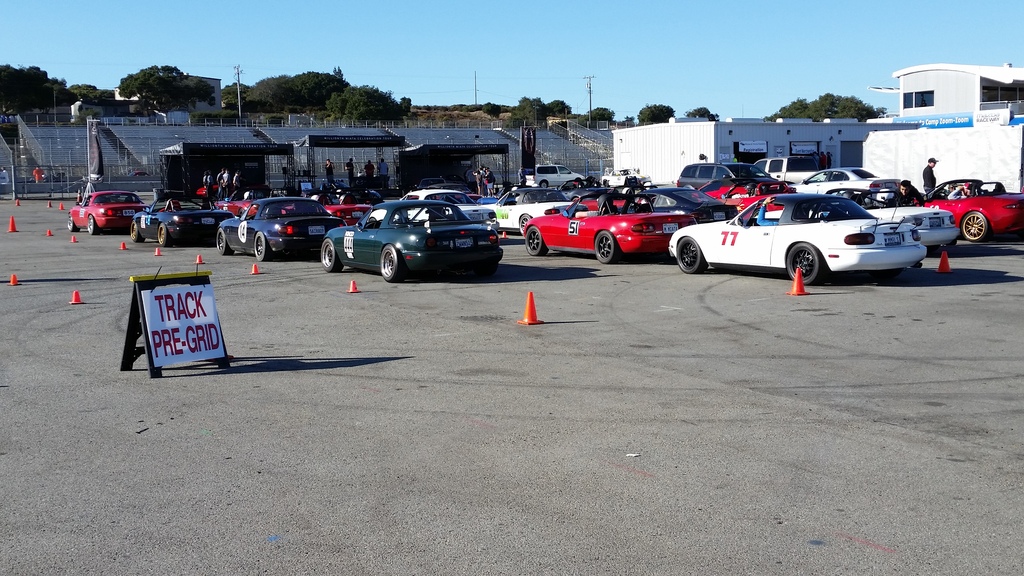
I got it up and running and I made it to the event the following weekend. It was worth it. There were lots of cool miatas there and I got a ride along on deviate, 949 racing's K swapped miata. Best of all, I was able to sign the 1 millionth miata :smile:


Reply
0
0

Thread Starter
Junior Member
iTrader: (2)
Joined: Dec 2014
Posts: 307
Total Cats: 23
From: Salinas, CA
Again, the fun didn't last very long. I was only able to make it to the event on saturday, because soon after getting home that day this happened when the car slipped off the jack.
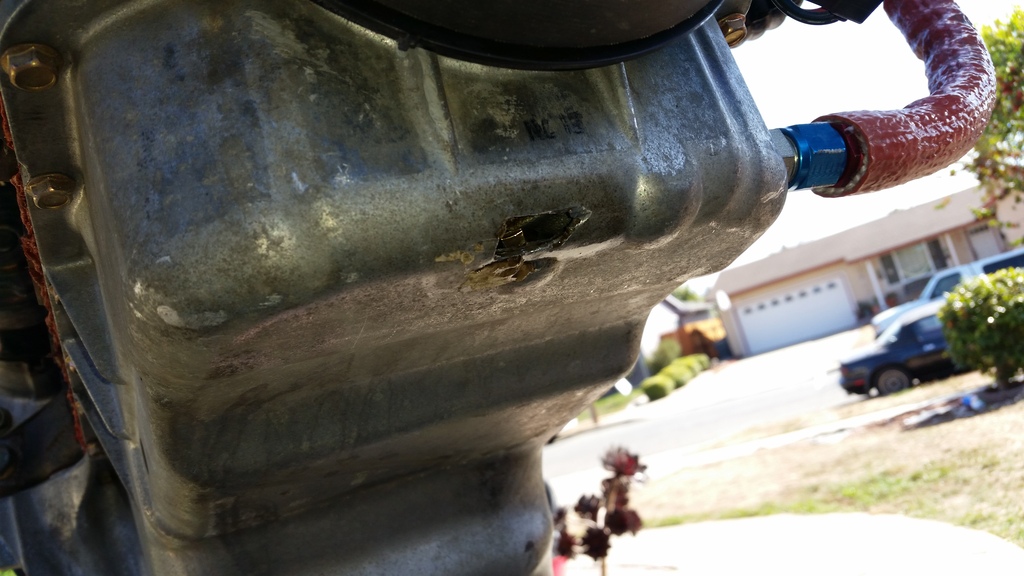
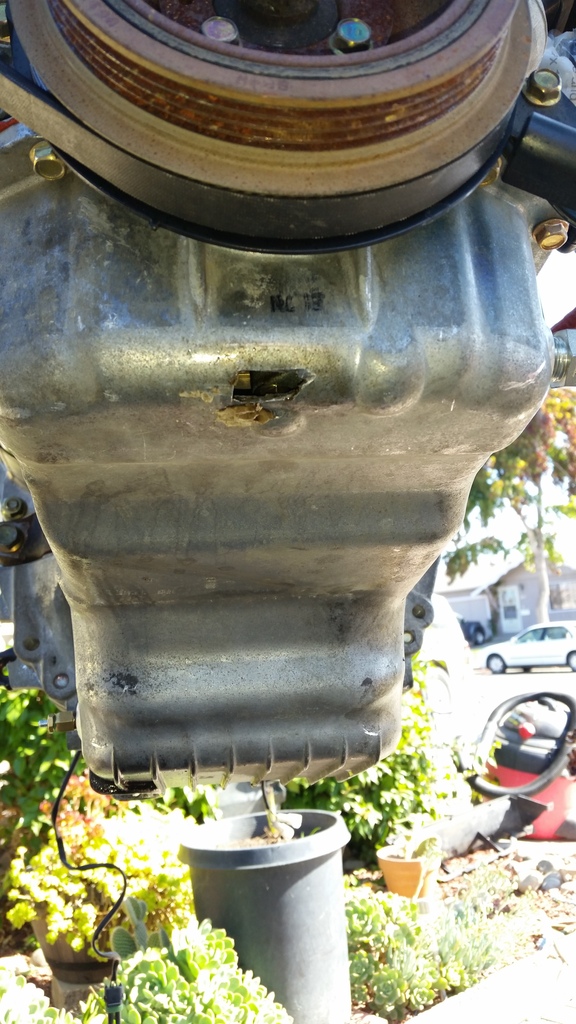
I was even more bummed out, first it was the ECU, now this. I started taking everything off again that night so I could pull the engine out again. Early Sunday morning, the engine was out once more.
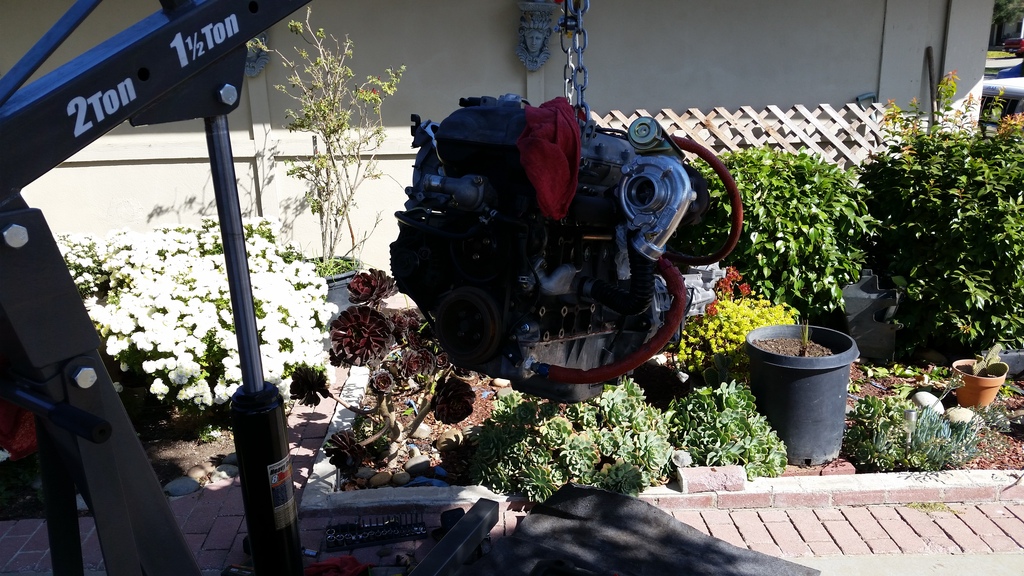
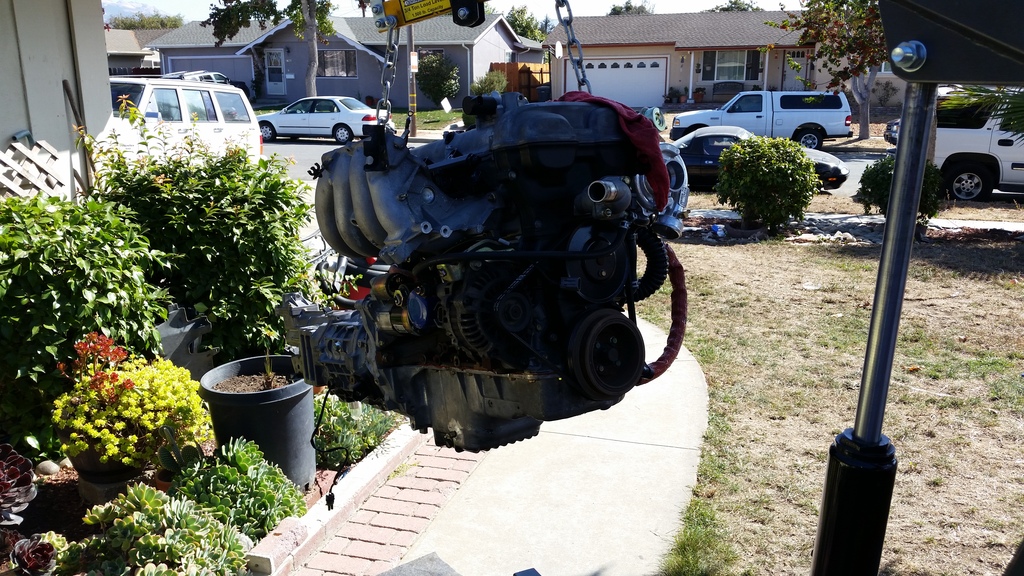


I was even more bummed out, first it was the ECU, now this. I started taking everything off again that night so I could pull the engine out again. Early Sunday morning, the engine was out once more.


Reply
0
0
Thread Starter
Junior Member
iTrader: (2)
Joined: Dec 2014
Posts: 307
Total Cats: 23
From: Salinas, CA
I removed the oil pan again and took it to my friend who cleaned it up and welded up the hole. This was all done on Sunday as well. I wanted it up and running ASAP.
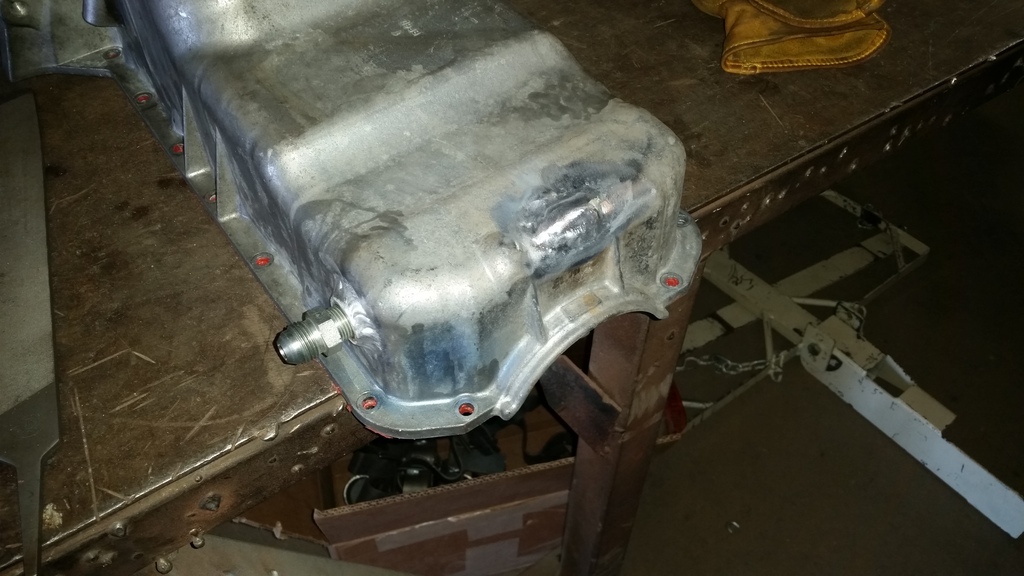
It doesn't look very pretty, but that thing doesn't leak that's for sure.


It doesn't look very pretty, but that thing doesn't leak that's for sure.
Reply
0
0
Thread Starter
Junior Member
iTrader: (2)
Joined: Dec 2014
Posts: 307
Total Cats: 23
From: Salinas, CA
I put the engine back in that same day and bolted everything back up. Monday afternoon I had it all running once again. By this time I had already got back my MSPNP Pro from repair, so I swapped it back in and plugged in the VVT. This time I was using a 94-97 1.8 alternator since that once is self regulated and doesn't need any signals from the ECU to tell it to stop charging. I got it up and running on the newer megasquirt.
Reply
0
0


