
Konmo's 1990 Turbo VVT Swap


Thread Starter
Junior Member
iTrader: (2)
Joined: Dec 2014
Posts: 307
Total Cats: 23
From: Salinas, CA
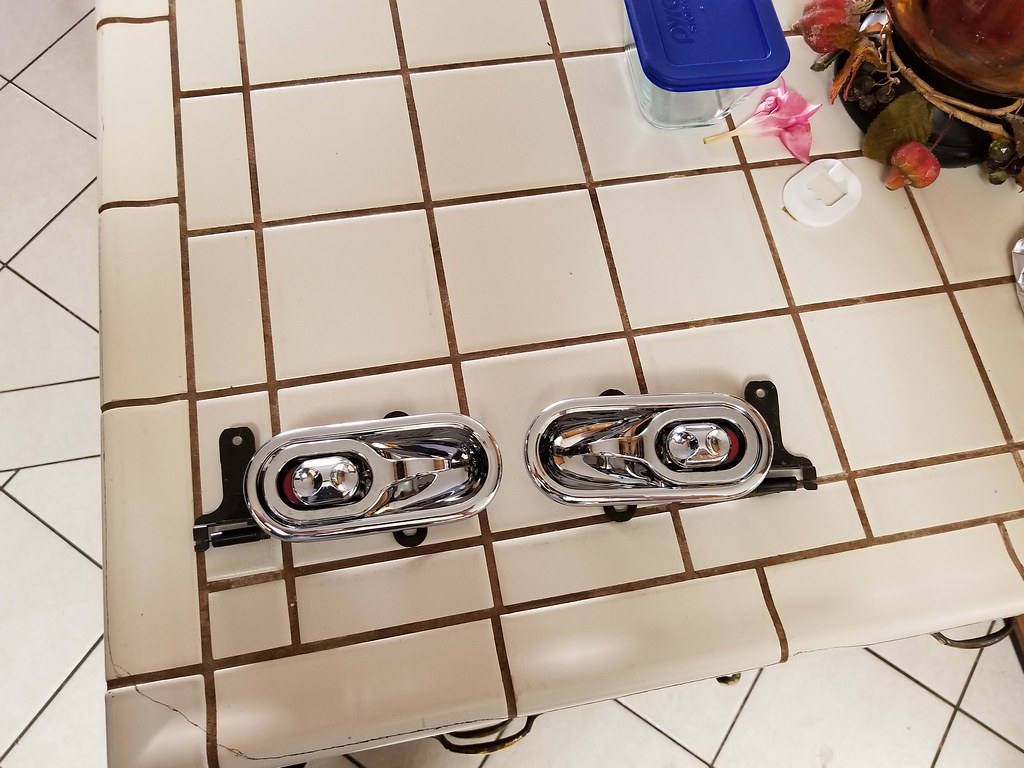
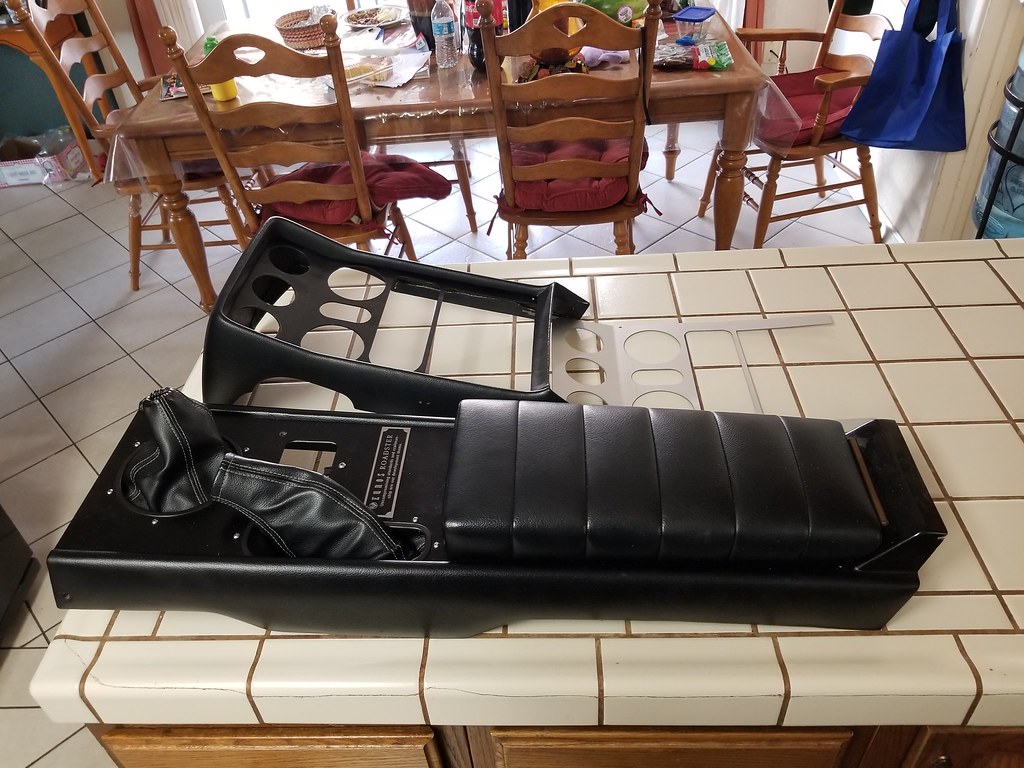
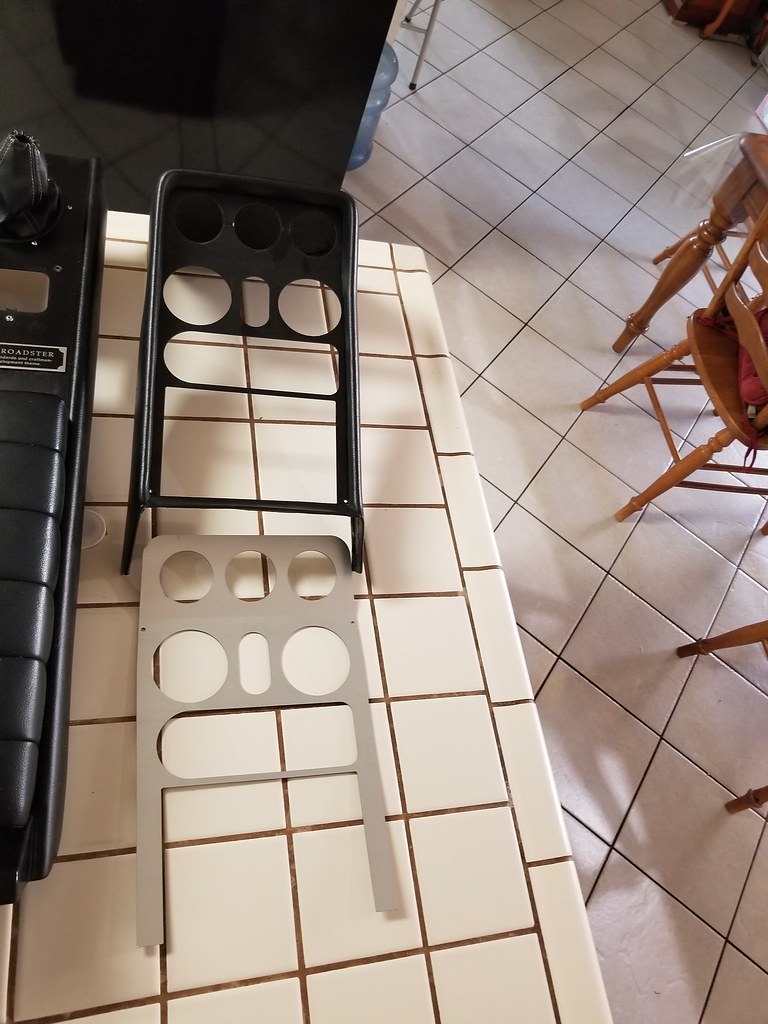
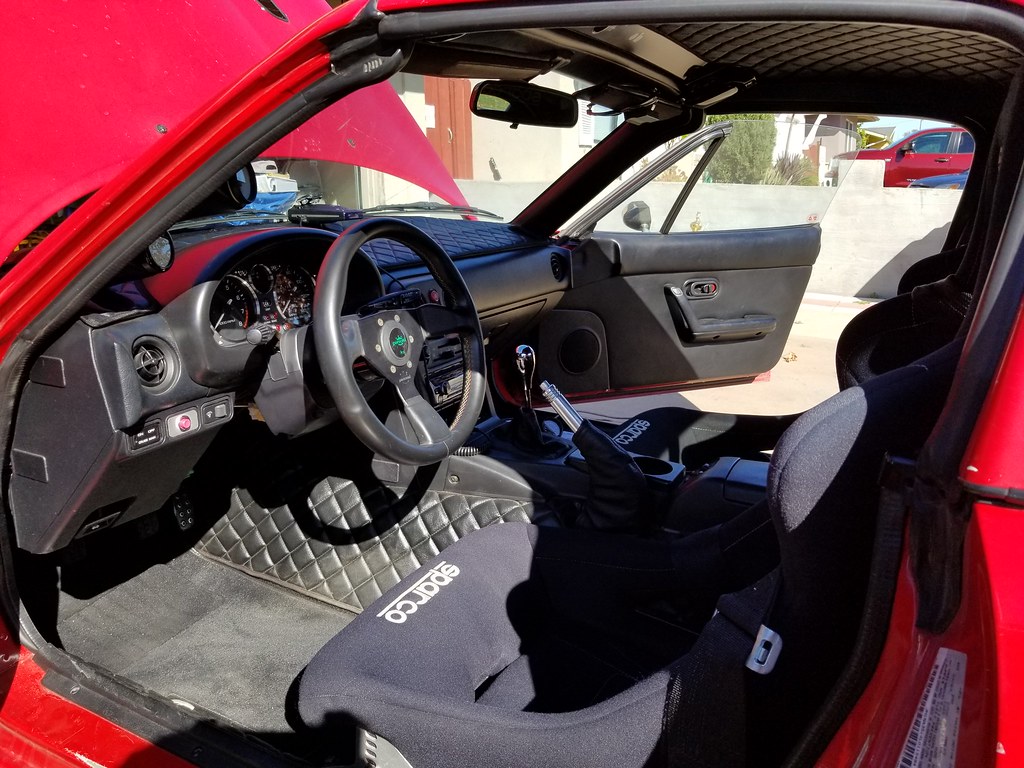
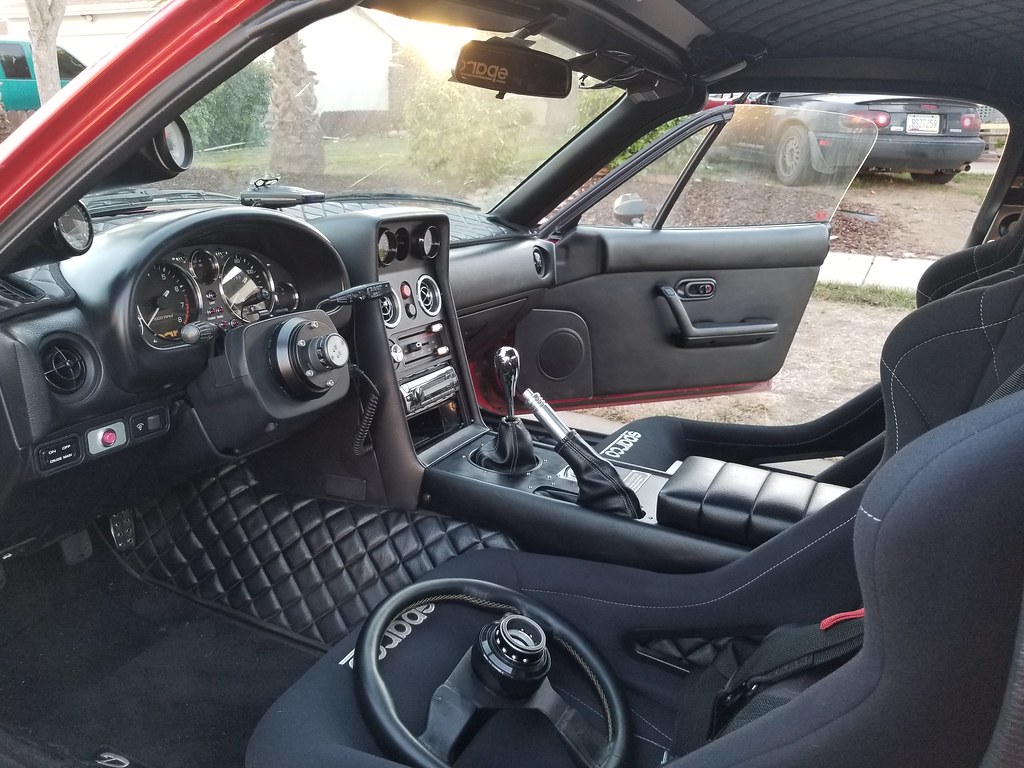
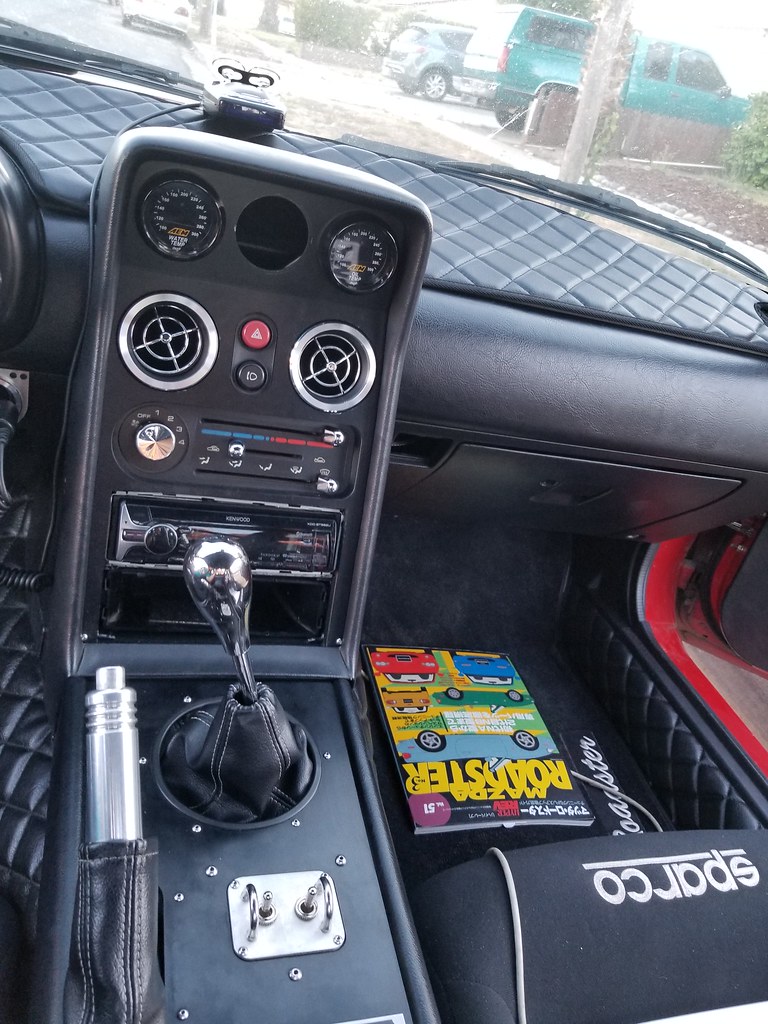
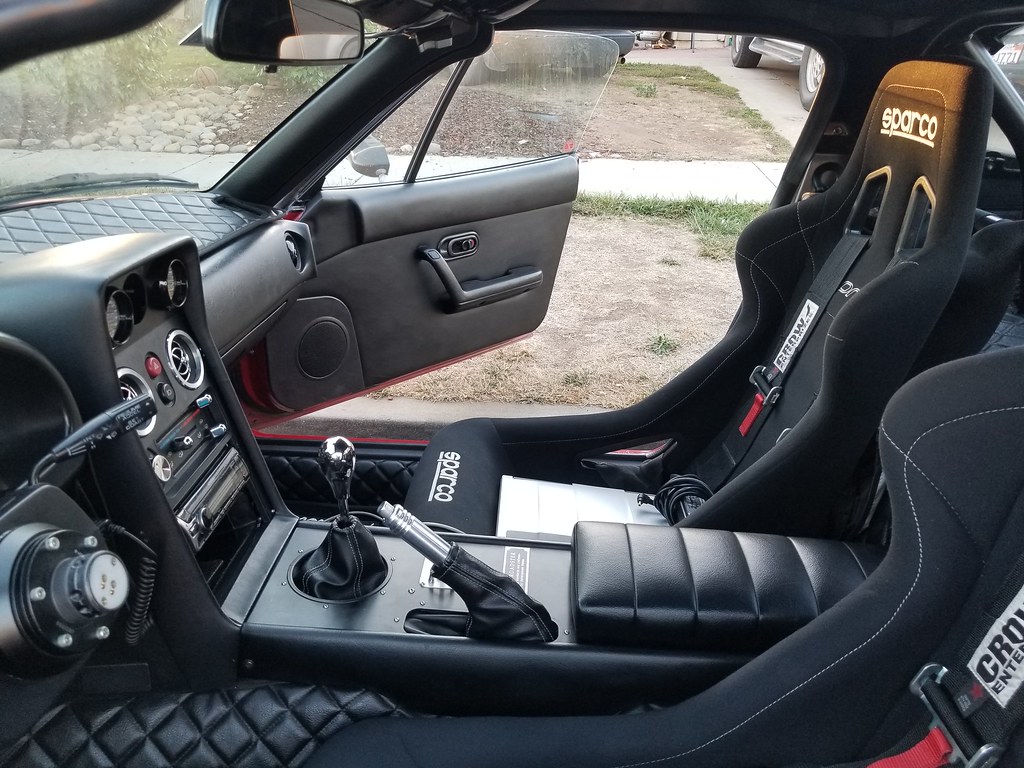
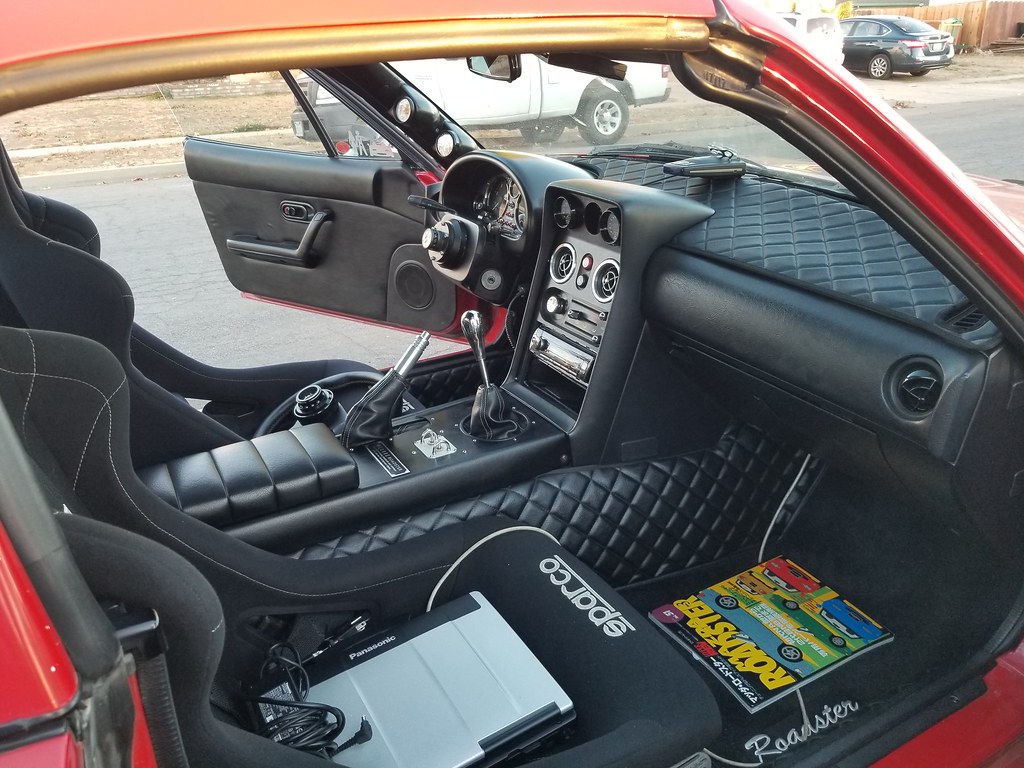
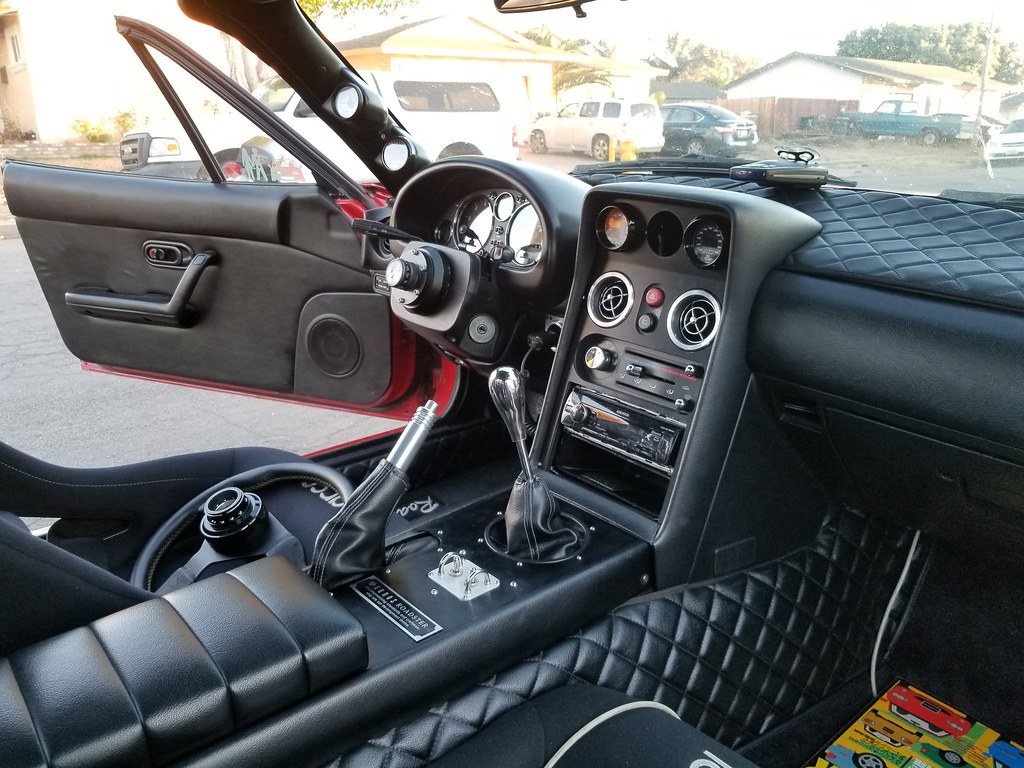
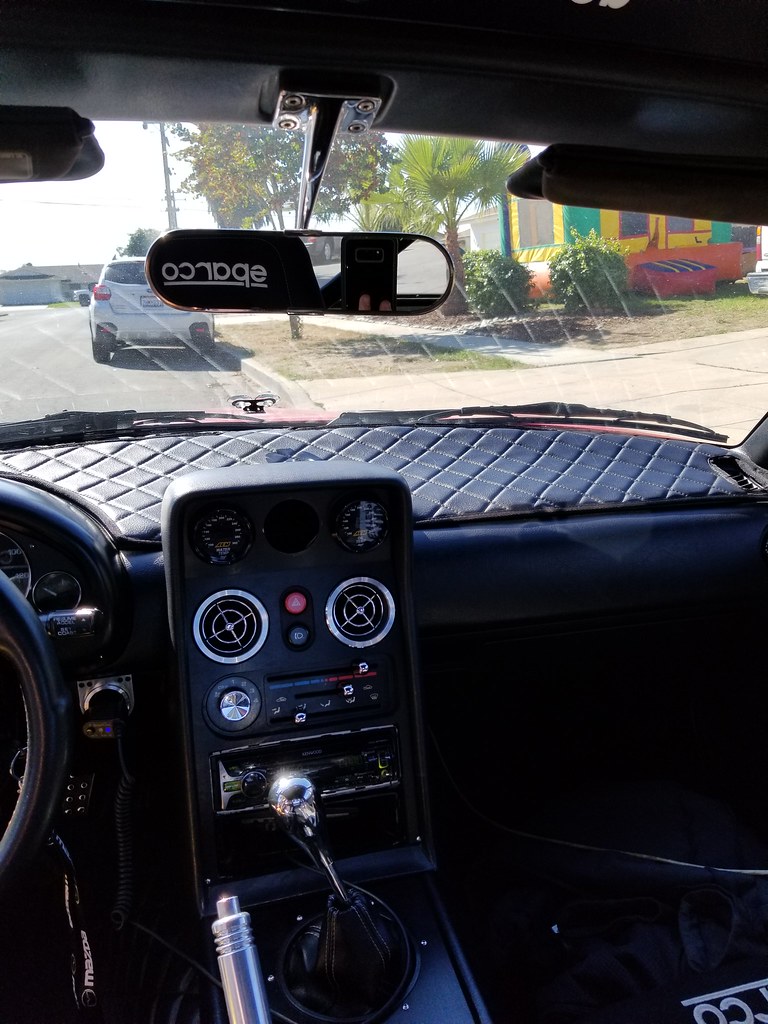
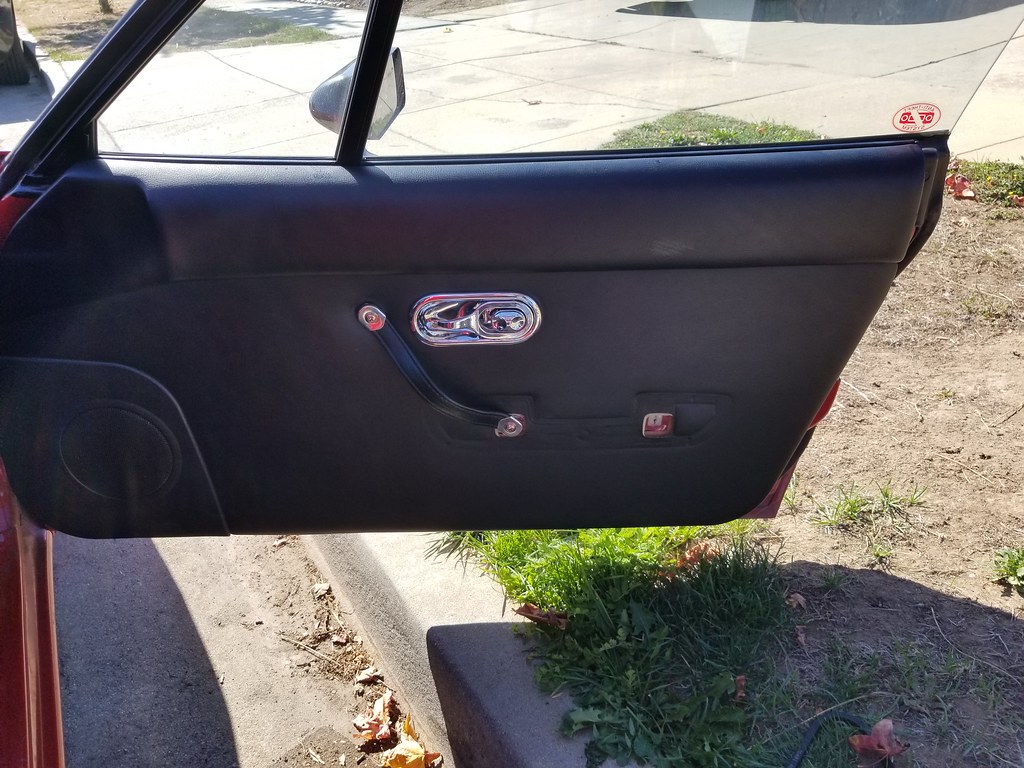
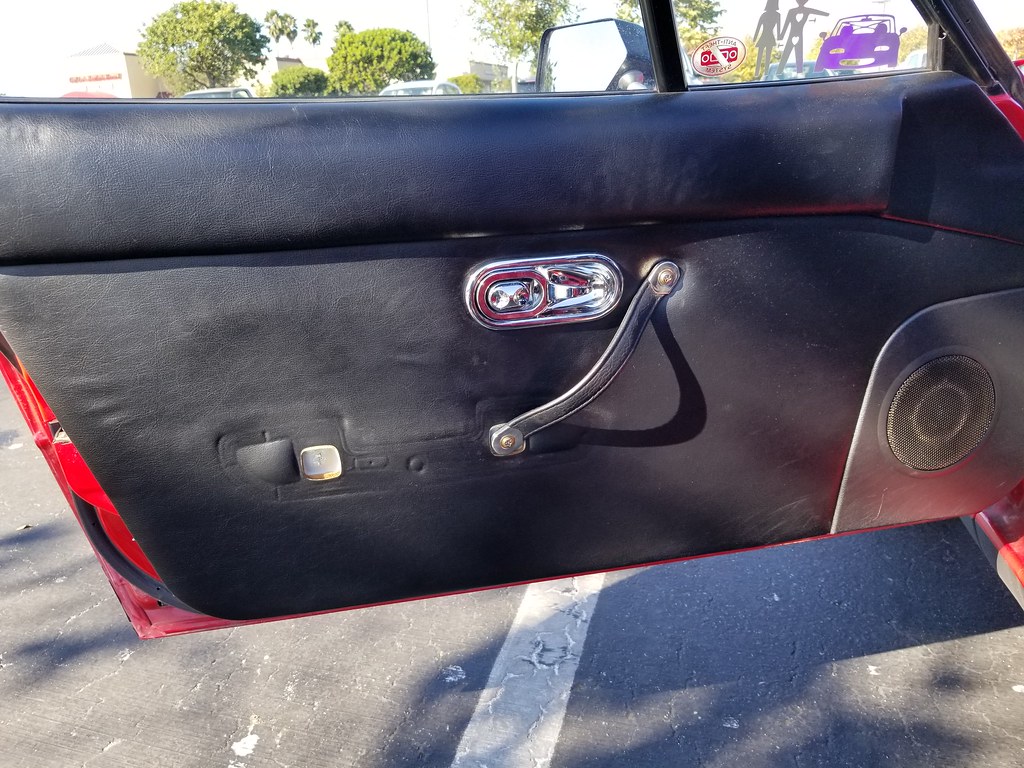
I picked up a few interiors pieces for the Miata, those parts were Aerodramatics door handles, I.L. Motorsport door cups, Zoom type 2 radio console, and Zoom type 2 center console.
20171020_152145 by davidruiz1023 Ruiz, on Flickr
20171020_152448 by davidruiz1023 Ruiz, on Flickr
20171020_152500 by davidruiz1023 Ruiz, on Flickr
20171020_152145 by davidruiz1023 Ruiz, on Flickr
20171020_152448 by davidruiz1023 Ruiz, on Flickr
20171020_152500 by davidruiz1023 Ruiz, on Flickr
Reply
 0
0

0
Thread Starter
Junior Member
iTrader: (2)
Joined: Dec 2014
Posts: 307
Total Cats: 23
From: Salinas, CA
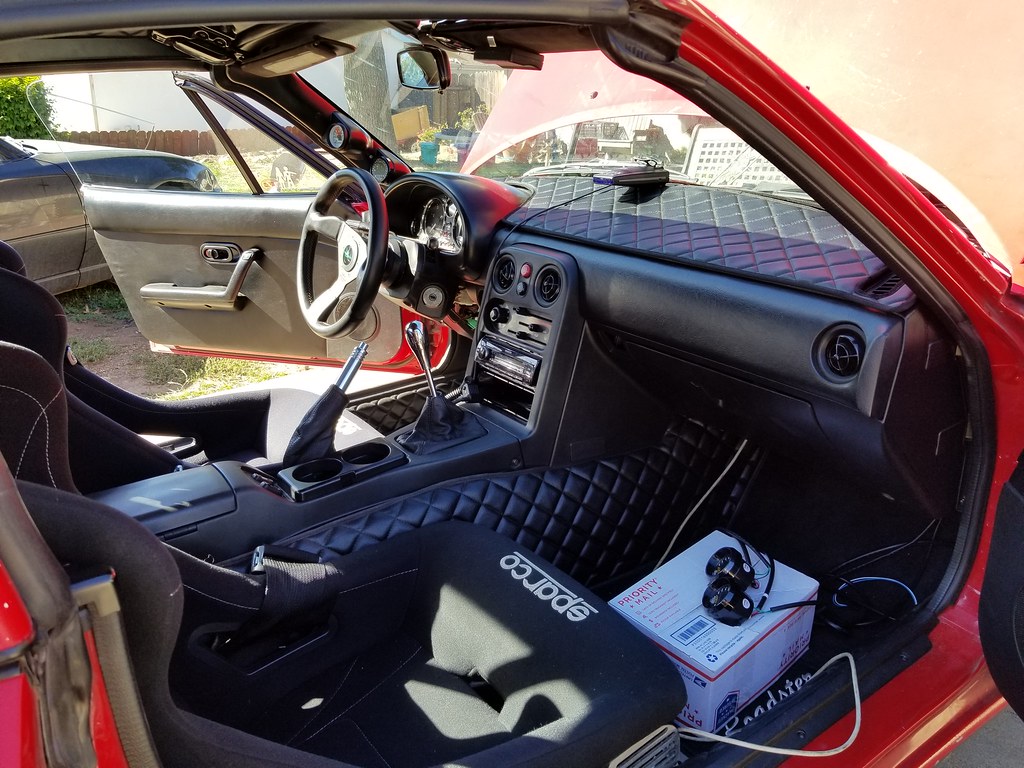
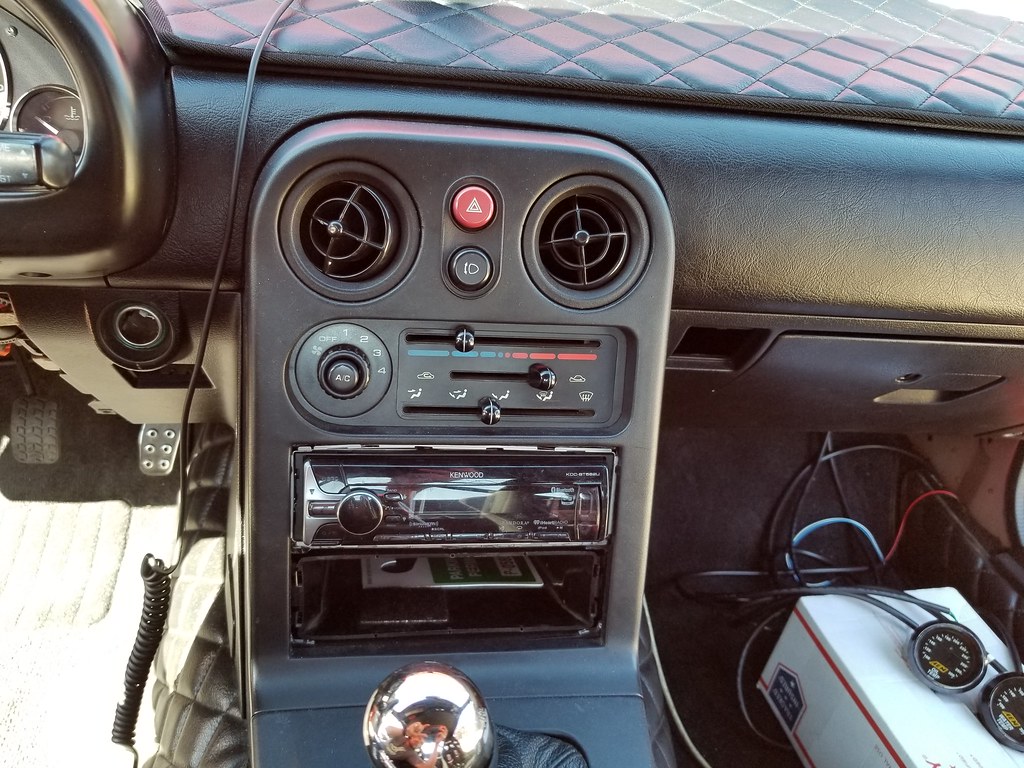
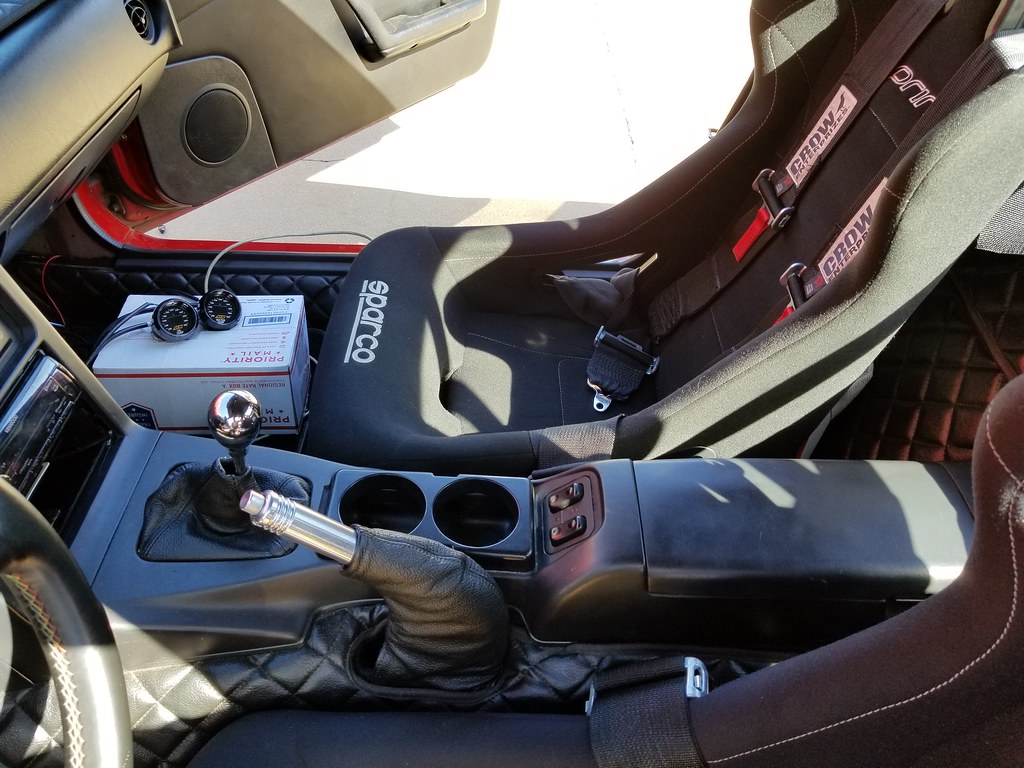
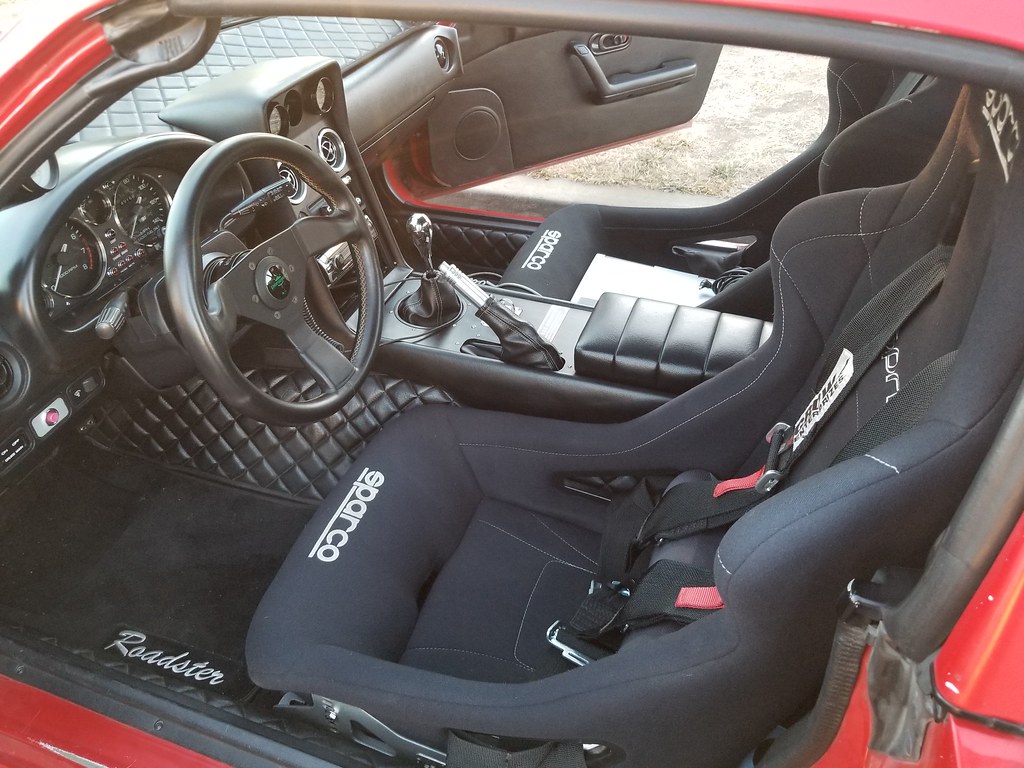
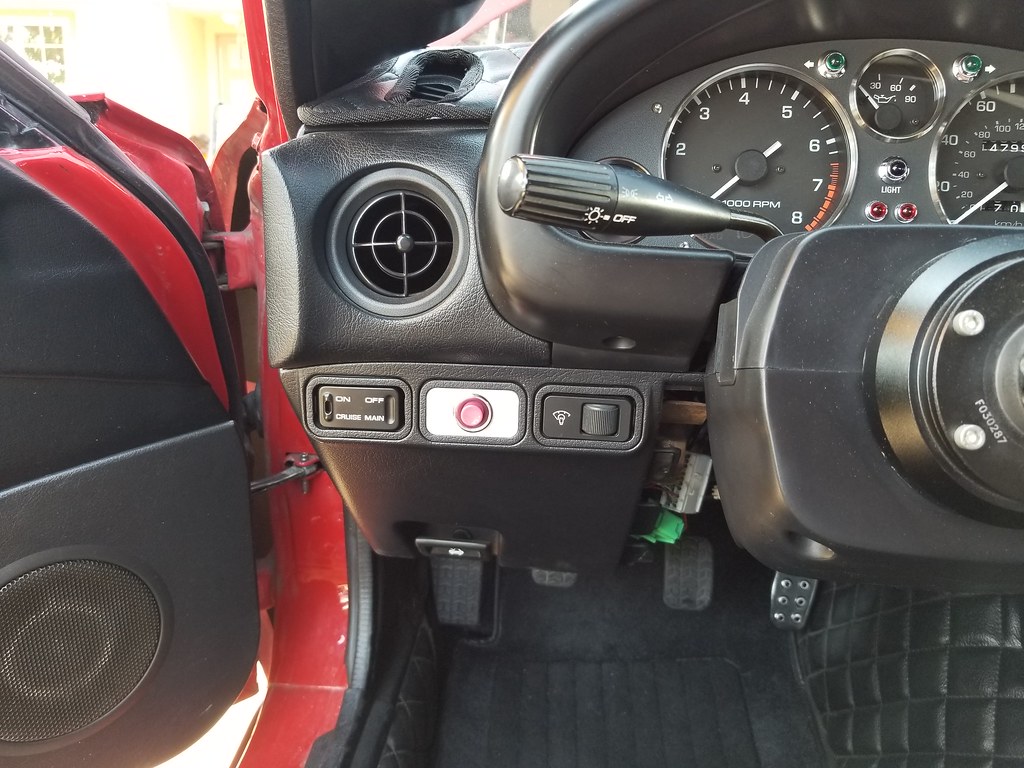
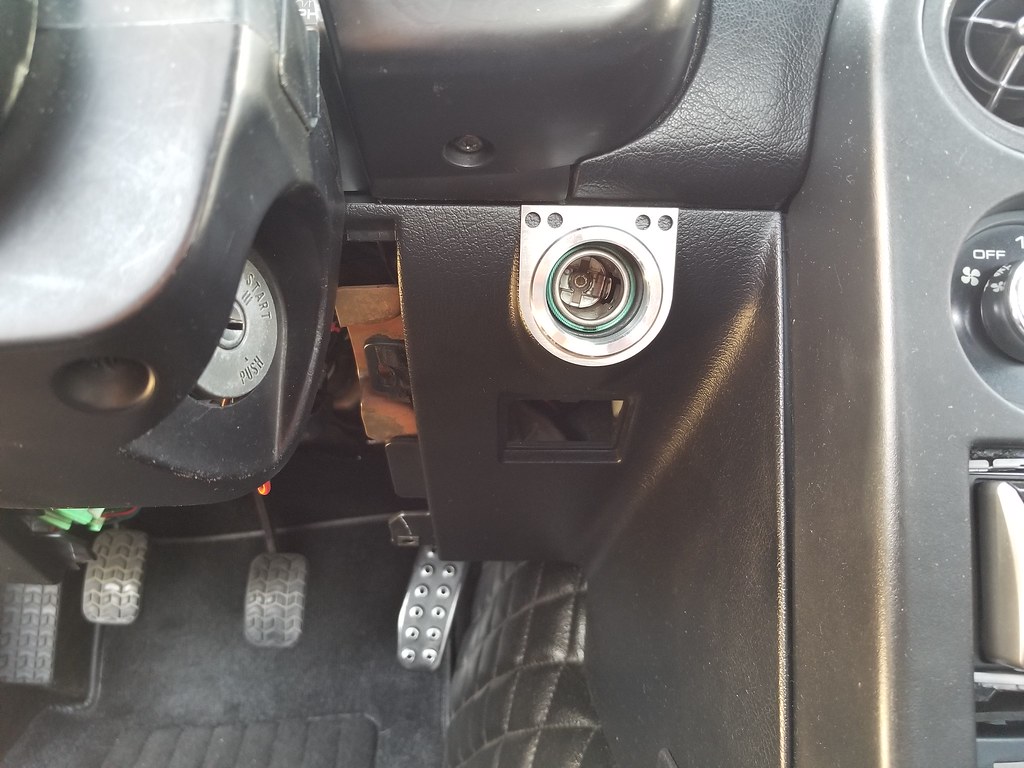
My oil and coolant temp gauges had been sitting on the passenger side floor for a while and I finally wanted to mount them, so I worked on installing the zoom radio and center console. While I was there, I installed some other parts that I had also been holding on to such as AWD vent rings, K.G. Works vent *****, AWD cigarrete lighter surround ring, K.G. Works climate control lever caps, Zoom push to start button, and RevLimiter window switches.
20171021_105804 by davidruiz1023 Ruiz, on Flickr
20171021_105848 by davidruiz1023 Ruiz, on Flickr
20171021_105920 by davidruiz1023 Ruiz, on Flickr
20171021_105936 by davidruiz1023 Ruiz, on Flickr
20171023_175614 by davidruiz1023 Ruiz, on Flickr
20171023_175650 by davidruiz1023 Ruiz, on Flickr
20171023_175700 by davidruiz1023 Ruiz, on Flickr
20171023_175711 by davidruiz1023 Ruiz, on Flickr
20171023_175727 by davidruiz1023 Ruiz, on Flickr
20171023_175732 by davidruiz1023 Ruiz, on Flickr
20171015_134605 by davidruiz1023 Ruiz, on Flickr
20171015_134415 by davidruiz1023 Ruiz, on Flickr
Reply
1
1


Reply
0
0
Thread Starter
Junior Member
iTrader: (2)
Joined: Dec 2014
Posts: 307
Total Cats: 23
From: Salinas, CA
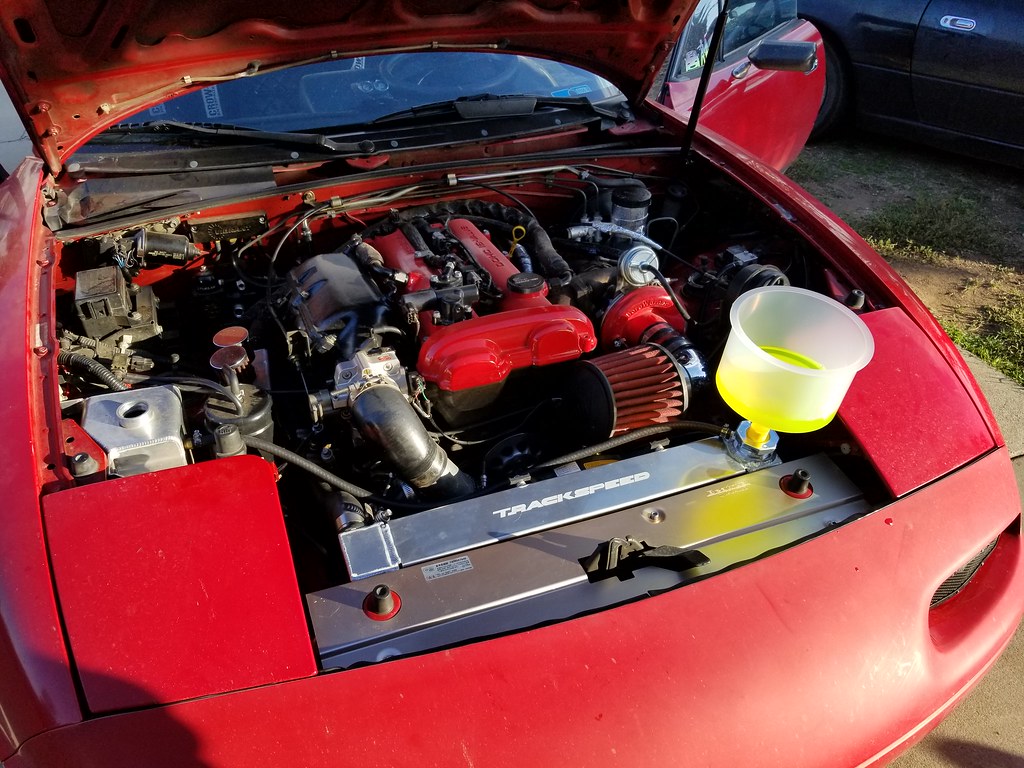
This past weekend, I installed a TSE radiator that I purchased to help with coolant temps. I don't have a lot of miles on it yet, but so far my initial observations are that coolant temps were about 10-15 degrees cooler while cruising on the freeway. I was also able to switch back to a stock cooling fan. Now I don't have to worry about the Spal fan pulling a lot of amperage during start up. I burped the coolant system with one of those Lisle funnels and it worked great. I did have to cut my top radiator hose that I use with my coolant reroute, but it wasn't a problem. Overall, I'm happy with this radiator, and it'll only be better once I finish ducting the heat exchangers.
Reply
0
0


Having a love hate relationship with that center consol. I like the gauge location, reminds me of my old subie, but something about it..........
That trackspeed radiator looks ultra clean. Mine hasn't even been filled yet and it looks like that vanity plate up top is oxidizing and needs a polish. Probably won't but nothing is pretty on the car, even if unused. oh well....
any new developments?
That trackspeed radiator looks ultra clean. Mine hasn't even been filled yet and it looks like that vanity plate up top is oxidizing and needs a polish. Probably won't but nothing is pretty on the car, even if unused. oh well....
any new developments?
Reply
0
0
Thread Starter
Junior Member
iTrader: (2)
Joined: Dec 2014
Posts: 307
Total Cats: 23
From: Salinas, CA
Having a love hate relationship with that center consol. I like the gauge location, reminds me of my old subie, but something about it..........
That trackspeed radiator looks ultra clean. Mine hasn't even been filled yet and it looks like that vanity plate up top is oxidizing and needs a polish. Probably won't but nothing is pretty on the car, even if unused. oh well....
any new developments?
That trackspeed radiator looks ultra clean. Mine hasn't even been filled yet and it looks like that vanity plate up top is oxidizing and needs a polish. Probably won't but nothing is pretty on the car, even if unused. oh well....
any new developments?
The TSE radiator is still working great keeping my water temps in check and looks good. Not as shiny as when I first installed it, but it doesn't bother me much.
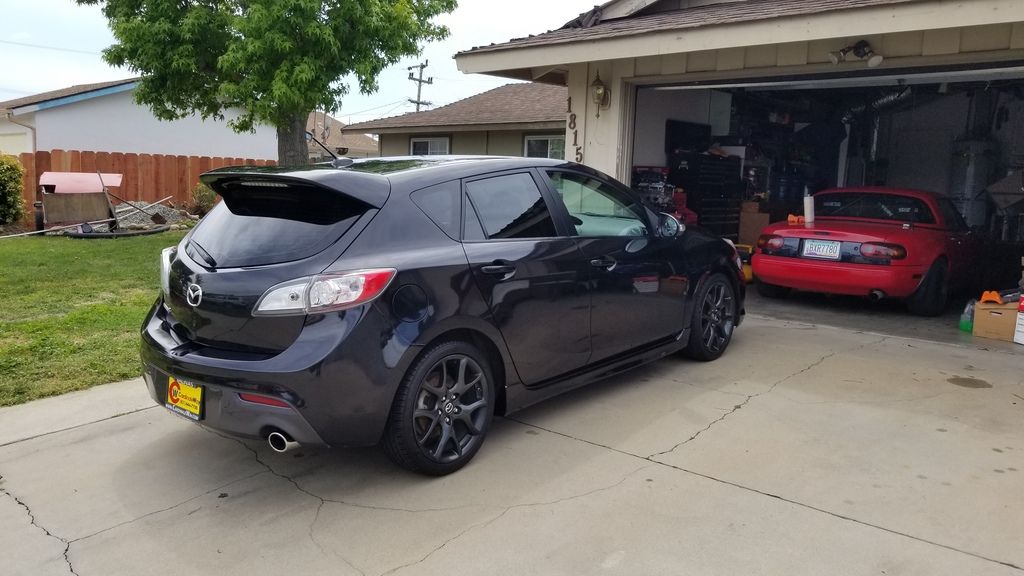
I had been out of state for work from Nov. 2017 to April 2018. I'm back in California now and will continue to update this thread. I've acquired more parts for the car that need to be installed and have plenty more pictures to upload. I also just recently bought myself a 2013 Mazaspeed 3. This will be my new daily driver so I can focus on the Miata build.
The build will continue

Reply
0
0
Thread Starter
Junior Member
iTrader: (2)
Joined: Dec 2014
Posts: 307
Total Cats: 23
From: Salinas, CA
What's up everyone, it's been a while since I updated this thread. I recently went back to school and that has taken a lot of my free time to be able to wrench on this car. I also bought a newer MS3, so I parked the Miata in the garage and didn't move it for a little over three months. Summer school ended a few weeks ago and I decided it was time to work on the Miata during the short break before fall semester began.


Reply
0
0
Thread Starter
Junior Member
iTrader: (2)
Joined: Dec 2014
Posts: 307
Total Cats: 23
From: Salinas, CA
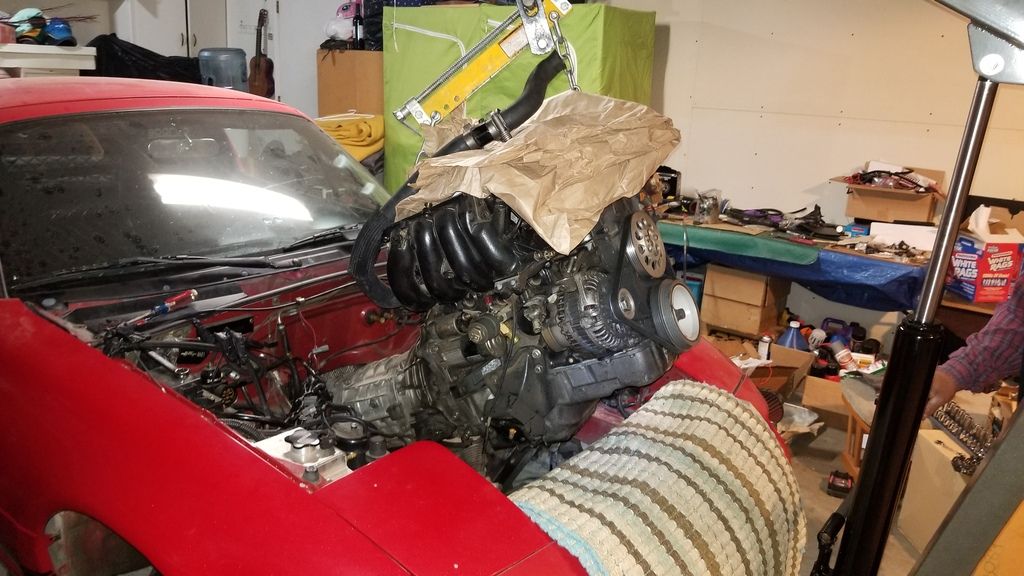
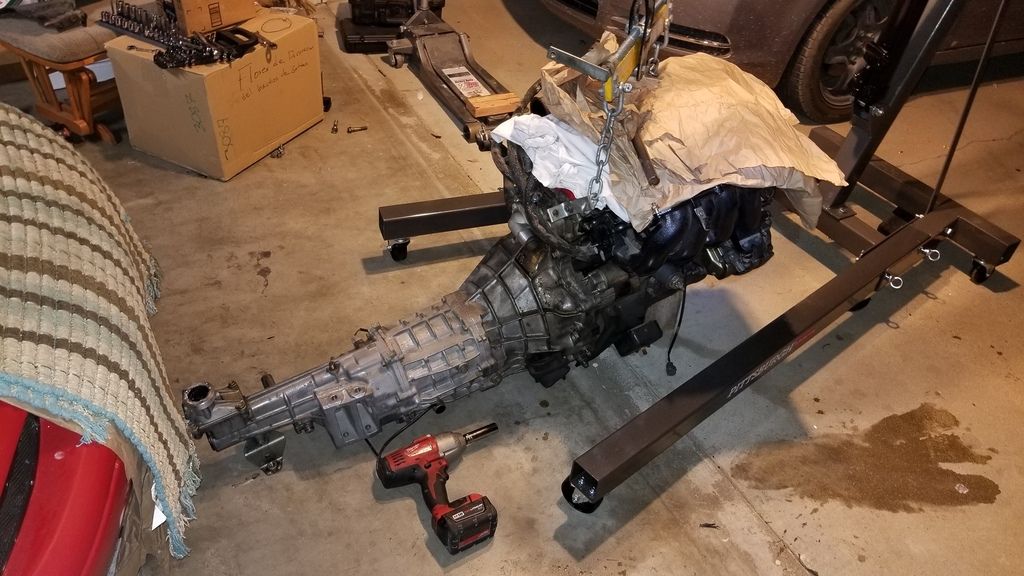
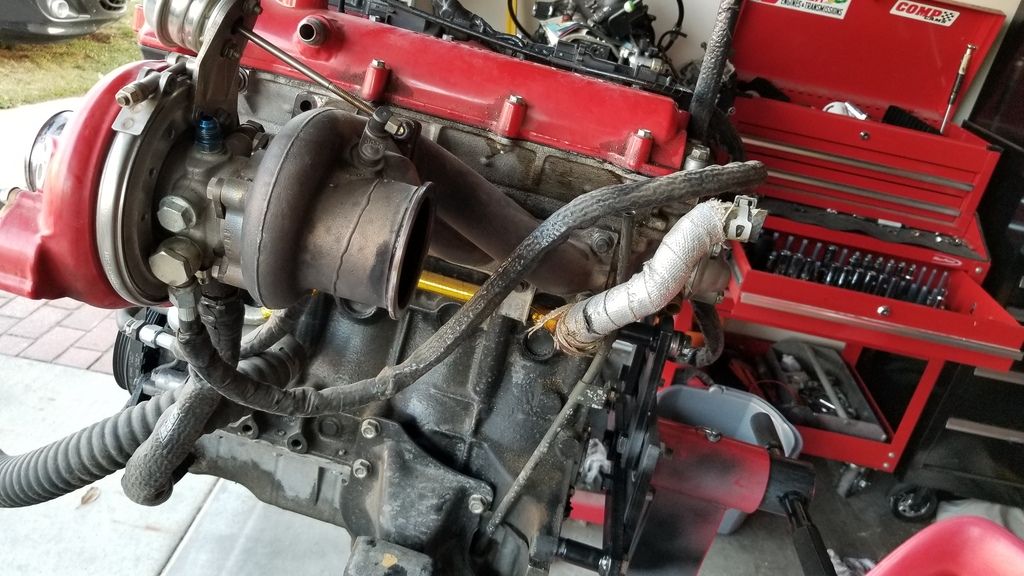
So before parking the Miata in the garage, I noticed it was starting to smoke when I was sitting at a red light or when I was in slow stop and go traffic. I did a leak down and compression test and numbers weren't that bad. I forget where I wrote down the results of those tests, but I remember it having decent compression on cylinder 1-3, cylinder 4 was around 12 psi lower than 3, and it had about 10 percent leak down in cylinder 4 also. I assumed from the start that it was bad valve stem seals. I had originally used the valve stem seals that 949 Racing sells https://supermiata.com/Supermiata--v...s-miata-1.aspx they were fine at first, but slowly developed a leak that allowed the oil to get into the combustion chamber. Another problem I was having was that I would have low oil pressure during idle once fully warmed up. It is around 10-13 psi on a built VVT motor with a VVT Street/Strip boundary engineering oil pump. I thought the oil relief valve might've been stuck so I planned to replace with a new pump. For this to be fixed it would be much easier to just pull the engine/transmission again so that's what I did.


Last edited by konmo; Sep 7, 2018 at 01:44 PM.
Reply
0
0


Thread Starter
Junior Member
iTrader: (2)
Joined: Dec 2014
Posts: 307
Total Cats: 23
From: Salinas, CA
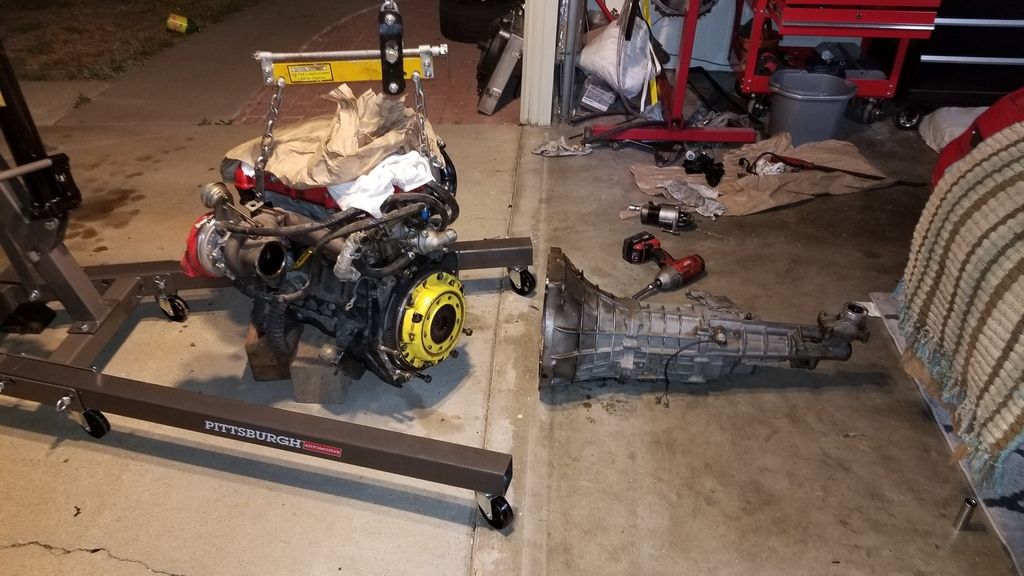
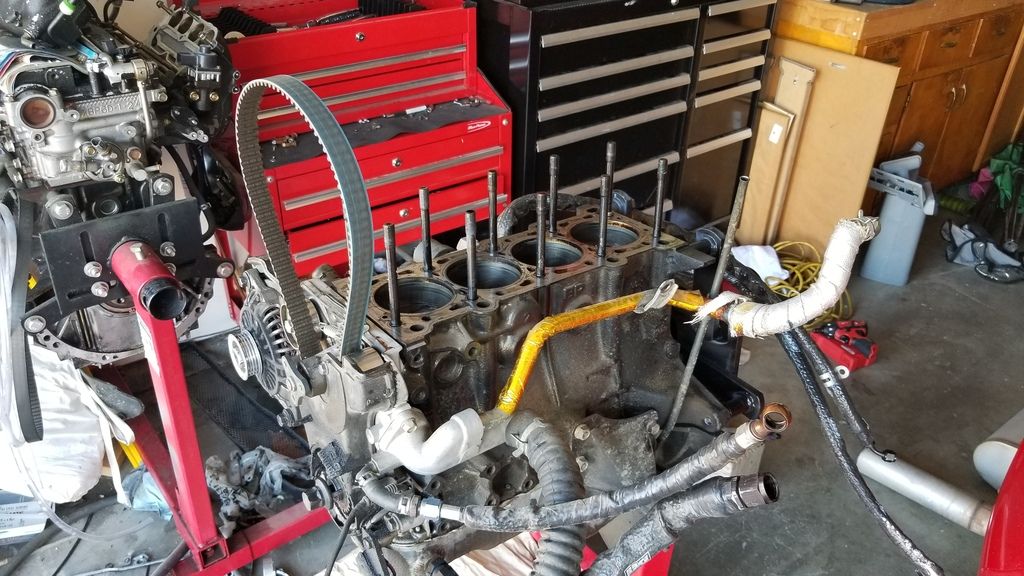
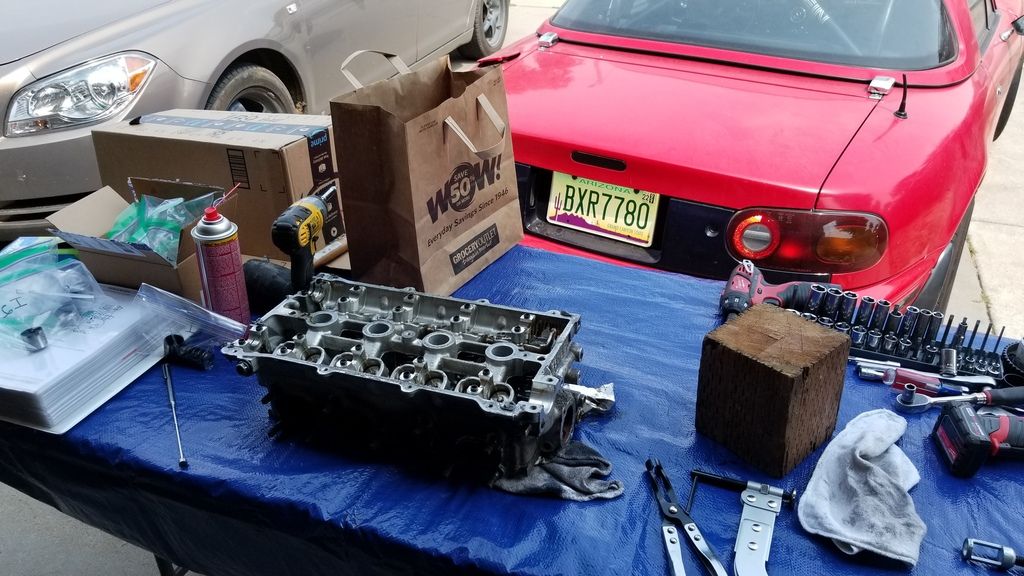
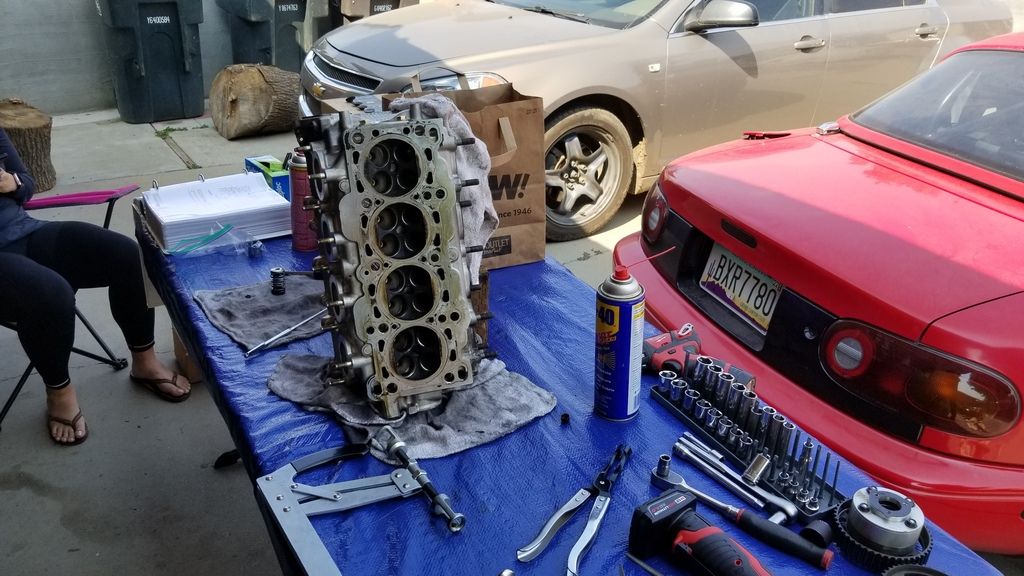
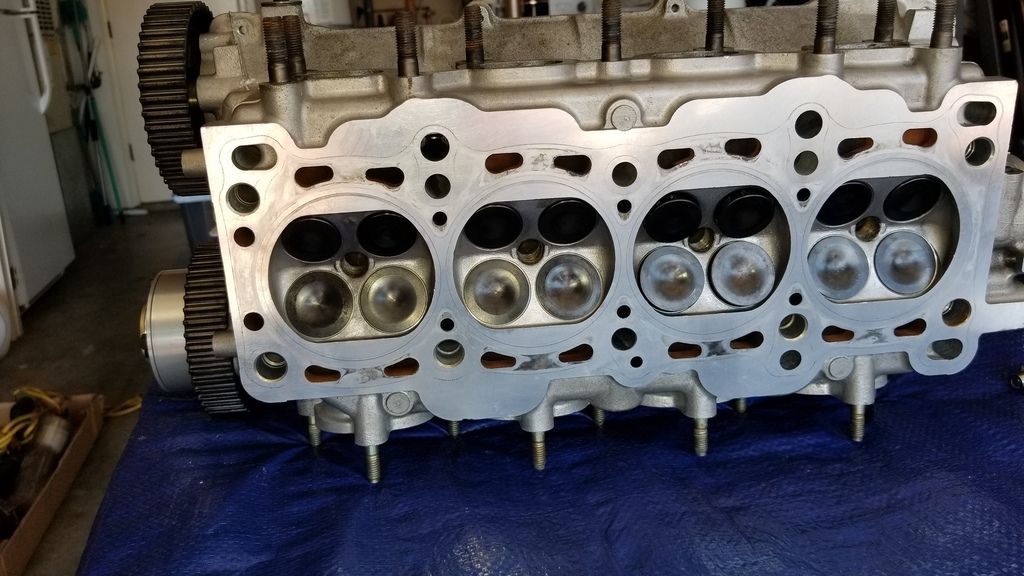
Got the engine onto the engine stand and started the disassembly. I forgot to take pictures of the exhaust ports on the head, but you could clearly see that cylinder 3 and 4 had oil in them which convinced me the smoking came from bad valve stem seals.


Reply
0
0


Thread Starter
Junior Member
iTrader: (2)
Joined: Dec 2014
Posts: 307
Total Cats: 23
From: Salinas, CA
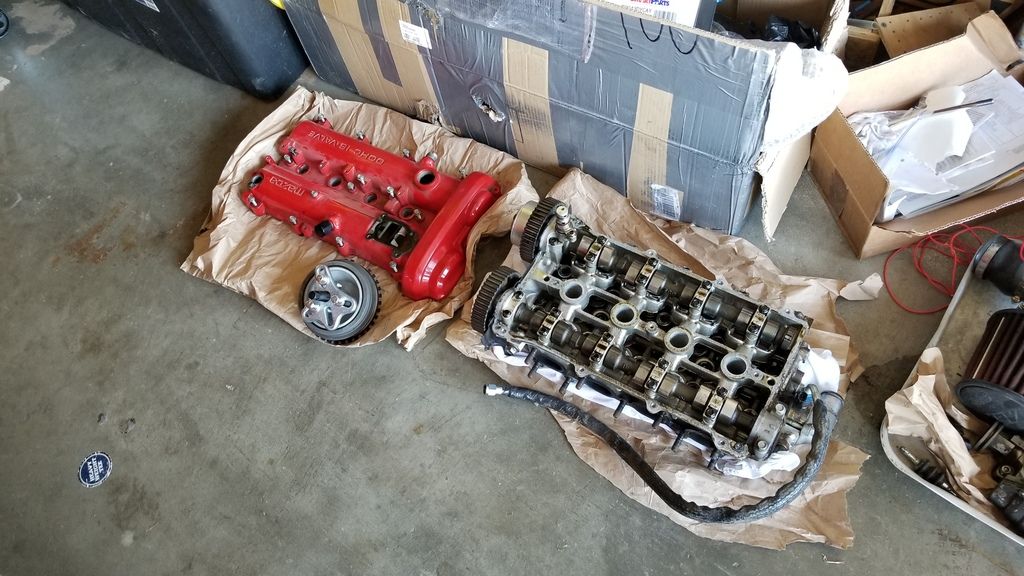
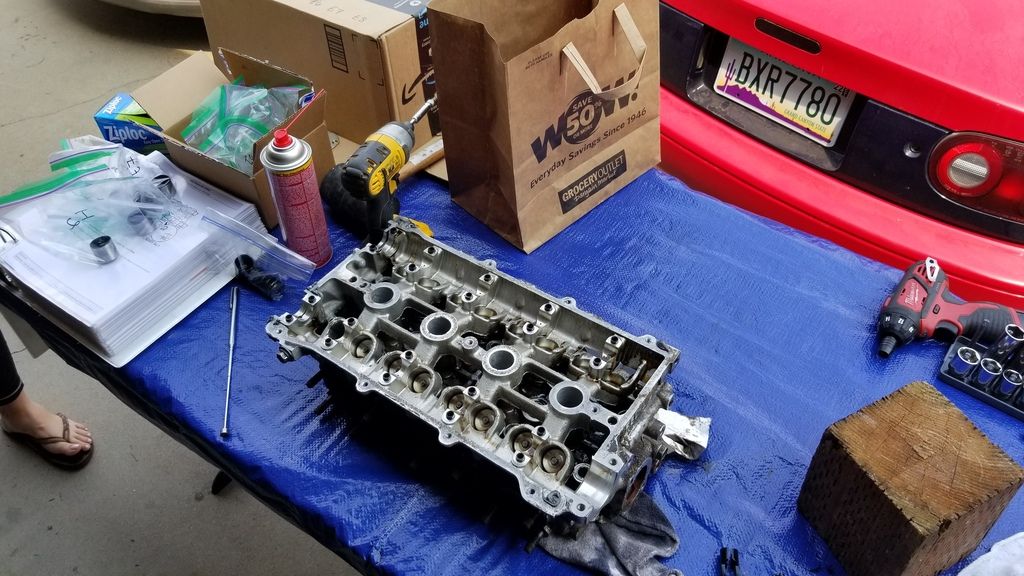
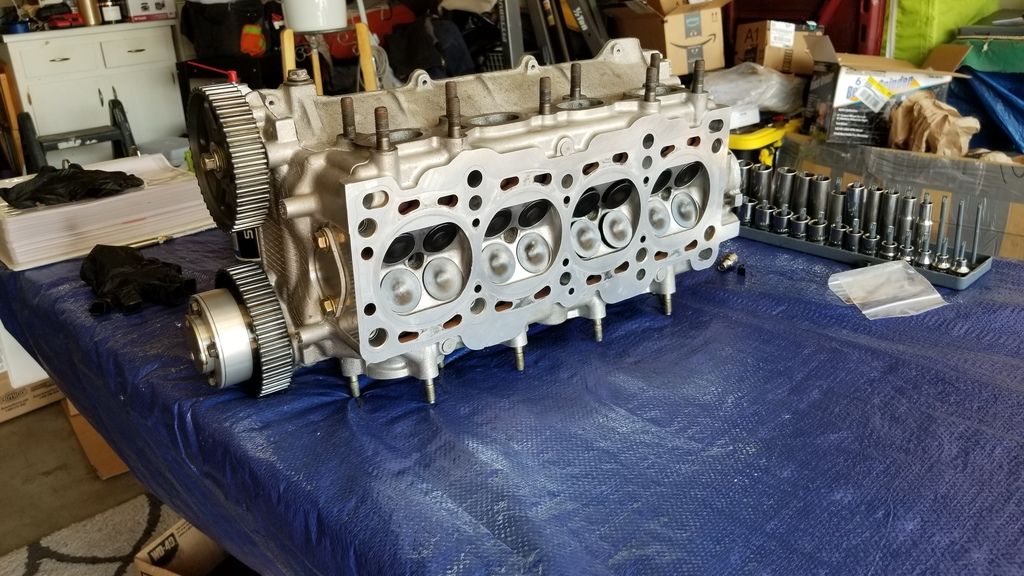
Setup a clean table to start disassembling the head. I was going to be installing brand new fel pro valve stem seals, but first I was going to clean everything up. I pulled out the SUB lifters, Supertech dual valve springs, and supertech valves which were covered in hard crunchy oil.


Reply
0
0
Thread Starter
Junior Member
iTrader: (2)
Joined: Dec 2014
Posts: 307
Total Cats: 23
From: Salinas, CA
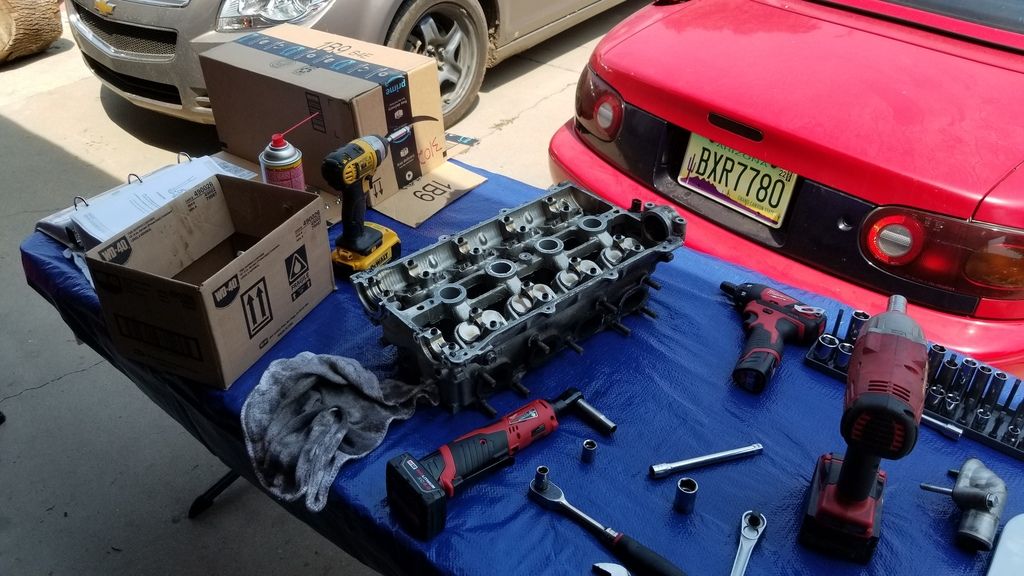
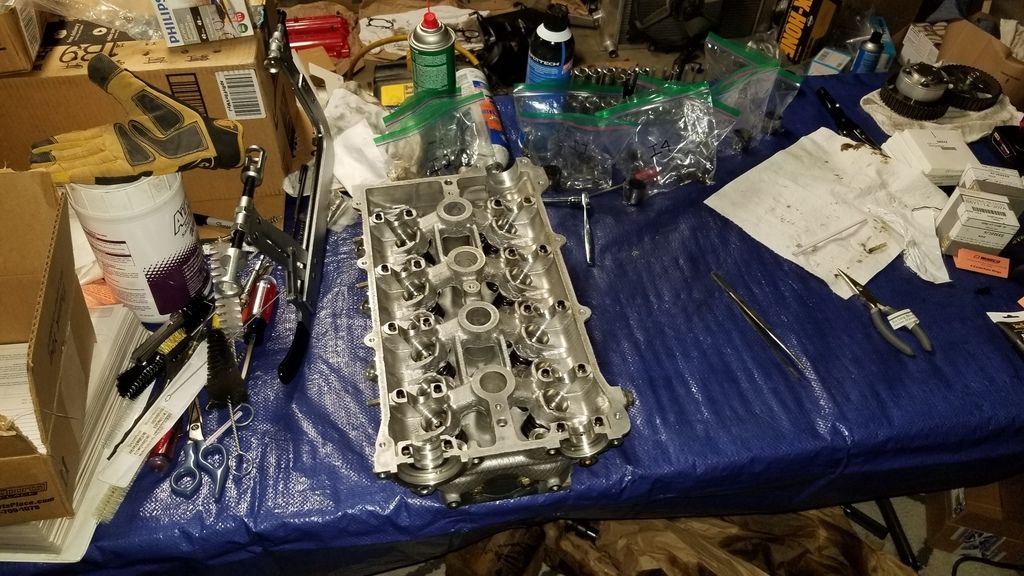
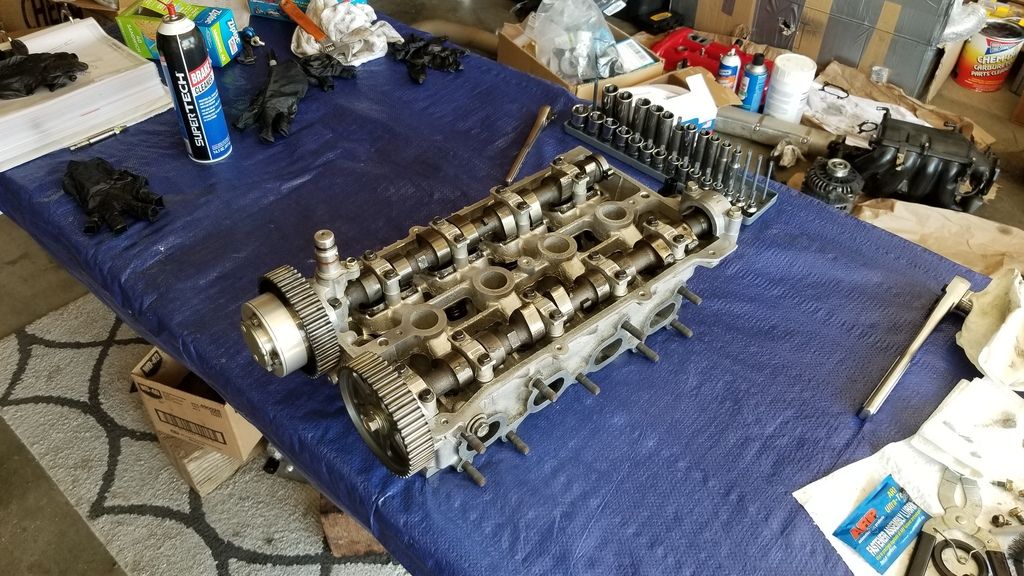
Once the head was fully disassembled, I made sure to remove any old gasket material and I washed and degreased it. I also clean up the combustion chambers and ports the best that I could. For the valves I ended up having to use a bench grinder with a wire wheel to clean up the them. The oil on there was so baked on the valves that no amount of scrubbing with wire brushes would remove it. The bench grinder took care of that in a couple minutes each valve. Once they were all clean, I installed the new valve stem seals onto the bare head and began reassembly. It came out looking pretty clean again once it was finished.


Reply
0
0
Thread Starter
Junior Member
iTrader: (2)
Joined: Dec 2014
Posts: 307
Total Cats: 23
From: Salinas, CA
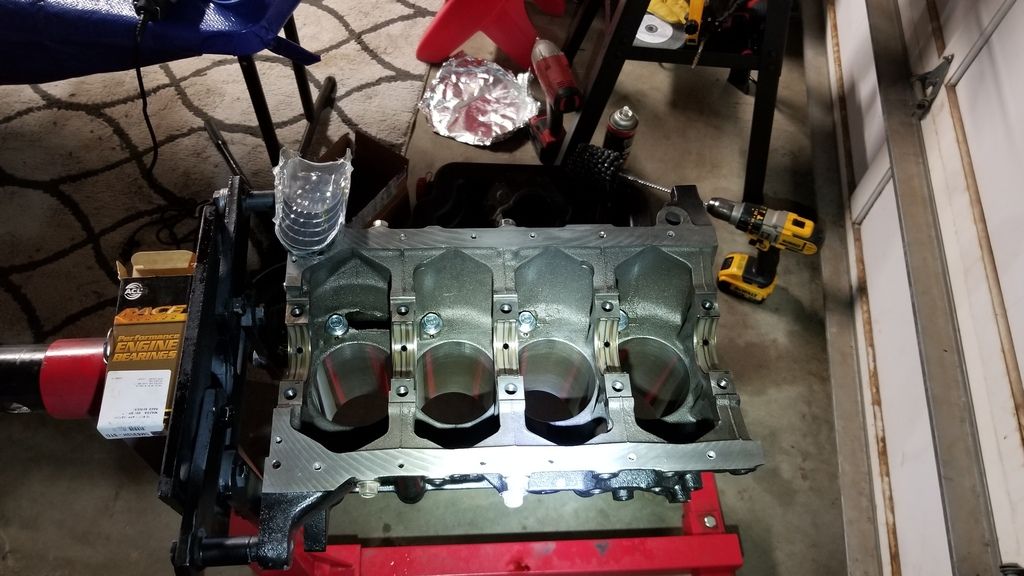
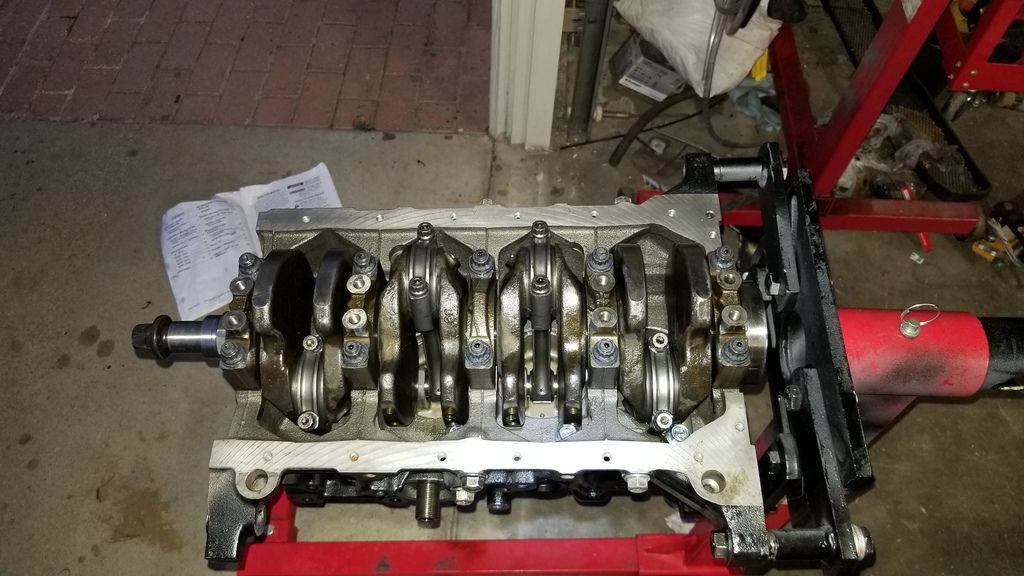
Next, I worked on getting the crank and rod/pistons onto the block. The old ACL race bearings didn't look bad, but I thought if I'm opening up this engine, might as well put in new bearings, so that's what I did. Installed the crank with new STD ACL race bearing and a OEM Mazda thrust washer. I also cleaned up the supertech pistons and put on new Wiseco rings. I ended up setting my ring gaps as follows, top rings .017" and 2nd ring .019". My main bearing clearances were all between .0017"-.0020" and rod bearing clearances were all .0020". I also ended up removing the oil squirters and plugged up the holes to see if it helps with my low oil pressure at idle.


Reply
0
0


