When you click on links to various merchants on this site and make a purchase, this can result in this site earning a commission. Affiliate programs and affiliations include, but are not limited to, the eBay Partner Network.
Love It Or Hate It - Another Exocet Build in Tampa
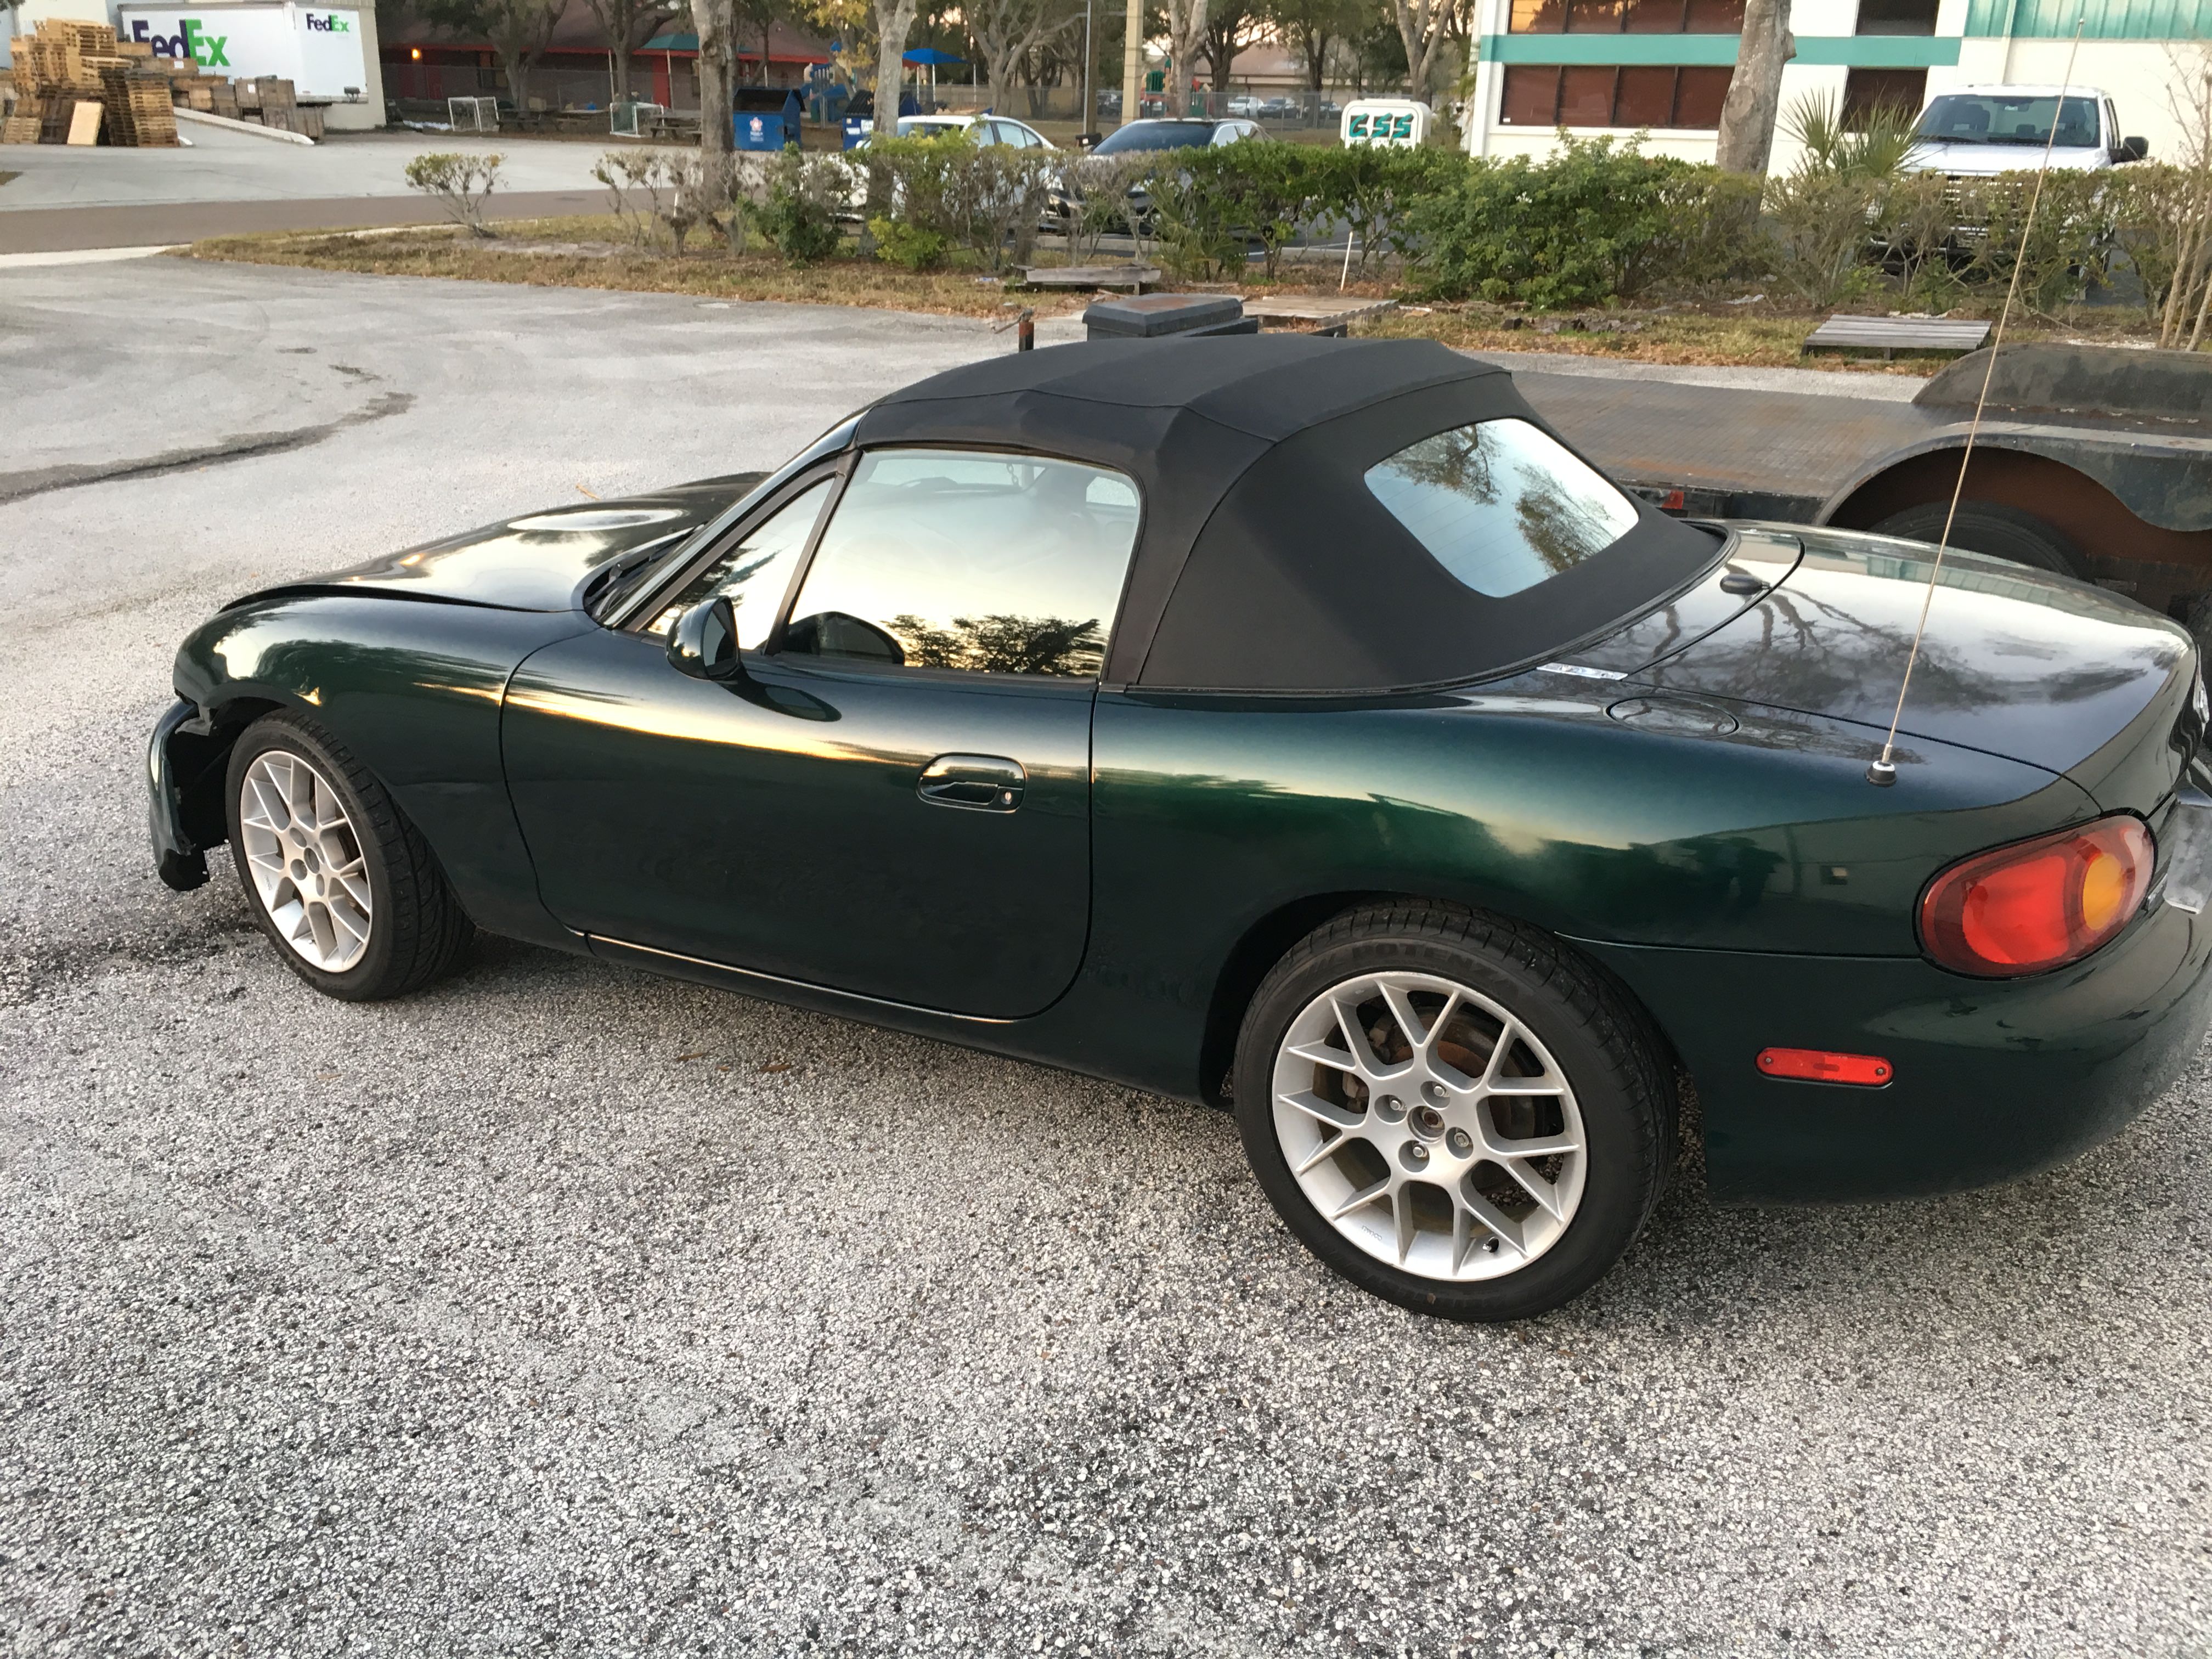
Current pic:
The time has come.
I've debated whether to start a build thread here or not. But my inner desire for attention (and help) has ruled the day so here we go:
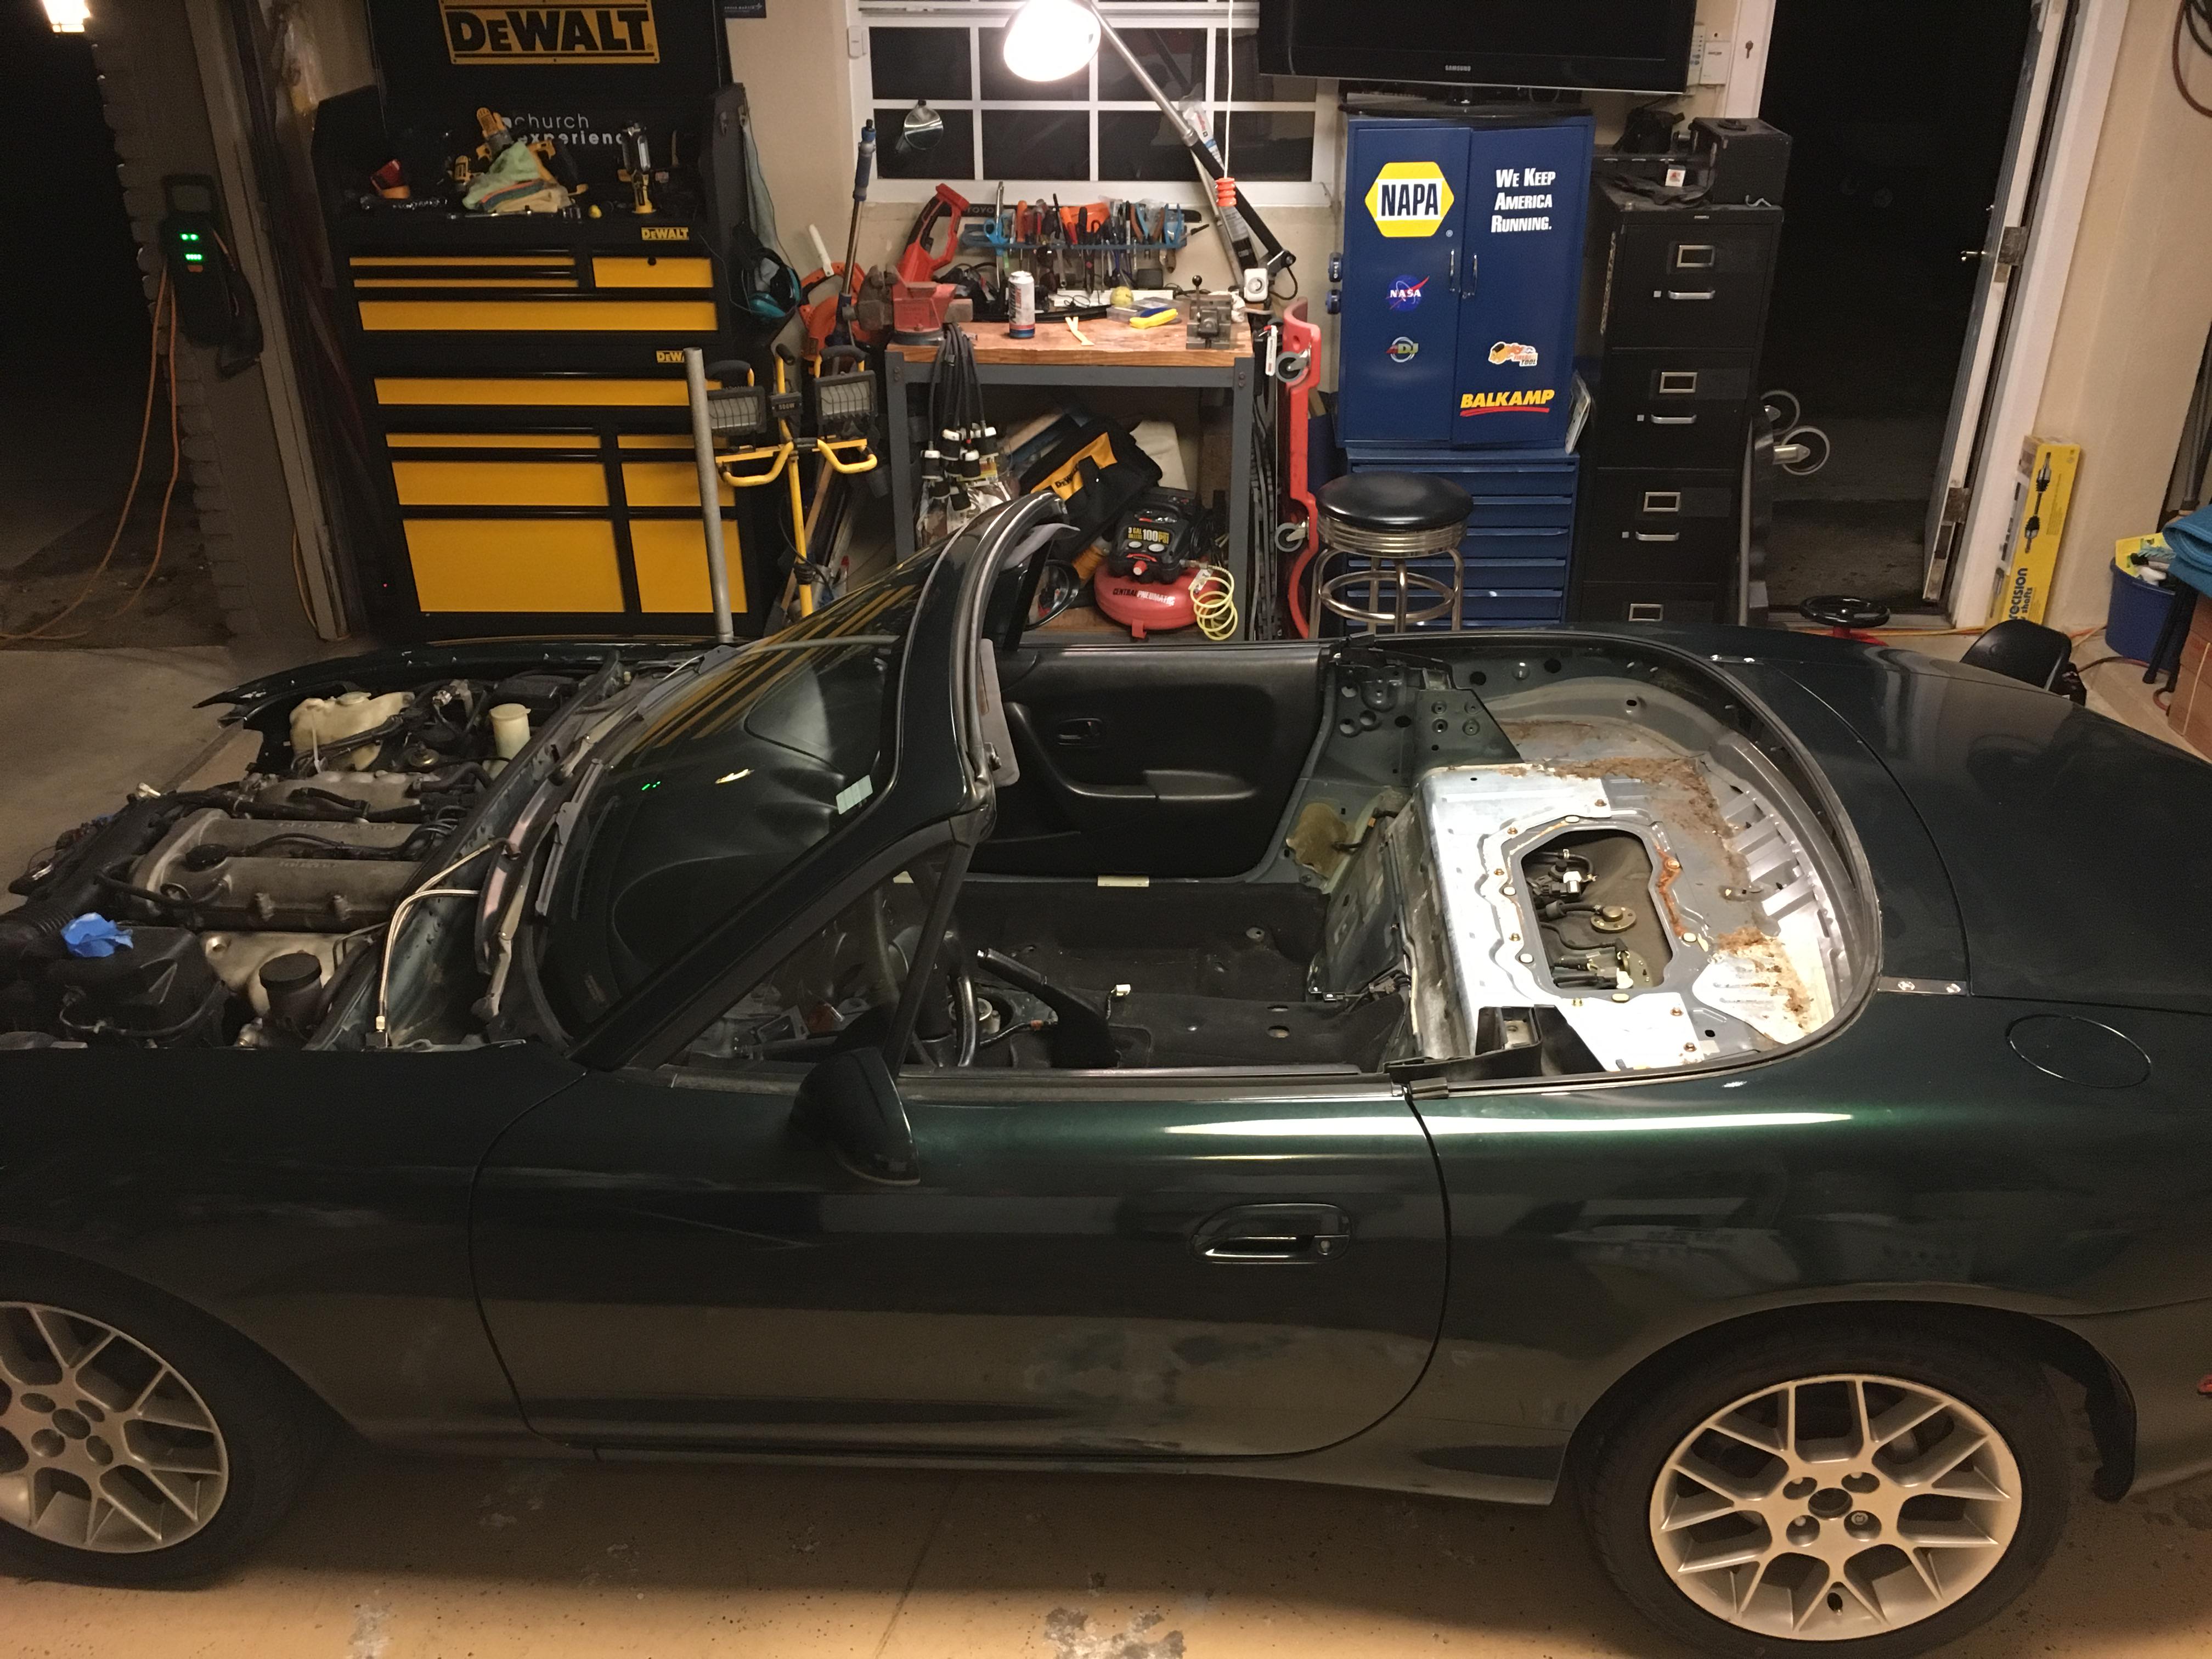
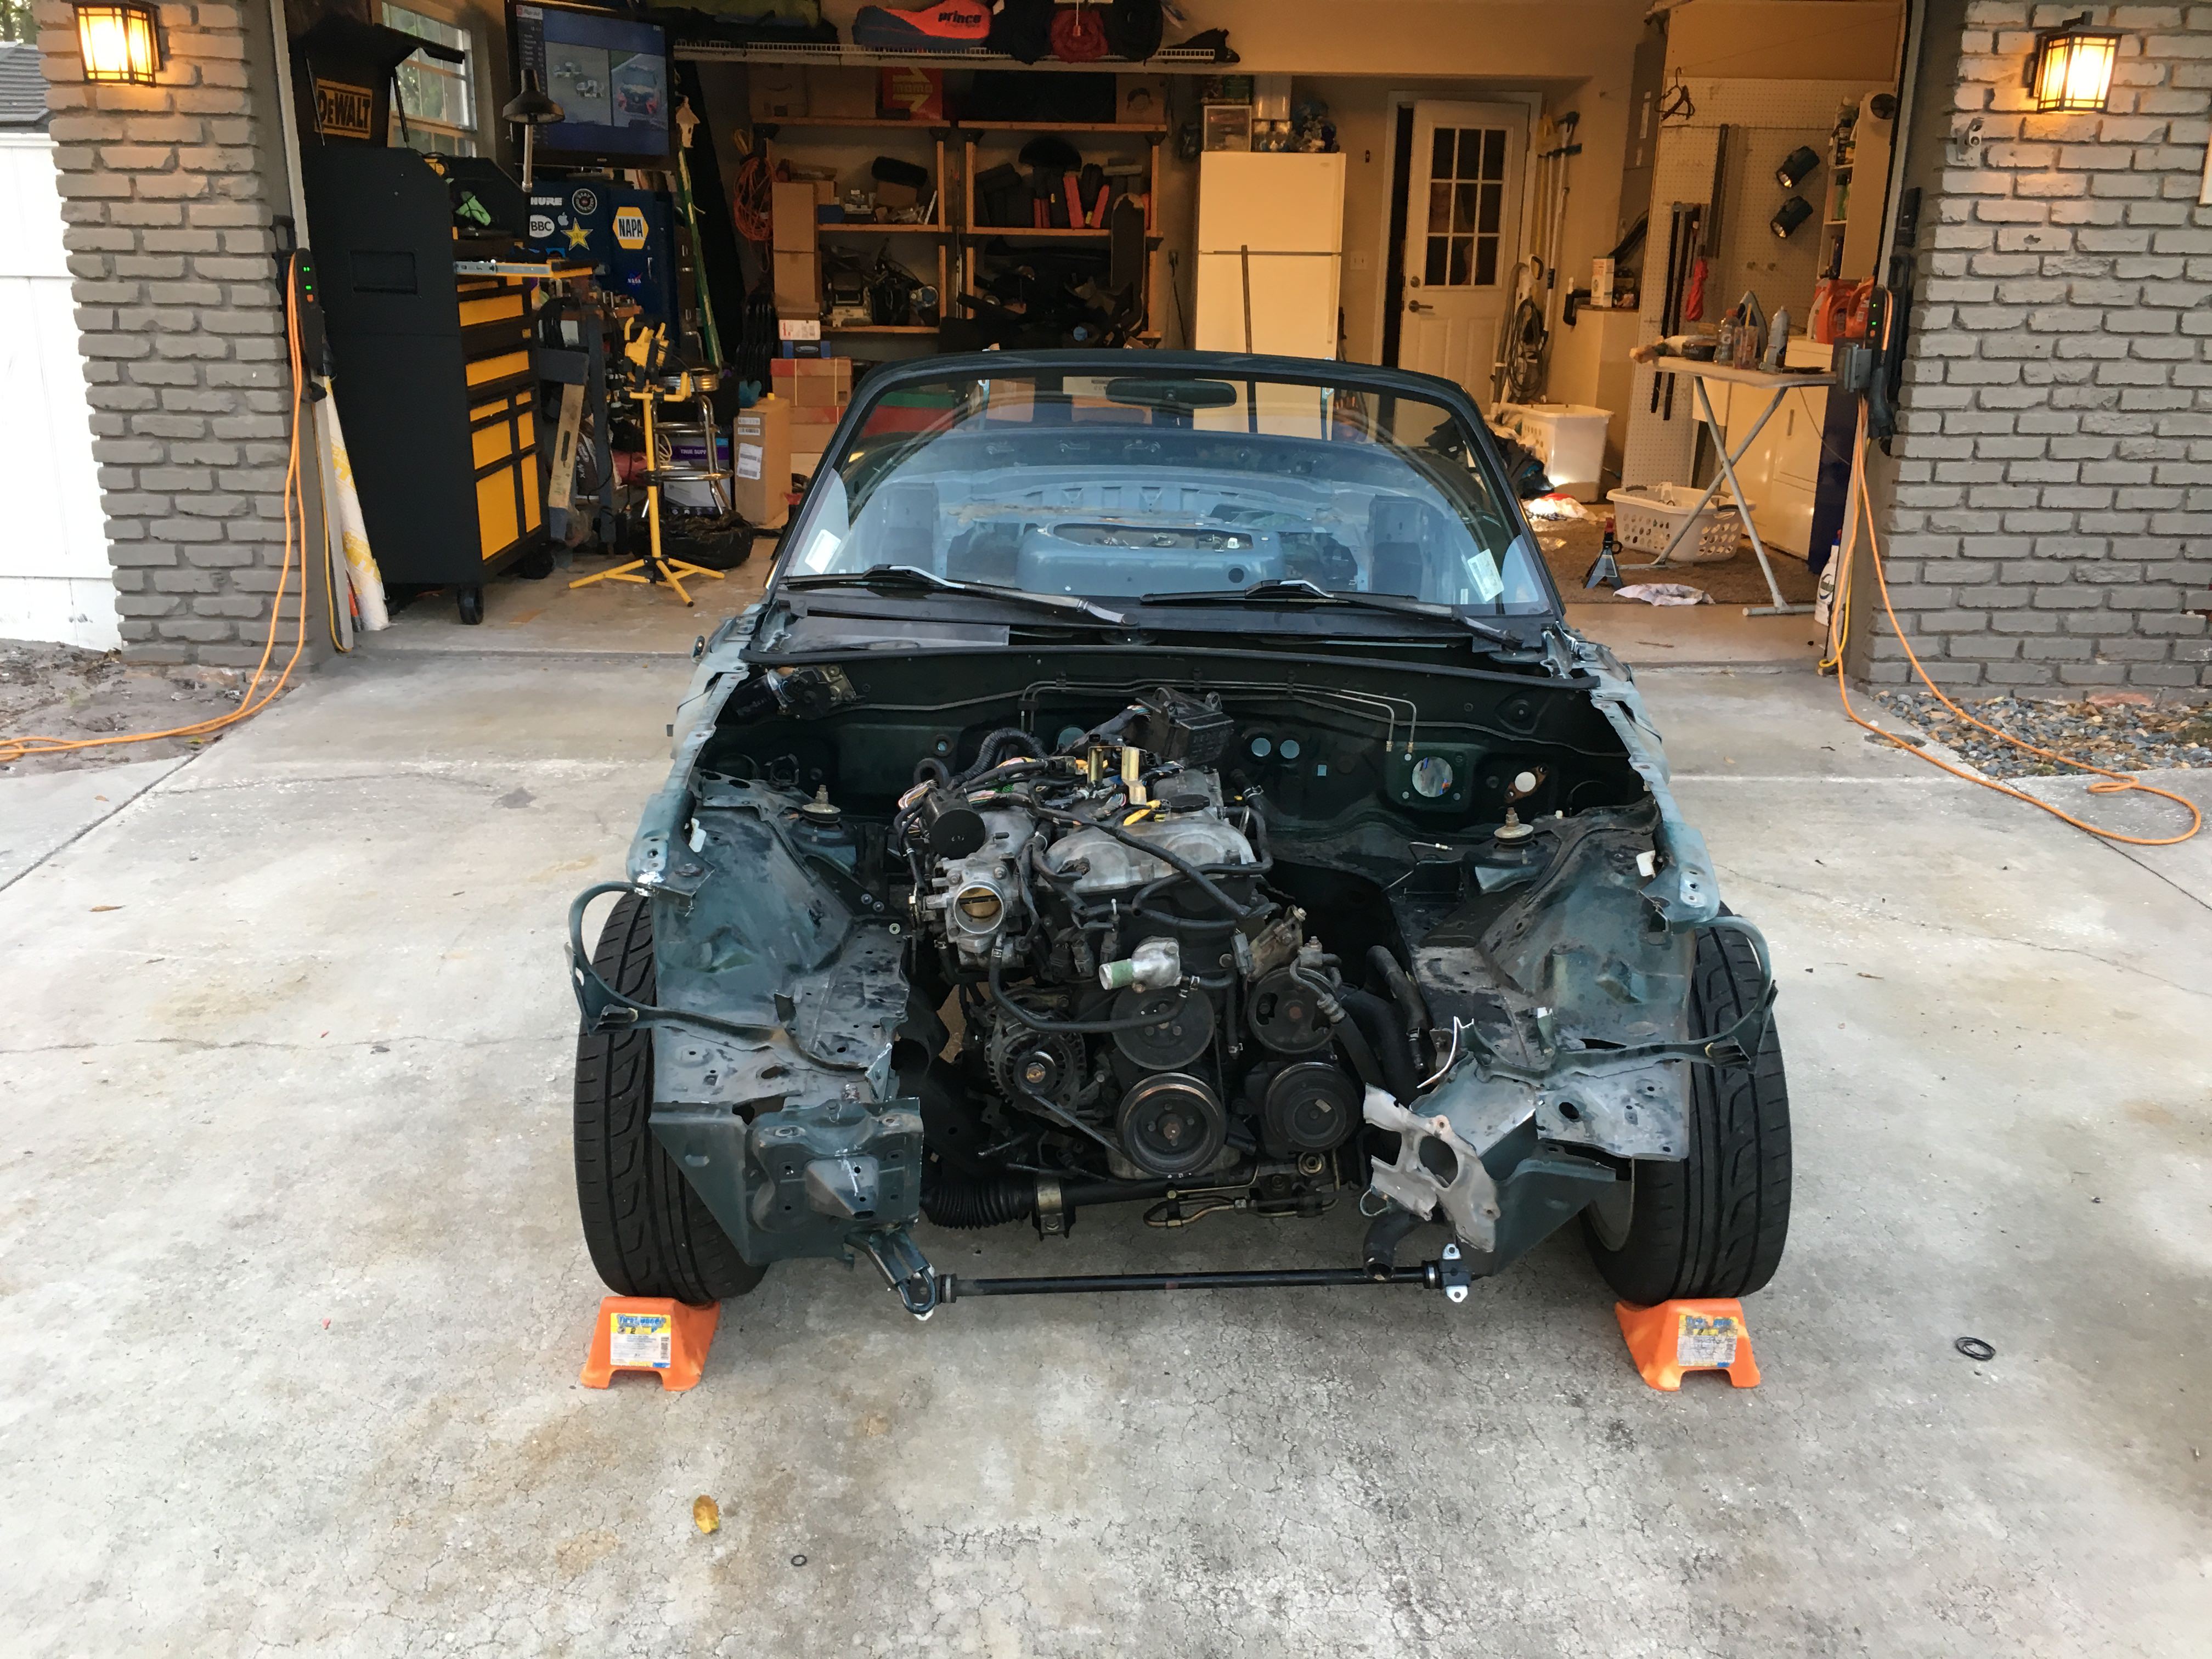
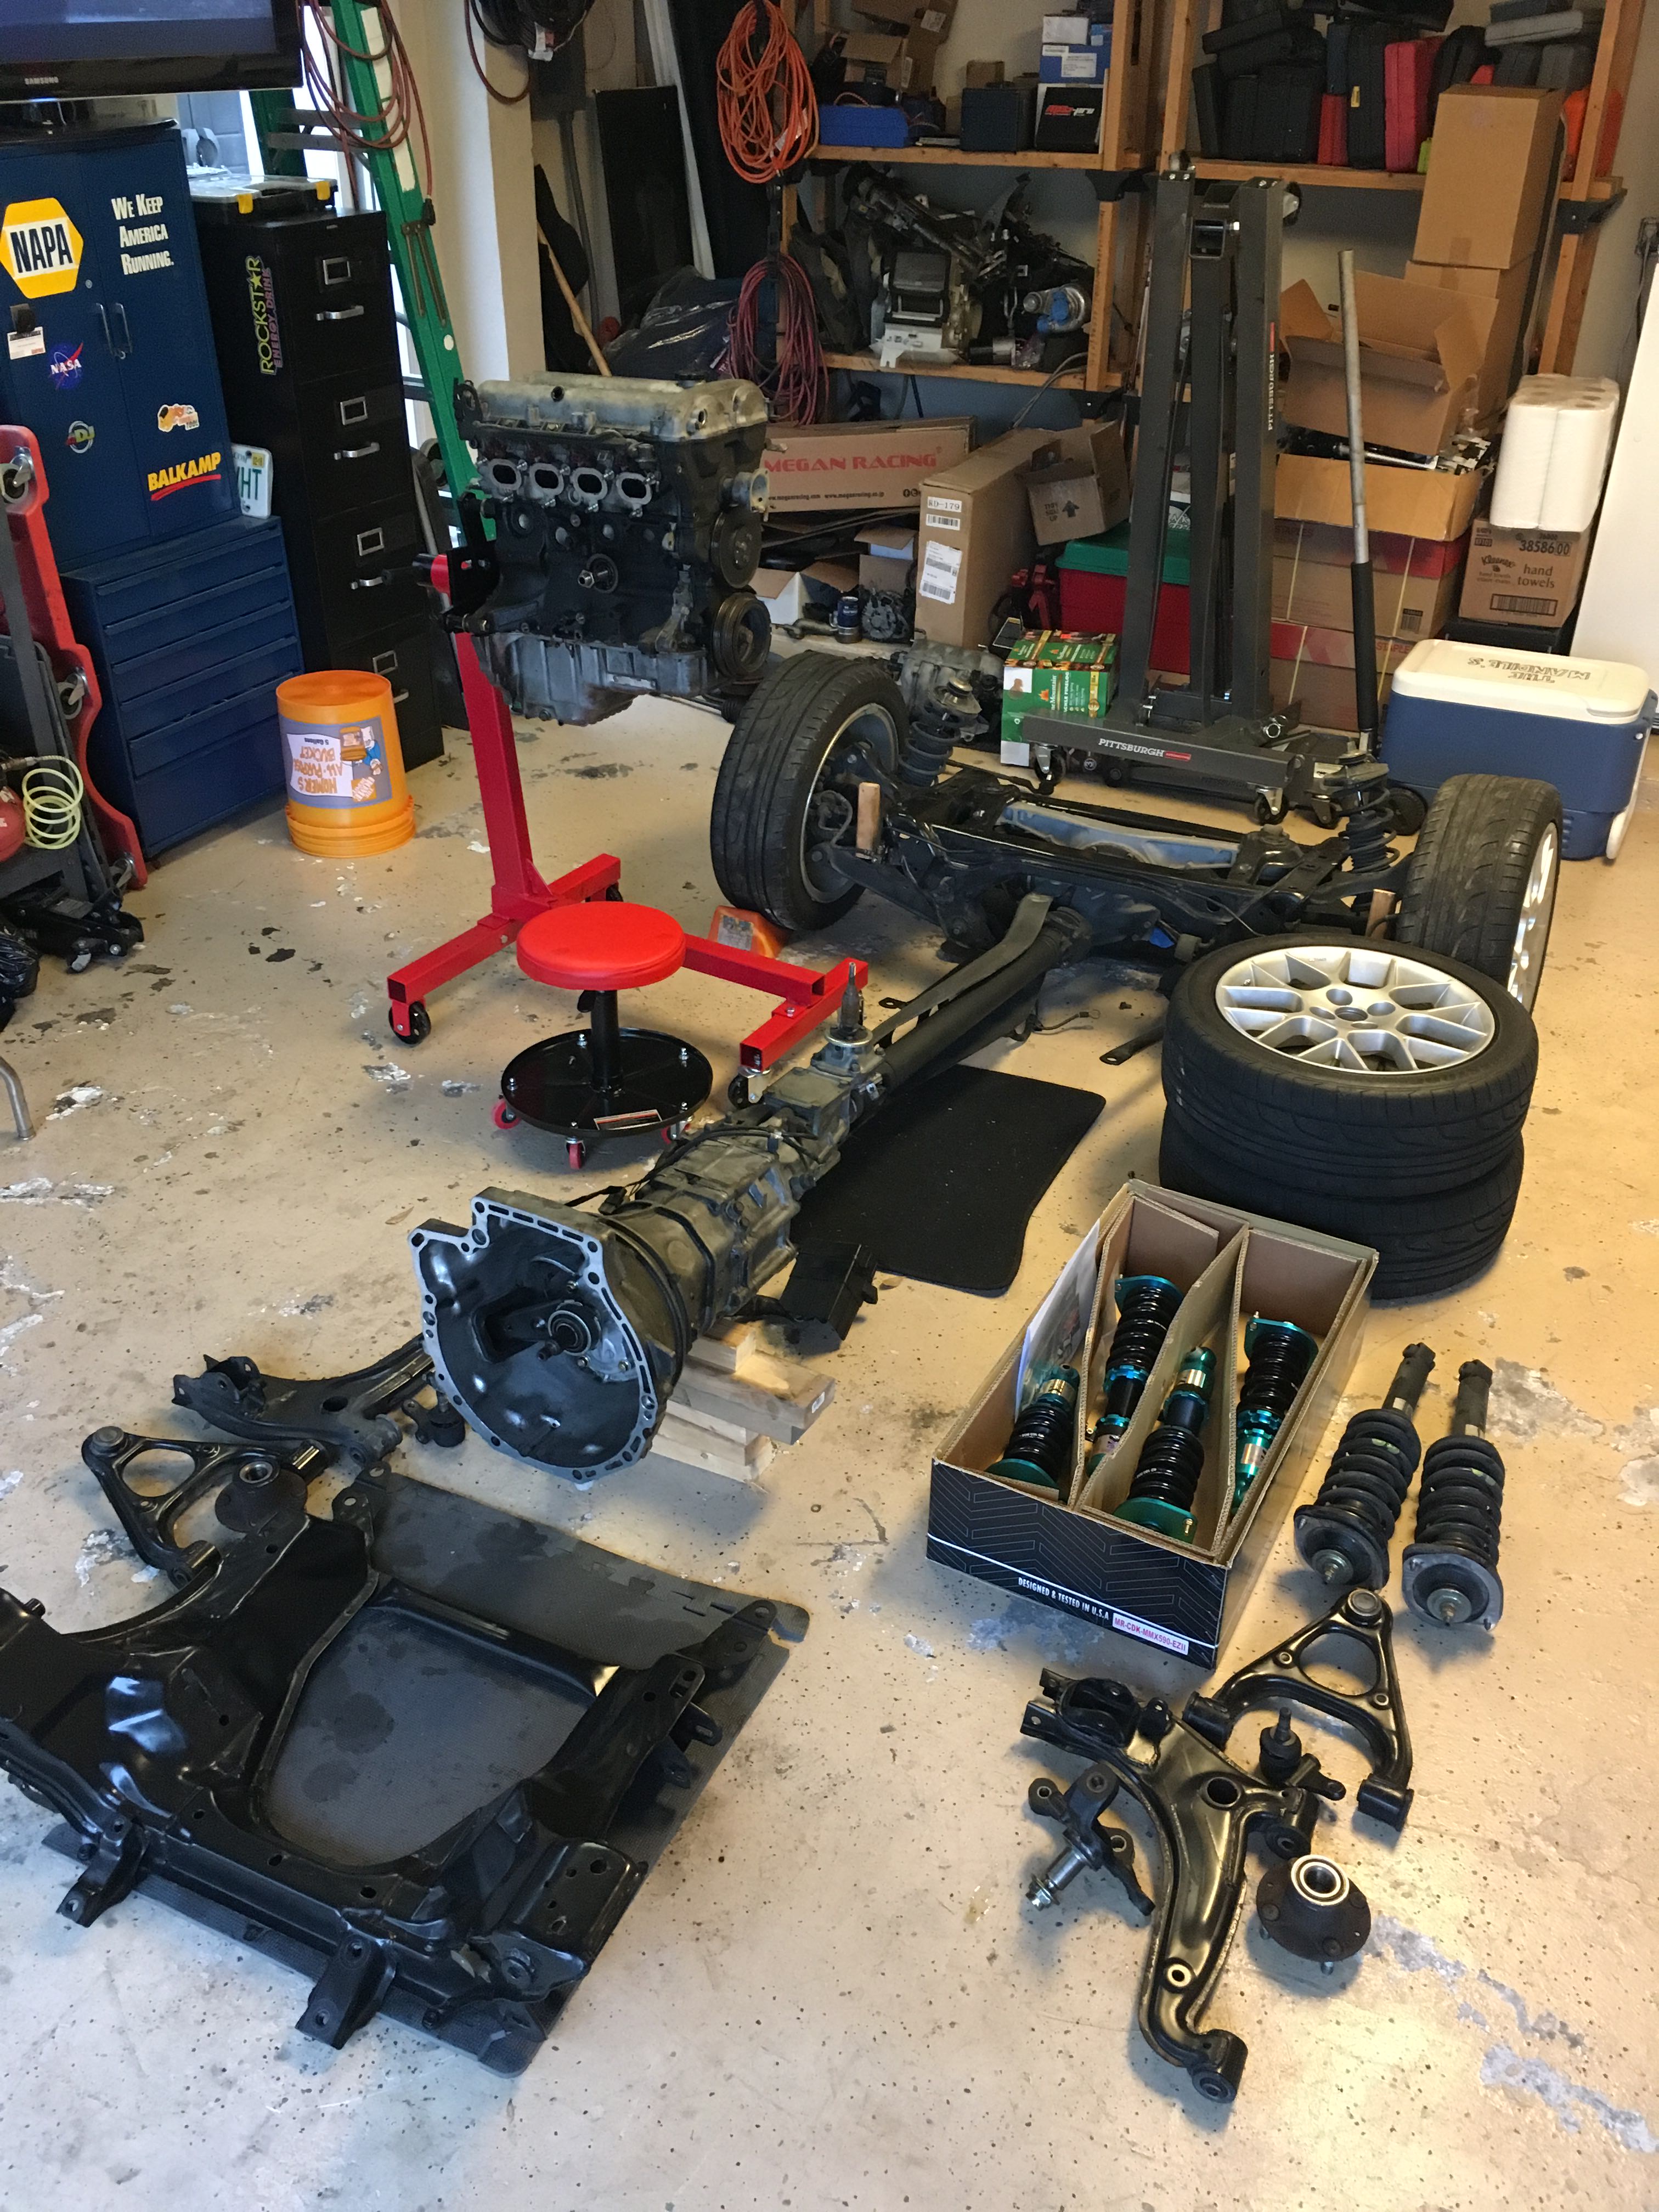
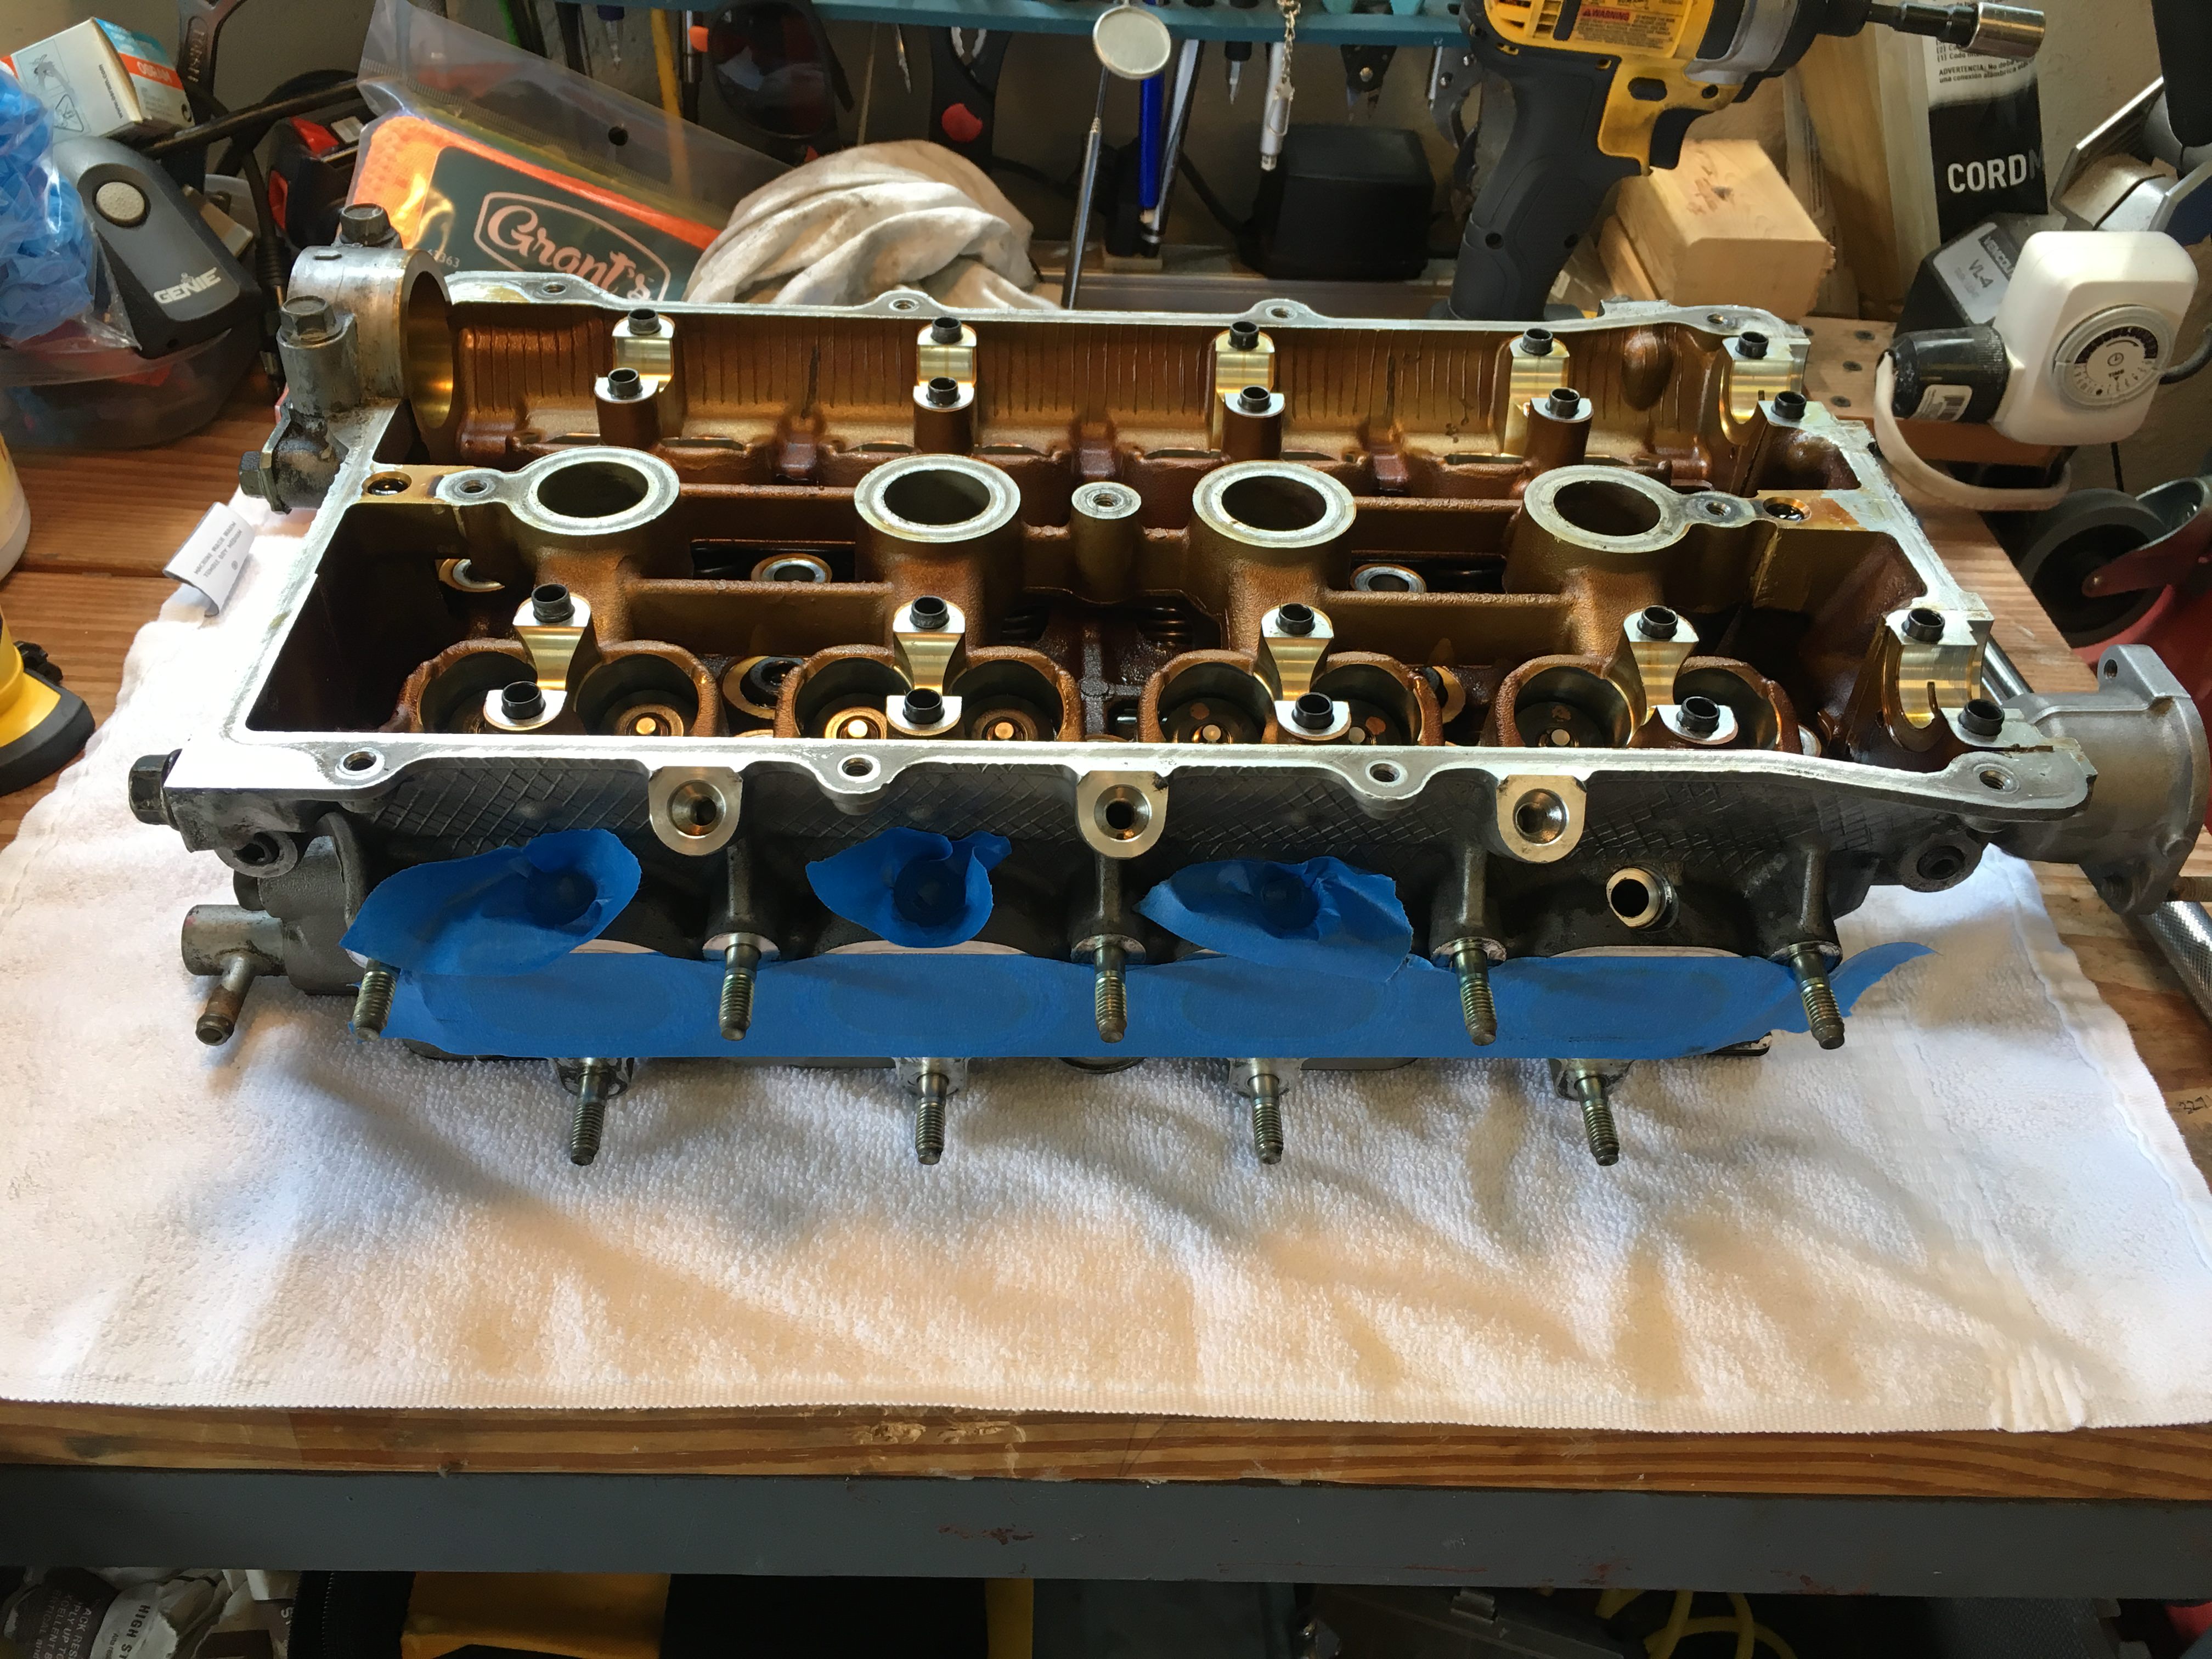
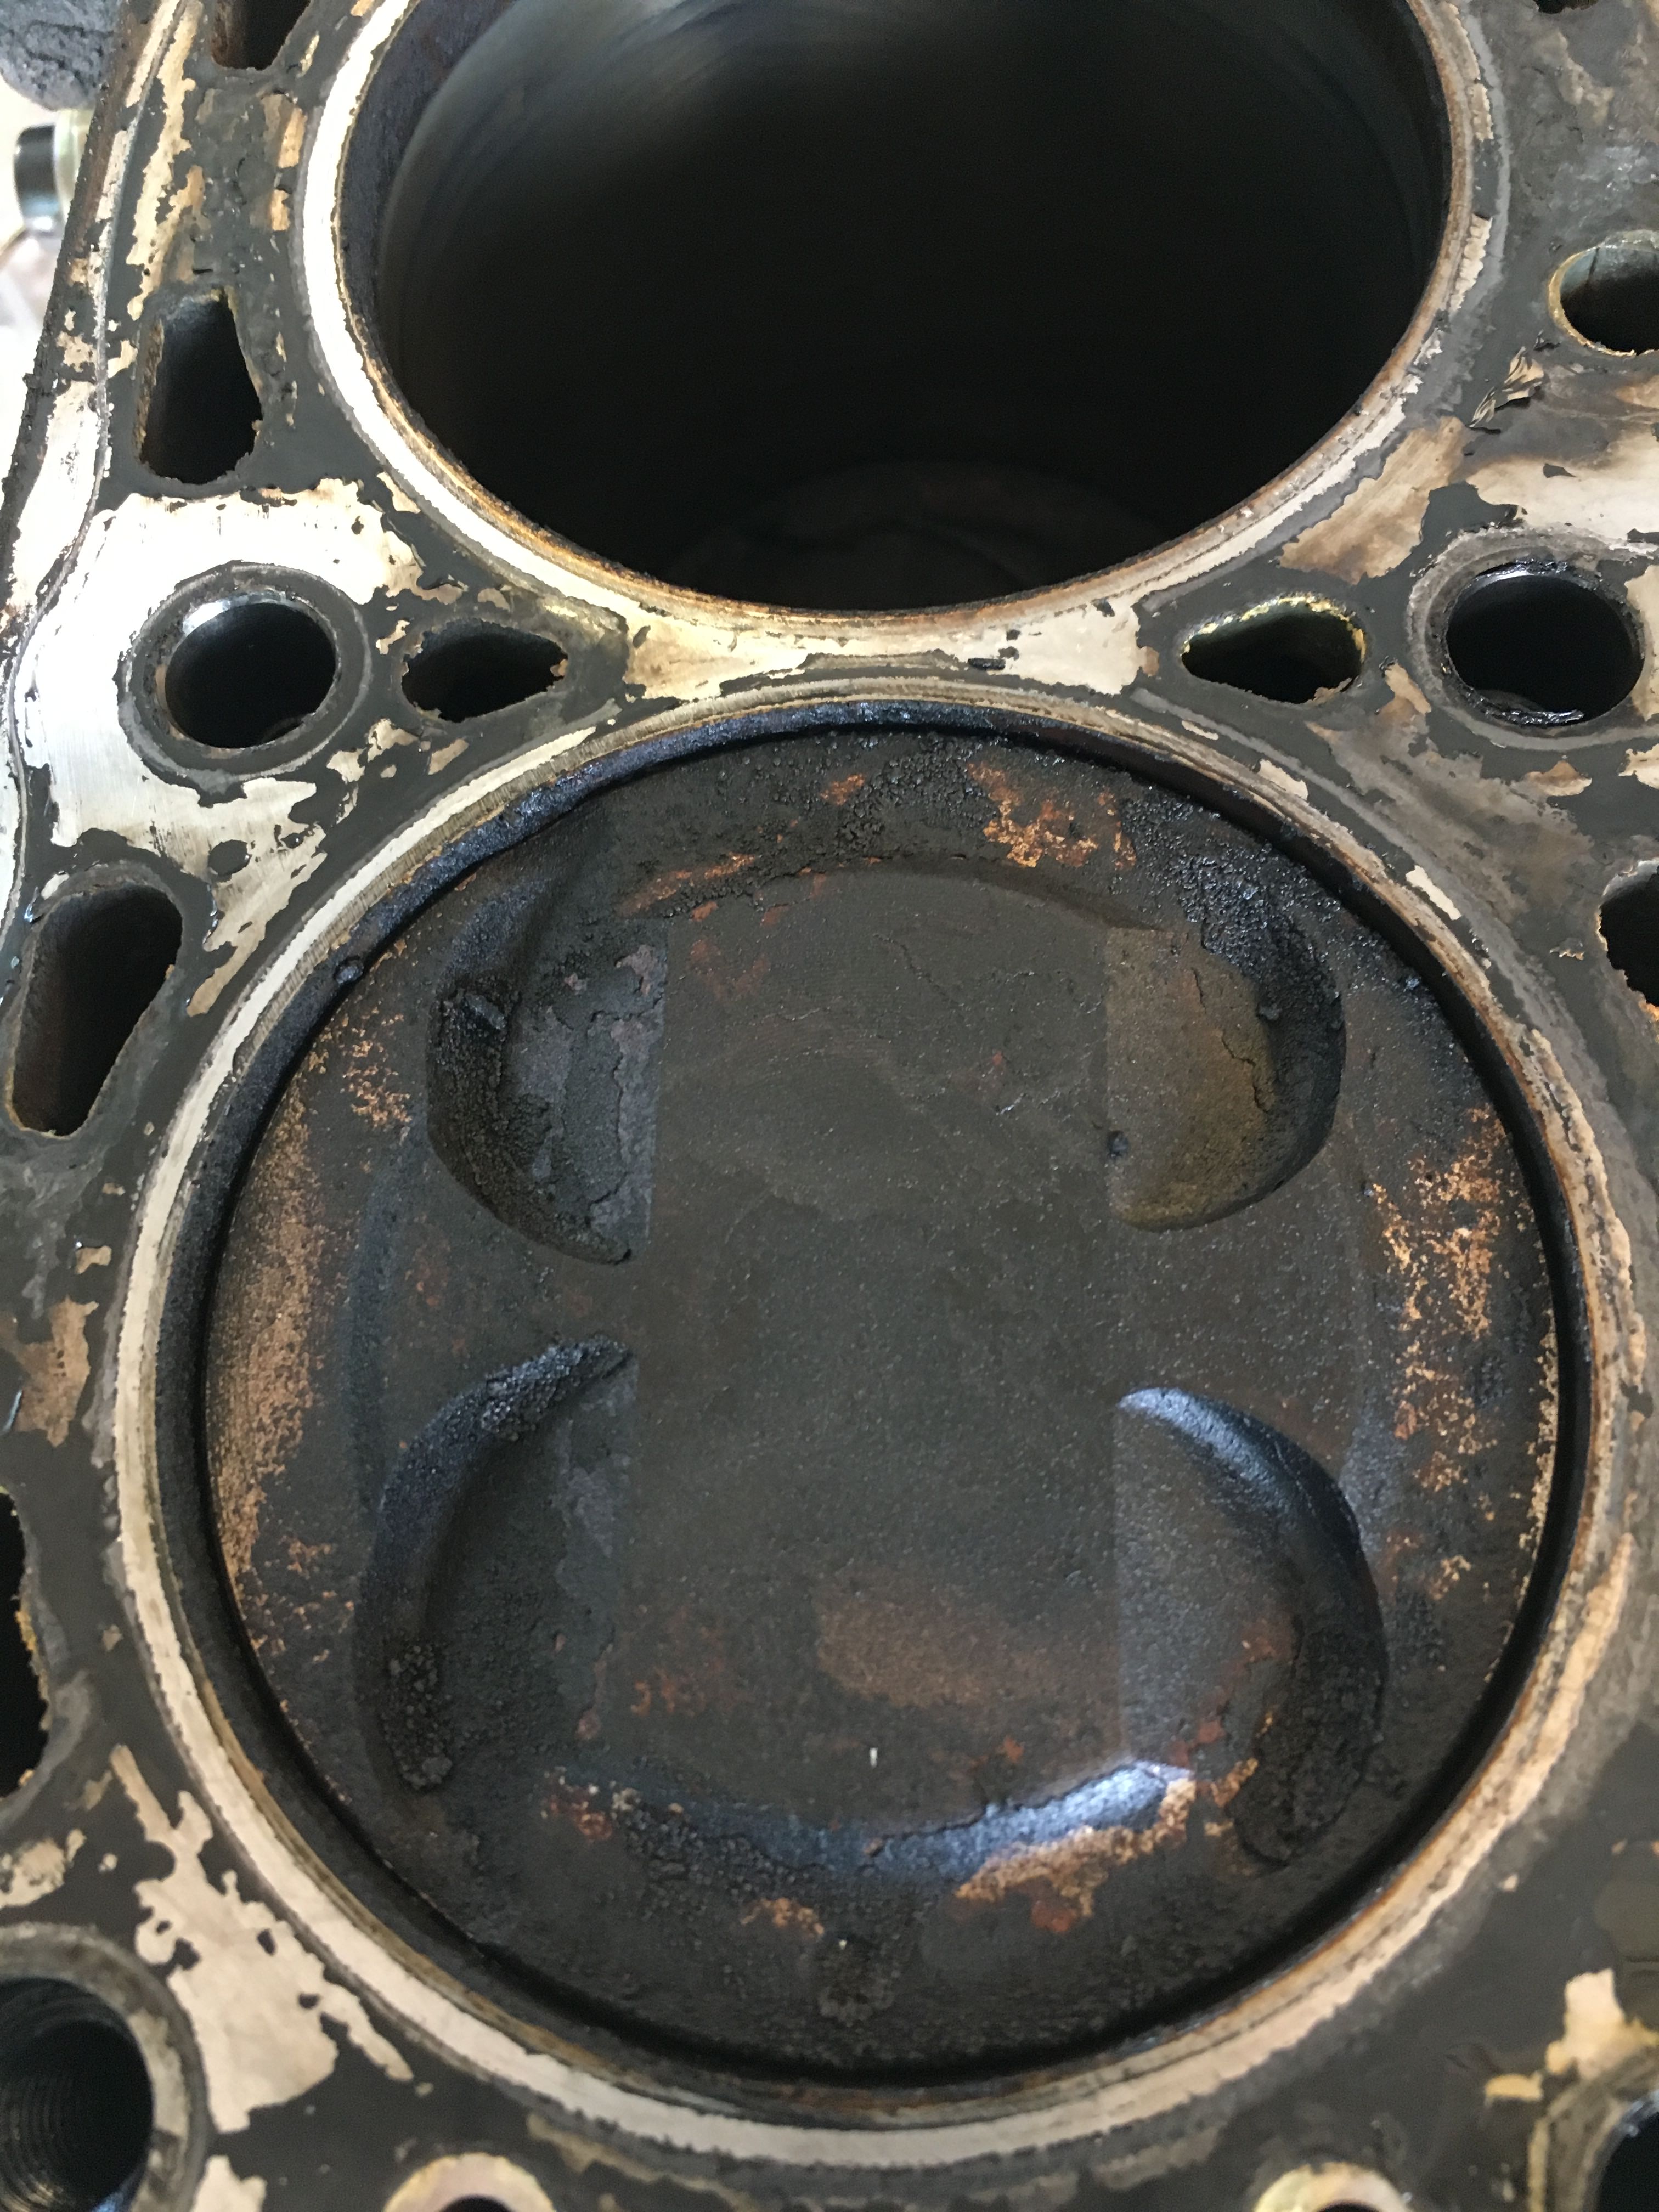
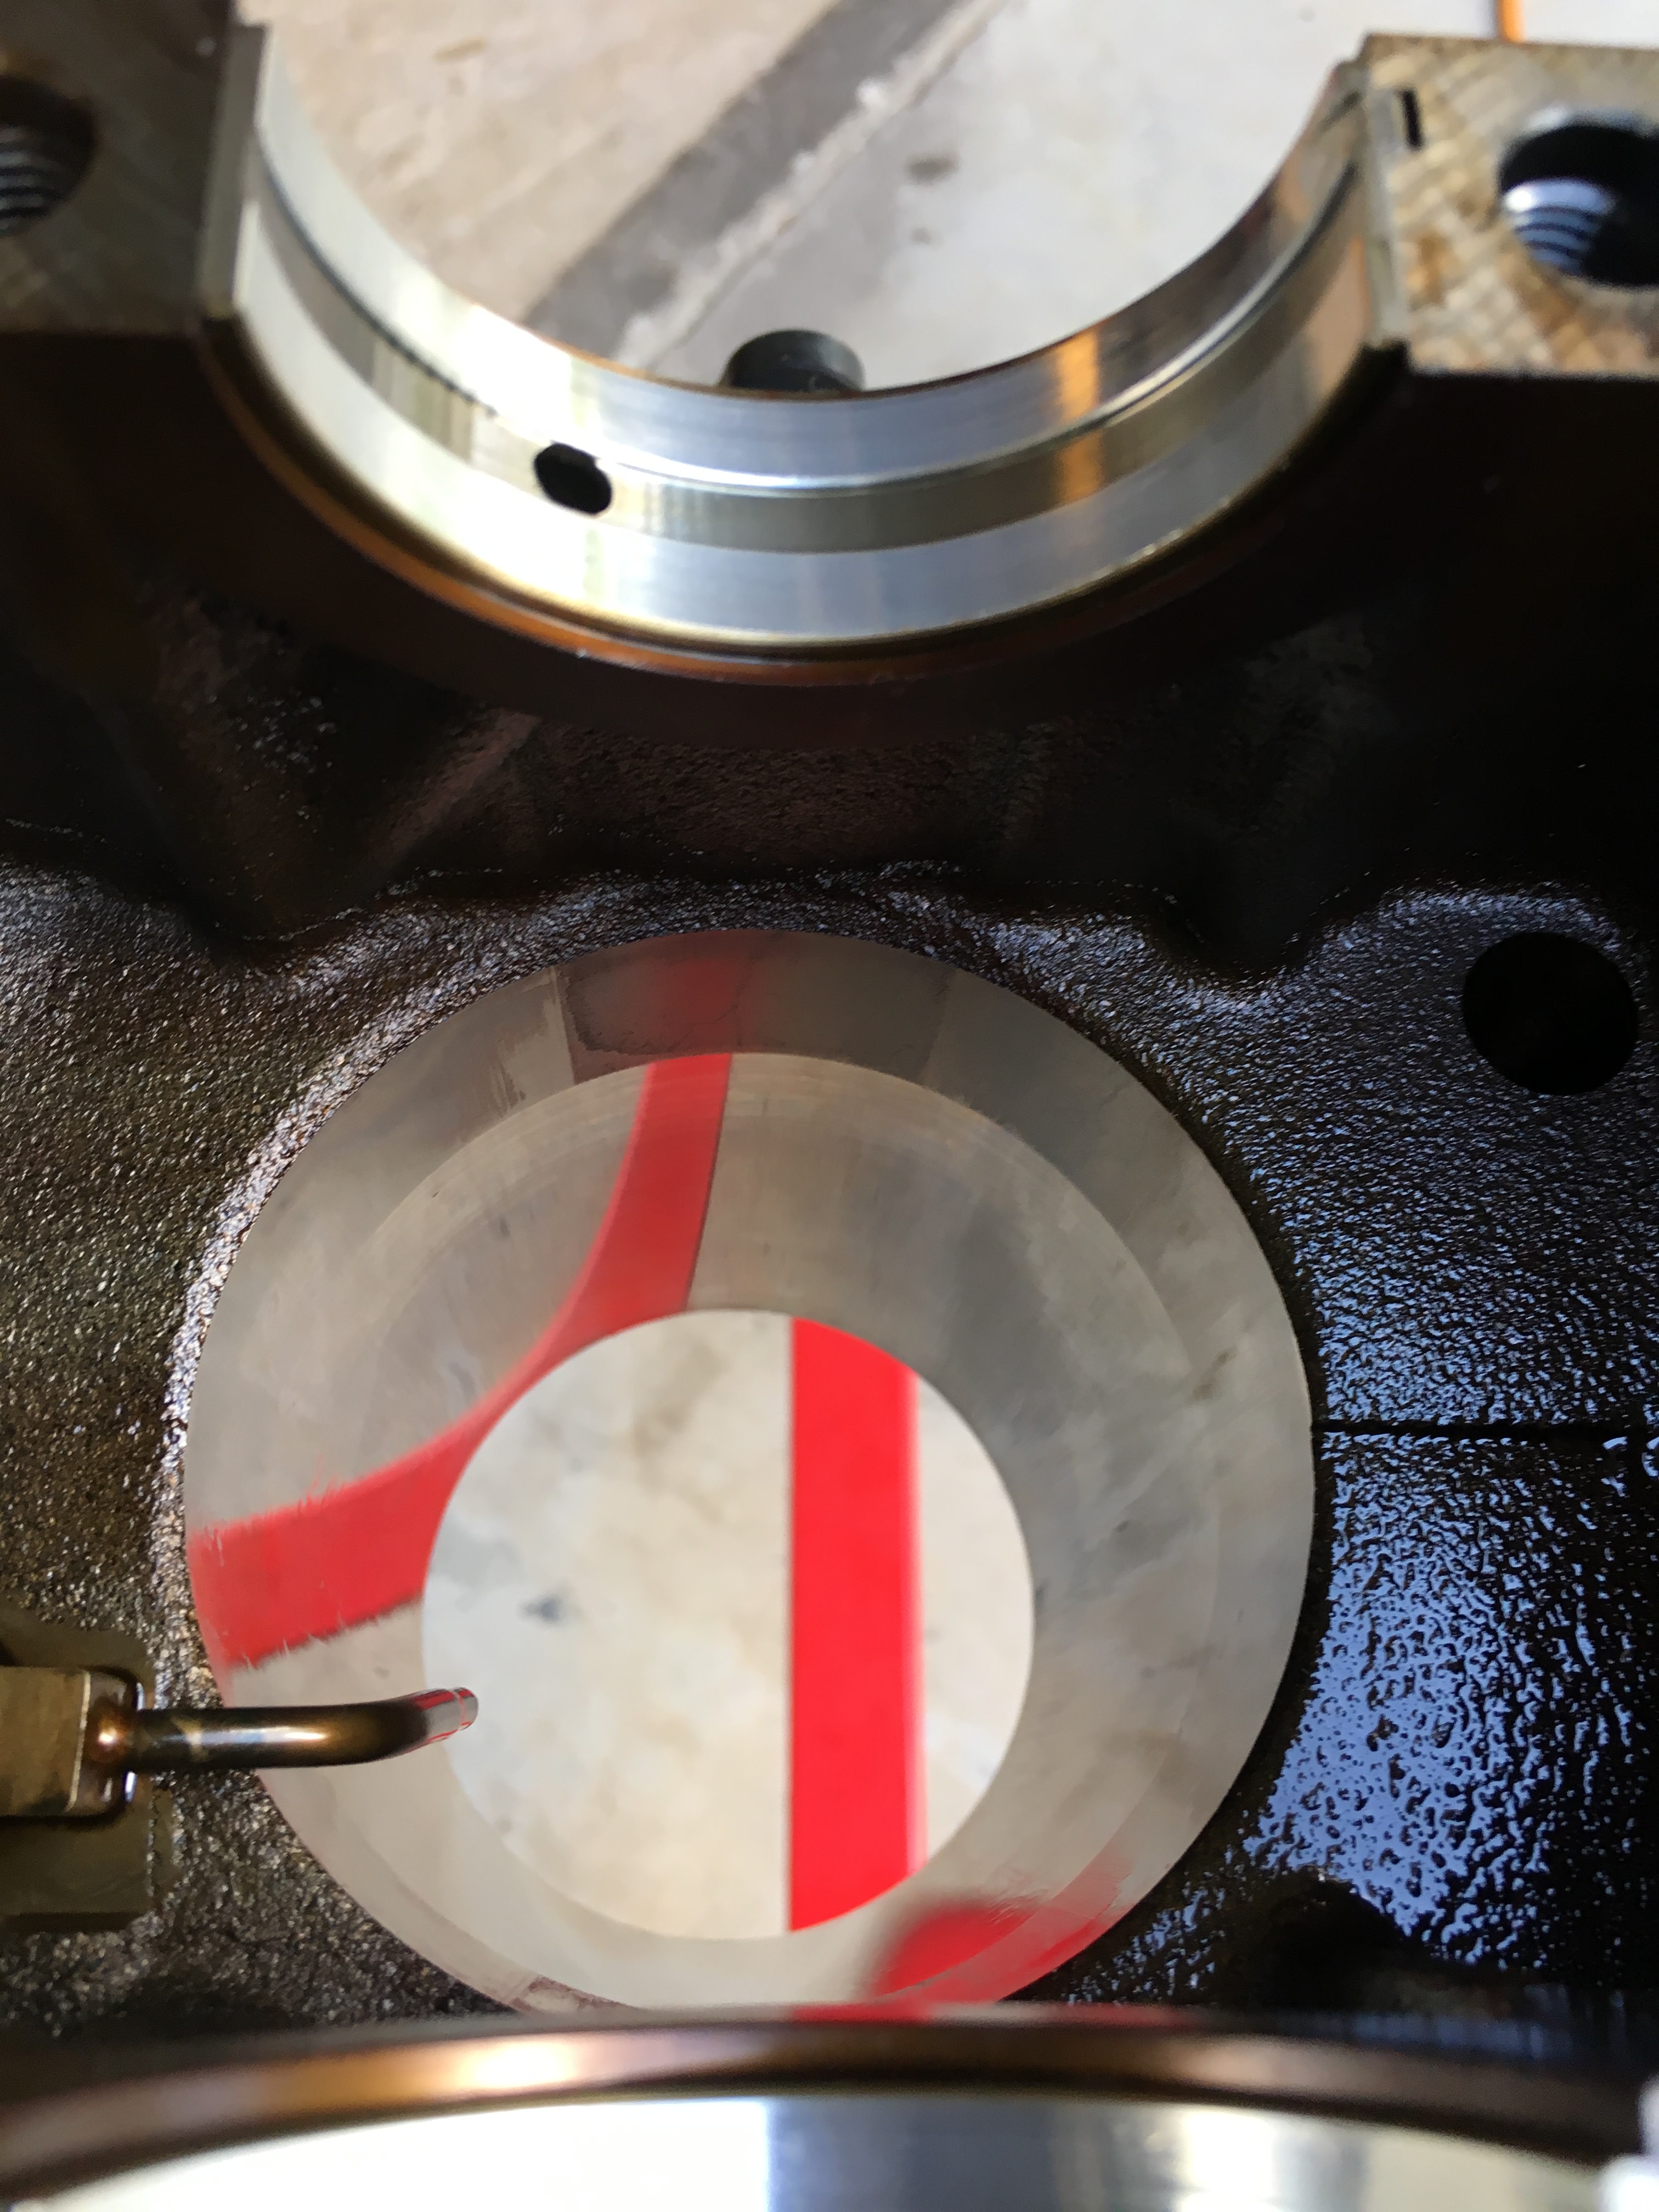
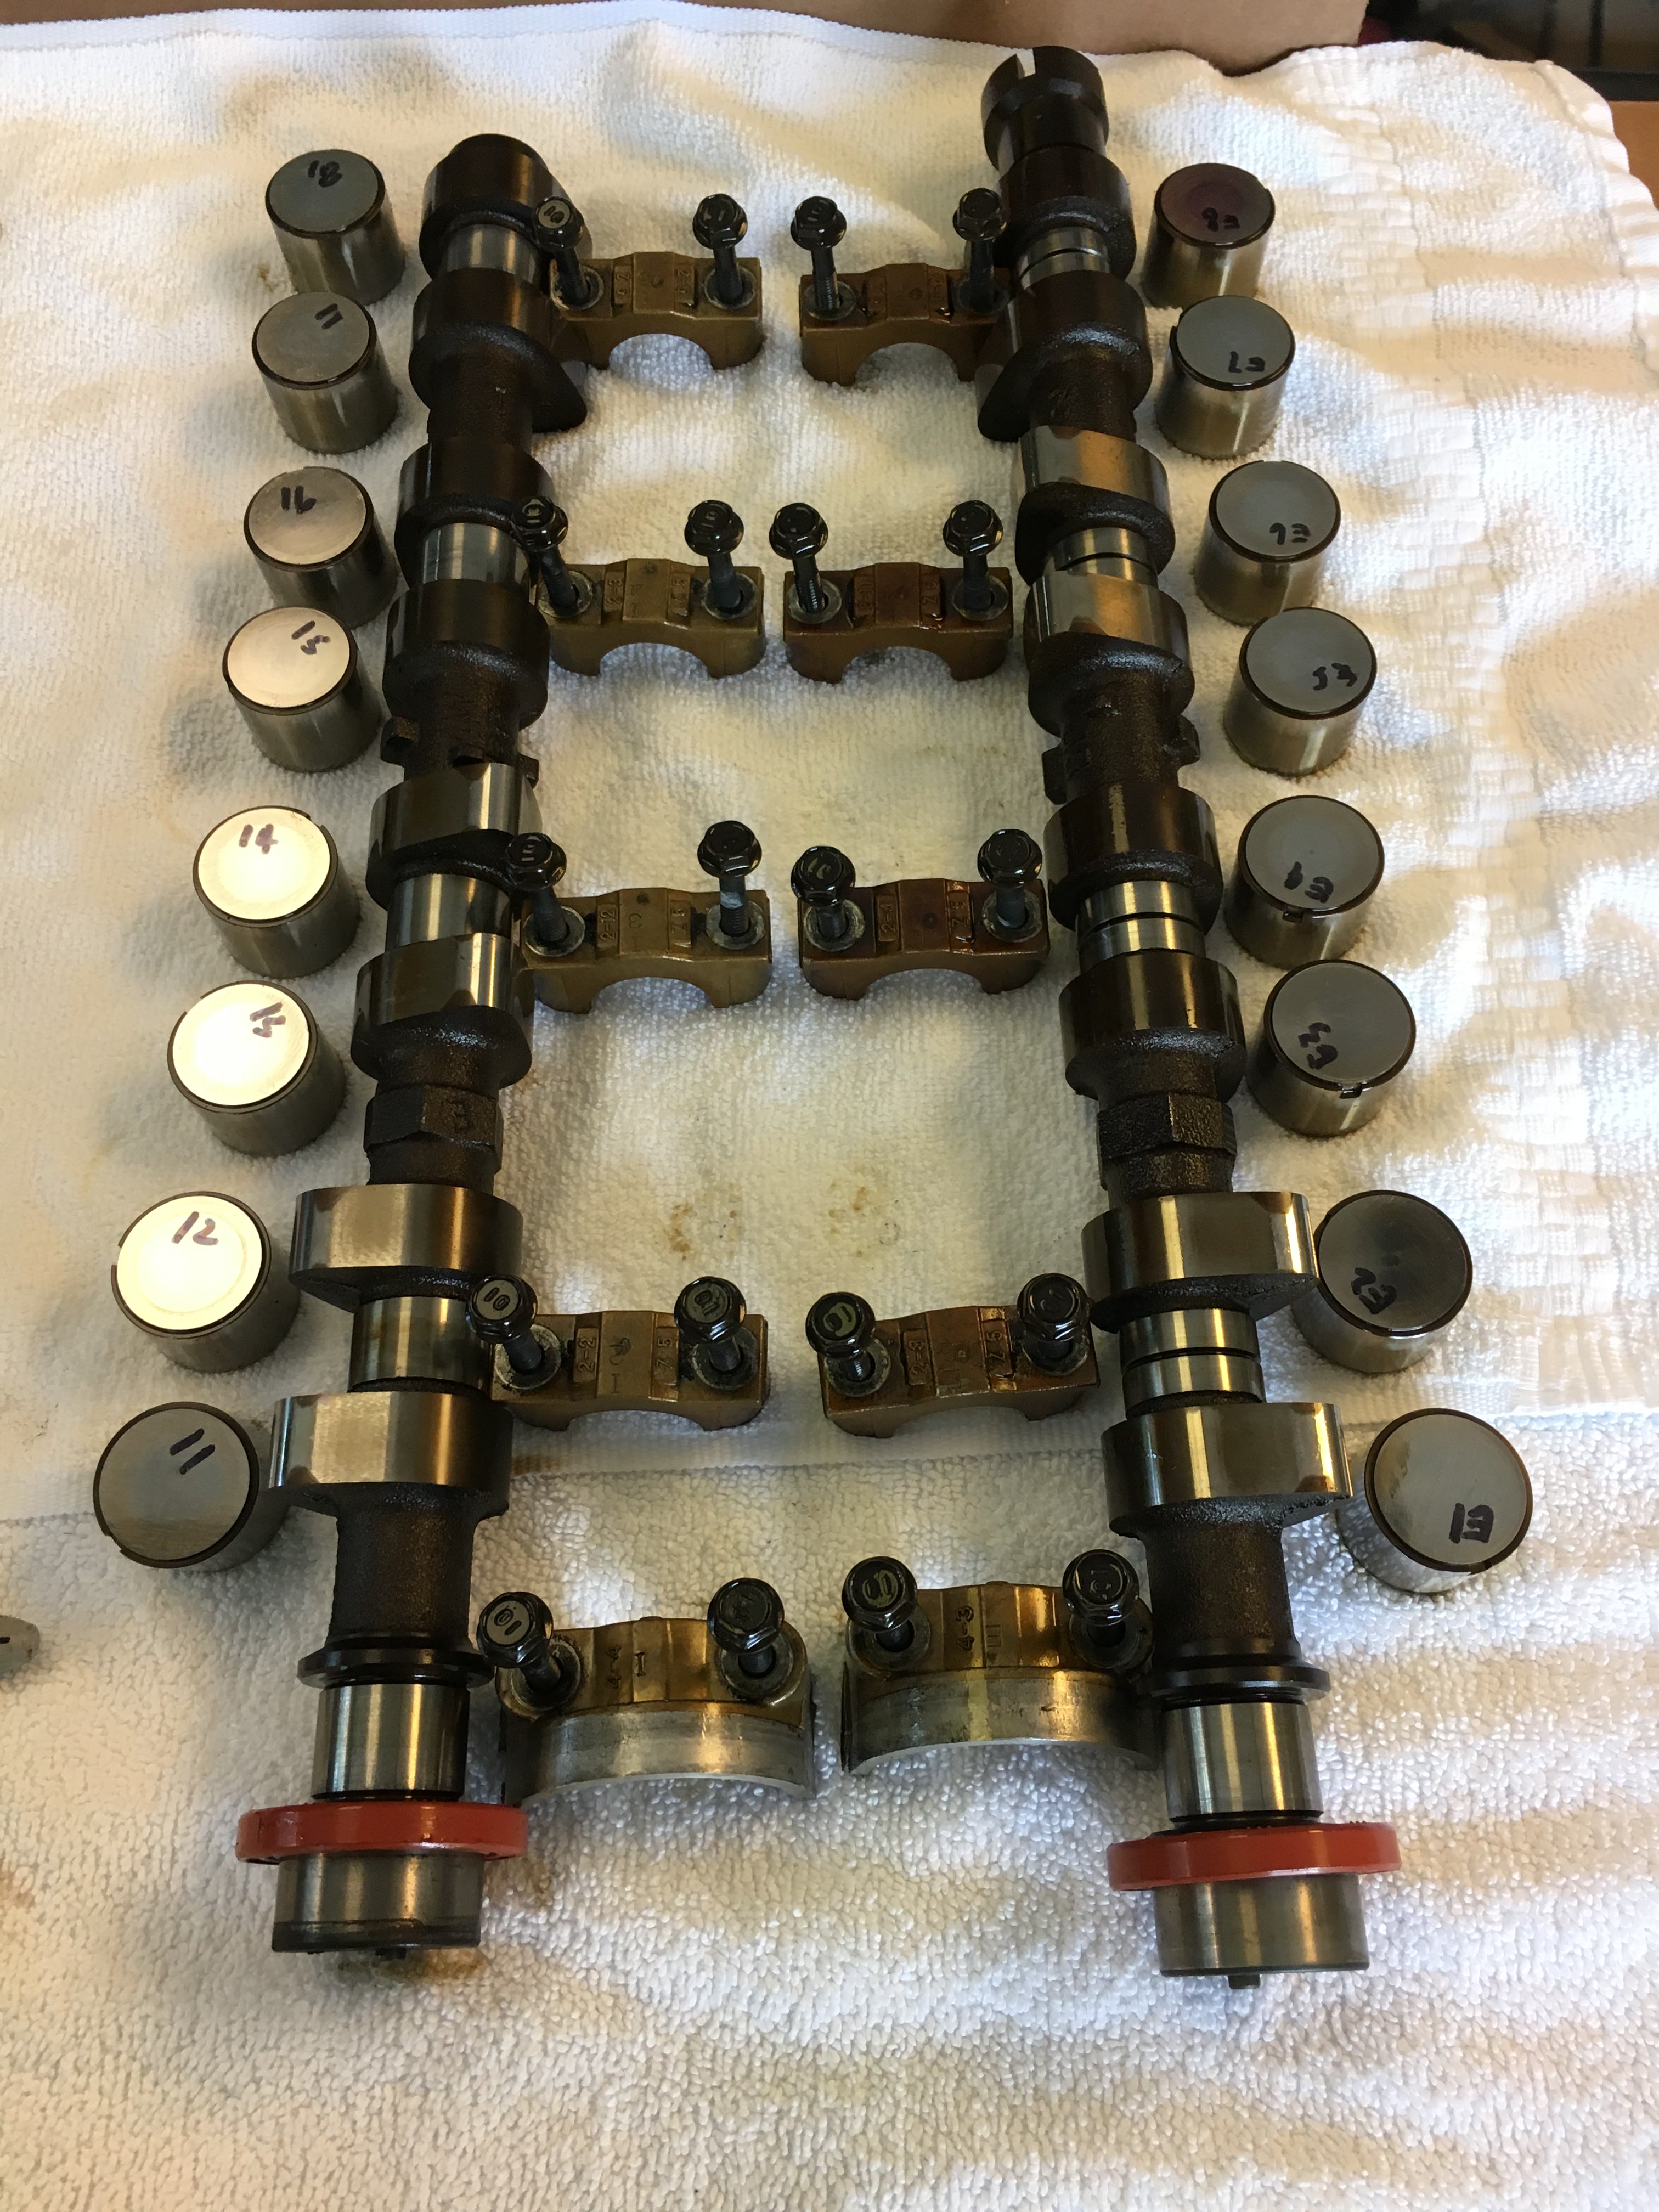
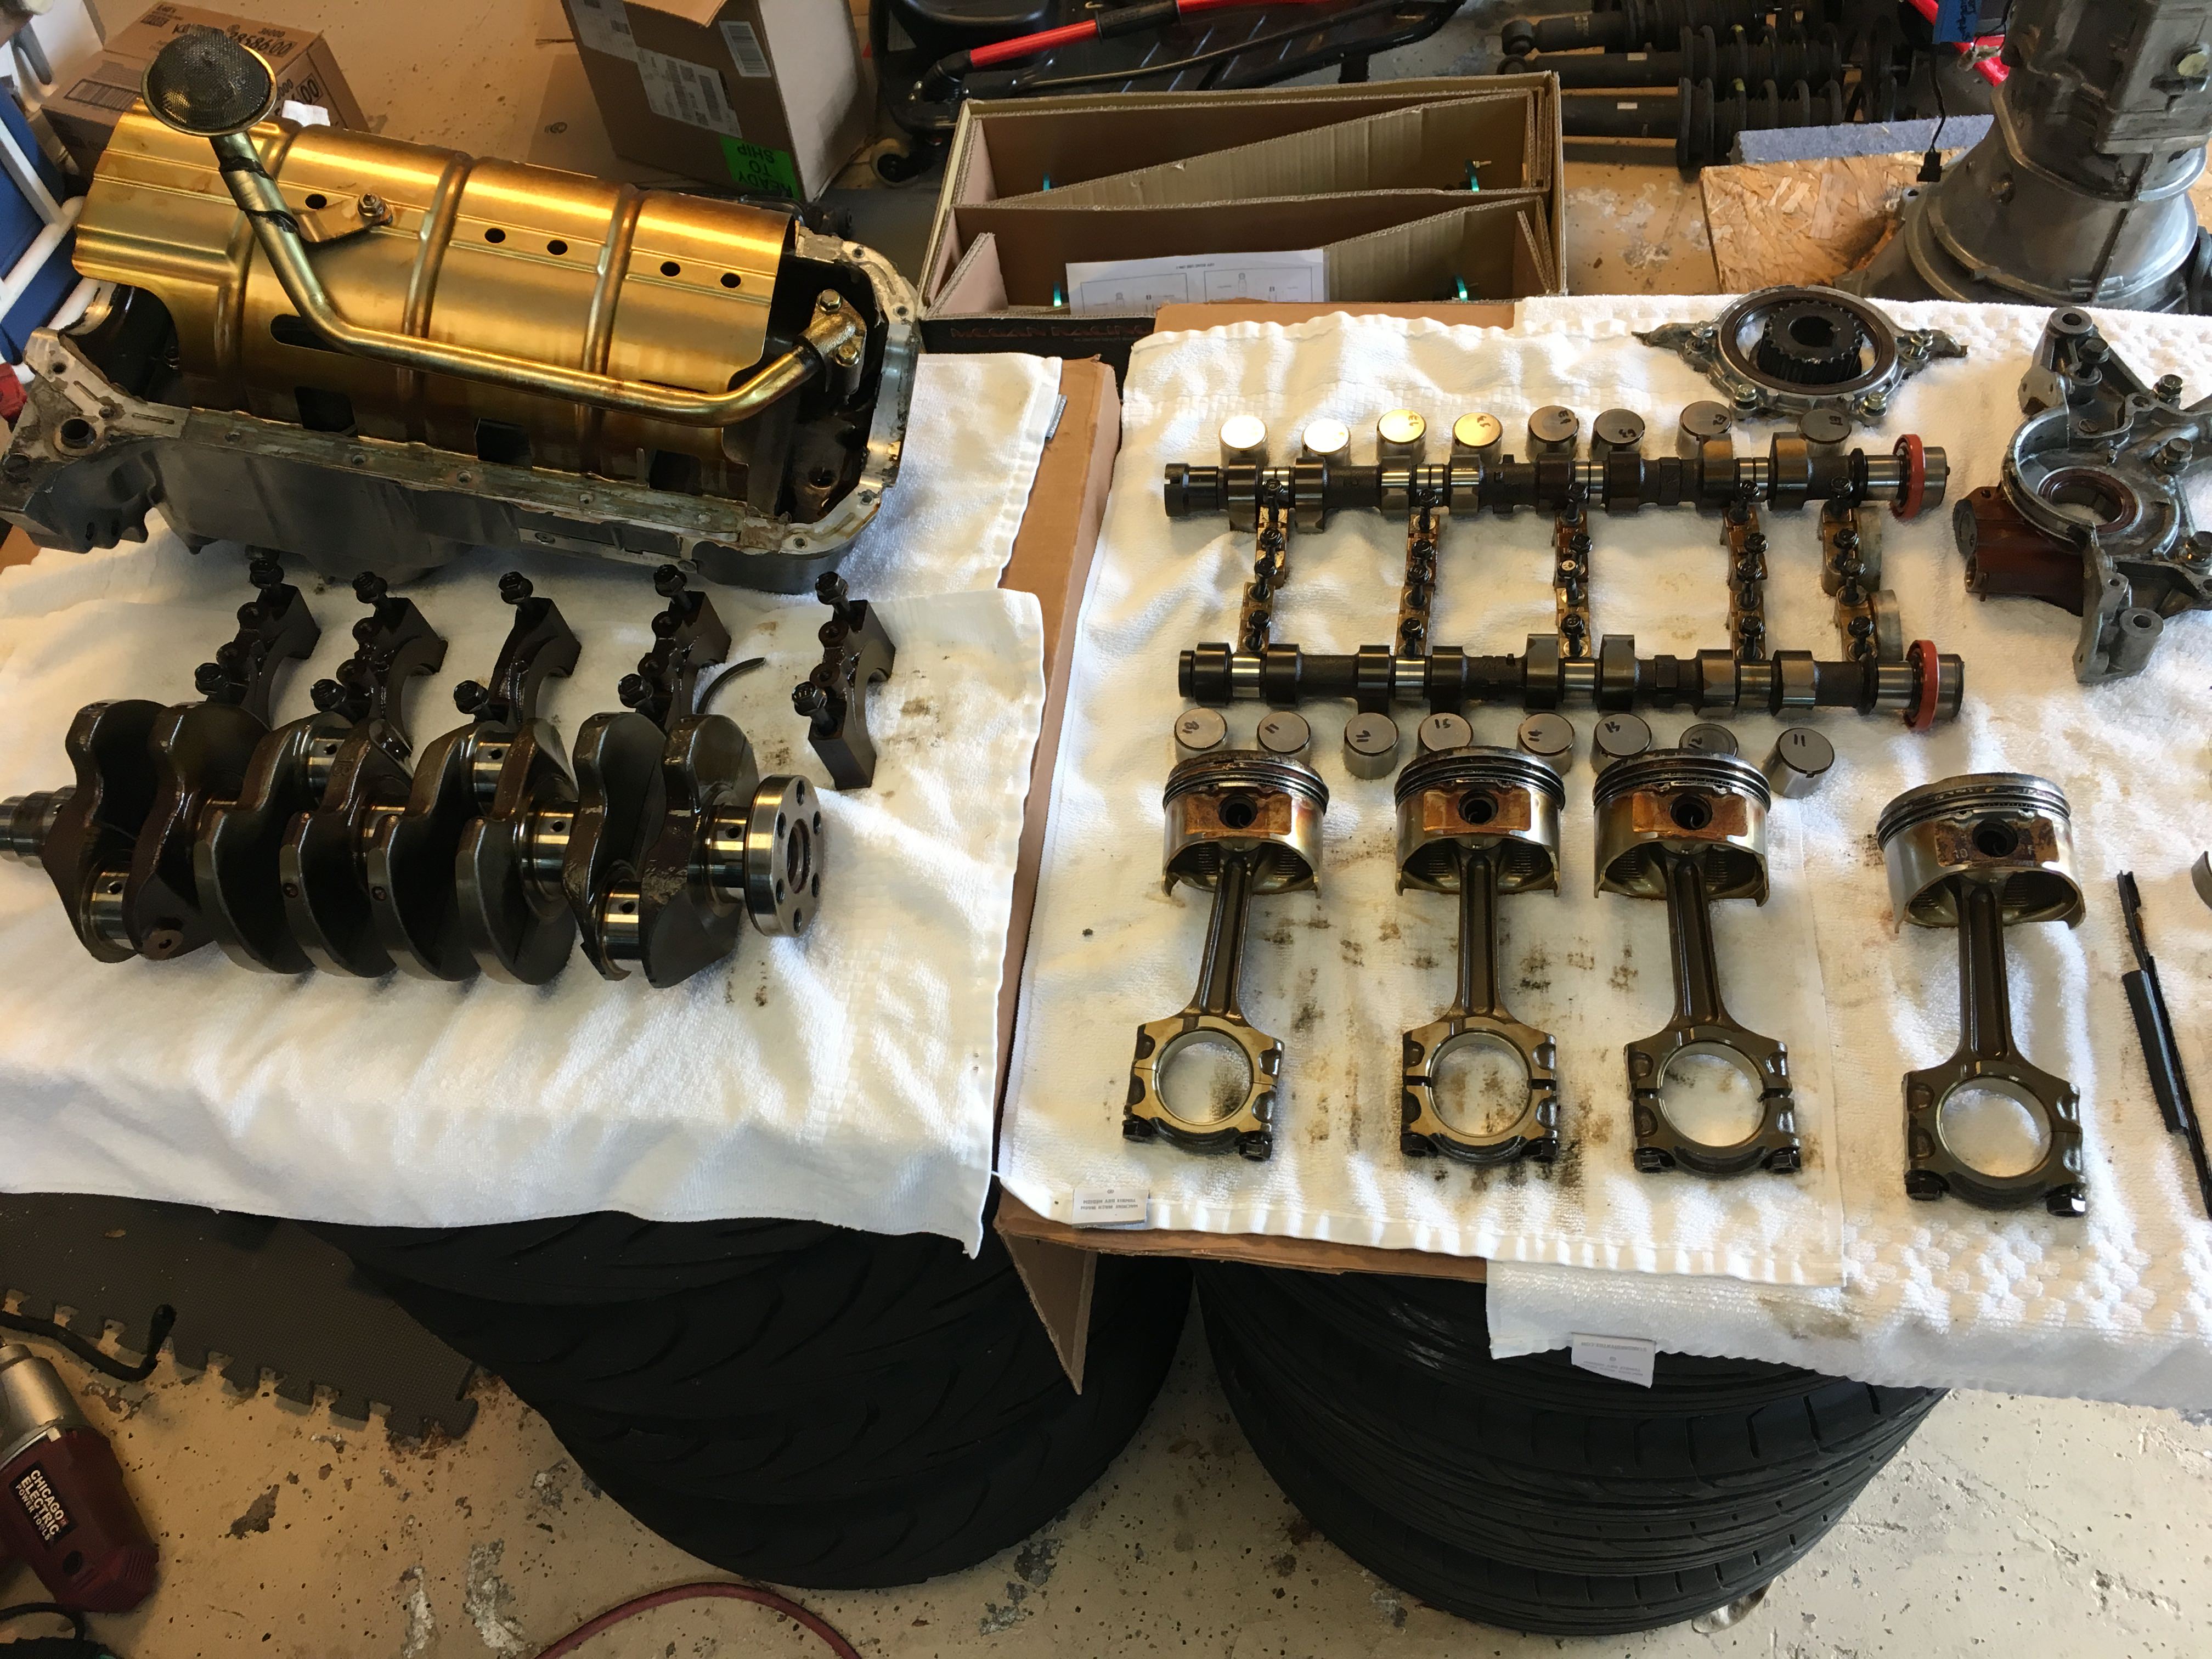
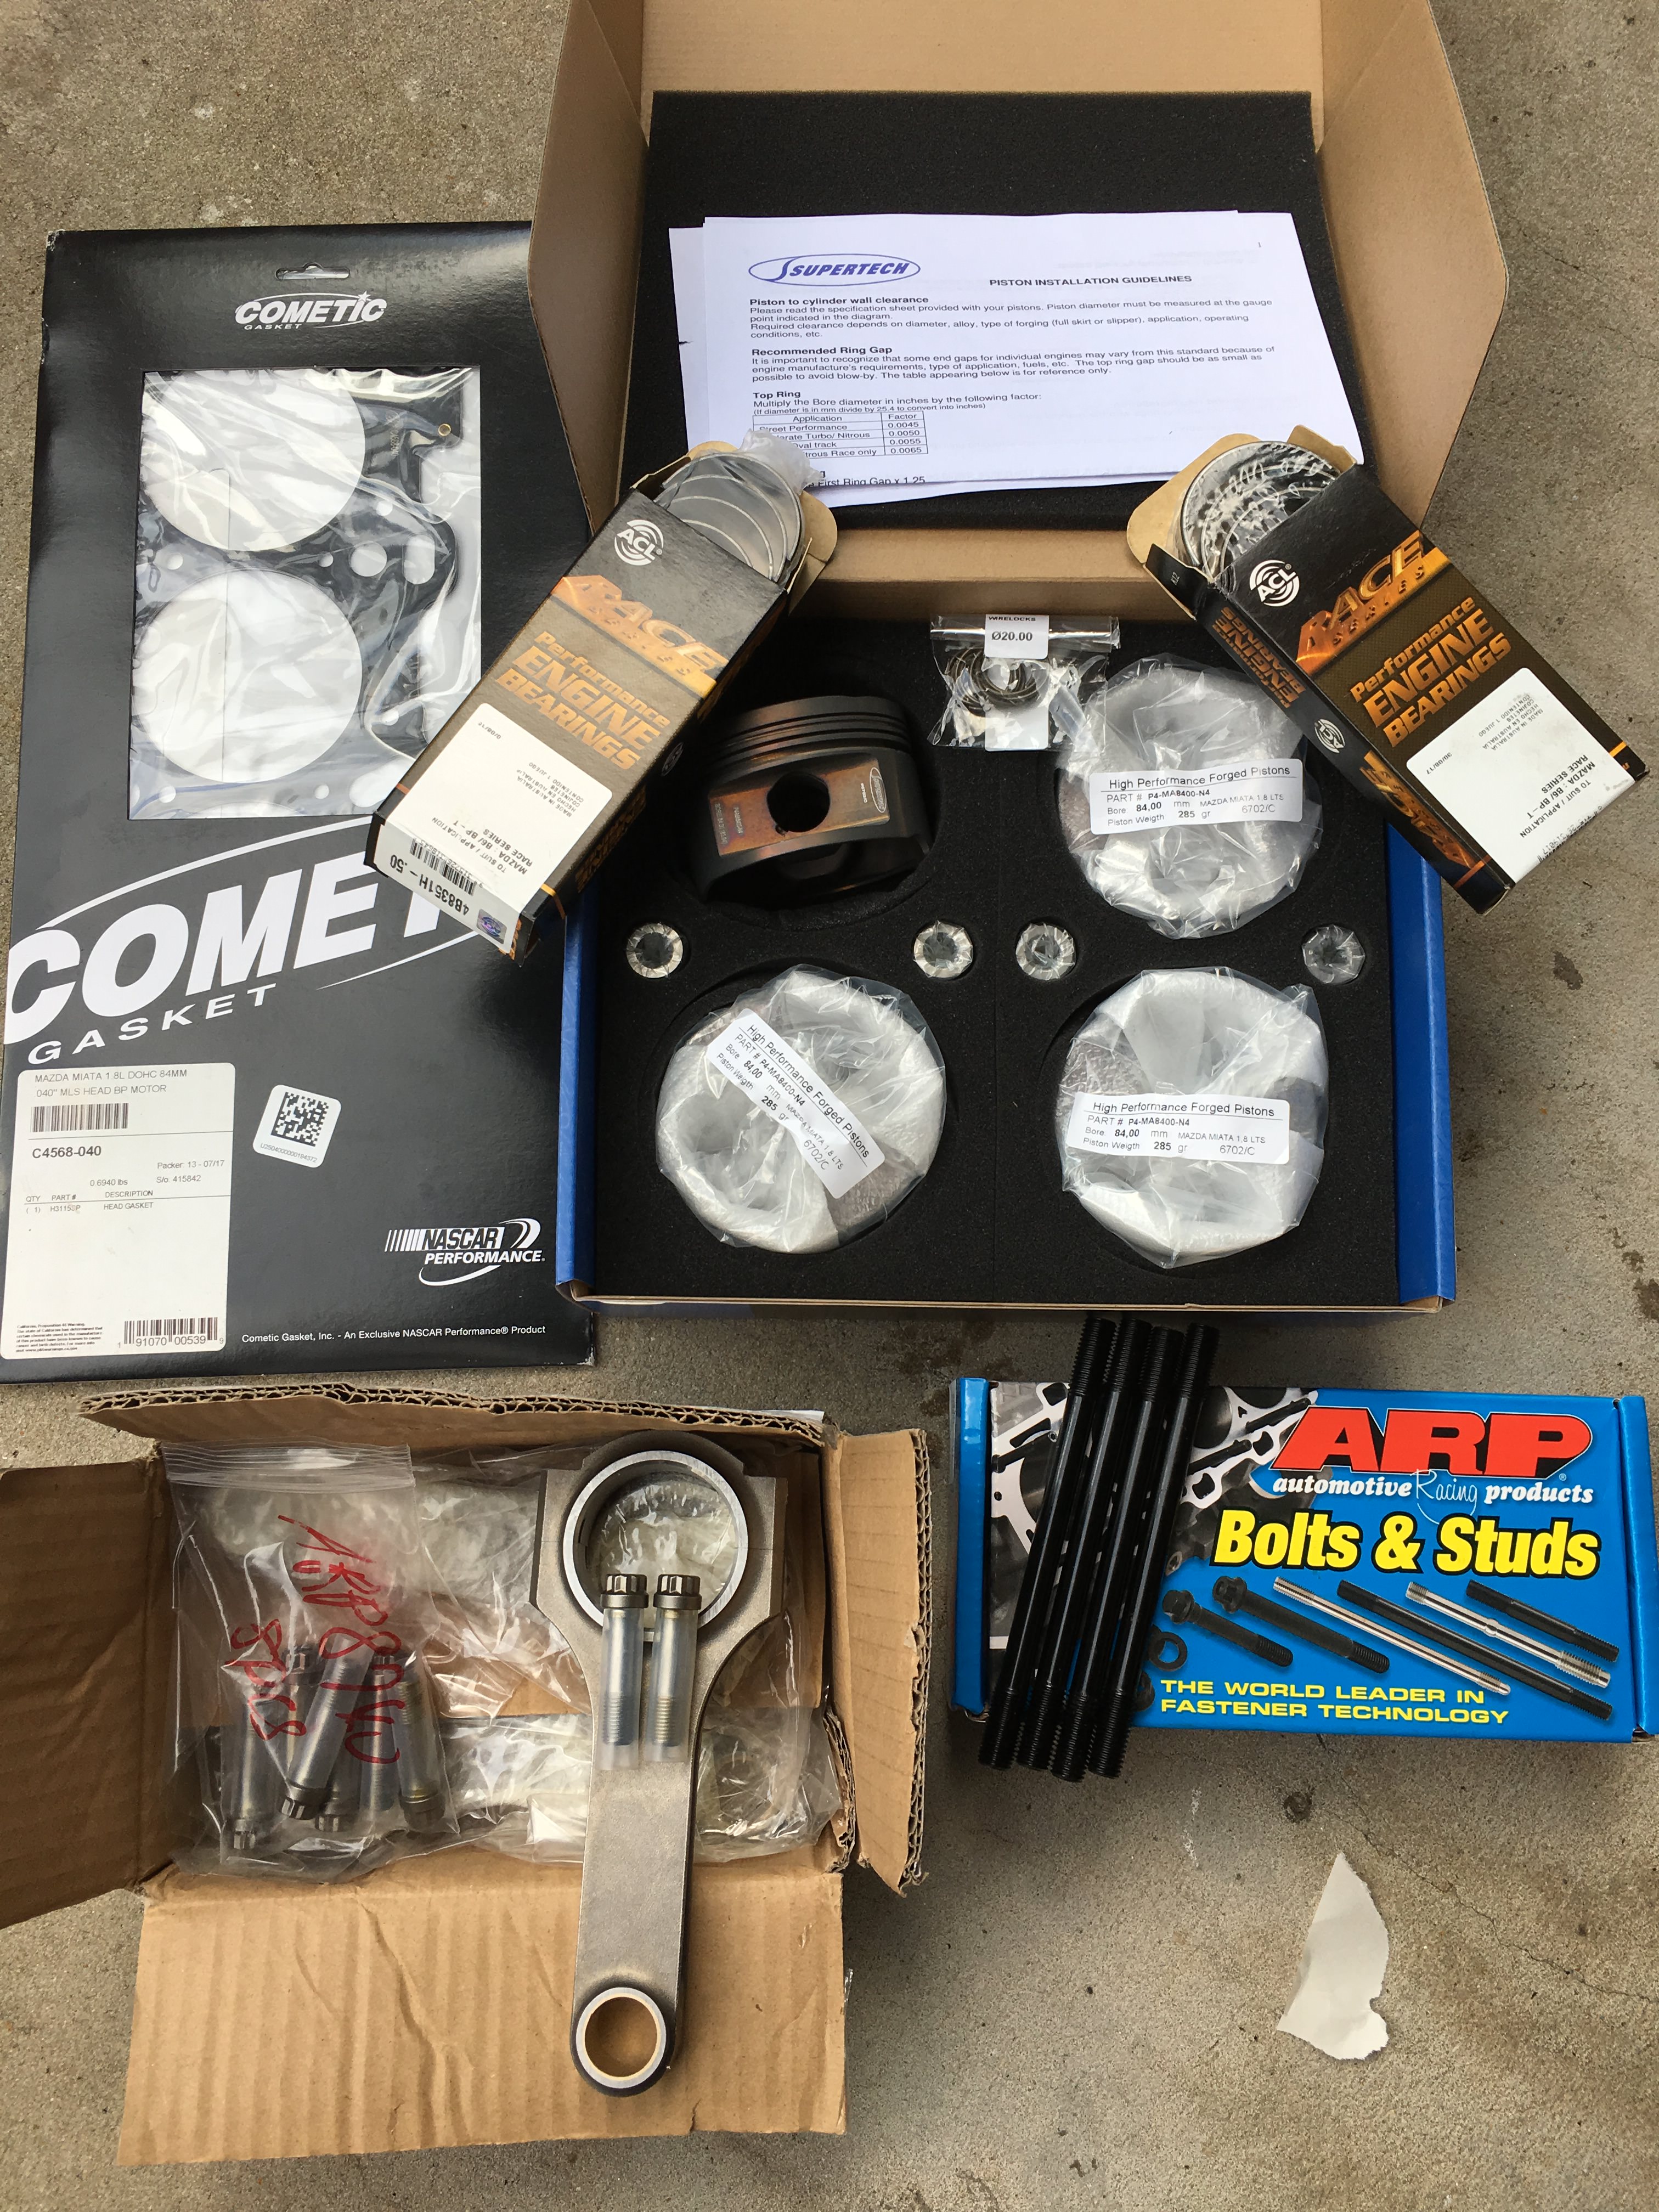
I'm currently smack dab in the middle of my Exocet build. I've stripped the car down to basically pieces at the moment. I pick up my chassis (sport #304) on Friday, May 4th. I've got the engine completely tore down ready for new valve springs, forged internals and a Garrett 2560 Turbo. I have learned a tremendous amount about Miata's and turbos thanks to this site.
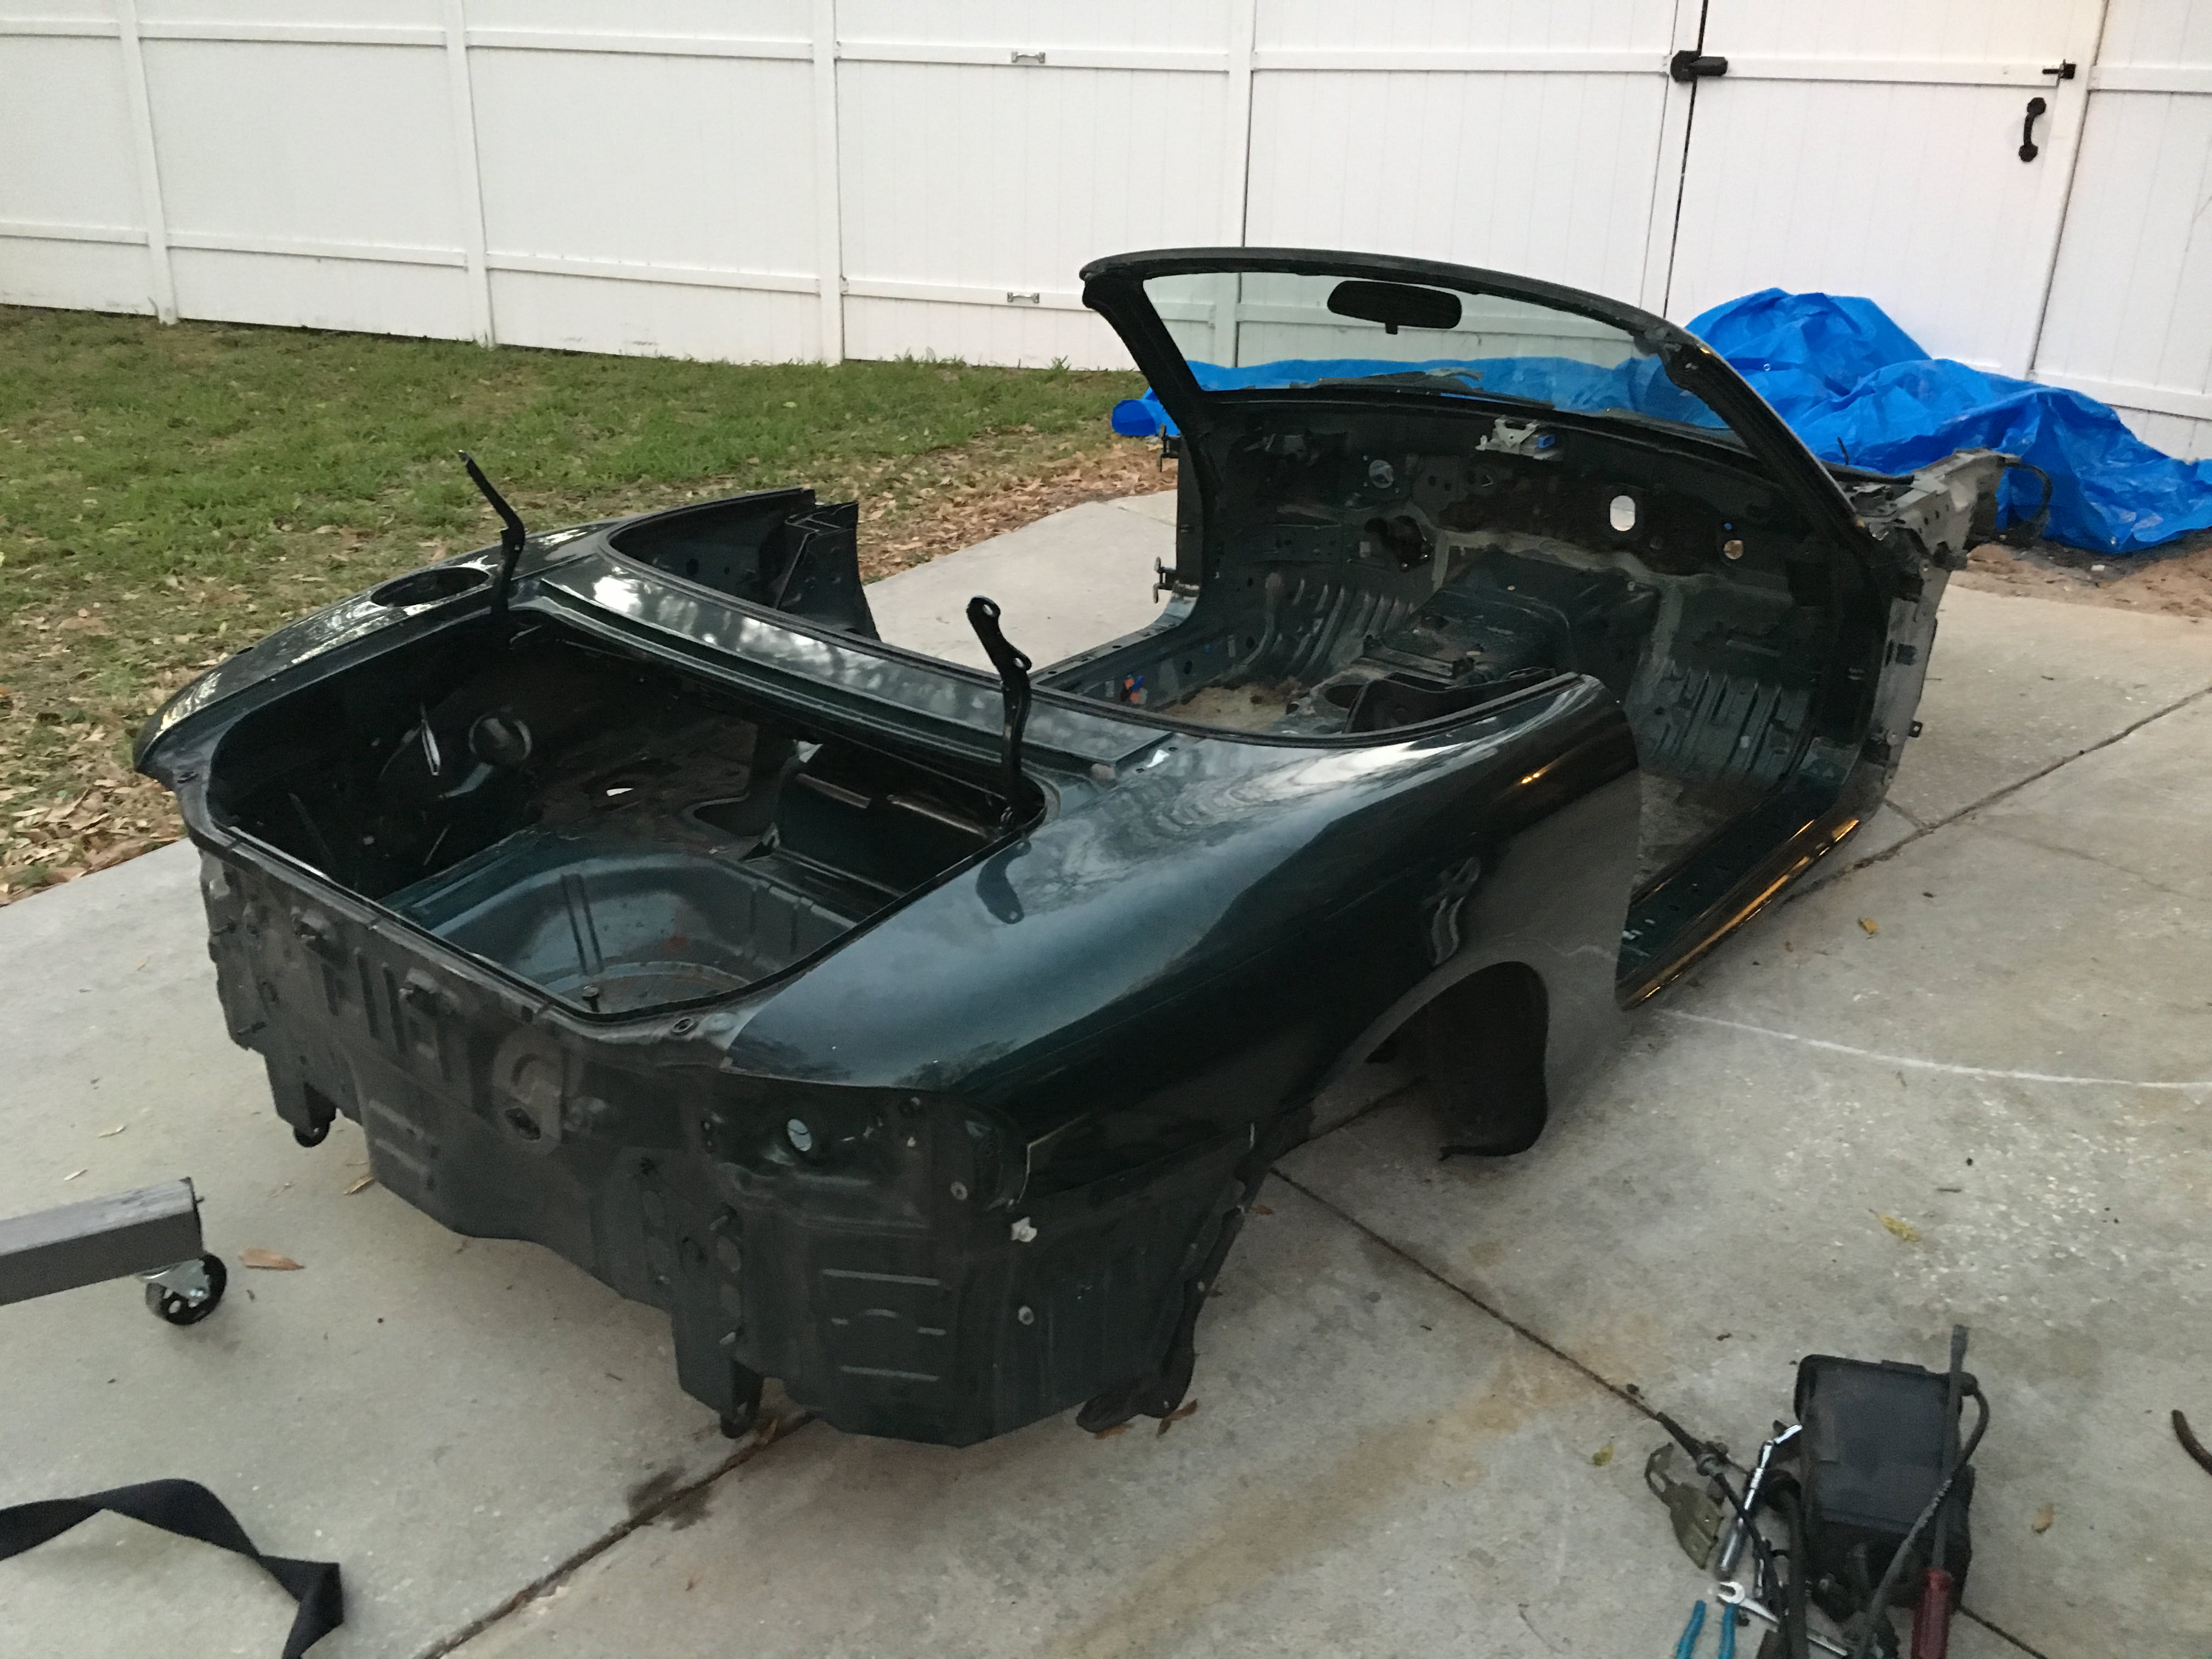
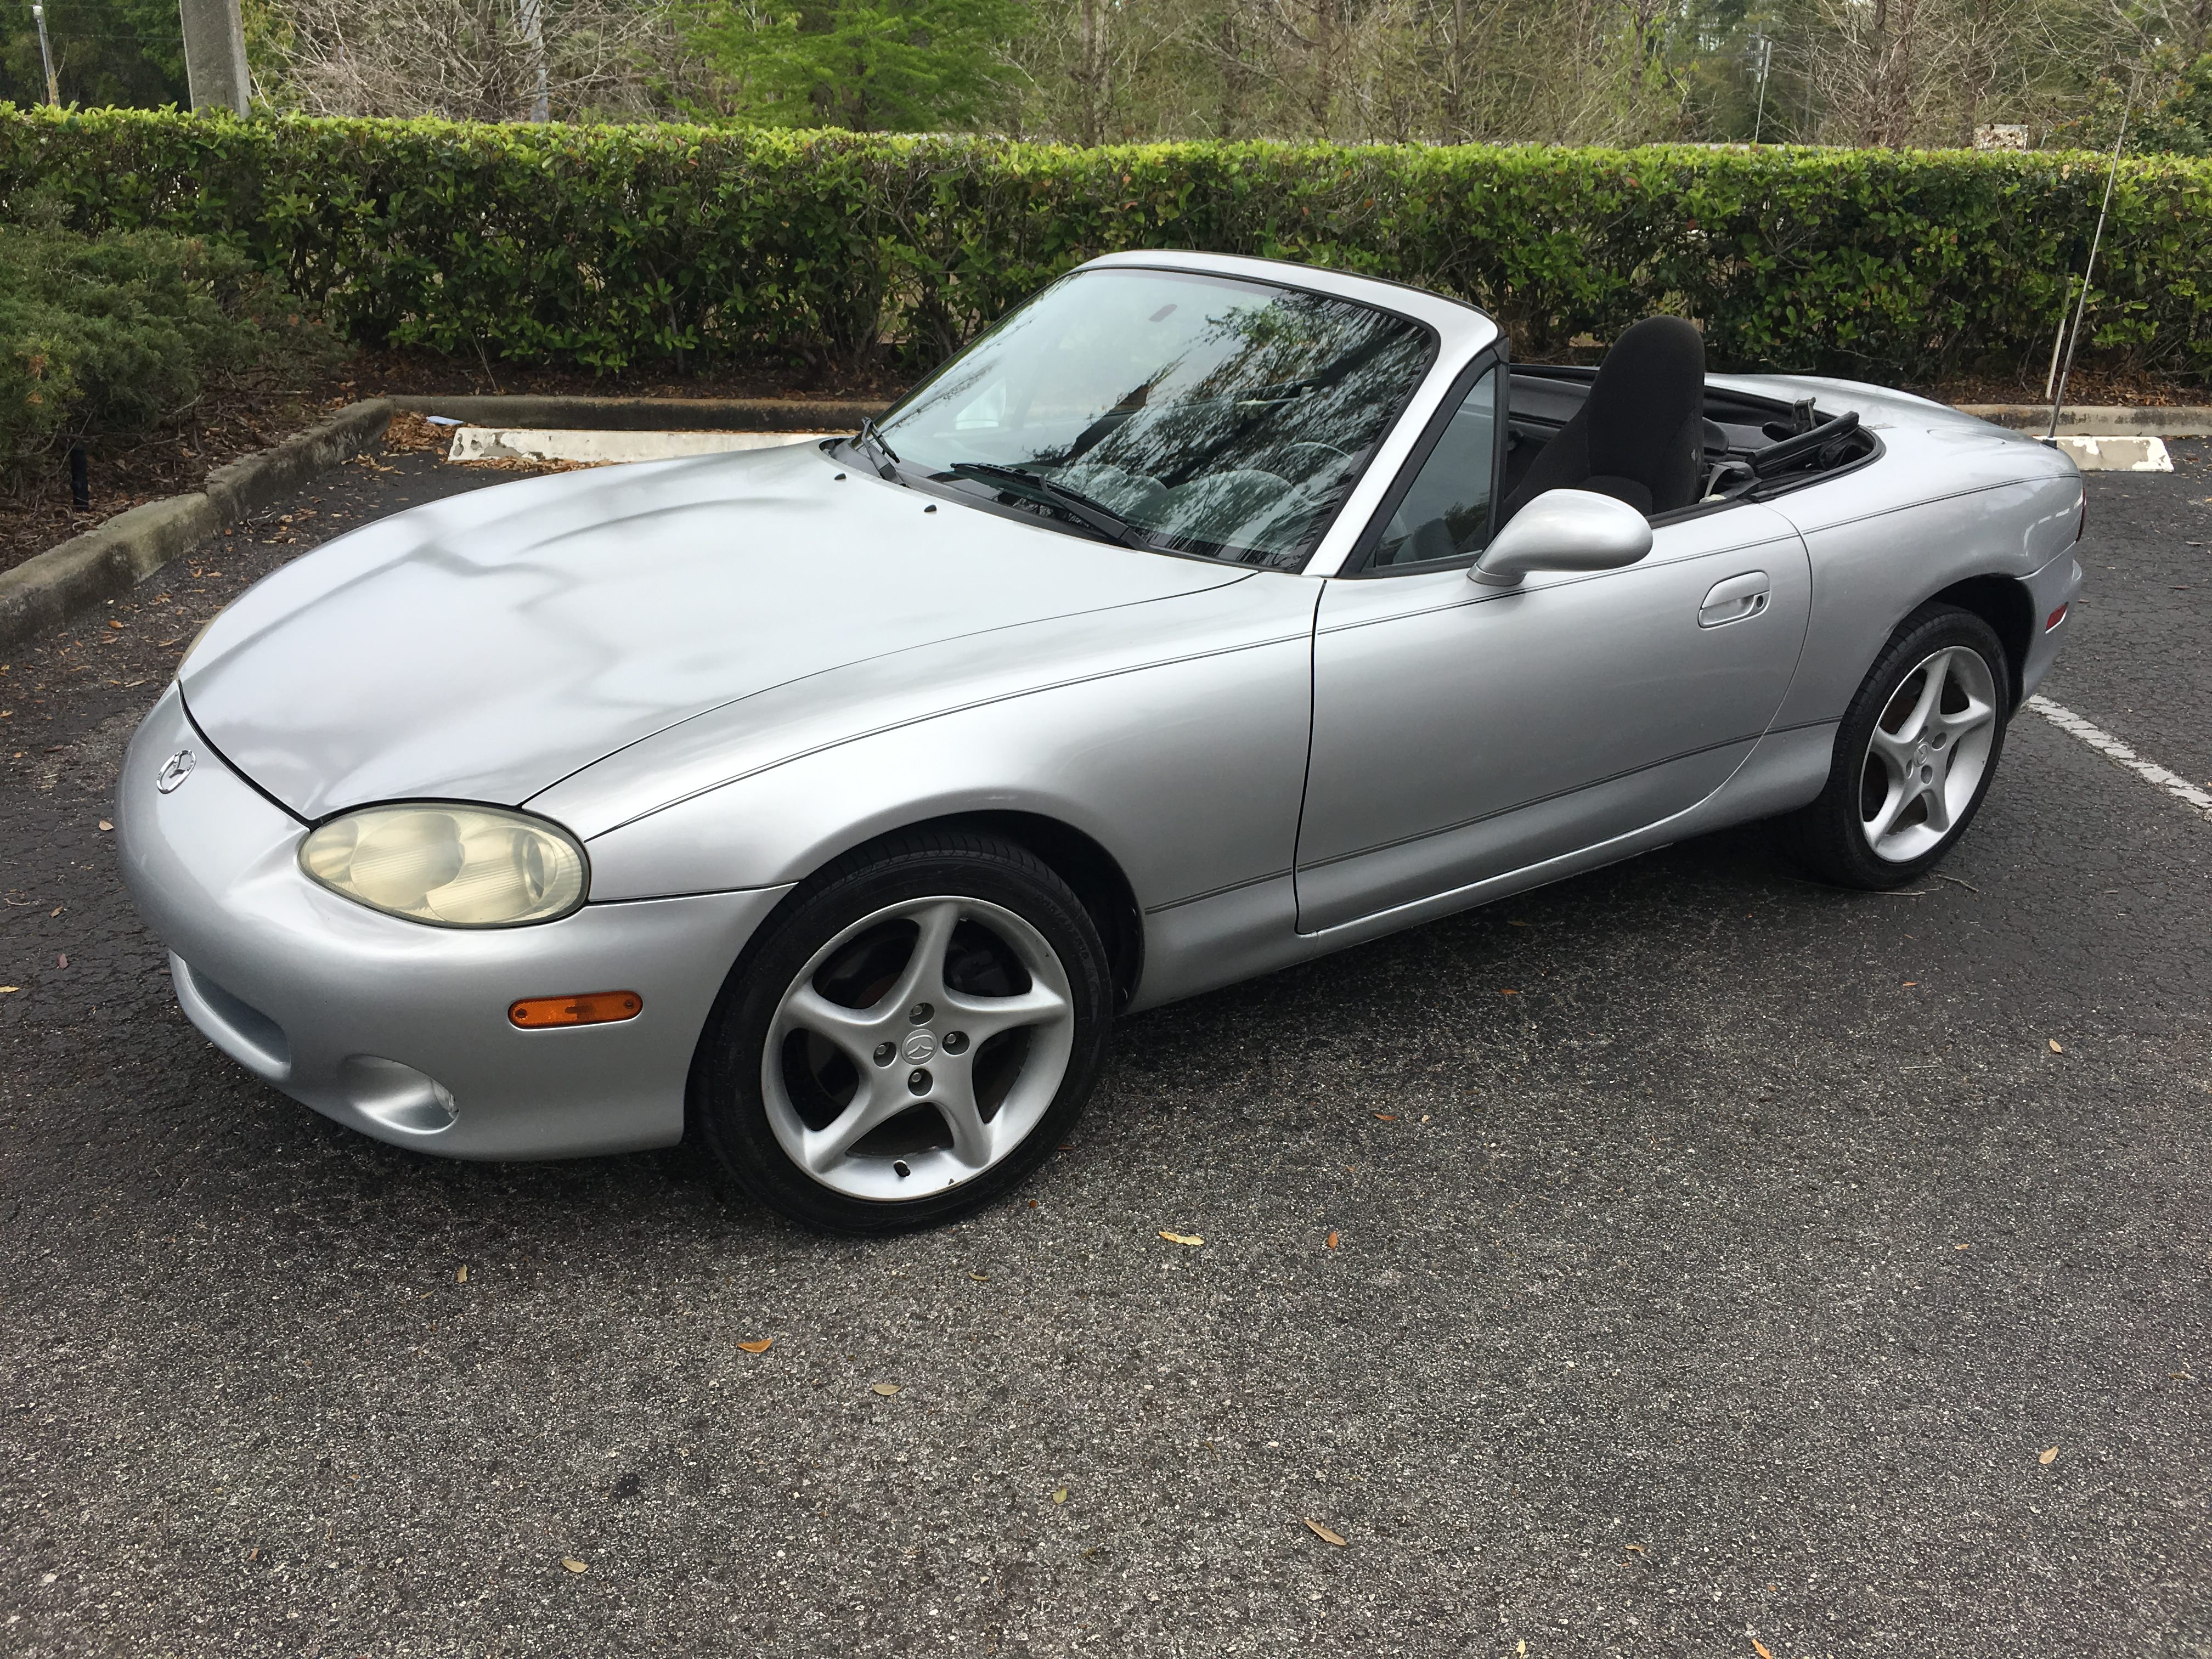
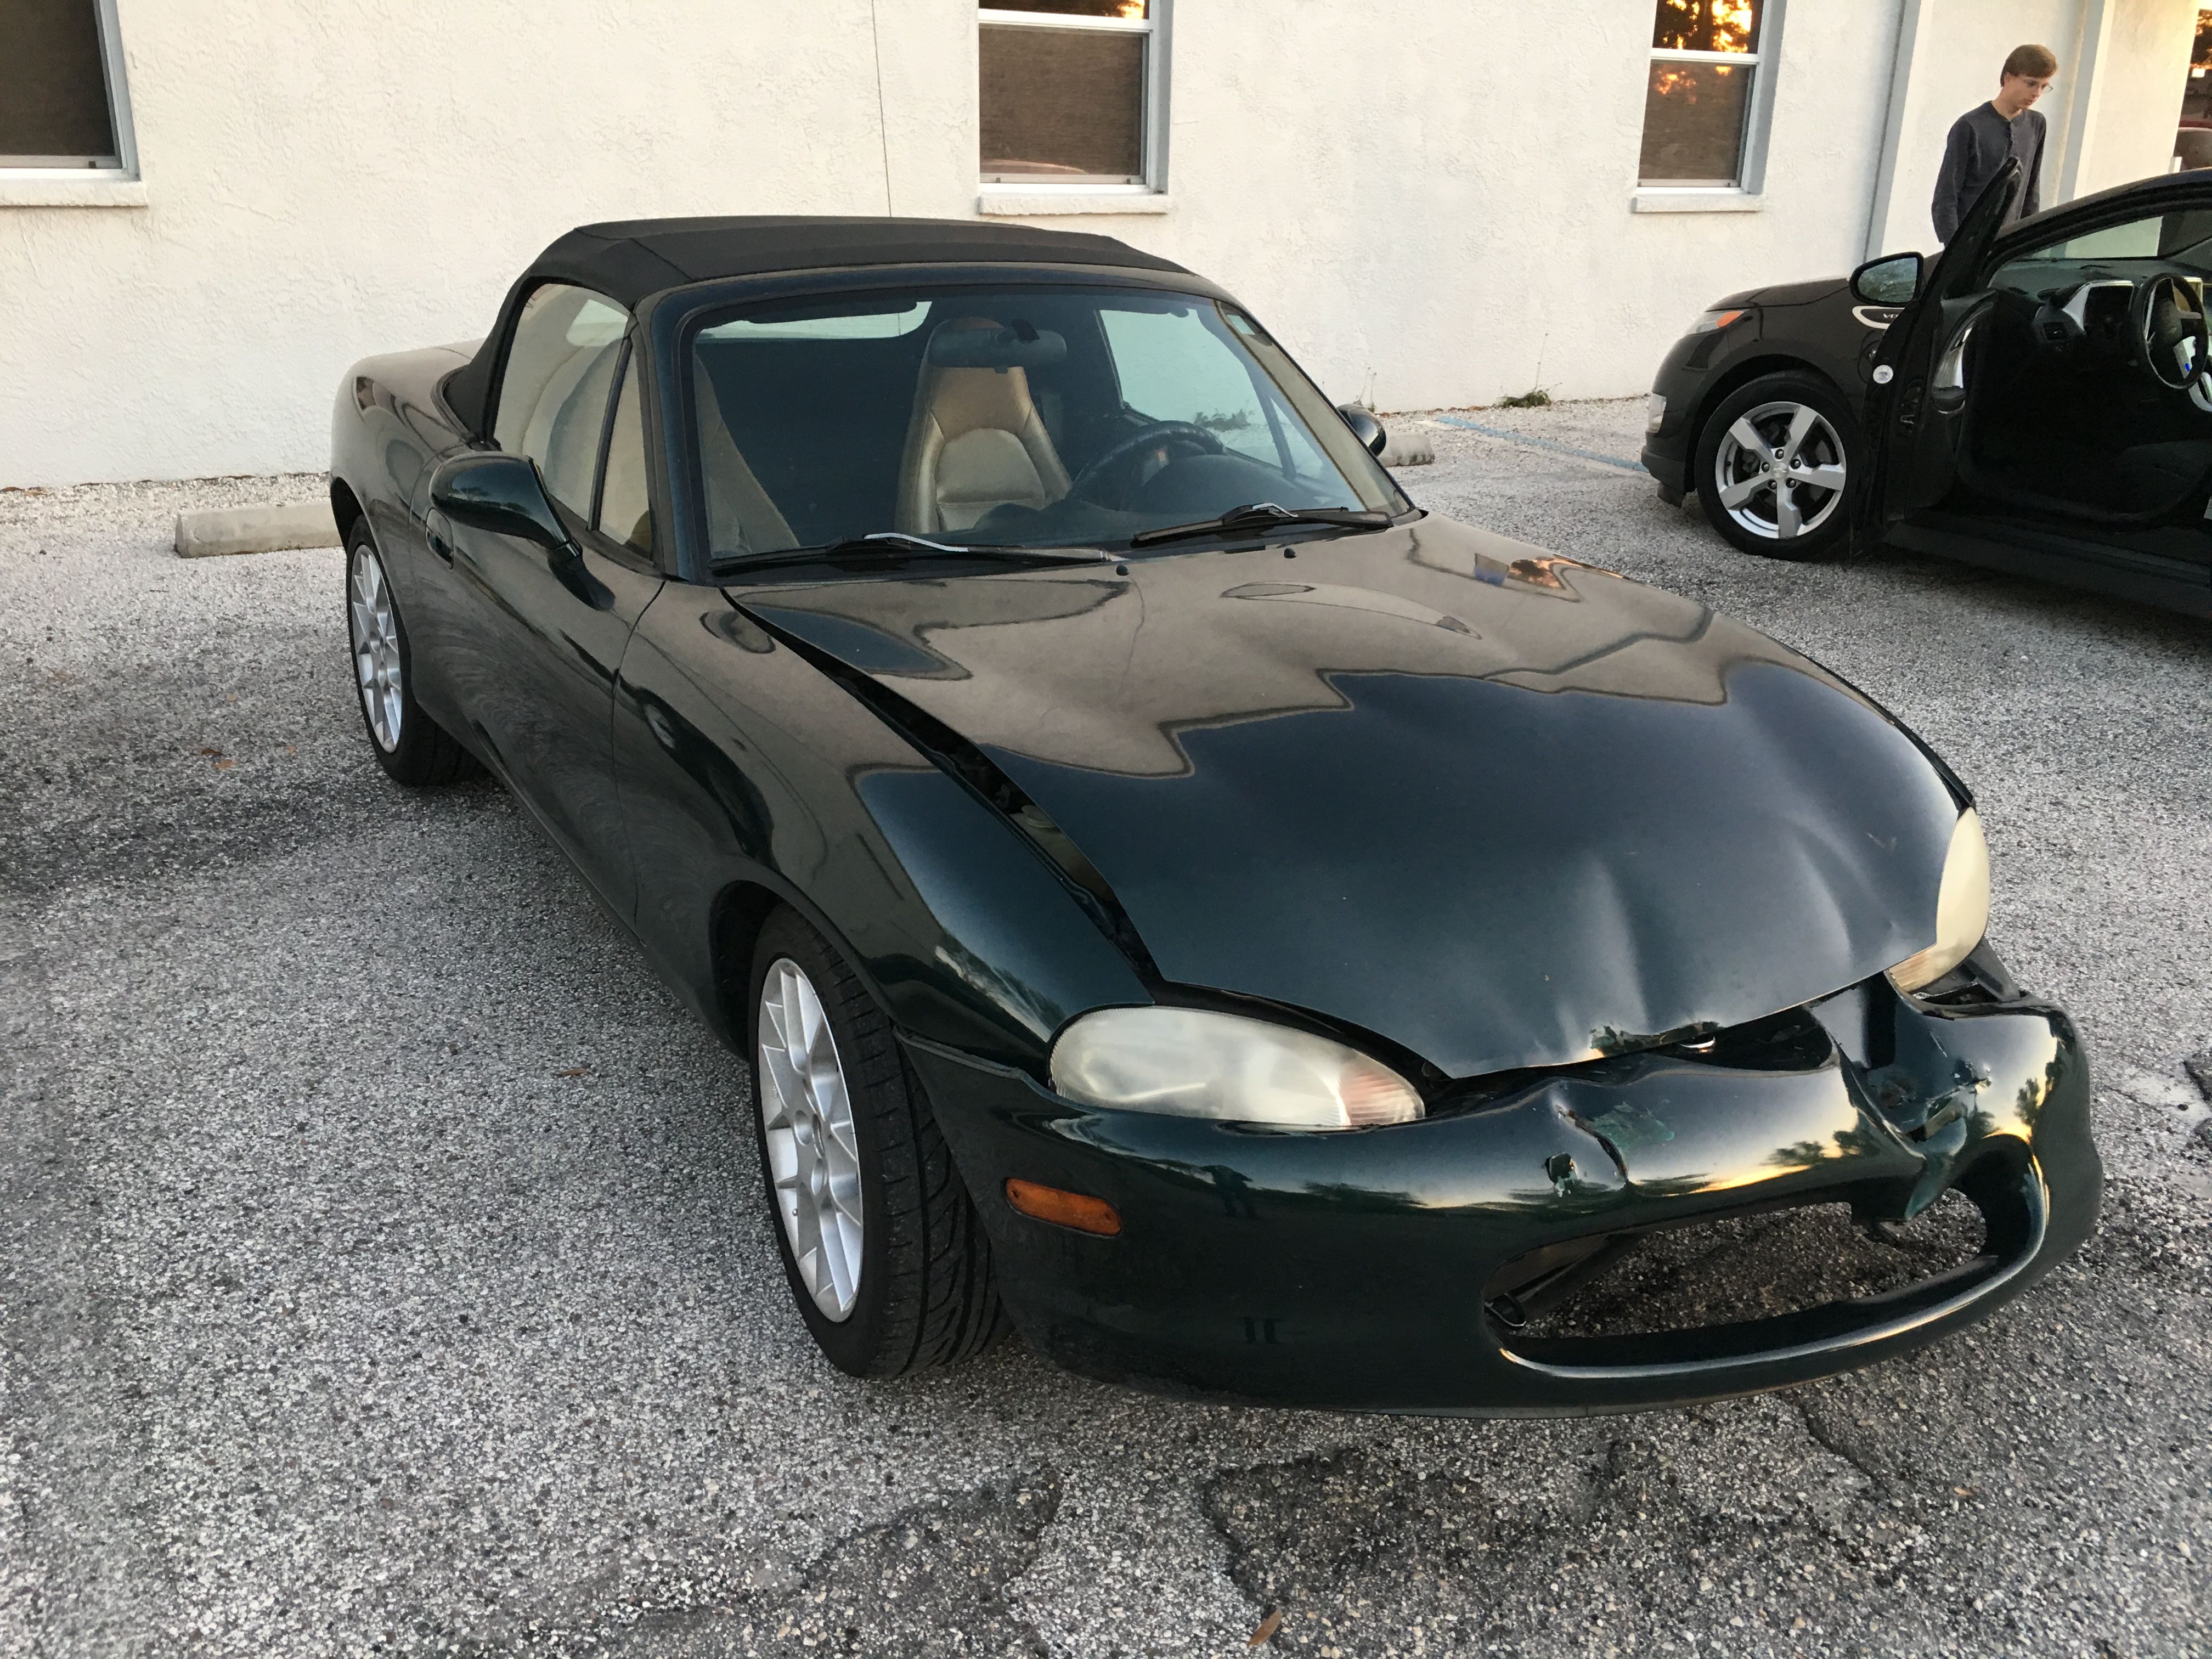
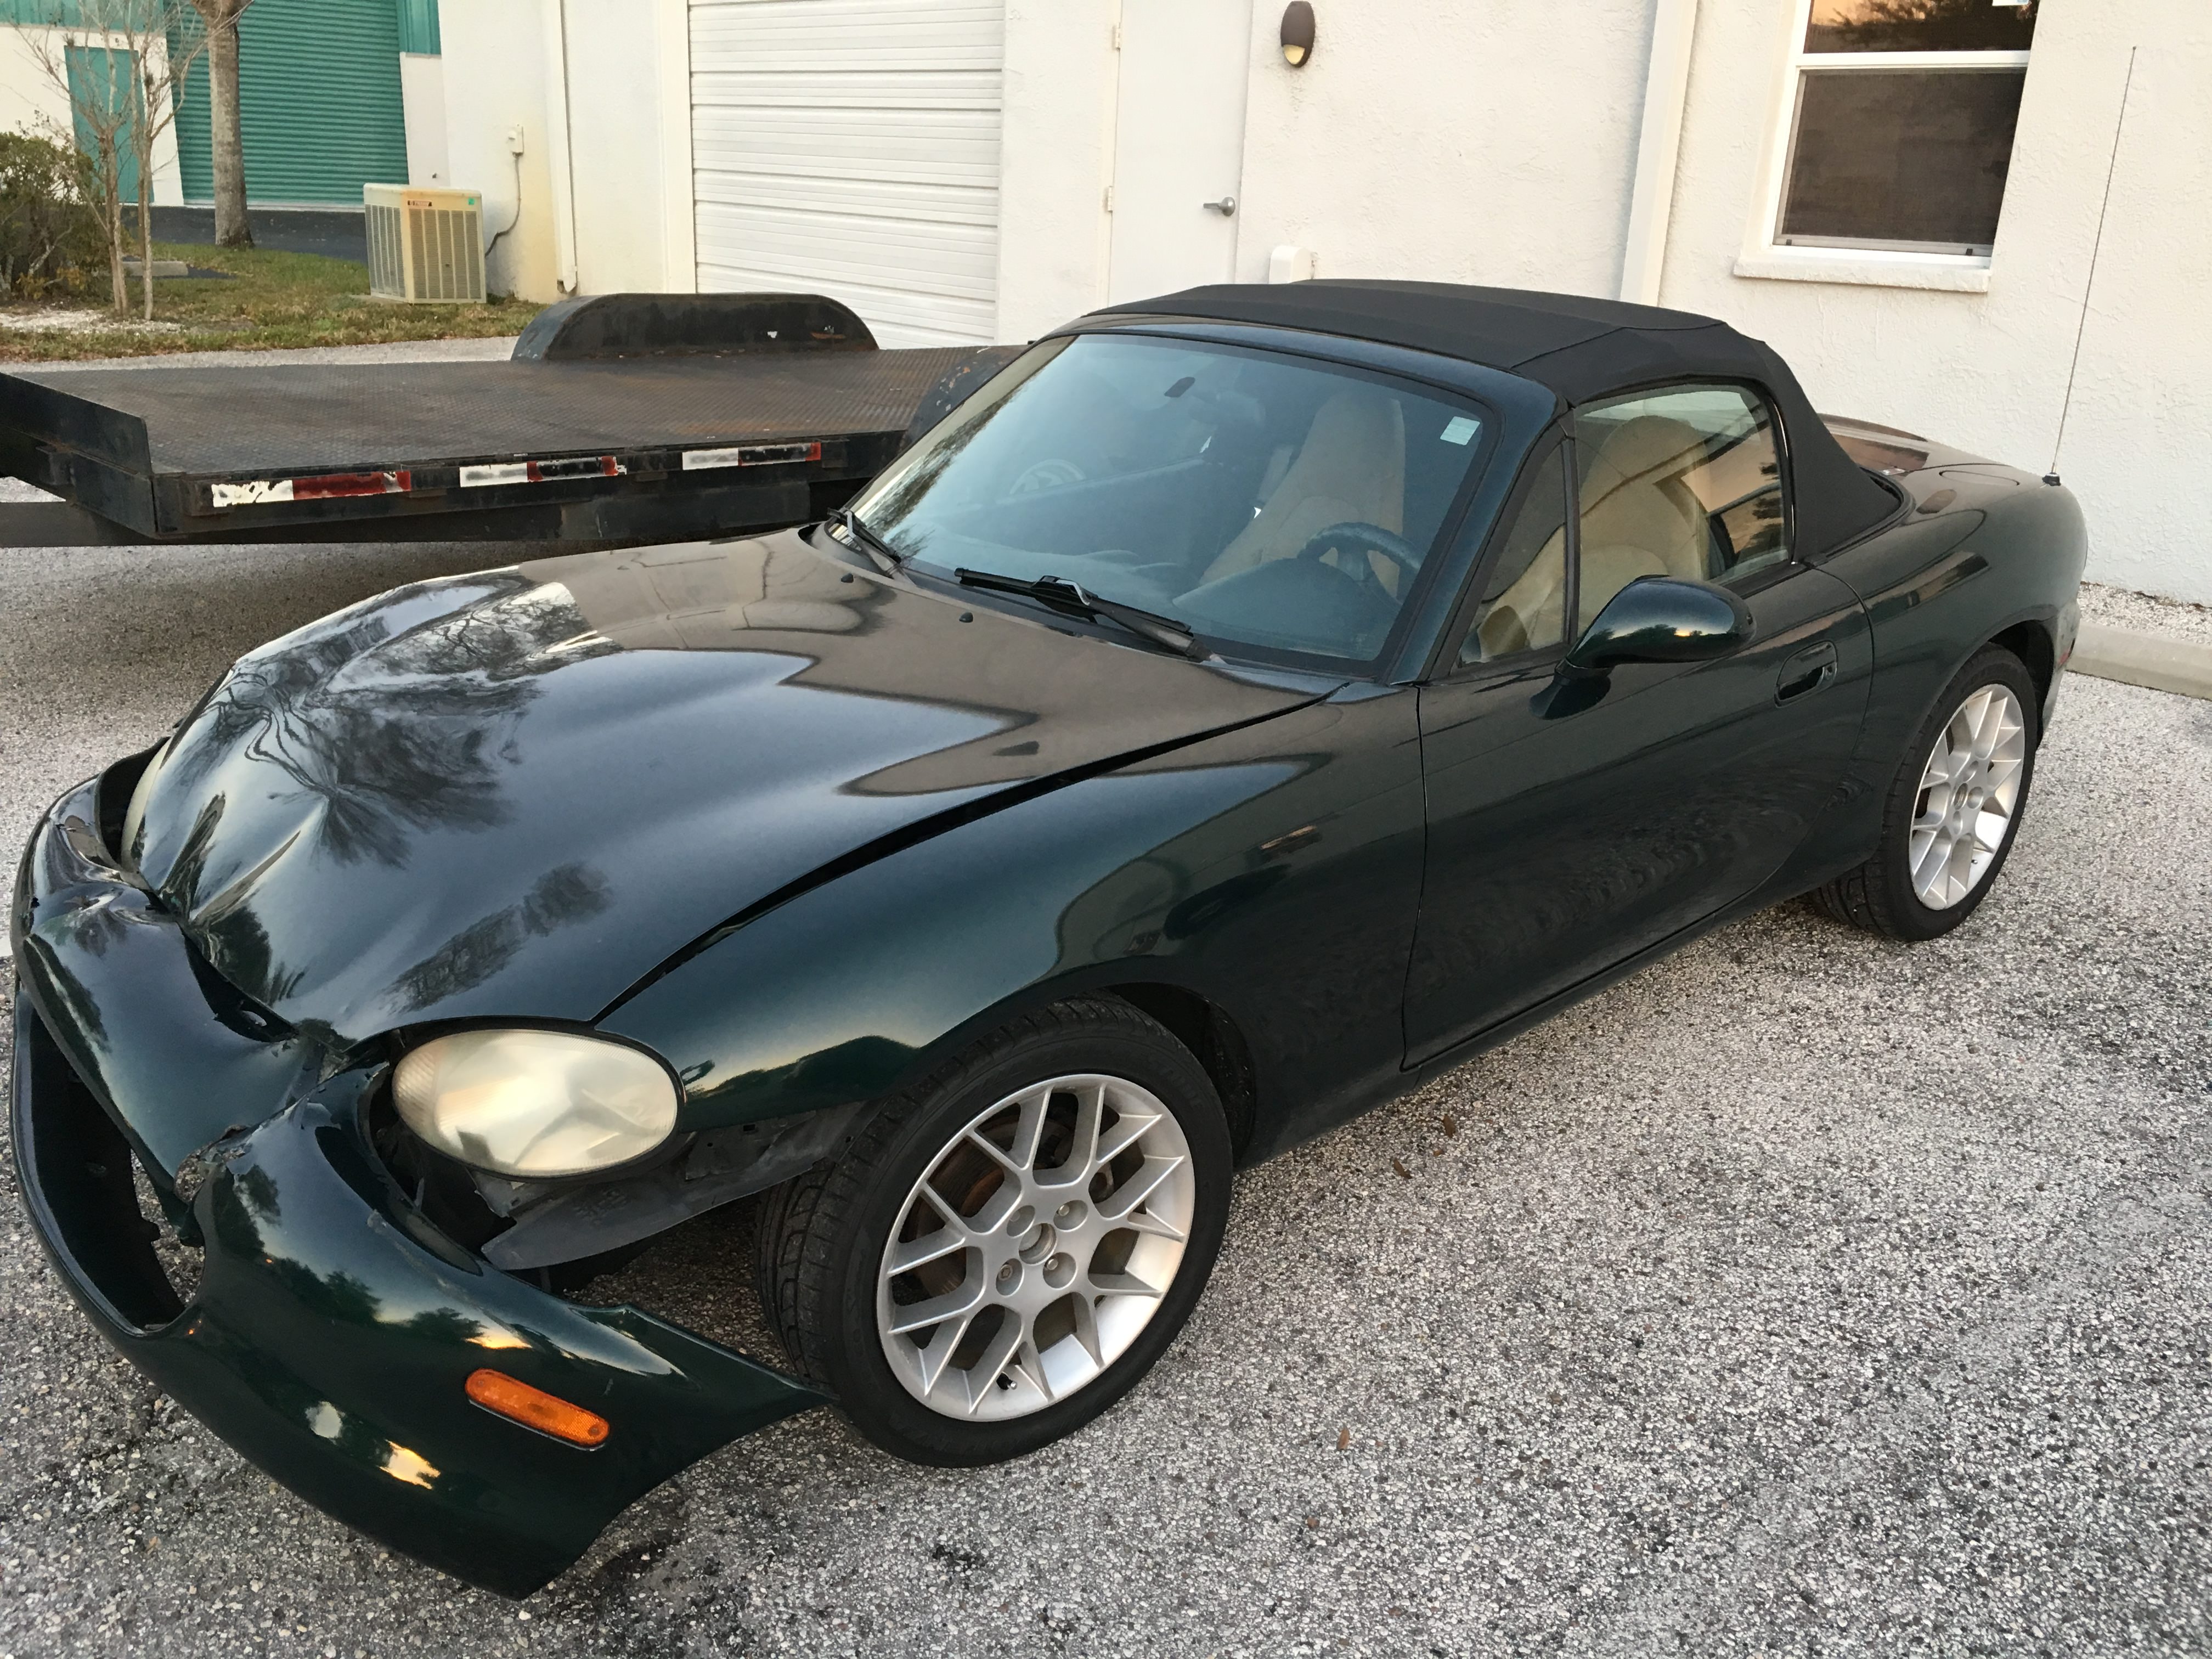
I started out with a Silver 2003 as my donor car for the build but a week before I was going to tear it apart I found a wrecked 1999 that was dirt cheap and perfect for my needs.
Here's the 2003. I sold it last weekend. It was fun to drive on weekends but I need the money to fund more go fast parts.
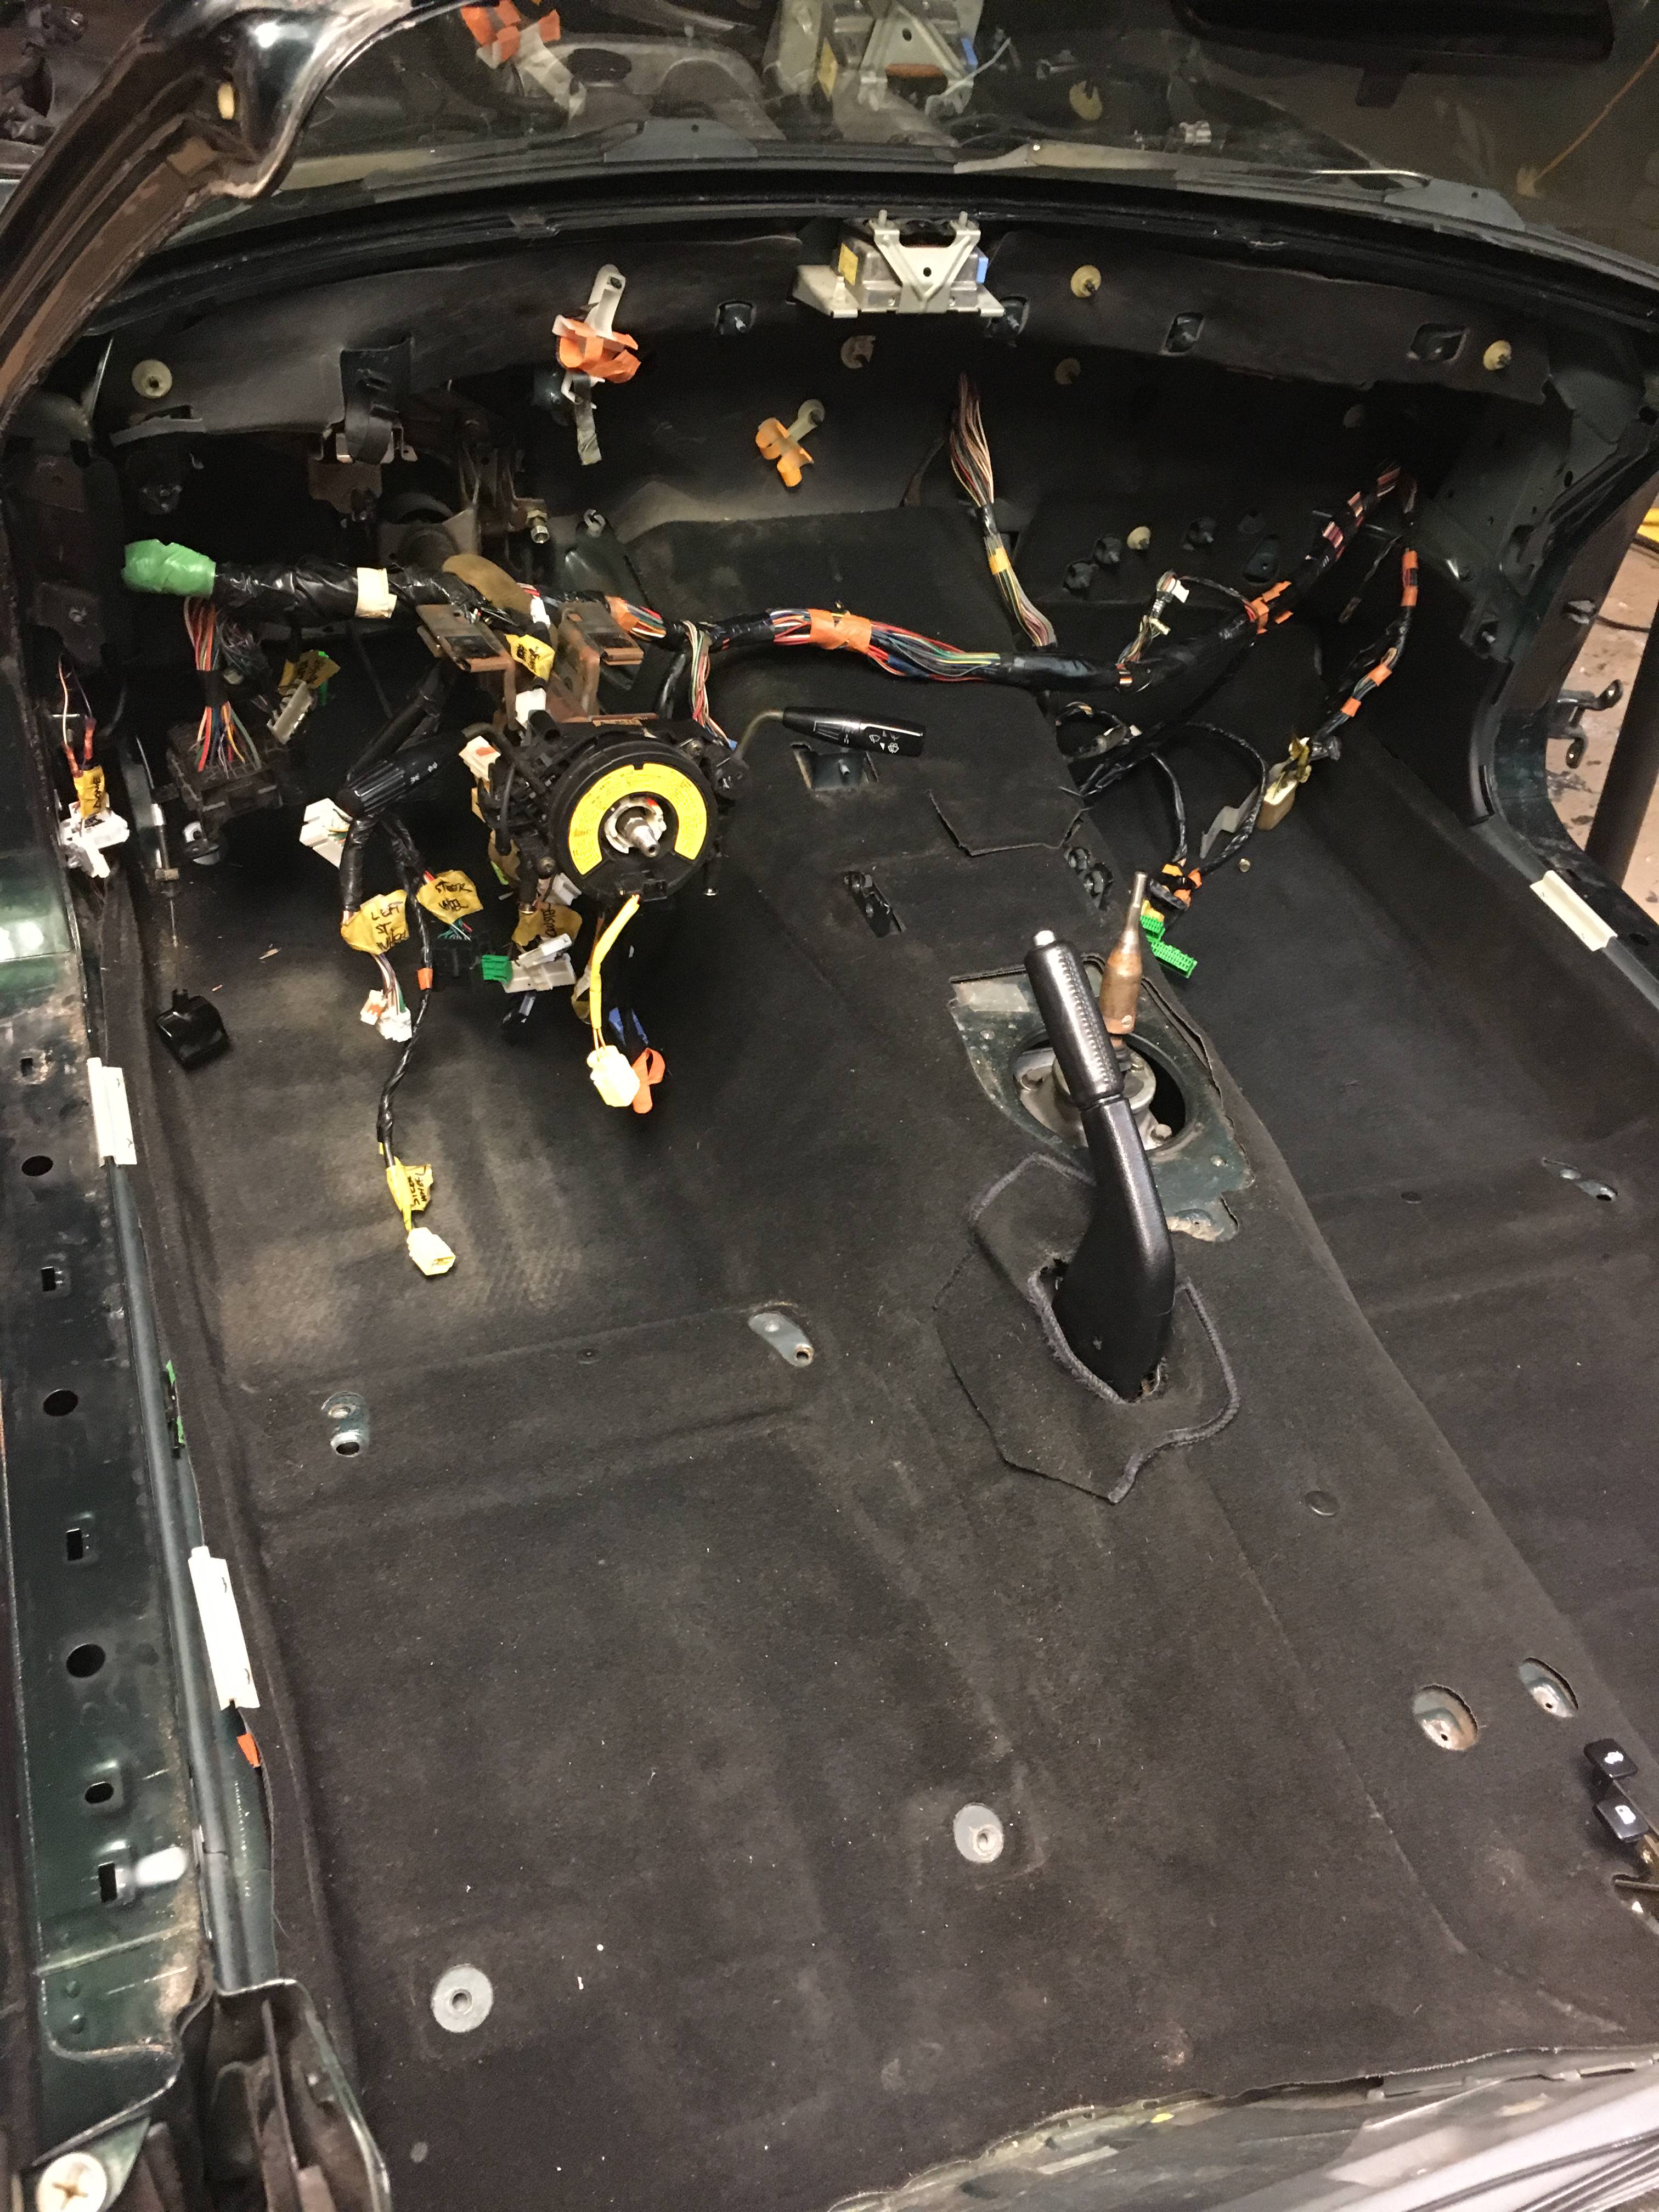
Next was the engine wiring and disconnecting all of the brake and fuel lines. I'll be honest, I'm seriously hoping I can remember where all of the vacuum and fuel lines go once I start putting this thing back together. I took lots of pictures so I'm hoping that and the service manual get me through it.
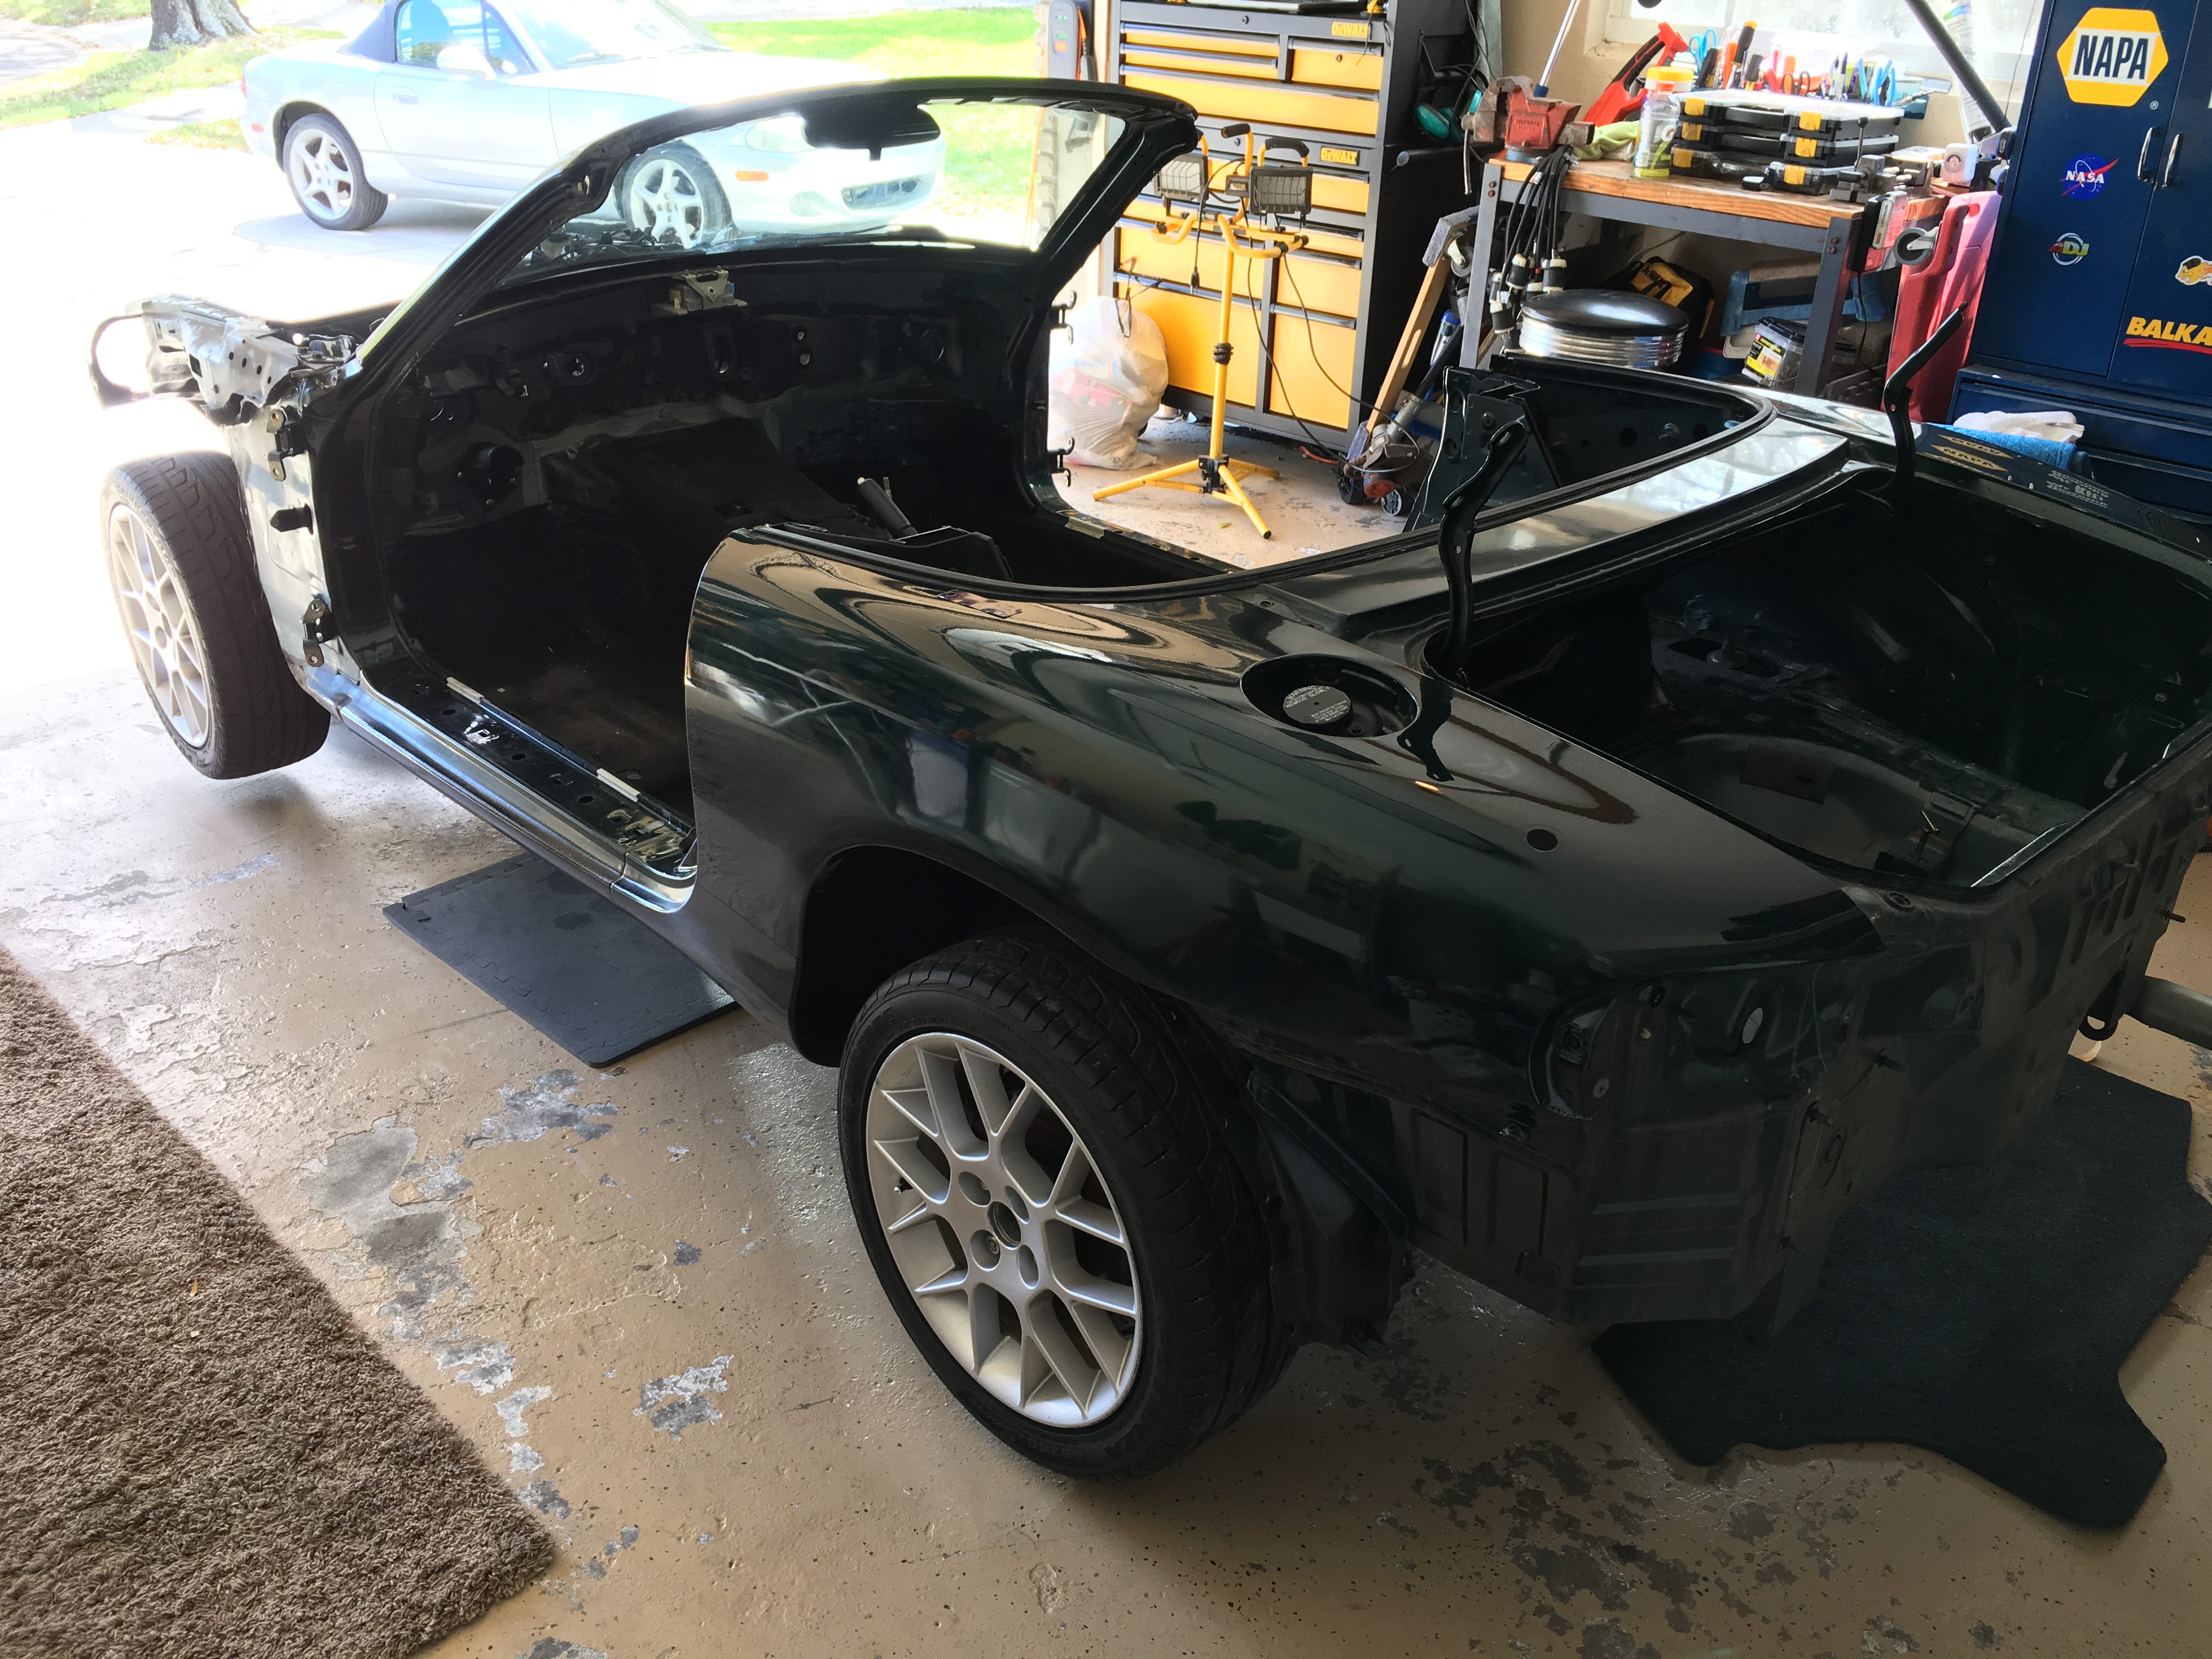
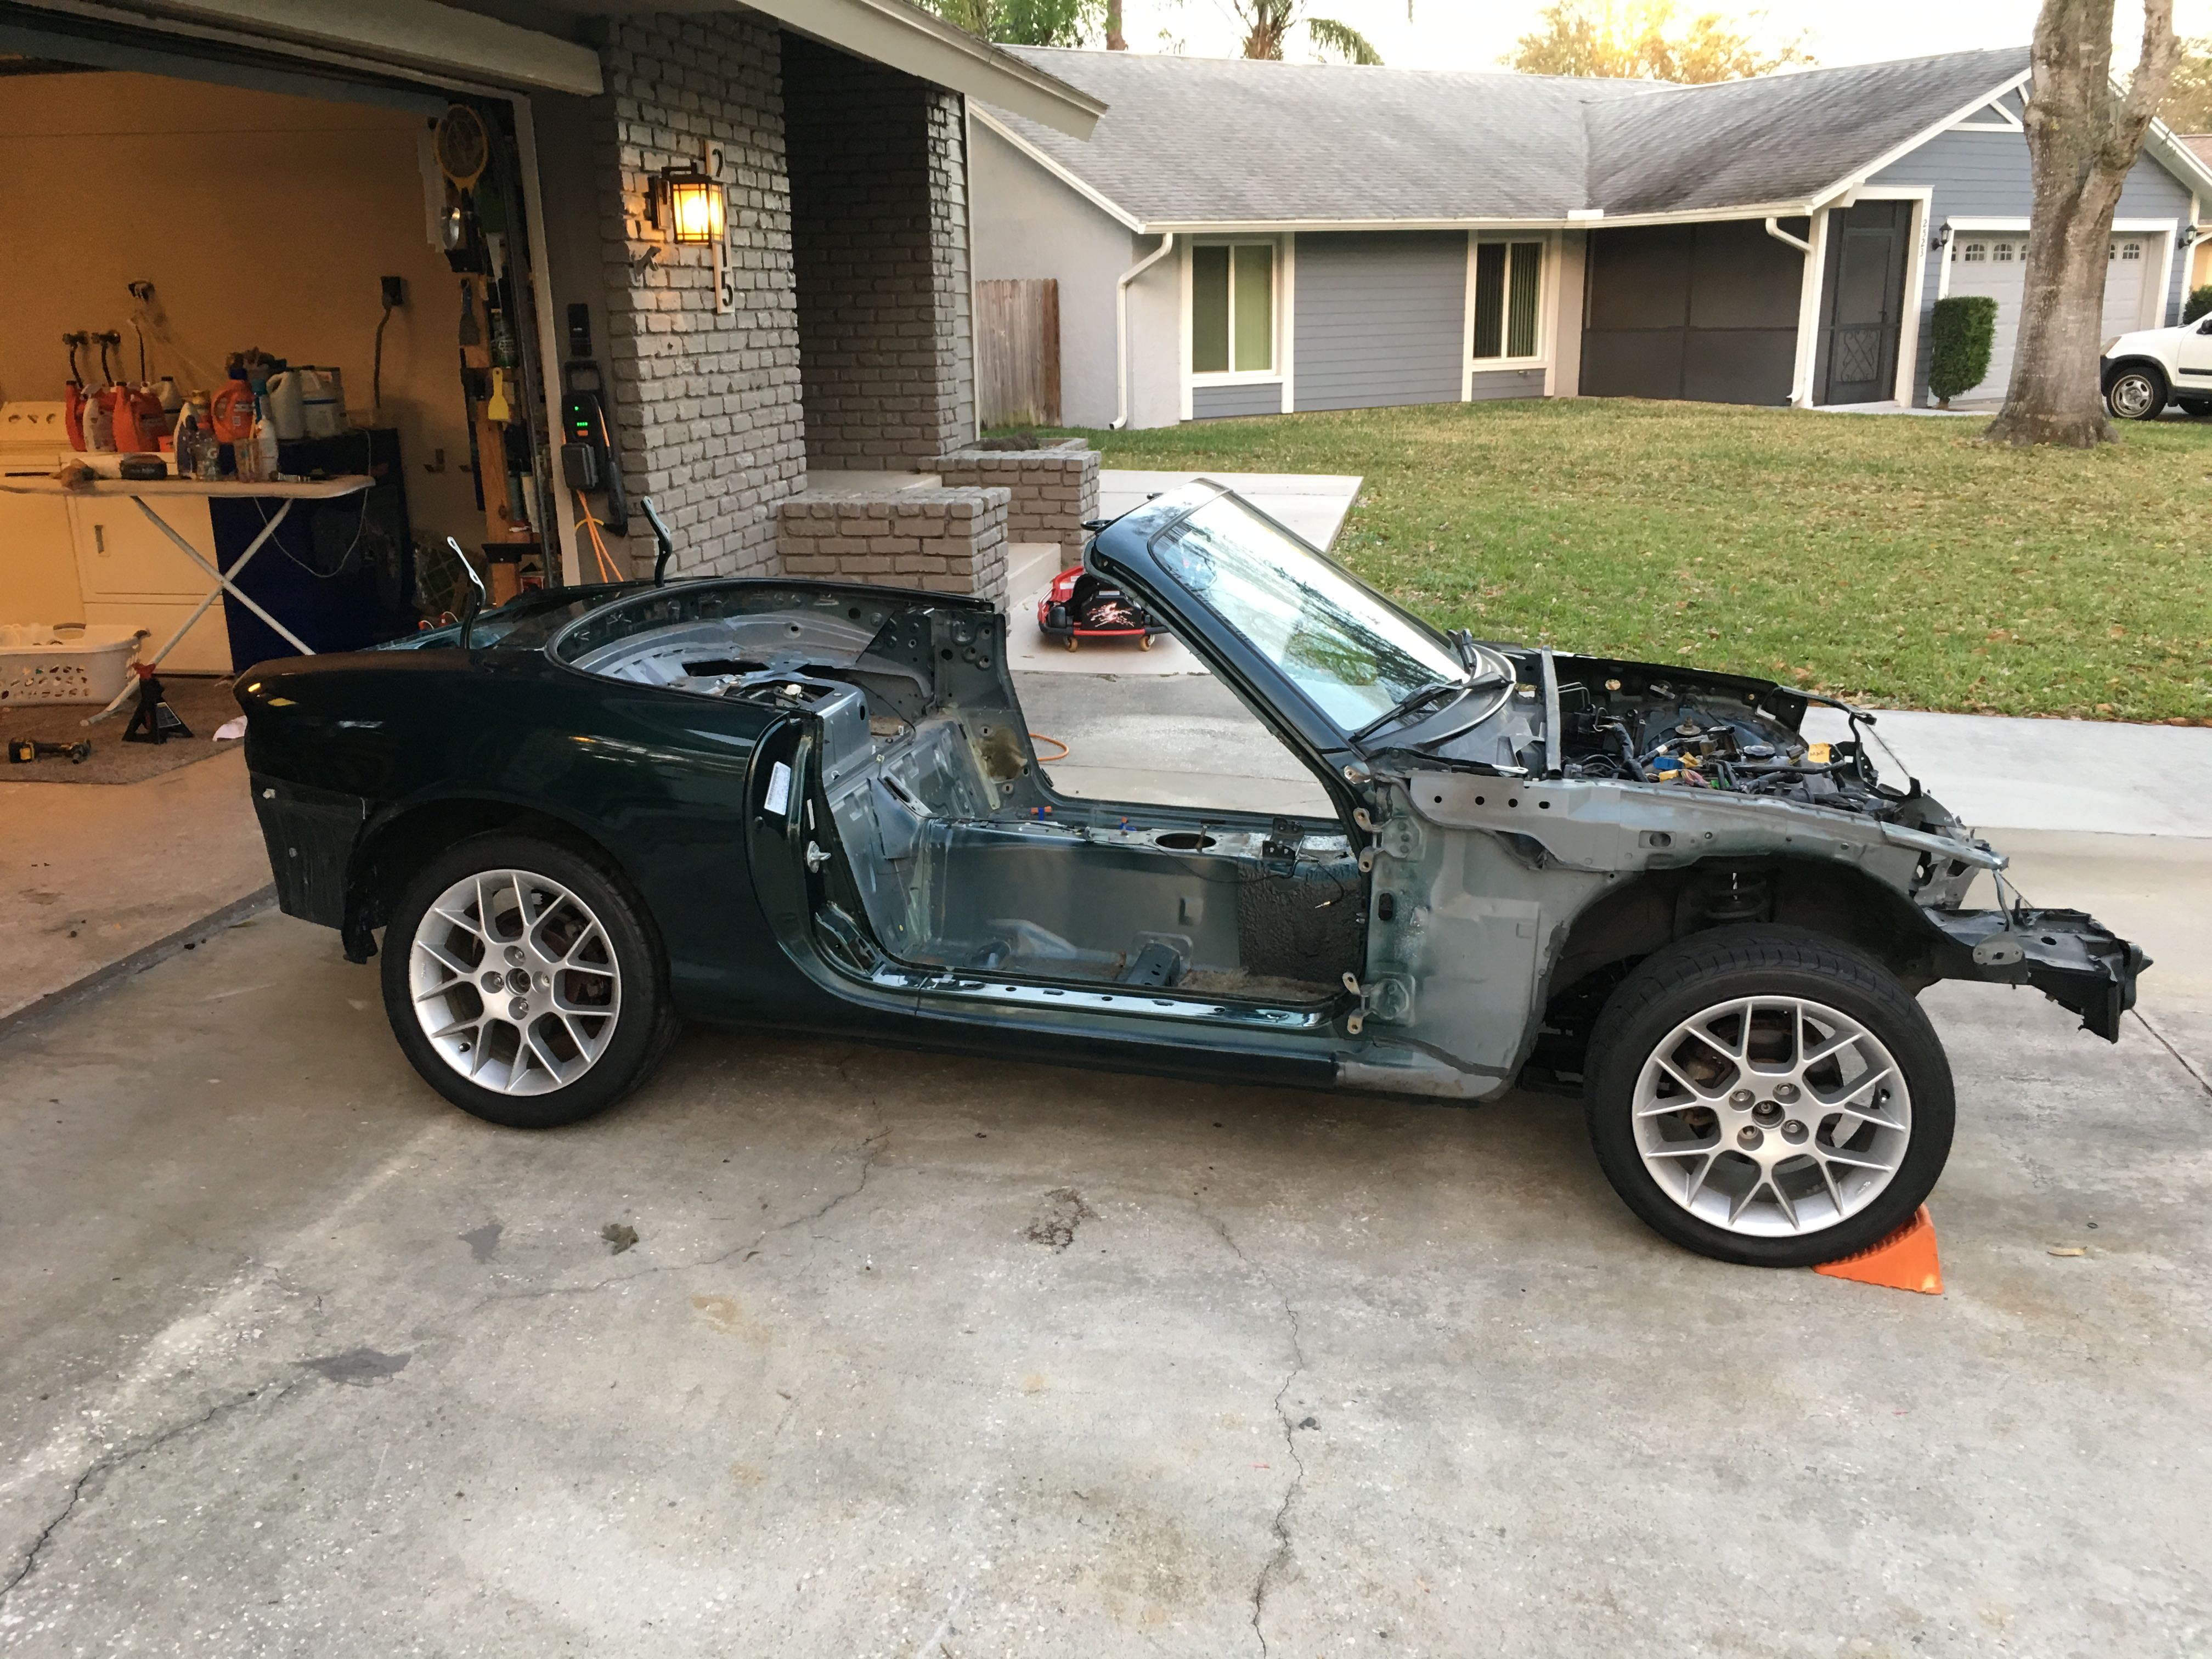
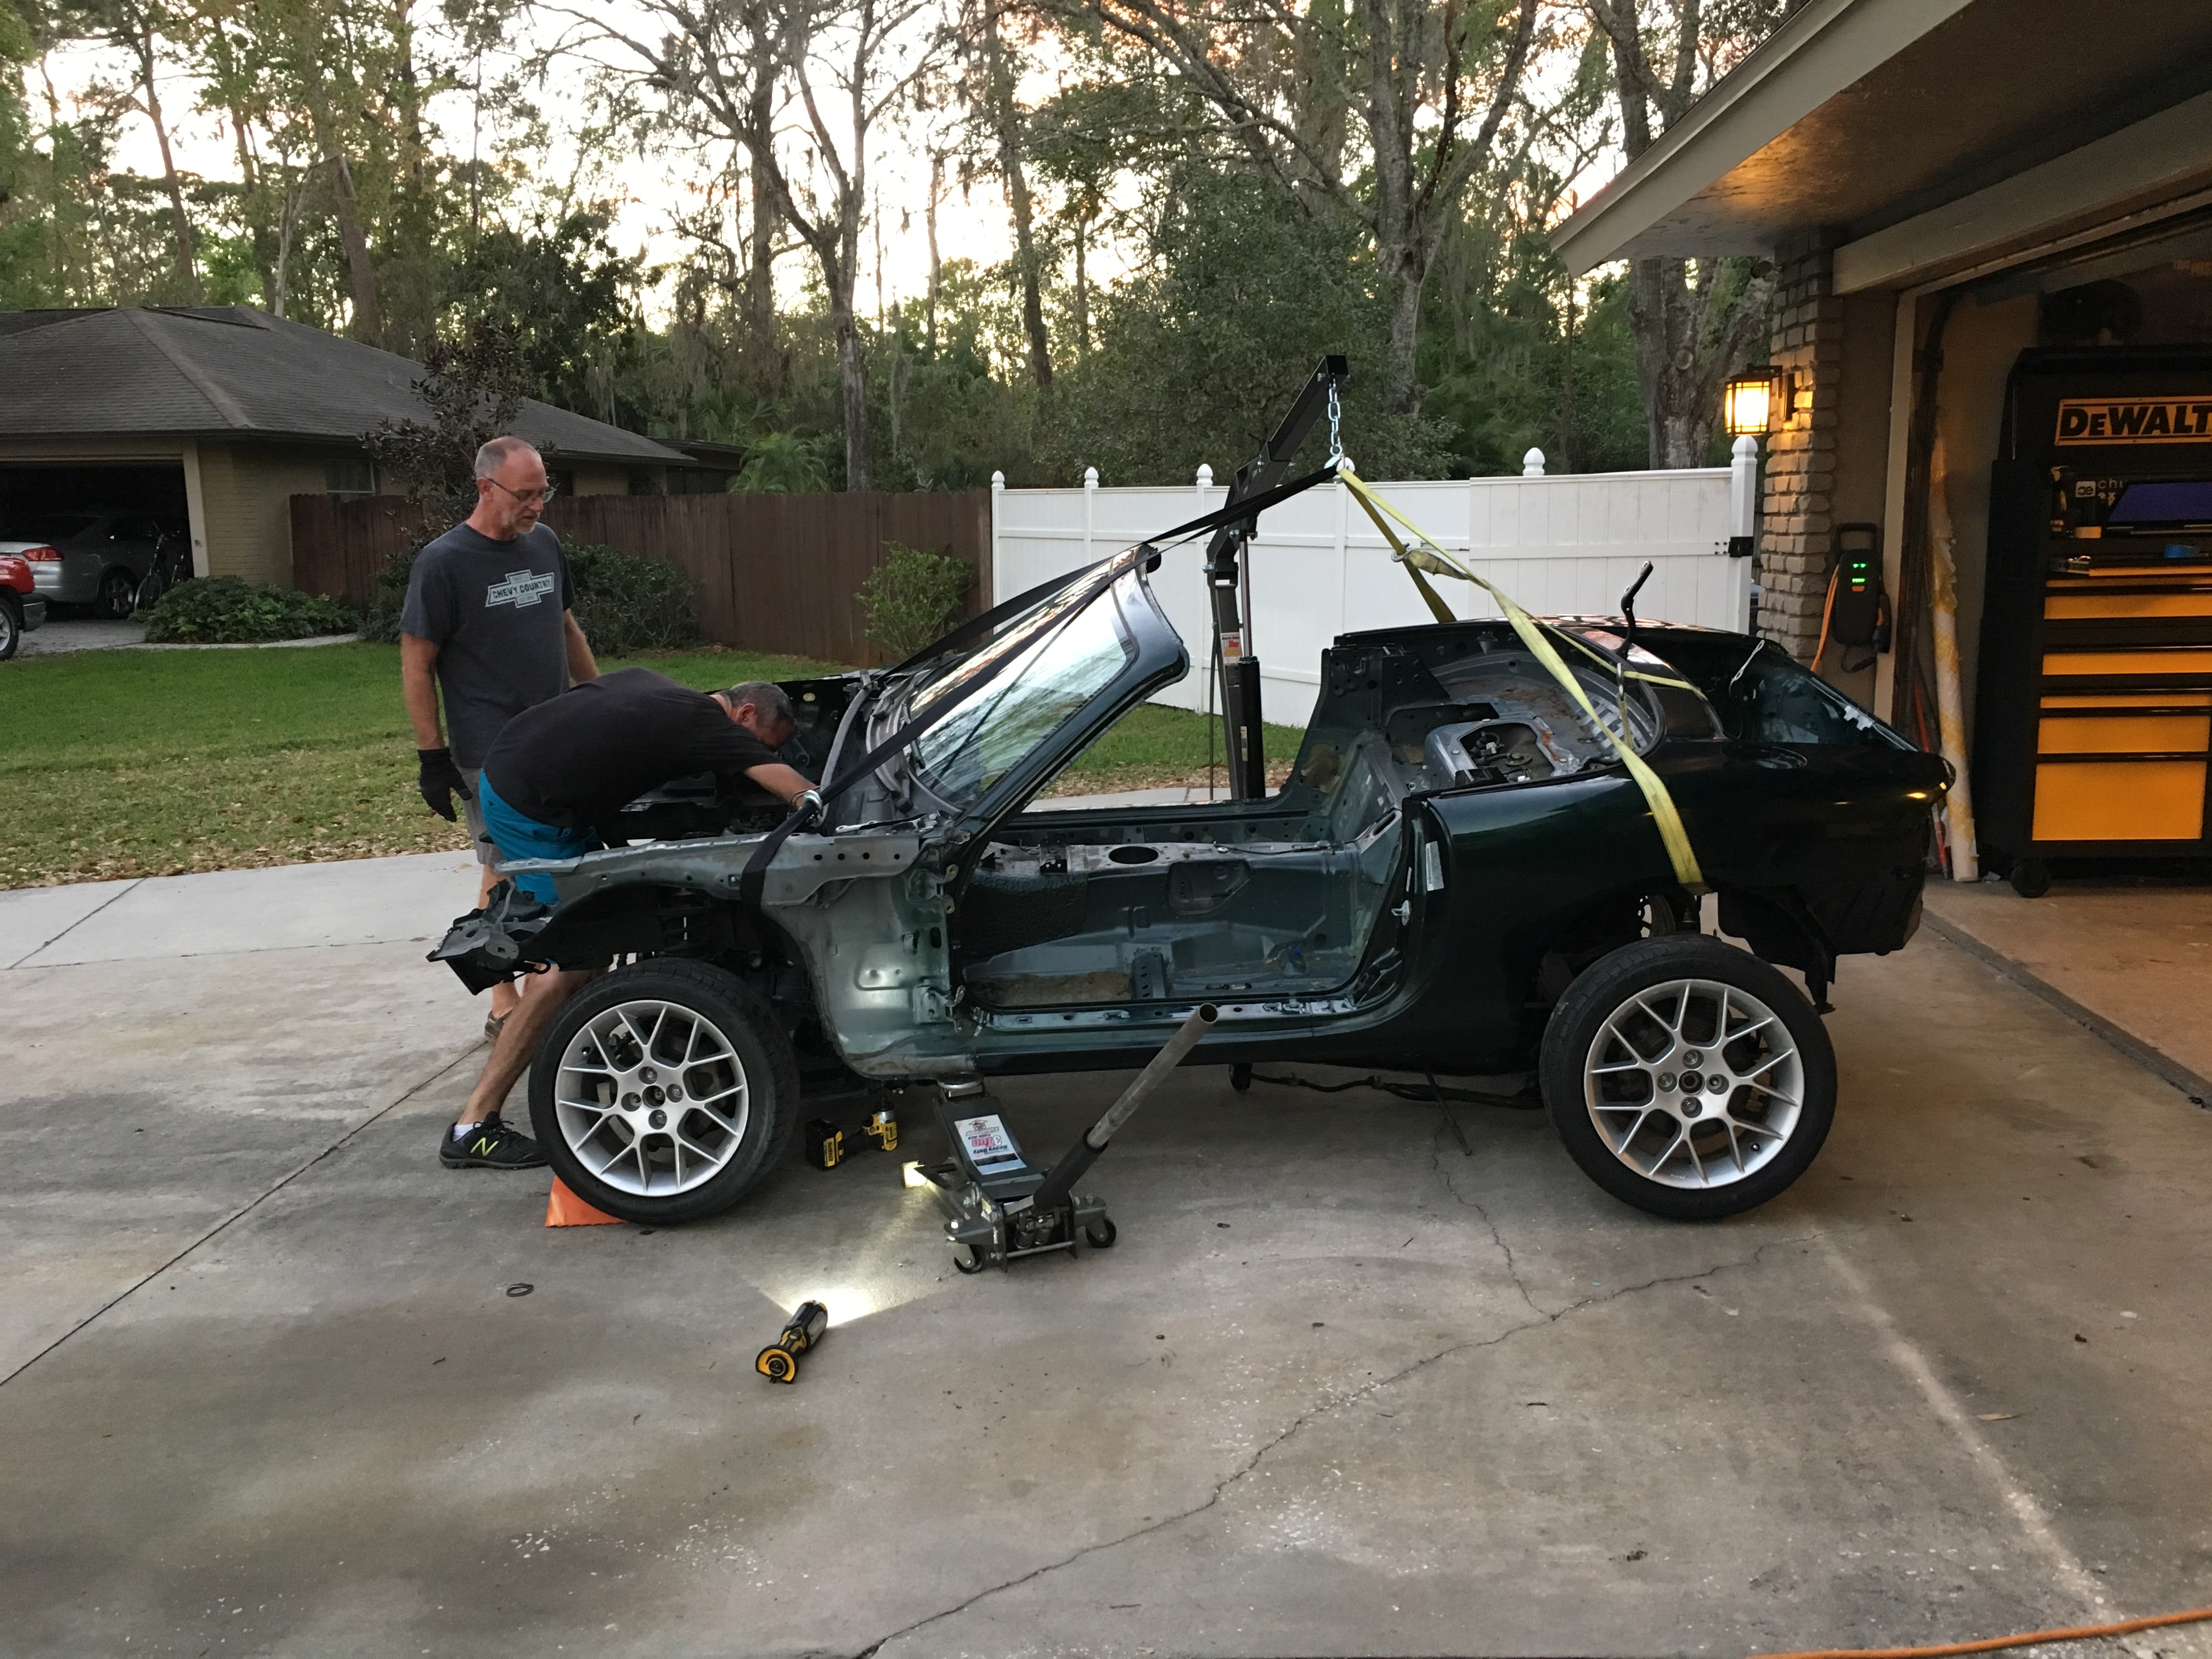
The big day finally arrived to separate the body from the PPF. I made several mistakes here because I was too damn excited to think straight. I should have gotten a better and lower attachment point for my straps. A chain would have been way better. I barely cleared the PPF and at one point thought I ripped my stick shift clean out of the car. Everything went without too much drama though until I got the body clear of the PPF. I was trying to position it off to the side of the driveway when one of the straps slipped out of the hoist hook. Down came the car along with some of the skin of my wife's forearm. Nothing serious that Vodka couldn't heal but it was a little scary. Looking back on it I was lucky it didn't fall while we were lifting it over the PPF.
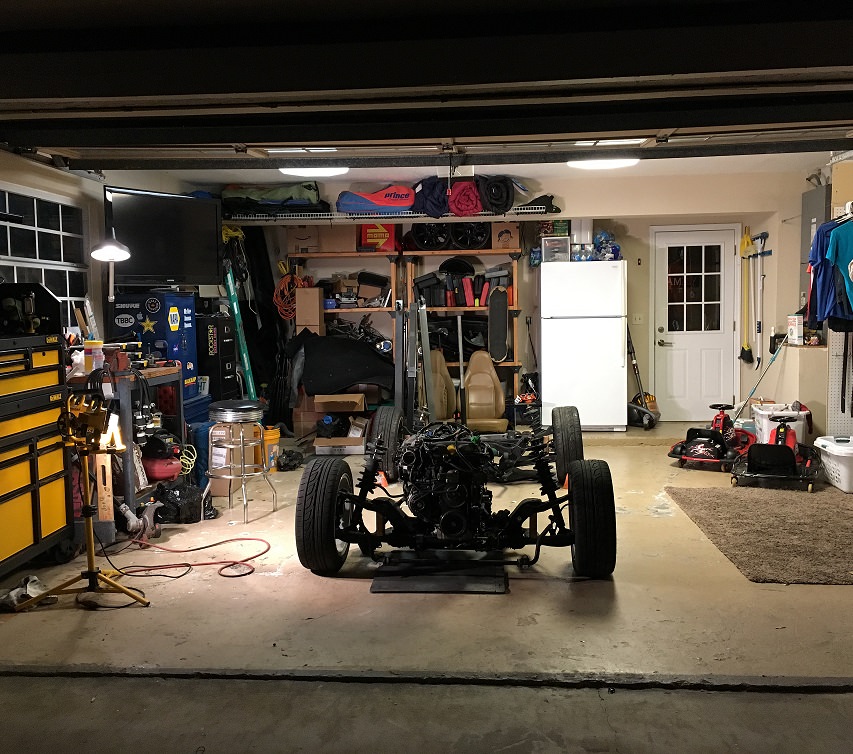
I wheeled it out of the garage to give me some room.
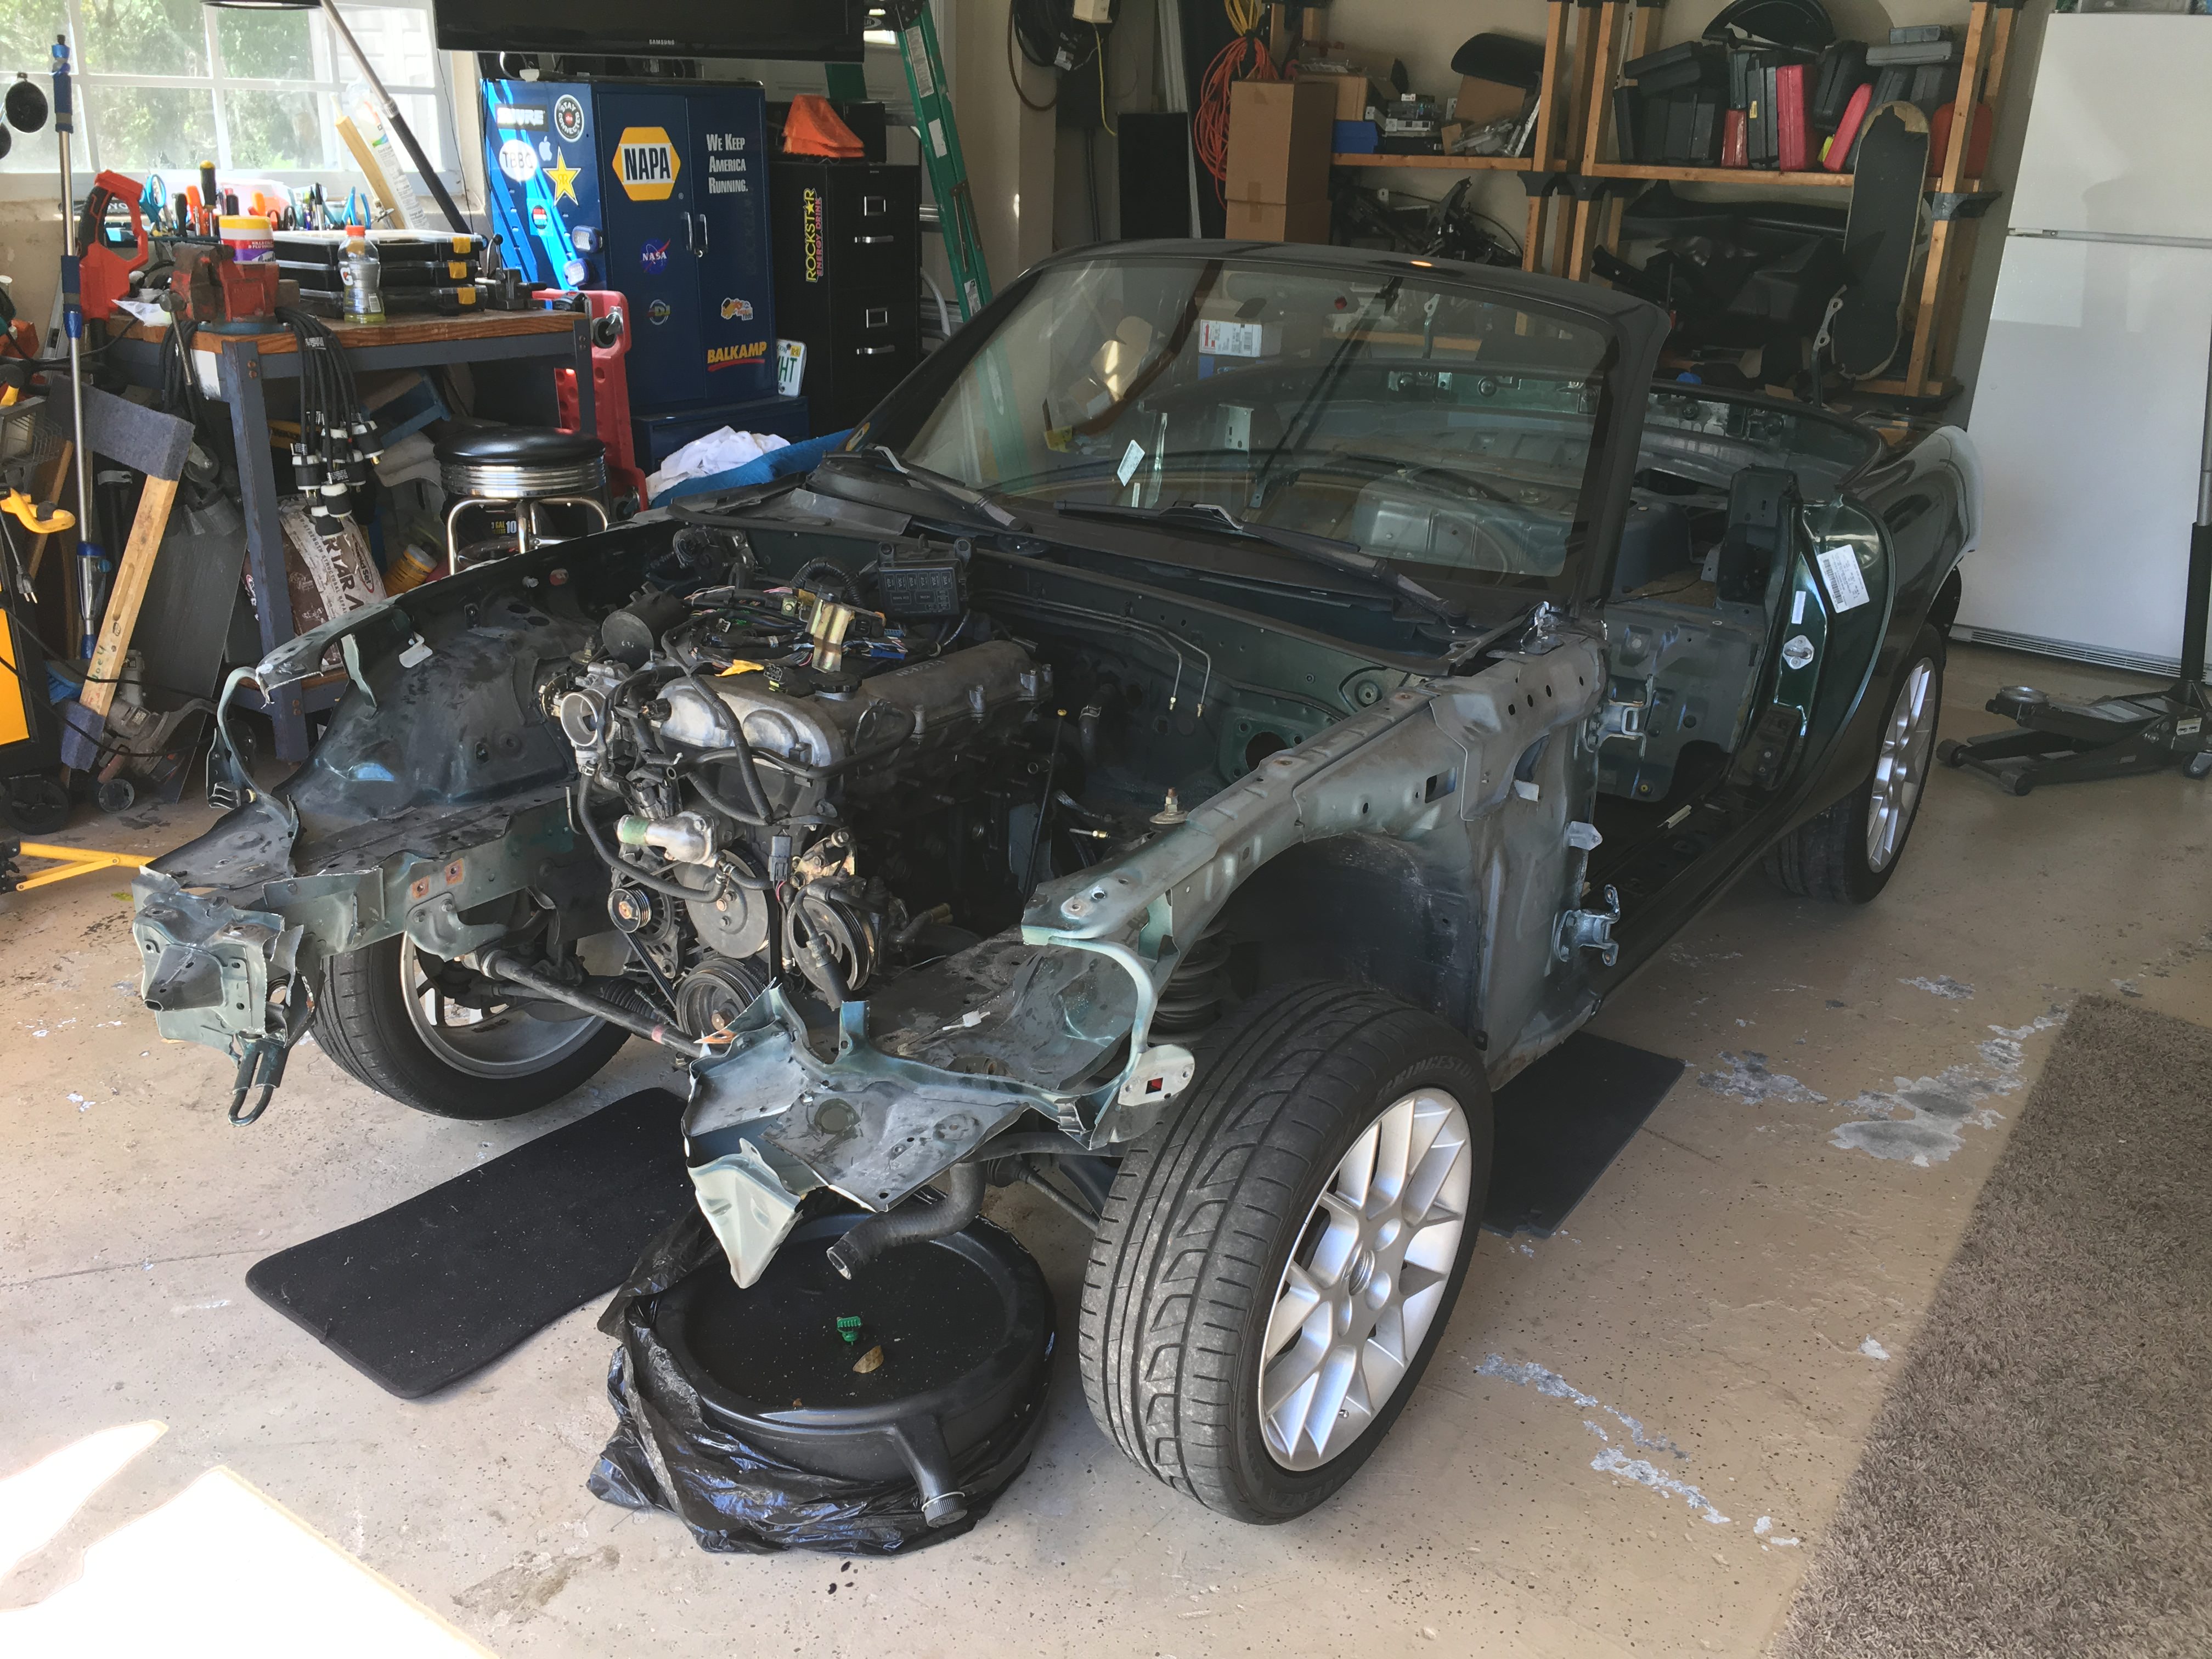
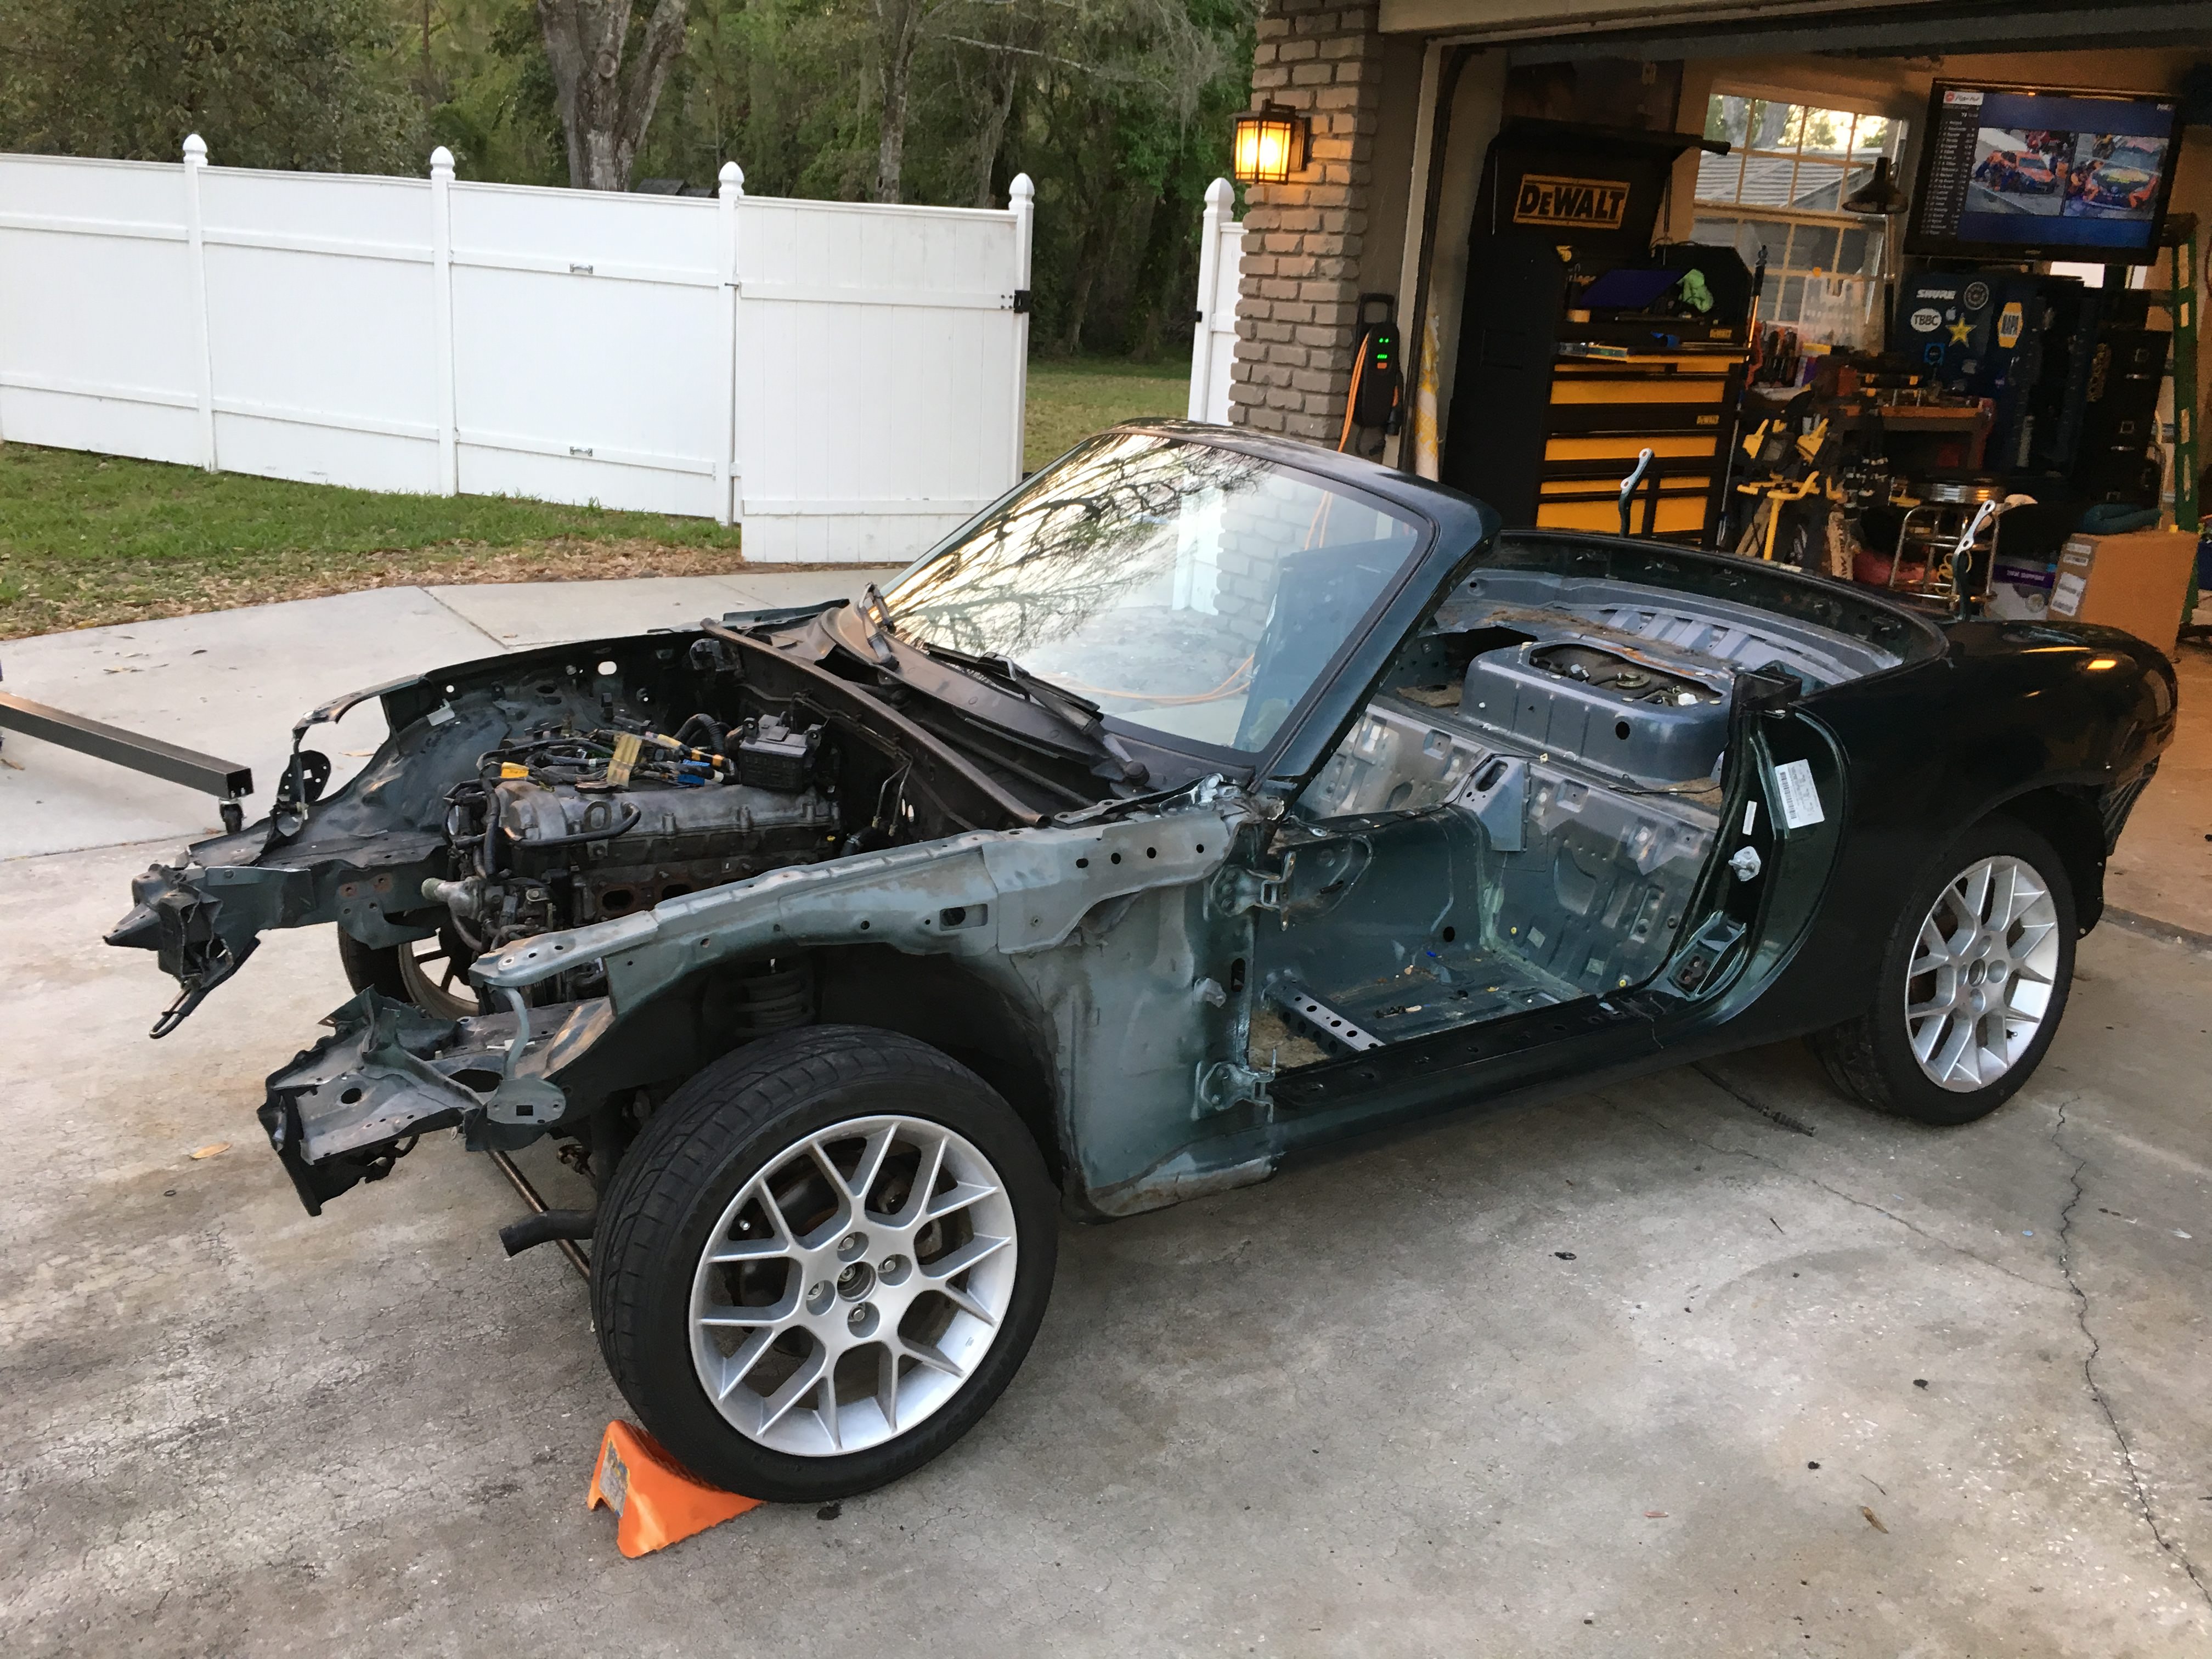
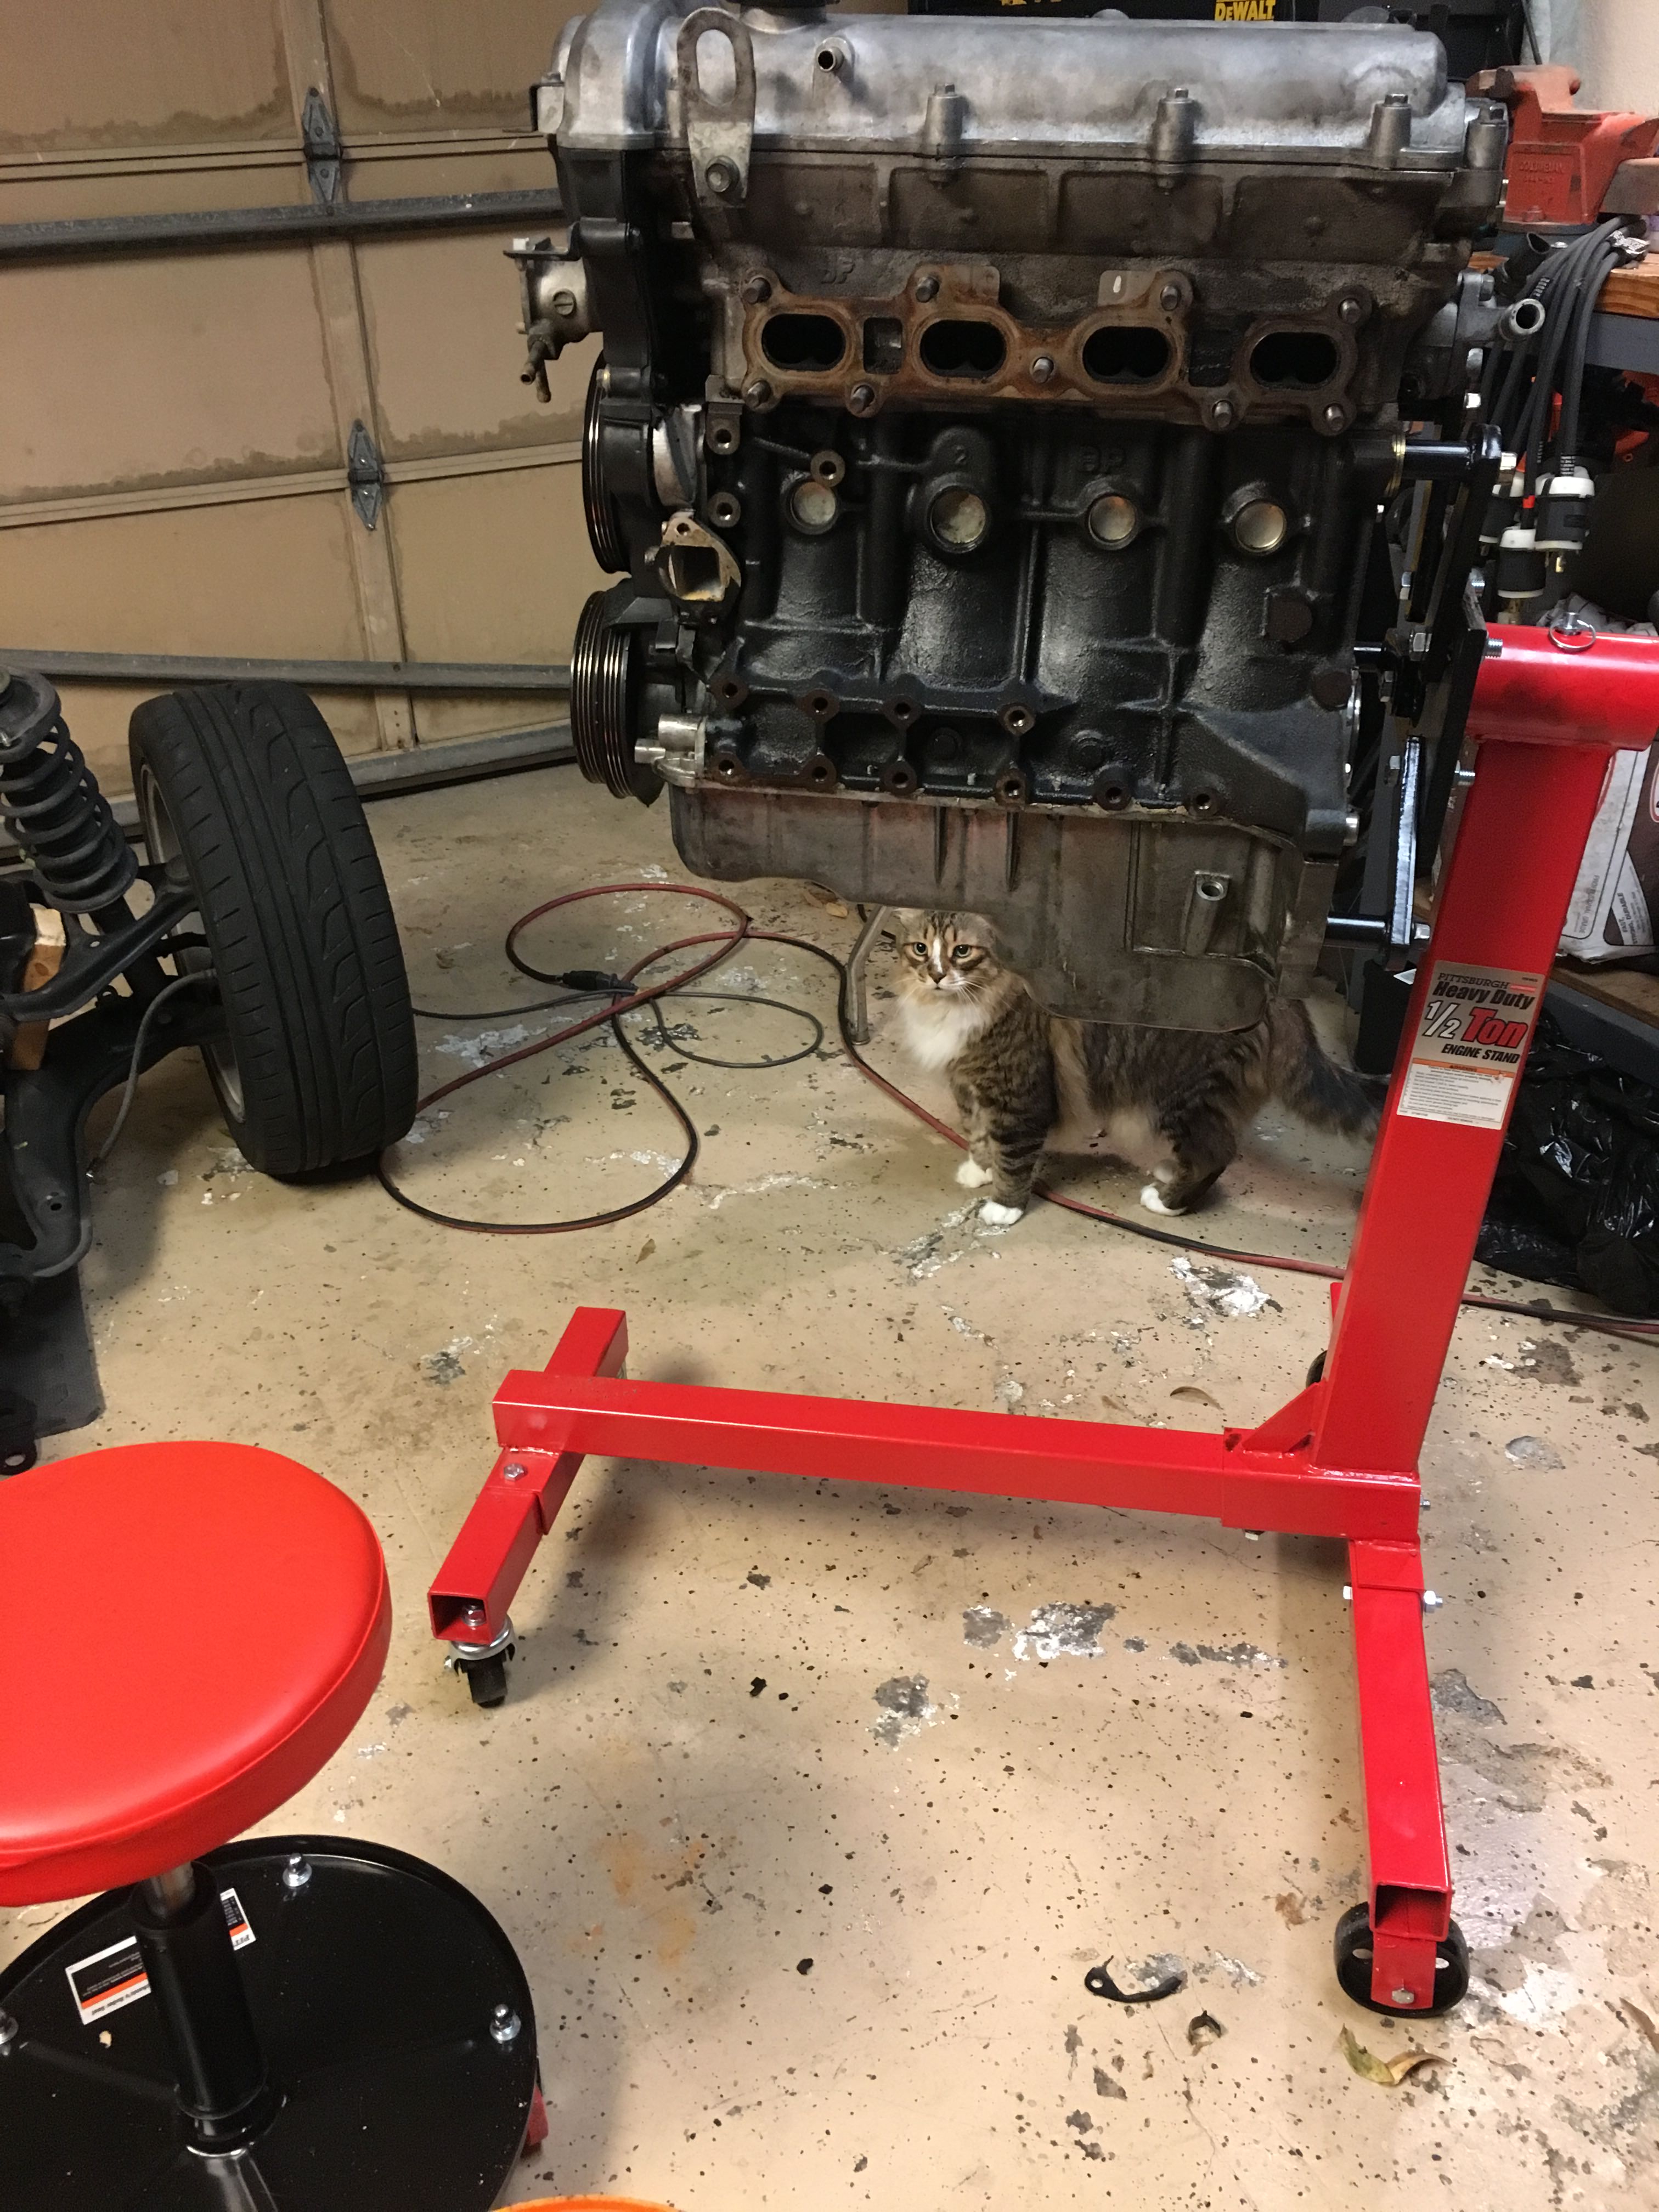
I will say it was a pretty good feeling to get that far in the build. It took about 2 weeks of nights and weekends to get the body removed from the skateboard. I started on removing the engine next.
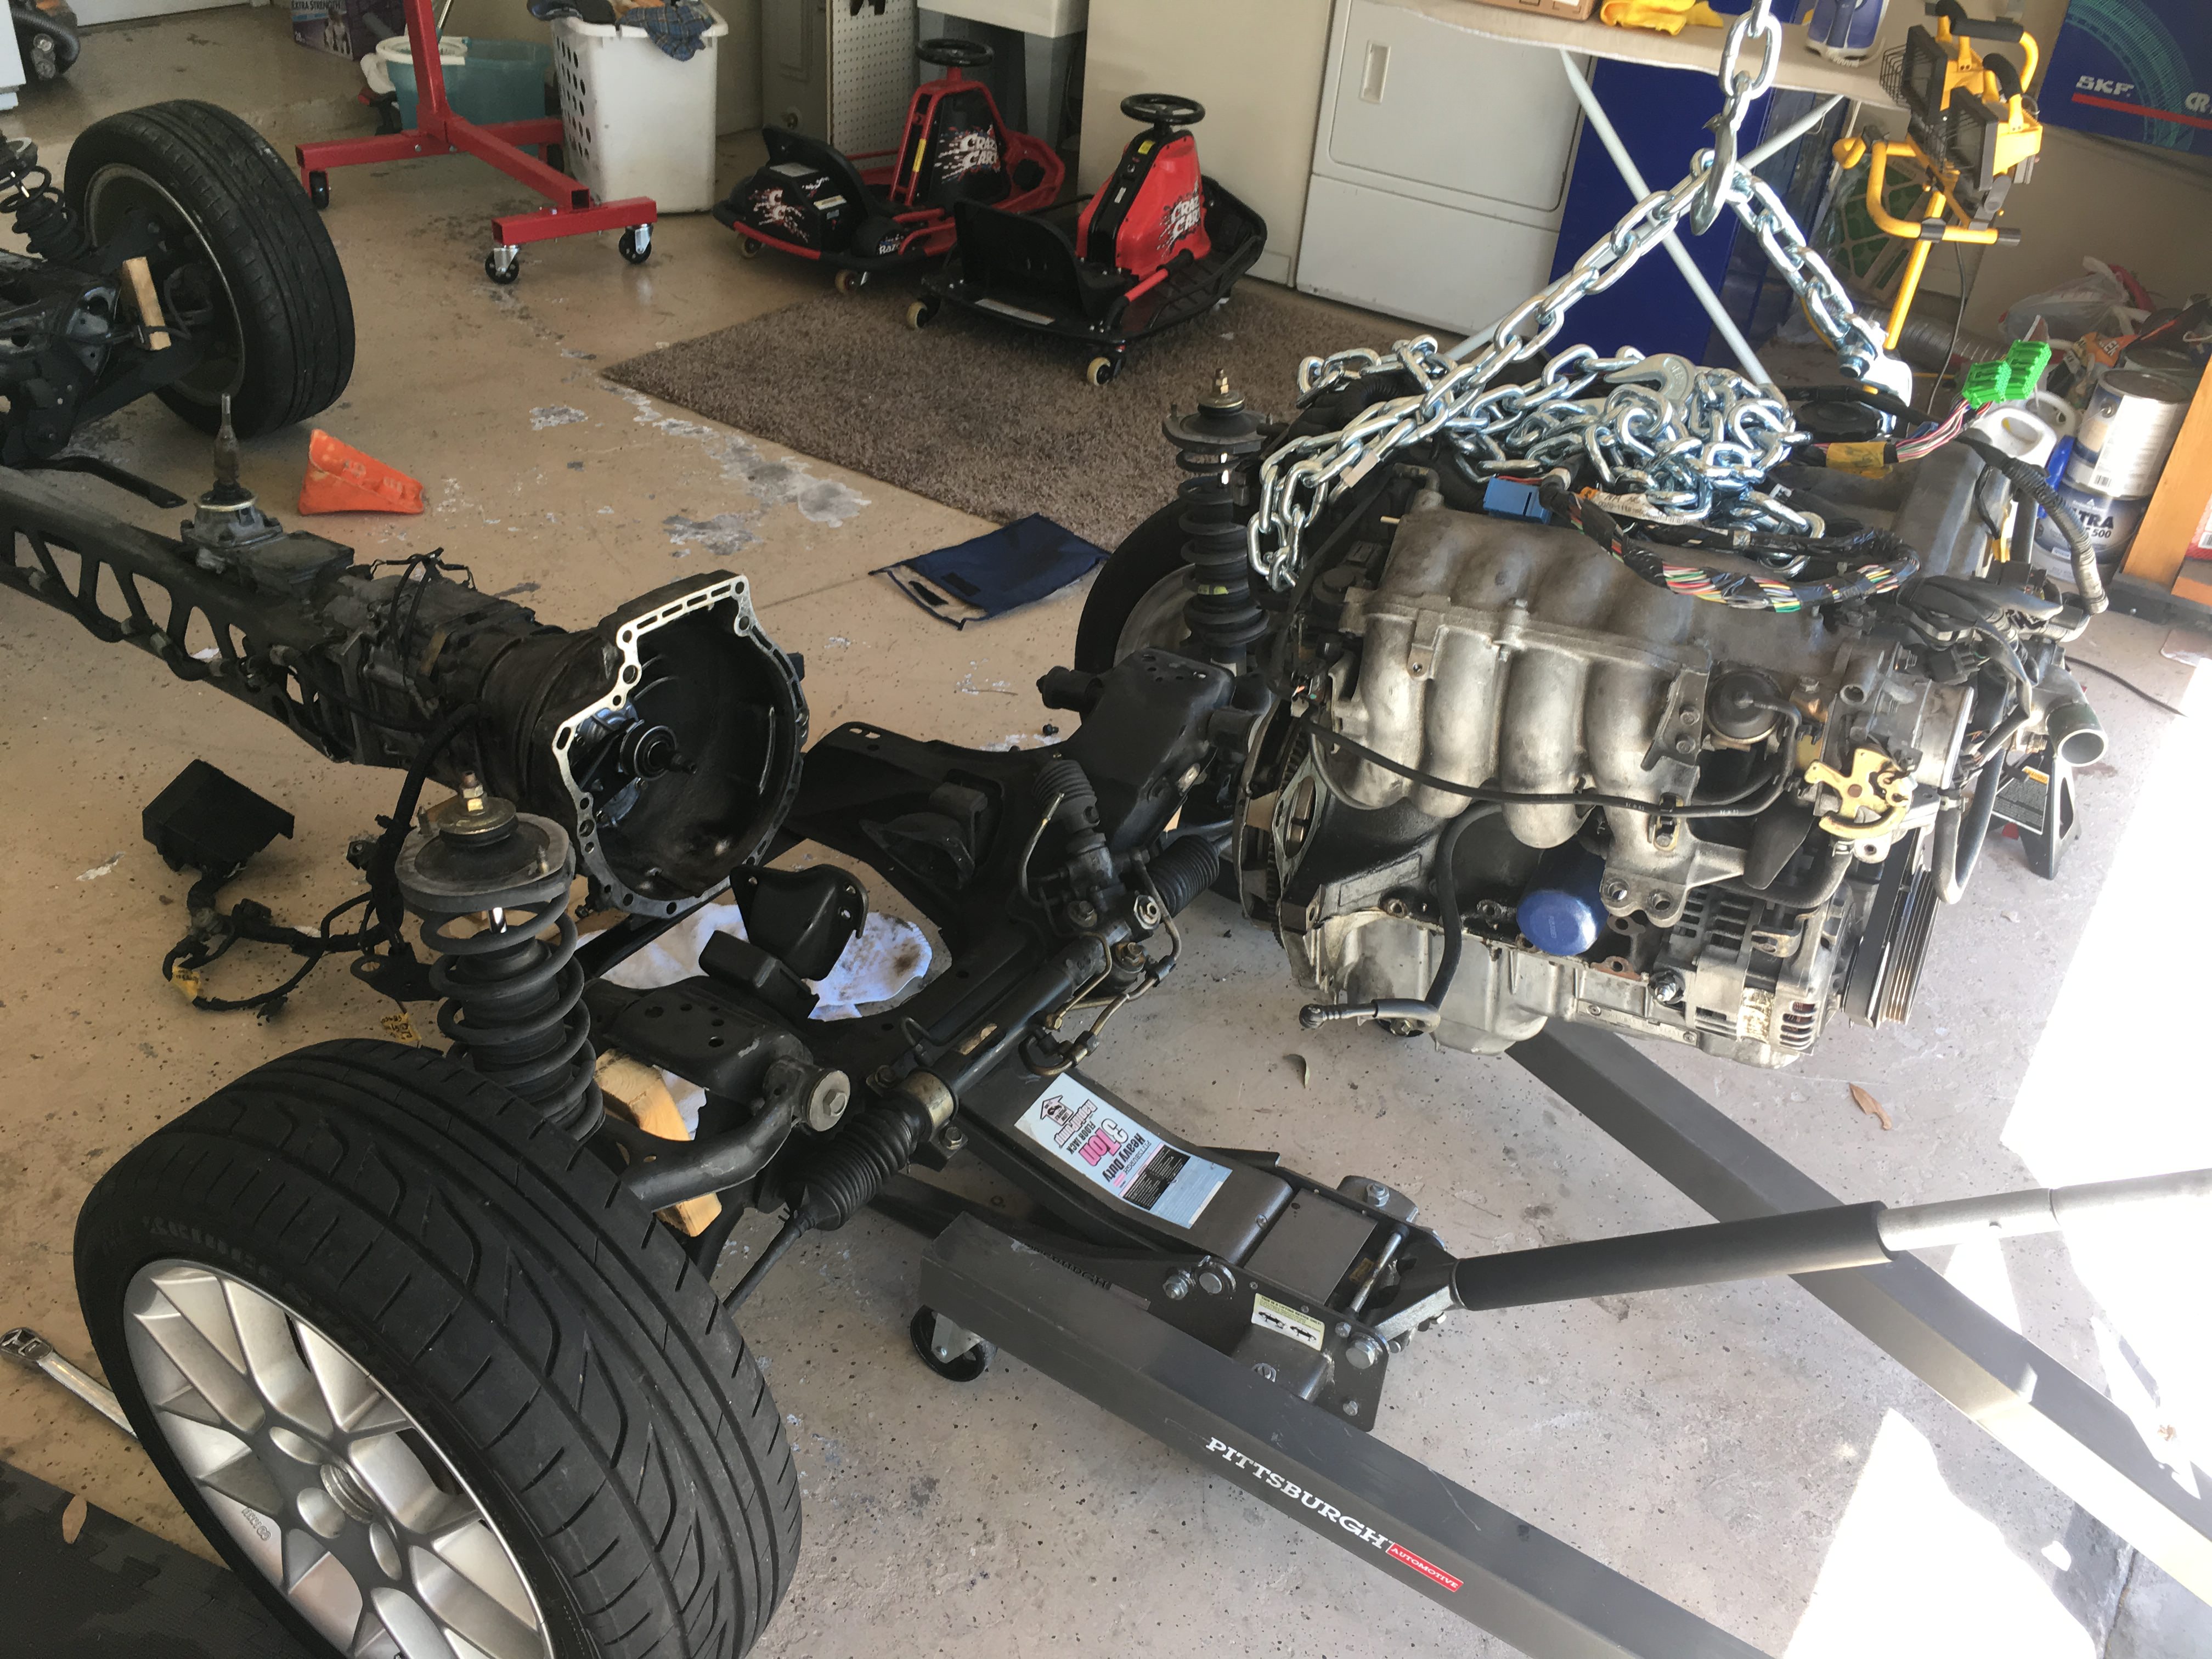
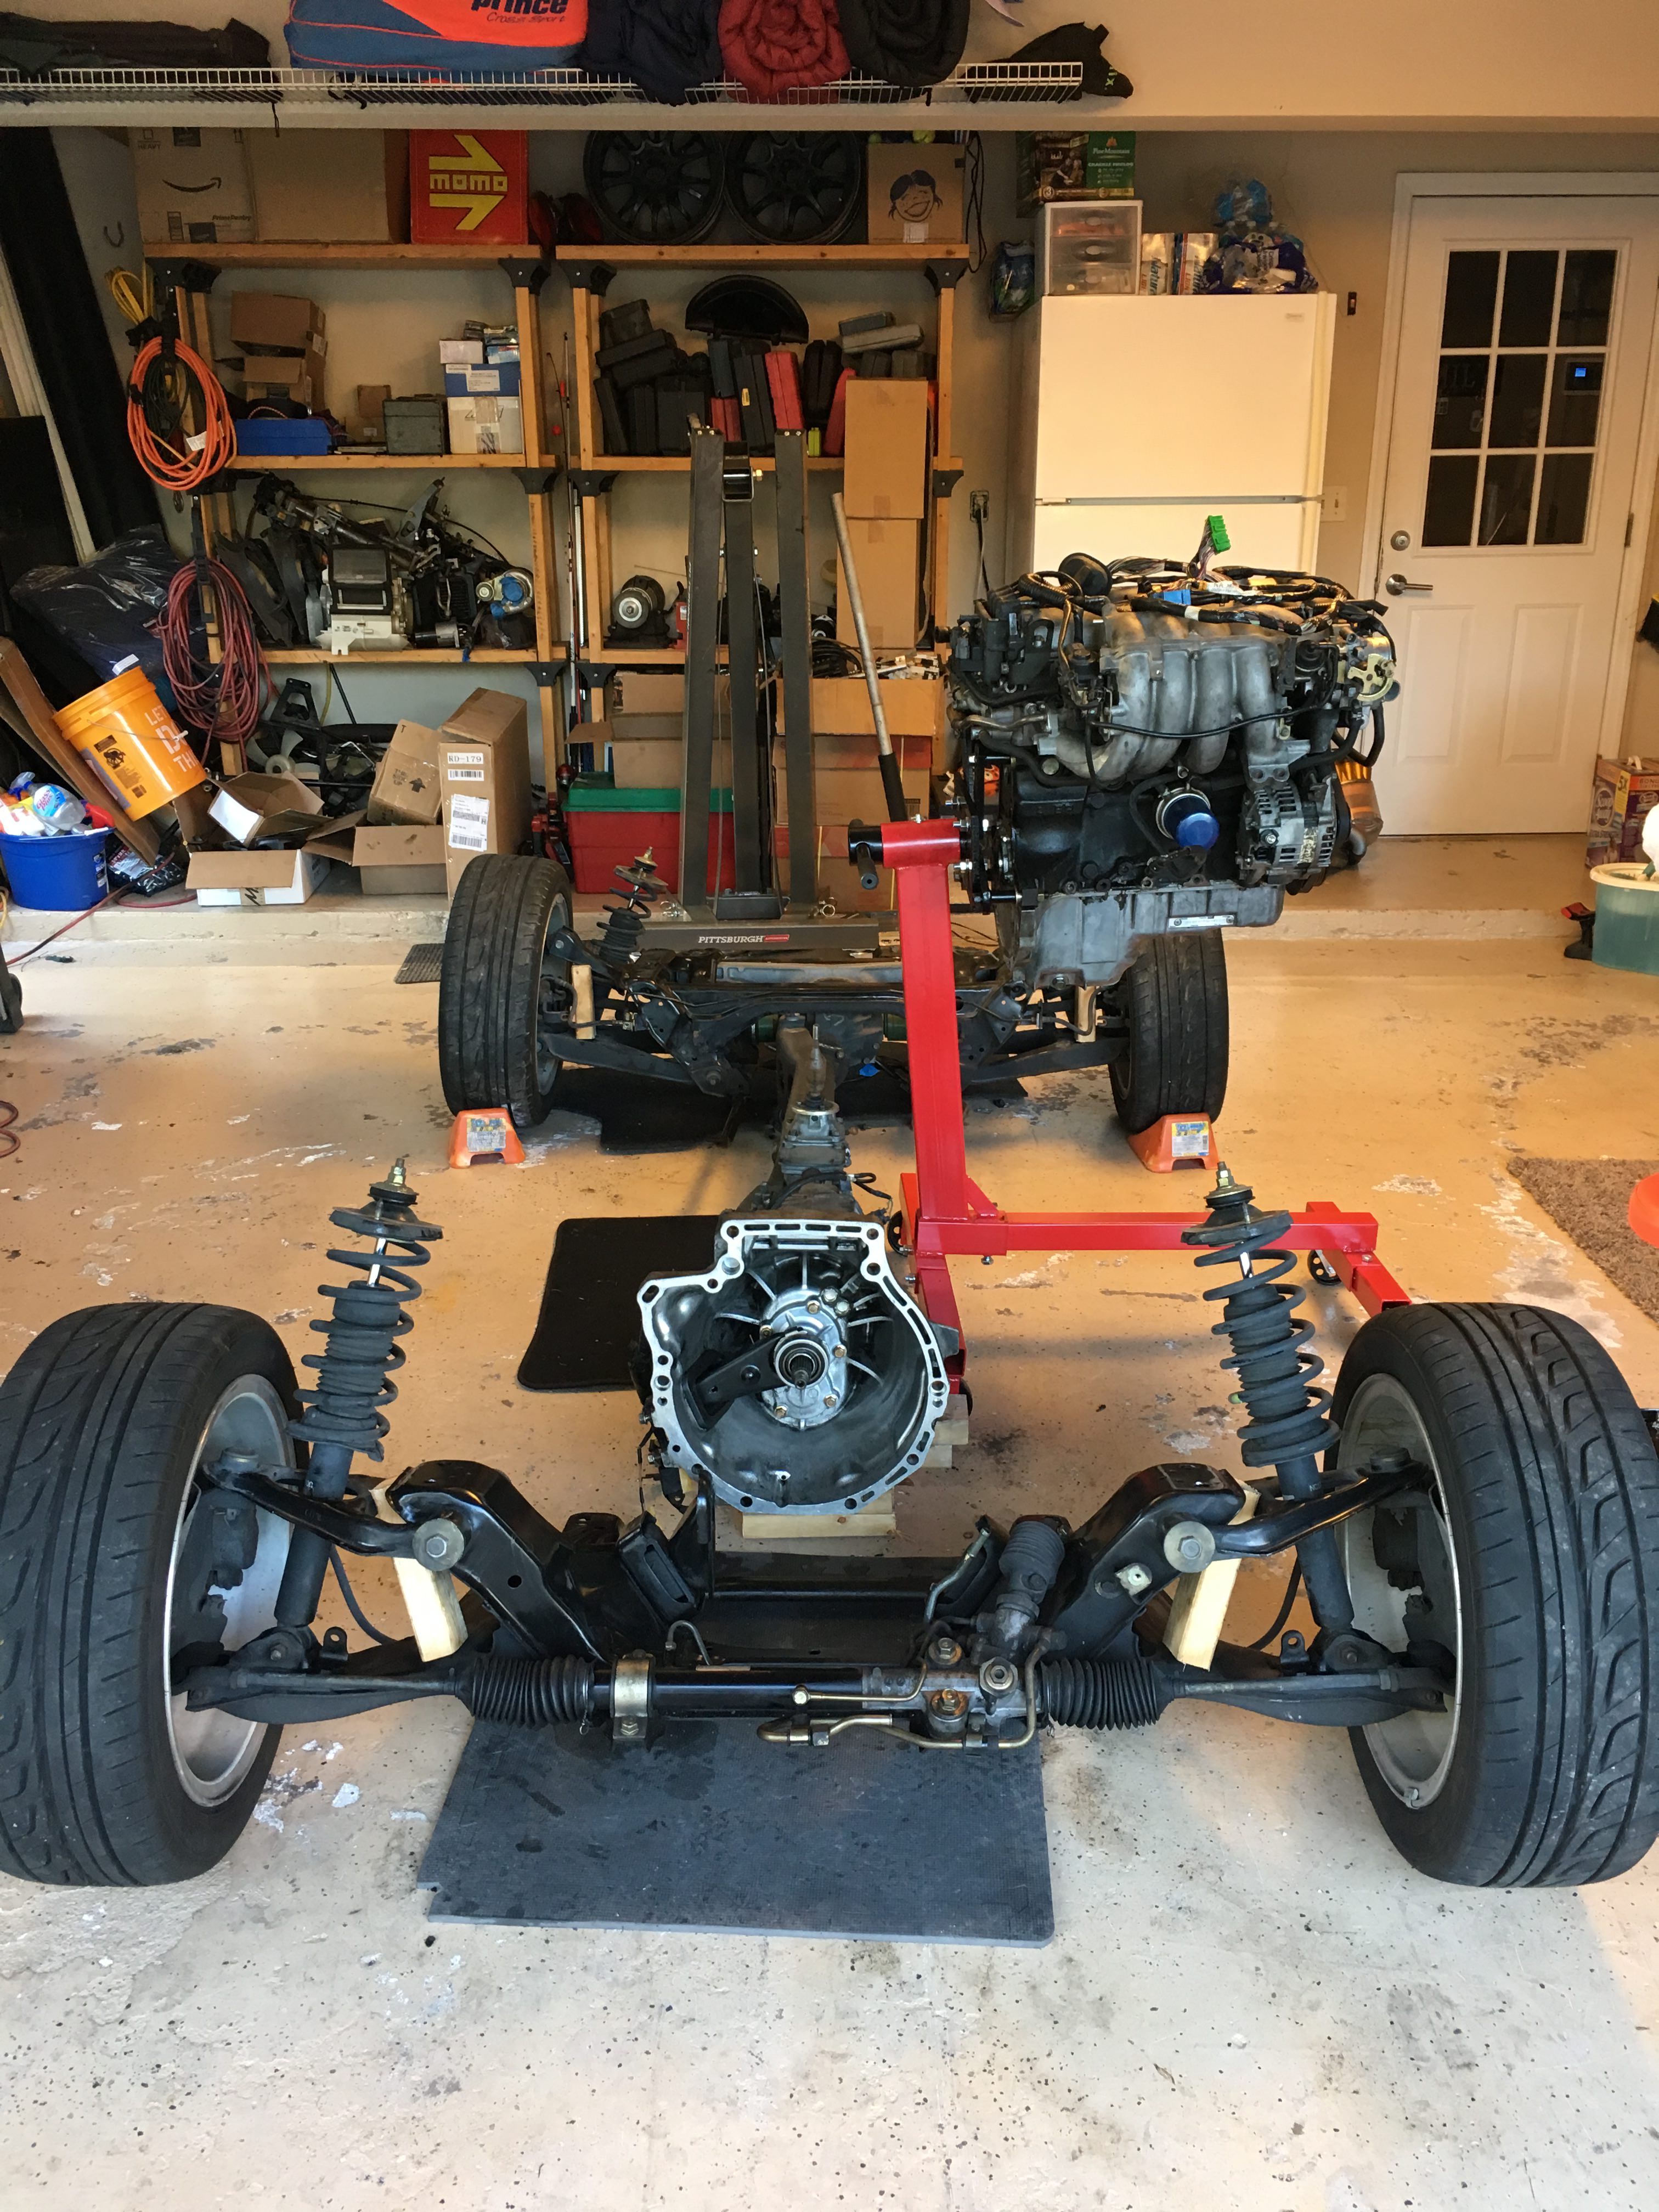
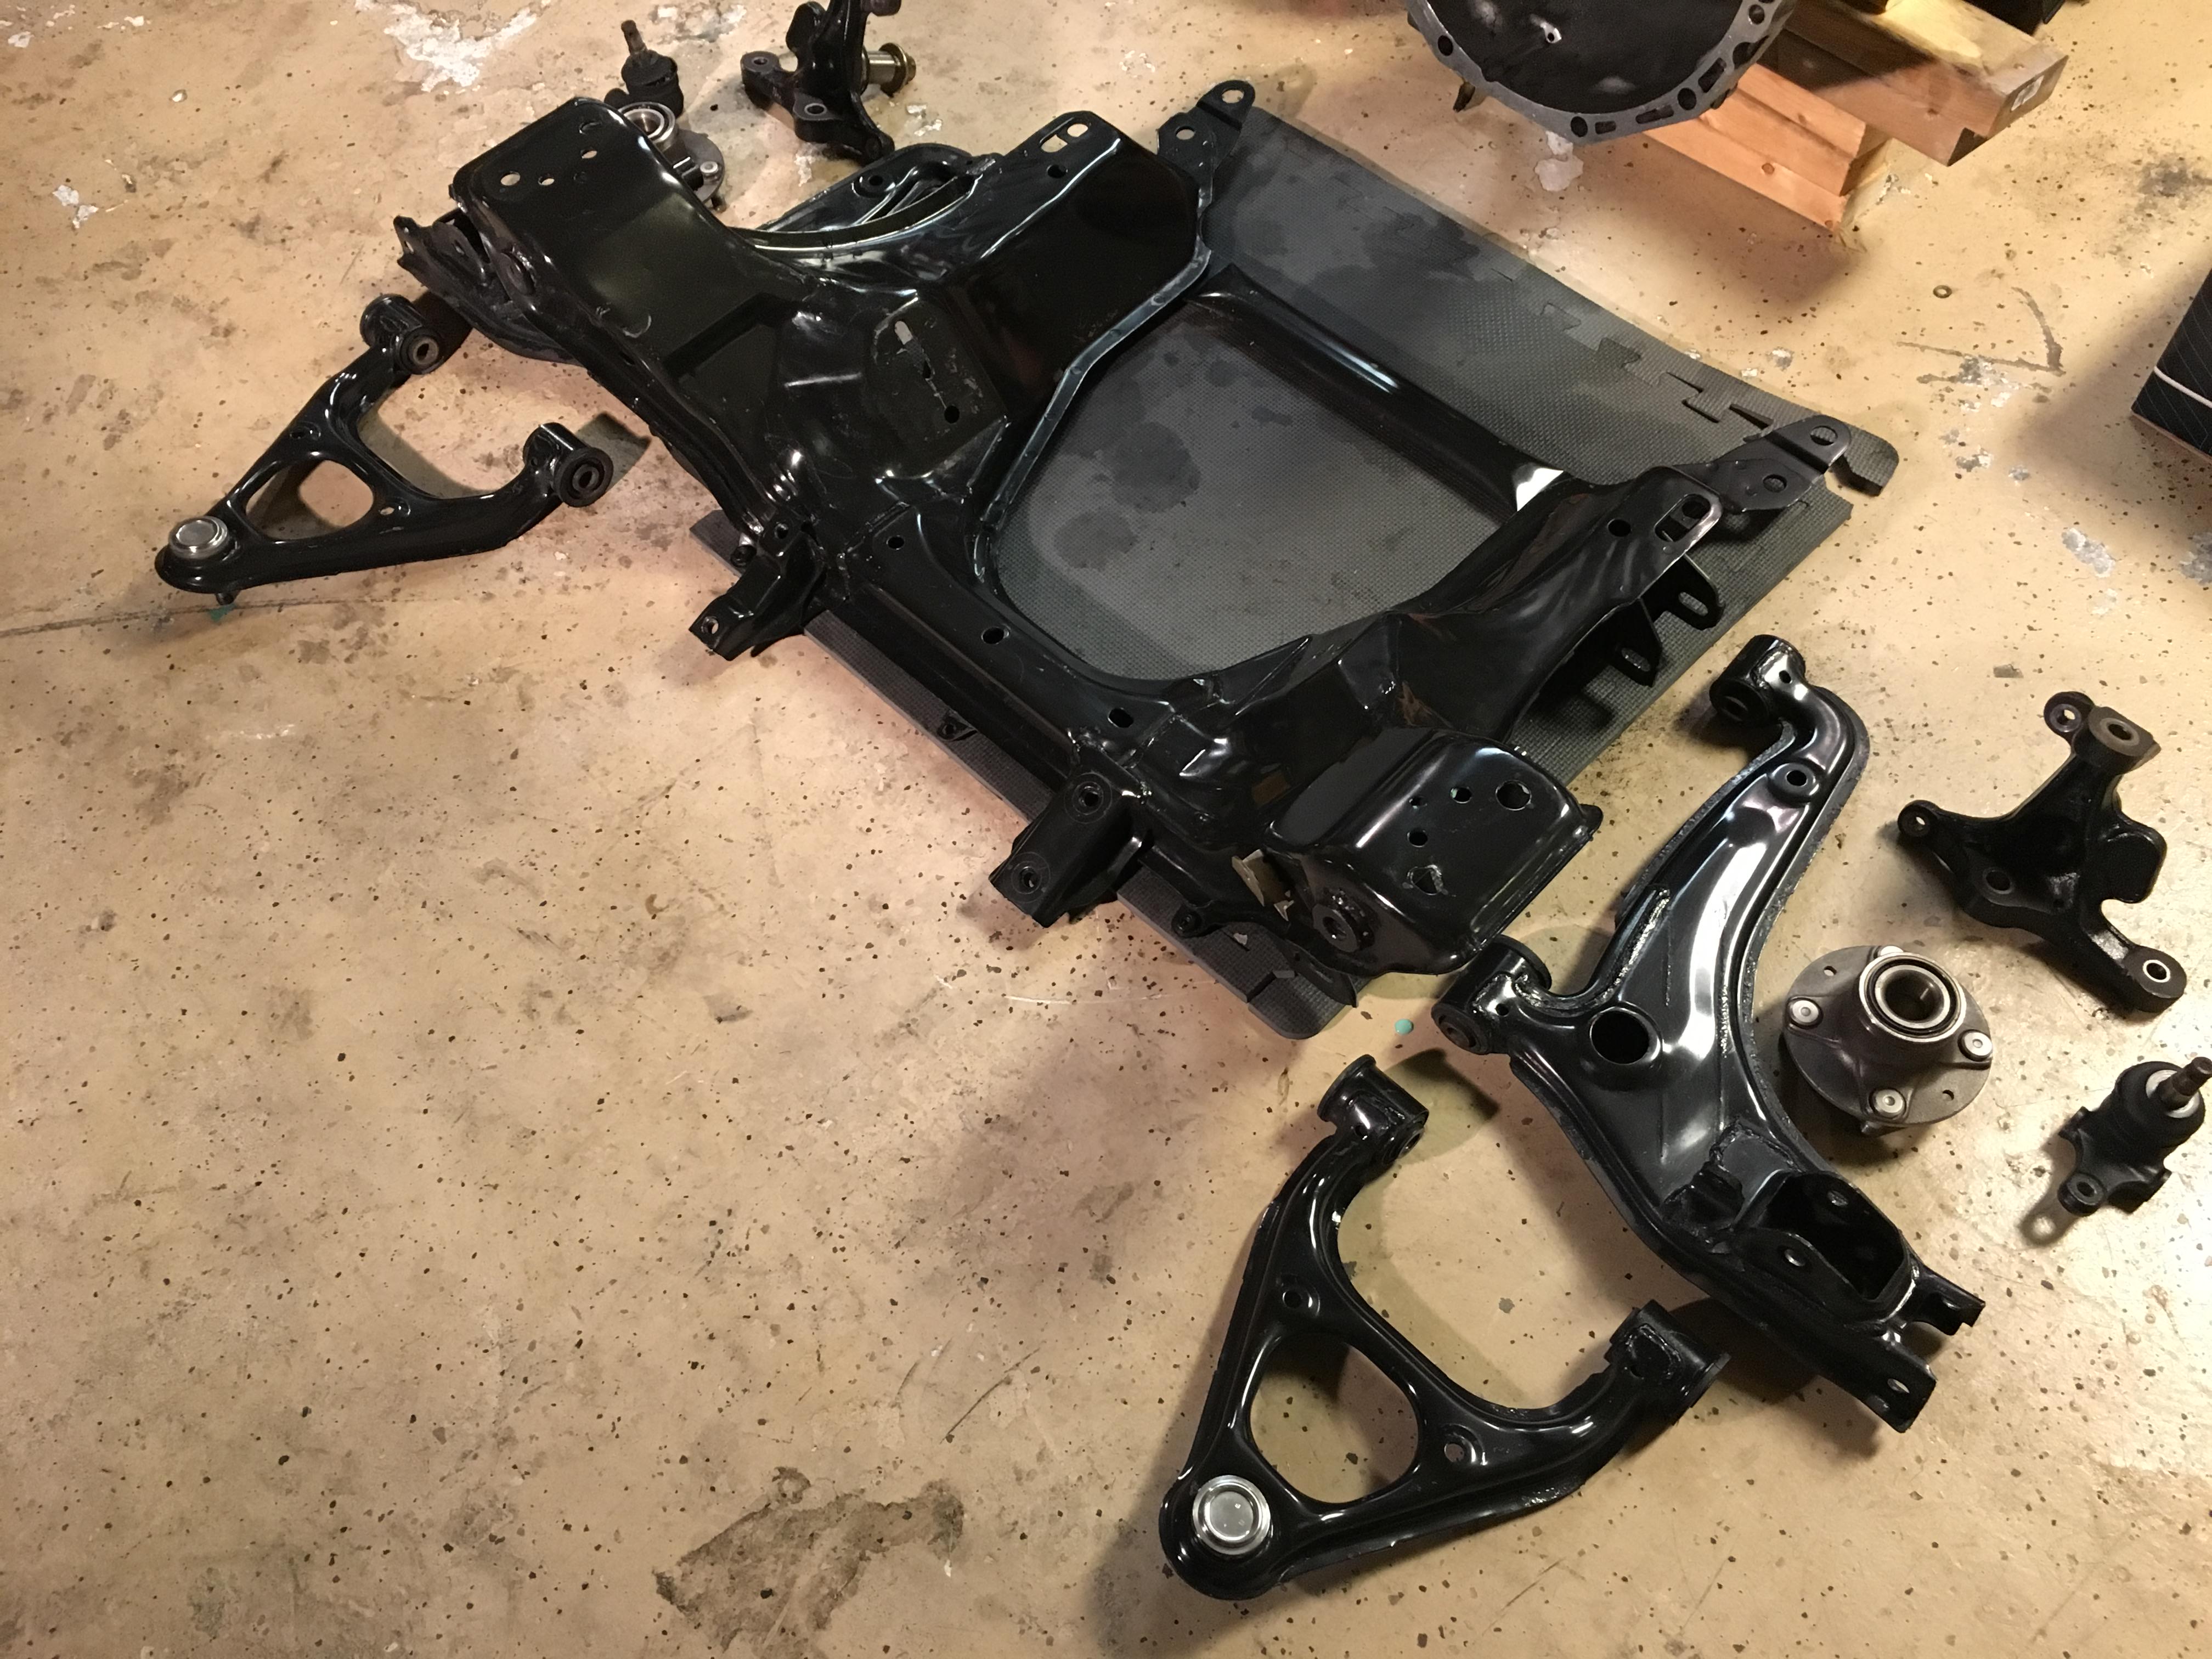
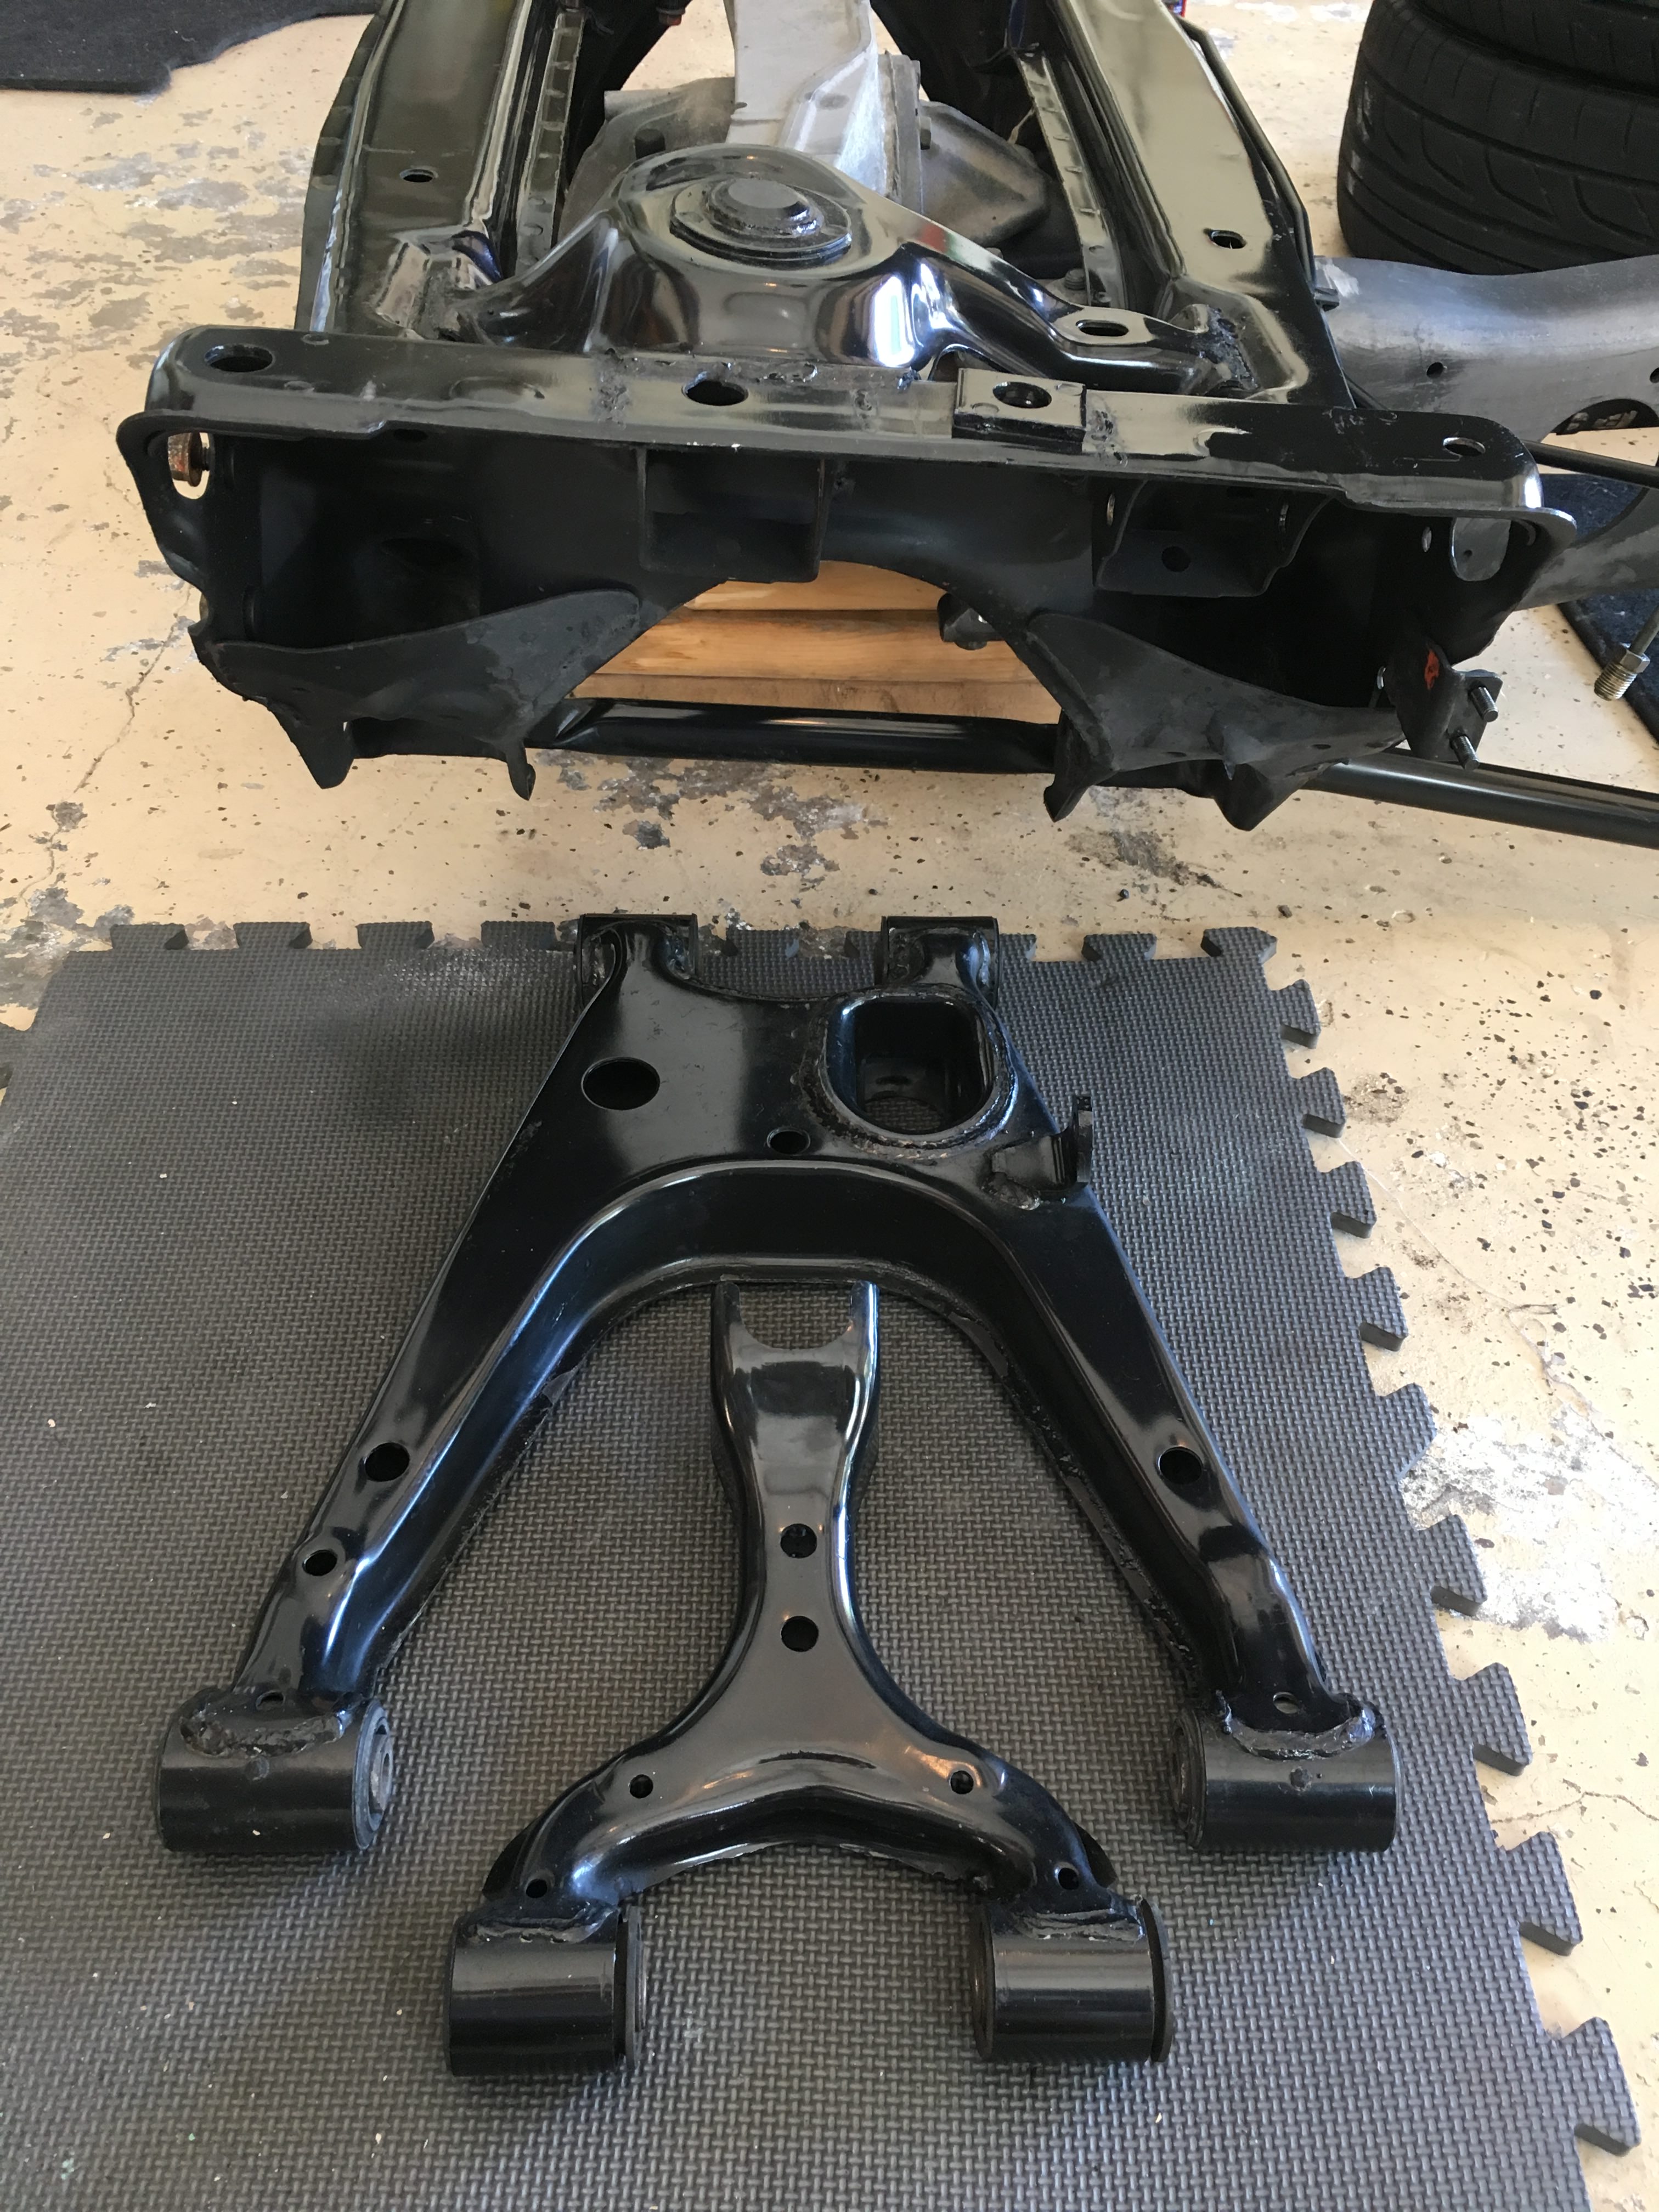
Now that the engine was out, I started to disassemble the suspension. I was fully expecting to have to powdercoat the control arms and everything but all of the components are in incredible shape for a 19 year old car. I couldn't believe how clean everything is. So, I may still powdercoat the calipers but I'm leaving the rest alone. I also picked up some Megan Coilovers. Not the best but apparently not the worst either. There's a local guy with a couple of Exocet's that's running them and I didn't see him bash them too much. Once I see how the car handles and get some seat time I'll have a better idea what to upgrade to.
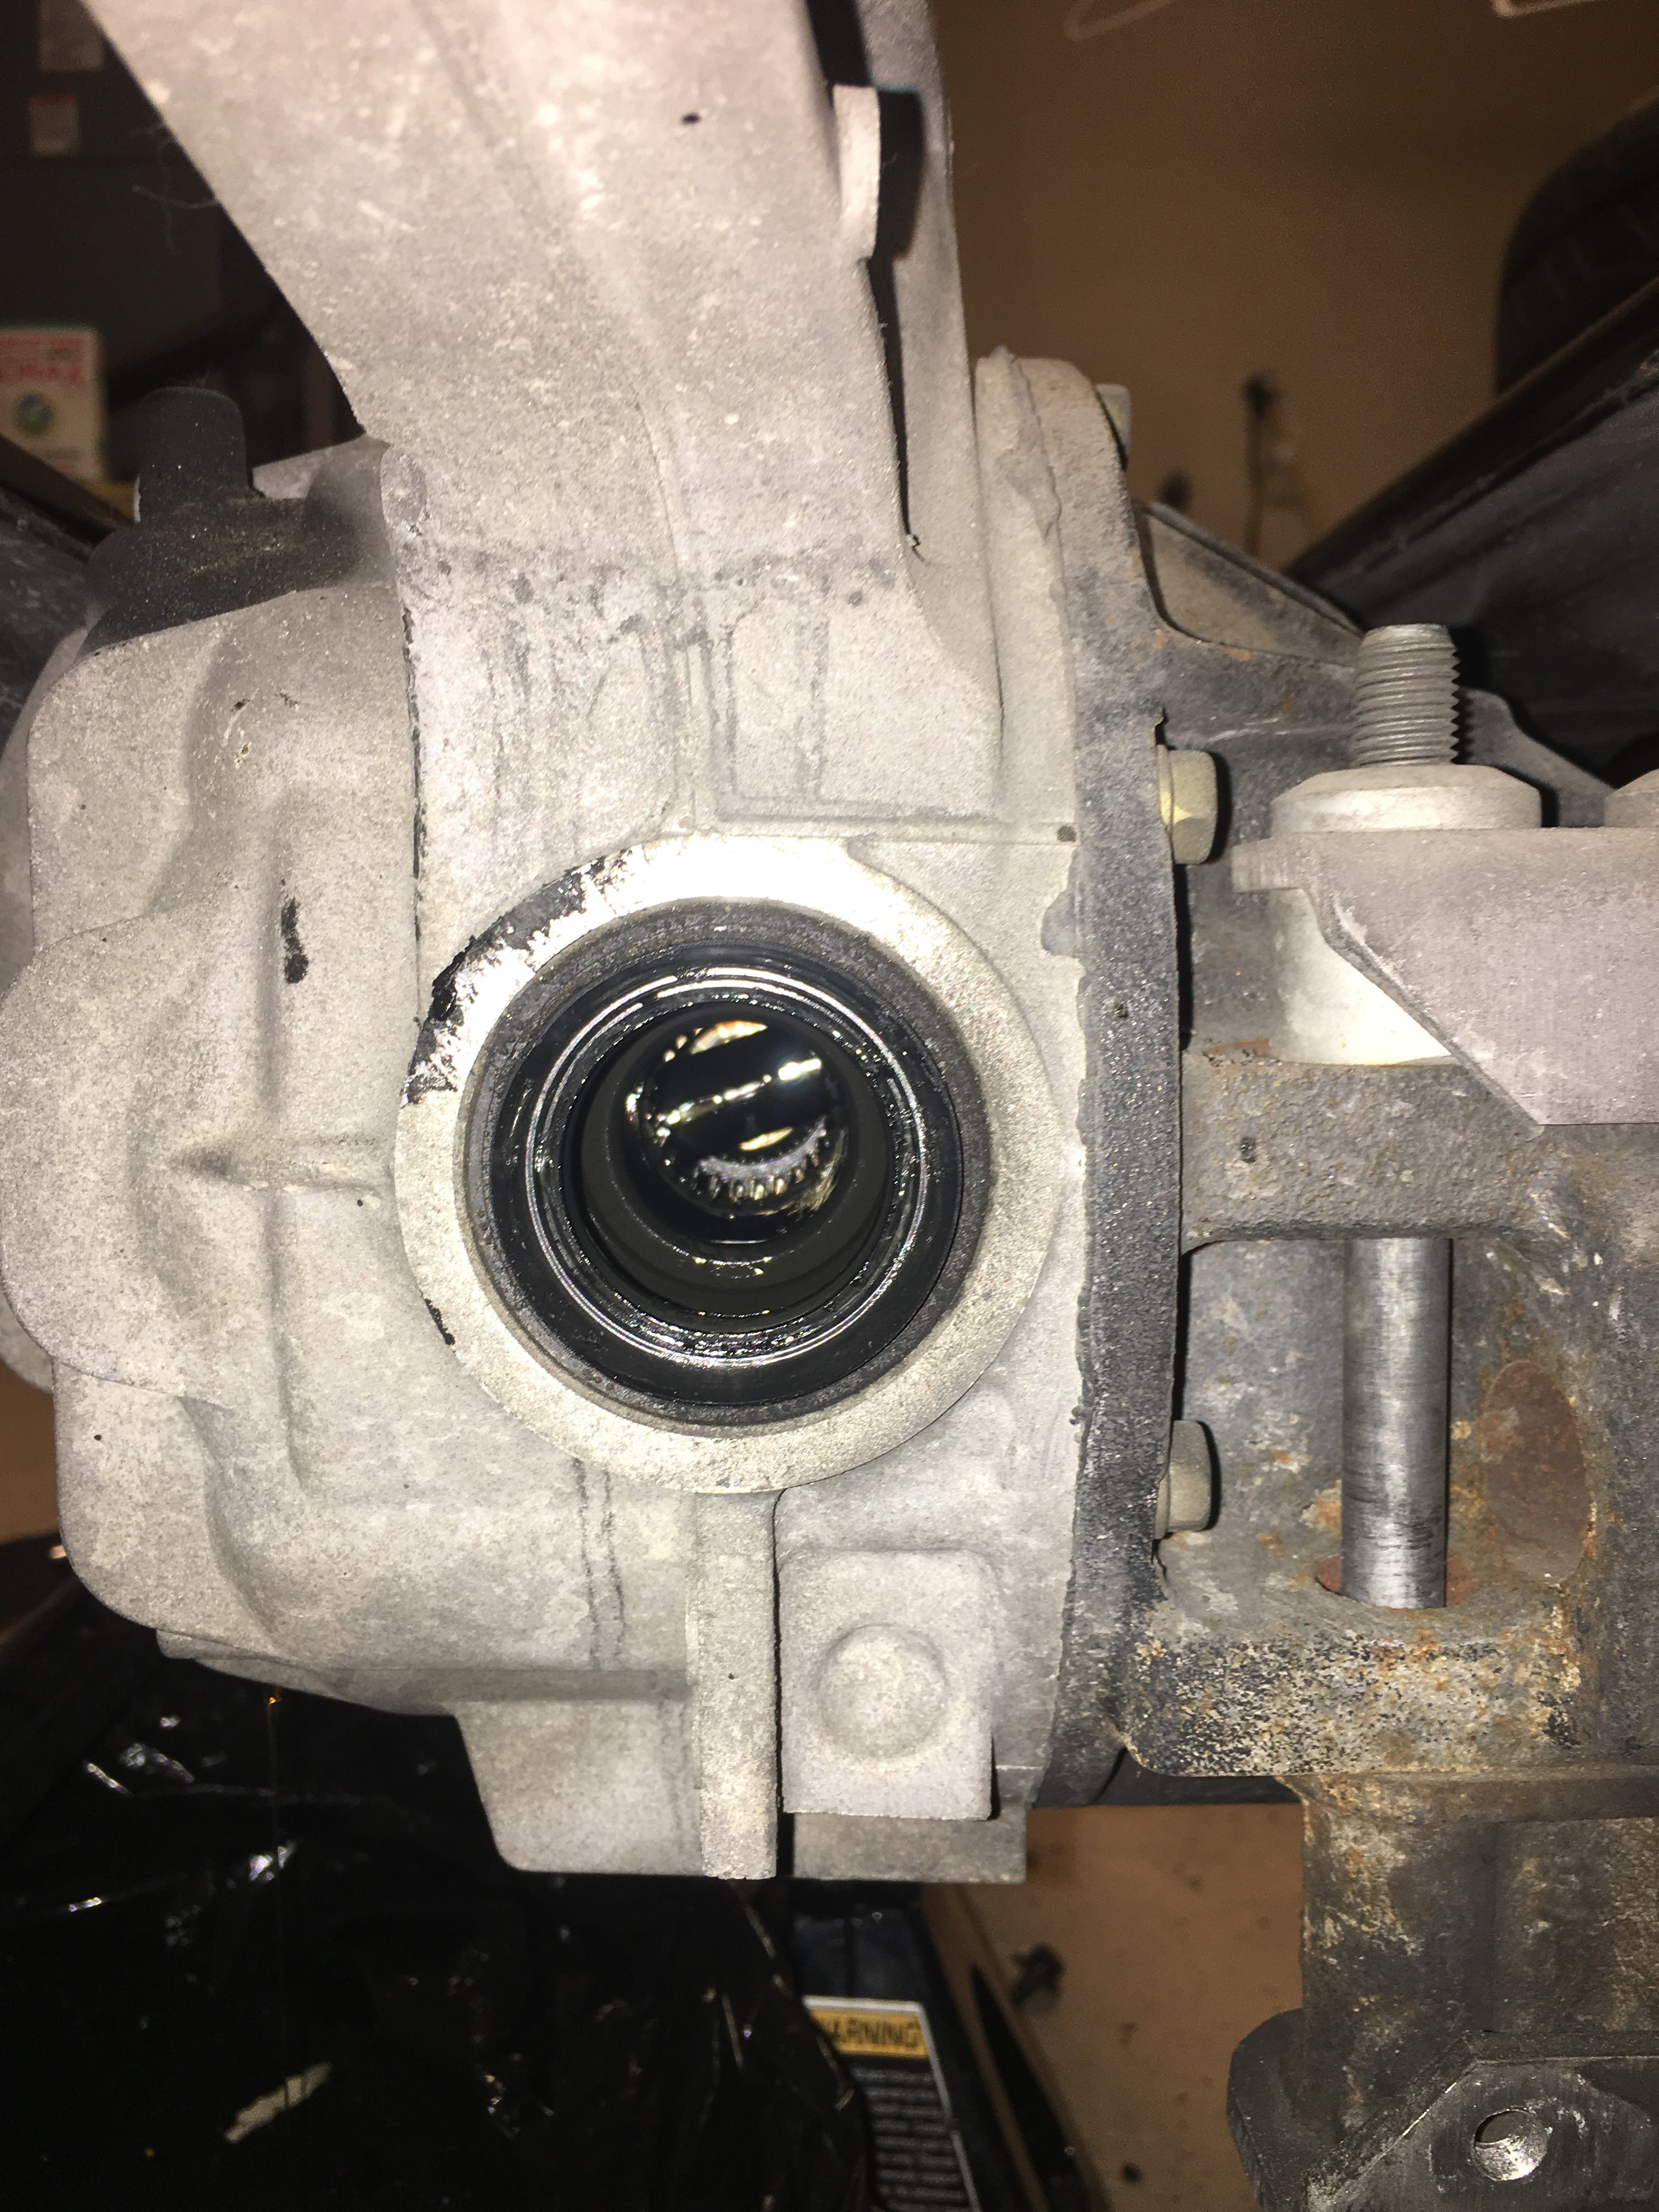
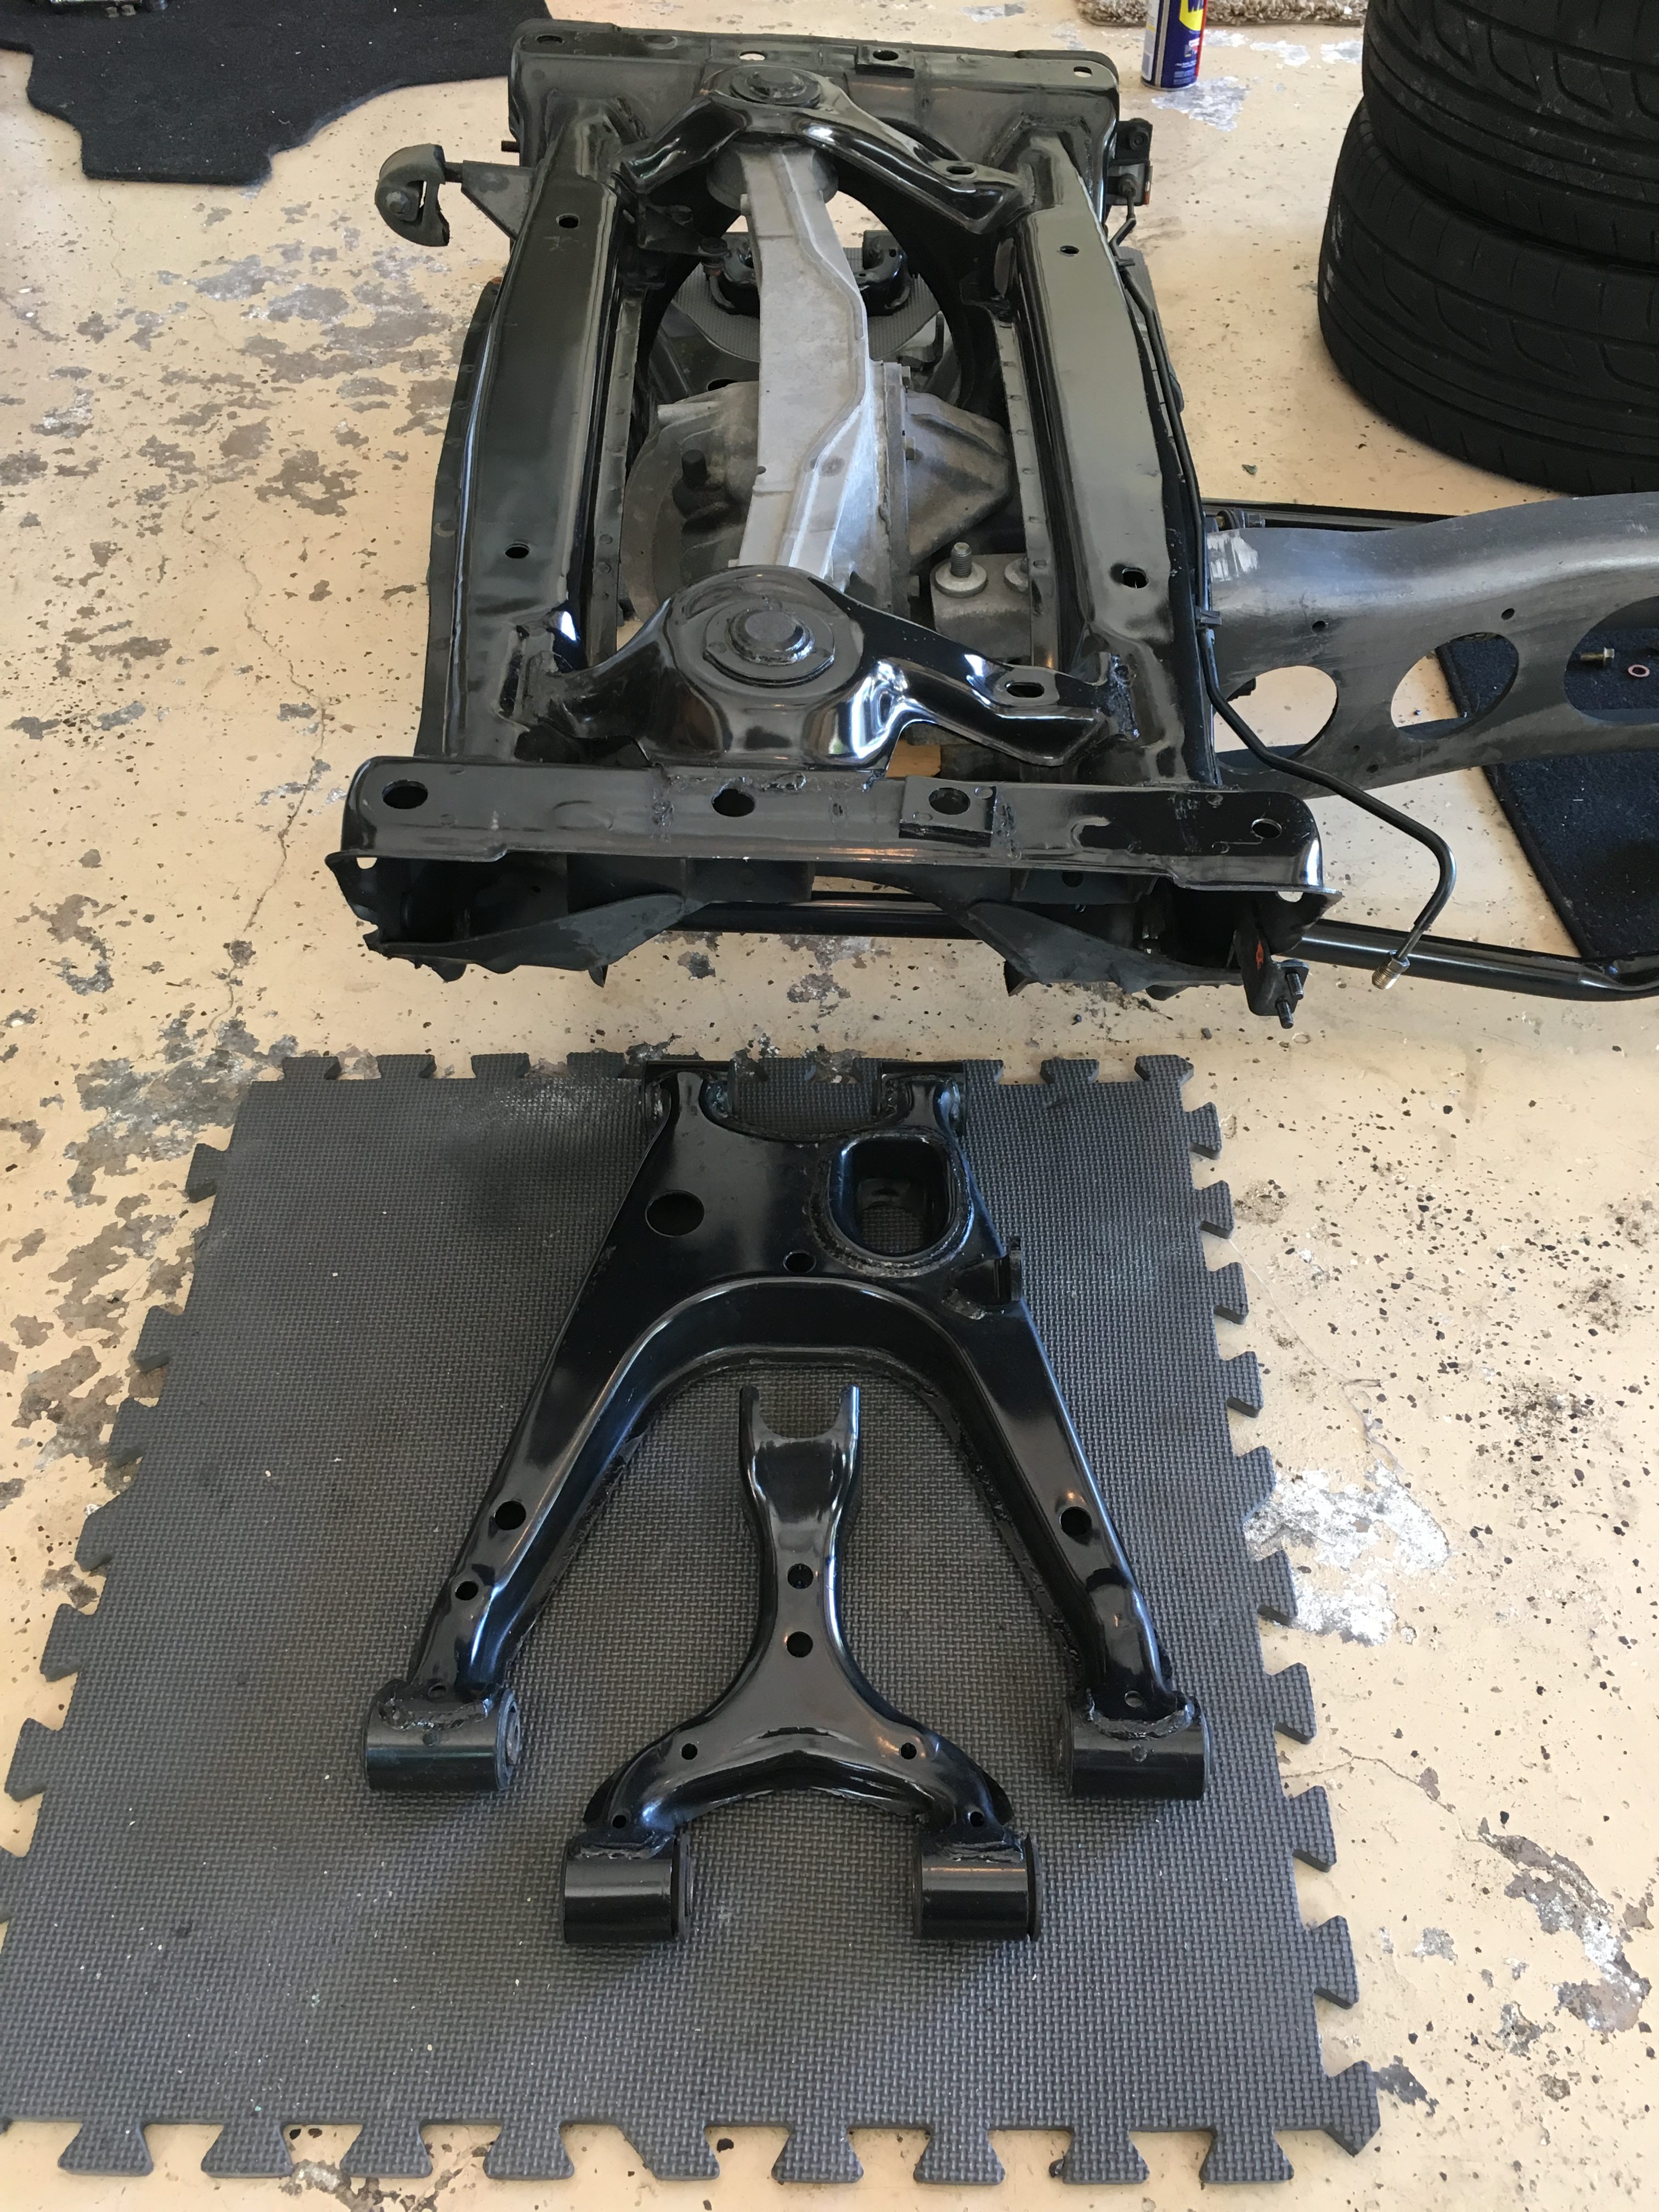
I got the rear suspension torn apart also. All of the bushings are in really good shape so I'm leaving them alone. I picked up some new axles and I'll be replacing the hubs while I'm at it. I plan on tracking this thing so I don't need any surprises like this from Keith.
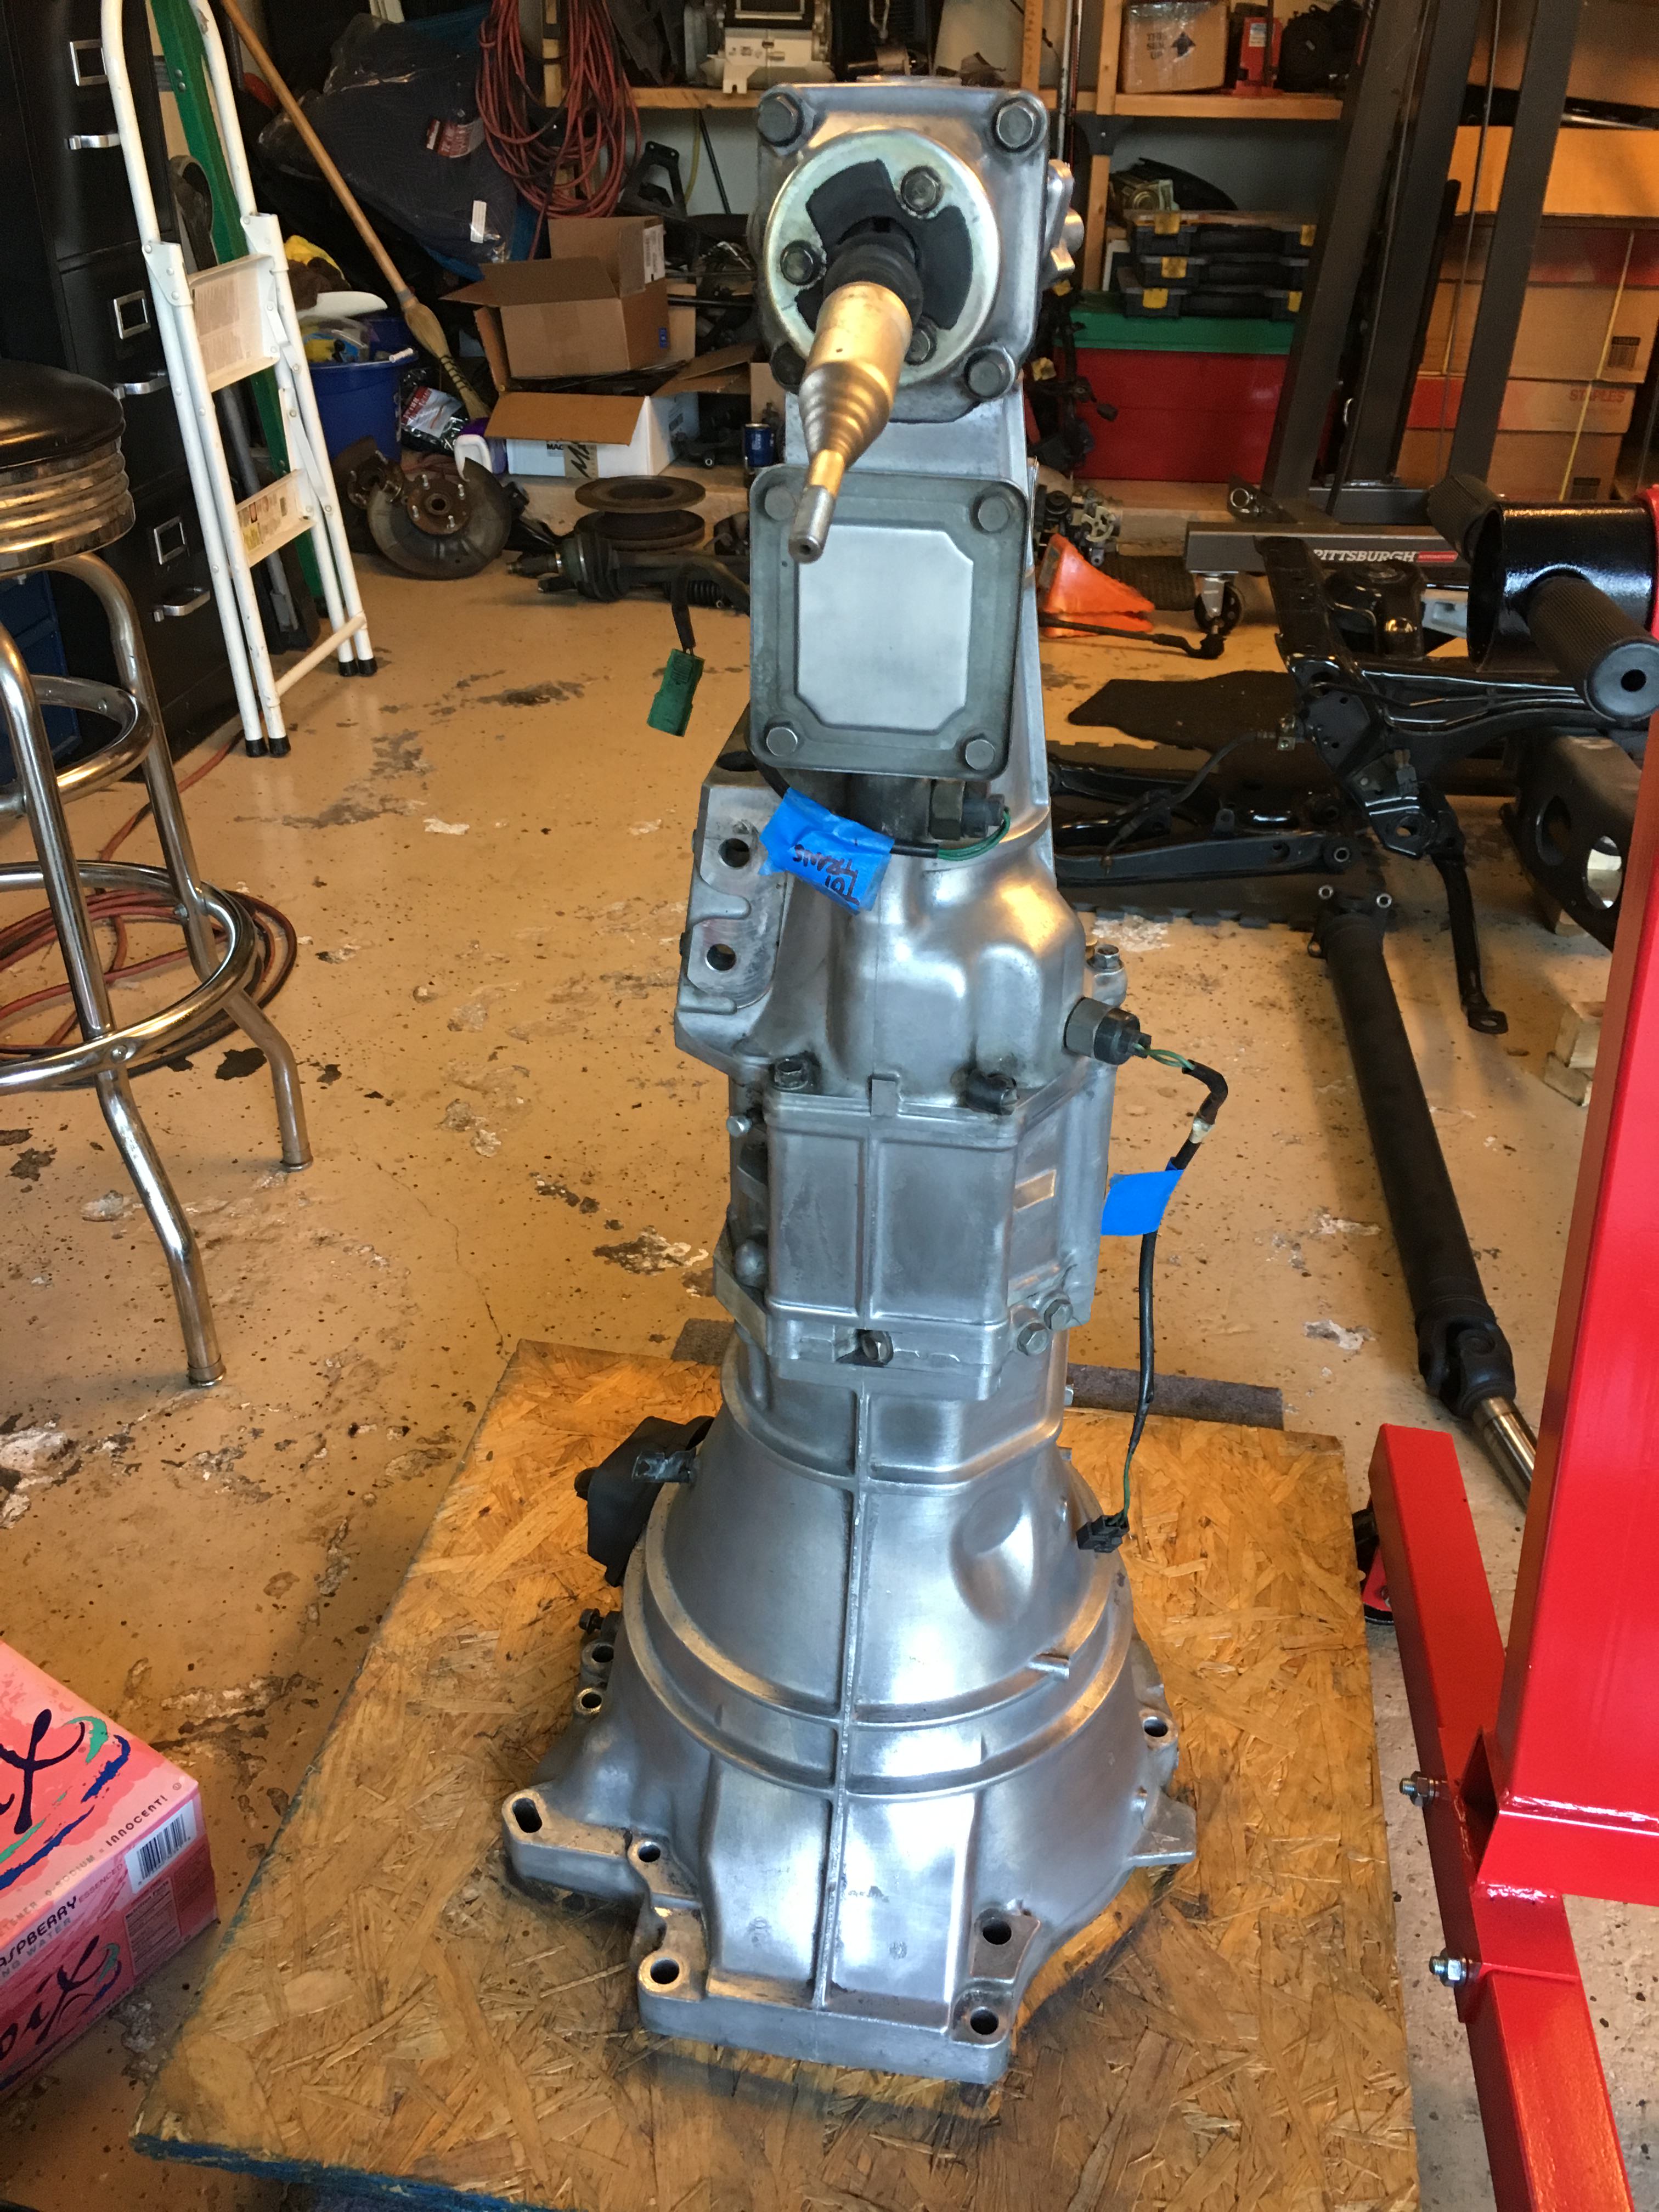
So, here's where things get interesting. I initially decided to hold off on the turbo build and just keep everything stock until I get everything put back together and get the Exocet titled so I can drive the damn thing. But with the engine sitting on a stand in the garage and staring at me everyday as I walk by I just couldn't resist the urge to start the rebuild with the upgraded internals. I shined up the transmission first. I purchased some POR15 aluminum color paint for the engine and transmission but the transmission shine right up without having to use the paint.
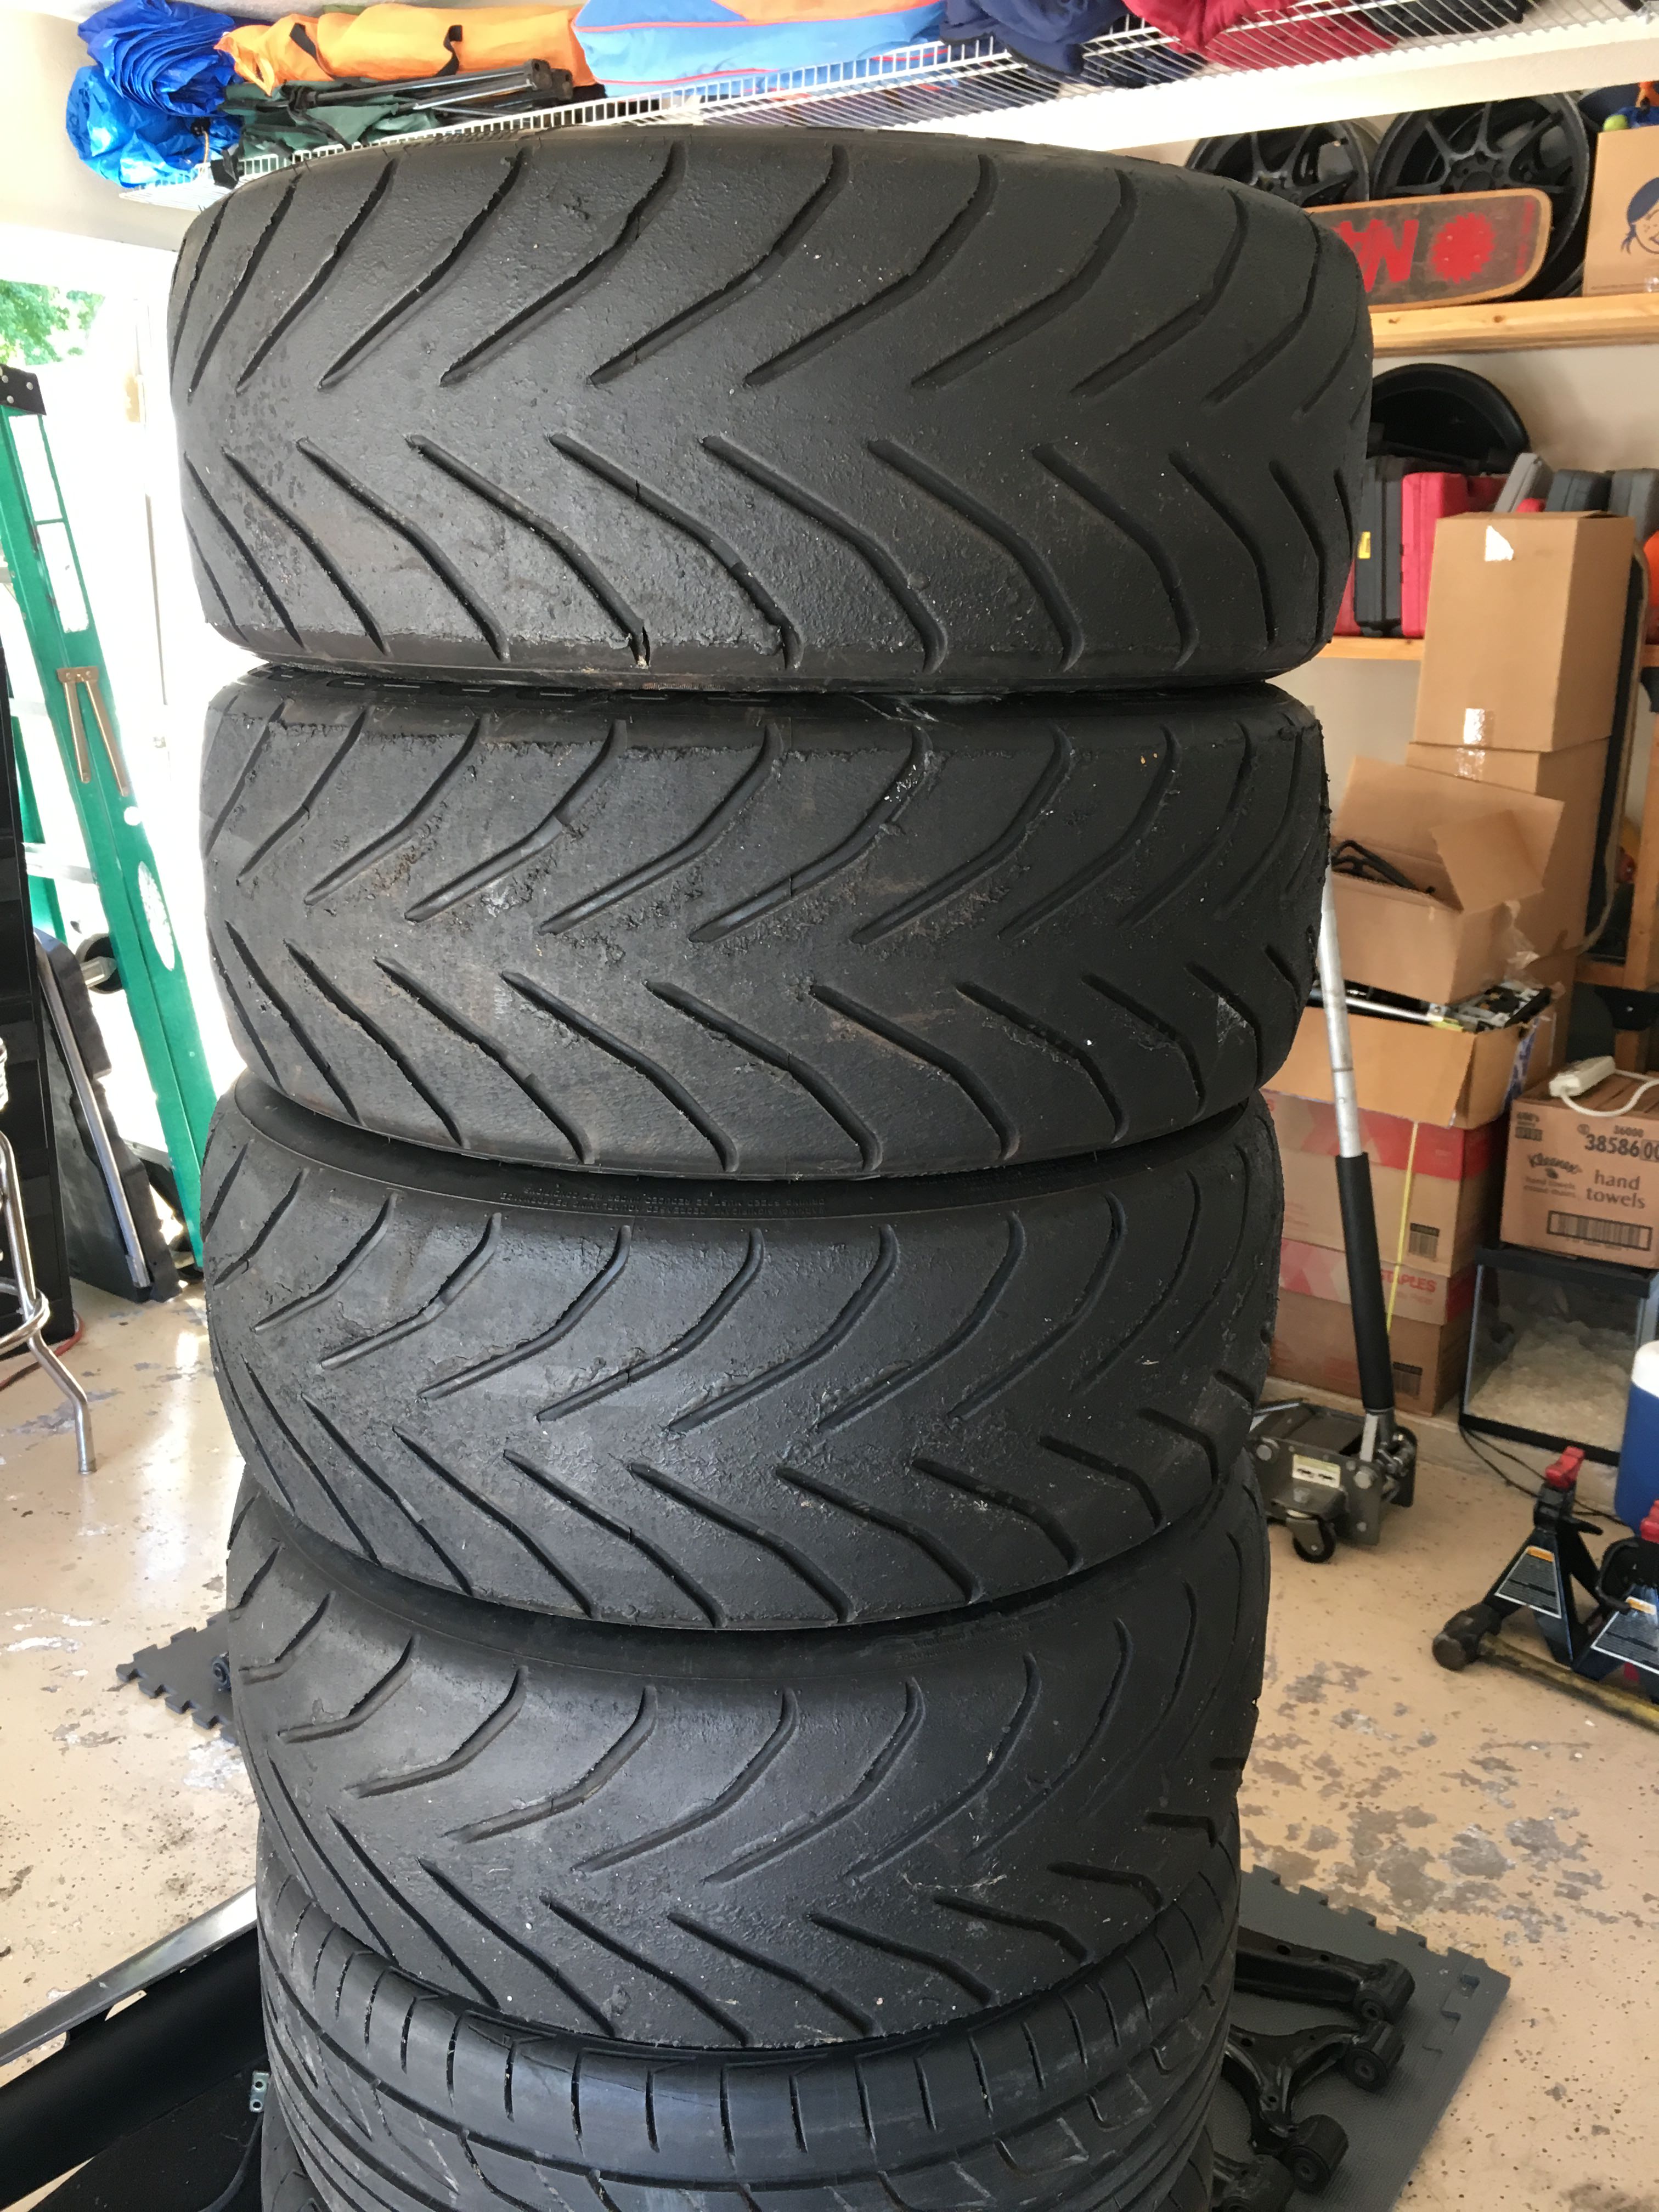
I picked up some Cooper RS3-R tires from a Sebring series ran a couple of months ago. They only have one heat cycle on them so they should be fun to play around with. I plan on purchasing the 949 racing 6UL's made specifically for the Exocet though and these tires are 16" which will fit on my stock set of wheels but not the 6UL's. The guy I bought them from has an endless supply for super cheap so I'm going to try these out first and see how they perform.
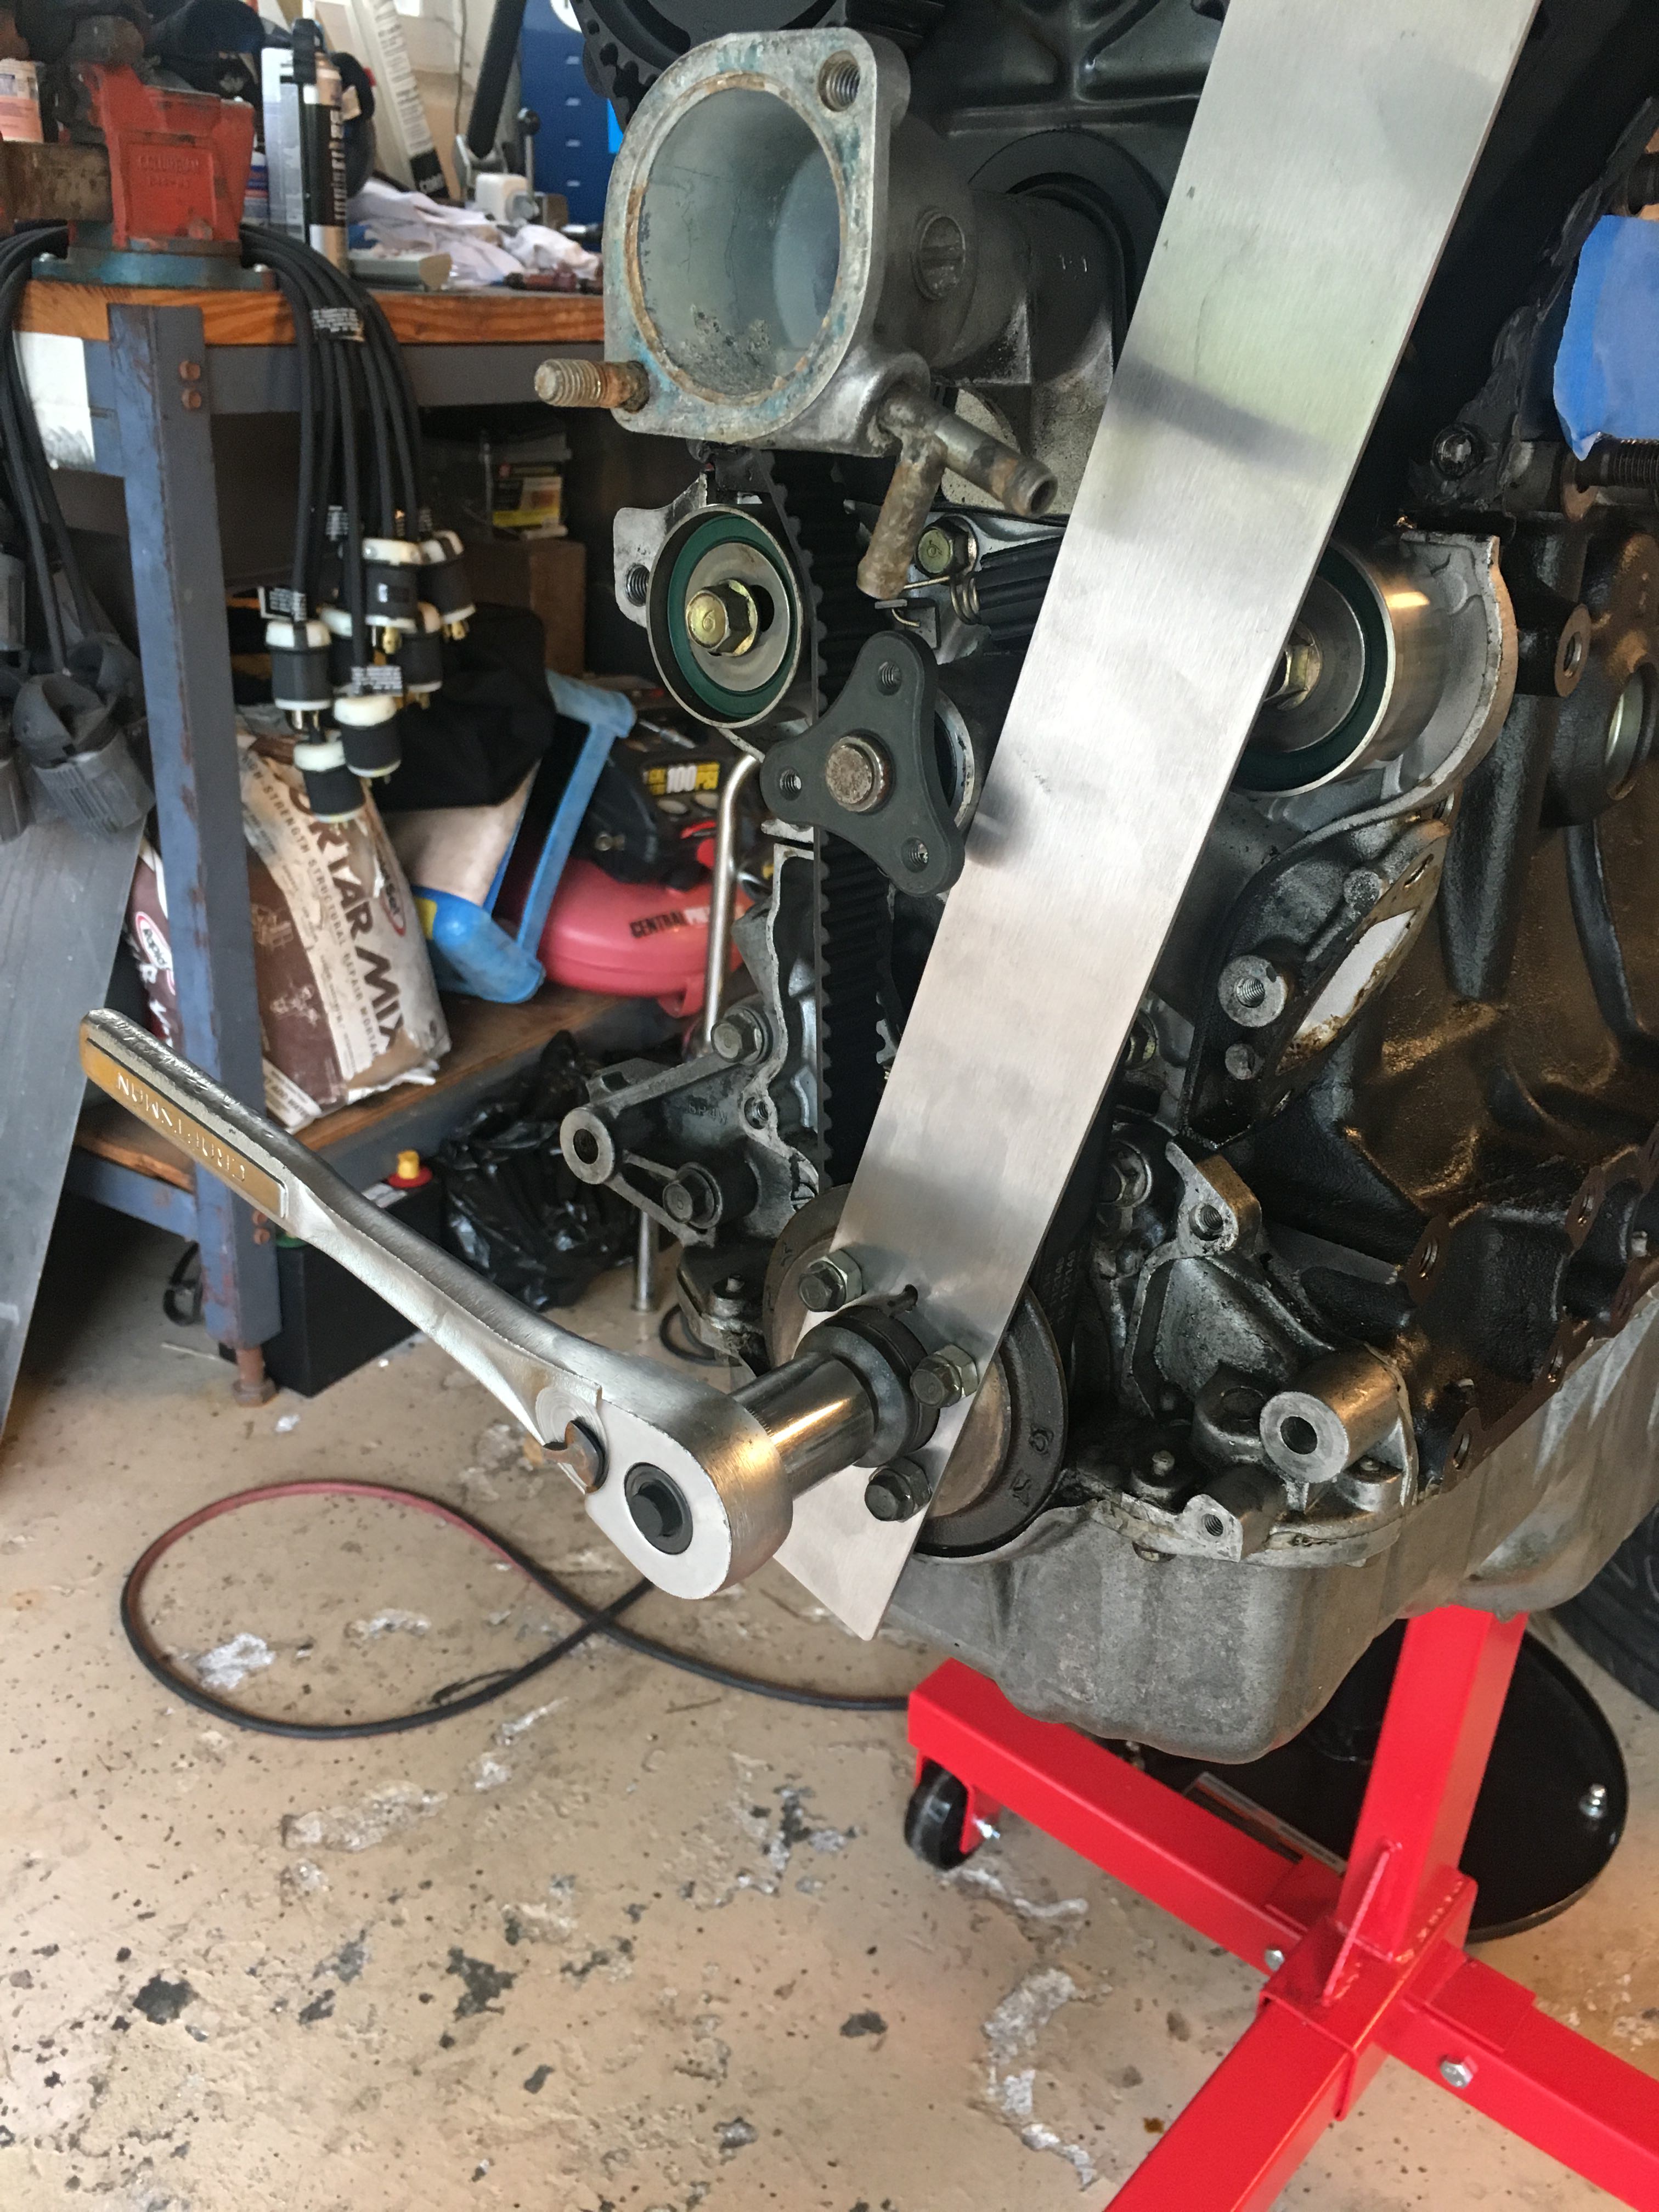
I could not for the life of me get the crankshaft lock bolt to come off with the engine on the stand. I do not have the fancy Crankshaft Lock Tool SST# 49 D011102. I tried an impact driver and doused it with PB blaster but it's not budging.
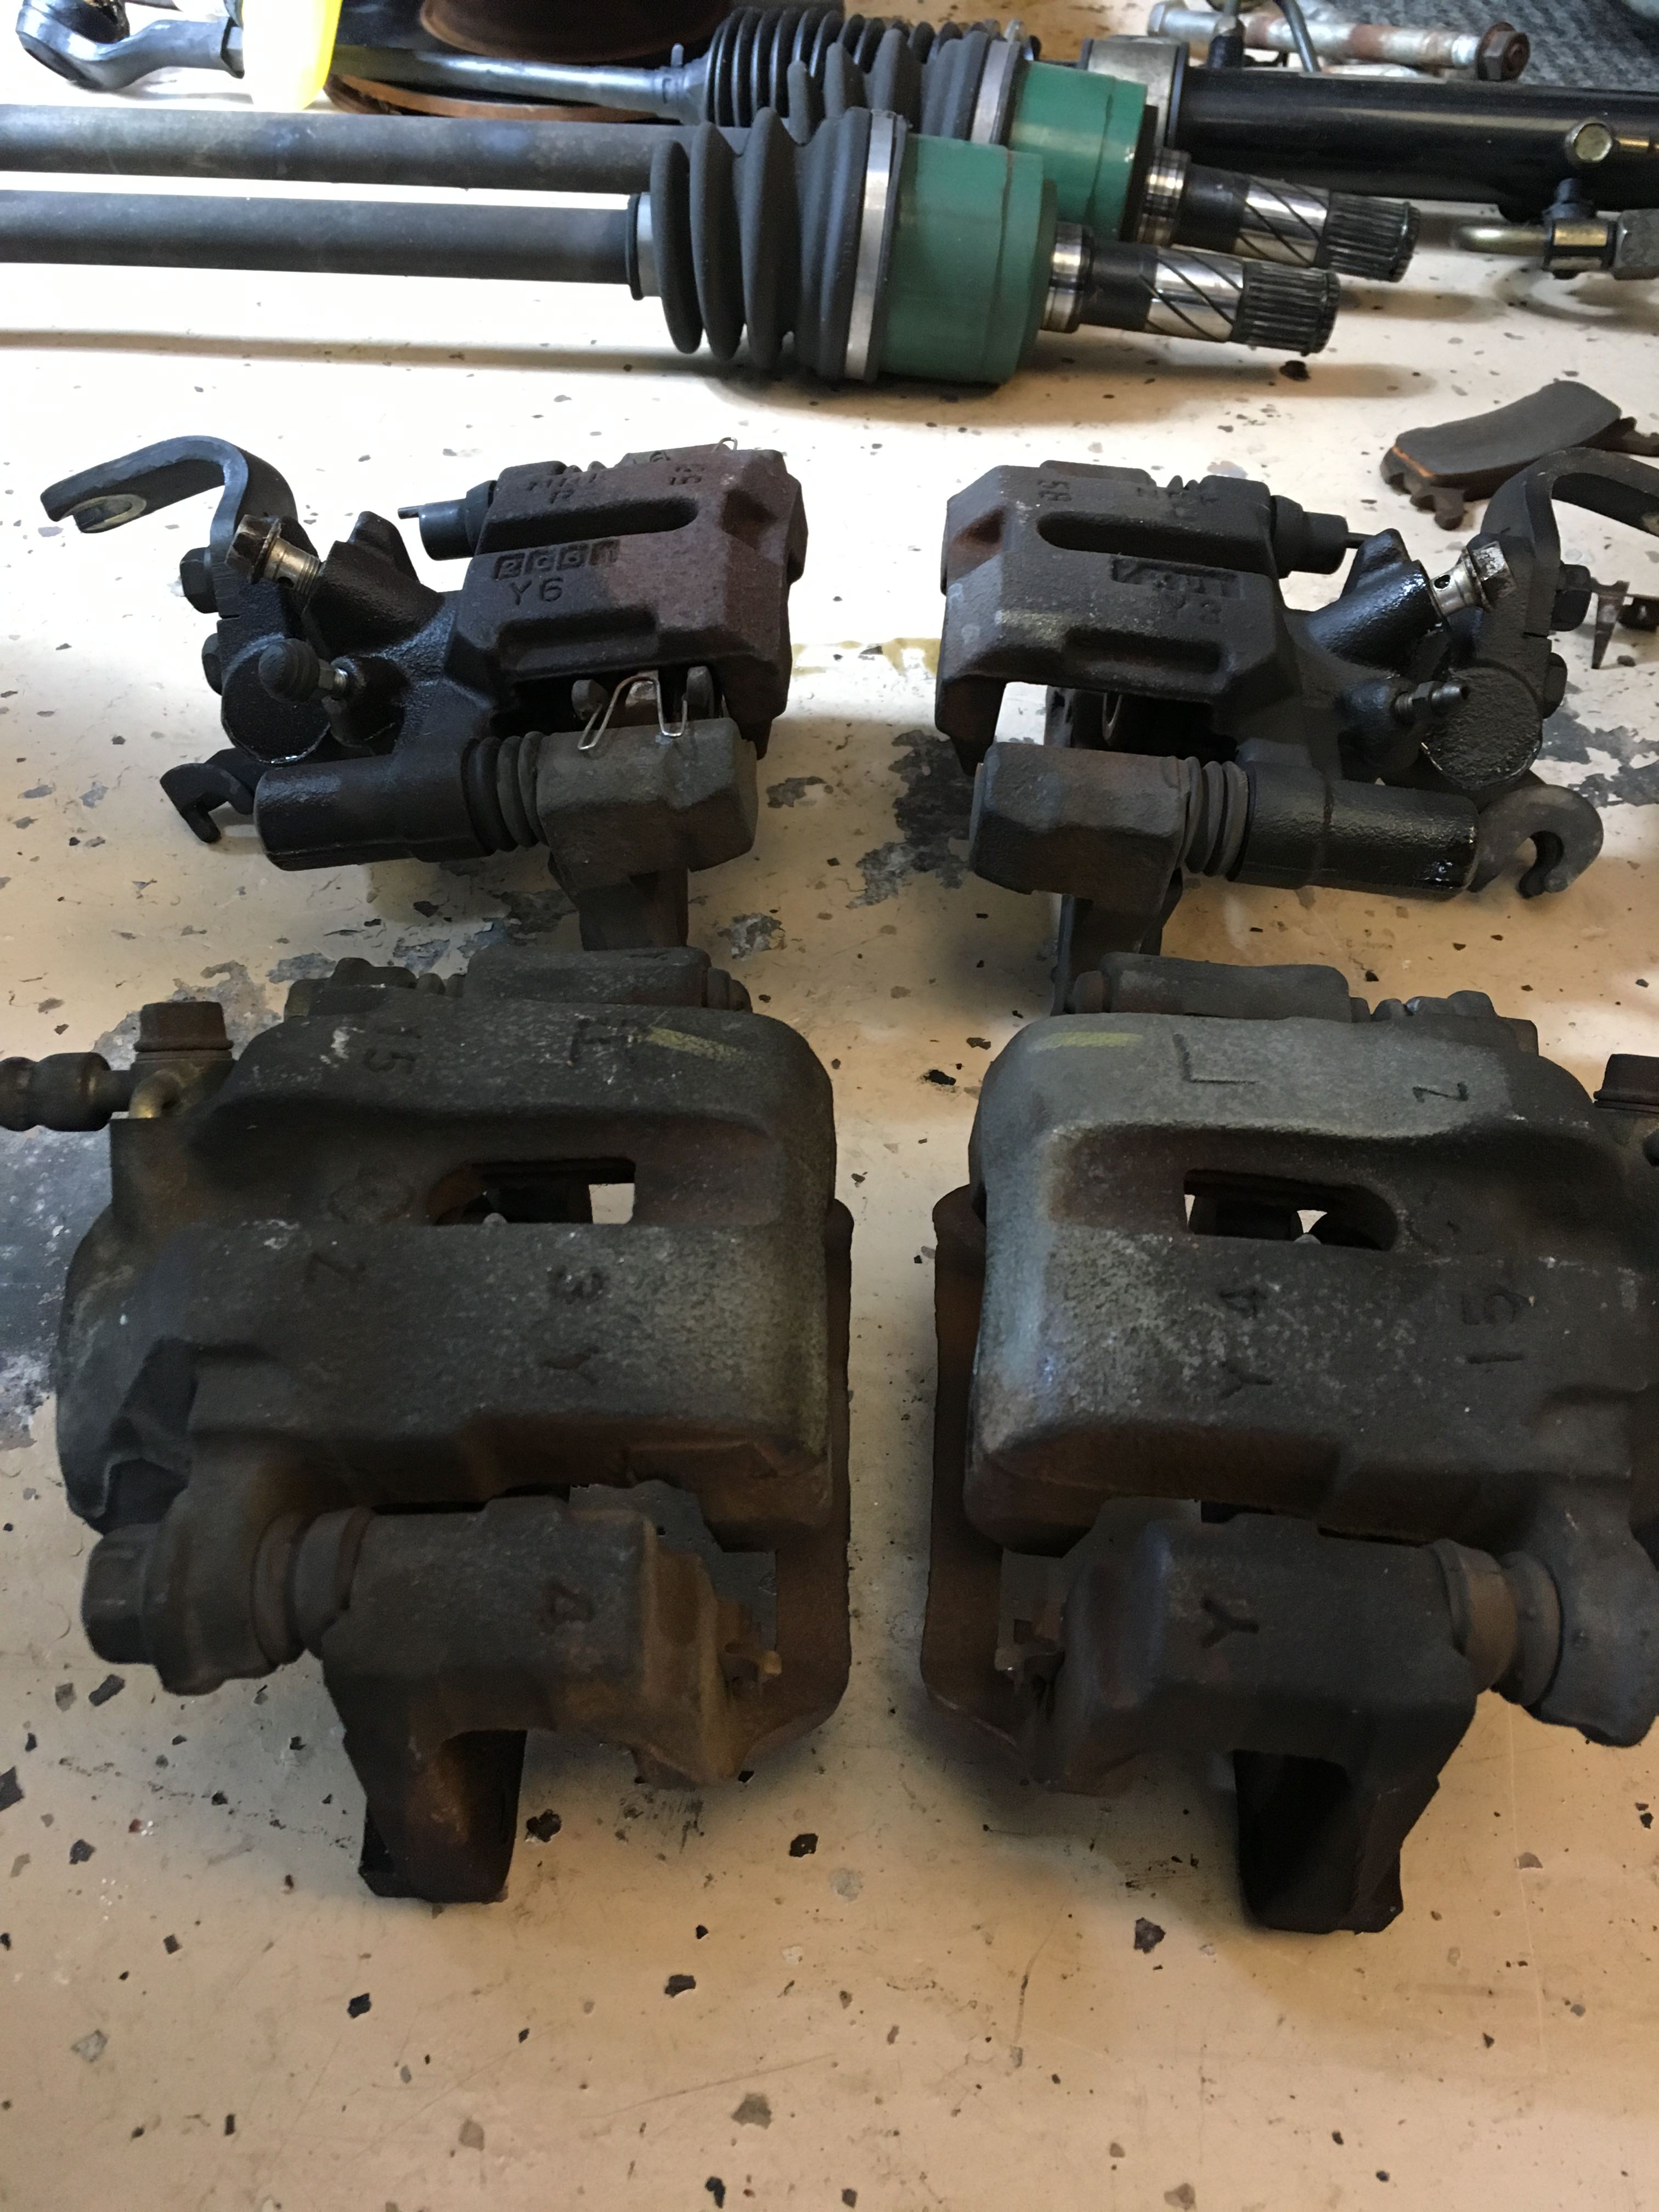
Since that defeated me I moved on to disassembling my brakes so they can be powder coated.


 1
1