Notices
Build Threads Building a motor? Post the progress here.

Love It Or Hate It - Another Exocet Build in Tampa

Thread Tools
 
Search this Thread
 
Old May 7, 2018 | 12:14 PM
  #41  
HarryB's Avatar
Senior Member
 
Joined: Jul 2015
Posts: 1,083
Total Cats: 155
Default

The colour is stunning!
Old May 7, 2018 | 12:21 PM
  #42  
Garman's Avatar
Thread Starter
Junior Member
 
Joined: Jan 2018
Posts: 228
Total Cats: 25
From: Tampa, Fl
Default

Originally Posted by Girz0r
Nice!

I believe they did a video on yours the other day. Very cool!!

No ****! I haven't seen that.
Old May 7, 2018 | 12:27 PM
  #43  
Garman's Avatar
Thread Starter
Junior Member
 
Joined: Jan 2018
Posts: 228
Total Cats: 25
From: Tampa, Fl
Default

Kevin was super cool and showed us around the shop. It was a great trip up to Atlanta. Kevin said he took some video but I had no idea he posted it up.
Old May 7, 2018 | 12:35 PM
  #44  
Garman's Avatar
Thread Starter
Junior Member
 
Joined: Jan 2018
Posts: 228
Total Cats: 25
From: Tampa, Fl
Default

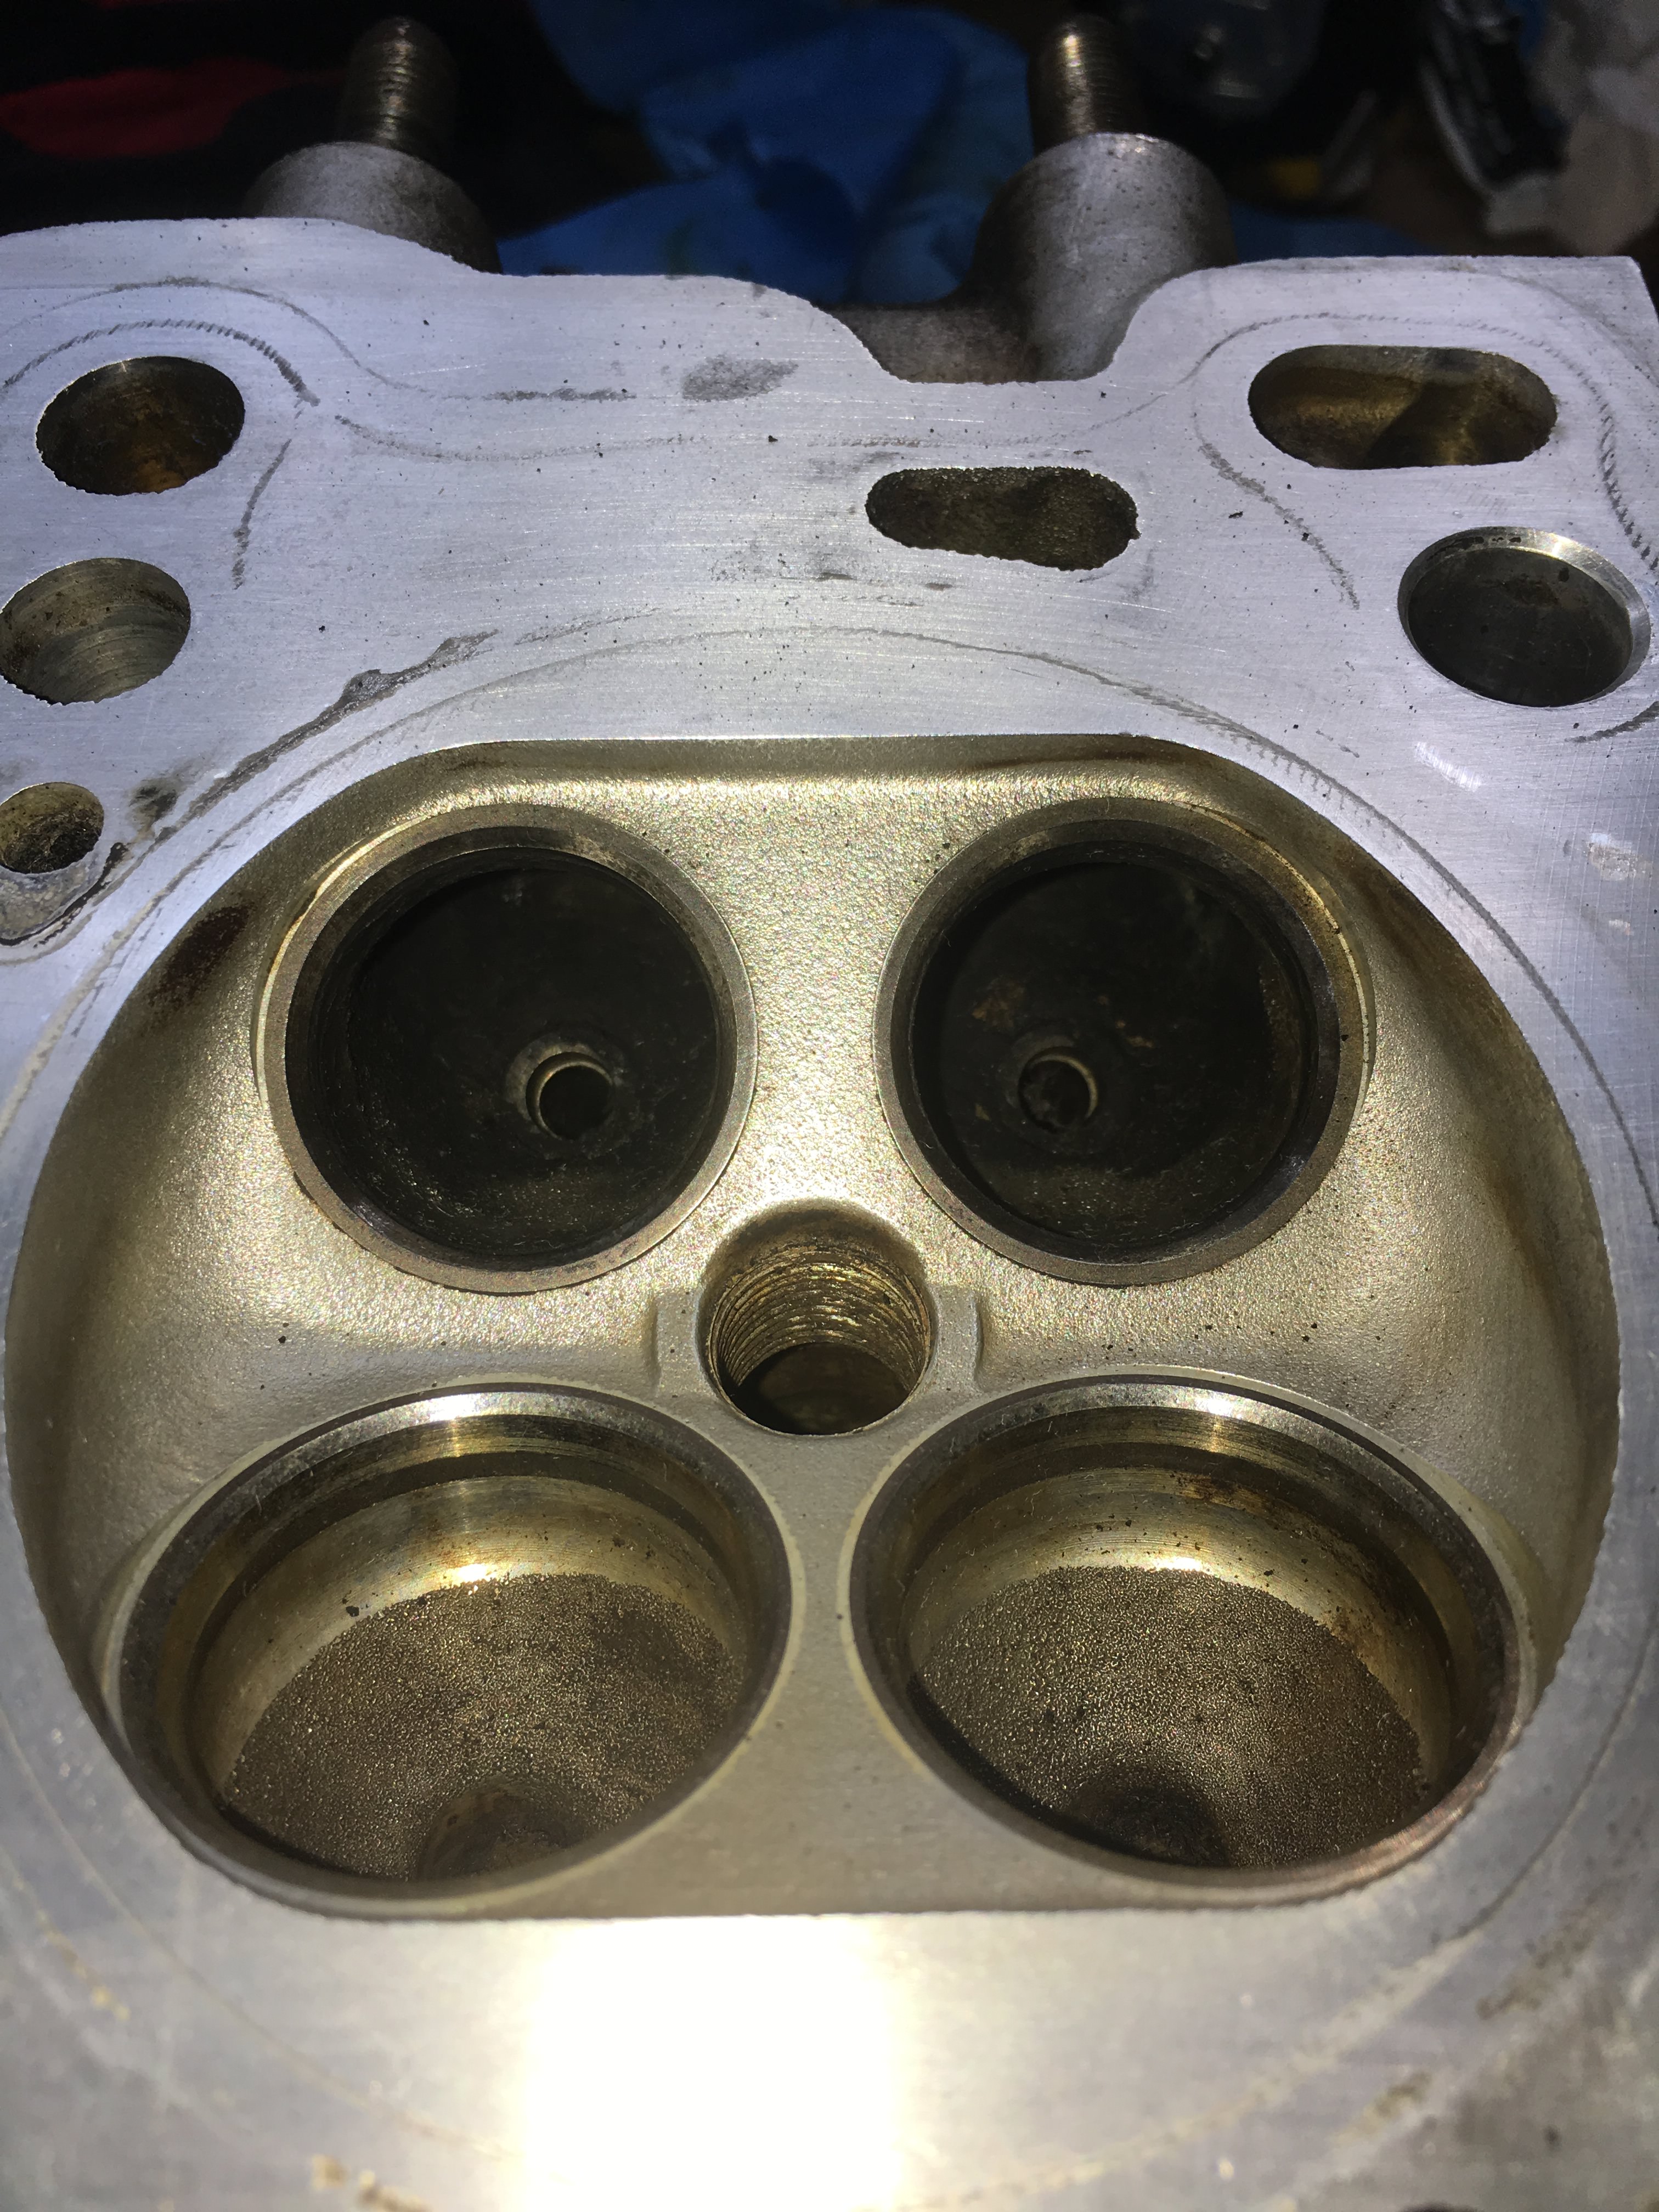
Now that I have the chassis there is no excuses for not getting my engine ready for installation. I spent most of the weekend working on the cylinder head.

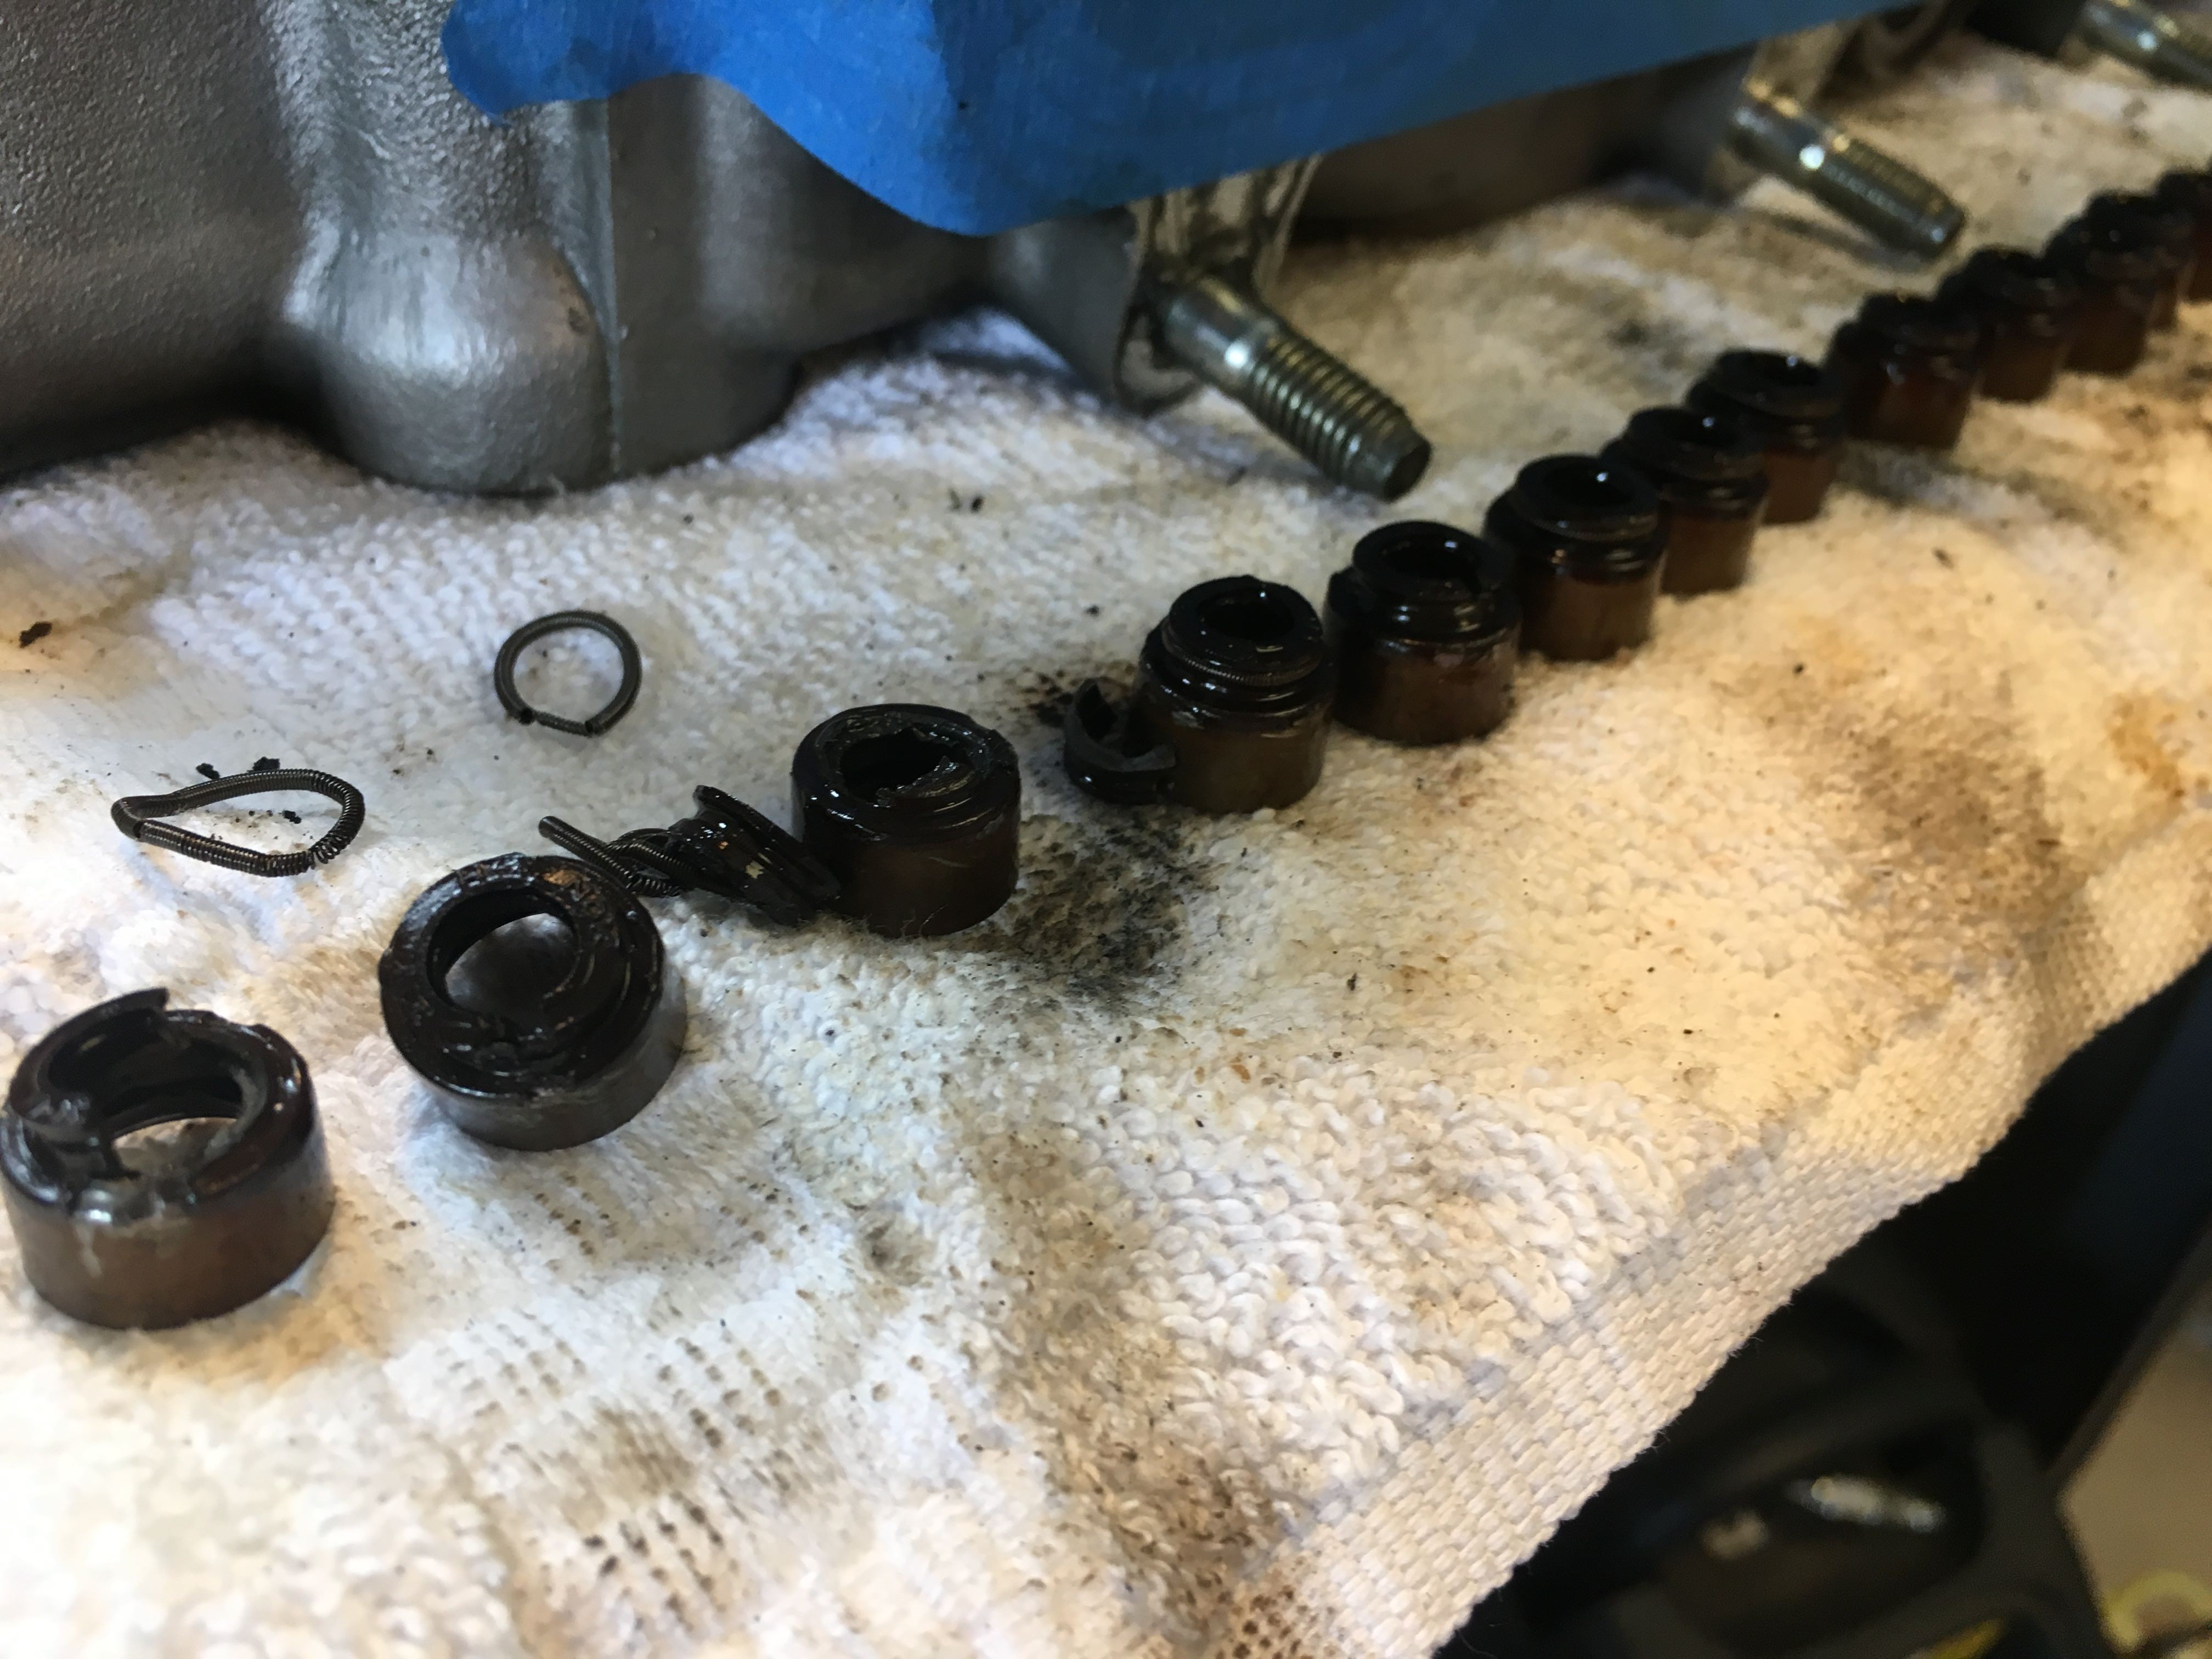
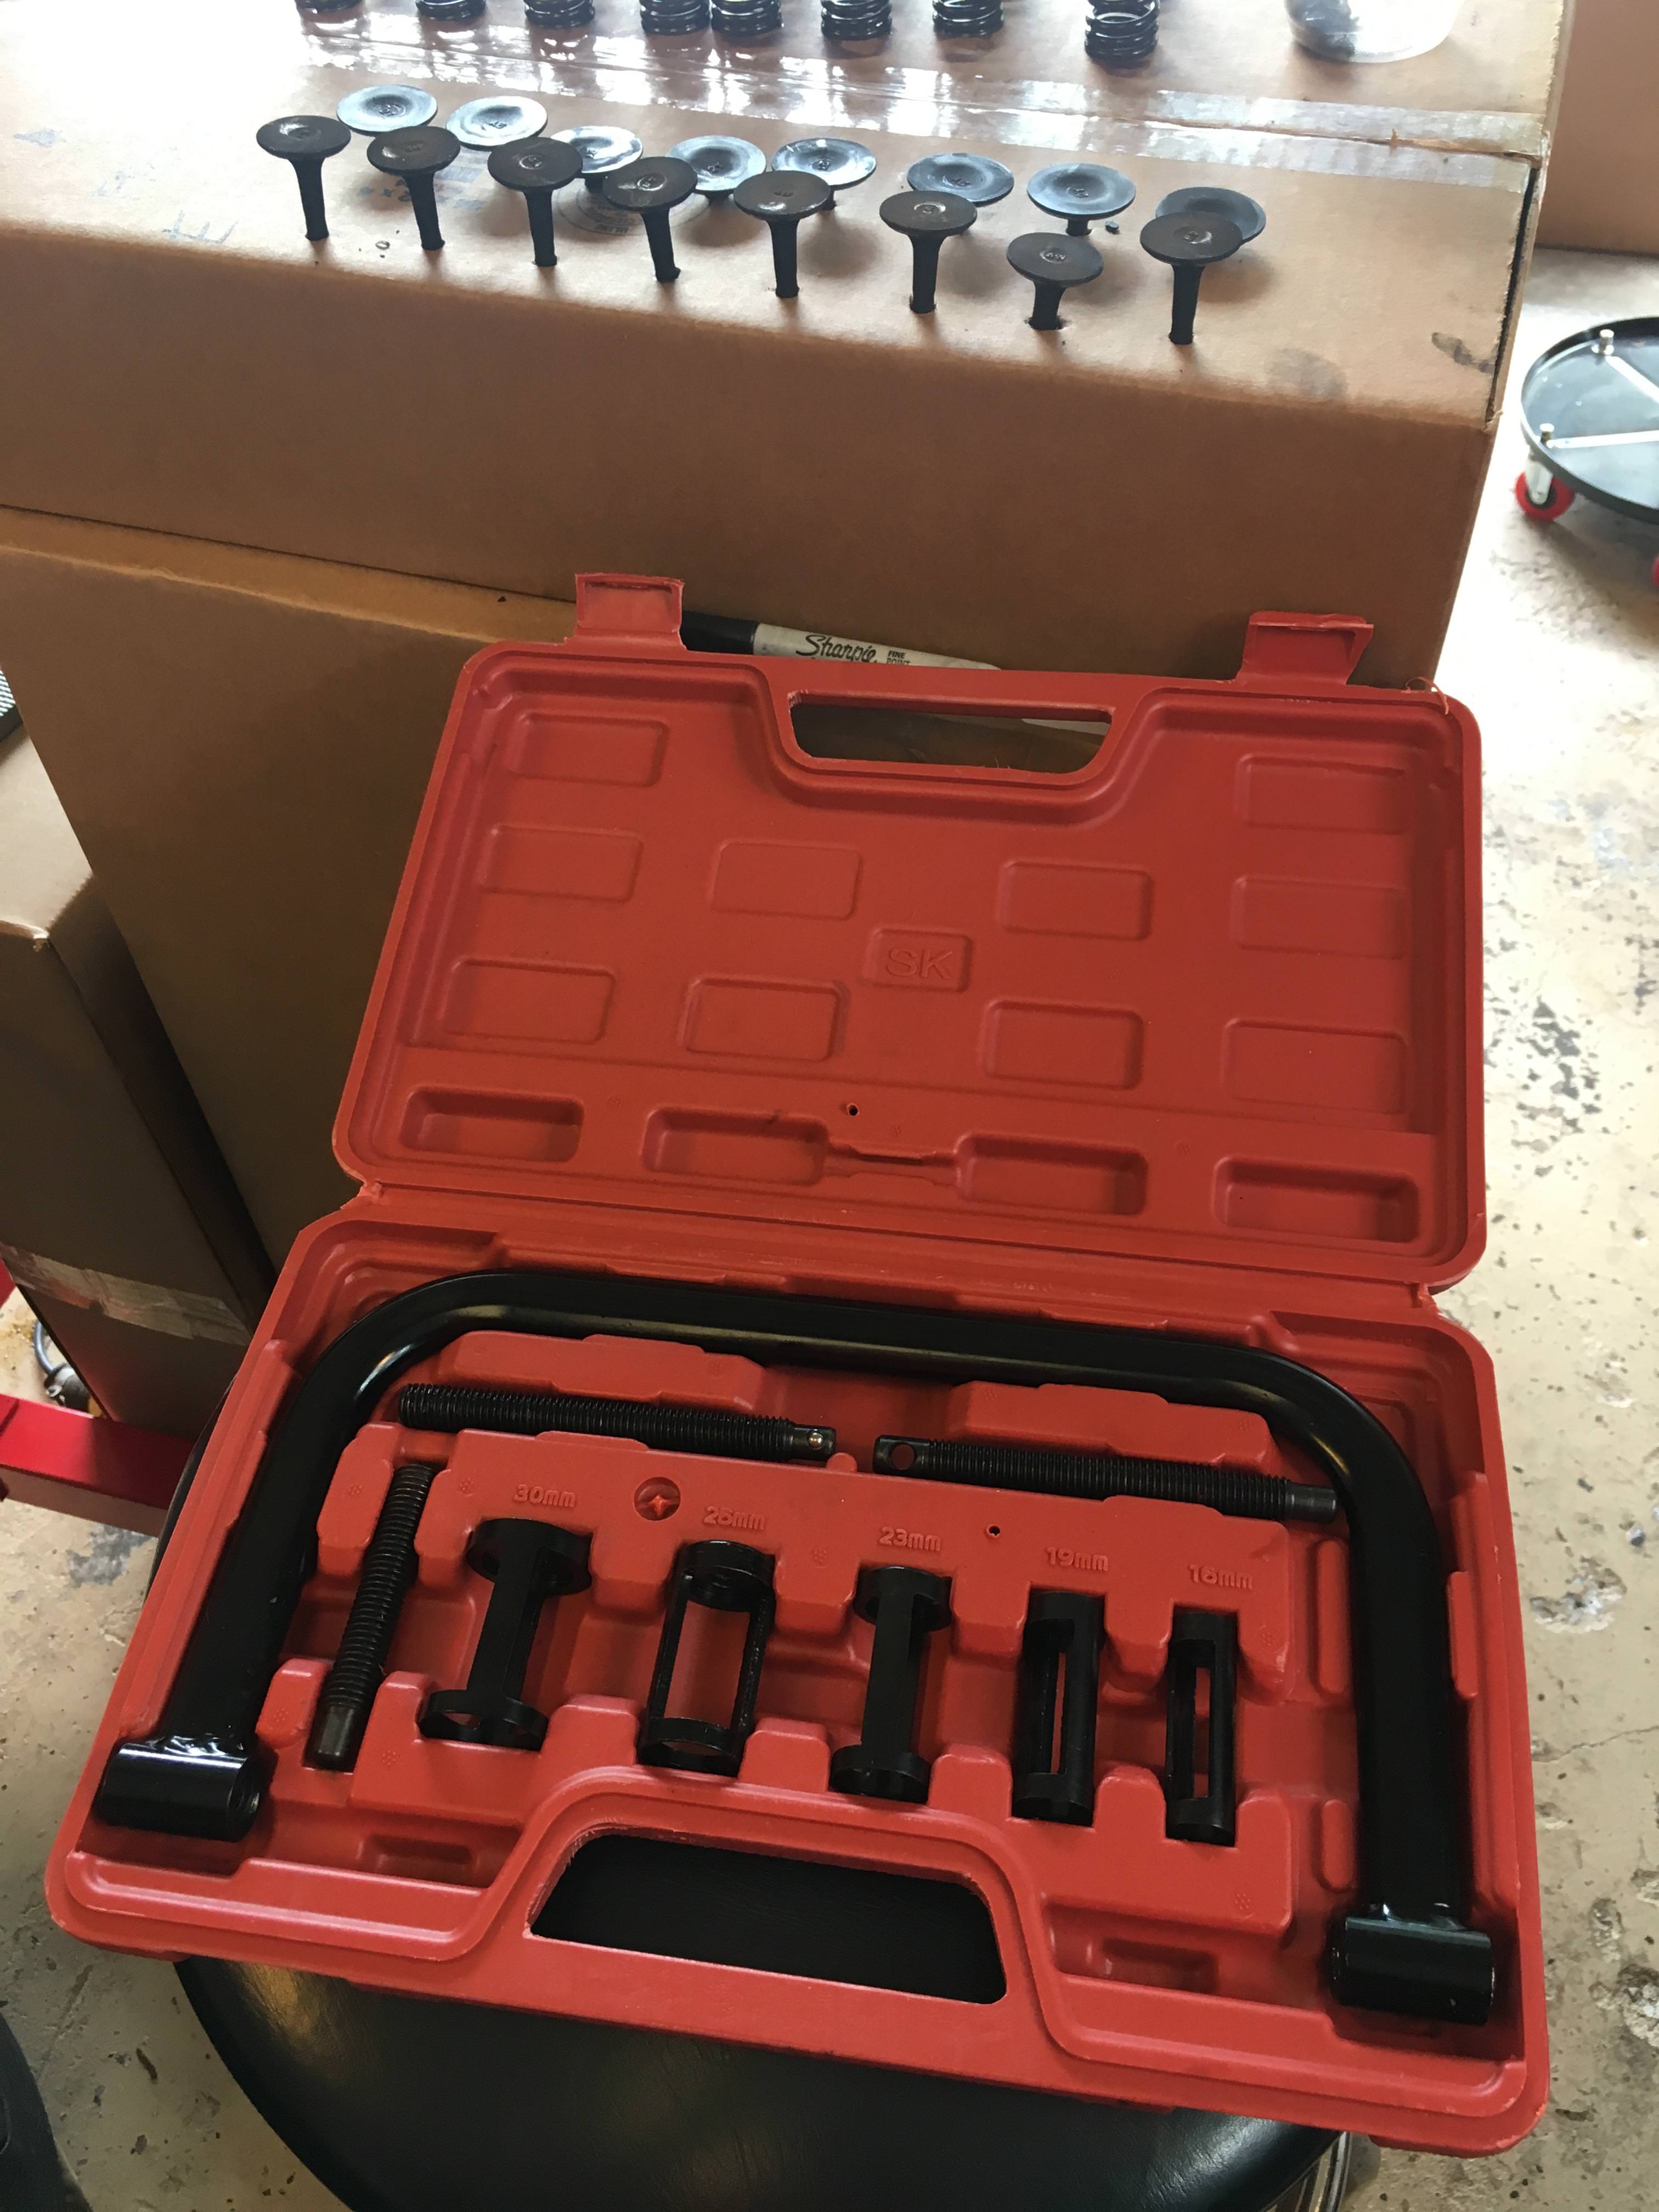
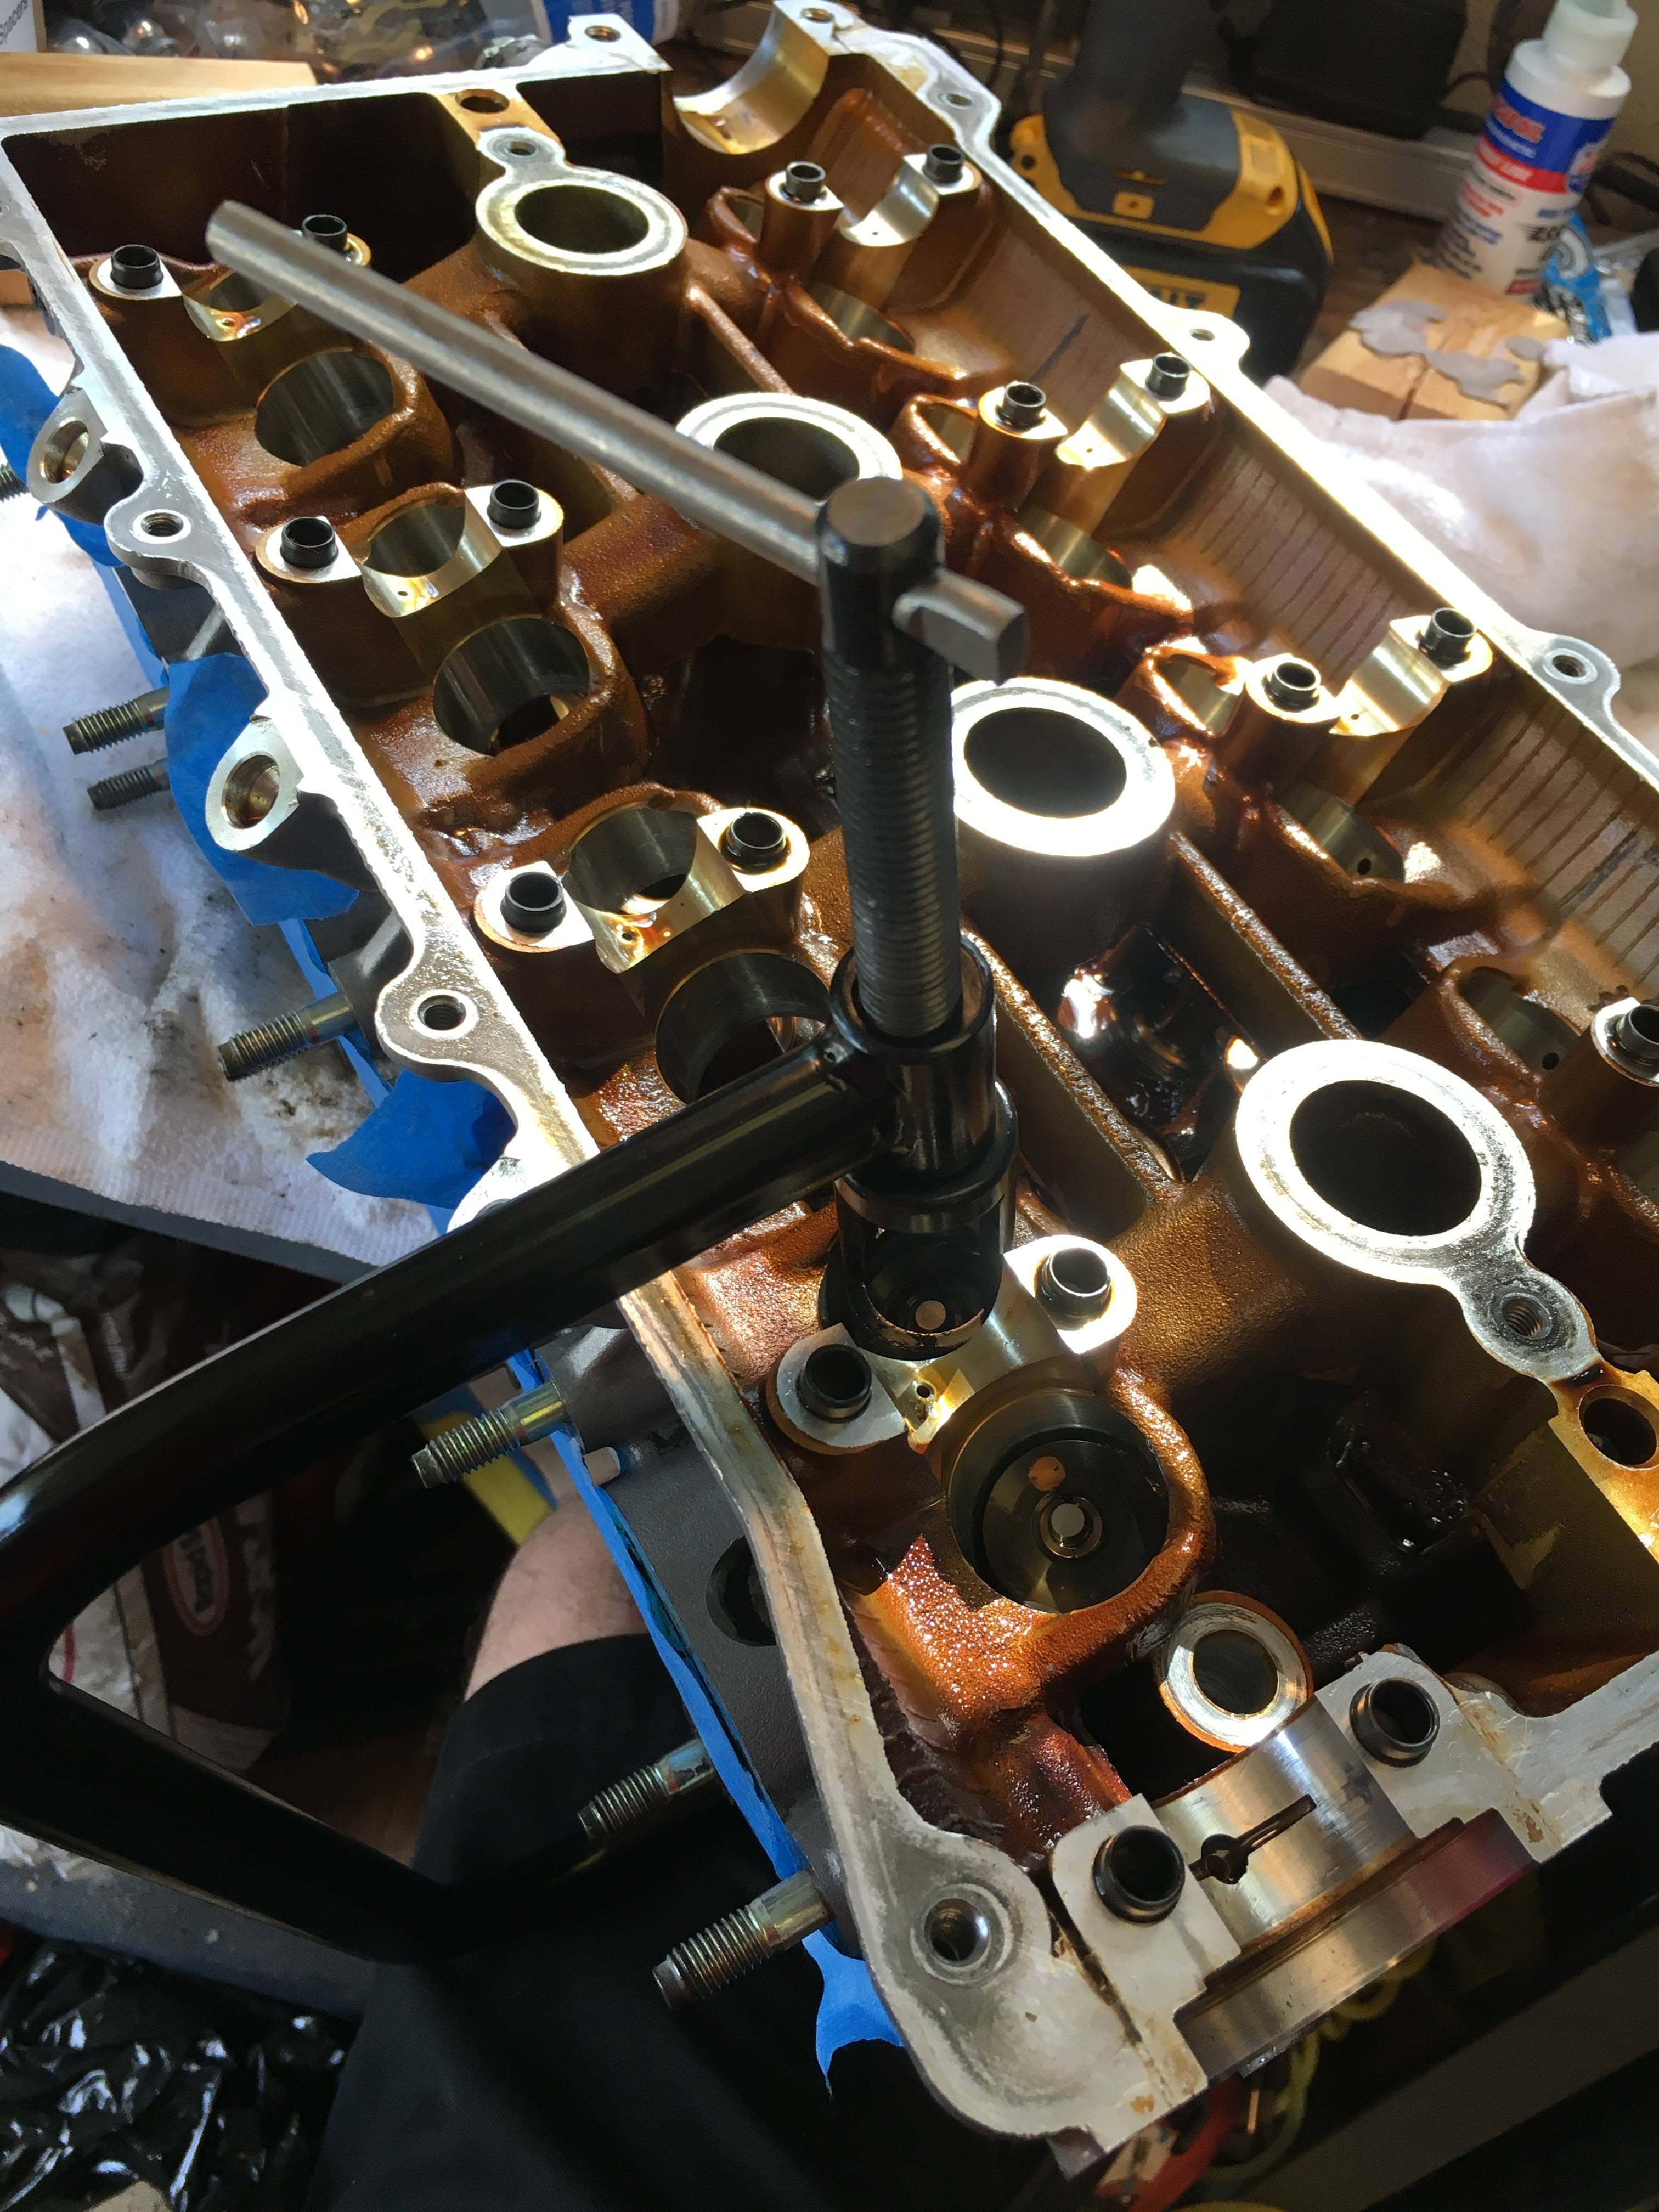
I removed the valve springs with a cheapo Amazon tool kit and it worked perfectly. I wouldn't hesitate to recommend it.

Amazon Amazon

Name:  EnAJrcd.jpg
Views: 331
Size:  702.0 KB

Name:  k30uV4t.jpg
Views: 332
Size:  983.7 KB

Name:  lQcMM7Q.jpg
Views: 330
Size:  721.9 KB
Old May 7, 2018 | 12:36 PM
  #45  
OGRacing's Avatar
Supporting Vendor
iTrader: (1)
 
Joined: May 2014
Posts: 1,797
Total Cats: 33
Default

that video makes me want to grow a mustache.
__________________
OG Racing
Your Source For Motorsports Safety Equipment
WWW.OGRACING.COM
800.934.9112
703.430.3303
info@ogracing.com
Originally Posted by Mobius
Hopefully so, but let's hope it's never necessary. Experiencing your safety gear in action is ... not optimal.
Old May 7, 2018 | 12:39 PM
  #46  
Garman's Avatar
Thread Starter
Junior Member
 
Joined: Jan 2018
Posts: 228
Total Cats: 25
From: Tampa, Fl
Default

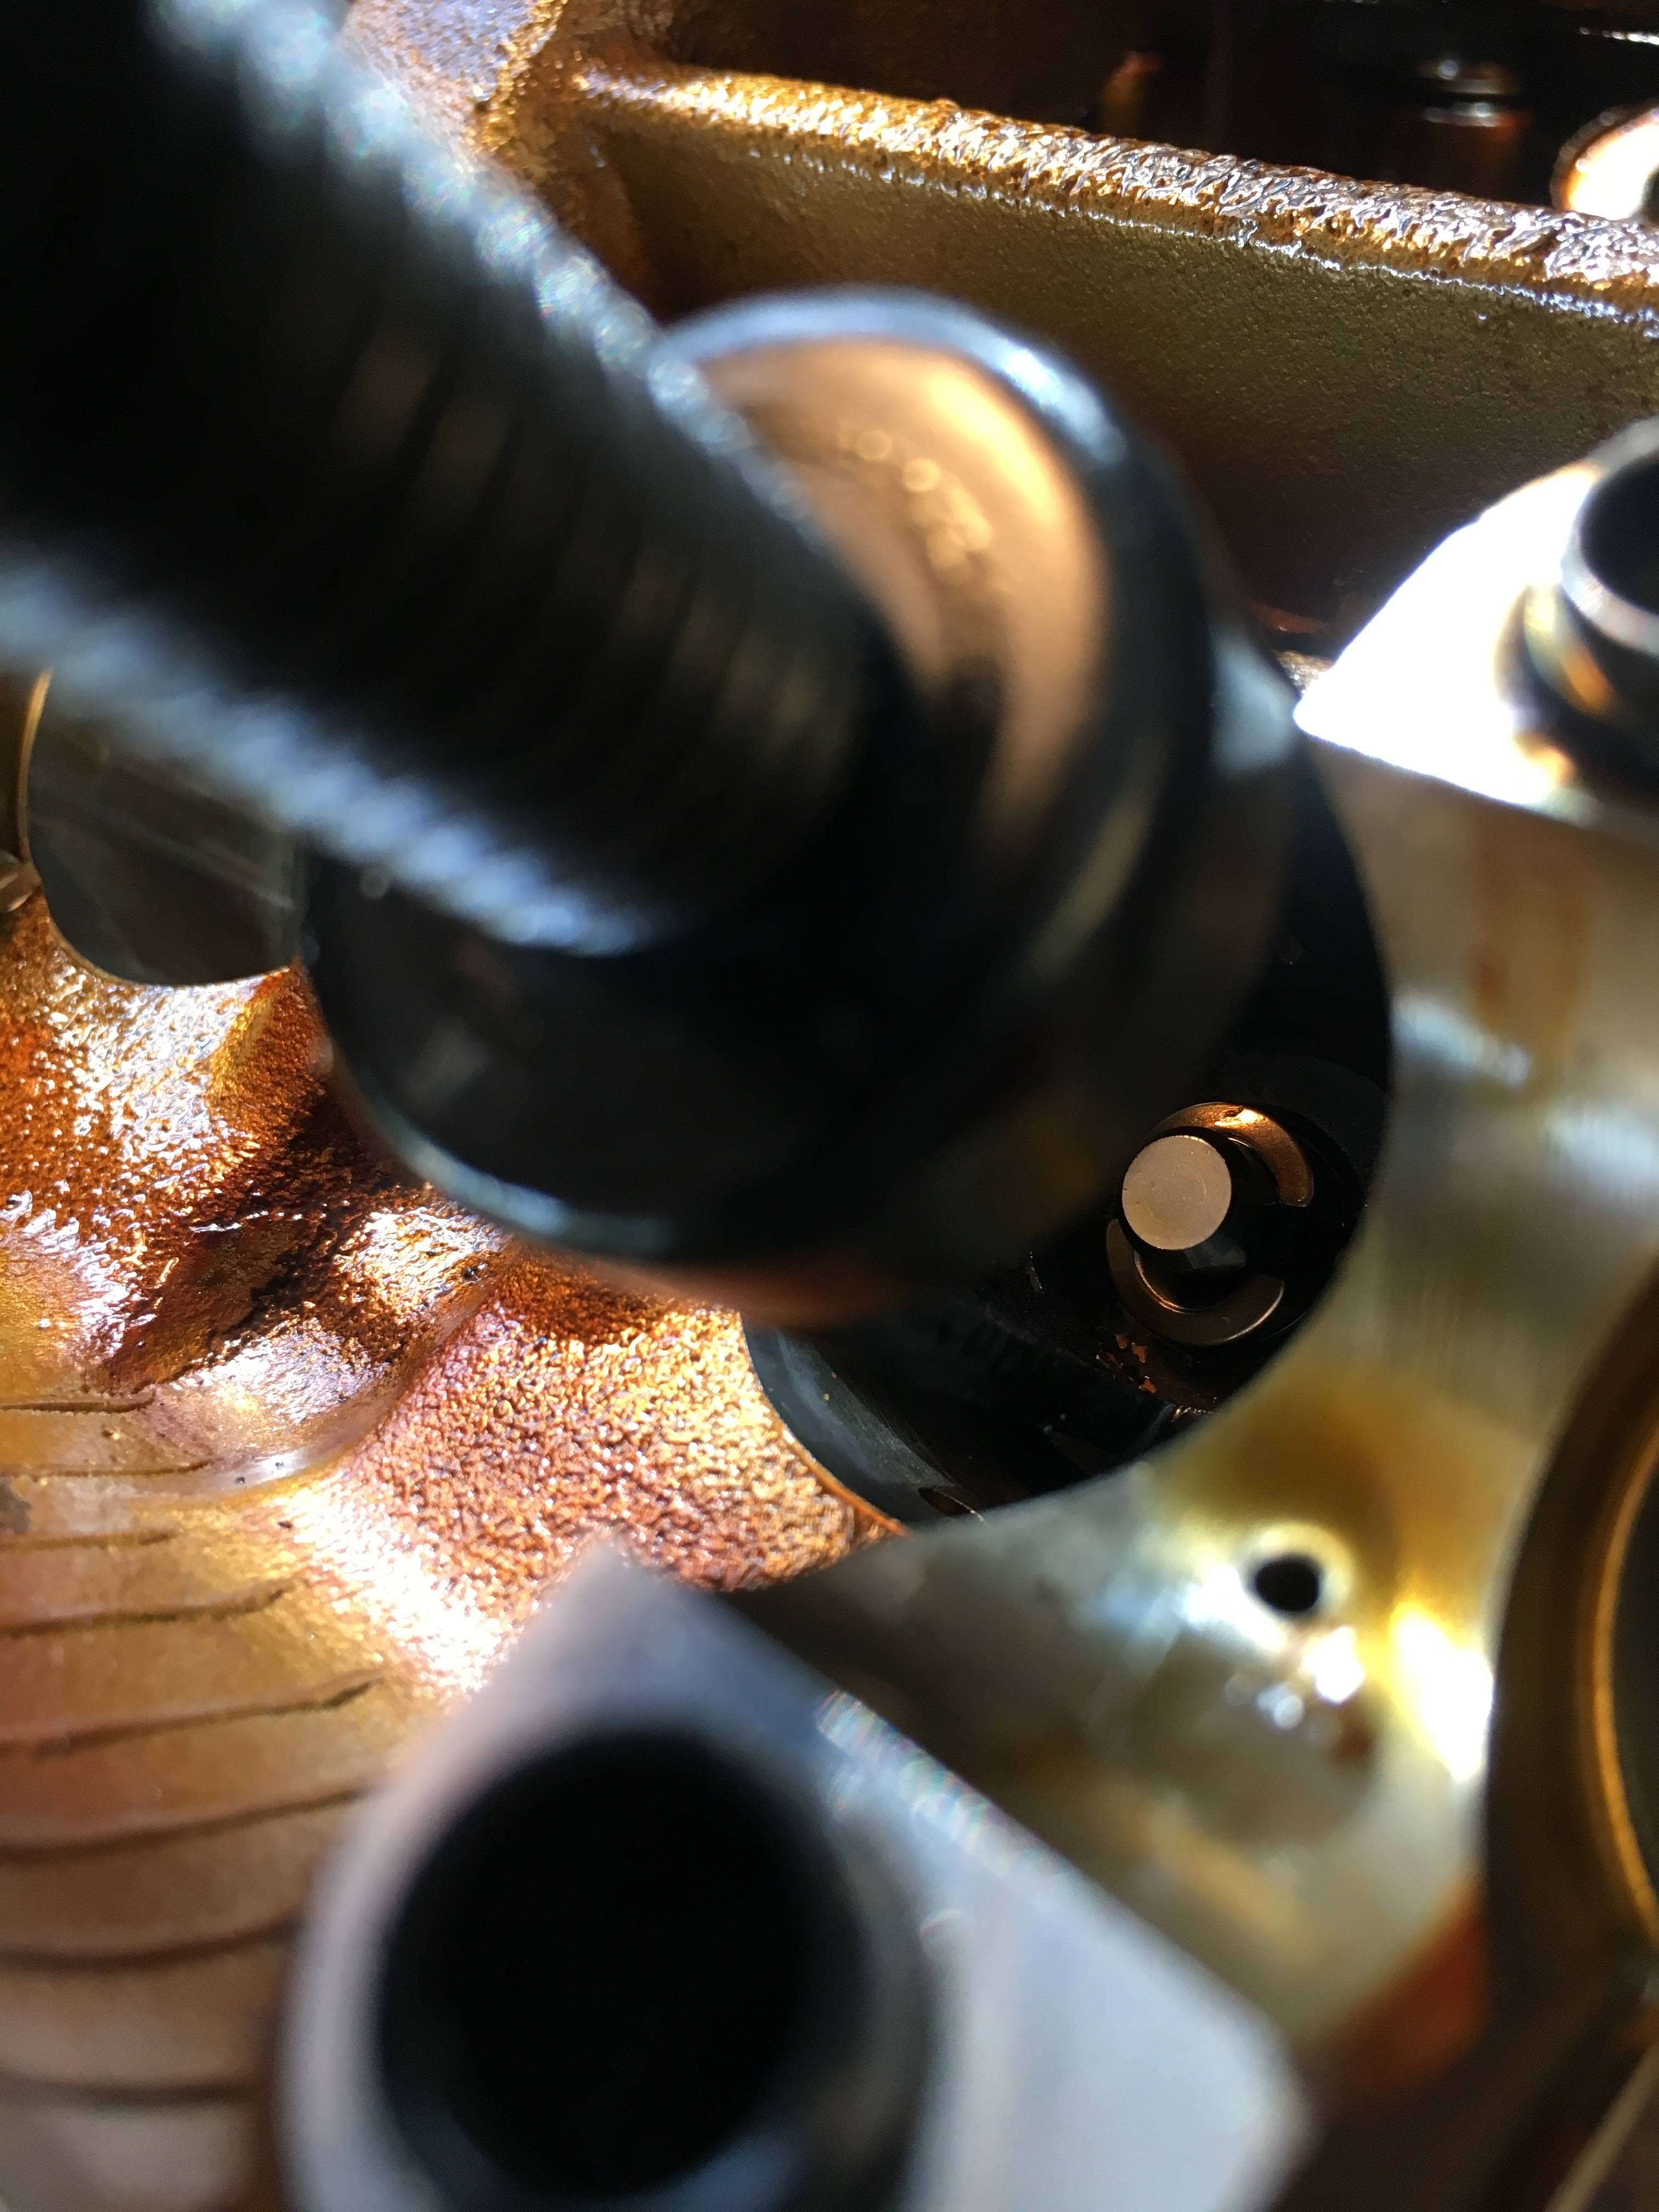
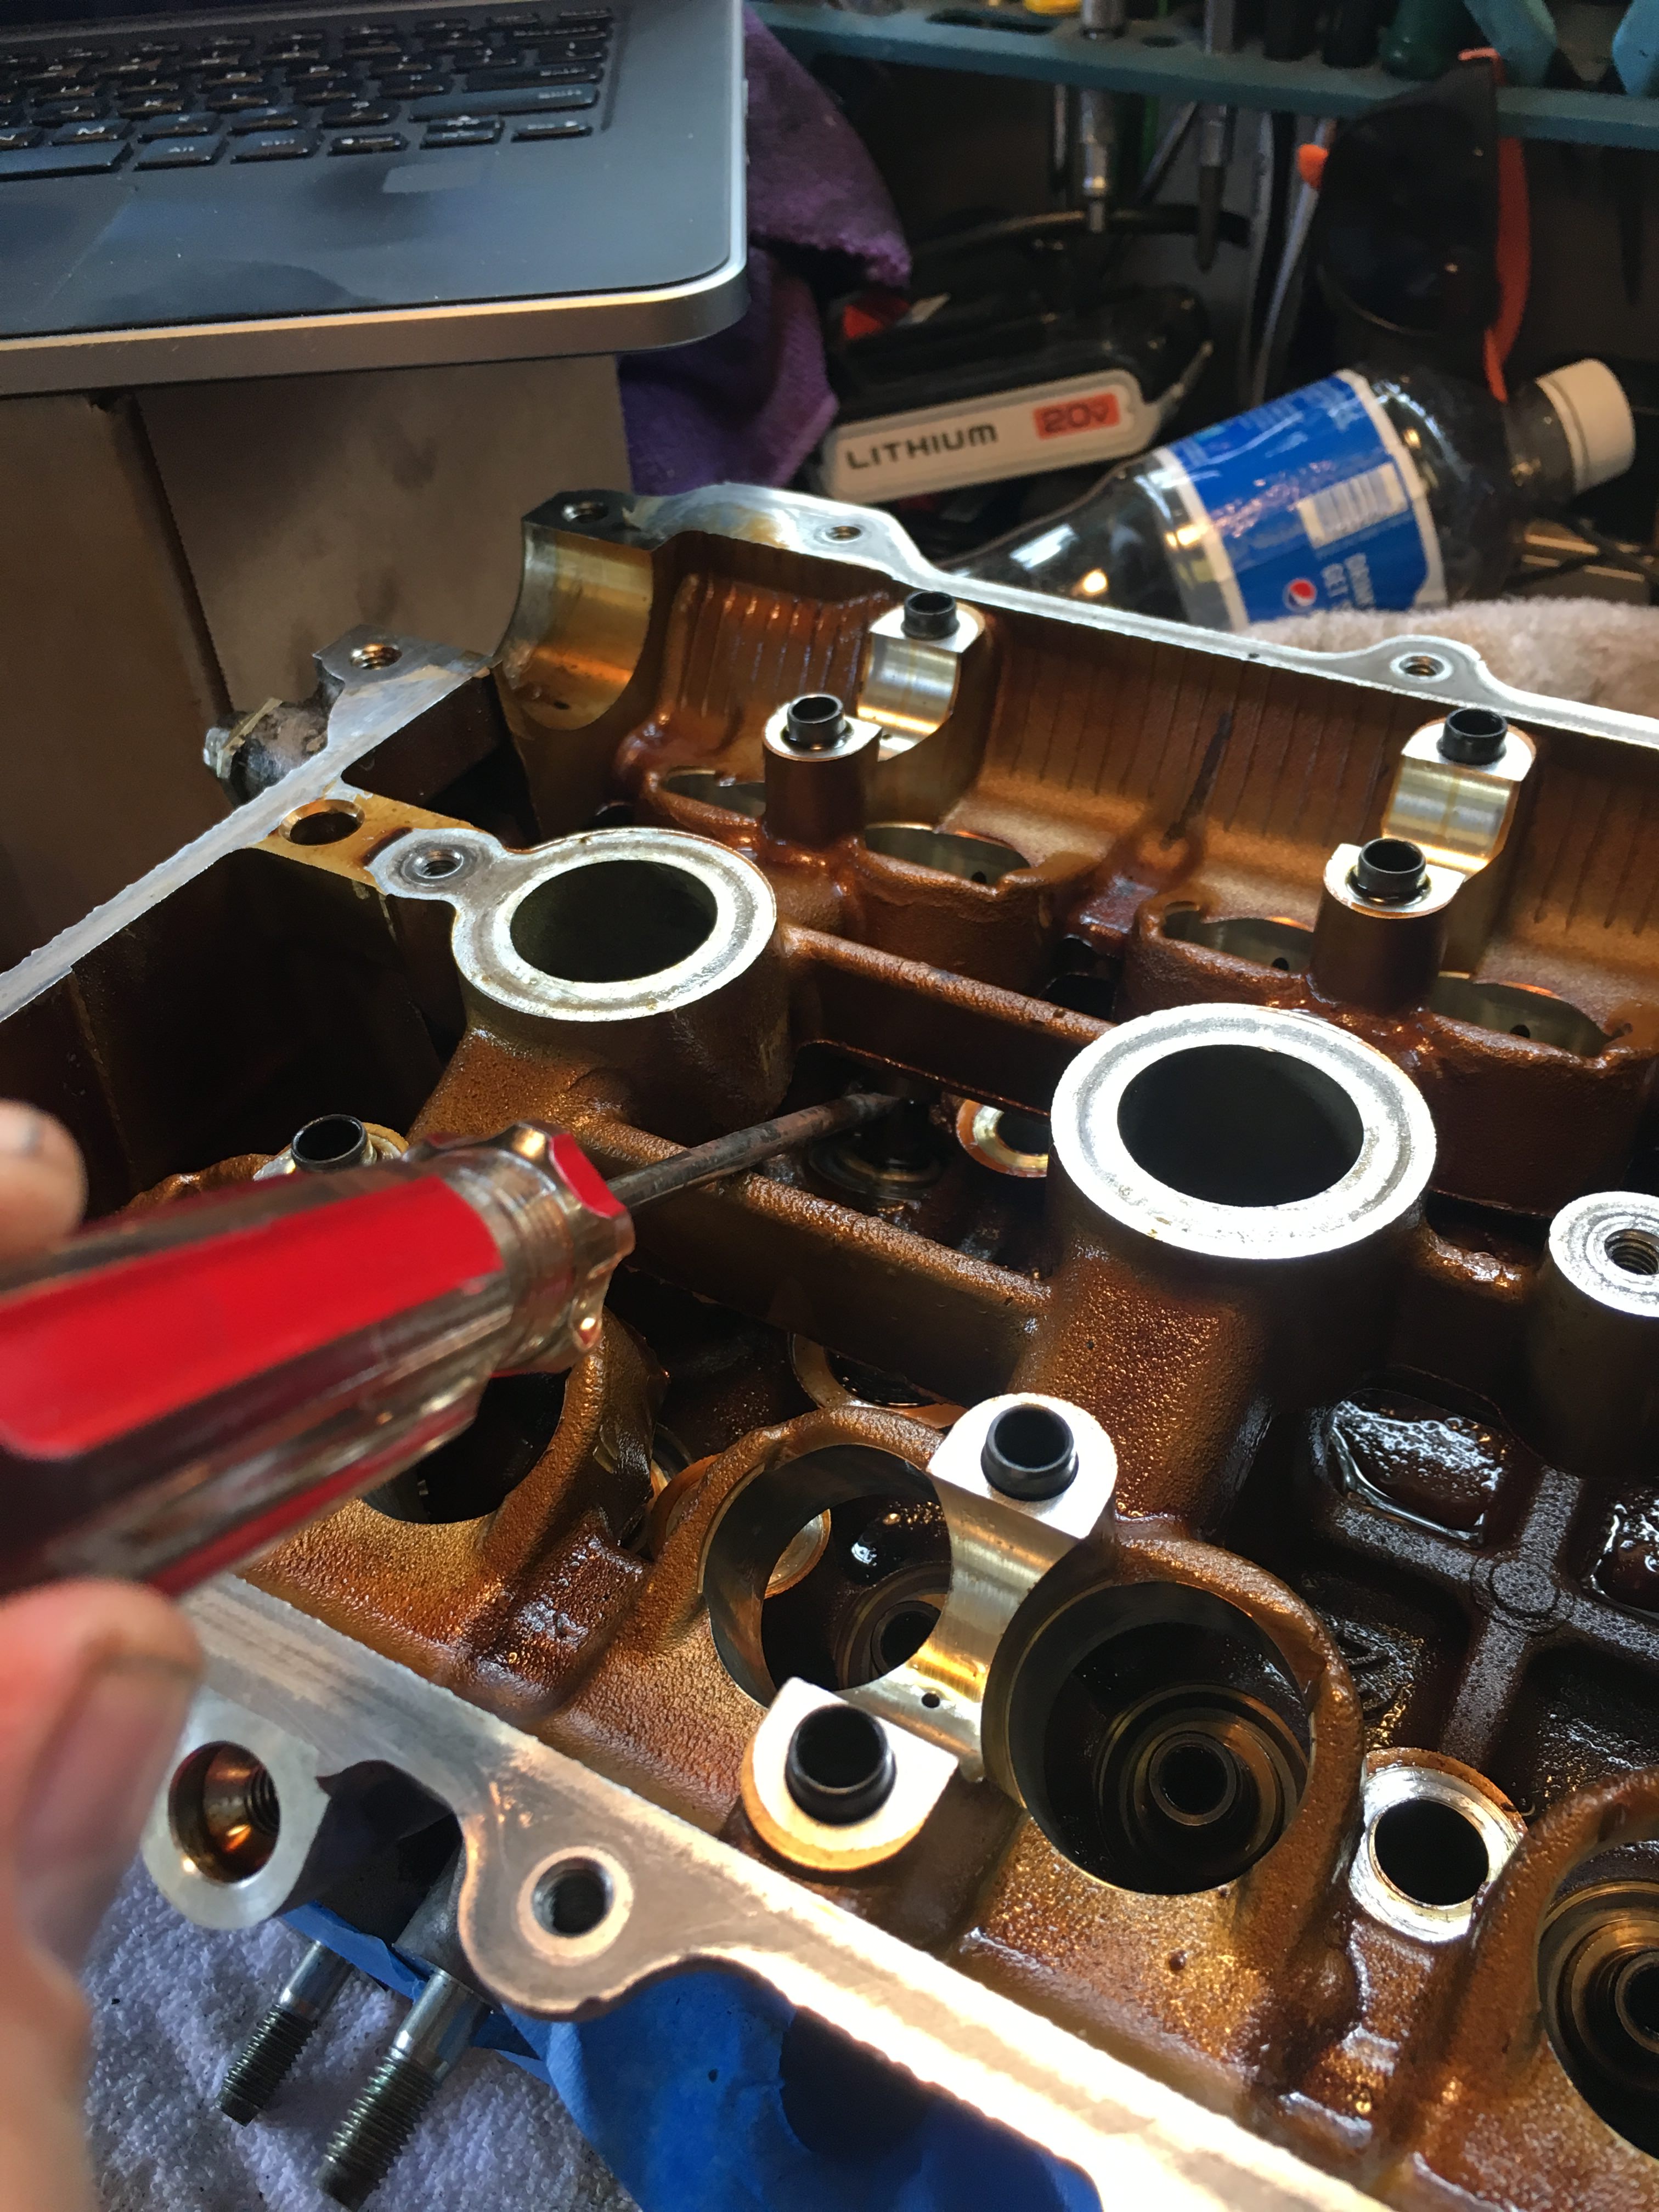
One thing that I had trouble with was removing the valve seals. I initially mangled the first few trying to get at them with some needle nose pliers. **** was breaking off everywhere. I then tried to pry up one side of the seal to get a better grip and that worked way better.

Name:  Sn8jzMi.jpg
Views: 325
Size:  1.31 MB
Name:  mfpQLNU.jpg
Views: 322
Size:  886.5 KB

Last edited by Garman; May 7, 2018 at 12:40 PM. Reason: Wrong picture
Old May 7, 2018 | 12:47 PM
  #47  
Garman's Avatar
Thread Starter
Junior Member
 
Joined: Jan 2018
Posts: 228
Total Cats: 25
From: Tampa, Fl
Default

The intake side of the head is caked in carbon.

Name:  91VG3Gs.jpg
Views: 322
Size:  1.32 MB

I'm in the process of doing a stage 1 port and polish to help things flow better. I'm following this guide:

Old May 7, 2018 | 05:16 PM
  #48  
Garman's Avatar
Thread Starter
Junior Member
 
Joined: Jan 2018
Posts: 228
Total Cats: 25
From: Tampa, Fl
Default

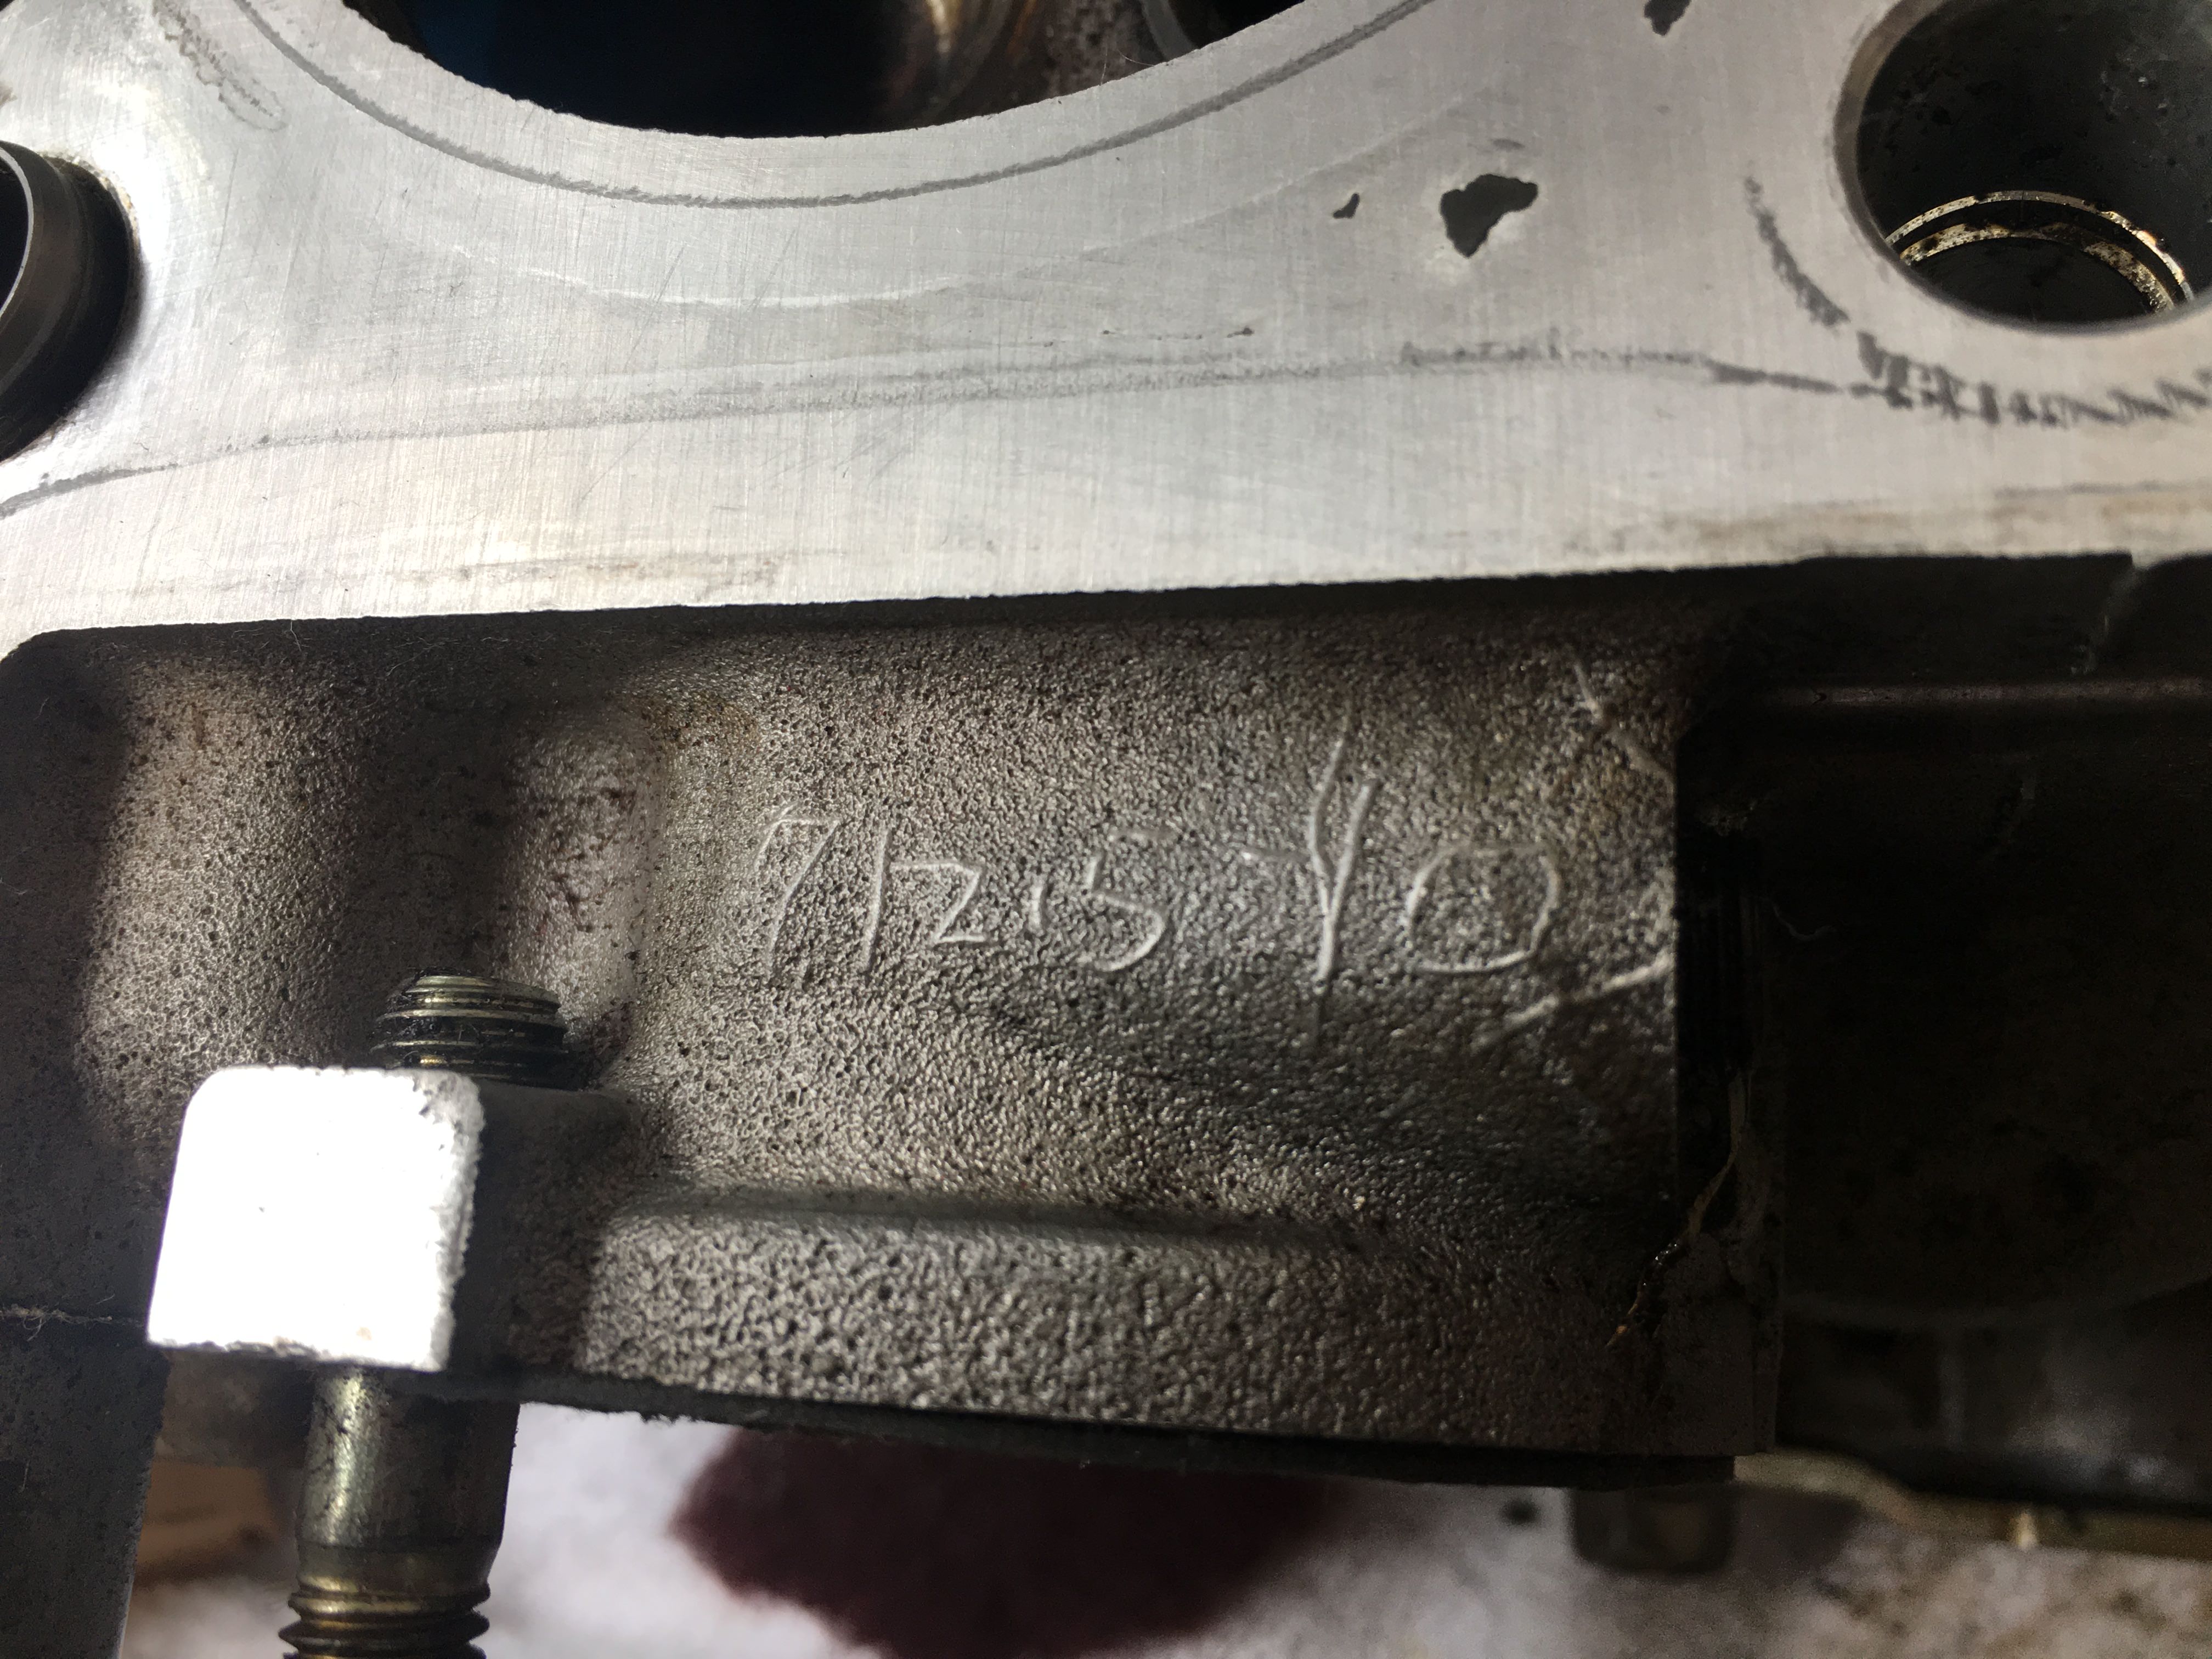
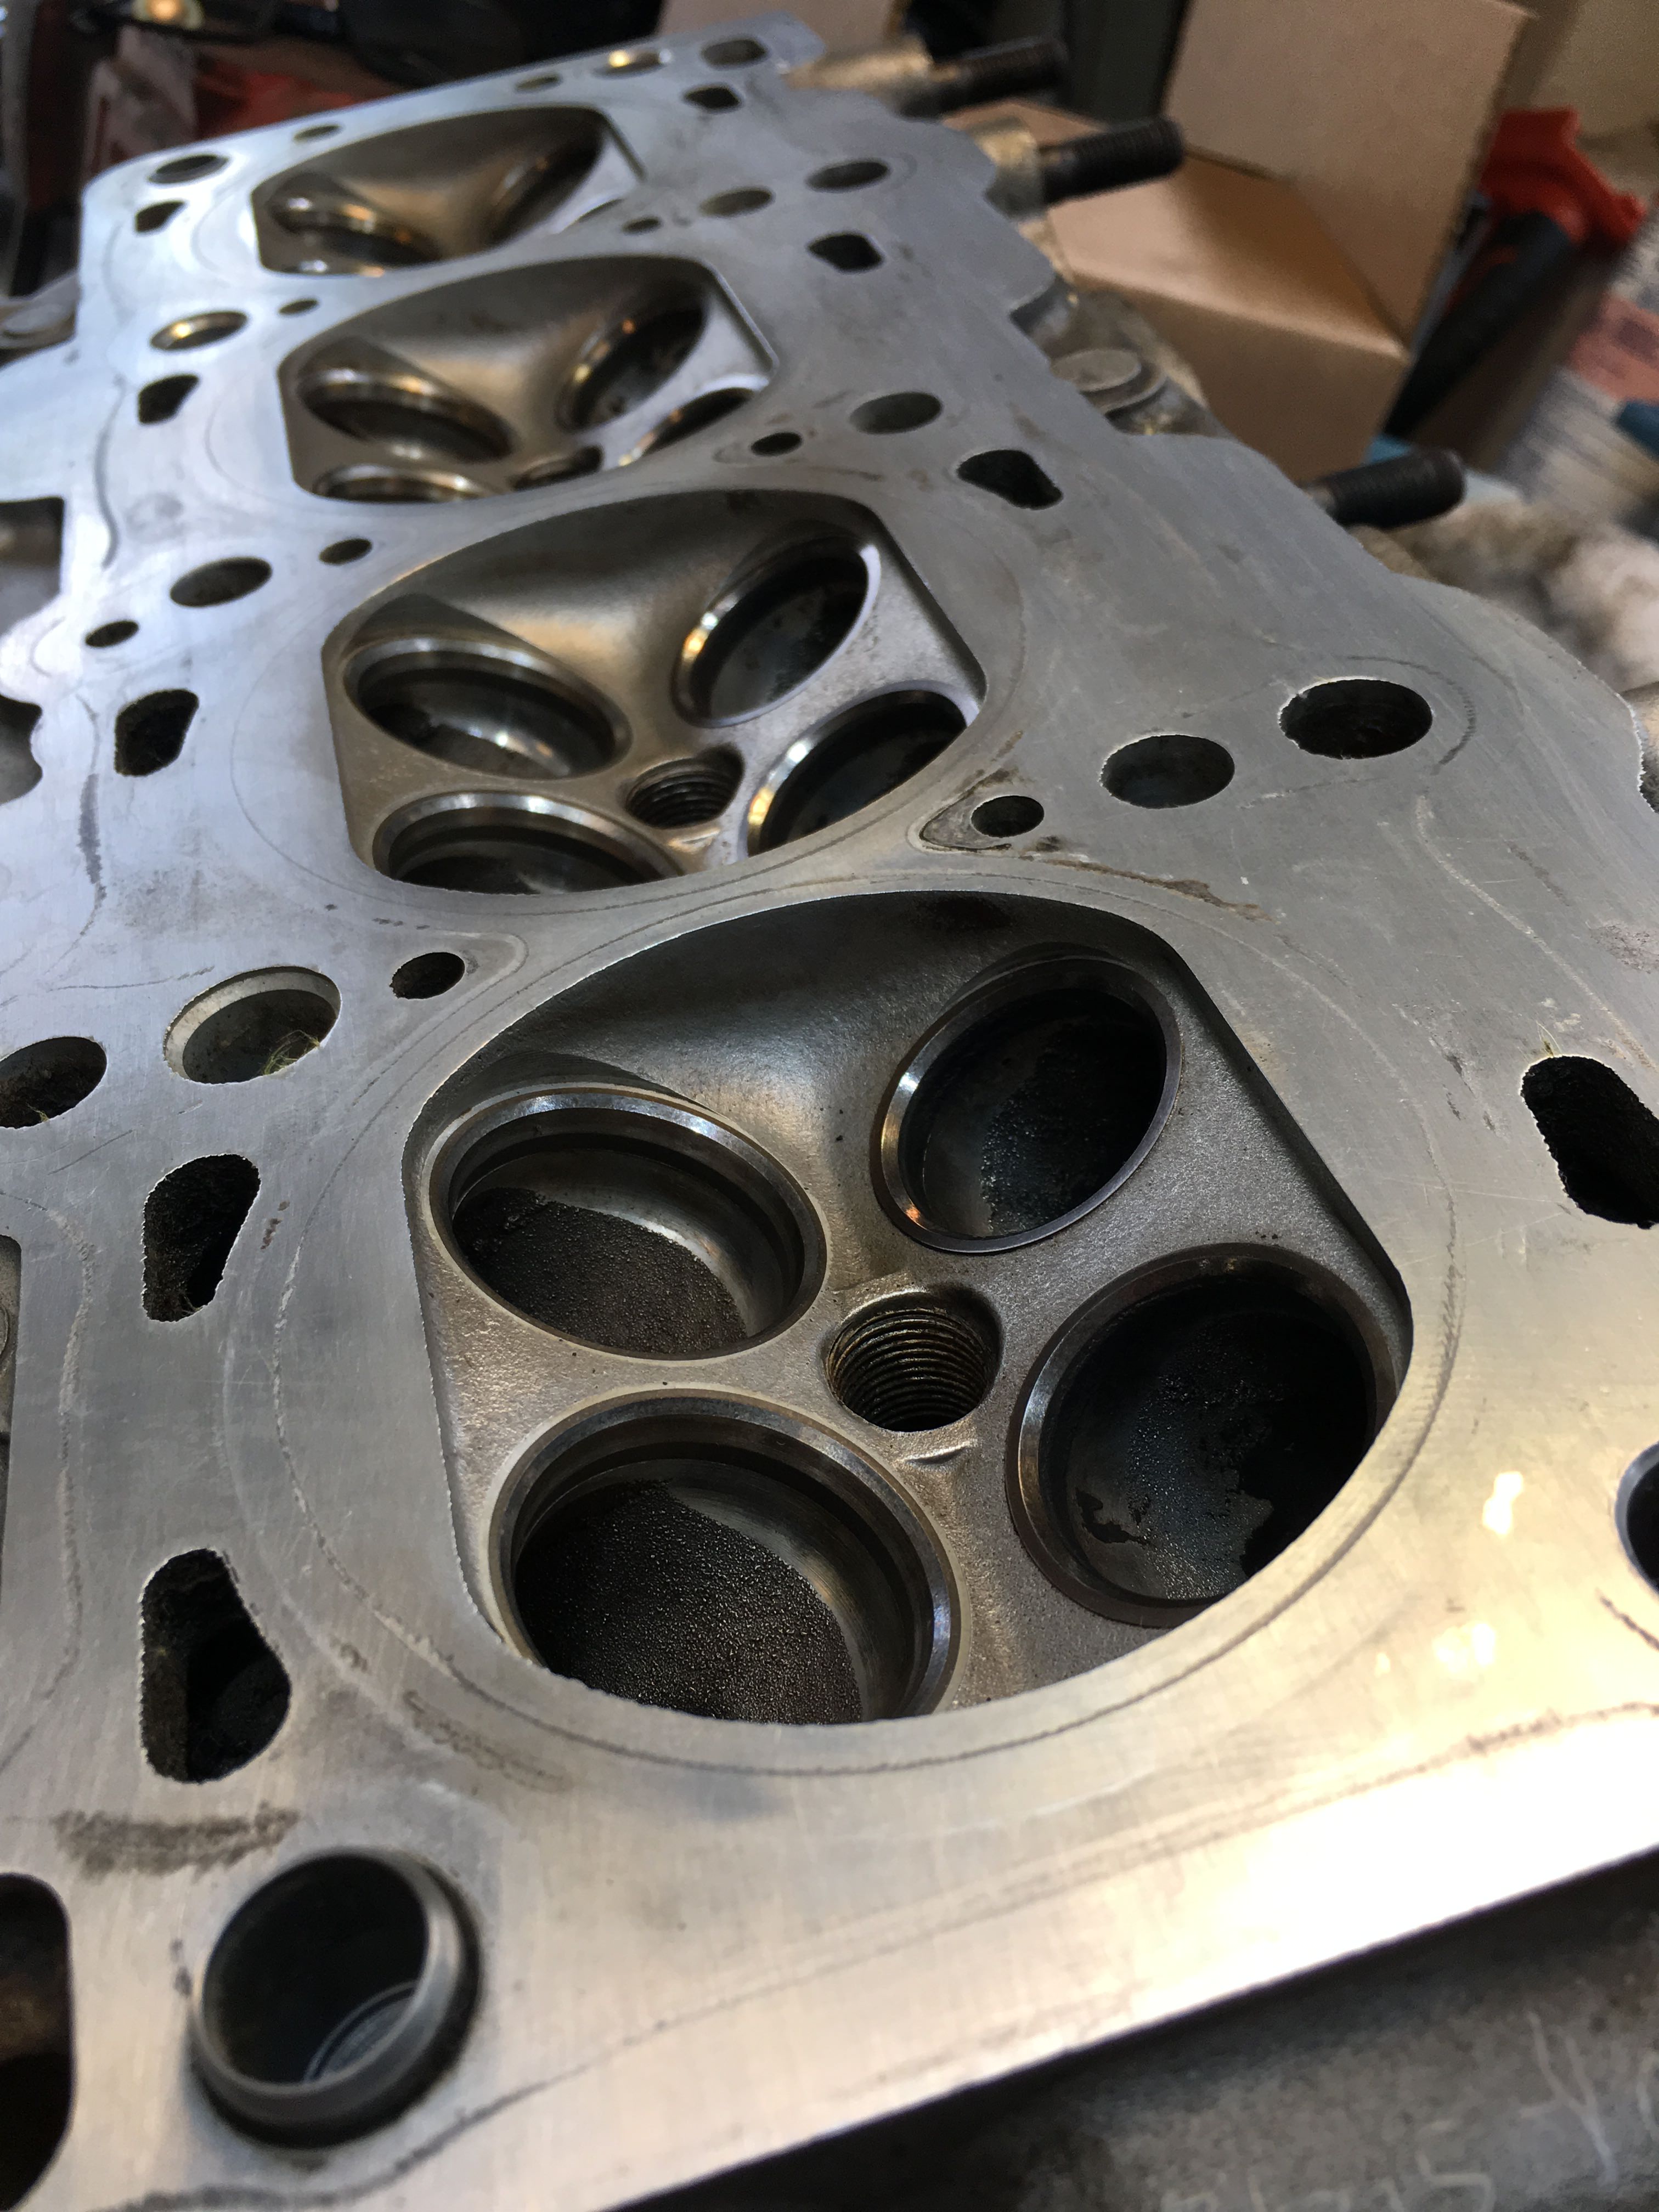
While working on the cyl. head I noticed this number on the casting. It's at the rear on top of the coolant inlet. It's totally irrelevant but now I'm curious if anybody else has the same numbers on theirs and what does it mean?

Name:  i8uYzHO.jpg
Views: 321
Size:  1.31 MB
Old May 10, 2018 | 08:43 AM
  #49  
Garman's Avatar
Thread Starter
Junior Member
 
Joined: Jan 2018
Posts: 228
Total Cats: 25
From: Tampa, Fl
Default

One last chance for a parts collection money shot before parts start going into the engine this weekend.

Name:  1AA79iR.jpg
Views: 323
Size:  1.26 MB
Old May 10, 2018 | 09:22 AM
  #50  
ryansmoneypit's Avatar
Elite Member
iTrader: (6)
 
Joined: Feb 2013
Posts: 3,398
Total Cats: 458
From: A cave in Va
Default

check that clutch PP before install....make sure the tangs are all uniform.
Old May 10, 2018 | 09:40 AM
  #51  
Garman's Avatar
Thread Starter
Junior Member
 
Joined: Jan 2018
Posts: 228
Total Cats: 25
From: Tampa, Fl
Default

Originally Posted by ryansmoneypit
check that clutch PP before install....make sure the tangs are all uniform.
Thanks, I'll definitely check. Is that a thing with FM clutches?
Old May 10, 2018 | 09:45 AM
  #52  
LukeG's Avatar
Senior Member
 
Joined: May 2017
Posts: 1,119
Total Cats: 166
From: Austin, TX
Default

Is that an FM stage 1 or 2 clutch? My stage one is slipping after 4k miles with 255whp. Wishing I had gone stage 2.
Old May 10, 2018 | 09:55 AM
  #53  
Garman's Avatar
Thread Starter
Junior Member
 
Joined: Jan 2018
Posts: 228
Total Cats: 25
From: Tampa, Fl
Default

Originally Posted by LukeG
Is that an FM stage 1 or 2 clutch? My stage one is slipping after 4k miles with 255whp. Wishing I had gone stage 2.
I went with the level 2 and the 10.3 lightweight flywheel. I say "went with" loosely since I found it on Craigslist and the guy had never installed it.
Old May 10, 2018 | 10:05 AM
  #54  
LukeG's Avatar
Senior Member
 
Joined: May 2017
Posts: 1,119
Total Cats: 166
From: Austin, TX
Default

Originally Posted by Garman
I went with the level 2 and the 10.3 lightweight flywheel. I say "went with" loosely since I found it on Craigslist and the guy had never installed it.
Nice! You should be fine then.
Old May 11, 2018 | 08:49 AM
  #55  
Garman's Avatar
Thread Starter
Junior Member
 
Joined: Jan 2018
Posts: 228
Total Cats: 25
From: Tampa, Fl
Default

One cylinder head bowl clean, three more to go.

Name:  TdQNZN1.jpg
Views: 323
Size:  1.81 MB
Old May 11, 2018 | 09:00 AM
  #56  
Garman's Avatar
Thread Starter
Junior Member
 
Joined: Jan 2018
Posts: 228
Total Cats: 25
From: Tampa, Fl
Default

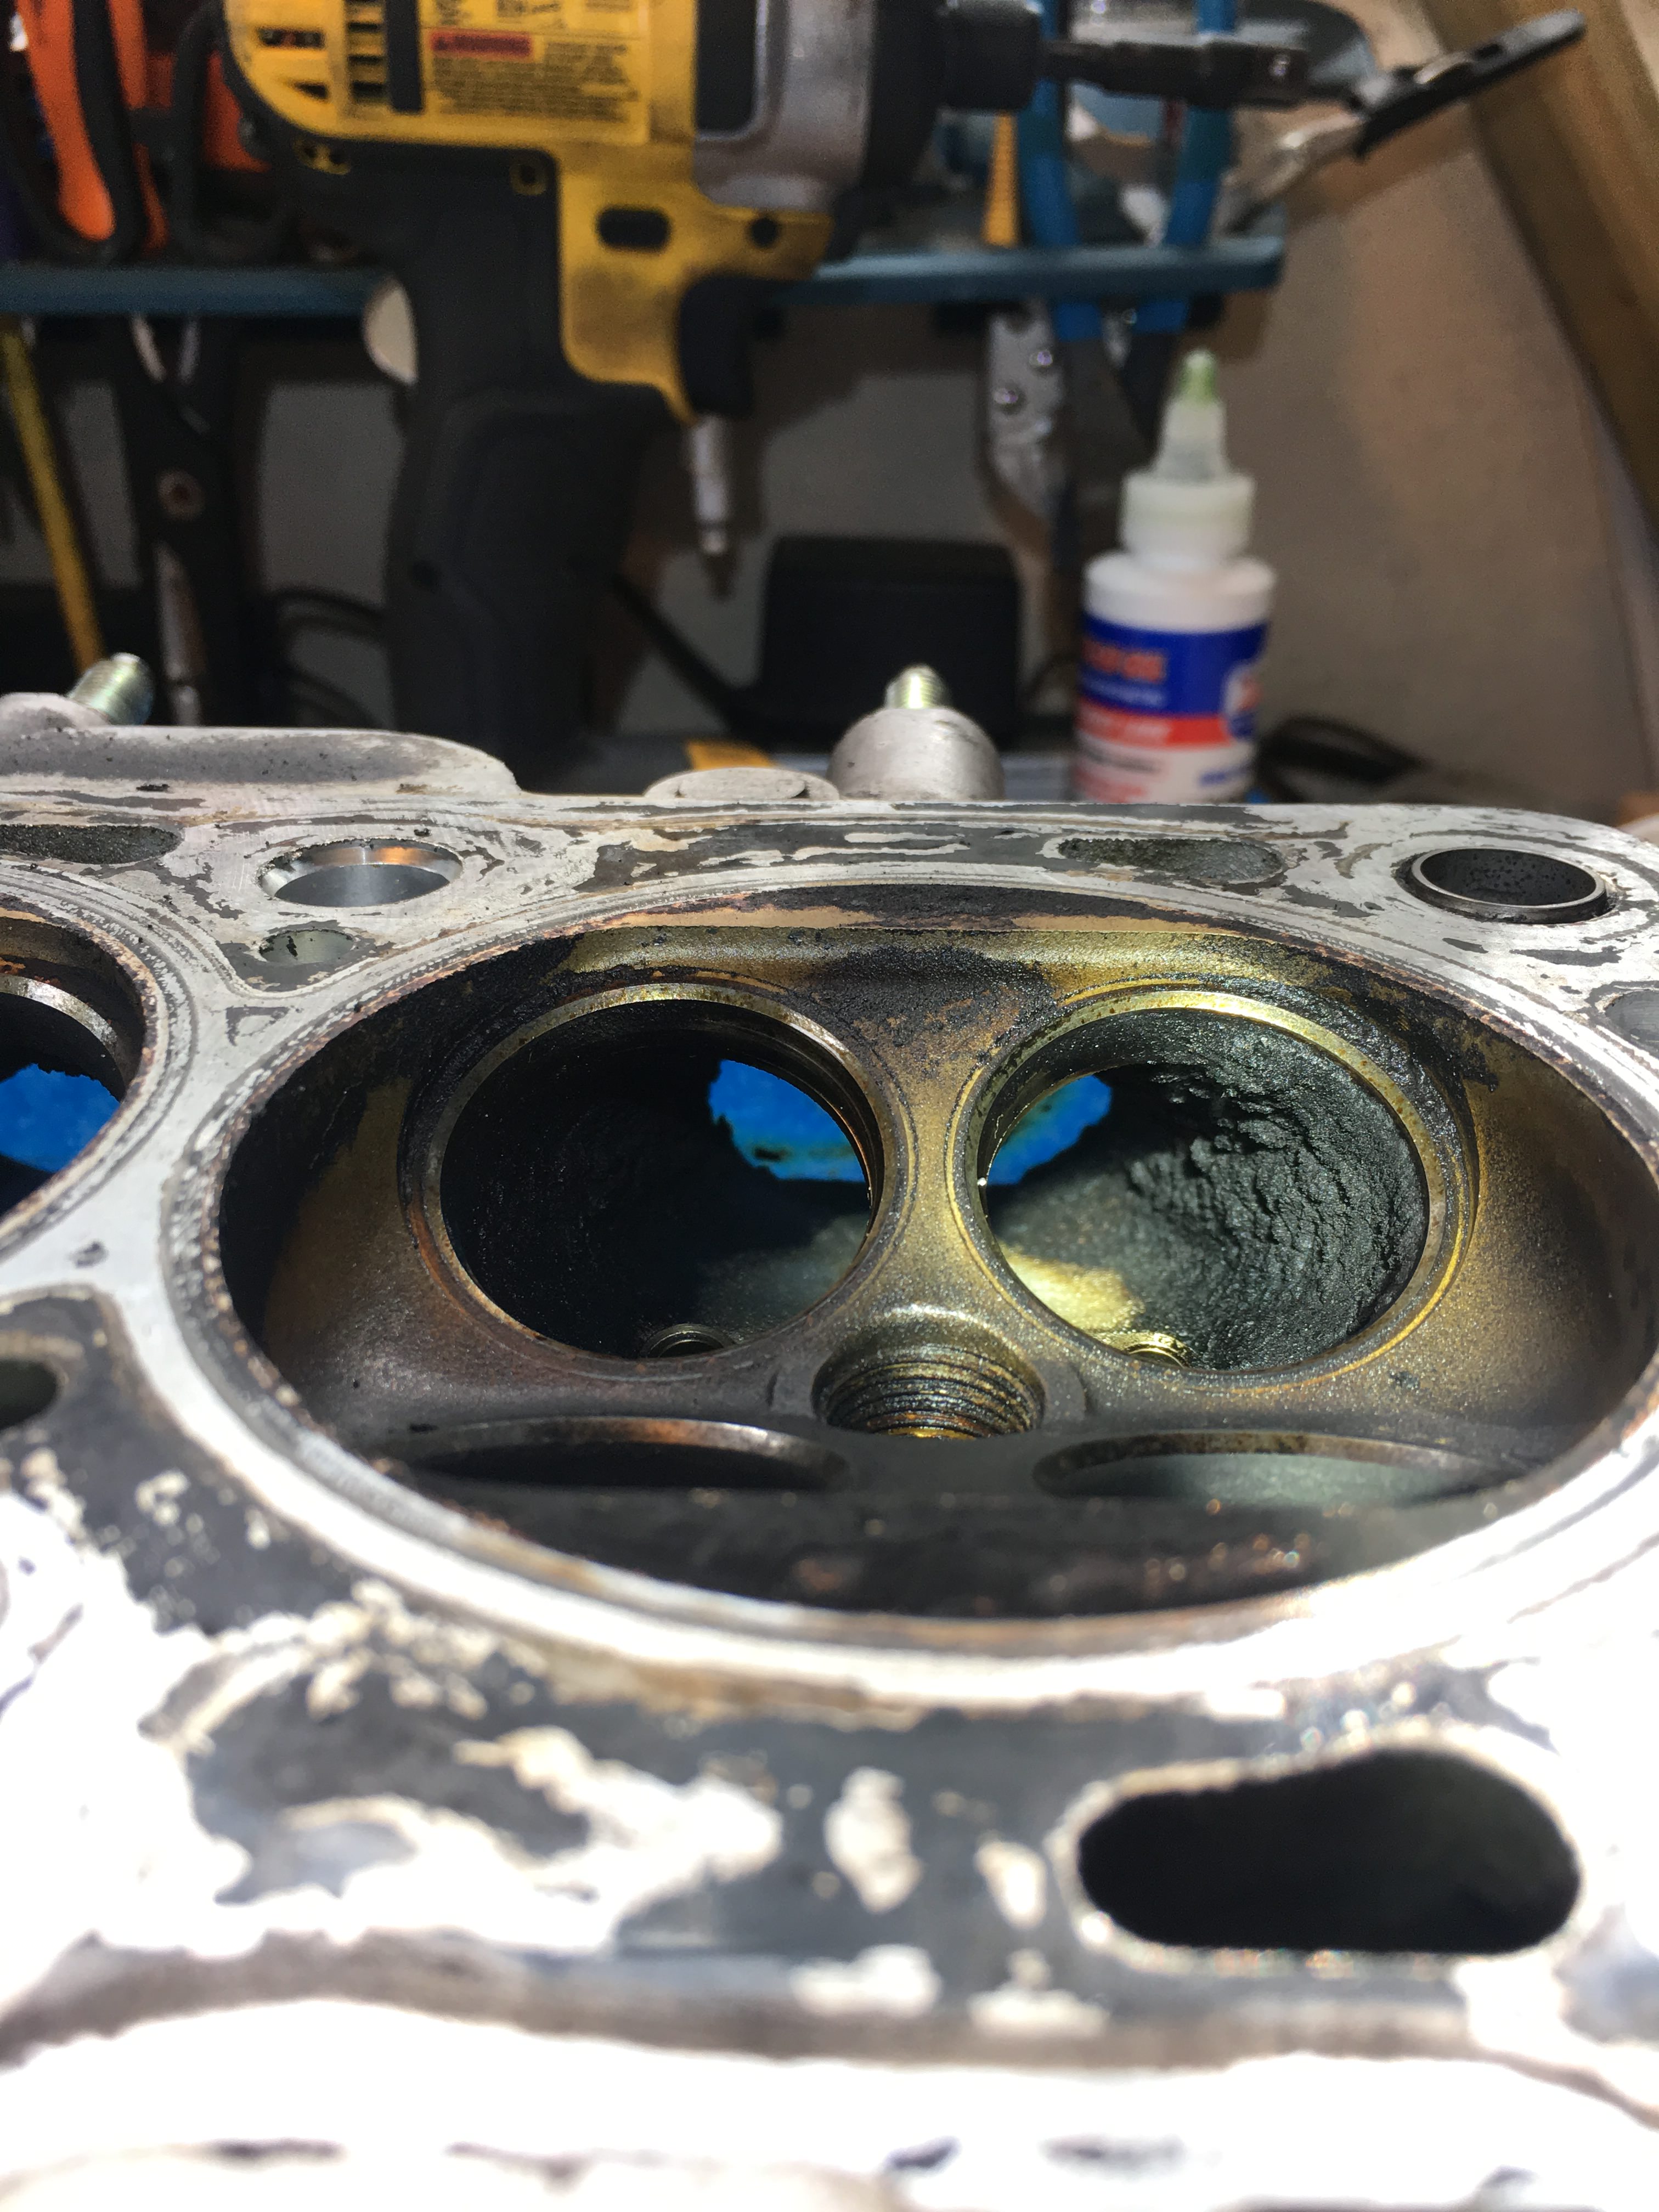
I realize that this is just cosmetic and it will get filthy again in 200 miles but it's just the way I do things. I'll be lapping the valves and a simple/basic port and polish so that will be where there should be some minimal gains made. If I don't screw it up.
Old May 11, 2018 | 03:11 PM
  #57  
boileralum's Avatar
Senior Member
iTrader: (8)
 
Joined: Mar 2006
Posts: 1,108
Total Cats: 233
From: Indianapolis, IN
Default

Did you get your block and crank cleaned by a machine shop, or are you just sending it? If the latter, go to Autozone and rent a Cylinder Ridge Reamer - you use it to clear all the carbon at the top of the cylinders so you don't mess up your new rings and pistons.

And welcome to the Exocet family! (I have chassis #160)
Old May 11, 2018 | 04:21 PM
  #58  
Garman's Avatar
Thread Starter
Junior Member
 
Joined: Jan 2018
Posts: 228
Total Cats: 25
From: Tampa, Fl
Default

Originally Posted by boileralum
Did you get your block and crank cleaned by a machine shop, or are you just sending it? If the latter, go to Autozone and rent a Cylinder Ridge Reamer - you use it to clear all the carbon at the top of the cylinders so you don't mess up your new rings and pistons.

And welcome to the Exocet family! (I have chassis #160)
Thanks. That's a good call. I was just going to clean everything up really good and go. I didn't even know about a ridge reamer. I'm pretty new to engine building so it's these tips that really help.

How do you like your Exocet? I'm getting nervous because I've seen a bunch for sale lately. I don't get it.
Old May 21, 2018 | 09:37 AM
  #59  
Garman's Avatar
Thread Starter
Junior Member
 
Joined: Jan 2018
Posts: 228
Total Cats: 25
From: Tampa, Fl
Default

I finished cleaning the remaining combustion chambers and also cleaning out the ports. There's a ton of casting flash that needs removed to help this thing flow better.

Name:  E3NraCA.jpg
Views: 319
Size:  1.04 MB
Old May 21, 2018 | 09:42 AM
  #60  
Garman's Avatar
Thread Starter
Junior Member
 
Joined: Jan 2018
Posts: 228
Total Cats: 25
From: Tampa, Fl
Default

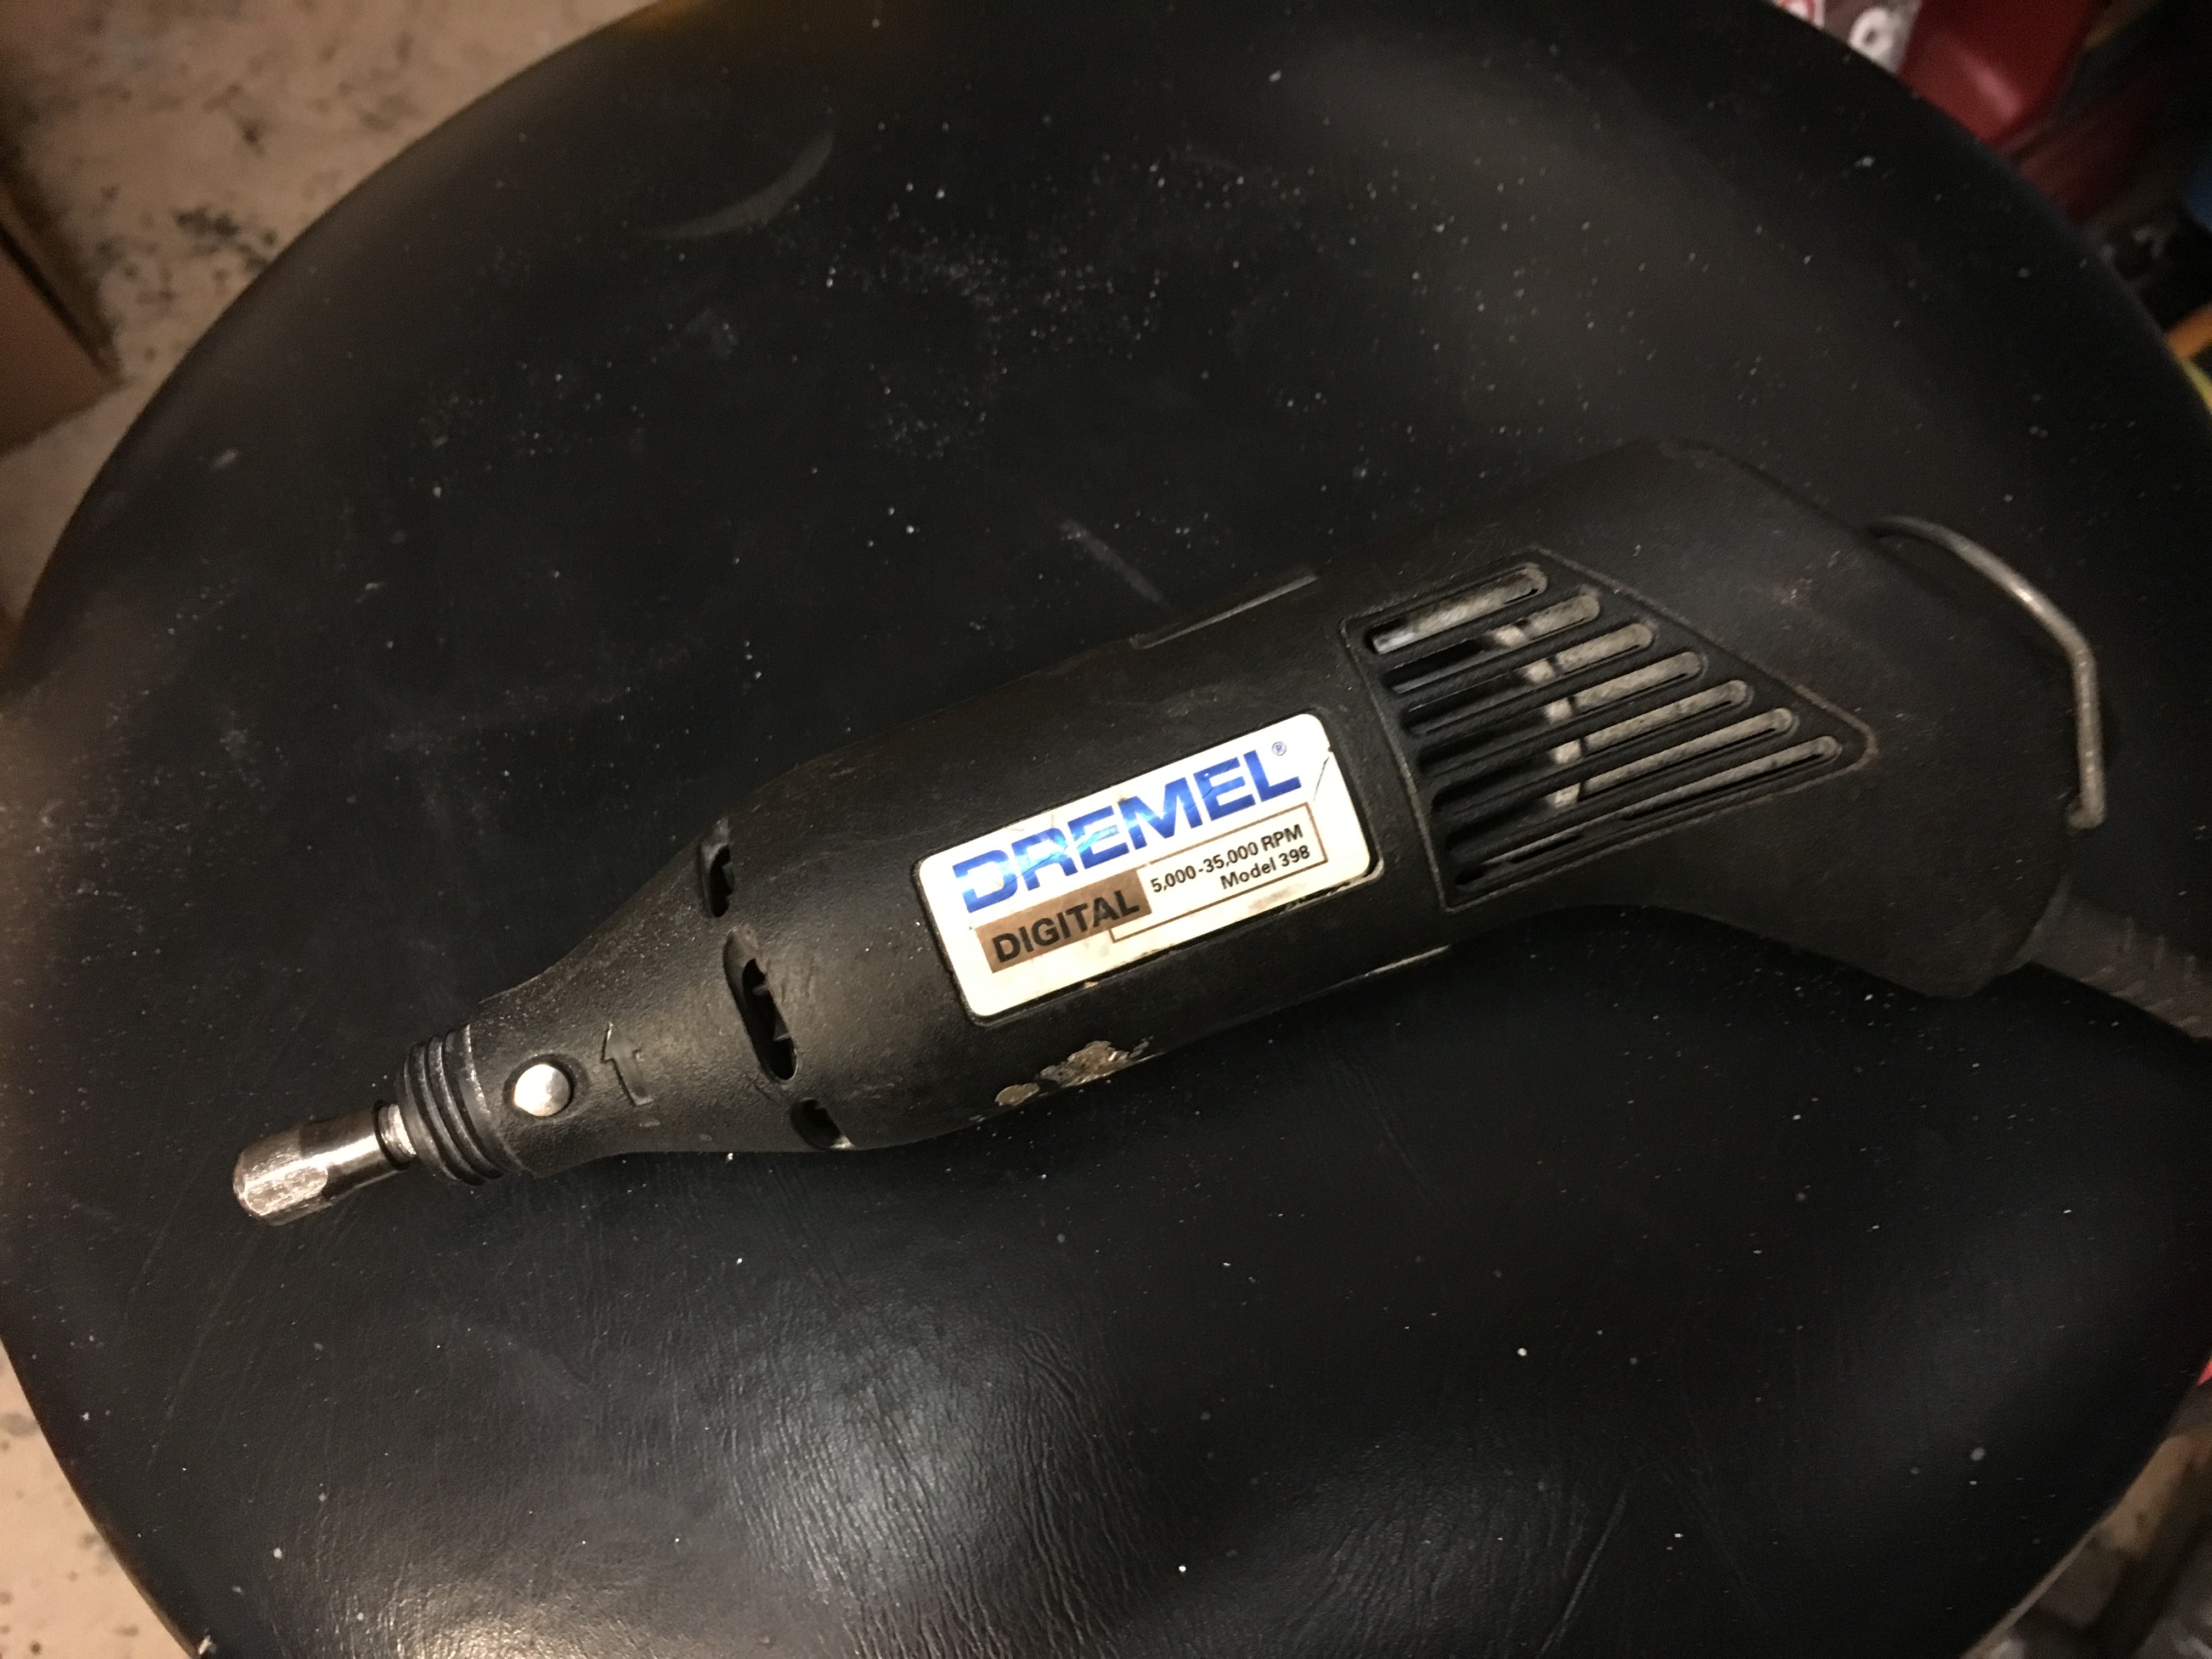
I also found some time to work on removing the front of my valve cover. I have some purty adjustable cam gears that need to be seen. I think it came out okay. Now the cover, intake manifold and brake calipers can go out to powdercoating.

Name:  rvPuMwT.jpg
Views: 316
Size:  1.33 MB

Name:  DHClFVu.jpg
Views: 319
Size:  1.26 MB

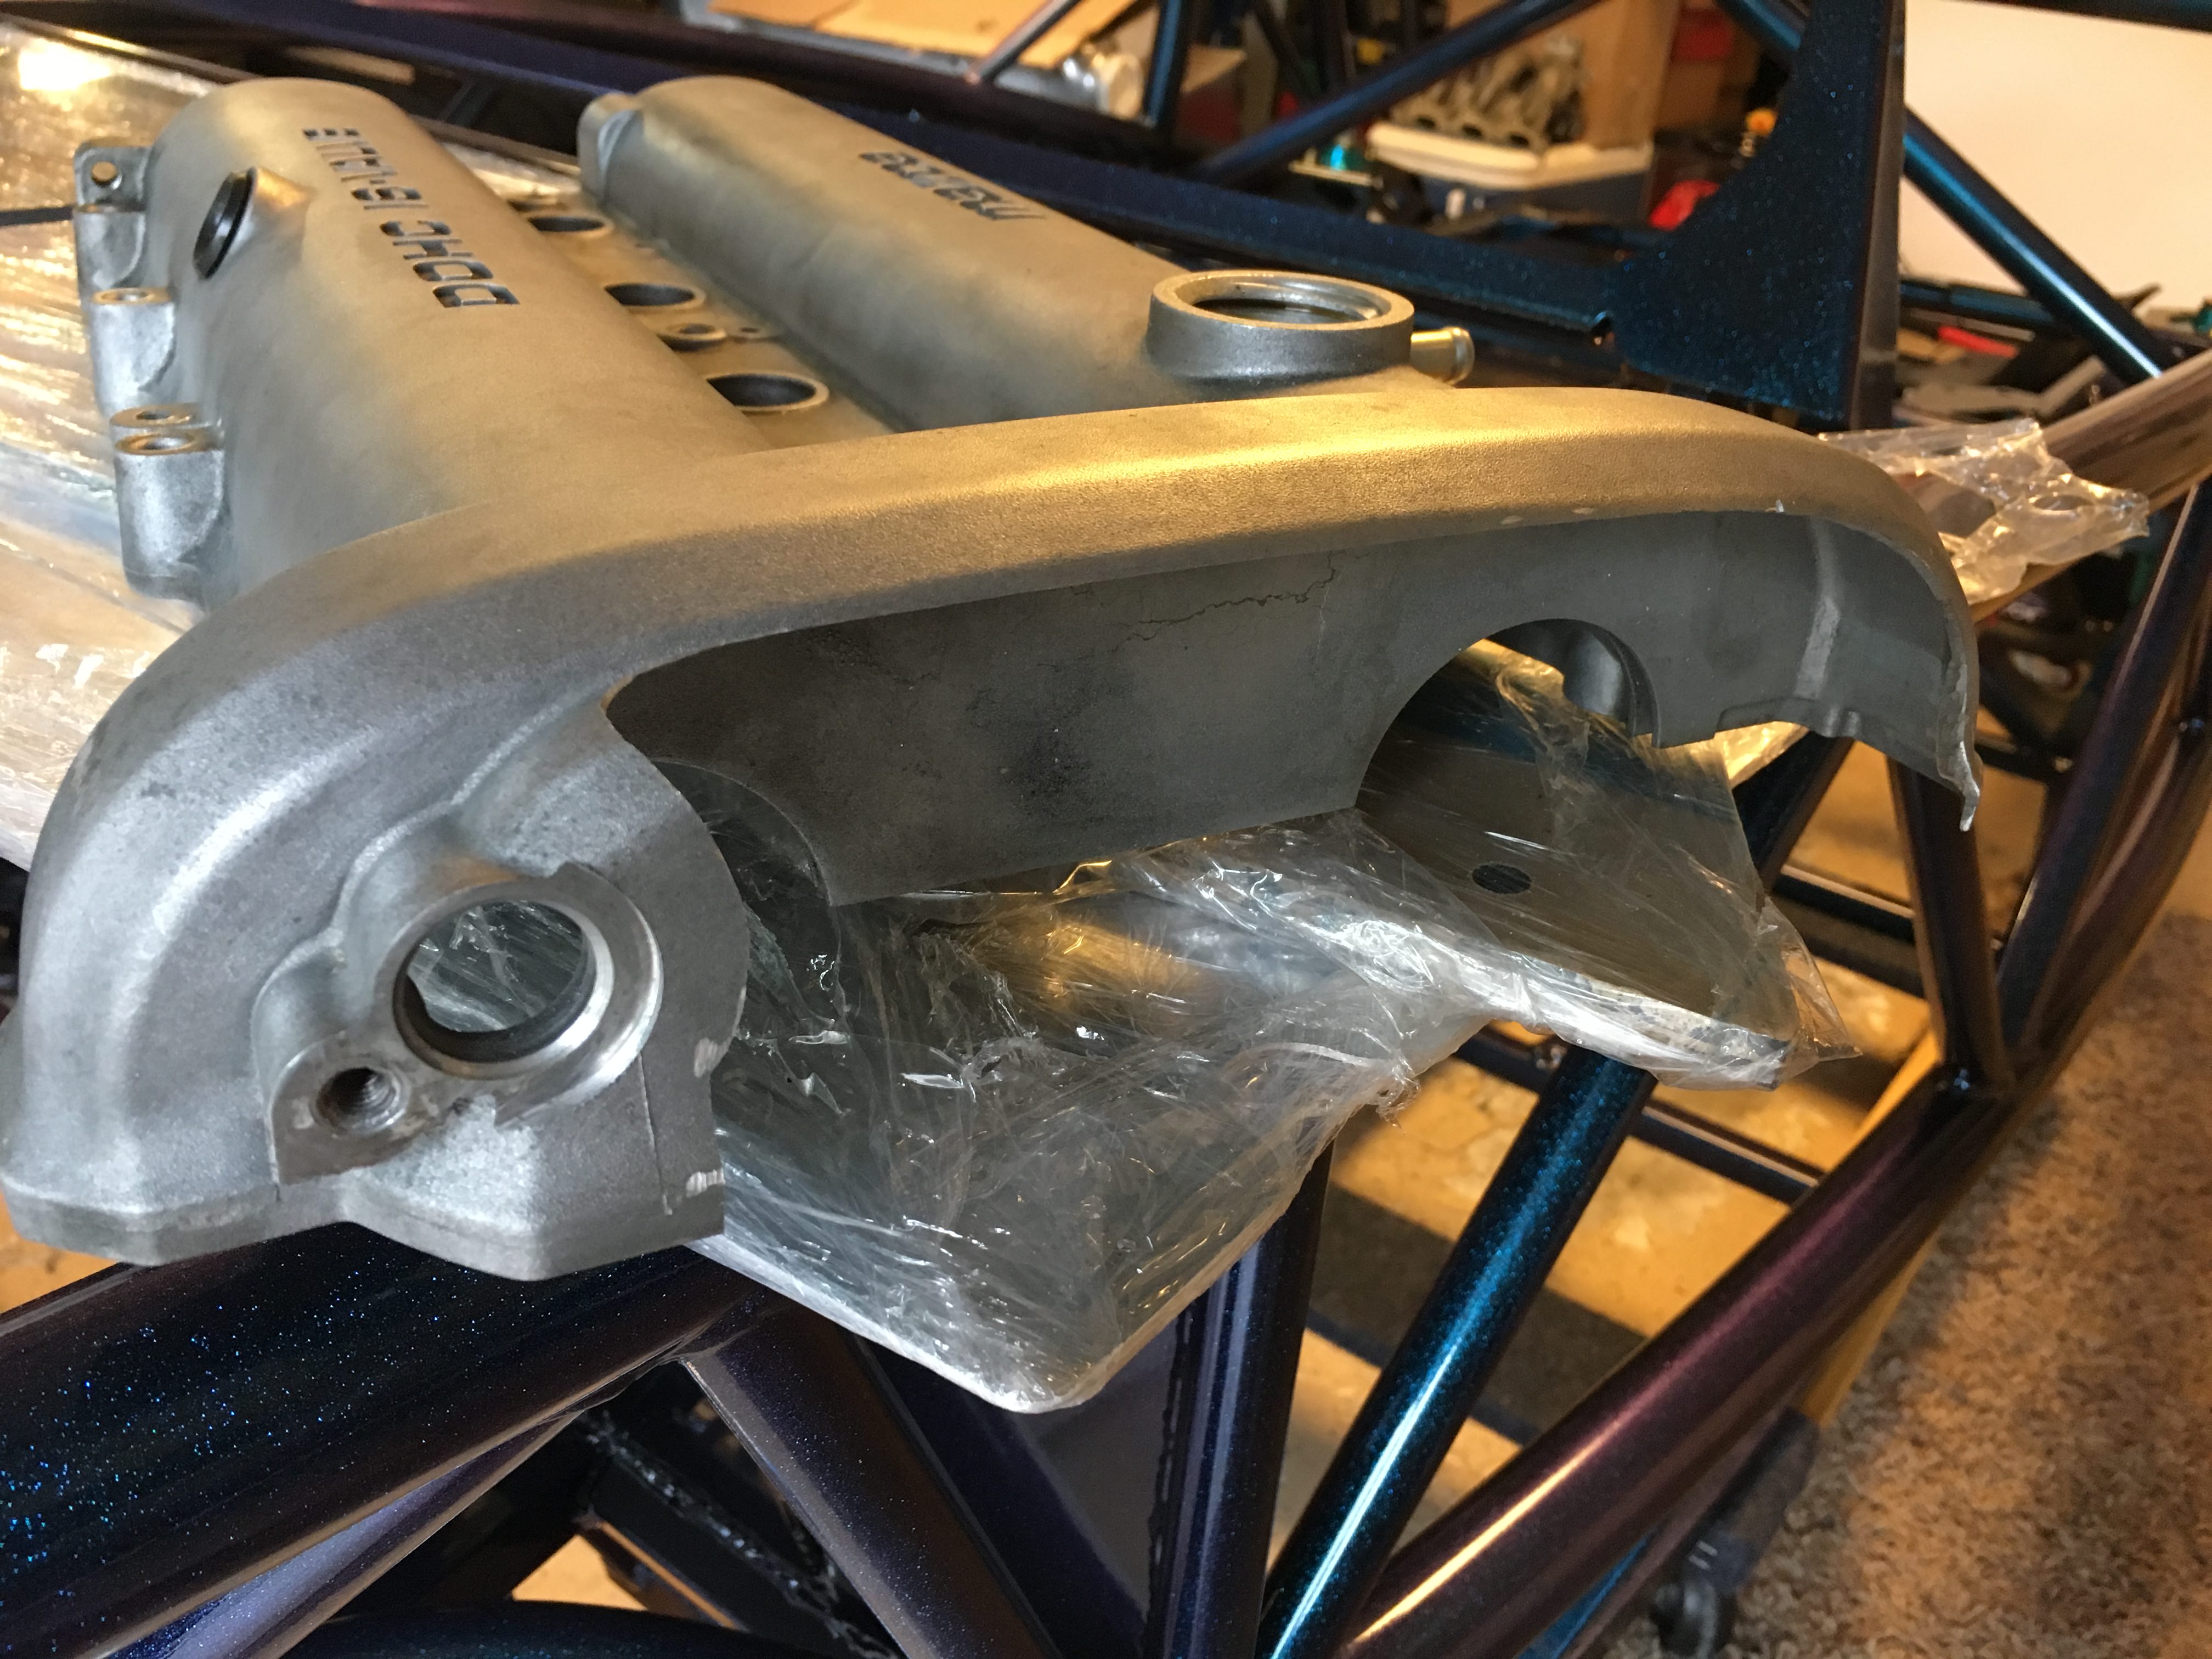
RIP to my 15 year old Dremel. It finally gave up the ghost right in the middle of cutting the cover. Luckily I had a spare.

Name:  jzvRAtx.jpg
Views: 317
Size:  924.4 KB


All times are GMT -4. The time now is 08:39 AM.