Mazdaspeed meets EFR, ARTech, MS2E
#341
Senior Member

Thread Starter
iTrader: (4)
Join Date: May 2012
Location: Vallejo, CA
Posts: 541
Total Cats: 48
The BMW transmission feels great! I'm waiting on my mount kit for my Getrag rear diff to come in and then I'll be installing the 3.42's.
I know I've been neglecting this thread so I figured I'd post an update.
Had the car classed for NASA TT2/3 last week just need to apply for my TT license now to move up from HPDE4.
I have had some spare time these pass couple months and finally cut into the 4x8 sheet of 0.100" HPDE I bought forever ago and made an airdam from scratch. I guess I'll have to do a muti post update because trying to upload 43 pictures at once didn't work.. hah
#342
Senior Member

Thread Starter
iTrader: (4)
Join Date: May 2012
Location: Vallejo, CA
Posts: 541
Total Cats: 48
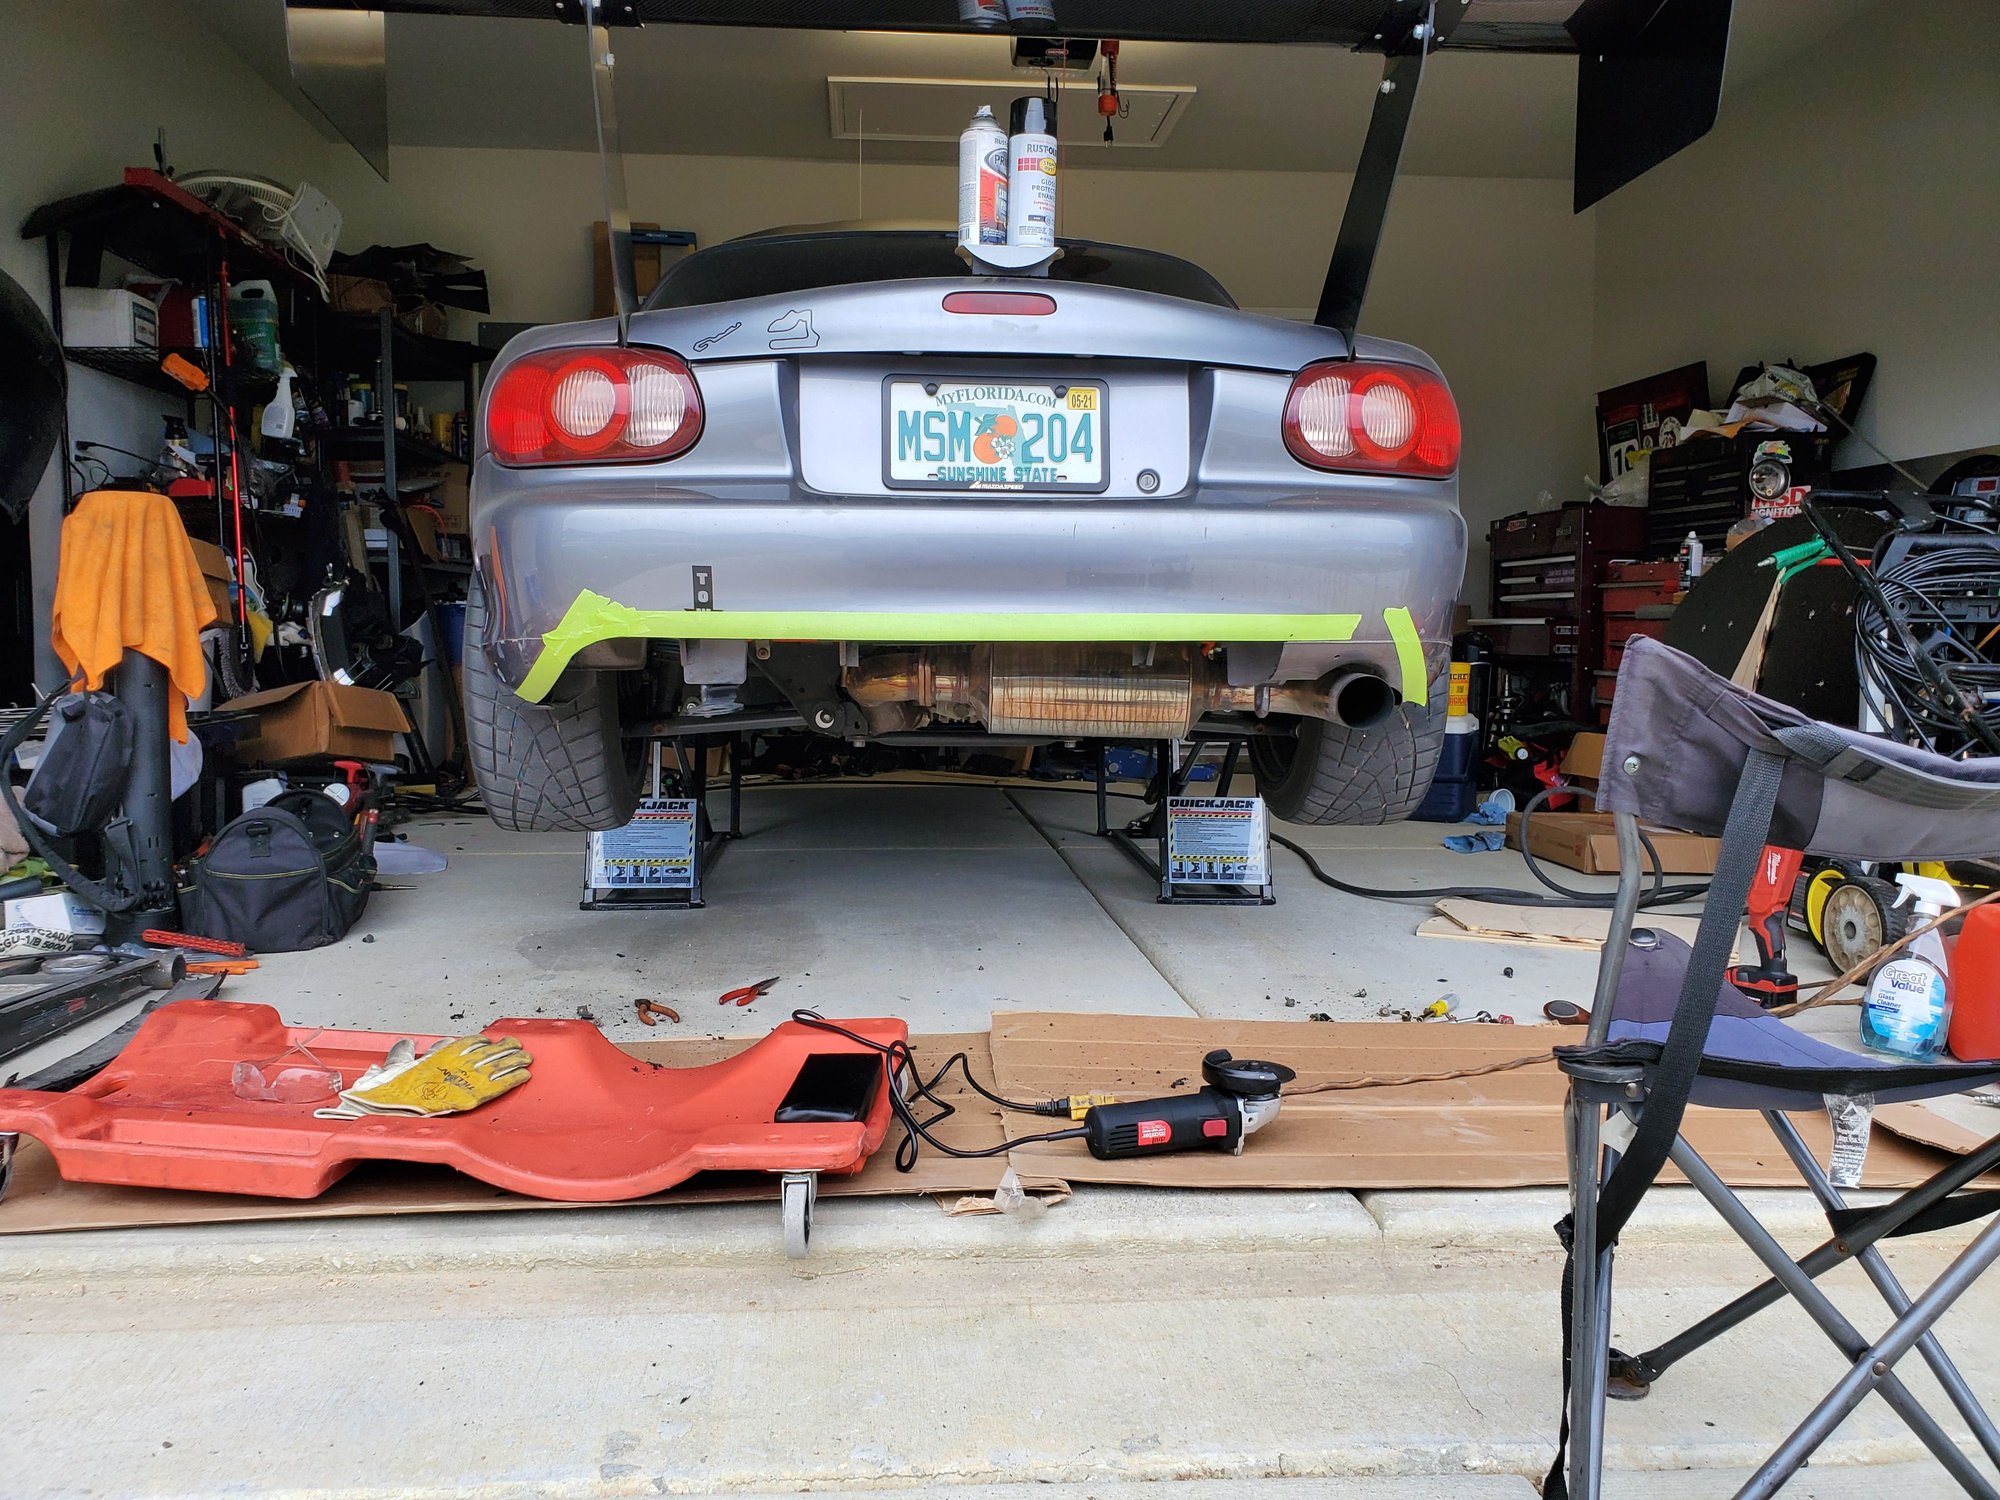
decided to remove the rear lip cut my rear bumper

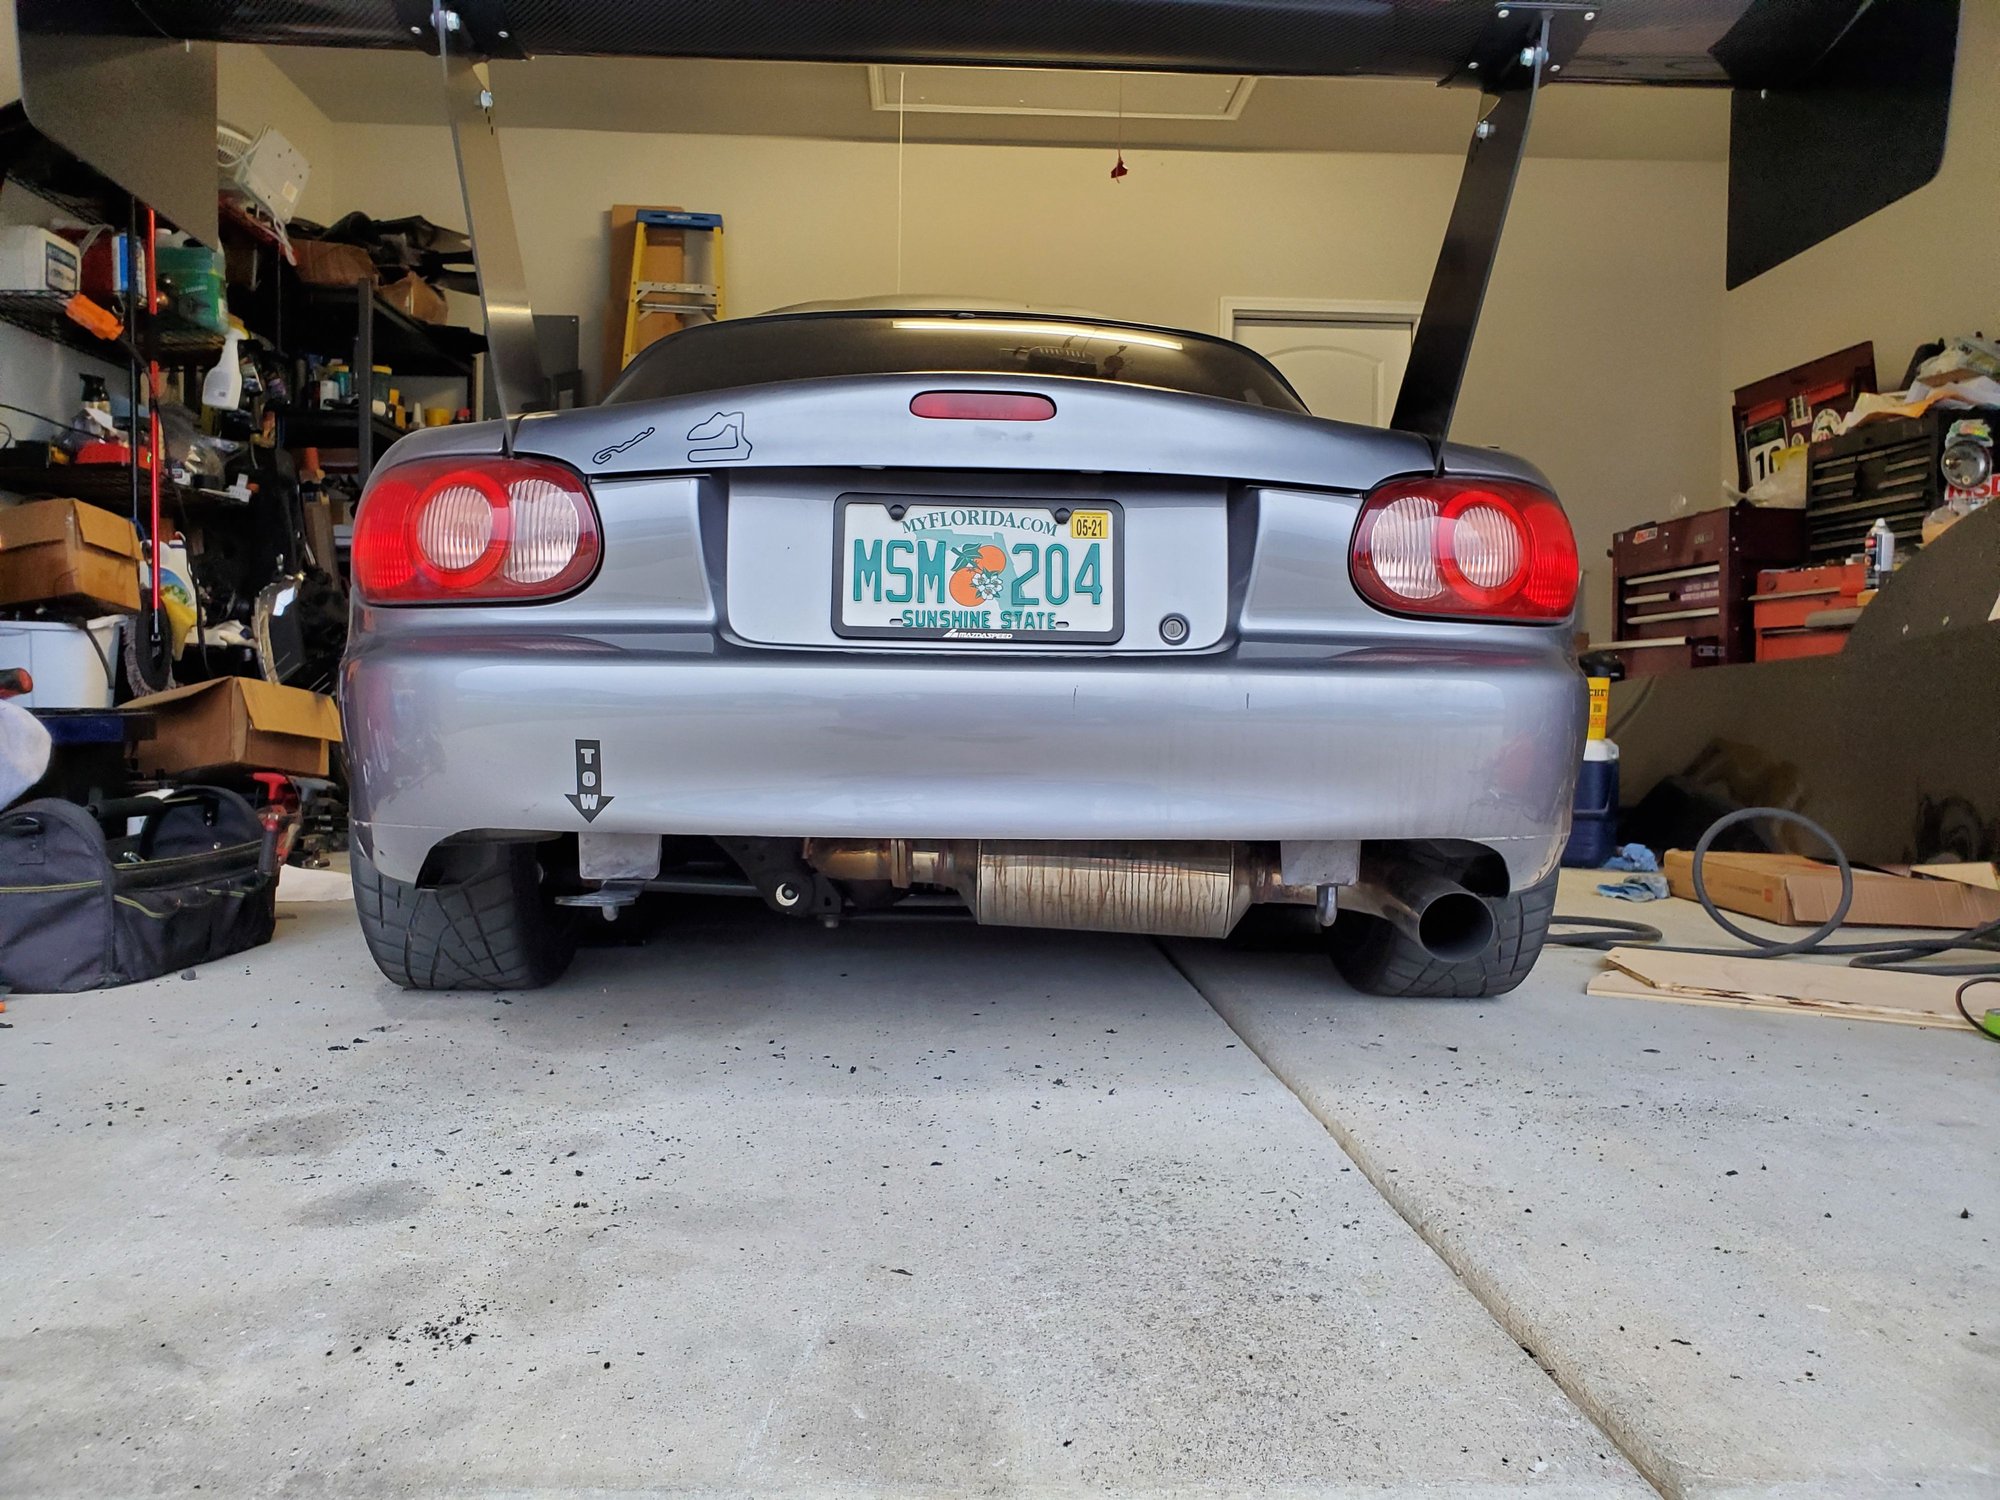
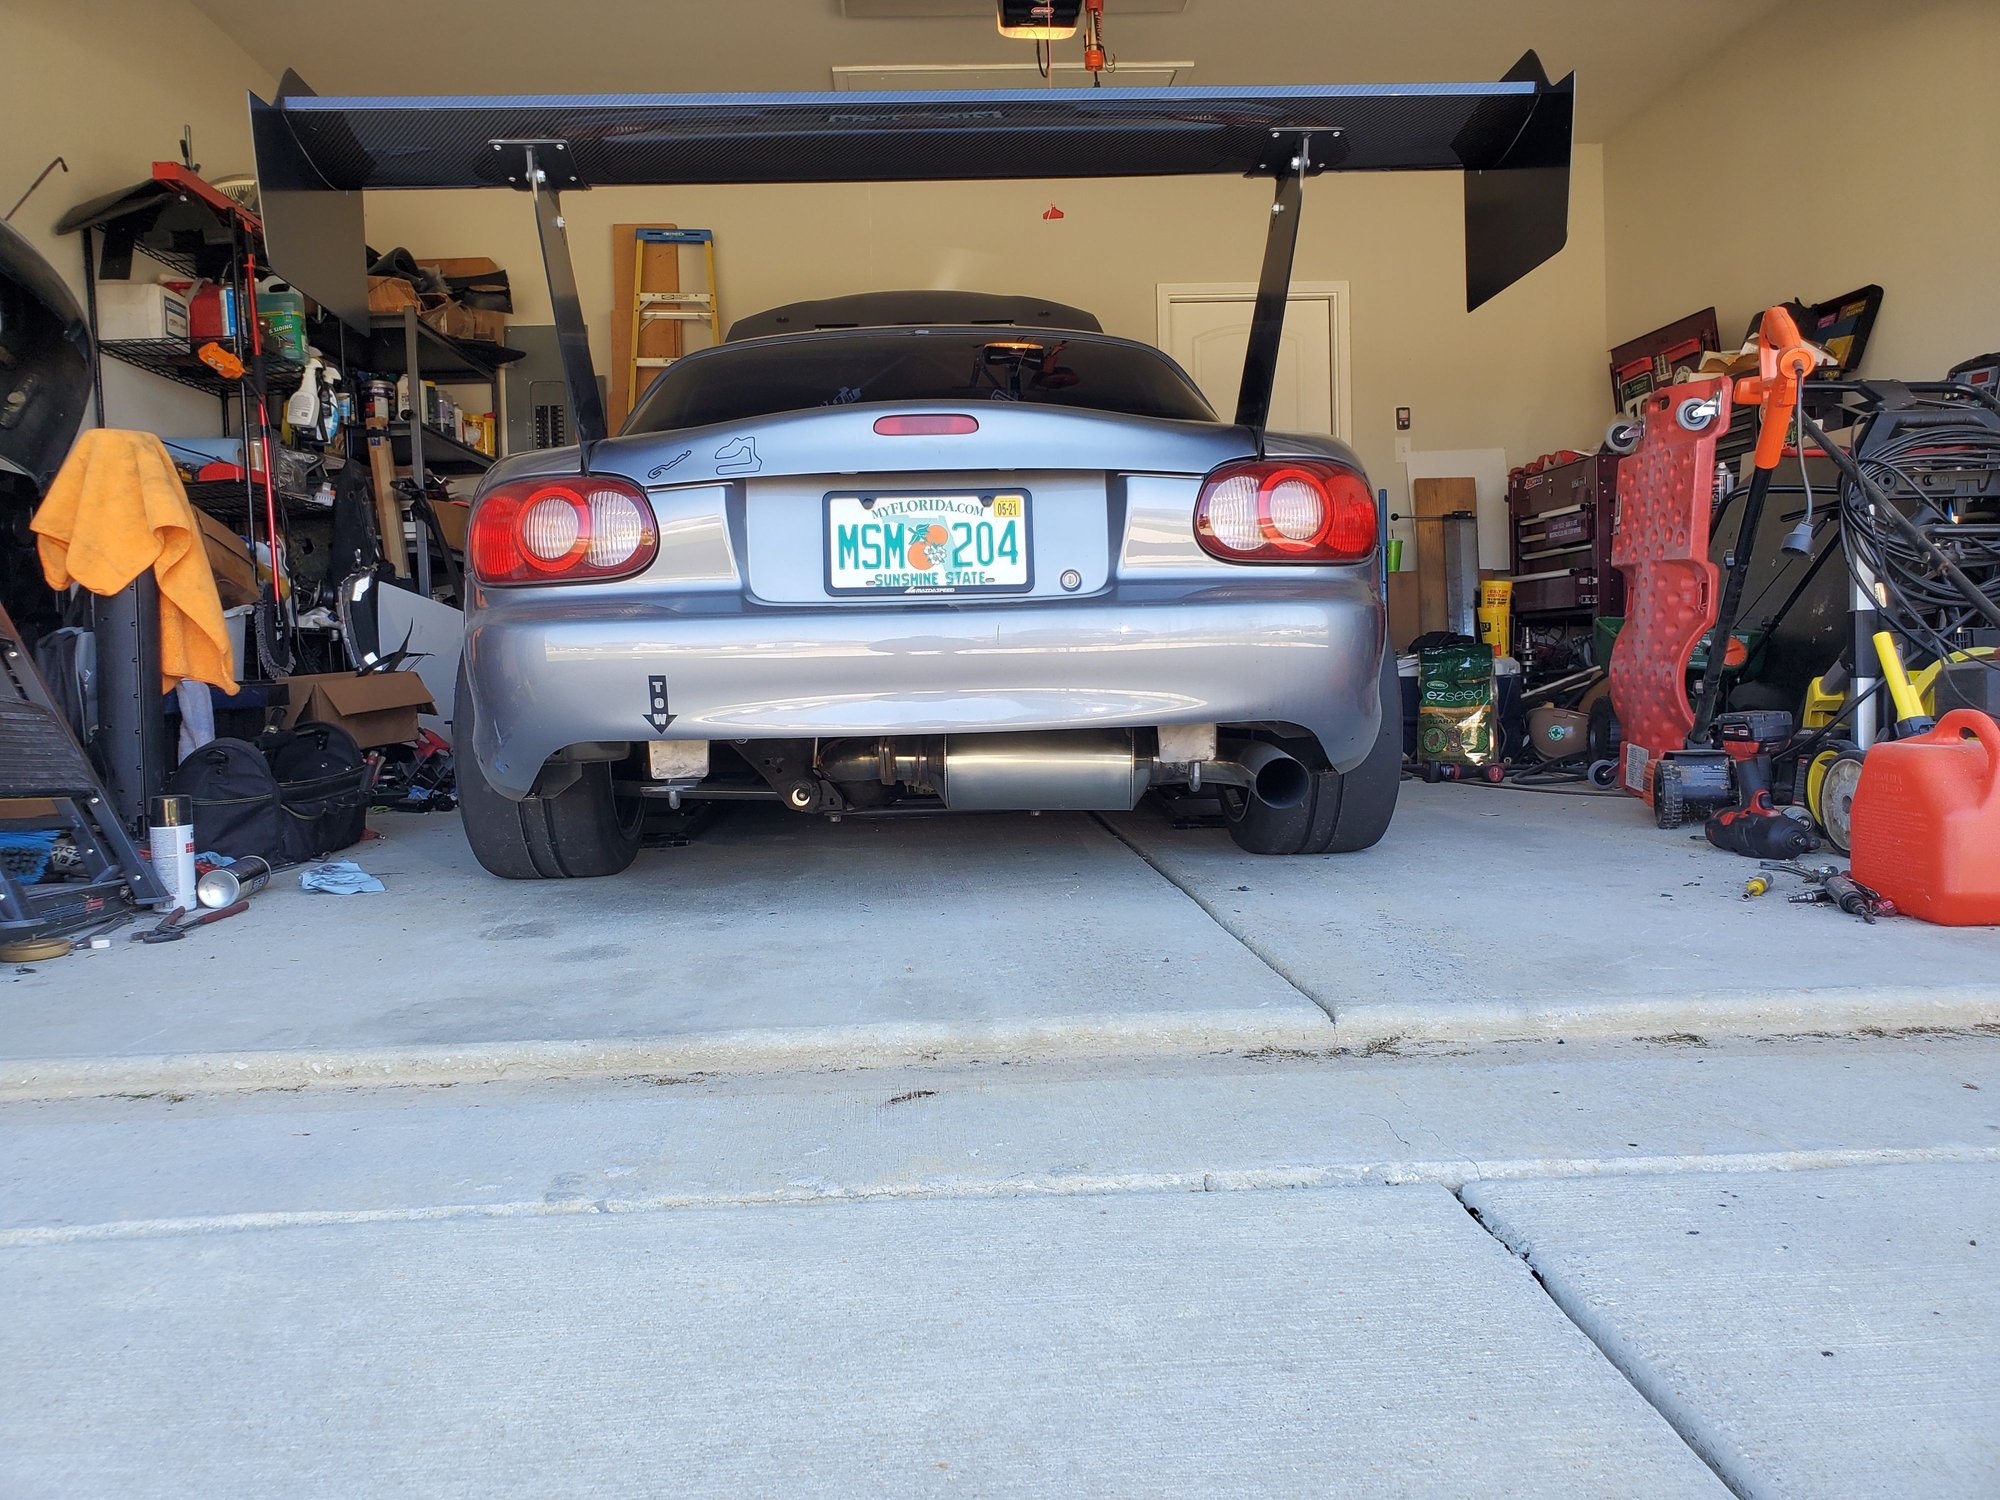
after cleaning the muffler a bit
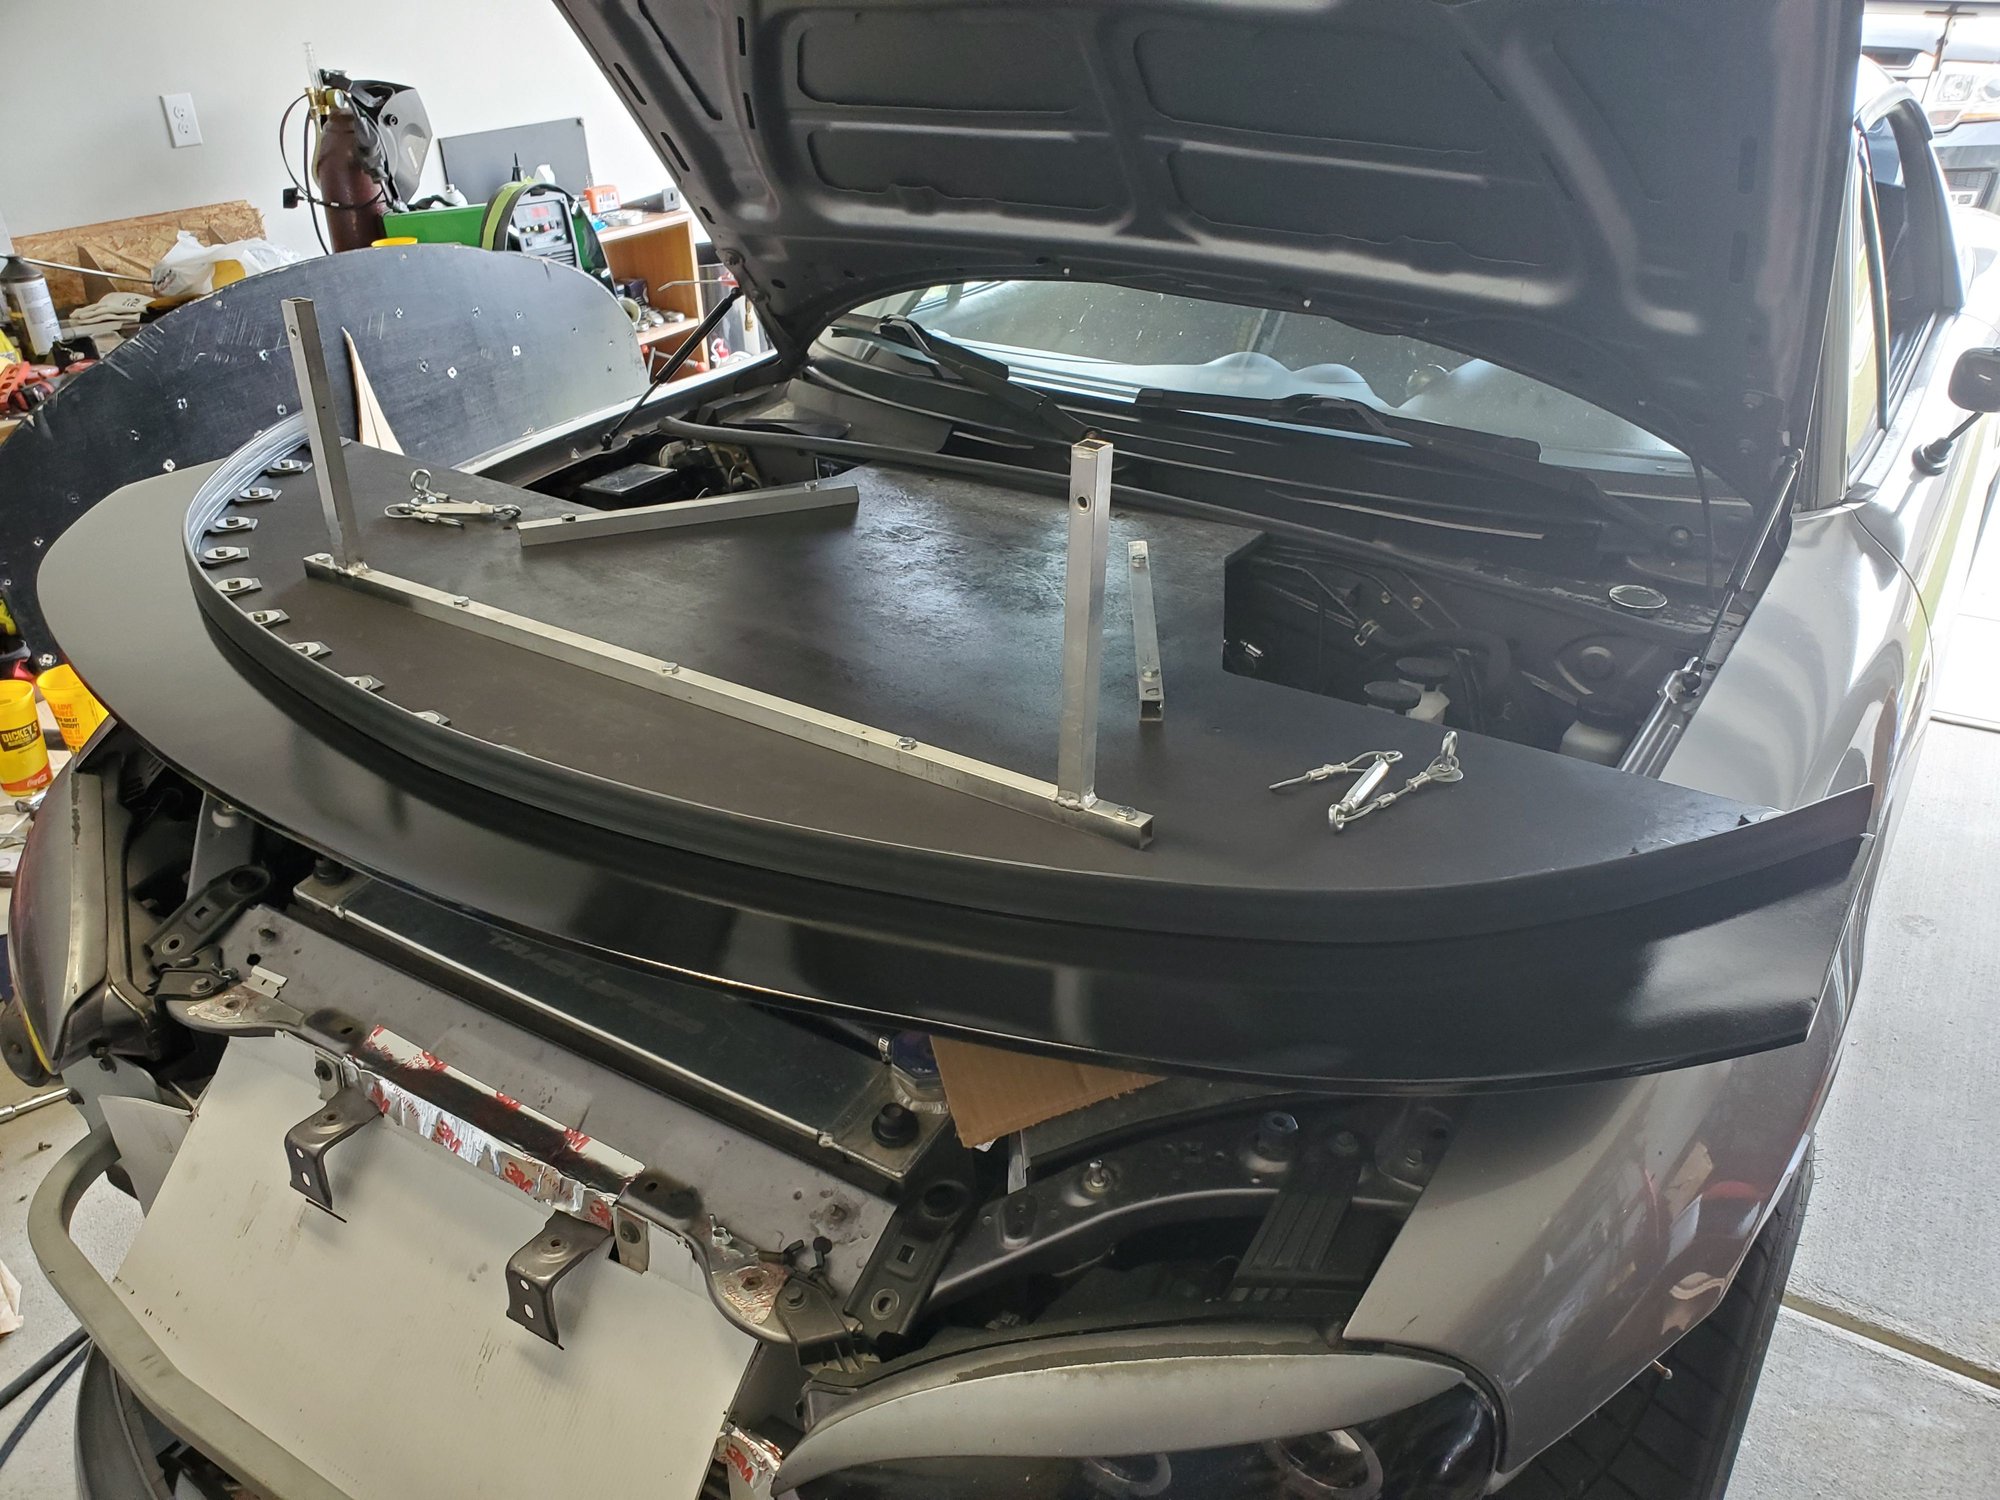
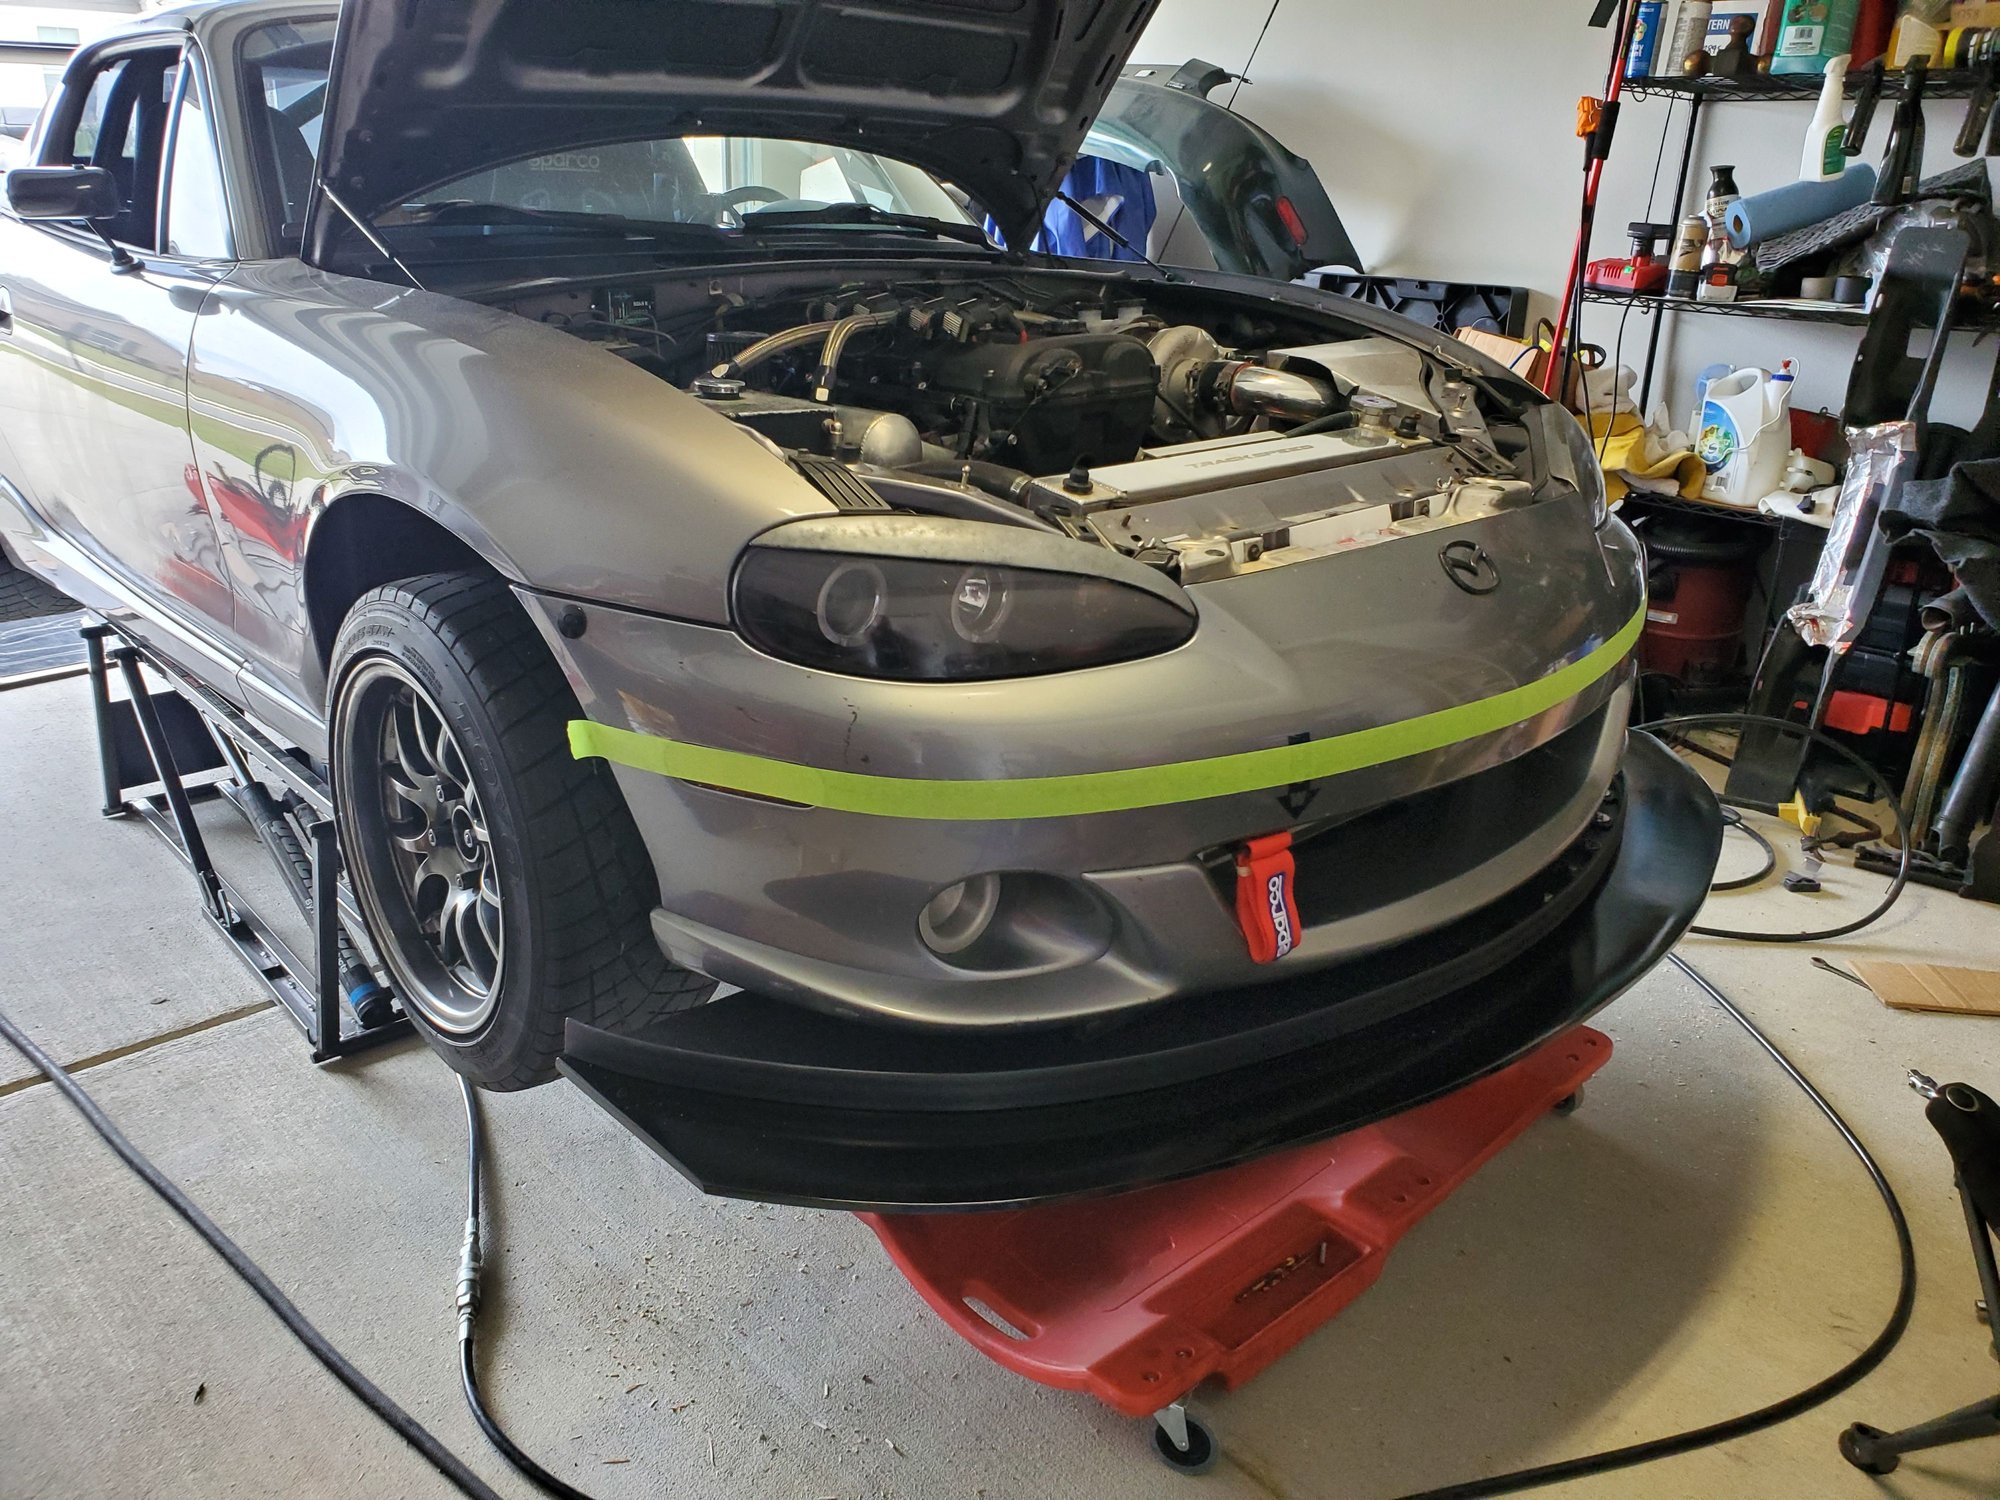
I made a new splitter thats 68.5" instead of 65" like the old one in the background (this way it goes to the edge of my 15x10's

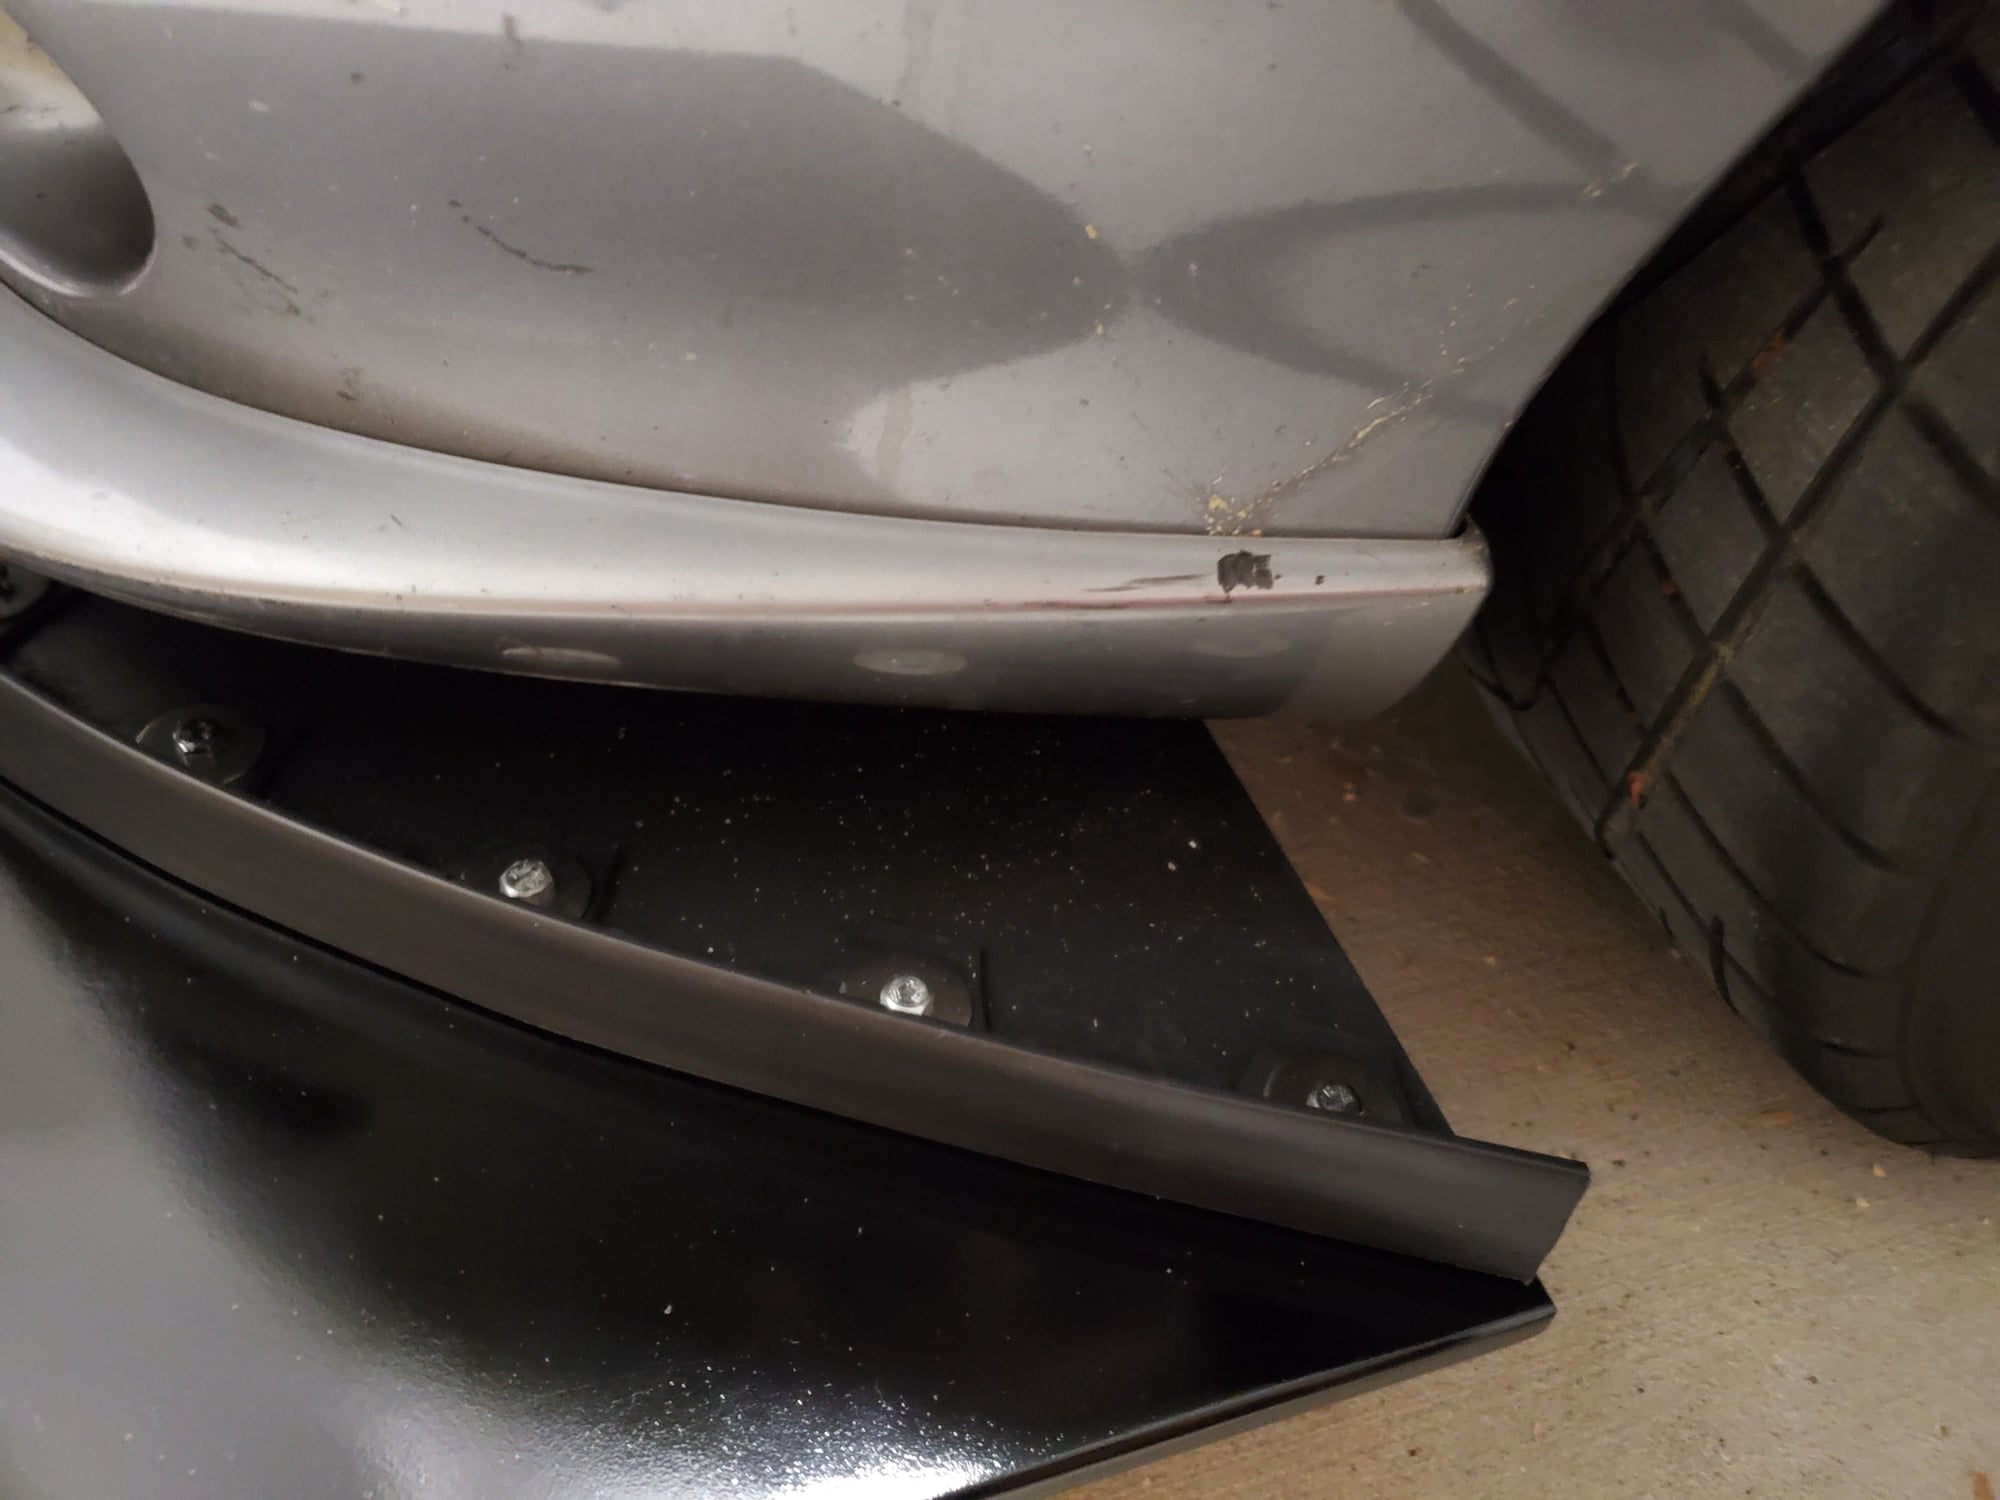
bye bye bumper :'(

letting the material sit in the sun so it was more flexible
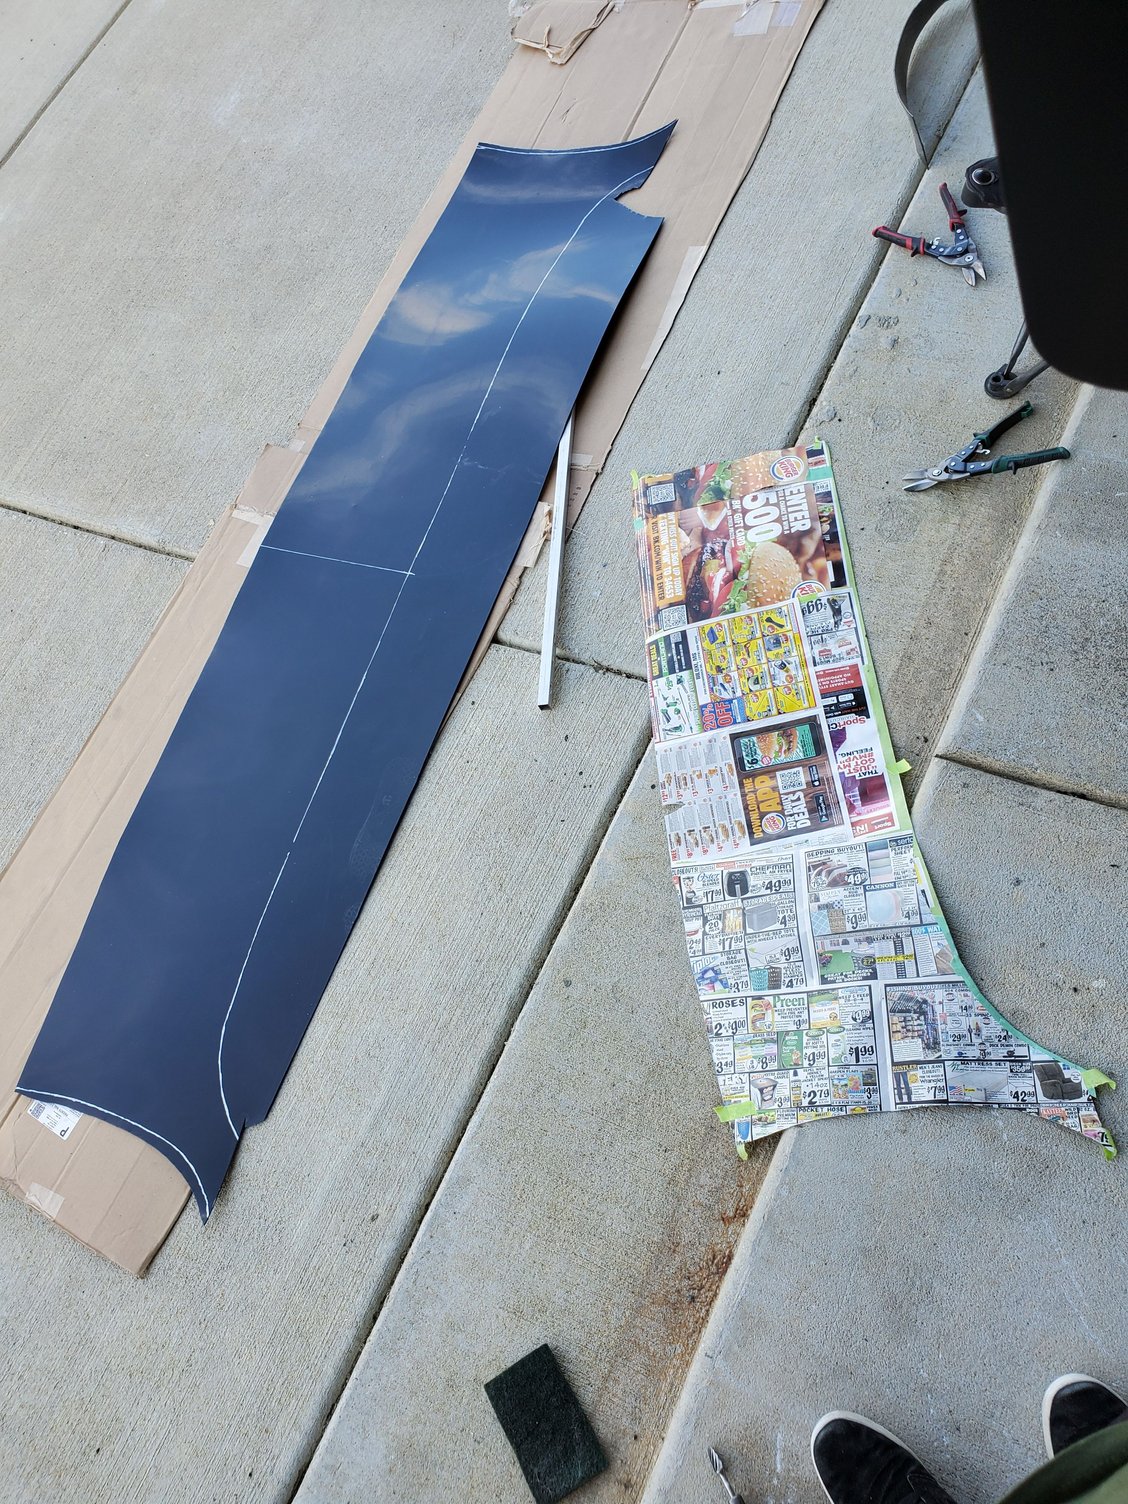
mynot so fancy template... but it worked

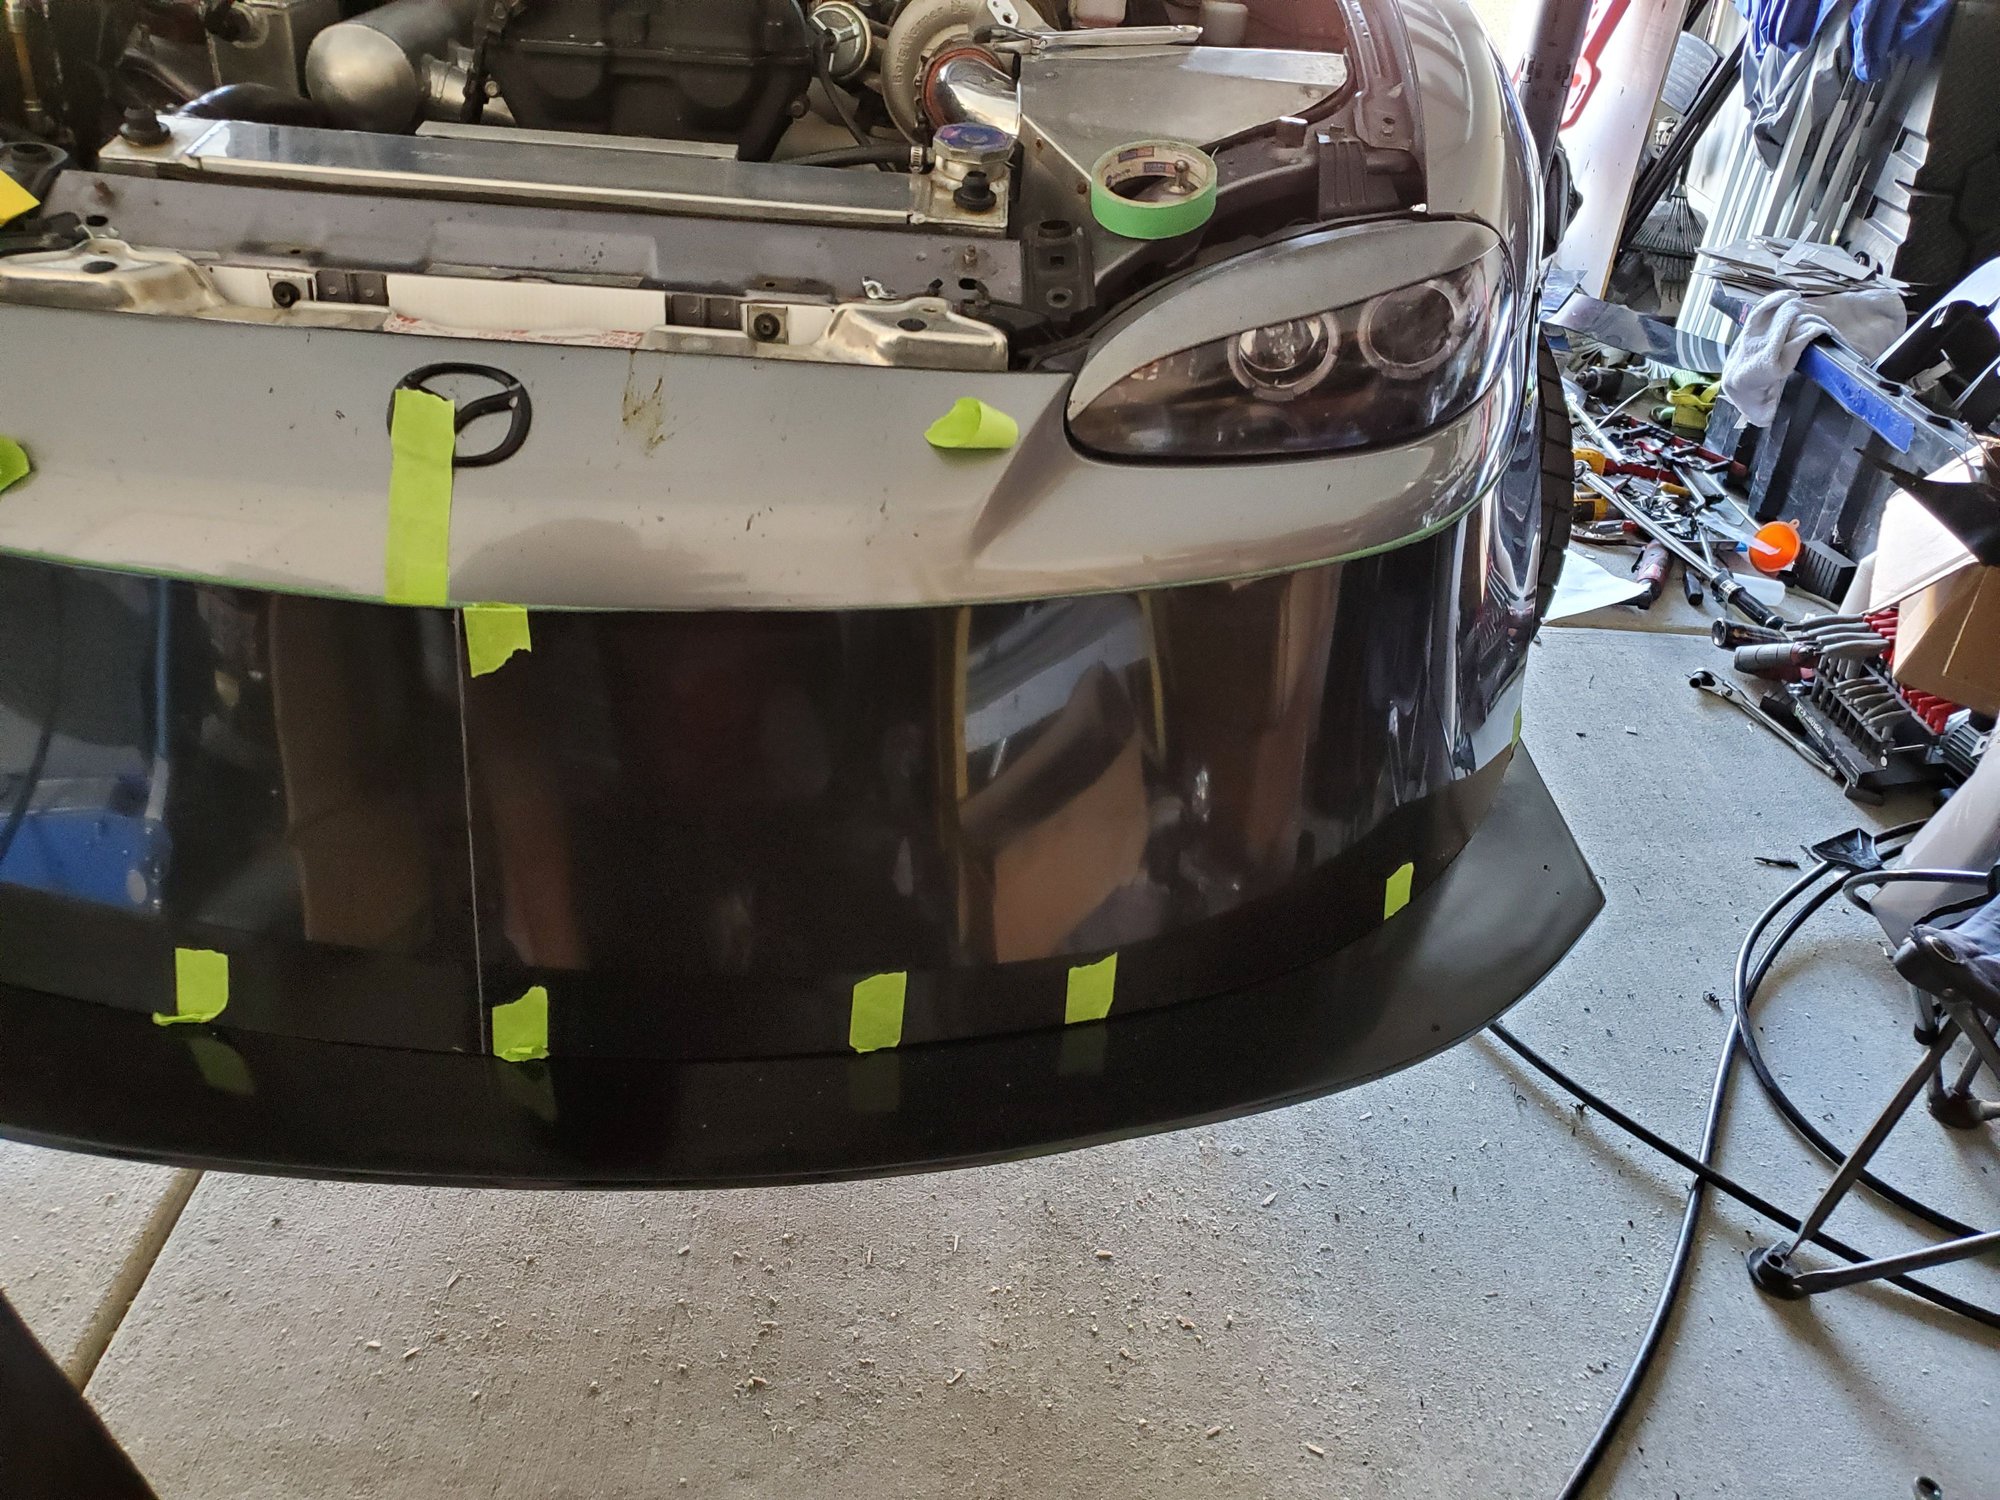
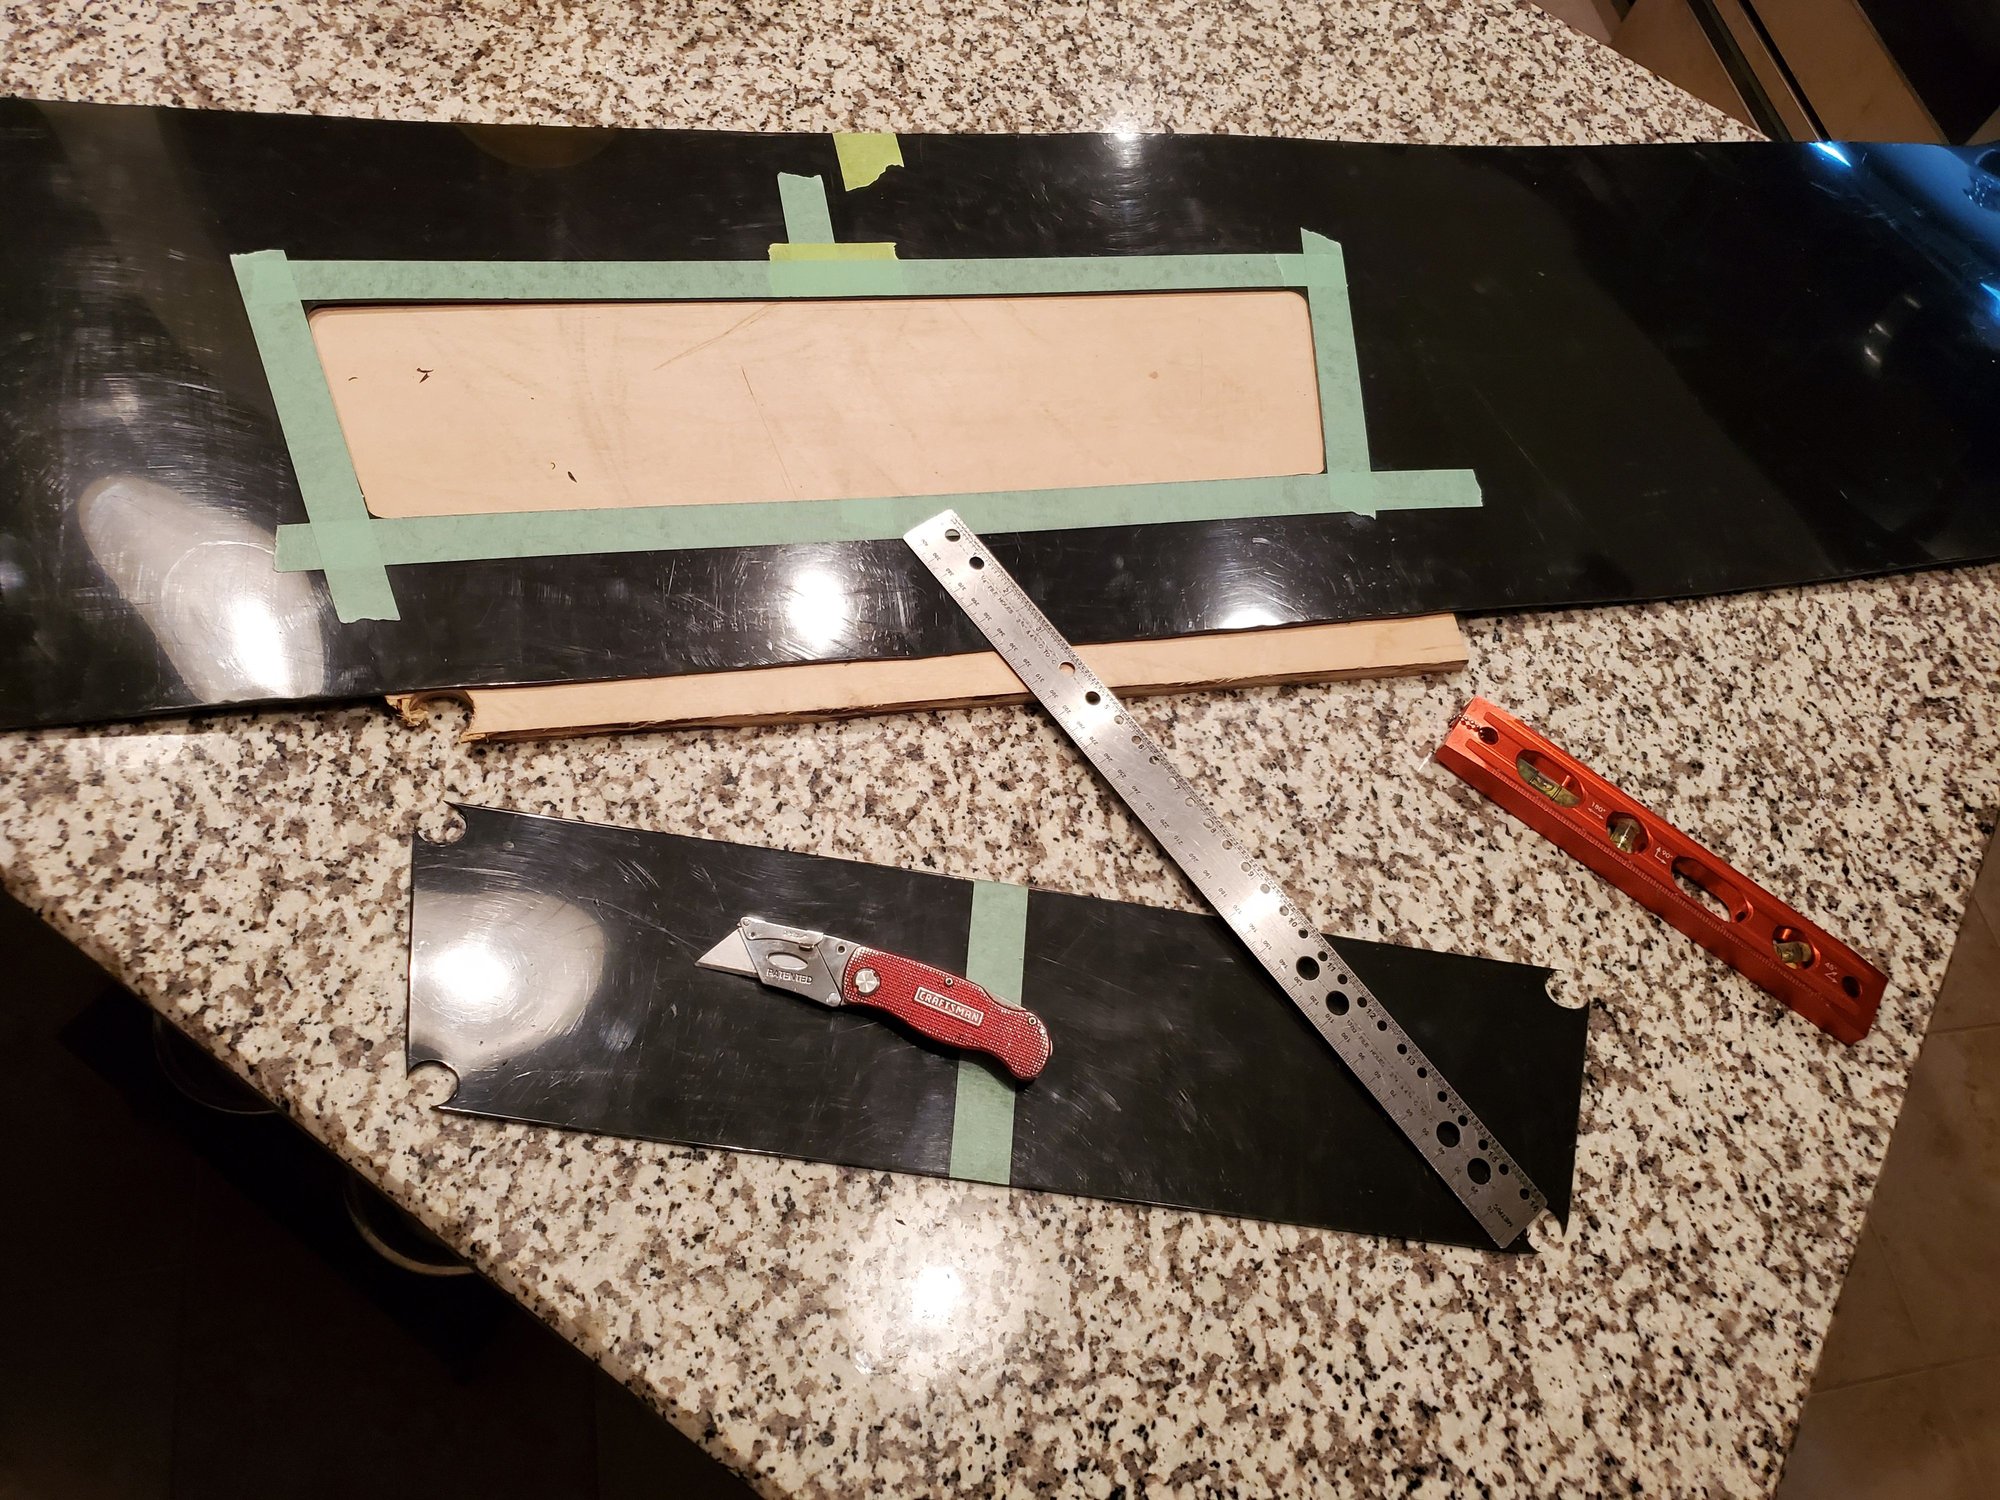
it was late so I brought my work into the kitchen. The opening is 5" tall, 12" long on top & 19" long on bottom
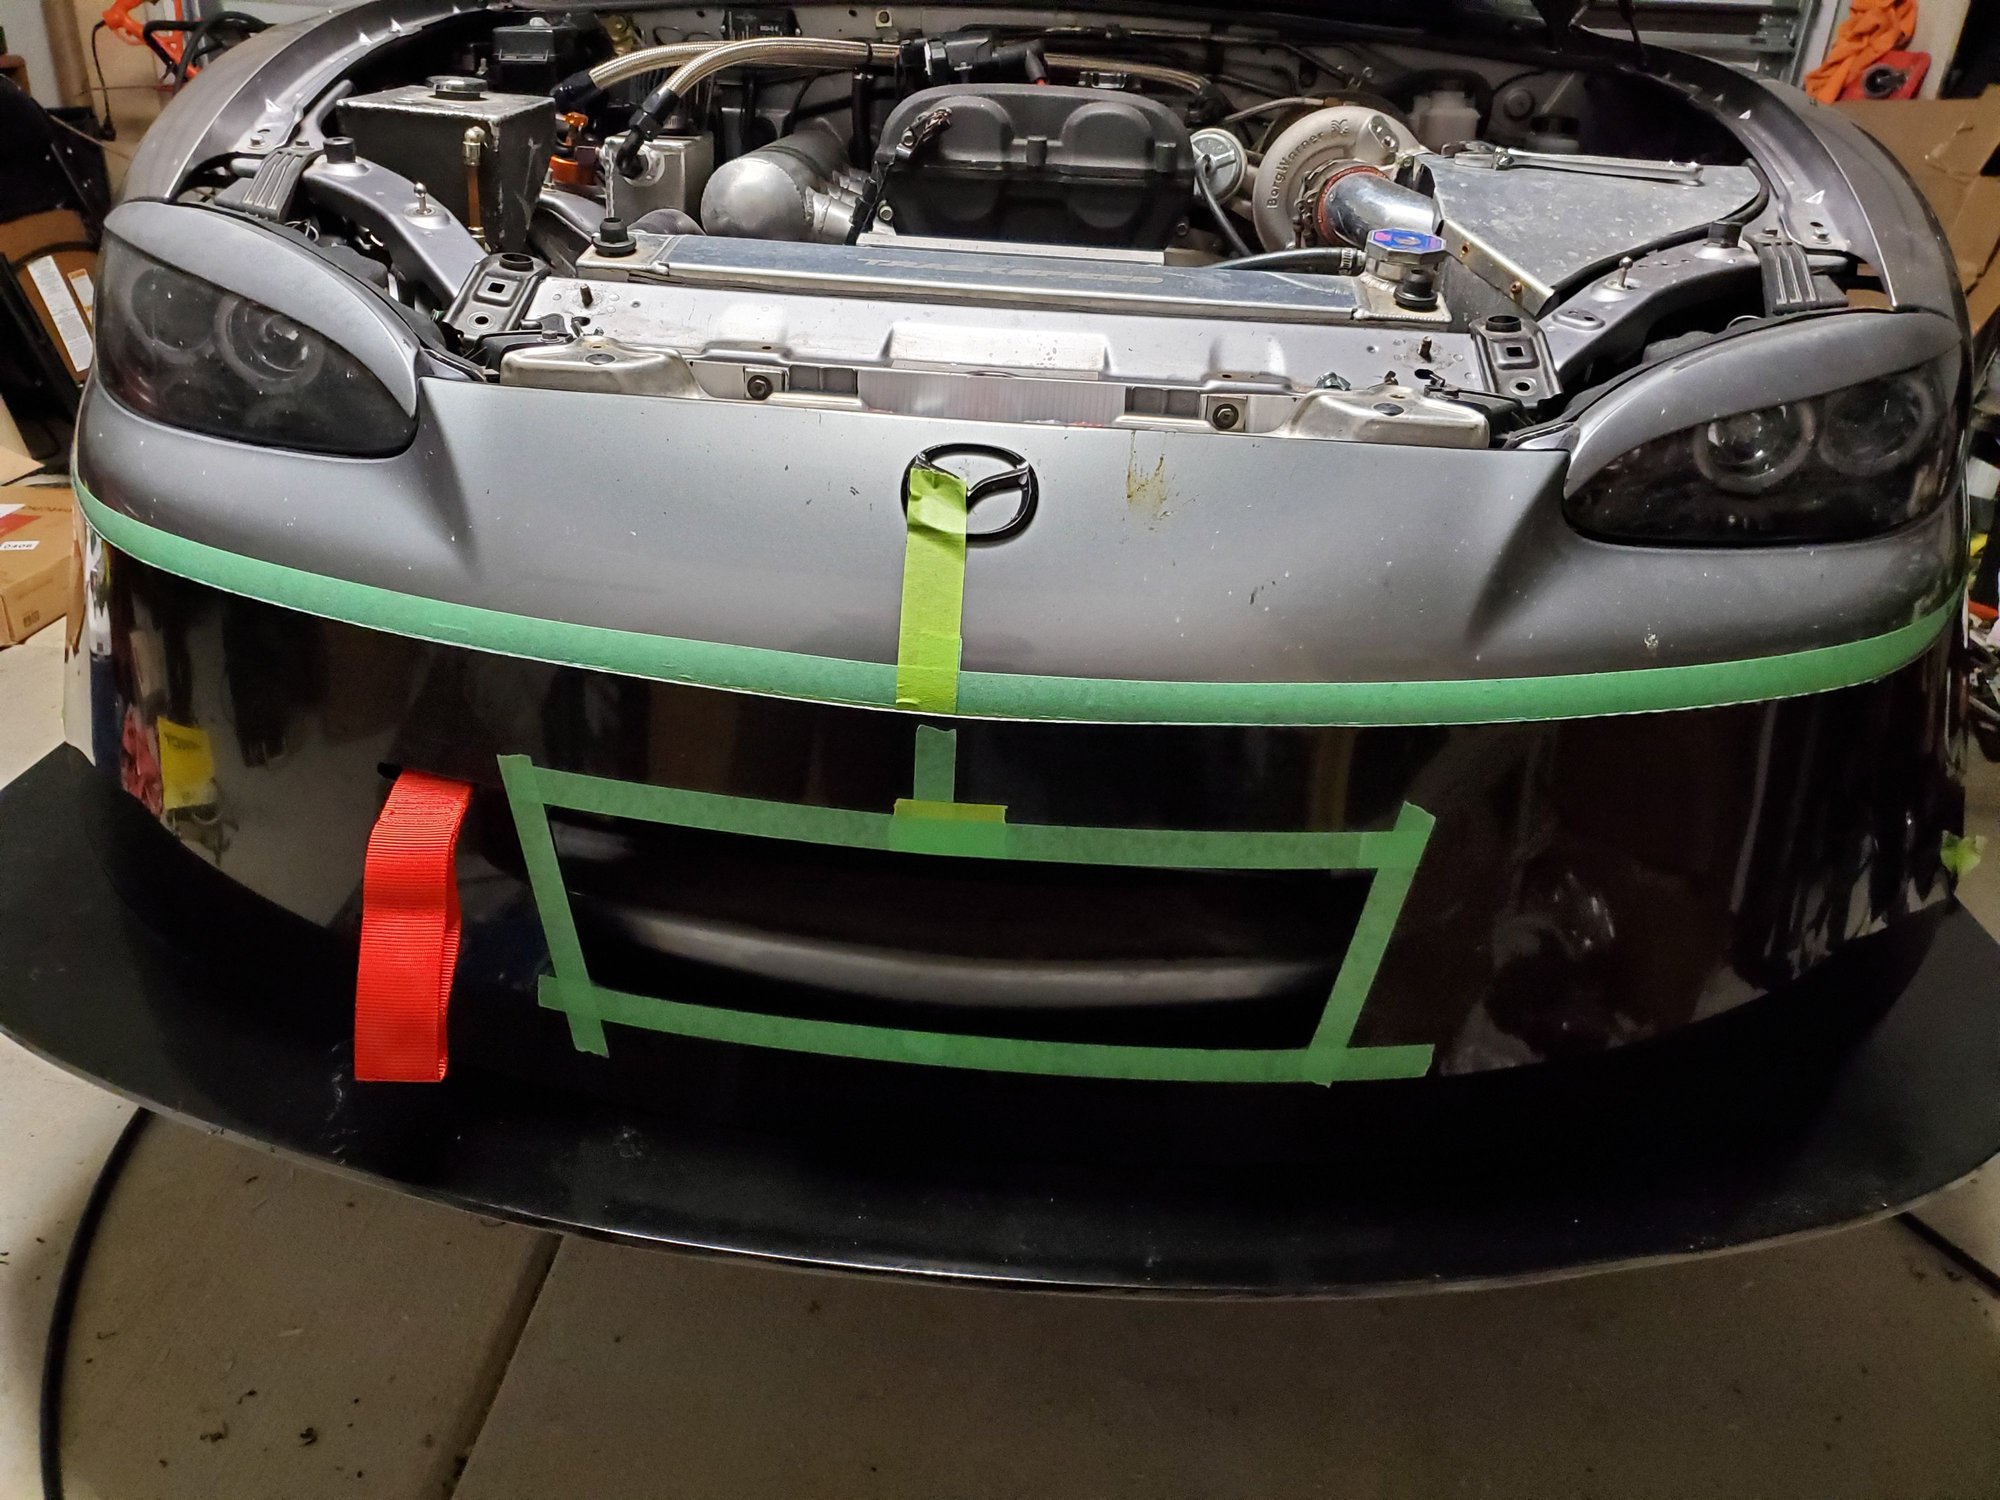
I tried to have the mouth line up with the top of the bumper
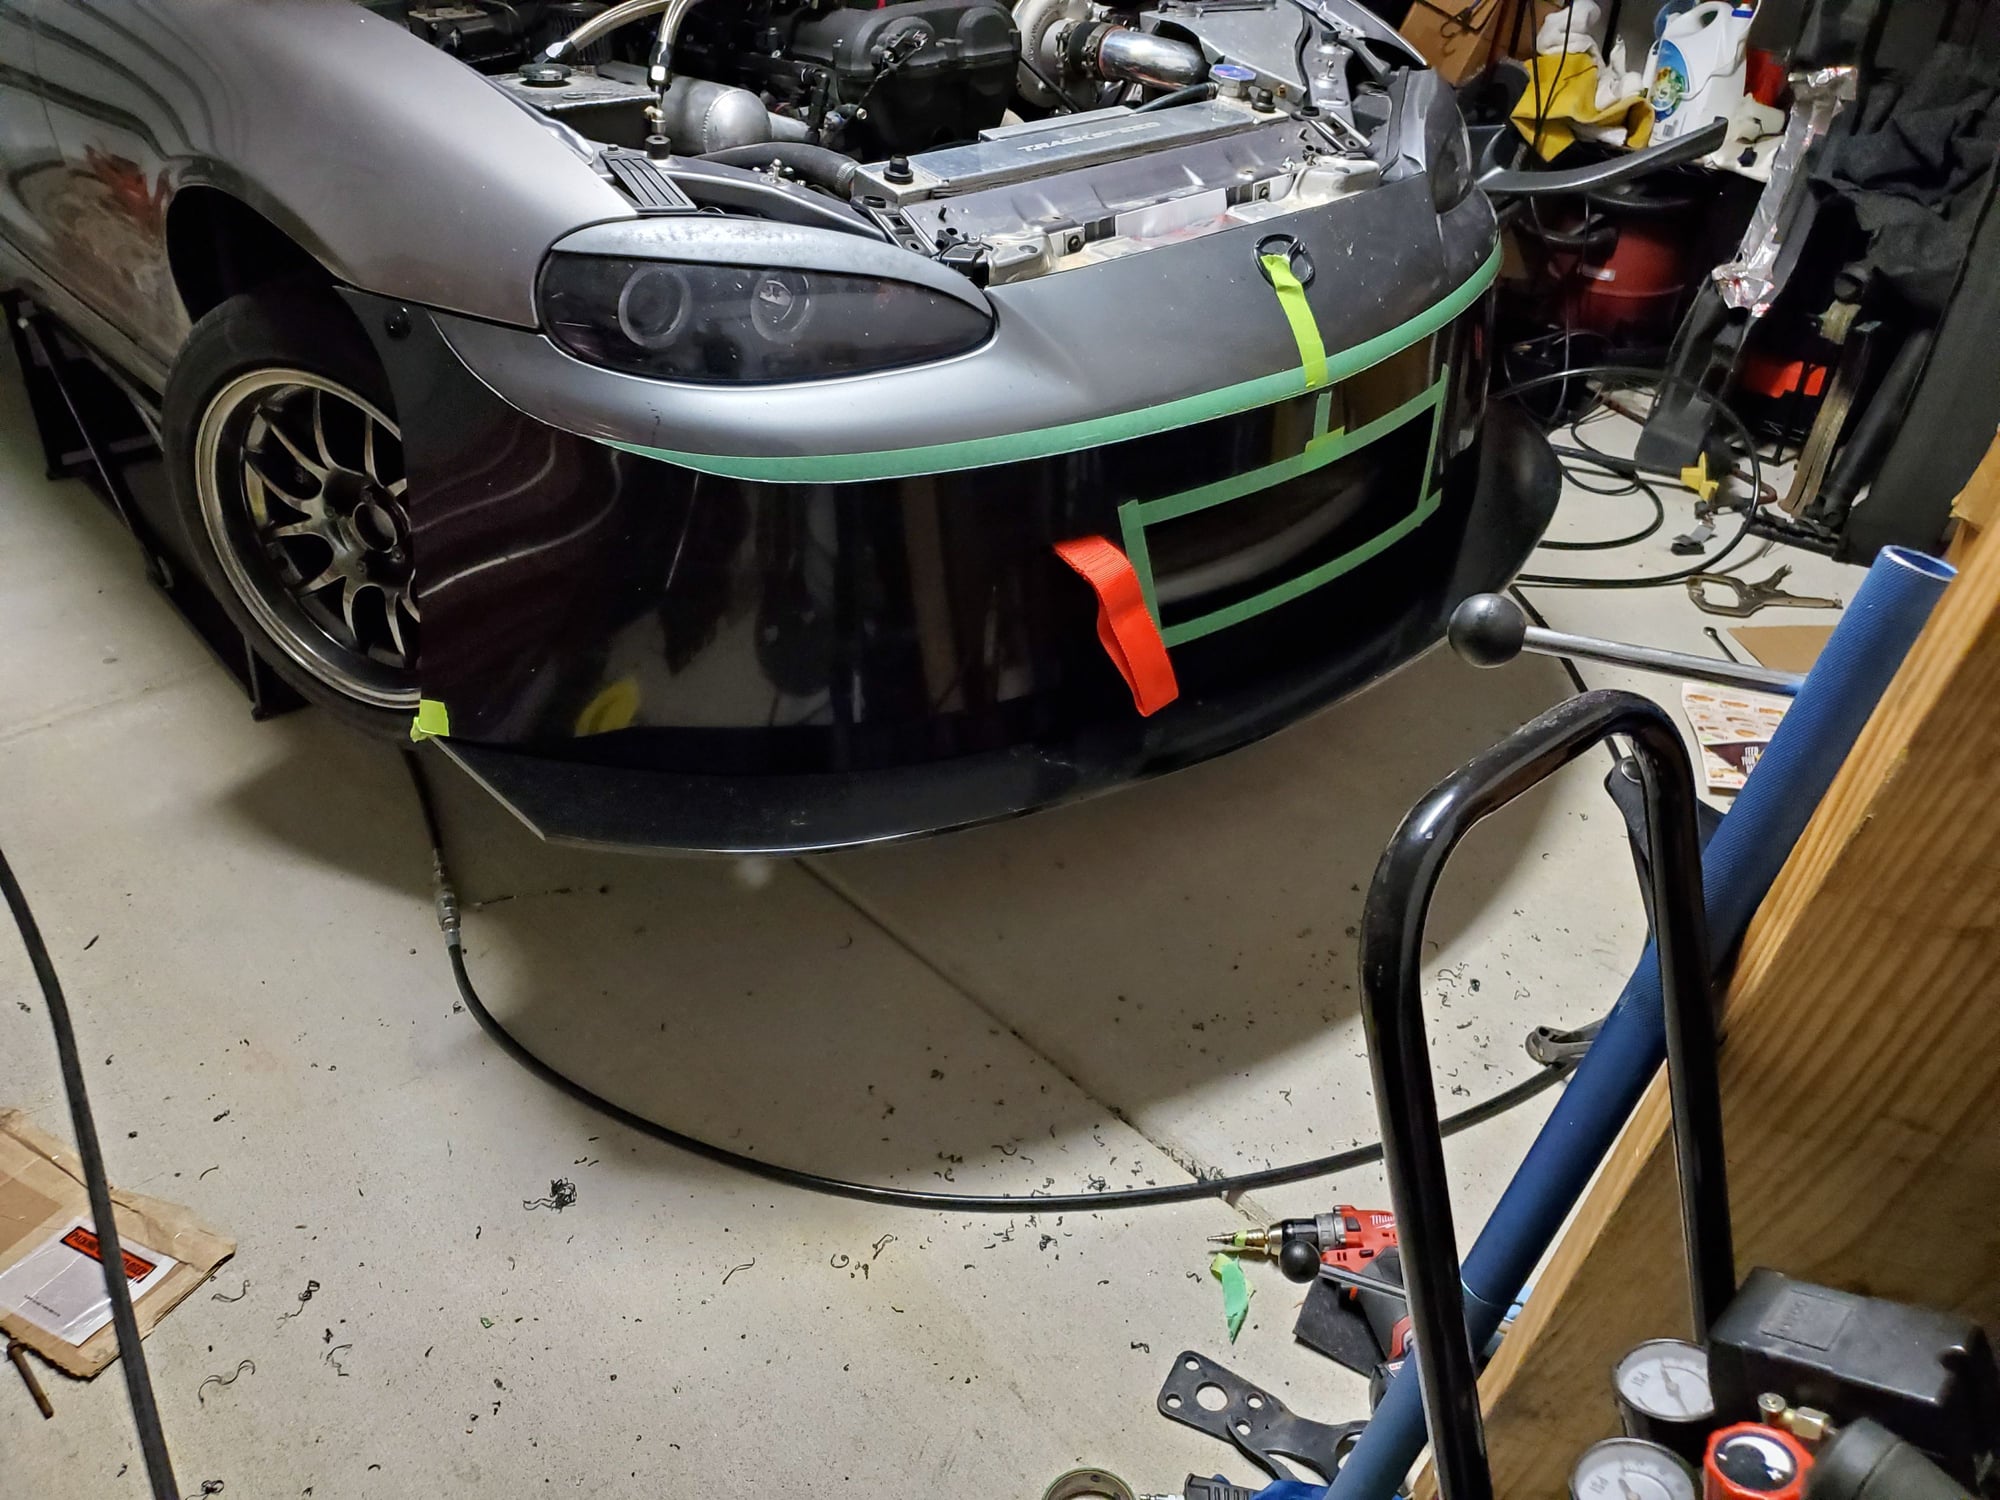
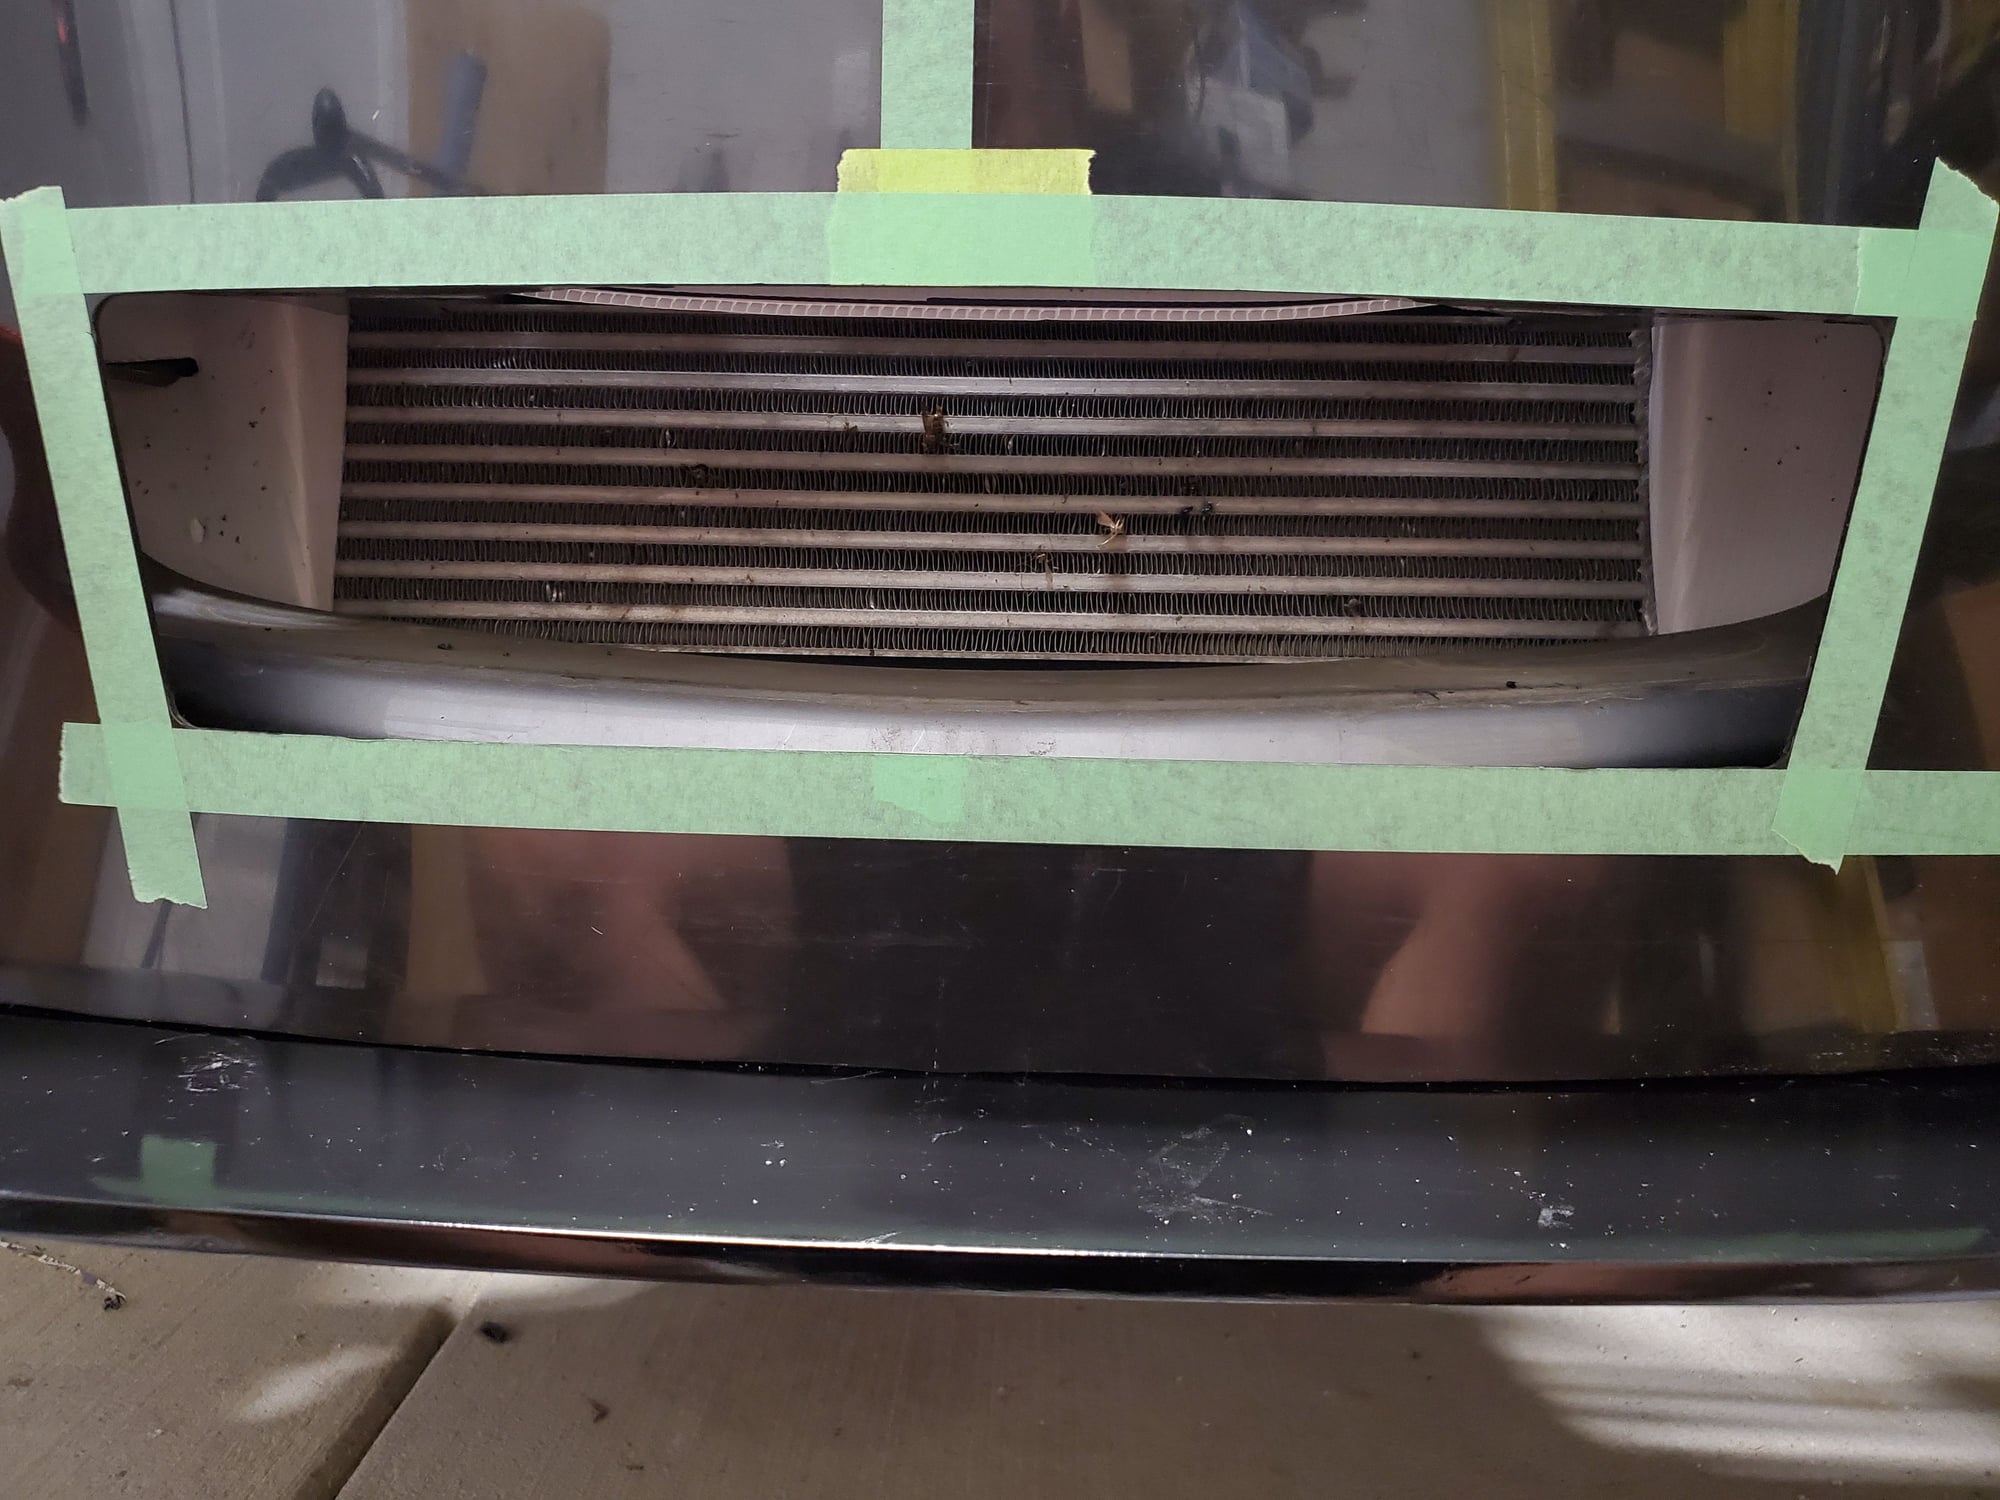
comparison


clecos are amazing!
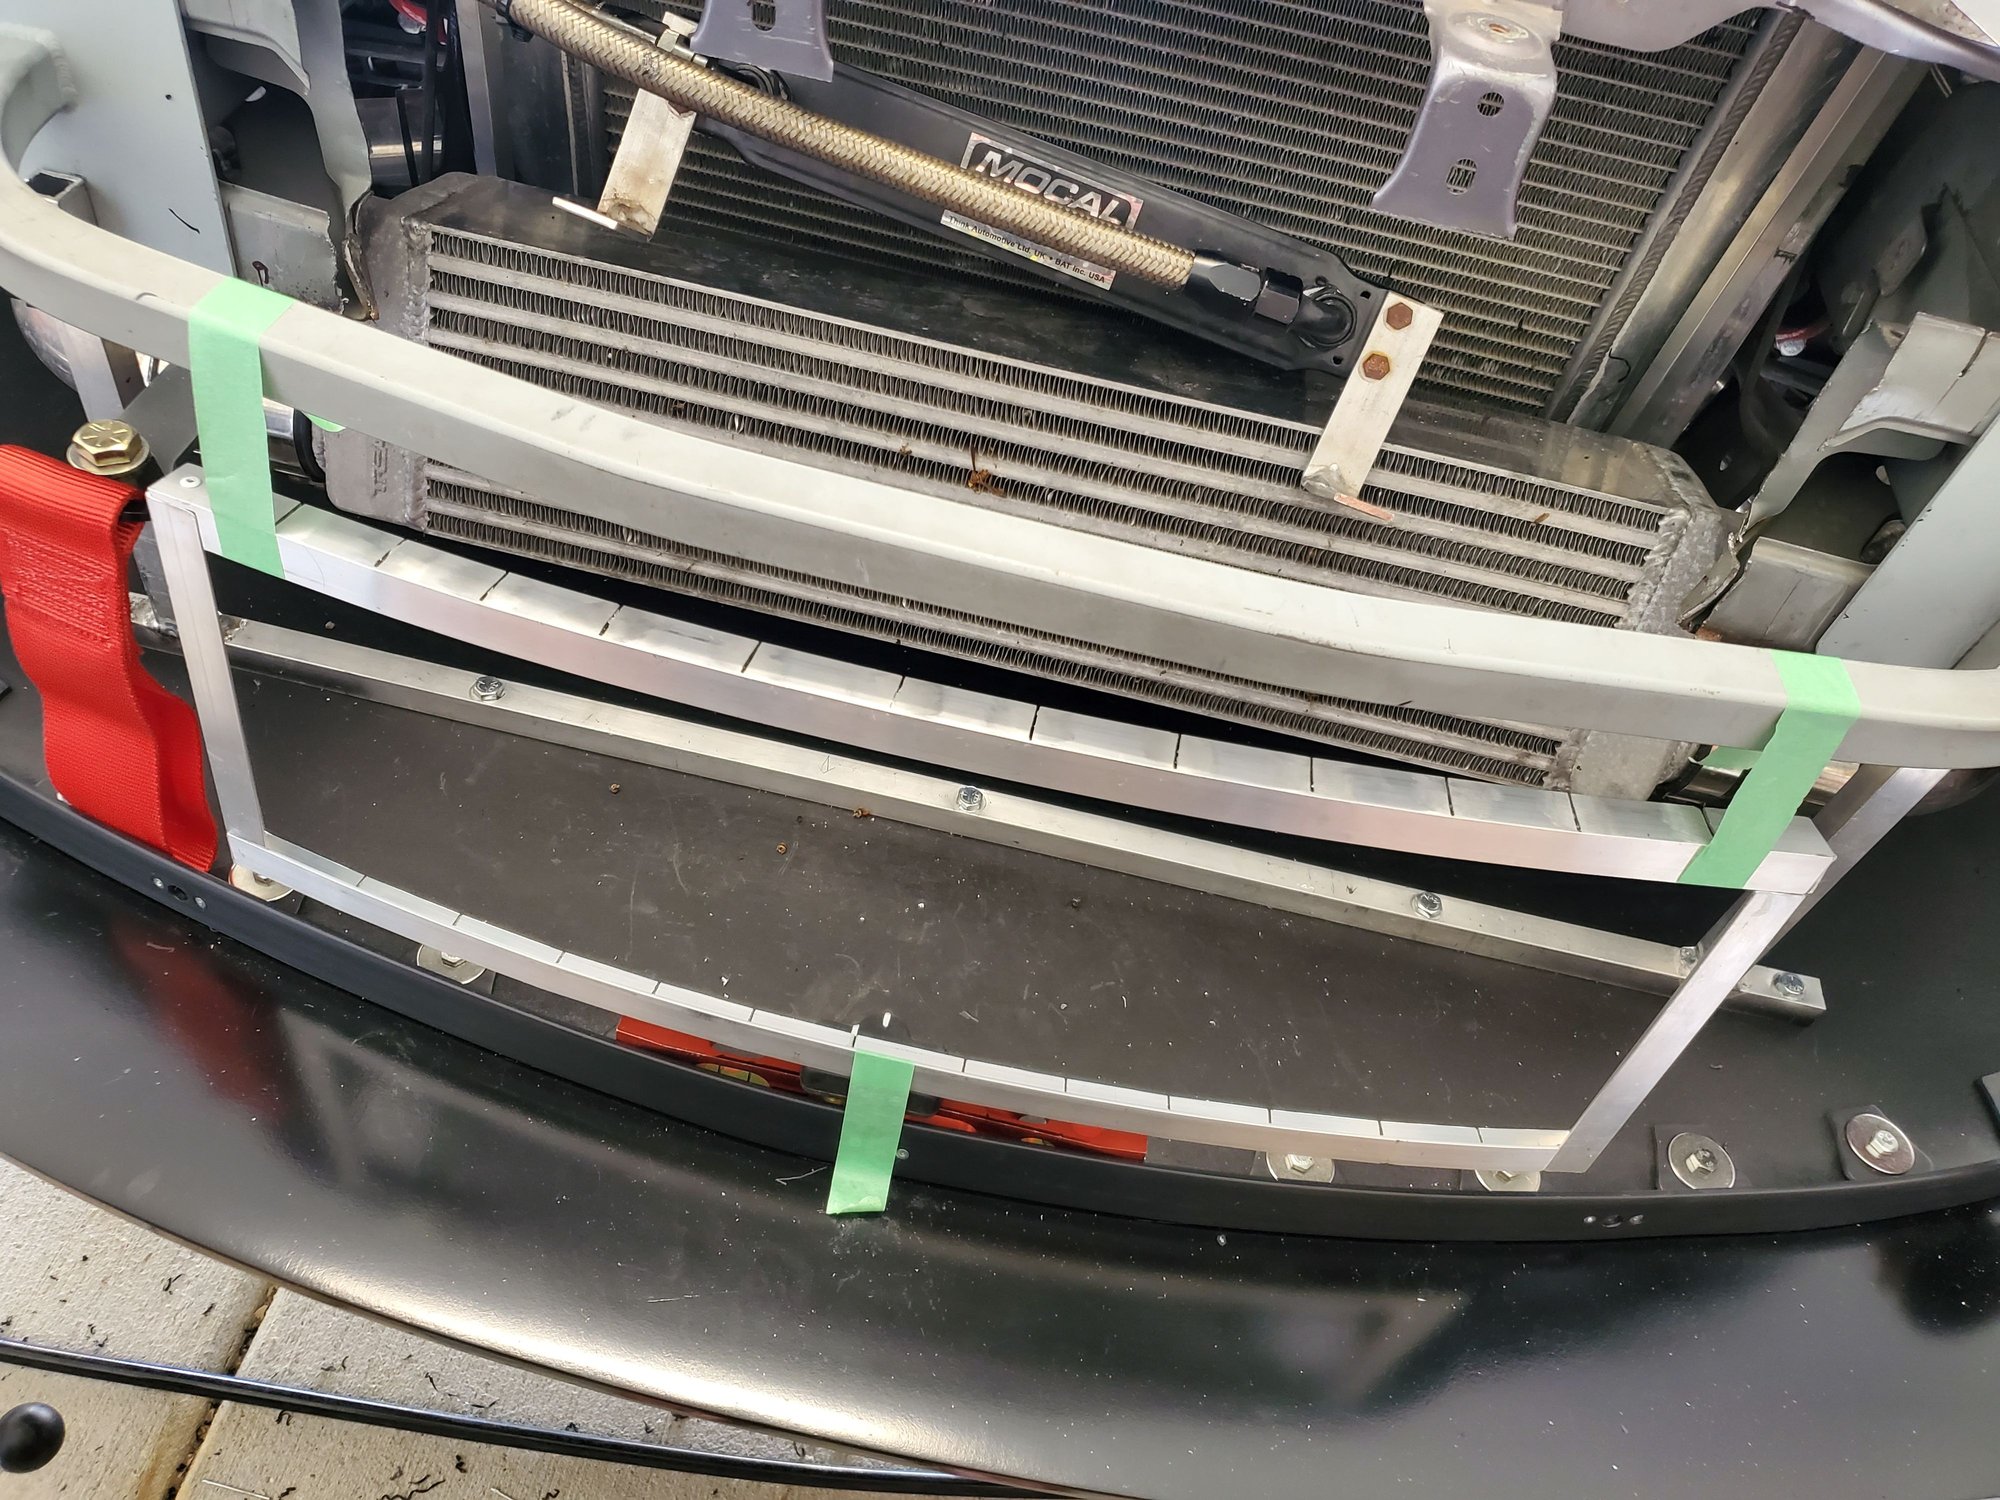
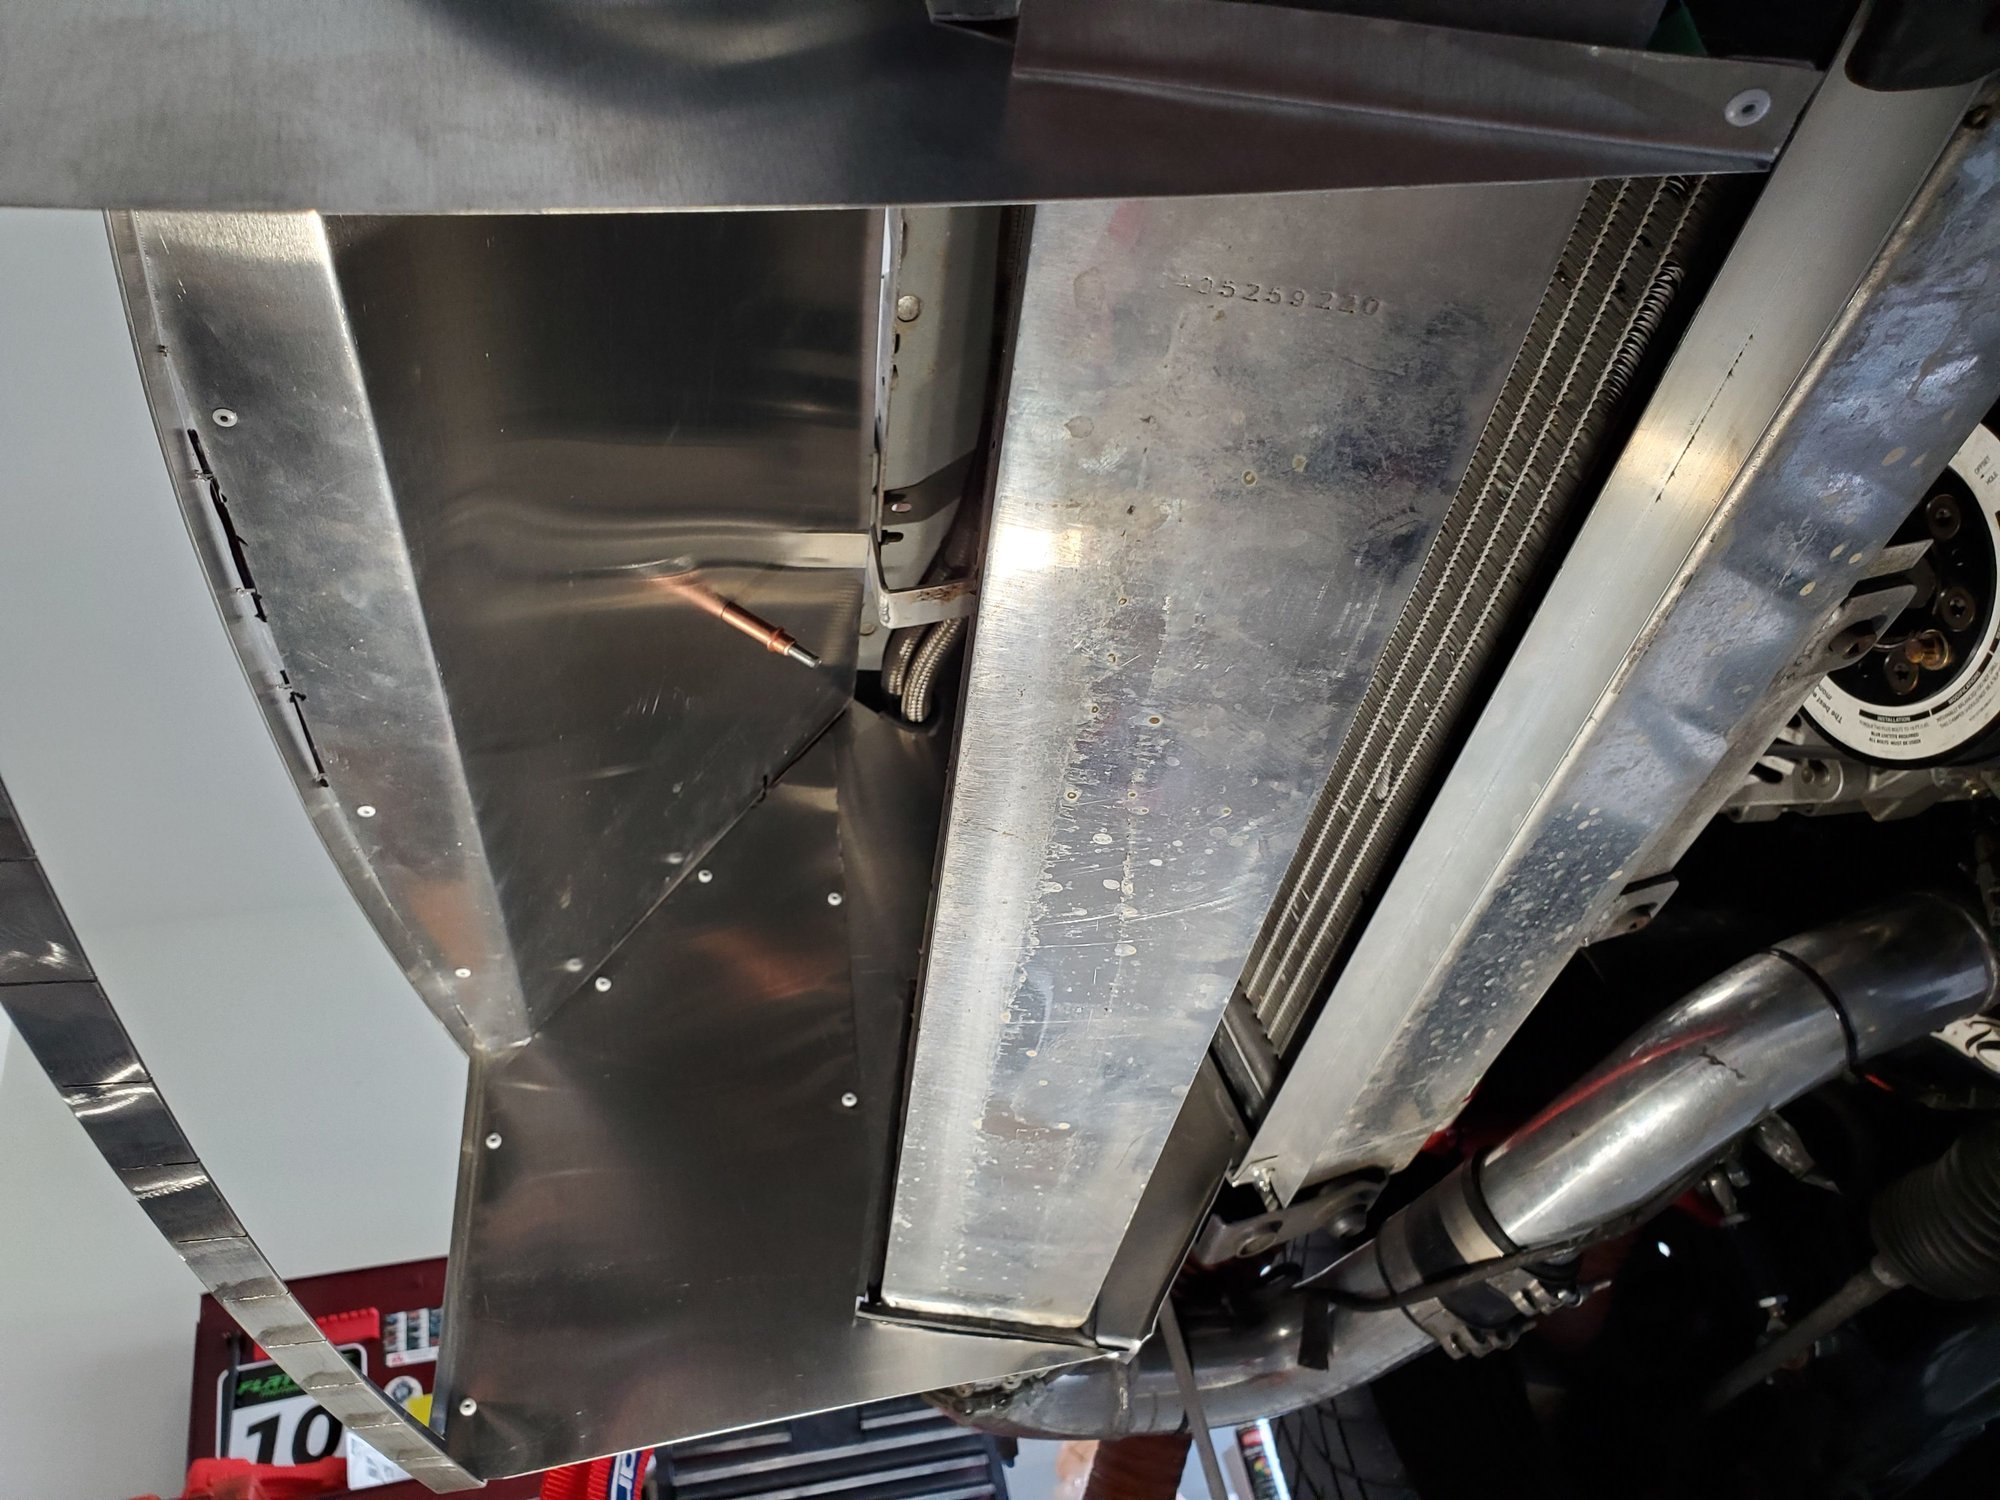
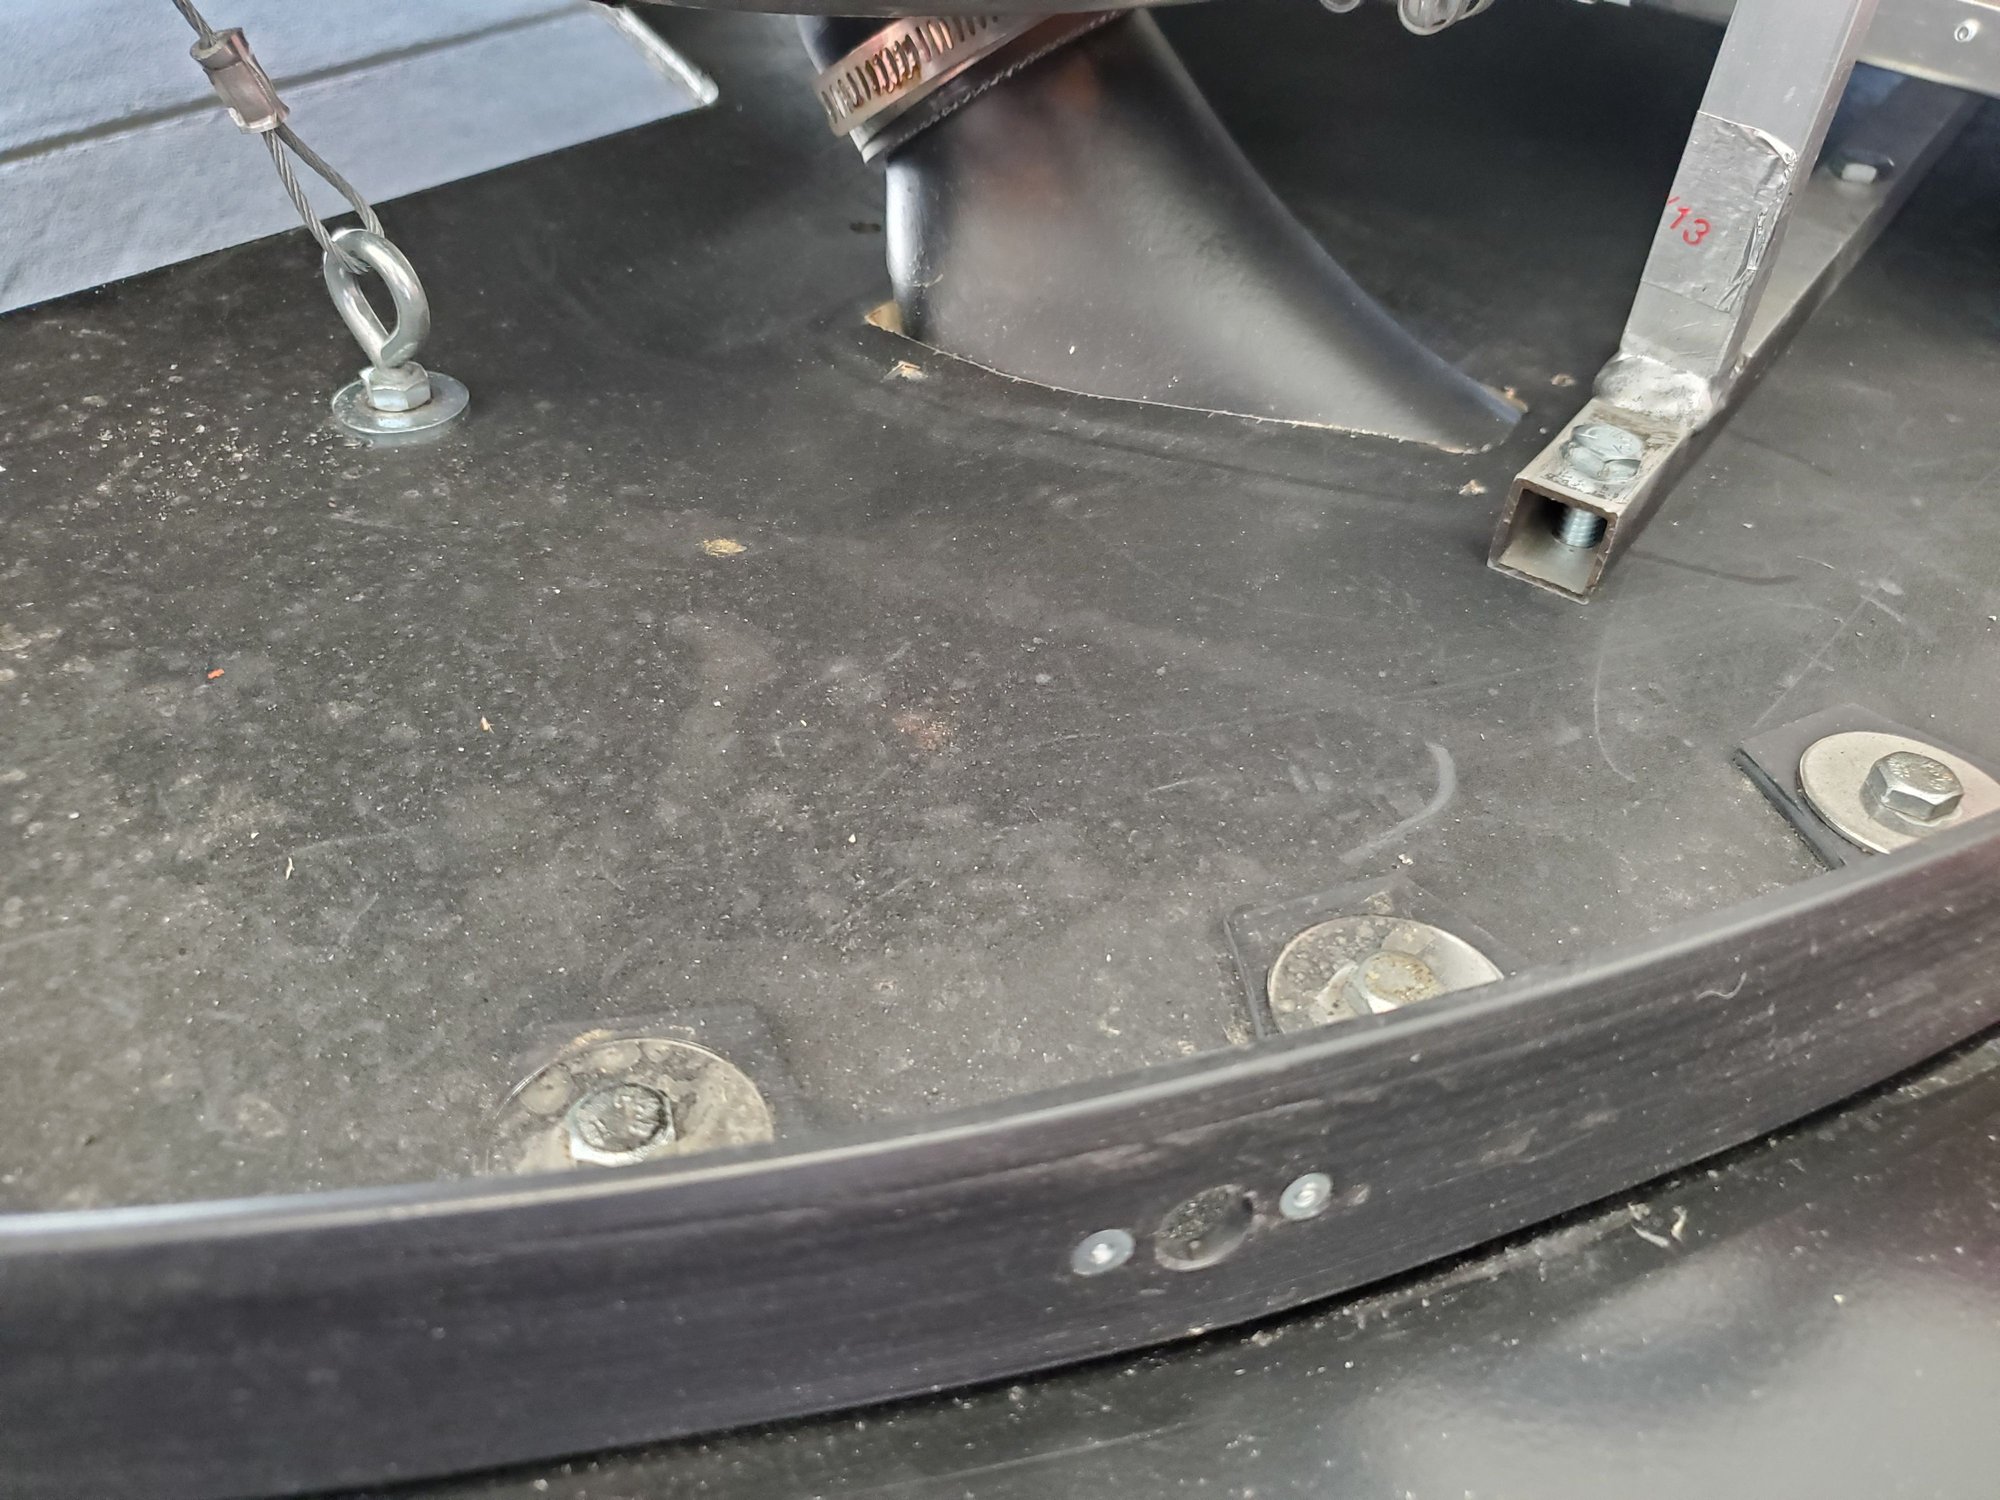
starting the new ducting to seal the radiator to the airdam

there is rubber tubing between the ducting and the radiator/intercooler
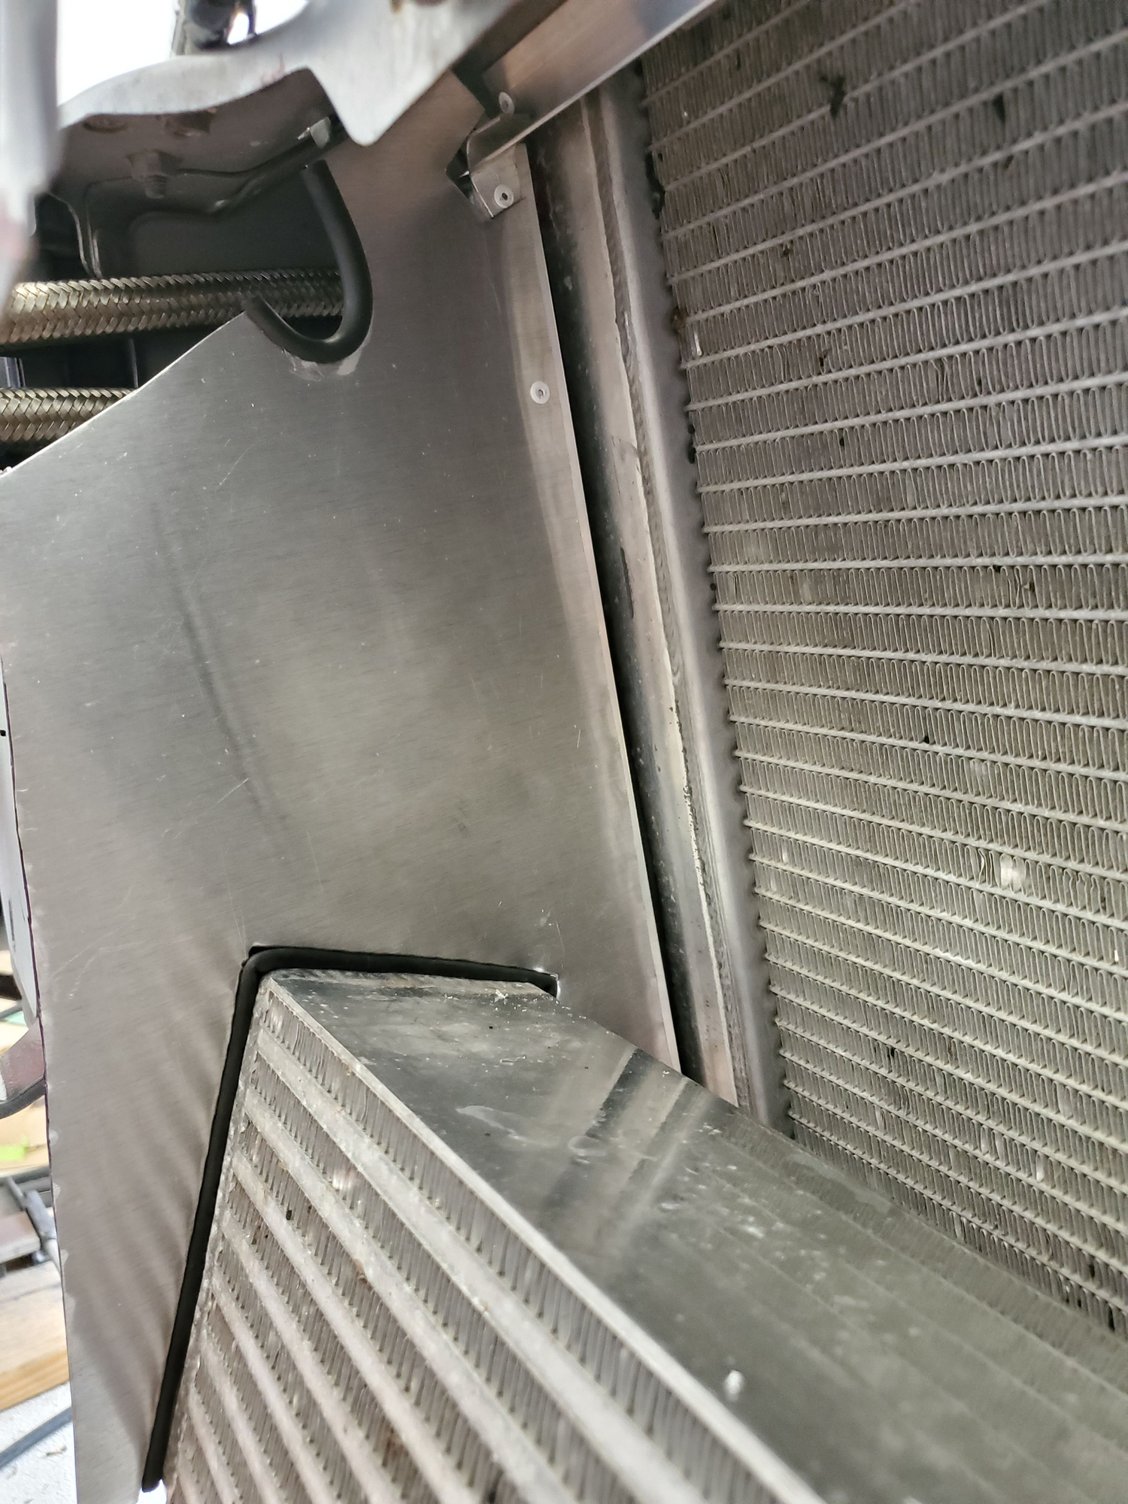
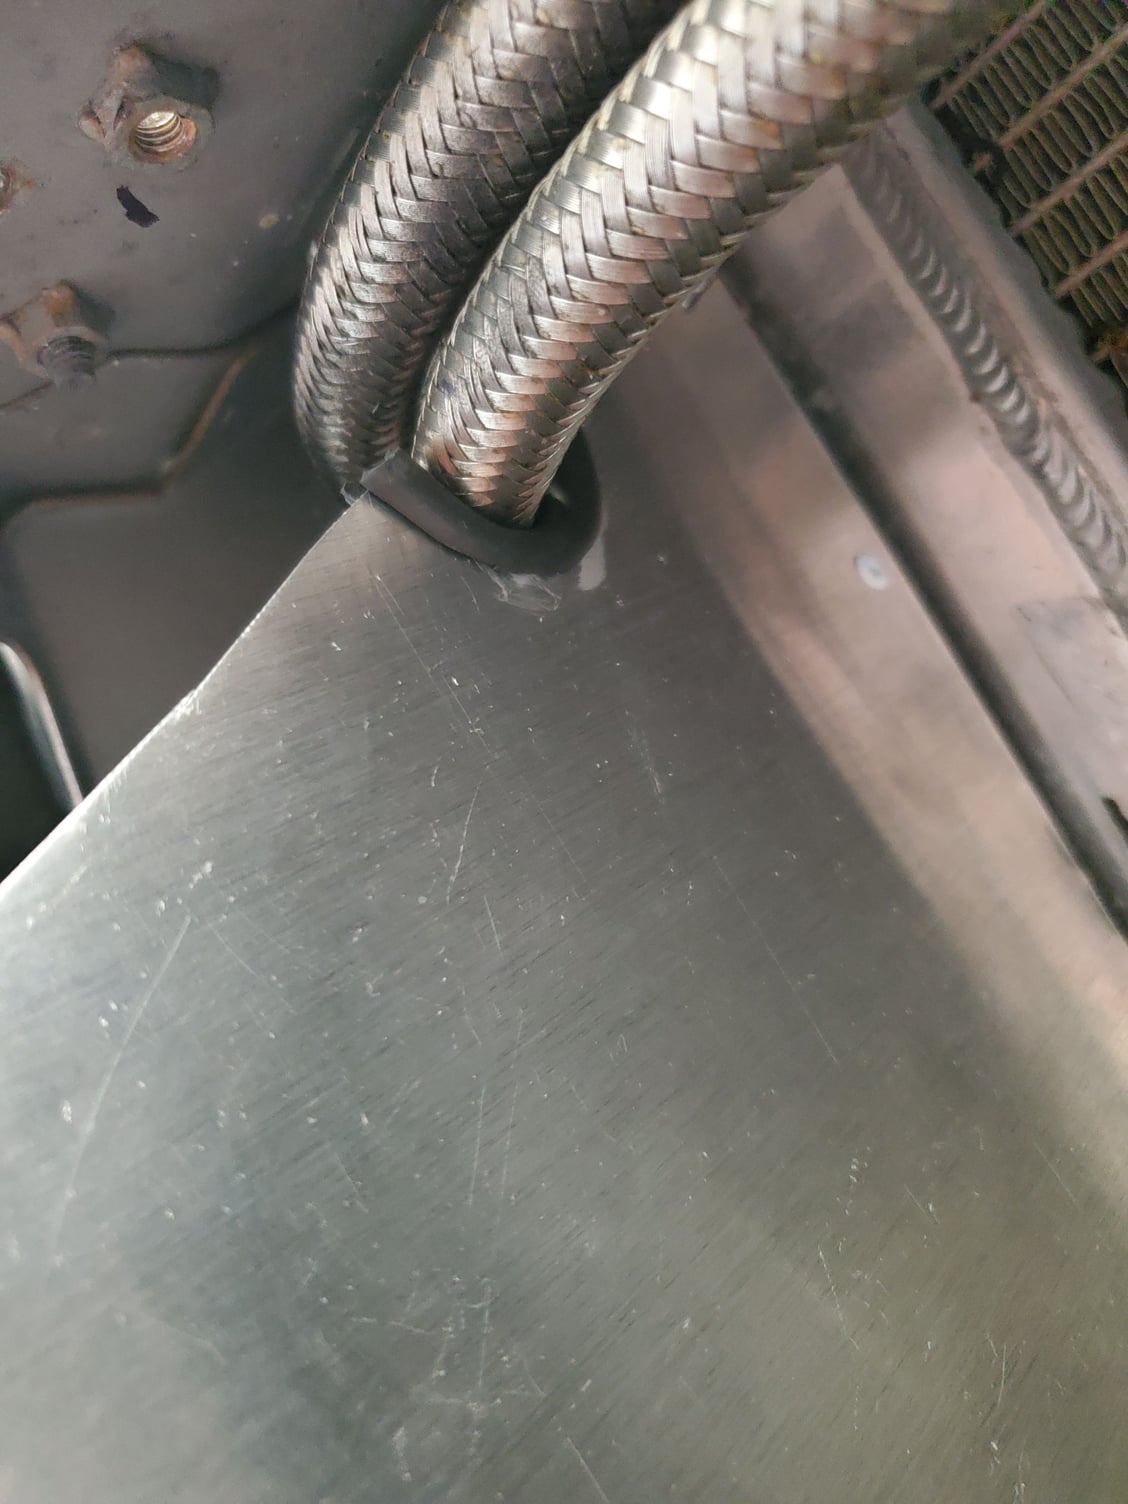
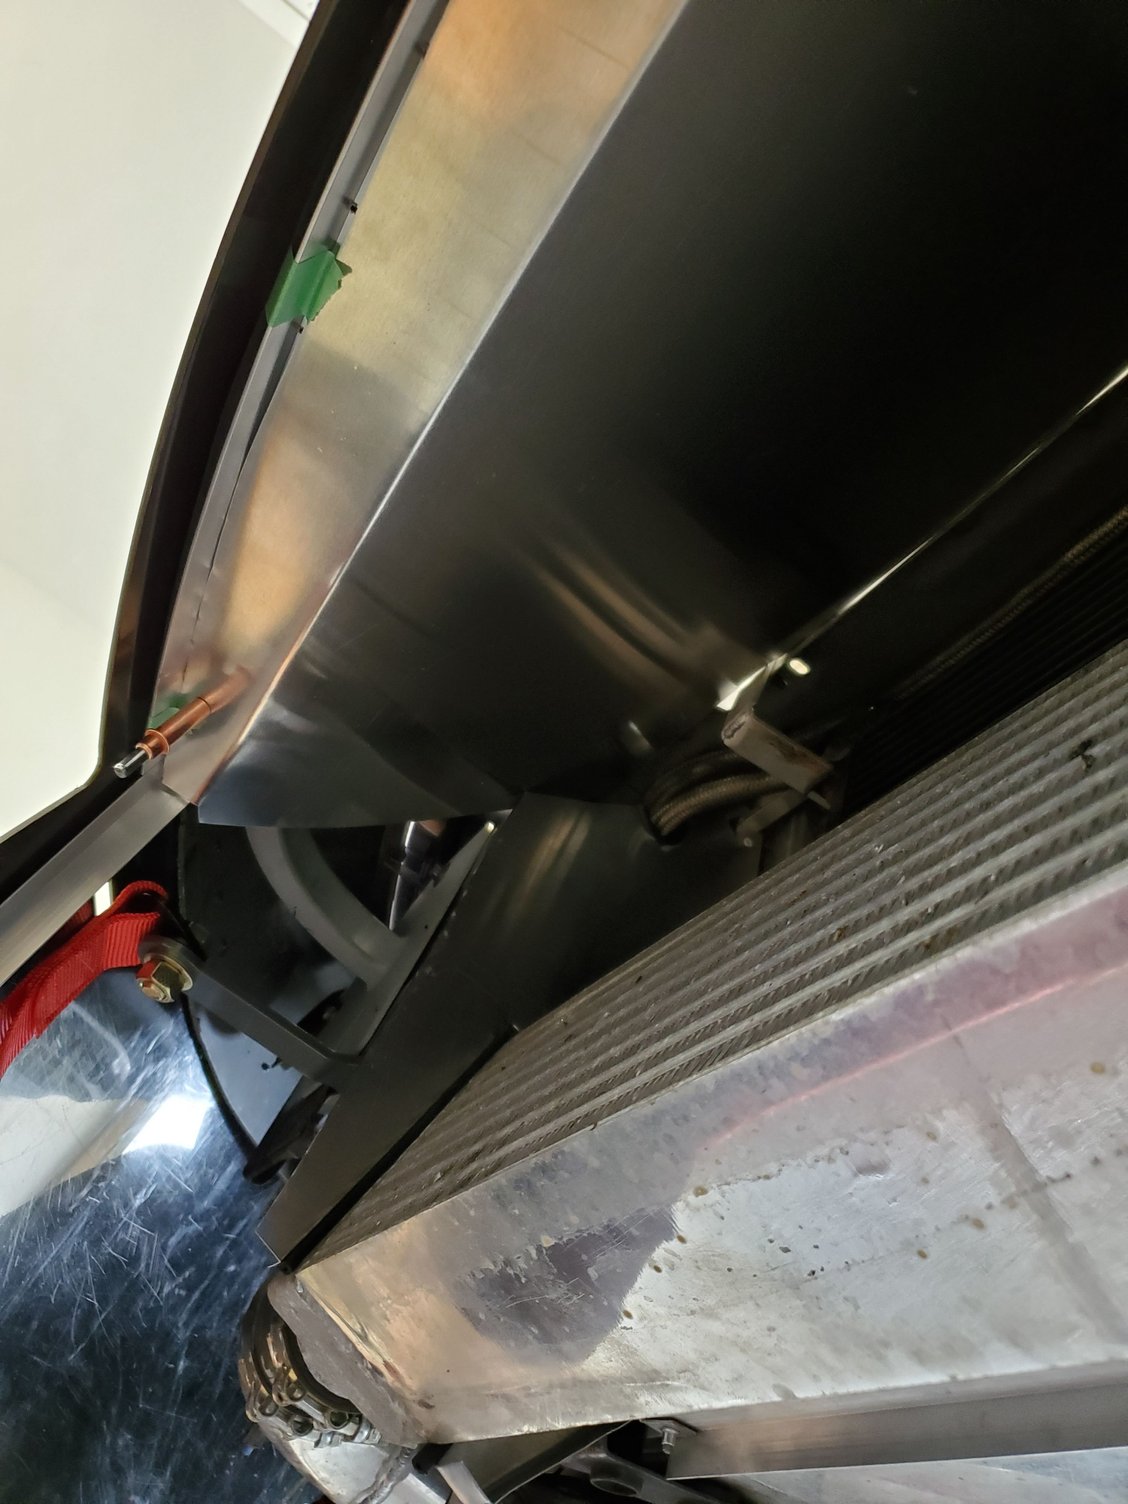
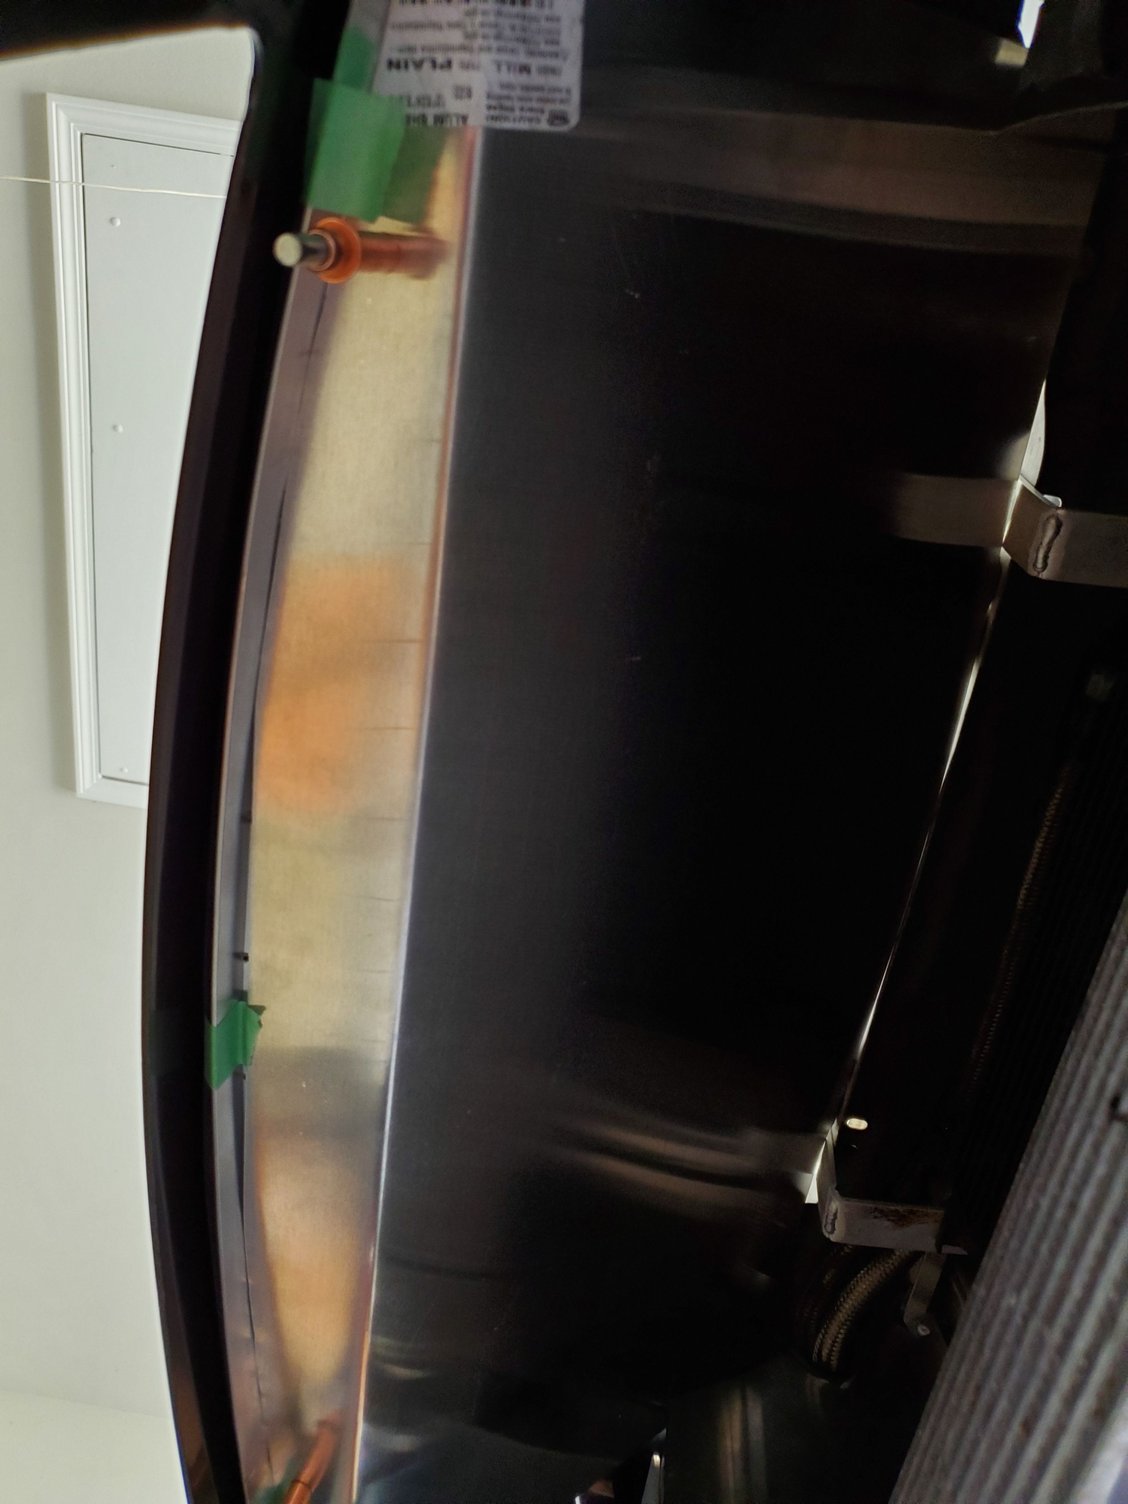
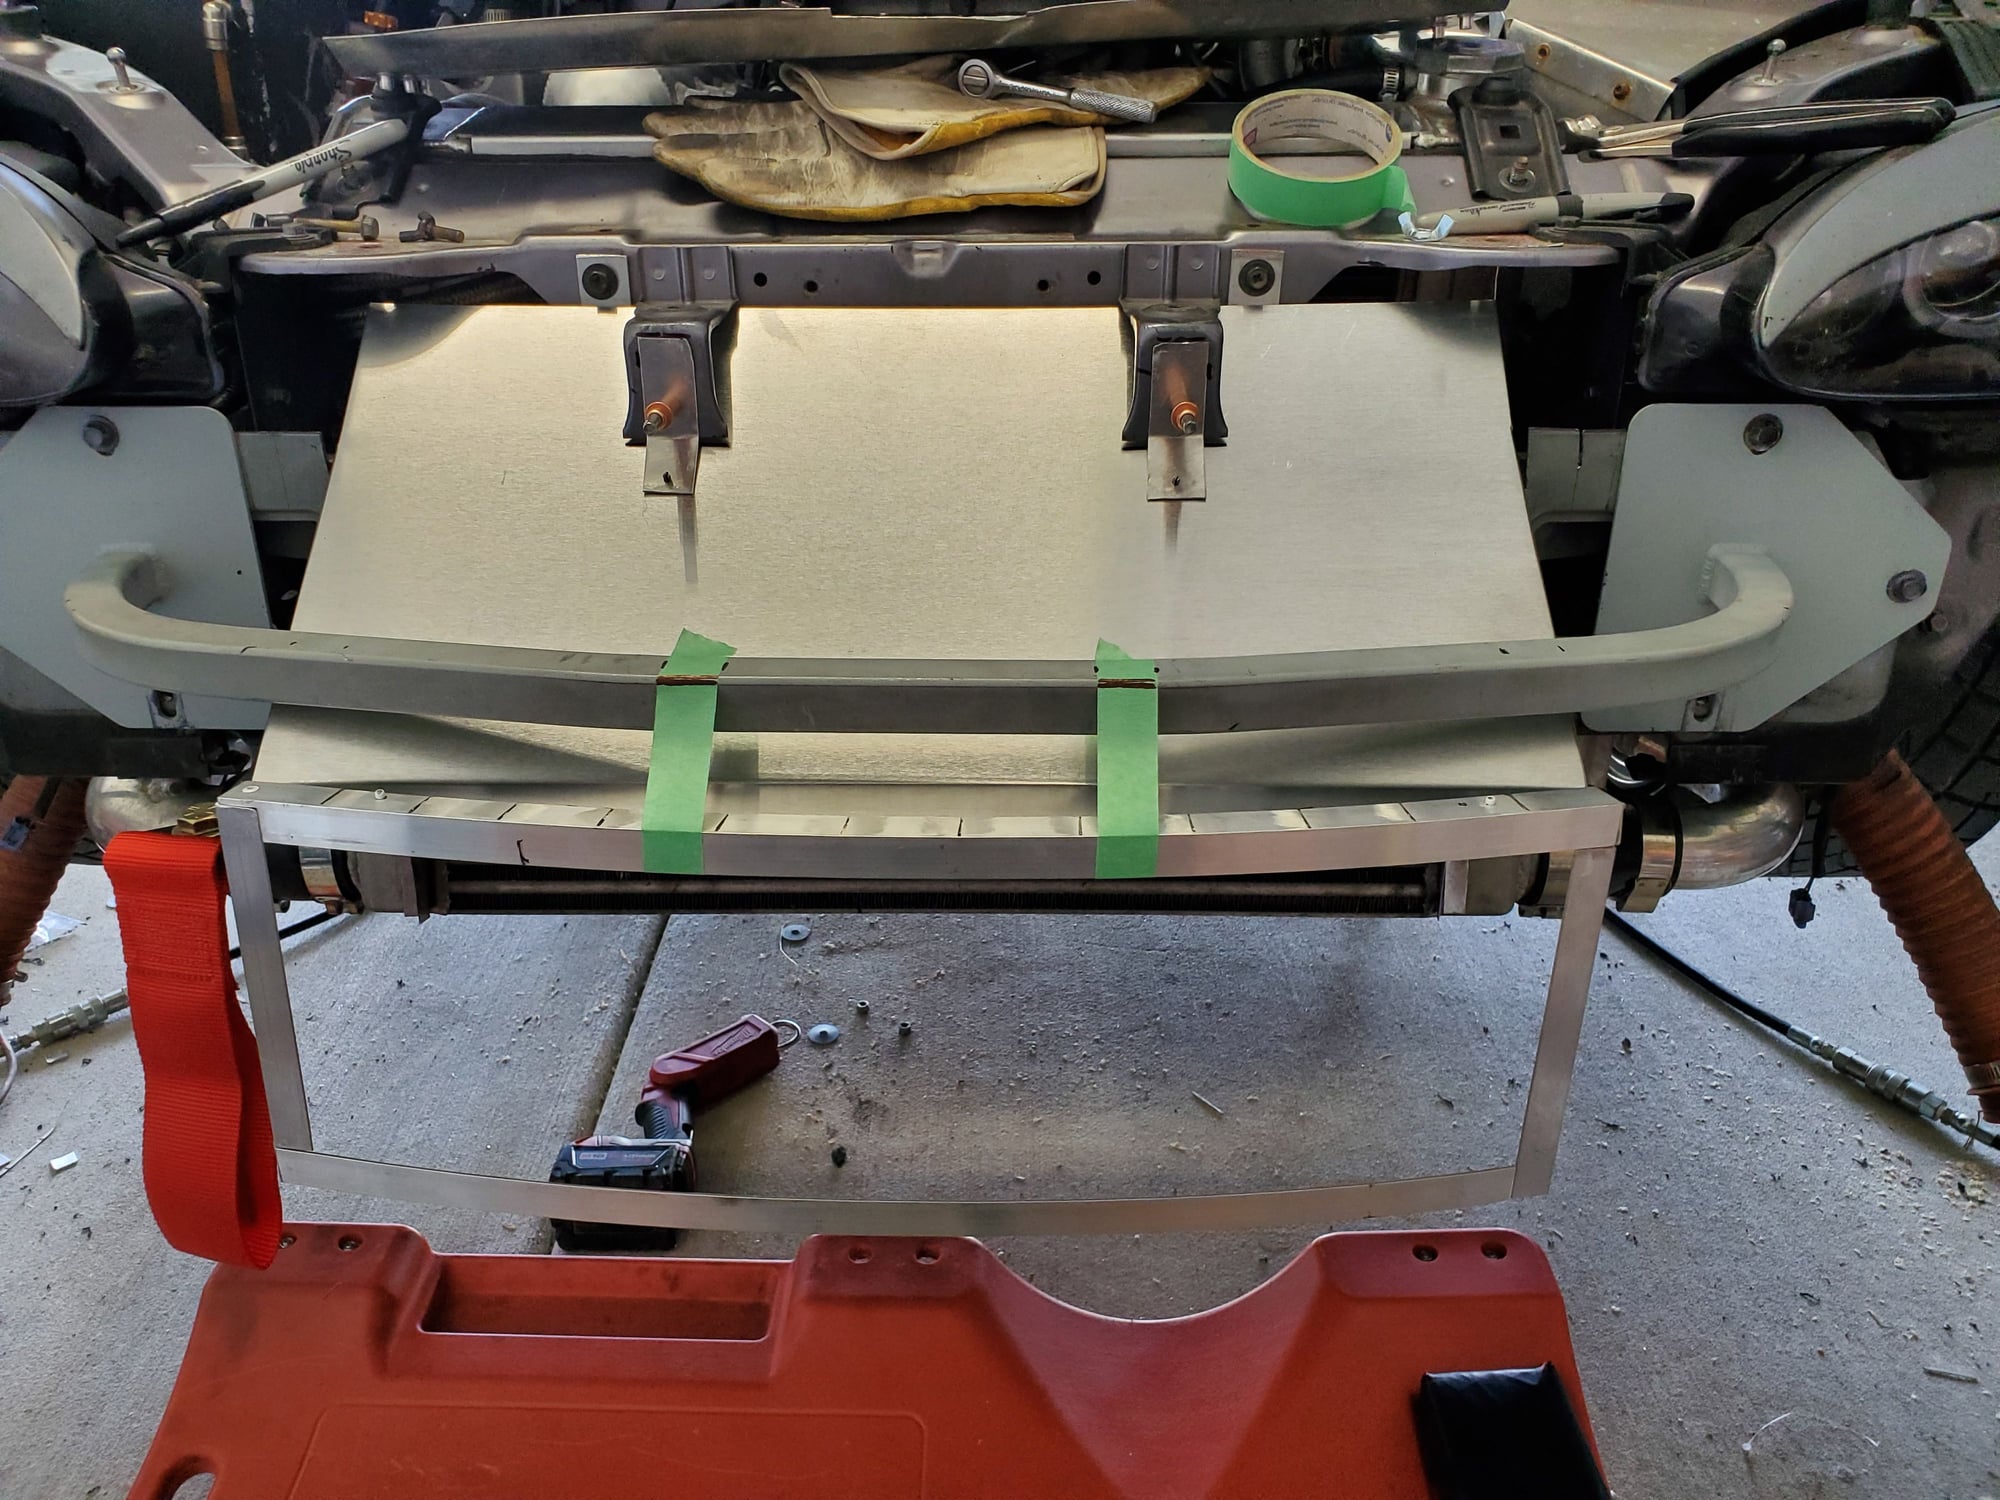
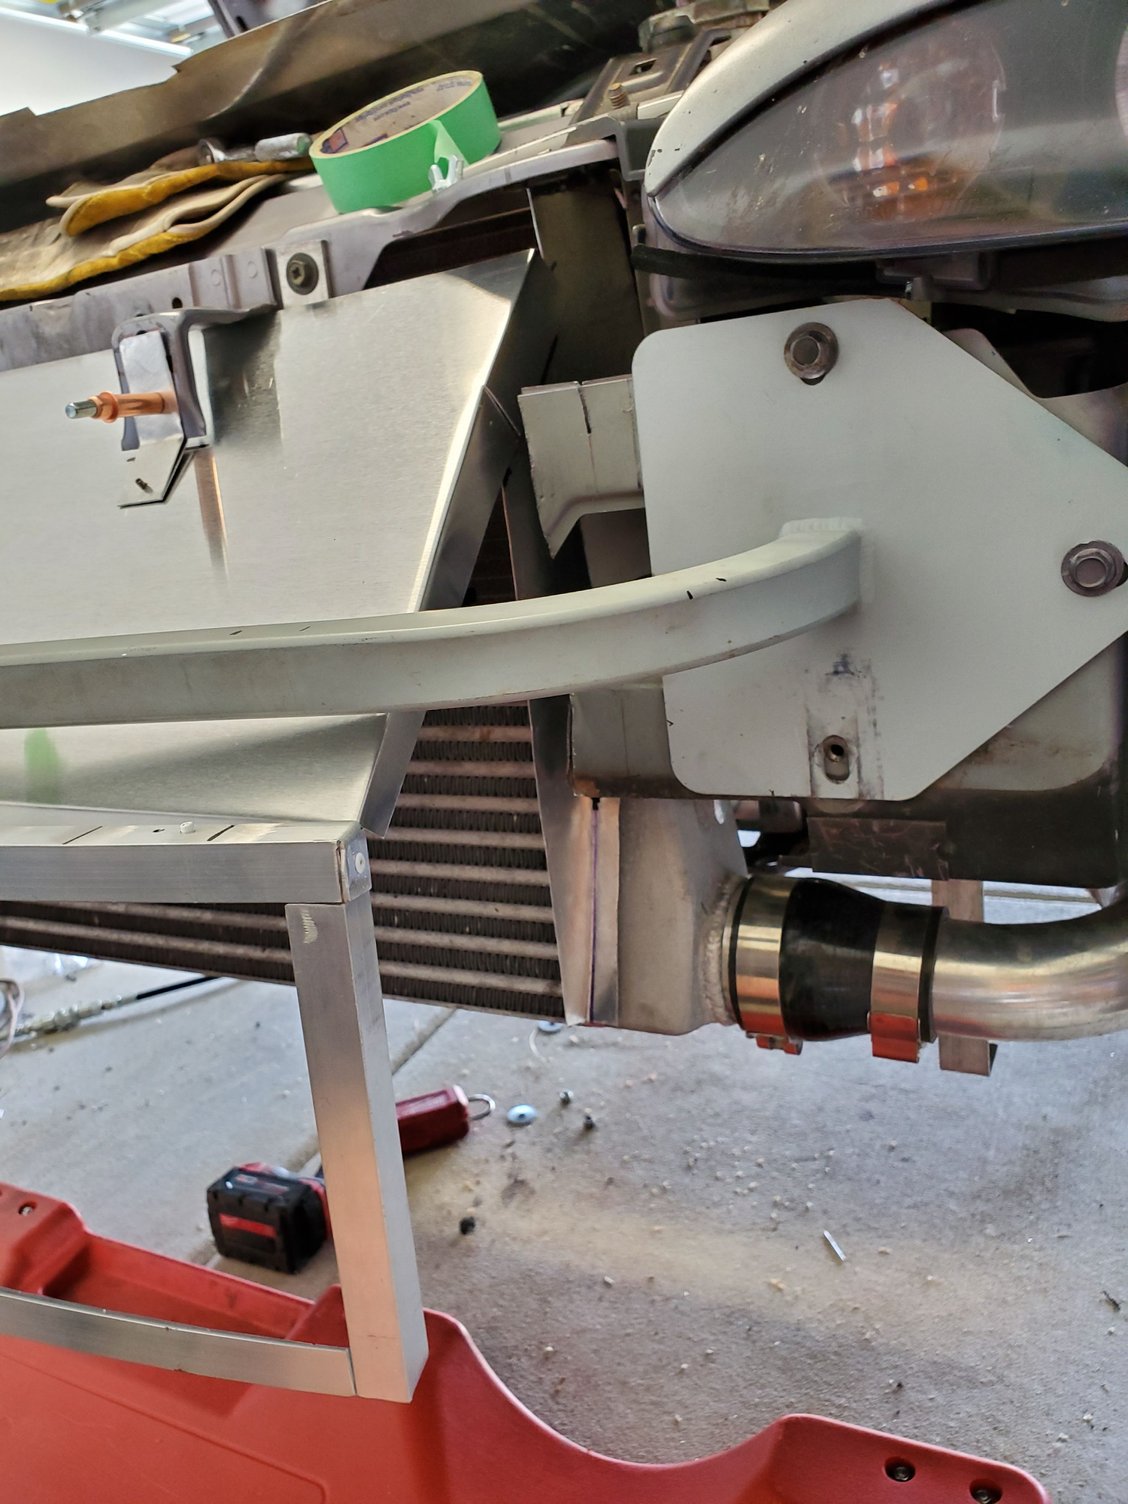
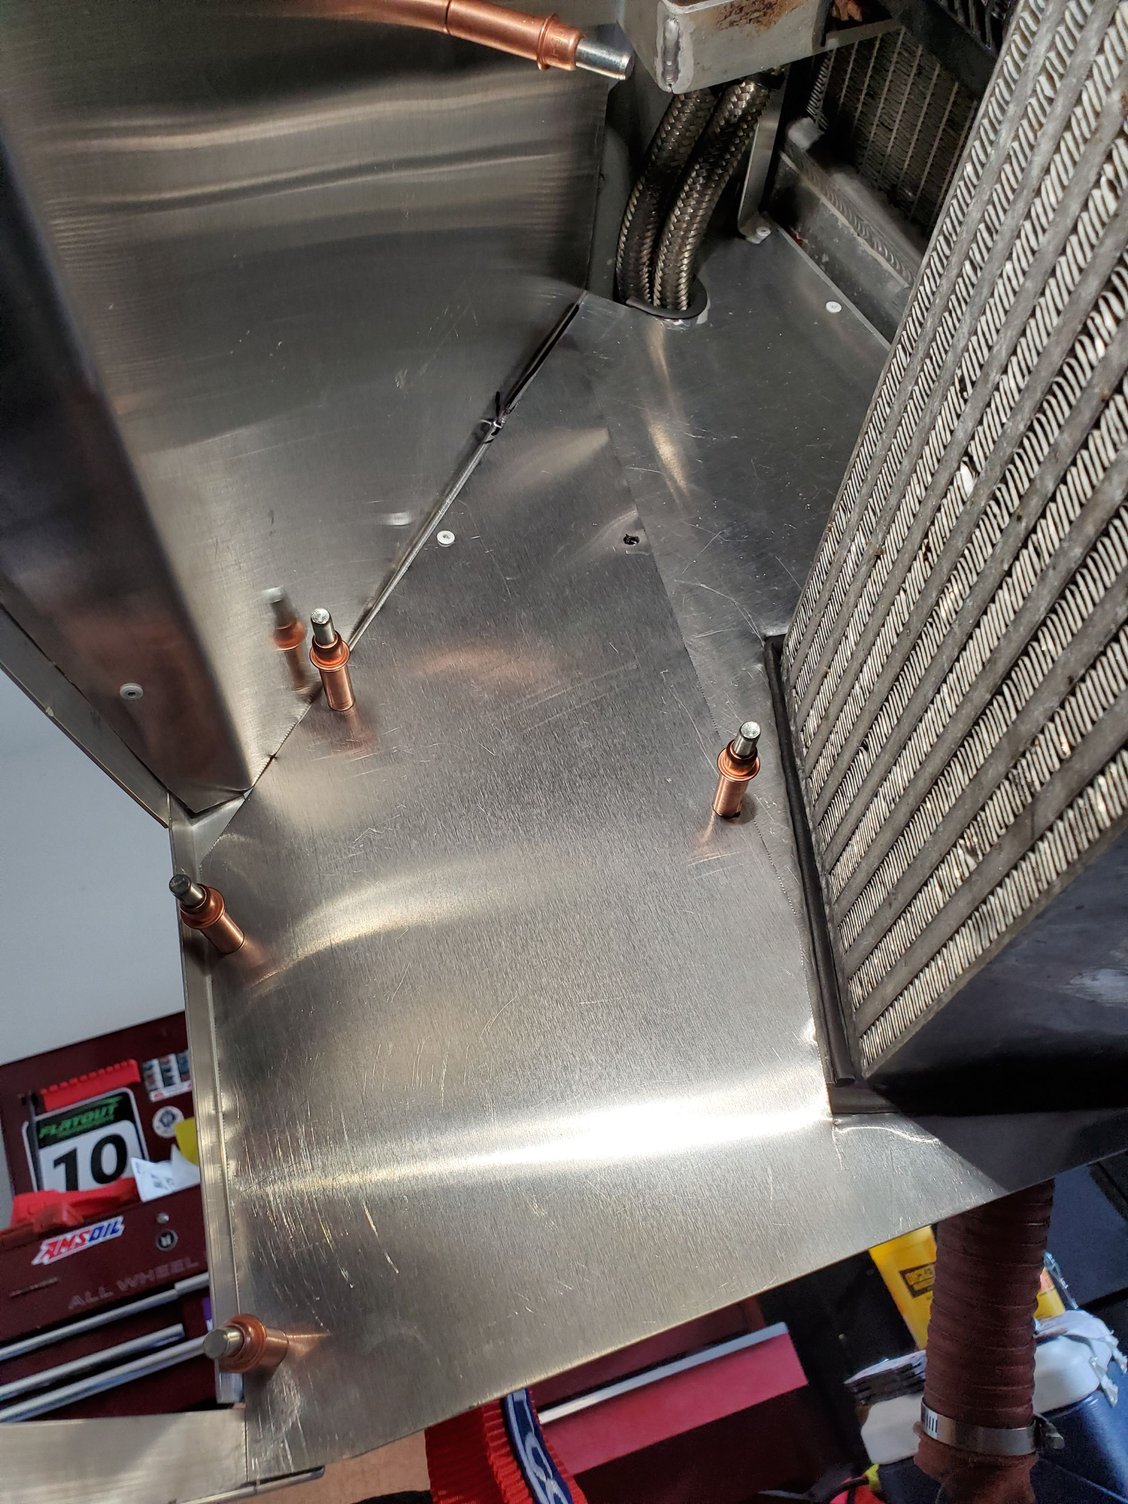

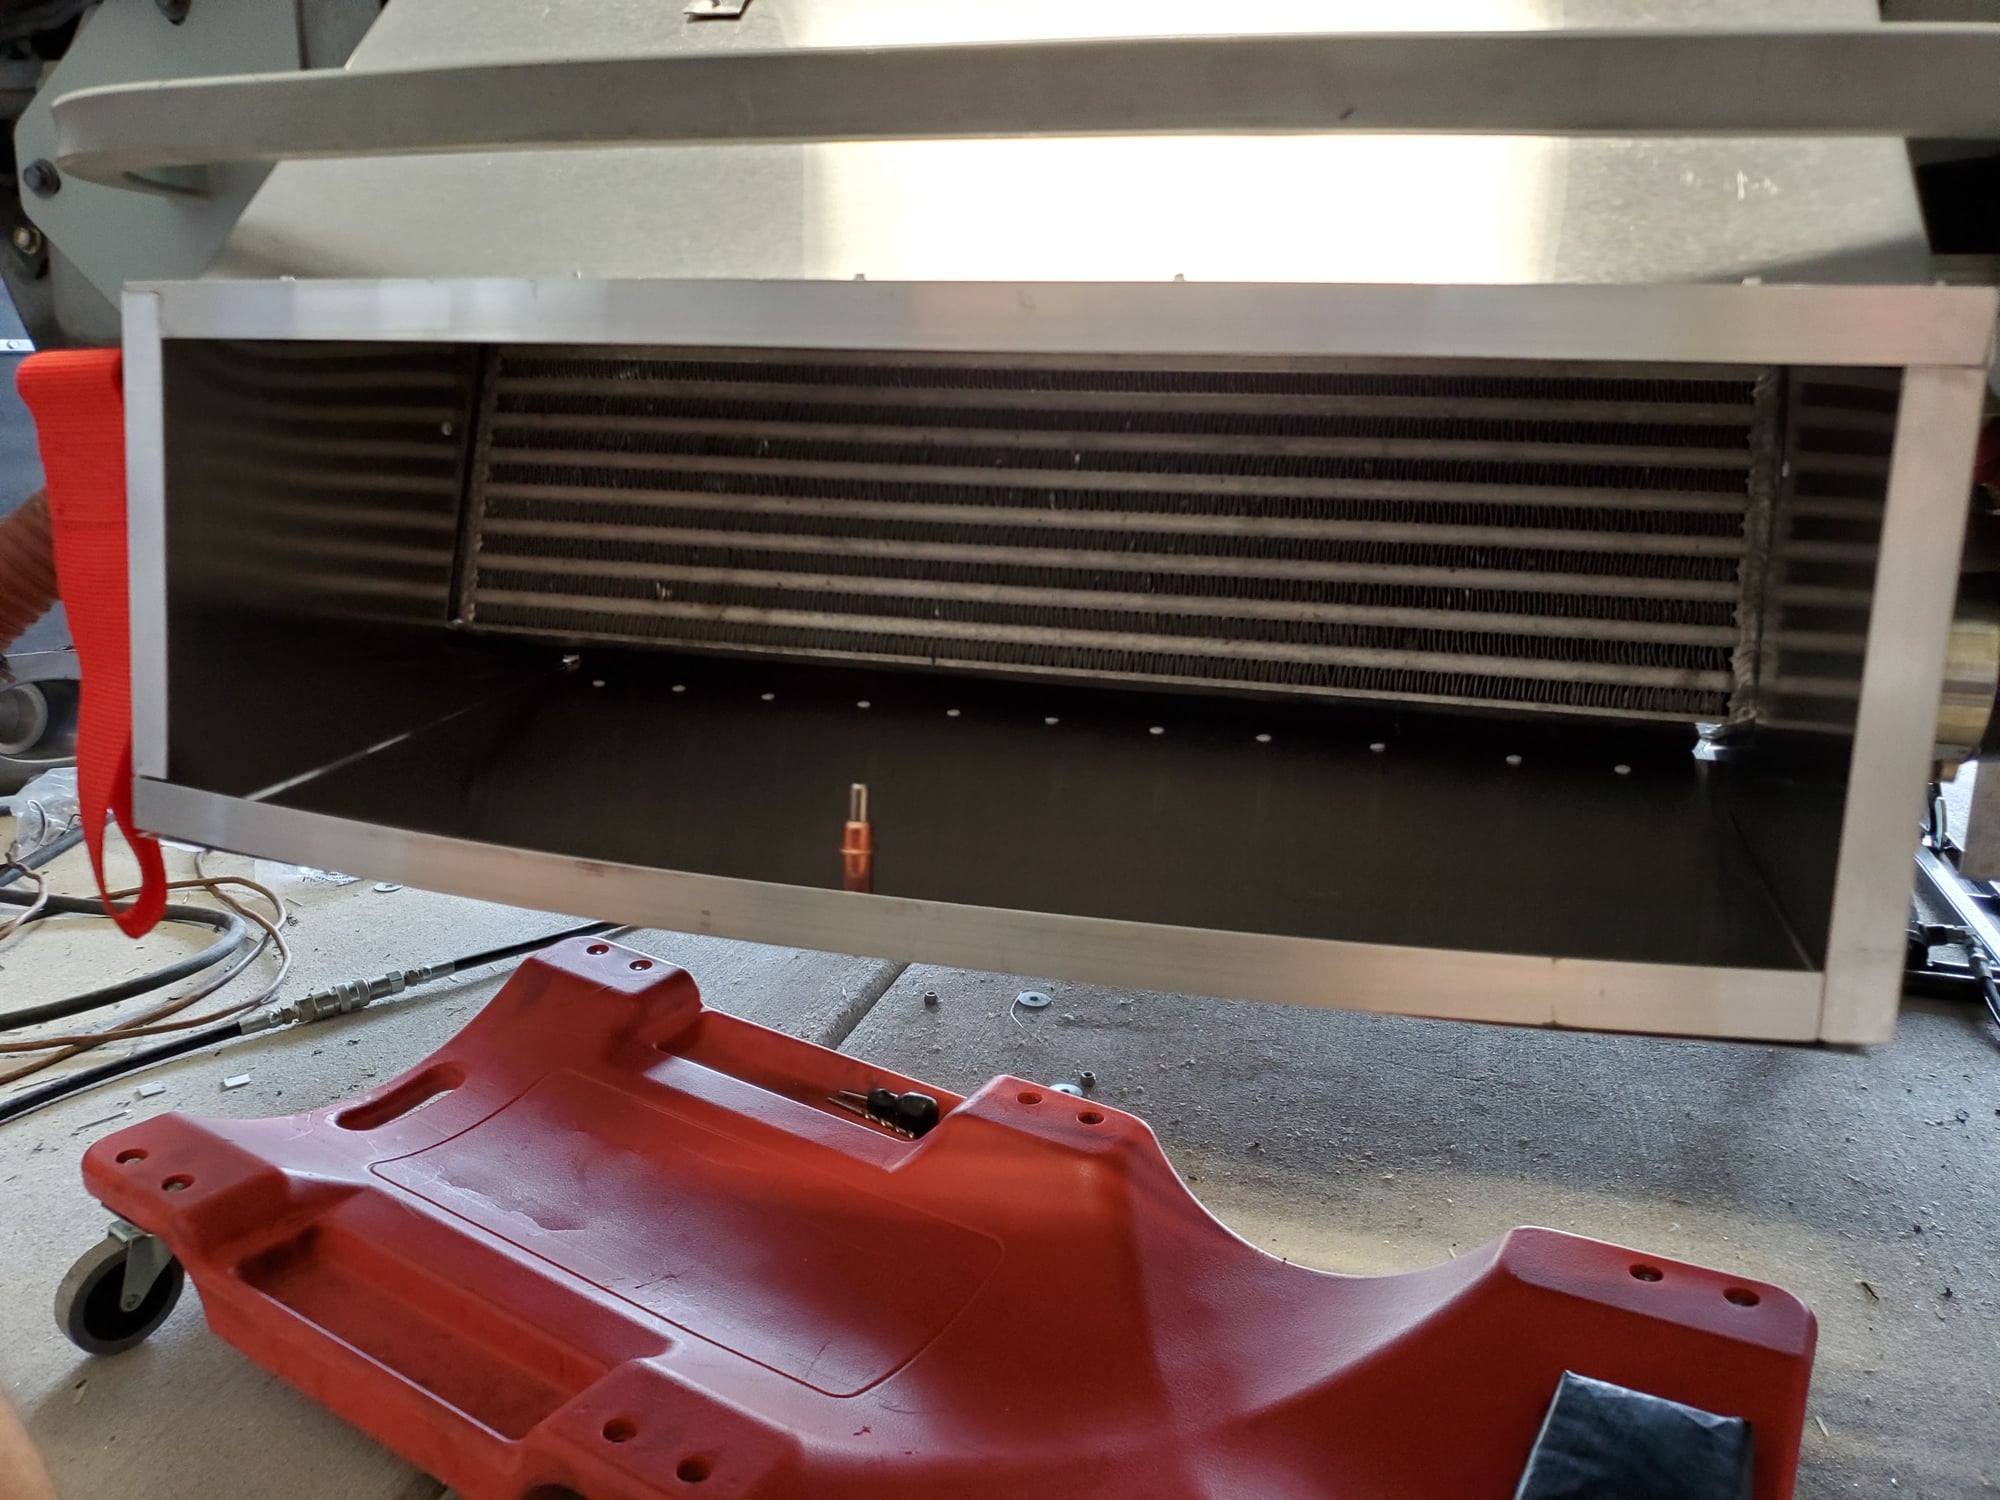
inside dimensions of the opening are 6" x 22"
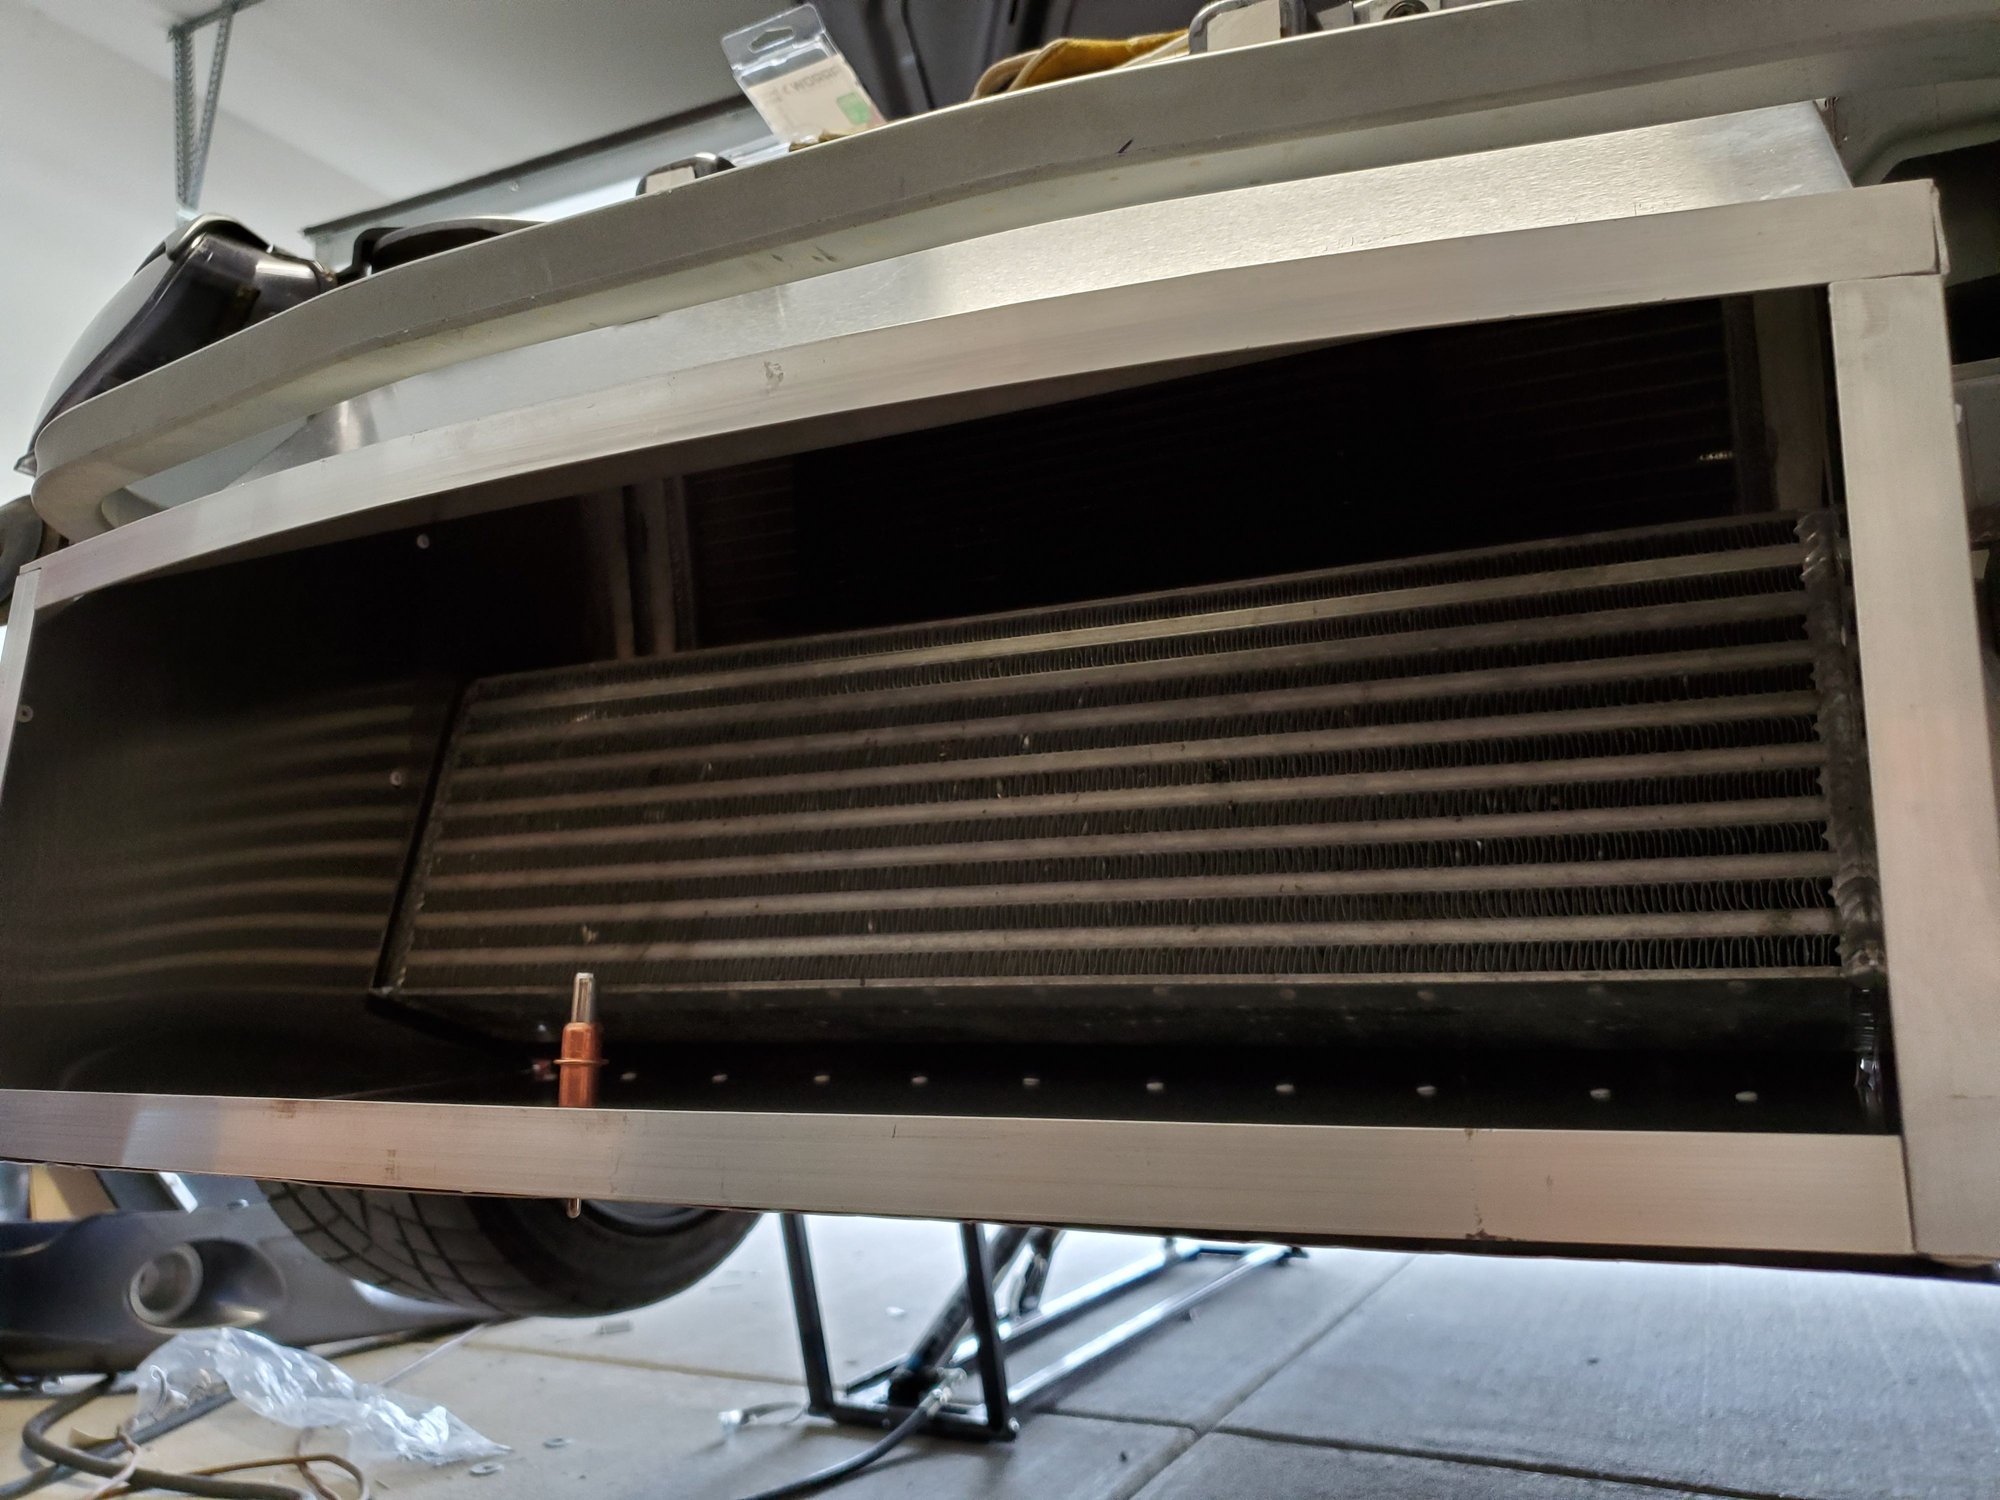
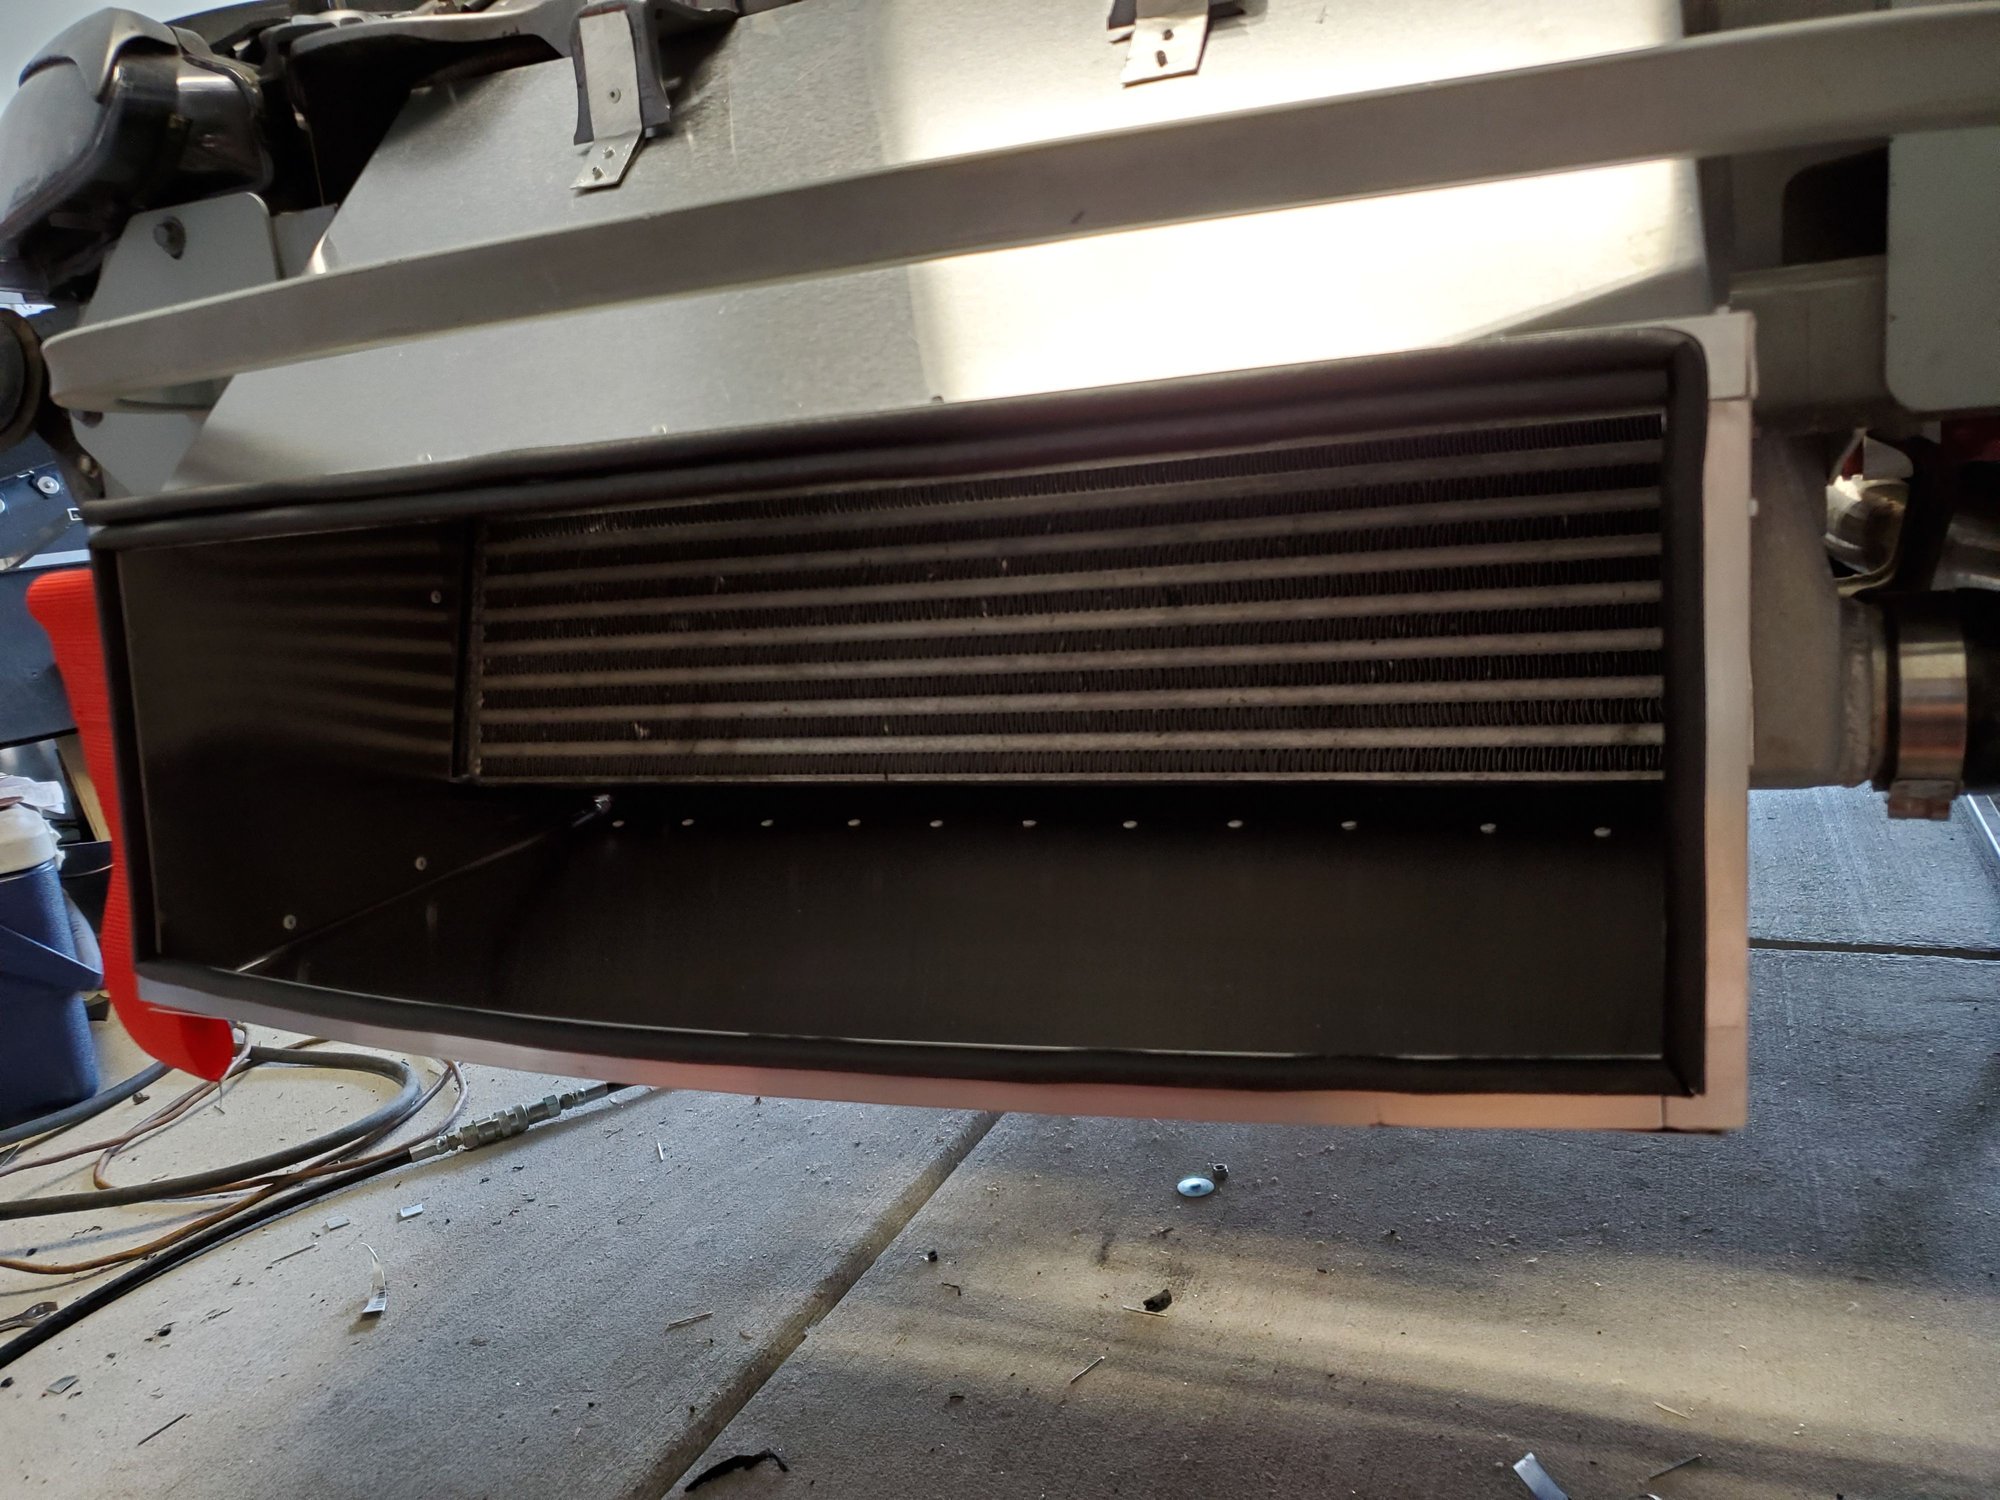
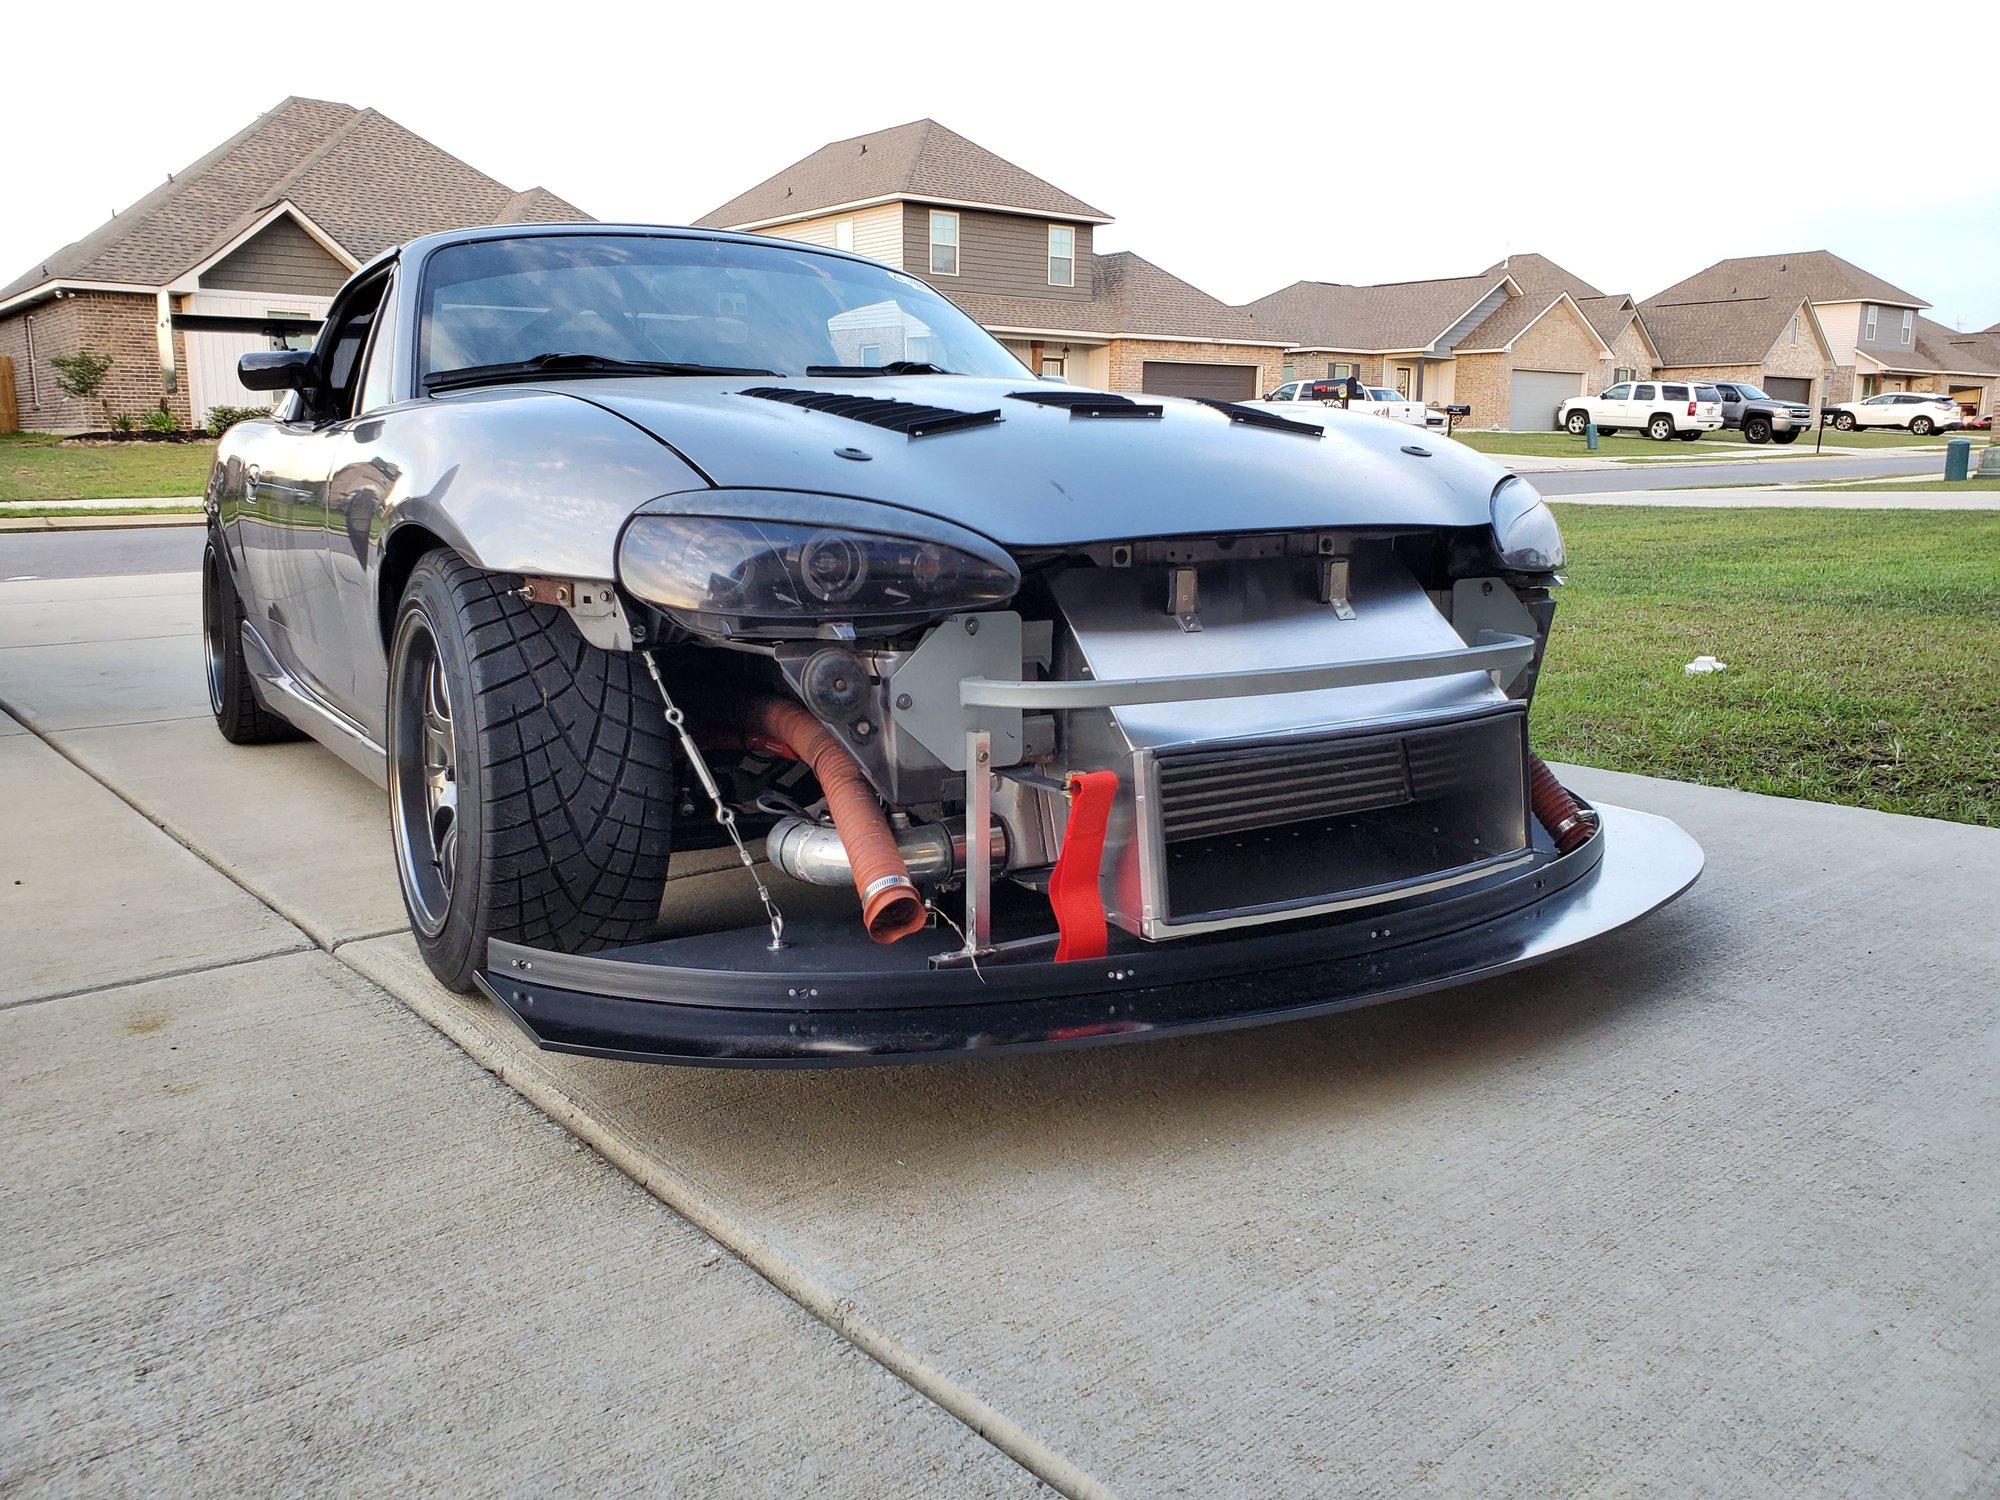
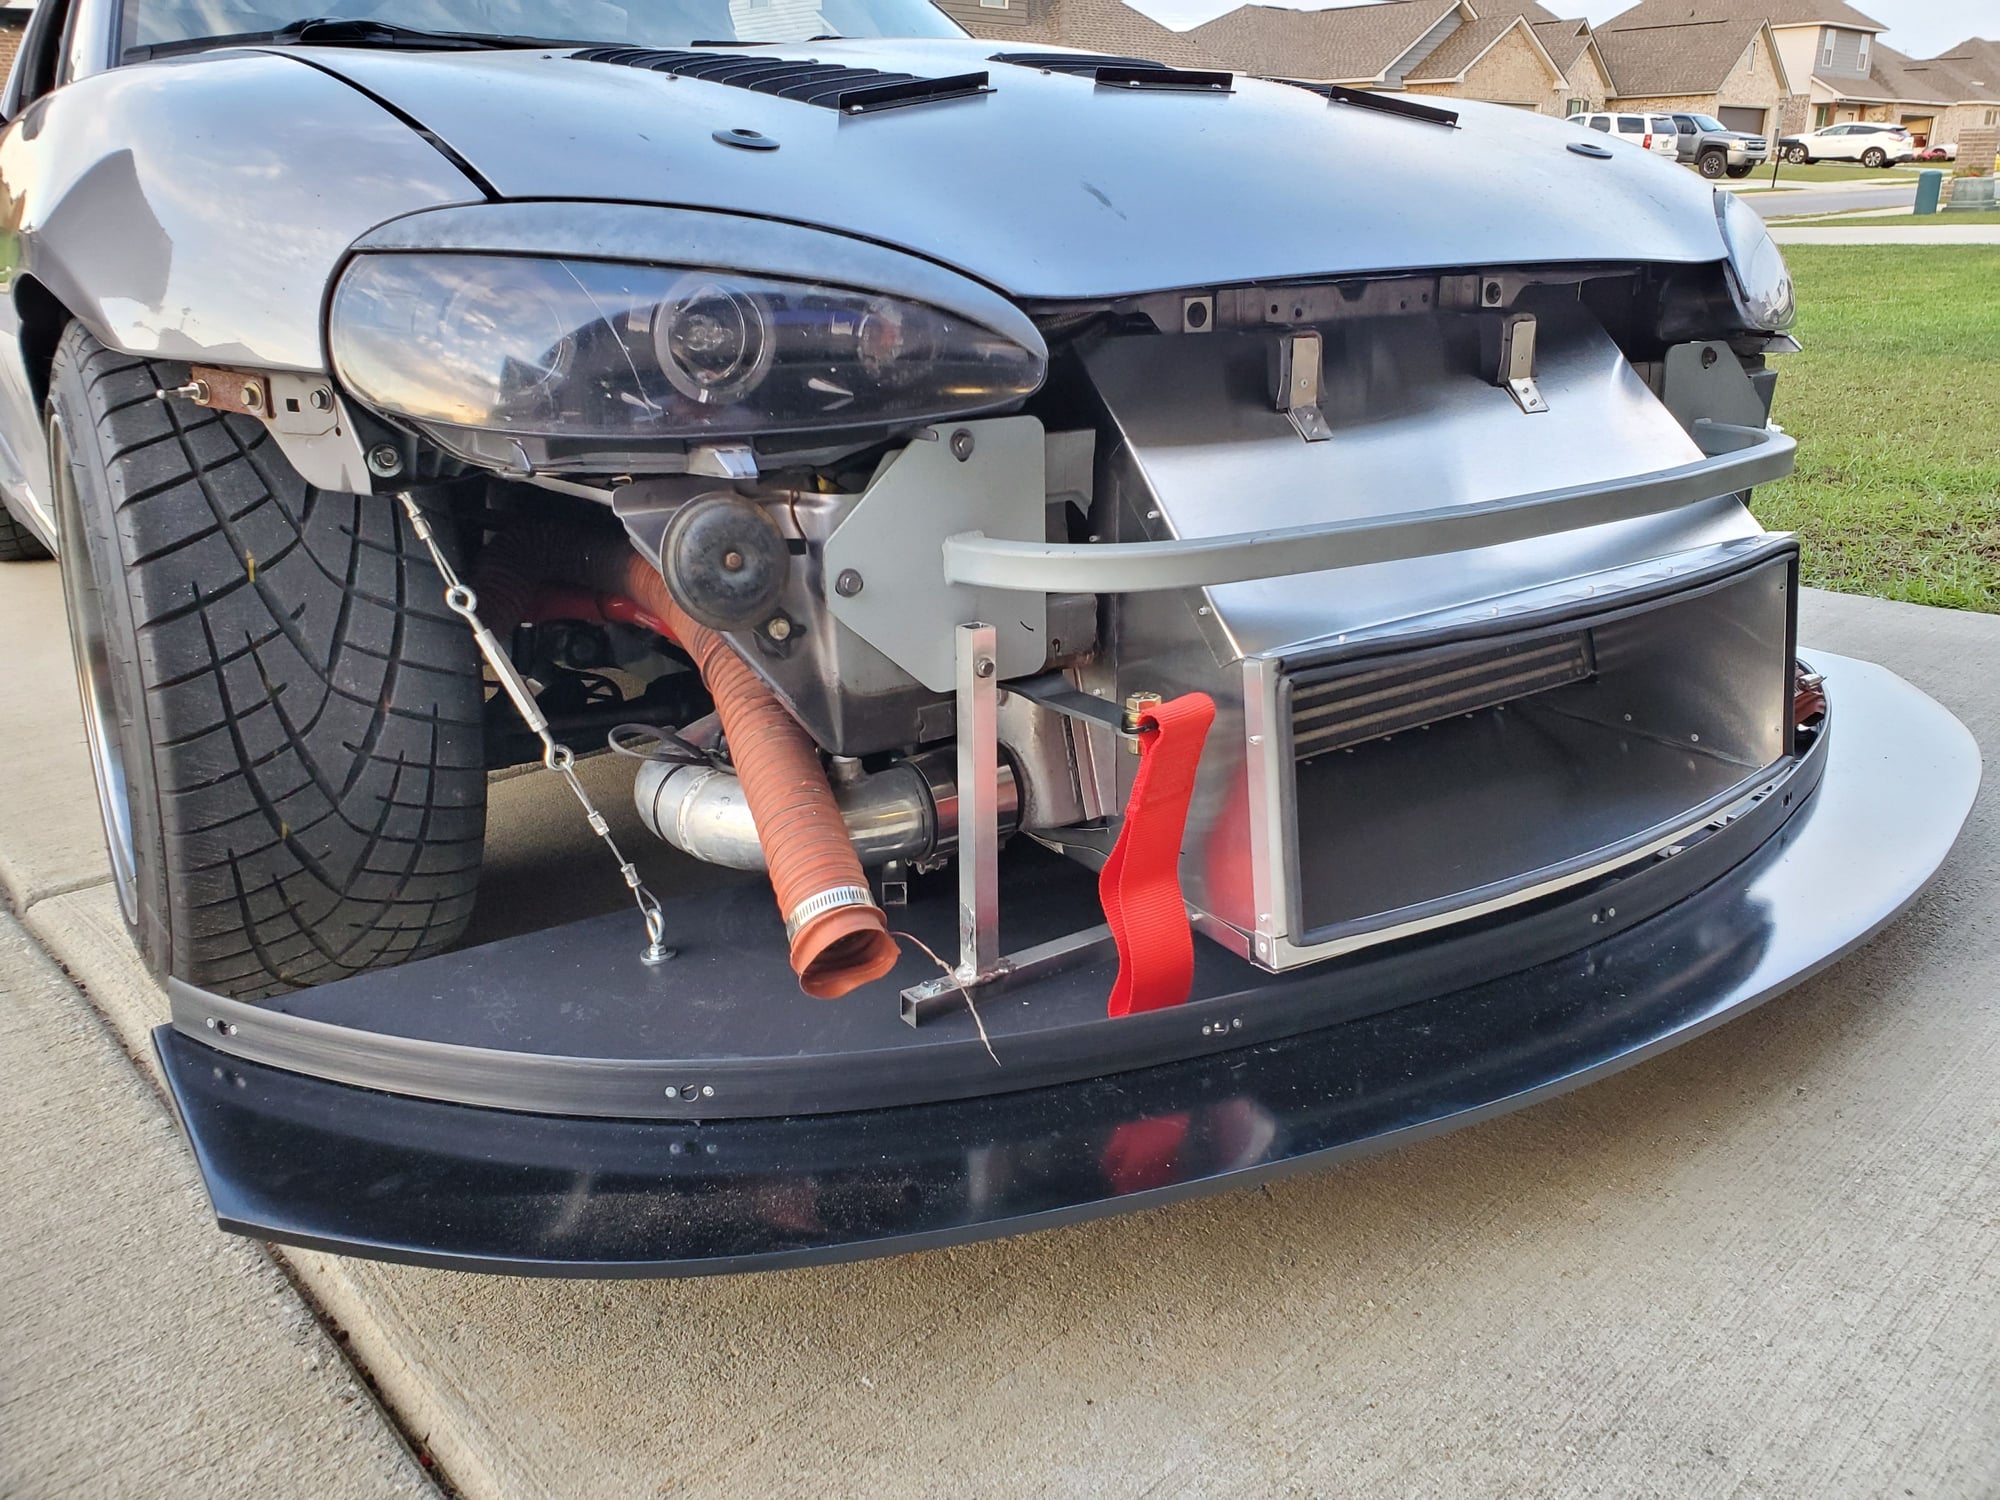

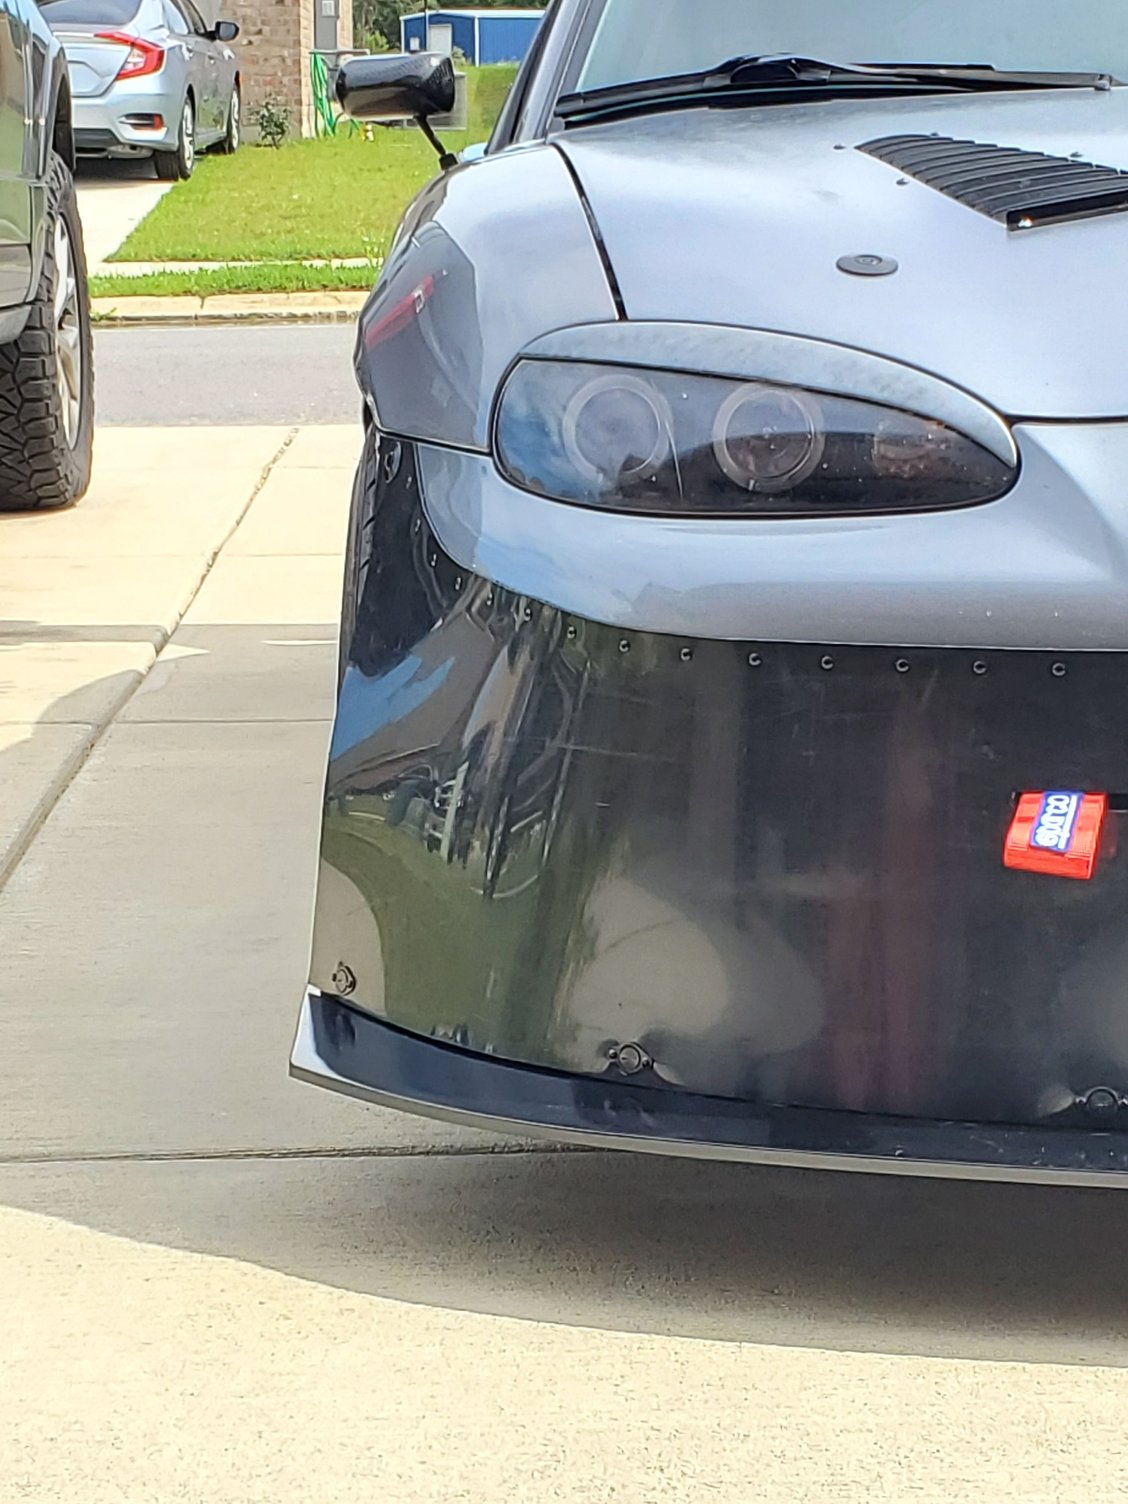
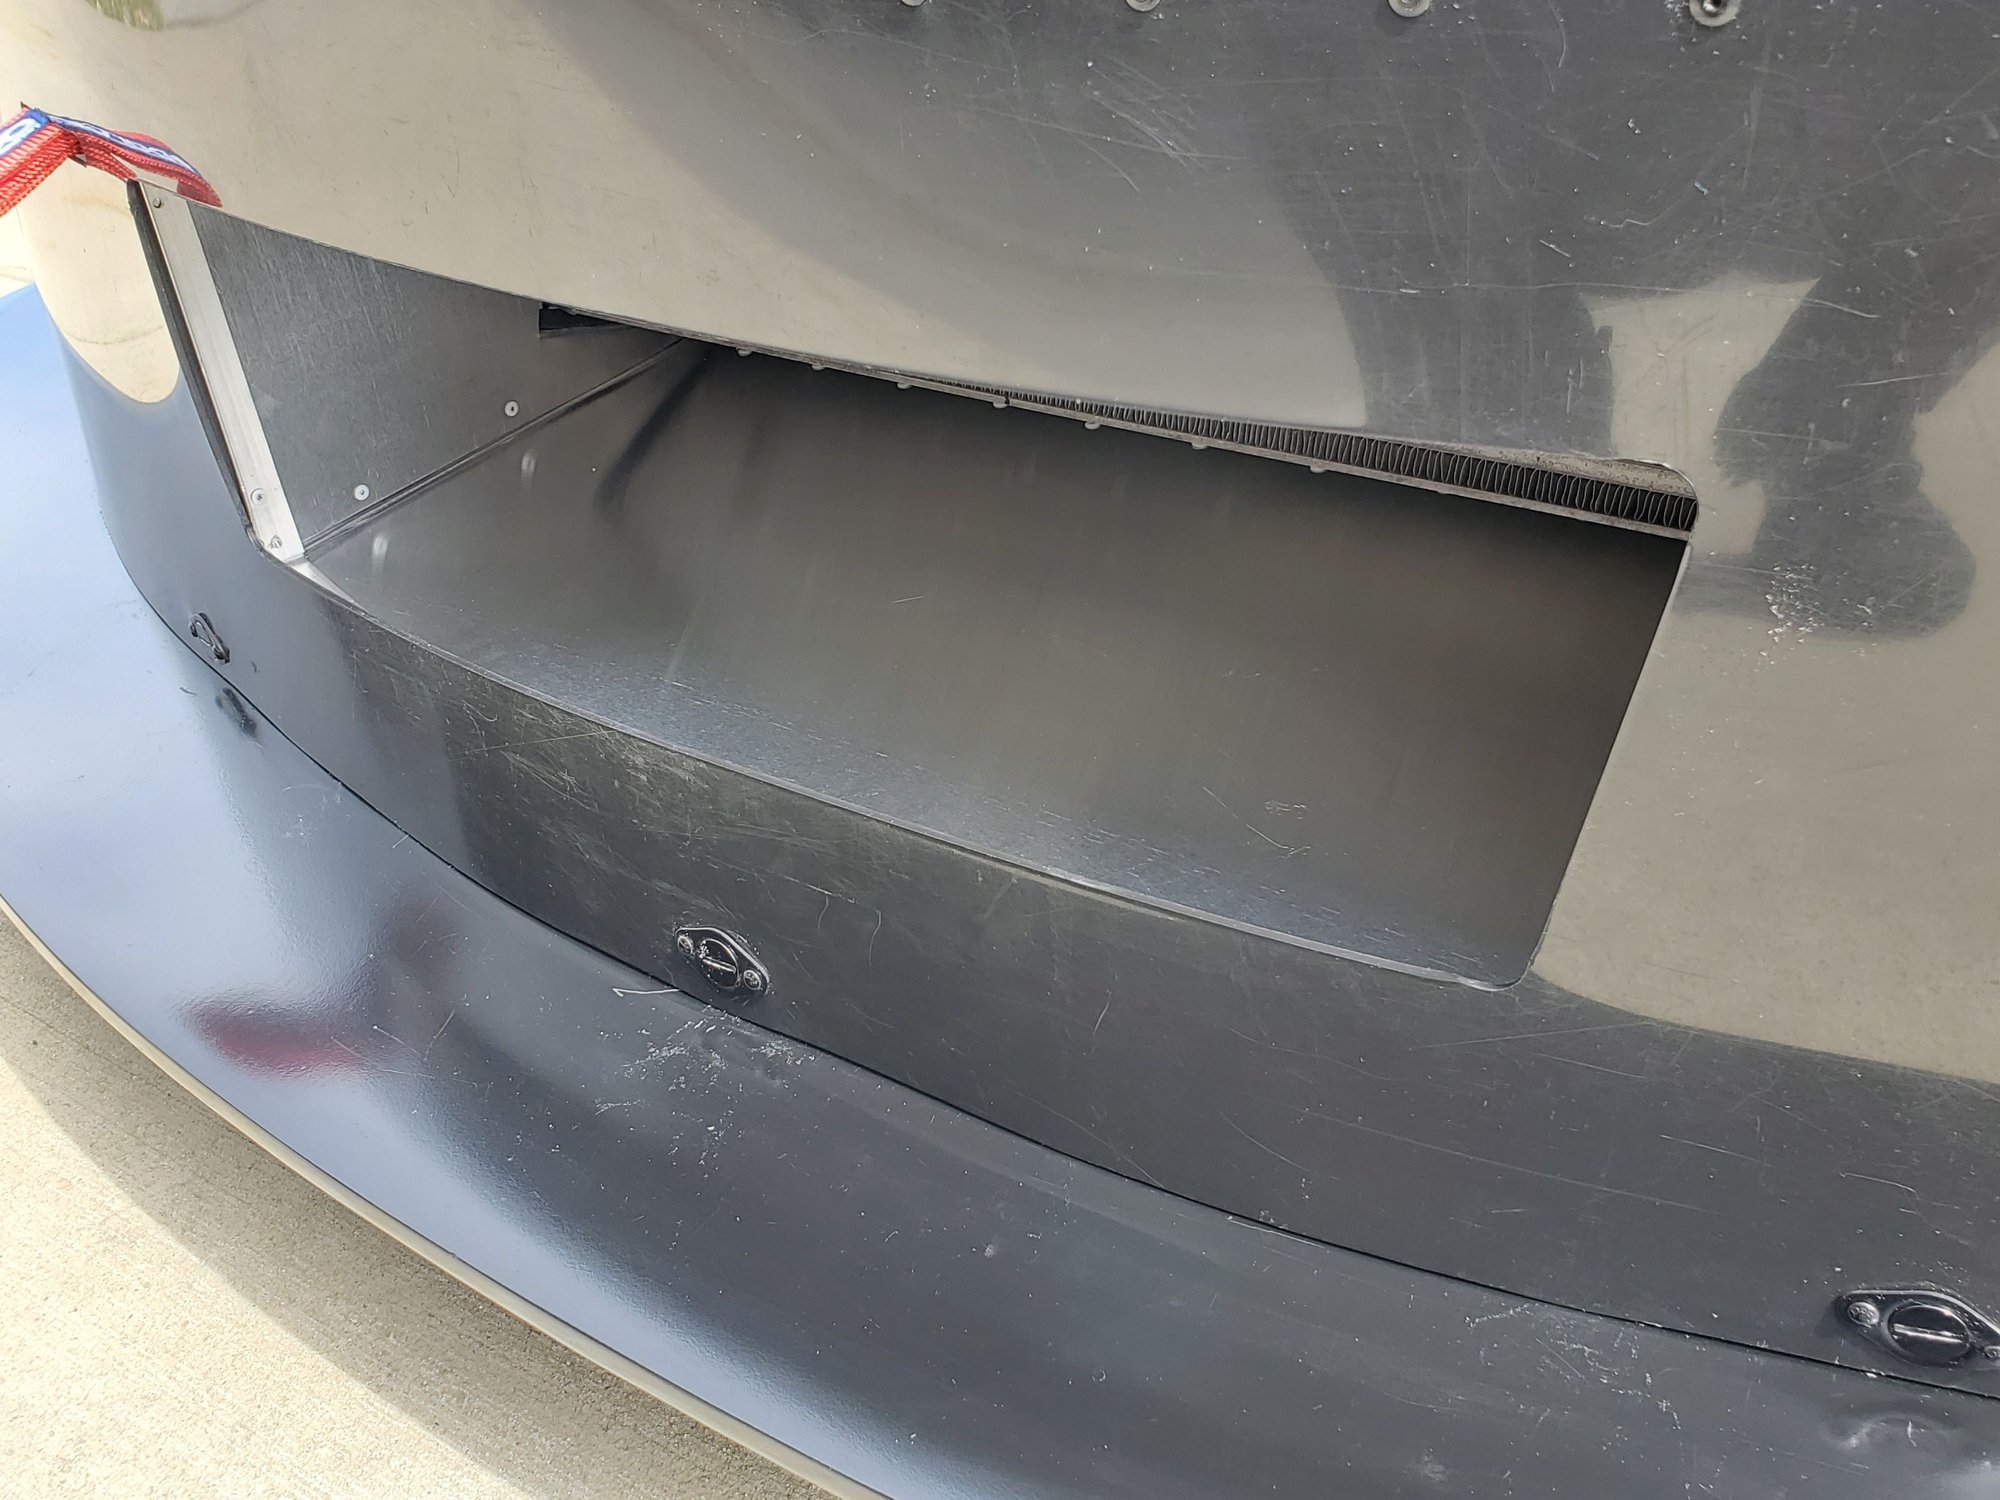
she seals up nicely. I added seven 1" dzus fasteners along the bottom edging to lock the airdam in place

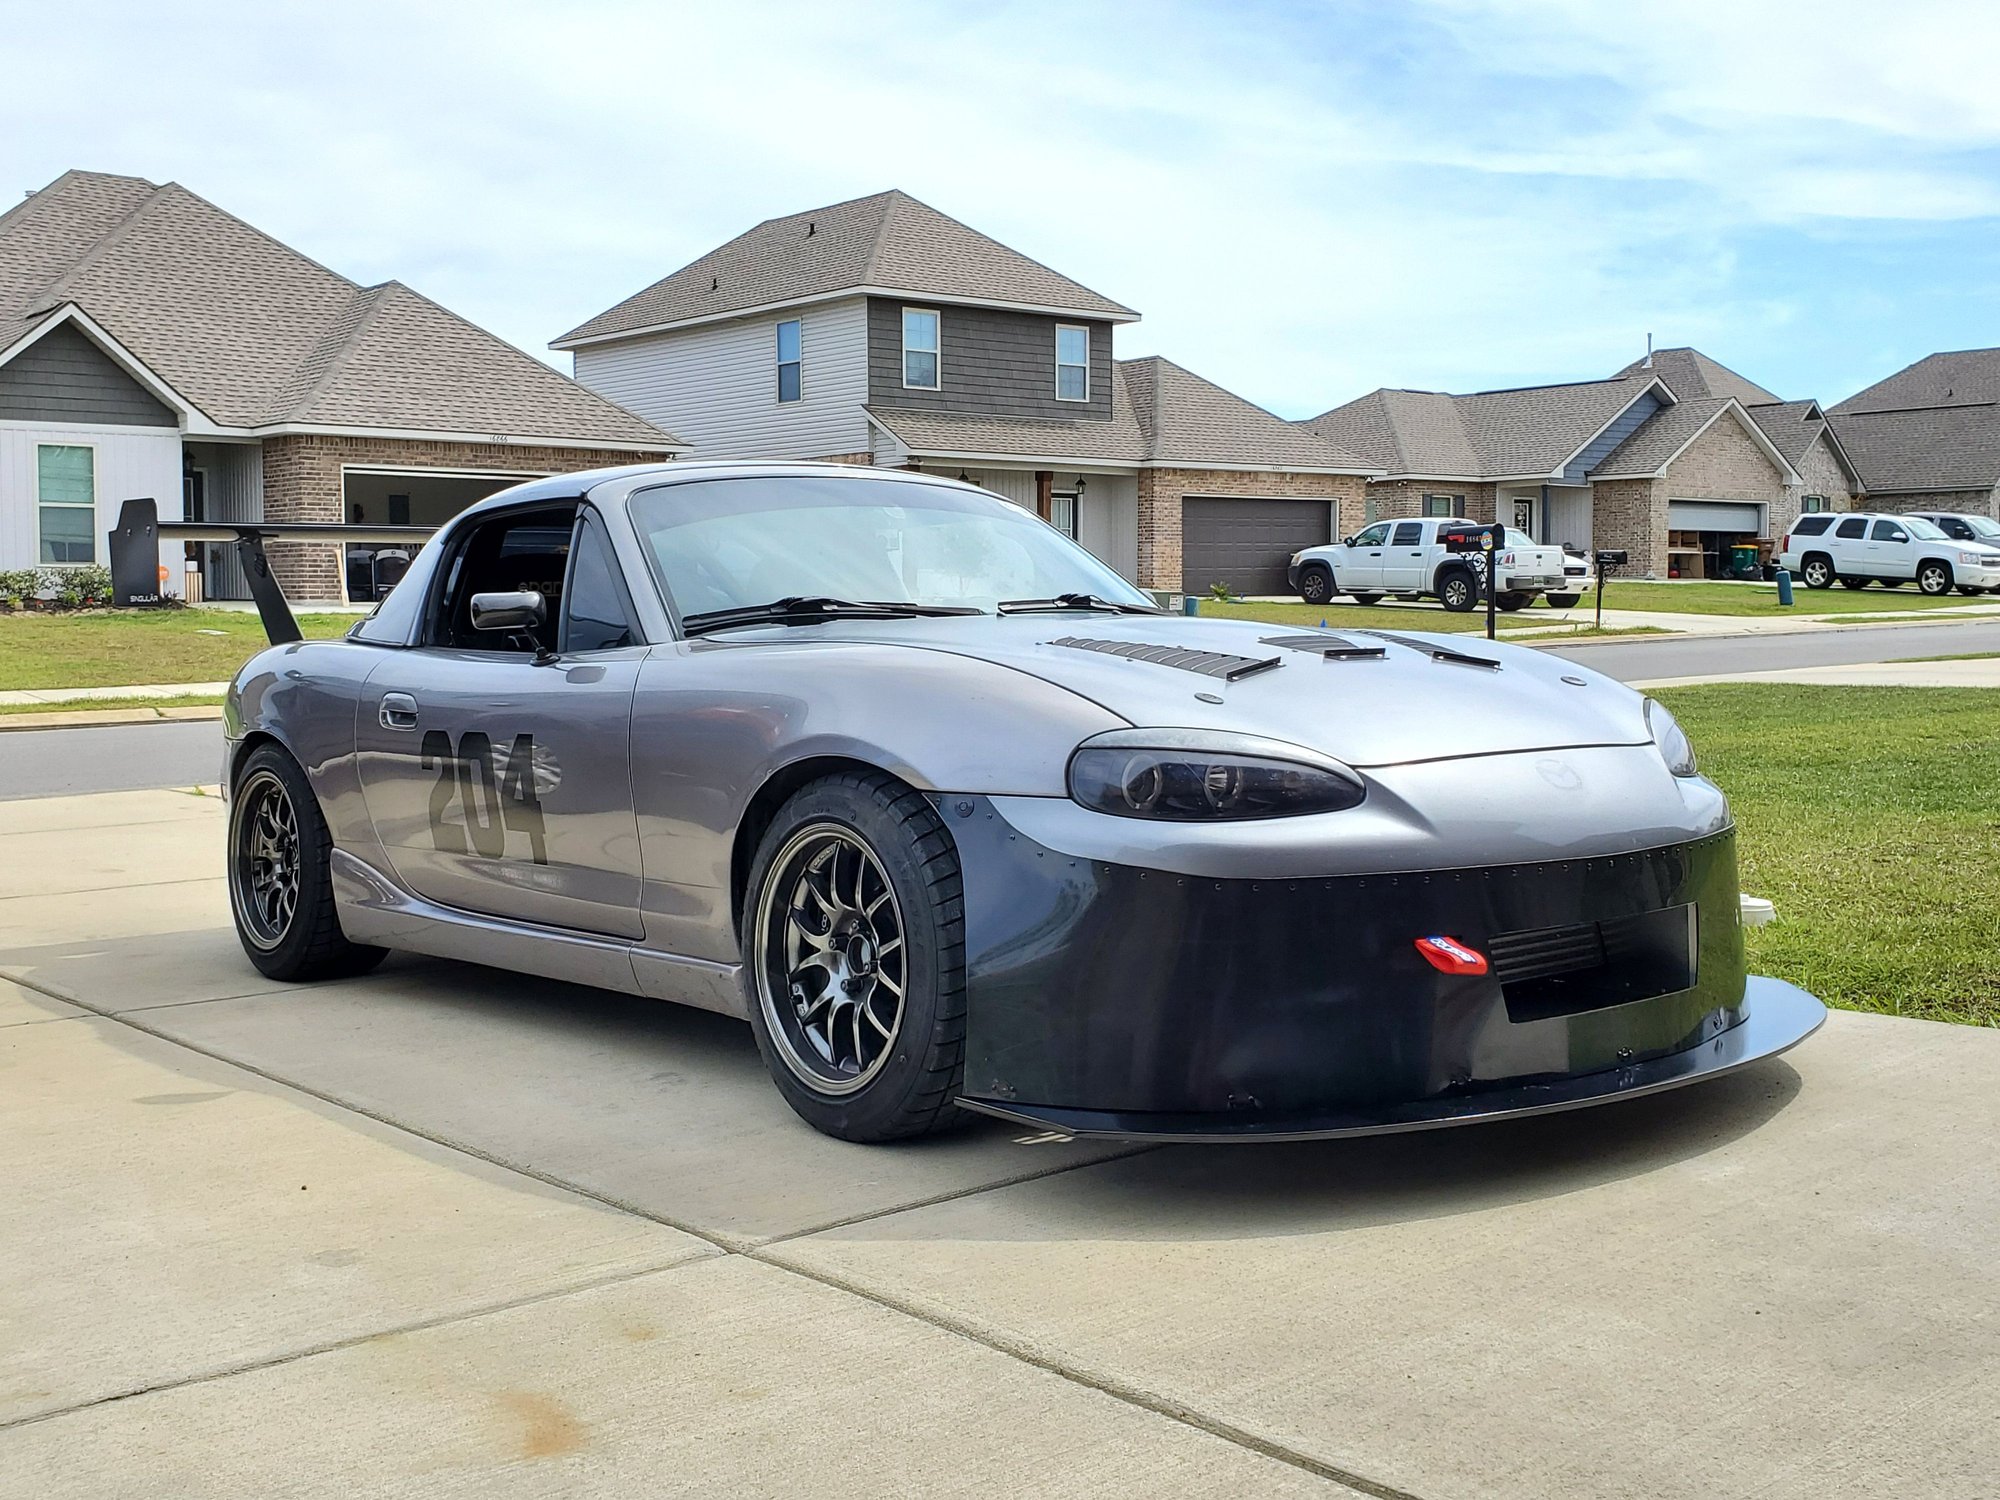

found a wrap that came pretty close to the factory color so I had the airdam done (3M 1080 G201)
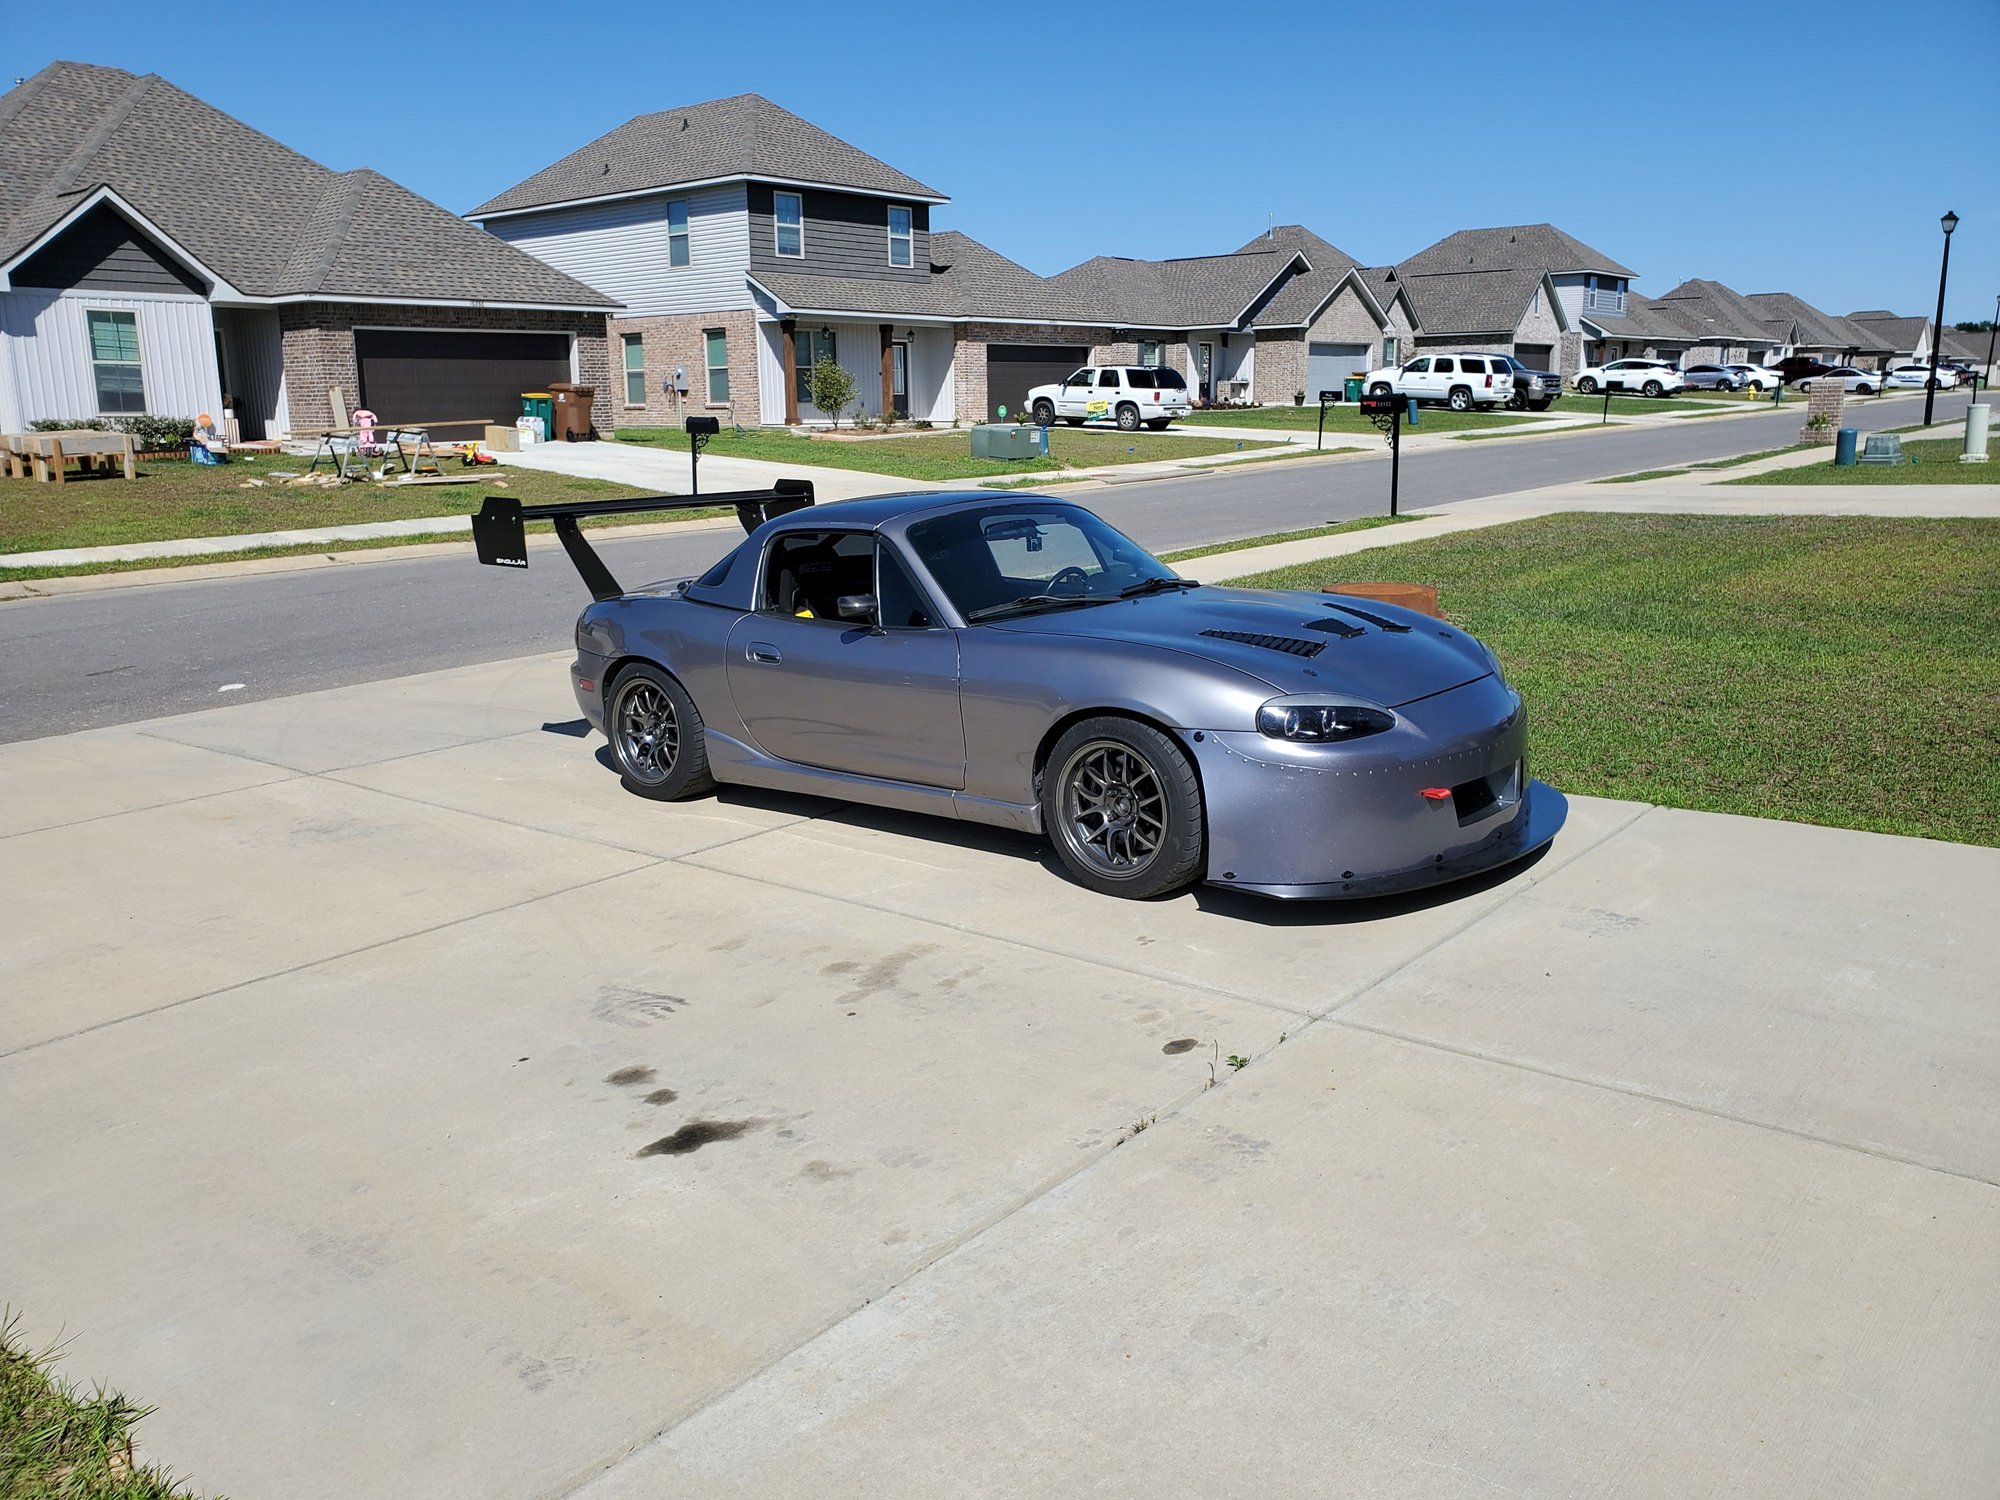

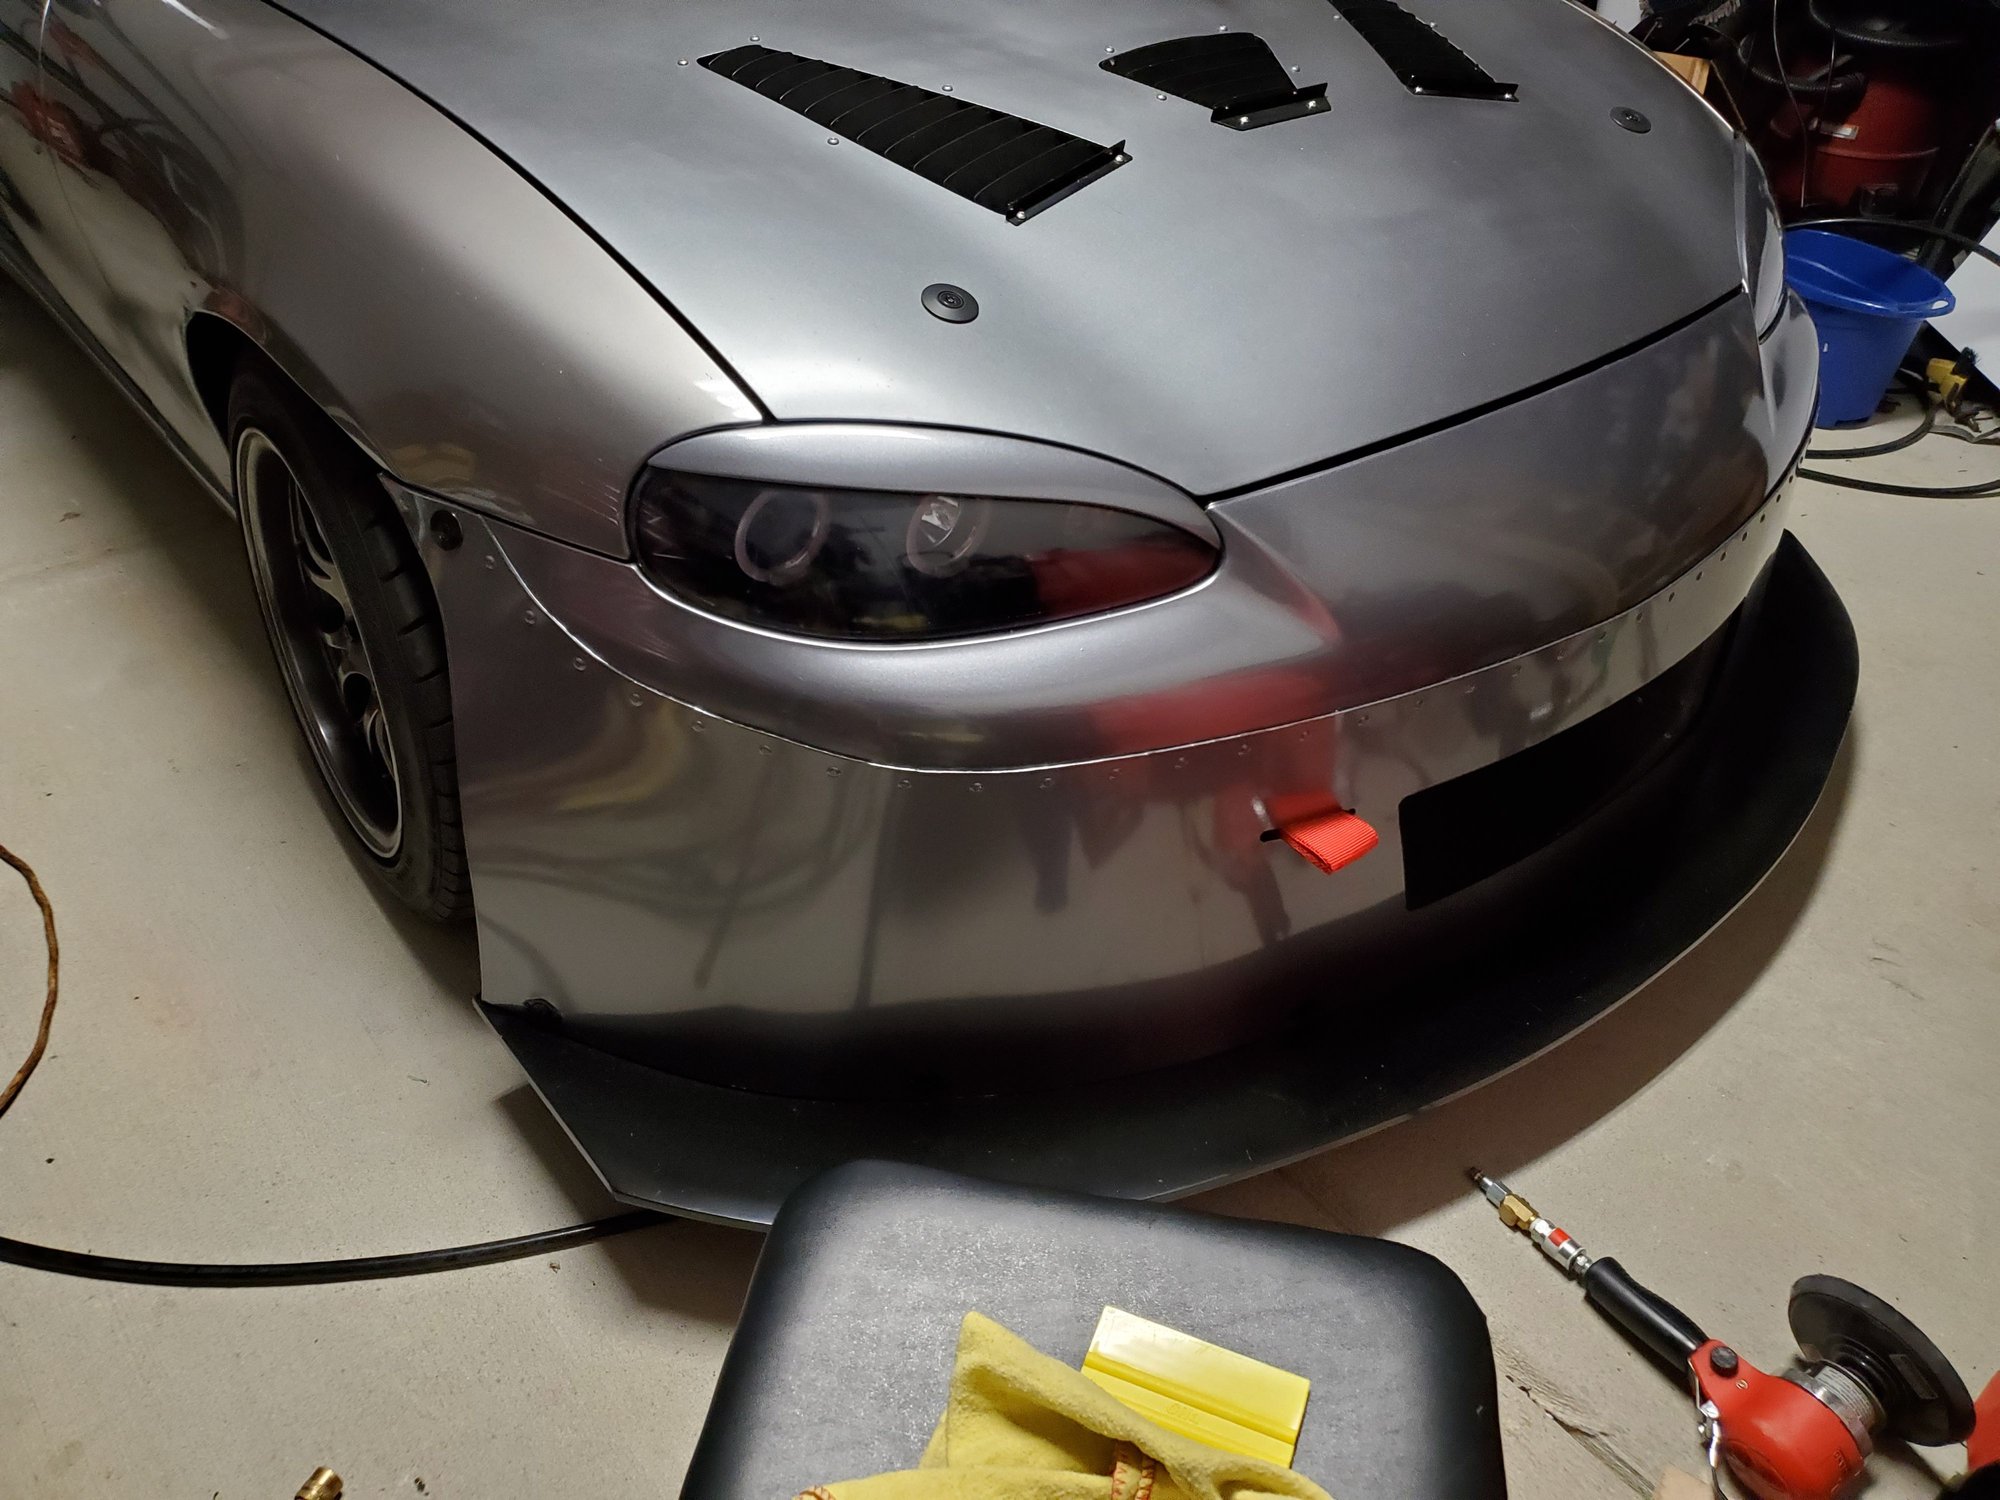
wrapped the eyelids too. I'd do the hood and trunk but this color wrap is discontinued..

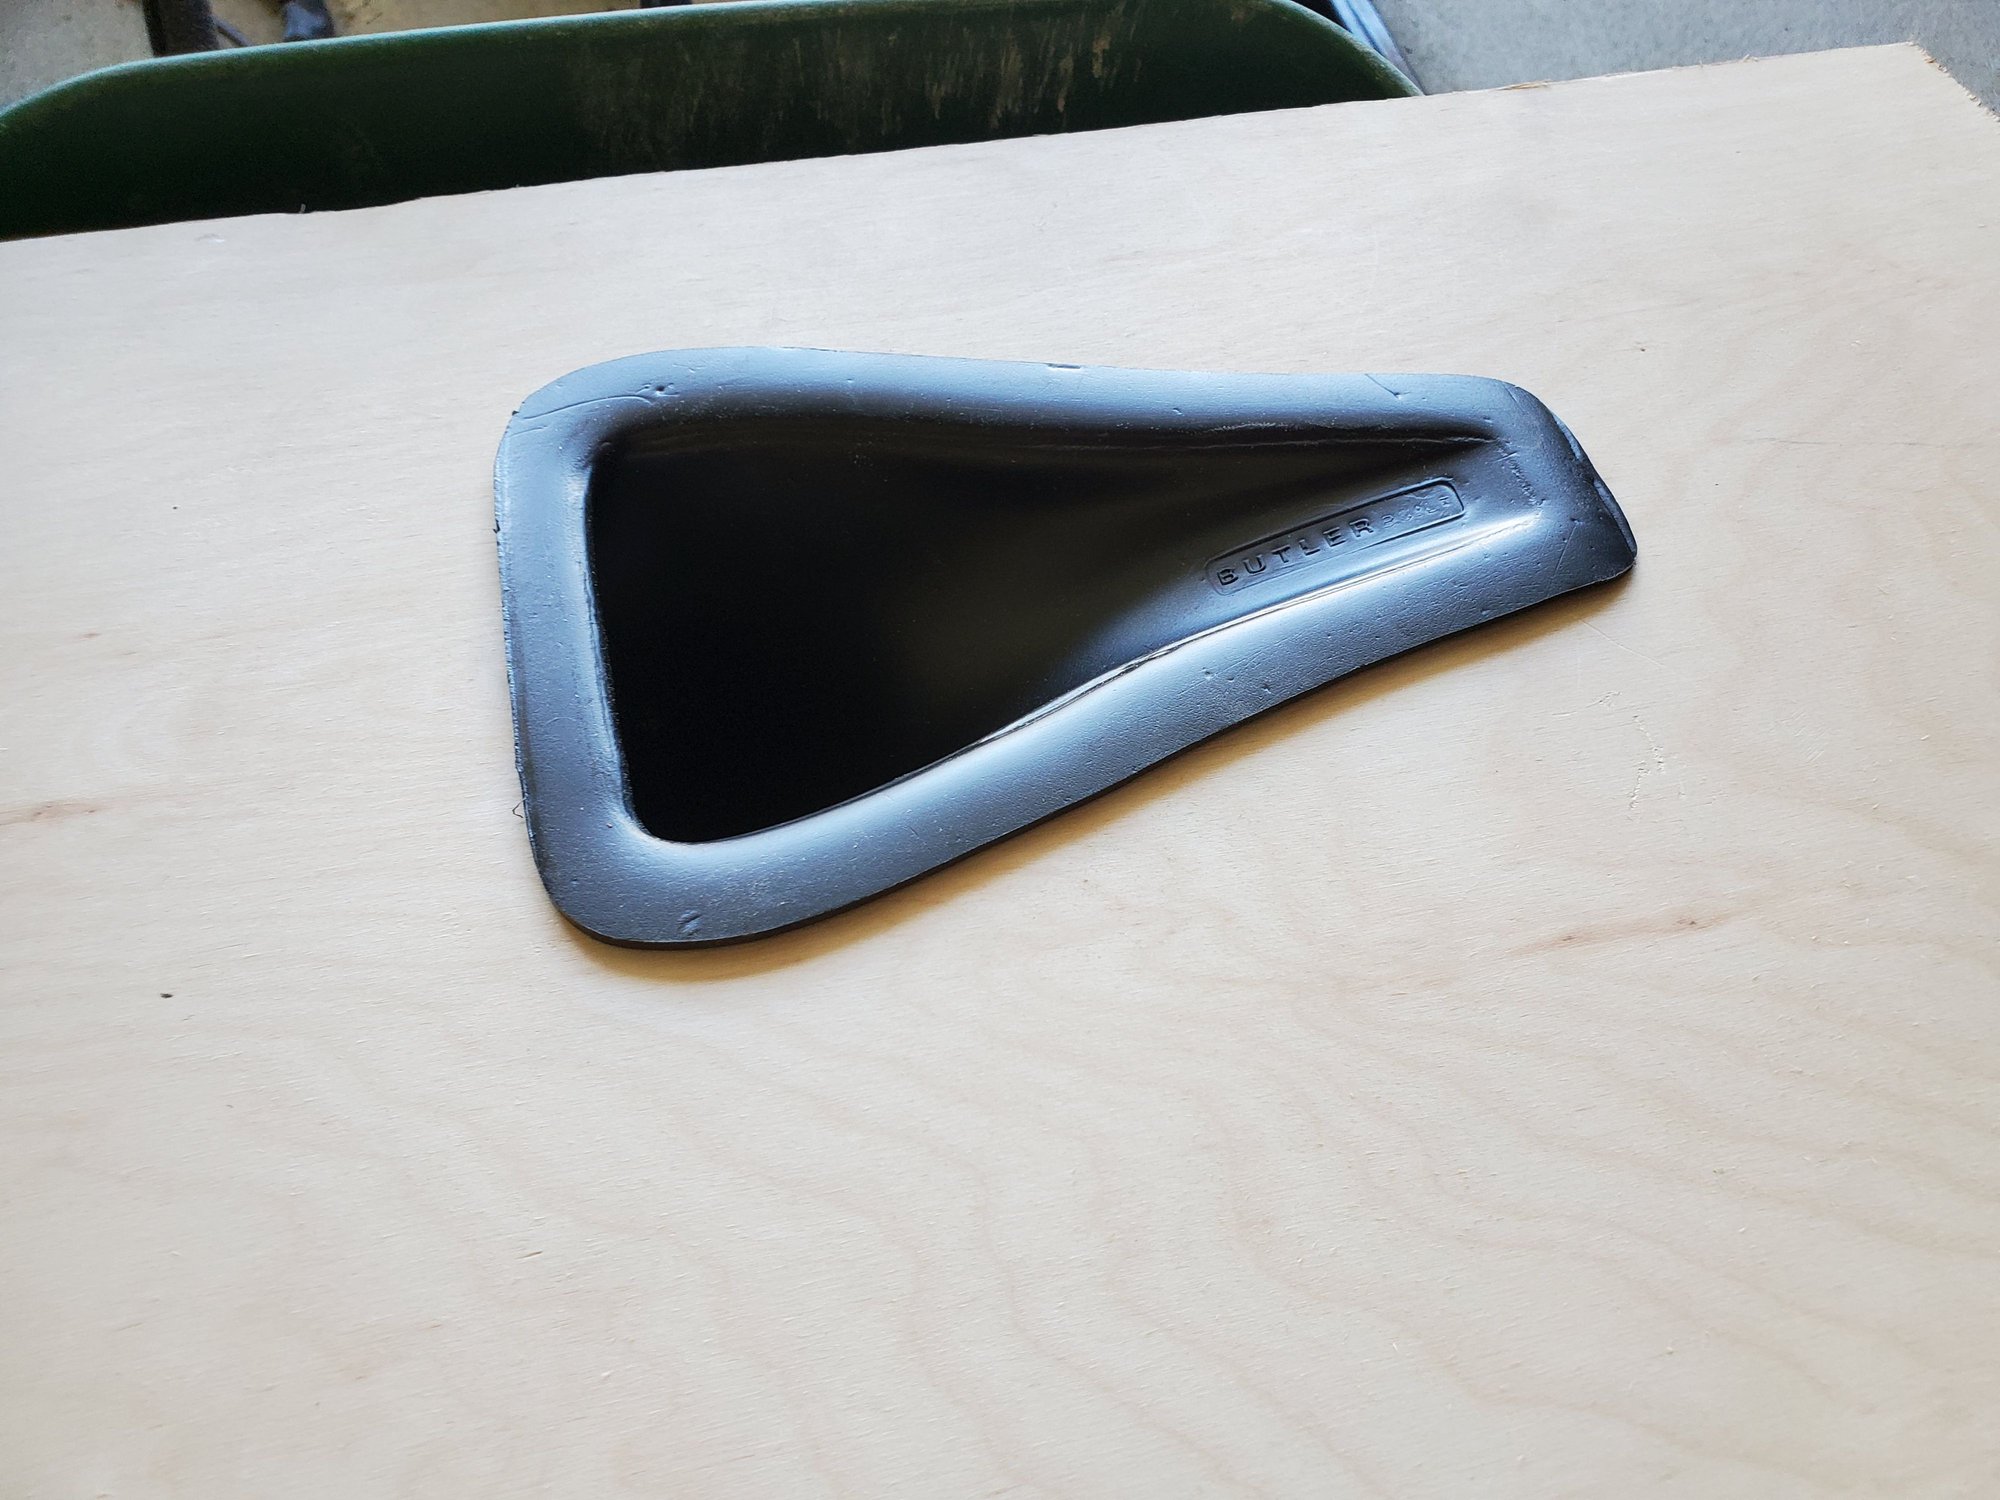
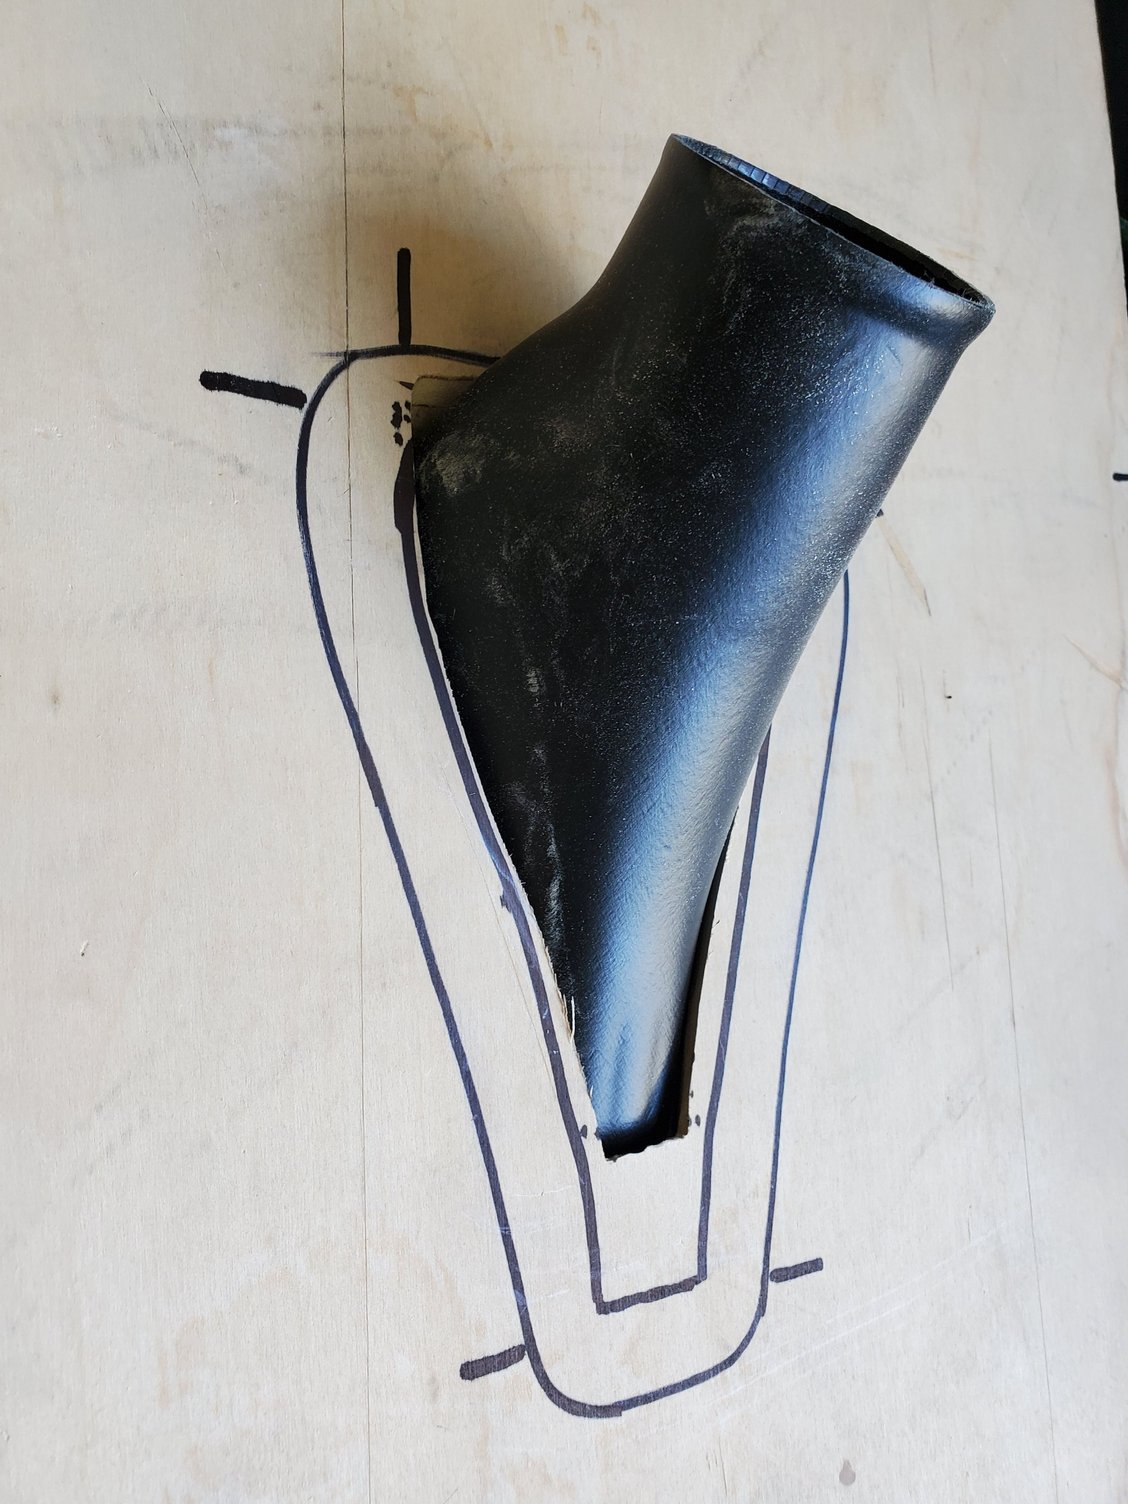
2.5" NACA duts for my new brake duct setup
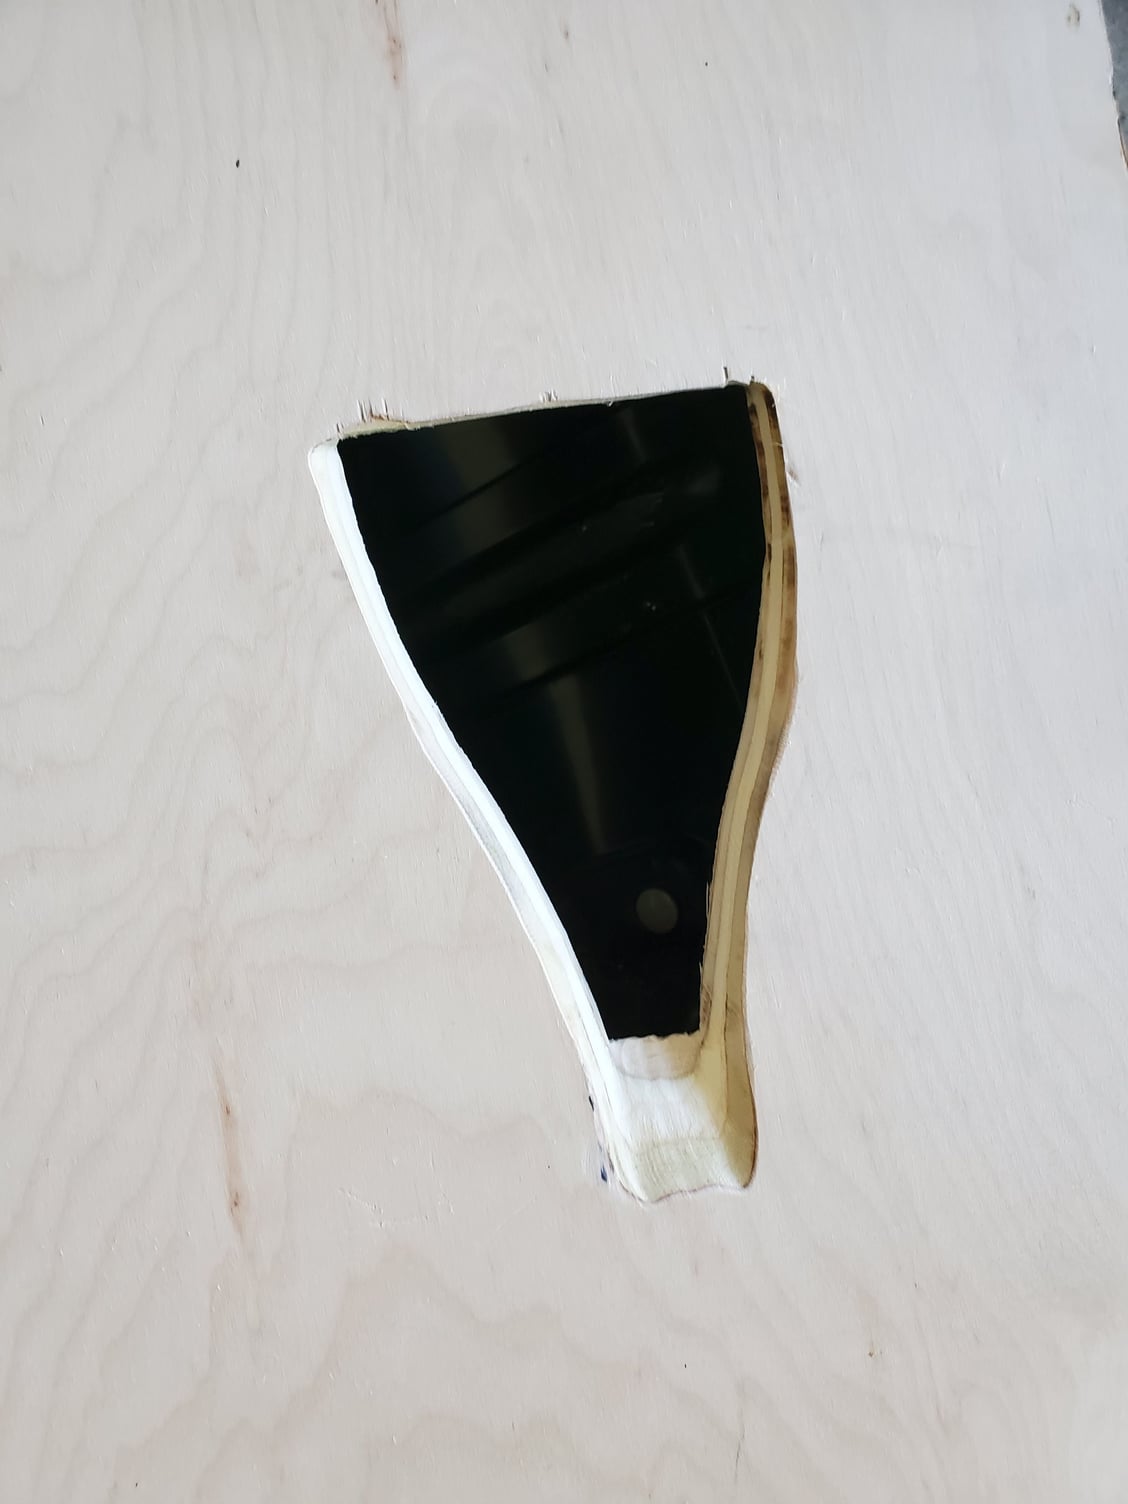
cutting on a test piece before the splitter. Tried to remove only the minimum amount of material needed to get these installed


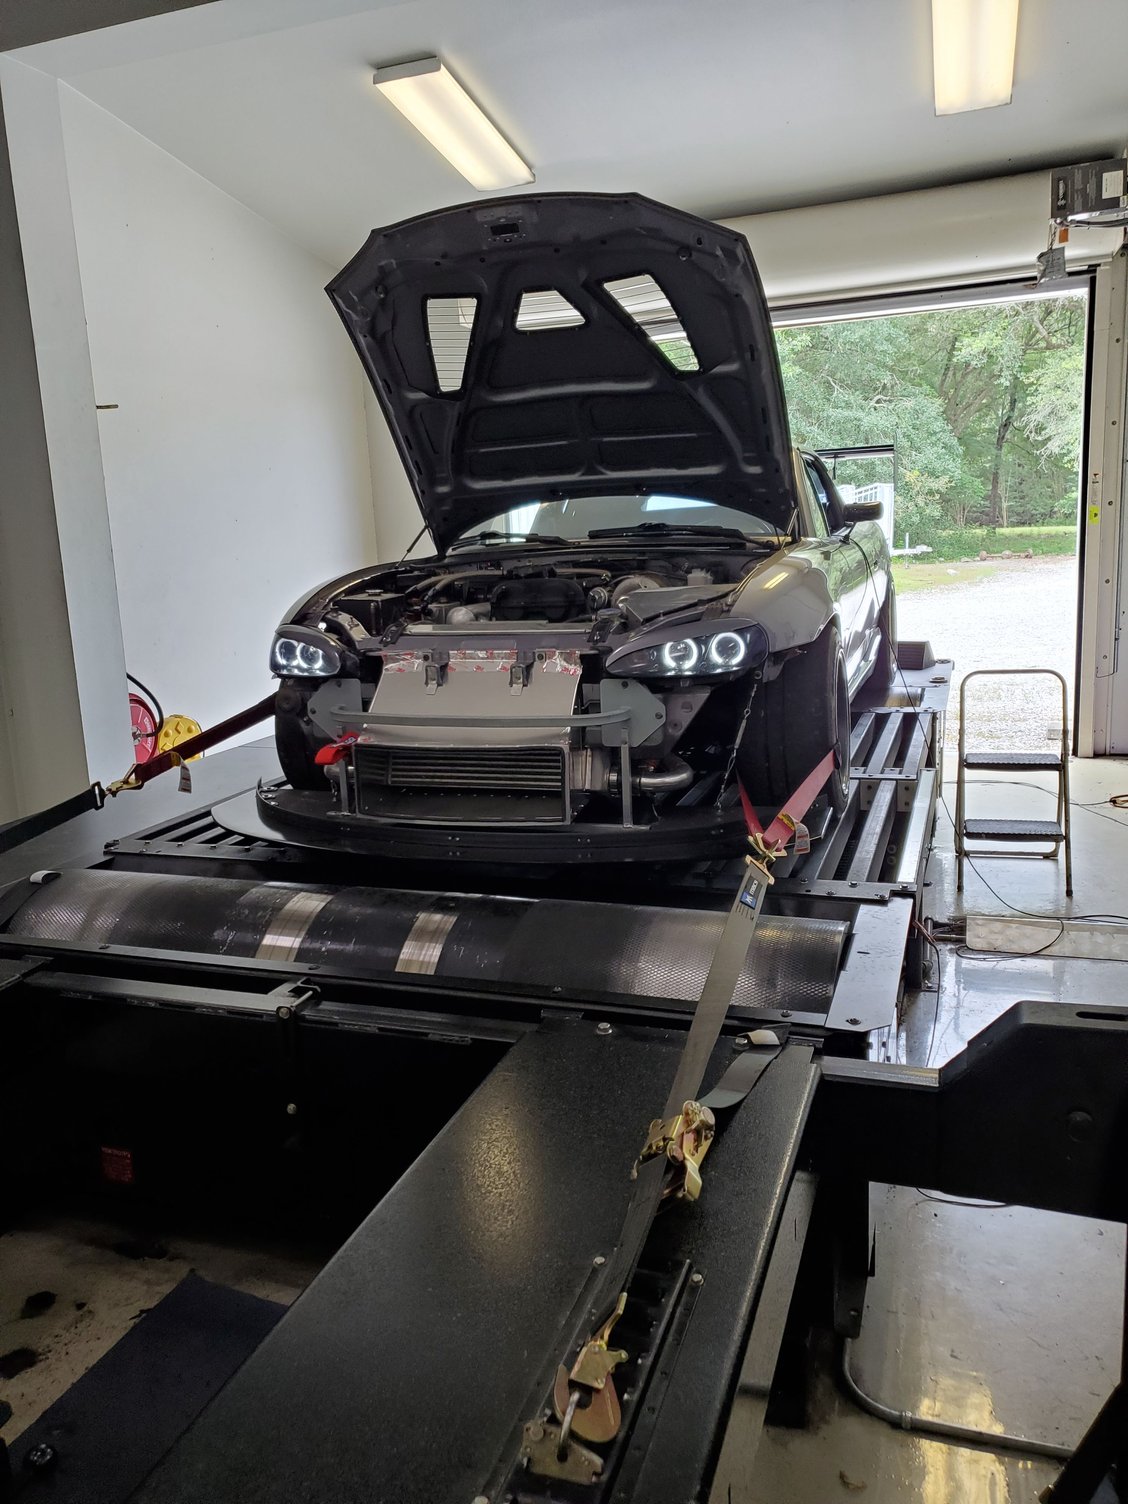
picture from the NASA TT classing dyno runs.
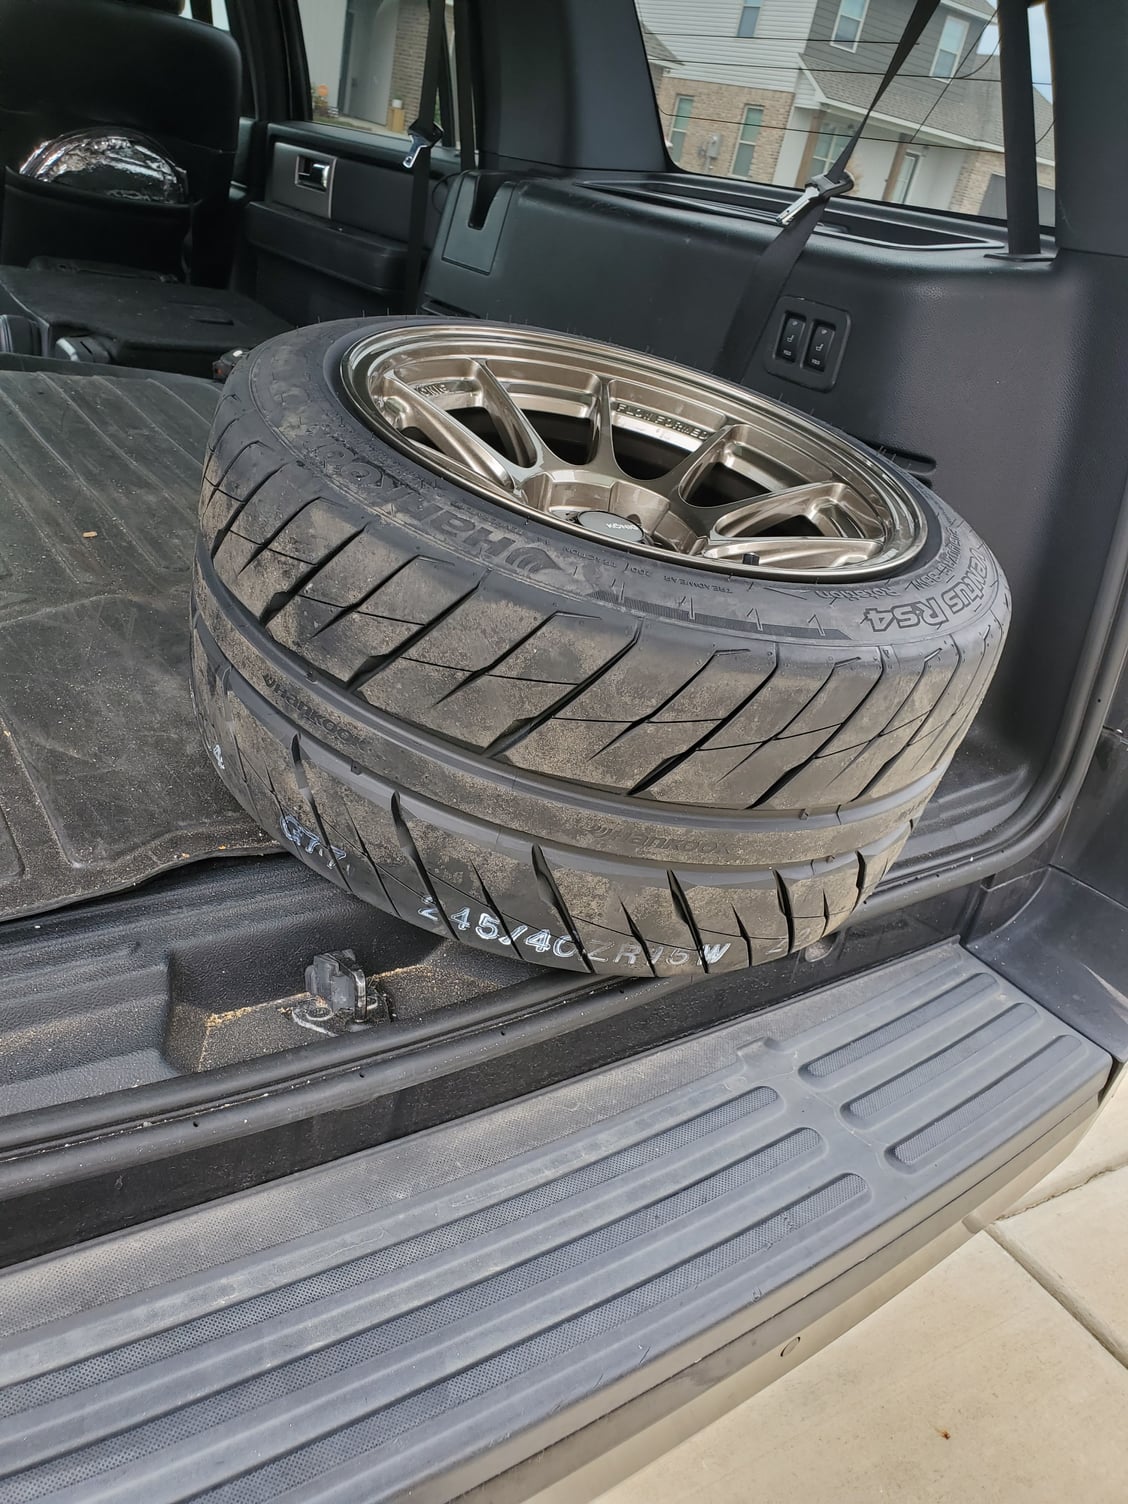
sold my 15x9 setup for a new street / rain tire setup.. 15x10 dekagrams with 245 RS4s
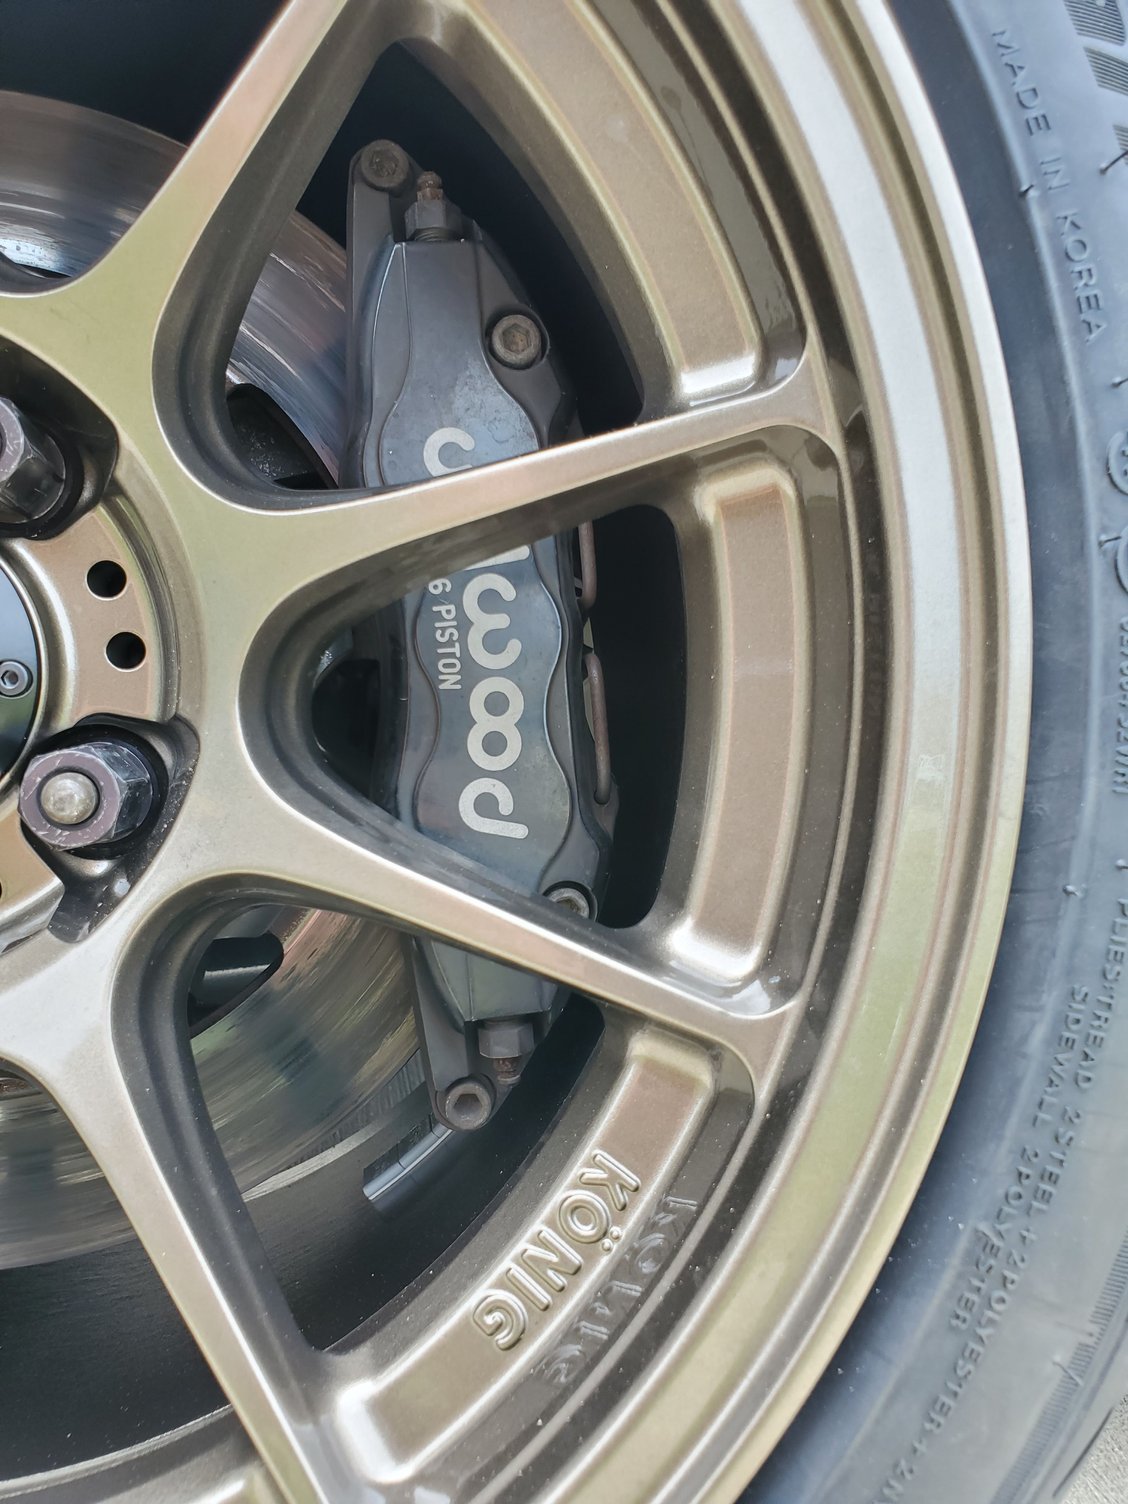
these actually have more brake clearance than my 15x10 6ULs
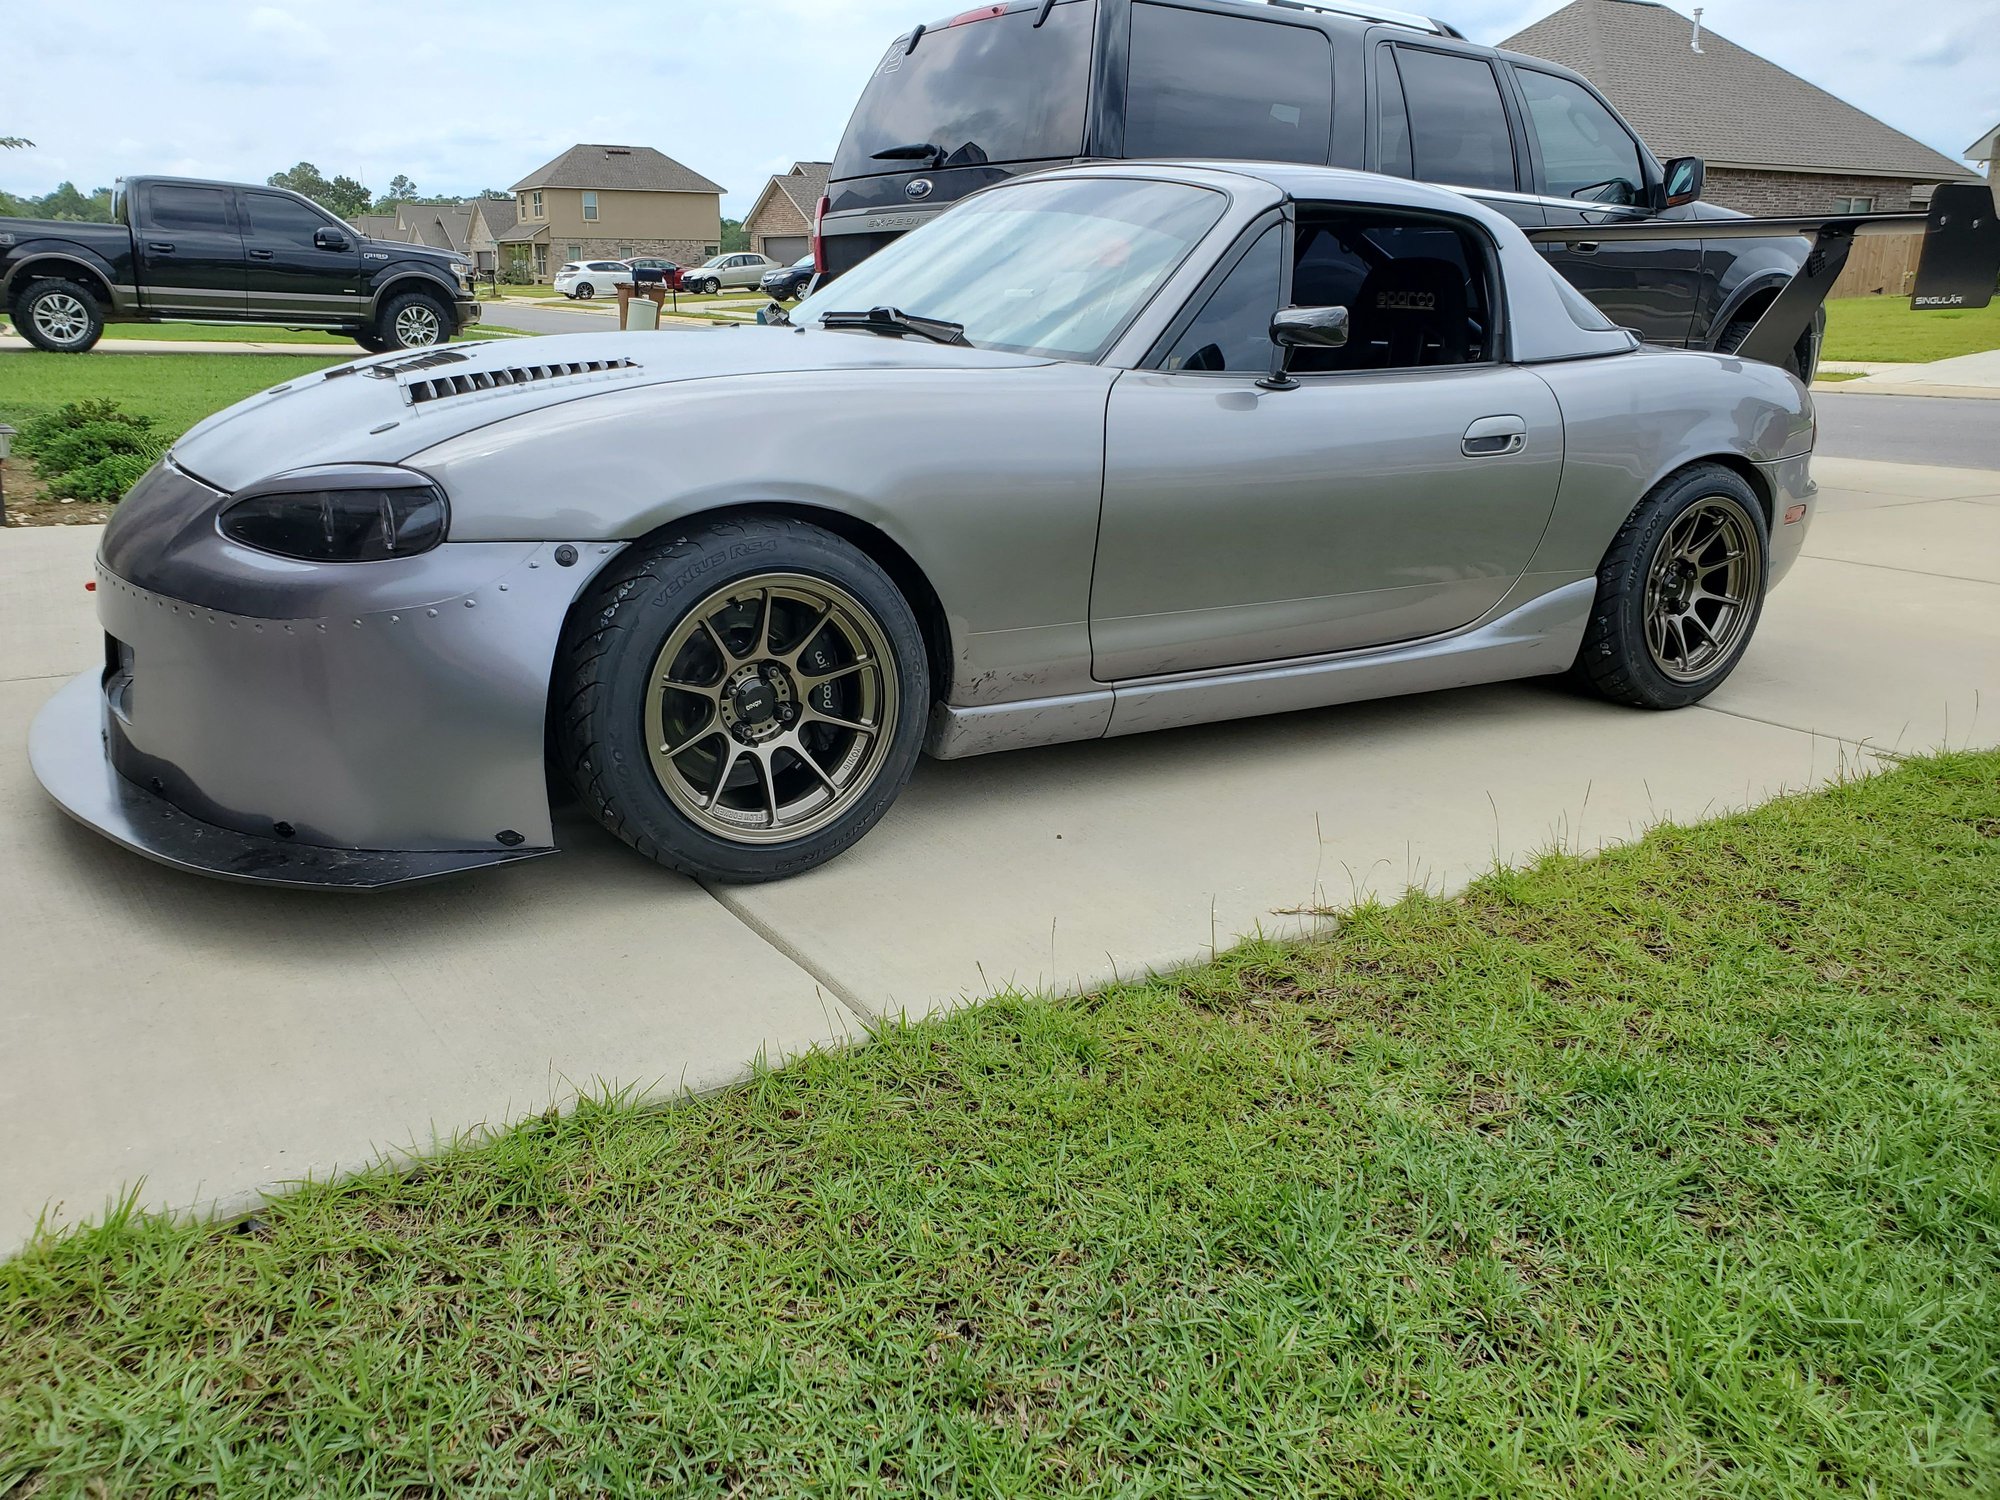
current condition
#343
Awesome work (as always), I can only aspire to this level of craftsmanship and damn well try to.
A couple of things you might want to consider:
1. Use a couple of aluminium figure-8 hose separators on the stainless steel oil hose lines to ensure they don't contact each other or the aluminium panels (I did note the rubber edged cutout in the top left corner; the brackets may help prevent the hoses from touching the aluminium ducting plates too, aluminium on aluminium produces less wear than braided stainless steel on aluminium)
2. When I cutout the front OEM brace from my MSM I noted that the top shelf where you mount your oil cooler too became very flimsy. Reinforcing the top shelf, by adding a brace underneath its length, would give it a firmer mounting. This may in fact be a non-issue but a full oil cooler does have some weight in it.
#344
Senior Member

Thread Starter
iTrader: (4)
Join Date: May 2012
Location: Vallejo, CA
Posts: 541
Total Cats: 48
A couple of things you might want to consider:
1. Use a couple of aluminium figure-8 hose separators on the stainless steel oil hose lines to ensure they don't contact each other or the aluminium panels
2. When I cutout the front OEM brace from my MSM I noted that the top shelf where you mount your oil cooler too became very flimsy.
1. Use a couple of aluminium figure-8 hose separators on the stainless steel oil hose lines to ensure they don't contact each other or the aluminium panels
2. When I cutout the front OEM brace from my MSM I noted that the top shelf where you mount your oil cooler too became very flimsy.
I didn't notice the top radiator support get flimsy after cutting but i do have an aluminum angle bar frame that goes around the radiator that is attached on the underside of the core support (similar to the box frame at the airdam side of the ducting) so that might be helping my situation.
EDIT: you can see the the zip tie figure 8 setup a few posts up in the engine bay shots. It is the same way I hold my catch can lines right above the intake manifold (cheap but it works) not something I say often on this car... 😆
#345
You could also consider moving to nylon braided hoses or even rubber hoses to the oil cooler.
These day's I avoid braided stainless steel hoses unless there's absolutely no chance of them touching anything - paranoid but safe.
My oil cooler is mounted behind the coldside foglight and the hoses to it are nylon braided (they're a LOT more flexible too than braided stainless steel hoses which really helps routing them).
I added a split loom sheath to one of the hoses that contacts the chassis in several places so the hose is well protected.
The hoses from my oil filter to the engine block are stainless steel since they have plenty of room.
Looking forward to your next mod.
#348
Senior Member

Thread Starter
iTrader: (4)
Join Date: May 2012
Location: Vallejo, CA
Posts: 541
Total Cats: 48
EDIT: not sure if you can tell but the upper portion of the bumper is wrapped as well which really worked out for deleting the front emblem.
#349
Thanks, that's good to know. I'm not a fan of the black air dam look either, regardless of how functional it is. Having the option of color matching makes it a bit more palatable.
Just want to say it one more time, great work on the ducting and such. I will likely be doing some radiator ducting to my car soon, if it looks half this good I'll be happy.
Just want to say it one more time, great work on the ducting and such. I will likely be doing some radiator ducting to my car soon, if it looks half this good I'll be happy.
#350
Senior Member

Thread Starter
iTrader: (4)
Join Date: May 2012
Location: Vallejo, CA
Posts: 541
Total Cats: 48
Thanks, that's good to know. I'm not a fan of the black air dam look either, regardless of how functional it is. Having the option of color matching makes it a bit more palatable.
Just want to say it one more time, great work on the ducting and such. I will likely be doing some radiator ducting to my car soon, if it looks half this good I'll be happy.
Just want to say it one more time, great work on the ducting and such. I will likely be doing some radiator ducting to my car soon, if it looks half this good I'll be happy.
#352
Senior Member

Thread Starter
iTrader: (4)
Join Date: May 2012
Location: Vallejo, CA
Posts: 541
Total Cats: 48
The car has definitely been through many changes since you saw it. I hope to get the car to that big event in GA (Miata Reunion 2020) at the end of October (should it not get cancelled) if I can manage to get the time off of work. Not sure when I'll be able to take the car back to the Tampa area though.
Last edited by FrankB; 05-20-2020 at 10:12 PM.
Thread
Thread Starter
Forum
Replies
Last Post
elesjuan
Build Threads
9
11-14-2018 12:18 PM


