When you click on links to various merchants on this site and make a purchase, this can result in this site earning a commission. Affiliate programs and affiliations include, but are not limited to, the eBay Partner Network.
Perfect, thanks dude 👍
I assumed that's how it worked, but I've never purchased this style of bulb by "size" previously.
Yeah me neither. I think I found a model of merc from the ebay listing, went to philips or superbright LED, found the part number then plugged into ebay sort by cheapest. Which totes paid off since one bulb failed and I had to buy 2 more At the point FLAPS LED would have been cheaper
Merc lenses showed up today, woot. I also ordered a pair of Sylvania 6418 Festoon bulbs, which seem to match the "36mm" sizing. These are 6000k "cool white" so I suspect they'll be pretty savage in the footwells of the NB, but we'll see. Thanks again for doing the reverse engineering on this one
High 5! I am working thru my backlog of stuff I did to the car in the last year. Hopefully get another update in here shortly.
Oh, one catch i found with these lights
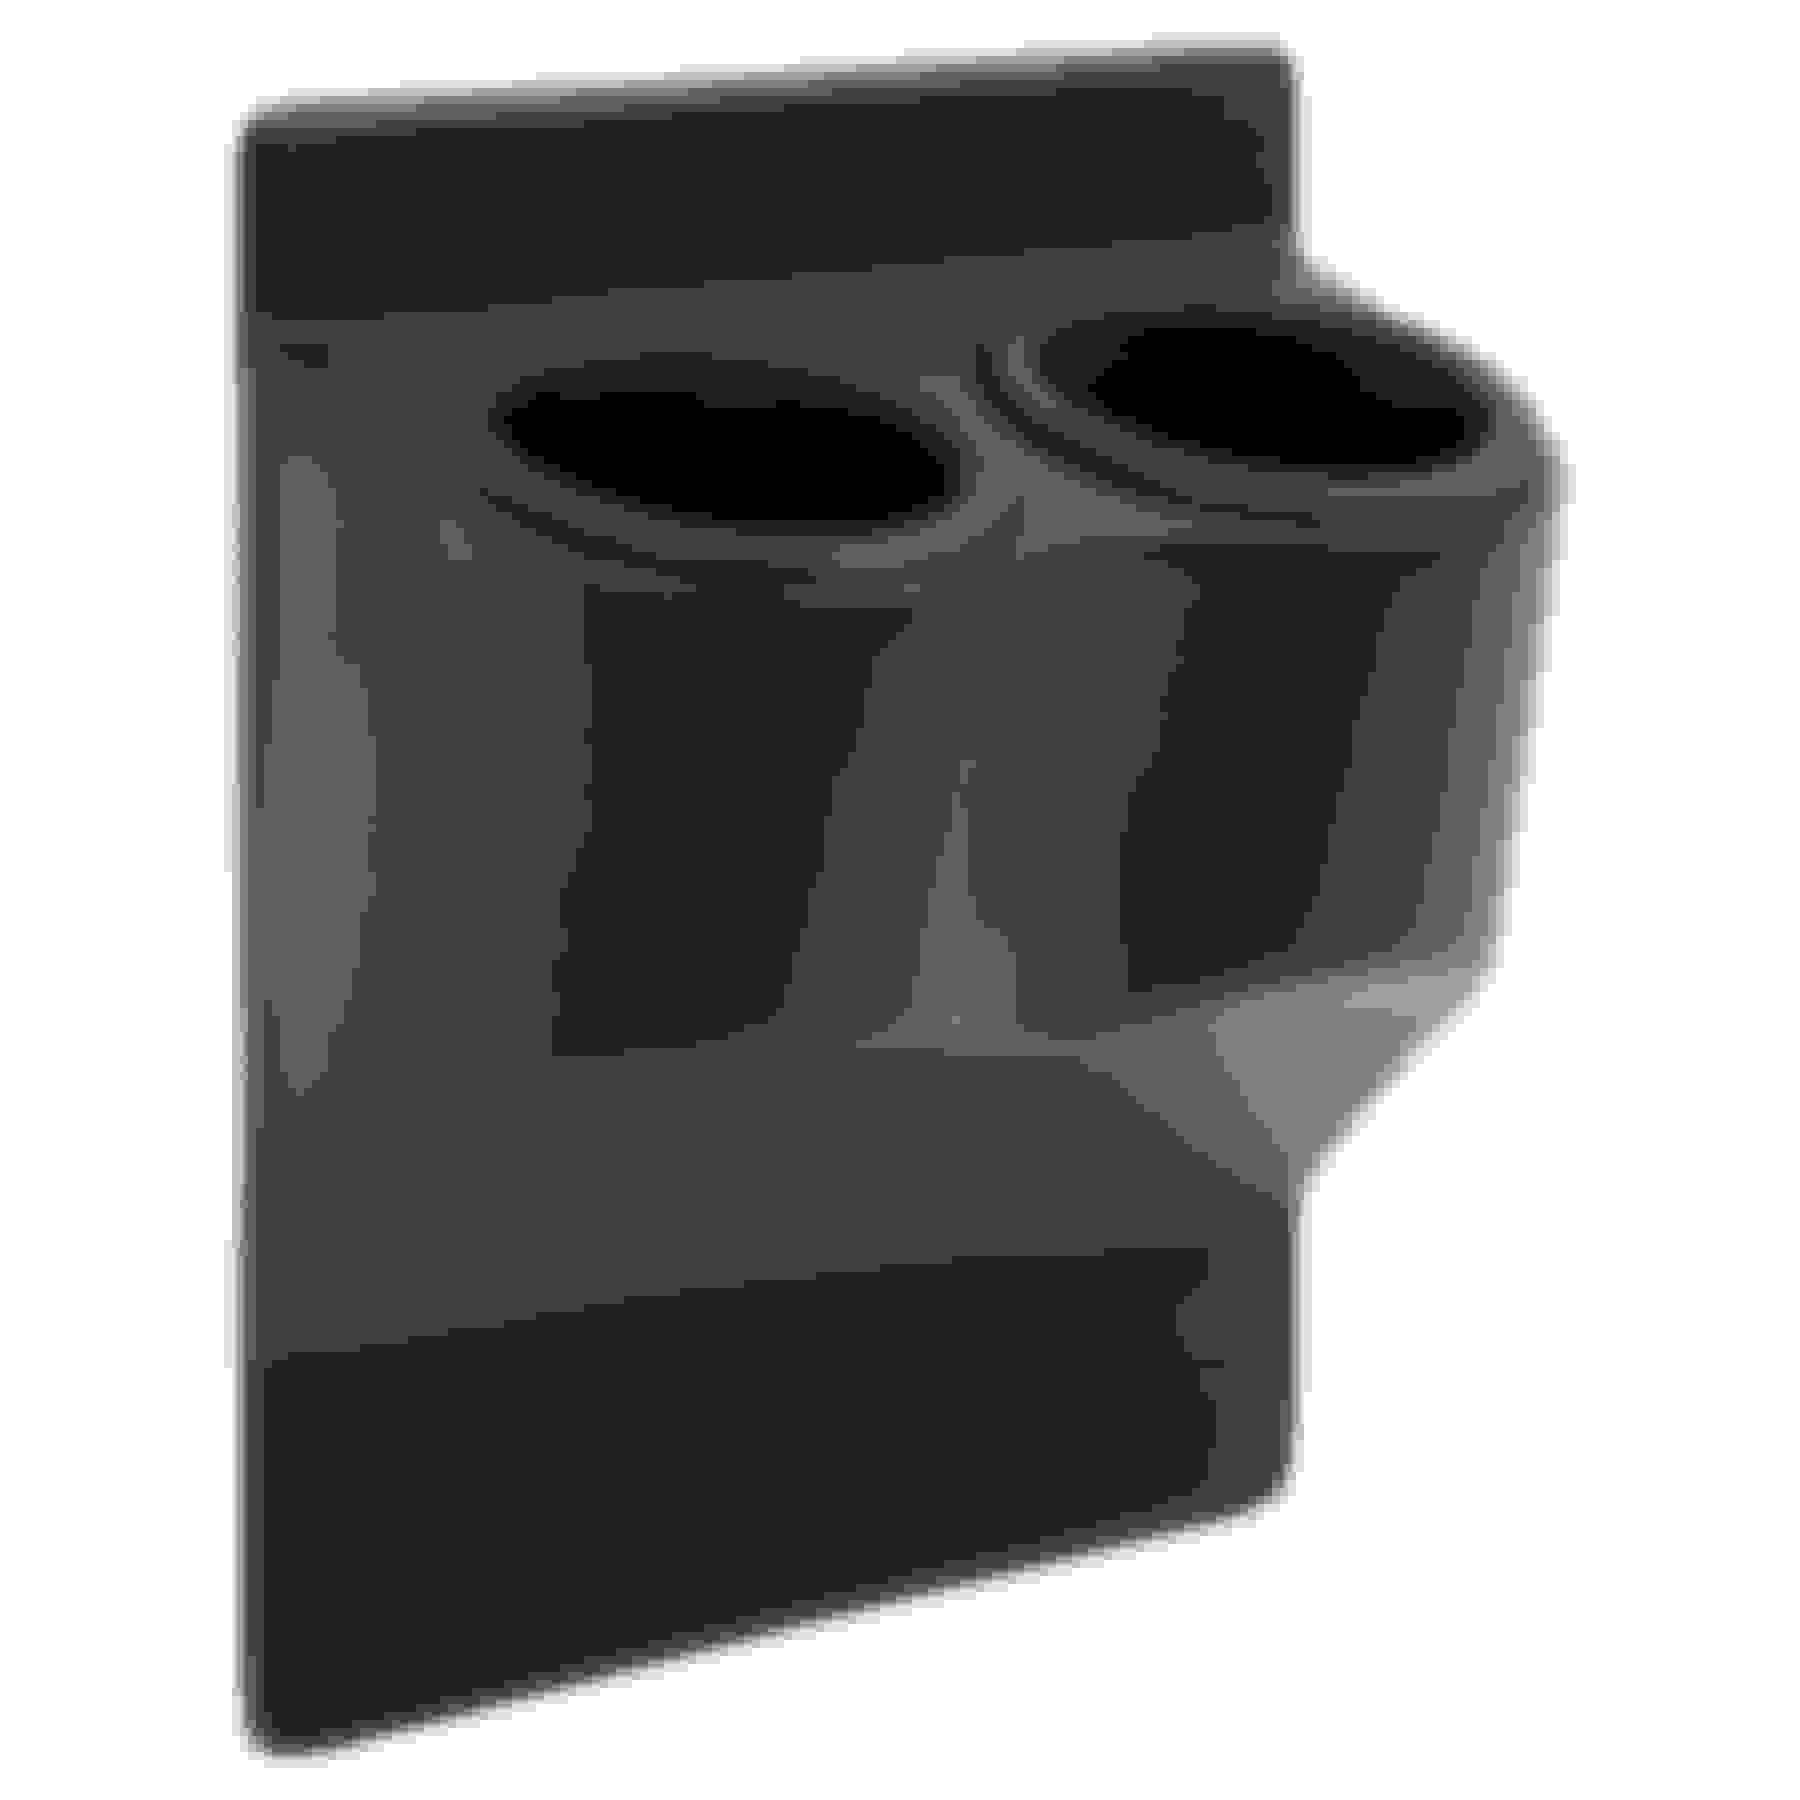
Moss cupholder. Shares real estate with the lights. Will need to cut a notch out of the top to clear the lights.
Altho now I have the big donger MR shifter, those extra 4" means your arm is higher when shifting so the factory location cupholder can be used with a cup or bottle in the holder, unlike at stock height
Because I am not good at contemporaneous, This is thread is being built by going through my google photos folder of backed photos off my phone.
Finished product
Bought a set of GT3 mirrors off CoralDoc. the powdercoat was peeling off, so stripped all that off and sprayed a coat of black on the bases, sockets and arms and reassembled. I am not a painter so they are not 100% show quality but they are decent enough for me.
May 5th, sunny day, nice drive to work with my cluster and new tiller
May 18th, received from werner mazda/mazda parts factor in NH. A+ good guys. Cheaper than priority shipped, and out of the 5 orders or so I made from priority, 2 of those had missing parts. 3 deep from werner, and all parts present thus far. My new go to.
Sensor as per my bosch sensor thread https://www.miataturbo.net/electroni...ensors-104094/
Part Number Part Name Price Quantity Total
PY8V-18-541B 2016-2020 Mazda Oil Pressure Sensor $57.49 1 $57.49 9956-21-000 2006-2020 Mazda Brake Hose Gasket $1.98 3 $5.94 (Edit - 11/21/21 - washers don't do anything - sensor bottoms in the adapter before it hits the washer)
I also ordered stuff from Haltech and 3 of these
Also redid my headlights
Aliexpress headlight relay harness. High wattage bulbs and it, did not like.
ebay H4 LEDs.
And next update, a major pivot
Last edited by msmola2002; Nov 21, 2021 at 11:56 AM.
Early May I managed to sell my R titled RC51. I was a little flush with cash. I came to the realization that I don't have the time, patience or fabrication skillz to go complete DIY turbo stuff. While there is nothing wrong with bronson's manifold, turbo and DP, I just figure I'd never get it together. I did source an FM oil line kit for it but put it on the backburner. I can
So I contacted @shuiend and put all of my dollarydoos down for a T3 Churbo setup.
First delivery
T u r b o n e
Then a few days later drove down to Jersey Shitty in NJ, as lars had a couple of other setups to deliver from the Mighty Mazda 2.
All this in the back of the missus' Crosstrek. Specced it with a V banded cat, and a test pipe. I plan to set it up with the test pipe to get it running, then once I know i'm not gonna nuke anything, install the cat.
Caught up with @ridethecliche on teh way home who dickbutted me with a sweet FM heat shield
Drive home. This is mile marker 66.6 in I-476/the penna pike. Just north of allentown, halfway to the lehigh tunnel. In 2009 the fucken crap E30 325E I bought when I moved here died at this mile marker. permanently. That car was evil and it hated me.
My **** "installed" on my rear porch. bless this mess, we are renovating and everything is a game of musical tetris.
About 2 sessions of 30 mins of ******* and not knowing what I was doing. car ran on first startup. the big thing was "catching" the drop back to idle. I dialed in a bunch of D, and while cold the thing tends to hang around 2k before dropping slowly to idle. there is a timed function from startup on that I could get a little more aggressive with but the laptop battery keeps falling out so haven't bothered. Seems to start nicer in colder weather, It warmed up since that vid was taken months ago, and takes a couple of kicks of the key now. As it is chilling off be interesting to see if it returns to that, in which case my temp based correction needs adjustment, or maybe the long term trims have fuckered with it.
August 8th, contact cement. this has long since peeled apart. I tried a superglue type tape and it peeled off again (early octobr)
This weekend will hit it with a leather stitching kit and some sealnt. If that fails, new top. Cos this funnels rain water down onto roll bar leg and into the boot, and it is a little soupy in there
080821
First autocross, binghamton airport. Coworker who was there with his own 96 noticed it was puffing smoke. I asked if he knew if it was on power or trailing and he didn't know. Oil consumption is also a little unnerving.
8/29/21, same bat time and channel. Learned to use masking tape and not shoe cleaner on the doors, that was a see you next khuntsday to get off and I ened up buying a kobalt 24v buffer to get it off. Coworker confirmed that oil smoke is on trailing throttle
So valve seal time. I have a set of felpros I bought for like 6 bucks from the Rock on clearance. I need to put a repair sleeve on exhaust cam where i scratched it swapping seals. So top end gonna get opened up. I bought a set ov Volvo valve springs from
vp-autoparts.com
Paid 109 for the set delivered. So will do those. Also bought the Lisle tool I bought it as components.
From JBtools.com
September 12th
#justchinatrubothings
Started porting stuff out. I marked it, dremeled it
dug a bit of a hole for the flapper to open further and rounded off the rivet. Can't take any more off as the disc hits the housing. Is as good as it gets.
So plans
-replace binding steering shaft in 4runner
-finish driving season
-jack up miata and take off road
-valve seals
-cam seals and speedisleeve and maybe **** with cams. I bought a set of BP26 cams from sixshooter. Need to do more homeowrk on that
-order wiring from corsatechnic and run wires to ECU for pressure/temp sensor and for knock sensor
-install said sensors and oil feed for trubo.
-drill oilpan
-install turbo hotside
-intercooler and BOV, may take a little tweaking as I had lars customize a little for the BOV as I have a GFB ex FM, which is not the norm for his kit.
-setup boost cut and control in haltech
-Install wilwood 1" master cylinder and brace and intall stoptech sport/309 rear pads.
finish isntalling eclipse vents
-wait for the snow to melt
-werf whole thing into a tree
So, after many failed glue fixes and whatnot, bought a leather sewing kit with an awl.
applied a film of glue and sewed rear window together
Not the prettiest thing in the world, but if it keeps the boot from filling up with water, I'll take it. the top is a bit curled so will apply a thin layer of black silicone slazz to smooth it out
Did a preemptie repair at the bottom as well.
Not gorgeous but if it means i can ride this top out for another 2-3 years then happy days.
I did some jobs round the house, then decided to play cars.
I figured I would install the V8R 1" OOilOOood master I bought from a member on here,
I opened the bonnet to find the airfilter fell off somewhere between tech at the last autocross and now
Funt's cucked.
Season's over - time to pull **** apart.
Anyways, so found that and got onto the job of installing brakes
G i r t h y
PO welded this fucken tab in for the MAF on the ole SC rig, which is long gone and on a ridiculous black NA in cali. Hence this tab is merely a PITA making it impossibru to bolt down my MC brace/stopper
So out came the same carbide bits I used to port my waste gate and I werfed the tab, and gave it a quick zap of krylon before bolting the brace down (not pictured)
Bled the brakes, pedal is firm.
Jacked up the rear since there was a little light, and noticed this
Kill me in the ******* face.
One of the few saving graces of this molested shitpile was its rust free status.
Will get into the access holes and try and clean it out and apply some POR or fish oil or something to arrest the cancer. Sounds like a job for the weekend since light is gone when i get home from work.
All 4 are off the deck now, and i also found a missing wheel nut. Order in to FCP to replace the dorman splined chinesium with a set of BMW m12x1.5 nuts.
I then installed my stoptech 309s on the rear brakes and adjusted them nicely
and installed a bosch fuel filter as the one on the car was of unknown parentage. On removal found nothing but "made in china" on the filter body, so probably a good move.
Then removed rear muffler, midpipe, cat, O2 sensors and all but 2 bolts holding the header to the head before the missus came out and reminded me it was 1145pm and monday is a school day.
So, traded yesterday for saturday at work so my **** would dissolve. Jokes on me, still not dissolved.
Despite the temperature being a spicy "about freezing" I did stuff.
So, it turns out that haltech is releasing firmware to run the Elite series ECU on the NSP software, for the Nexus. Part of the bonuses includes the ability to run a CAN keypad (not yet, timeline TBA) and the oscilloscope in the software.
Anyways, I jump in and fire up the software and see a bunch of errors
And the WB1 won't connect
So have a quick look around and find this
I cheated a little when I installed the WB1. I used a T-tap that already existed for the p-p-p-p-powercard to source power and ground for the WB1. Turns out that was a bad idea and the ****** cut the wire. So, will taco crimp a fresh wire in there and maybe run a fresh wire to a new pin on the ECU header plug. So disable wb1 in ESP, save the tune and add to the list of **** to fix
So, go to the haltech website and download the 2.52 version of the ESP, which does not currently come down thru the updater
Flash the ECU to the latest firmware revision.
Now the fun part
Sweet!
Installed and running and the software "sees" the ECU and communicates. Set the AVI and use the AEM as WB.
Then test the oscilloscope. Channels by default are trigger and home
behold, a plot of the 4g63 BeePee CAS. **** do be working.
So had some dinner and wen back out in the dark and pulled the header off, and the valve cover and removed the timing covers and belt. Looks like I can do this without removing radiator, pulley but the lower cover stays in situ so a bit hard to see but looks workable. Cool, less **** to unbolt and bolt back on. I do need a short 21mm socket to turn the engine over as my lorgeboi impact sockets hit the RB sway, so that's a problem. That and I need rope for the valve stem seal swap
Engine at TDC
So that's the exhintake BP05 cam, which i have been using with the KAinjection cam gear, which is drilled for an exhintake setup. Dowel appears to be in same place as the BP26 exhaust cam I got off @sixshooter - It's mazda and a common engine. I would assume that it is either going to be the same or radically different (120 degrees out for std mercedes logo slots in cam gear) and looks like it is the same. so in accordance with the nerds at the protege forum https://www.clubprotege.com/forum/fo...R-cams-(BP26)= I'm gonna go do dumb ****.
Once I do the valve seal swap in the next couple of days I will perform surgery on a grape on the BP26 exhaust cam, and put that back in - so the car will be running BP26 exhaust cam on inlet and BP05 exhaust cam on exhaust. I could just swap in both BP26 cams but where is the fun in that?
Plan for today tho is grab rope and socket, and start on exhaust side valve seal swap, and reassembly with volvo springs, new cam seals - move to exhaust side, repeat but add speedisleeve to scratched cam seal surface, then reassemble. Then probably install MKturbo muffler and midpipe so if I need to get car back on the ground, I am done with the rear of the car.
So, got back to it that afternoon and got to work on the valve seals
Pulled the other cam as i did not want to have to deal with turning it over to make sure I didn't end the valves and would only have to deal with each clyinder once. Used a 1/4" diamond braid nylon or poly rope. fed it in and it would often get stuck, not eing stiff enough so used a pick to dig into it and force it in the plug hole.
Use my ebay valve seal removing pliers to pop out the lifters,
Used the cool lisle tool and a BFH and tappa tappa. retainers come out, remove the spring cap thingee. Yeet spring into scrap metal pile
Use my 8 buck pliers and pull off seal. Place straw on valve stem, slide on new fel pro seal. Remove straw (forgot to do this on first one) and drop in lolvo springs. Place the retainers and cap back on top of valve. Swap to pointy bit on lisle tool and give a sharp tap with BFH and pop, on she goes. Drop lifter back in. Lather rinse and repeat.
So did all that, then needed to deal with cams
took my BP26 cam
Lopped the nublet off the end and gave it a quick clean up with a grinding disc then sprayed it all down with some brake cleaner. Installed on intake side
then onto the exhaust cam
I scratched this with the lisle seal puller 58430, the side of the metal tang is hard. In future will slide plastic under first. But I think this is the source of my weep.
so out comes the speedisleeve
tapped that one and then removed the skirt.
Installed, with a healthy dollop of assembly lube on everything:
Next step was installed new cam seals with FM tool. Intake went smoothly but exhaust felt a bit odd winding on with the FM tool. Went to remove tool and it was stuck
the bolt pulled it over the sleeve. Tried a pipe wrench to wind it off with no luck. tapped it off with a drift and rotating the cam. So be aware, teh FM tool will not work properly with a sleeve on the cam.
Got it all retimed and valve cover back on. Planned to work on it yesterday on my day off but ended up not being able to work on it. Hopefully drilling oil pan this weekend.
Despite communicating in other threads about Haltech, I don't think I made the connection that you have a build thread with a Haltech ECU. So I'm posting this so that when you update I see a thread that I've posted to before and I'll check in.
I'm also excited about the NSP software, though I really wish those lazy programmers would make their software compatible with Mac OS. I give AIM a pass for their software sucking because they're a terrible company that we all end up using because they're so firmly entrenched. But really. I do a lot of work (professionally) with interfacing between software and hardware and frankly, I think Windows is much, much more of a pain in the *** in that regard. Alas, not everyone shares my world-view. Yet.
I've got some nice EE tools at home, but I see a lot of value in having the scope integrated into the software/hardware that'll already be in the race trailer. Keypad, maybe, but I've already got a generic keypad that interfaces with my MicroPDM. I'd love for the Haltech to accept commands from that keypad, but given their closed ecosystem, I'm not expecting that any time soon.
@thebeerbaron A good person to talk to may be @deezums as he seems to know about this canbus stuff that is above my paygrade as a chemist and was looking at his own expansion units. The haltech keypads are not cheap but I guess as an assembler of parts, not an EE I gots to pay to play unfortunately. The big win there for me will be the ability to run cruise without dicking around to set up a stalk - just allocate my 4 buttons and use that as the interface.
I prepared my 37/64 bit with a heap of scotch(tm) vinyl tape
And used this grease that came with my house. Predates barcodes and has a 39c price tag on the lid. Was in the barn with the arsenic ant baits and some other ant poison that was banned by the EPA in the early 80s.
Not a hell of a lot of room to get in there with AC and PS. So removed the PS pump, the AC compressor and removed the PS feed pipe
Let it bleed out
So much room for activities now!
Marked as per FM and corky bell instructions. I found an archiveorg link for the document as the origianl is 404 and added it to the MT wiki. For reference, corky sez 1/5" back from the front of pan and 2.3" below oil pan lip, FM says 2" I saw @codrus had his drill walk and it caused a pan removal and i wanted to avoid that so went with the corky number. In the end, it ended up between the 2 values.
Started with a dry bit until I figured I was about to break through
Broken through!
Bigger hole.
Making more shavings
JB welded fitting in and capped!
Have reassembled the AC and PS (note to self, fill and bleed PS, put it on the whiteboard)
Note to self: buy a whiteboard.
Installed stud for knock sensor and pulled off oil cooler sammidge plate. Oil cooler hoses are weeping at the crimped fittings so will cap the cooler and get a hydraulic shop to make some fresh hoses at a later date. No rush.


 At the point FLAPS LED would have been cheaper
 0
0