When you click on links to various merchants on this site and make a purchase, this can result in this site earning a commission. Affiliate programs and affiliations include, but are not limited to, the eBay Partner Network.
Got a new can of THE RIGHT STUFF spray cheese style slazz and assembled the por15'd diff to the RX7 housing and managed to ruin the new paint by getting goop on it. Oh well. tightened those suckas down to 200 in lb with my trusty 1/4" harbour freight torque wrench and tapped in new side seals. tapped in the poly diff bushings.
Got a new can of THE RIGHT STUFF spray cheese style slazz and assembled the por15'd diff to the RX7 housing and managed to ruin the new paint by getting goop on it. Oh well. tightened those suckas down to 200 in lb with my trusty 1/4" harbour freight torque wrench and tapped in new side seals. tapped in the poly diff bushings.
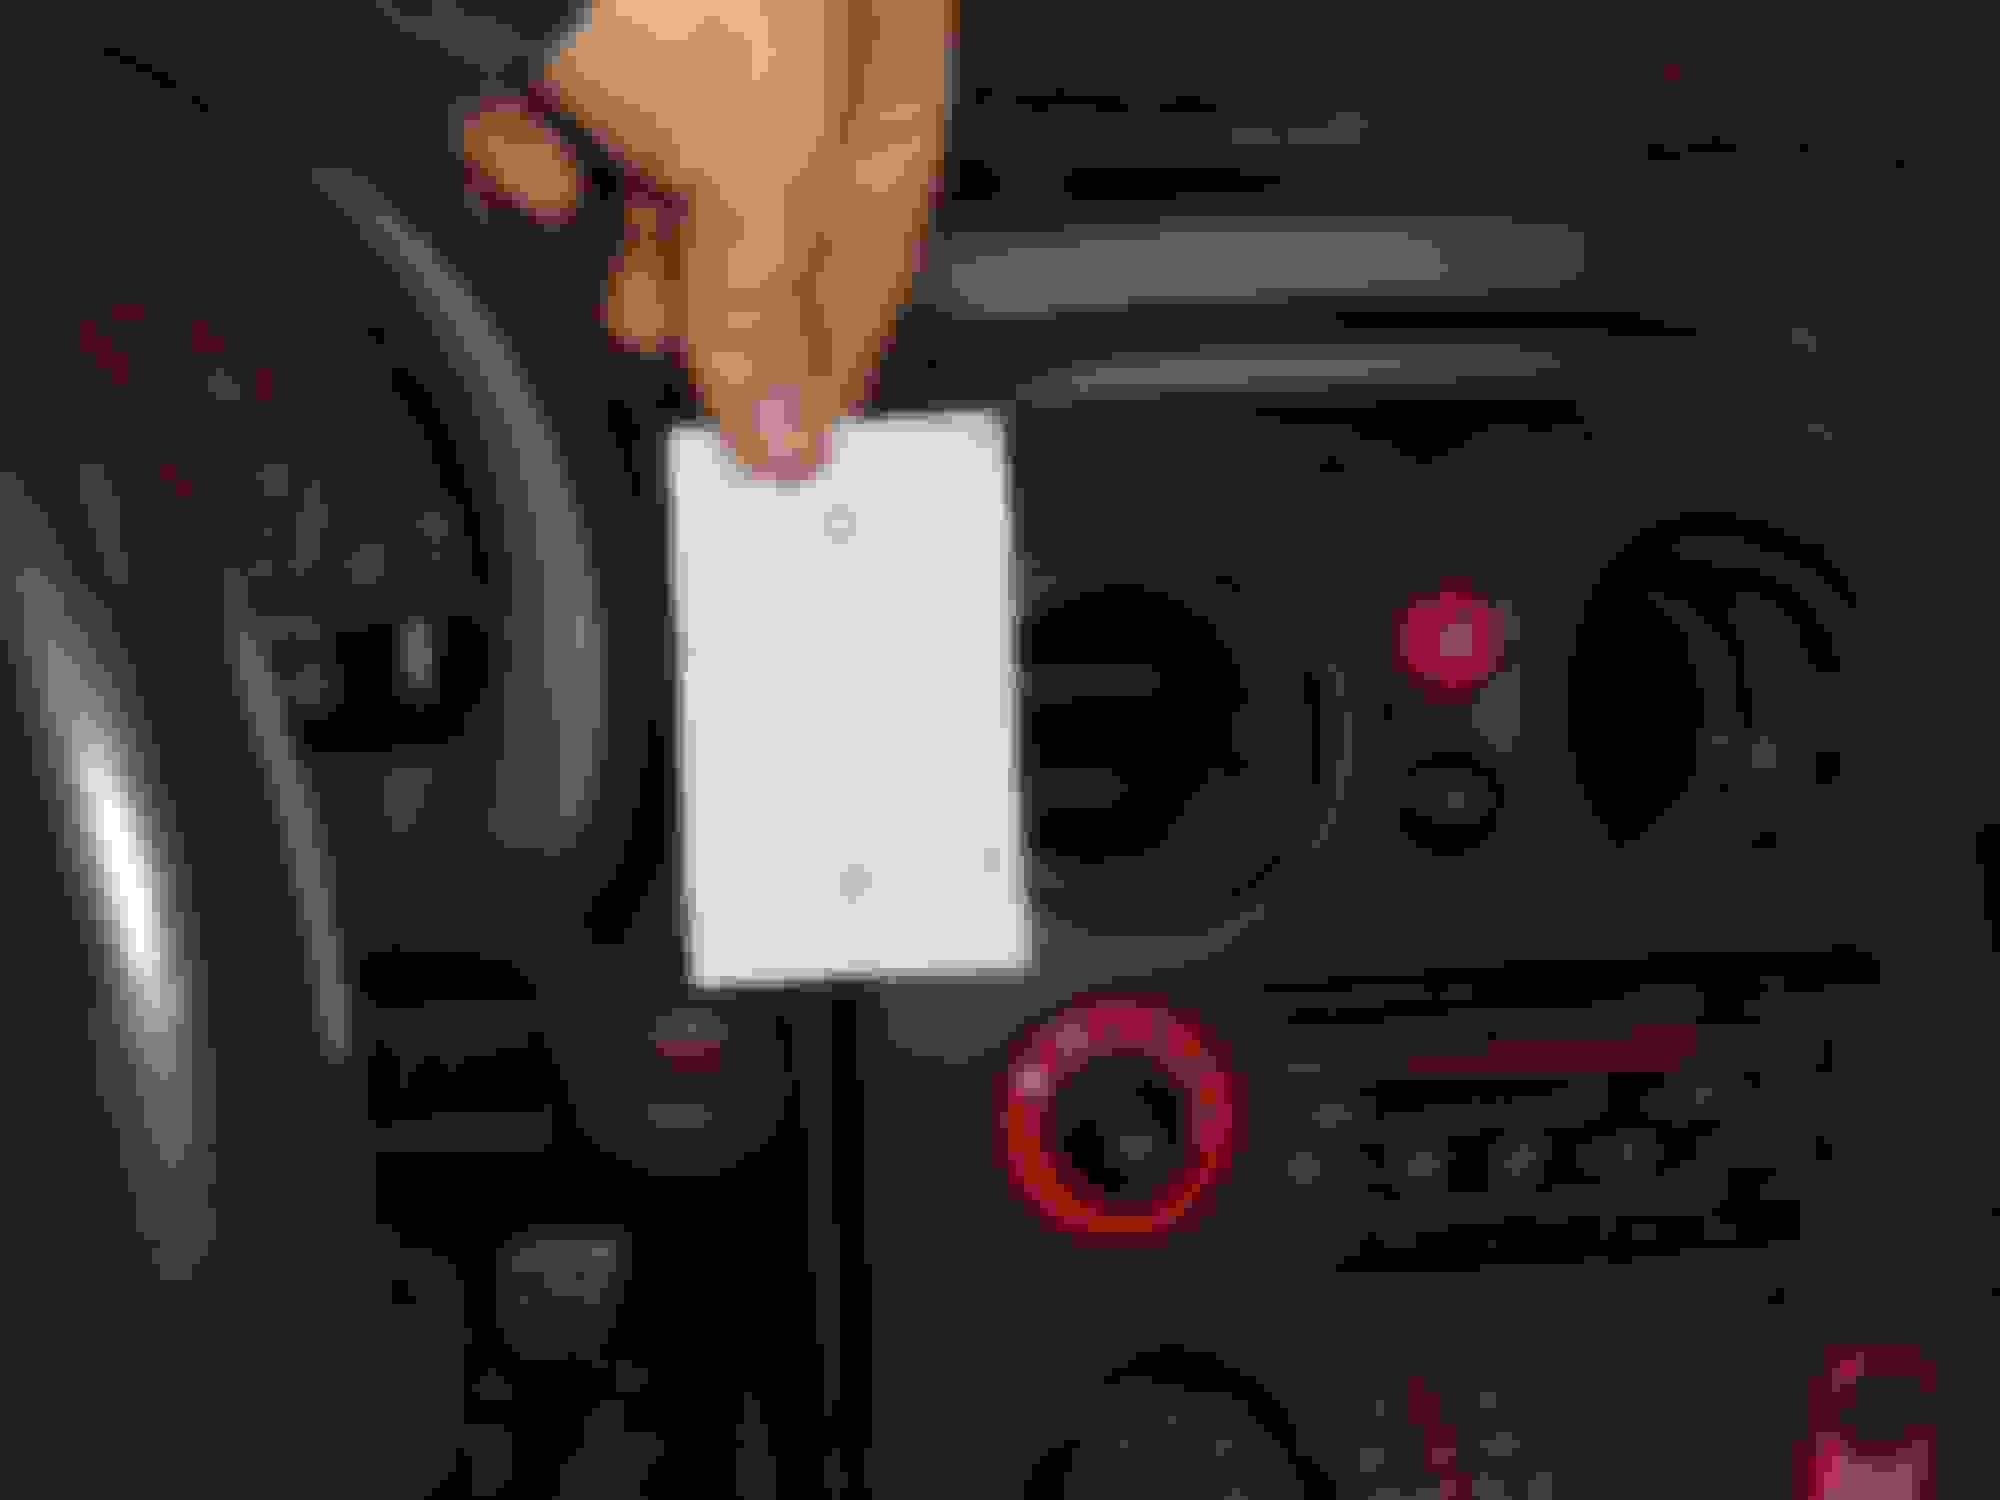
Okey dokes. So printed out my keypad templates and had a look at what my options are last night
8 button mounted hard left.
8 button can snug up under the cluster. I think I'd mount it to one of the dummy switch blanking plates. Can also move the headlight dash dimmer unit so it is not covered
15 is getting a bit crazy big and might start to get up into the space for the stalk
Could always mount it up next to where the IQ3 is gonna go on top of the tombstone. Is not that obtrusive and does not block that much vision
The 8 key will fit perfectly over where the soon to be obseleted 52mm gauges. Get one more blanking plate and run the DT4 thru the centre hole
Could mount an 8 under the IQ3, will cover a bit of the vent
the 8 can lift a bit higher and tuck in up here and not get too crazy
bit too big for the console electric window plate
15 fits gr8 in the console but i lose my storage space
can mount 8 button in here but I like my cupholders
So those are the options for mounting the CAN pads. Ideally I think the 8 button either tucked up to the left of the steering shaft, below the stalk would be the best option, either that or mounted above the single DIN stereo unit.
But if I want to run cruise control after i convert to DBW, I may need more buttons.
With cruise I will need to burn 4 -5 buttons.
for the CC, I would need on/off, +, -, cancel and set. may be able to do without the cancel, have brake and clutch switch so just need to tap the brakes to cancel. So that there is 4-5 buttons.
What do I want on the keypad?
Ideally
-AC
-Log on/off
-TC on/off
-antilag on/off
-thermo override?
-Boost map up and down. Can use one button, 'off' is map one, then up to 3 more pushes to give up to 4 maps, from one button
-alternately can use an up button and a down button,
So that's like 7 and 5 for a max of 12 buttons. And i'm sure I've forgotten some functions. Rolling antilag? Launch? I could probably prune that to 4 (AC, log, antilag and one more) and have the on/off, +,- and set for 8 buttons.
Then I remembered the spare 4runner wheel I grabbed at the u-pullit.
I have an 03 4runner and the leather is almost worn through on the left, so i grabbed this thing. It is not that nasty, just a couple years of barn dust. Just dirty.
Say hello to mr Cruise stalk
3 wires
This thing definitely has internal resistors. I tried to find the pinout for the stalk but failed. could be 5v, gnd and signal? or ground and on/off and then the functions.
I had a look on ebay and I can get a chinesium stalk for a slightly later model, for all of about 17 bucks. with only 2 wires. Wire accordingly - https://forums.linkecu.com/topic/928...ingsetup-help/ and use internal pullup in IO12 expander. However from haltech forum someone had issues using the stalk off an AVI on the IO12 and had to wire directly to ECU. I need to dummy up a map and make sure I would have enough IO to do that. I can definitely use the IO12 for the clutch and brake switches on an SPI, and use the remaining IO for oil pressure, temp and coolant temp.
So, cliffs:
ez-button is buy the 15 key unit and mount on the top of the tombstone, enjoy the uglies.
Neatest option is burn an AVI and install a toyota/lexus stalk if it works, and use all 8 buttons for funzies and mount above stereo, or tuck under the shroud on the left.
This is far more work and depends on my smooth brain getting the stalk to function, hopefully on the IO12, otherwise burn a precious AVI on the ECU - also need to see if I will have anything available after converting to DBW as you burn 4 for TPS and throttle body, and the IAT must be wired to ECU as the IO12 on teh canbus does not respond fast enough.
So, got to play in the barn for a few hours on the weekend in between looking after the TurboShart3000.
Car is now jacked up. Decided to make a trans plug by hacking up my spare driveshaft. the machned end that goes into the trans has seen better days and would likely chew up a seal anyways.
That shaft is boogered.
After I cut it up, I had a play with my LowDoller tone ring for the VSS
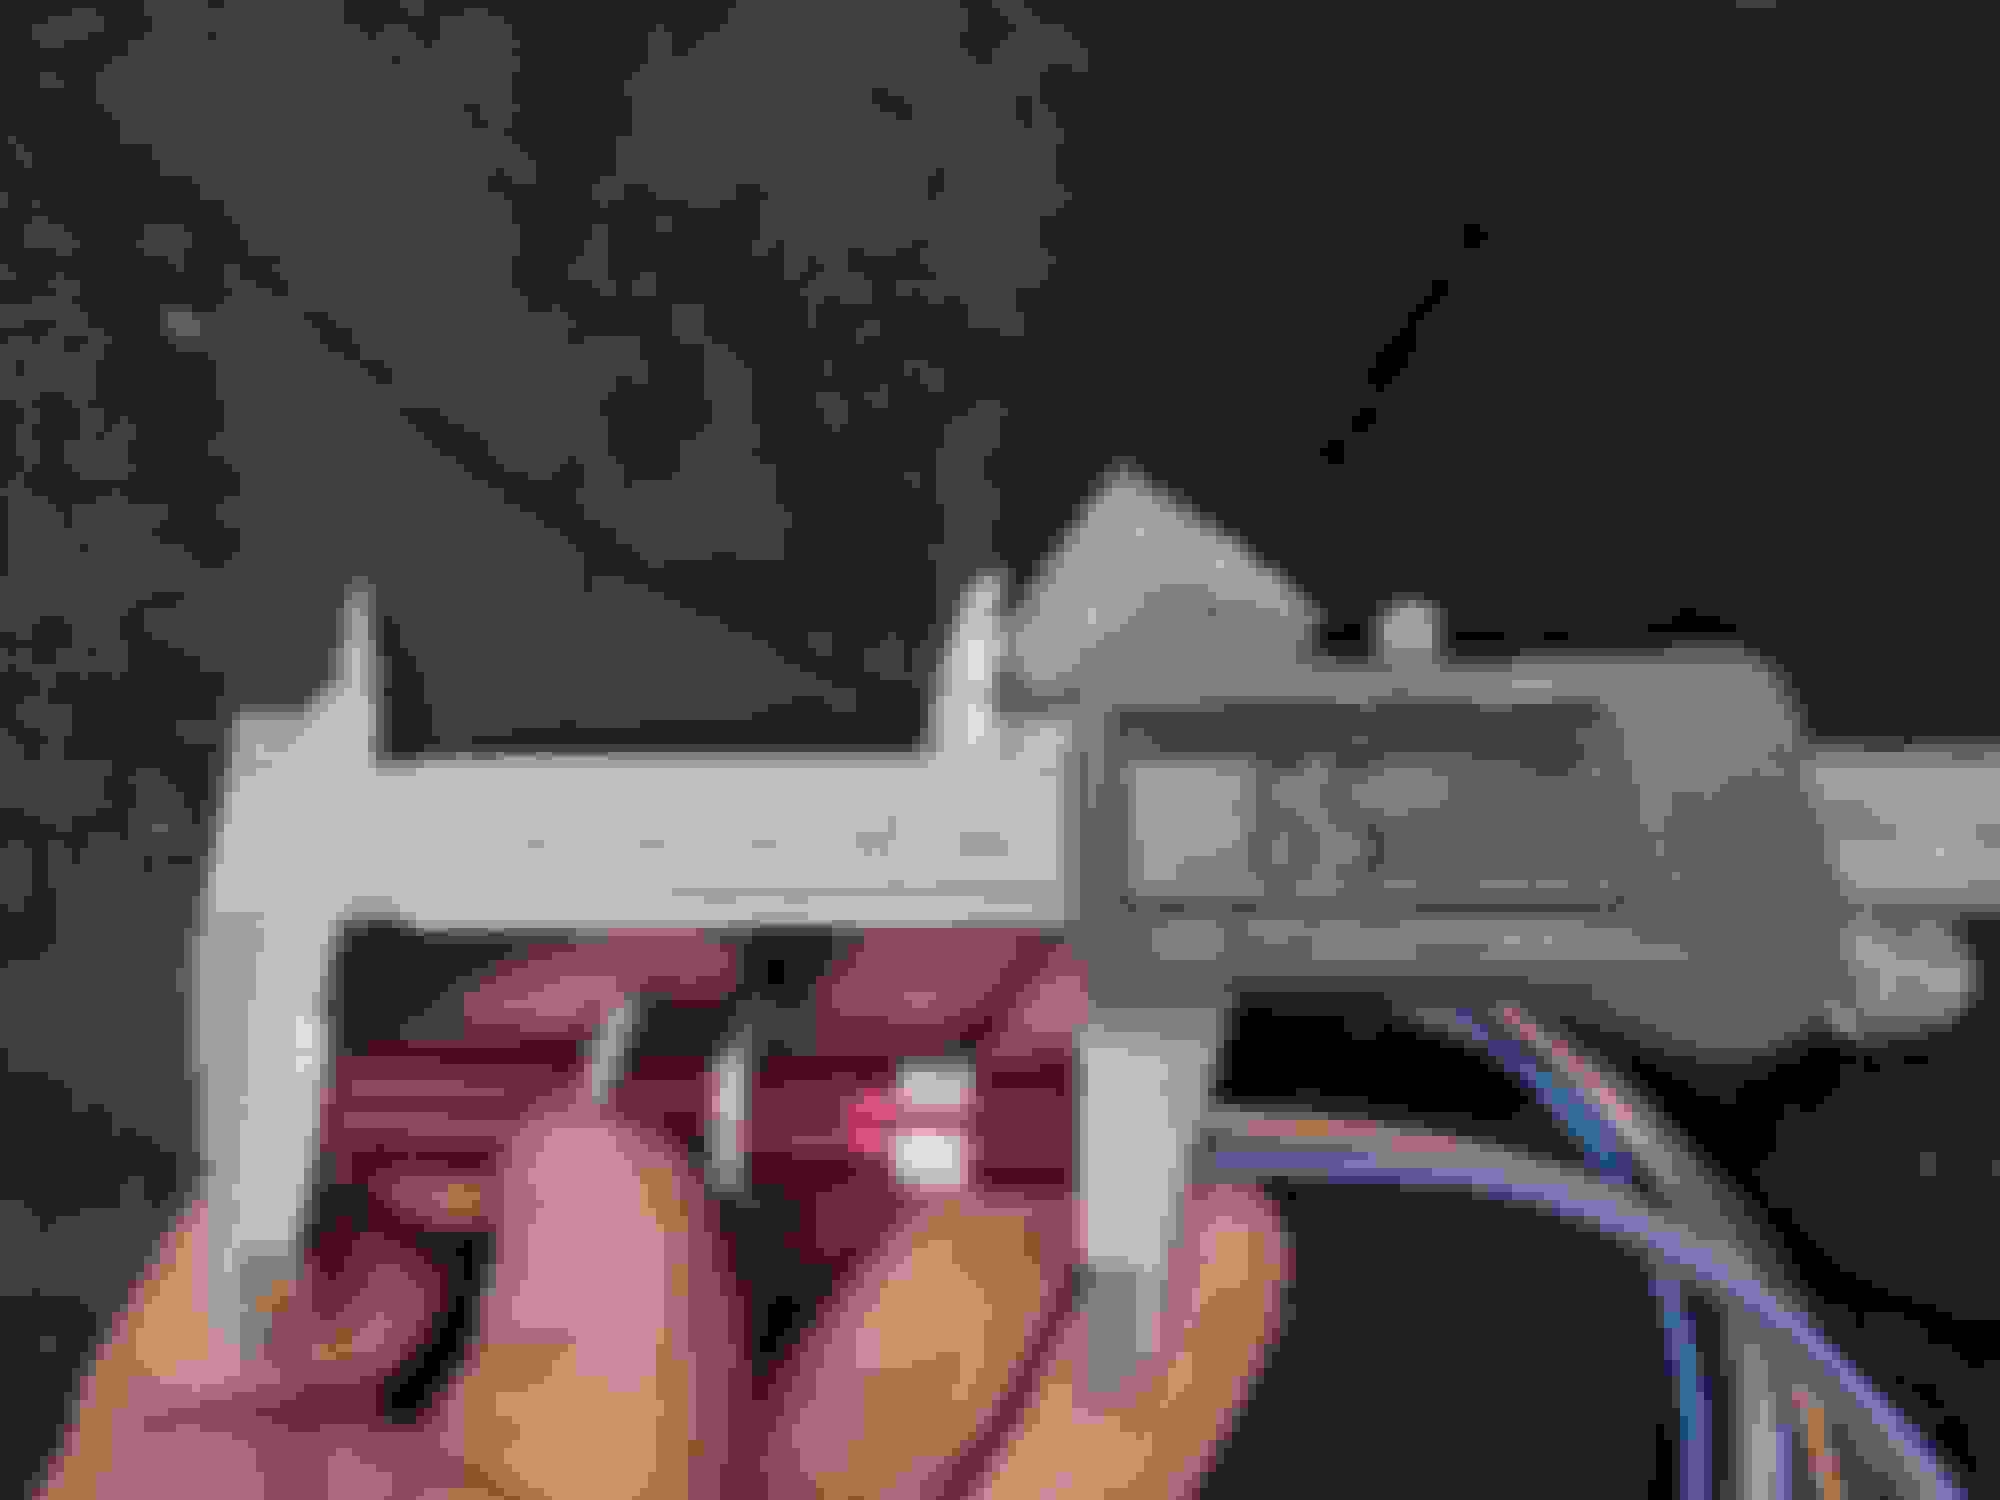
snug fit. super tight but crank the screws in and it pulls tight. Dangly bits! height of ring, proud of the shaft. heh. Shaft so about 85mm for the ring, plus the sensor, then need room for a raychem 90 boot, or something, and strain relief. Call it 4" of clearance required.
Got under teh car, and laid under there with my sensor, half the tone ring and had a play. Bad news, is that the shaft in the car is MOTHERFUCKING 2.375". ****
Also finding that it will tag the upper part of the PPF pretty much anywheres I put it. Plan is swap the diff out, sort the diameter issue and play again. More on that in a bit
a bracket over the hole near the fuel pump cover would be good, mount the sensor at 45 degrees bit close to the exhaust but pointing upwards may work too
So anyways, ordered some 1/16" copper. Vernier says 2 25/64 whish is near enough to 2 3/8. So if I put some loctite Right Stuff slazz on the inside of the tone ring, and a strip of copper, which should be malleable enough to bend, use the same length and inset on each side, I should be able to pull it off. Find the spot with the least interference on the PPF, mark, then notch it with the handy angle grinder/ I am hoping just knife edging the PPF in the location should be adequate but if I got to take a 1cm square out, so be it.
which is a replacement 2pc NA8 shaft, with ABS tone ring.
Then swap in the rear ABS spindles I have and run VSS from the ABS sensor. Shaft saves me an SPI on the ECU though.
Out with the old! peg leg. Gross. Lubed my lips, Flanges tapped in
So that this point everything took a ****. I found a rag to put on the jack, and was like, oh, need to install the plugs. So I get my miataroadster stainless magnetic drain plug. Used the oem magnetic drain on the fill. starteed winding in the MR one and was like, ooh, that's getting a little tight, then one more crank on the socket and half a turn and she locked up. Stainless. Stainless. No lube. ****** galled up and seized. So I heated it a little, and worked it out but it chewed the trheads out majorly. Waiting on a die to chase the threads on the plug and an o2 sensor chaser to clean up the housing, then assess the damage. If i can get enough turns in i'll send it.
Turns out a timesert M18x1.5 kit runs to 258 plus tax and ship, so 300 bucks. Expensive ******* mistake. So if this ends up being trashed, I'll probably go for the middle ground and use a mcmaster carr keensert. https://www.mcmaster.com/90245A321/ - includs 2 inserts, which run 20 bucks each vs timesert inserts being 25-30% that price, but the kit is gonna be cheaper. will be about 75 delivered, plus buy the 22.5mm drill and the tap from amazon for about 30 bucks. So should be in for maybe 120 bucks to fix it if i have to. Fuckity ****.
Anyways, bought some flair for the mighty crosstrek spawnhauler
Will update once I assess damage to the diff housing, then either order the **** to fix the thread or mount it.
Took a shower this AM with my under chassis brace and a scourer. Forgive my rusty *** shower with its cripple handles. It's the only thing in the house not renovated and i think with the offspring and no houses on the market we want, a tub install is on the cards.
Anyways, scuffed it with a 3m scotchbrite and Dawn, will slap some converter on it and zap with some krylon and gloss it up a little.


 0
0