When you click on links to various merchants on this site and make a purchase, this can result in this site earning a commission. Affiliate programs and affiliations include, but are not limited to, the eBay Partner Network.
You work at a shop, you should know that axle nuts all get tightened to "yes".
My snap-on 1/2 air impact is perfectly calibrated to most axle nut torques. The bearing races are ~1/2" thick steel spacers, you're not going to crush them, go to town, and they won't back out, even without a new stake.
Yeah, I�ve always tightened them to �yes� with the rattle gun previously and never had an issue, although on these I went the extra mile and grabbed a torque wrench to confirm they were at 210 ft/lb.
At any rate, I�m now acutely aware of the issue that was present lol. I�ll be checking em again following the first rip after I put the new nuts on.
I'm the massive nerd that breaks out his torque wrench for almost every bolt I touch. That may be related to why my mods take so long.
Hopefully the hub separates from the bearing easily. I've never even tried to reuse the hub, but whatever little portion of the bearing was able to be grabbed convinced me that it wouldn't be a good time.
Also, my car seems to be experiencing a brake pad knockback/fade issue. I've only ever had pad knockback at Buttonwillow, occurring at the entrance of Bus Stop and occasionally at Sunset. I've never had it at Streets of Willow but was getting fairly consistent fade or knockback right before the bowl and the entrance to the skidpad. It's weird because it doesn't feel like fade, but won't start to surface until I'm 4 or 5 laps in. It seems to happen specifically following long sweeping corners where I'm on the throttle and turning for a long period of time. The following corner, the pedal will go to the floor or very close to it. Usually, a few left foot brake taps before the corner will alleviate the concern, but sometimes not. It's strange because it has all the symptoms of pad knockback, but won't occur at the beginning of a session, as if it's fluid fade. I won't experience fade in hard braking zones after long straights, and when it happens, it's not generally following an extreme braking zone. I'm currently running Motorcraft Dot 4 fluid and am going to swap to the Motul stuff just for peace of mind. Otherwise, I'm sorta stumped on this one. I'm running a Supermiata 11.75x1.1 Wilwood BBK with 3" ducts, BMW e30 front hubs, a Wilwood prop valve, master cylinder brace, and sport rear brakes. The only other factors I'm thinking might be affecting my setup are my stock master cylinder (7/8" I believe), the fact that I don't have a check valve in my brake booster line, or maybe my rear hubs are getting old and flexy, causing knockback in the rear? Any insight from the smart guys on here would be appreciated.
Hey, have you had any further thoughts on this? I came here to check your posts before PM'ing you, and I see you had a similar complaint. I know a bunch of us just installed various Afco brake setups, and unfortunately since I DIY'd mine I have a 1 of 1 system. But I figure they're all close enough for comparison.
At my most recent track day at VIR, for the first time ever I felt the NEED to give the brakes a tap with my left foot just before the braking zone, especially after the high speed uphill esses where I'm changing direction close to the limits of grip multiple times before hitting the brakes. I've got my DIY F88 kit running Stoptech Sport pads on 11.75x0.81" rotors, the caliper mounts are pretty darn stiff, and Brofab E30 hubs should reduce the hub flex. I'm not sure what else I could do to have a more rigid brake and hub assembly, short of Keisler drop spindles with a completely different hub assembly. And yet still, the only way to get a consistent pedal height on braking was to tap them before the braking zone, otherwise the pedal would be a lot lower. I'm not saying the brakes were any less effective, but it certainly affected my confidence and put me mentally off just as I'm about to turn into the corner. I never felt the need to do this with the stock brakes. My theory is that the much more rigid caliper assembly and lower friction piston seals means that any spindle flex results in piston knockback. Maybe the stock sliding caliper was better able to deal with the flex by letting the caliper move with the rotor?
It makes sense that going to the larger MC would reduce this... maybe I need to prioritize that 929 1" MC swap.
EDIT: Did some more research and I guess this is a more common issue than I thought.
Yeah, I'm still dealing with the knockback issue, although it's been substantially less severe since swapping to the 1" MC.
My issue seems to be the same as yours. It only occurs after multiple direction changes where I'm on the gas and not lifting through said turns. It's like clockwork, same areas on the track every time, only after a few hot laps. I've slowly been narrowing it down as I've been upgrading the car. I like your theory regarding upright flex and the difference in calipers, although I'm running Wilwood Superlights and believe those are rumored to be somewhat flexy for 4-pot calipers? I don't know enough to form a proper hypothesis but thought caliper flex might be factoring into the concern. The only thing I haven't had a chance to try on track yet are the Brofab rear hubs I just installed. I don't think rear hub flex is causing the issue, but maybe it is playing a factor since I only seem to have the issue following turns/esses where I'm on the gas and also at the limit of lateral grip. I feel you in regards to the drop in confidence. No worse feeling than coming out of a high speed section and feeling your brake pedal hit the floor. After a while, I just got used to doing a couple left-foot brake taps before each section where I'd get knockback.
Again, the 1" MC was the only thing that's made a difference for me so far, and it was substantial. After installing it, I took the car to Chuckwalla last month. The knockback I experienced there (luckily only one section on the track) caused only a mild increase in pedal throw, instead of only partial brake engagement with the pedal hitting the floor. I'm much less nervous about the issue now.
I saw that thread a while ago I believe. I thought somewhere in that thread or another, some of the big guns came to the conclusion that the upright supports didn't make a difference in knockback. I'll have to do some searching tonight....
The 1" master is only "helping" because it makes up for the pad knock back faster than smaller master cylinders. The real problem is you're driving a cheap 90's Japanese car faster than it was ever really intended. As long as pad knock back stays consistent, it isn't a concern. Find out where it happens, left foot tap, and ignore it. All the things everyone has mentioned do work, such as stiffening the caliper, stiffening the caliper mounts (radial v. lug mount), stiffening the hub, and stiffening the knuckle, it just takes a **** ton of time/money/weight to fix it as much as possible (notice I didn't say eliminate), and you've spent all that time/money/weight to, again, solve a problem that isn't really a problem.
The 1" master is only "helping" because it makes up for the pad knock back faster than smaller master cylinders. The real problem is you're driving a cheap 90's Japanese car faster than it was ever really intended. As long as pad knock back stays consistent, it isn't a concern. Find out where it happens, left foot tap, and ignore it. All the things everyone has mentioned do work, such as stiffening the caliper, stiffening the caliper mounts (radial v. lug mount), stiffening the hub, and stiffening the knuckle, it just takes a **** ton of time/money/weight to fix it as much as possible (notice I didn't say eliminate), and you've spent all that time/money/weight to, again, solve a problem that isn't really a problem.
My $.02.
Appreciate it as always, Curly.
Yeah, my bad, I meant to convey that I knew the MC was just compensating because of the additional fluid displacement per amount of brake pedal throw. Still, it�s been giving me more confidence than before.
Option, I�m not saying I�m glad you�re getting pad knockback, but I�m glad I�m not the only one haha. I do think you�ll get used to it quickly. I noticed at my last track day that I�ve started doing left foot pedal taps at the end of long straights without thinking about it anymore.
Given the cost of all the options to address the knockback (stiffer uprights, floating rotors, larger MC) , I'm gonna try the band aid first. Plus, I like higher effort steering/brakes. Even back in my motorcycling days I was never once tempted by the two finger brakes modern sportbikes bragged about.
Last edited by OptionXIII; 03-26-2024 at 09:29 AM.
I think you'll find the MC as a win/win on both fronts then. I wish I'd upgraded mine when I put my BBK on a year ago.
Wish I had some more exciting updates but these'll have to do for now. Trans swap kit isn't supposed to show up 'till Sunday so I'm laying as much framework as I can in the meantime. Yesterday, I relocated the wiring harness from the PPF to the passenger side of the trans tunnel using some 1/2" clamps and relocated the ground to a hole in the rear subframe. I installed the steel clutch fork pin in the transmission and ended up ordering an NB starter, since that 3lb weight savings might definitely be the difference between me winning or losing Time Attack at Gridlife next month. The starter just arrived today. With that in hand, I'll be able to mock it up with the adapter plate this weekend and make the necessary cut in the bellhousing before starting the actual trans swap install next weekend.
Additionally, when touching up my alignment last weekend, I noted that both of my front camber eccentric bolts were beginning to look pretty tired. These seem to have always been disposables in my case. Either I torque em down like mad and they strip after a handful of alignments, or I torque em down reasonably and the eccentrics slip around on track and give me the infamous "variable alignment".
Yesterday, I was doing a bolt check while the car was in the air. Noted that one of my camber eccentrics felt loose so I gave it a snug up and the nut just spun. I didn't have any spares on hand so I ended up cutting the head off of the bolt and drilling a hole through it so I could run an M10 bolt and nut through it for the meantime. I was able to drive it home but my alignment is f*cked lol. I grabbed a handful of Supermiata's new 10.9 HD alignment bolts yesterday and intend to install them today and realign the car later today or tomorrow.
It's gonna rain all weekend so maybe I'll see what else I can get done tomorrow. I also gotta polish my car because one of the new detail guys at work accidentally refilled a soap bucket with degreaser and I slathered it all over my car, leaving that sh*tty residue everywhere. More fun to come!
Installed the new alignment bolts during my lunch break. The SM bolts seem to have more threaded area than the stock ones. Hopefully that equates to them lasting longer than the stock ones.
I also relocated the PPF ground for the diff for the time being, gonna extend and mount it to the trans once the new one is in.
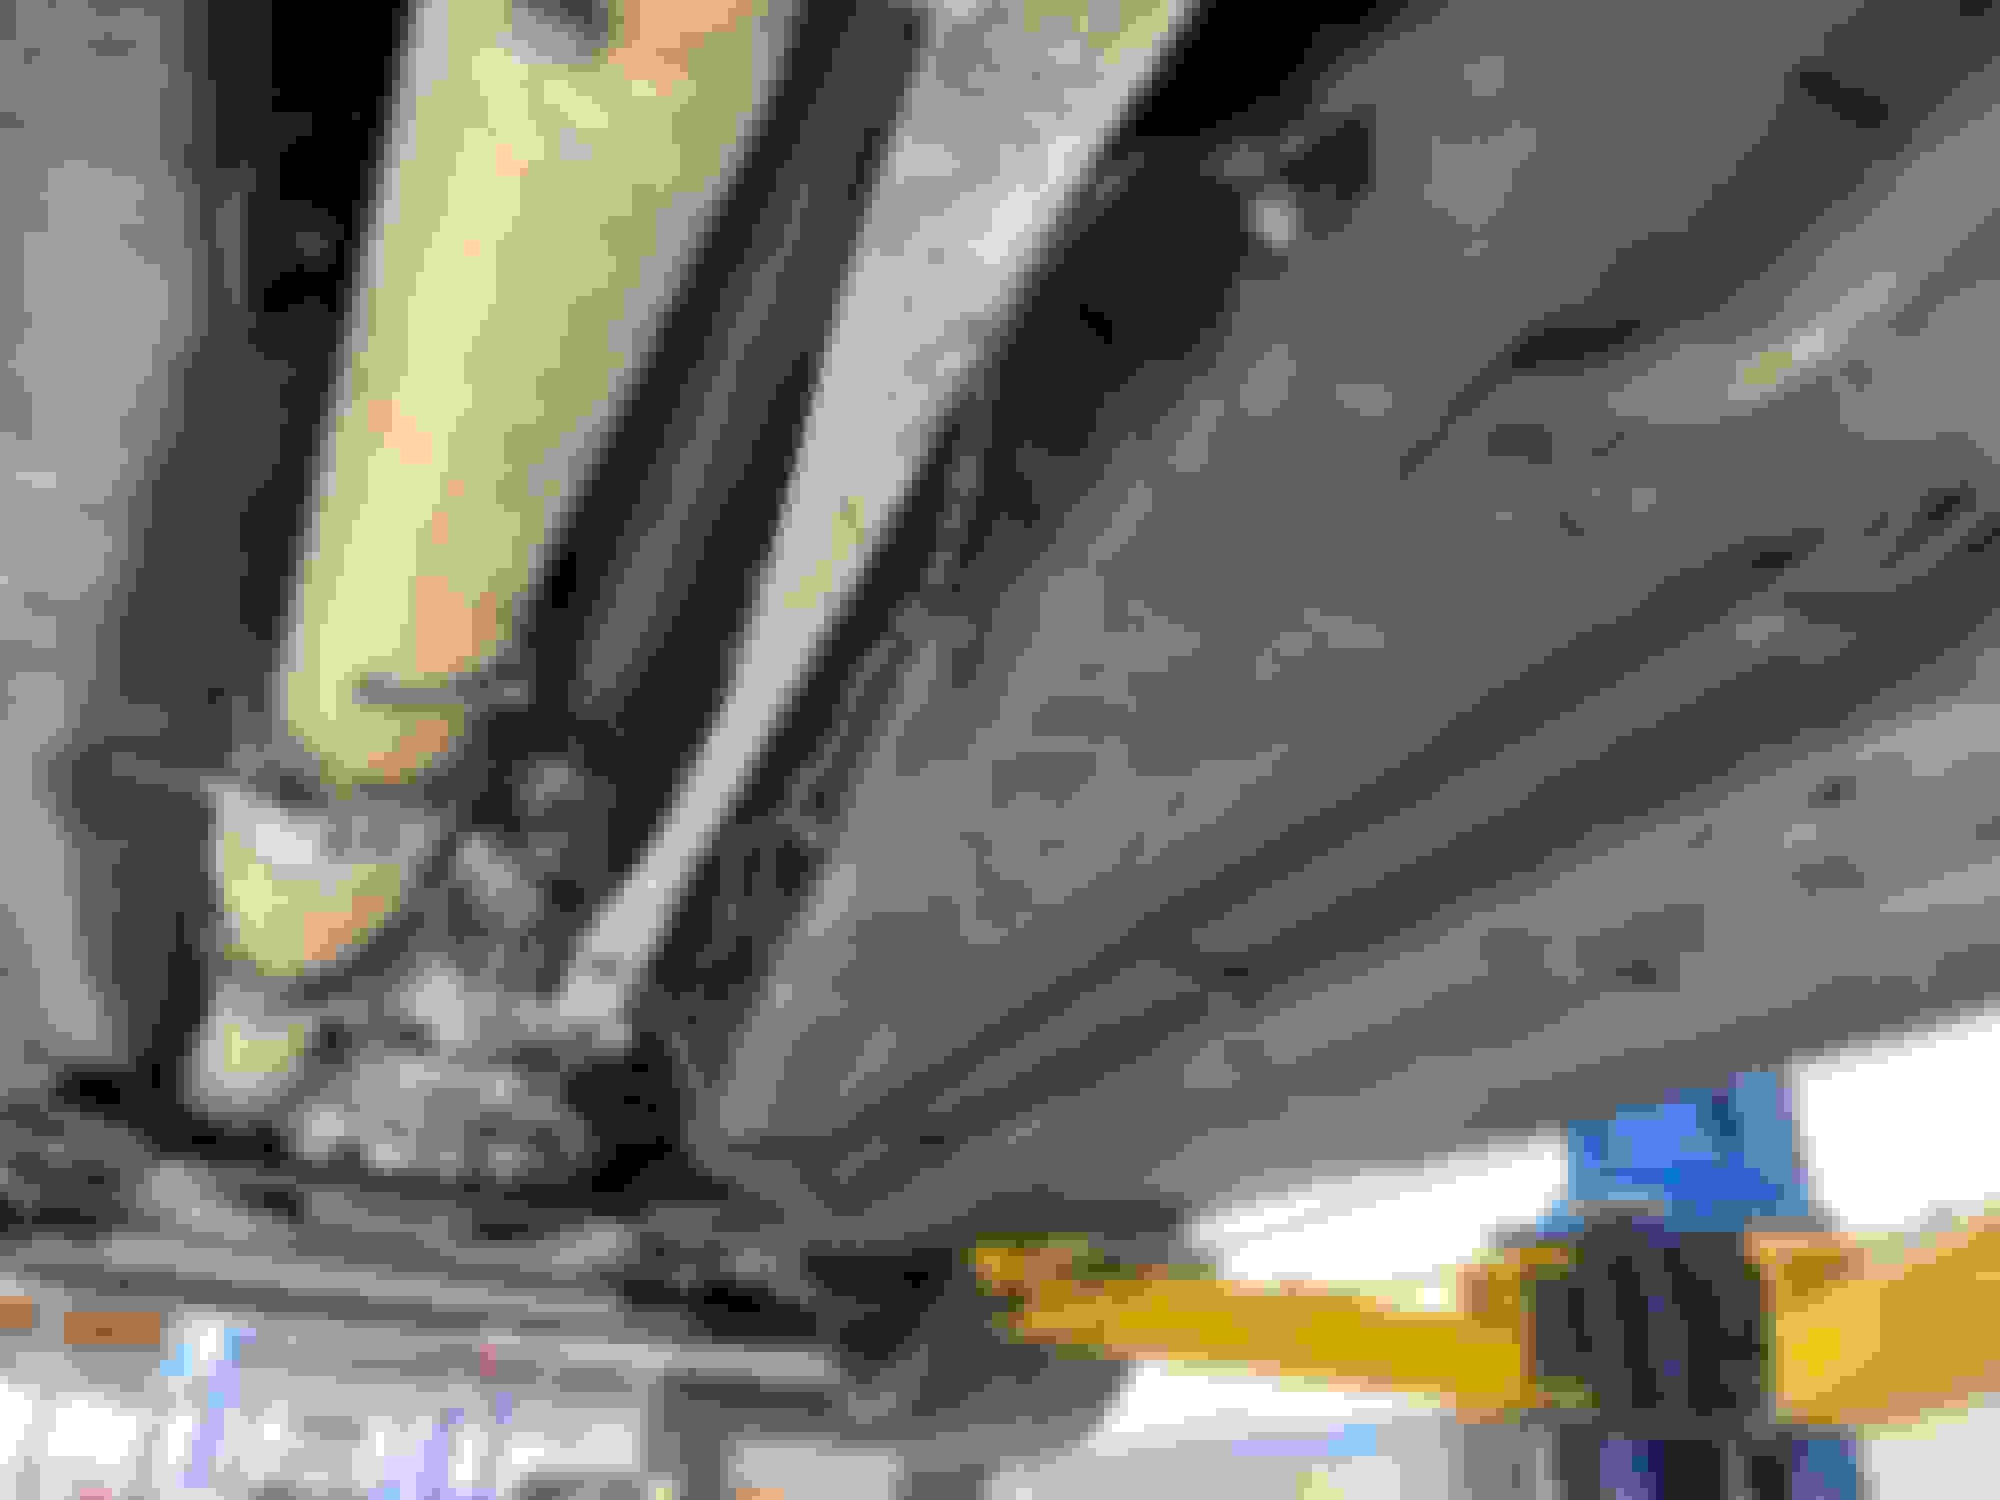
Then I realized something while I had the car in the air, there is no way in hell my current exhaust is gonna clear the PPF delete crossmember. I scheduled an appointment at my local exhaust shop tomorrow morning to remove the resonator and modify the pre-muffler pipe so it'll clear the crossmember. I played around with the positioning of a few sections of the exhaust and there's no way it's going to clear as is without modification.
Installed the new alignment bolts during my lunch break. The SM bolts seem to have more threaded area than the stock ones. Hopefully that equates to them lasting longer than the stock ones.
I don't know that there is a great difference in the area of thread between the two, given there are two slots vs one flat, but the slots distribute the missing thread vs the flats concentrate it, suggesting the two slots will hold better.
My understanding was that bolt stretch that was the problem, I have never (yet) stripped a nut. I hope that if the SM ones are 'stronger', that also applies to the washer - I have had mangling of the little tab leading to a displacement of the two washers. That has led me to preference the ones with the flats.
It's incredibly common to replace the alignment bolts. If you have the older style with the flat, that means they most likely original. Another clue is if the bolt is 14mm, and nut is 17mm. I use two extra long snap-on 17mm wrenches and tighten them as tight as I can, usually followed by saying "beeeeep" like a torque wrench.
Yes you're stretching them, yes they'll eventually need to be replaced again, but the alternative is them slipping, so just consider these a wear item.
In my experience, they need to be replaced when you experience any of the symptoms you just had. Stripped nuts/bolts, alignment doesn't hold, or if you're using a laser alignment system, you can tell they're a little worn when you adjust back/forth and there's a significant dead space.
If you're racing in a competitive environment and align the car on a frequent basis, you'll learn when they start to have issues, and at that point you replace them on a scheduled basis.
If nobody around looks at you because of the noise you made, you didn't tighten them hard enough. I use an extra long (maybe 18") 17mm wrench and 24" 1/2" ratchet on mine now. It's a little overkill but I get a better feel if the nut is close to stripping because it's not necessary to use full hulk strength.
Originally Posted by curly
If you're racing in a competitive environment and align the car on a frequent basis, you'll learn when they start to have issues, and at that point you replace them on a scheduled basis.
Taking this to heart. Another one of my rear eccentrics called it quits while doing my alignment yesterday, and I had to use the "spare" bolt I ordered. Going to grab another handful to have on deck just in case.
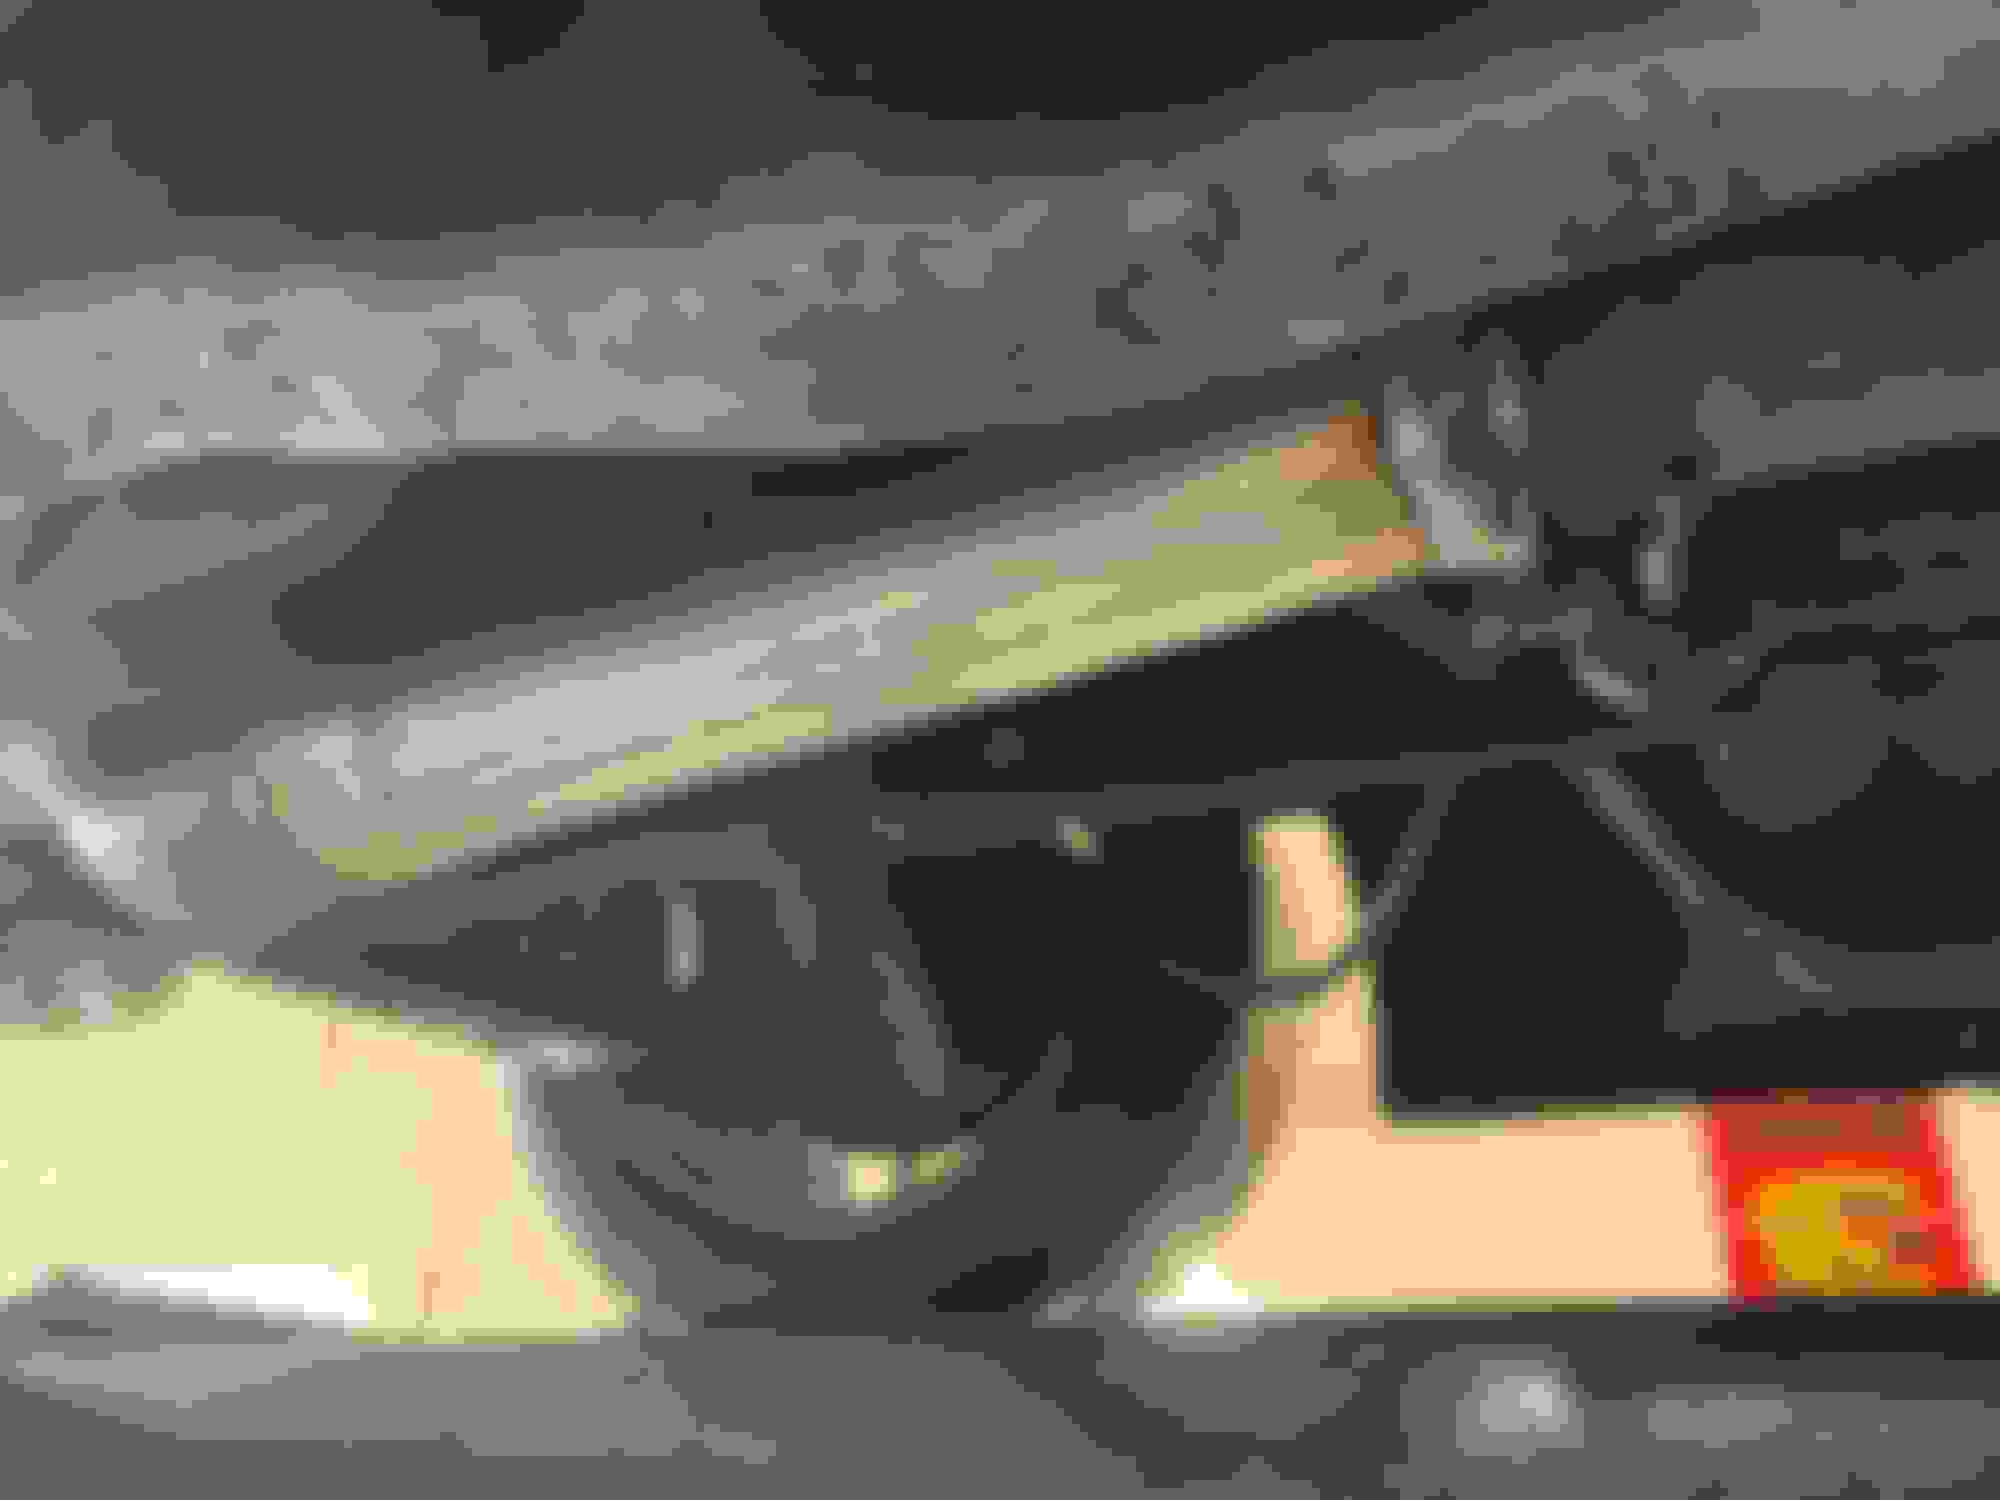
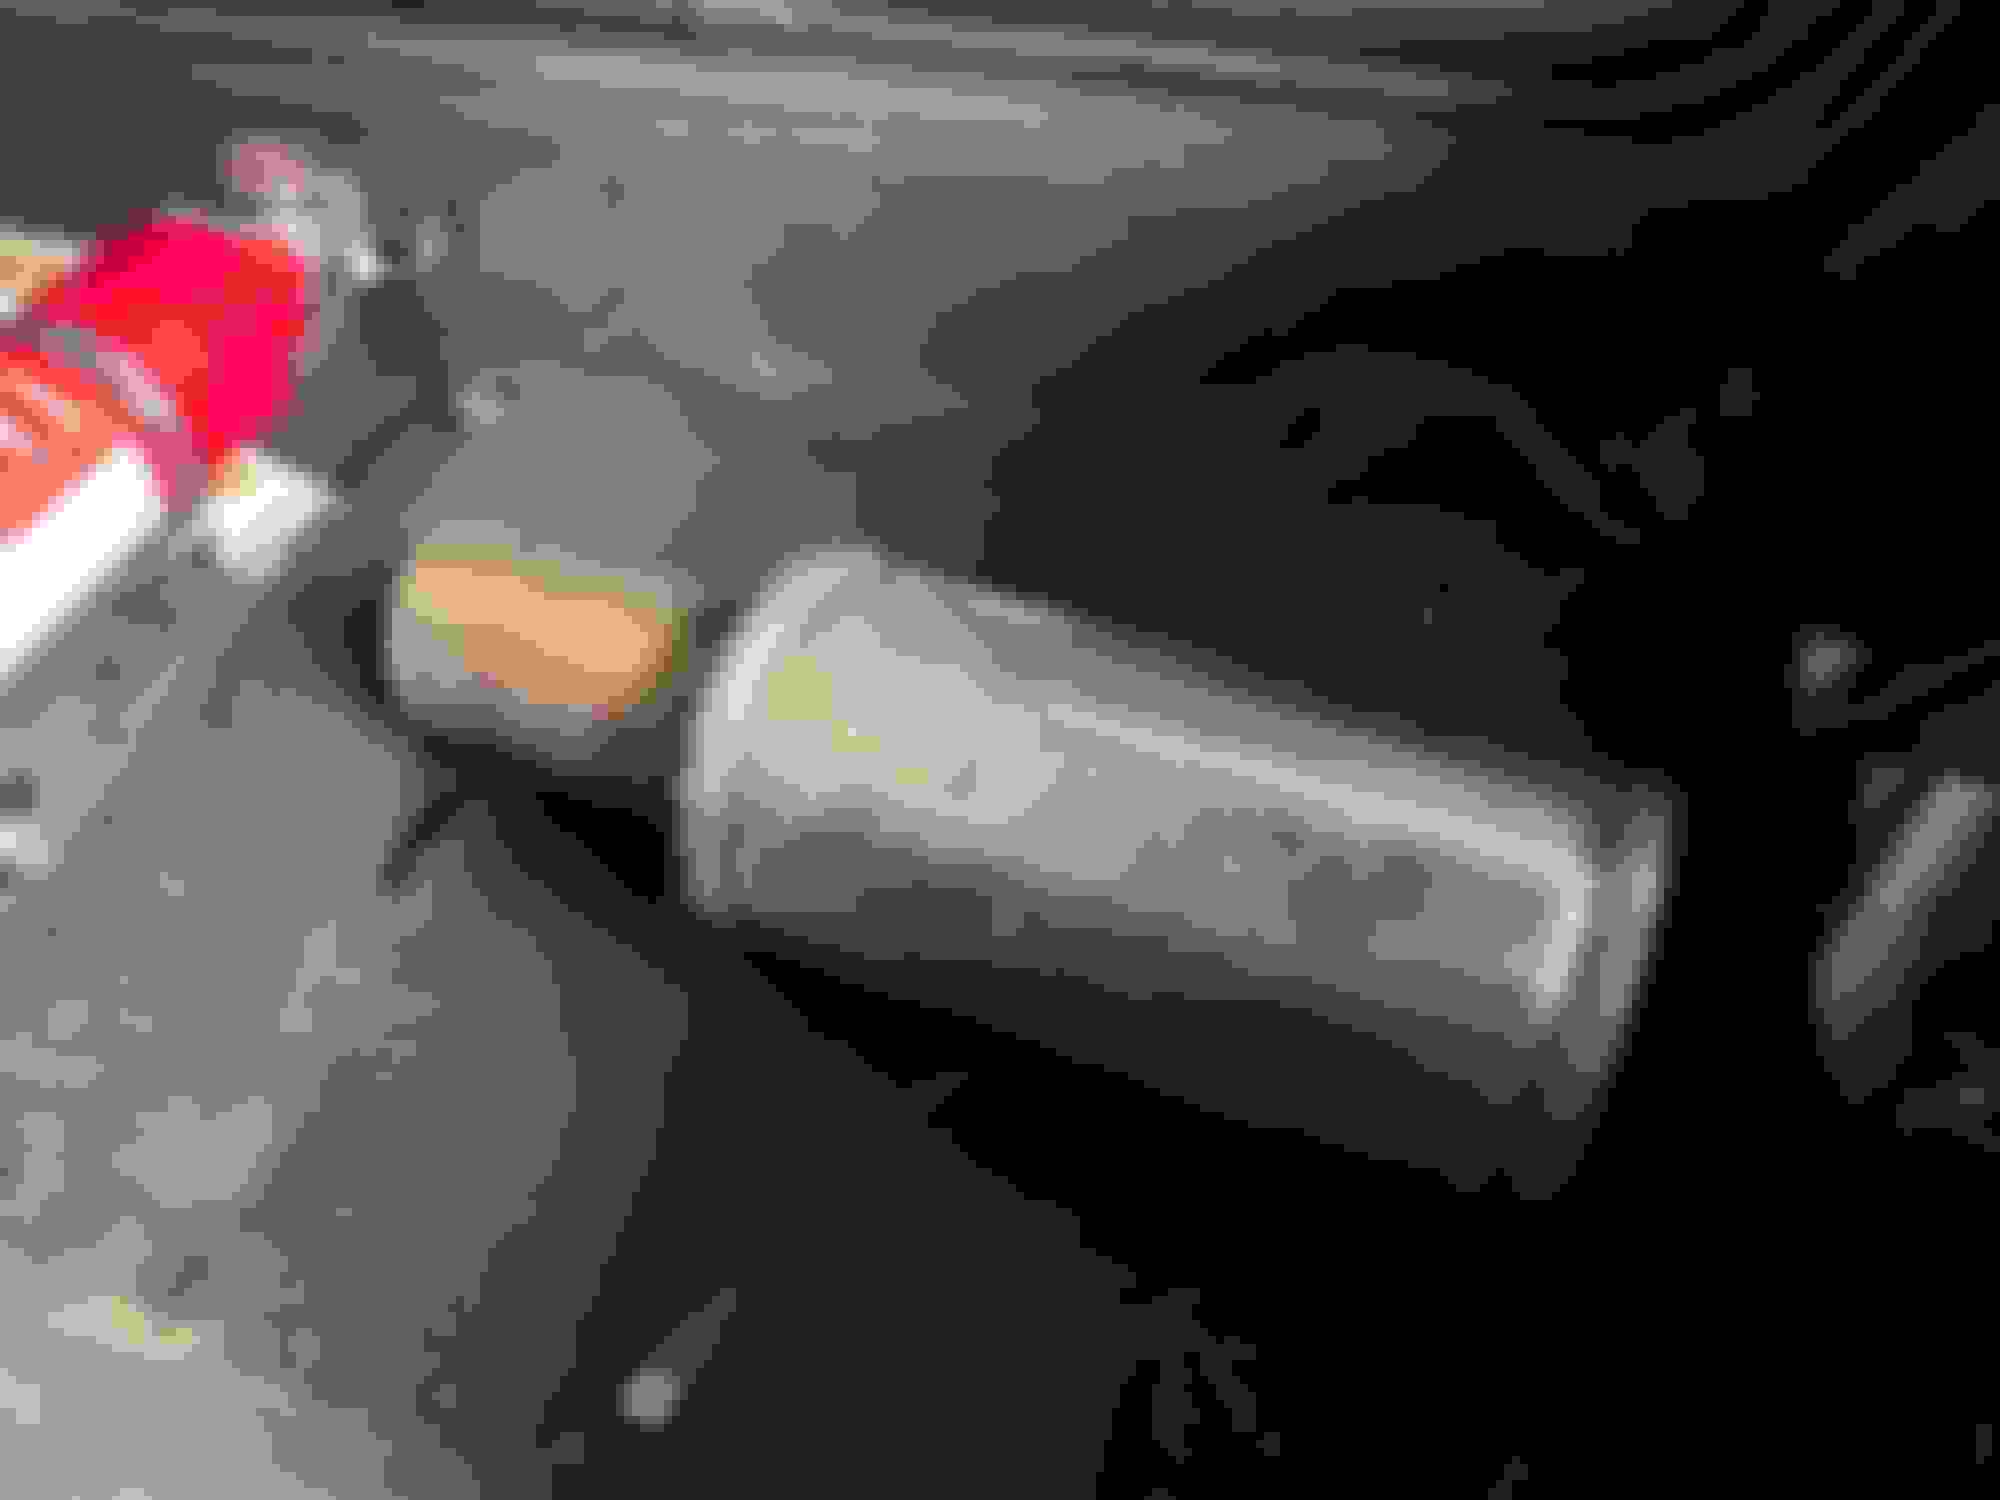
Just picked up the car from the exhaust shop. The resonator is history and the exhaust honestly seems only a touch louder... maybe? If nobody told me it was removed, I'd suspect nothing. Happy with that, though. Clearance is still going to be tight. The problem is that getting the exhaust high enough to clear the PPF delete brace will bring it into contact with the stub shaft. I'll likely swap to NB axles for more clearance. I'm going to bring it back once the PPF delete brace is on and have a small kink put in the pipe above the new diff brace in order to make sure it clears. I'm sure the kink won't hurt flow too much but the necessary bend will be less aggressive with the non-stub shaft type axles.
Anyone want a 3" Simons resonator? Pay for shipping and it's yours lol.
@SimBa Did you end up ordering your exhaust with or without a resonator? At this point, I don't think it matters much haha.
I guess I'm lucky, slow, or just not tracking enough but thankfully I've not had too many issues with the alignment bolts. I definitely plan to get the SM ones next time though.
For the high torque locations like the FLCA-F, I added a regular washer between the nut and the eccentric washer. I've no idea if it will actually make an improvement, but I figured it would lower the friction/torque that tries to tear off those little tabs.
I find it interesting that each of us have had different issues with the alignment bolts/washers. I�ve never had an issue with the tabs on the washers wearing or breaking off (talking about the non-SM bolts I�ve already replaced with the newer two-tab style washers).
Kmiata driveshaft showed up today. F*ck, it�s heavy. This thing�s gotta be fifteen pounds. @sixshooter, I read your posts on the original Kmiata ZF6 swap thread and saw they replaced your original 20lb driveshaft with the newer lighter one. Do you remember what the updated driveshaft weighed?
Welp. Here goes! I'm gonna try to document my trials and tribulations on the ZF6 swap as well as possible since I've only found a couple writeups on it and they were both from 5+ years ago. I've already run into a couple hiccups as well that I hadn't read about anywhere else, so hopefully my blunders may help someone down the line.
Yeah, I know I need to trim my yard. Car things first..
Got the remaining packages for the swap last night. Everything was packaged and labeled well. Pretty straightforward unboxing everything and figuring out what bolts go to what.
The trans is at my work, so I couldn't do much last night, but I figured I could at least drill the starter out and mount it to the adapter plate so I could make the cut in the bell housing this morning. I believe the ideal drill bit to use is a 0.400", but the closest I had at home was a 3/8". I drilled the threads out with the 3/8" bit and tapped a loose M10 bolt back and forth through the bores a few times with a hammer to knock out anything left inside. Crude, but it worked out. The M10's used to mount the starter move through their bores freely but with minimal play.
Next is where I ran into my first hiccup. The adapter plate is drilled for an NB starter bolt pattern, however the outermost hole in my plate is drilled just a few mm too far inboard for the starter bolt there to line up. I mitered the hole out in the starter a bit but still need to go a little further for the bolt to be able to thread in.
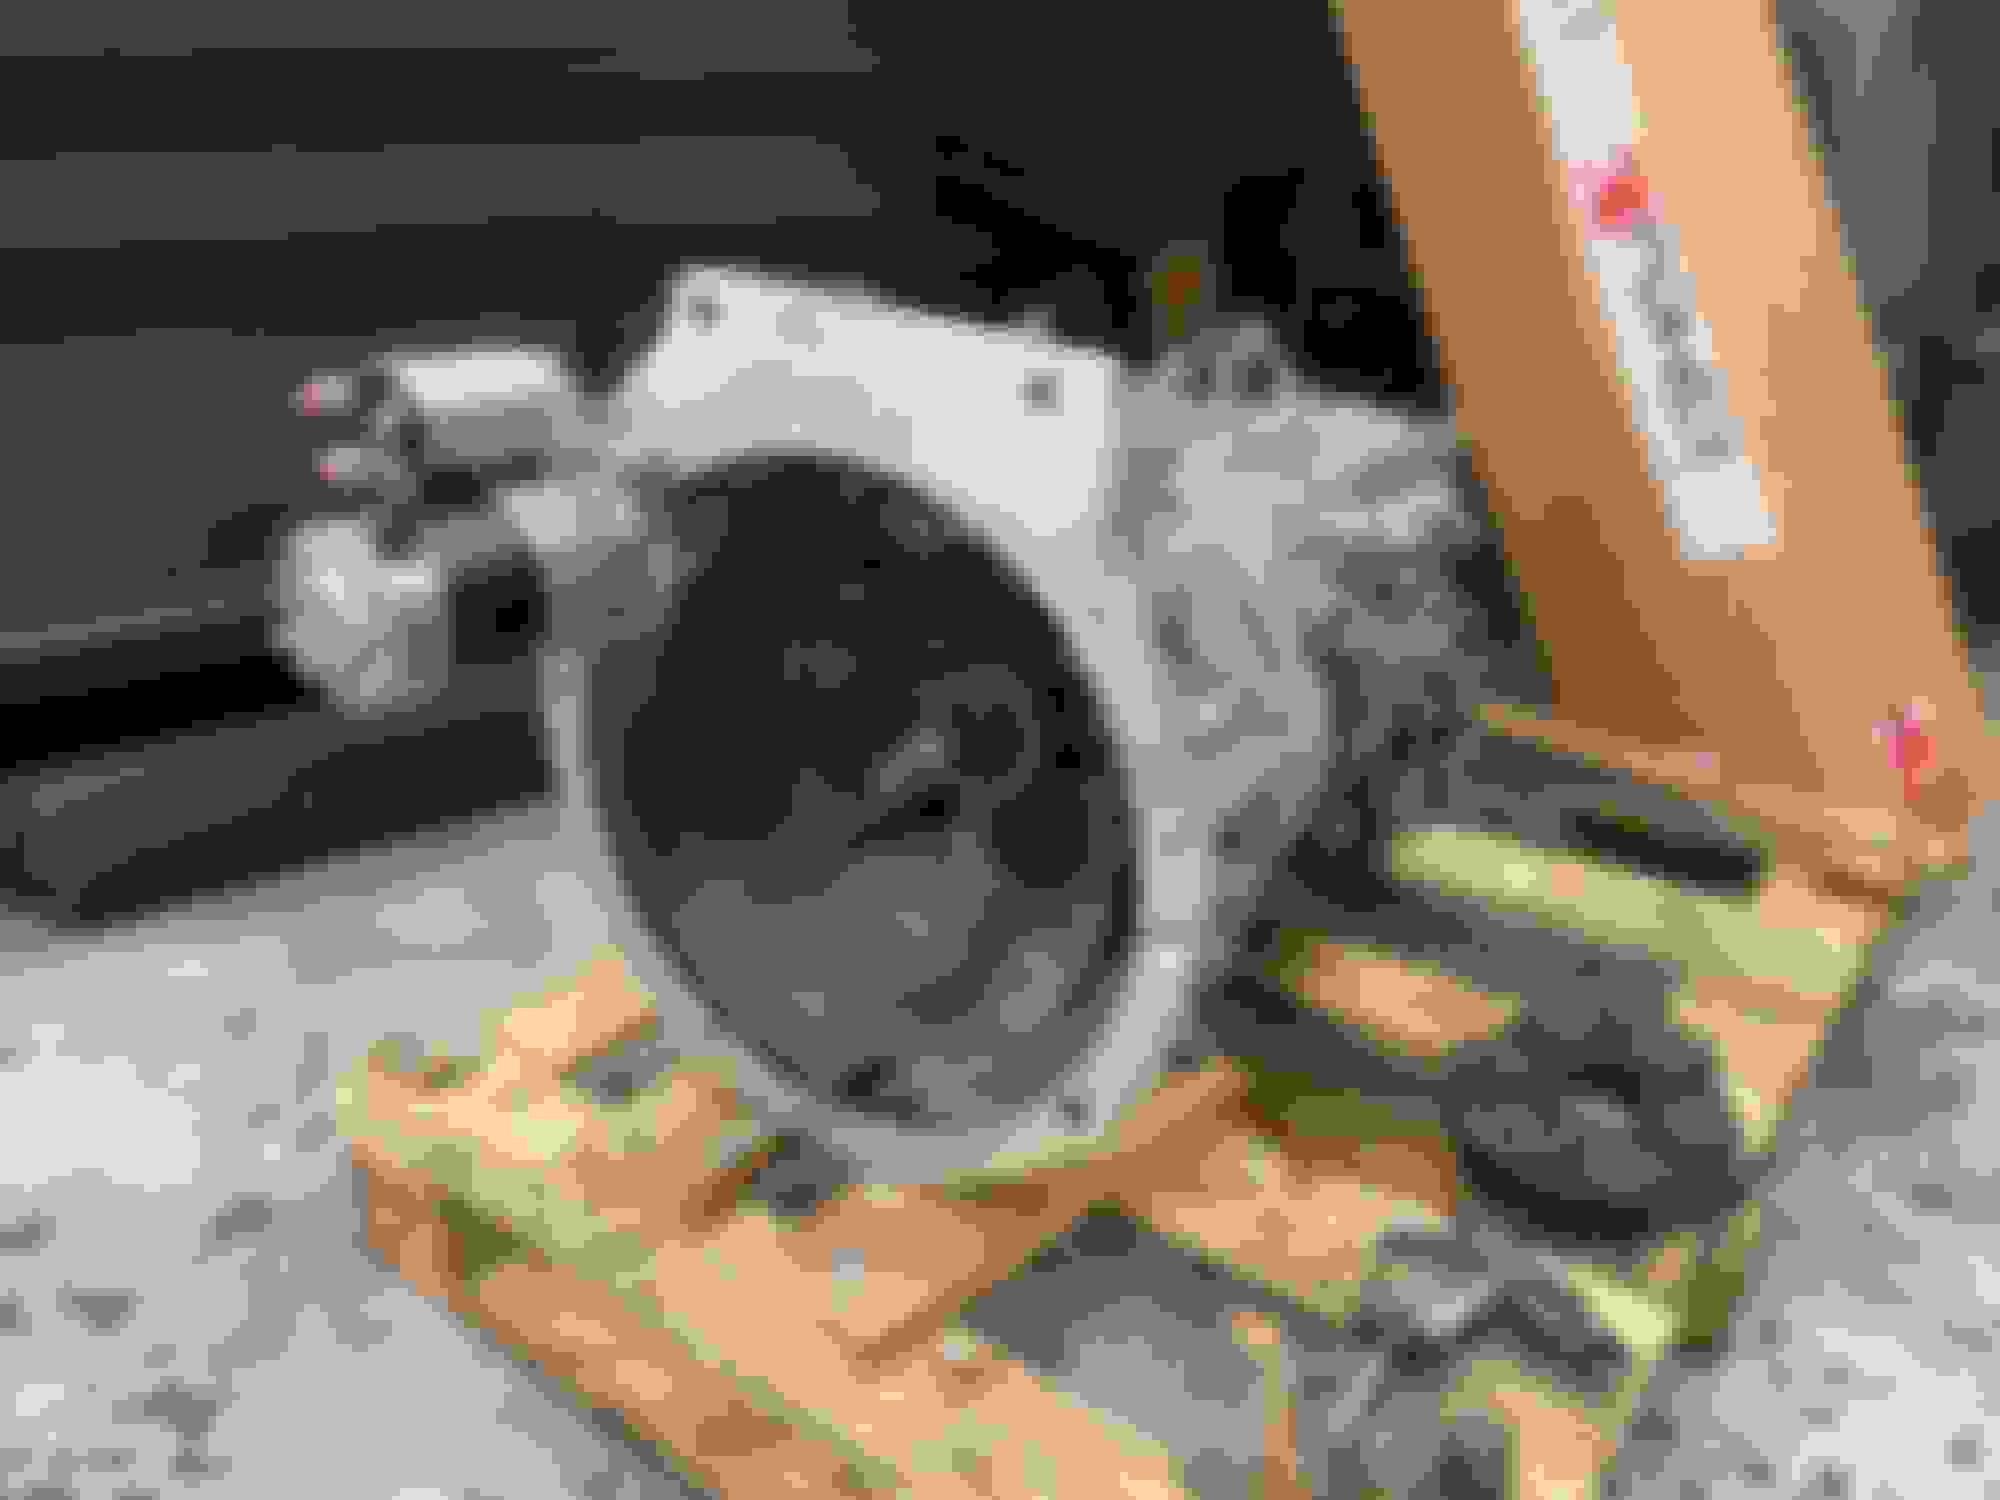
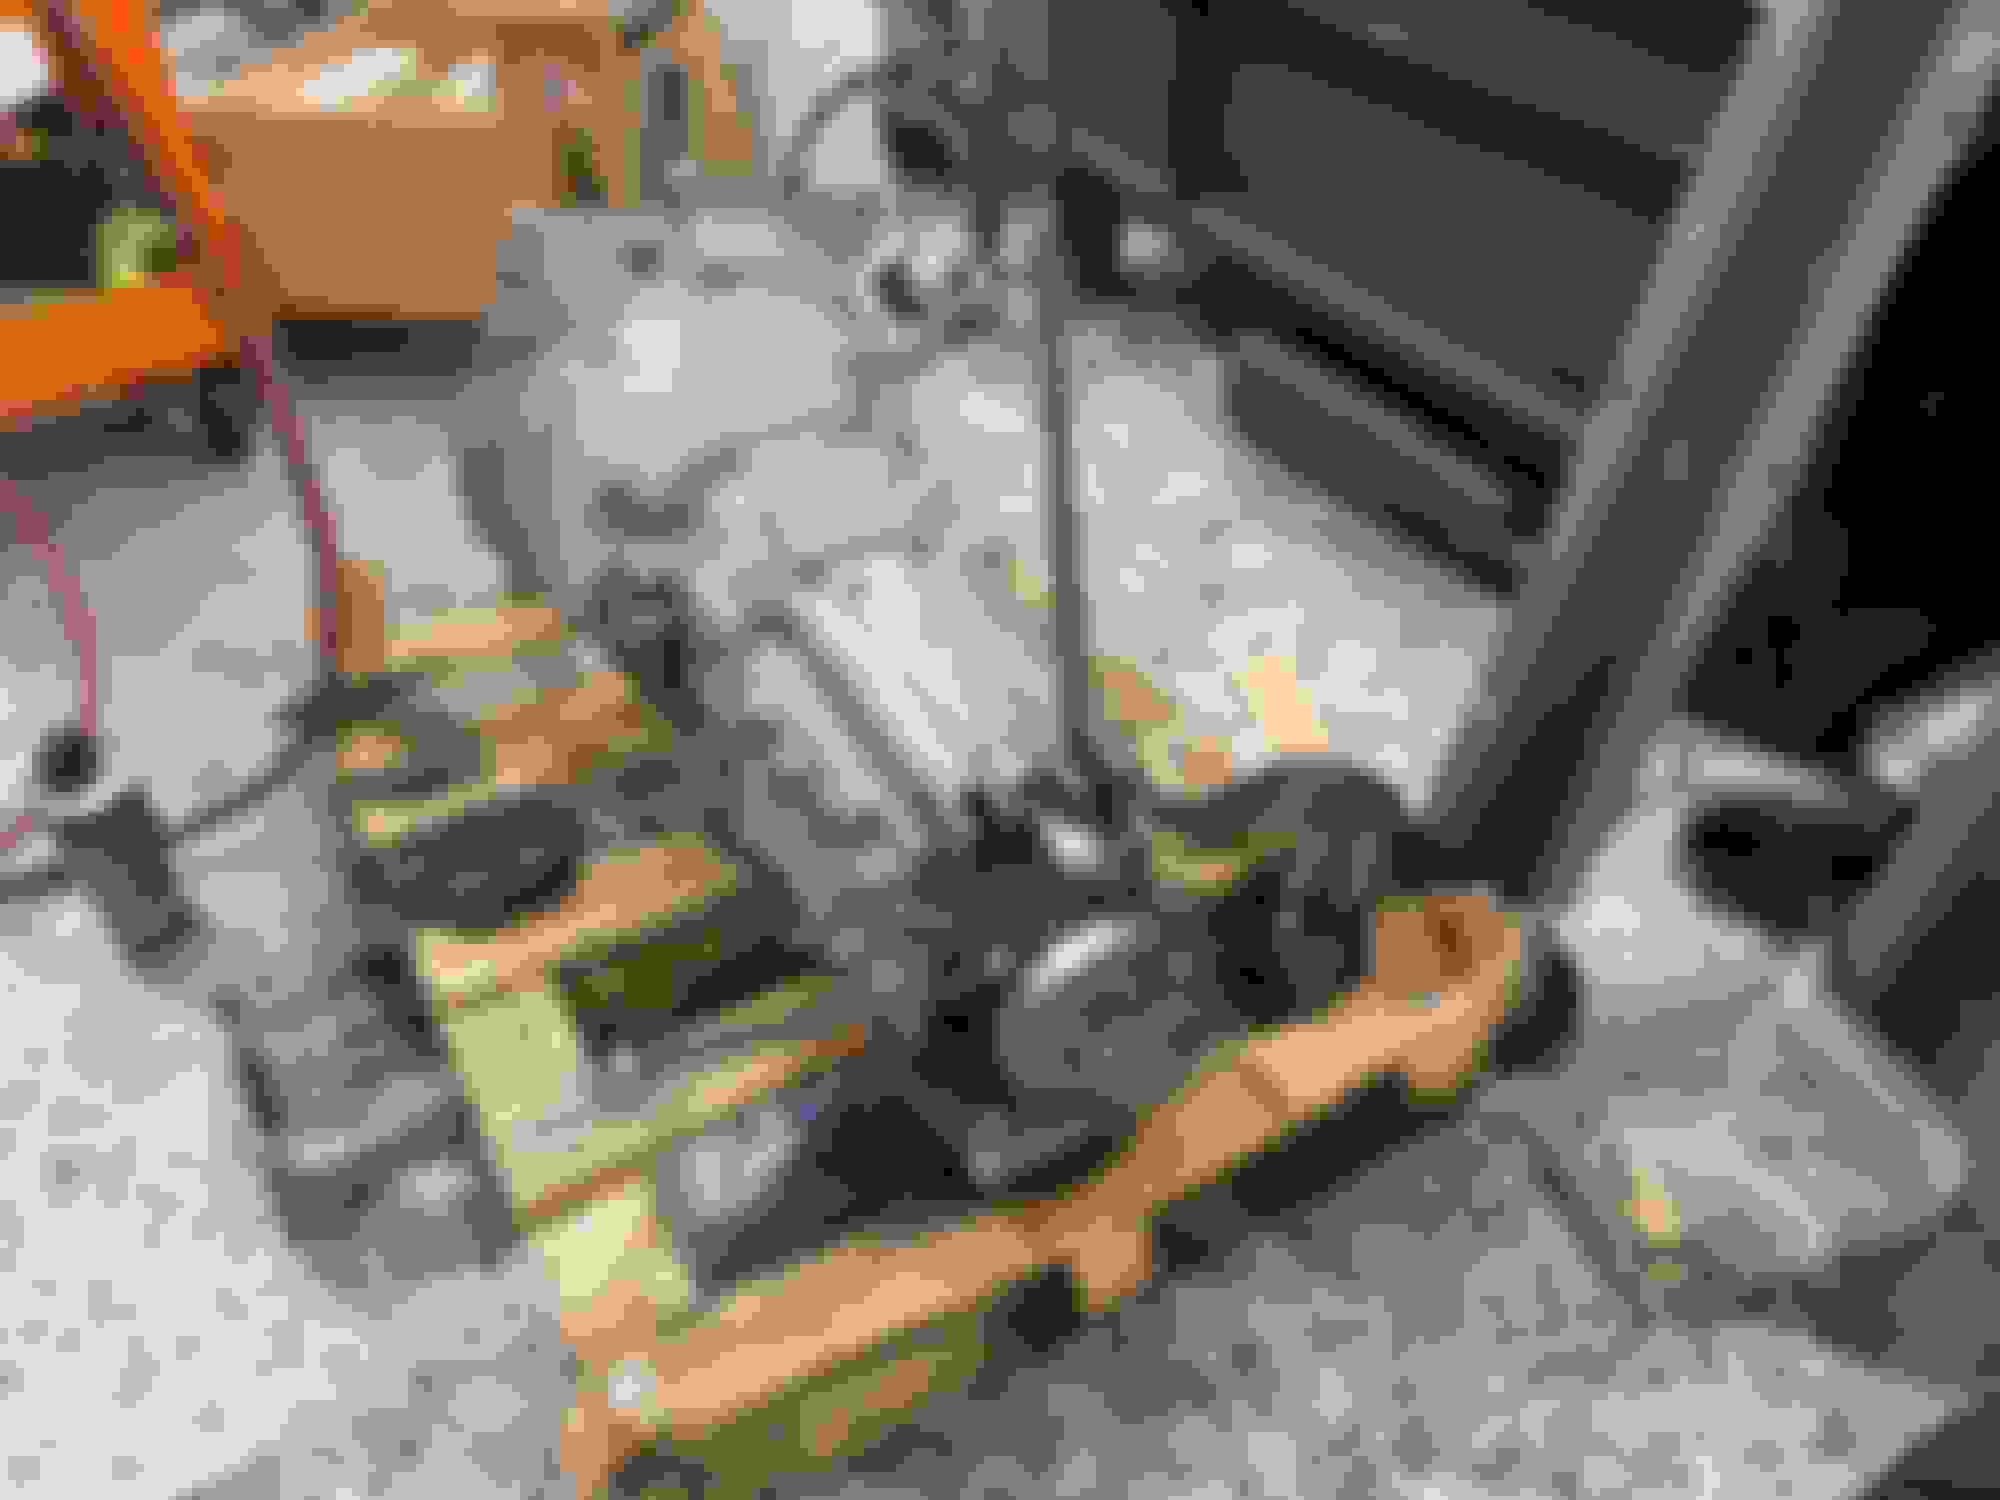
Next was making the bell housing cut this morning. This was more of a pain in the butt than I anticipated. Actually, I should rephrase that. It just took longer than I expected. The cut in the ZF6 that needs to be made is very... three dimensional. I used what I had at my disposal: a cutoff wheel, jigsaw with a metal cutting blade, and a small carbide die grinder. After I took this photo, I cleaned up the edges with a pneumatic polishing wheel and some files. There are a lot of vertical obstructions to the area that needs to be cut, so I had to come at it from multiple angles switching between multiple tools to remove all the material necessary to make the cut. Hindsight 20/20, a very large diameter cutoff wheel and die grinder would make this quicker/easier.
My cut extends a little further downwards than it needs to. No big deal. I have some stick on dynamat and heat shielding that I'm going to try to use to cover the starter/hole so no debris ends up inside the bell housing.
Looks like there's a gaping hole in the bell housing but that's actually the nose of the starter.
Next up, the selector joint. Had a hangup here too. The holes drilled in my supplied joint didn't line up perfectly with each other and I couldn't get the pin through, even with the joint off the transmission. Before I realized this, I tried installing the joint onto the trans, only to find out it would lock up as soon as the pin got close to inserting through the far side of the joint. I figured the part was defected already, and mitered out the holes just enough for the pin to pass through without incurring any extra friction in the assembly. There's a bit of play in it now. I messaged Kpower and was initially told to kick rocks and buy a new one for $20, after another message back, I was told to send photos of the selector joint. I think I initially failed to express the problem I was running into correctly. We'll see if/how it gets resolved. I'm not too worried.
Popped the driveshaft adapter and trans mount on during my lunch break. The top left bolt on my trans mount bracket was drilled a bit off and had to be mitered out a bit to line up. Only an open end wrench will fit around the 19mm bolts given their close proximity to the output shaft flange.
And that's where we're at right now! Tomorrow, I'm gonna play around with the frame rails a bit. Aside from the mounting tabs, the V8R rails in this kit are the exact same as the V8R braces I already had, including the bolt hole locations. I'm gonna get the car on a lift and mock up/take some measurements on where the new trans is going to sit. Maybe (by the grace of God) I can bolt the new rails in where my old ones were and have the trans mount line up with the tabs. Not having to drill new holes would be awesome and I could mount the rails in before tearing the current trans out of the car this weekend.
Wow, I've removed and installed a million BMW transmissions, and they got rid of all the serviceability aspects of it.
The cushion in the selector joint is very important to eliminate slop in the shifter, so you typically have to press hard to squish it in order for the pin to line up. I have a feeling you'll eventually have issues with the steel pin in the aluminum selector joint, much like their BRZ selector rod. There's a reason BMW uses a steel joint with a bronze bushing.
For the starter relief, measure the depth of the nose, use a ~1-1.5 inch hole saw at that depth, then connect the hole to the mating surface at a taper, these instructions (last I checked) are in most if not all of their K-swap instructions.
The guibo is usually impacted on/off with a wrench holding the nut through a slot in the trans mount bracket, seems ridiculous to make you put the adapter on with an open-ended wrench, hopefully this is only installed once and the driveshaft can still be impacted on/off.
Then you removed a perfectly usable mount bracket that has a million different options from rubber to solid to install basically a GM/Ford poly mount. Maybe I'm missing something, but I would keep the stock guibo, mount bracket, and make the frame rails mount to it, but maybe there's clearances I'm not considering. That GM/Ford mount isn't thin though...
Is there at least a slot in the mount bracket you could reach if it wasn't on a pallet?
They did **** like this on the E30(?) swap, where it's damn near required to remove the engine to remove the trans. Coming from a past of service technician, and currently working with a lot of race car/fabrication projects, I know it's possible to make parts with serviceability in mind, but it does require a little extra time/effort/money.
 03-24-2024, 10:03 PM


 0
0


 That may be related to why my mods take so long.