When you click on links to various merchants on this site and make a purchase, this can result in this site earning a commission. Affiliate programs and affiliations include, but are not limited to, the eBay Partner Network.
The REPU was that same overall as the B1600/Courier other than having a rotary. The body is just cosmetically different. Ford never got a rotary engine.
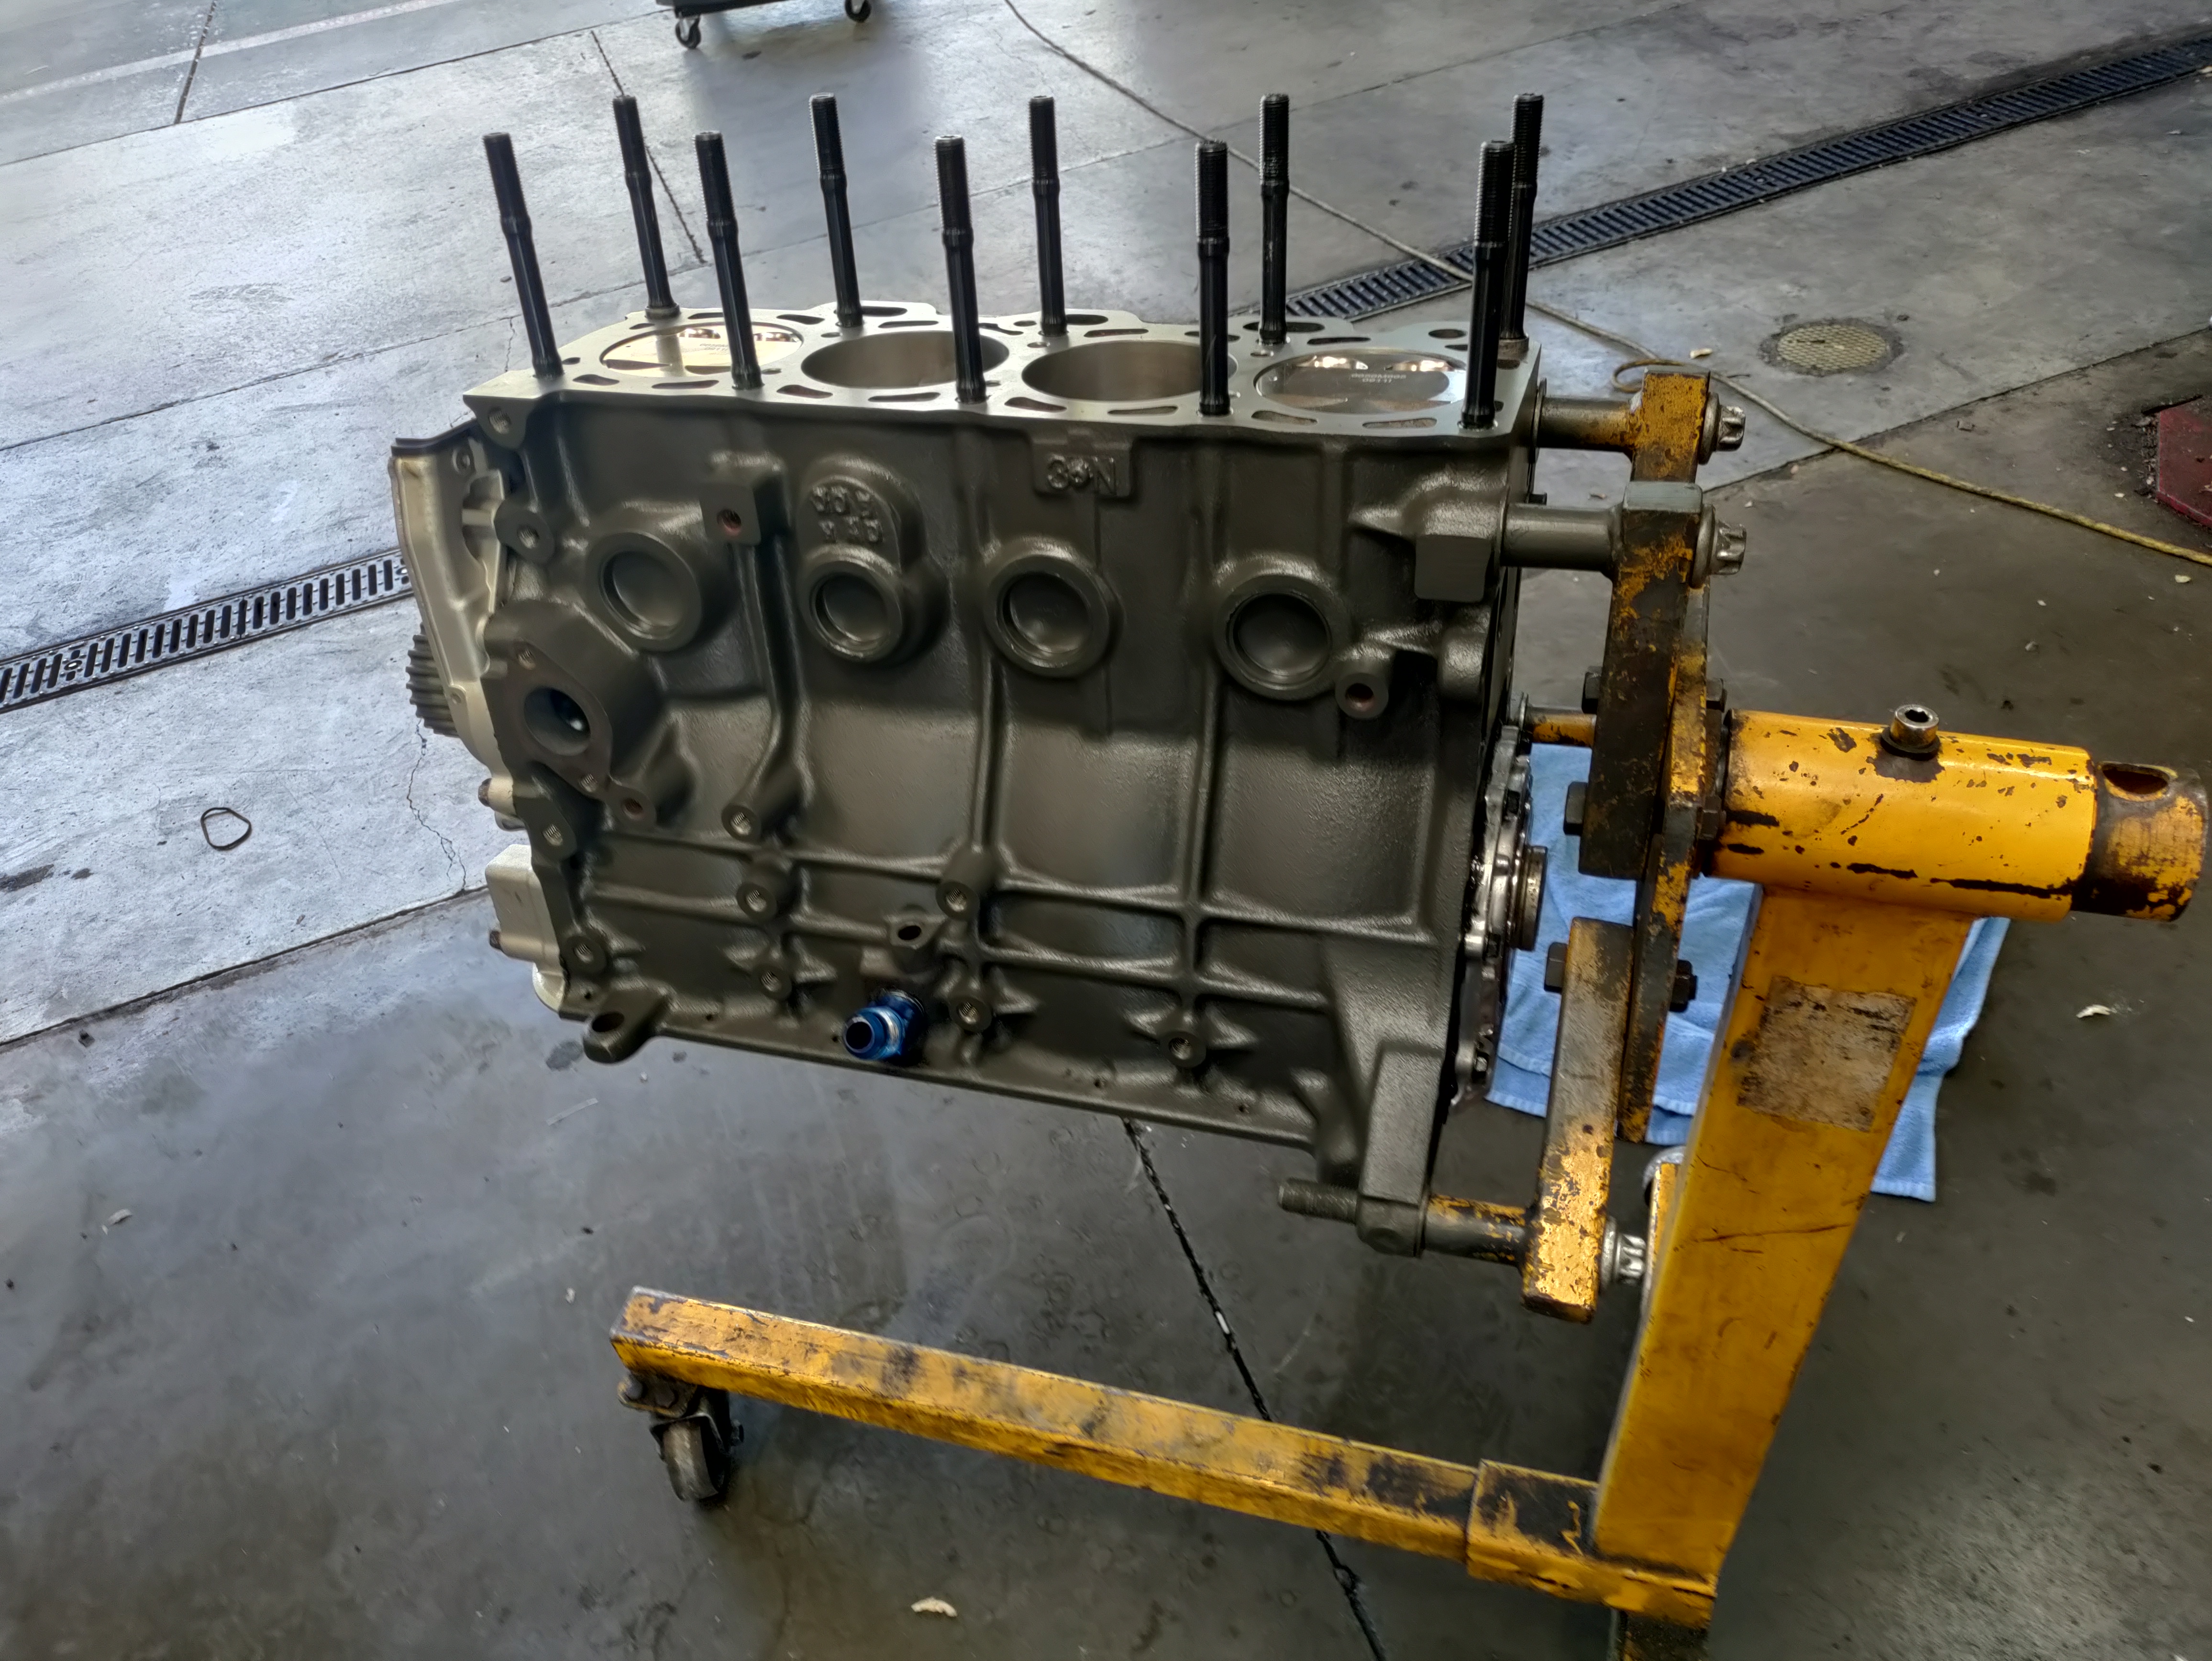
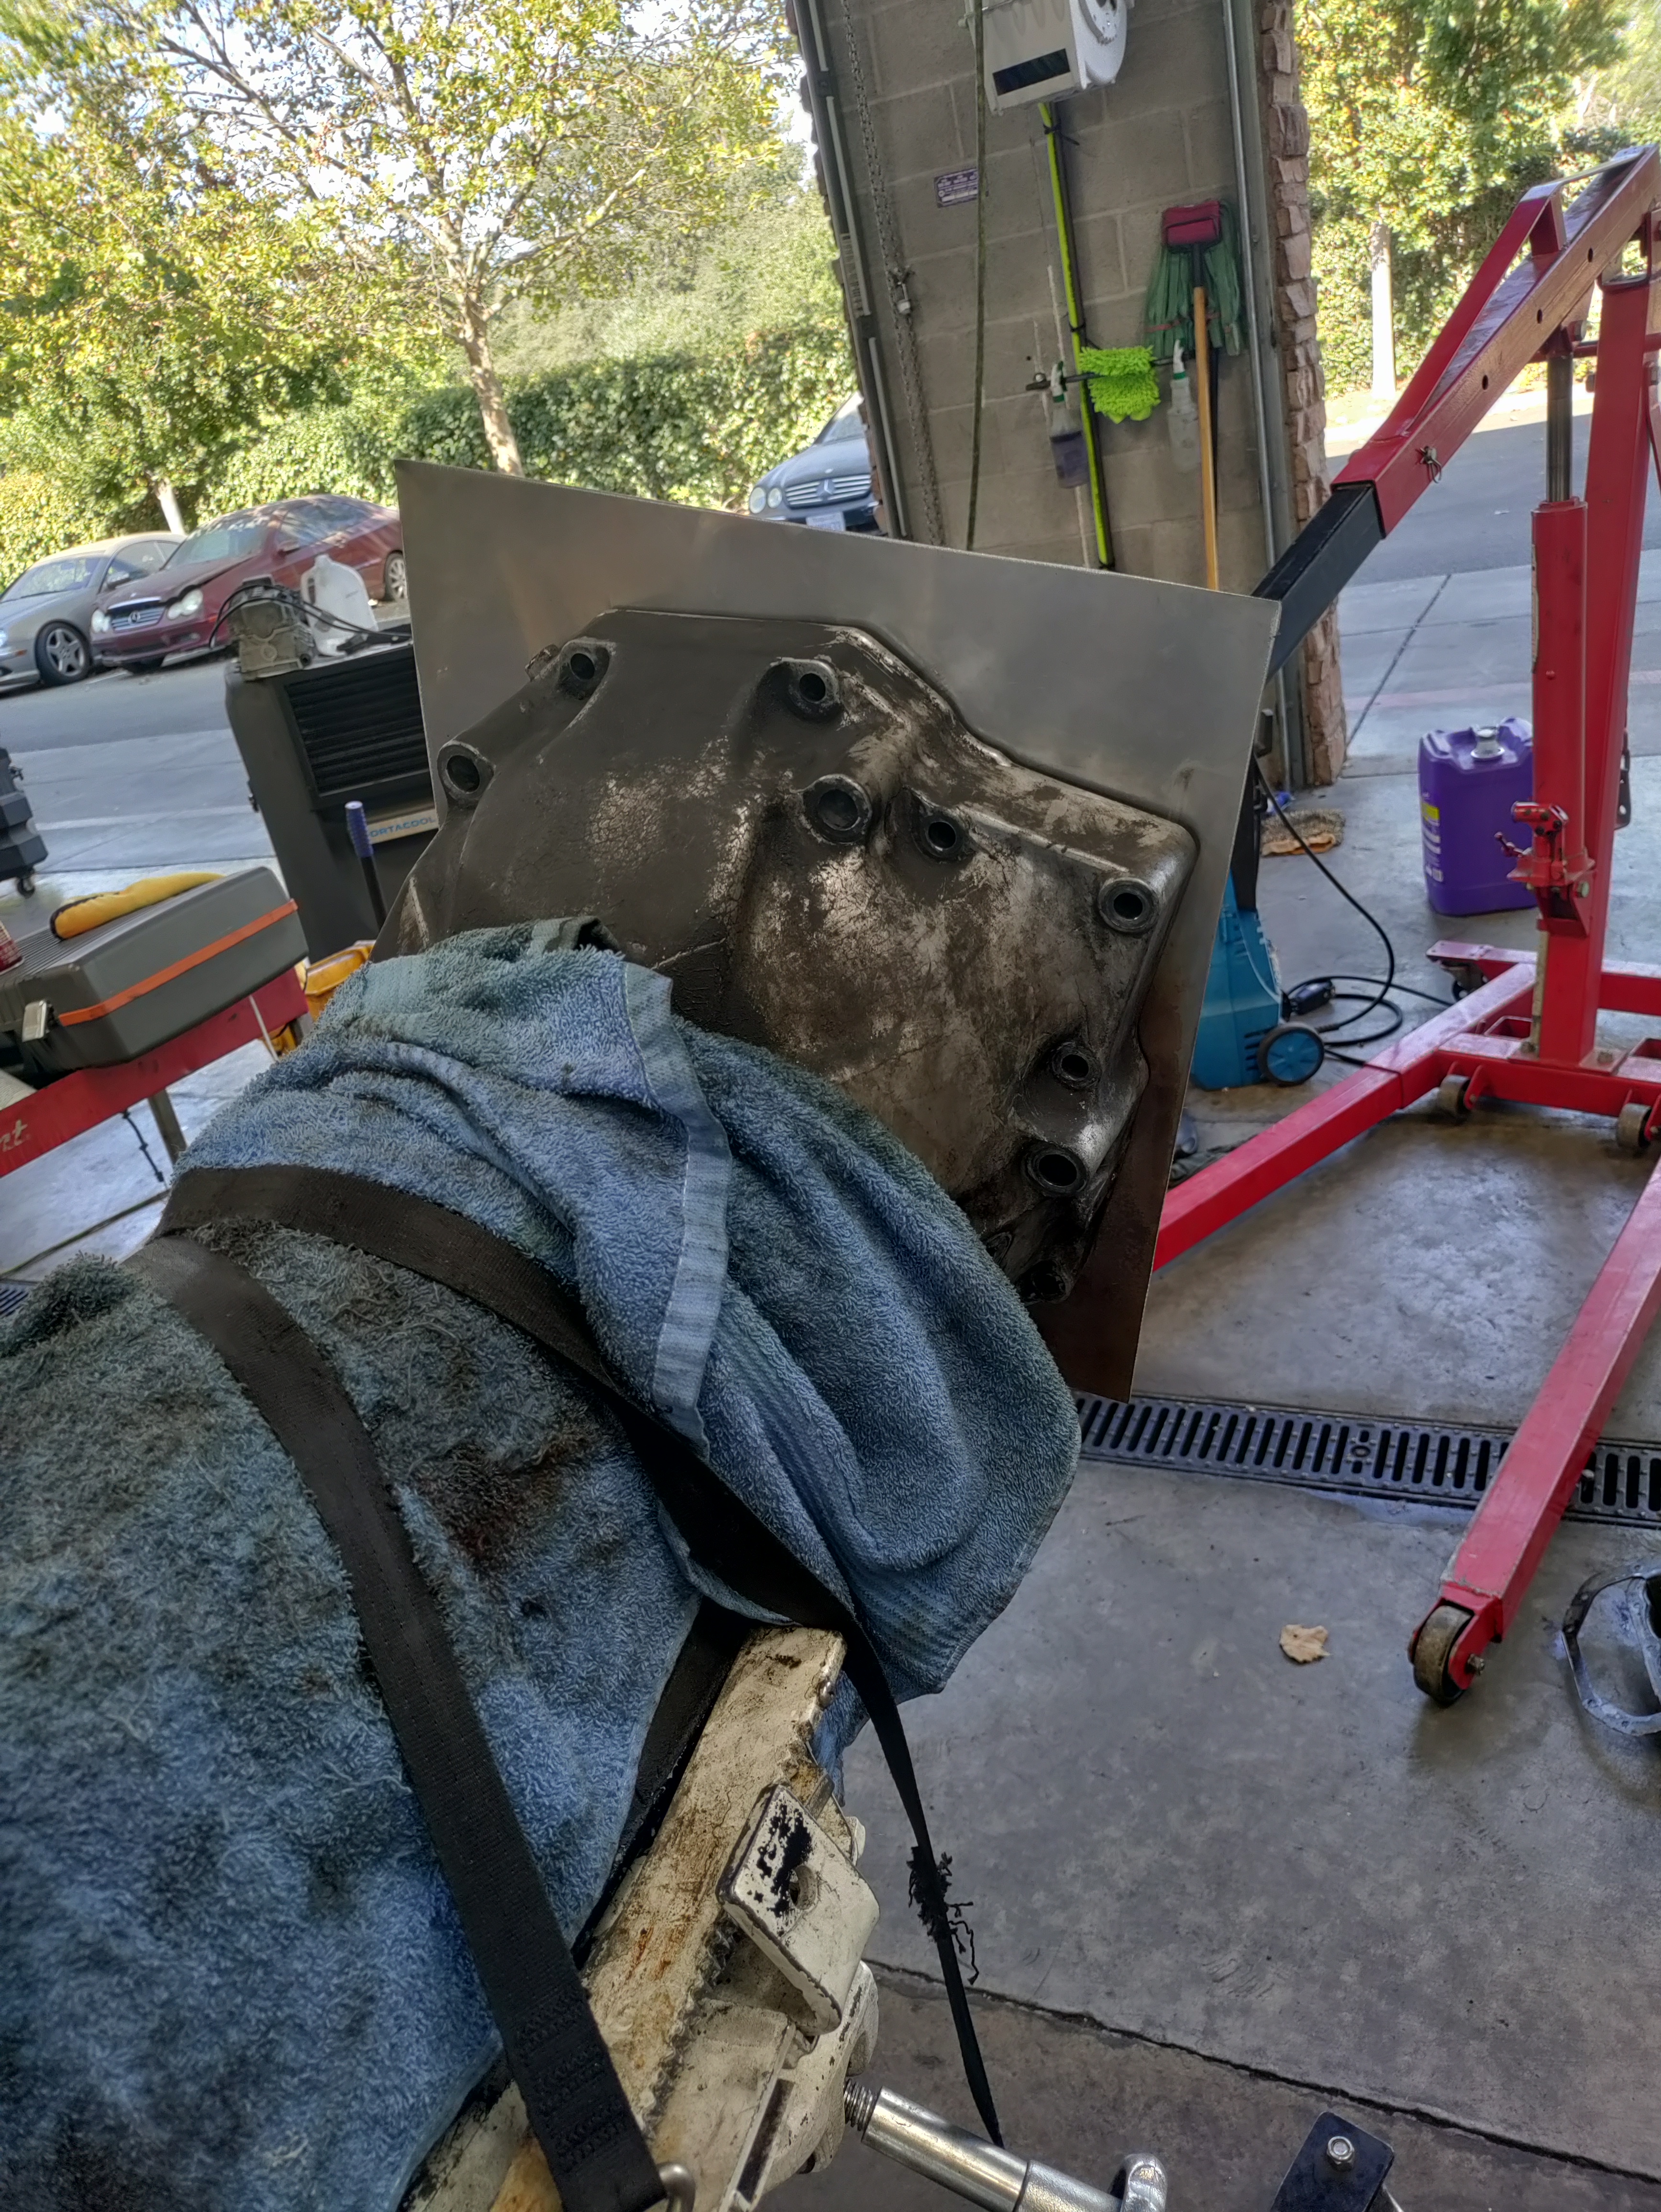
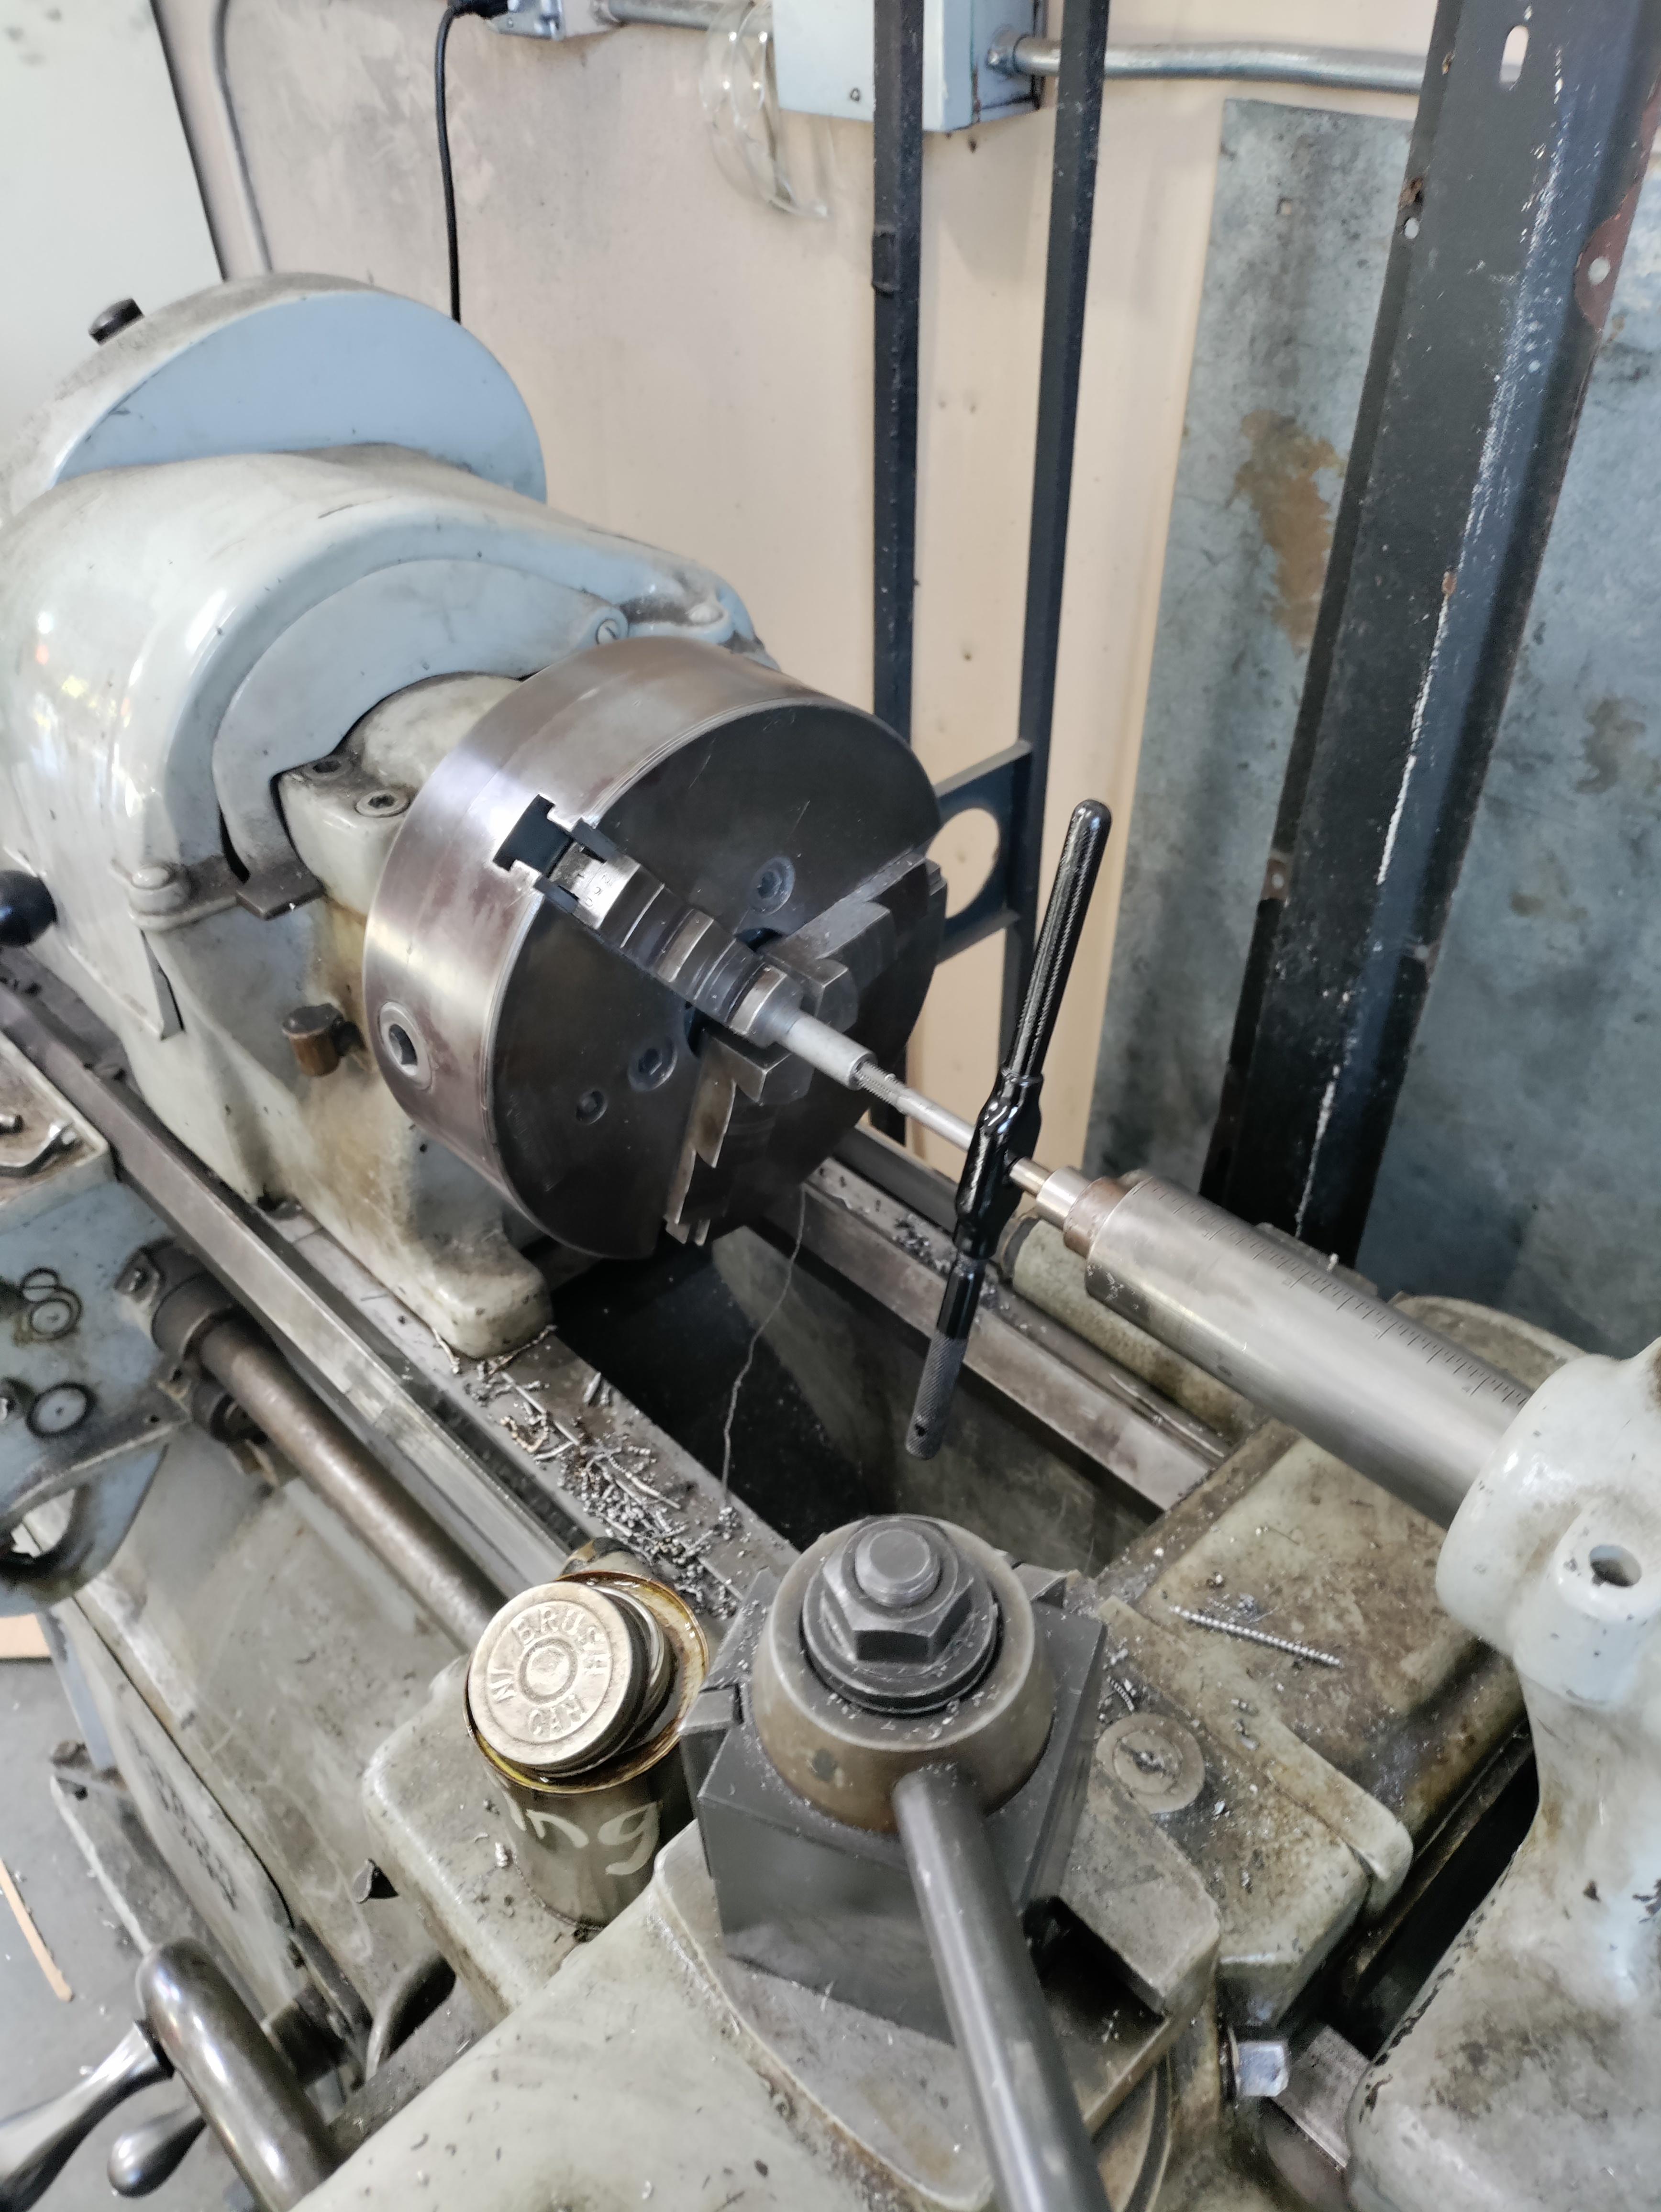
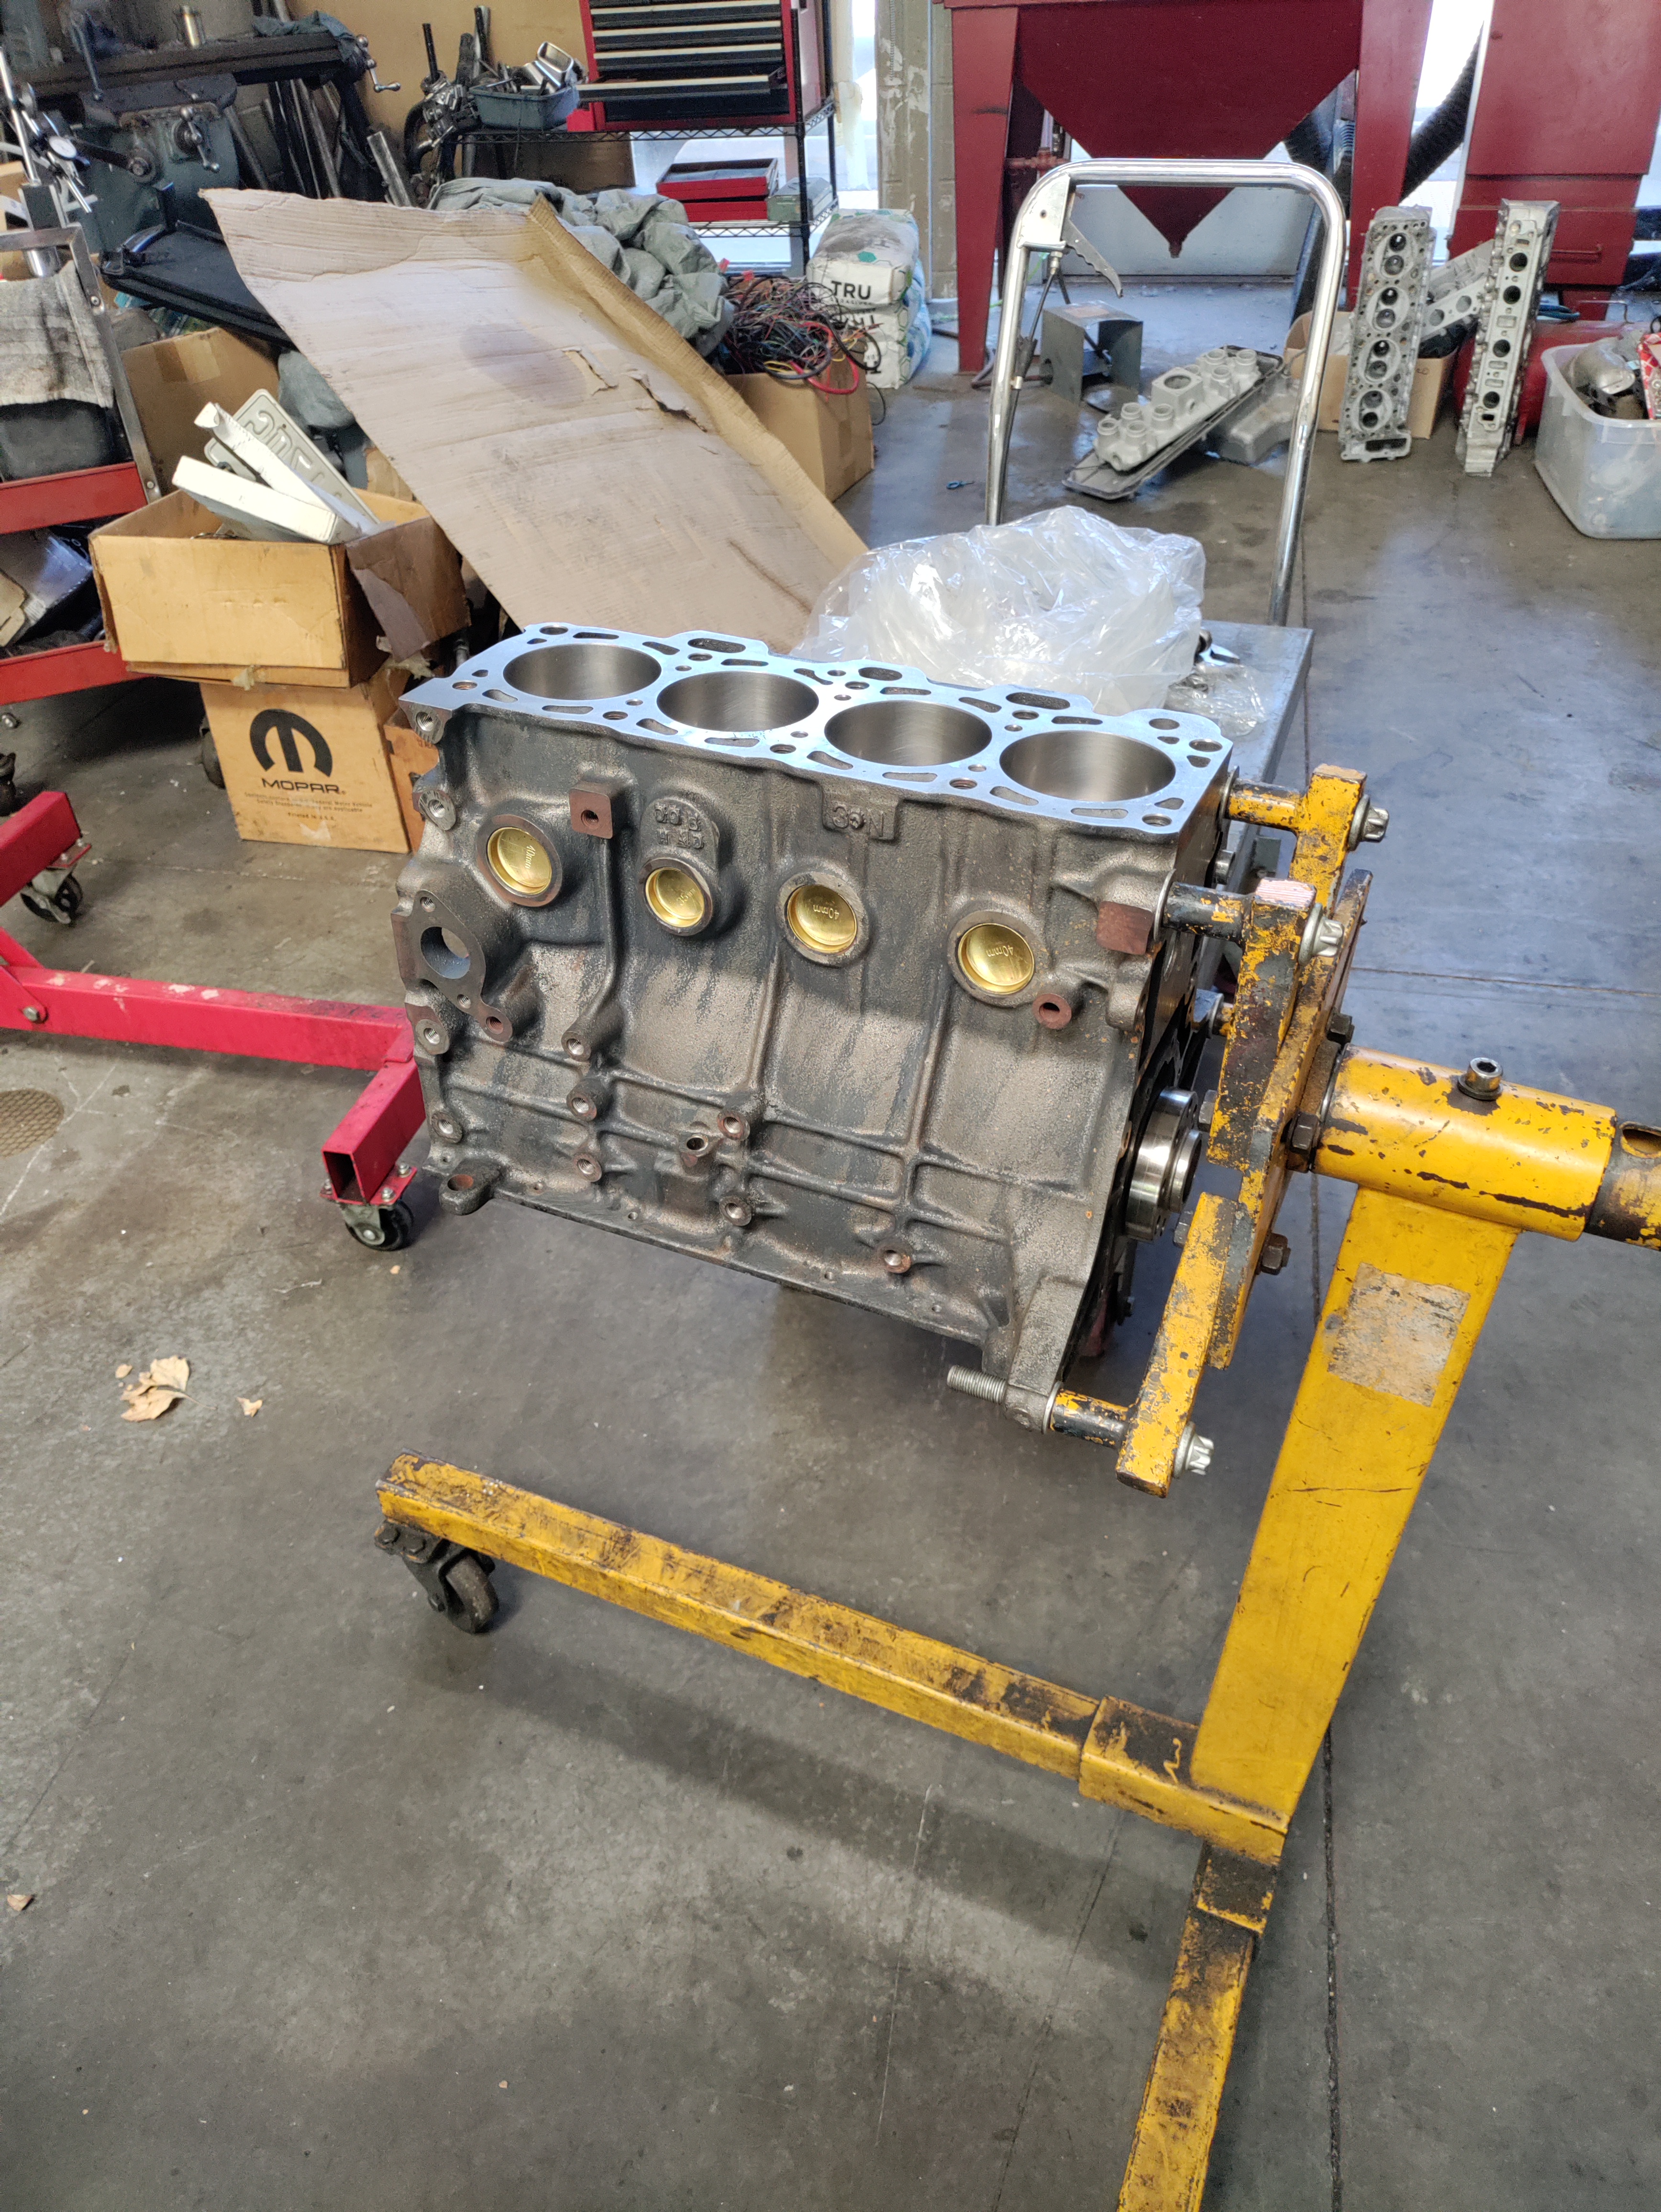
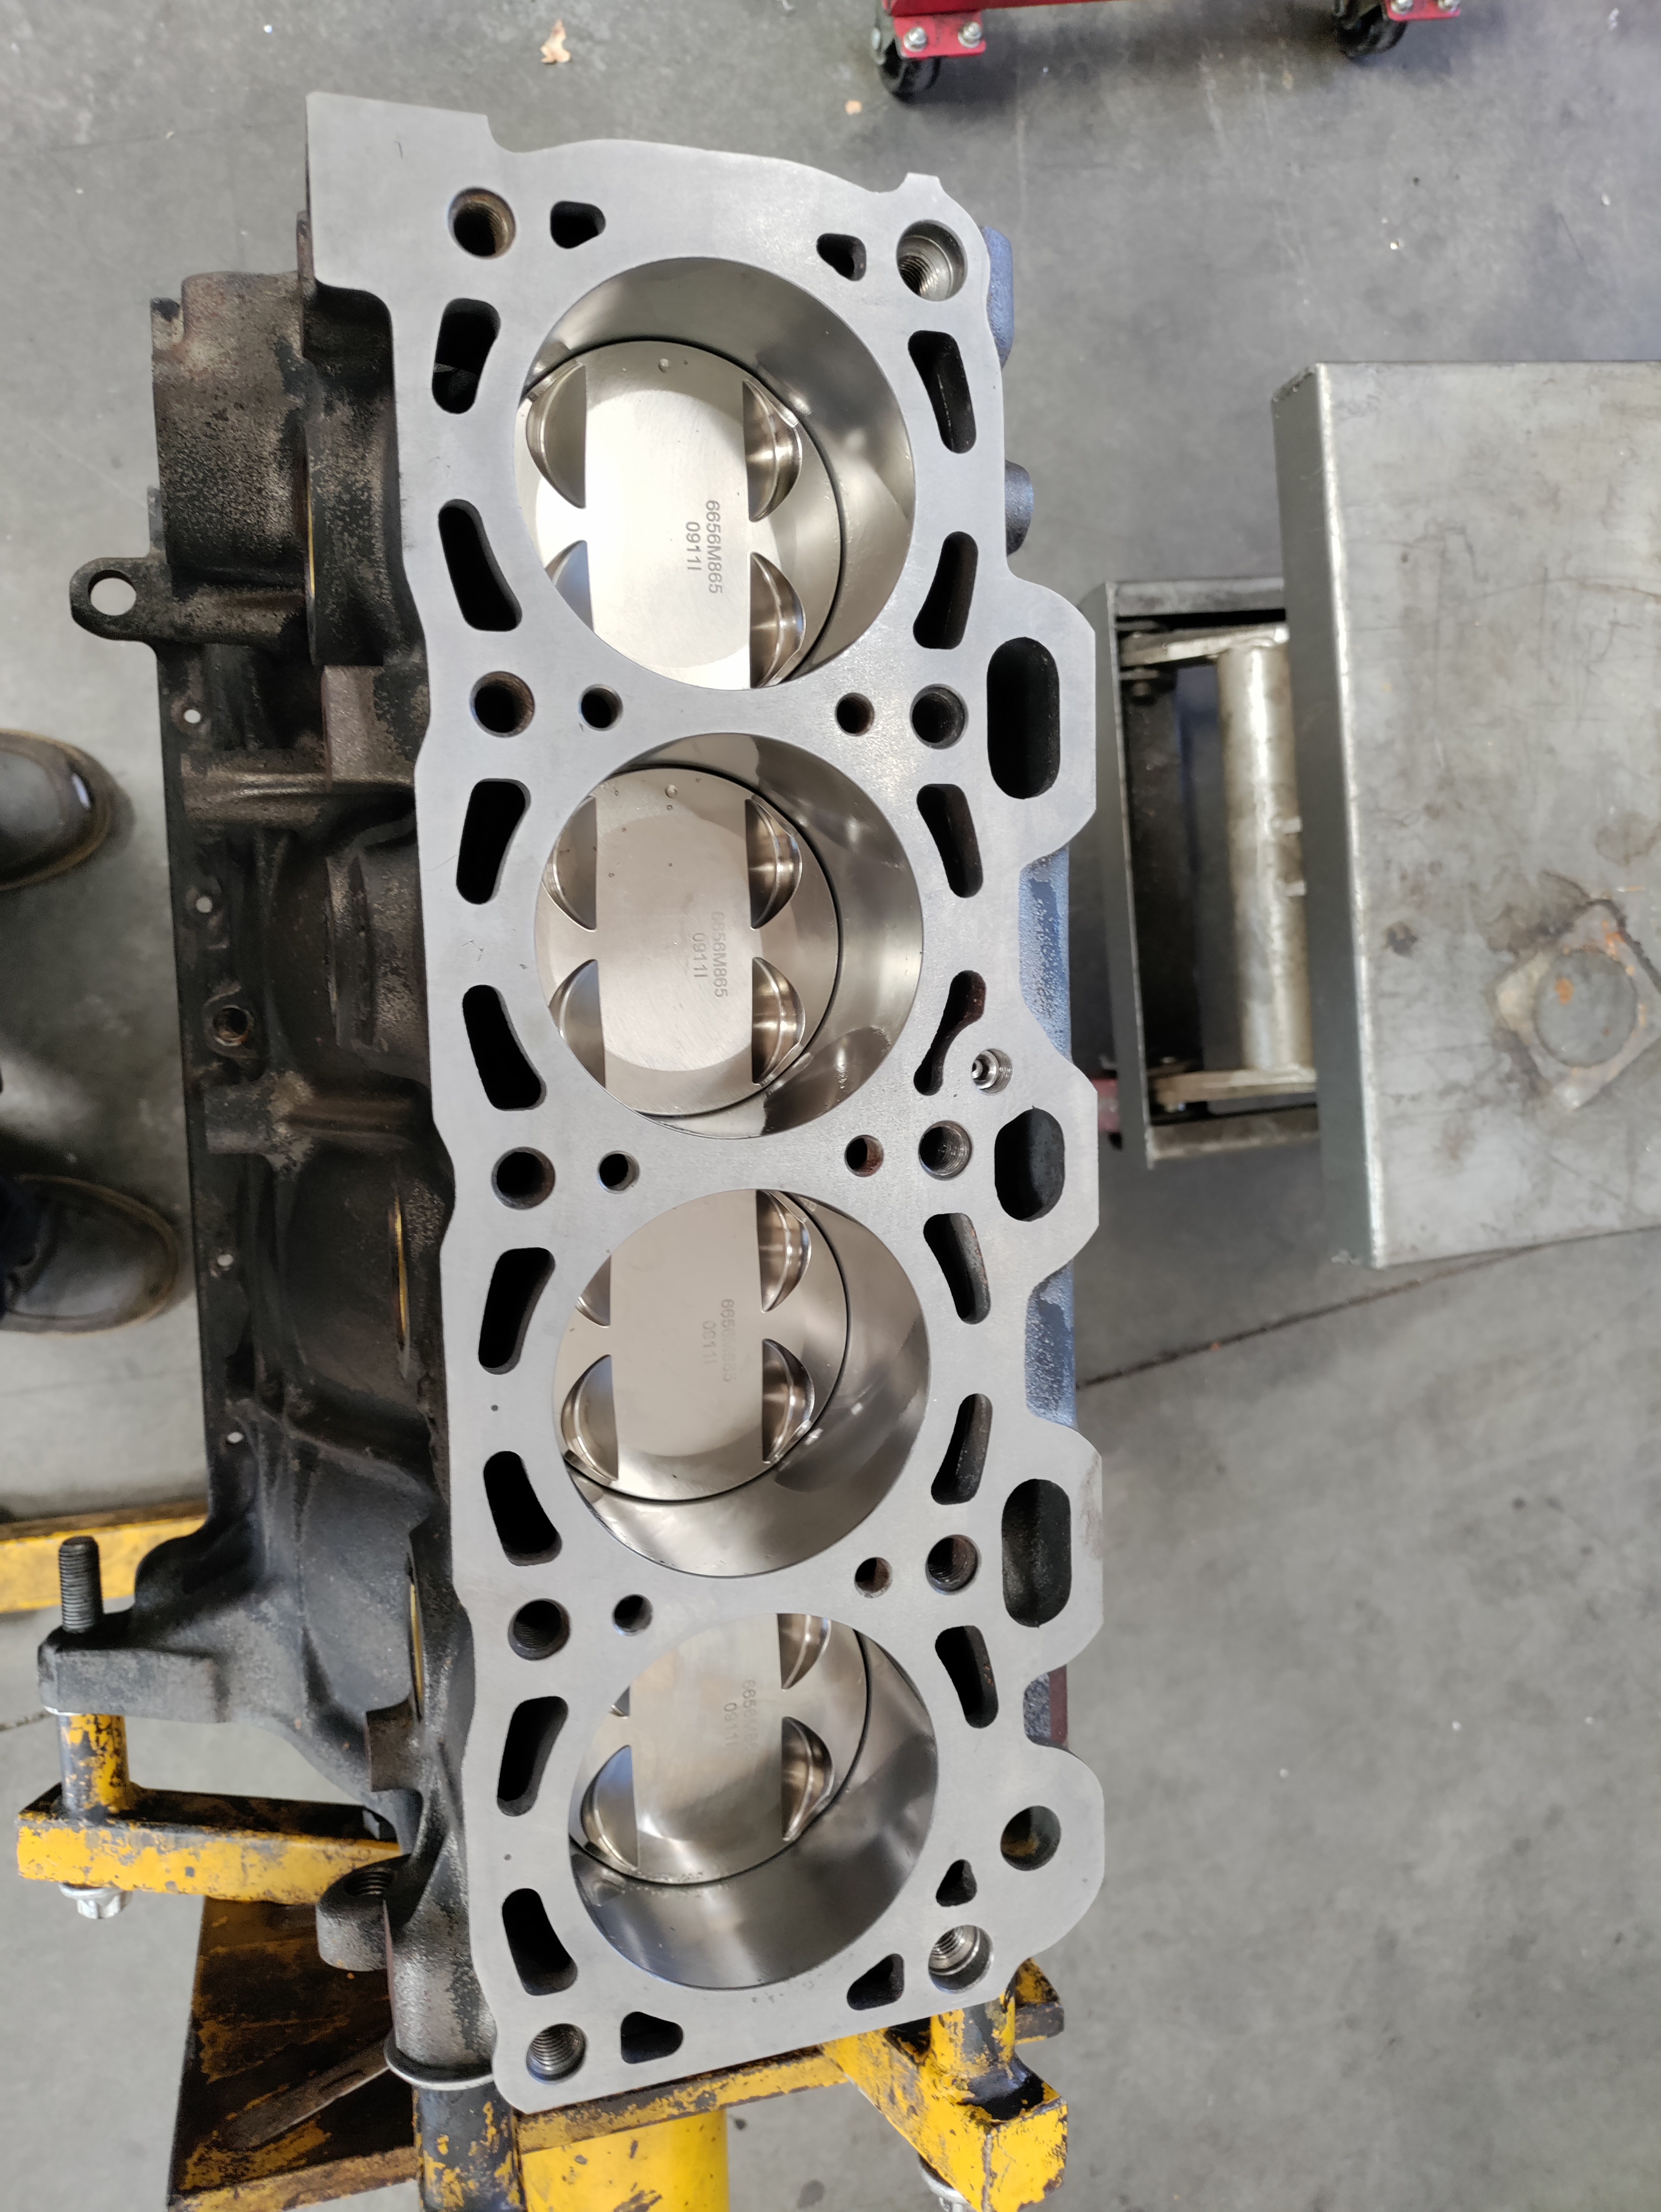
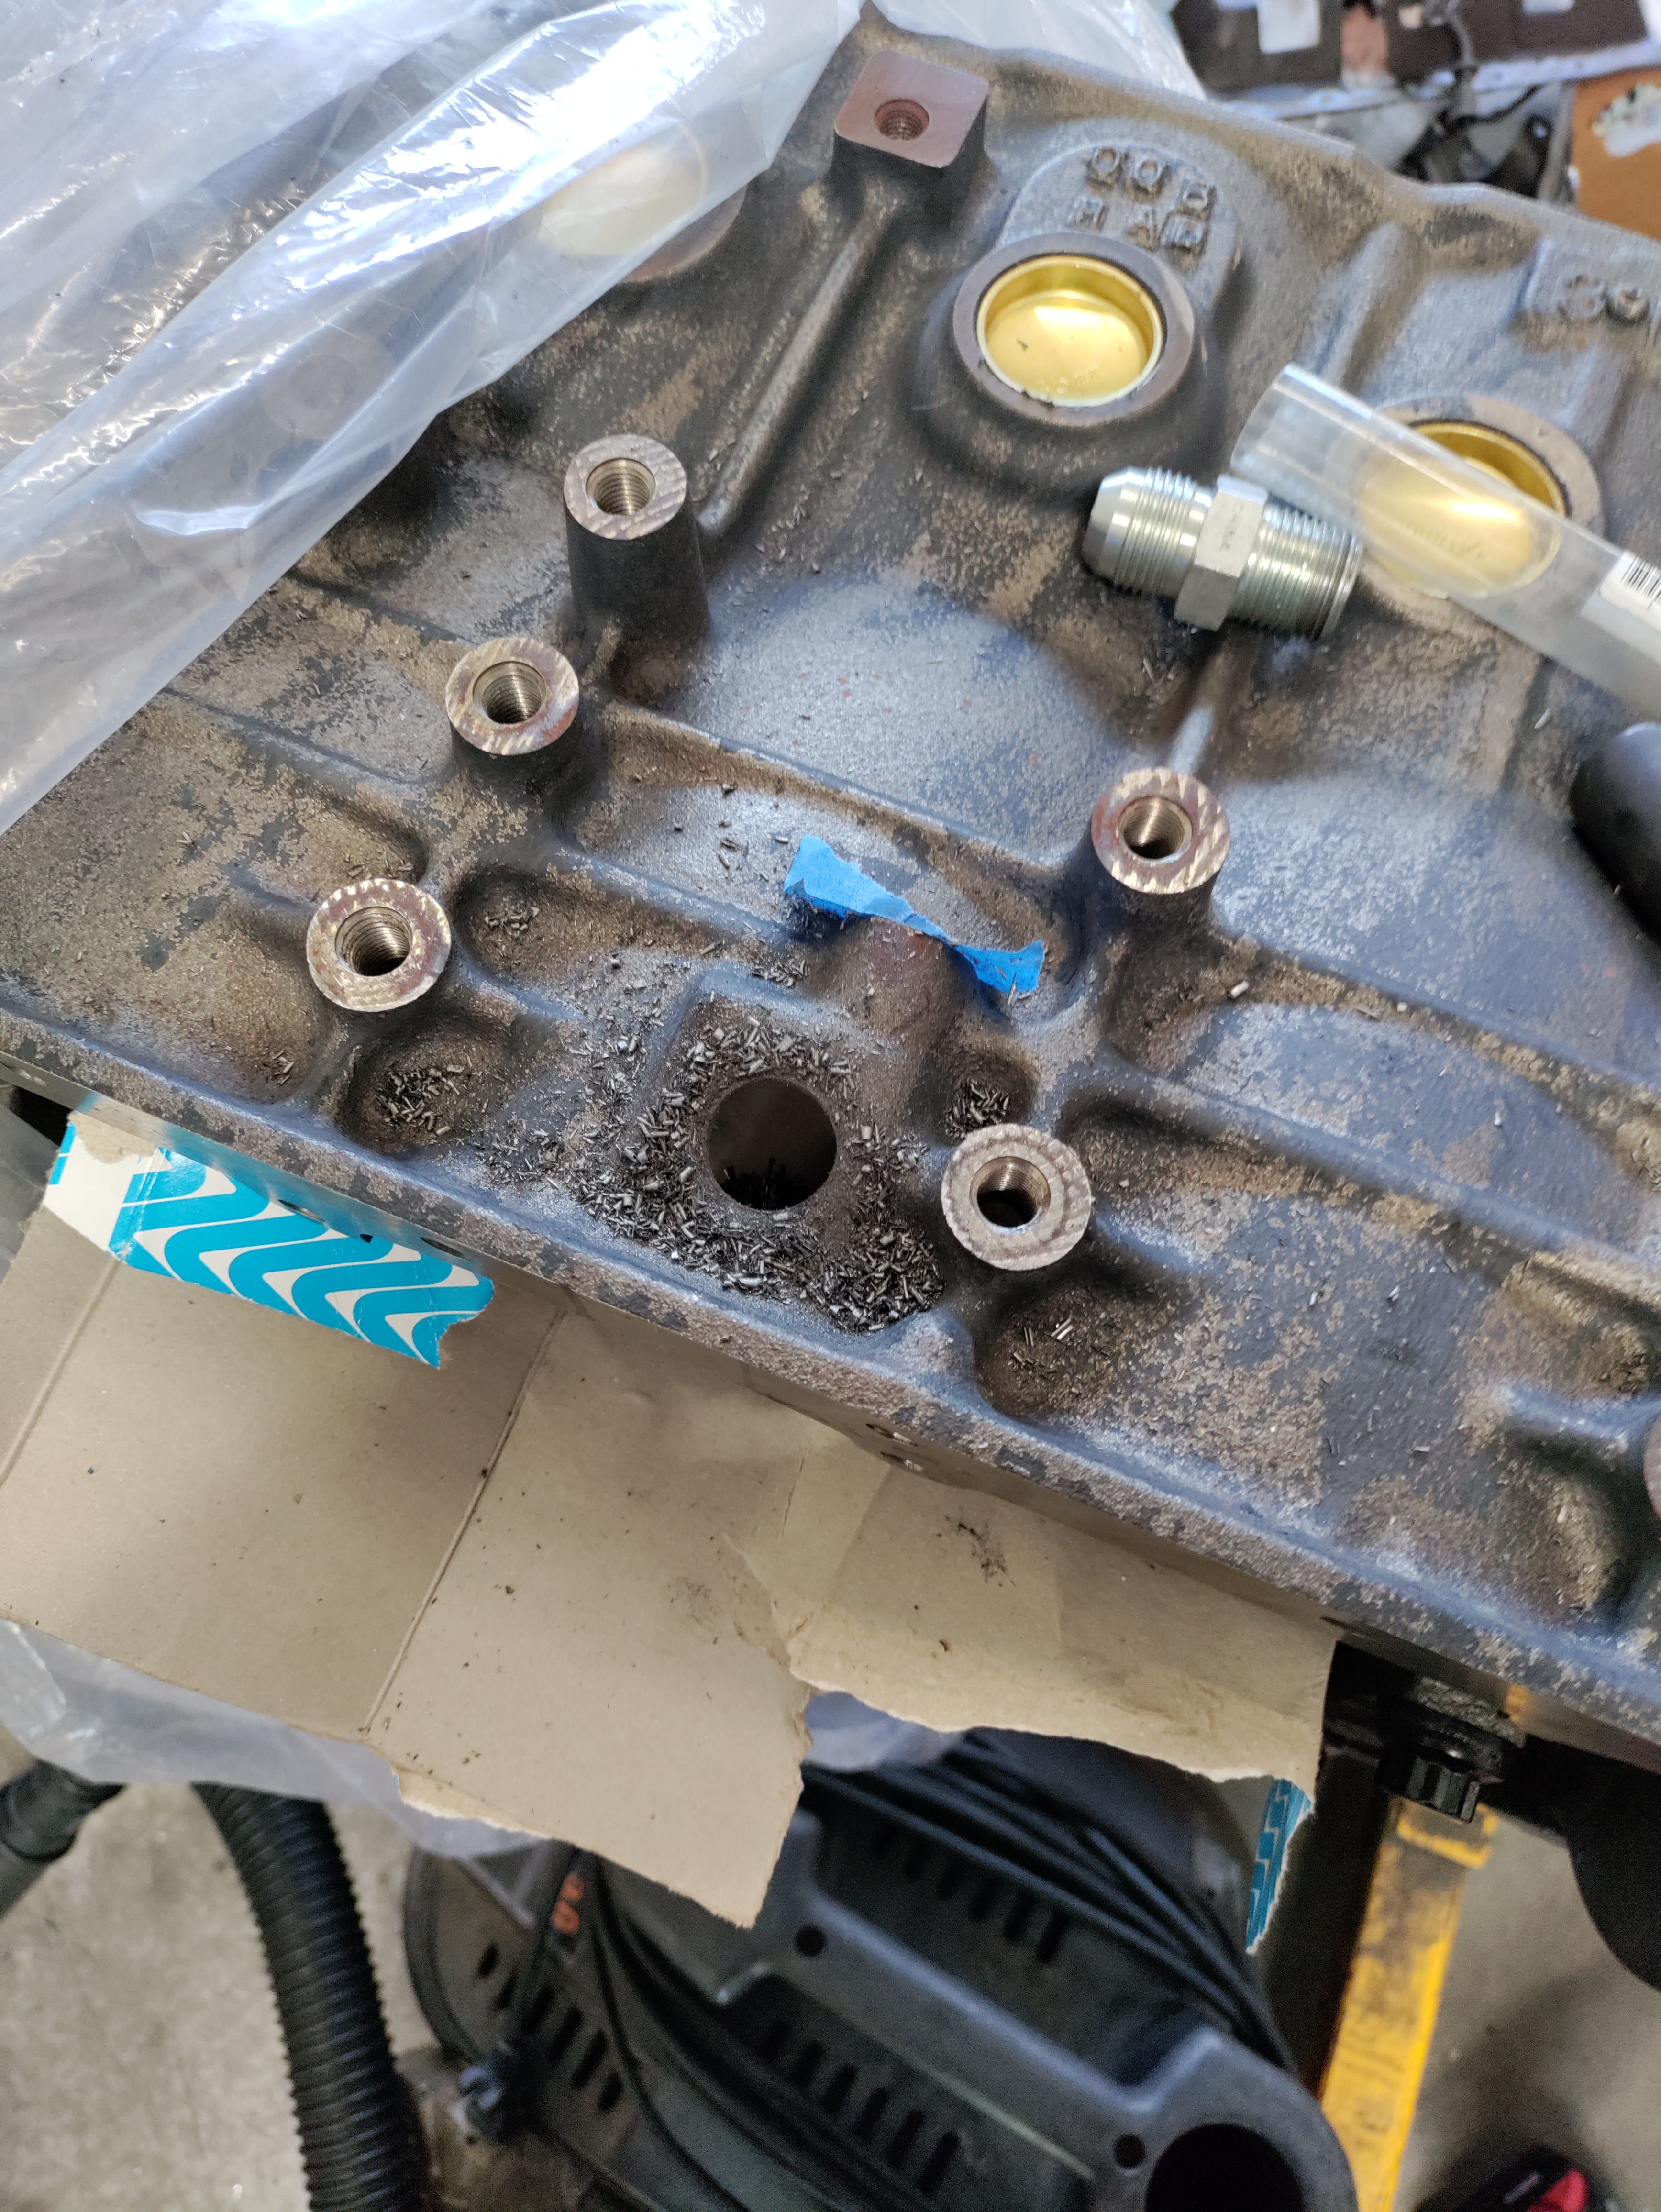
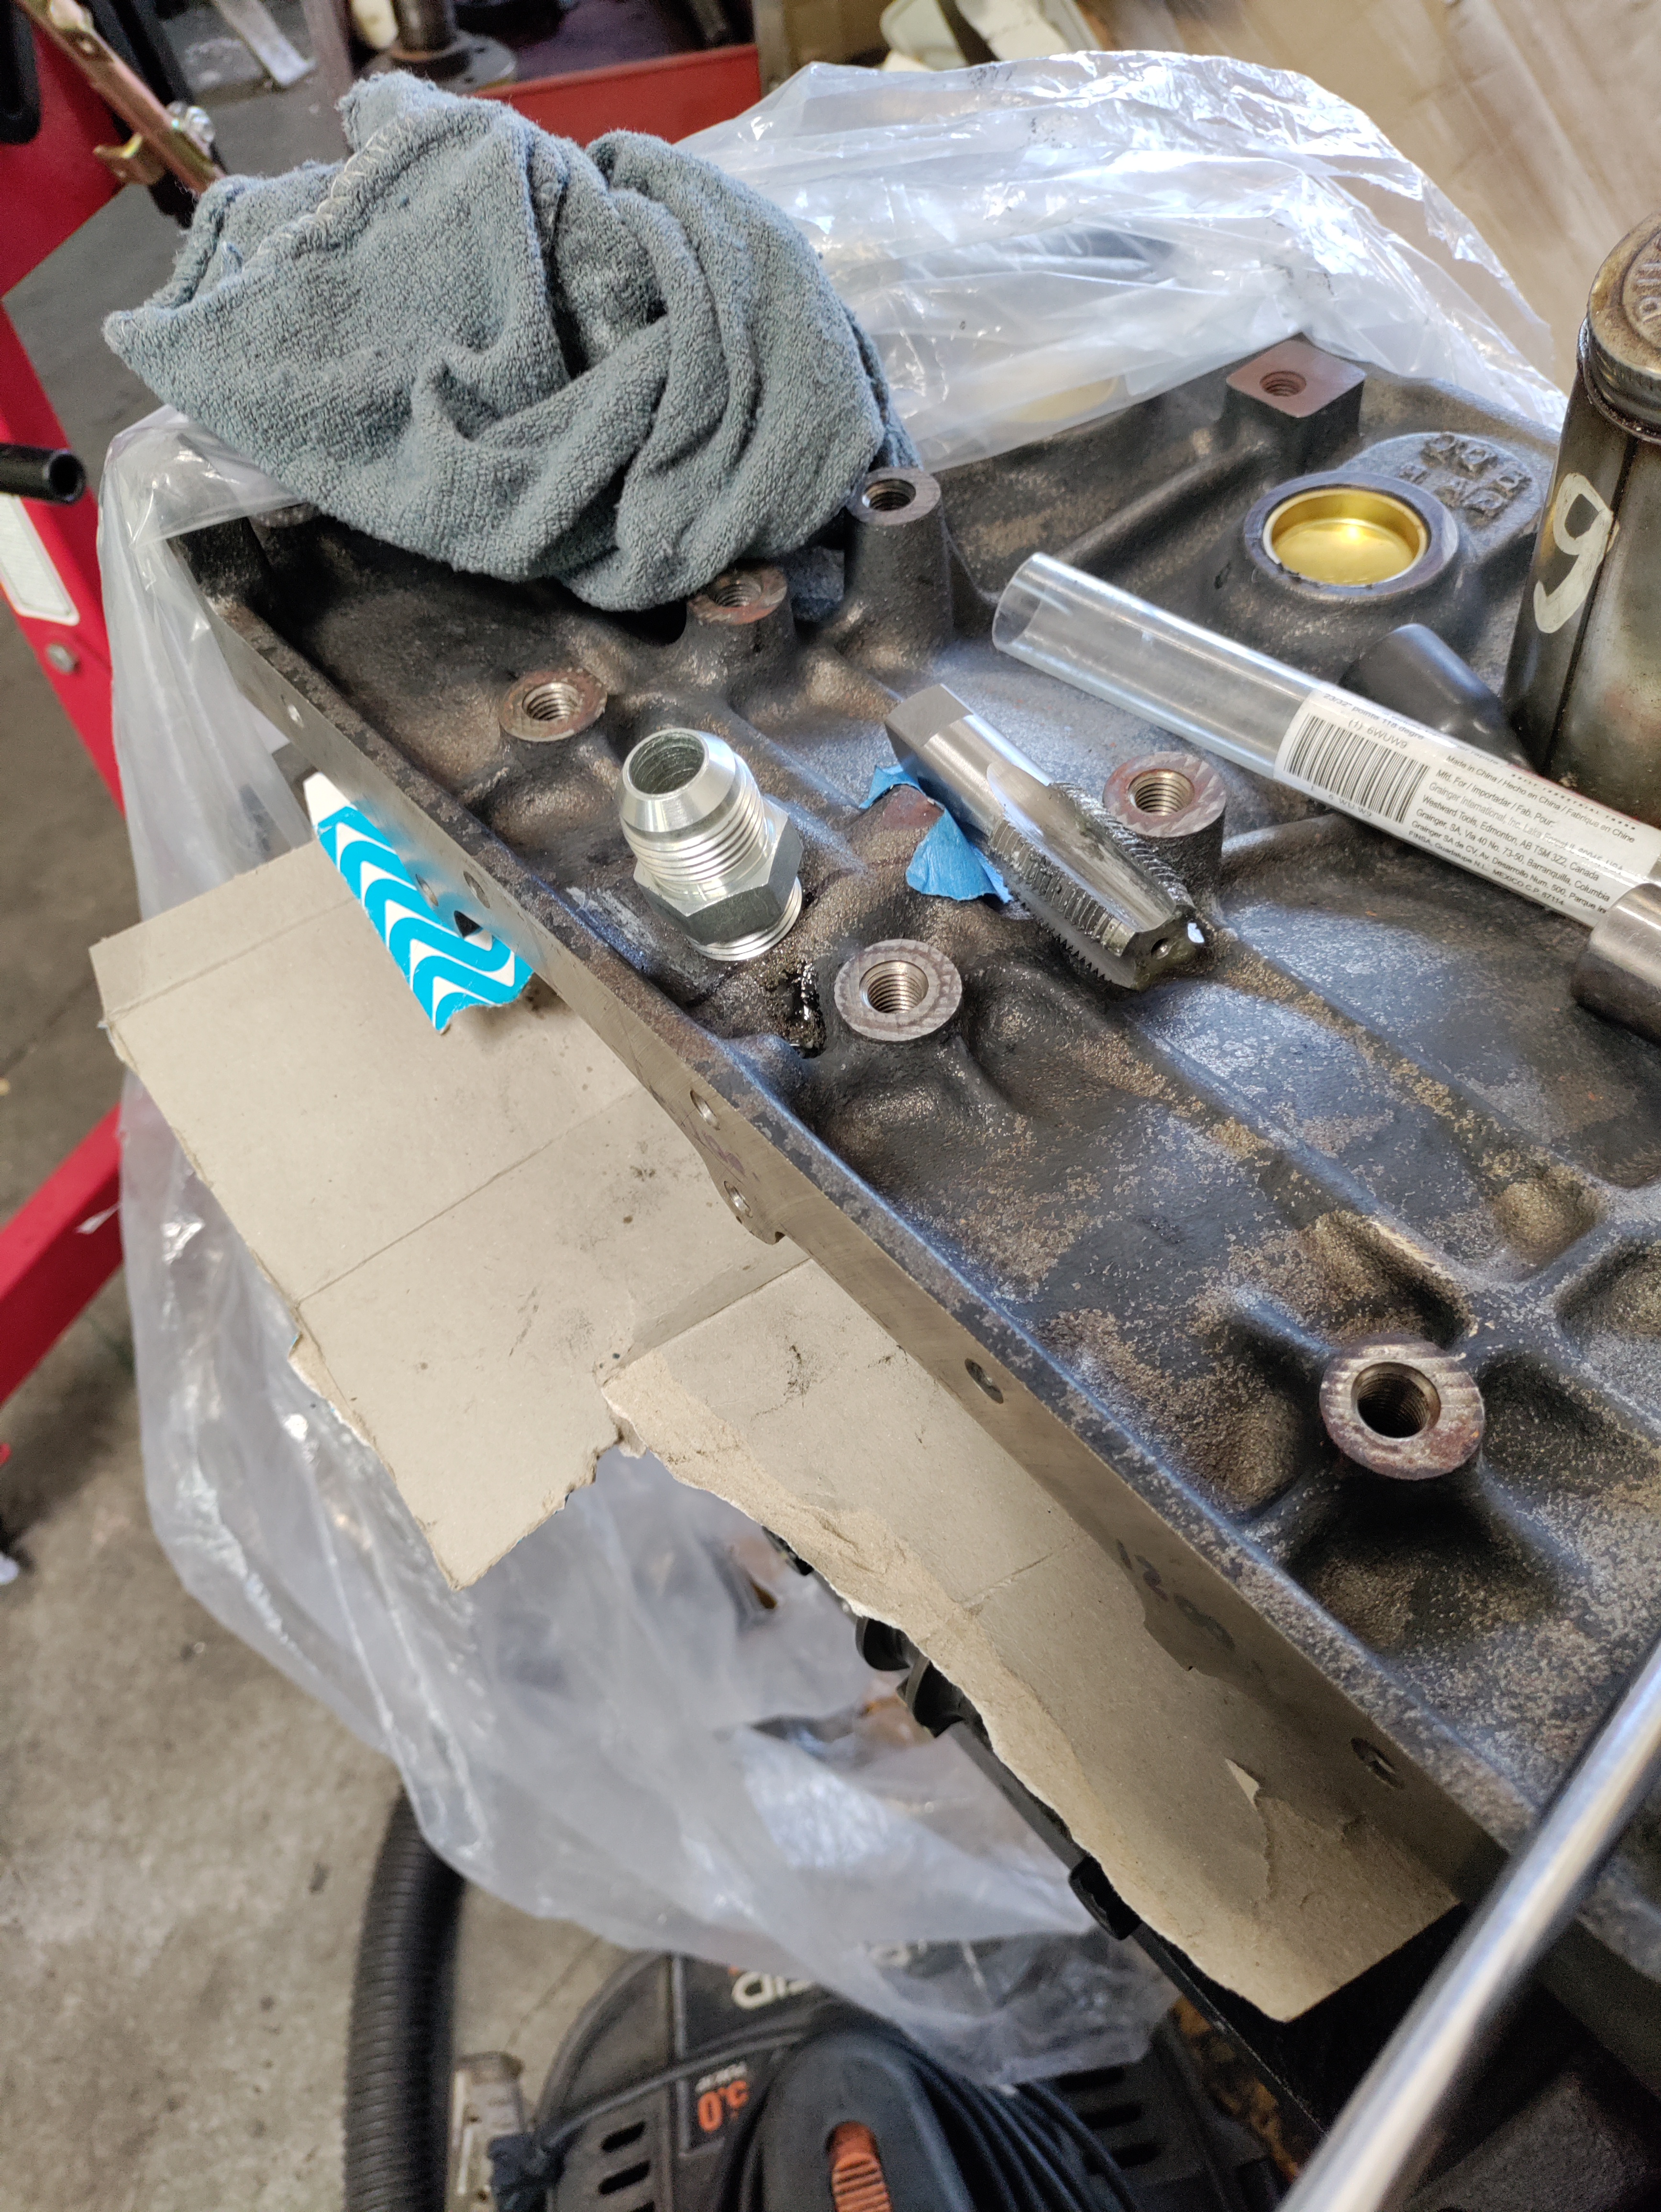
After waiting a full year and few days my built motor is finally done! The down side is that I forgot to drill and tap the turbo drain before sending the block out. I've never been more terrified to drill and tap anything in my entire life. It's 1/2npt in the thinnest part of the block. I was so scared it might crack the block.
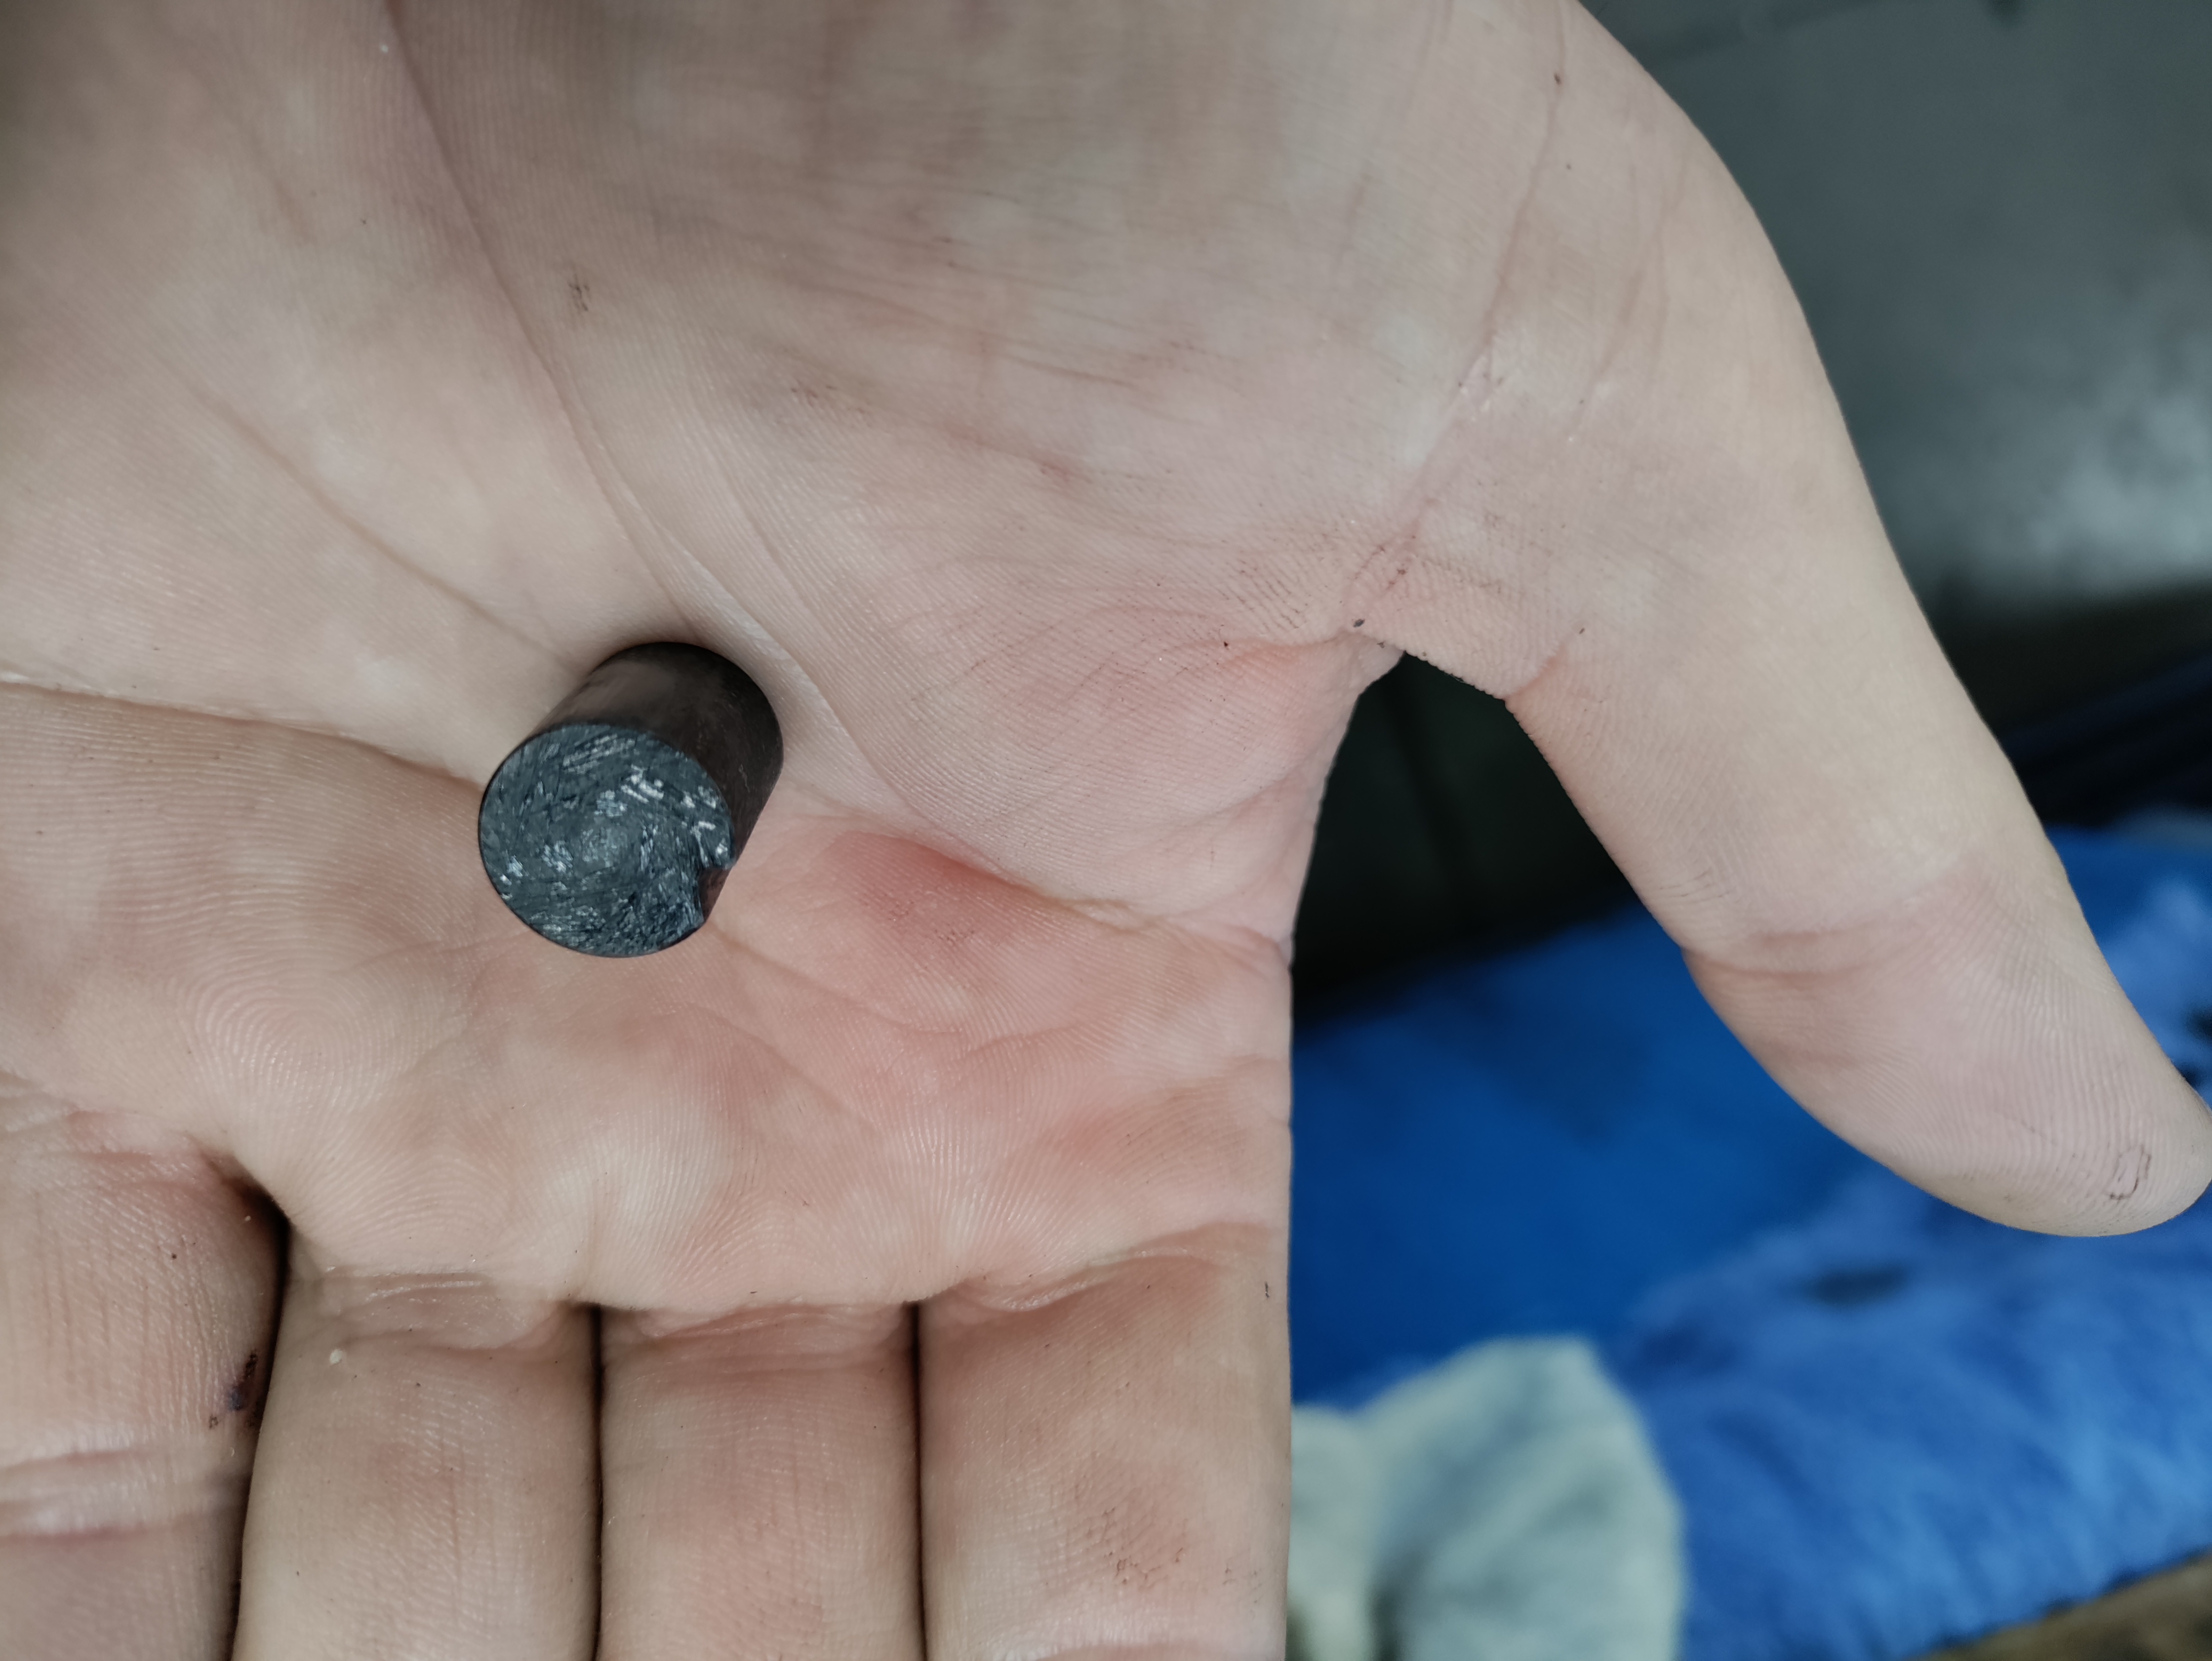
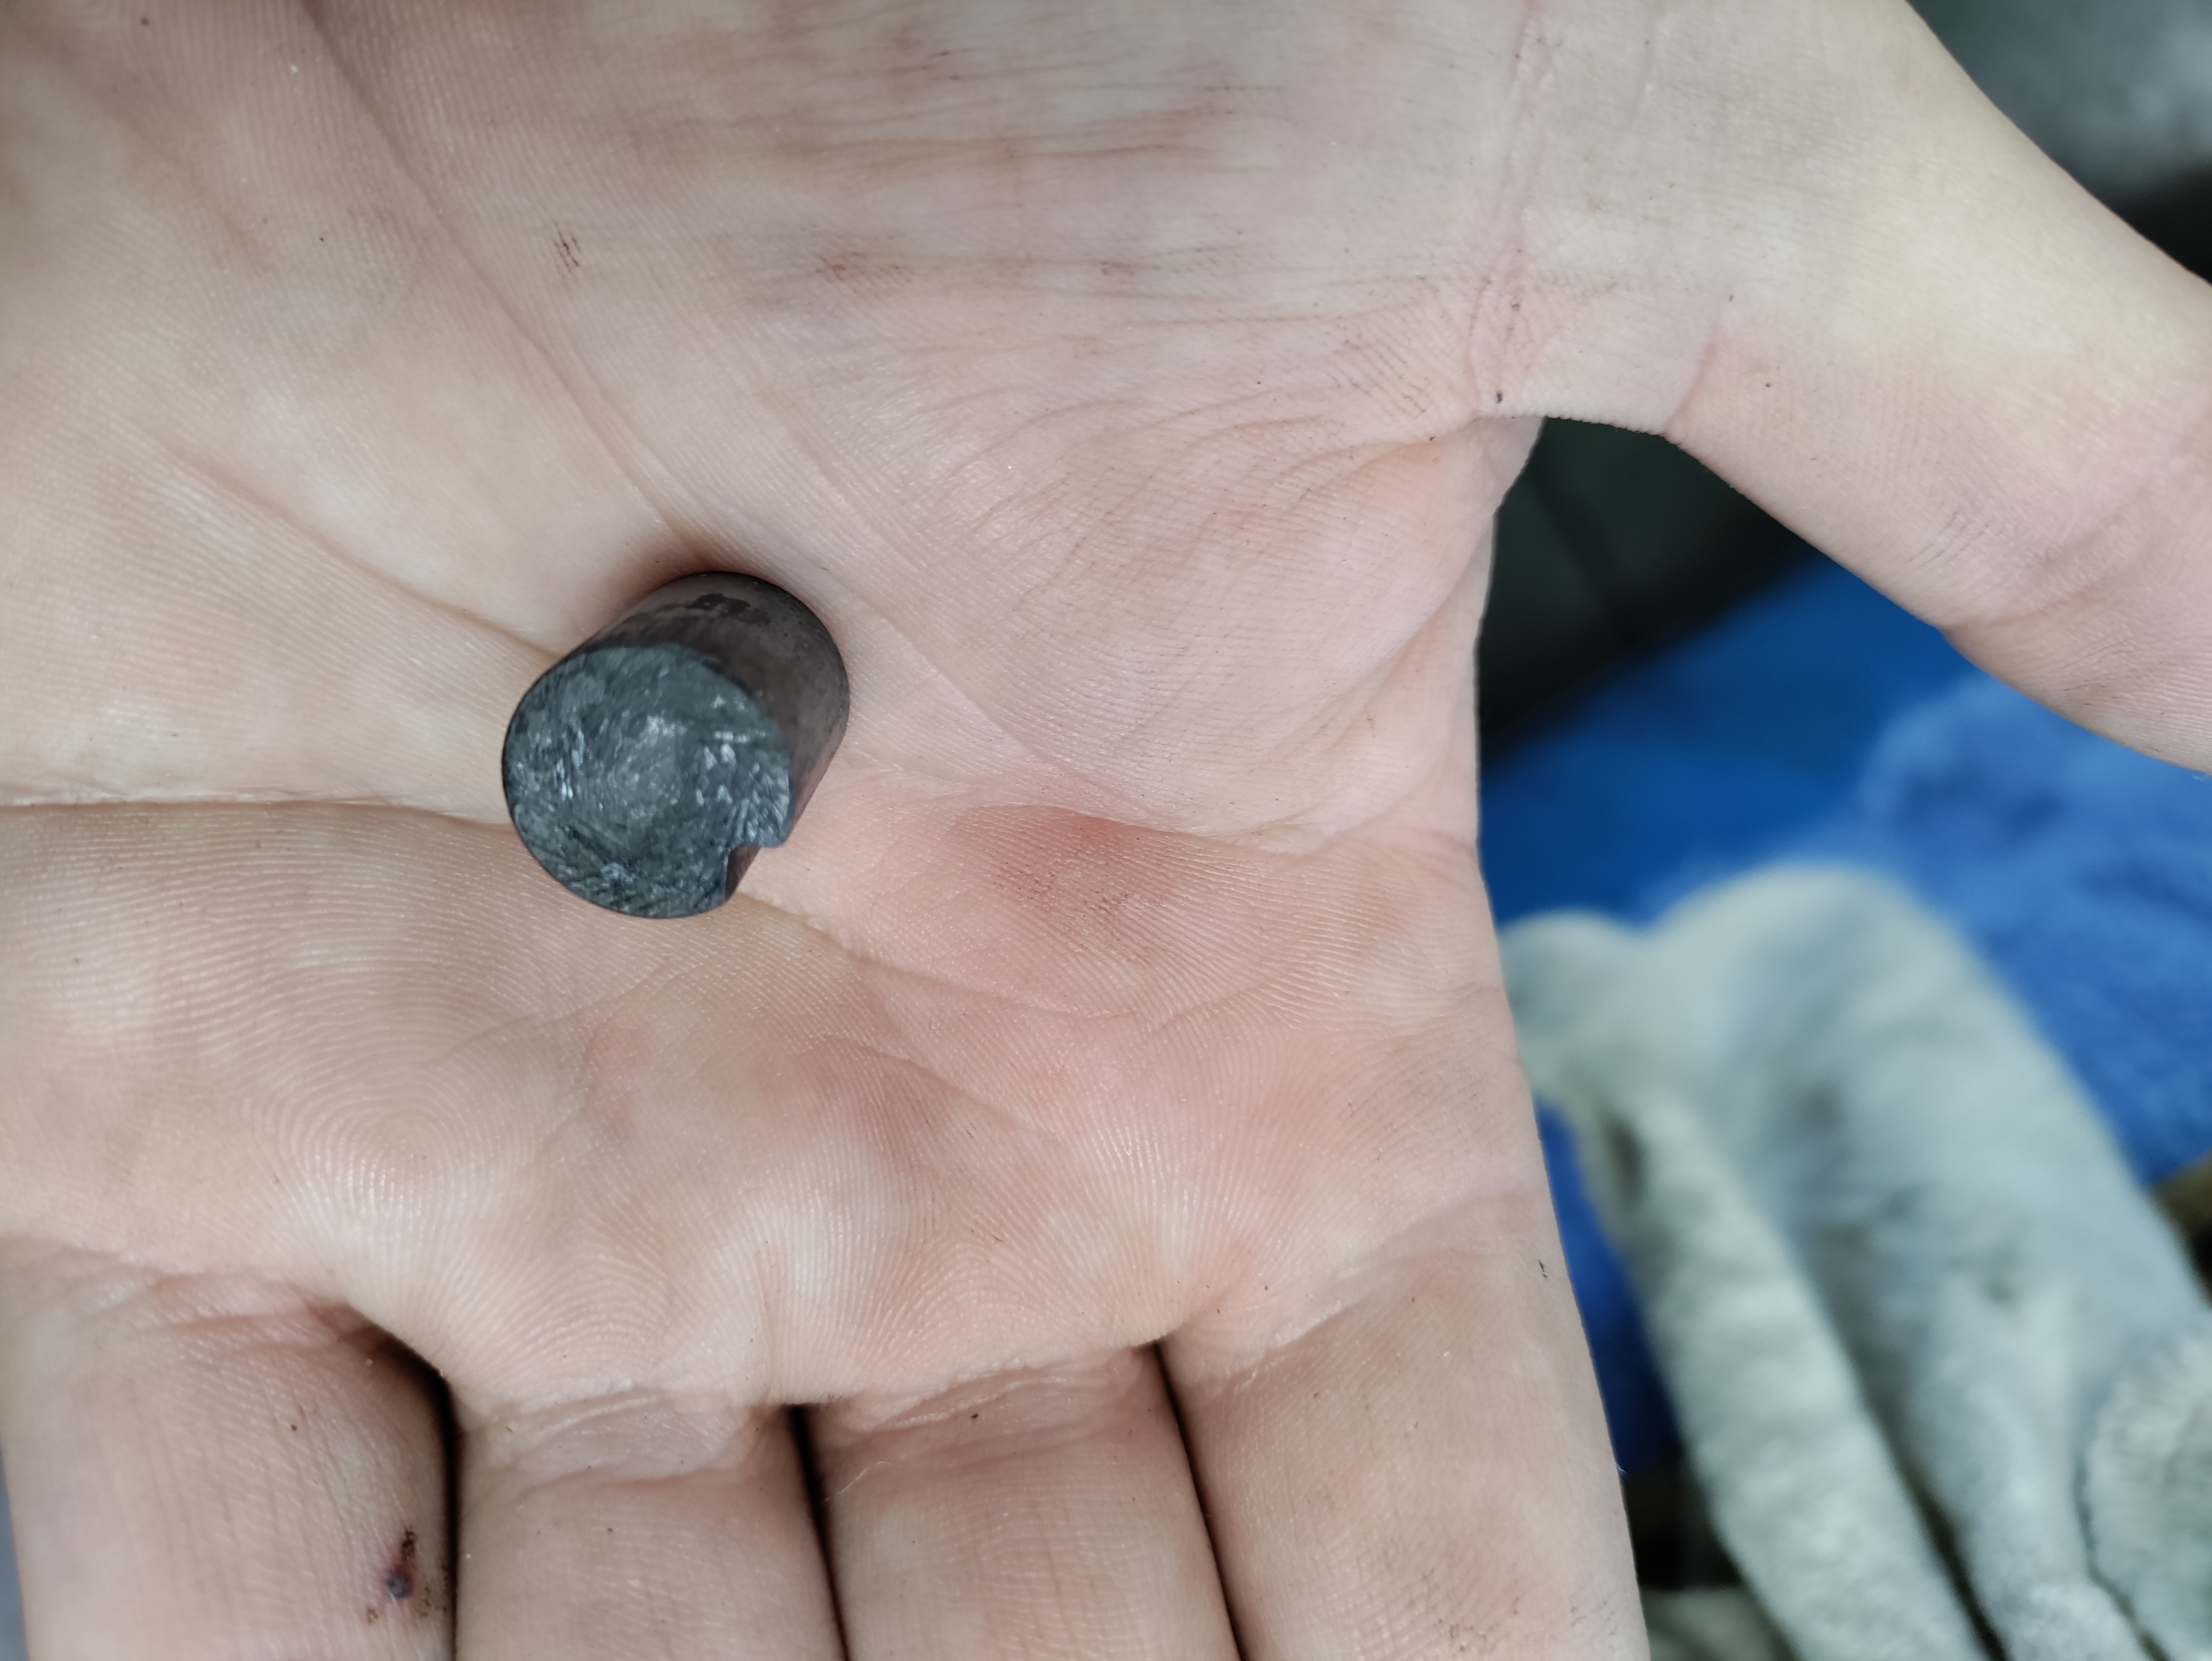
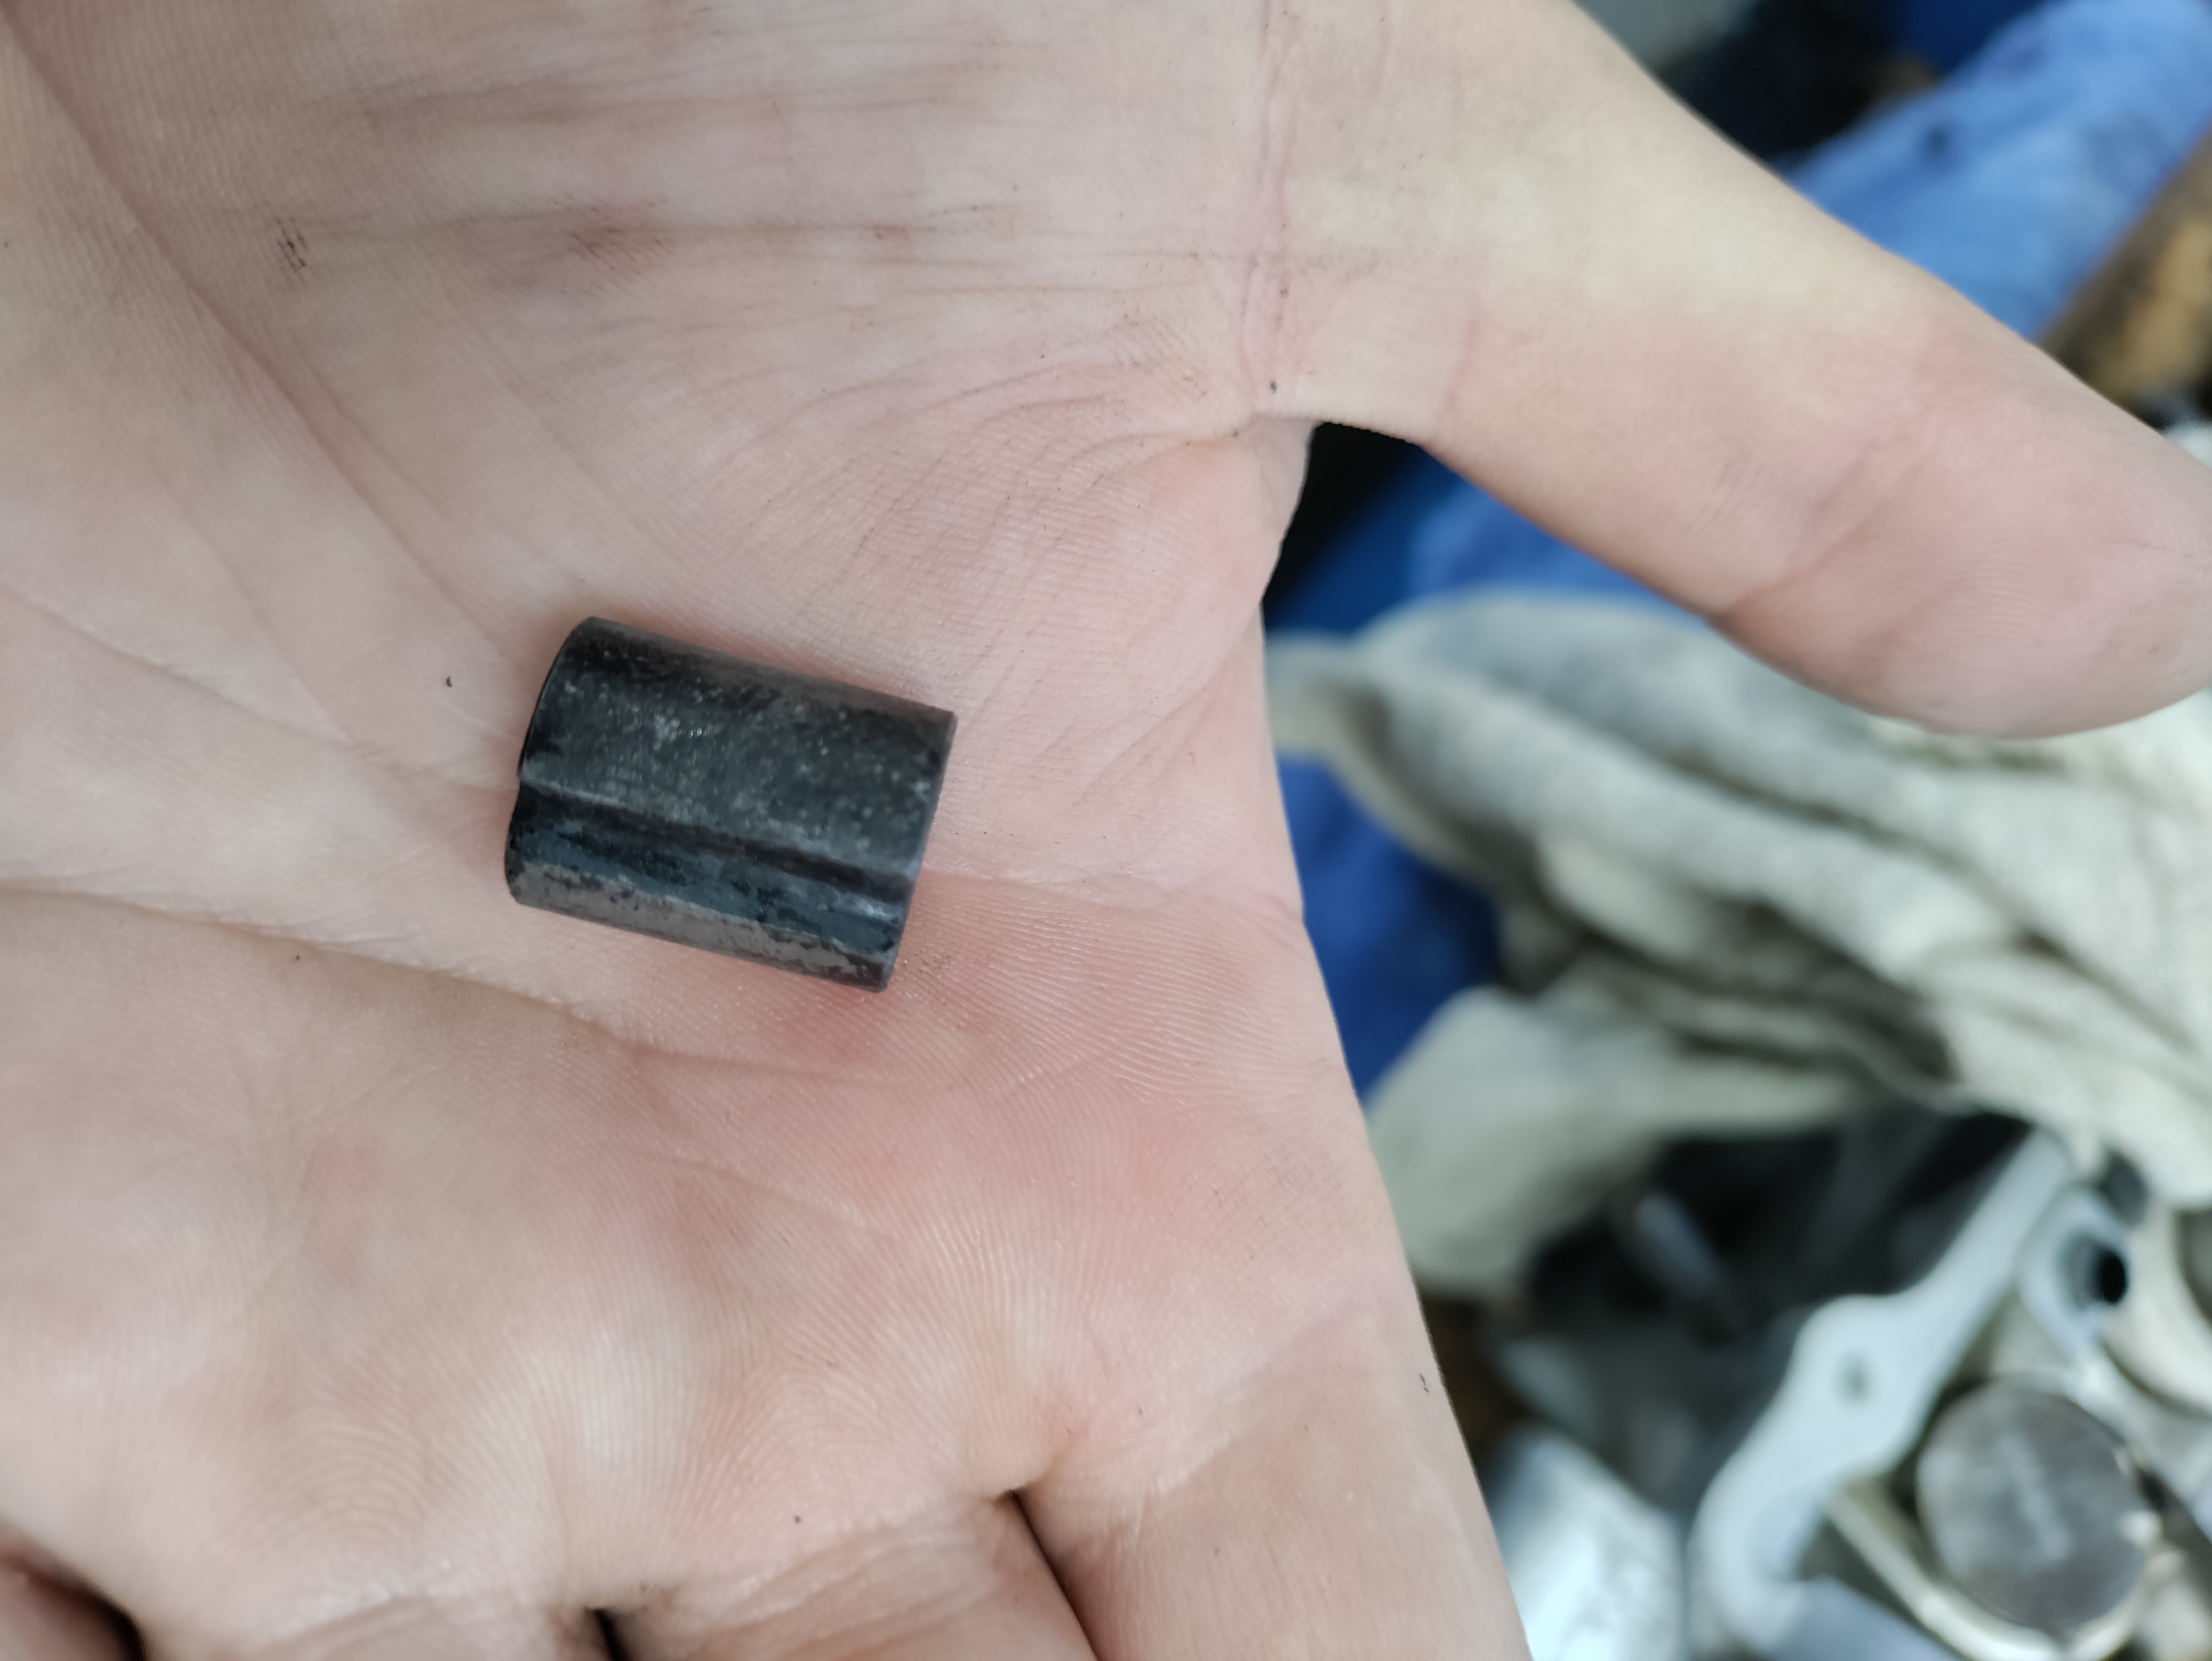
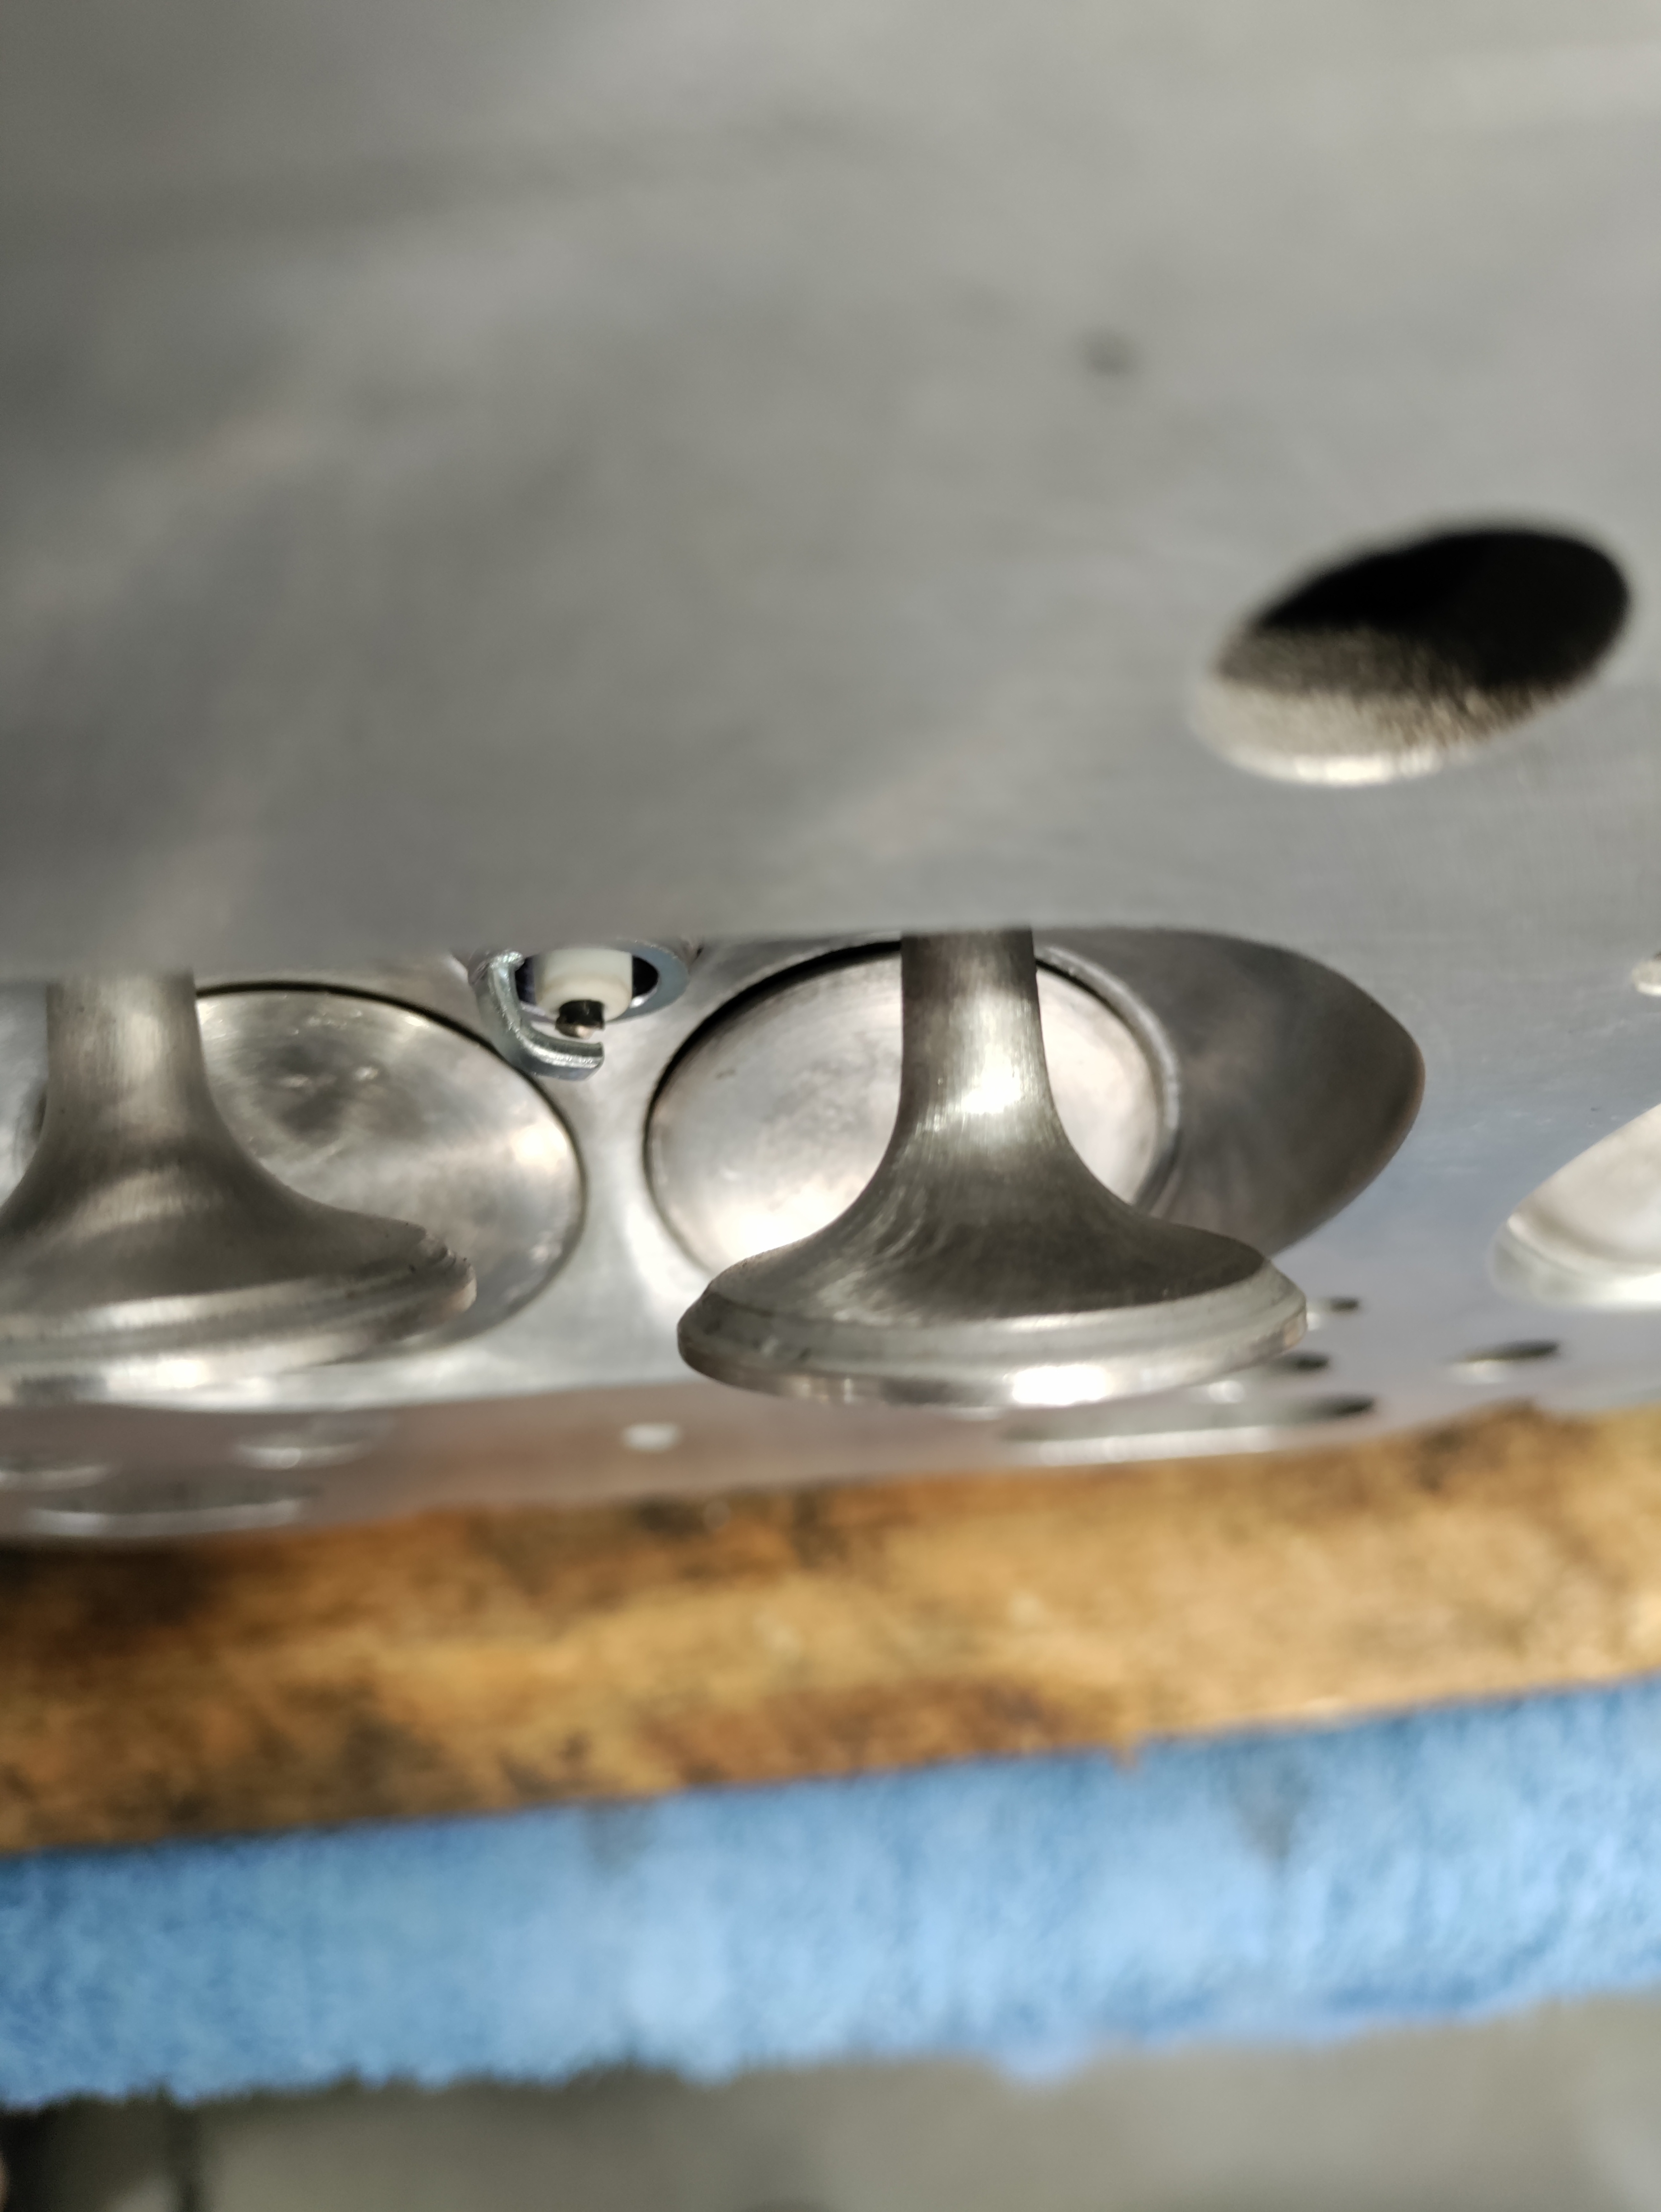
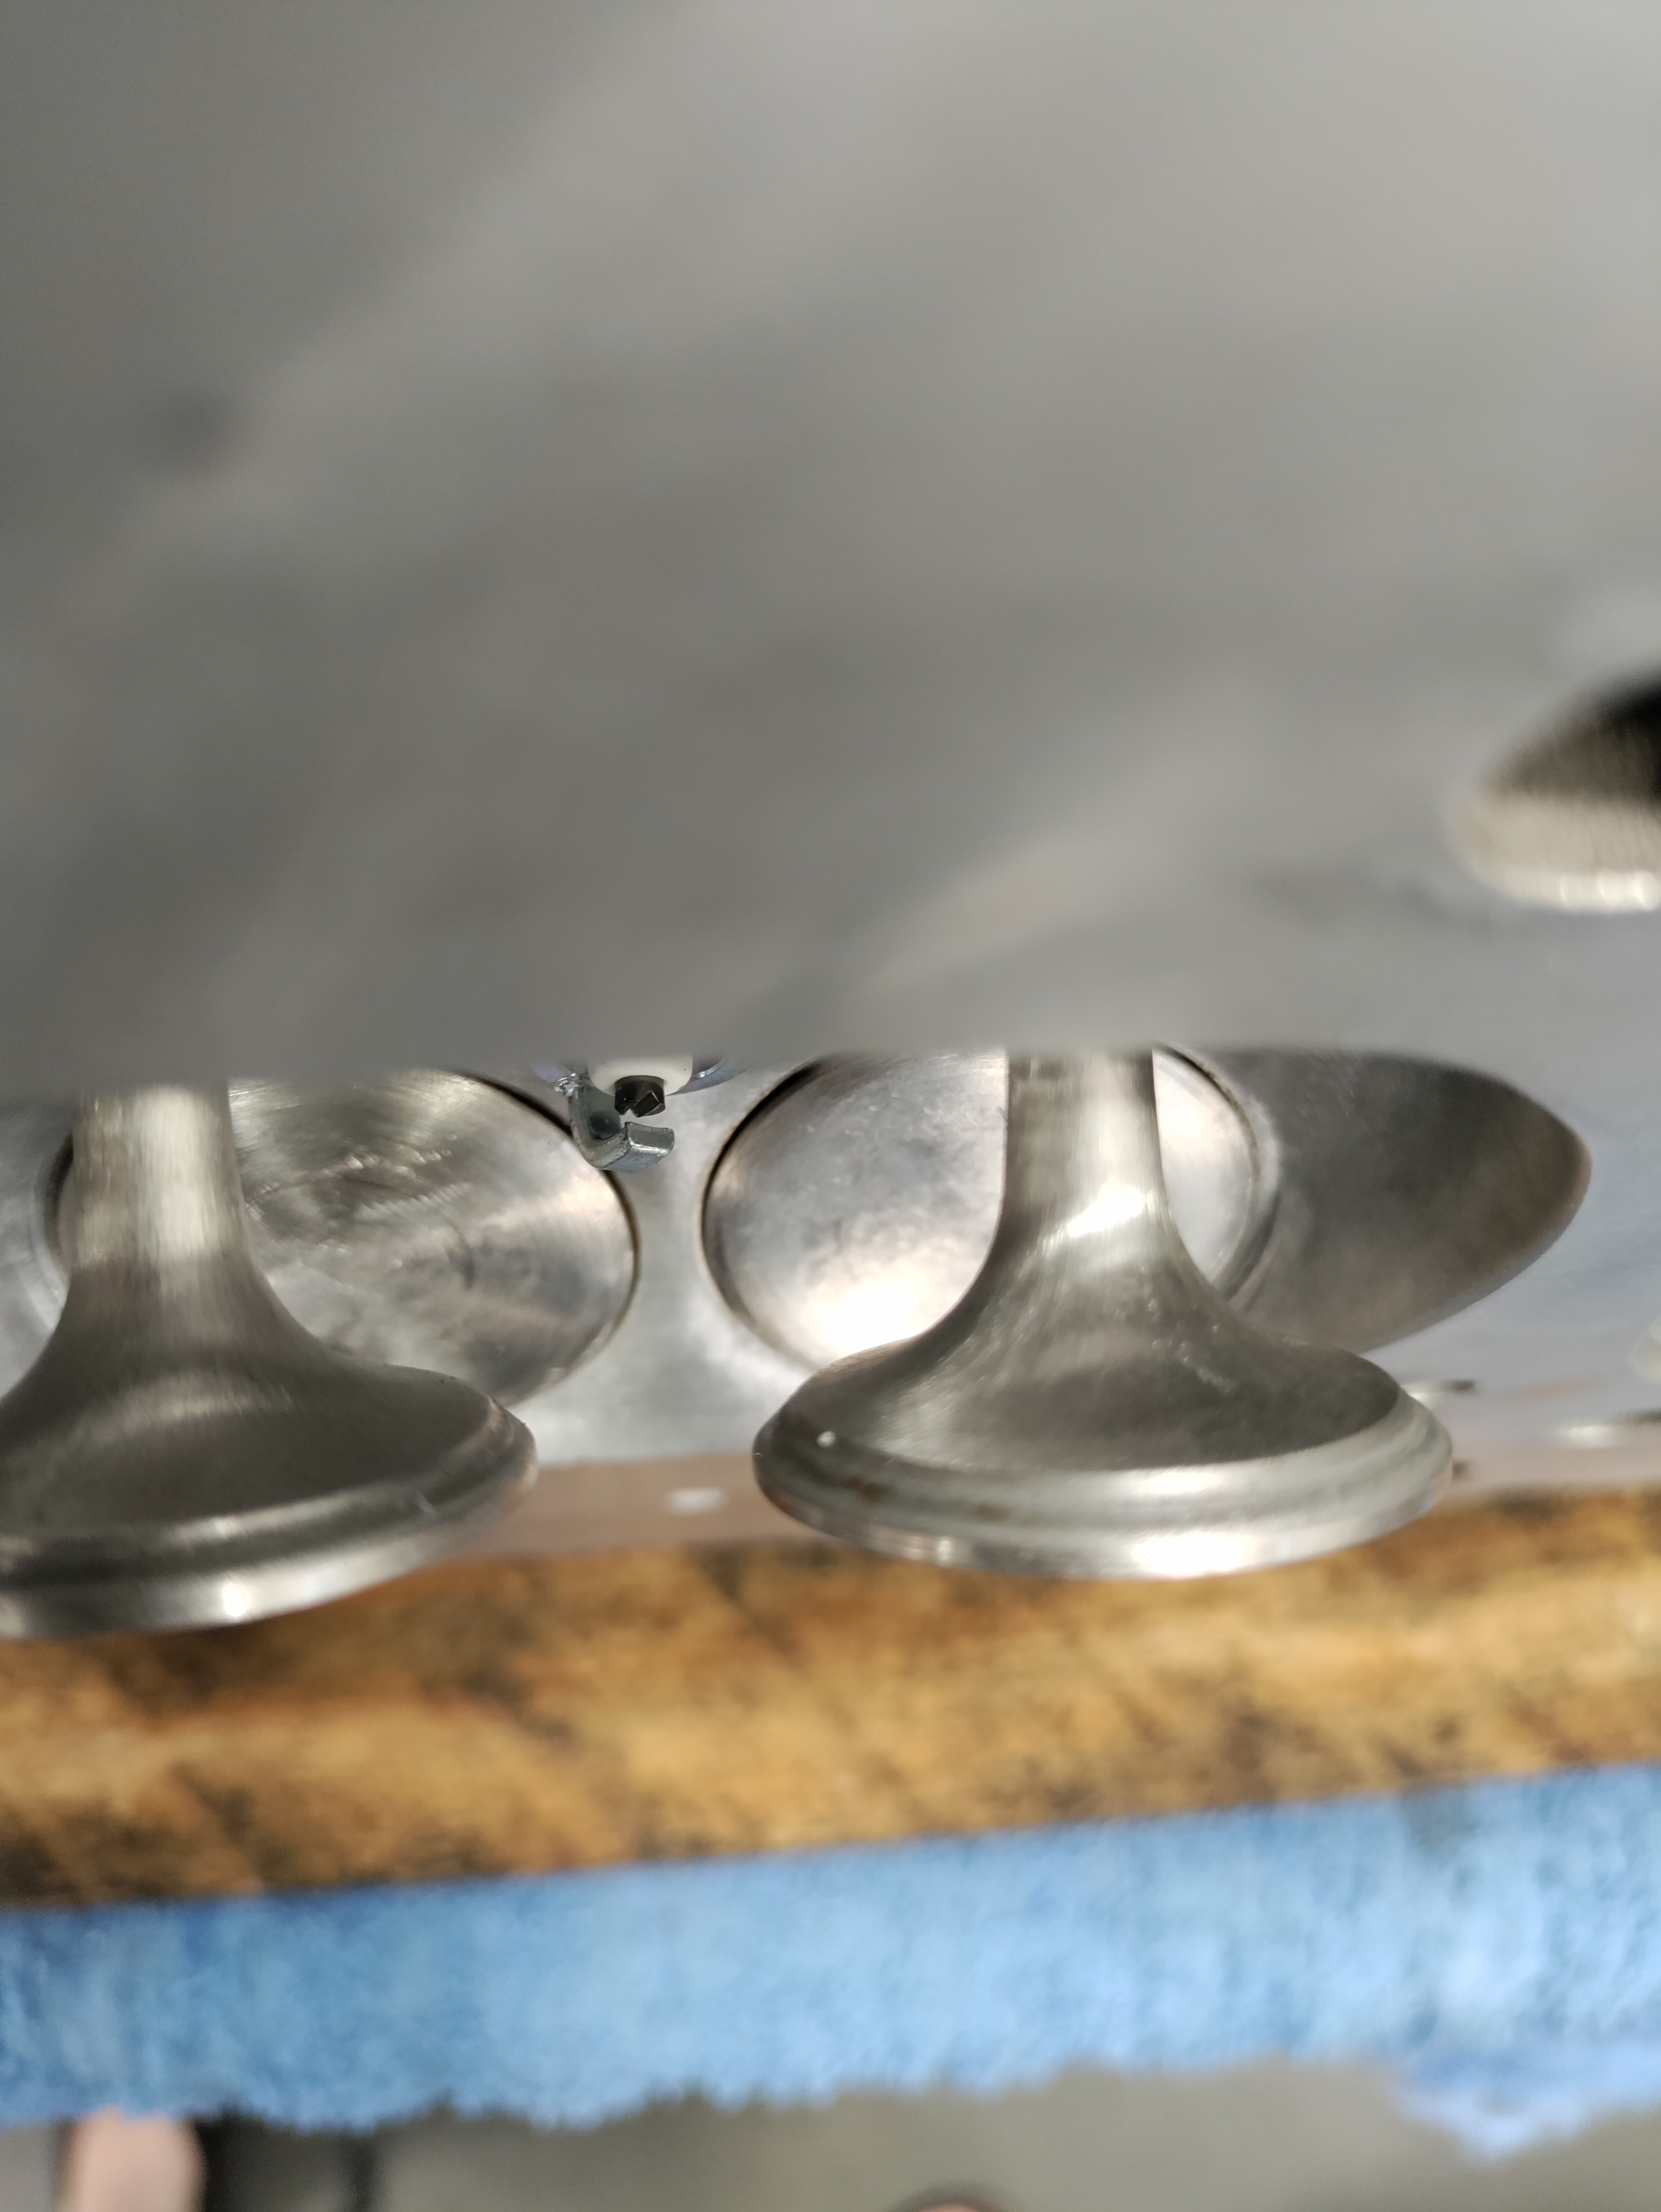
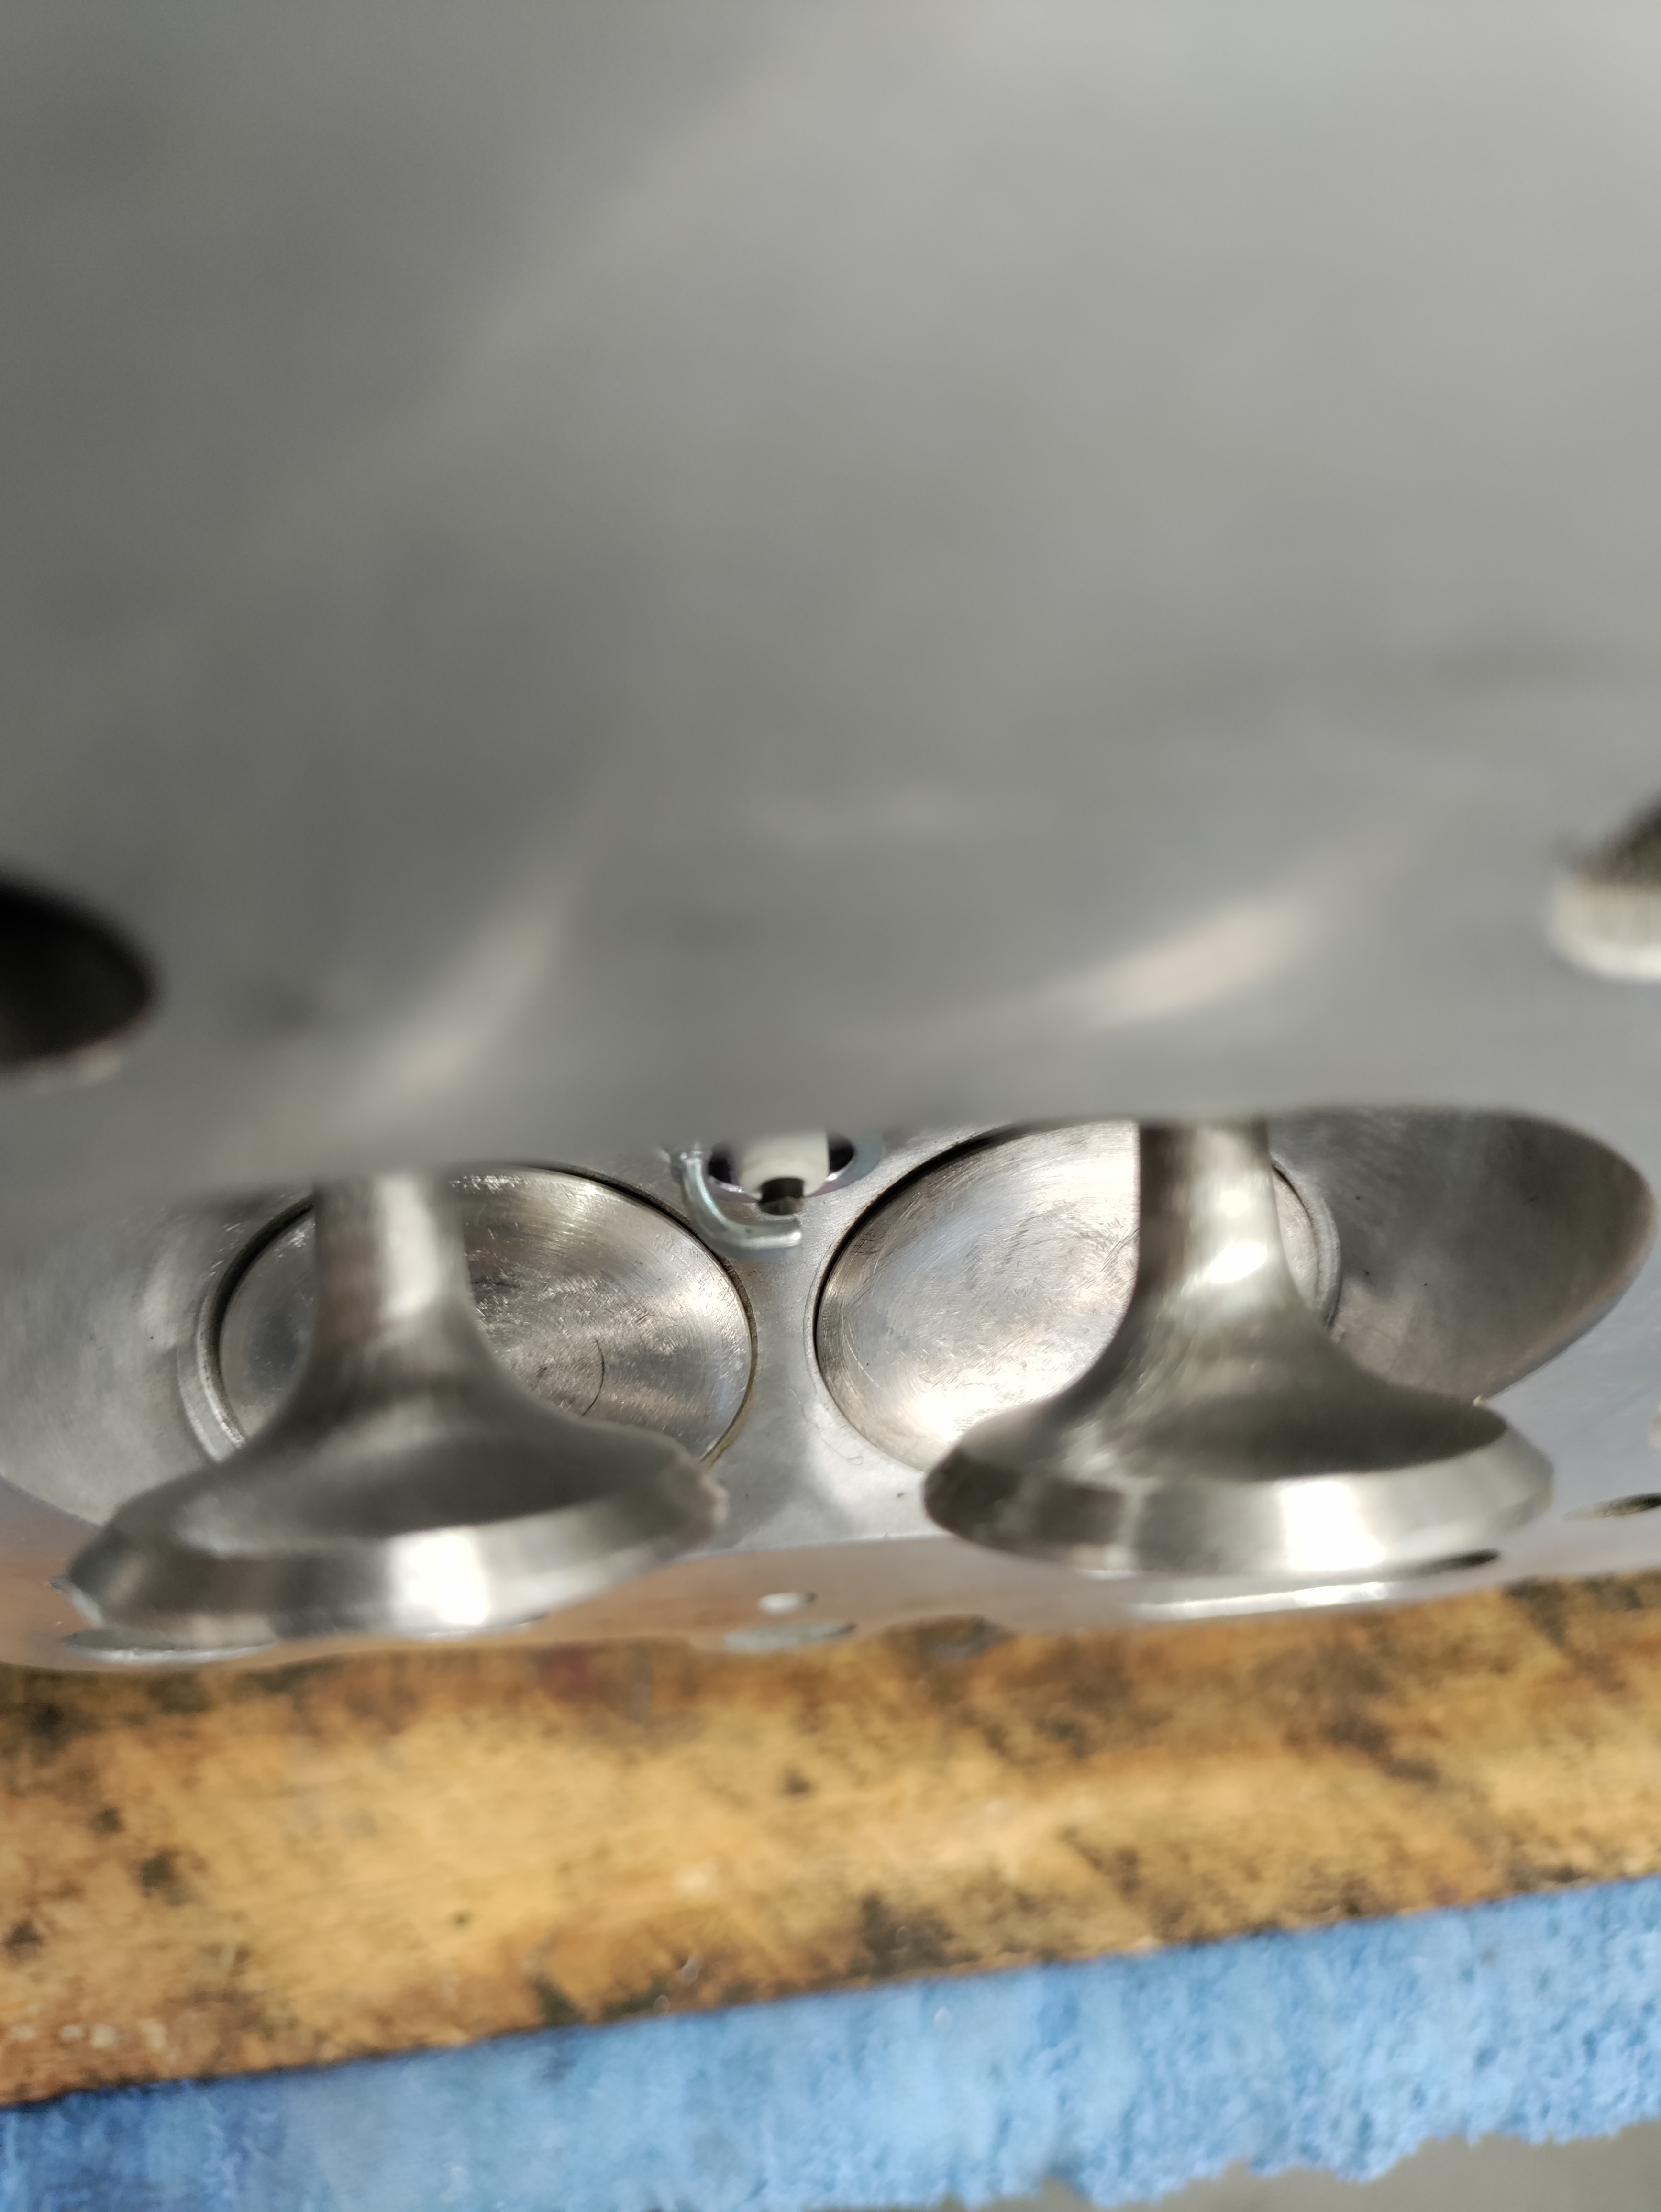
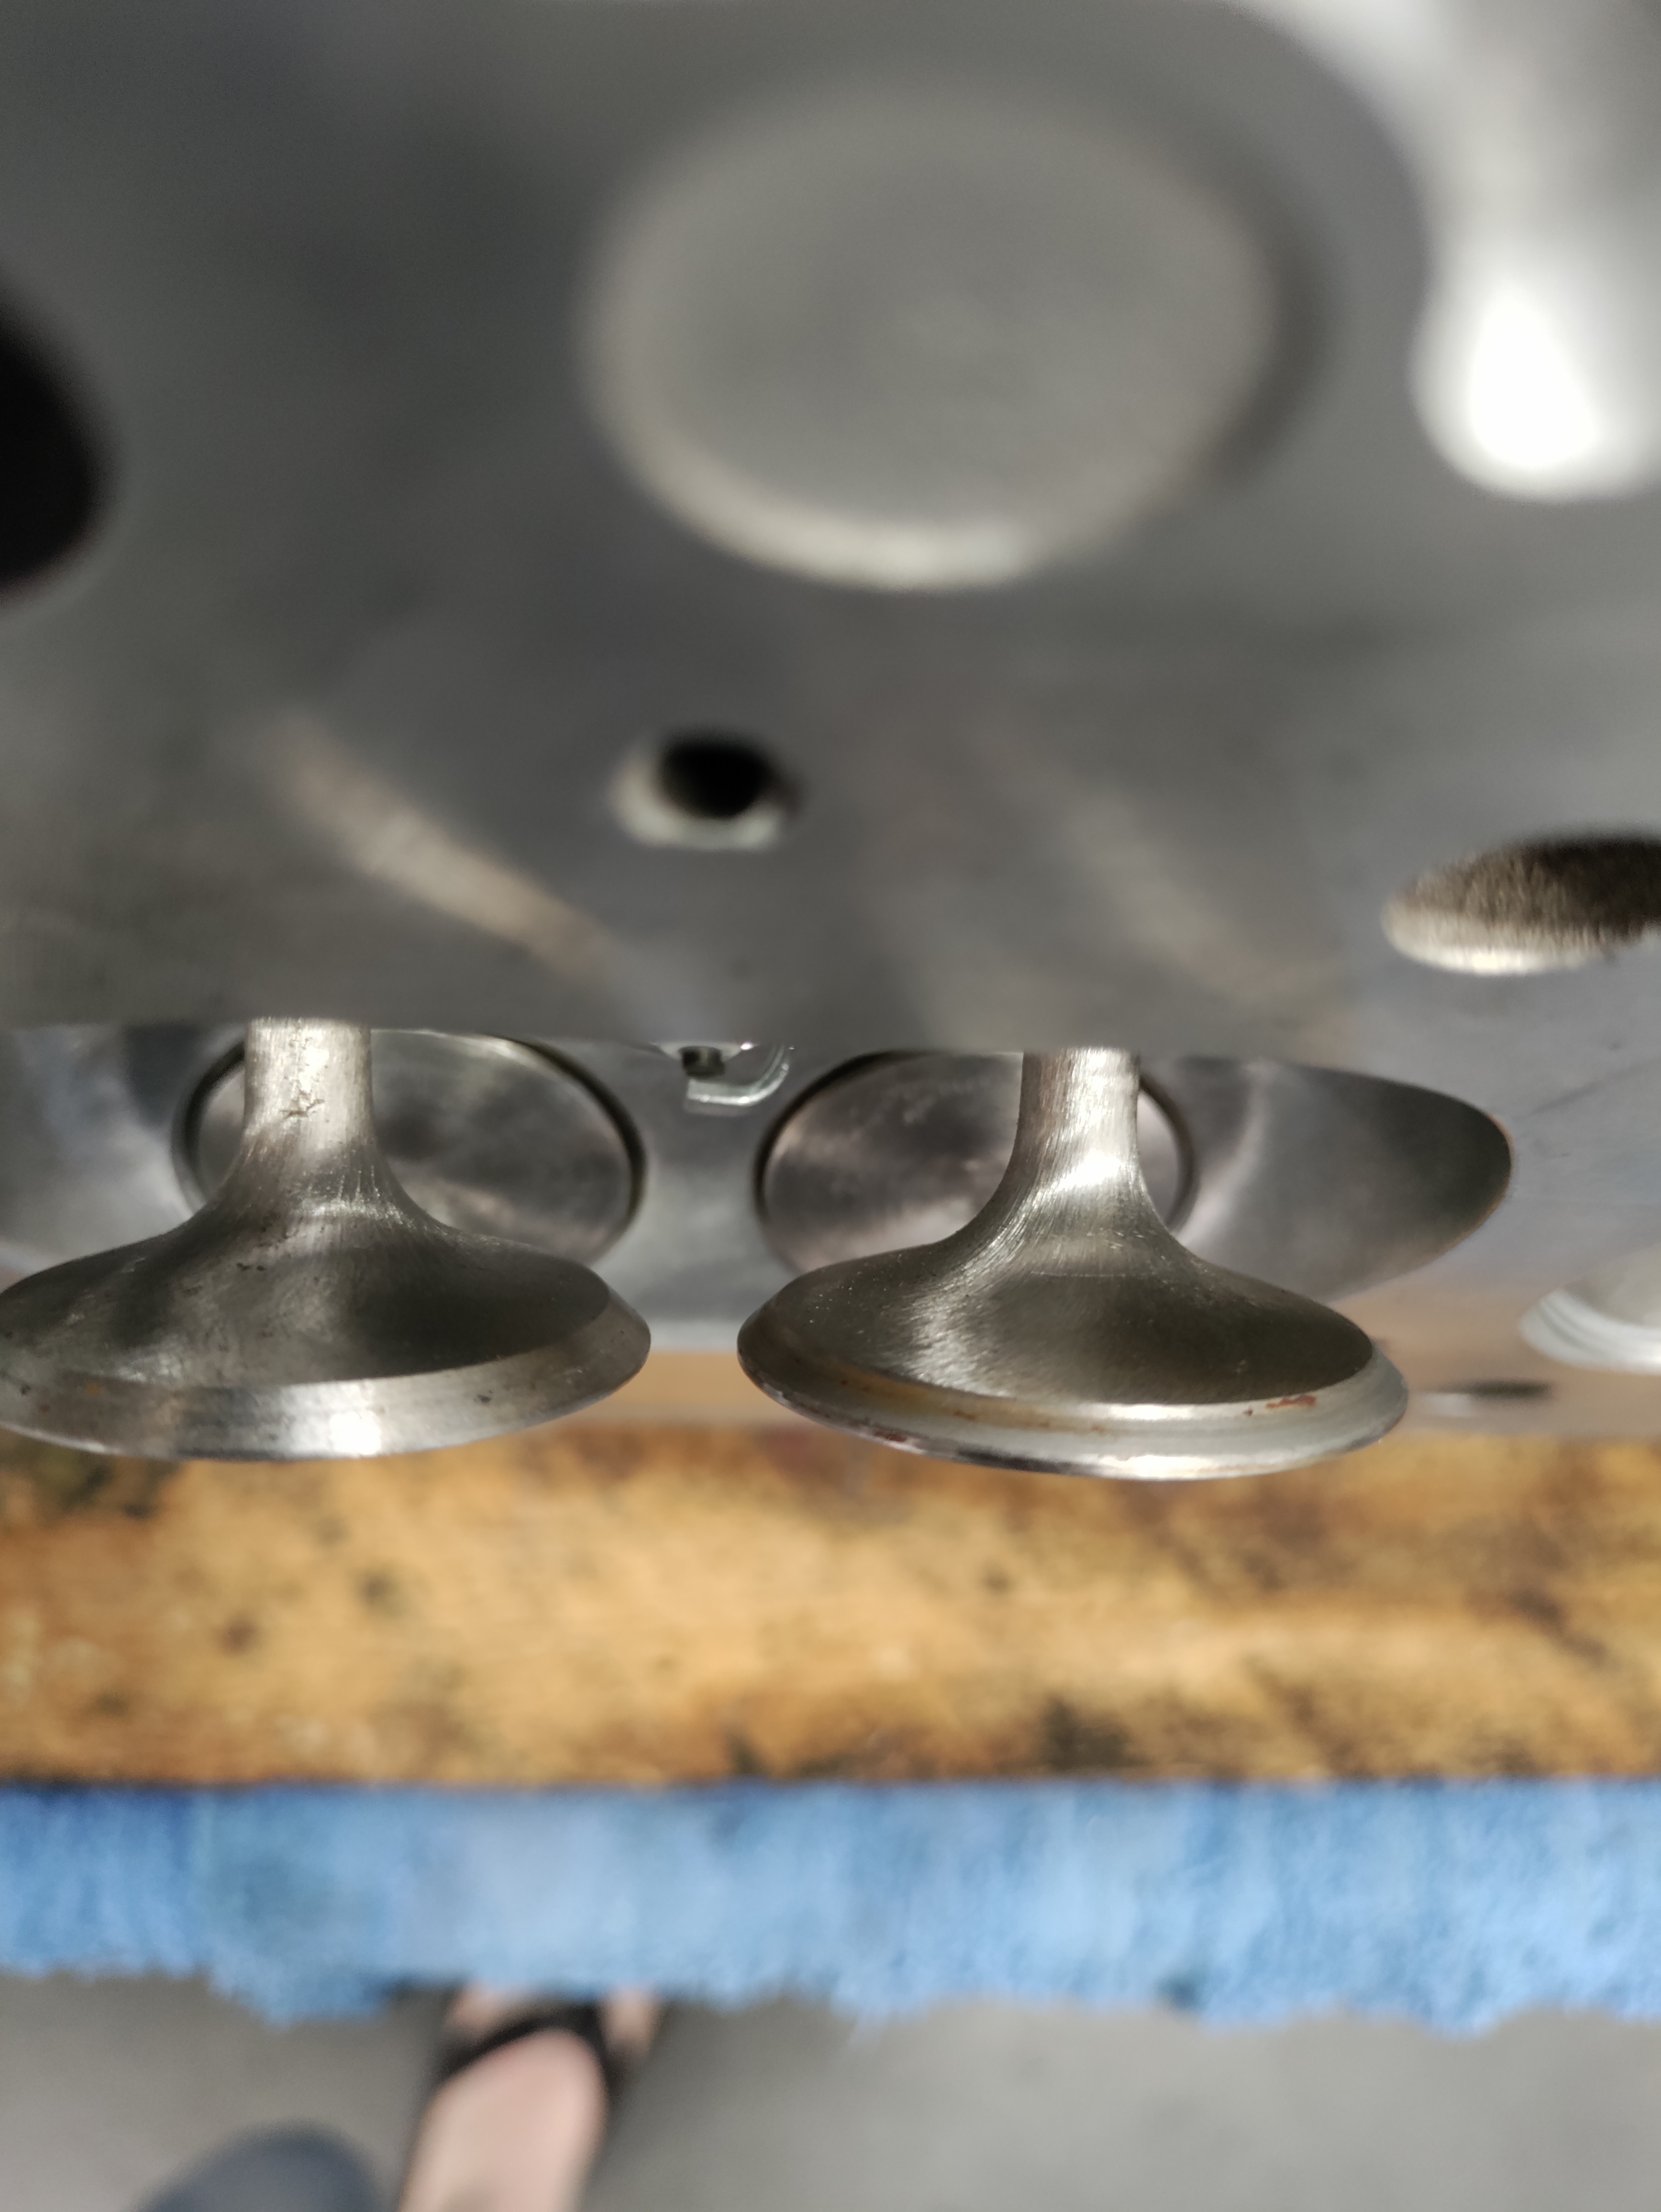
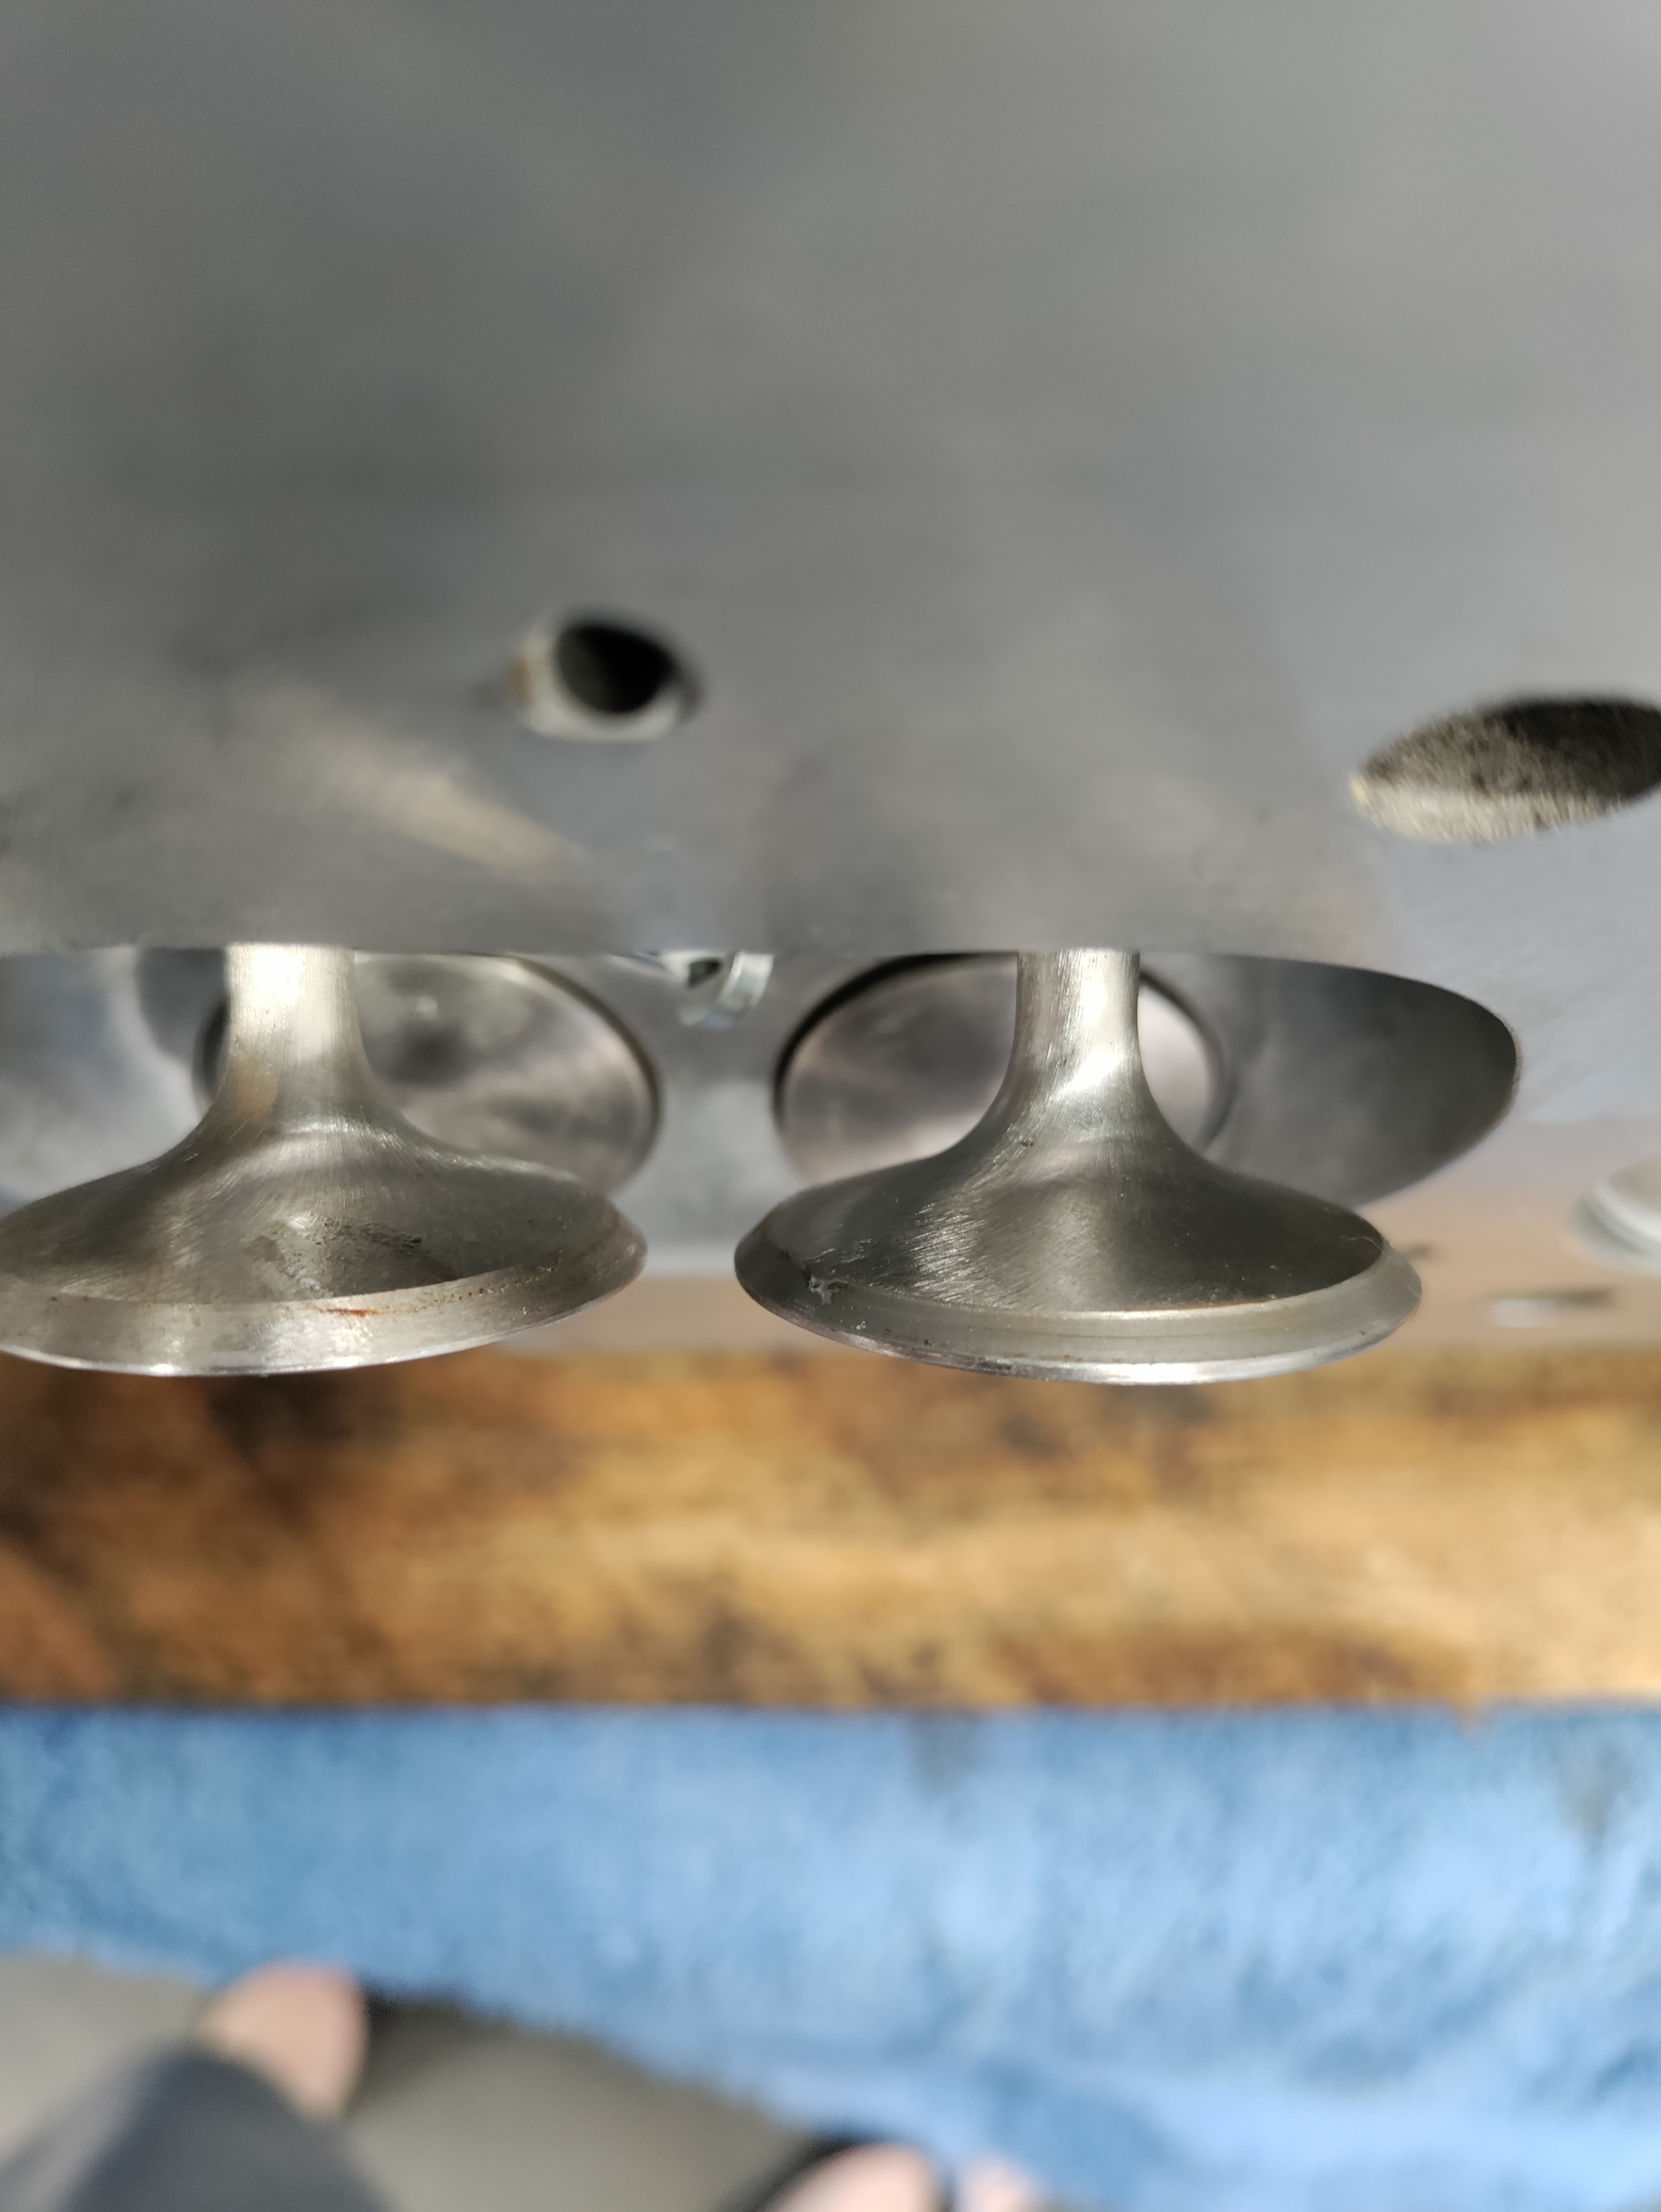
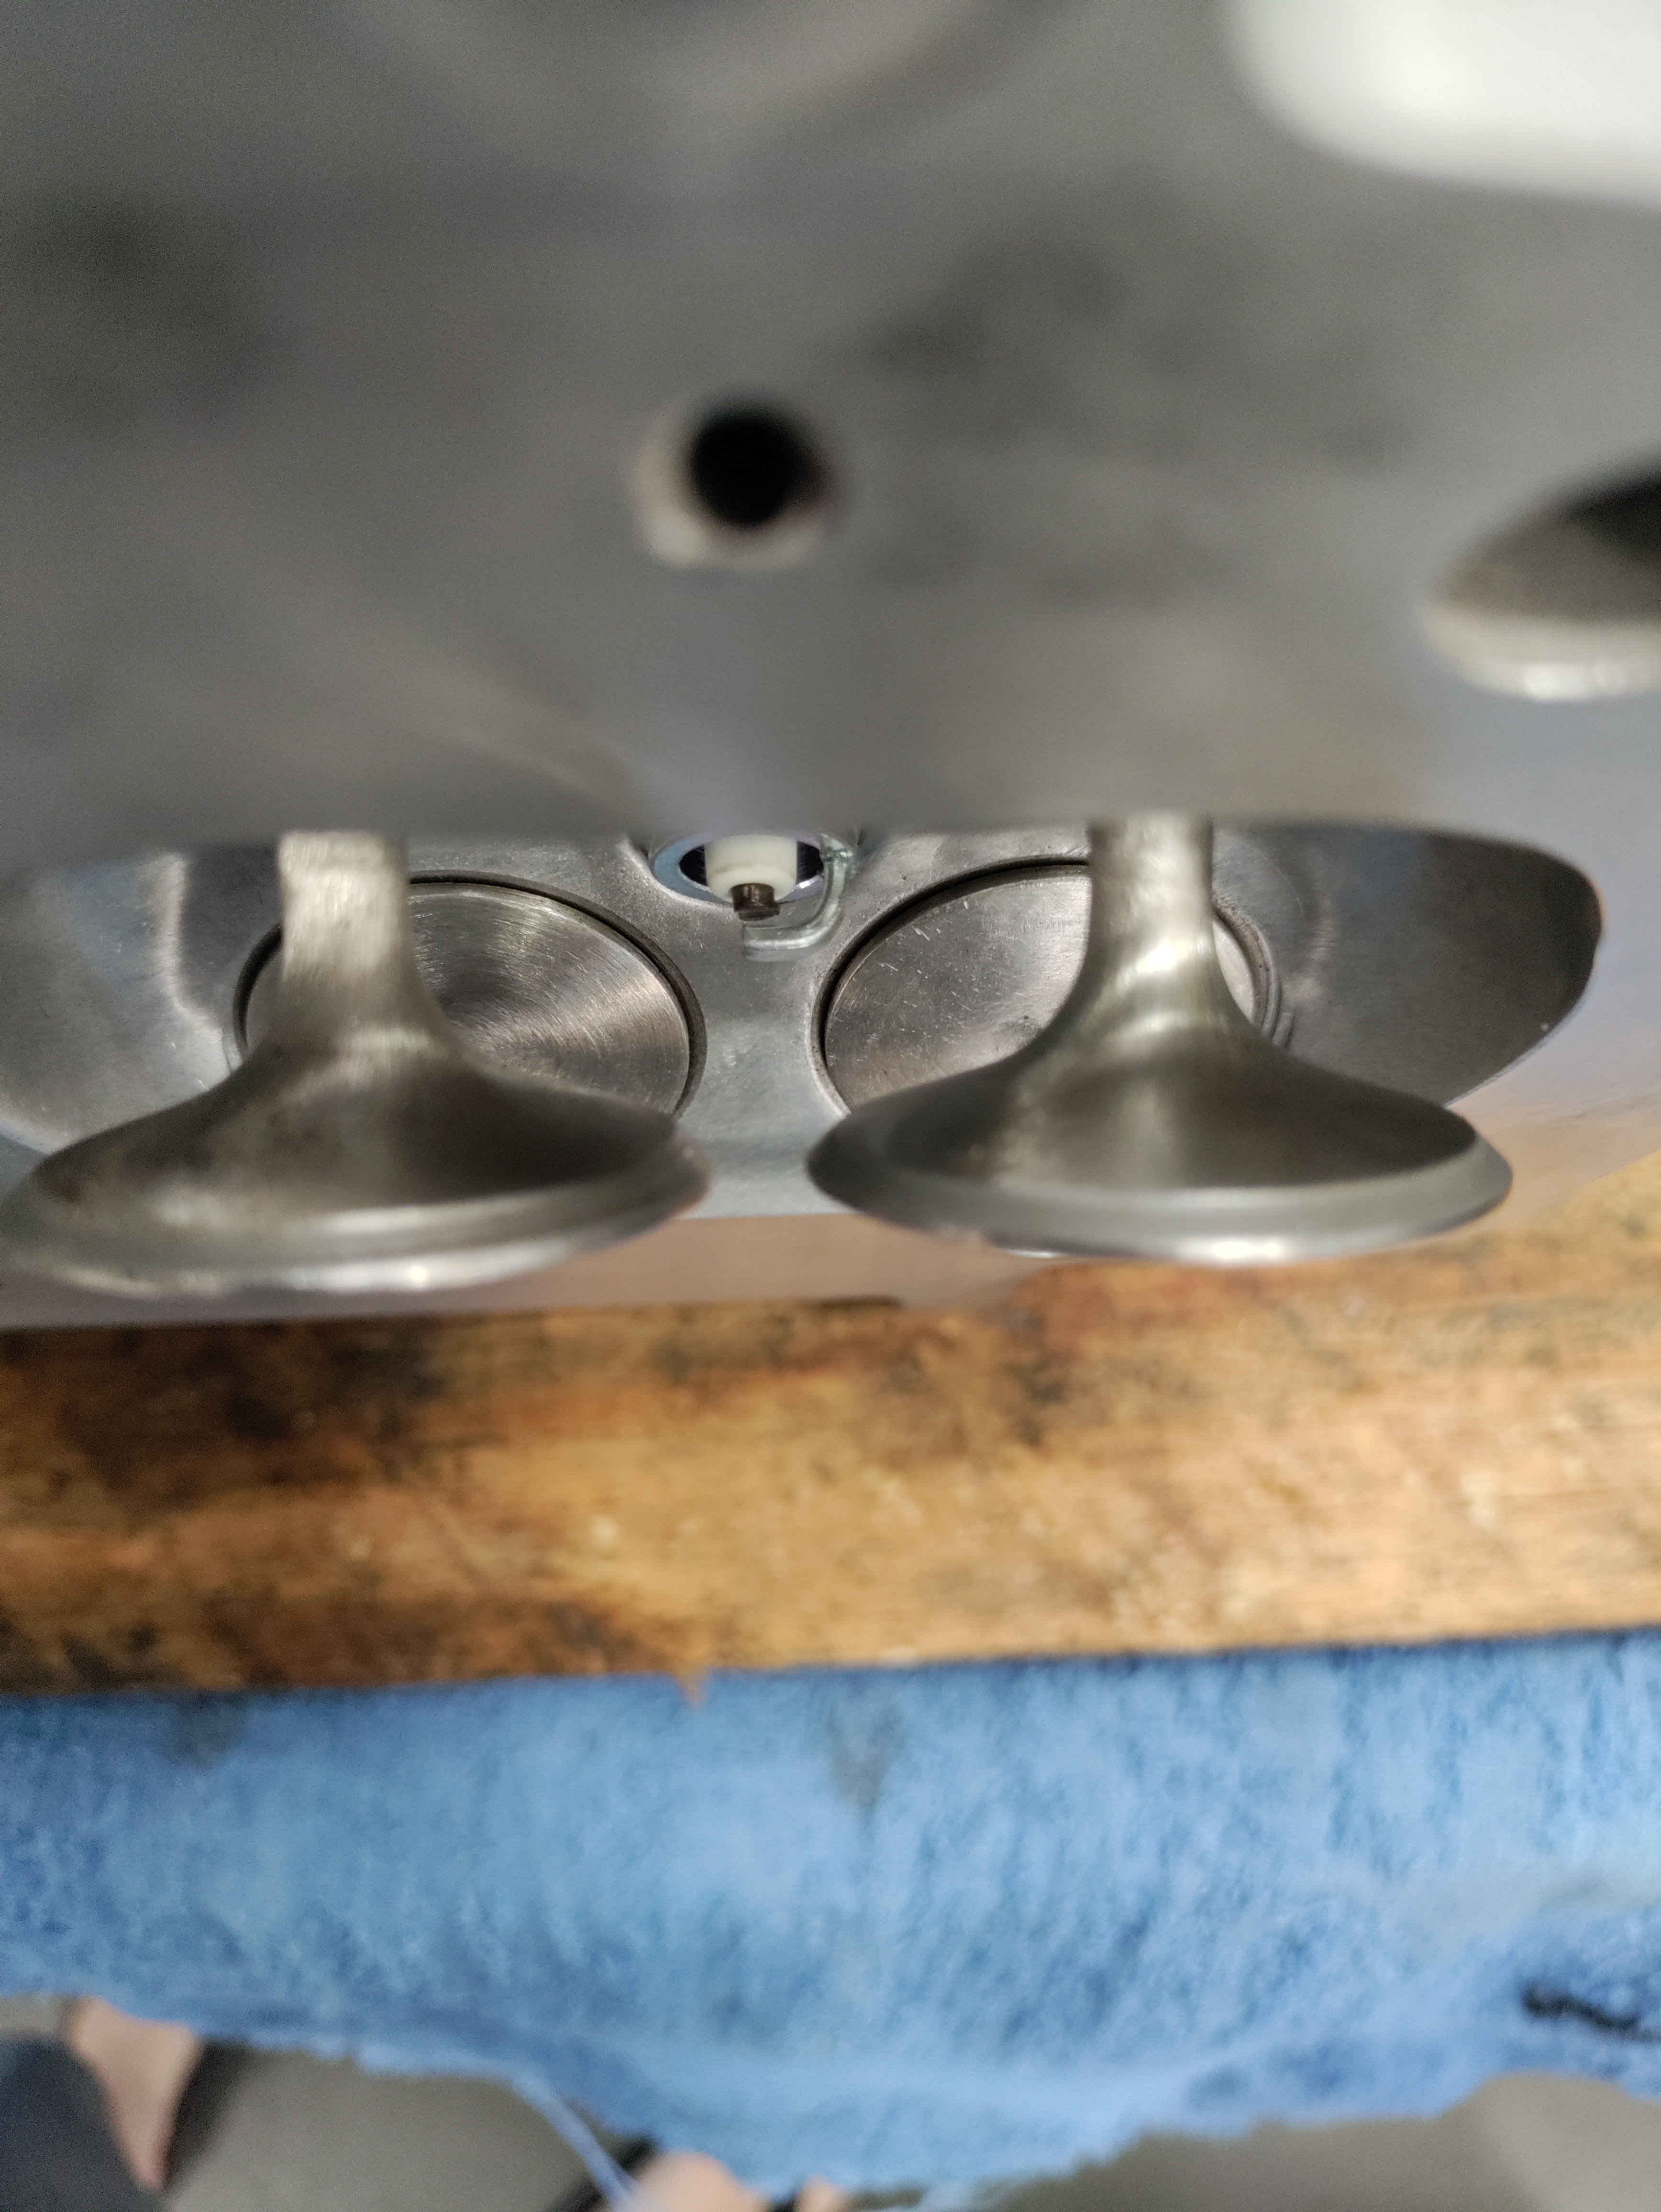
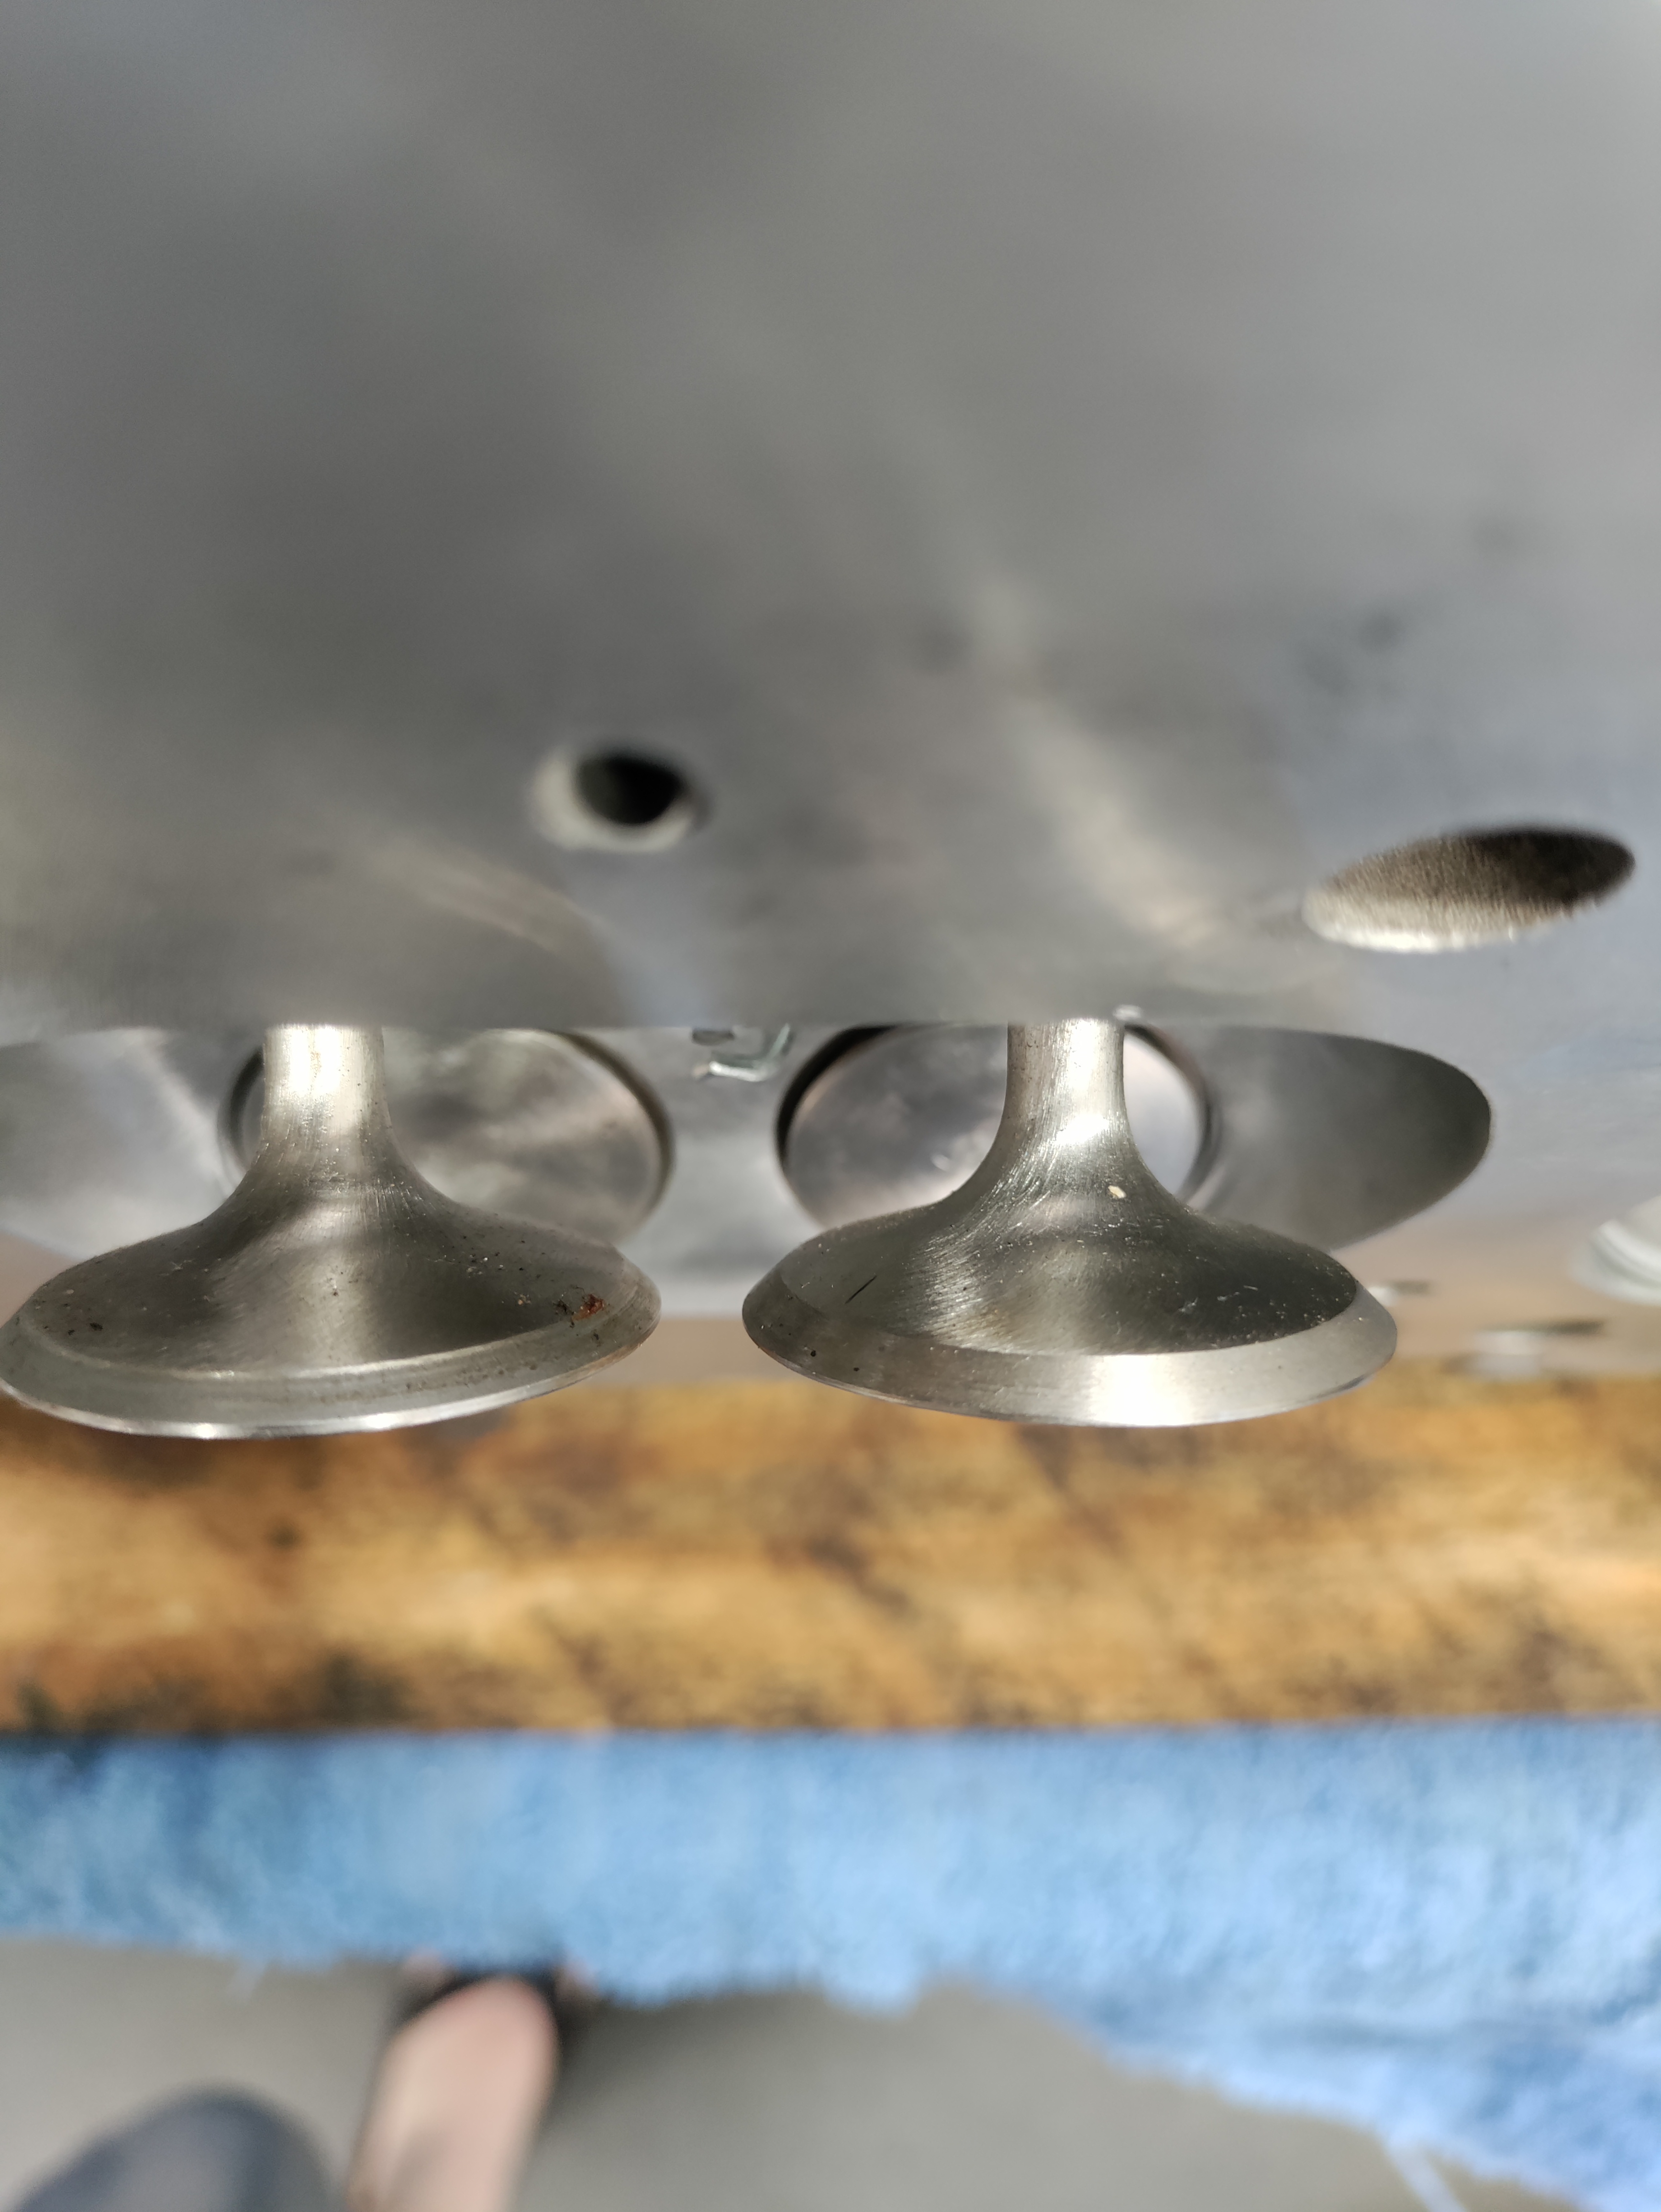
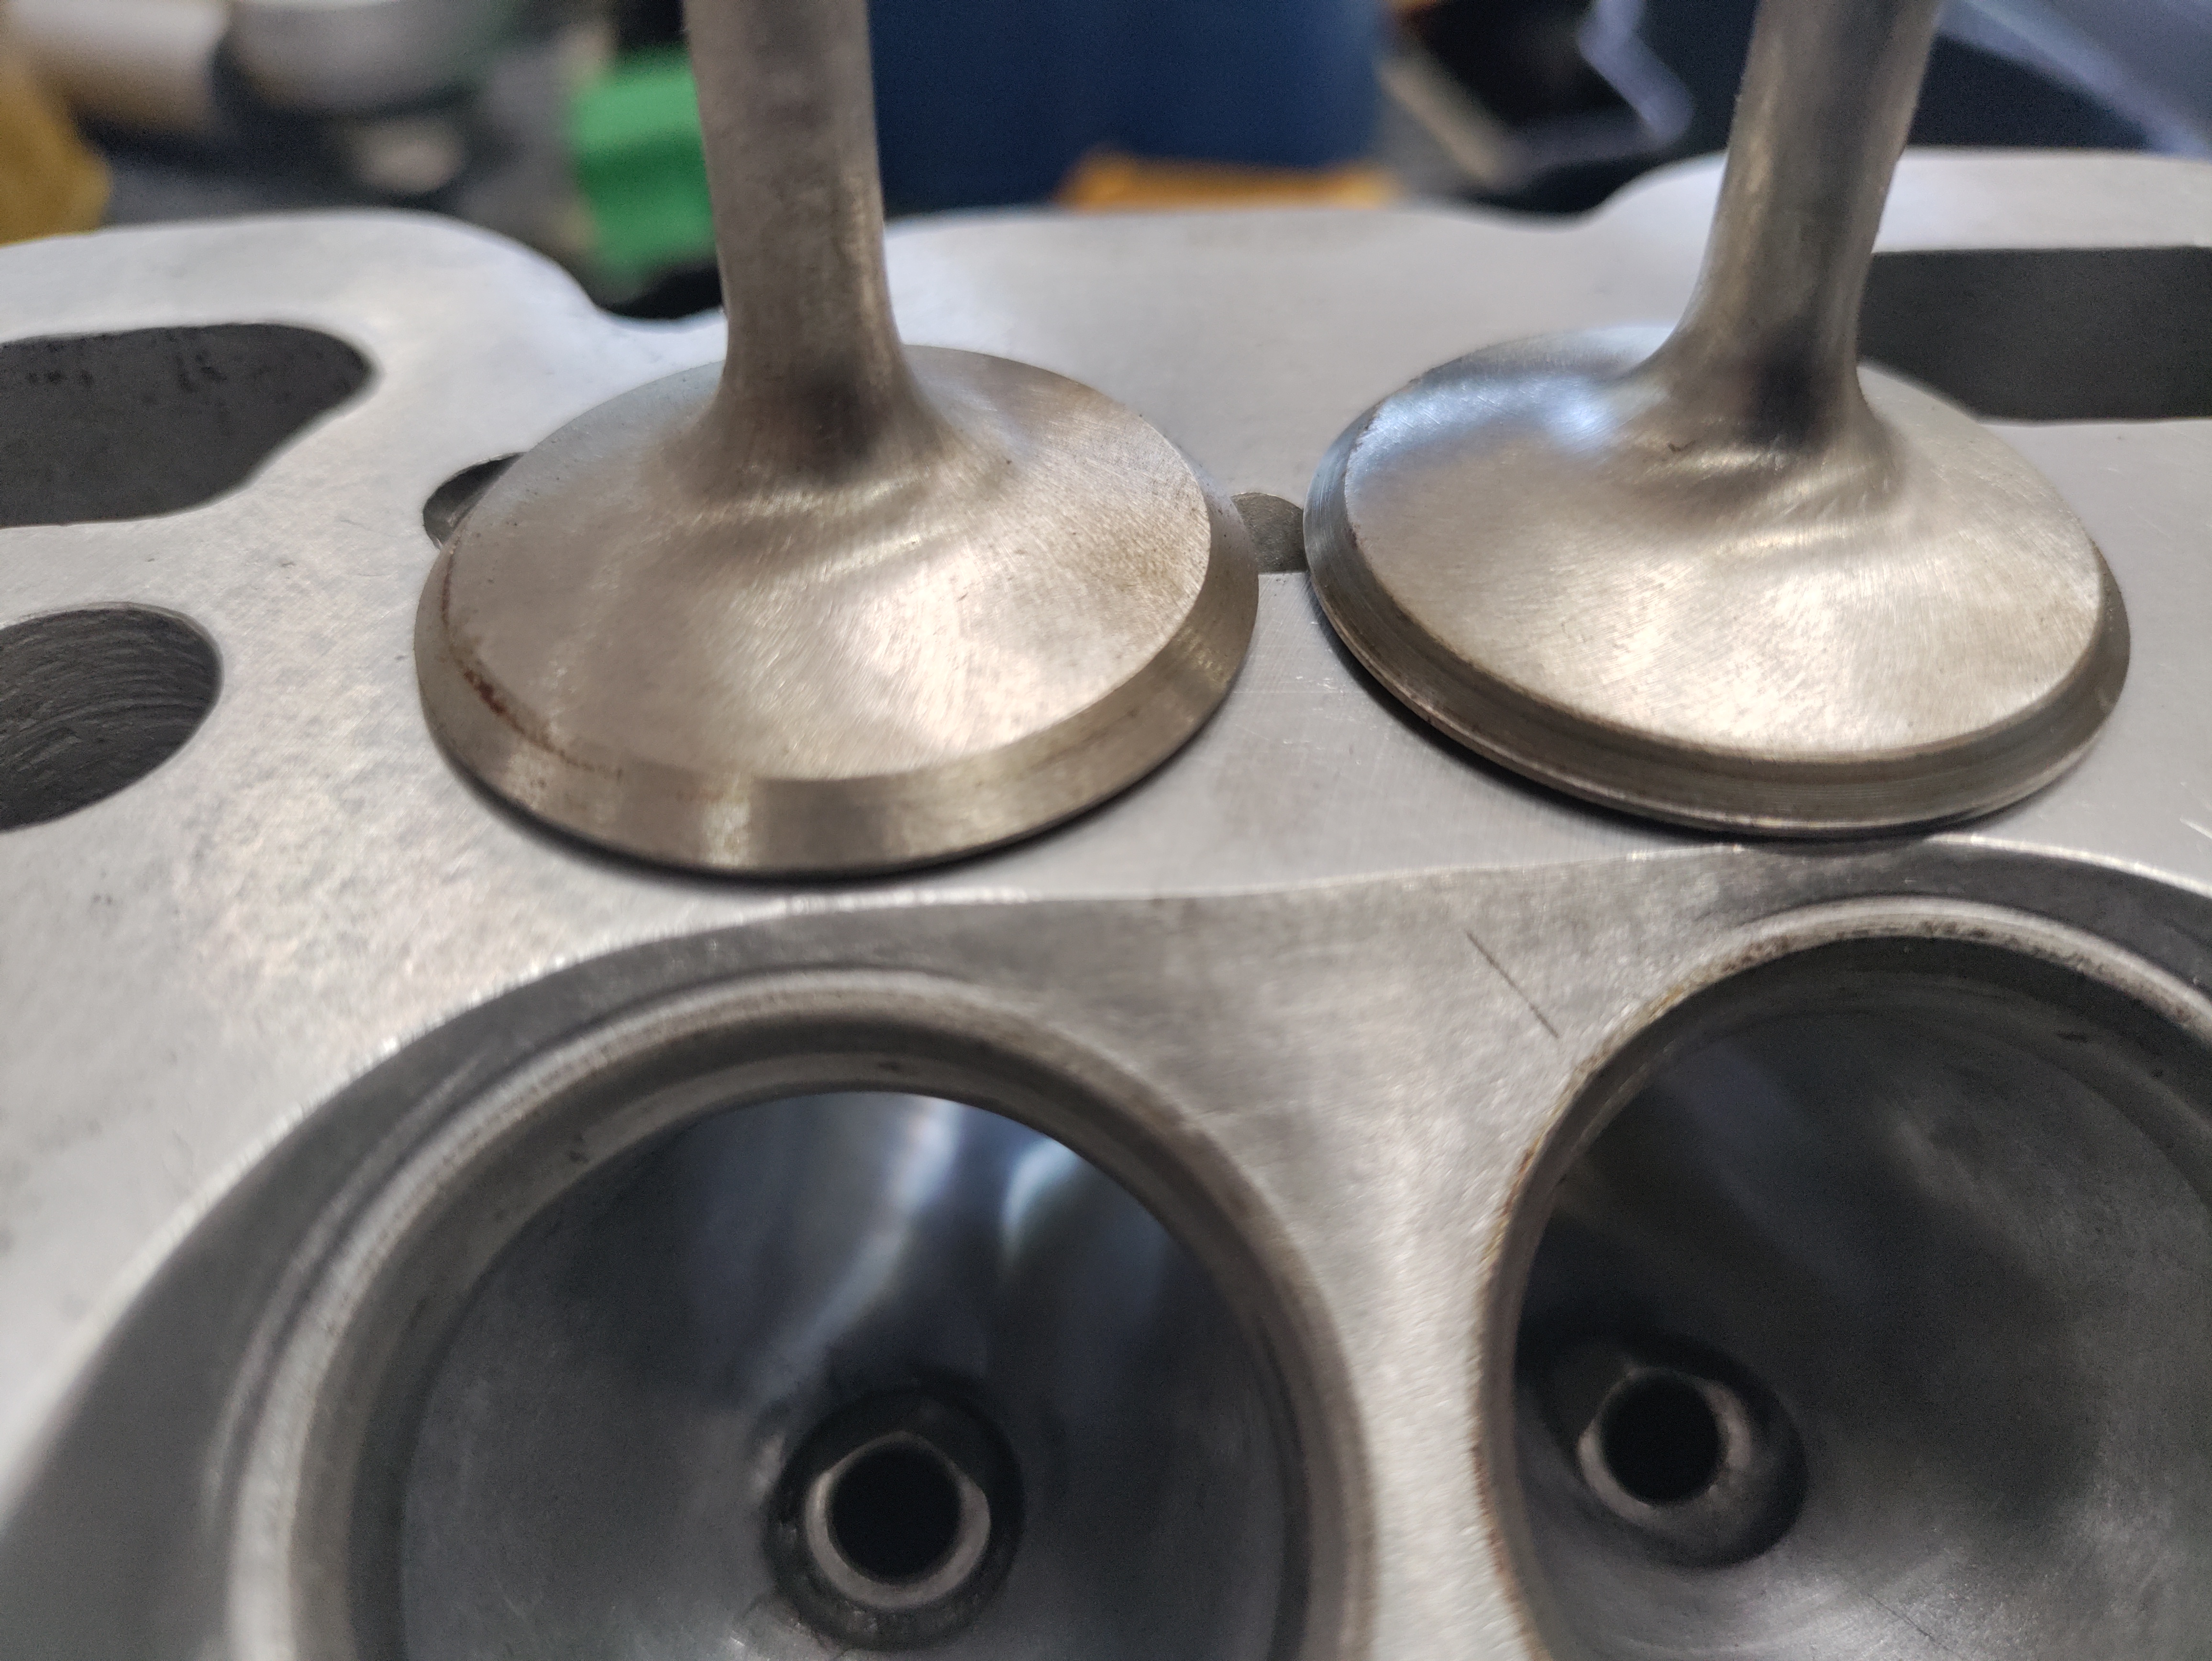
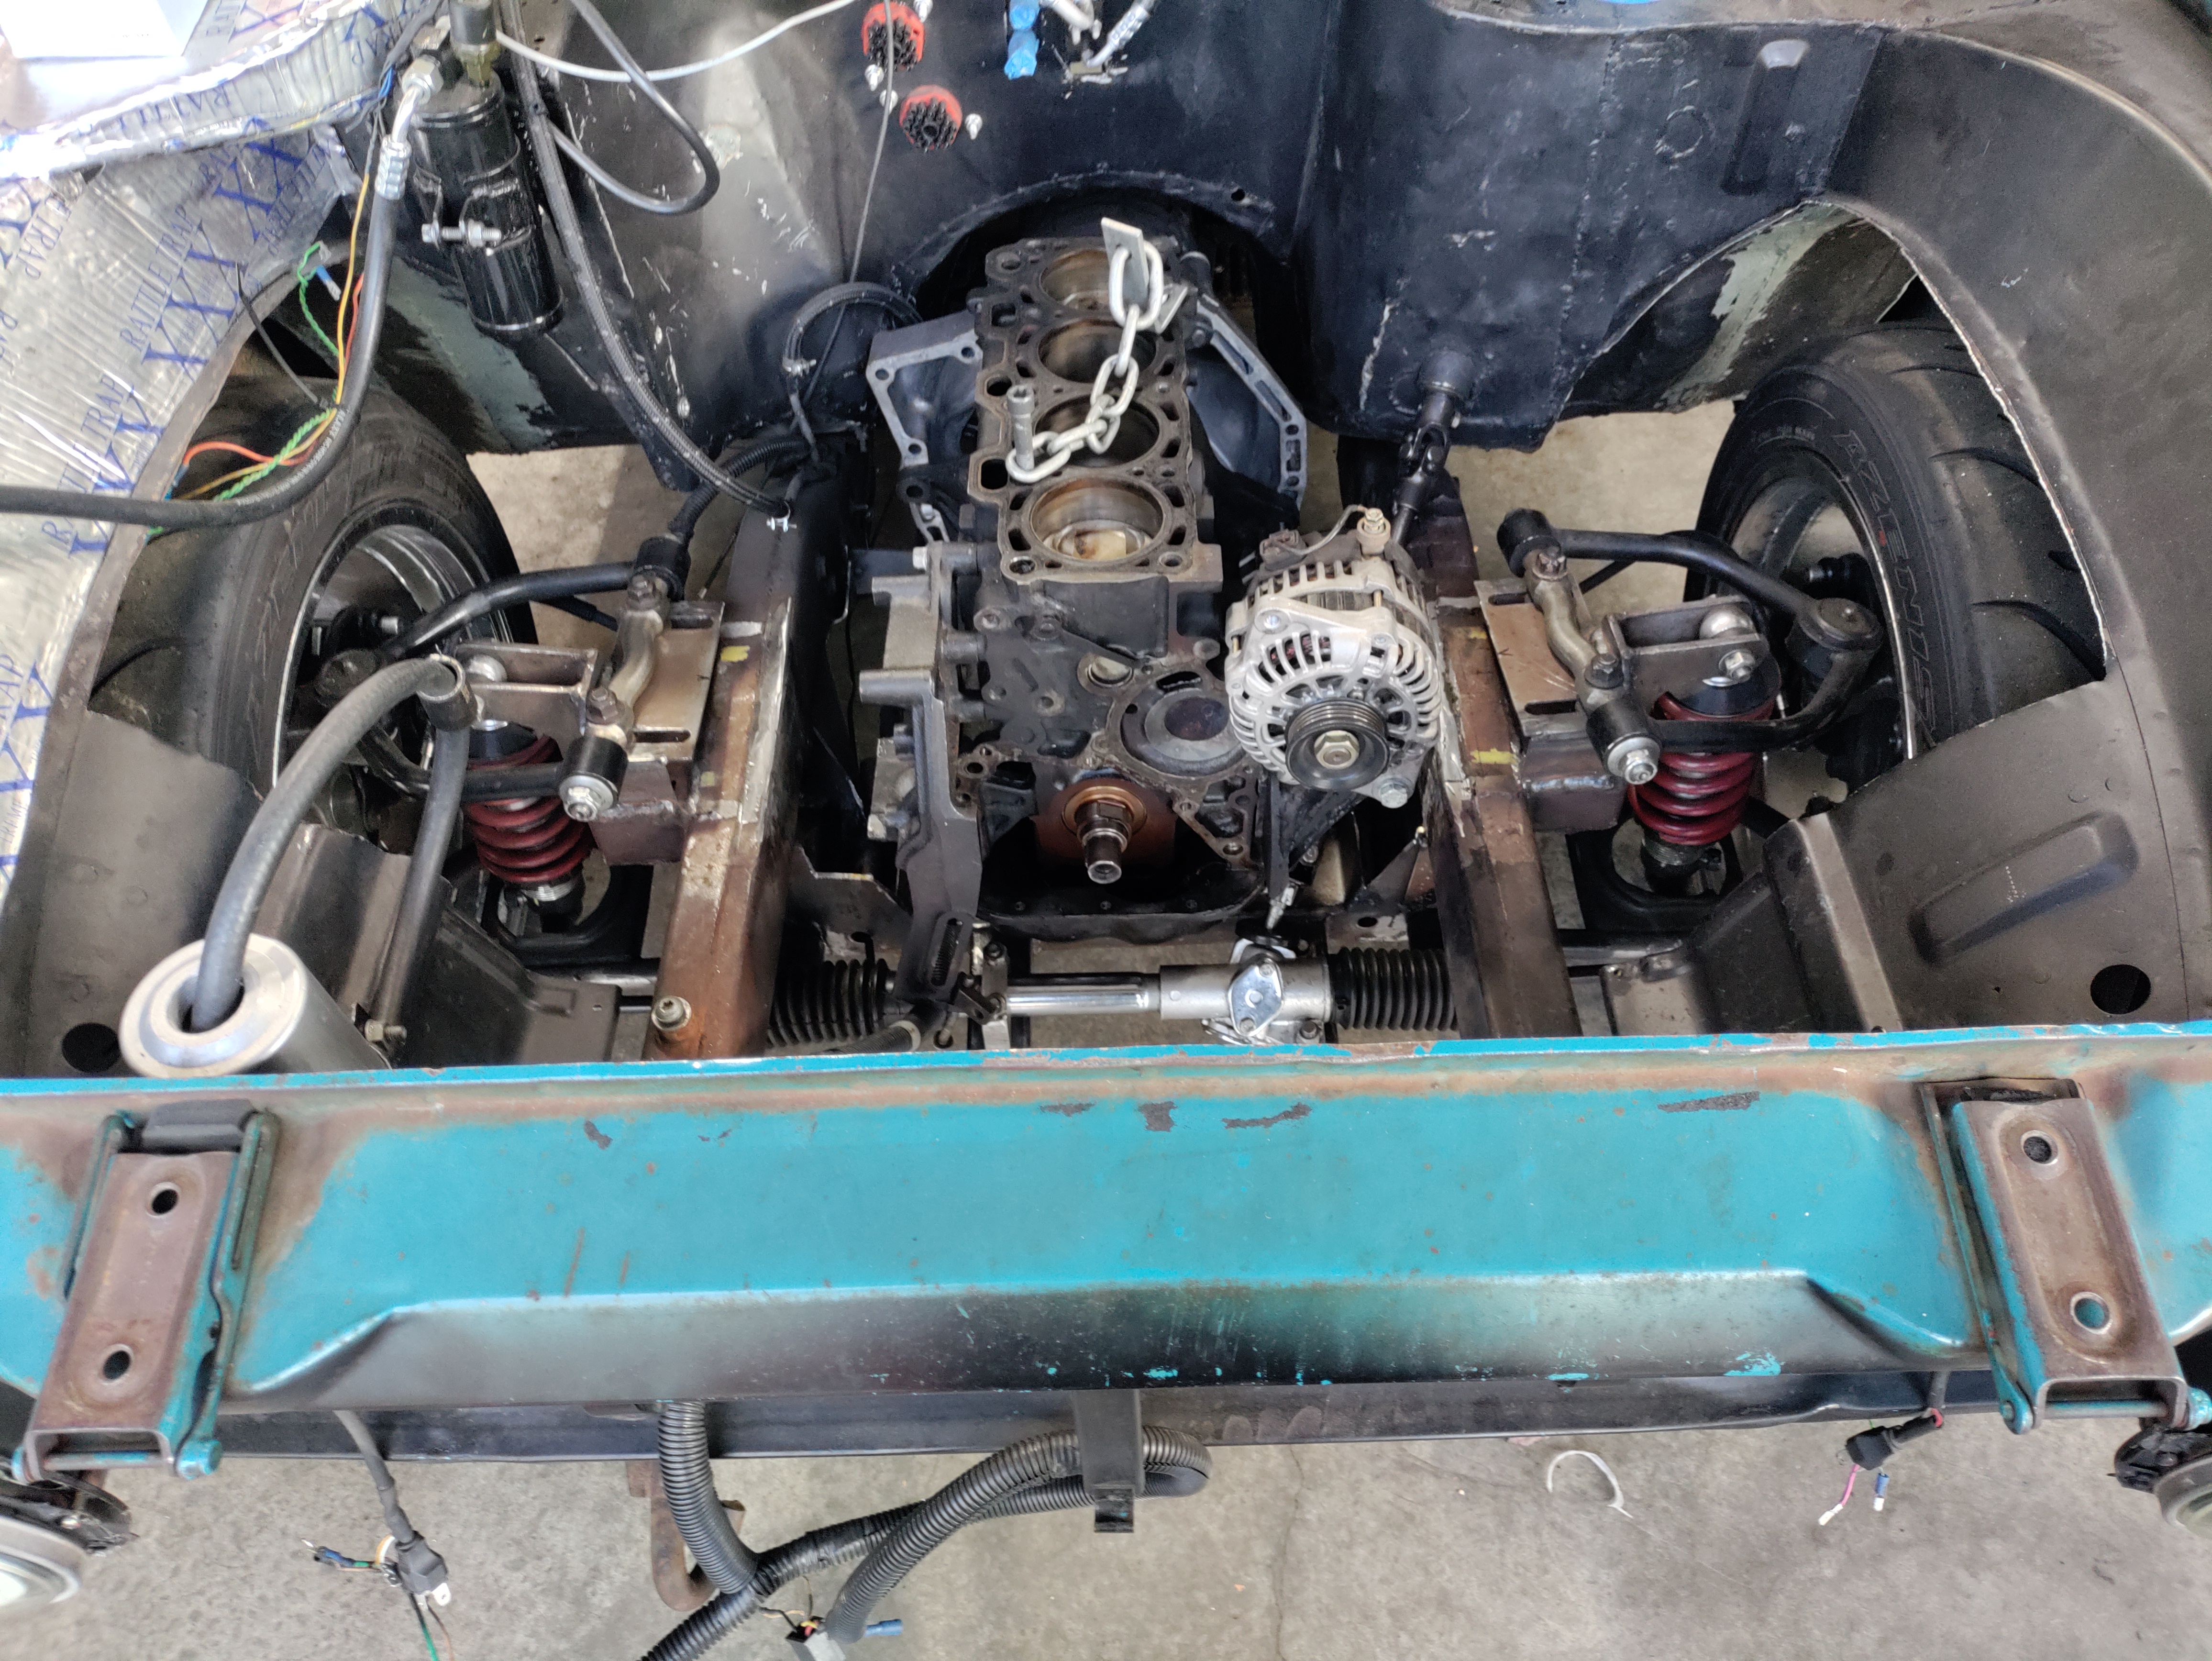
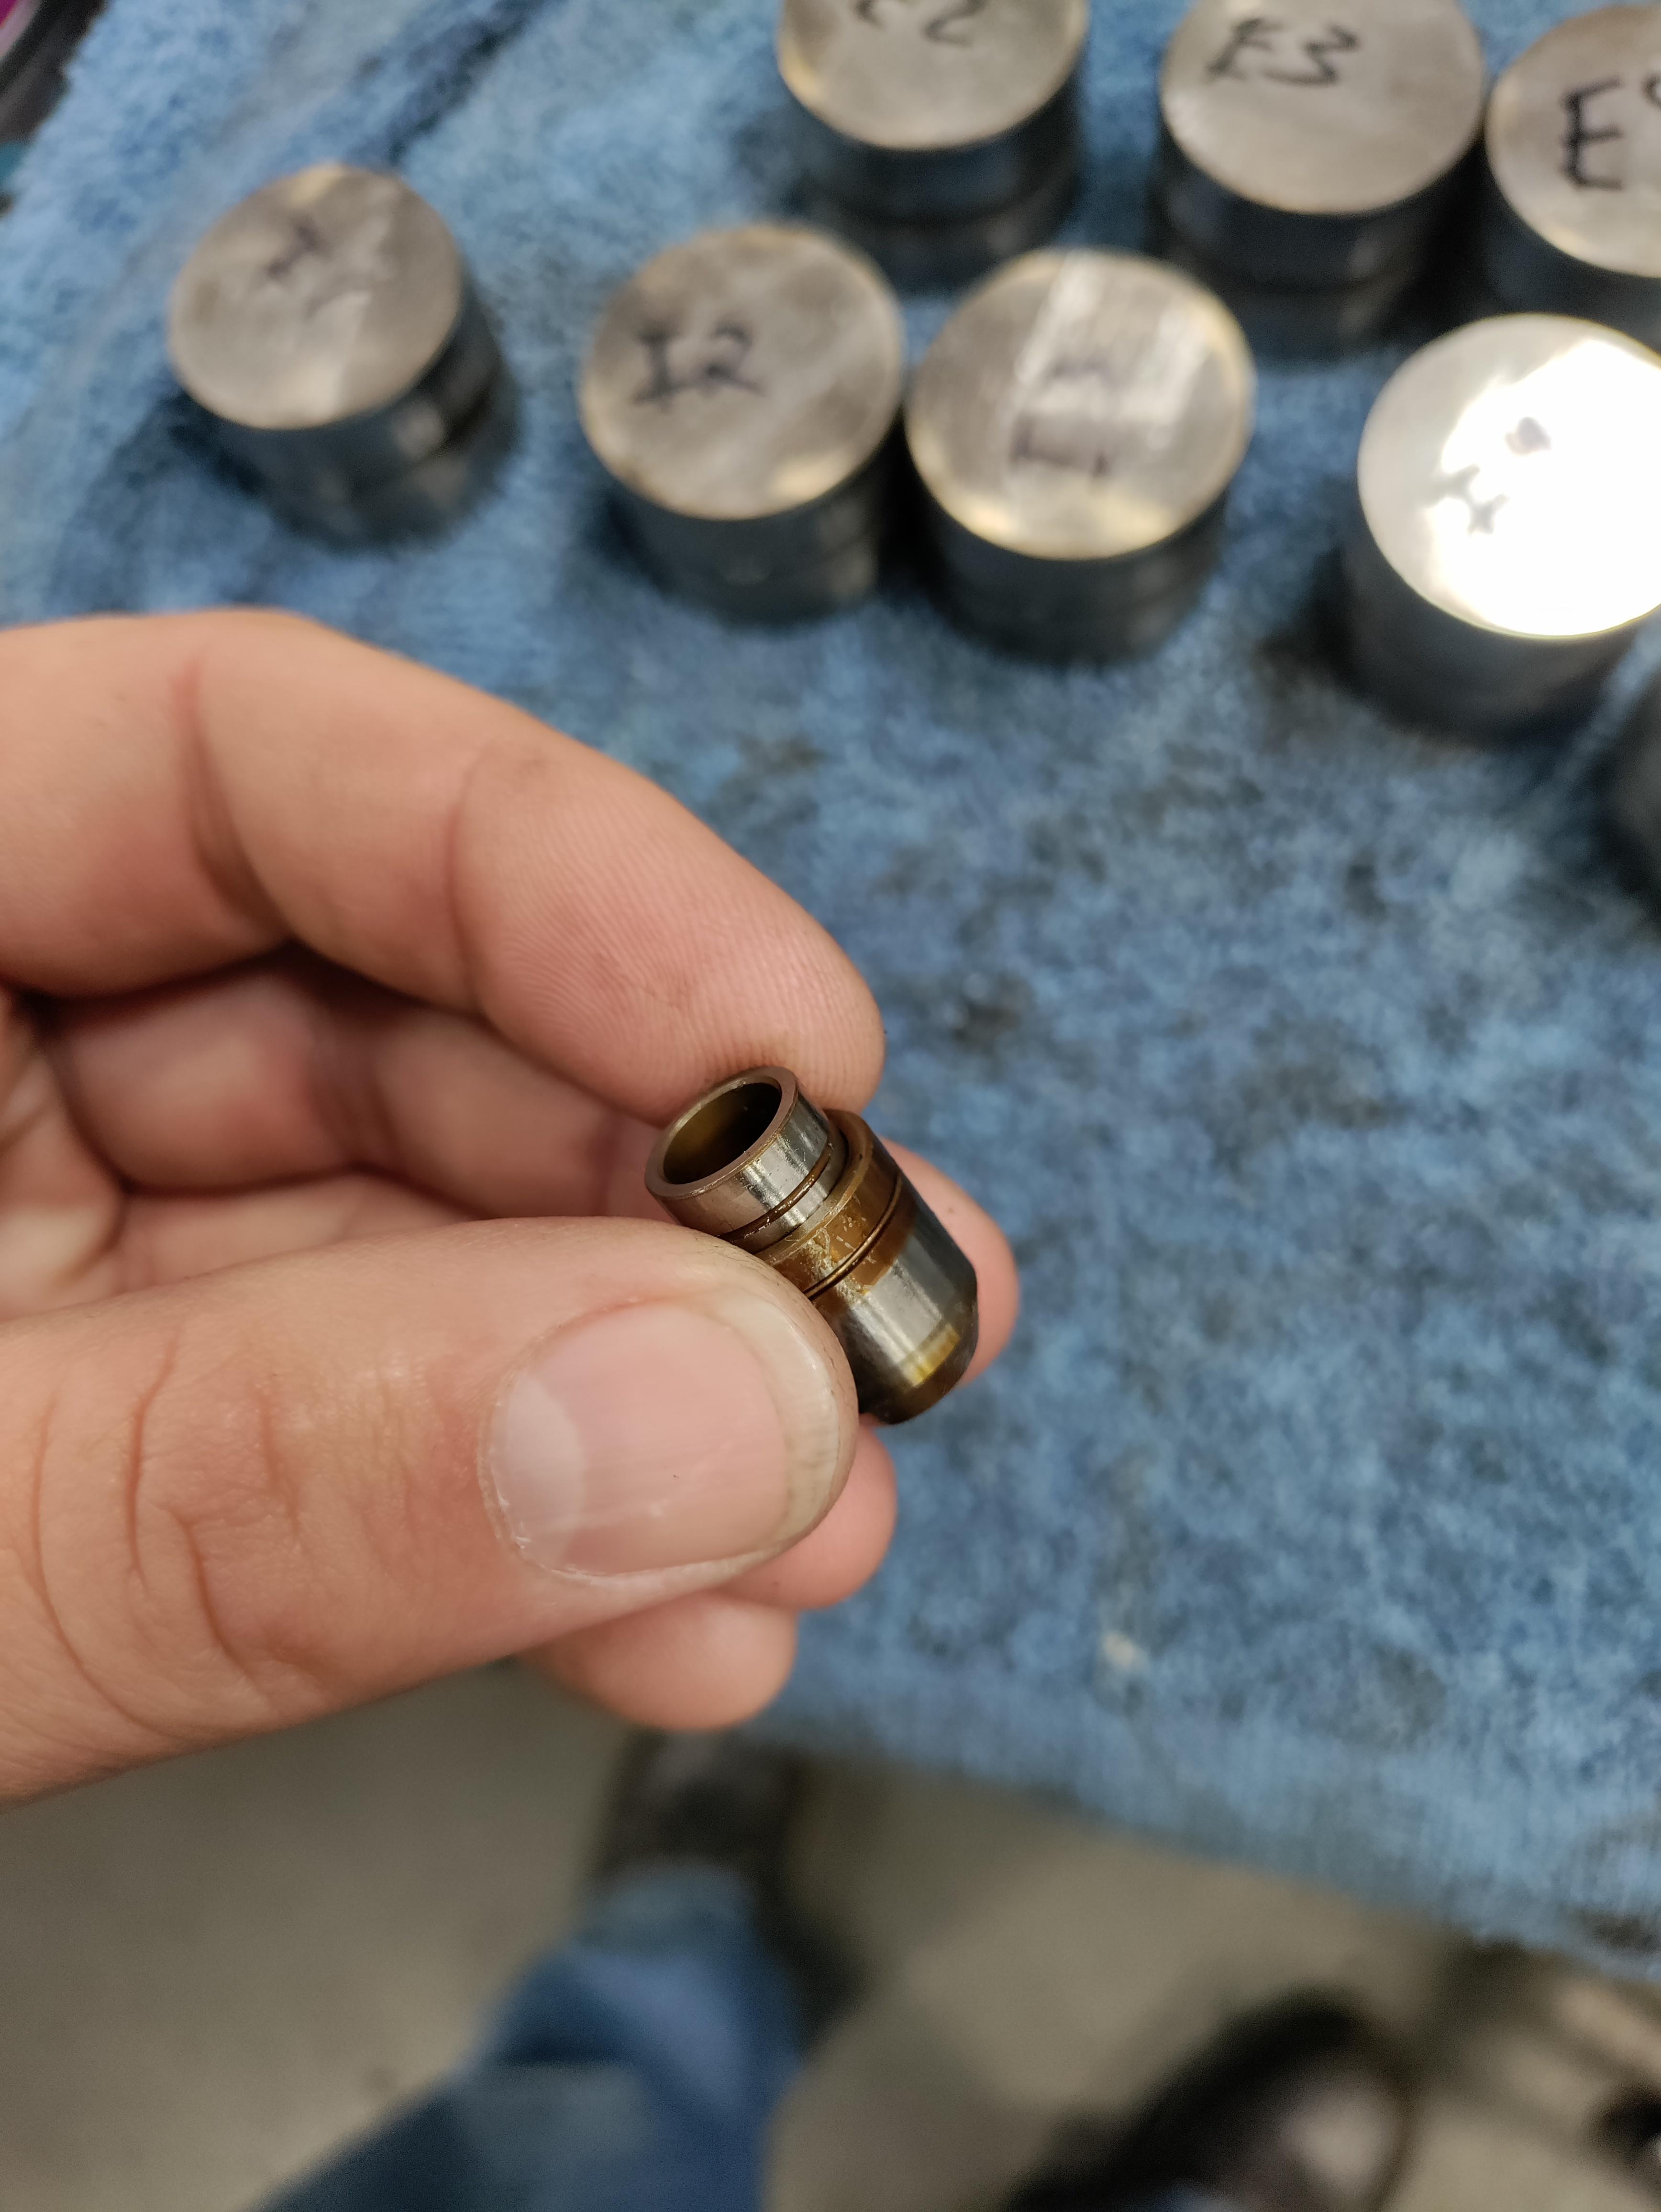
I had a 4 day weekend over labor day and was so excided to get this build motor in... WAS... pulled the old motor out. cleaned everything up, swapped the head studs, installed new oil pump, water pump, turbo feed and drain lines on. check check all the valve clearances on my "Freshly ported/machined" head that I paid a lot of money for and they were all over place, no worries I just need to pull lifters to see how the "custom solid lifters" are adjusted. That's when the **** show started. the "solid lifters" are nothing more than hacksawed bolts that aren't even close to smooth or flat, the oil feed port to the hydraulic lifters was not plugged on any of them, a crude channel in the bolts made sure that all the oil pressure going through the unplugged ports in the buckets was free to bleed off onto the valve. I then water tested the valves for the first time to make sure that was at least done correctly, i mean how can a machine shop screw up valves?. Almost every one pissed all over the floor. I pulled the valves and found only 3 intake and 2 exhaust valves were even machined. not a single seat had any angles cut into them and all of them looked looked almost rounded over. the unmachined valves are so worn you can visually see the wear. all the valve springs appear to be the stock double valve springs but I don't have a testing scale to confirm or deny that. The only thing about the head that looked legit is the cams the intake has a tiny bit more lift and 80* more duration @.005" and the exhaust cam has an extra .070" lift and 85* more duration @ .005". I've been scrambling to make this thing not a boat anchor but all the machine shops are a month out and I'm not 100% sure what I'm gonna do with the lifters. Do I just stay with stock hydros? do I add shims to my hla's to make them solid and pin the oil hole shut or do I spend another $1000 on a legit set of solid buckets and shim them properly.
"Holy friggin crap!" The SOTH thinks to himself as his throat sinks into his stomach.
Sorry to hear about this, I suppose my inclination would be to try out the hydraulic lifters if the cams are compatible.
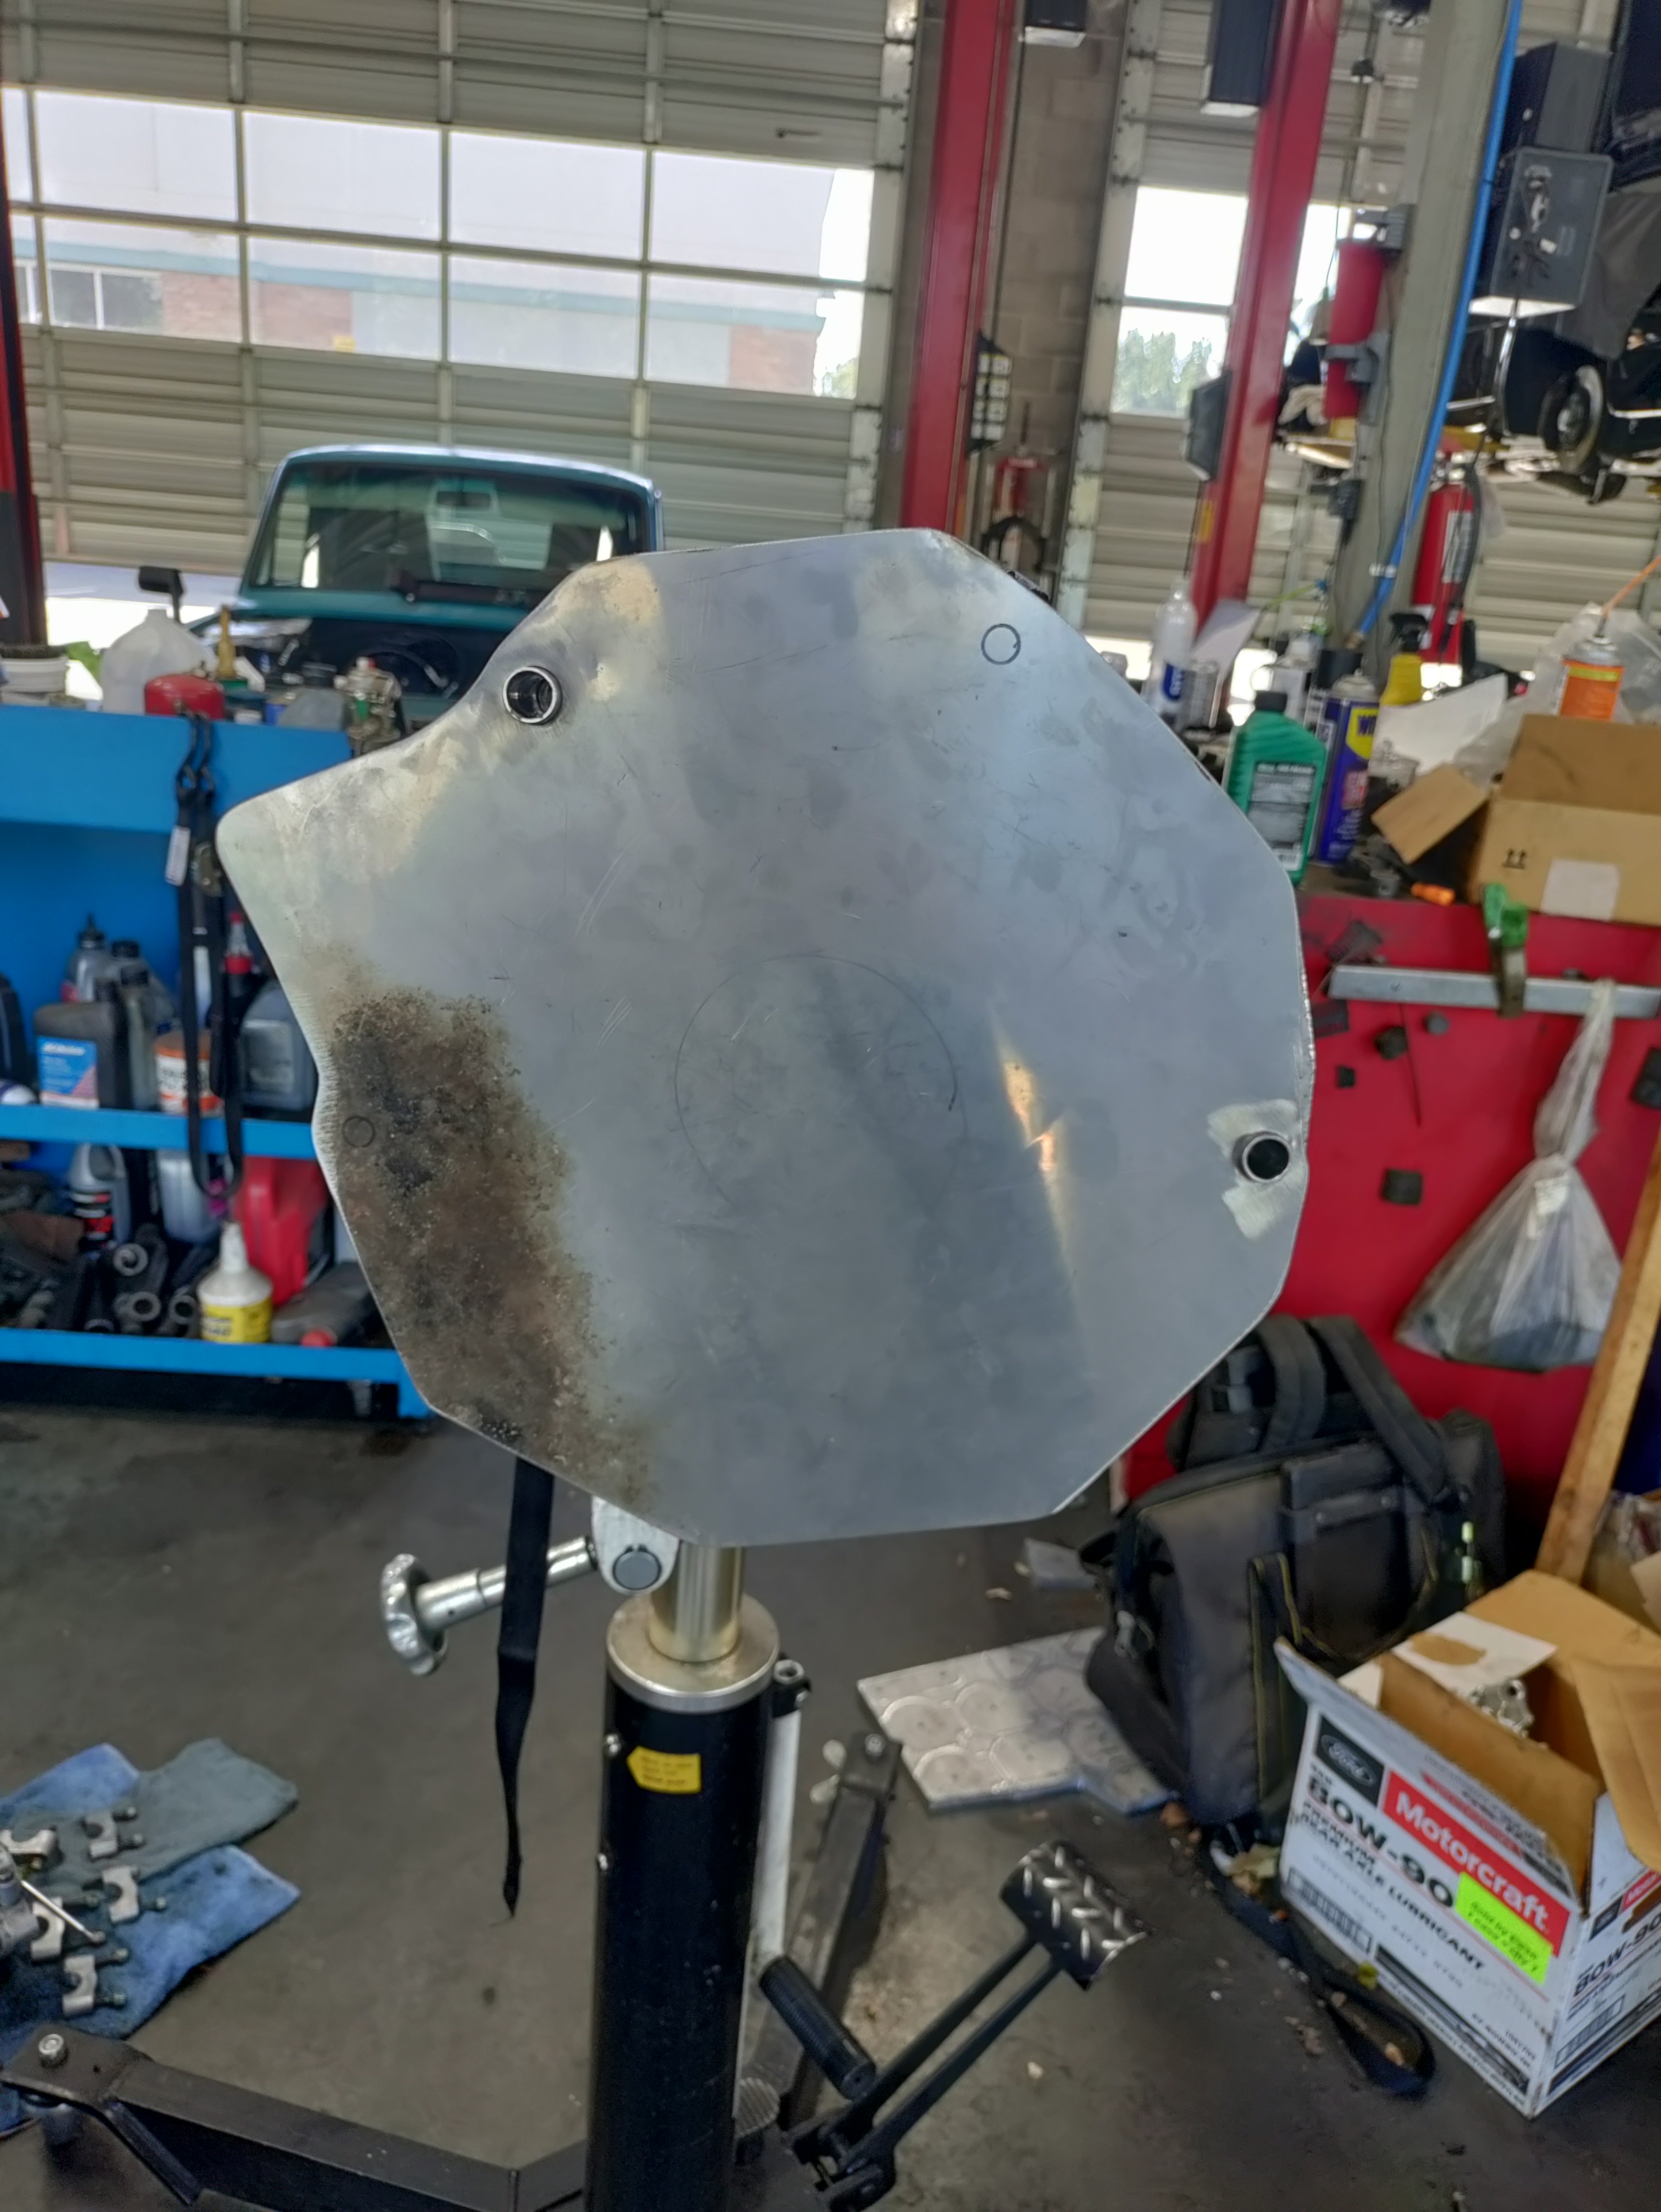
I guess I will be checking out my new head tomorrow.
I'm building my own solid lifters and sending the head out to be pressure tested and the valves done.
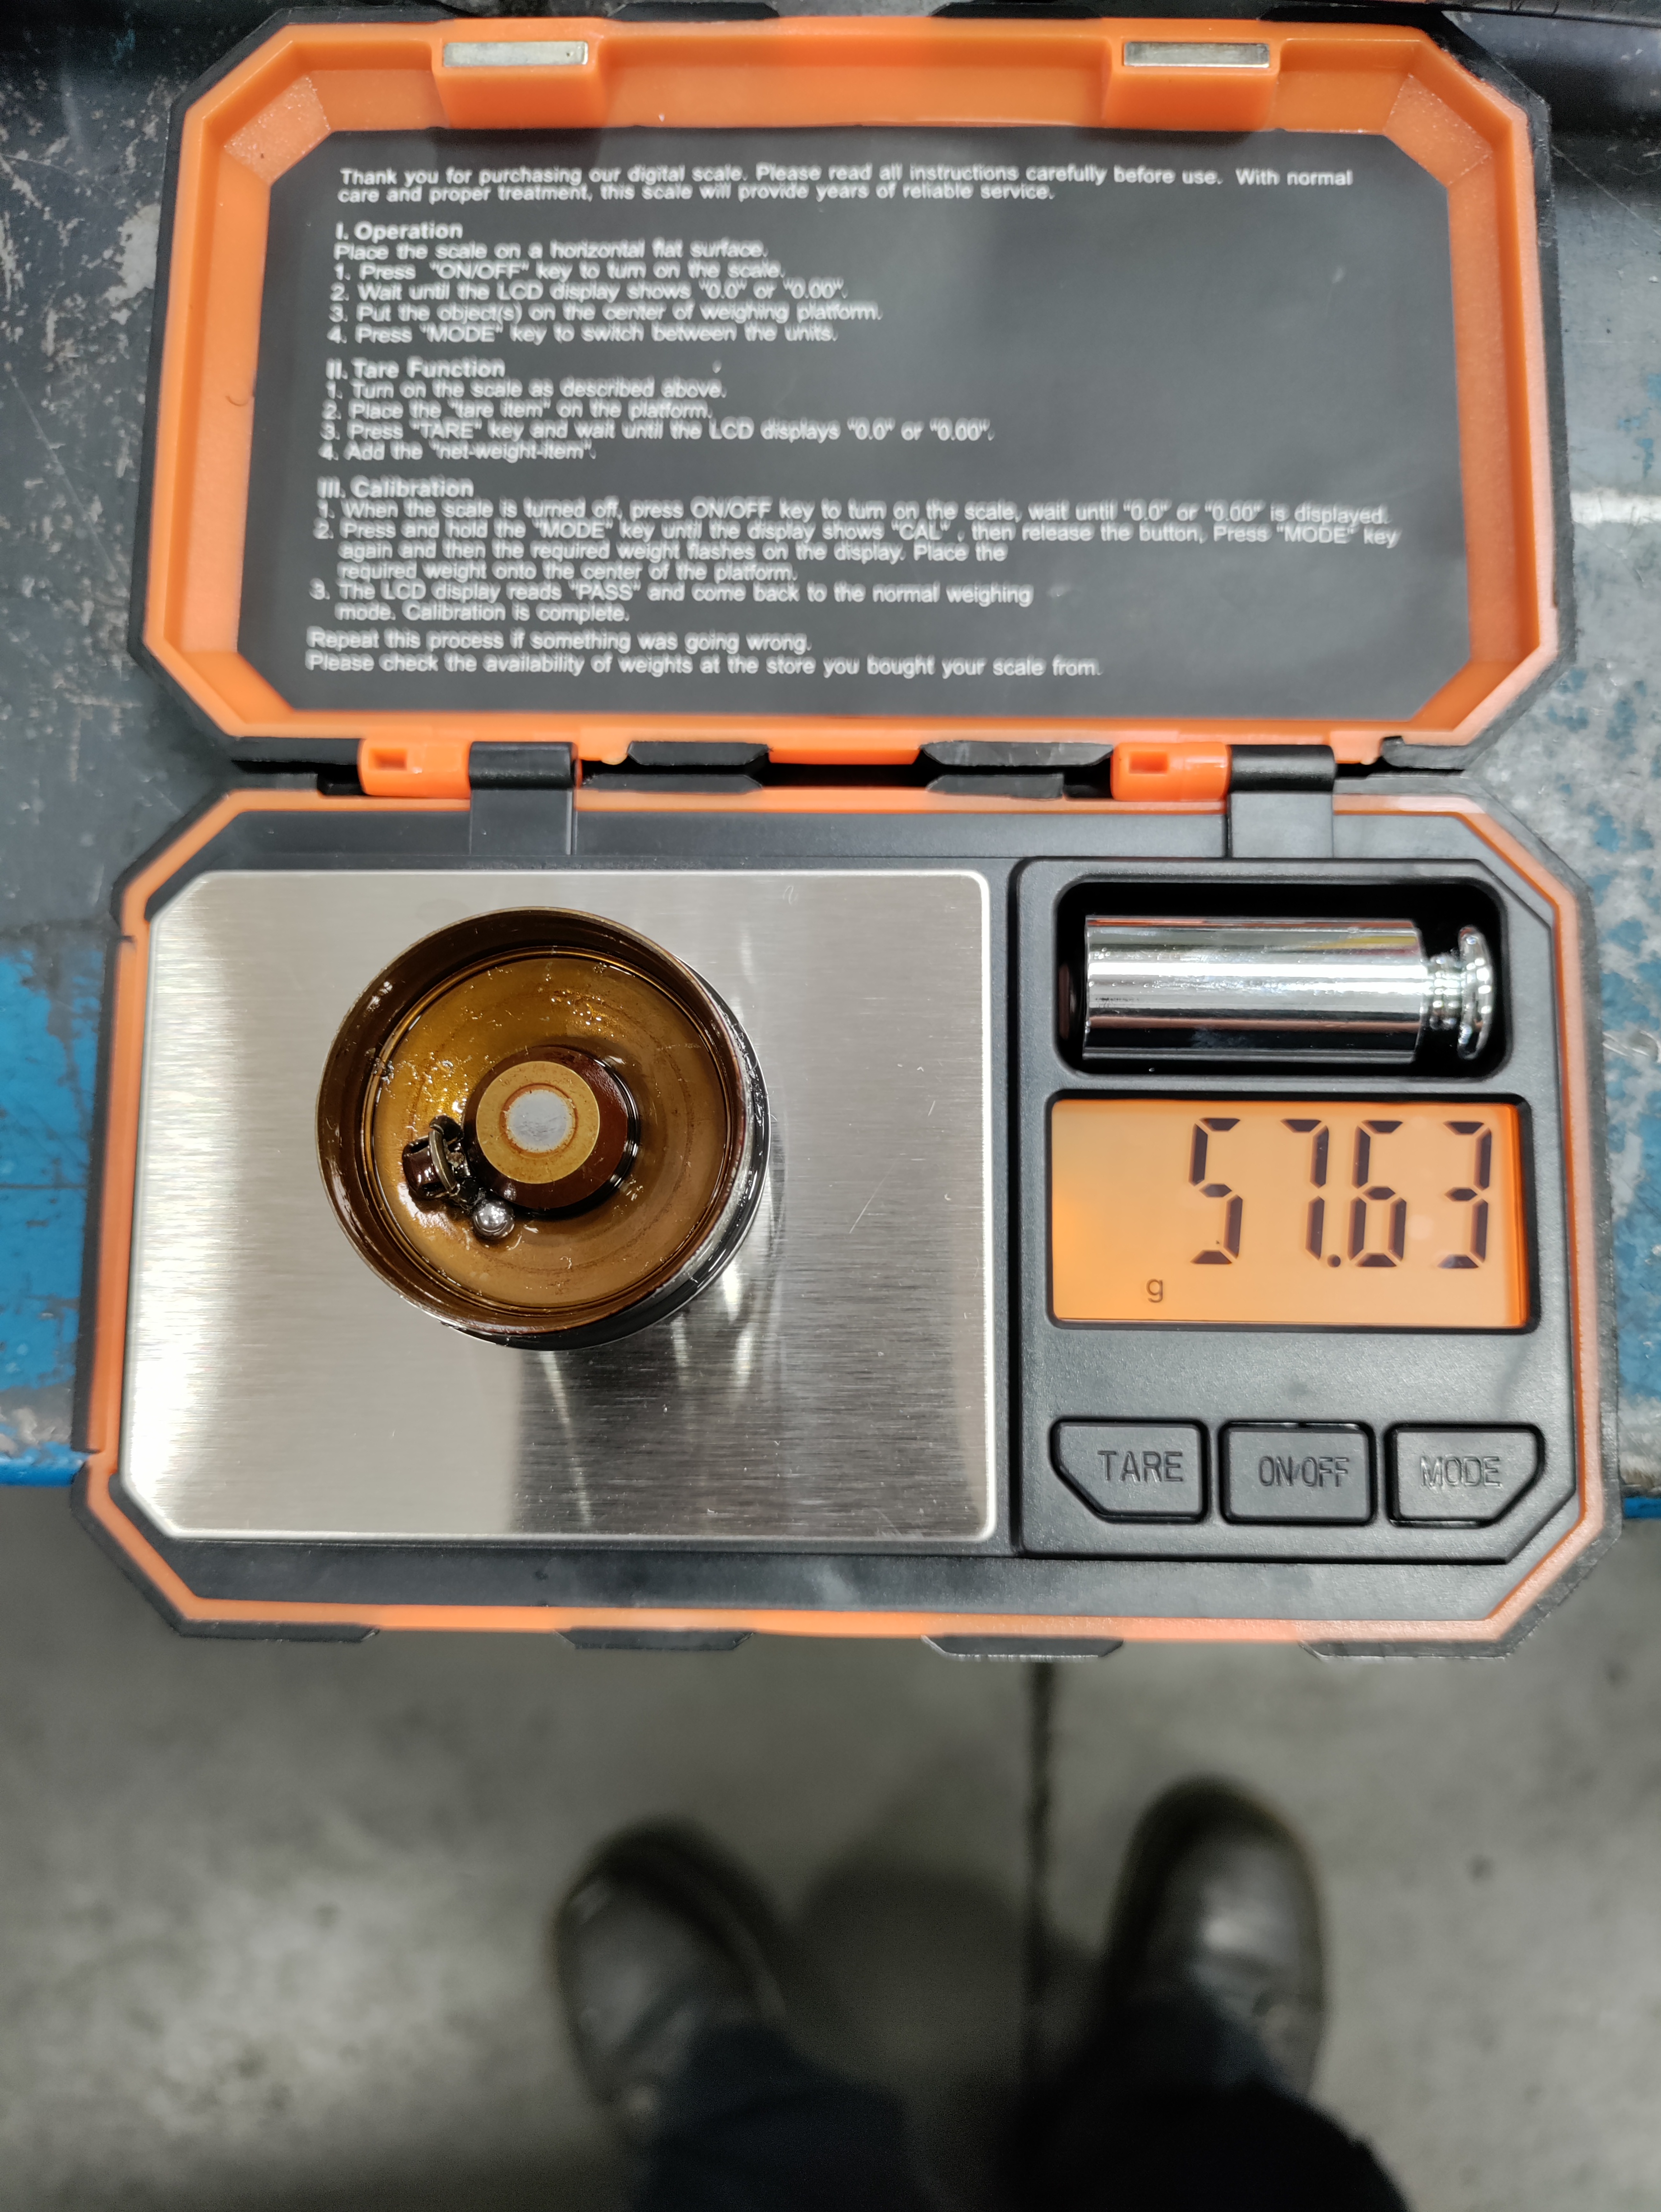
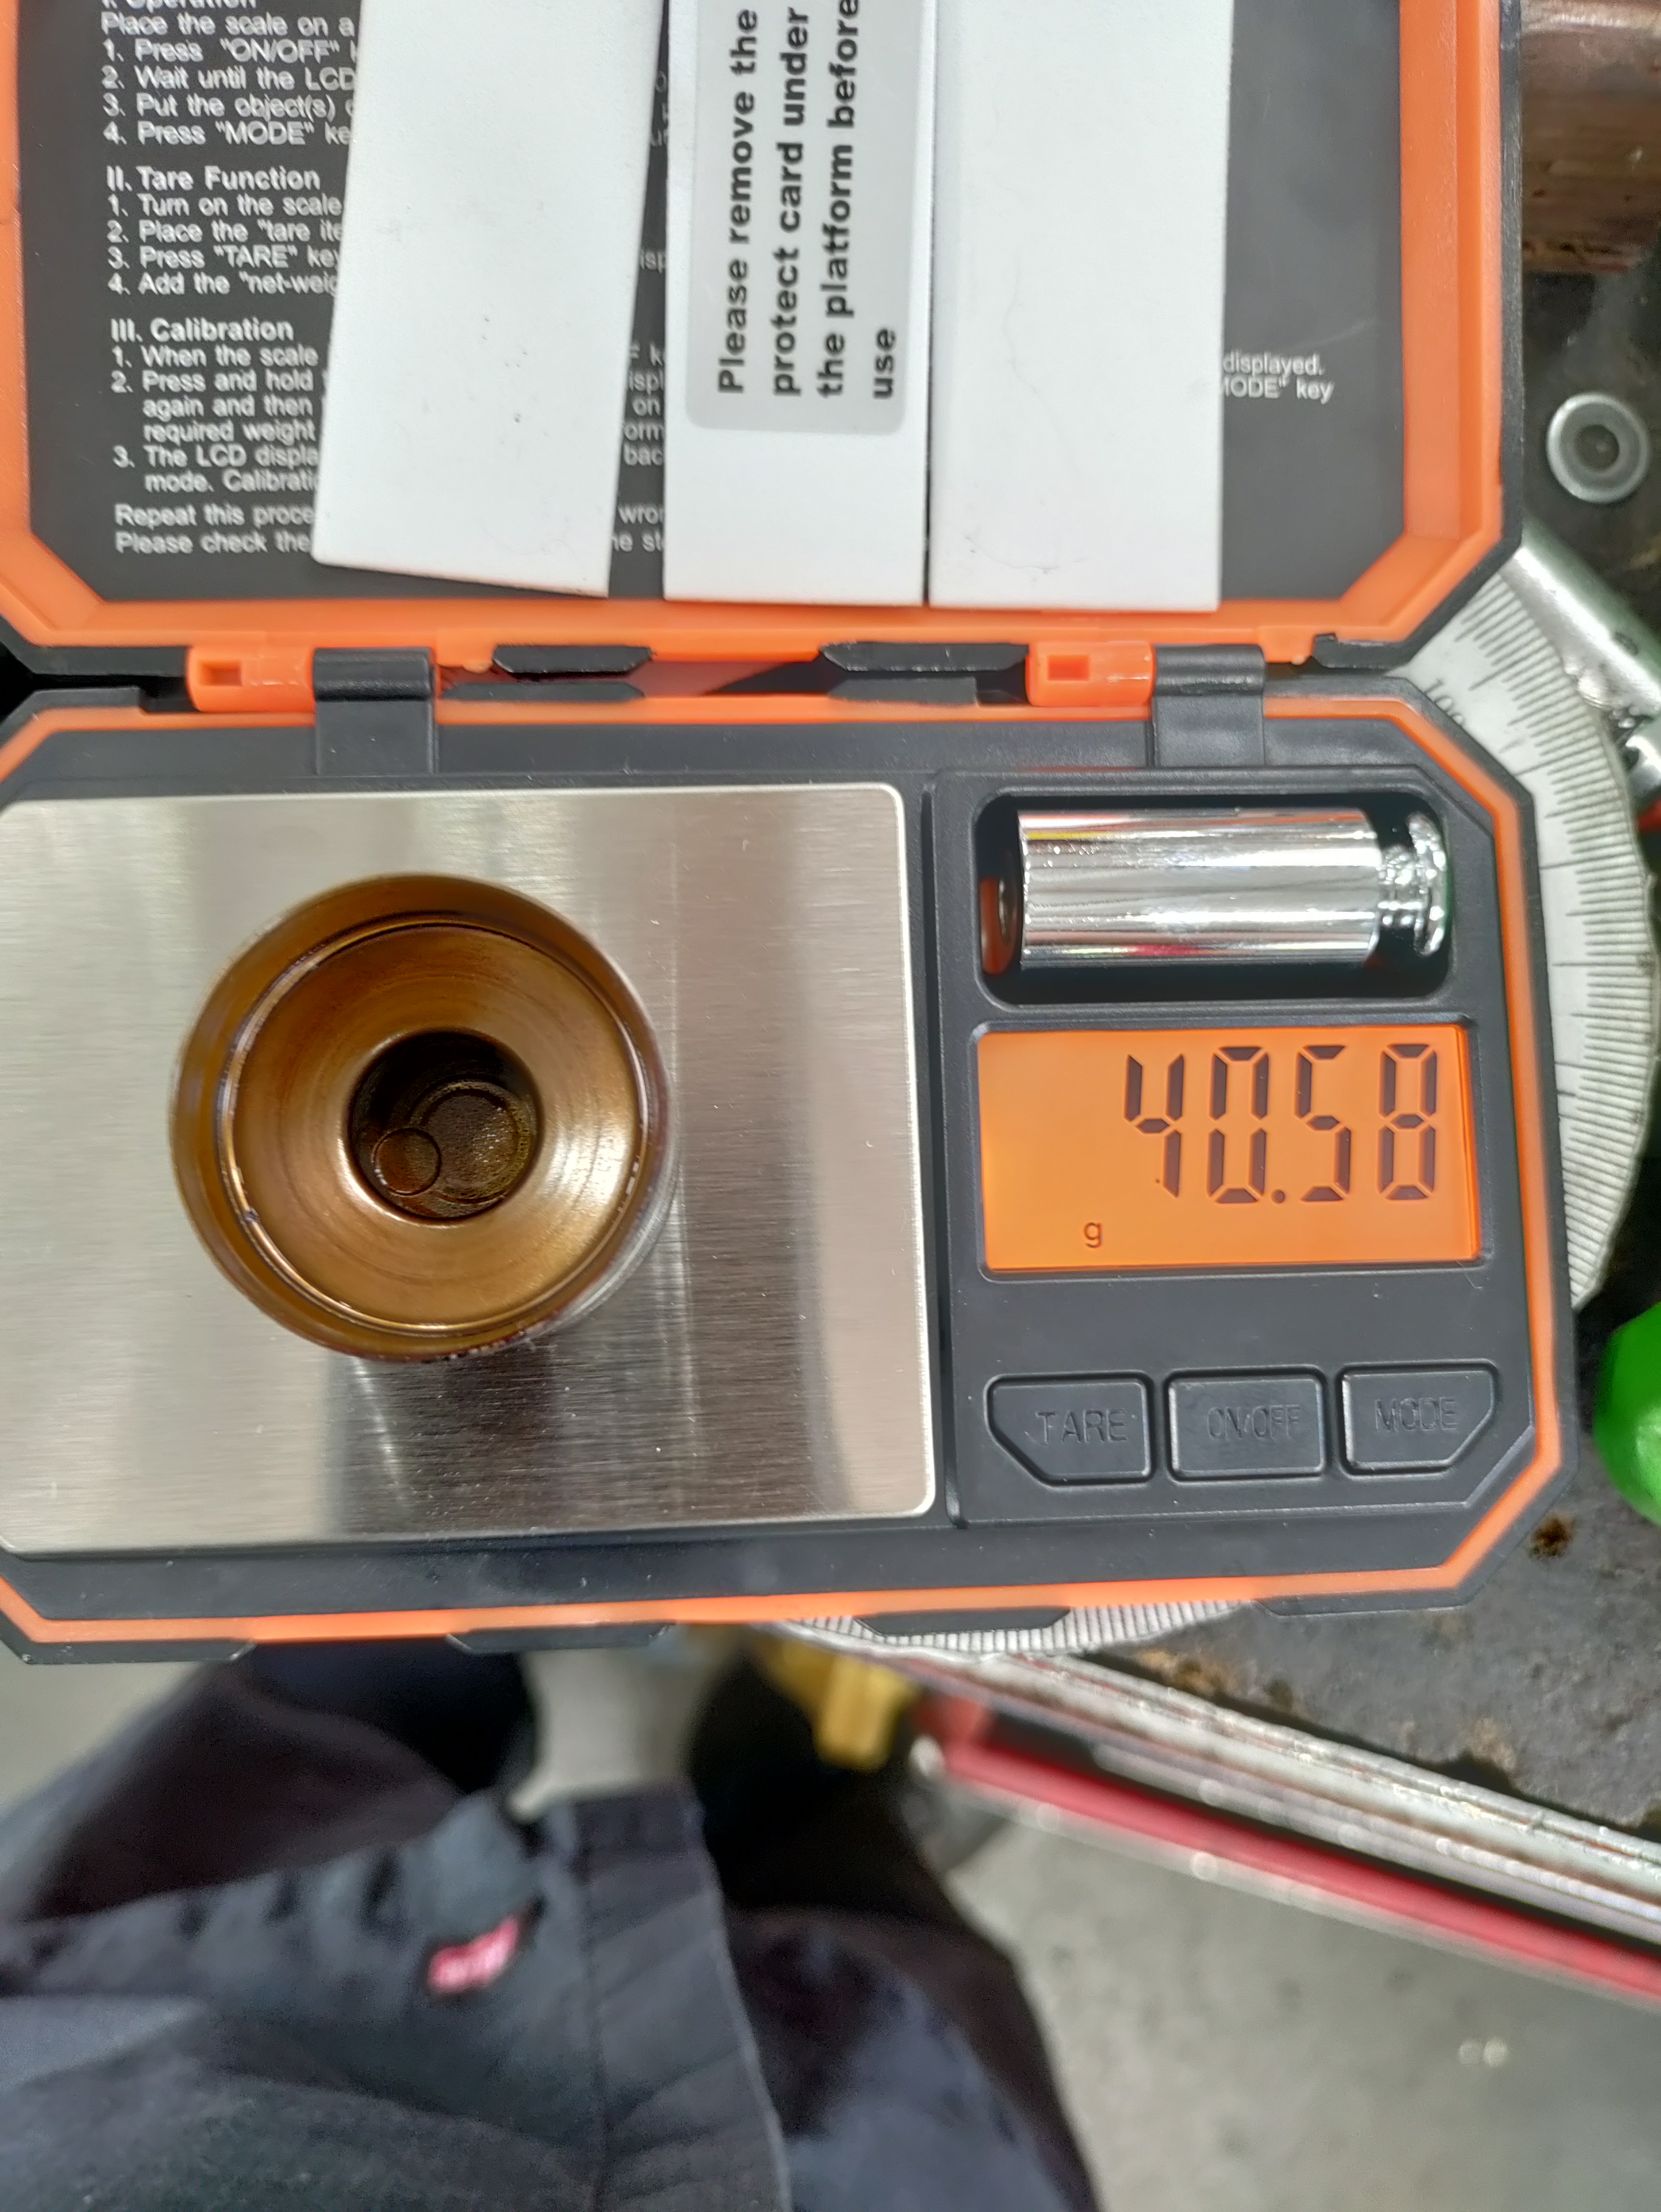
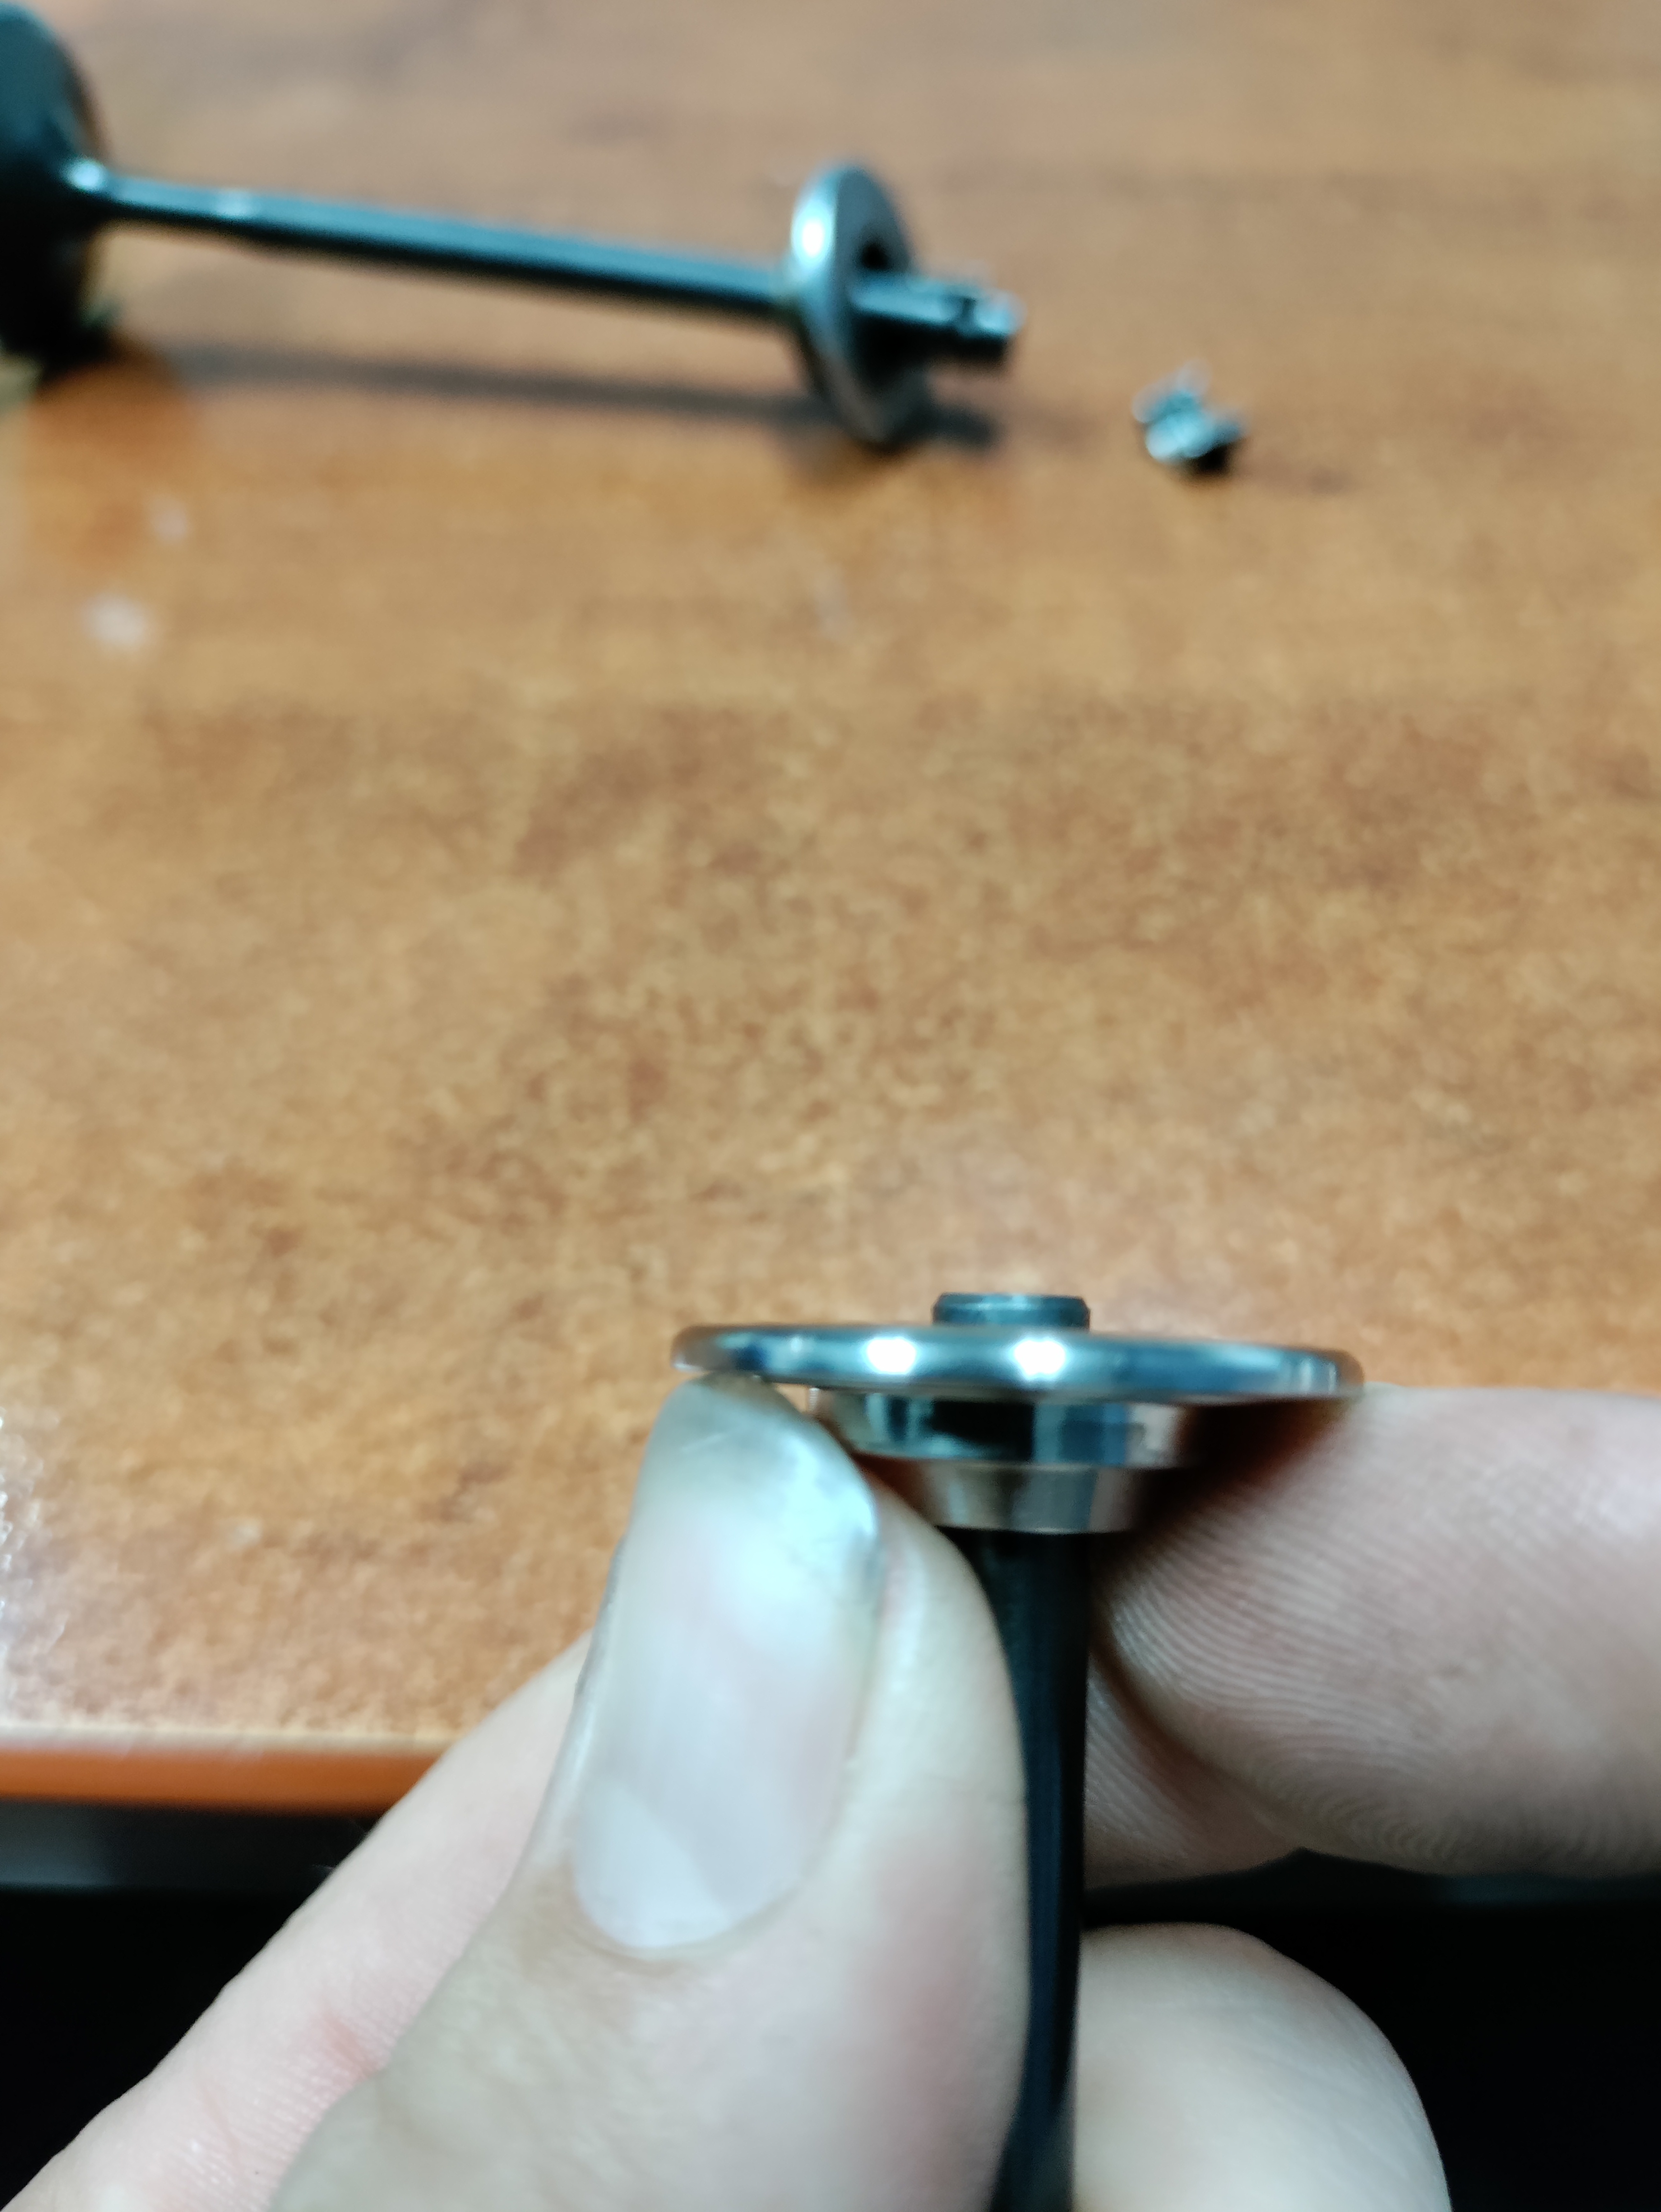
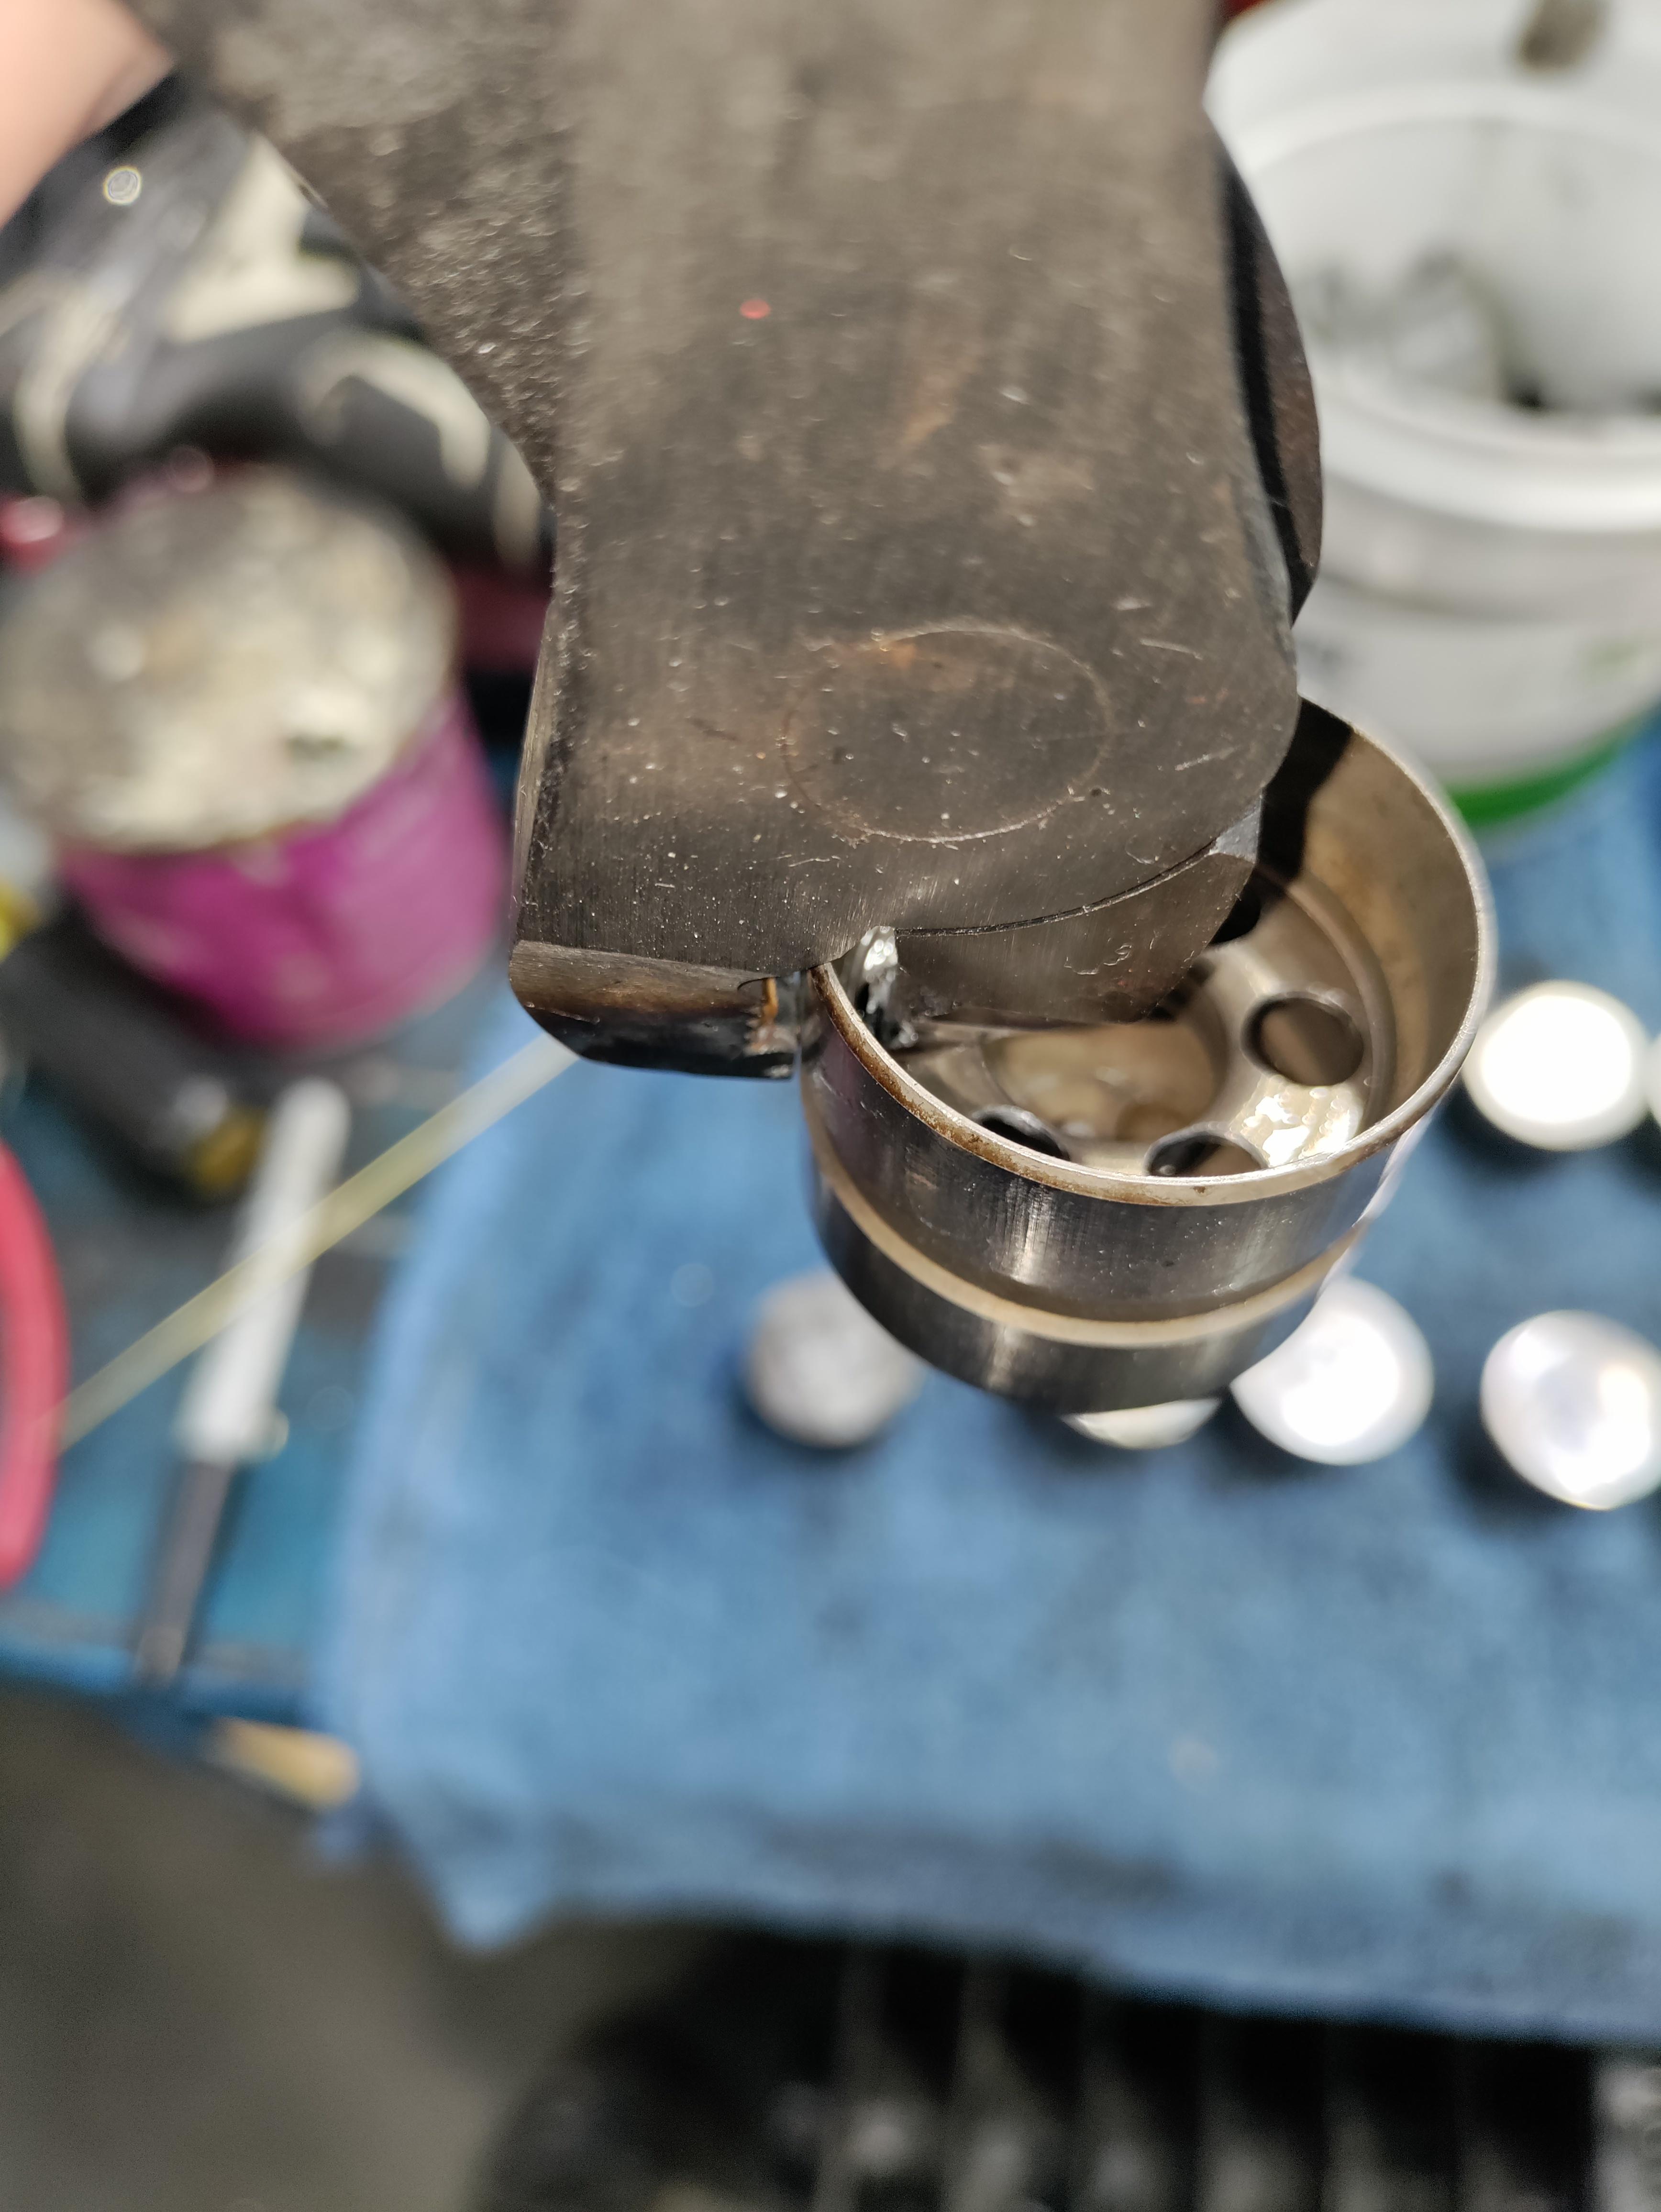
Measured the weight of a bucket and lifter full of oil and bled of air
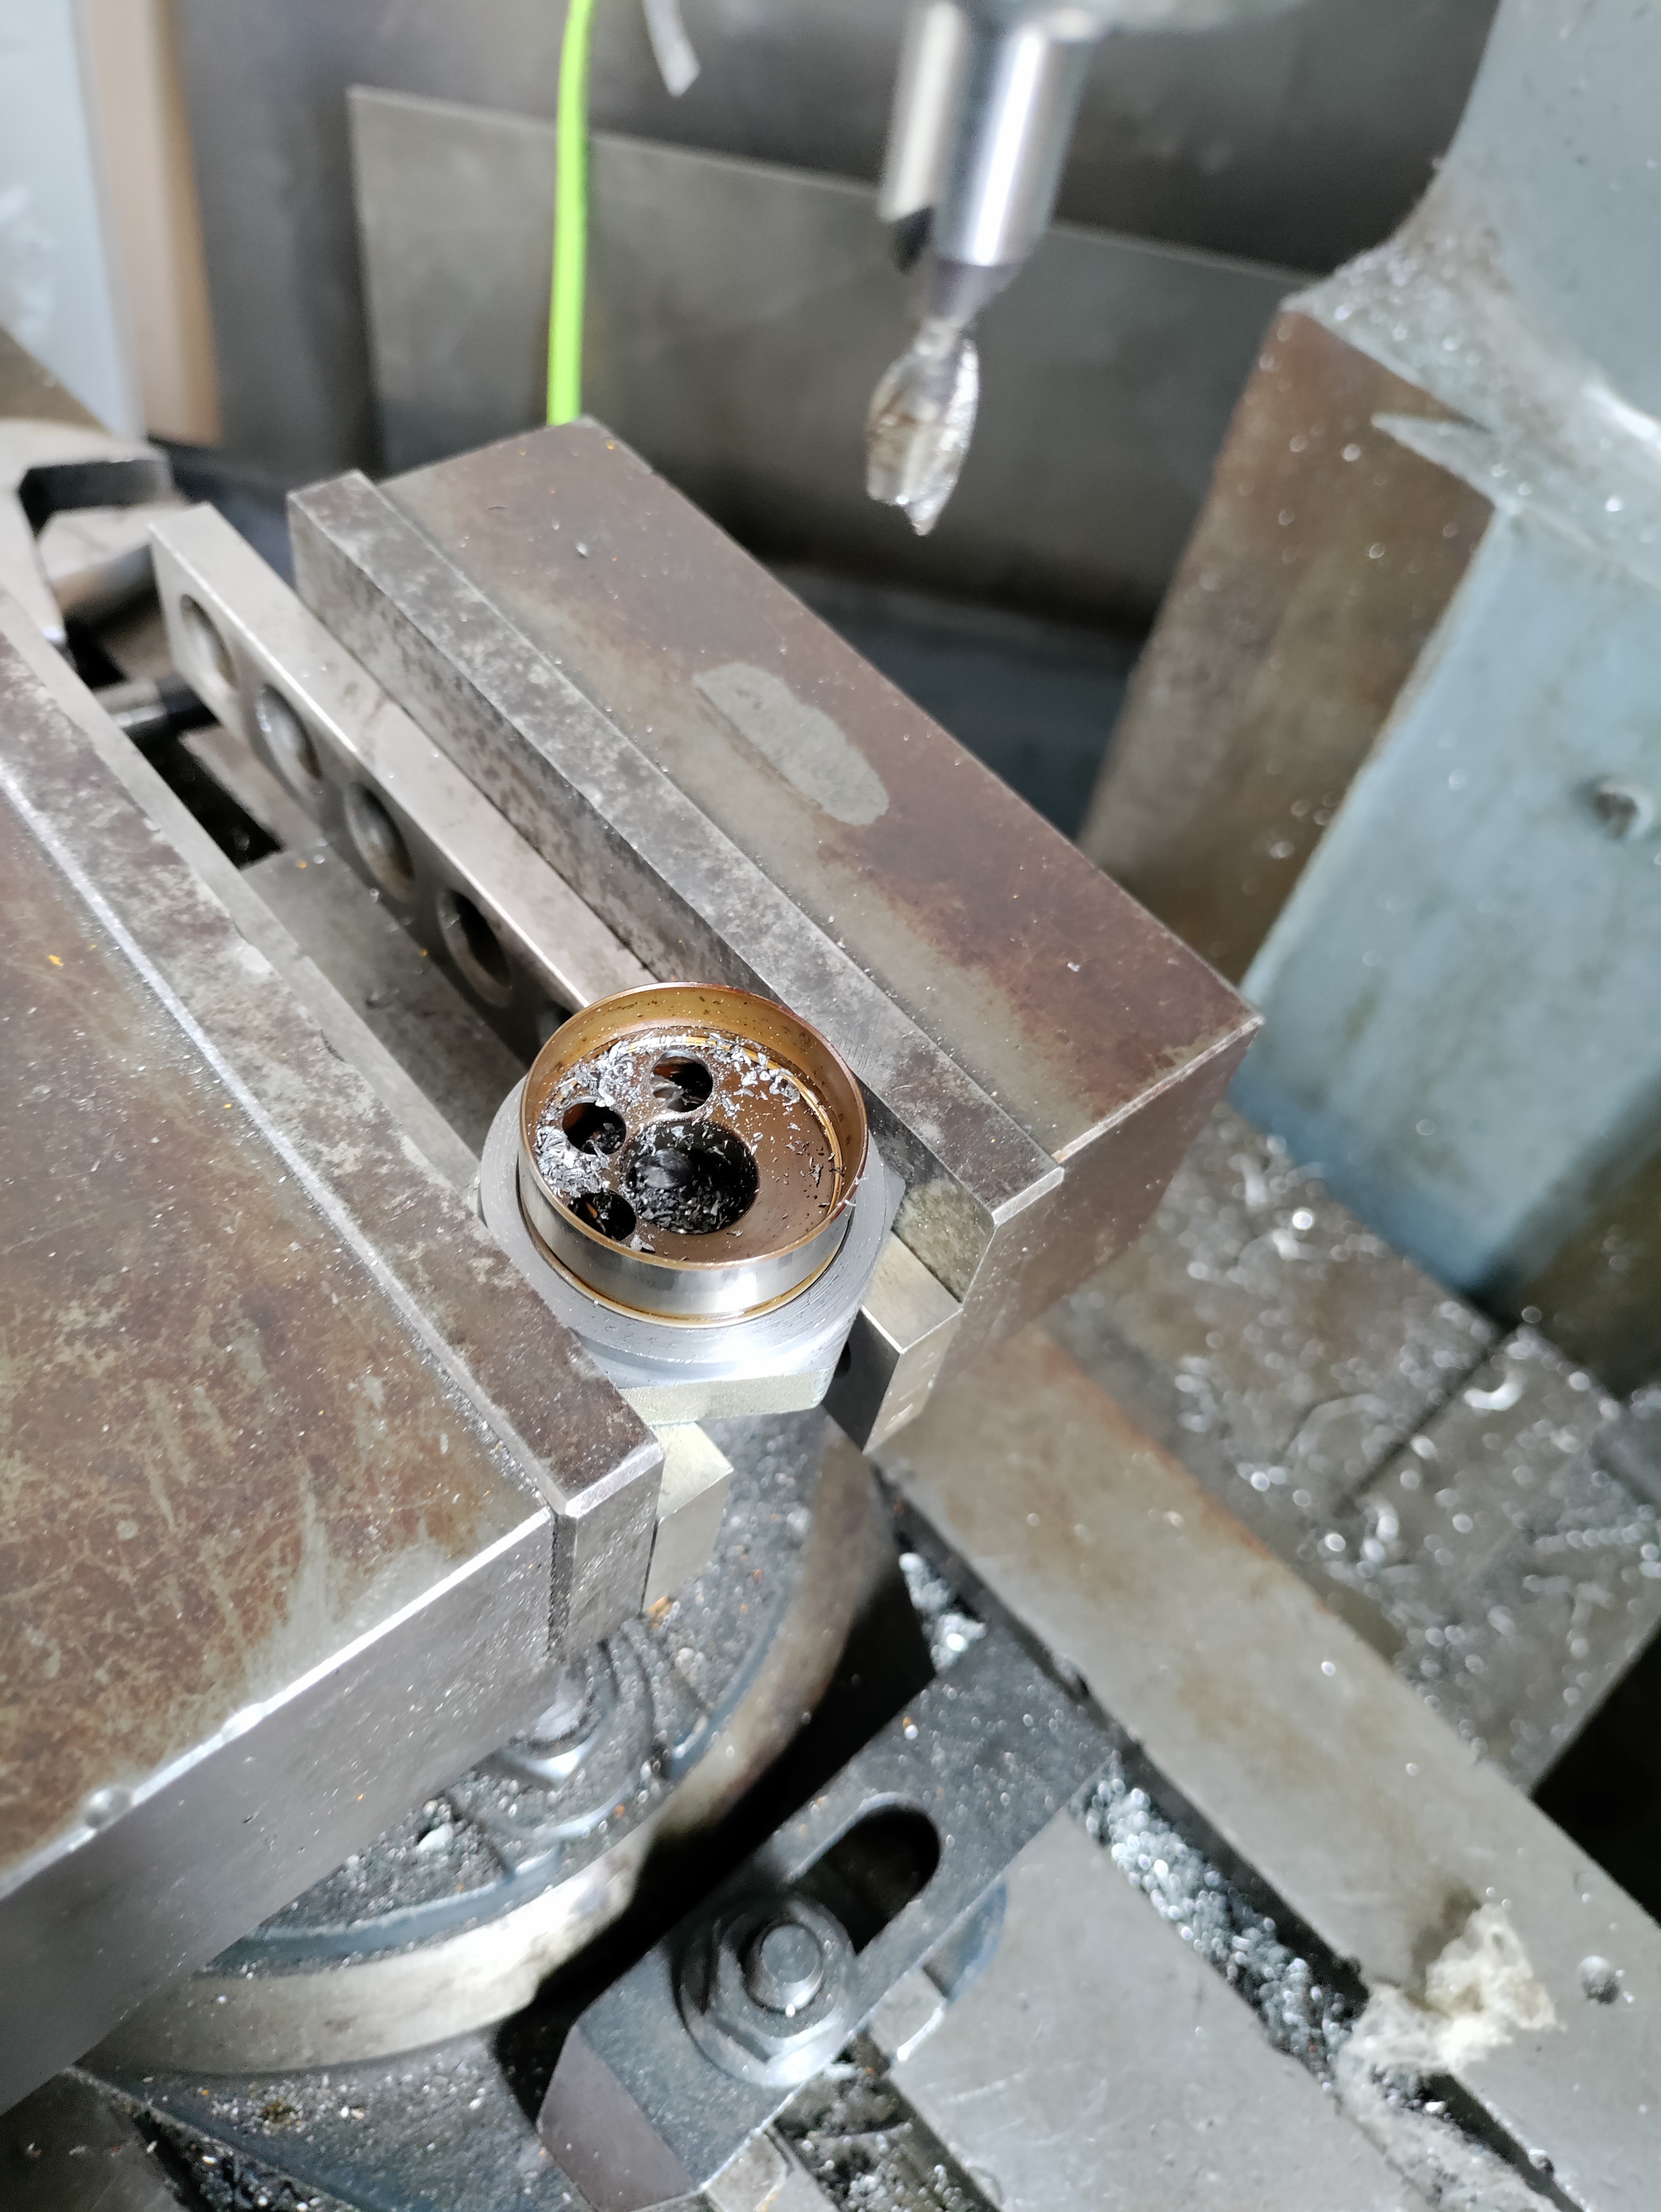
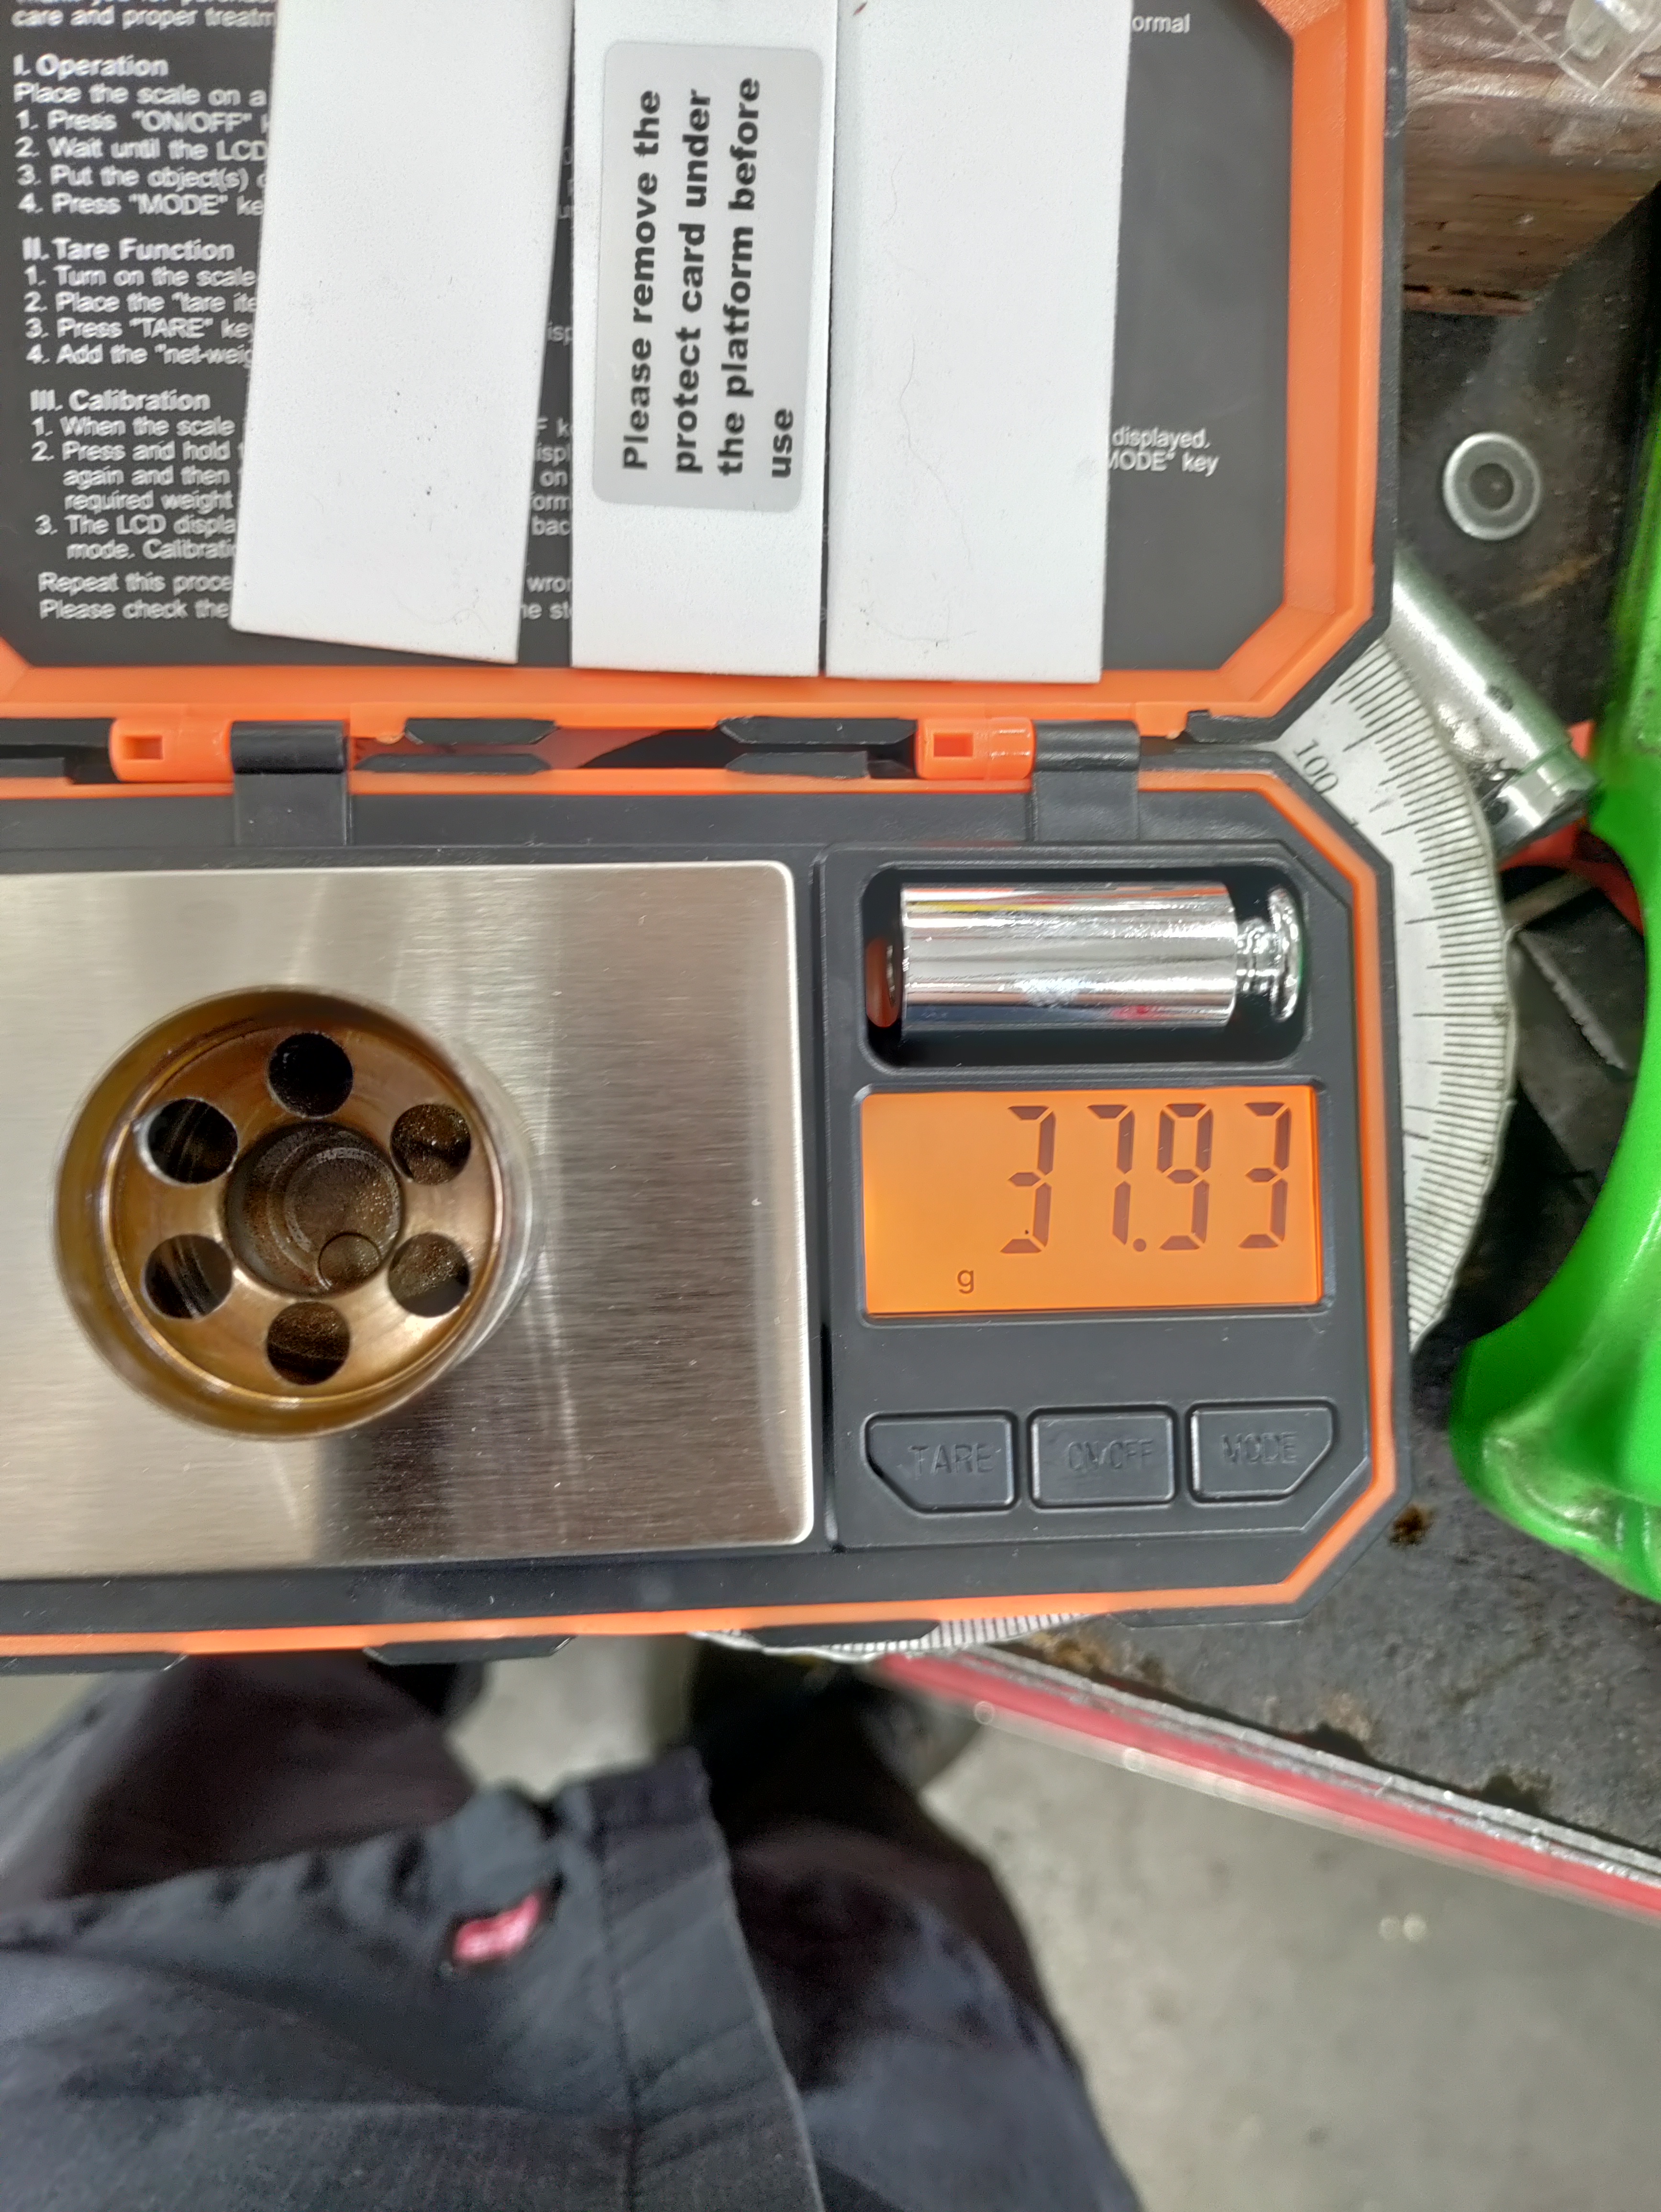
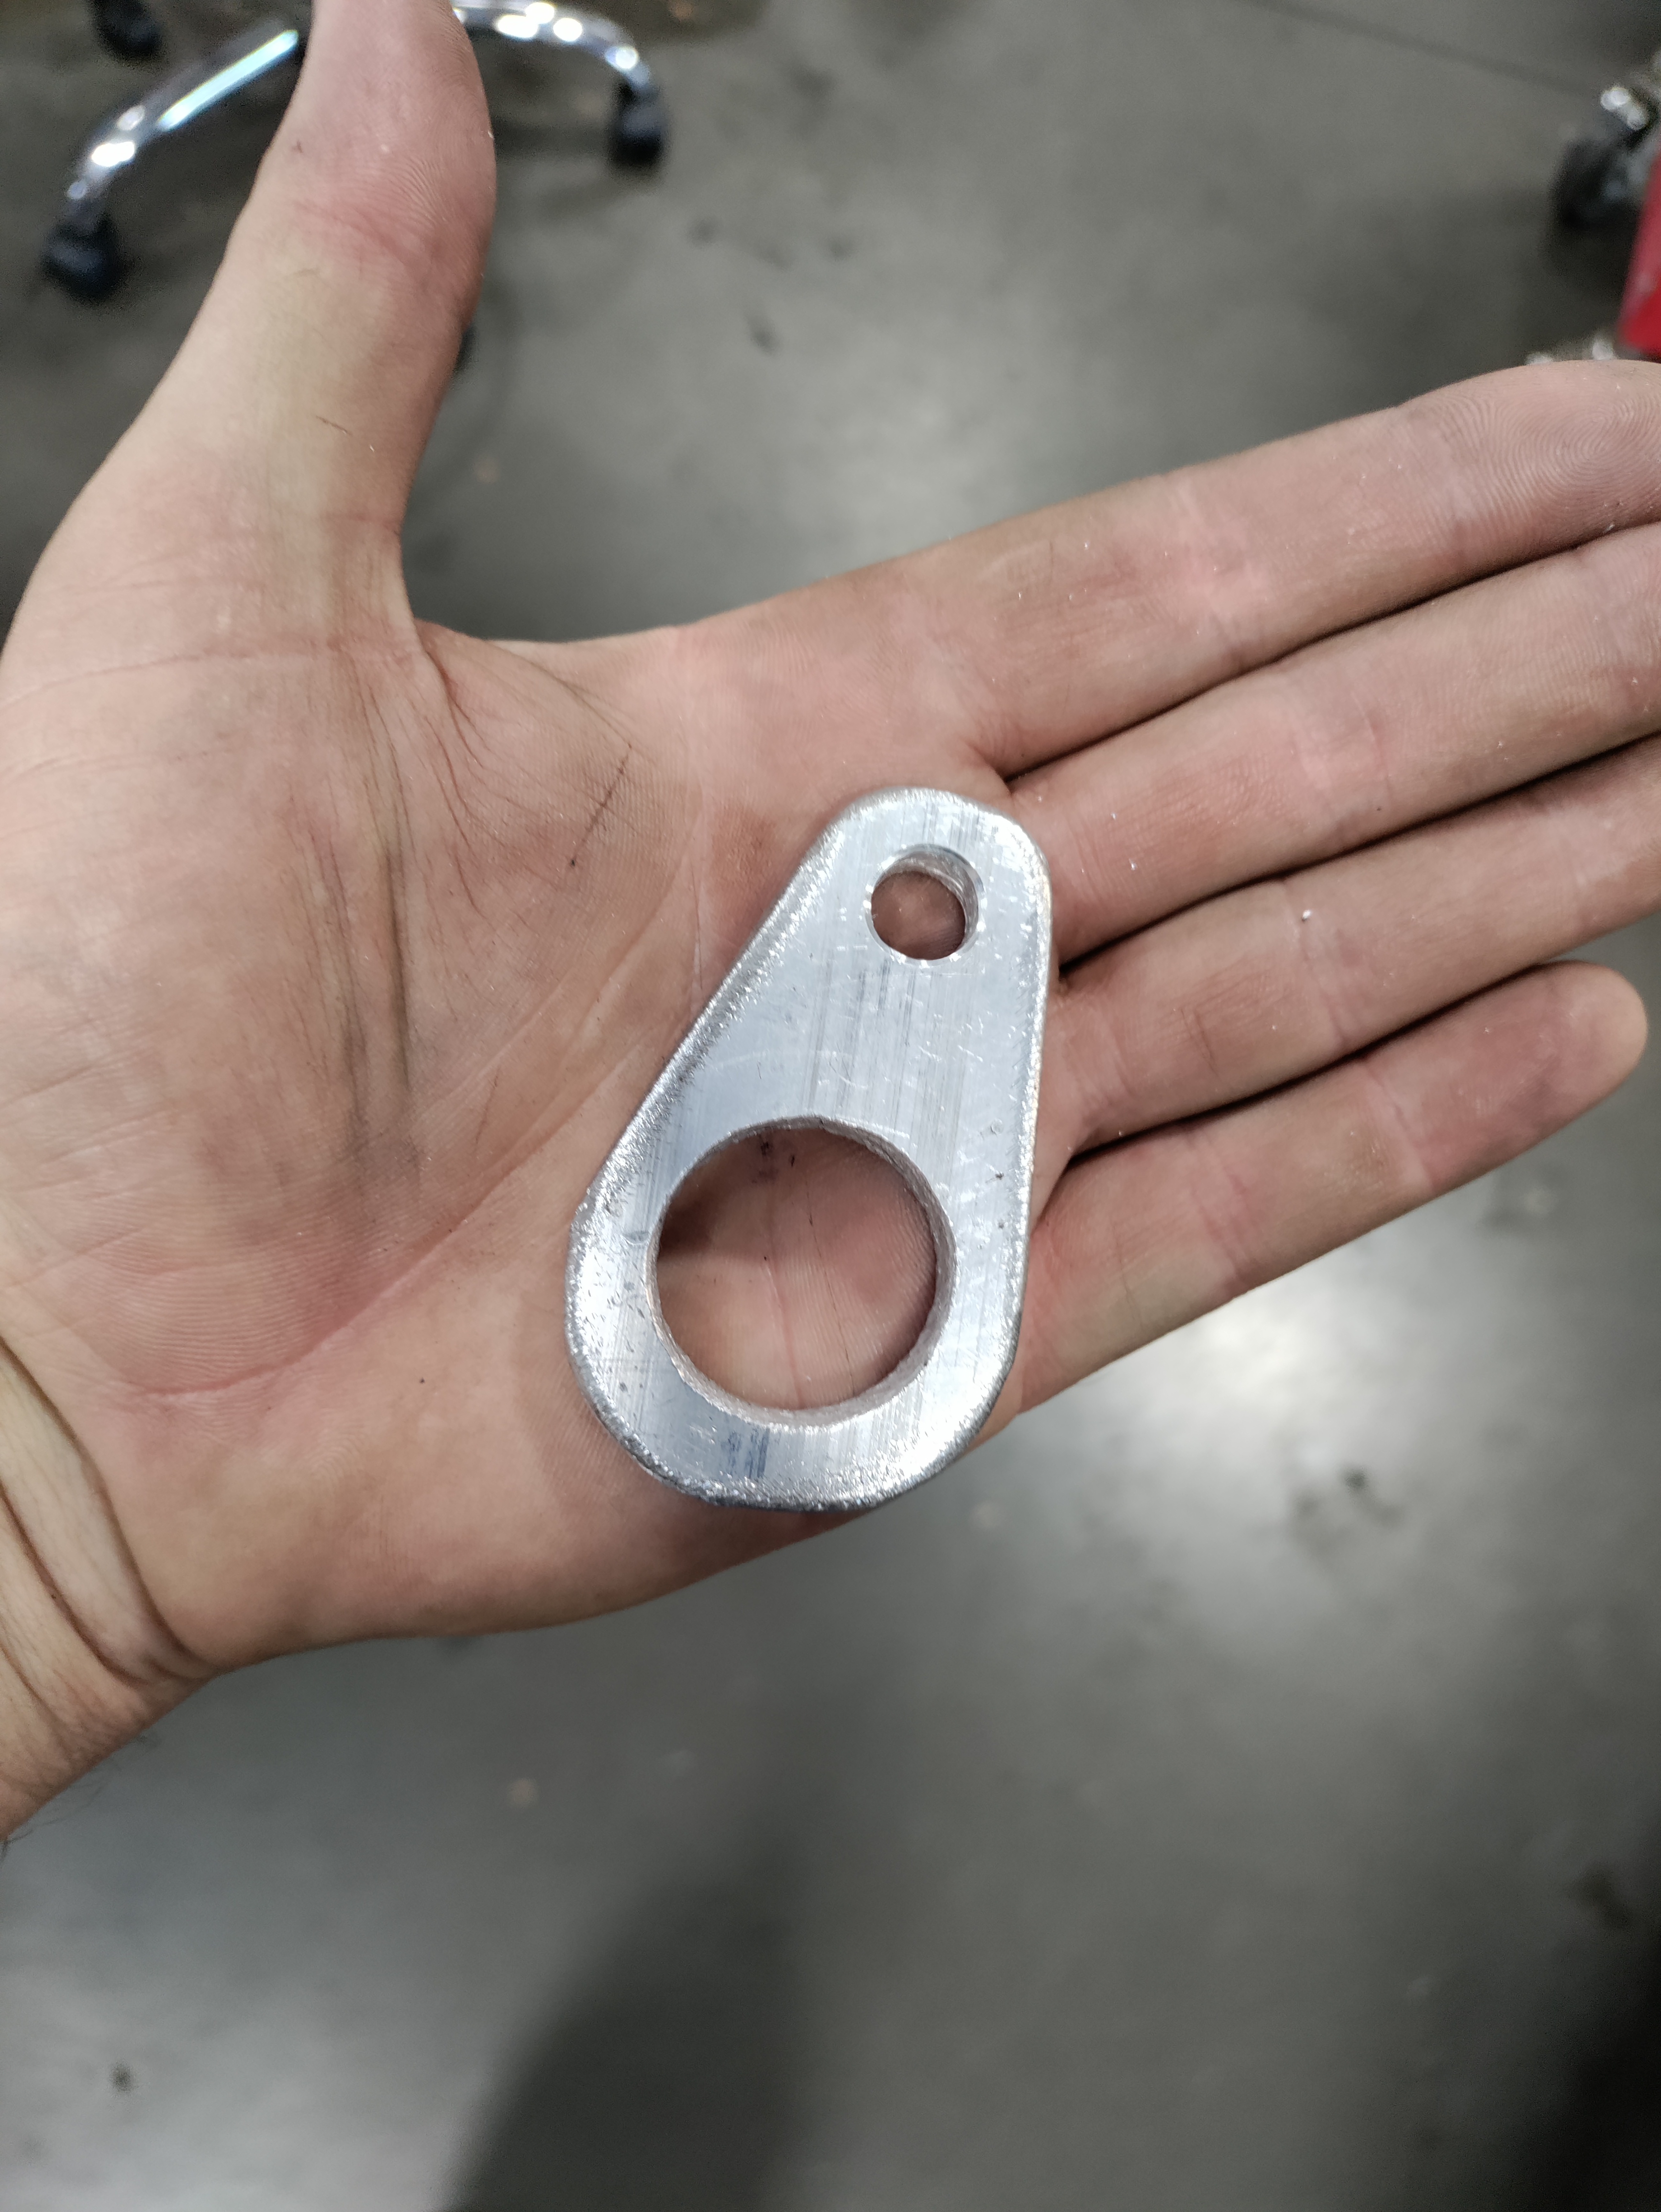
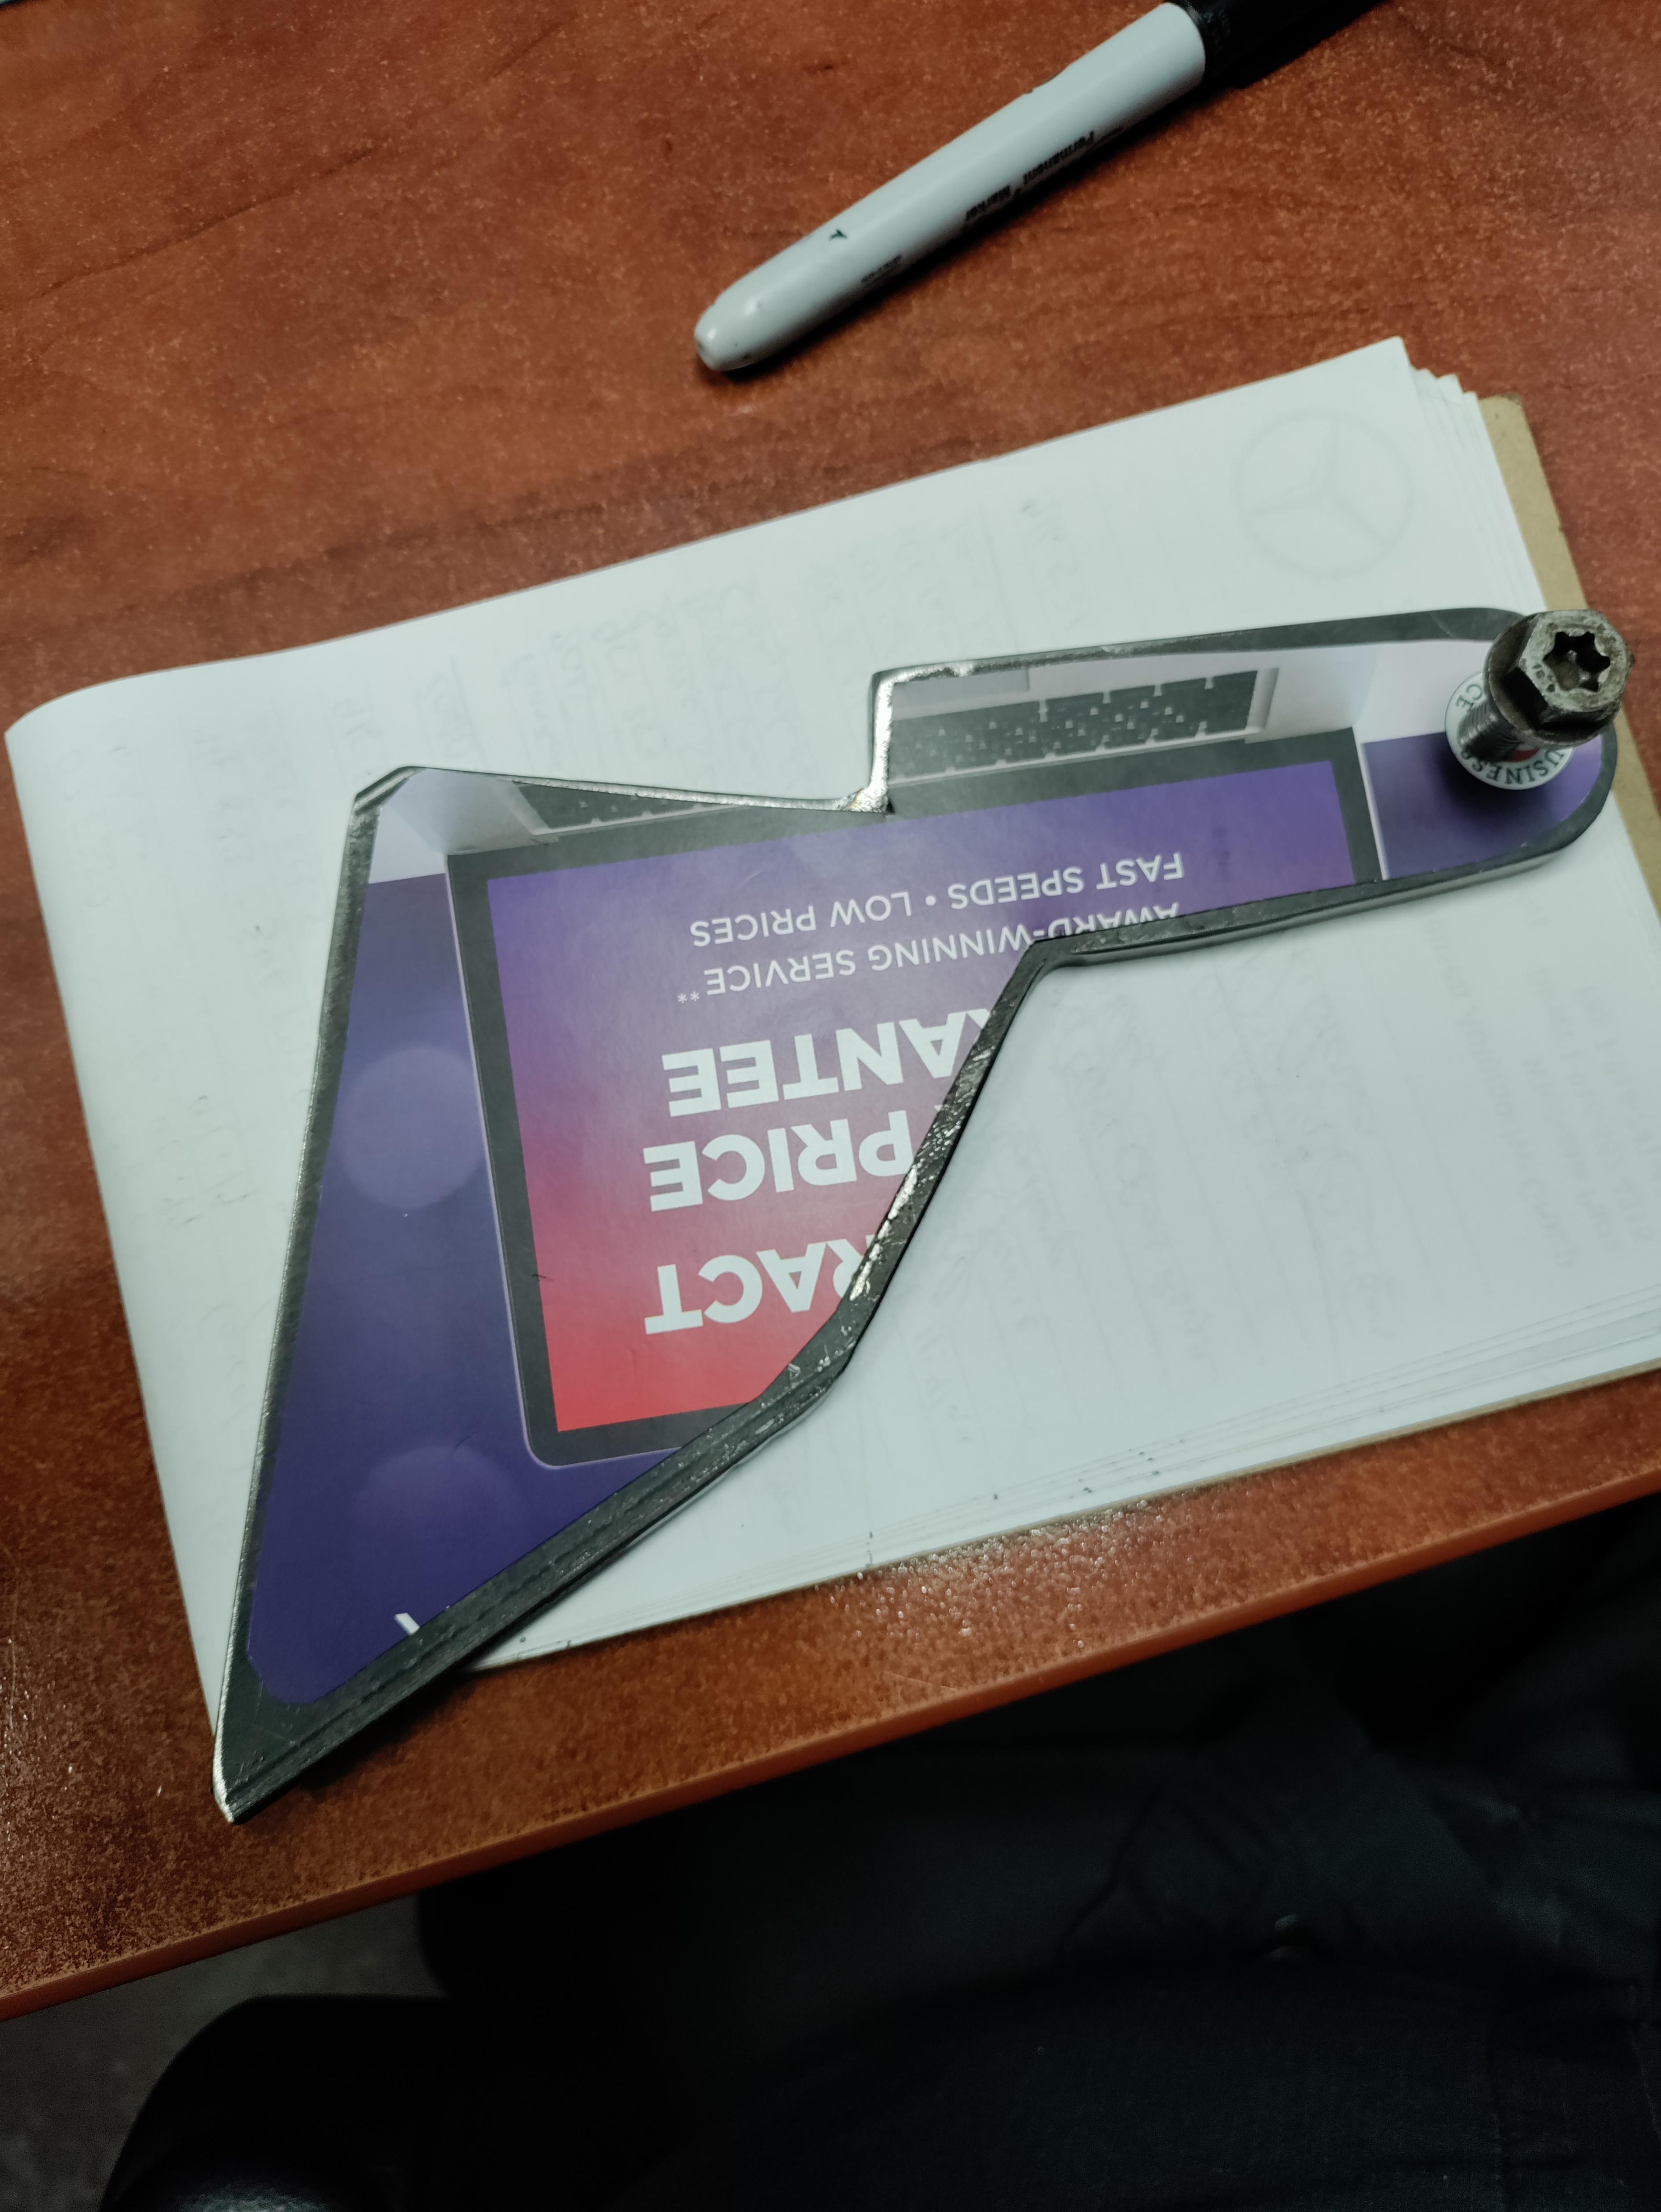
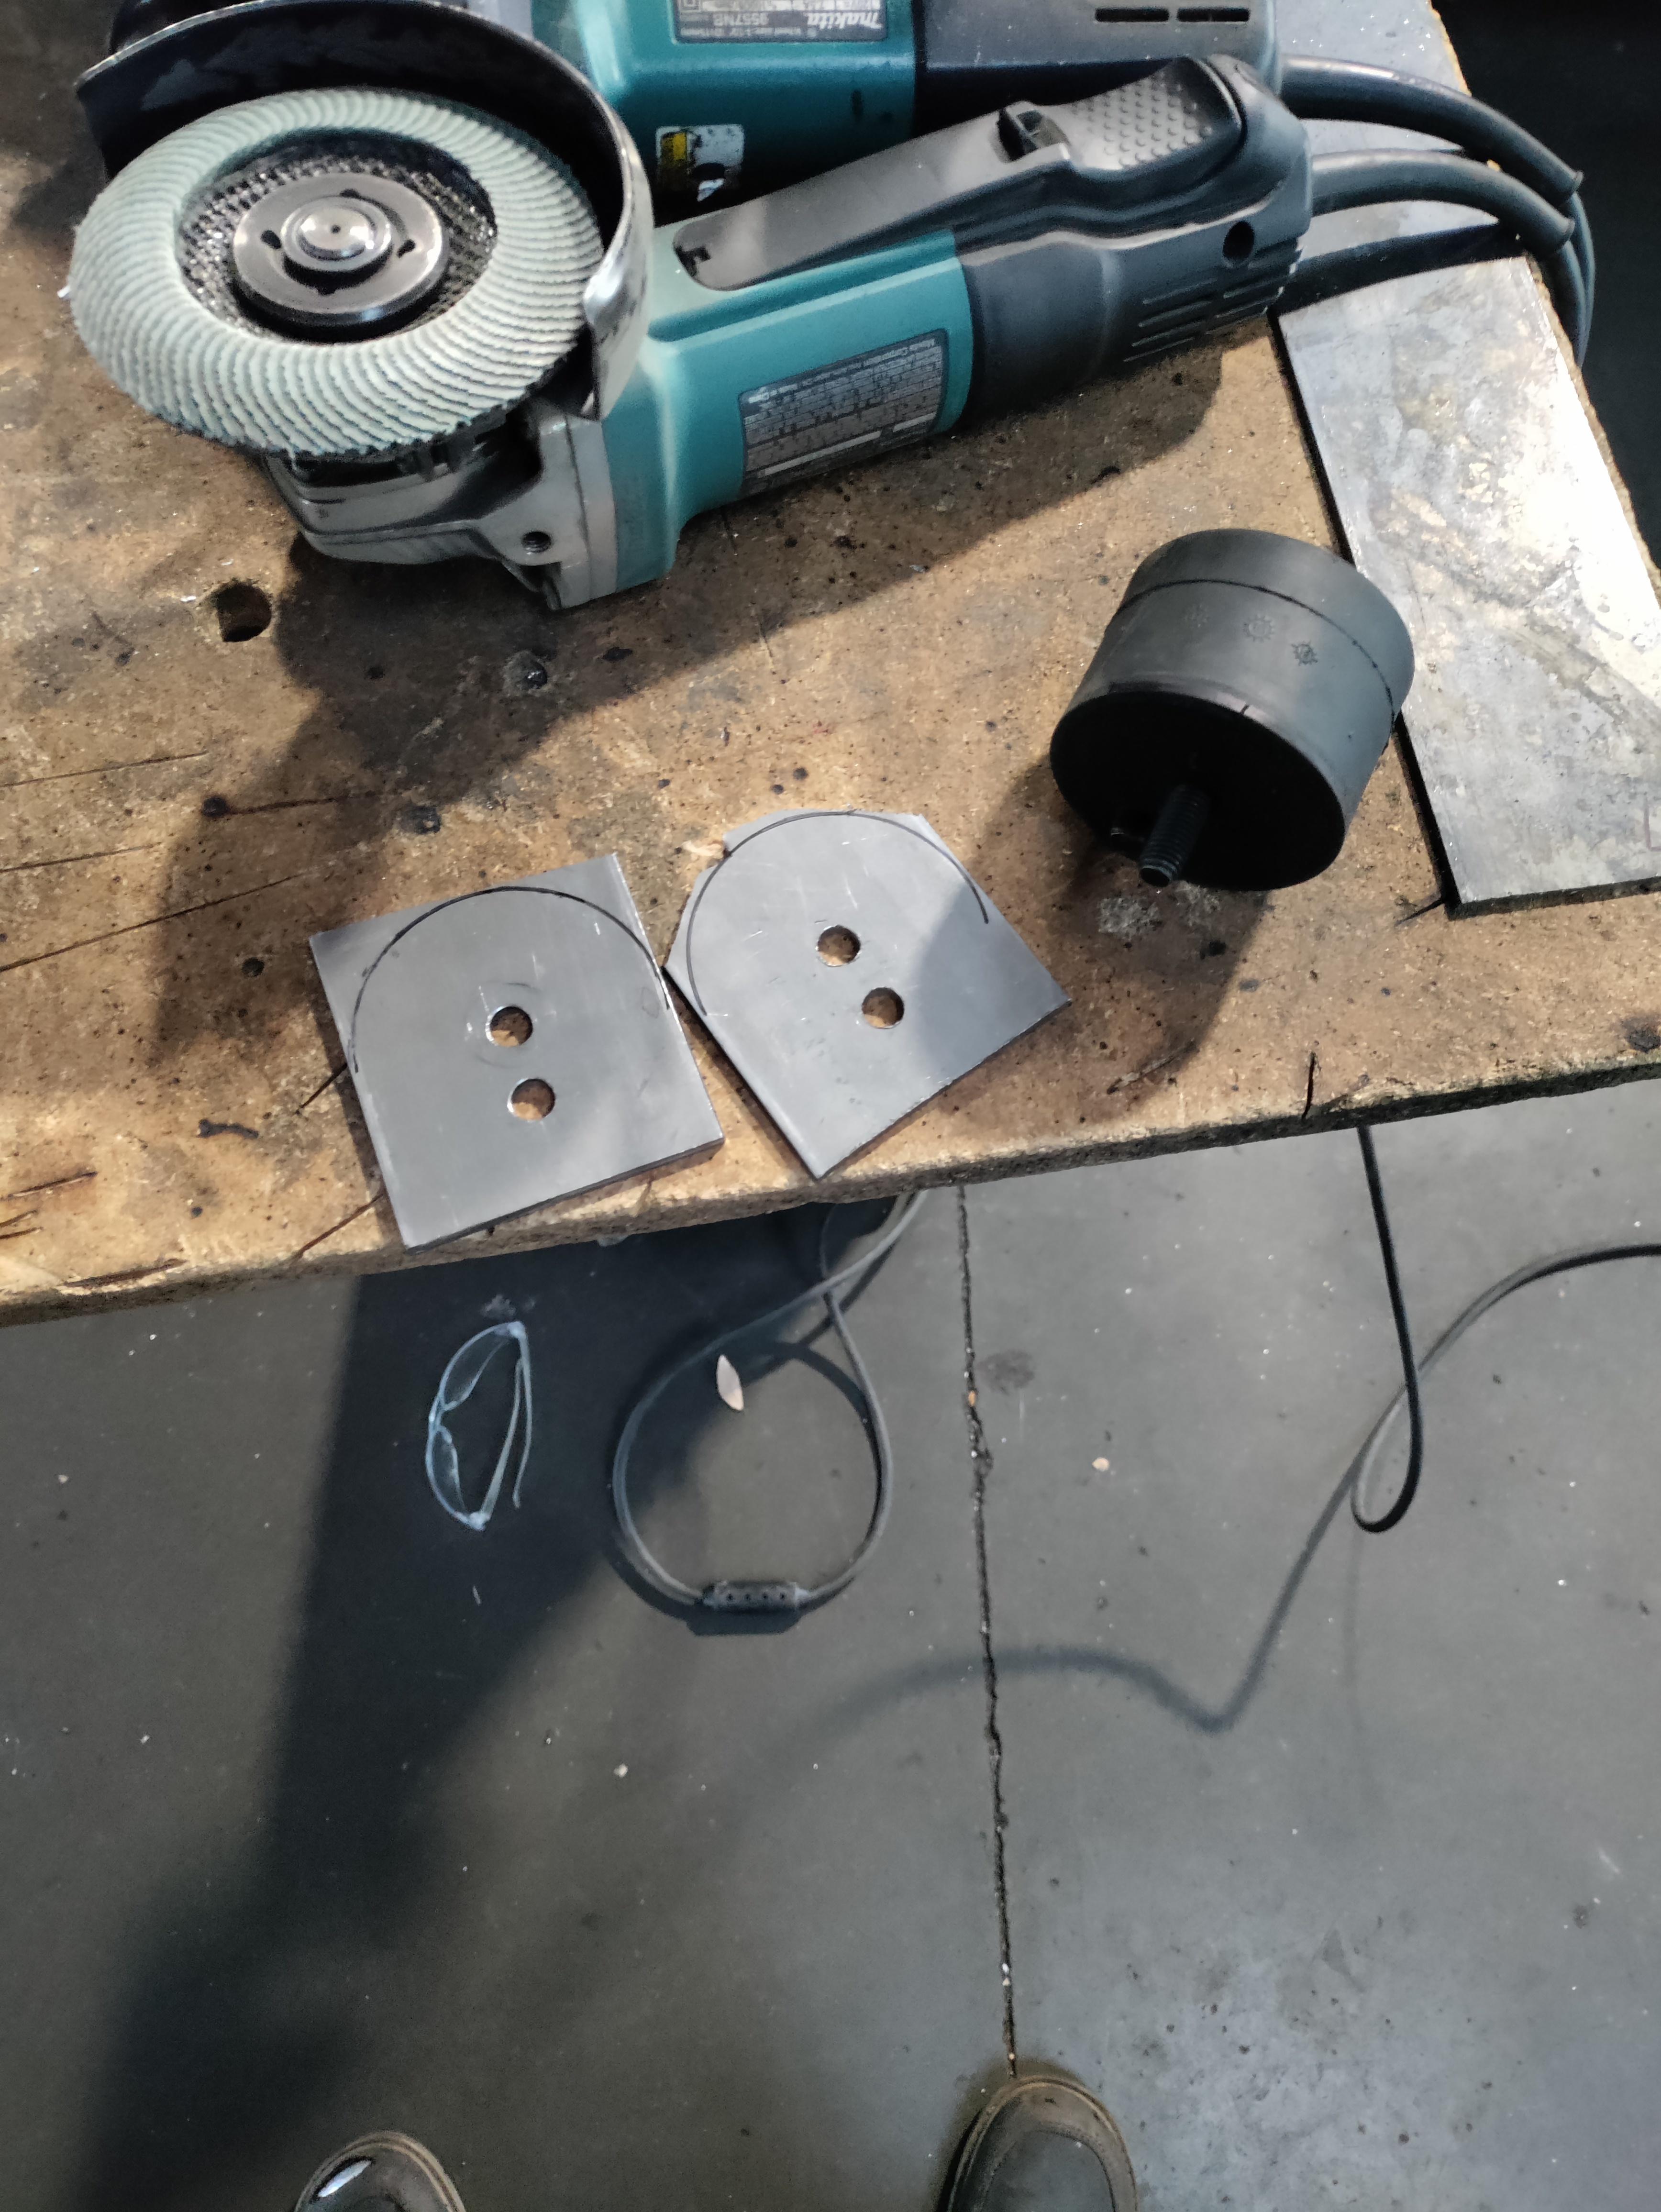
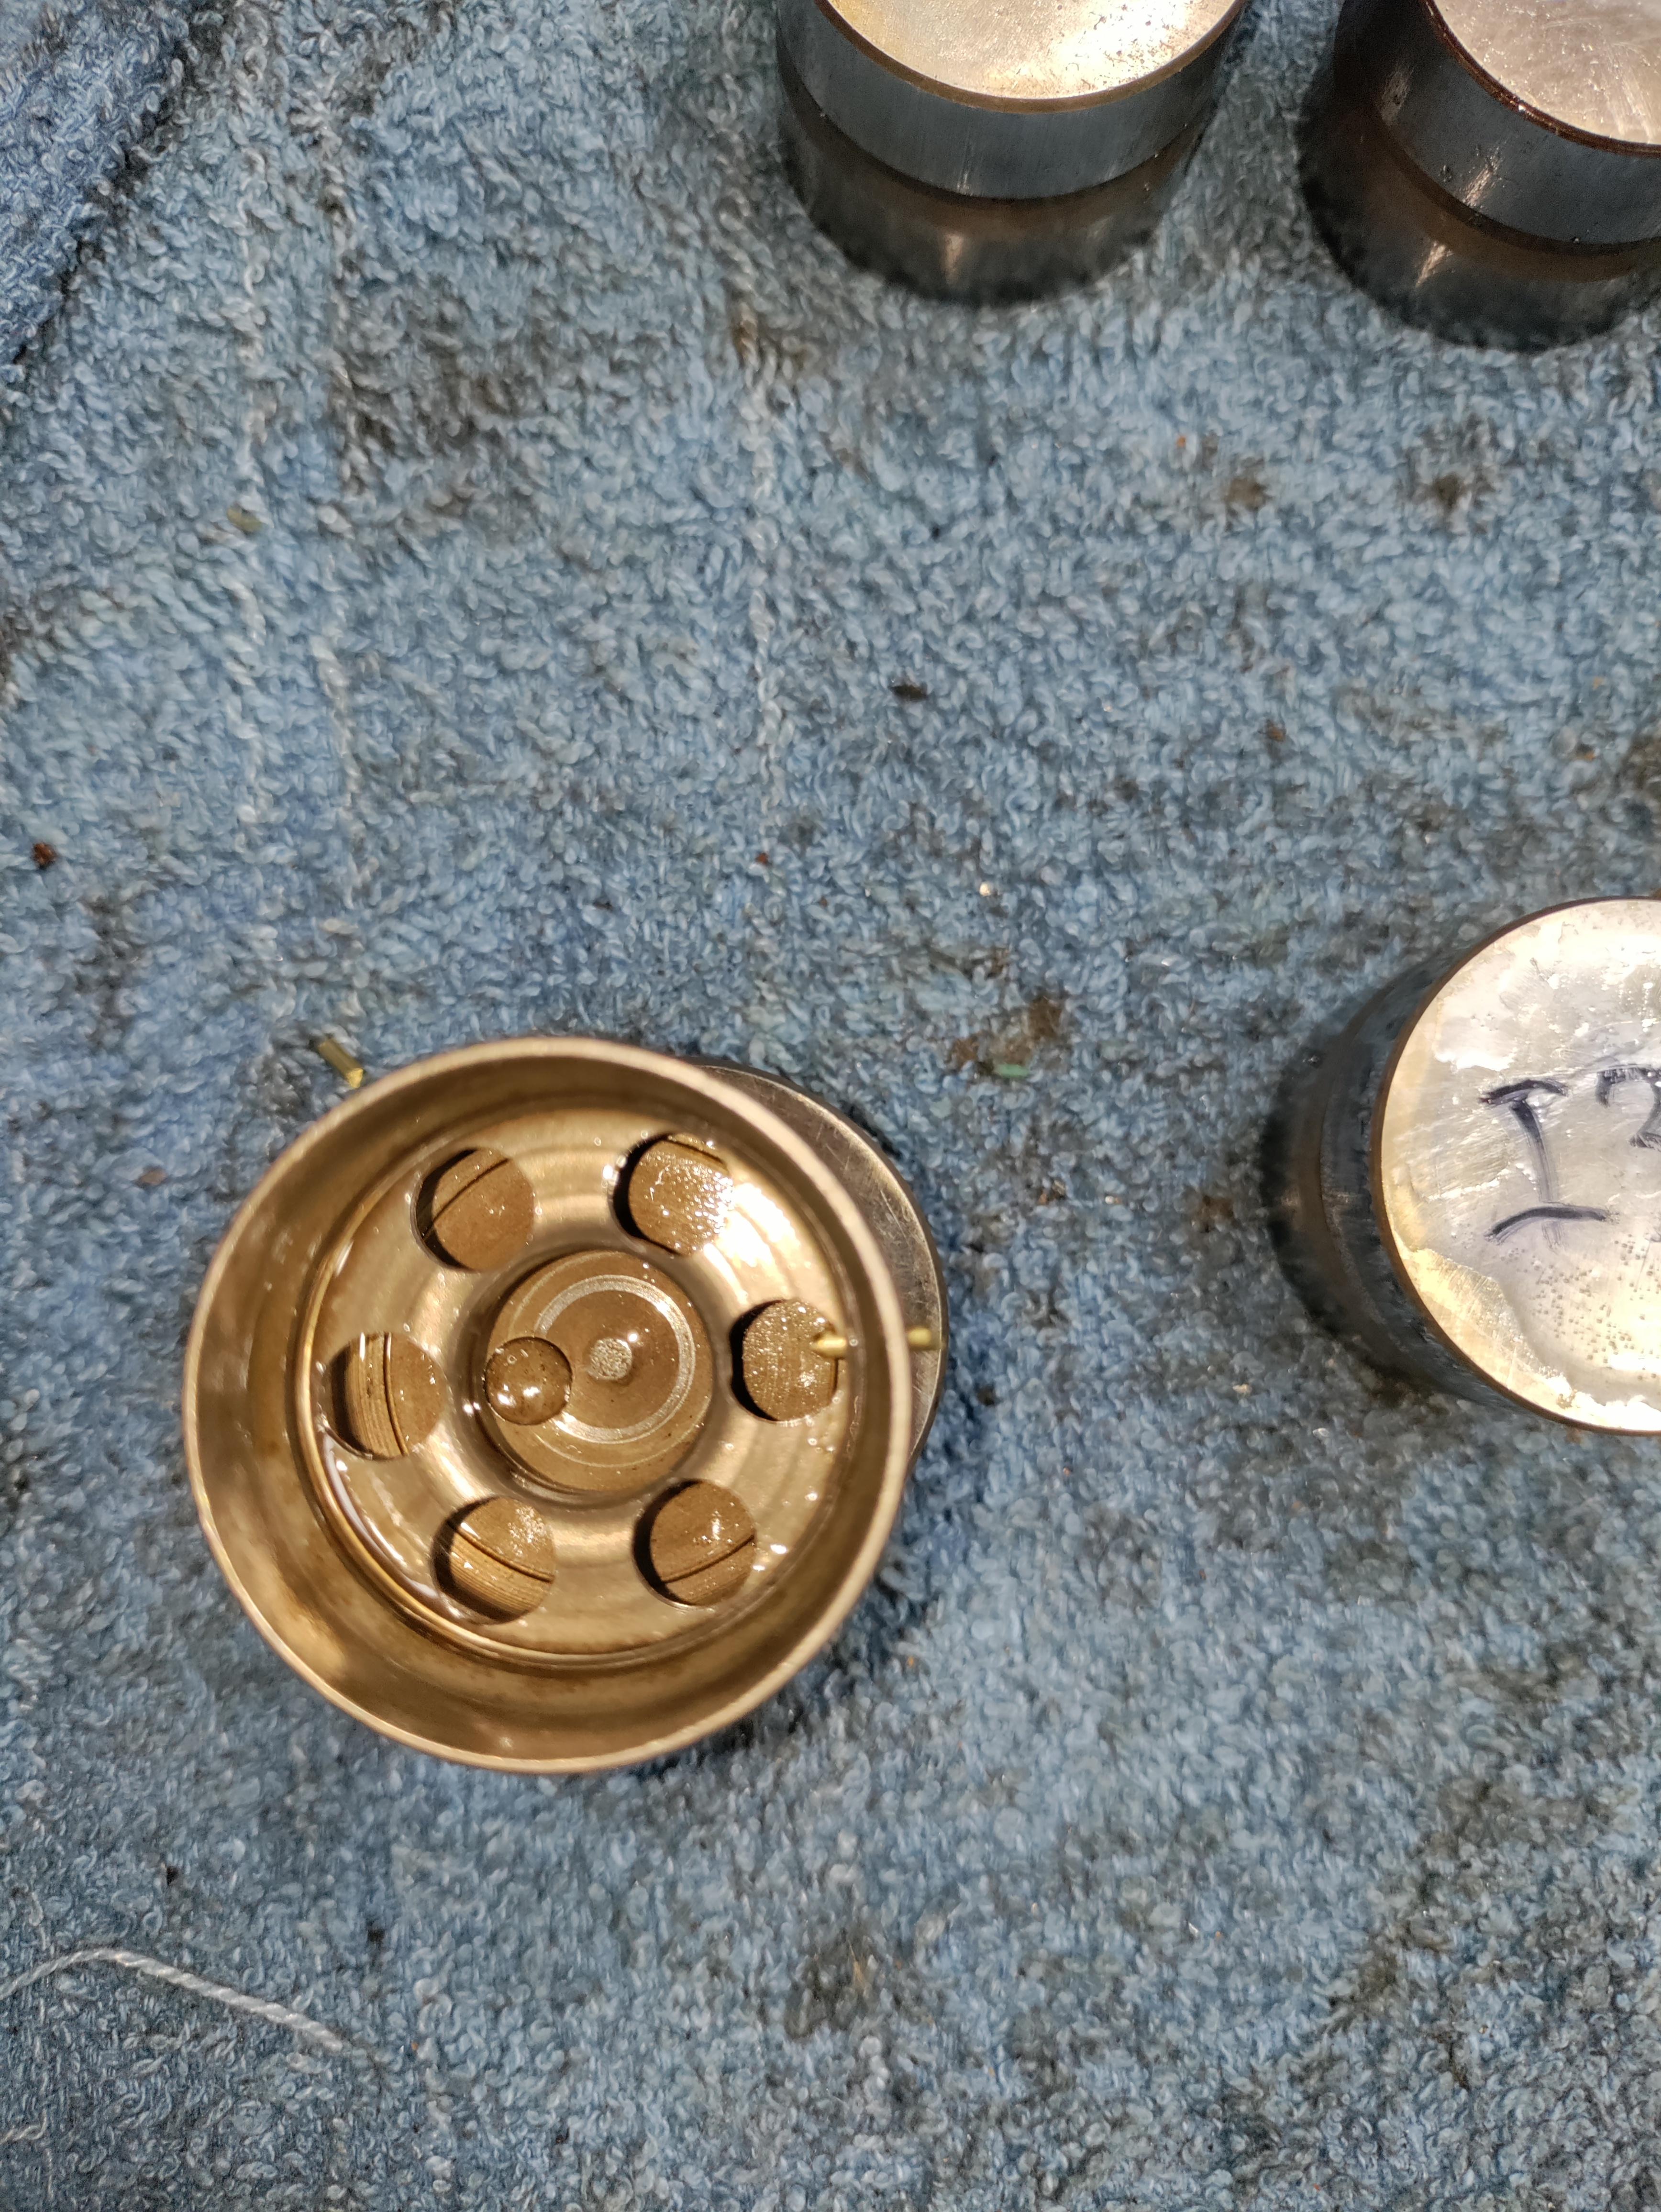
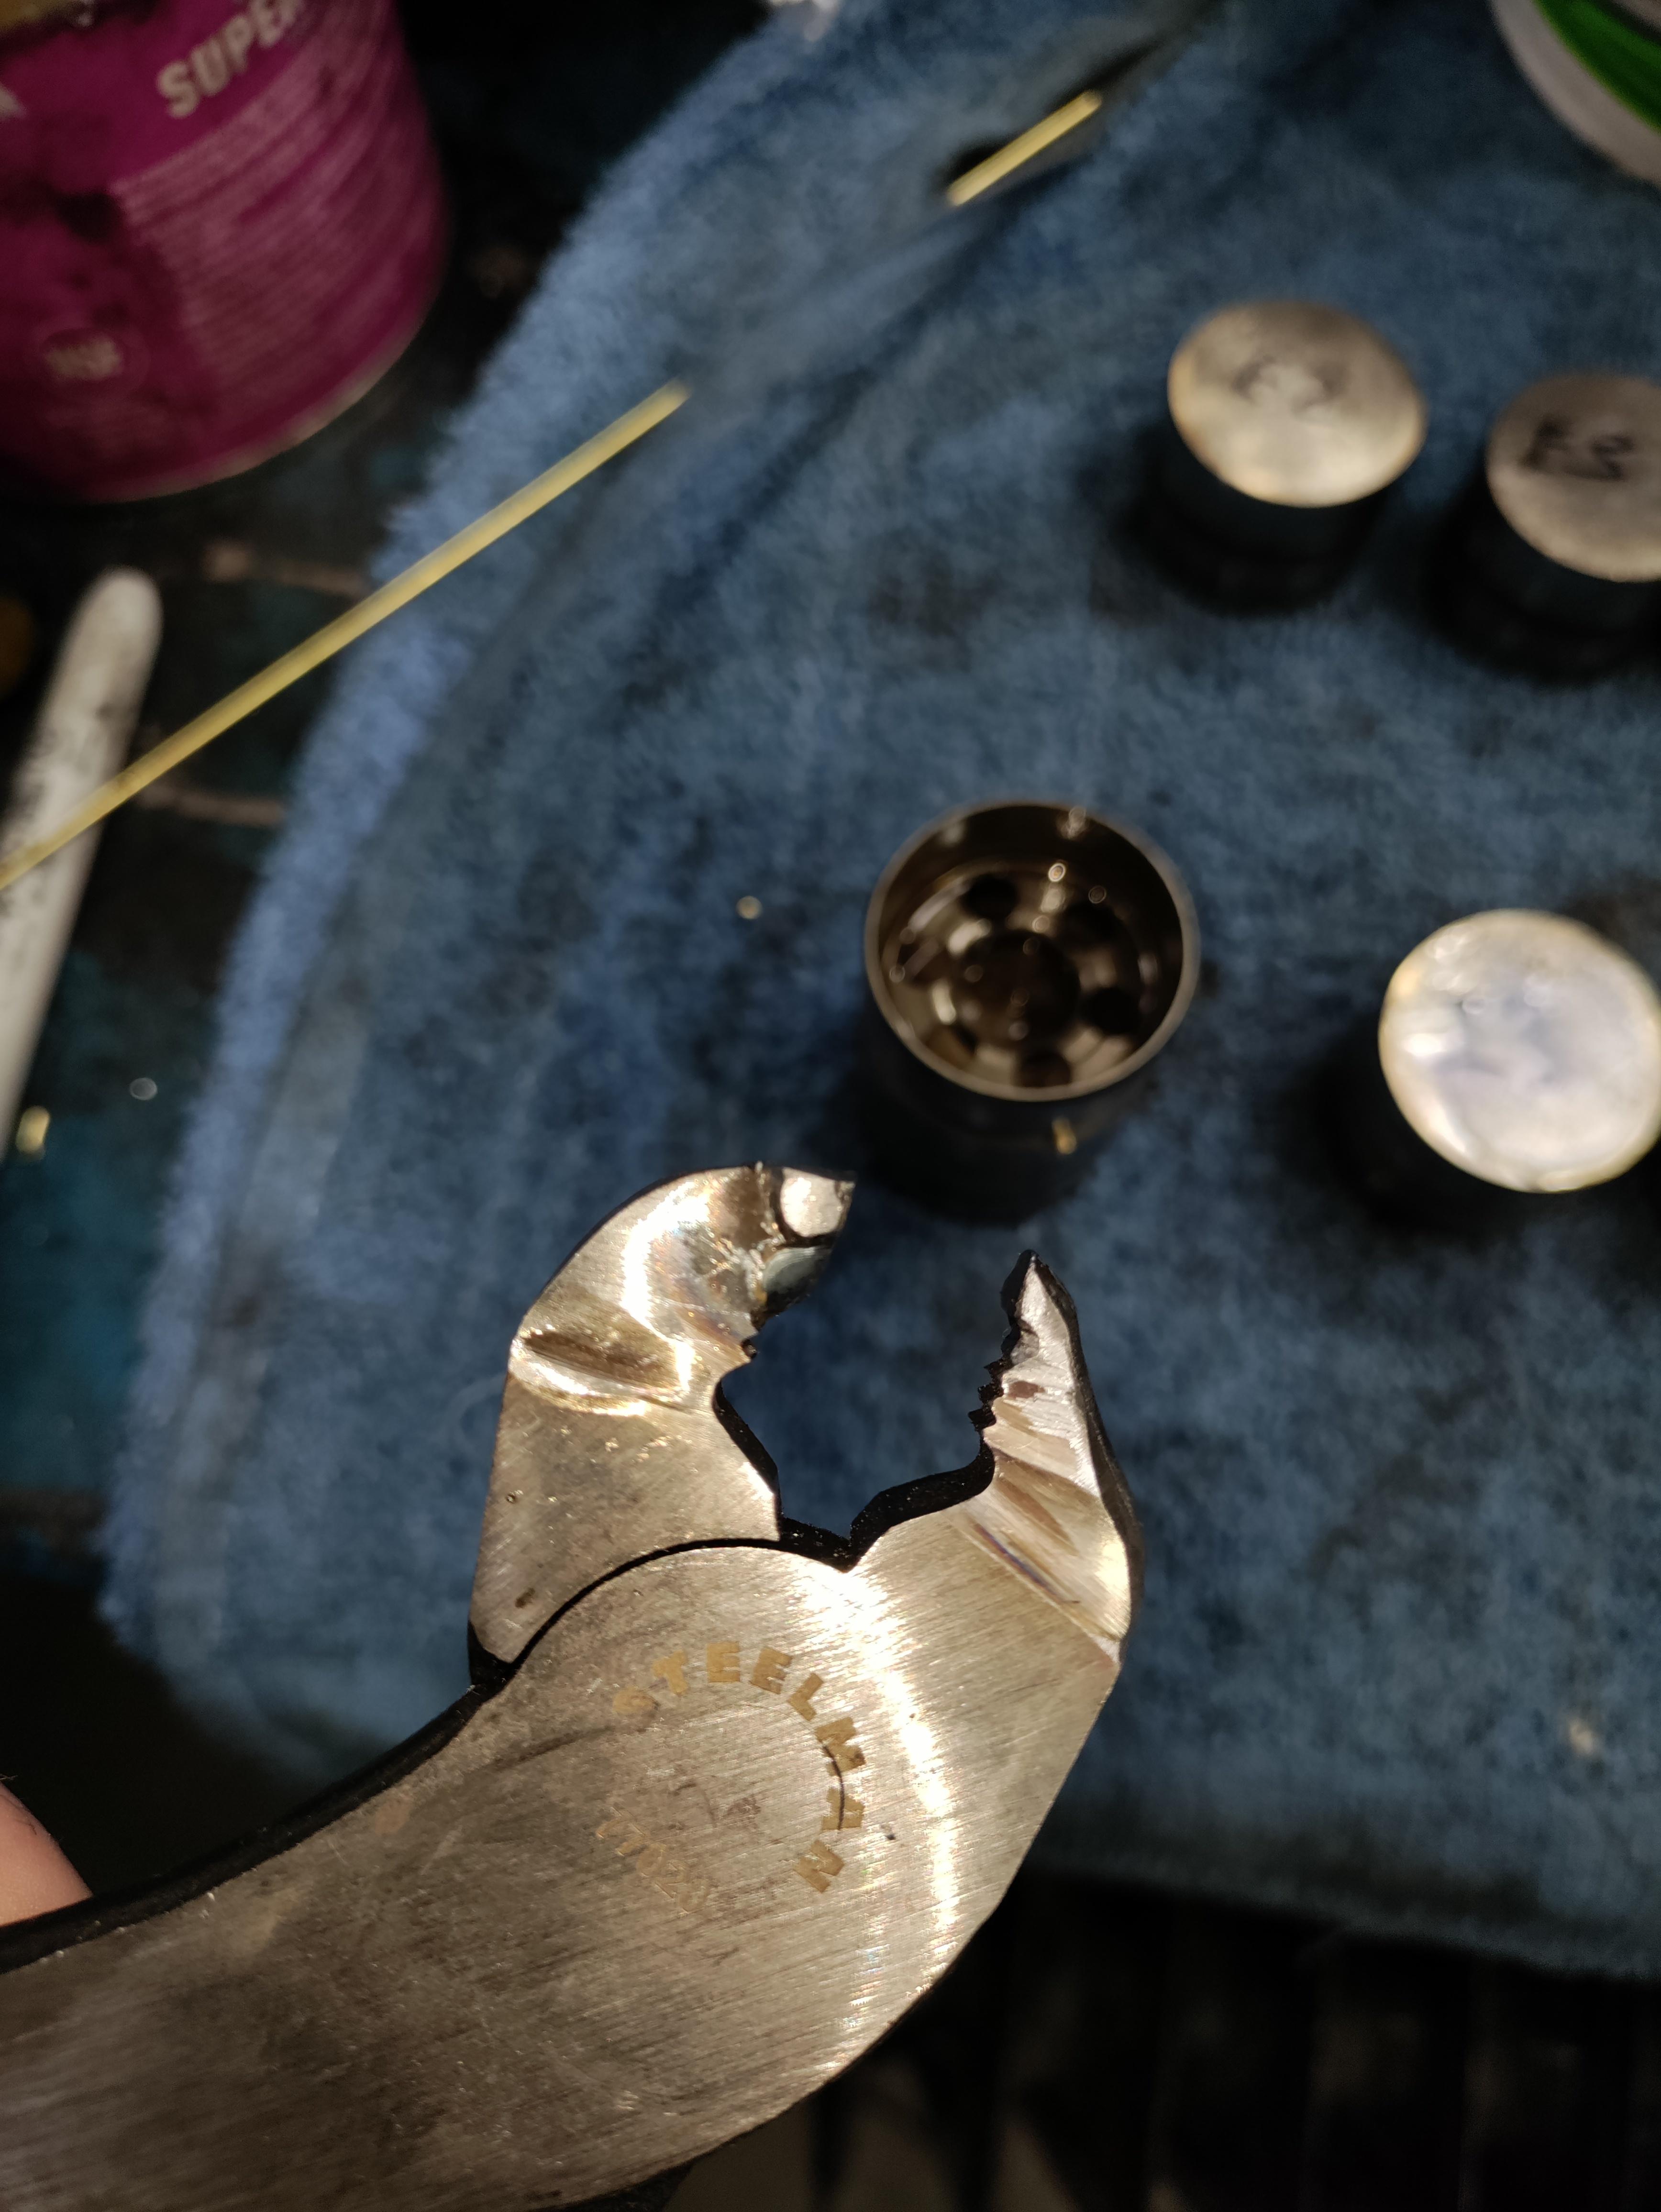
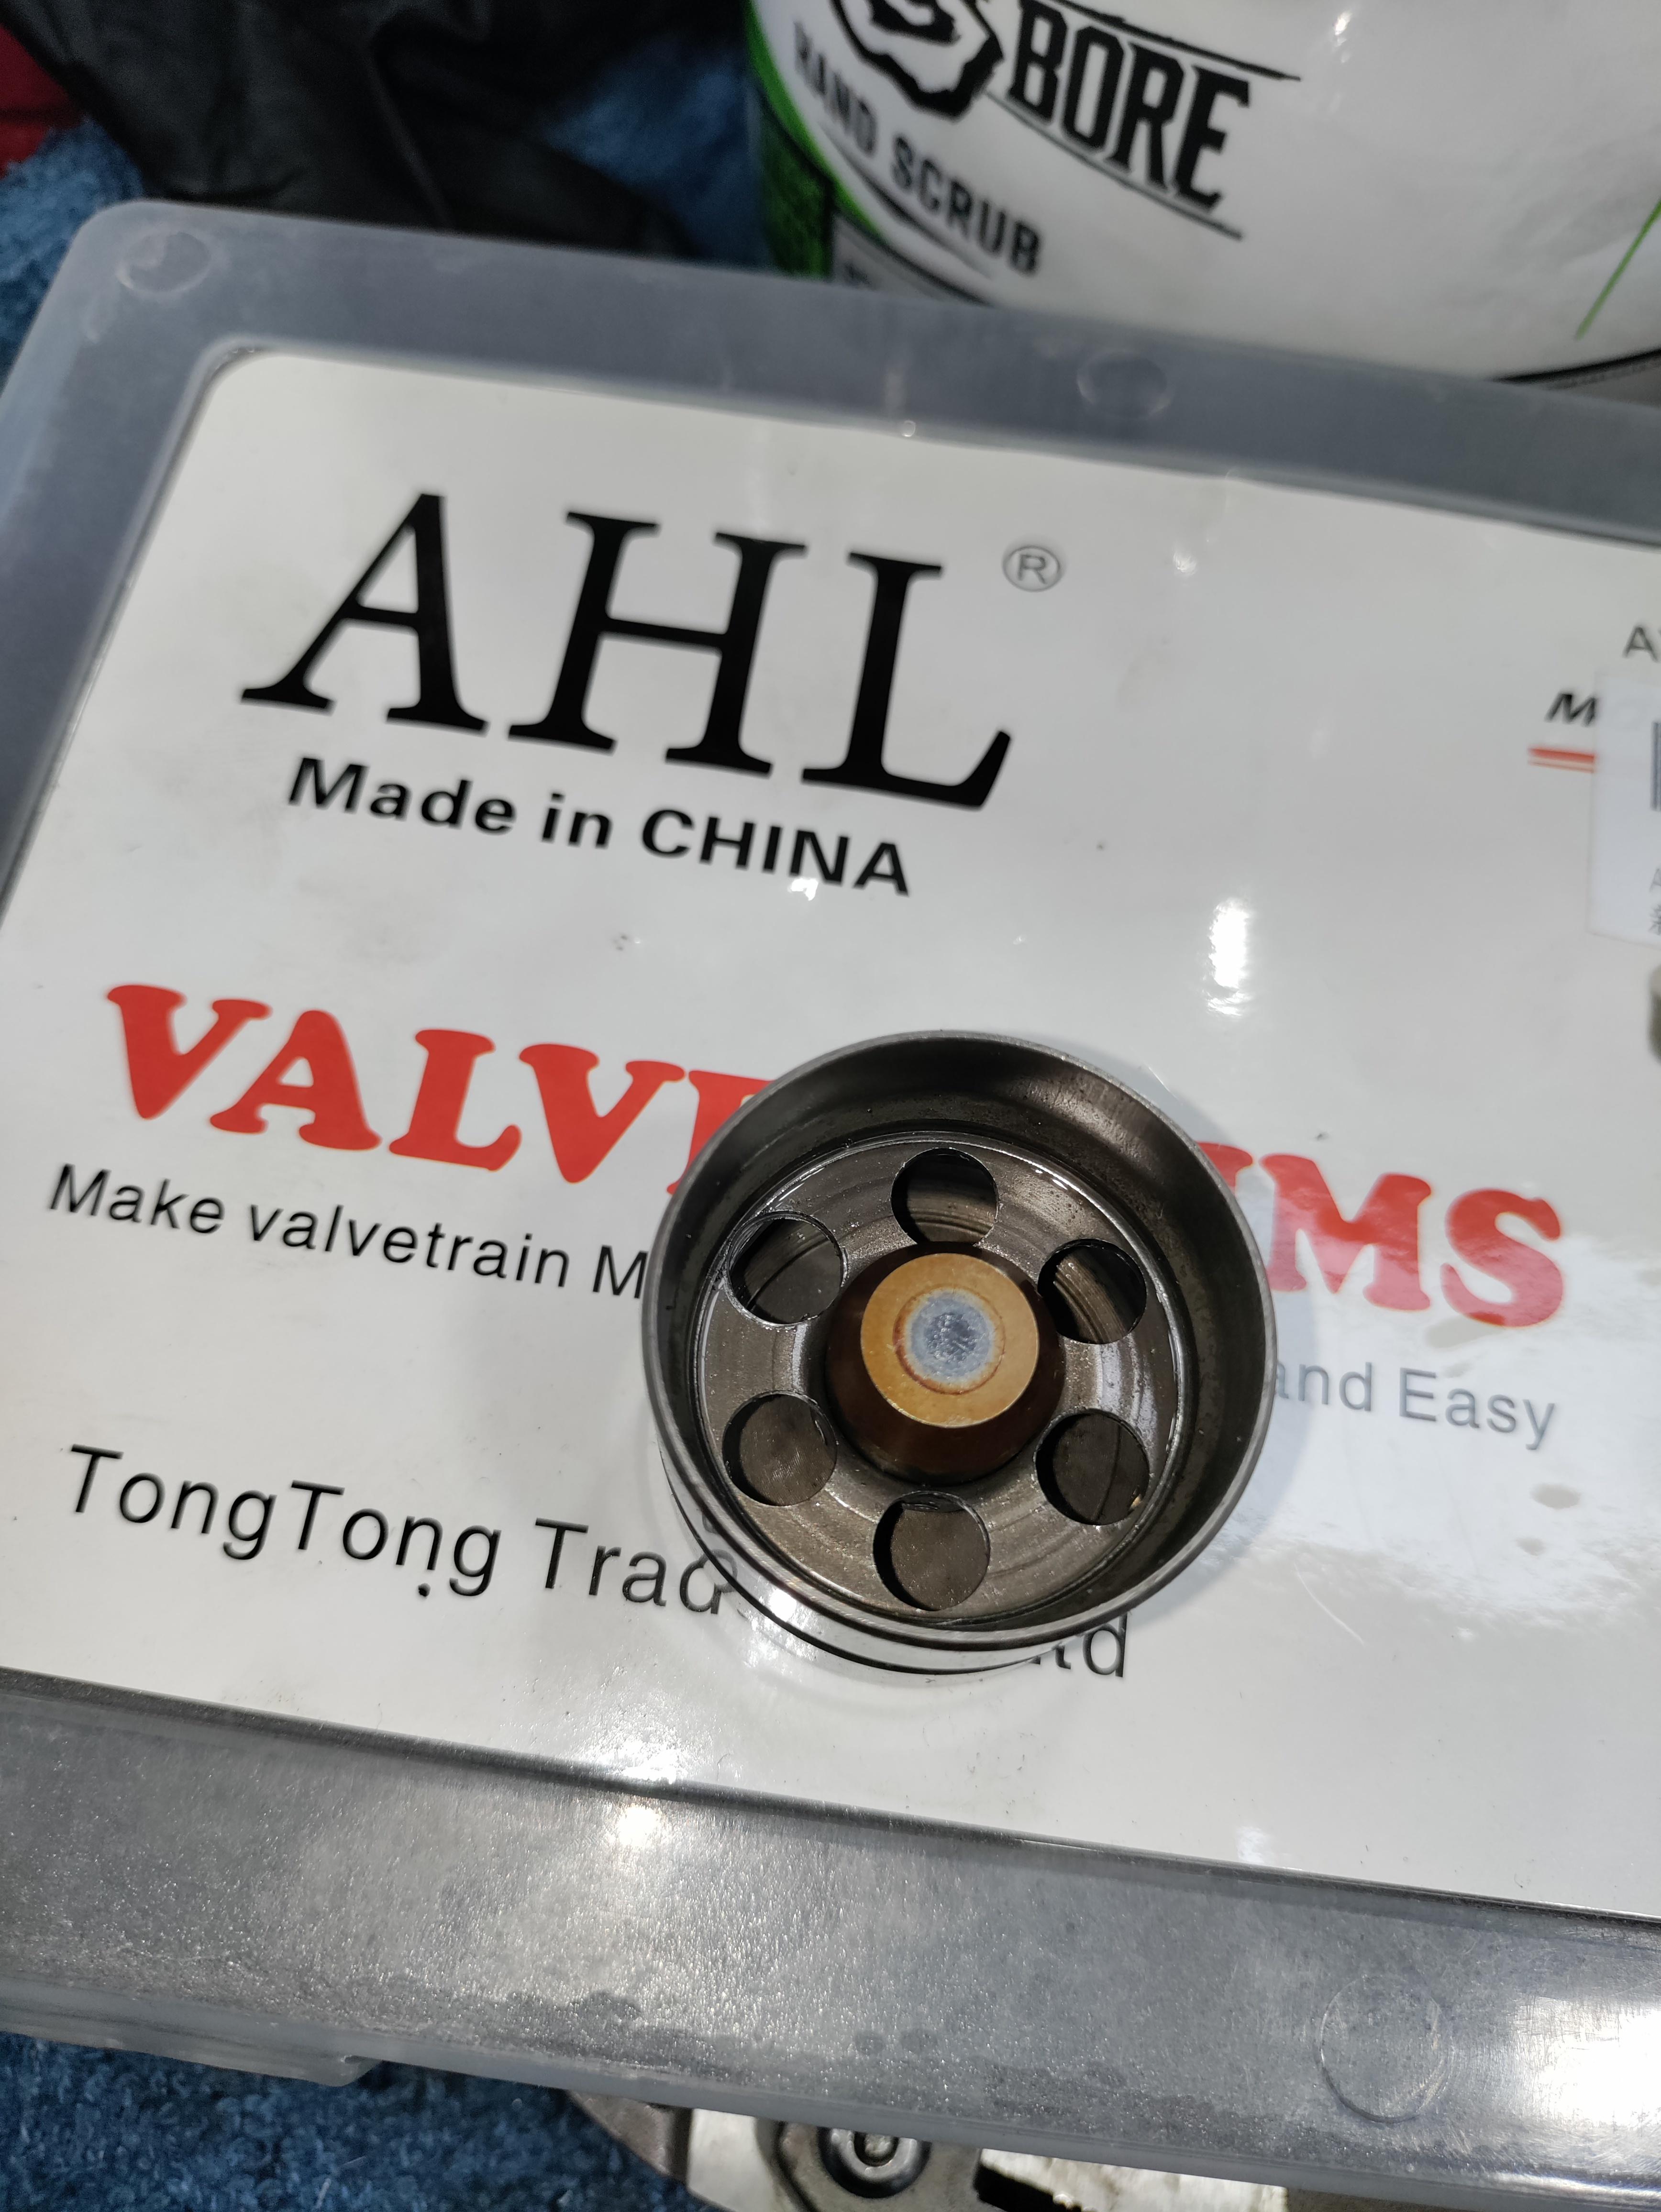
jig to evenly cut holes from the lifter bottom to access the oil hole for pinning as well as weight reduction
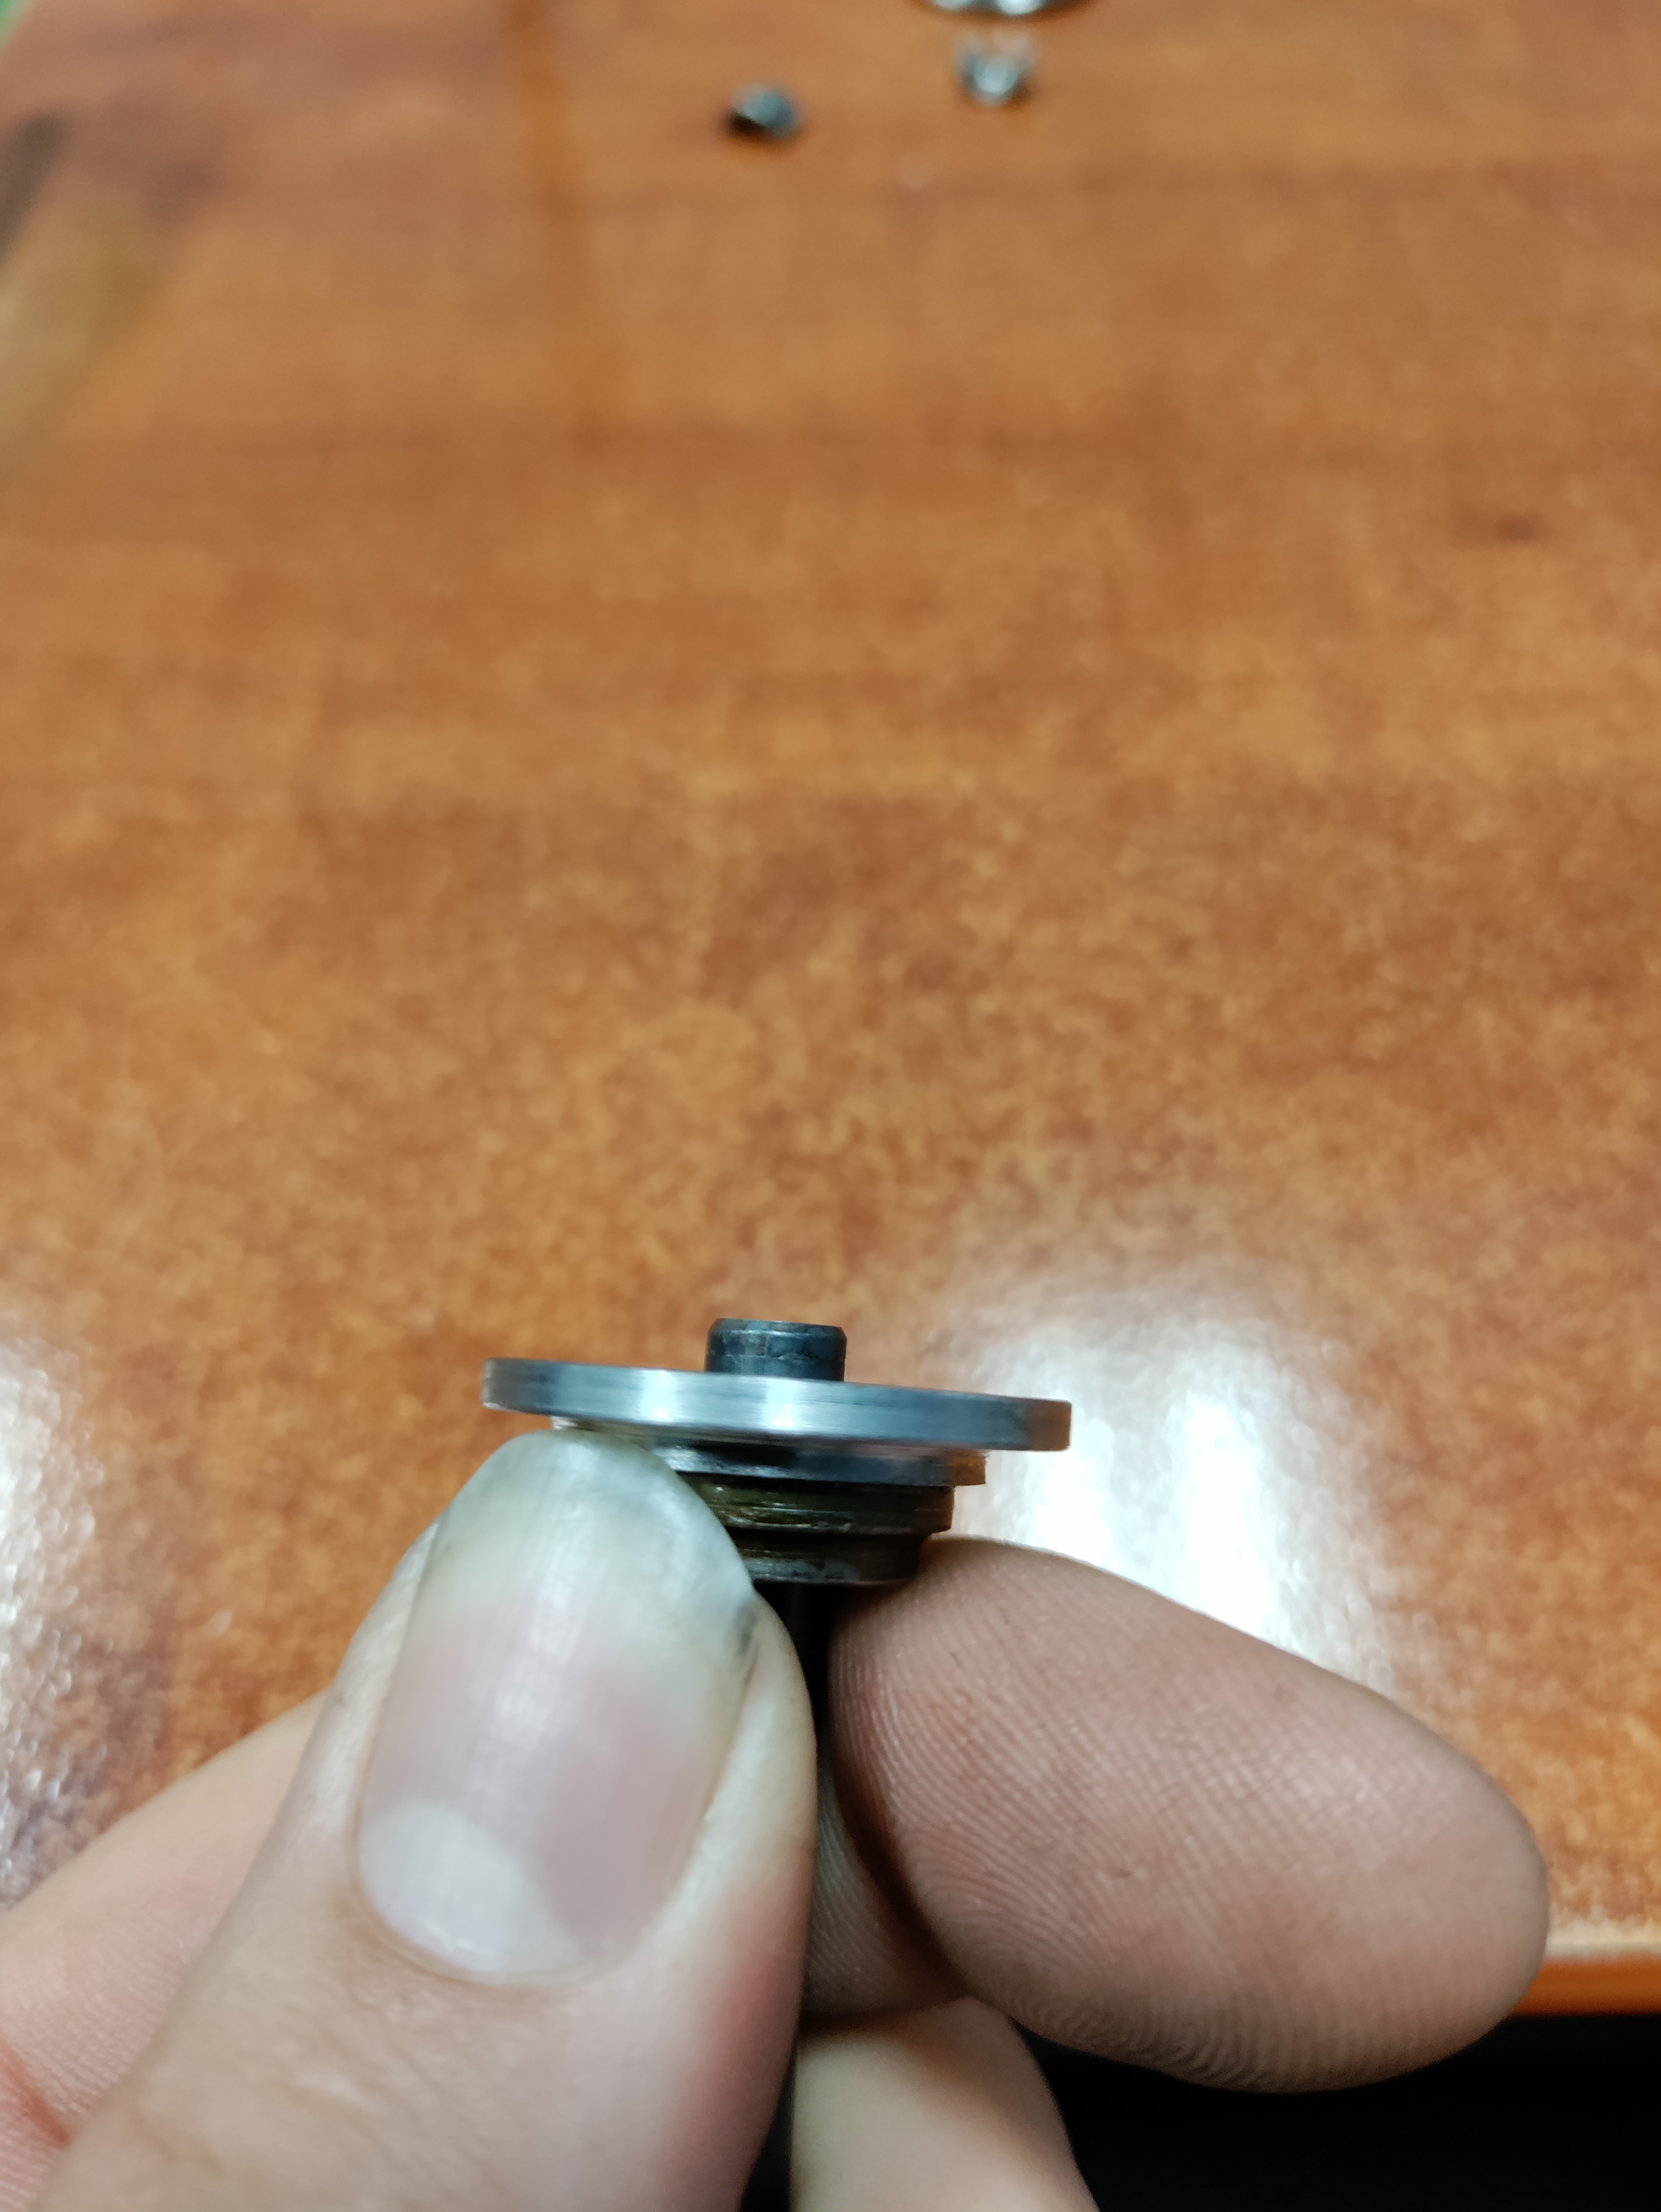
before and after weights
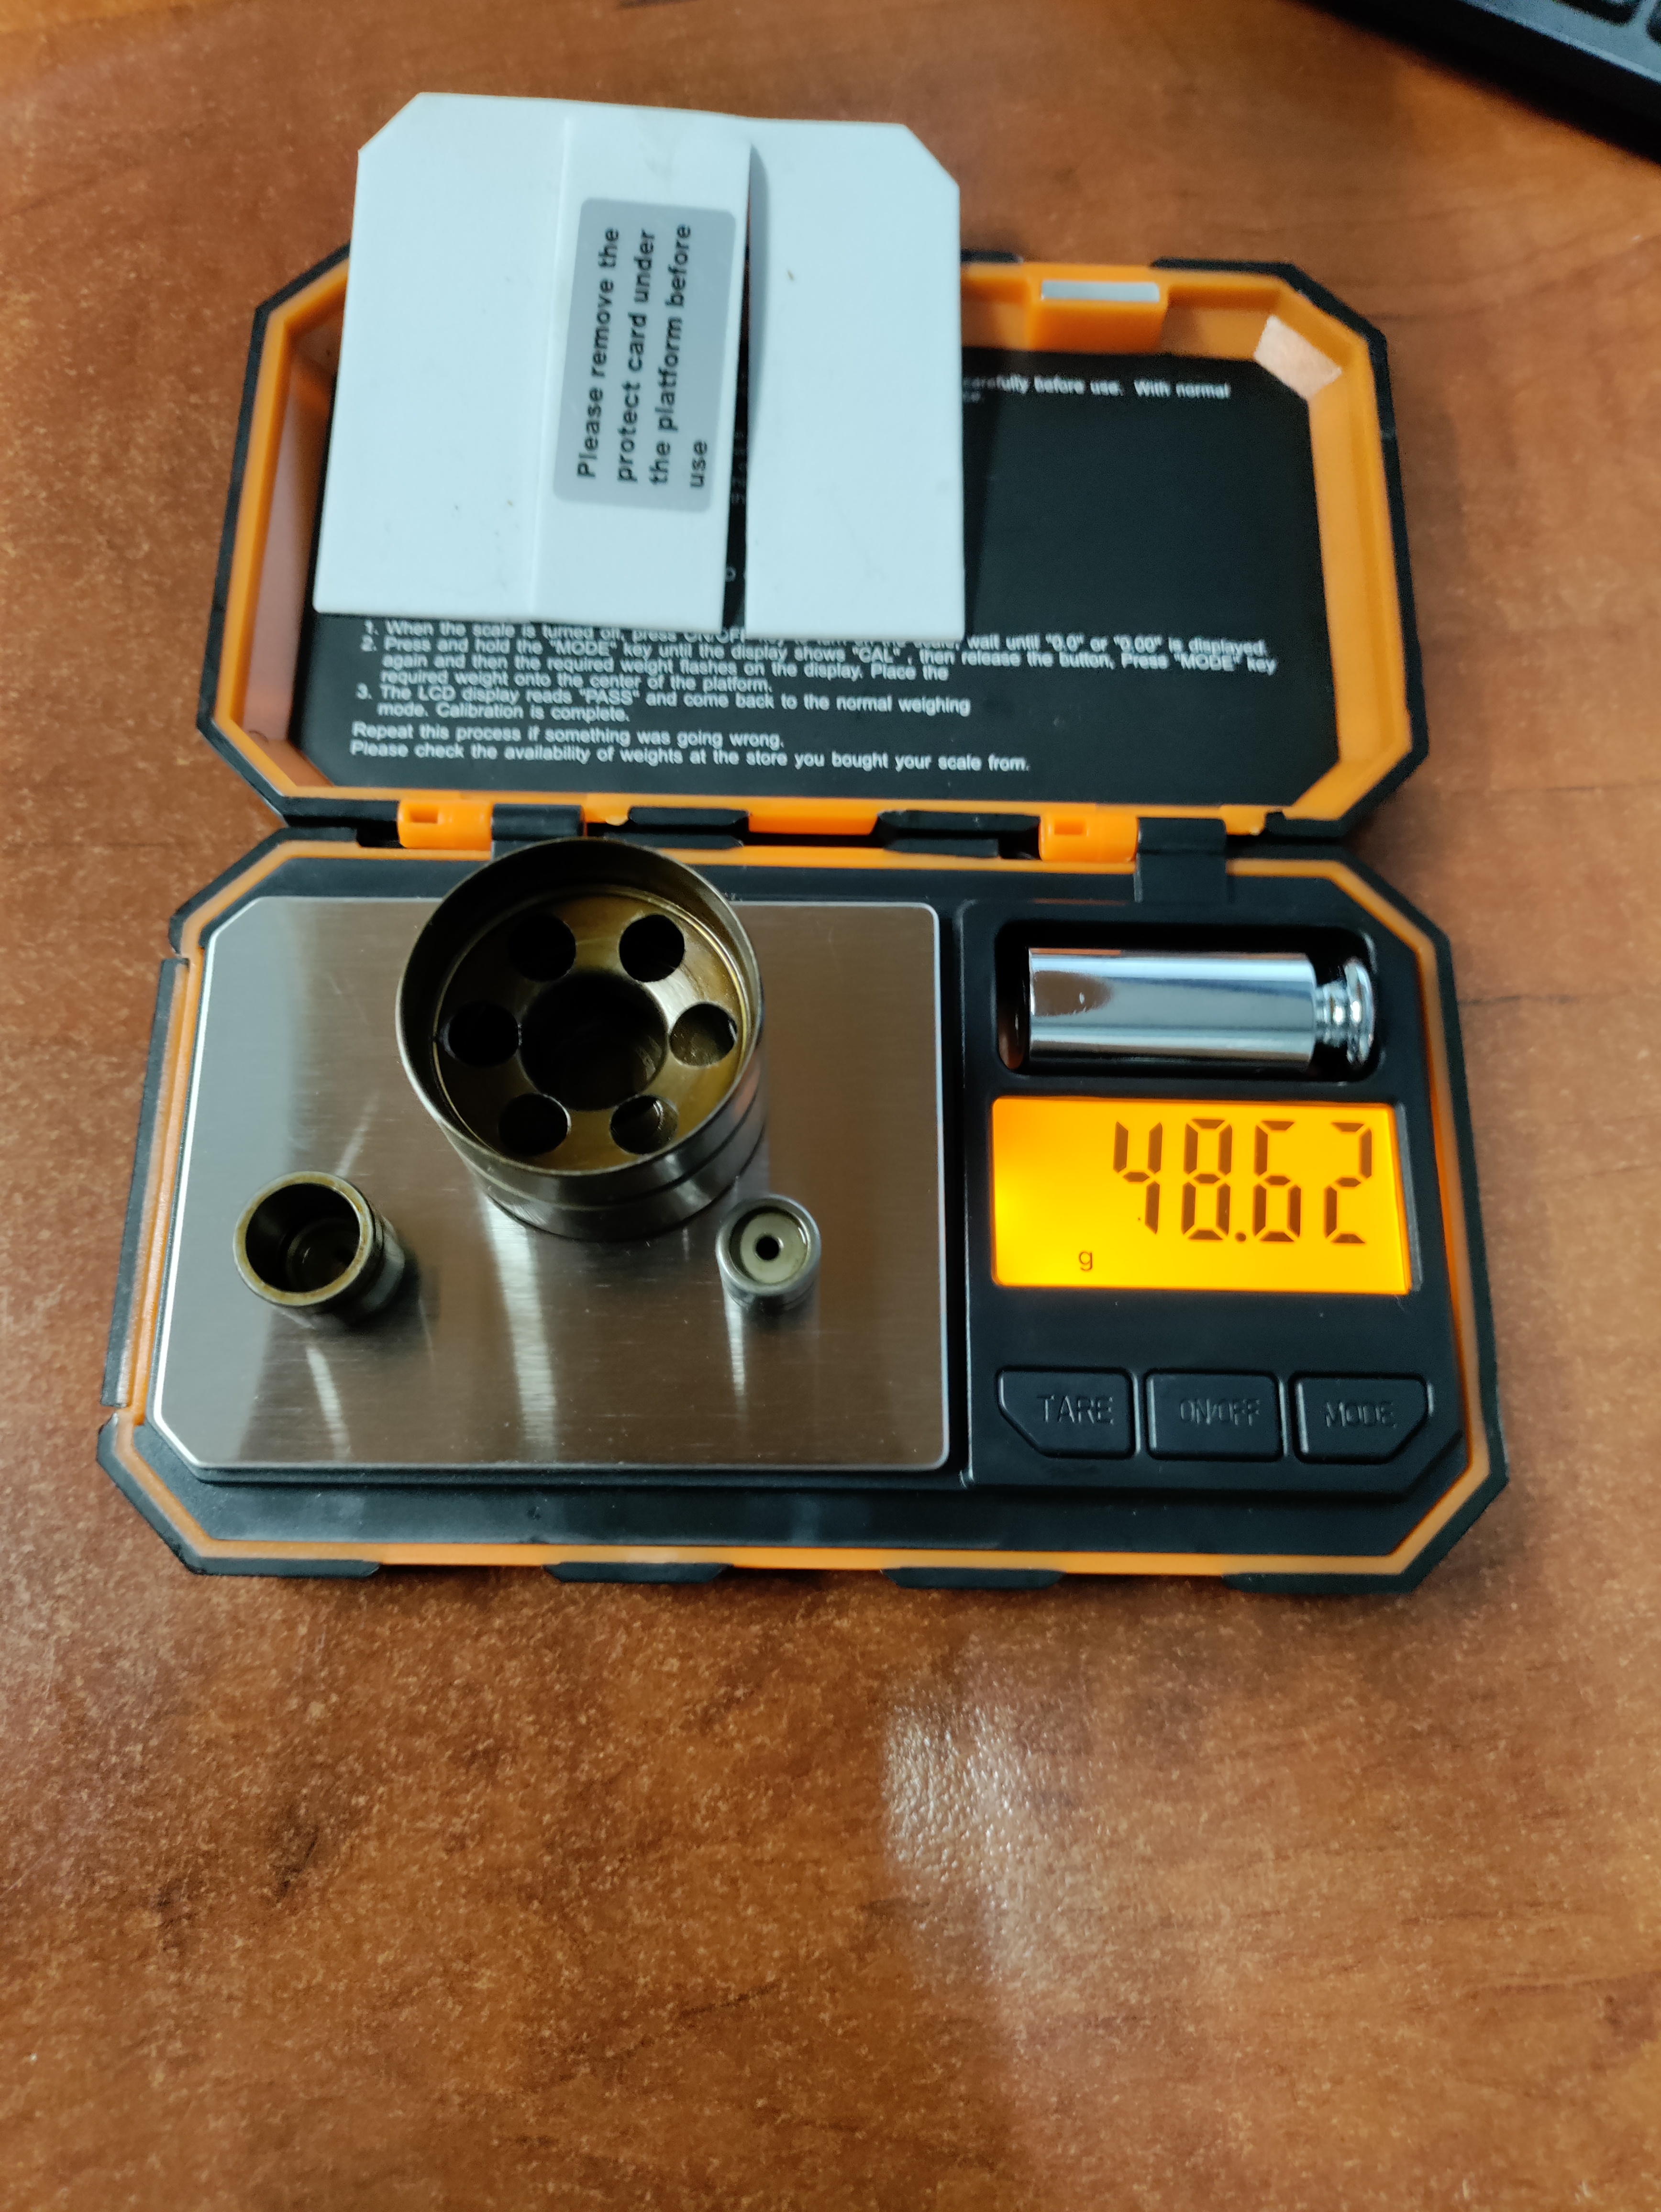
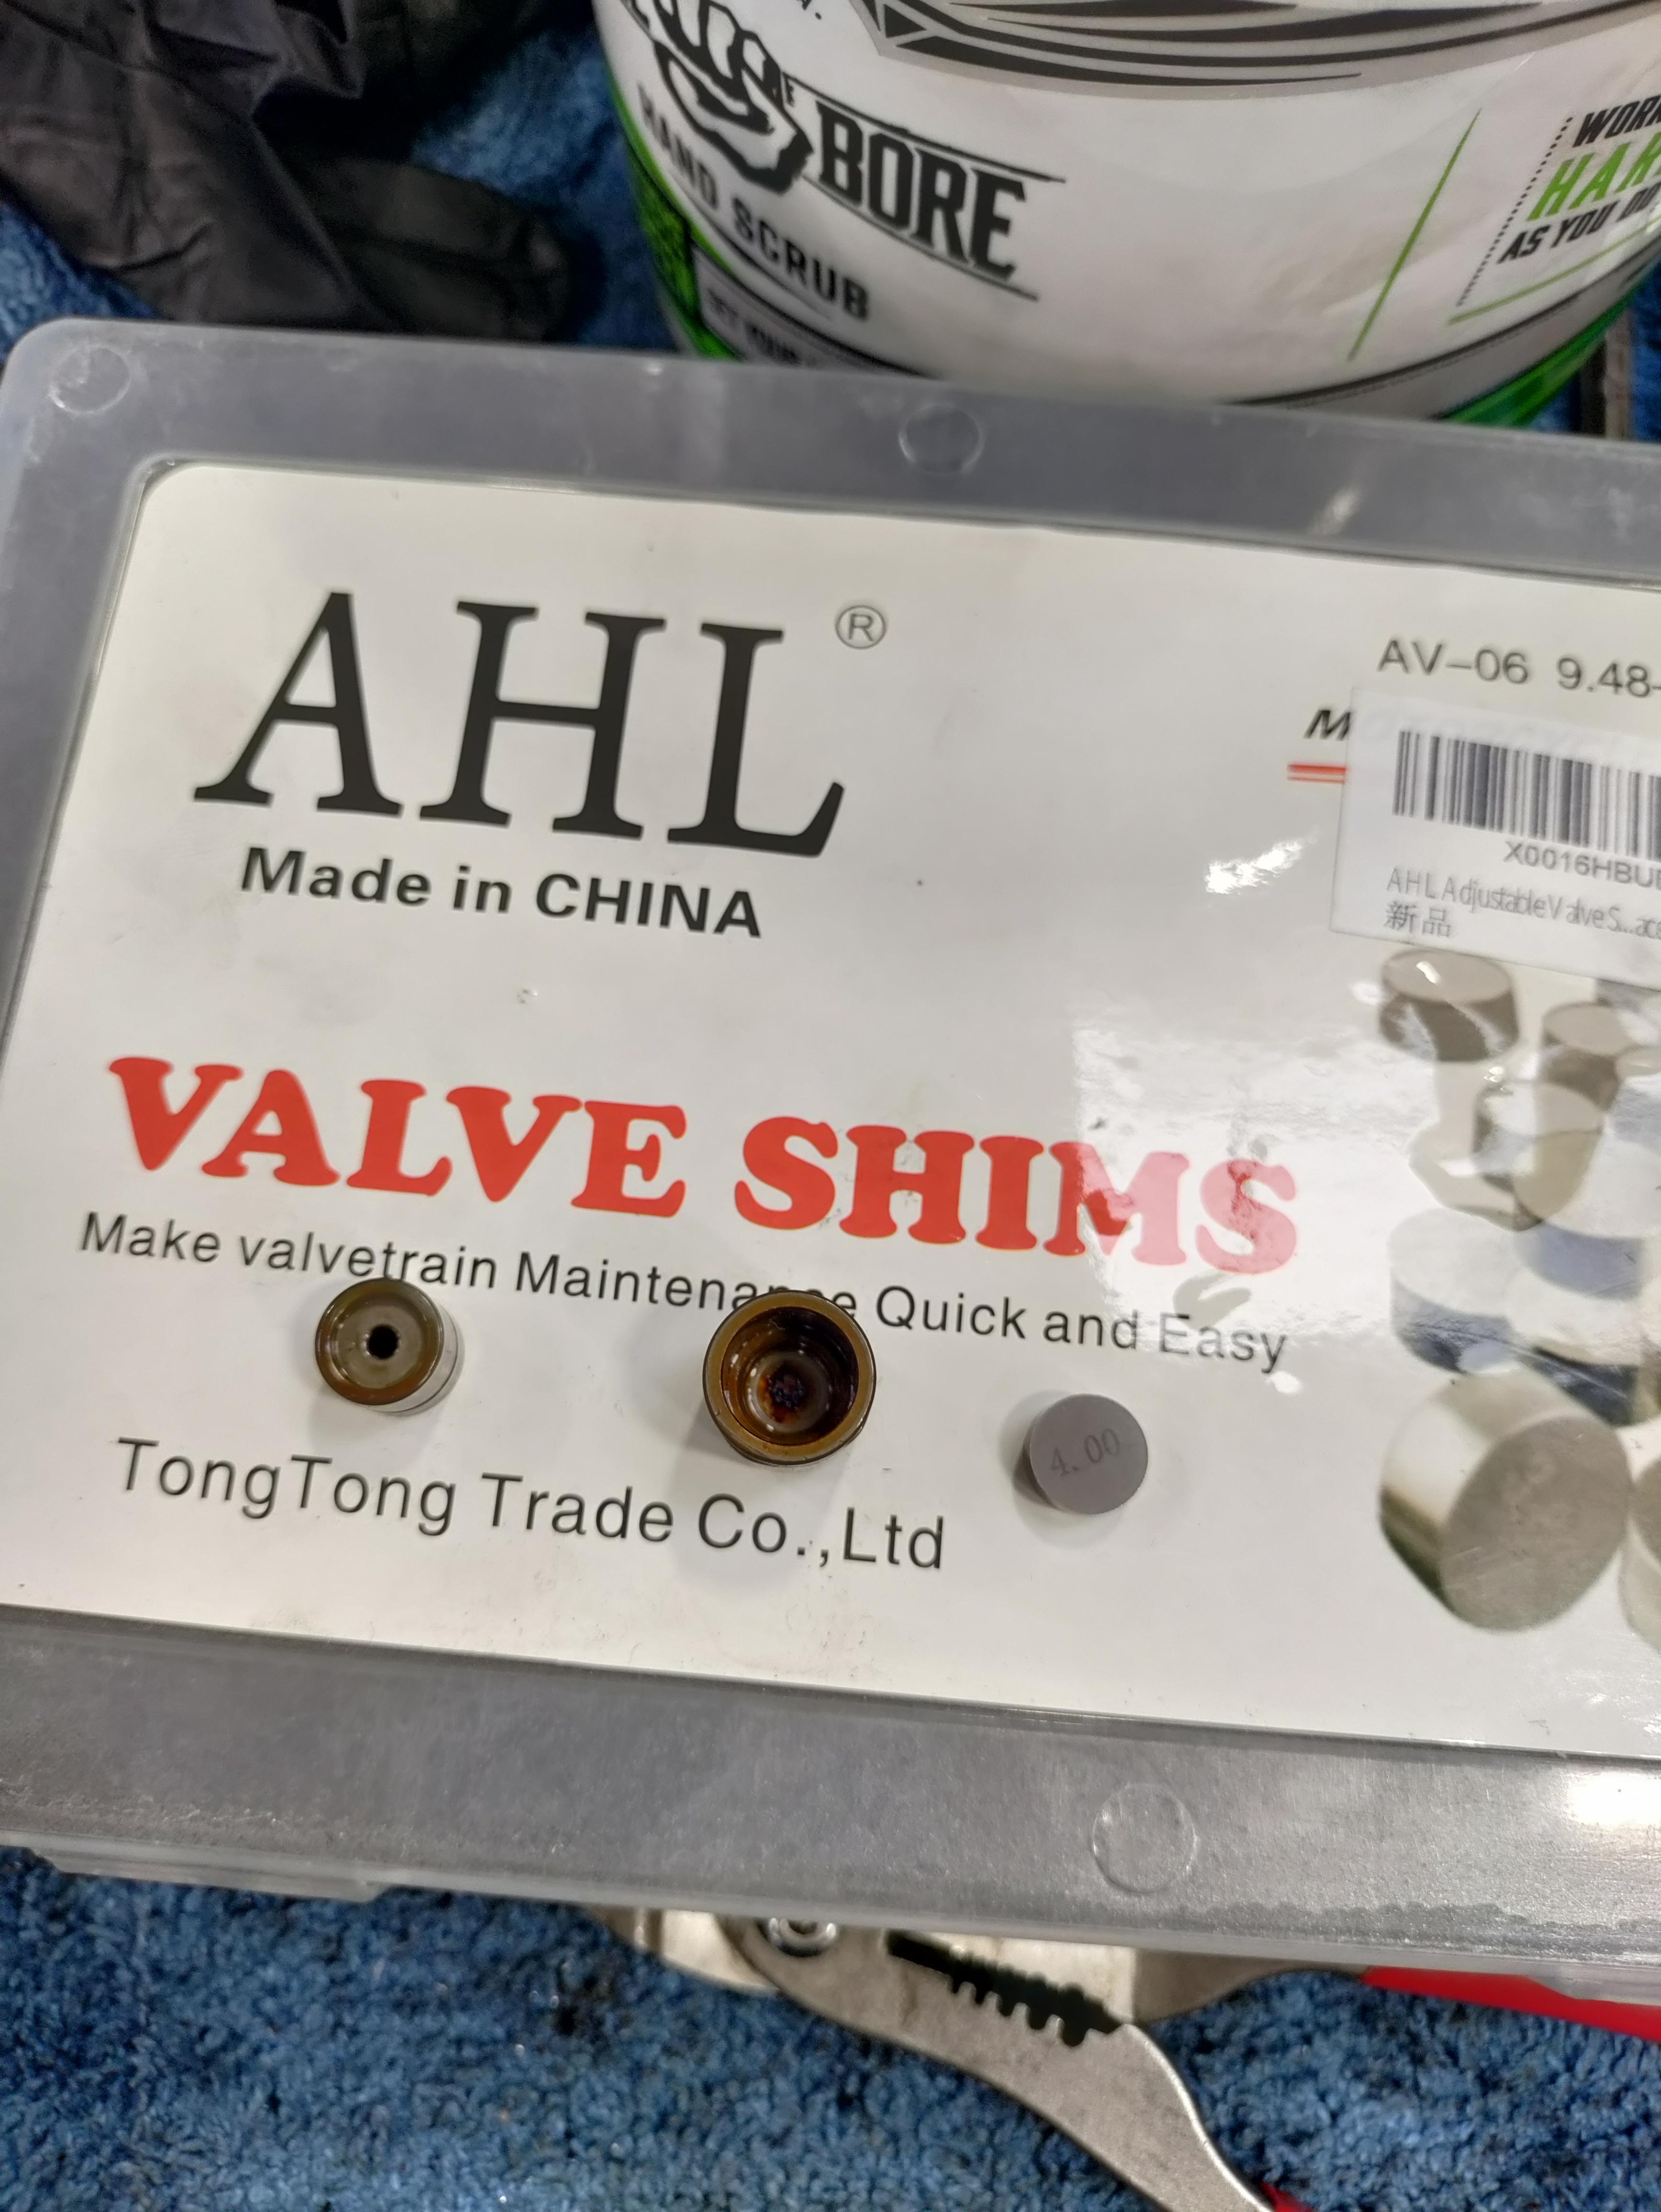
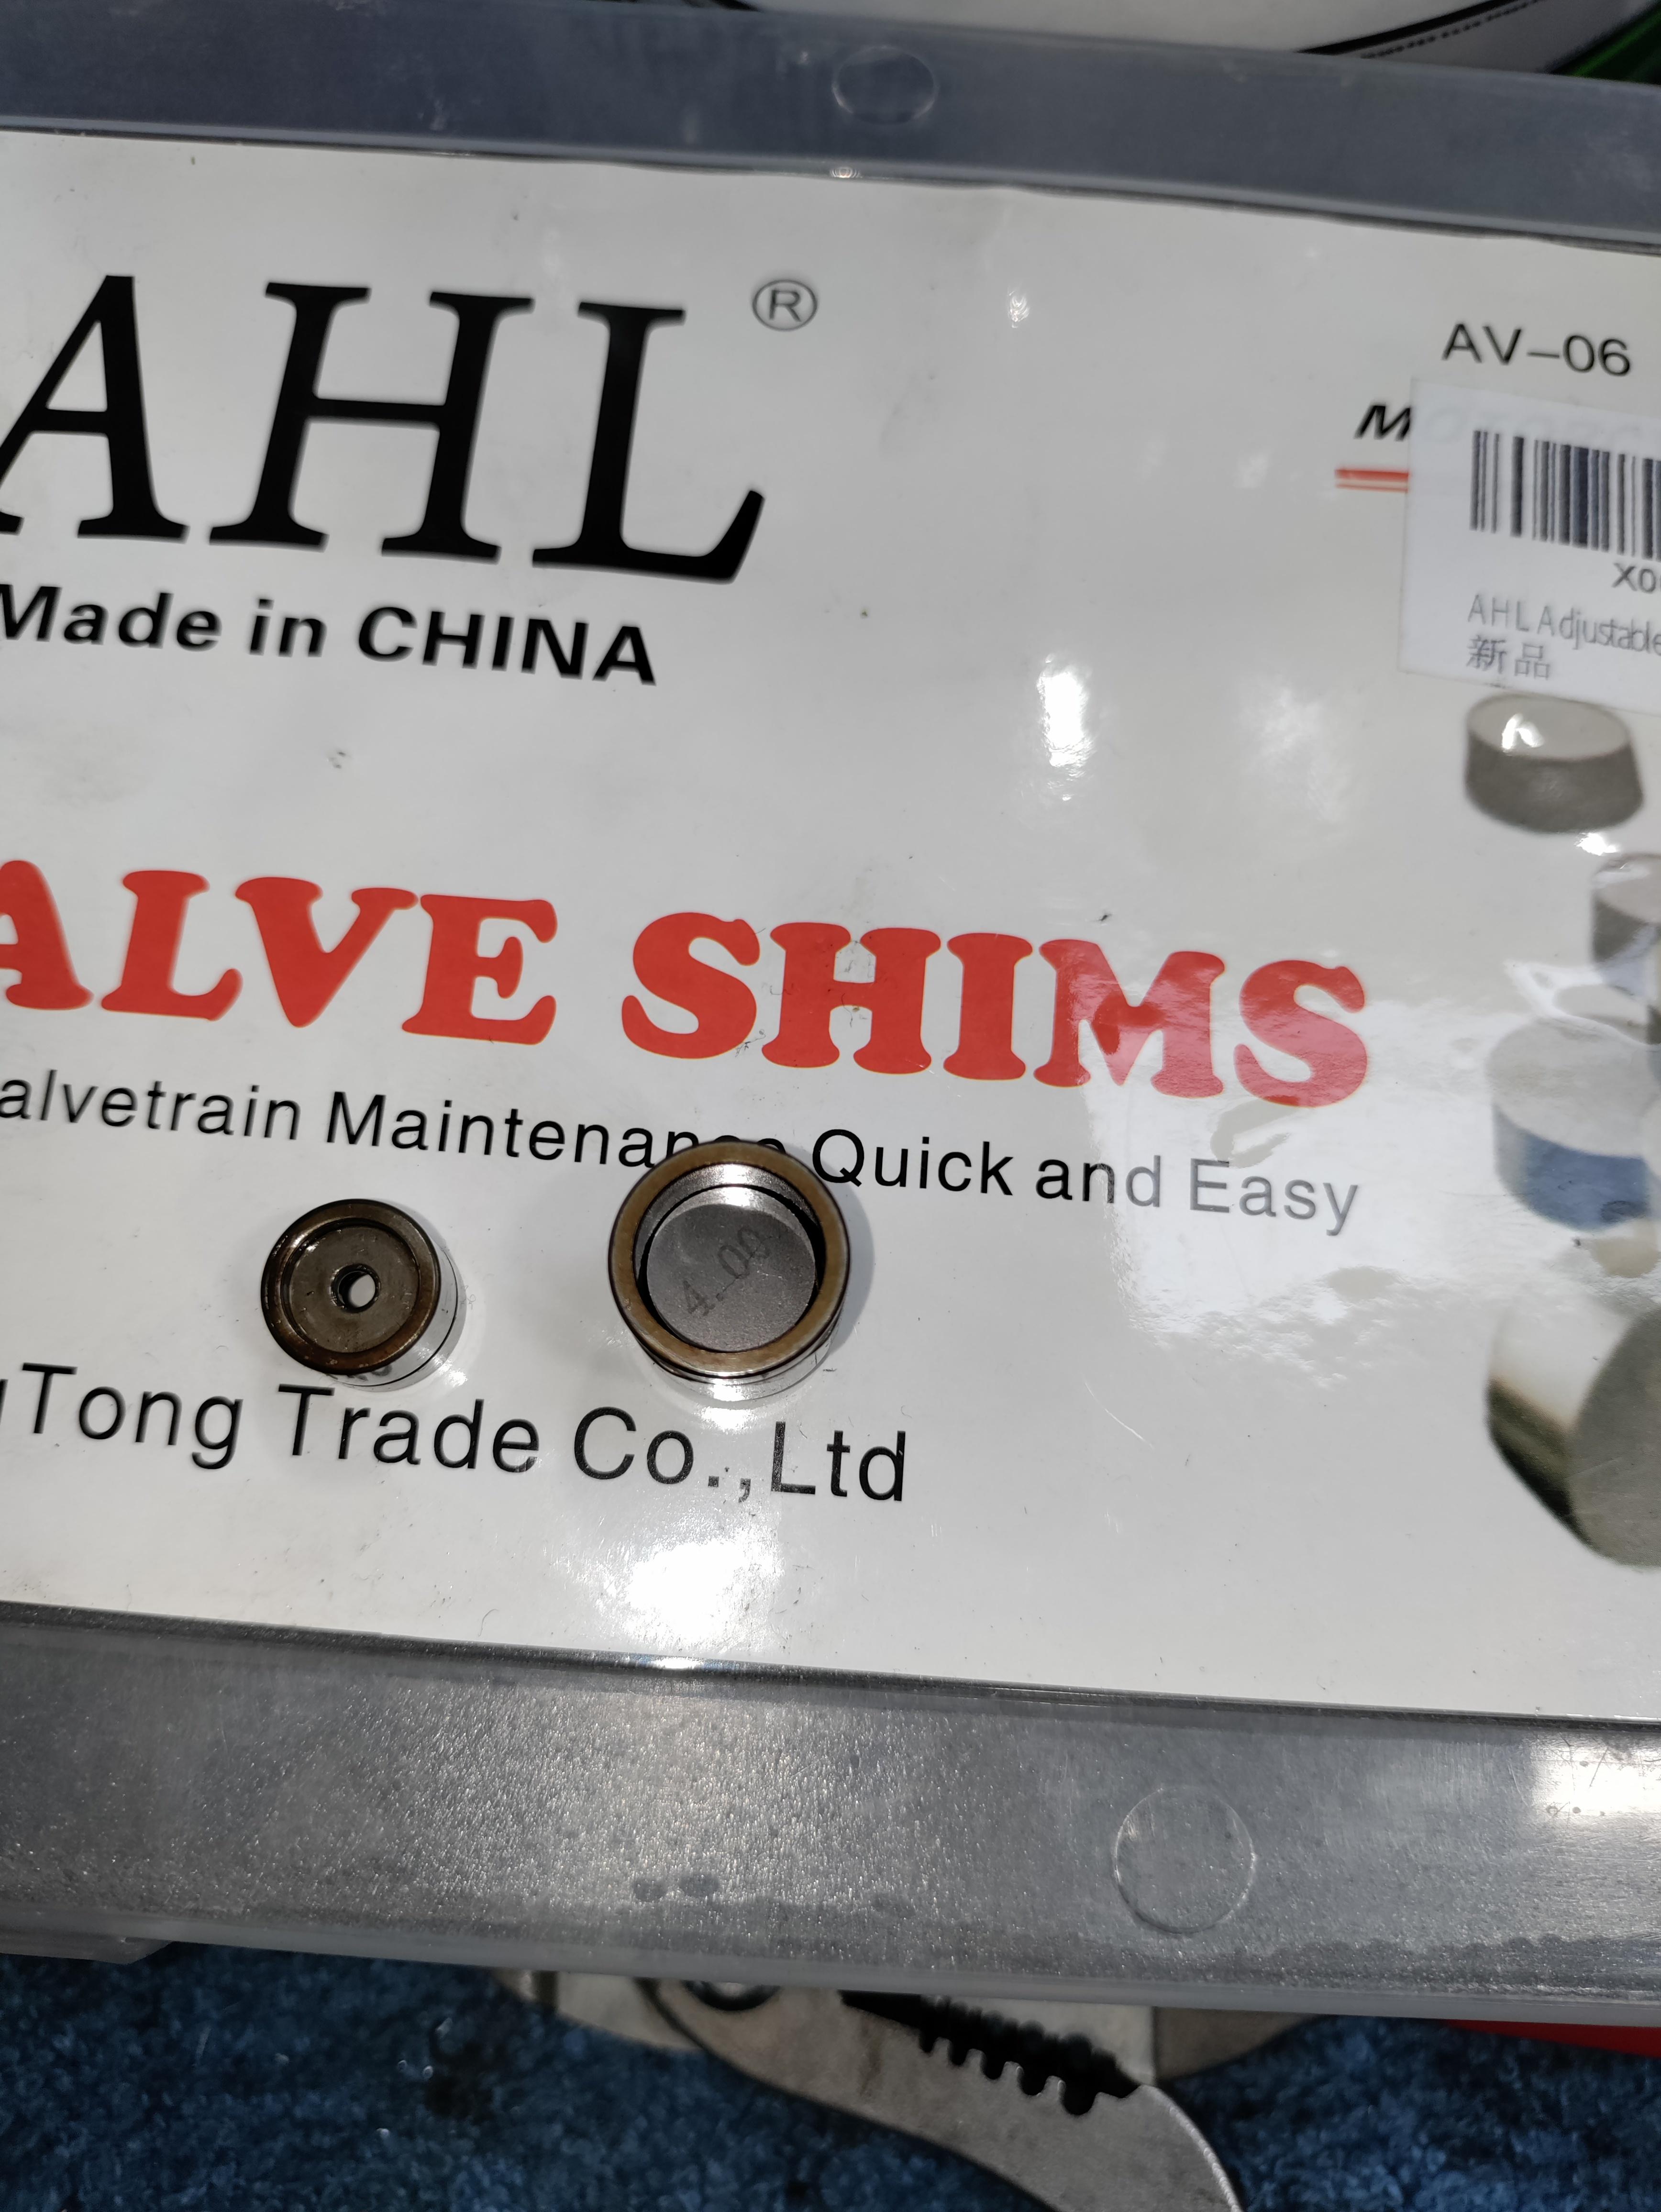
final weight with a 2.4mm lash spacer
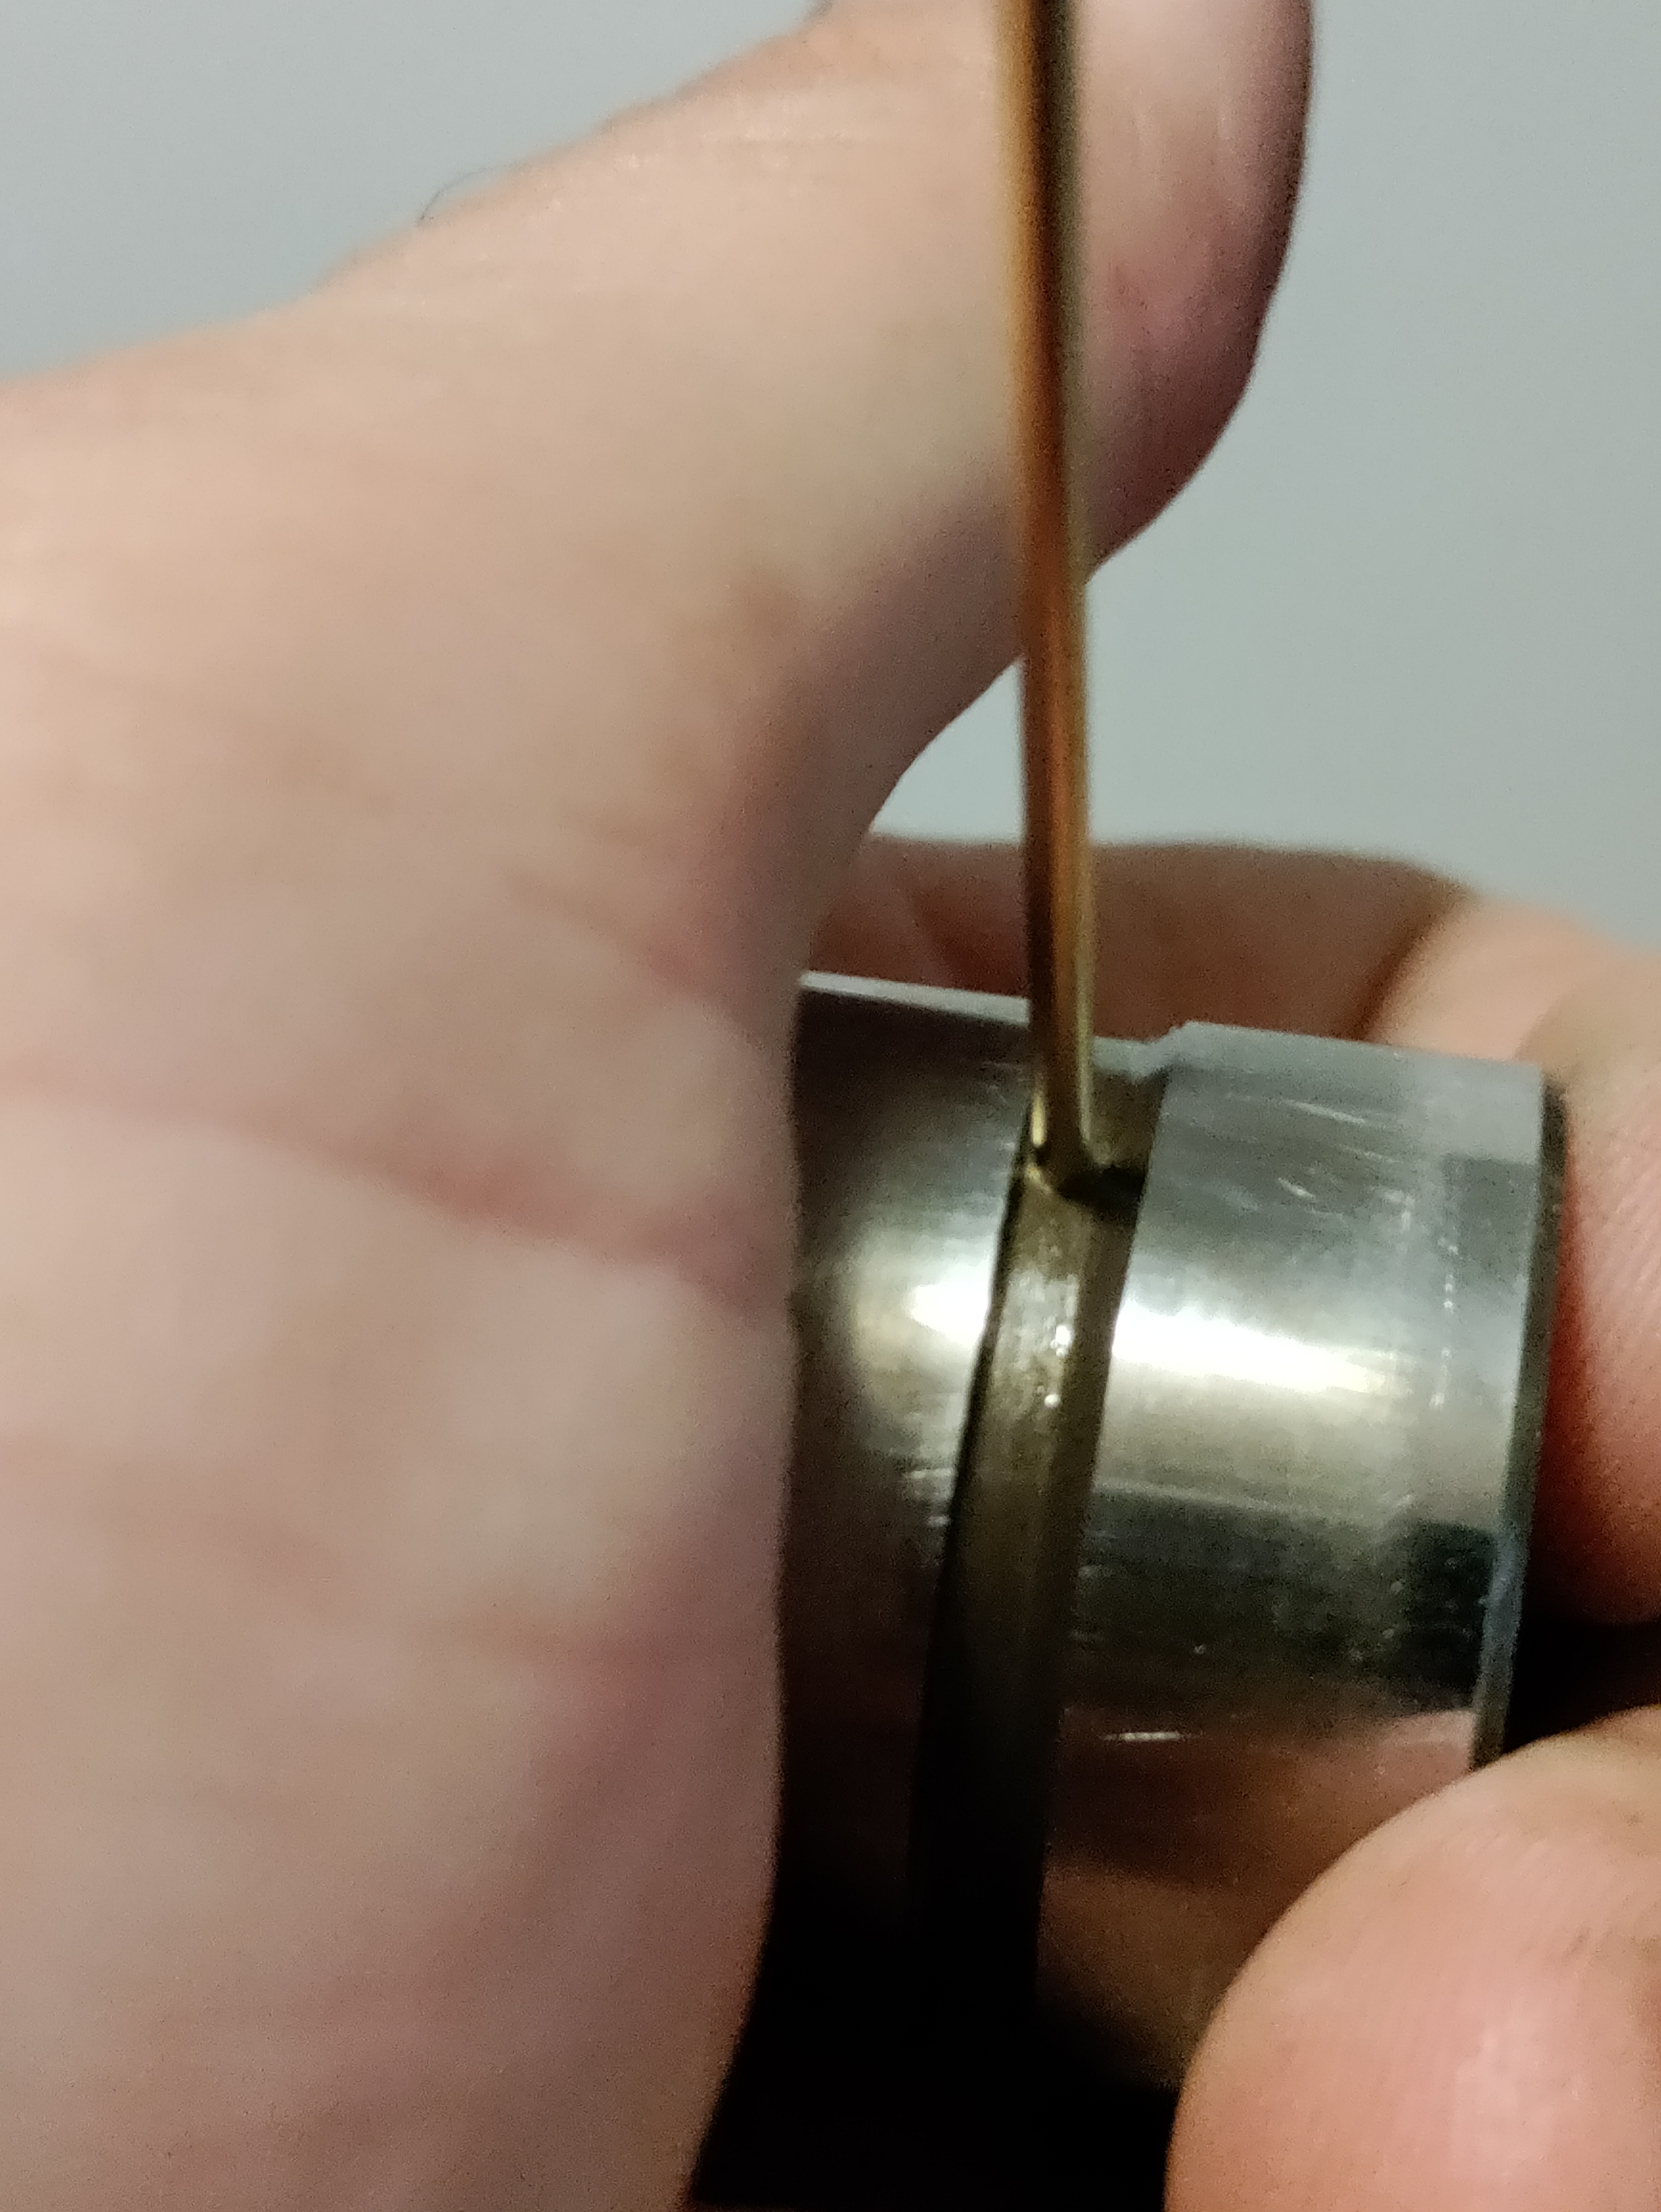
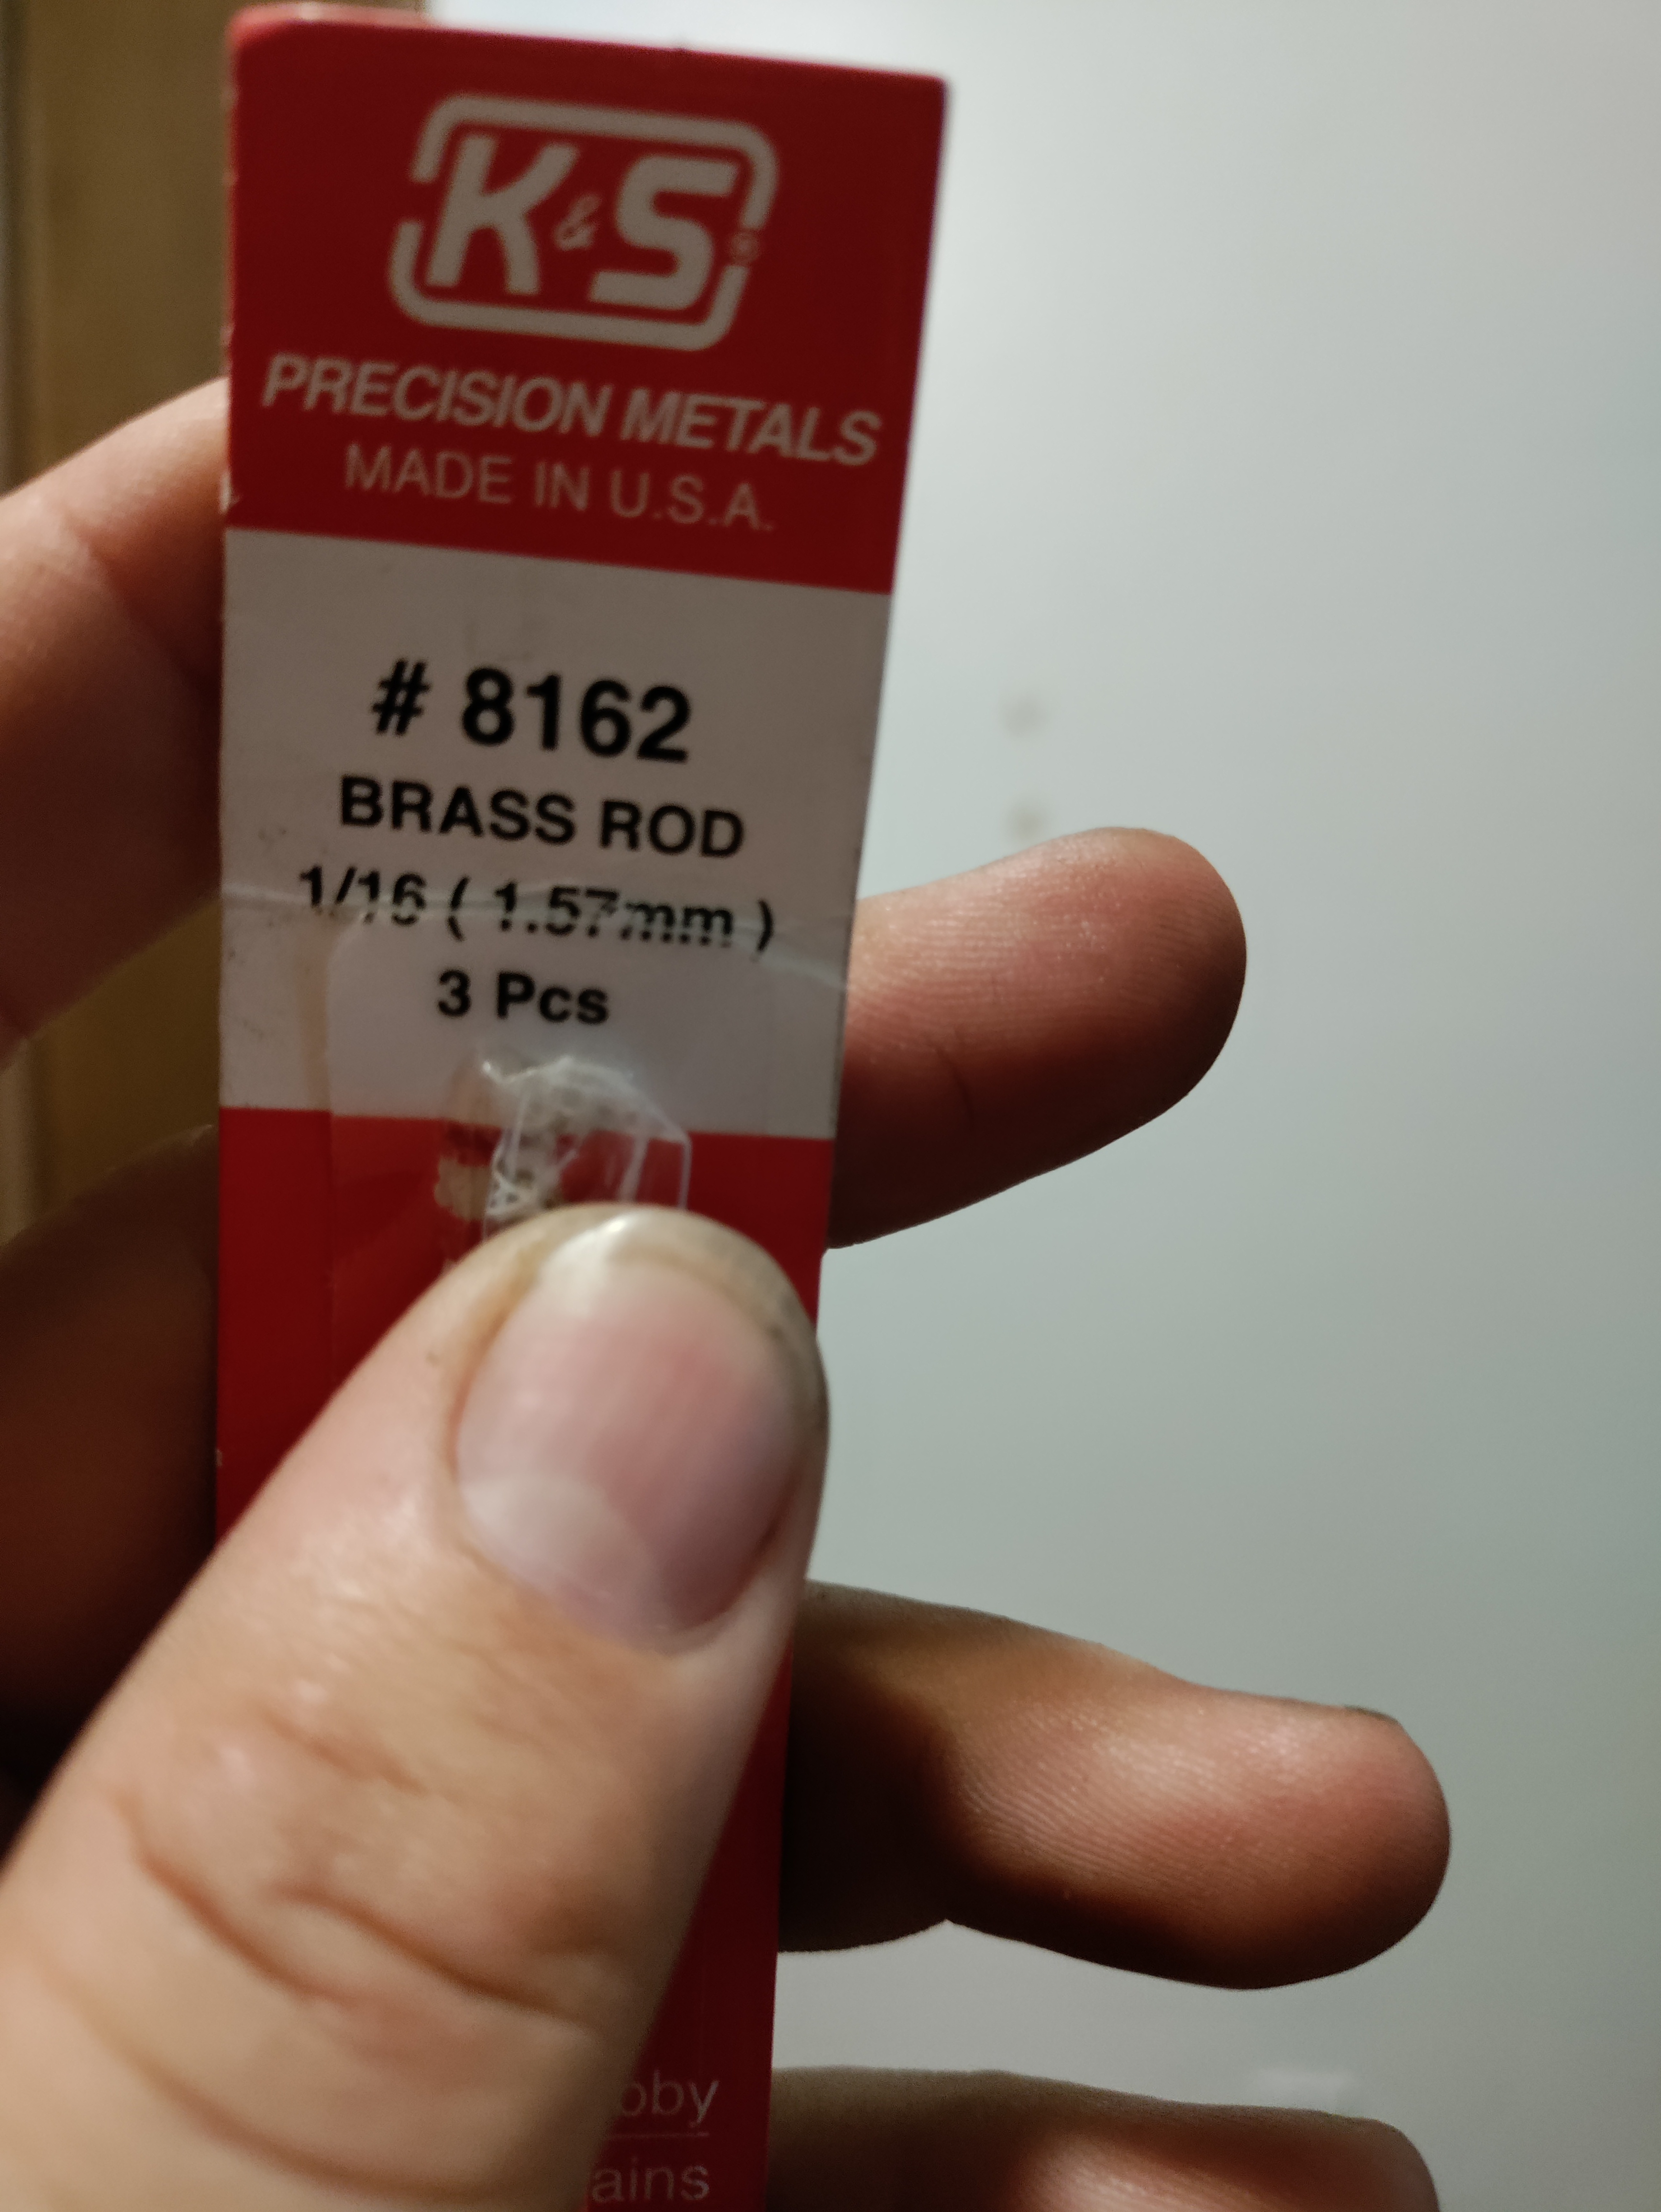
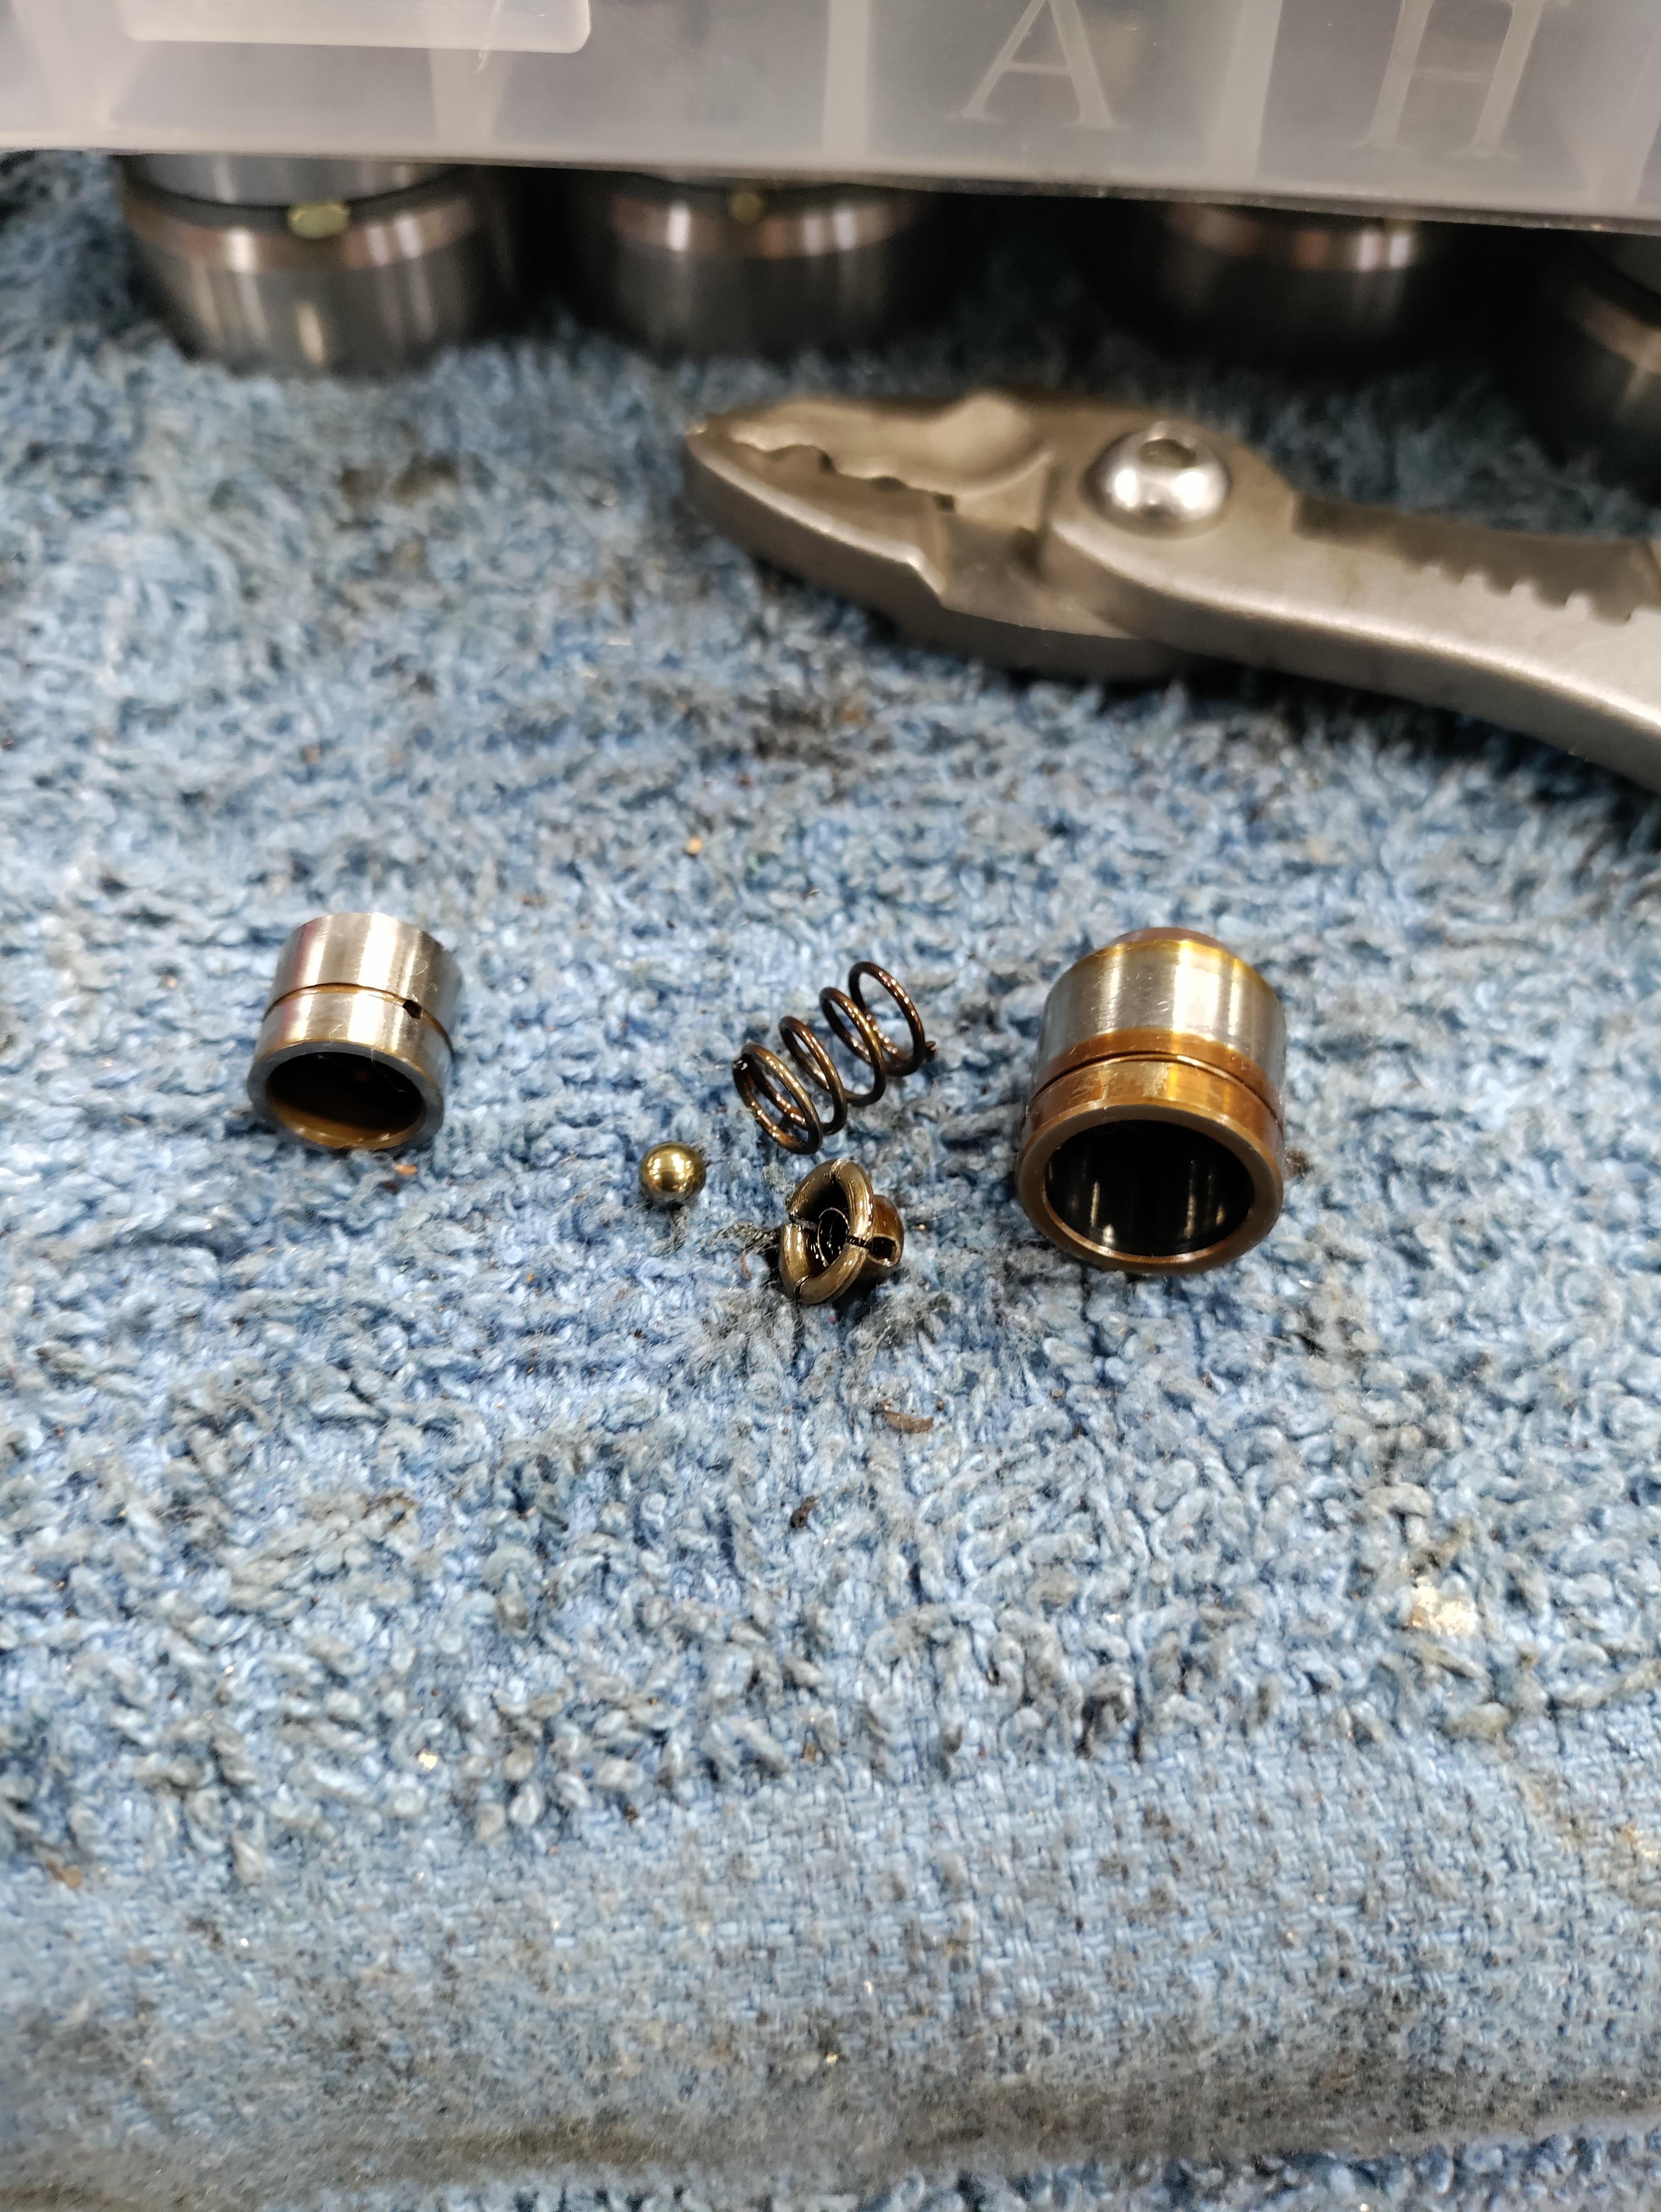
using 1/16" brass rod to plug the oil holes
long time with no update. ive been having a hell of a time with imgur not working so i have no way to post pictures.
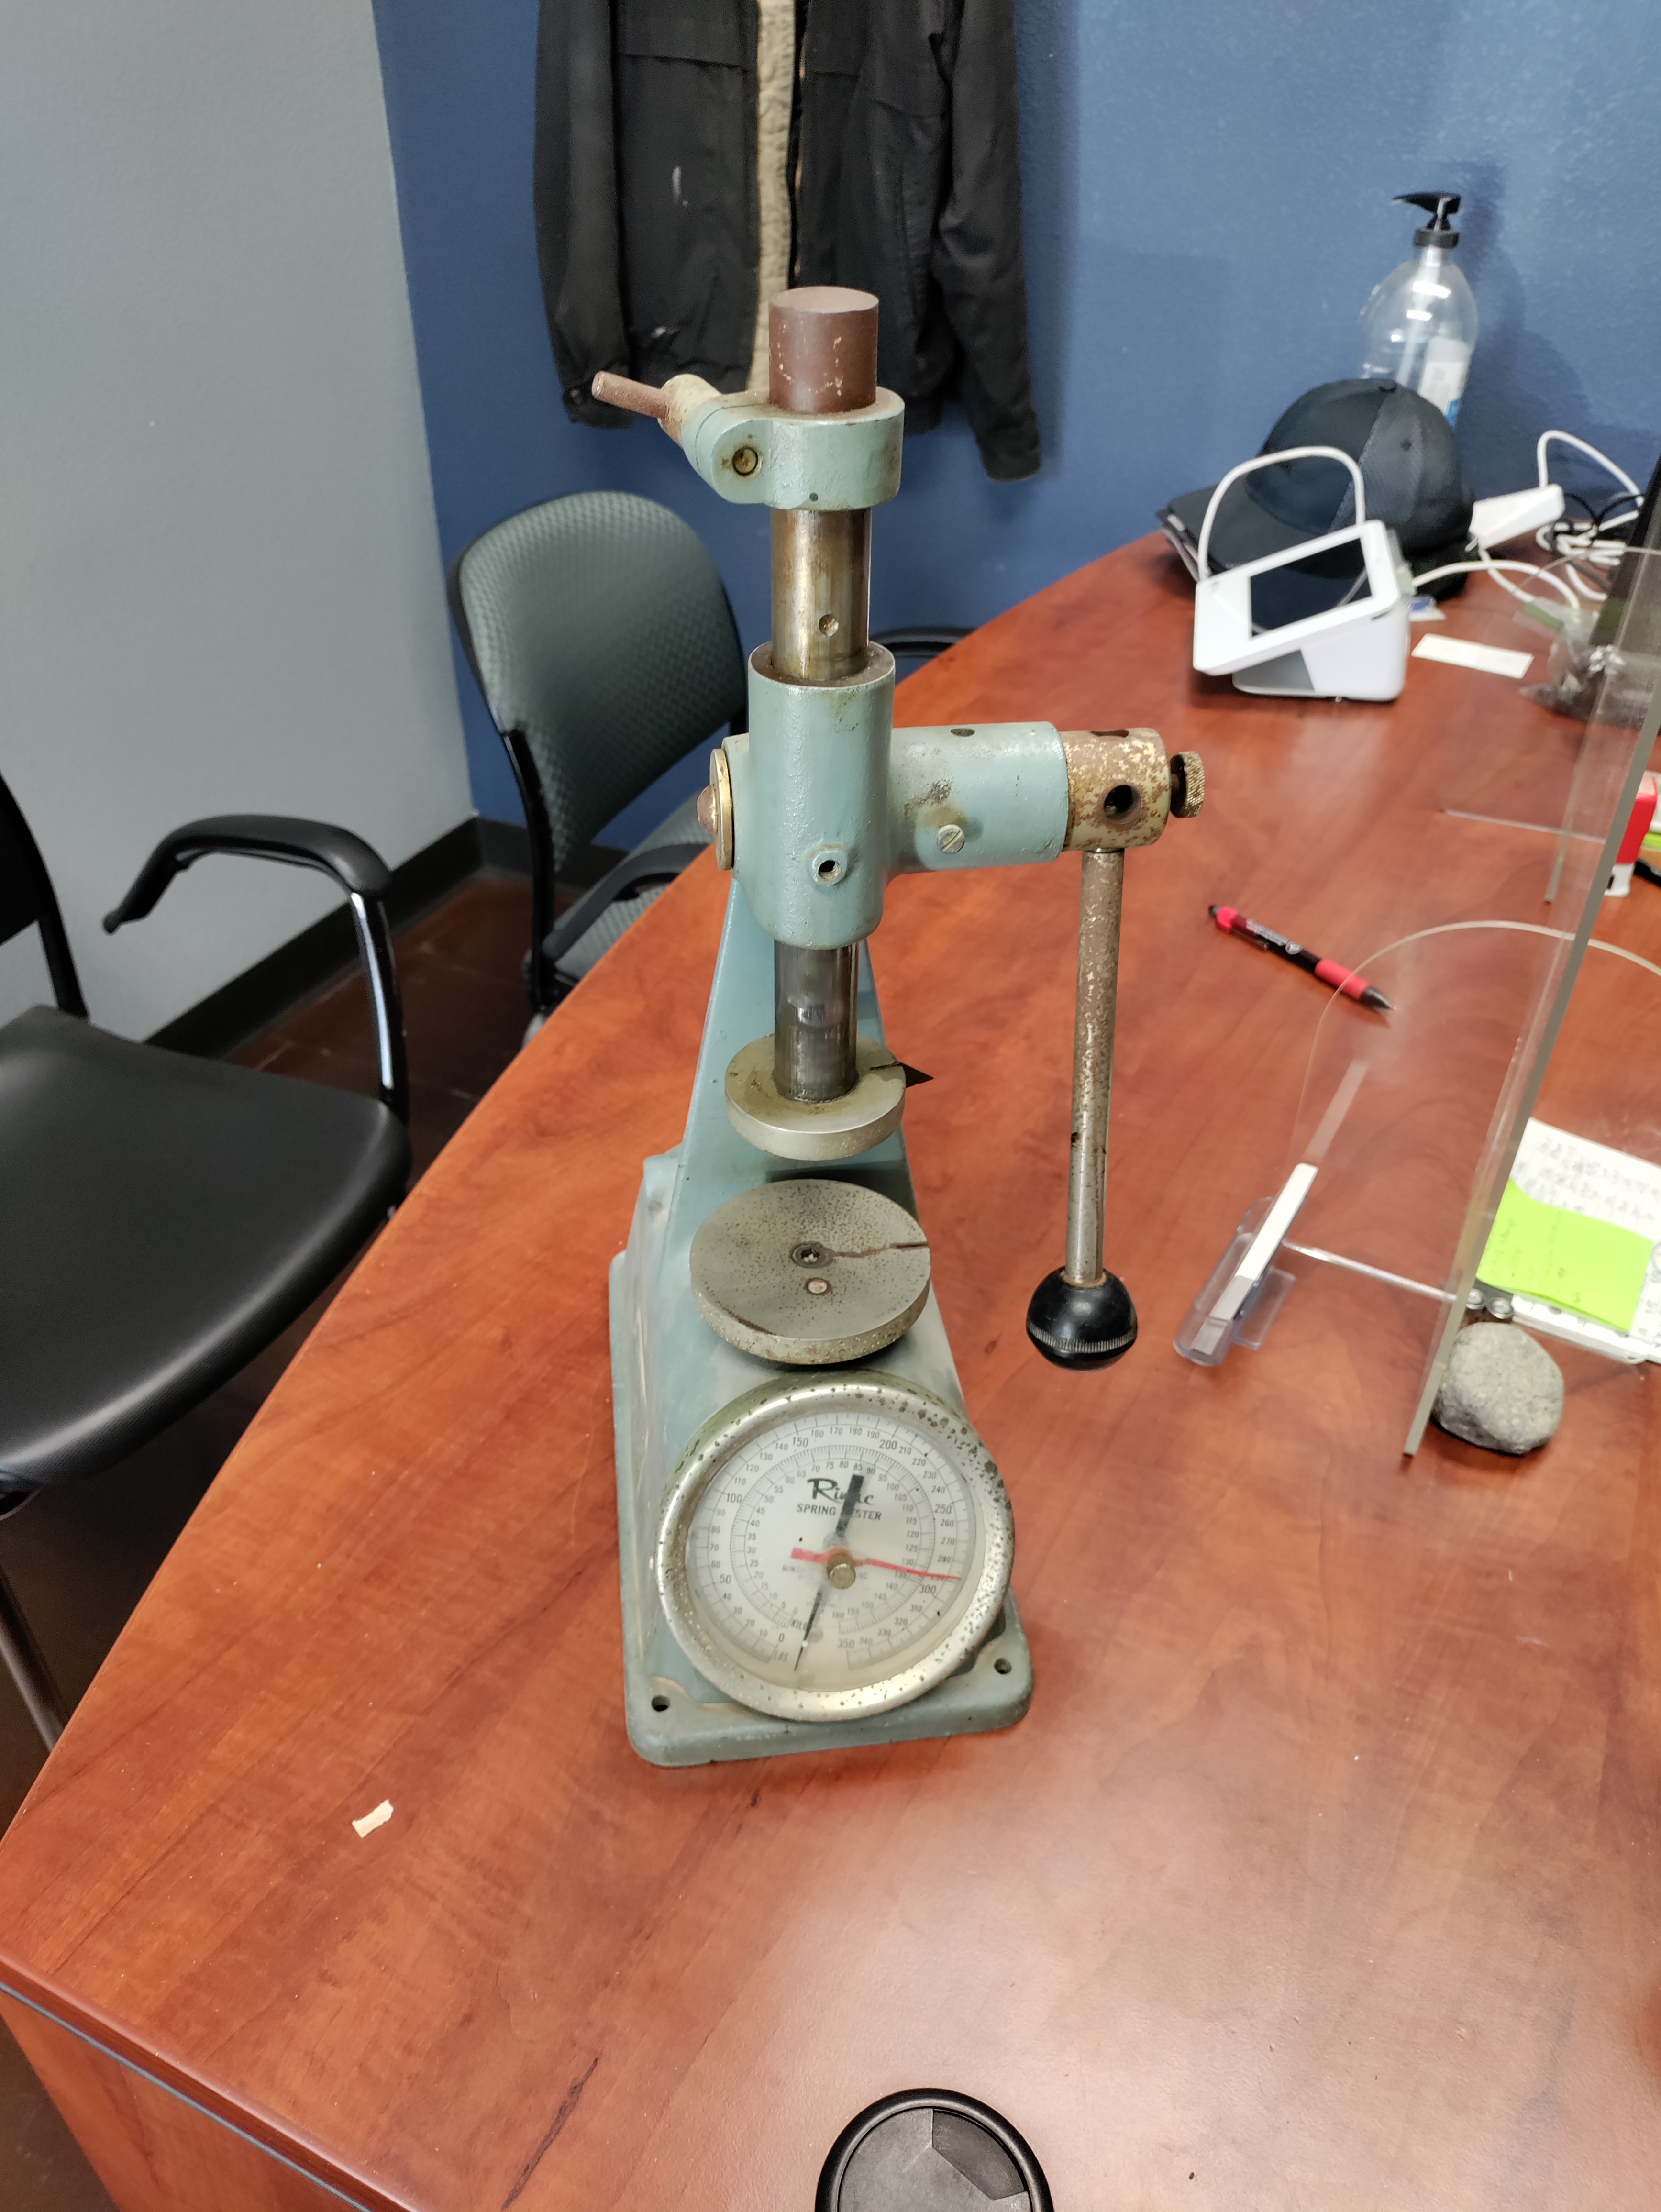
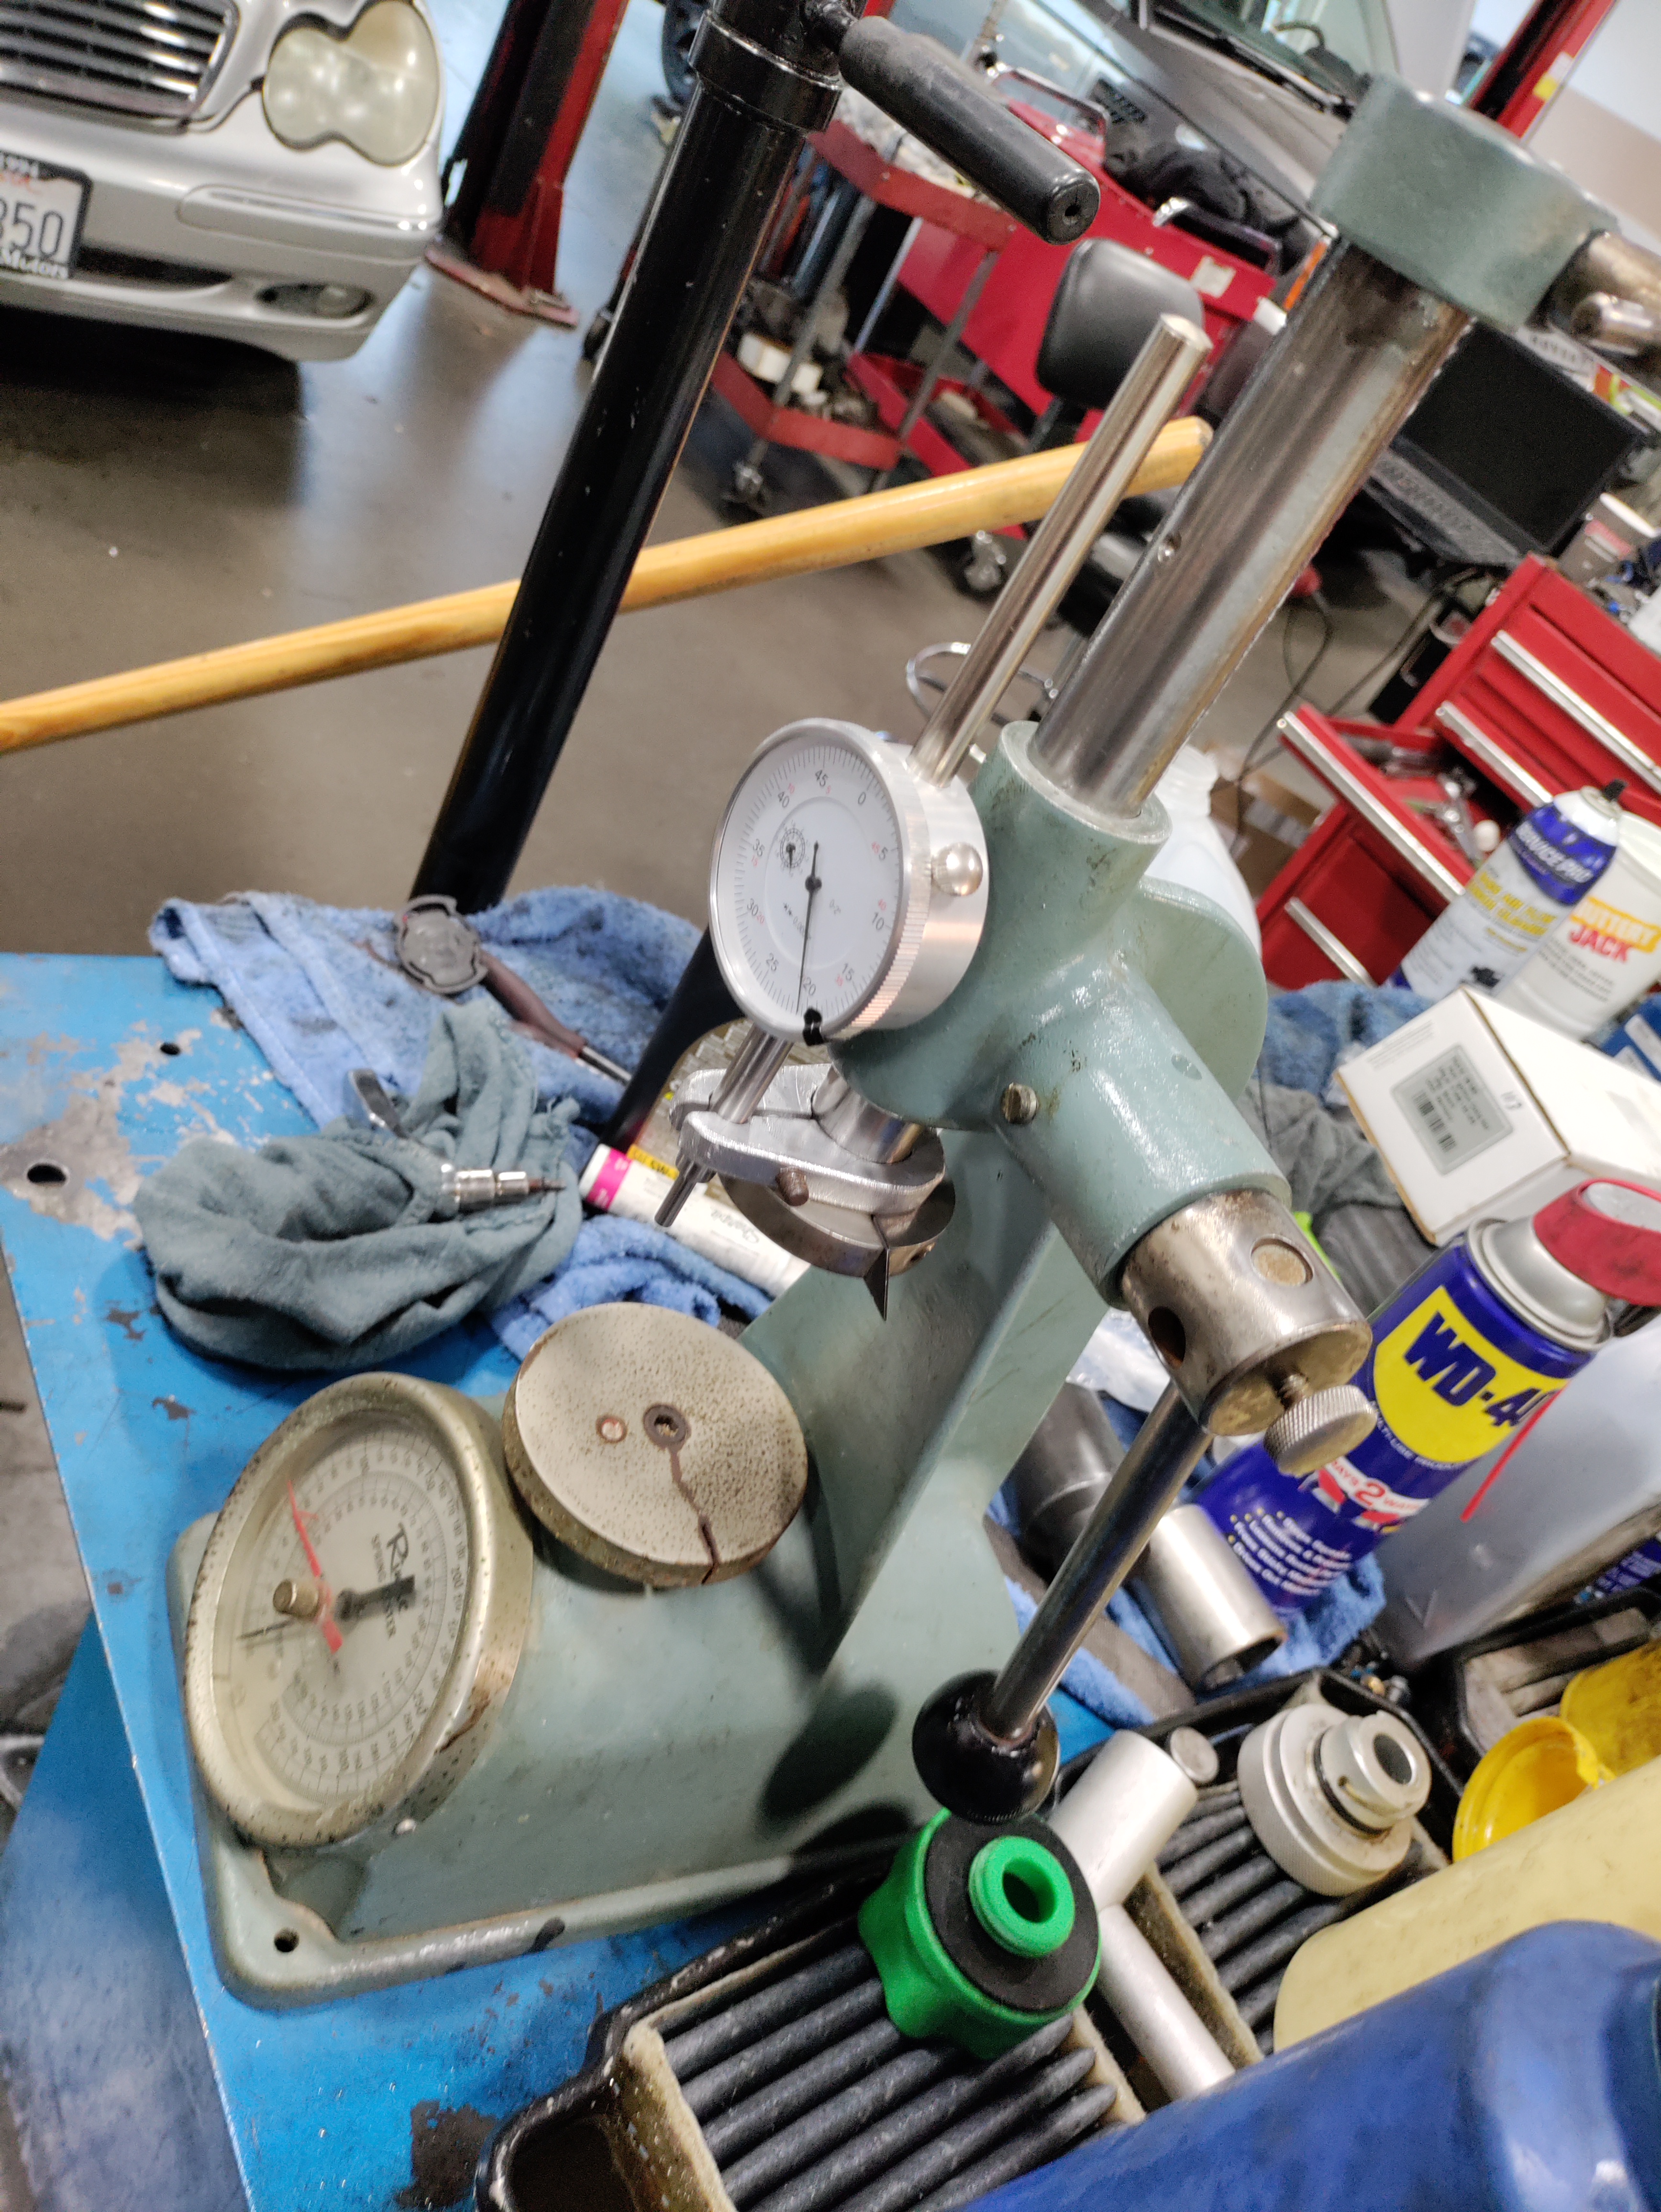
I picked up an old Rimac valve spring tester to build my cylinder head properly. it needed a little work to get going. when all said and done its within .5lb of the test spring at every height
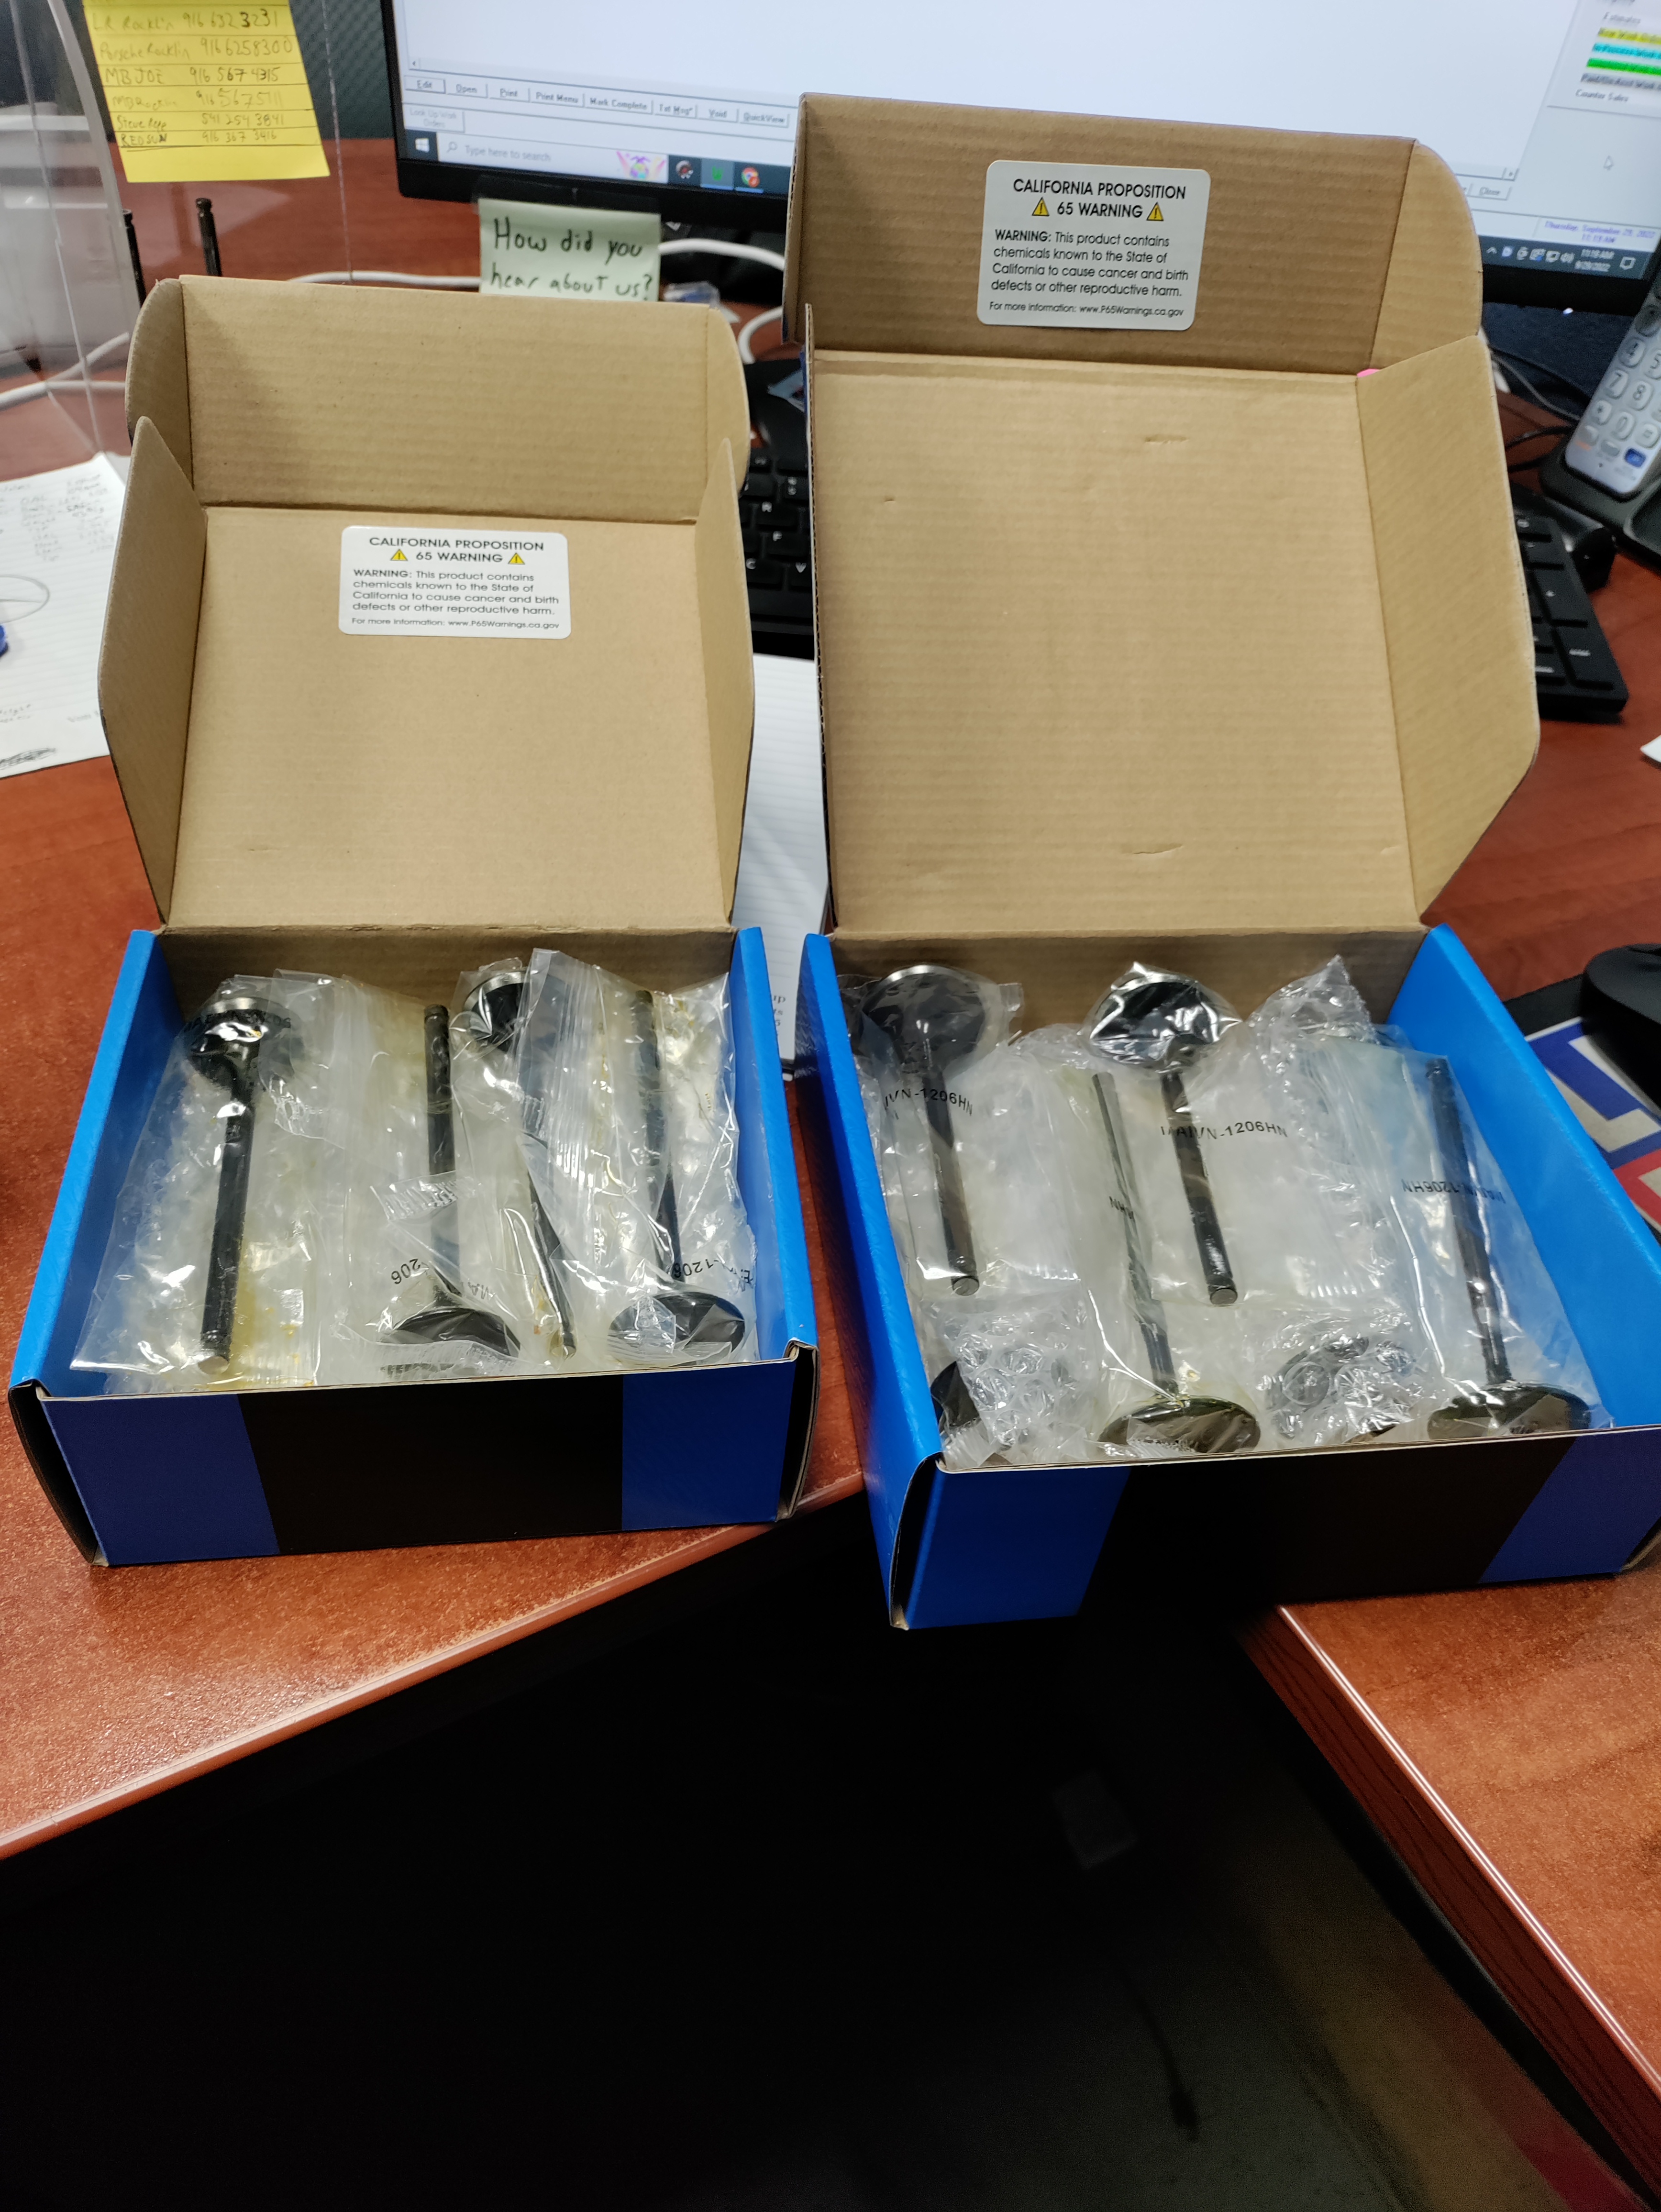
i bought valves, springs, and guides. supertech had a mix up and sent me stainless valves instead of the inconel ones i ordered so im waiting on those to come in. the valve seats are ovalized so i will need to send the head out for machining.
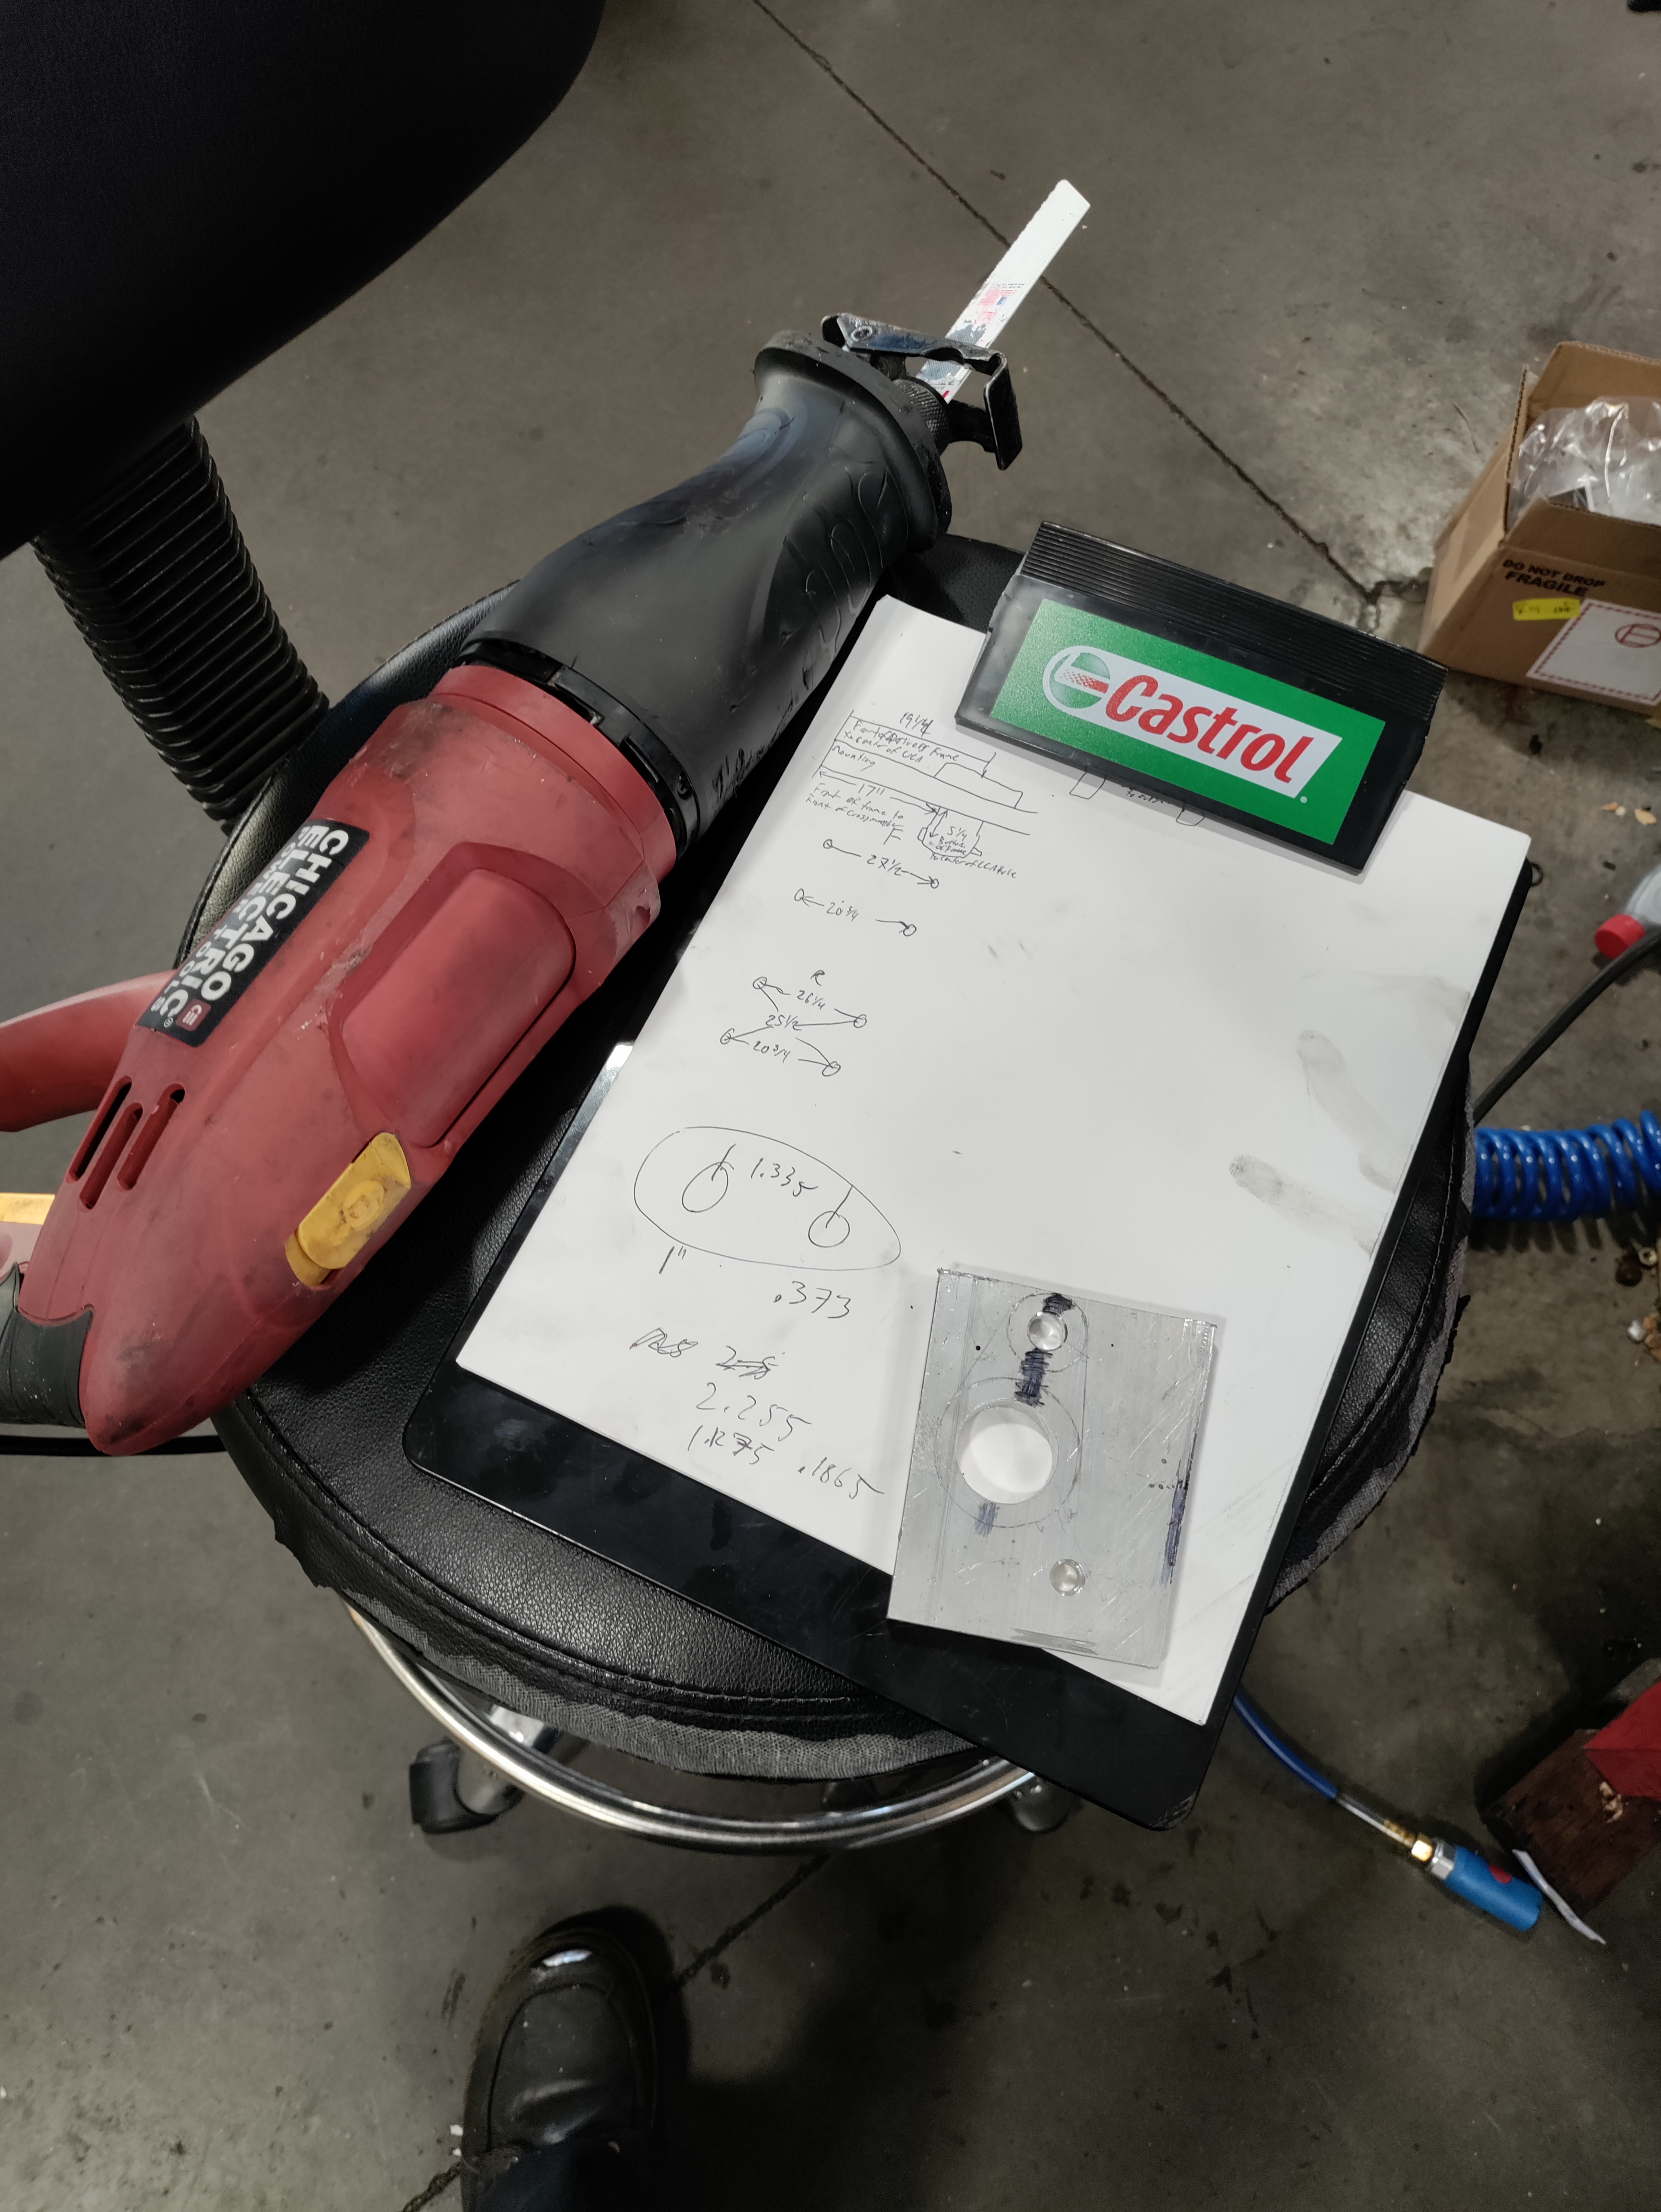
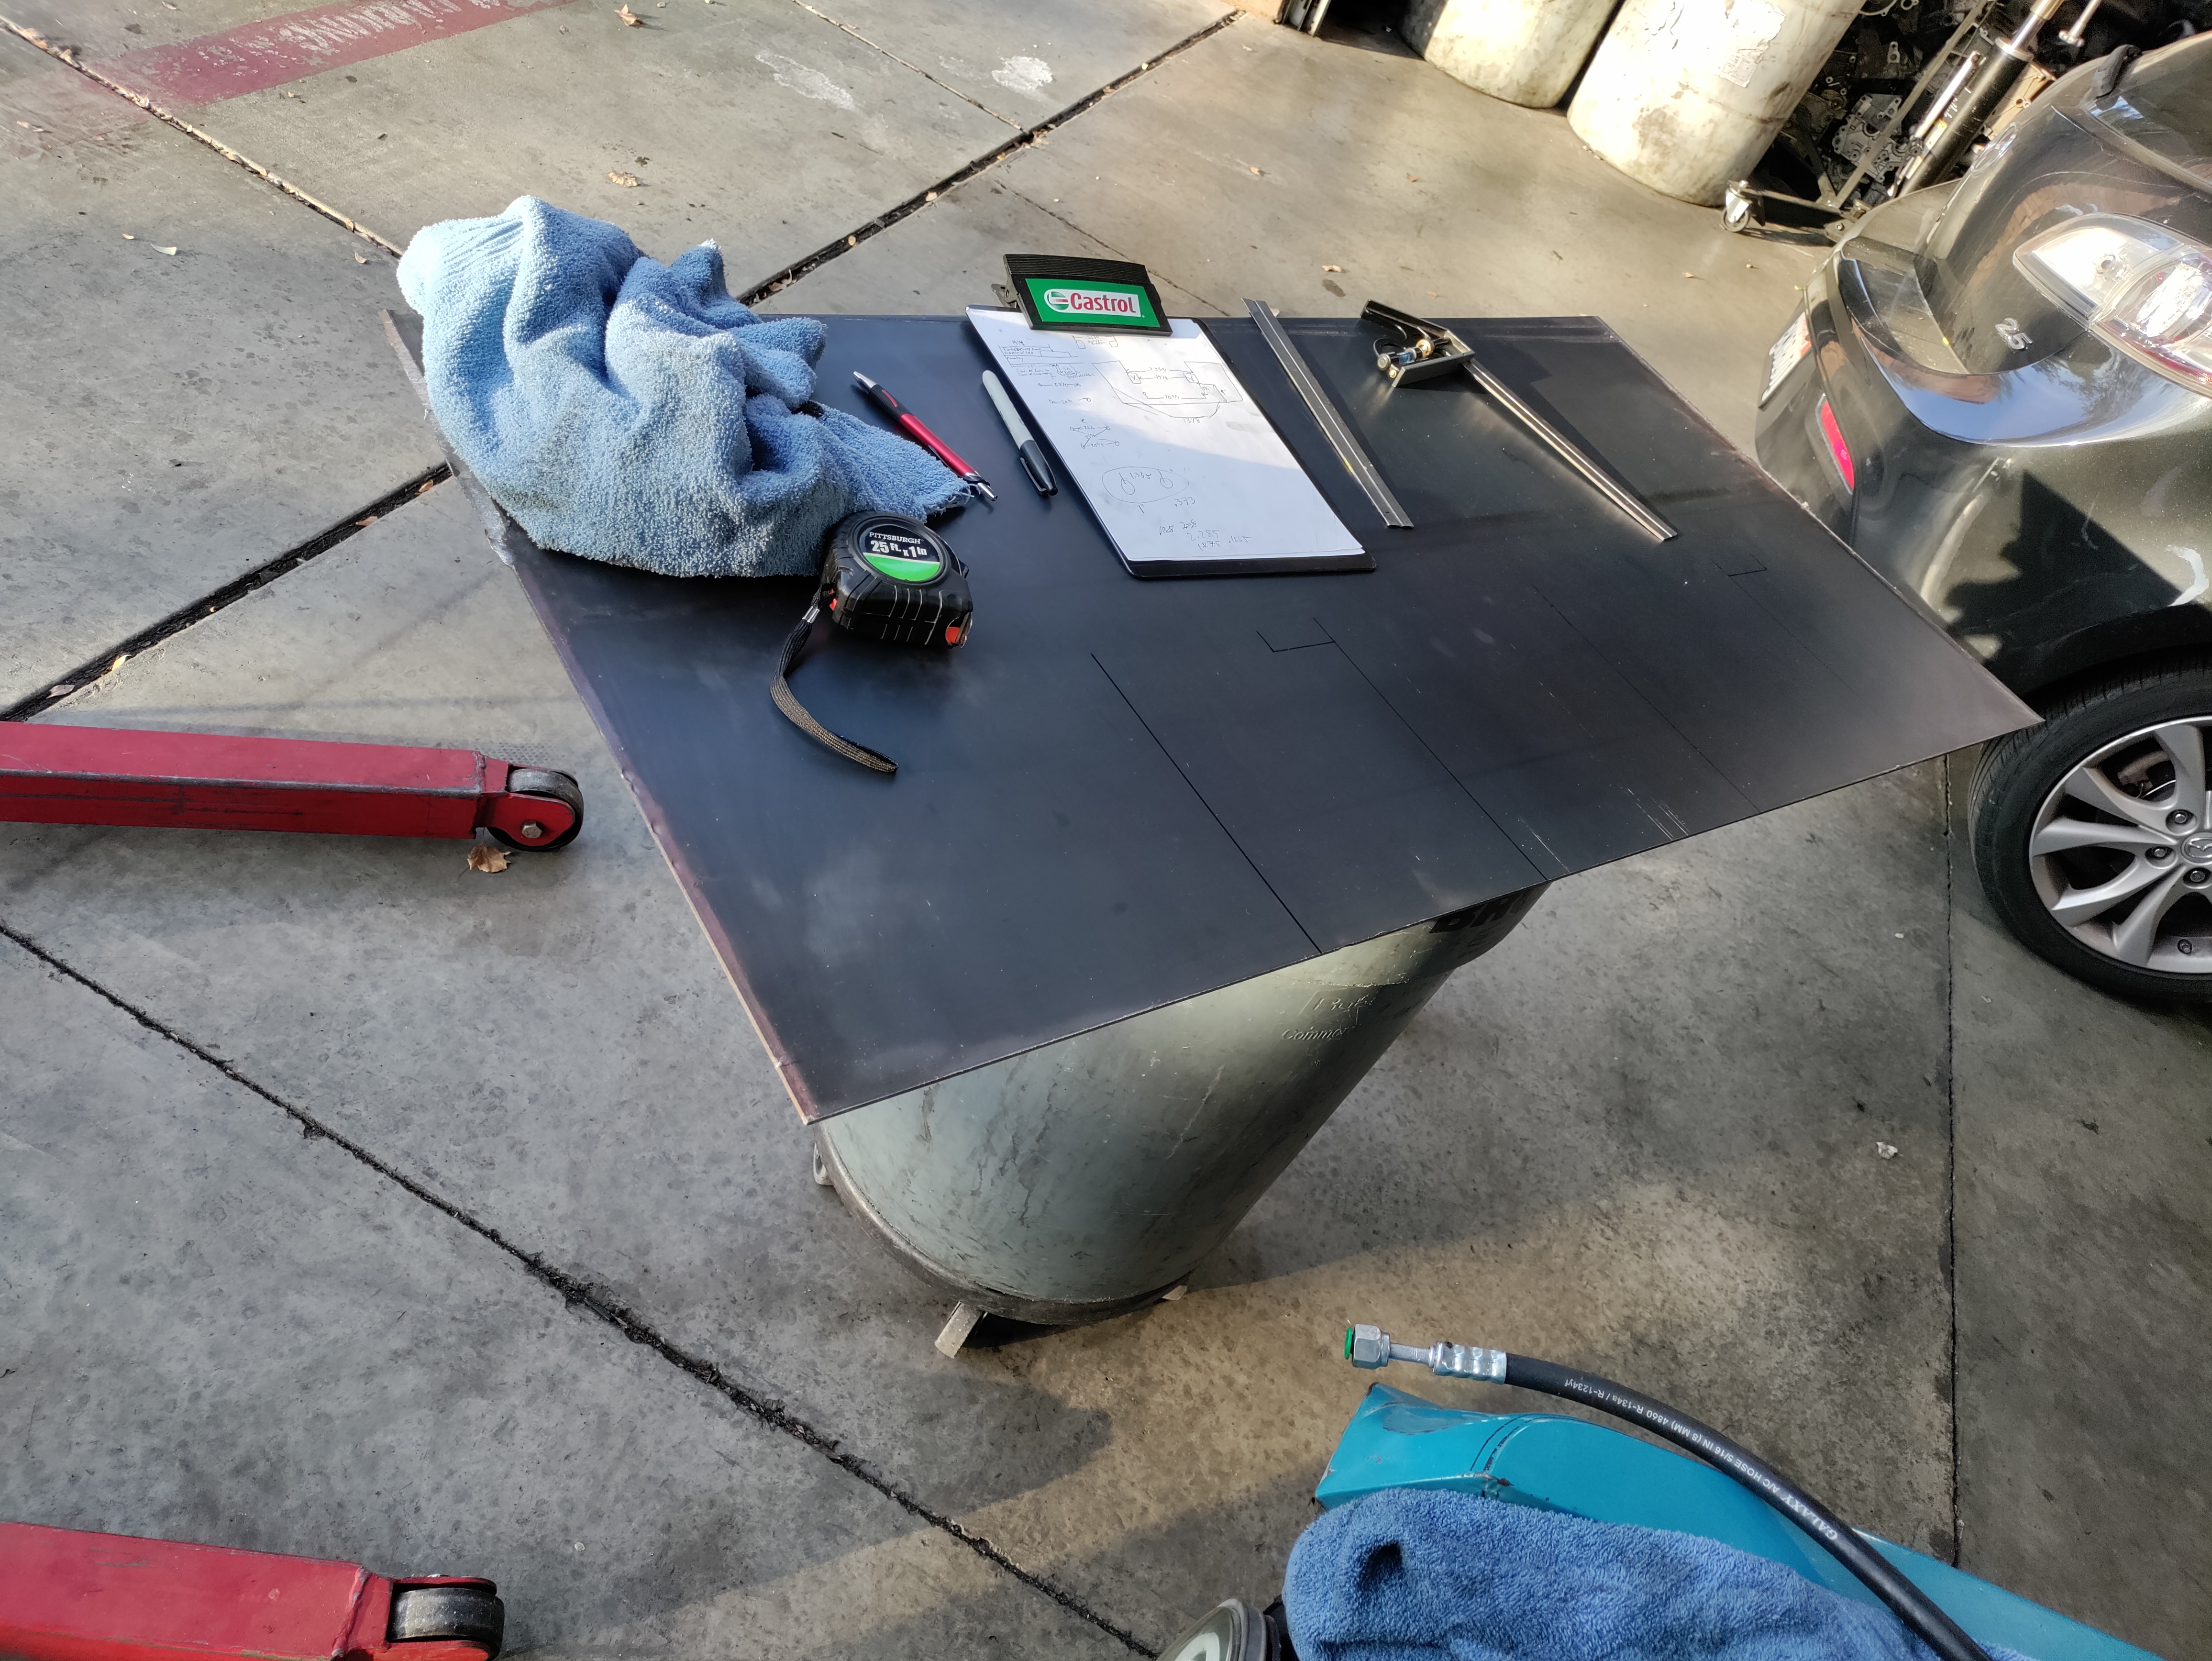
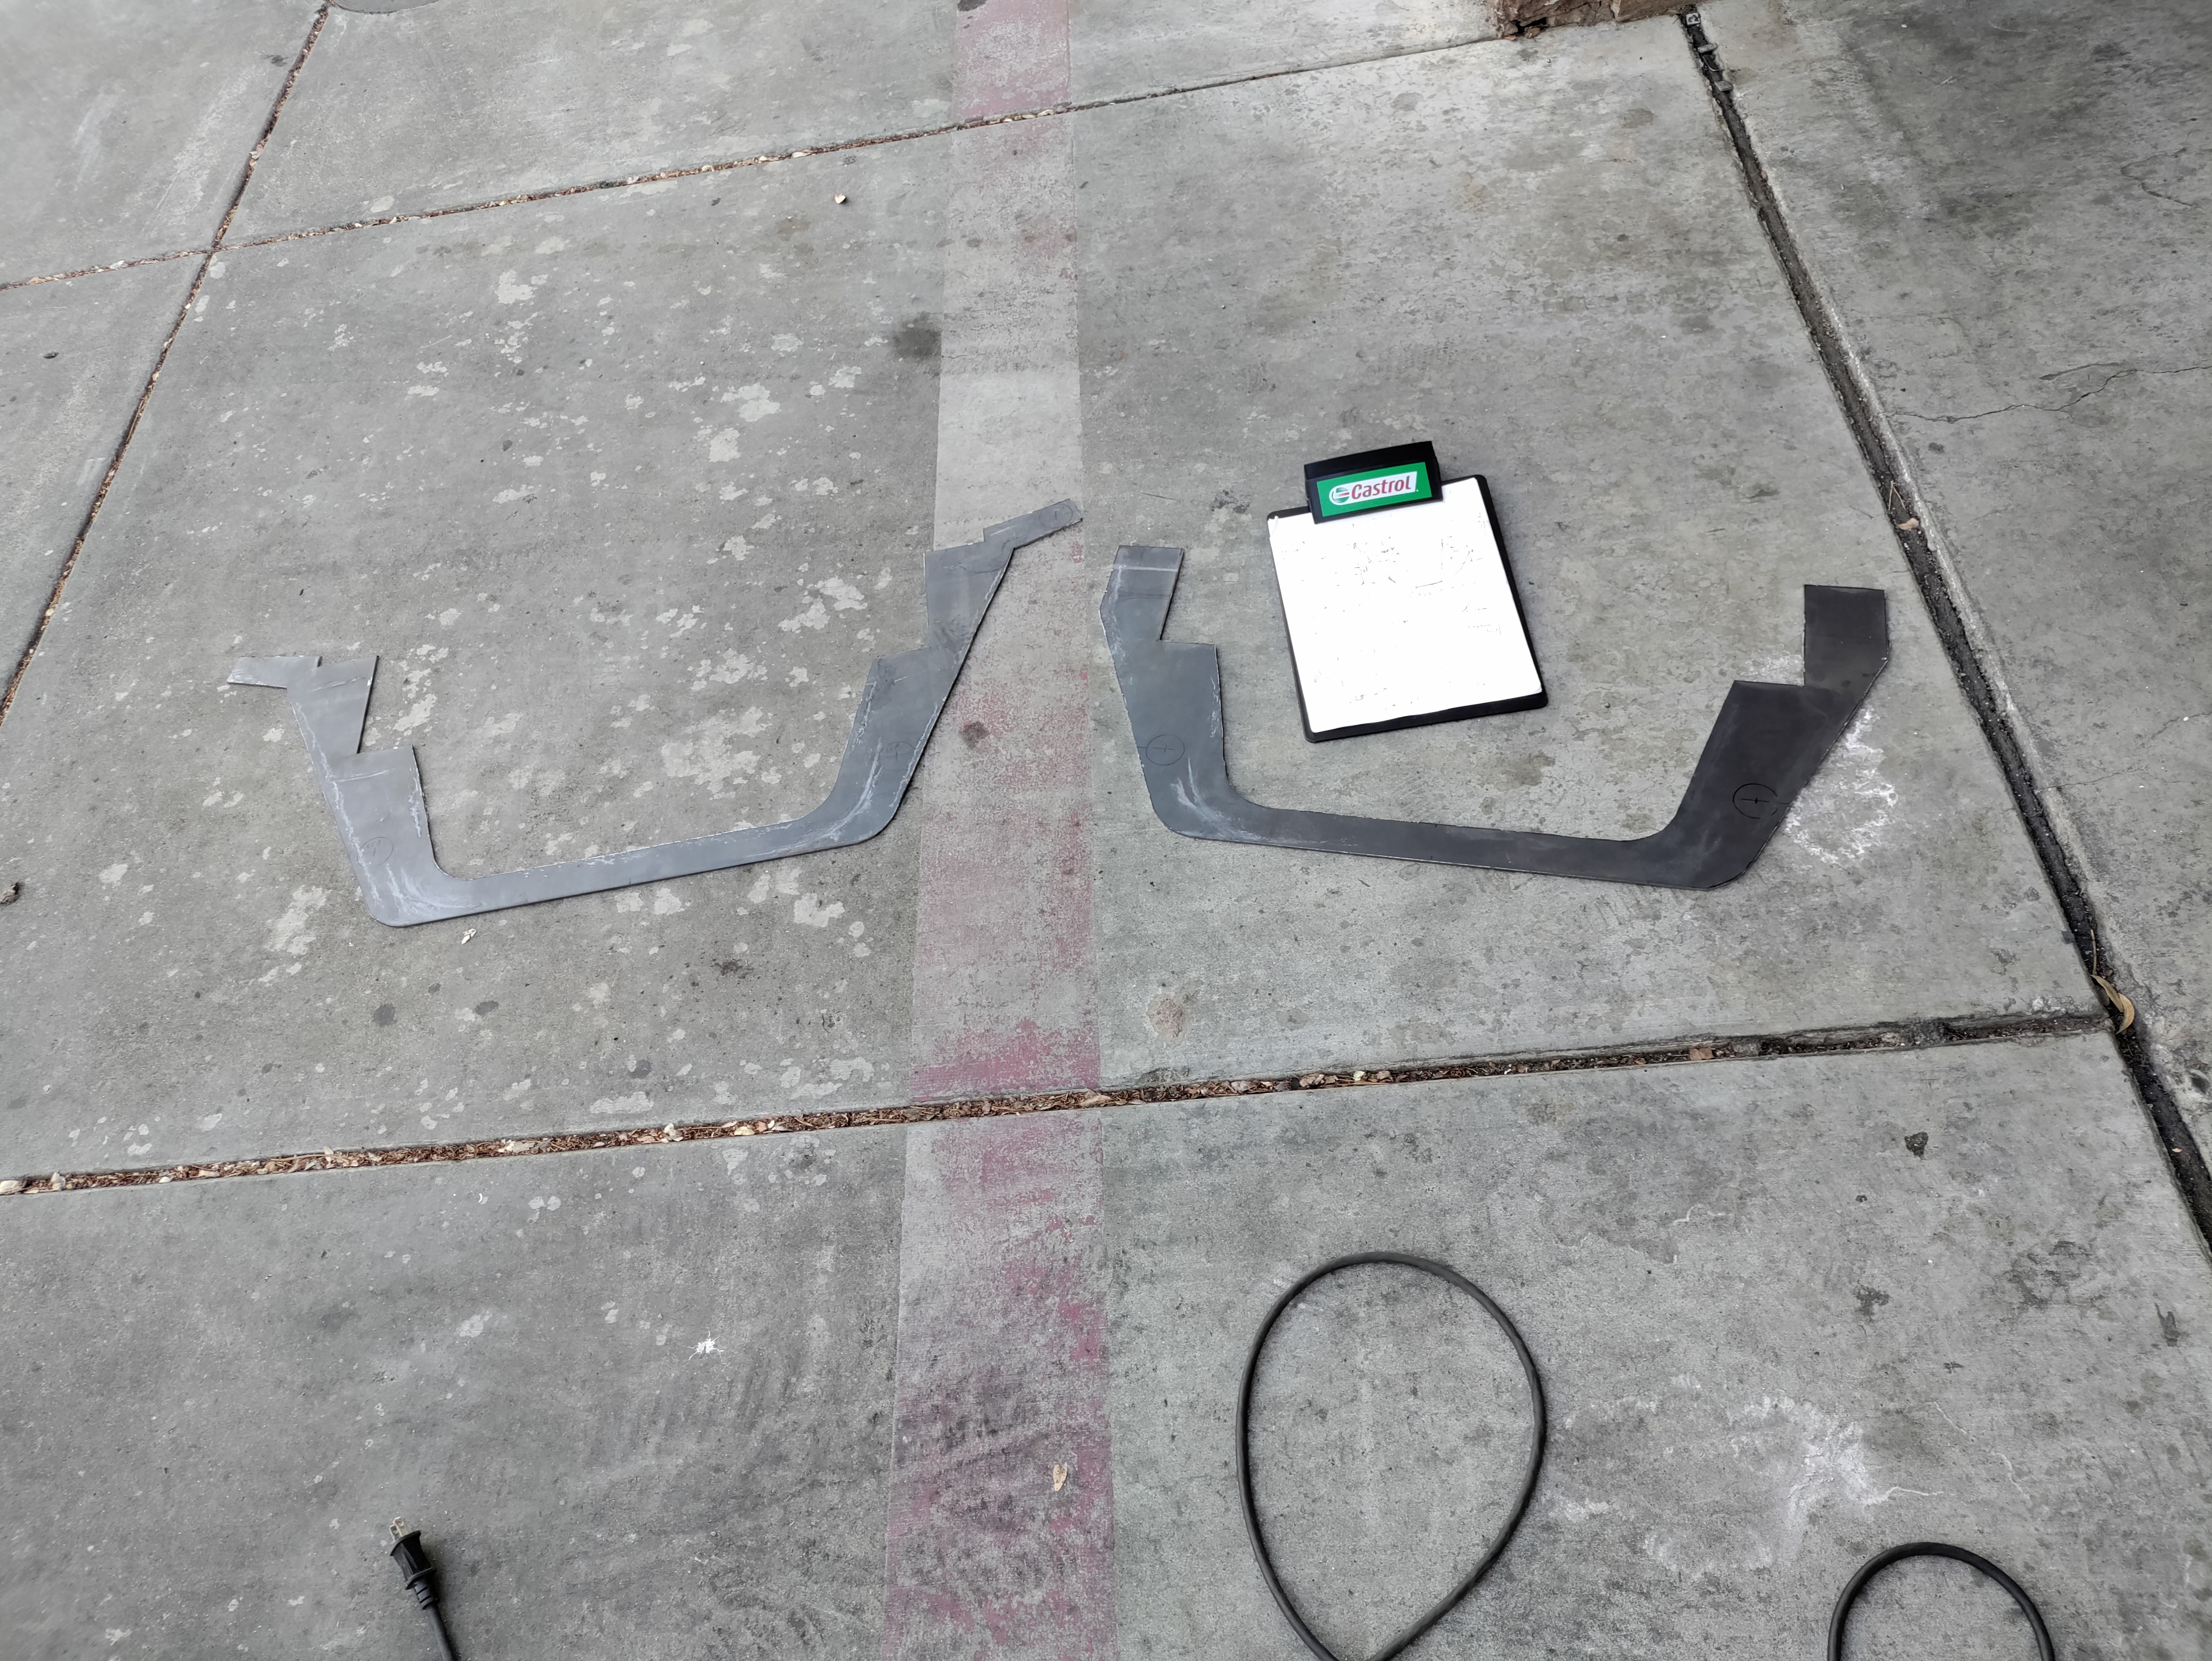
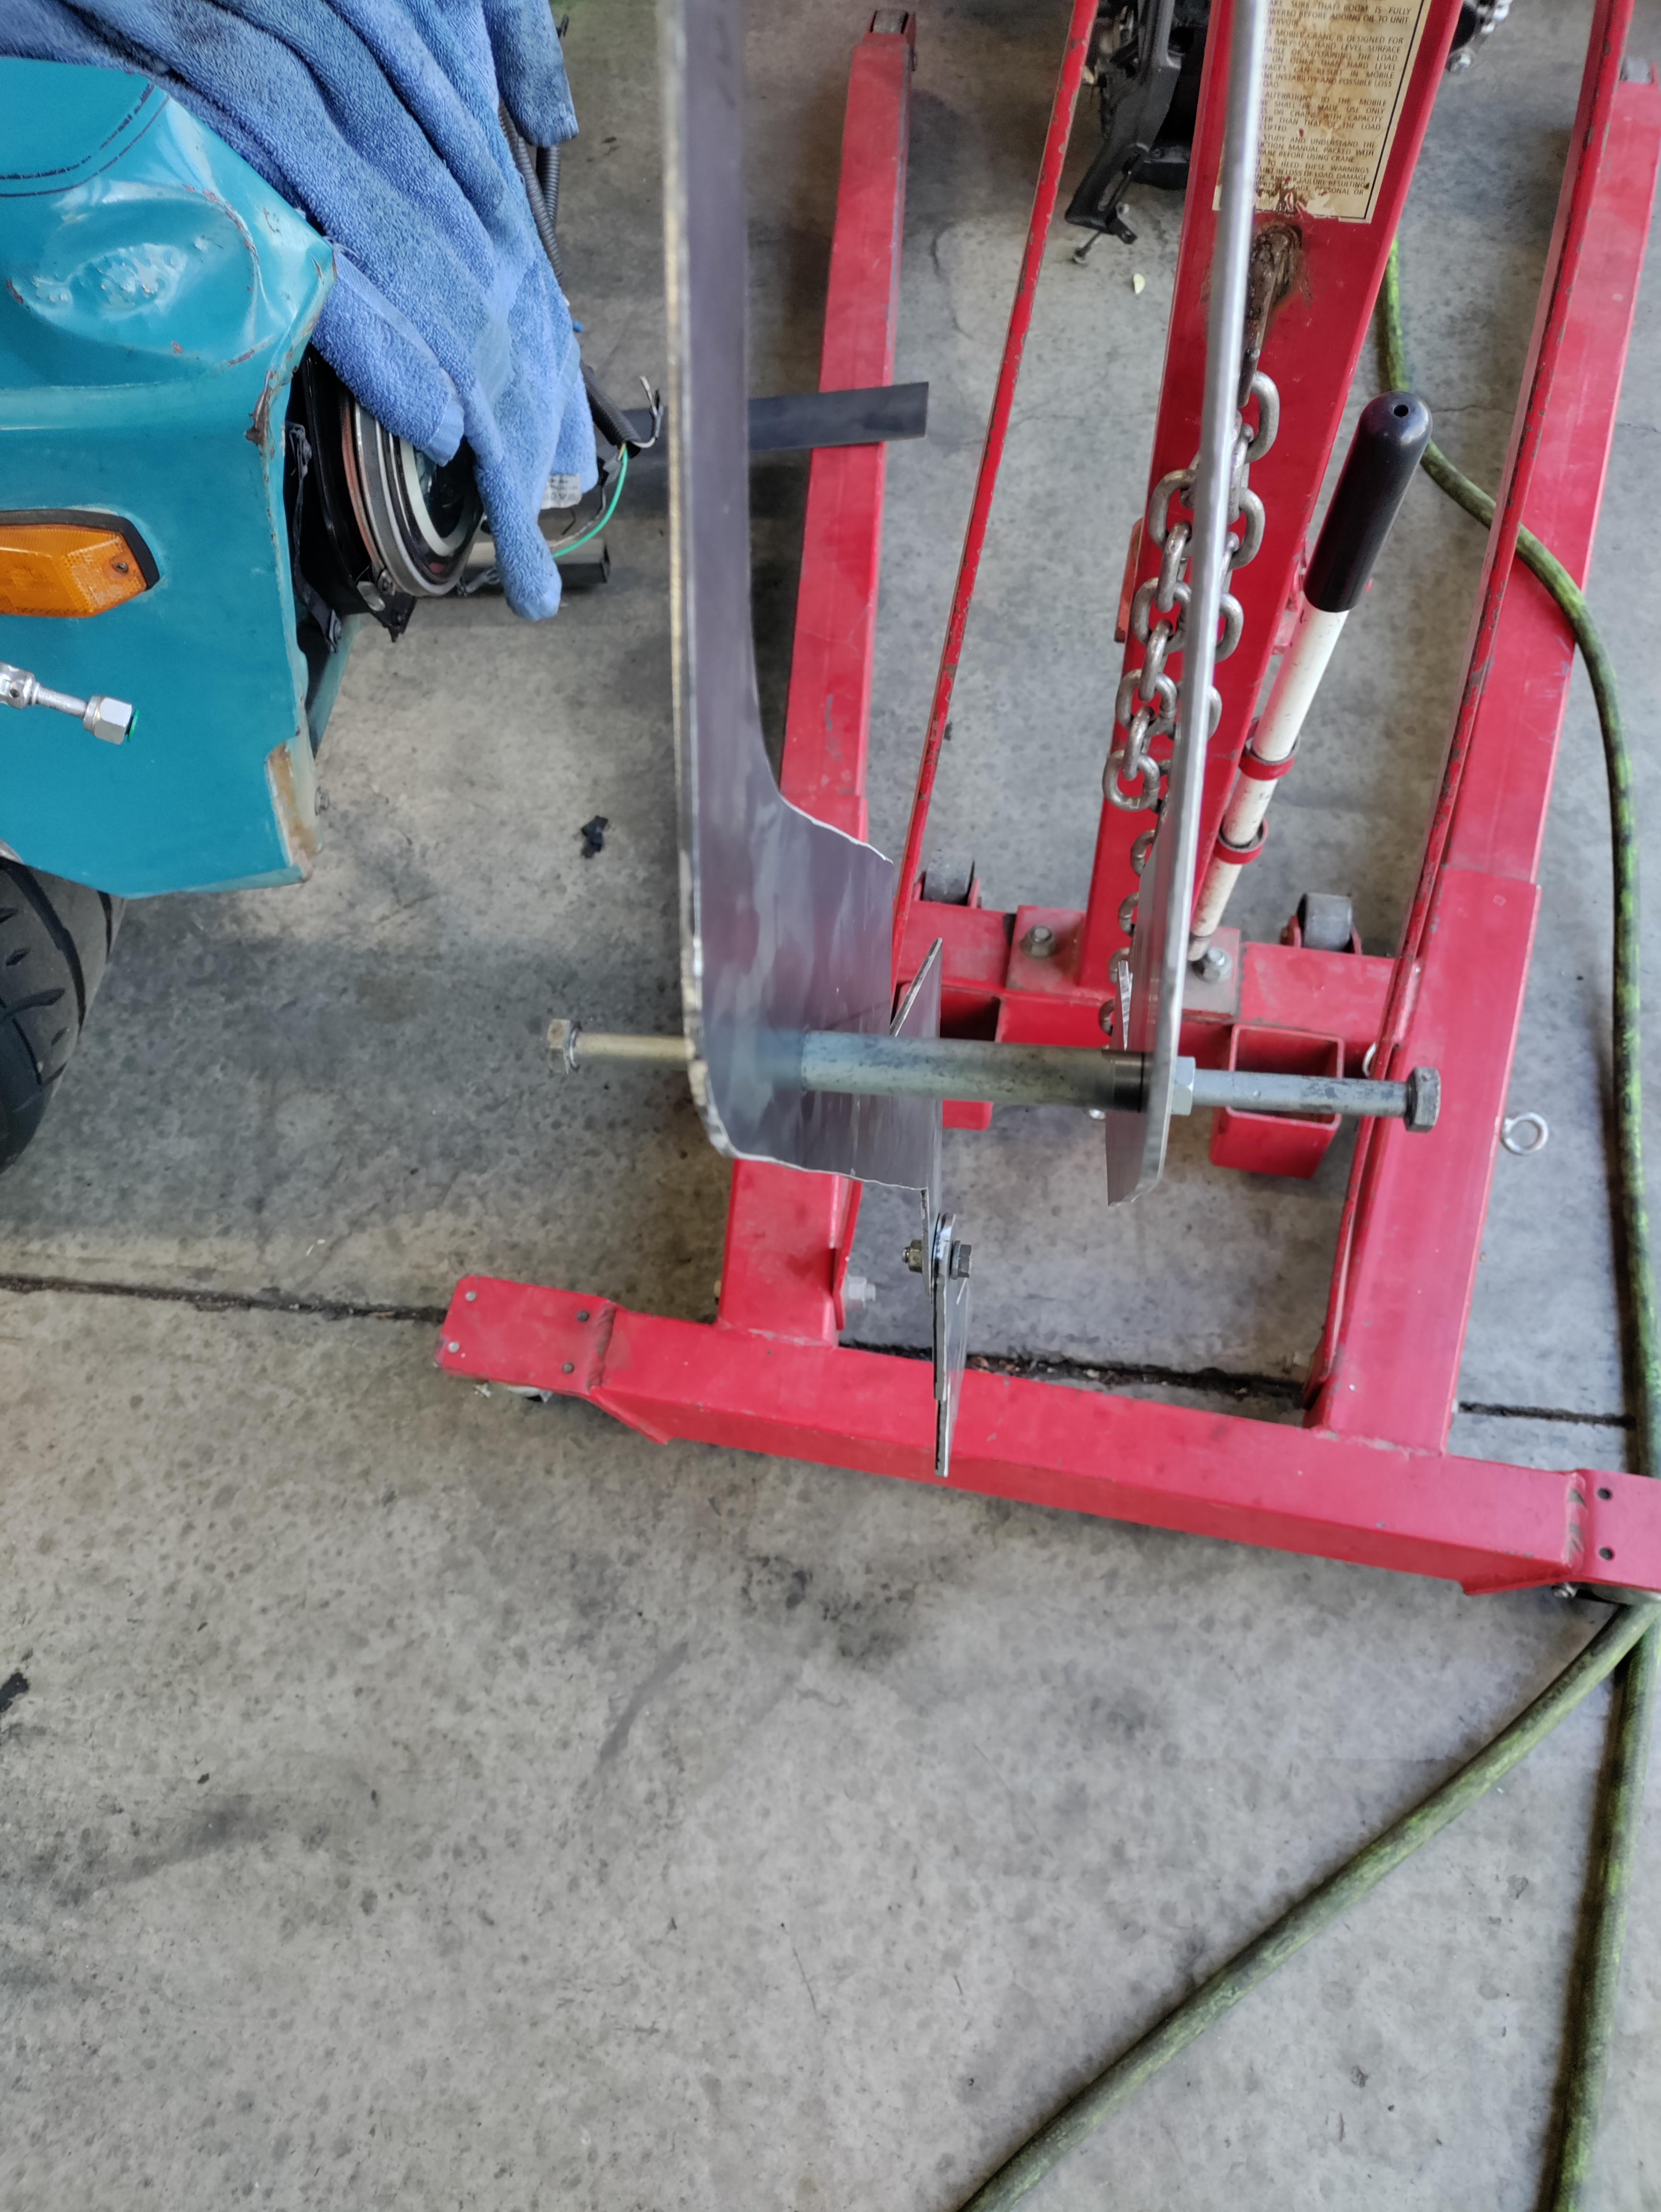
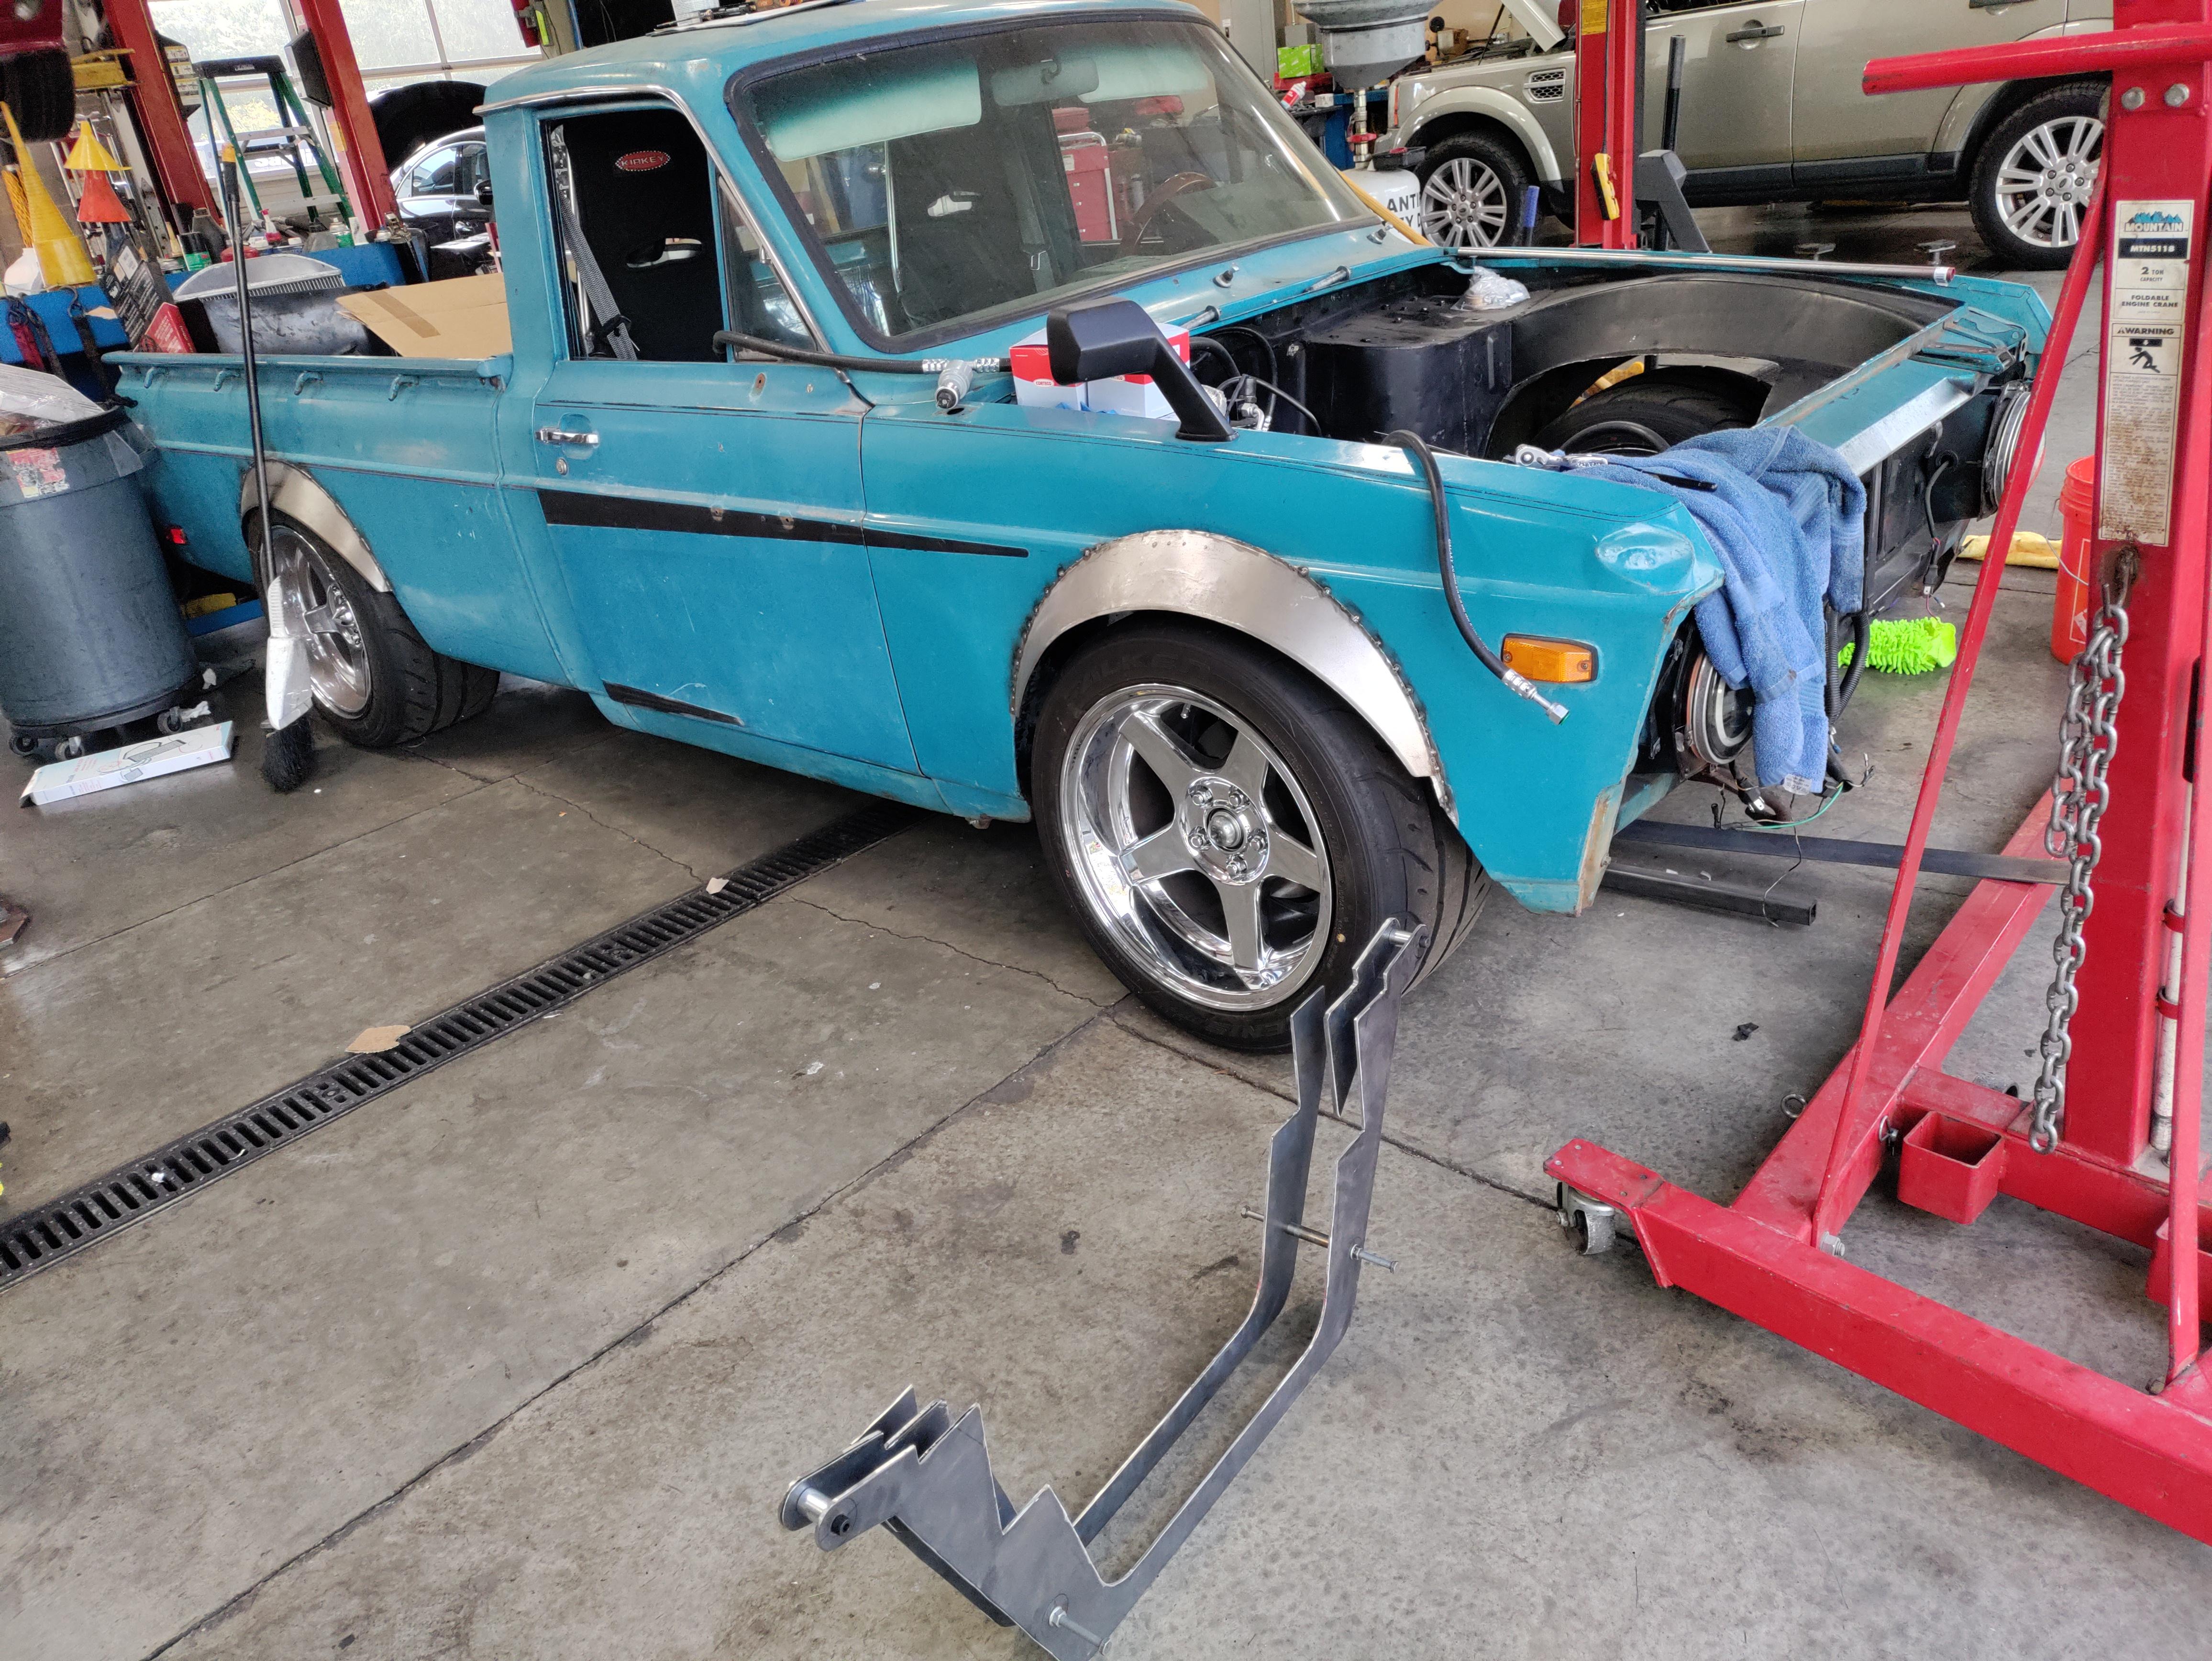
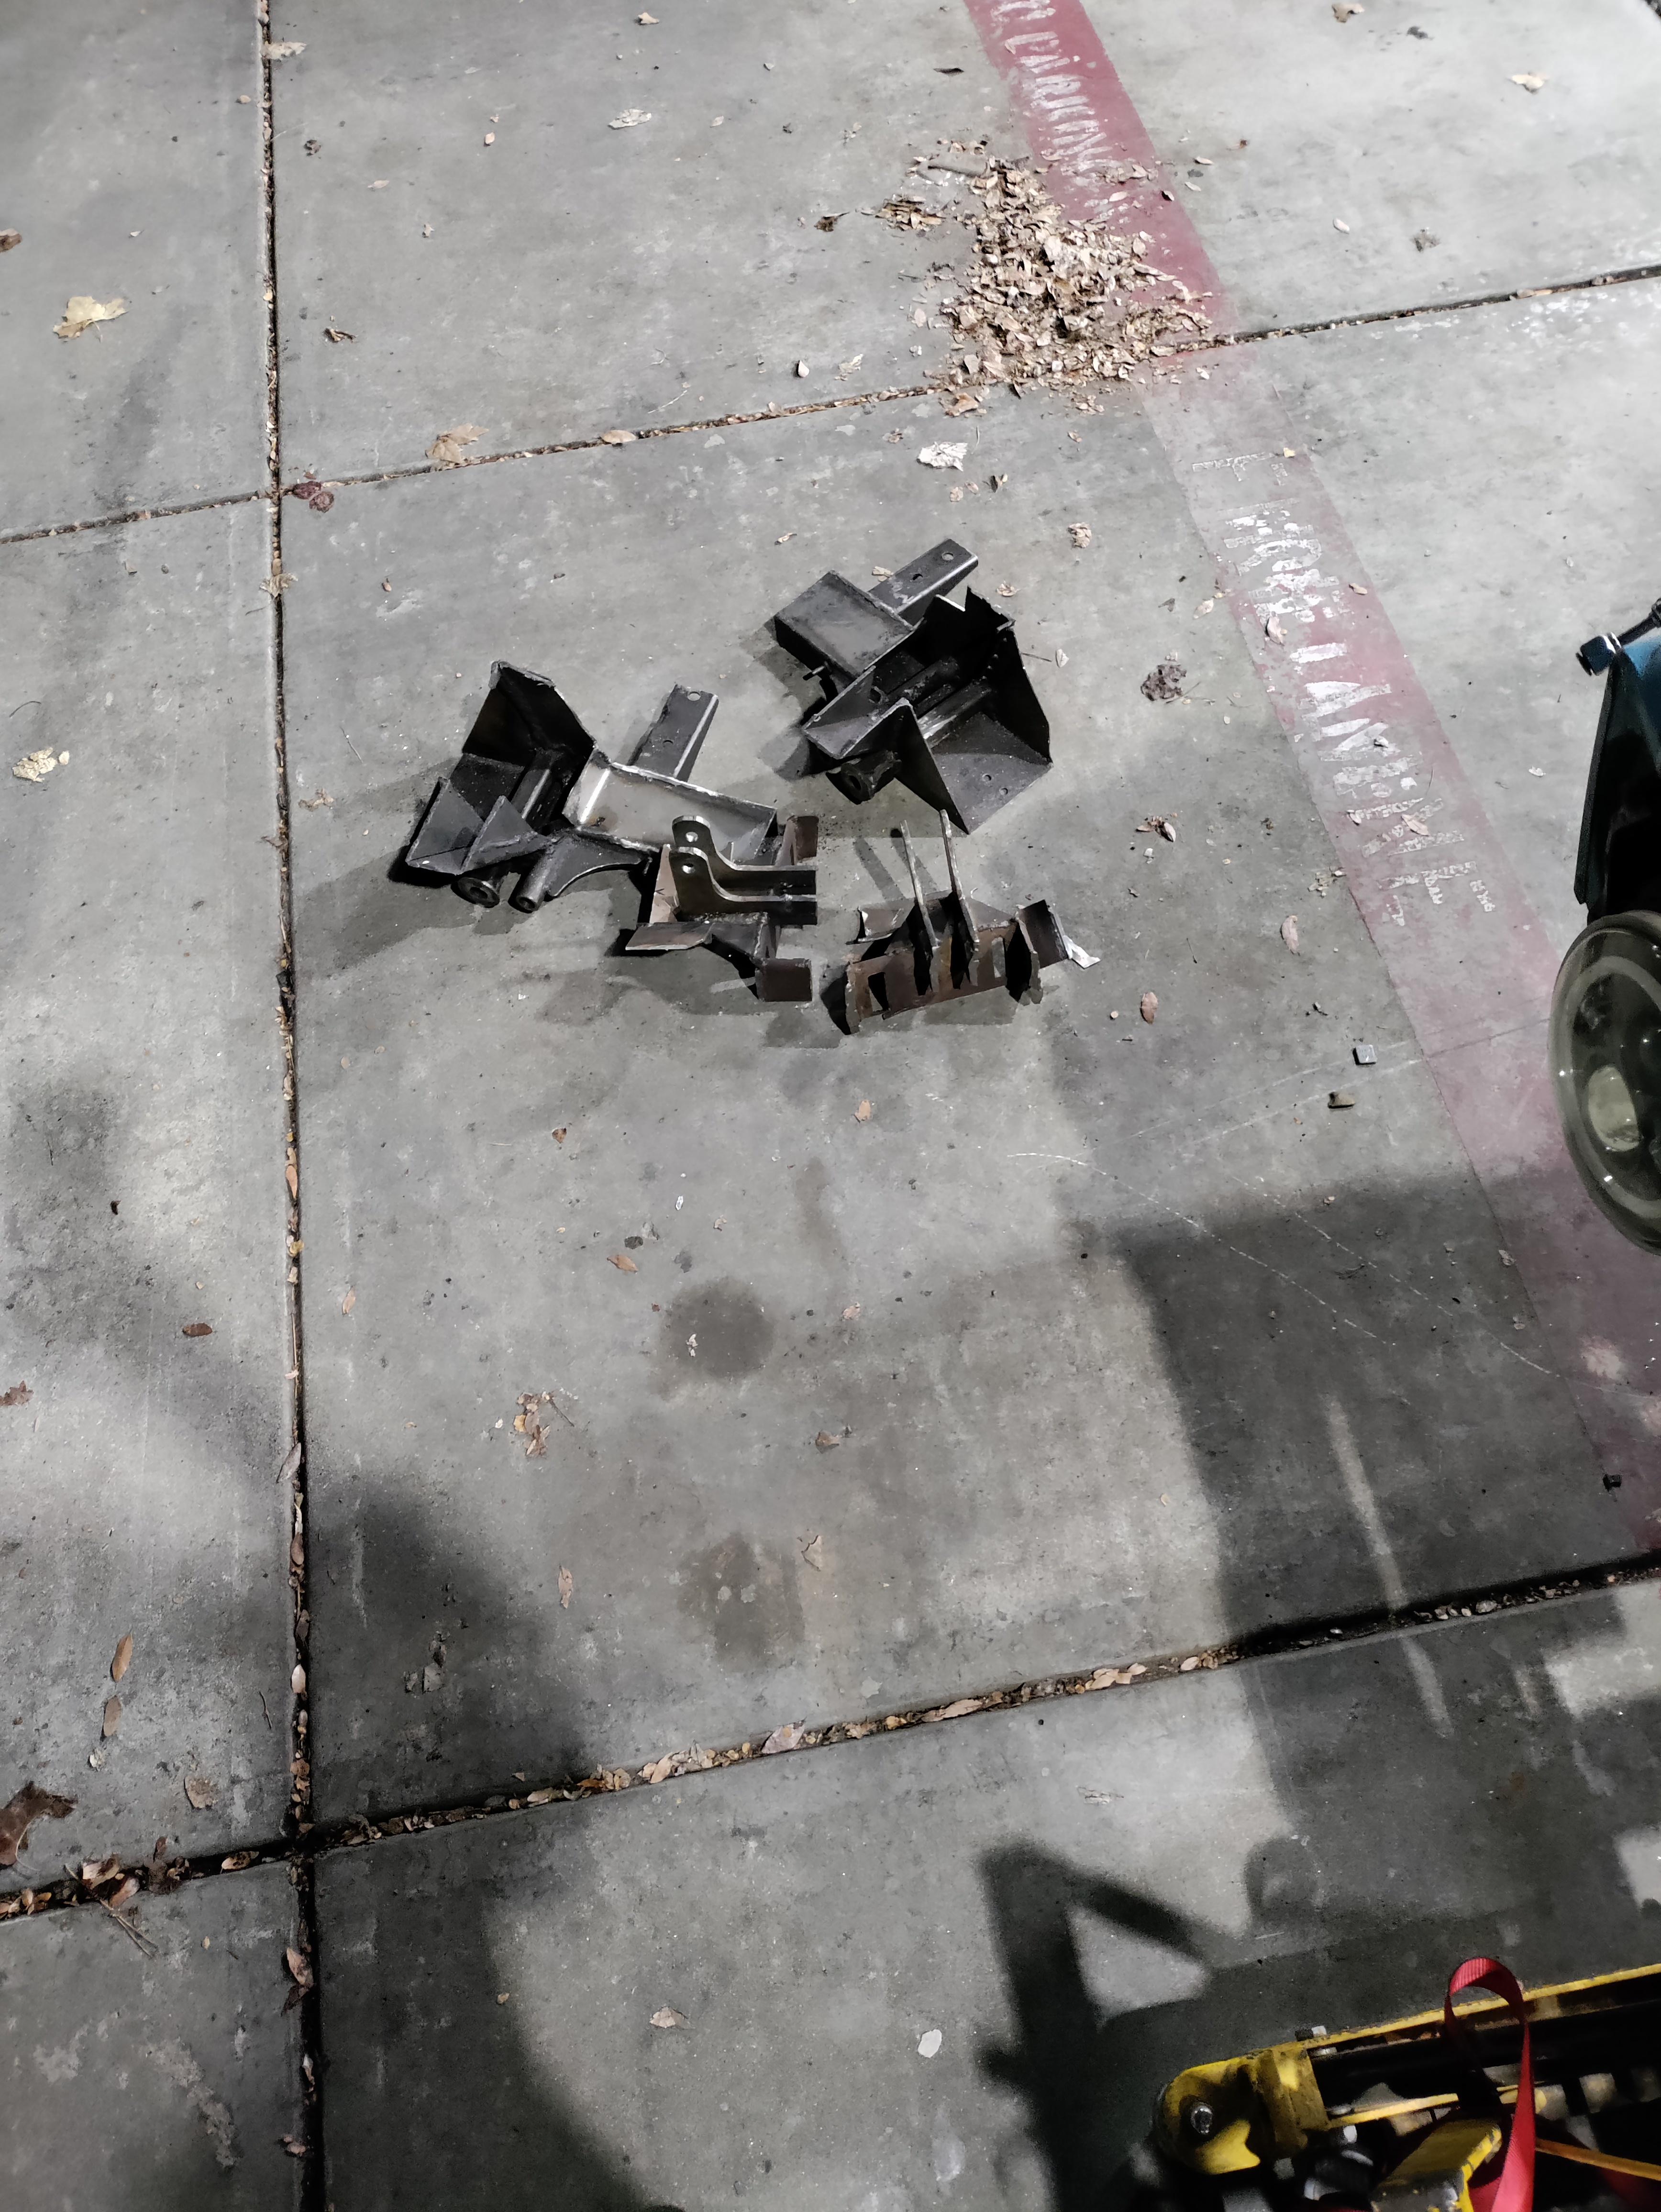
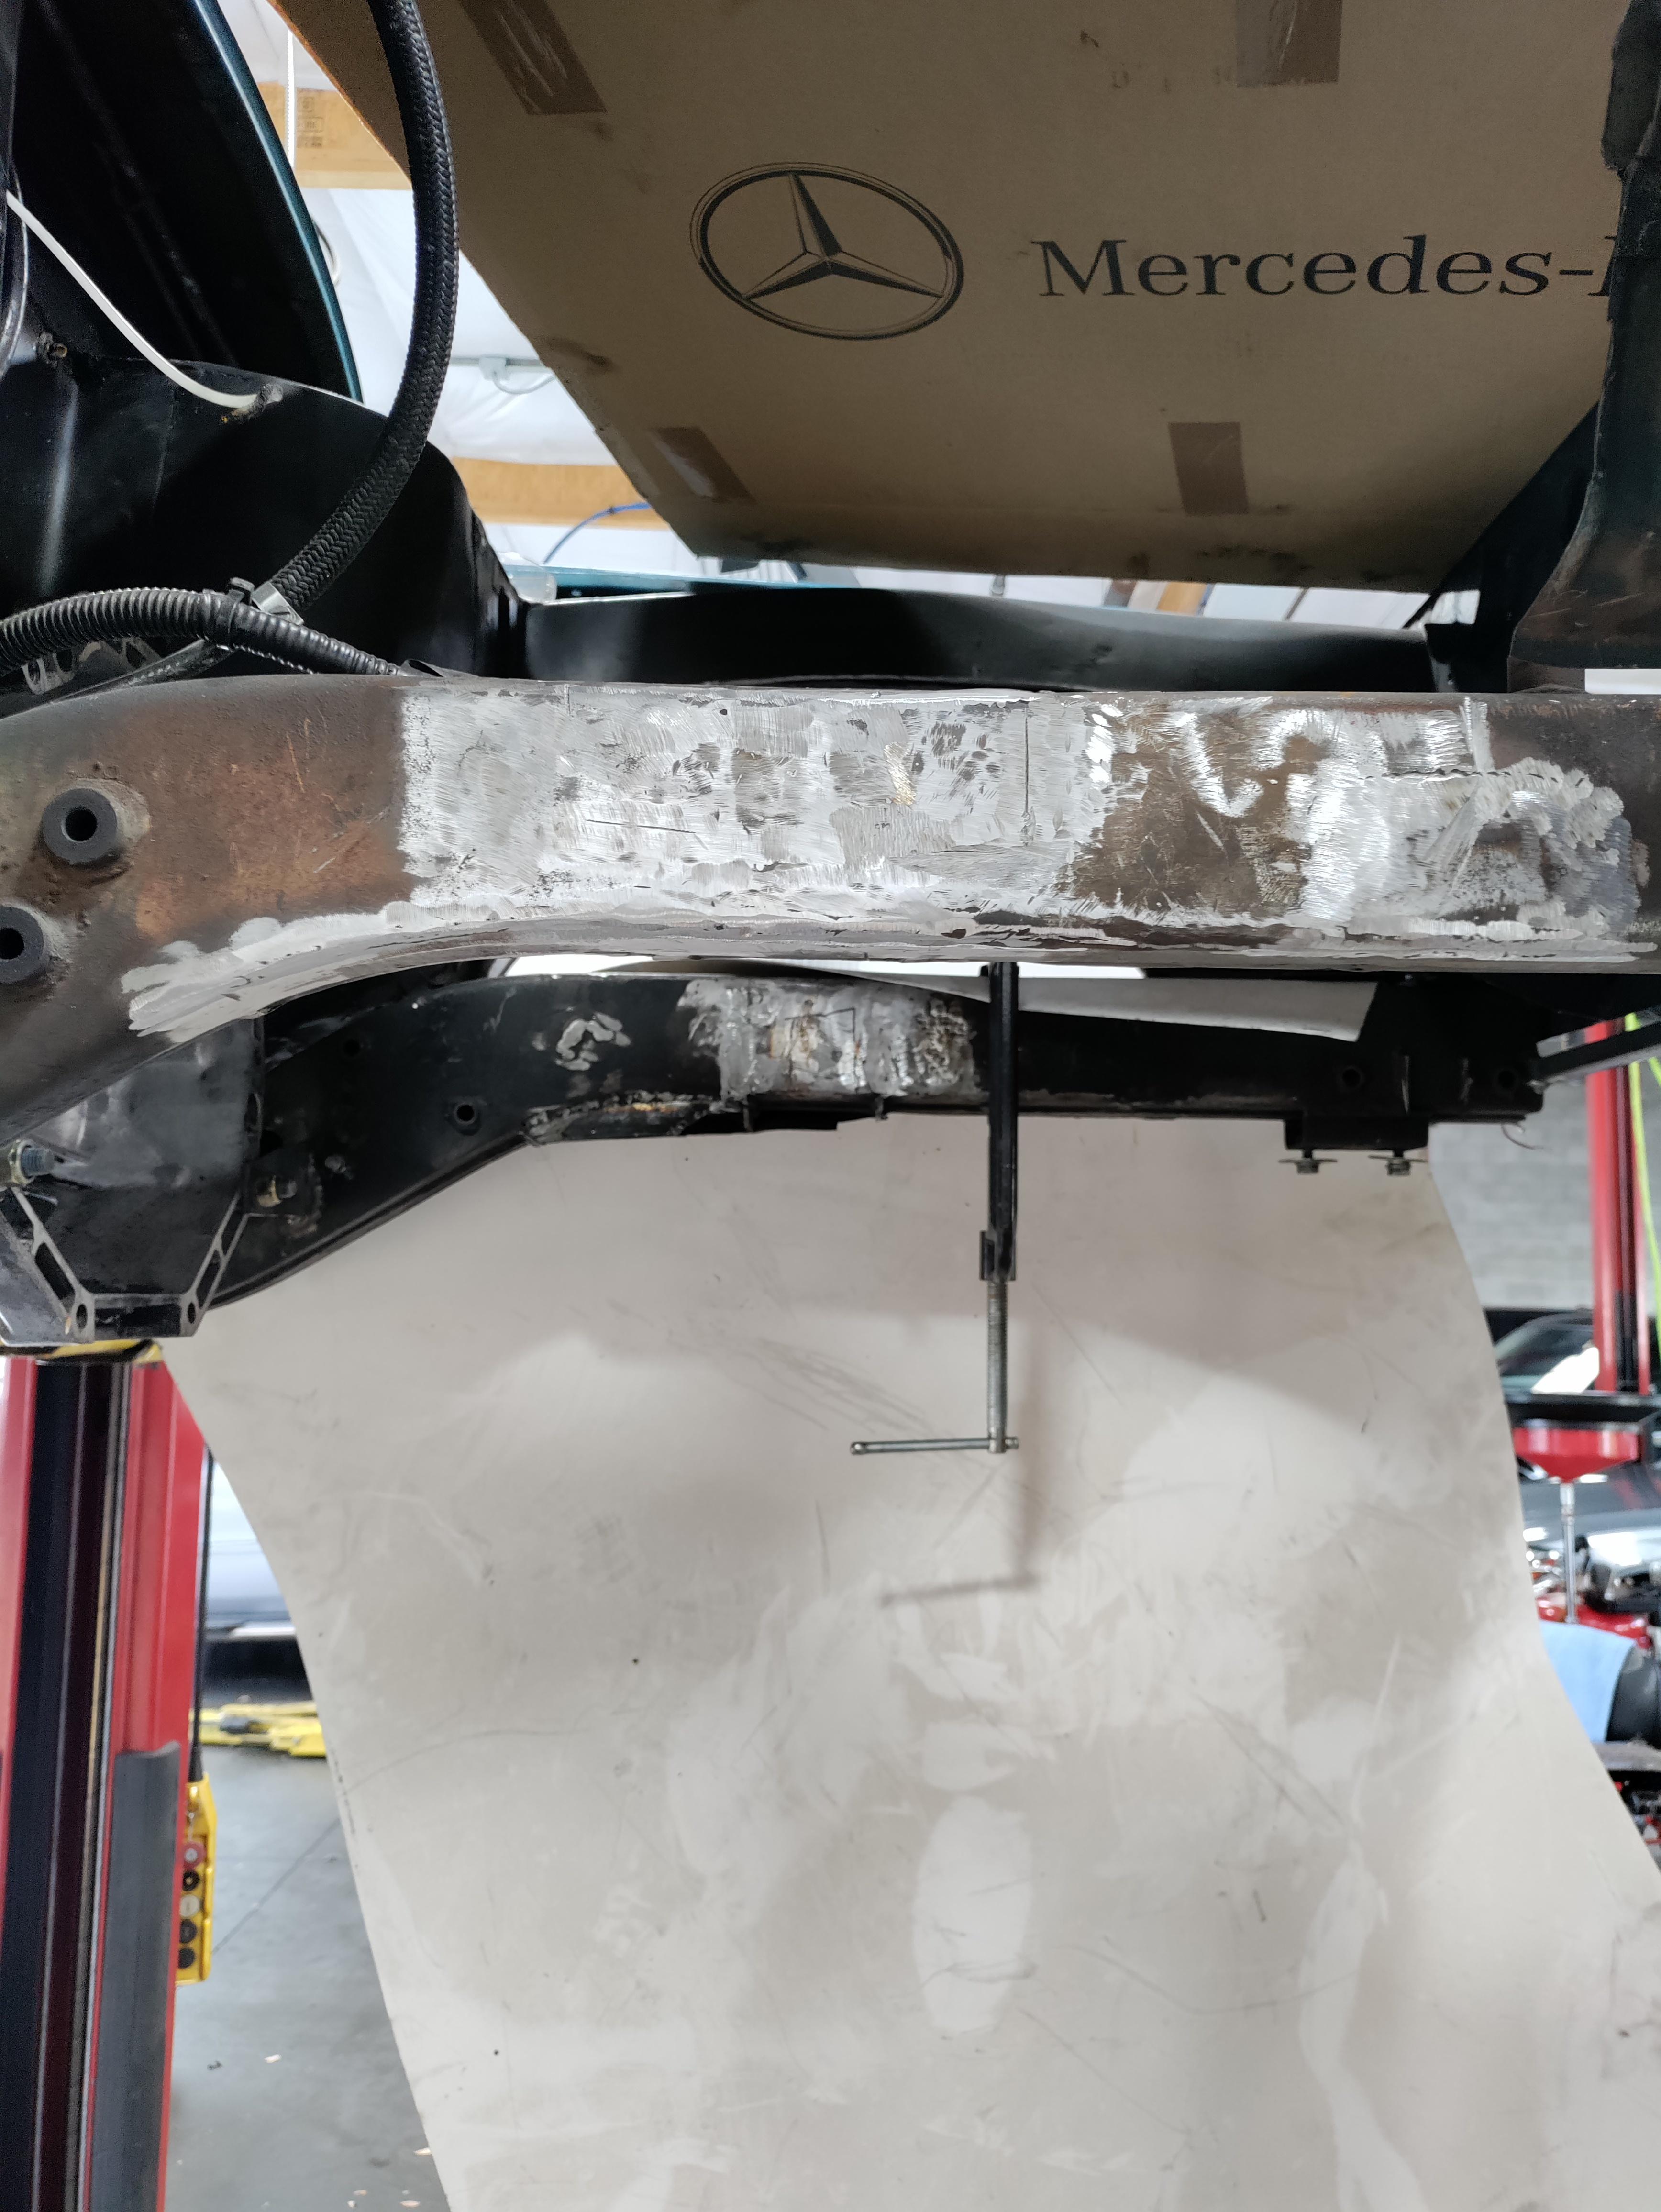
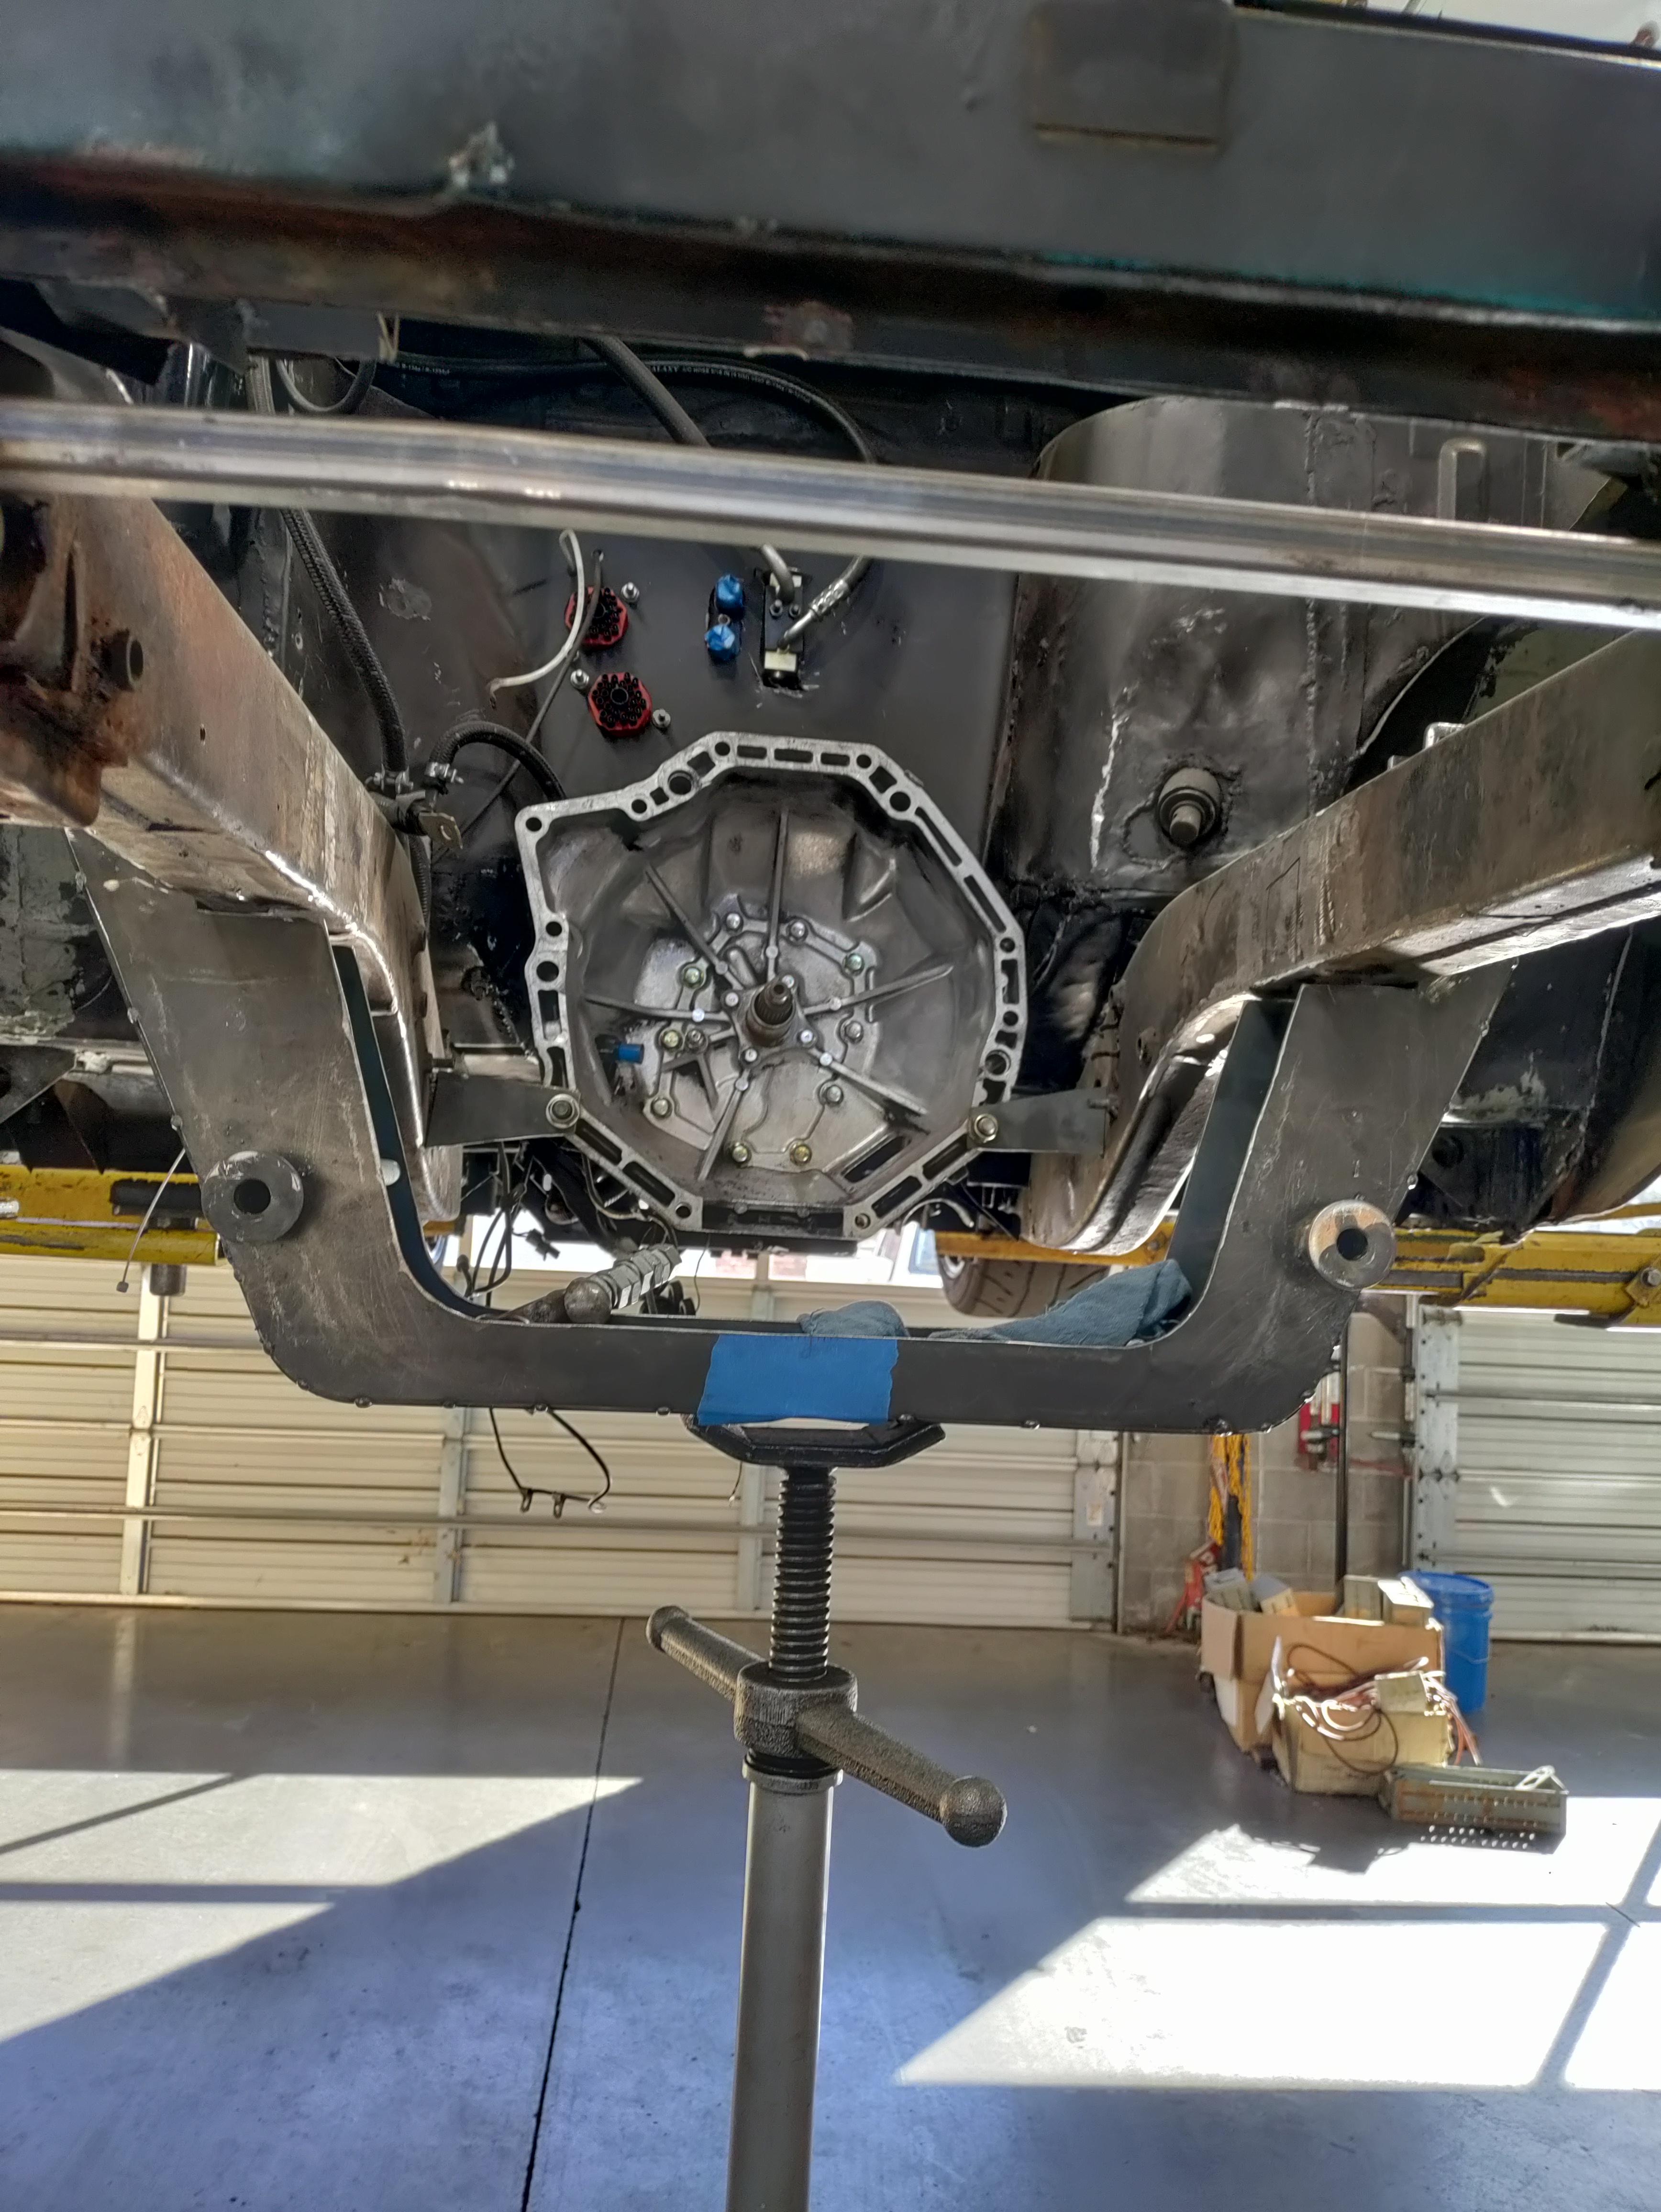
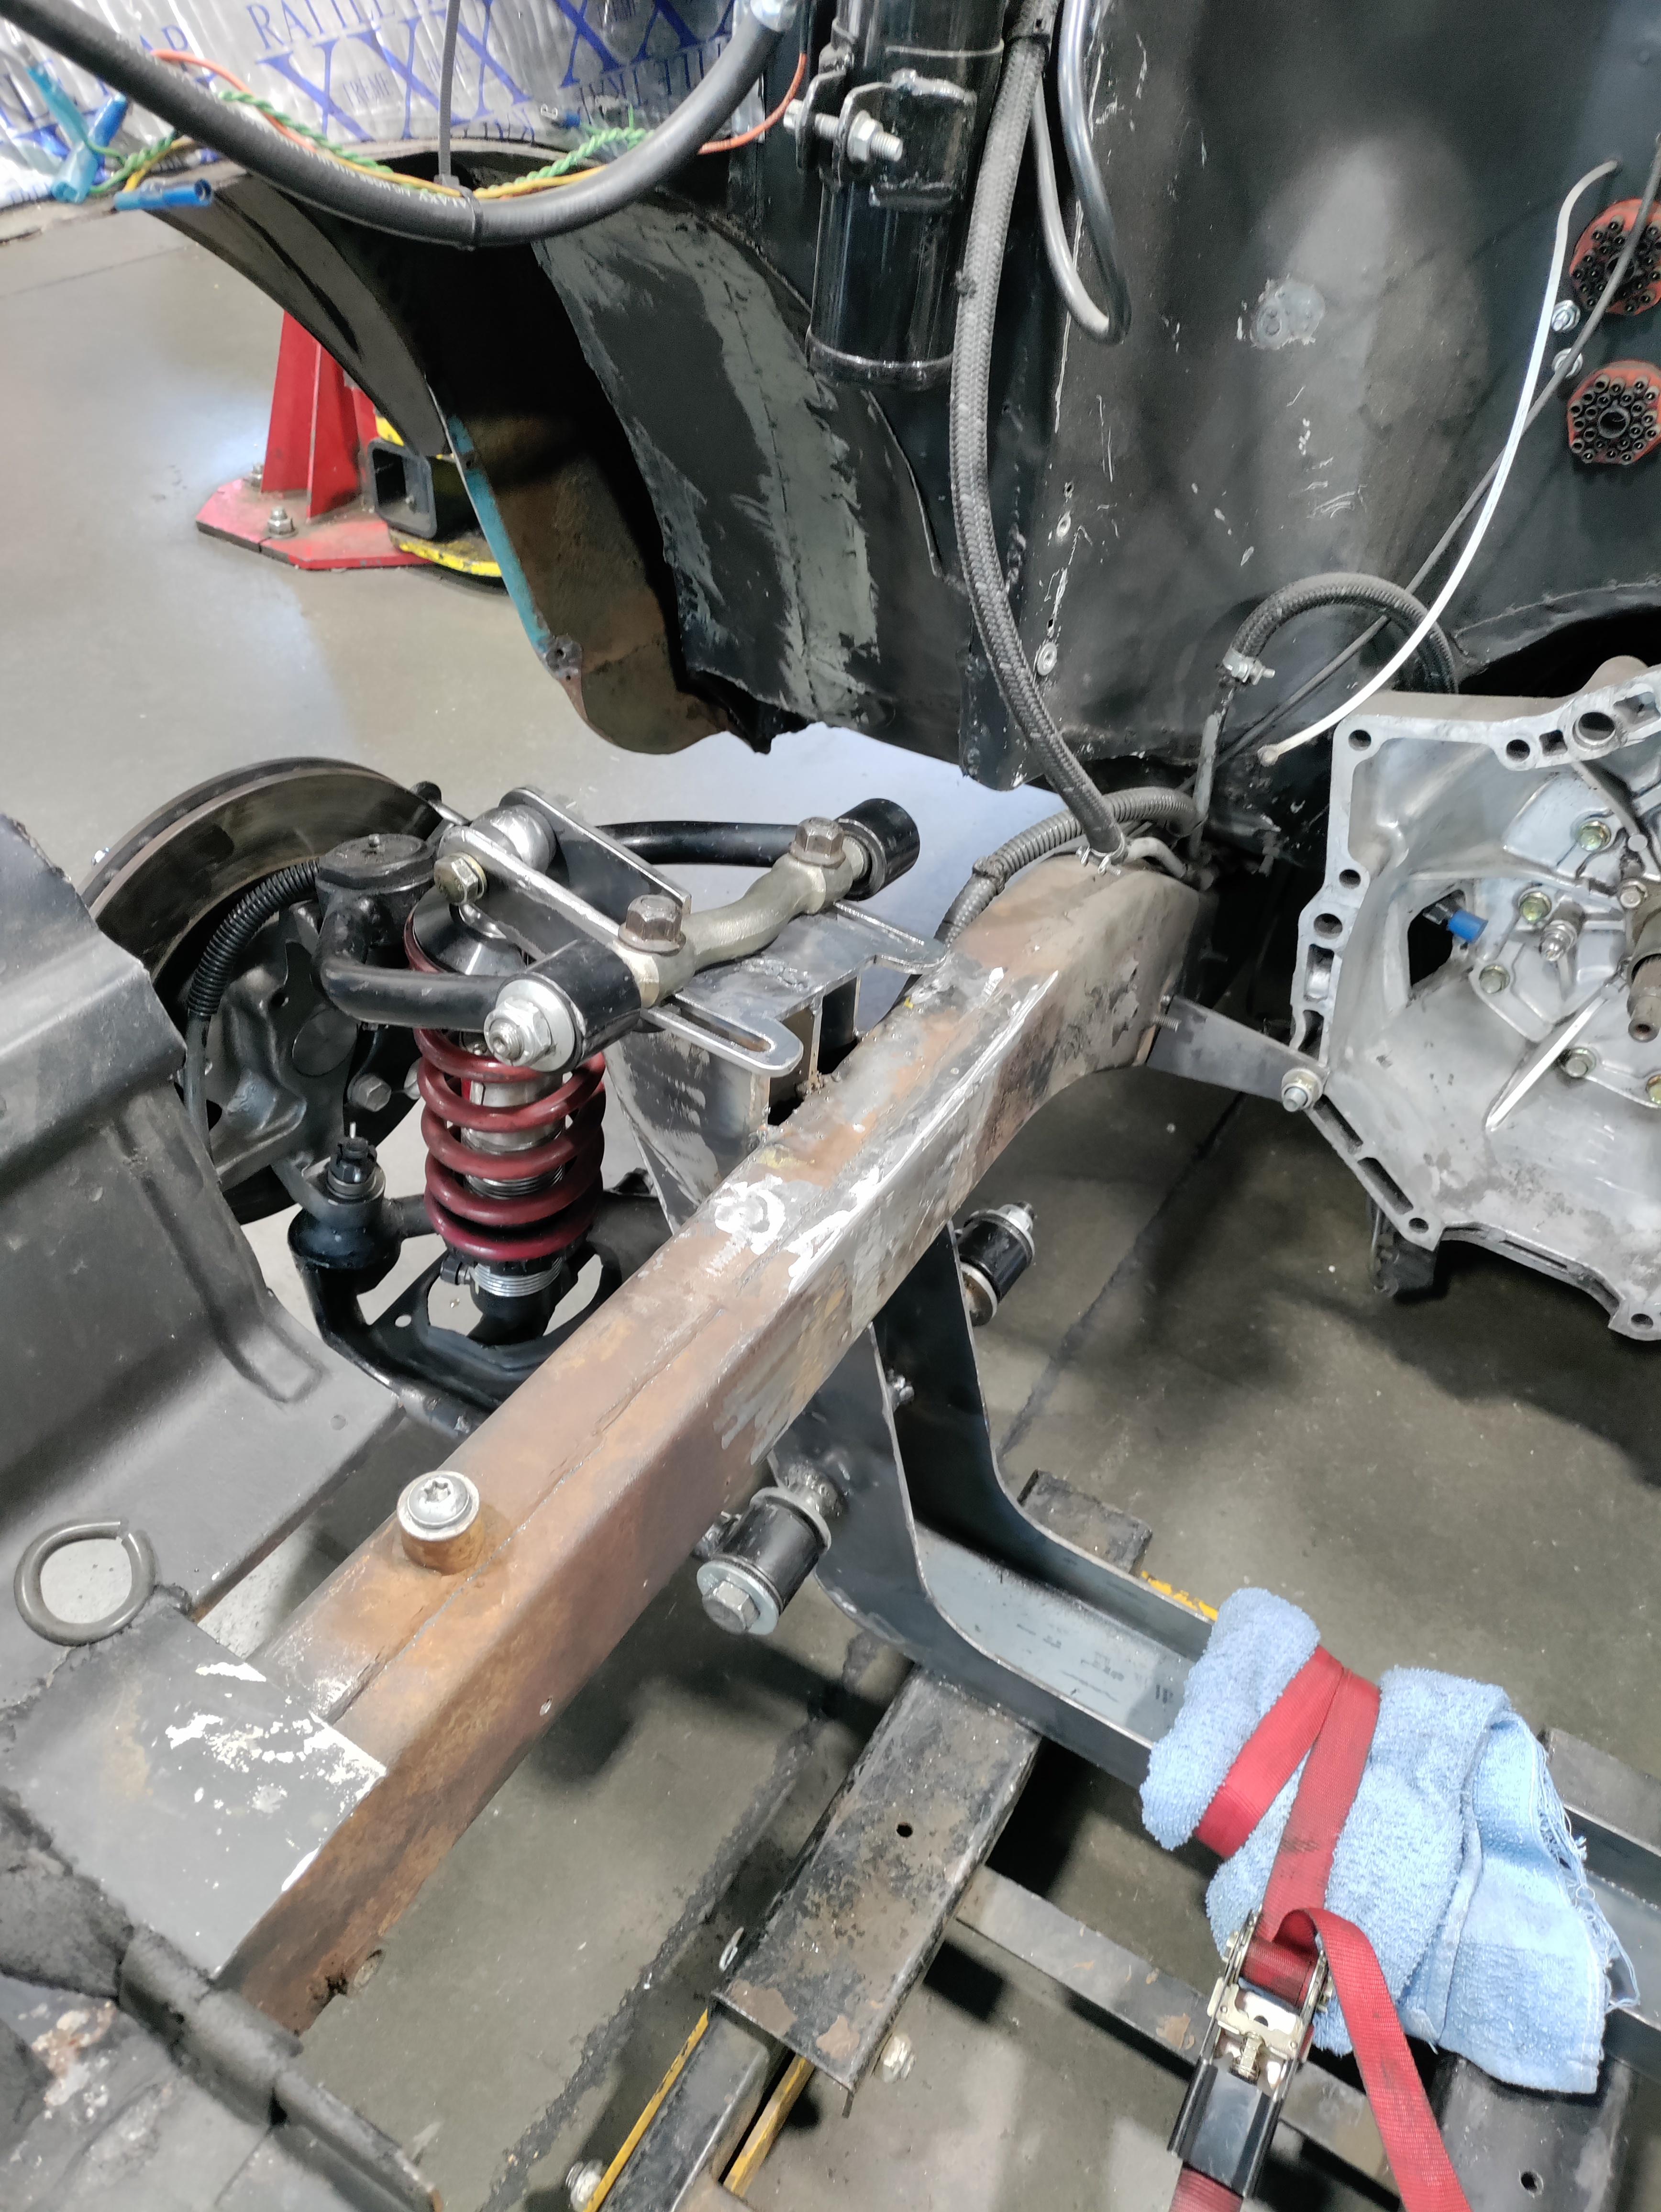
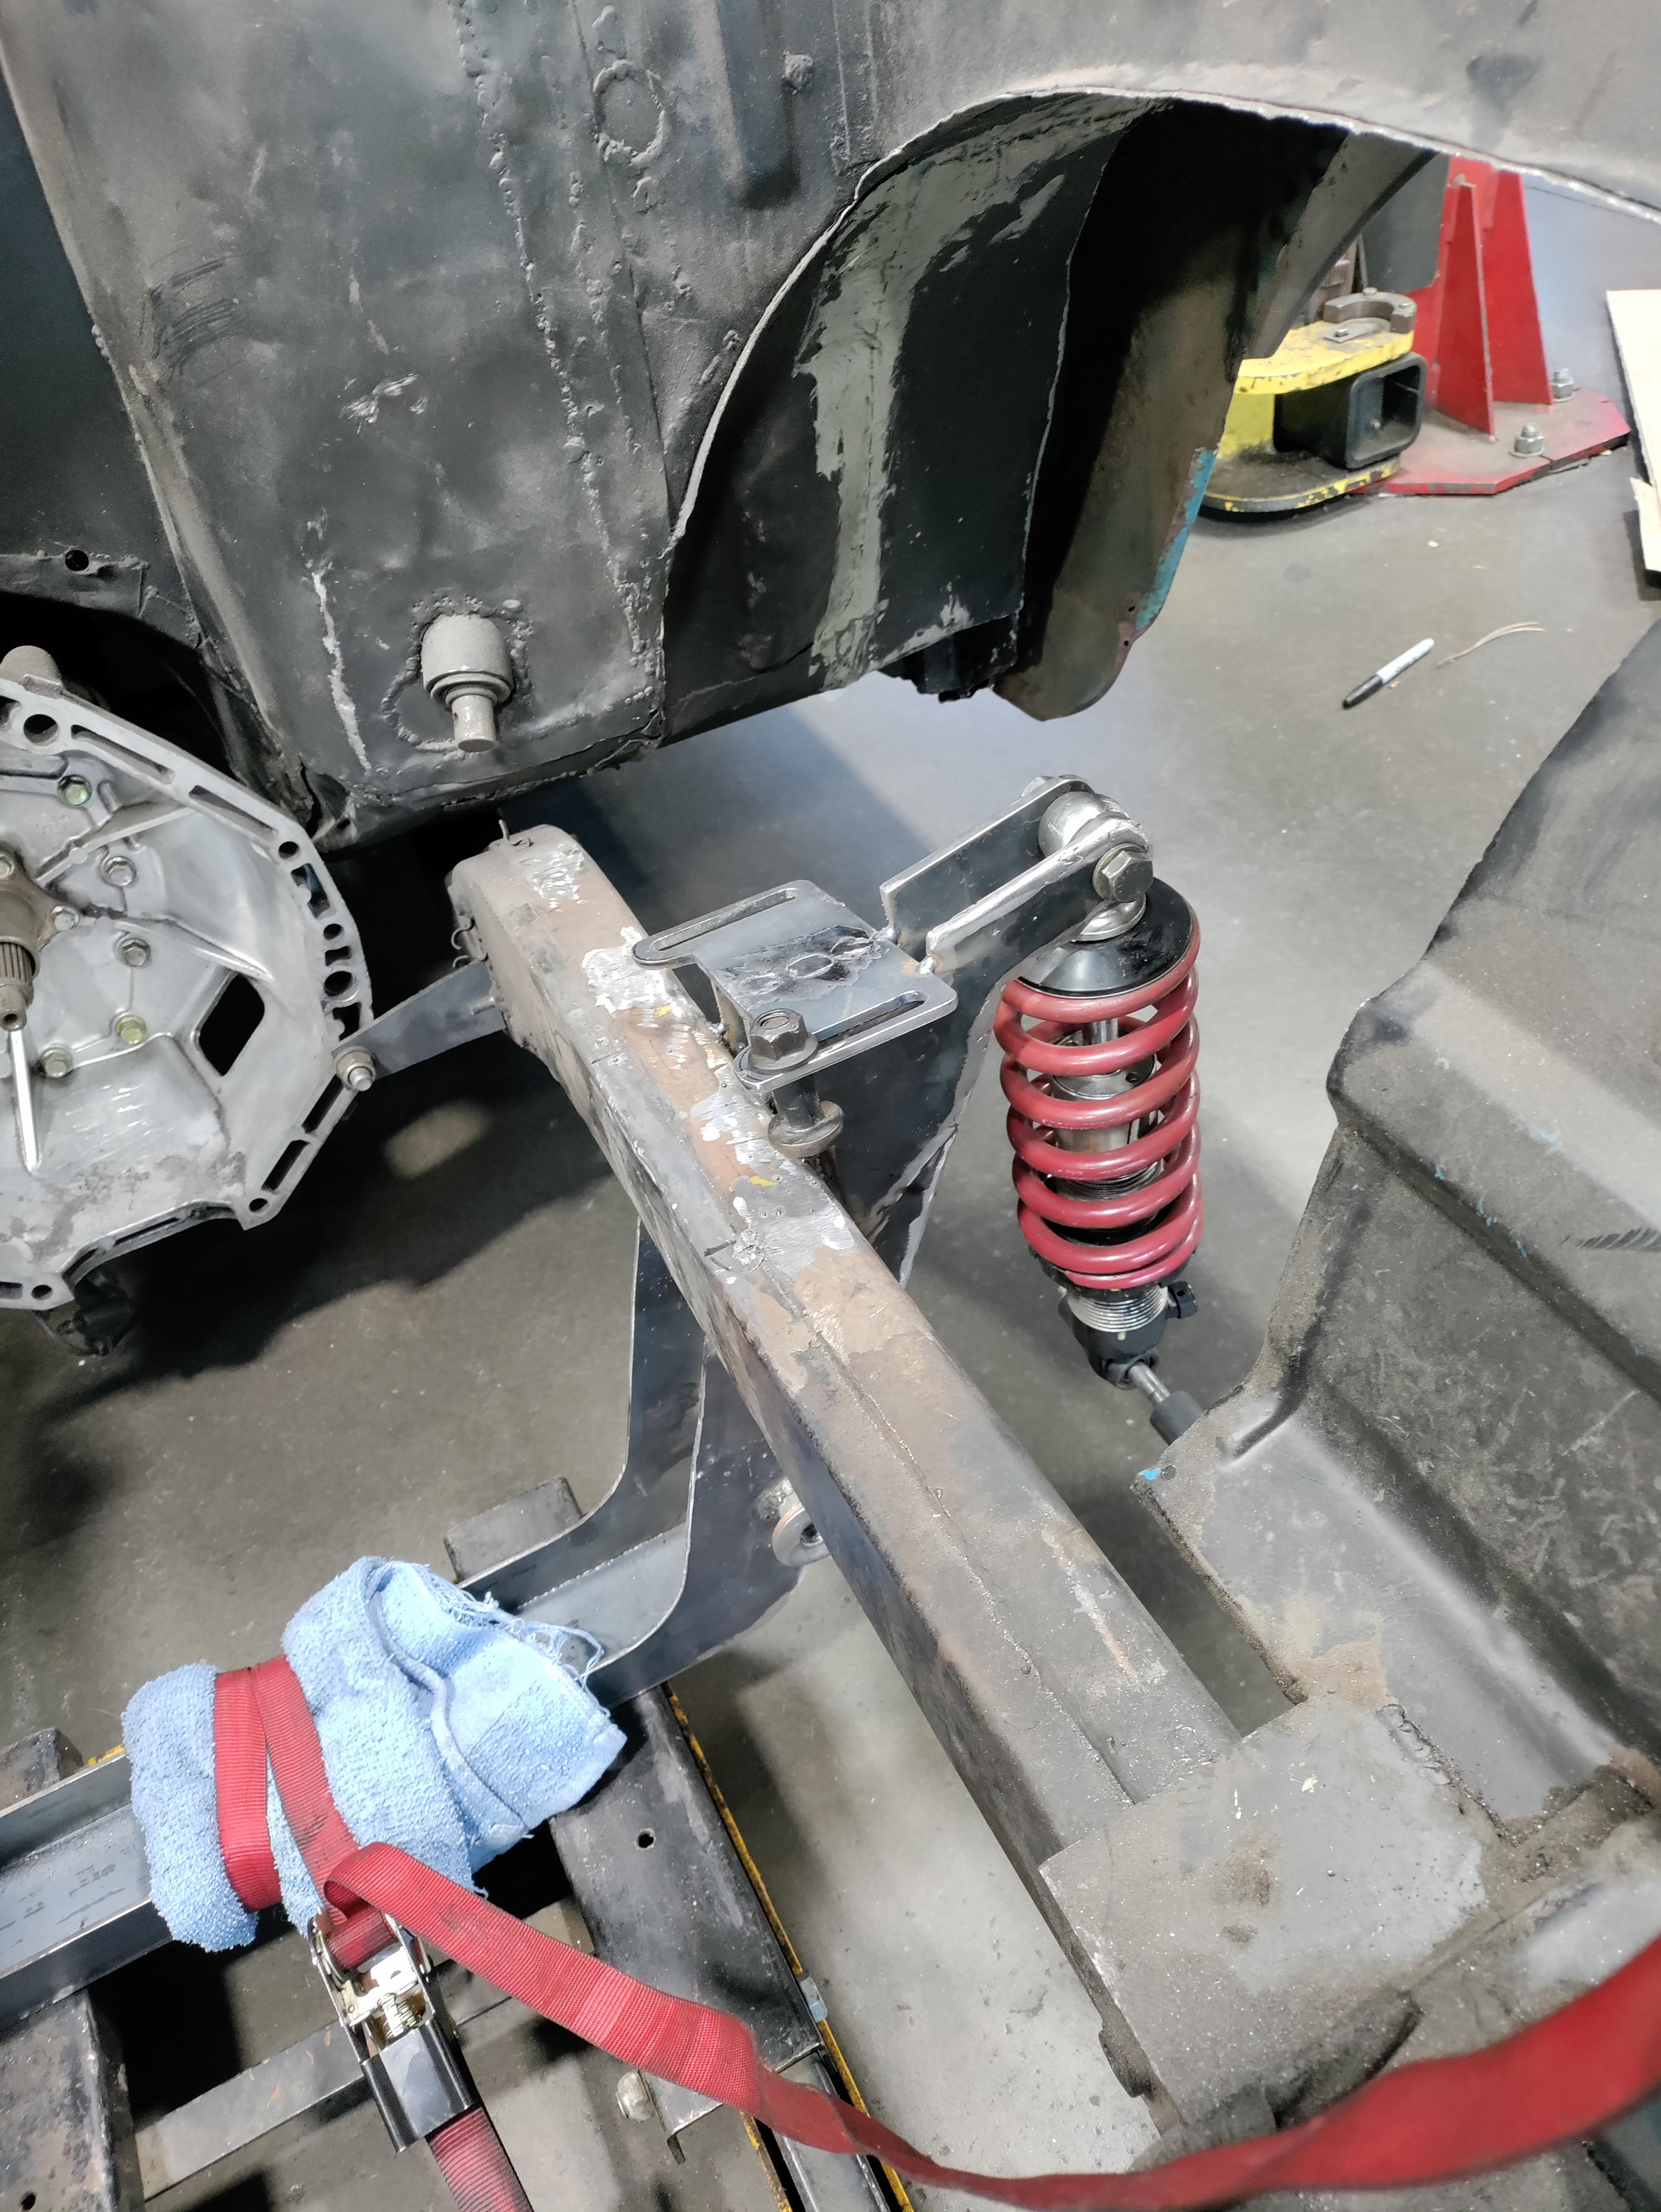
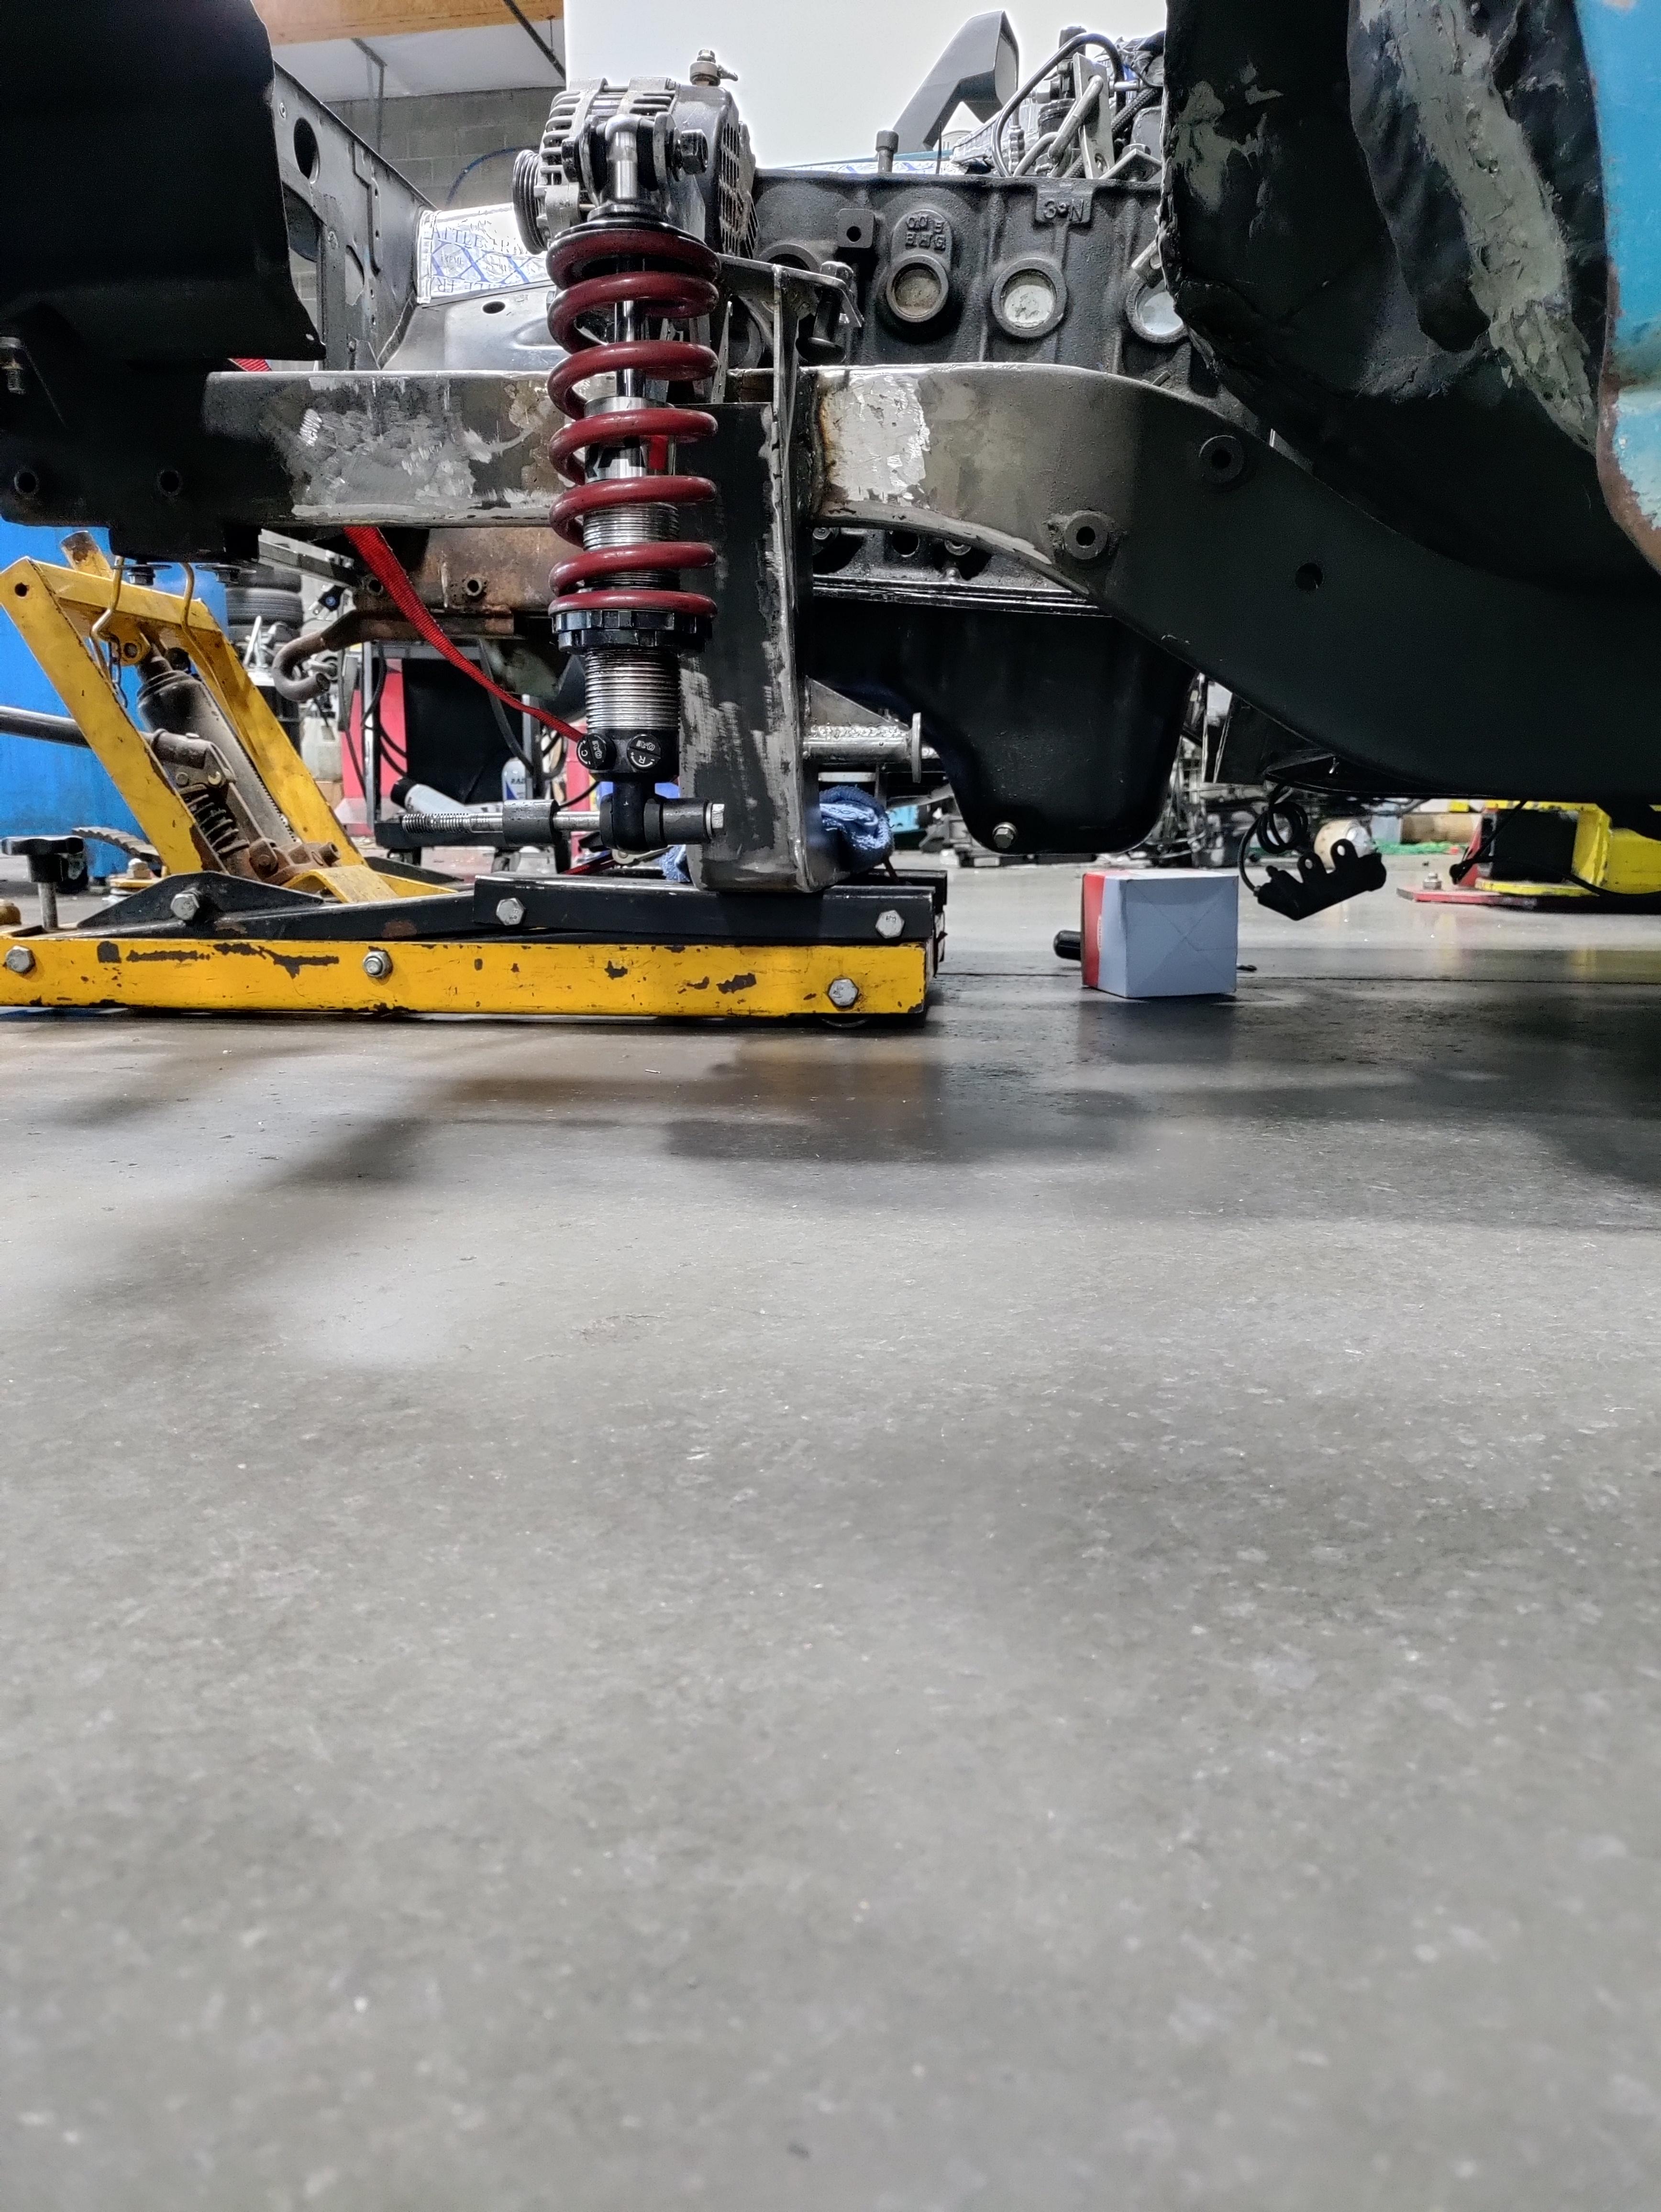
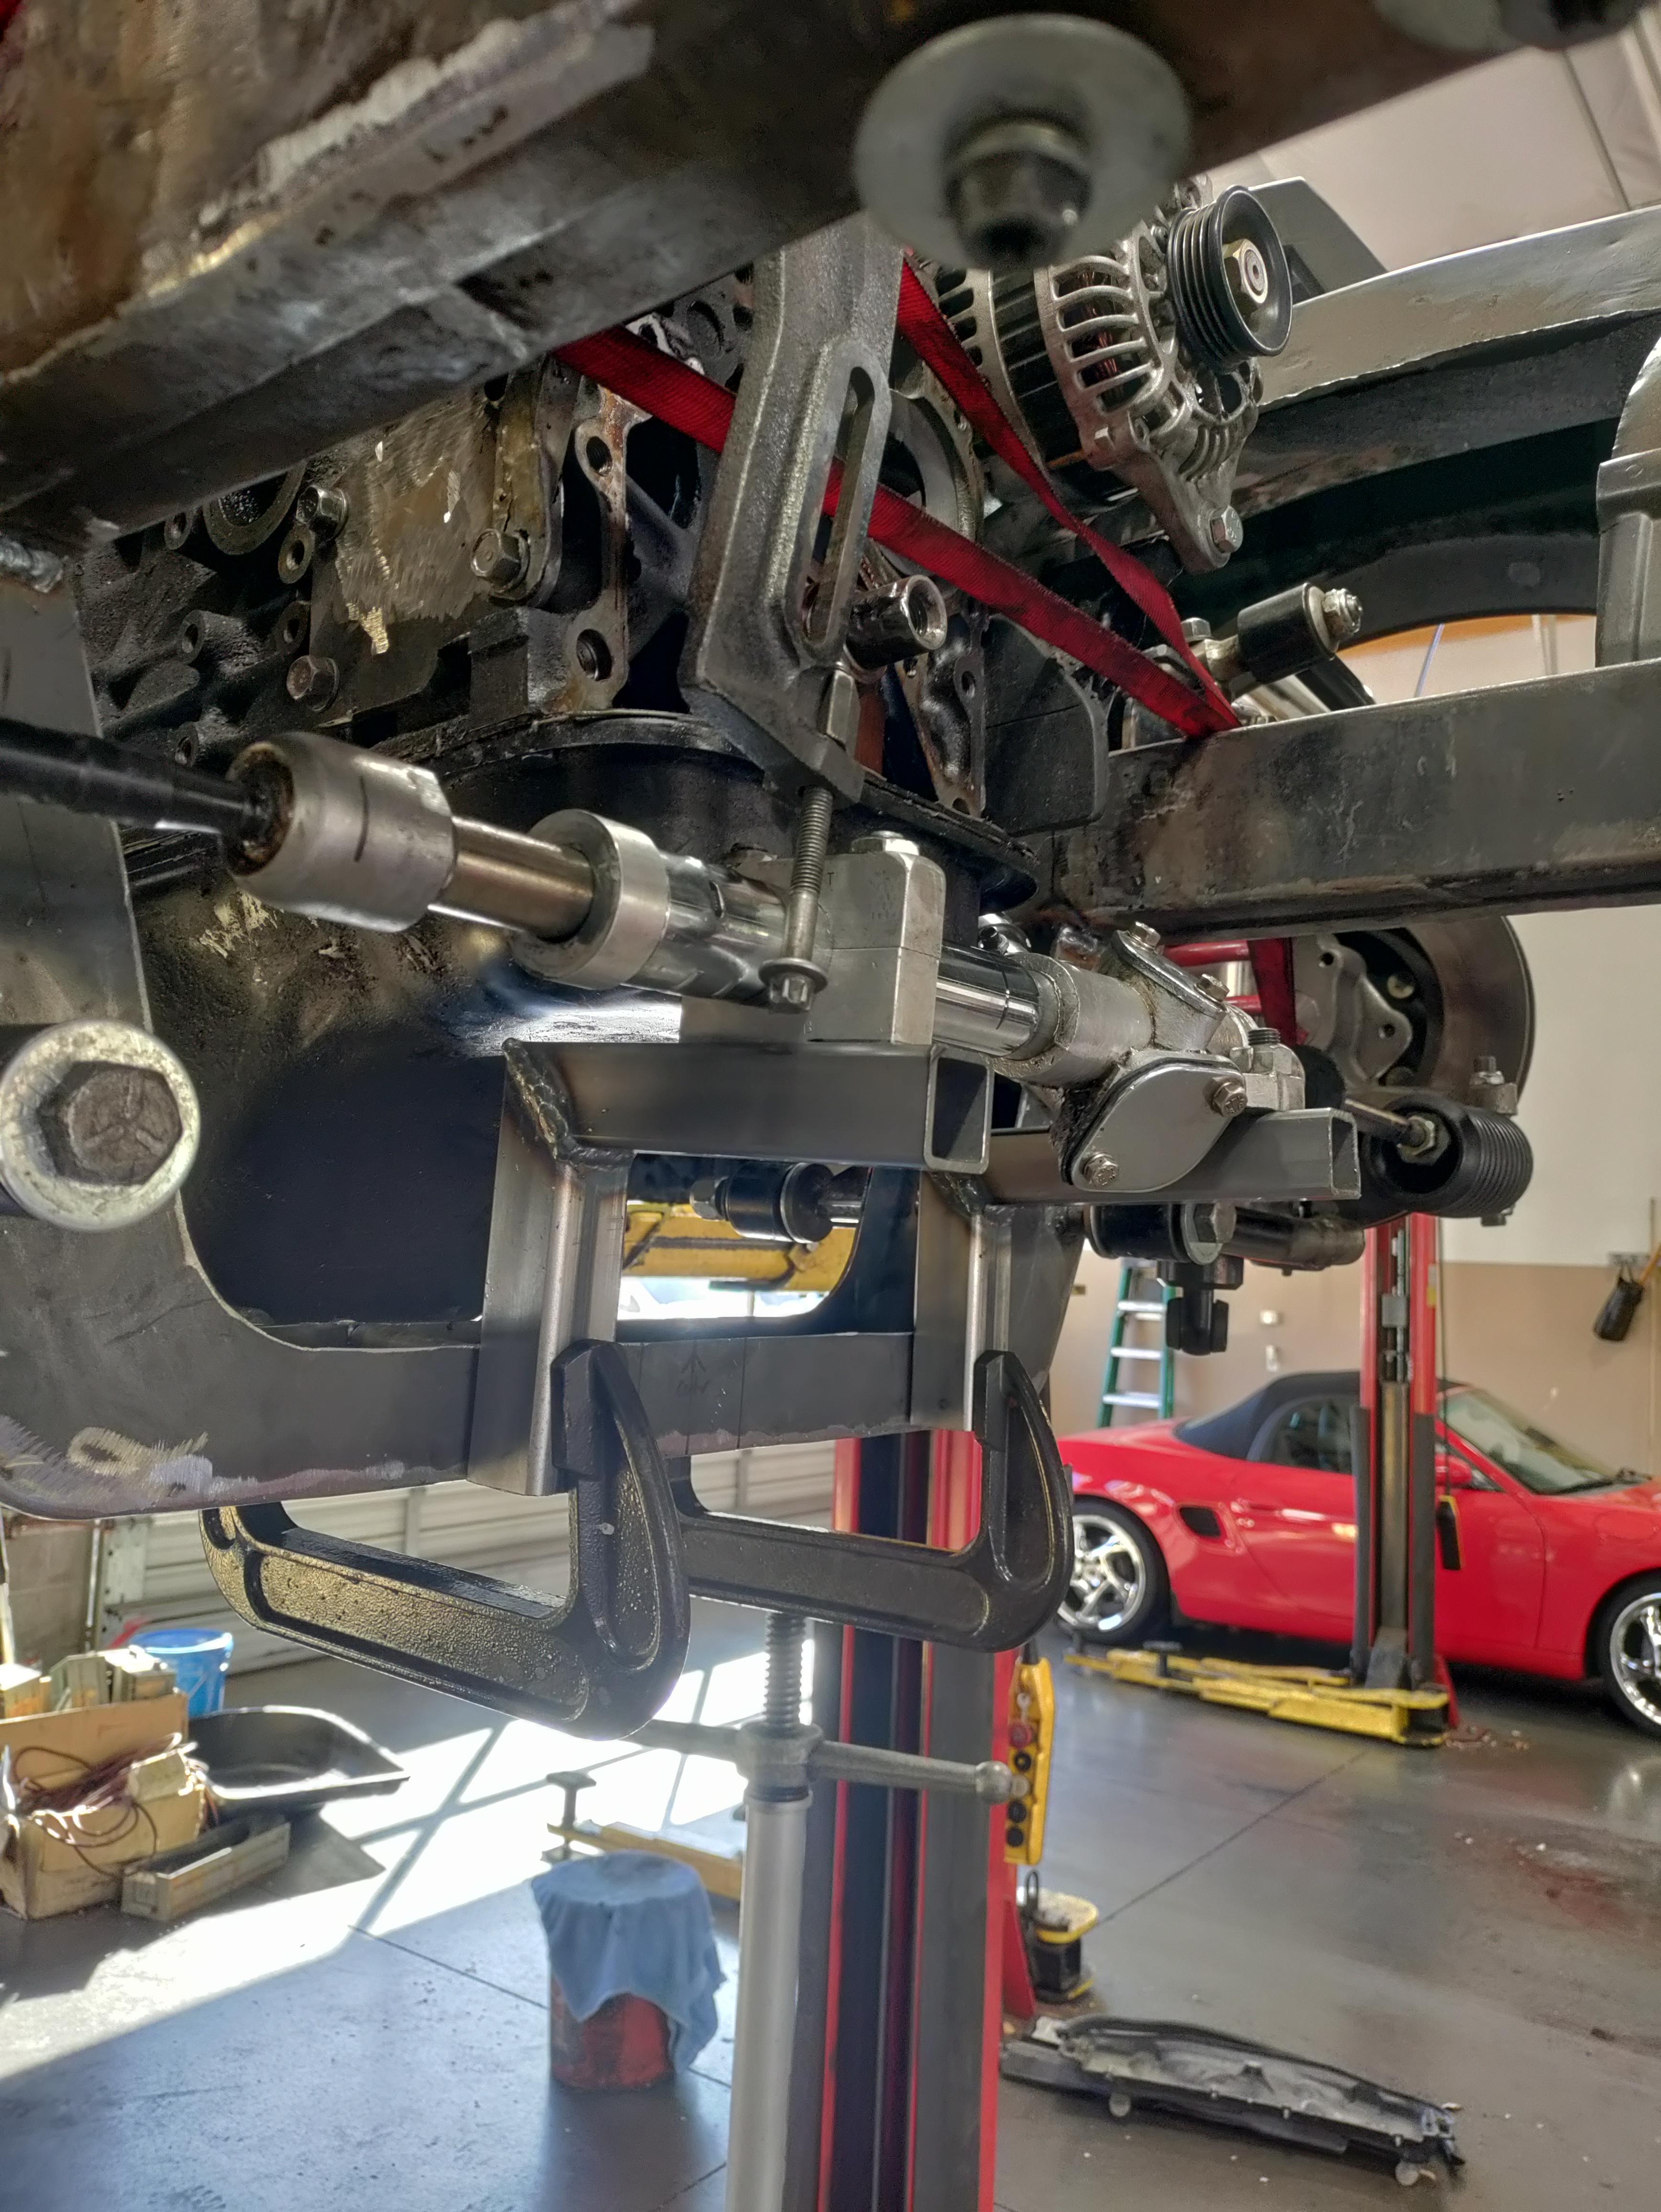
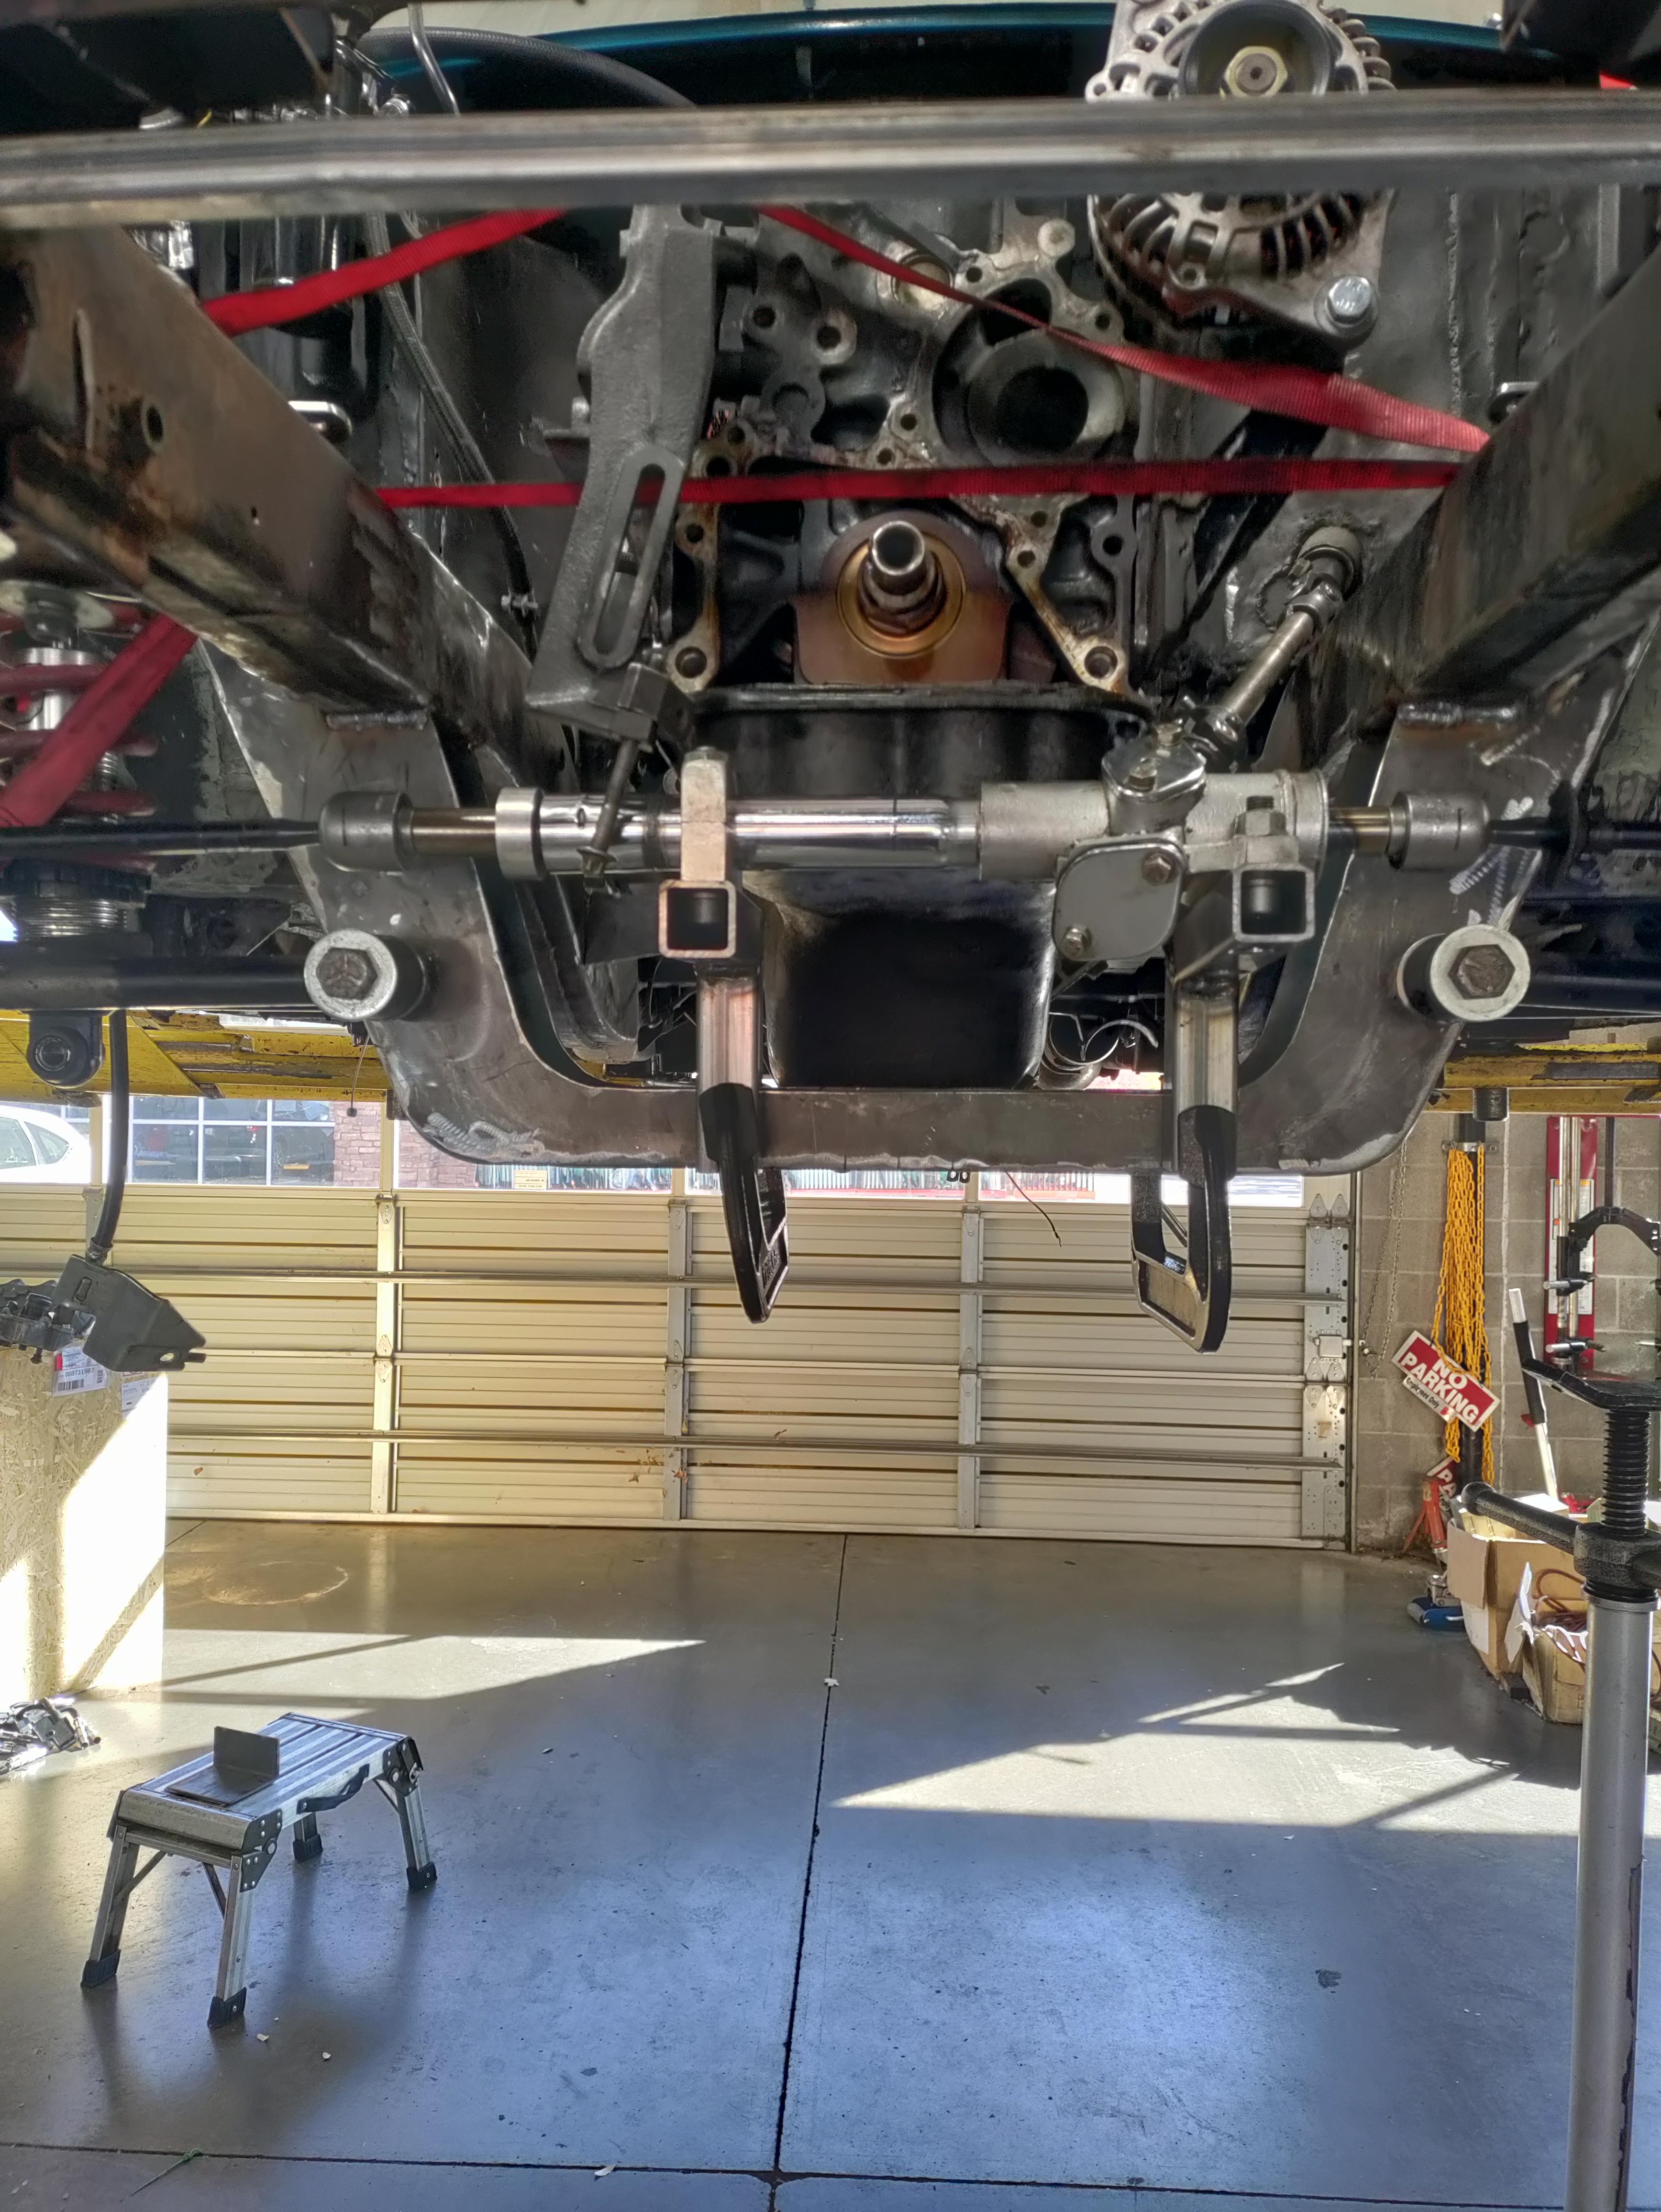
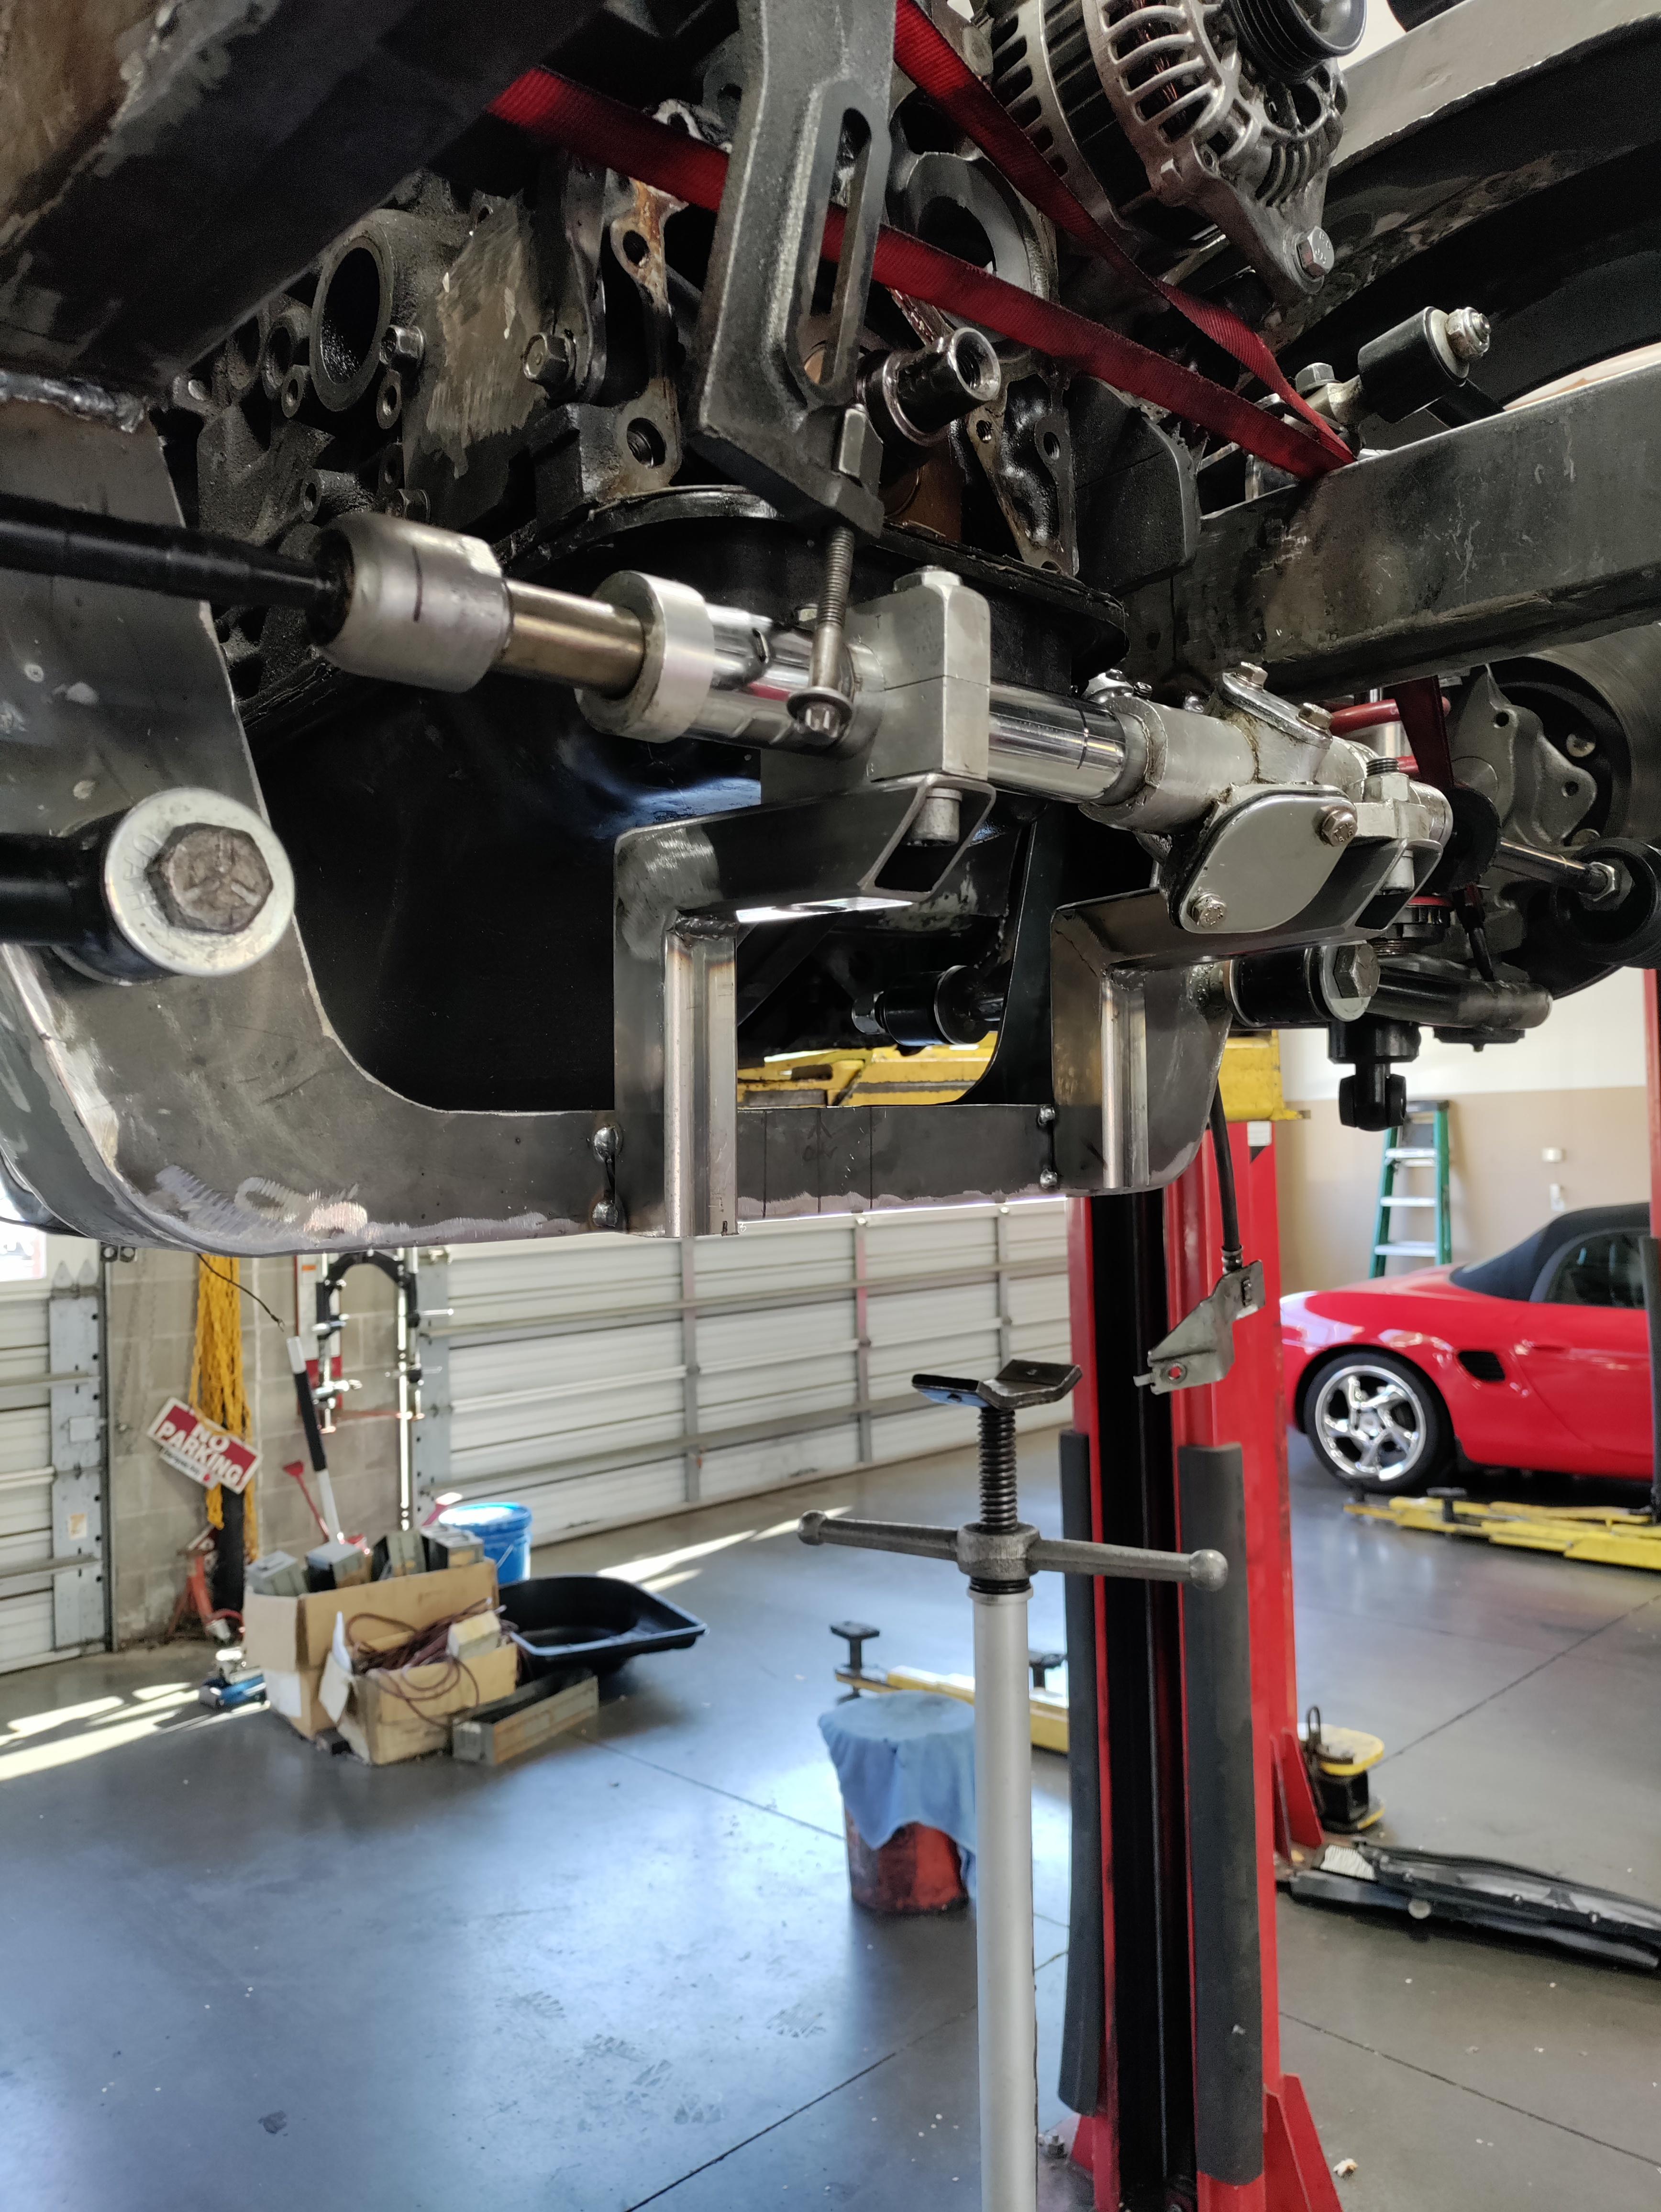
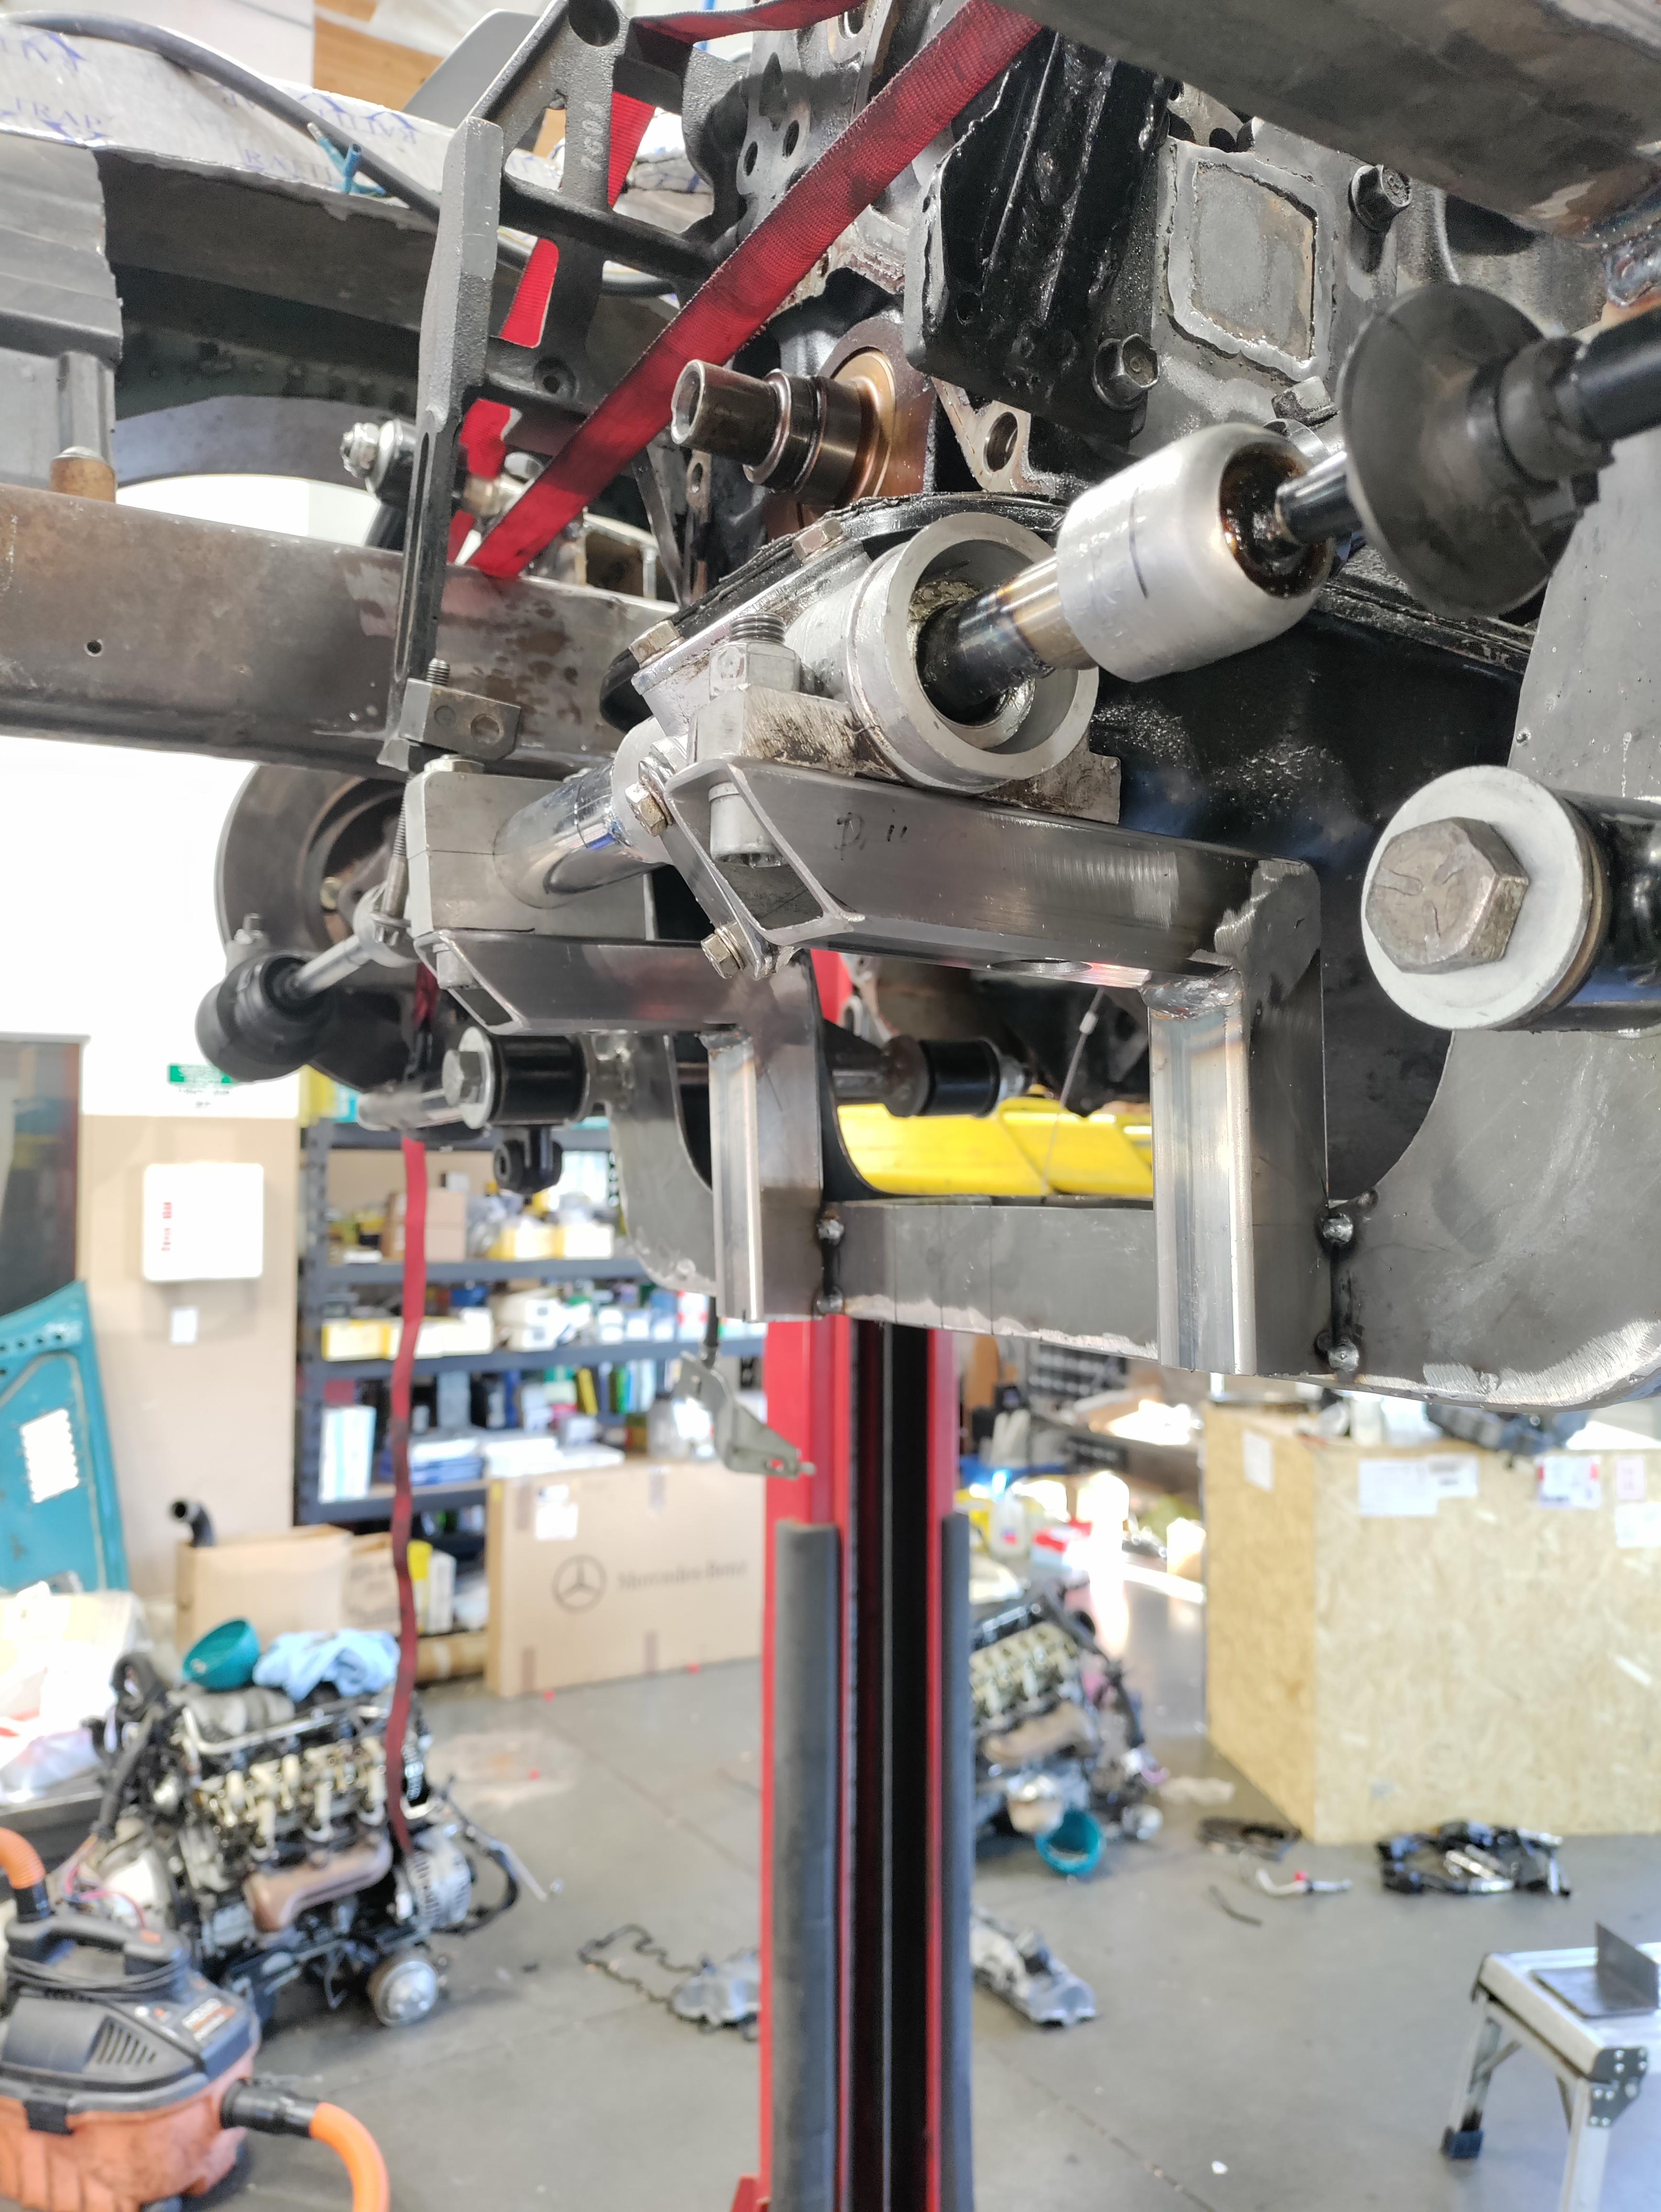
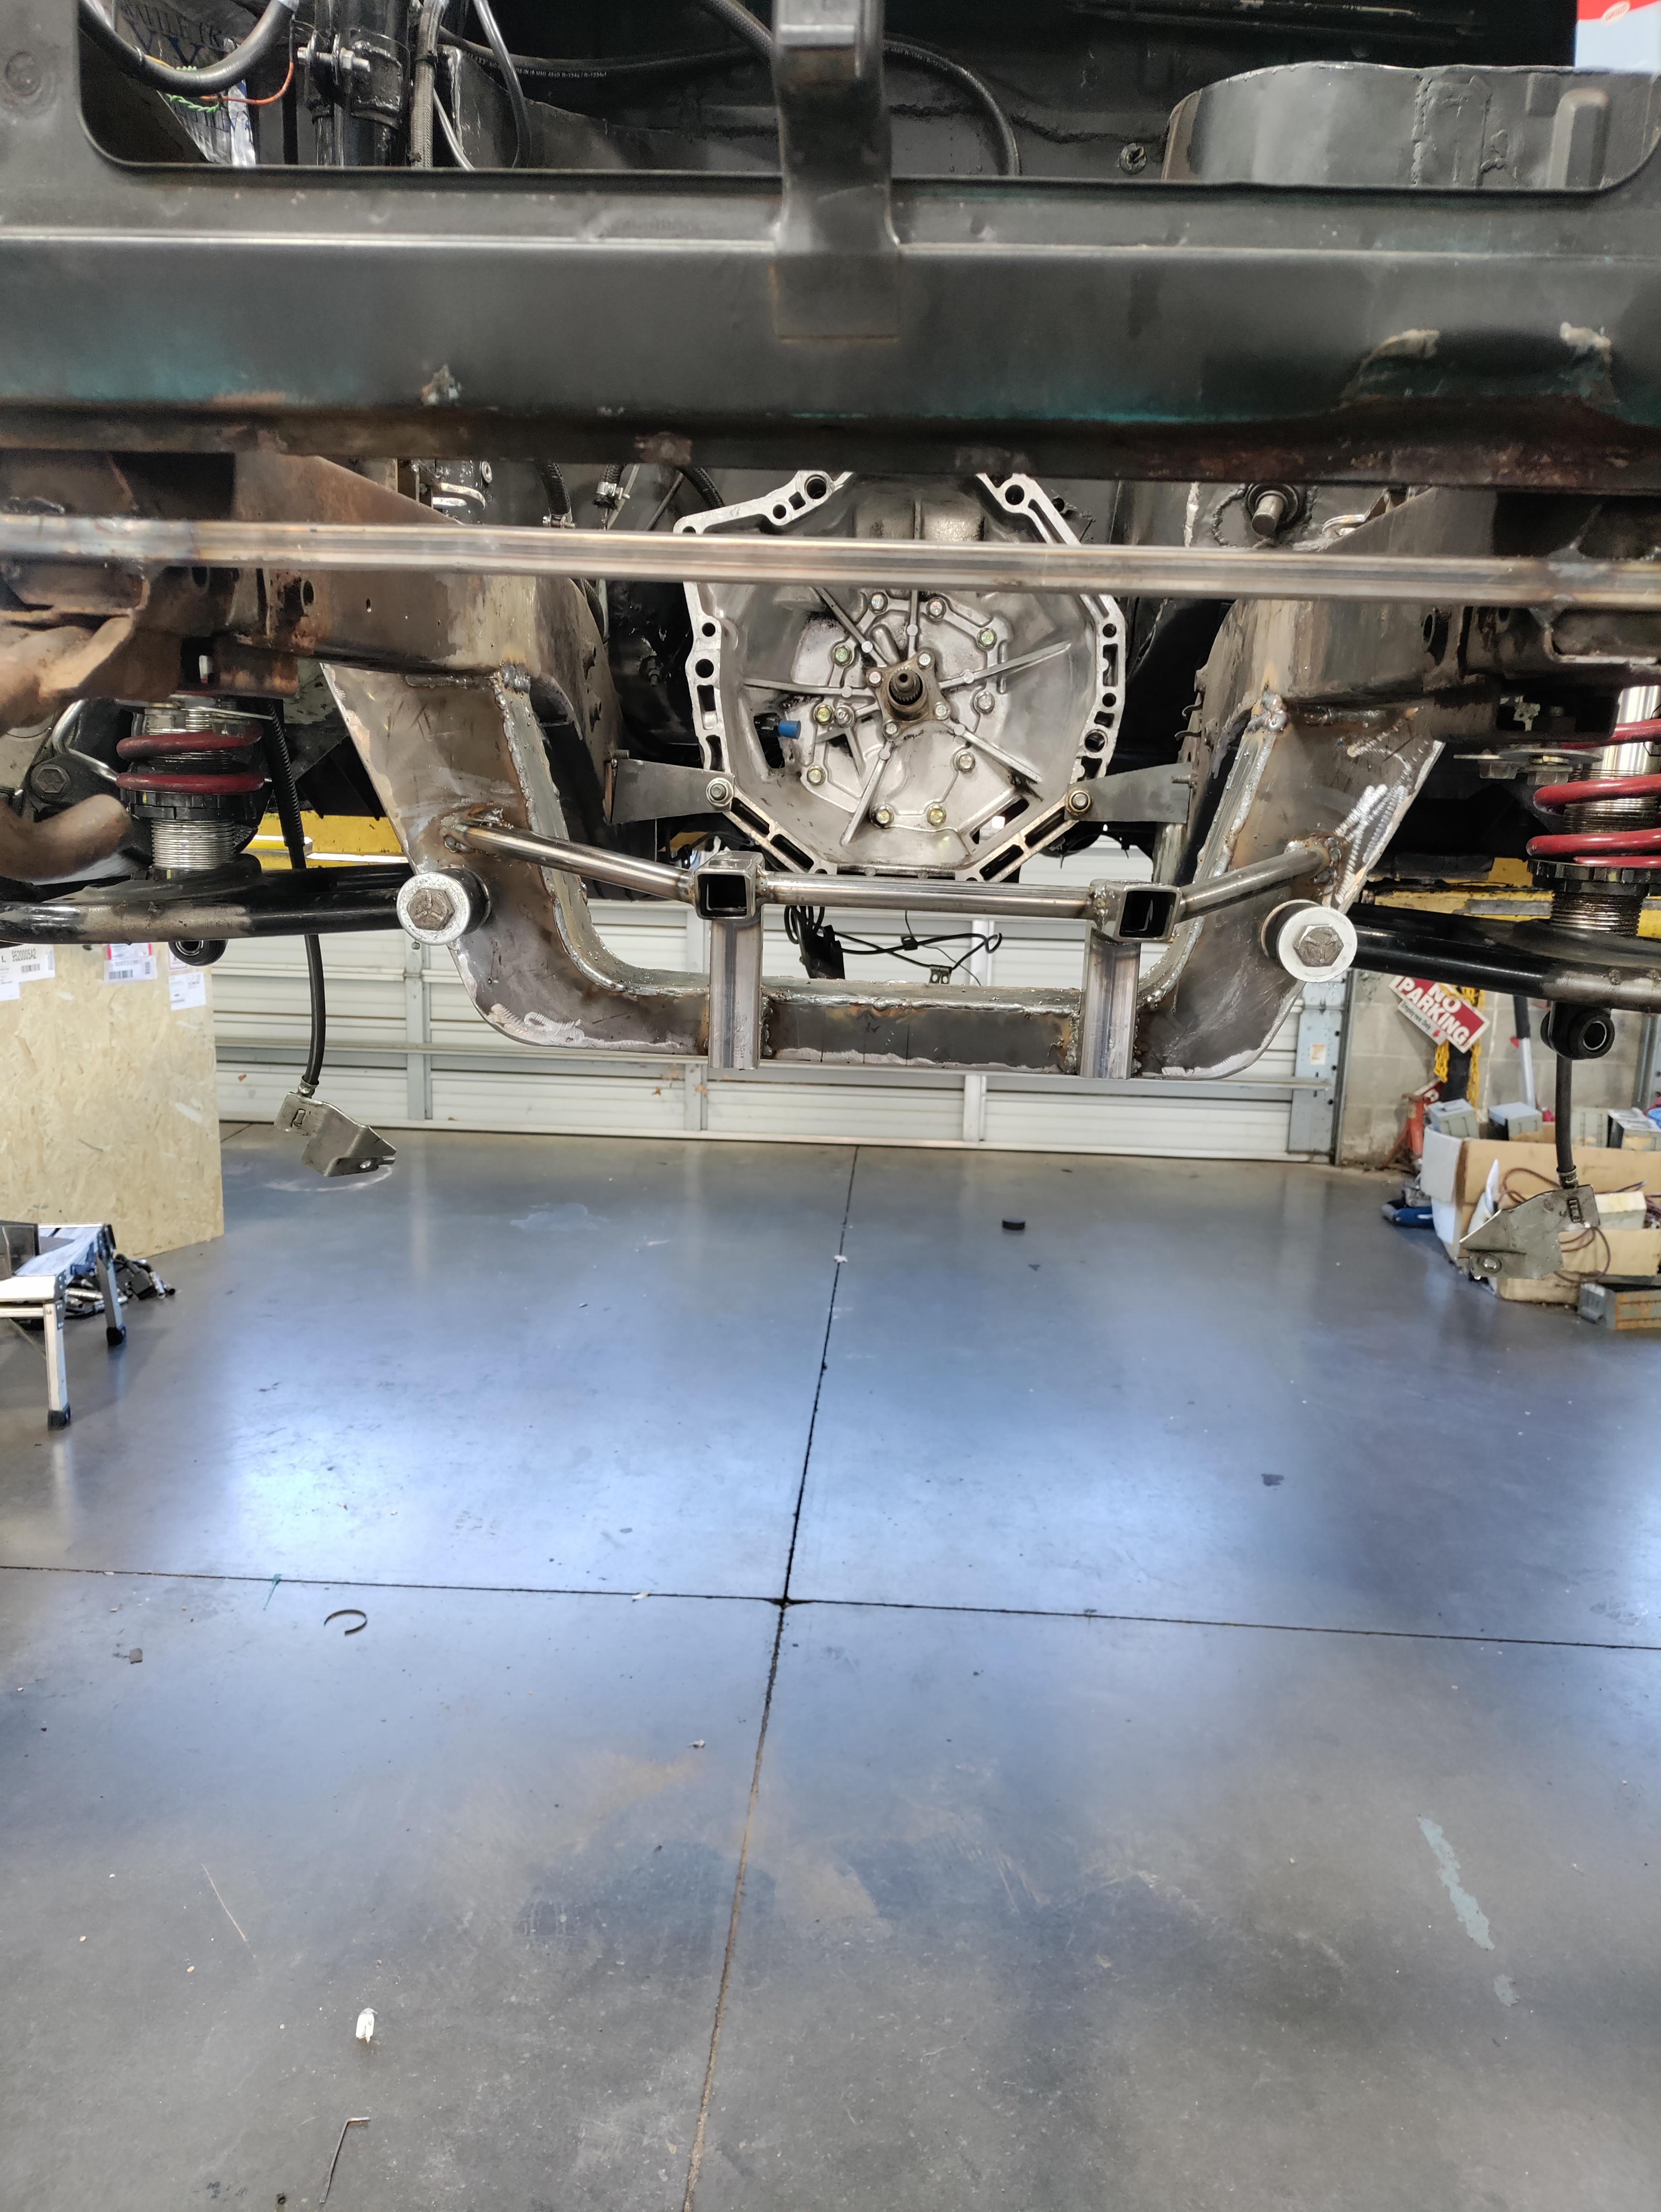
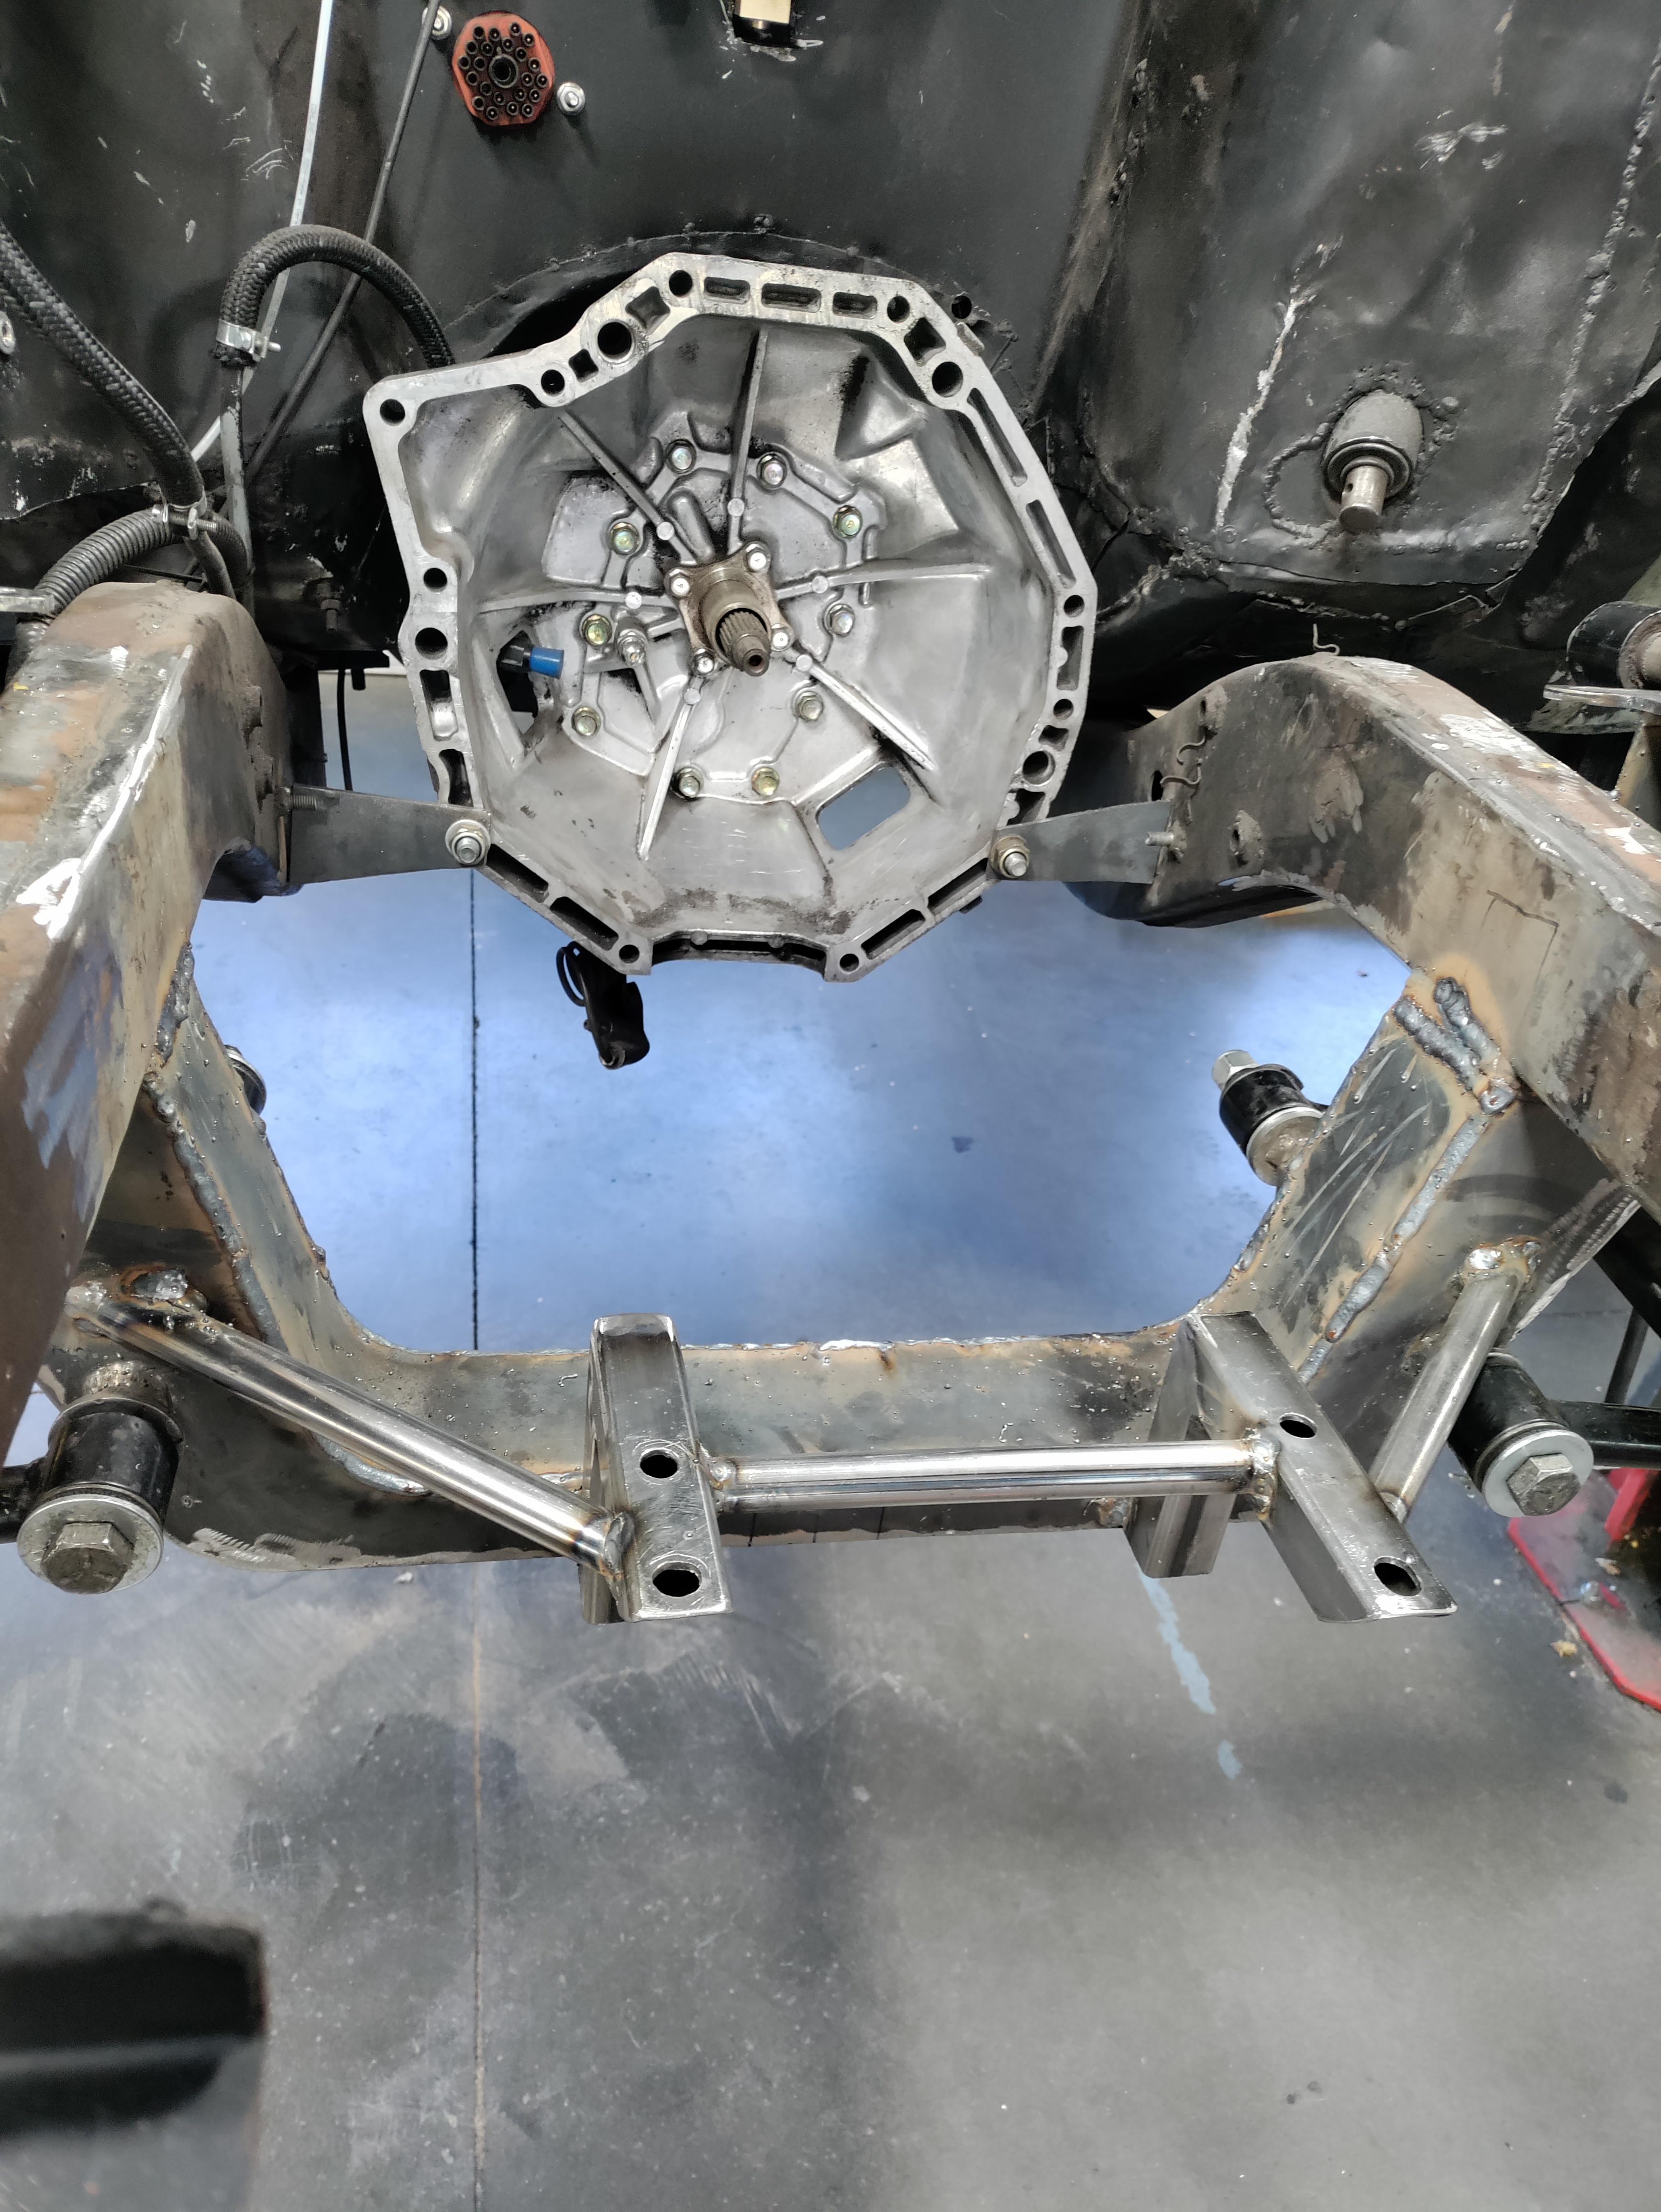
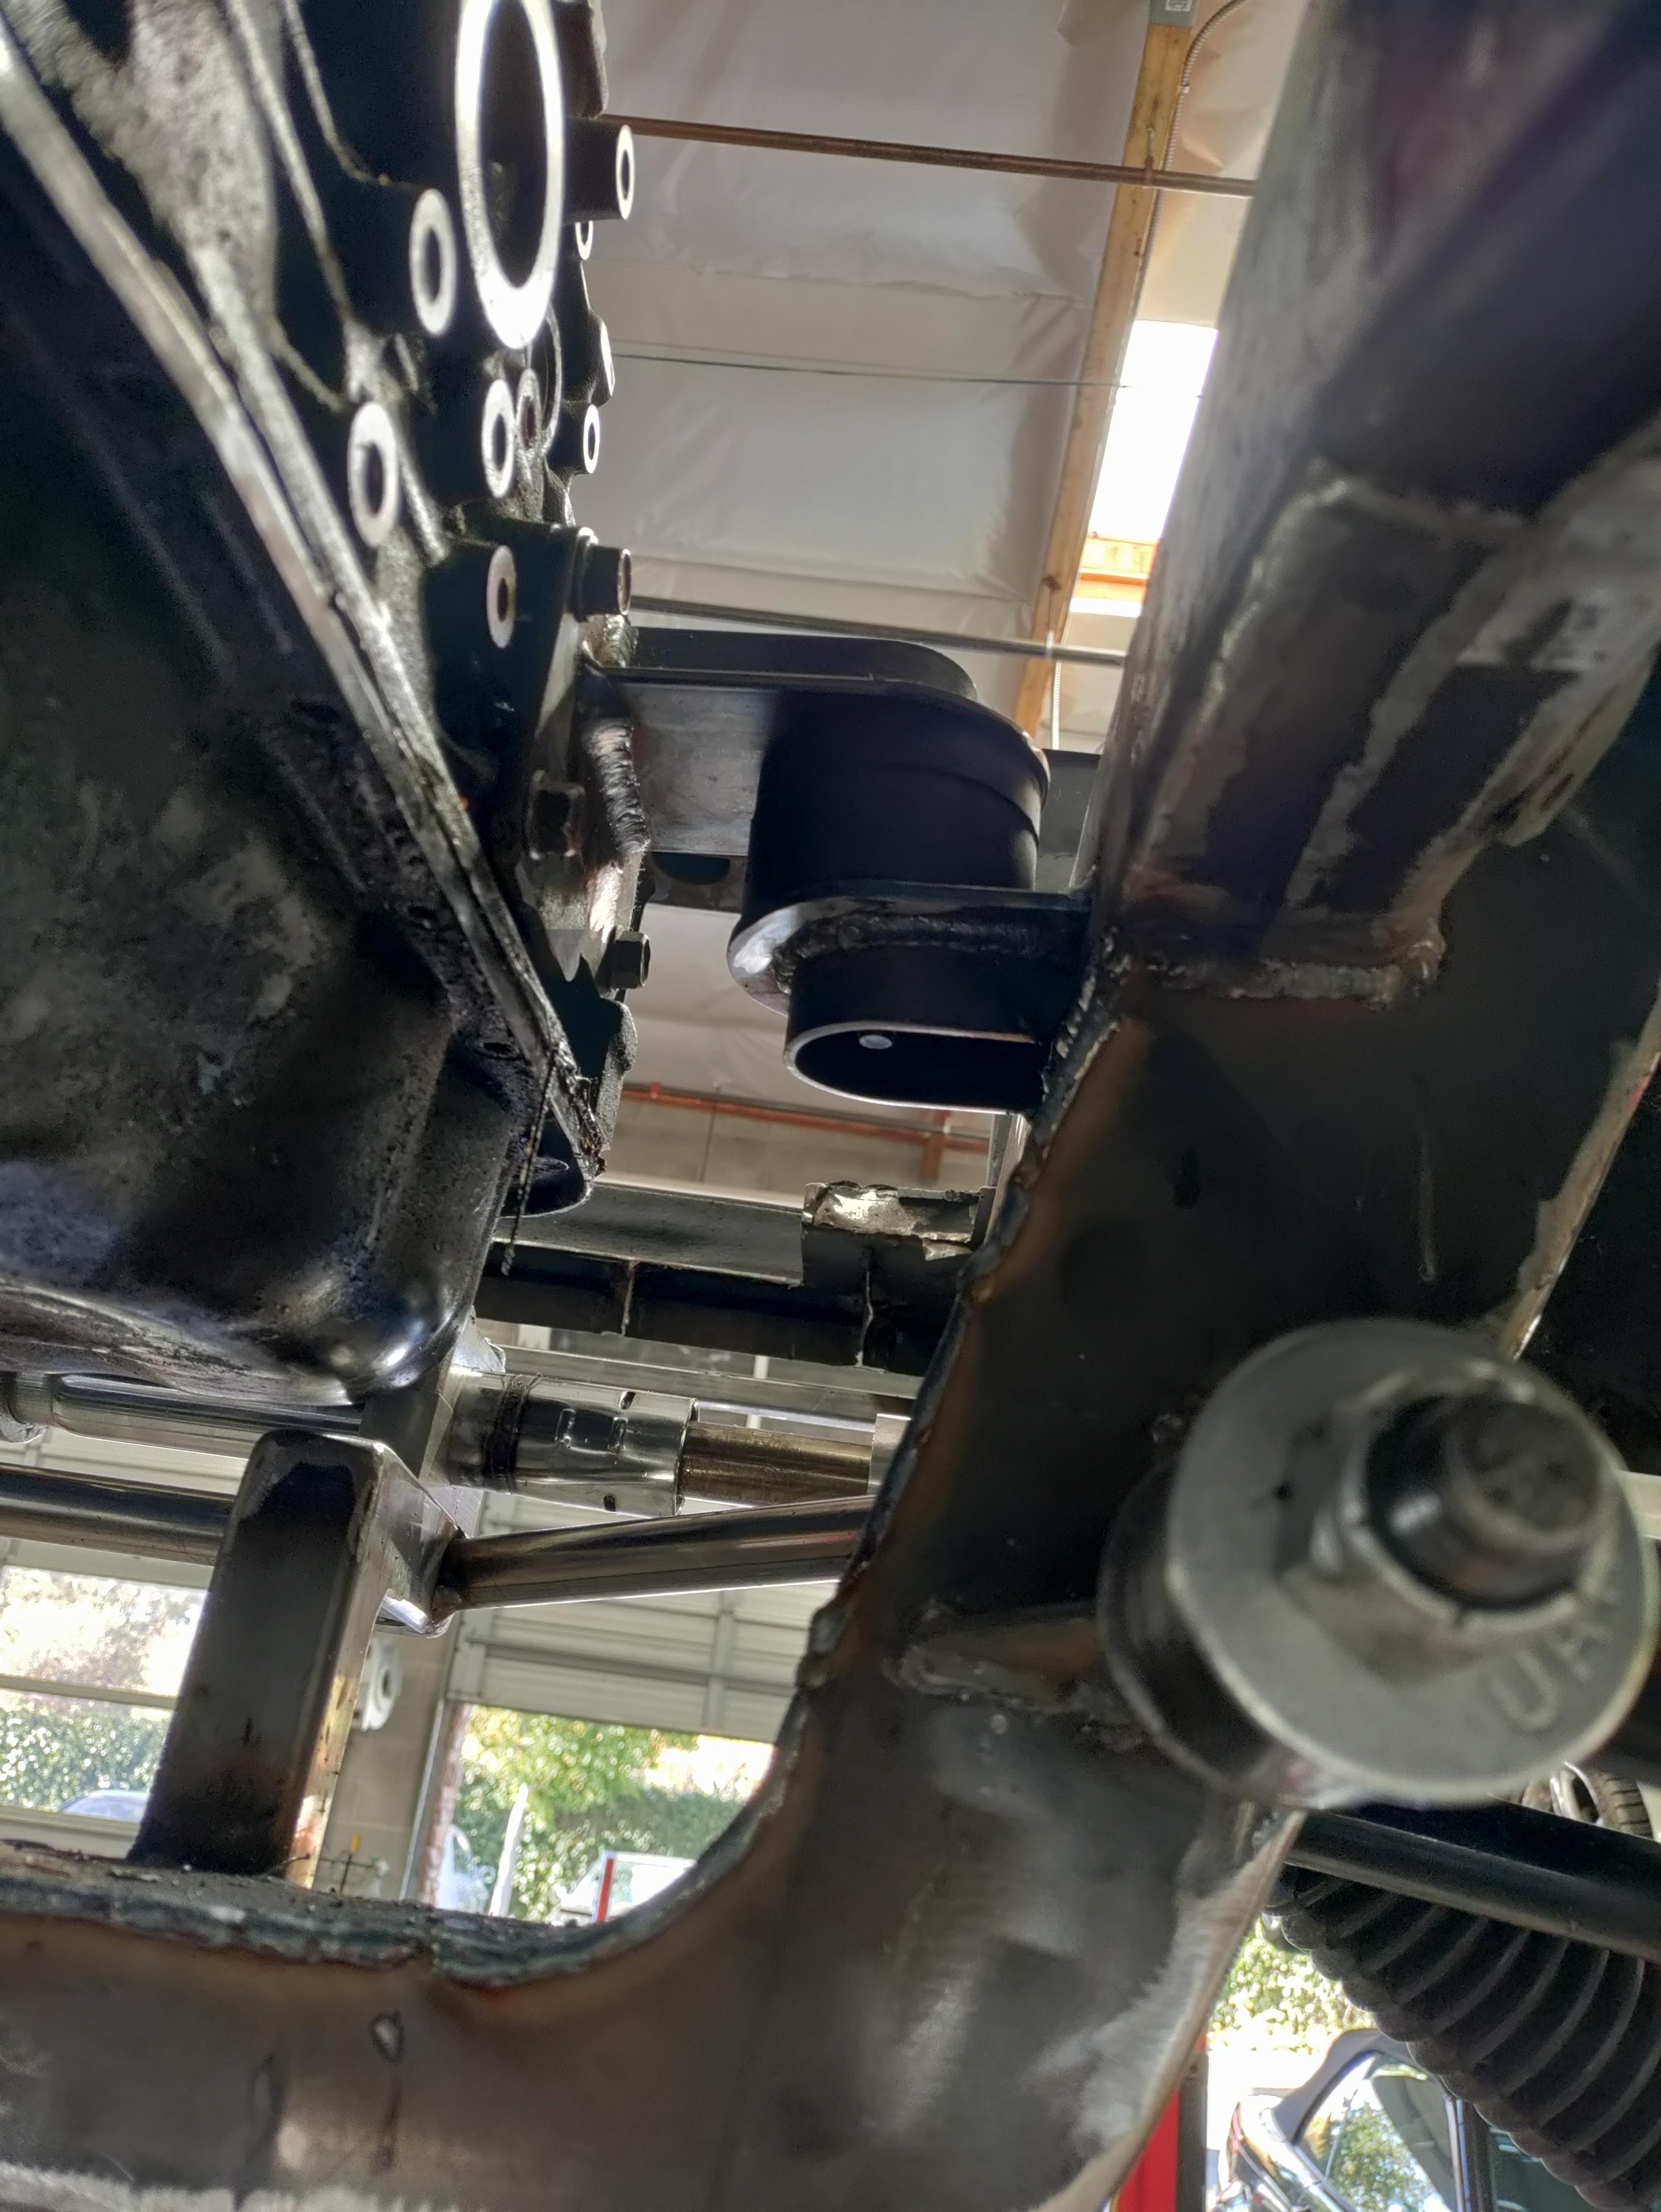
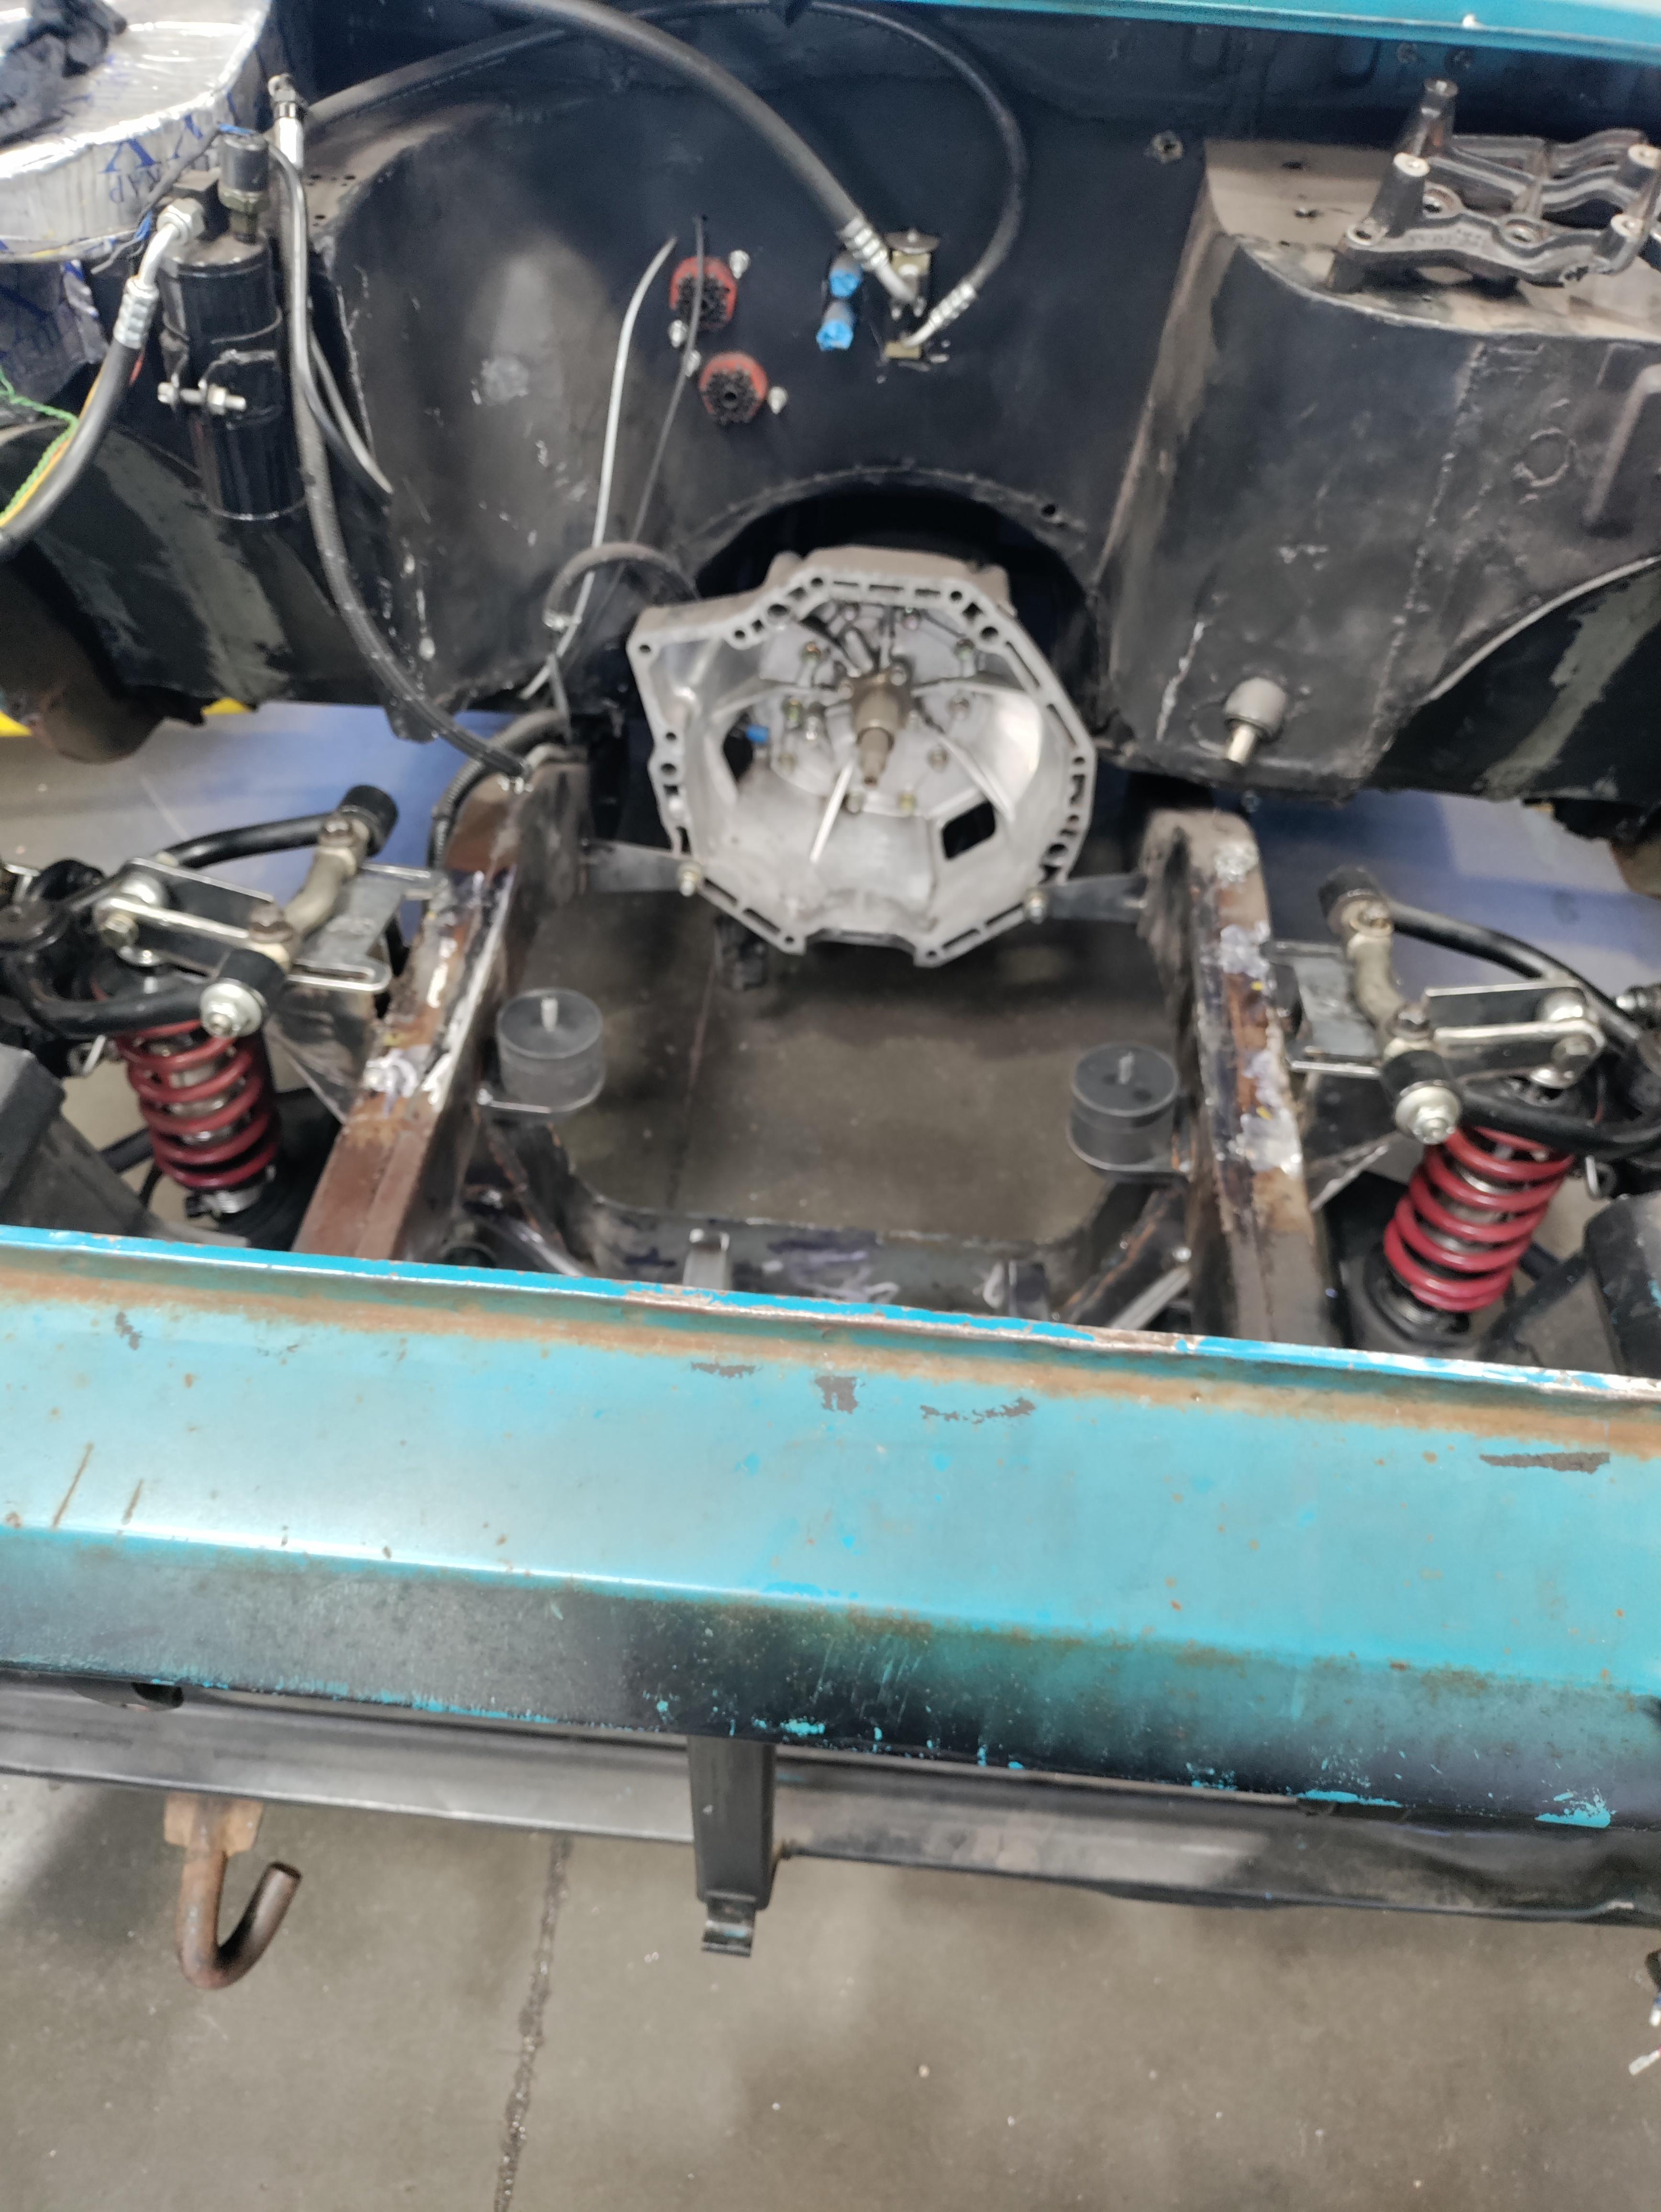
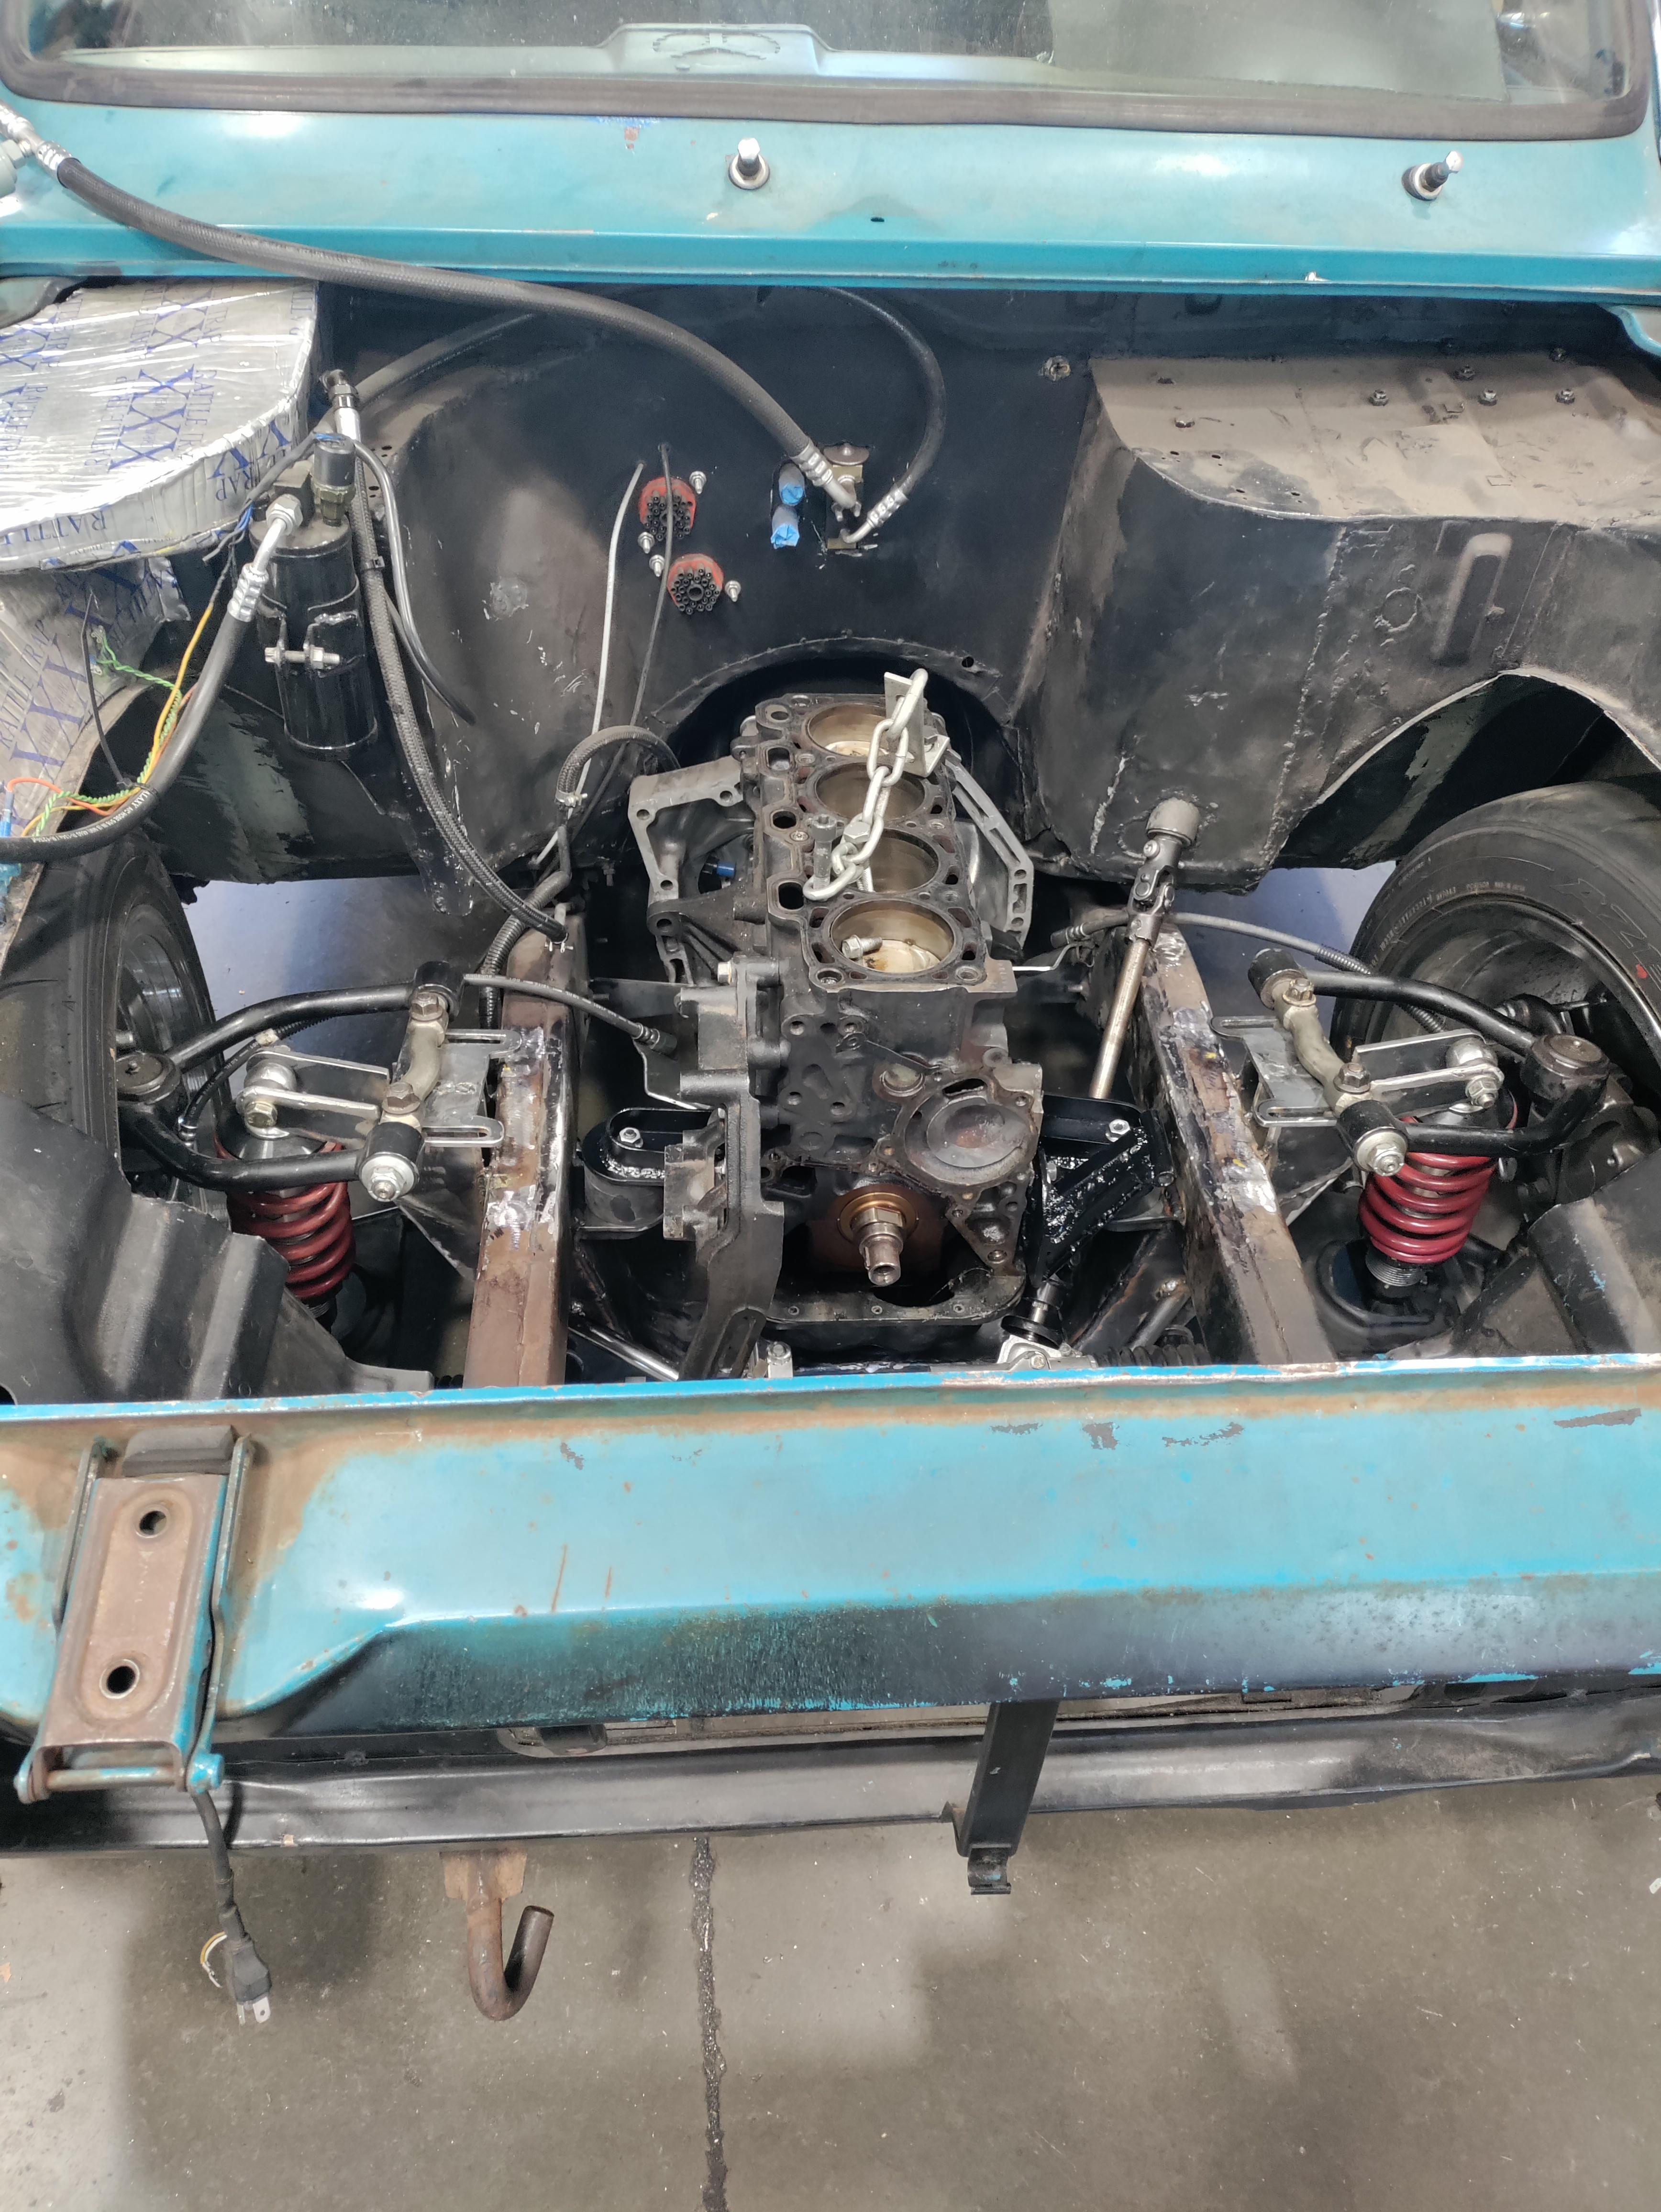
Im cutting out and replacing my Mustang 2 front end. Its been hacked up too many times and needs to be replaced to look pretty. im also redoing the front engine mounts with some BMW 325i mounts to try to reduce the vibrations.
Last edited by fastivab6tg25mr; 10-26-2022 at 02:32 PM.
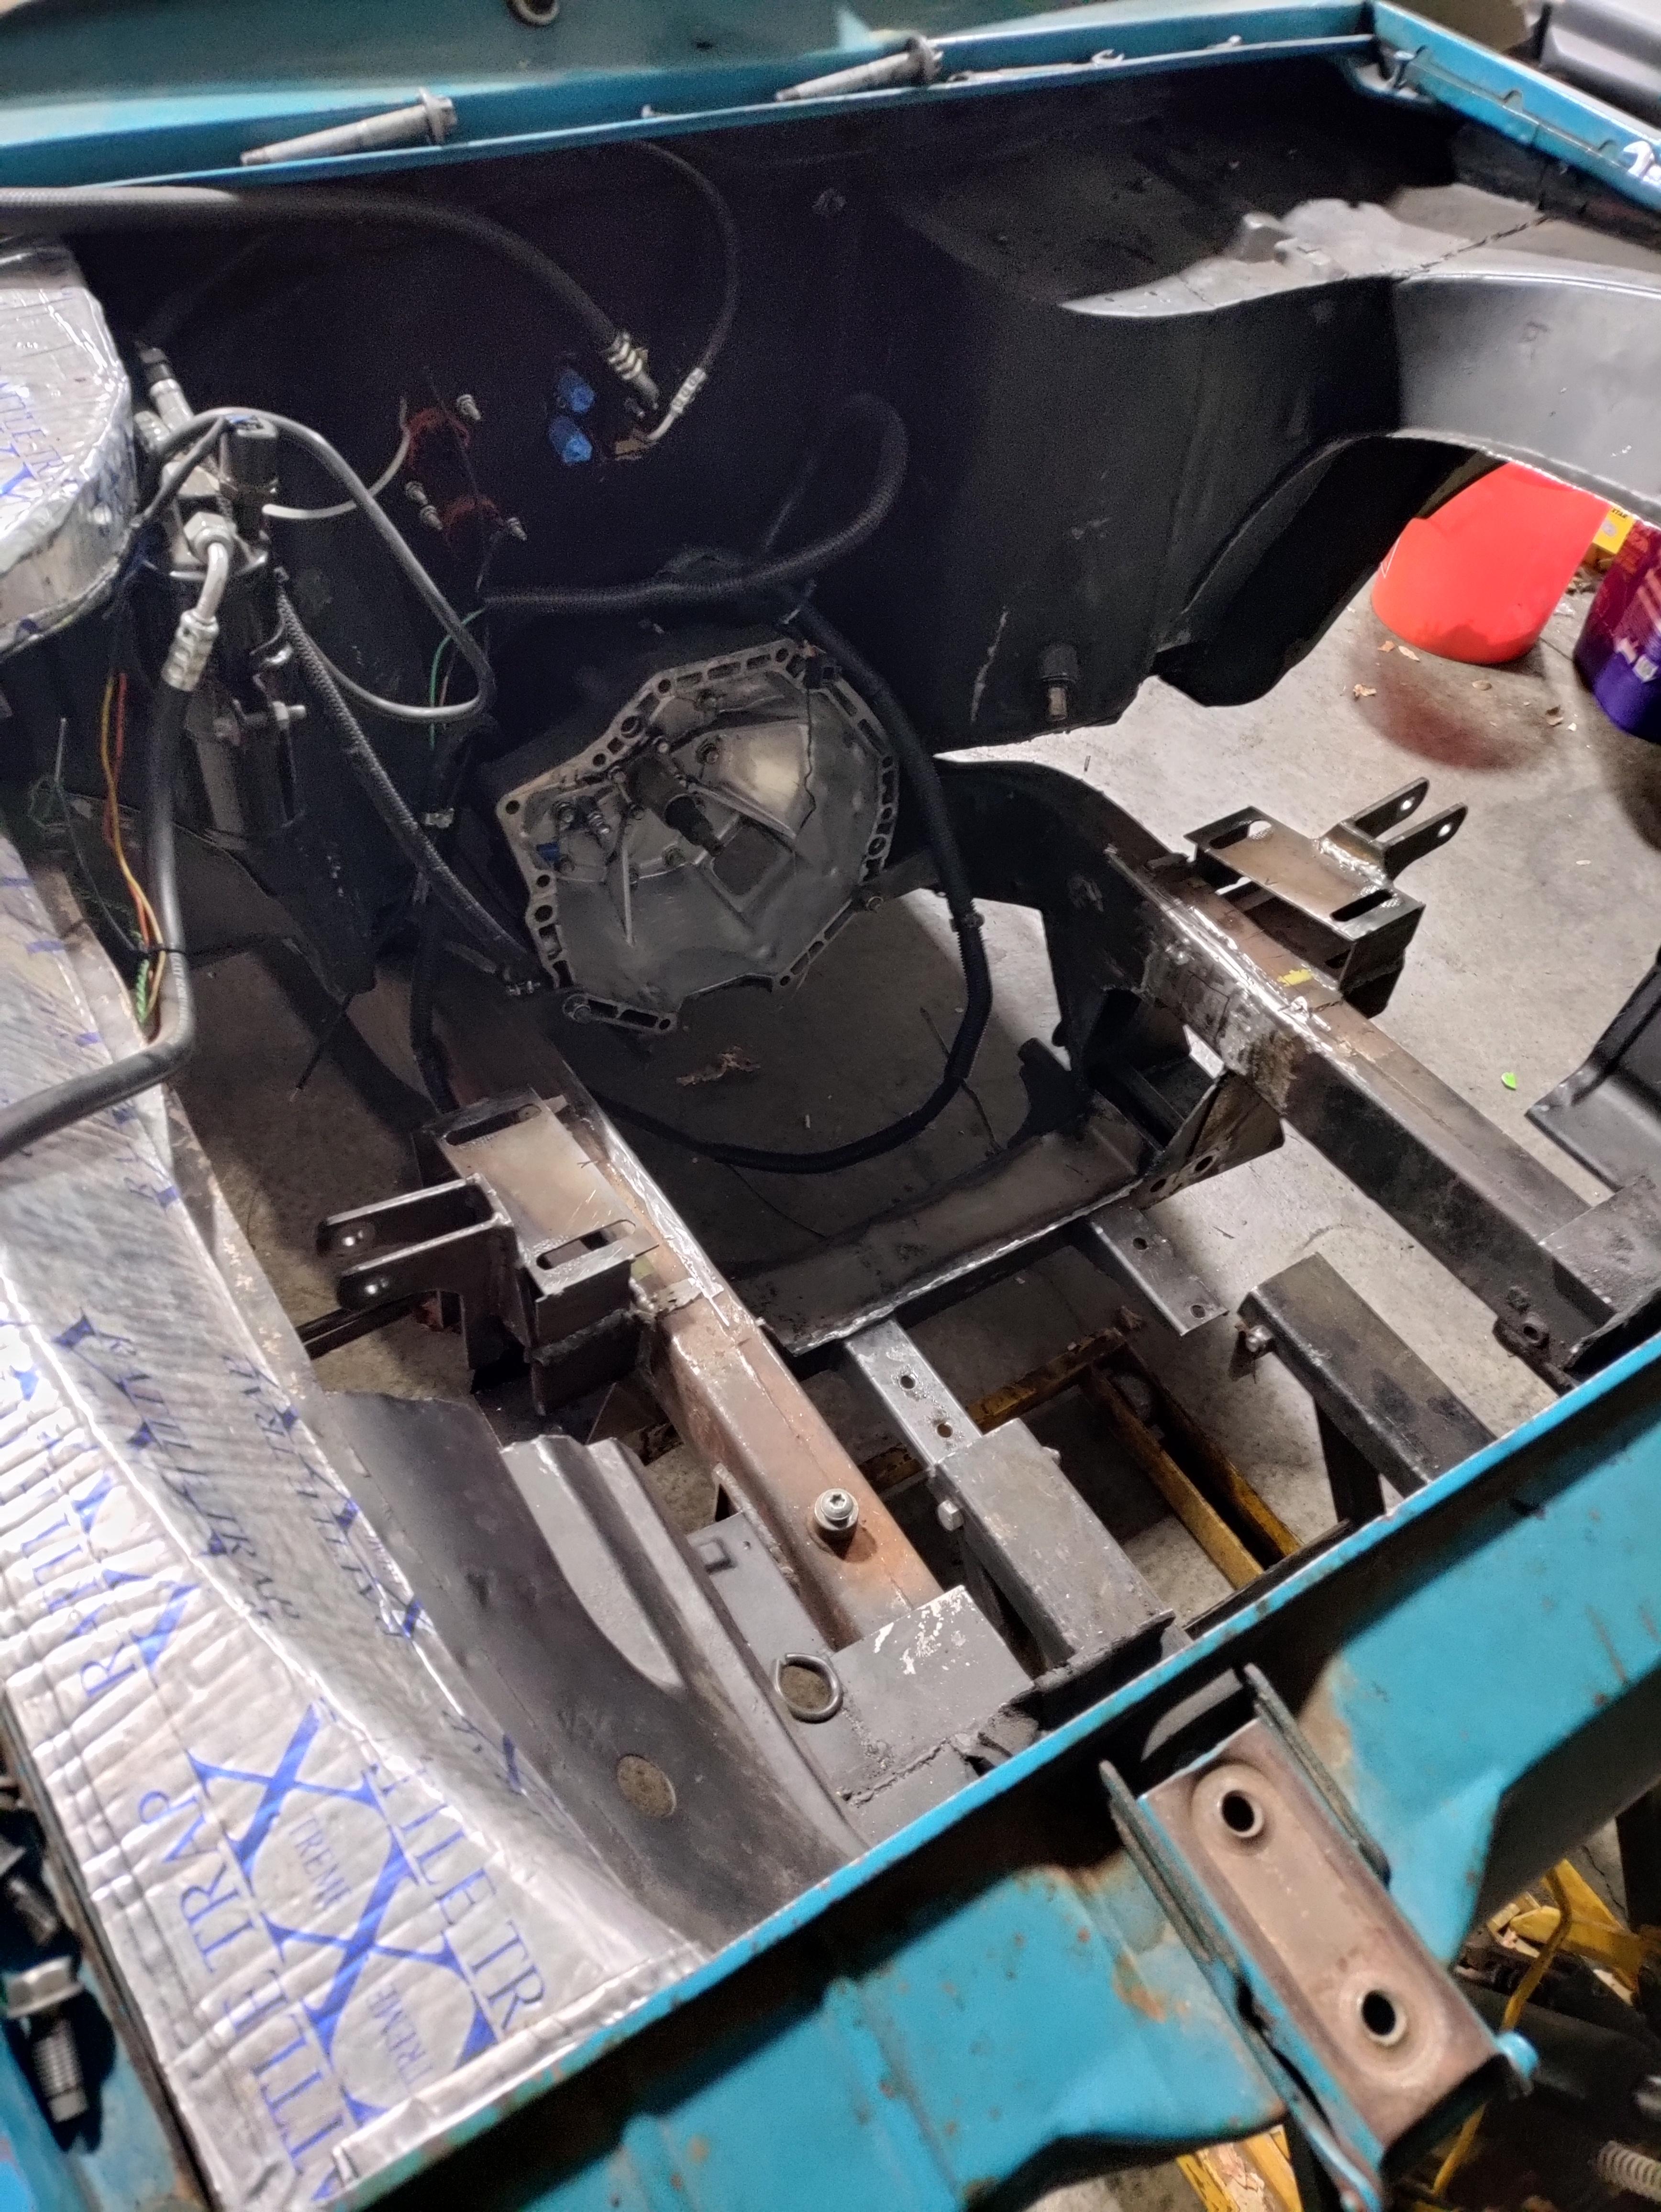
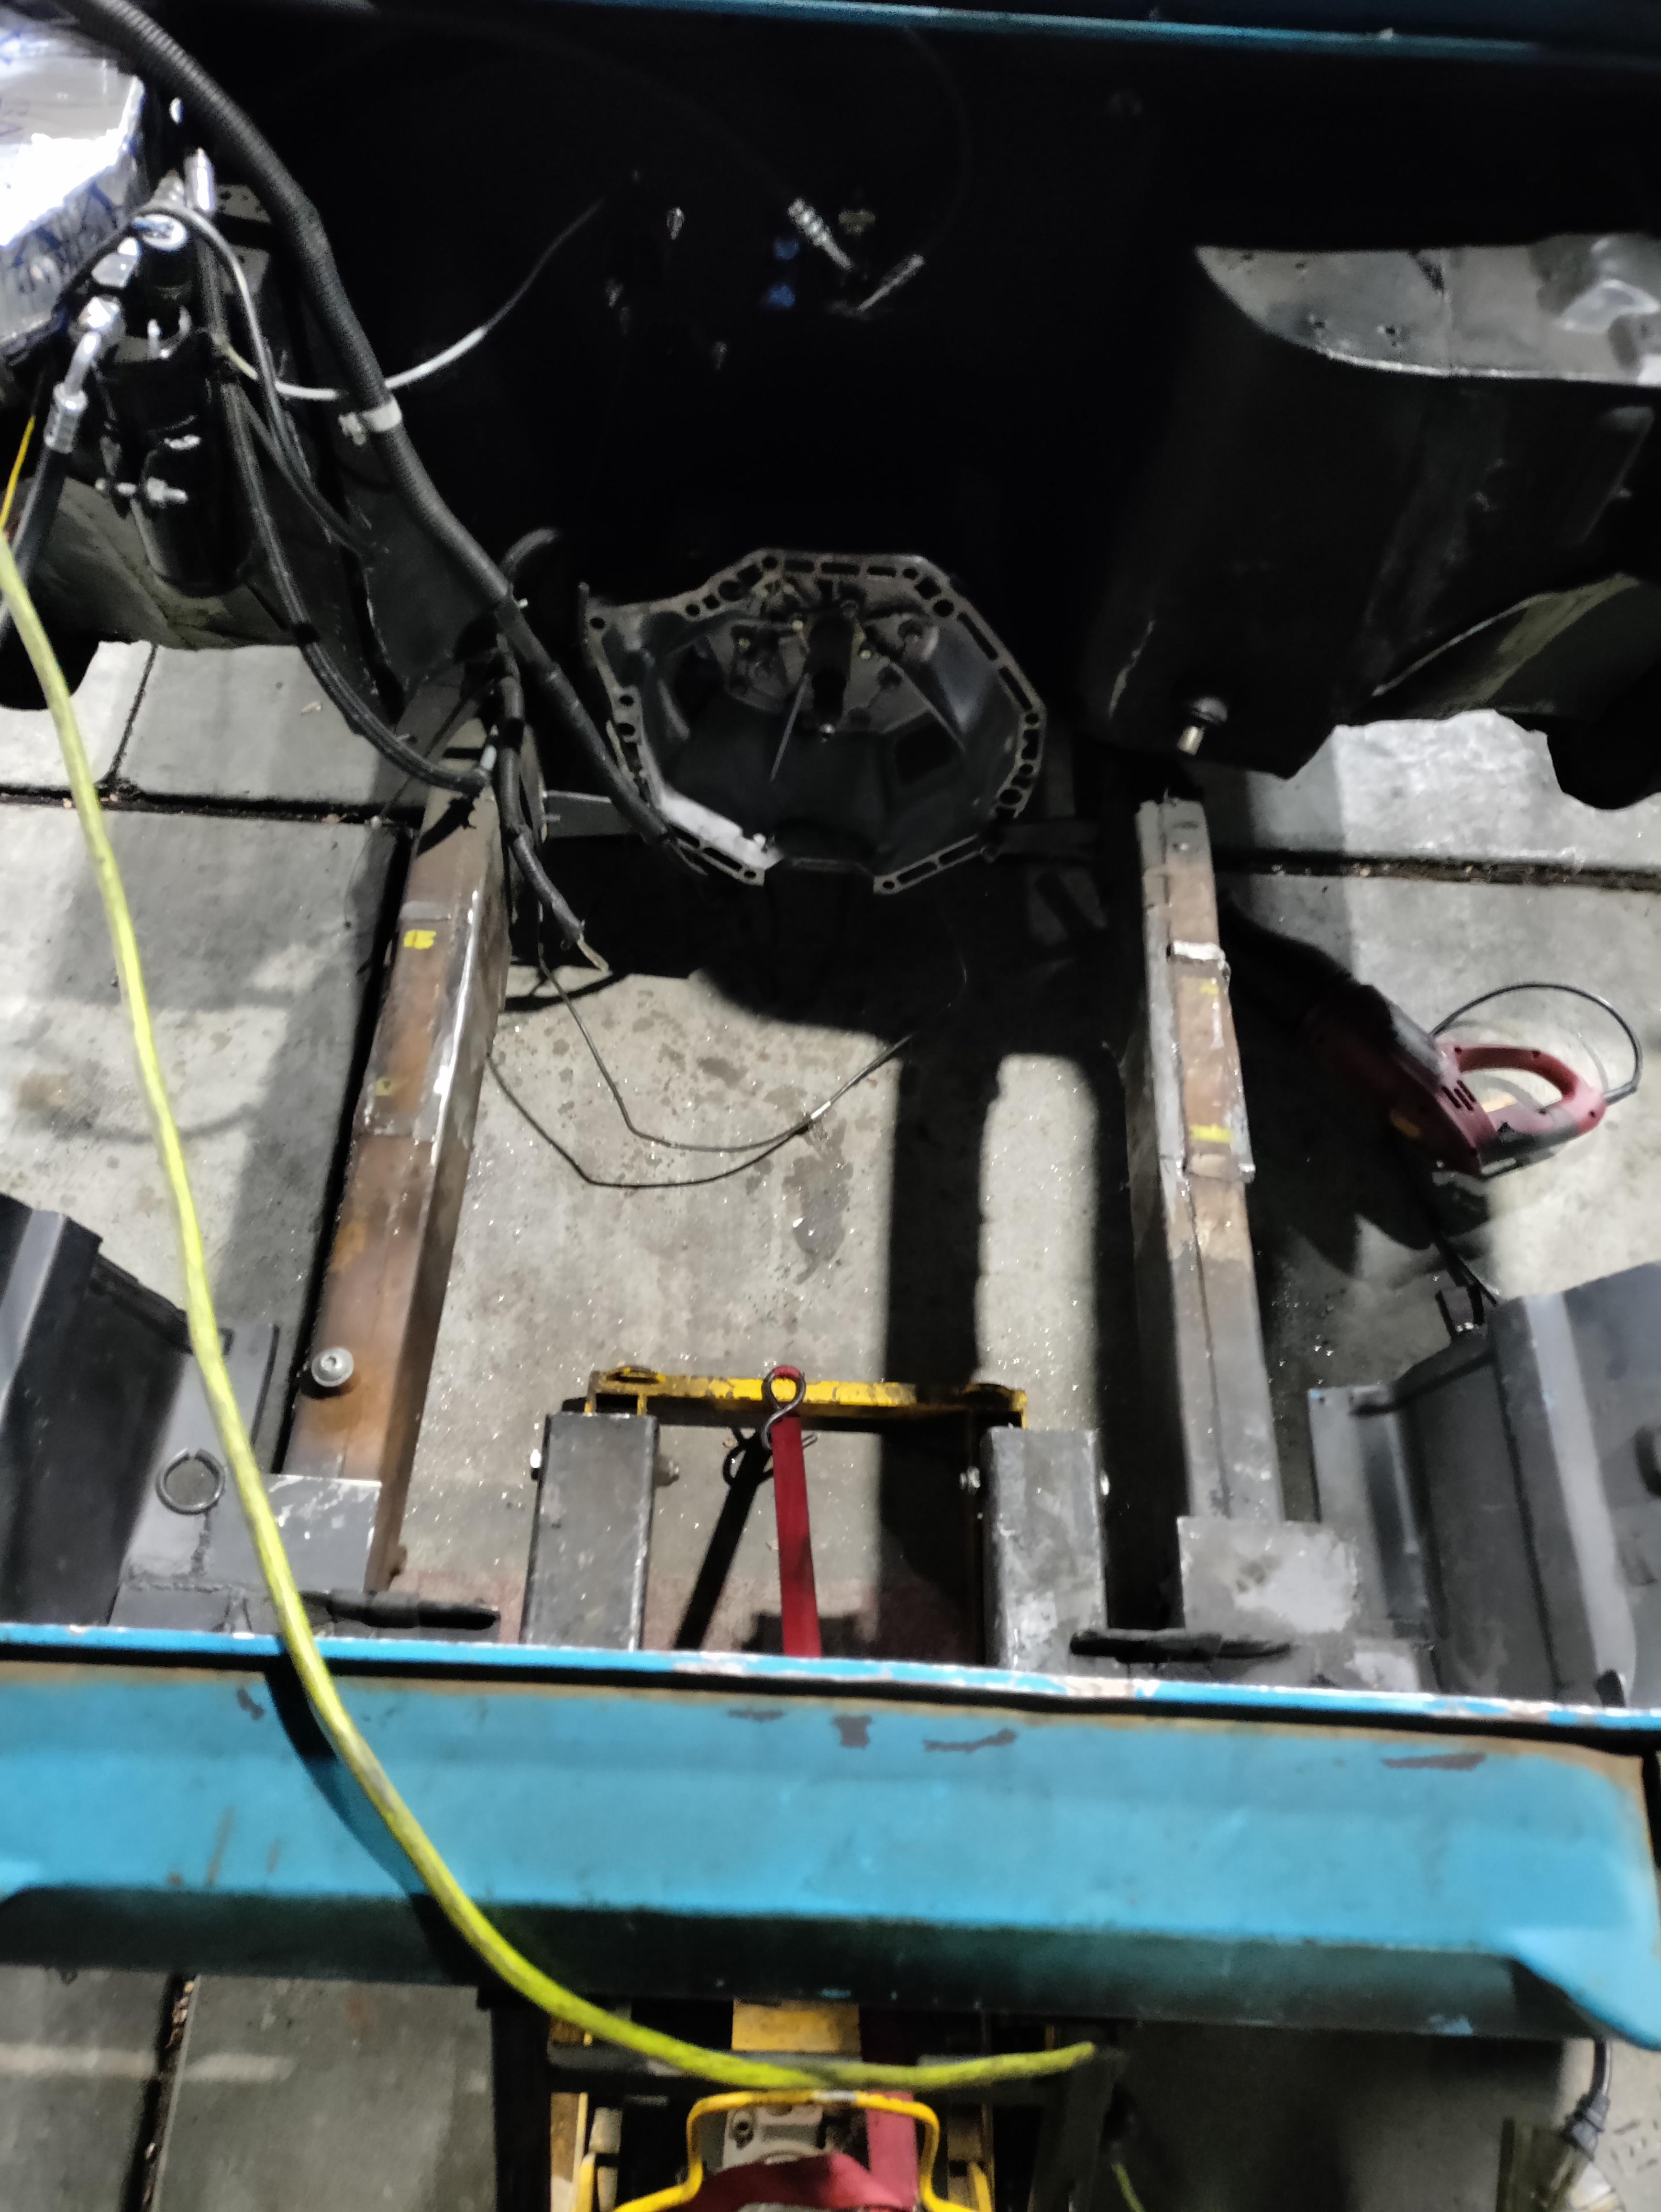
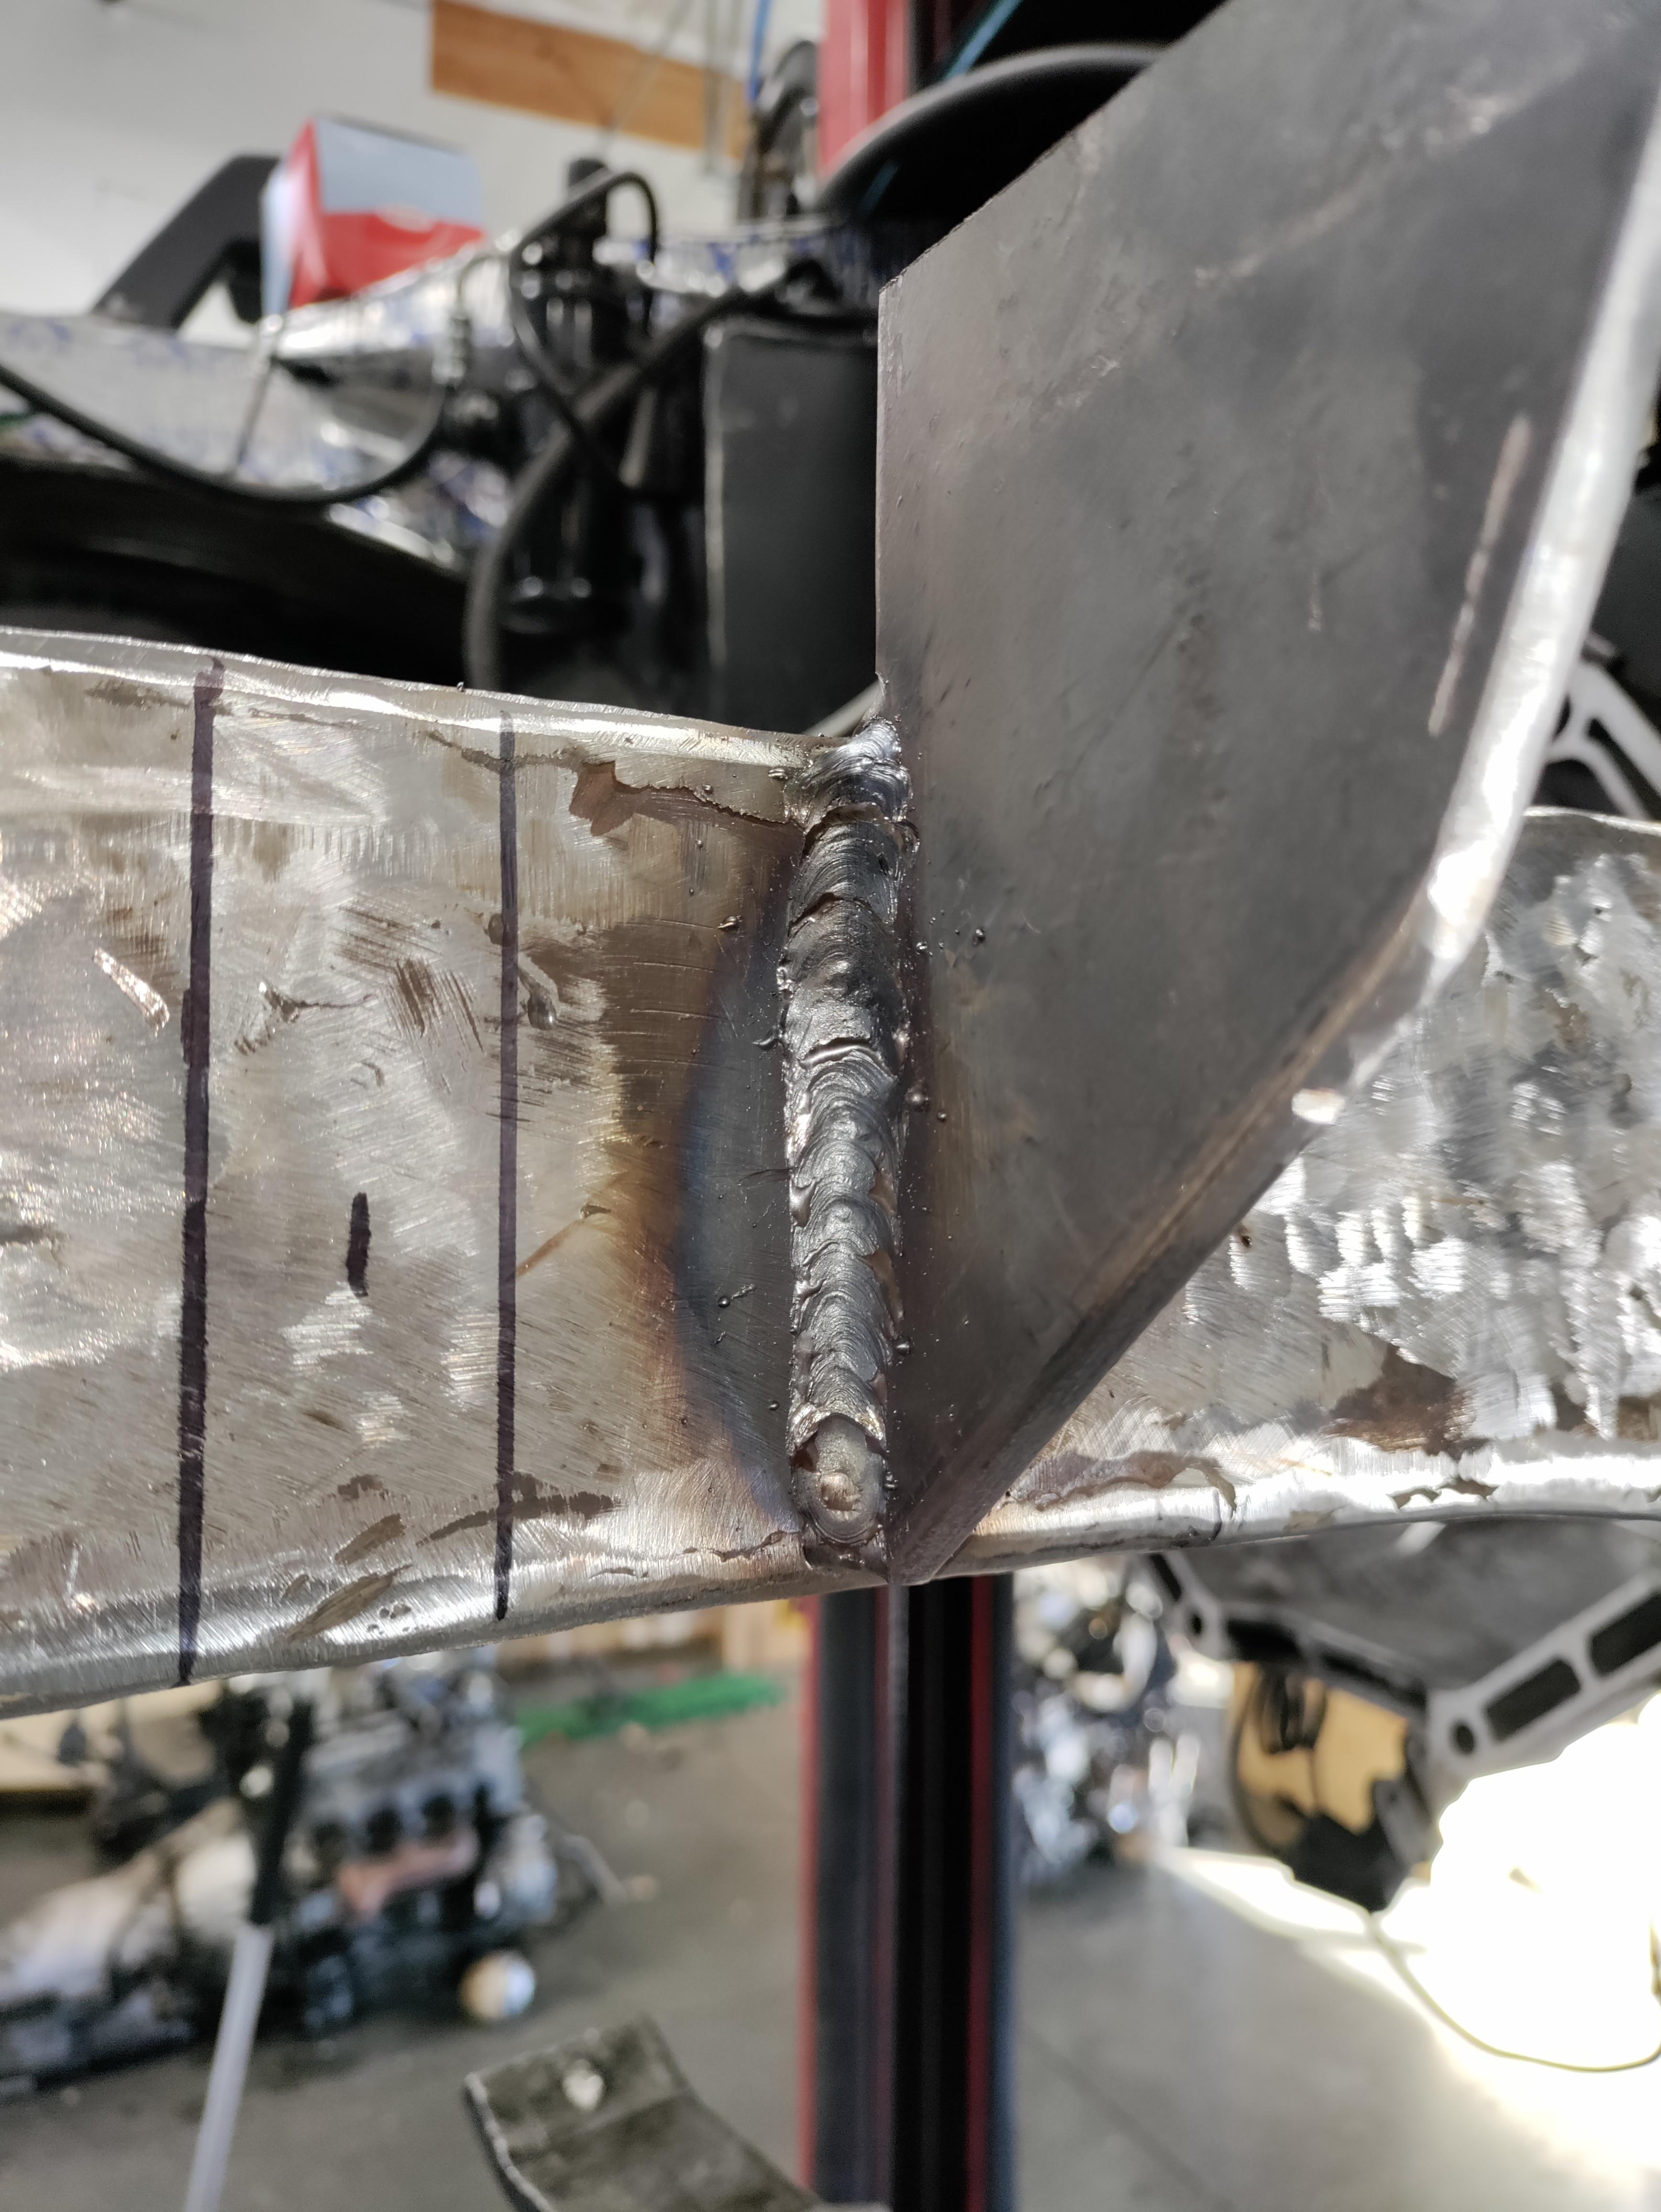
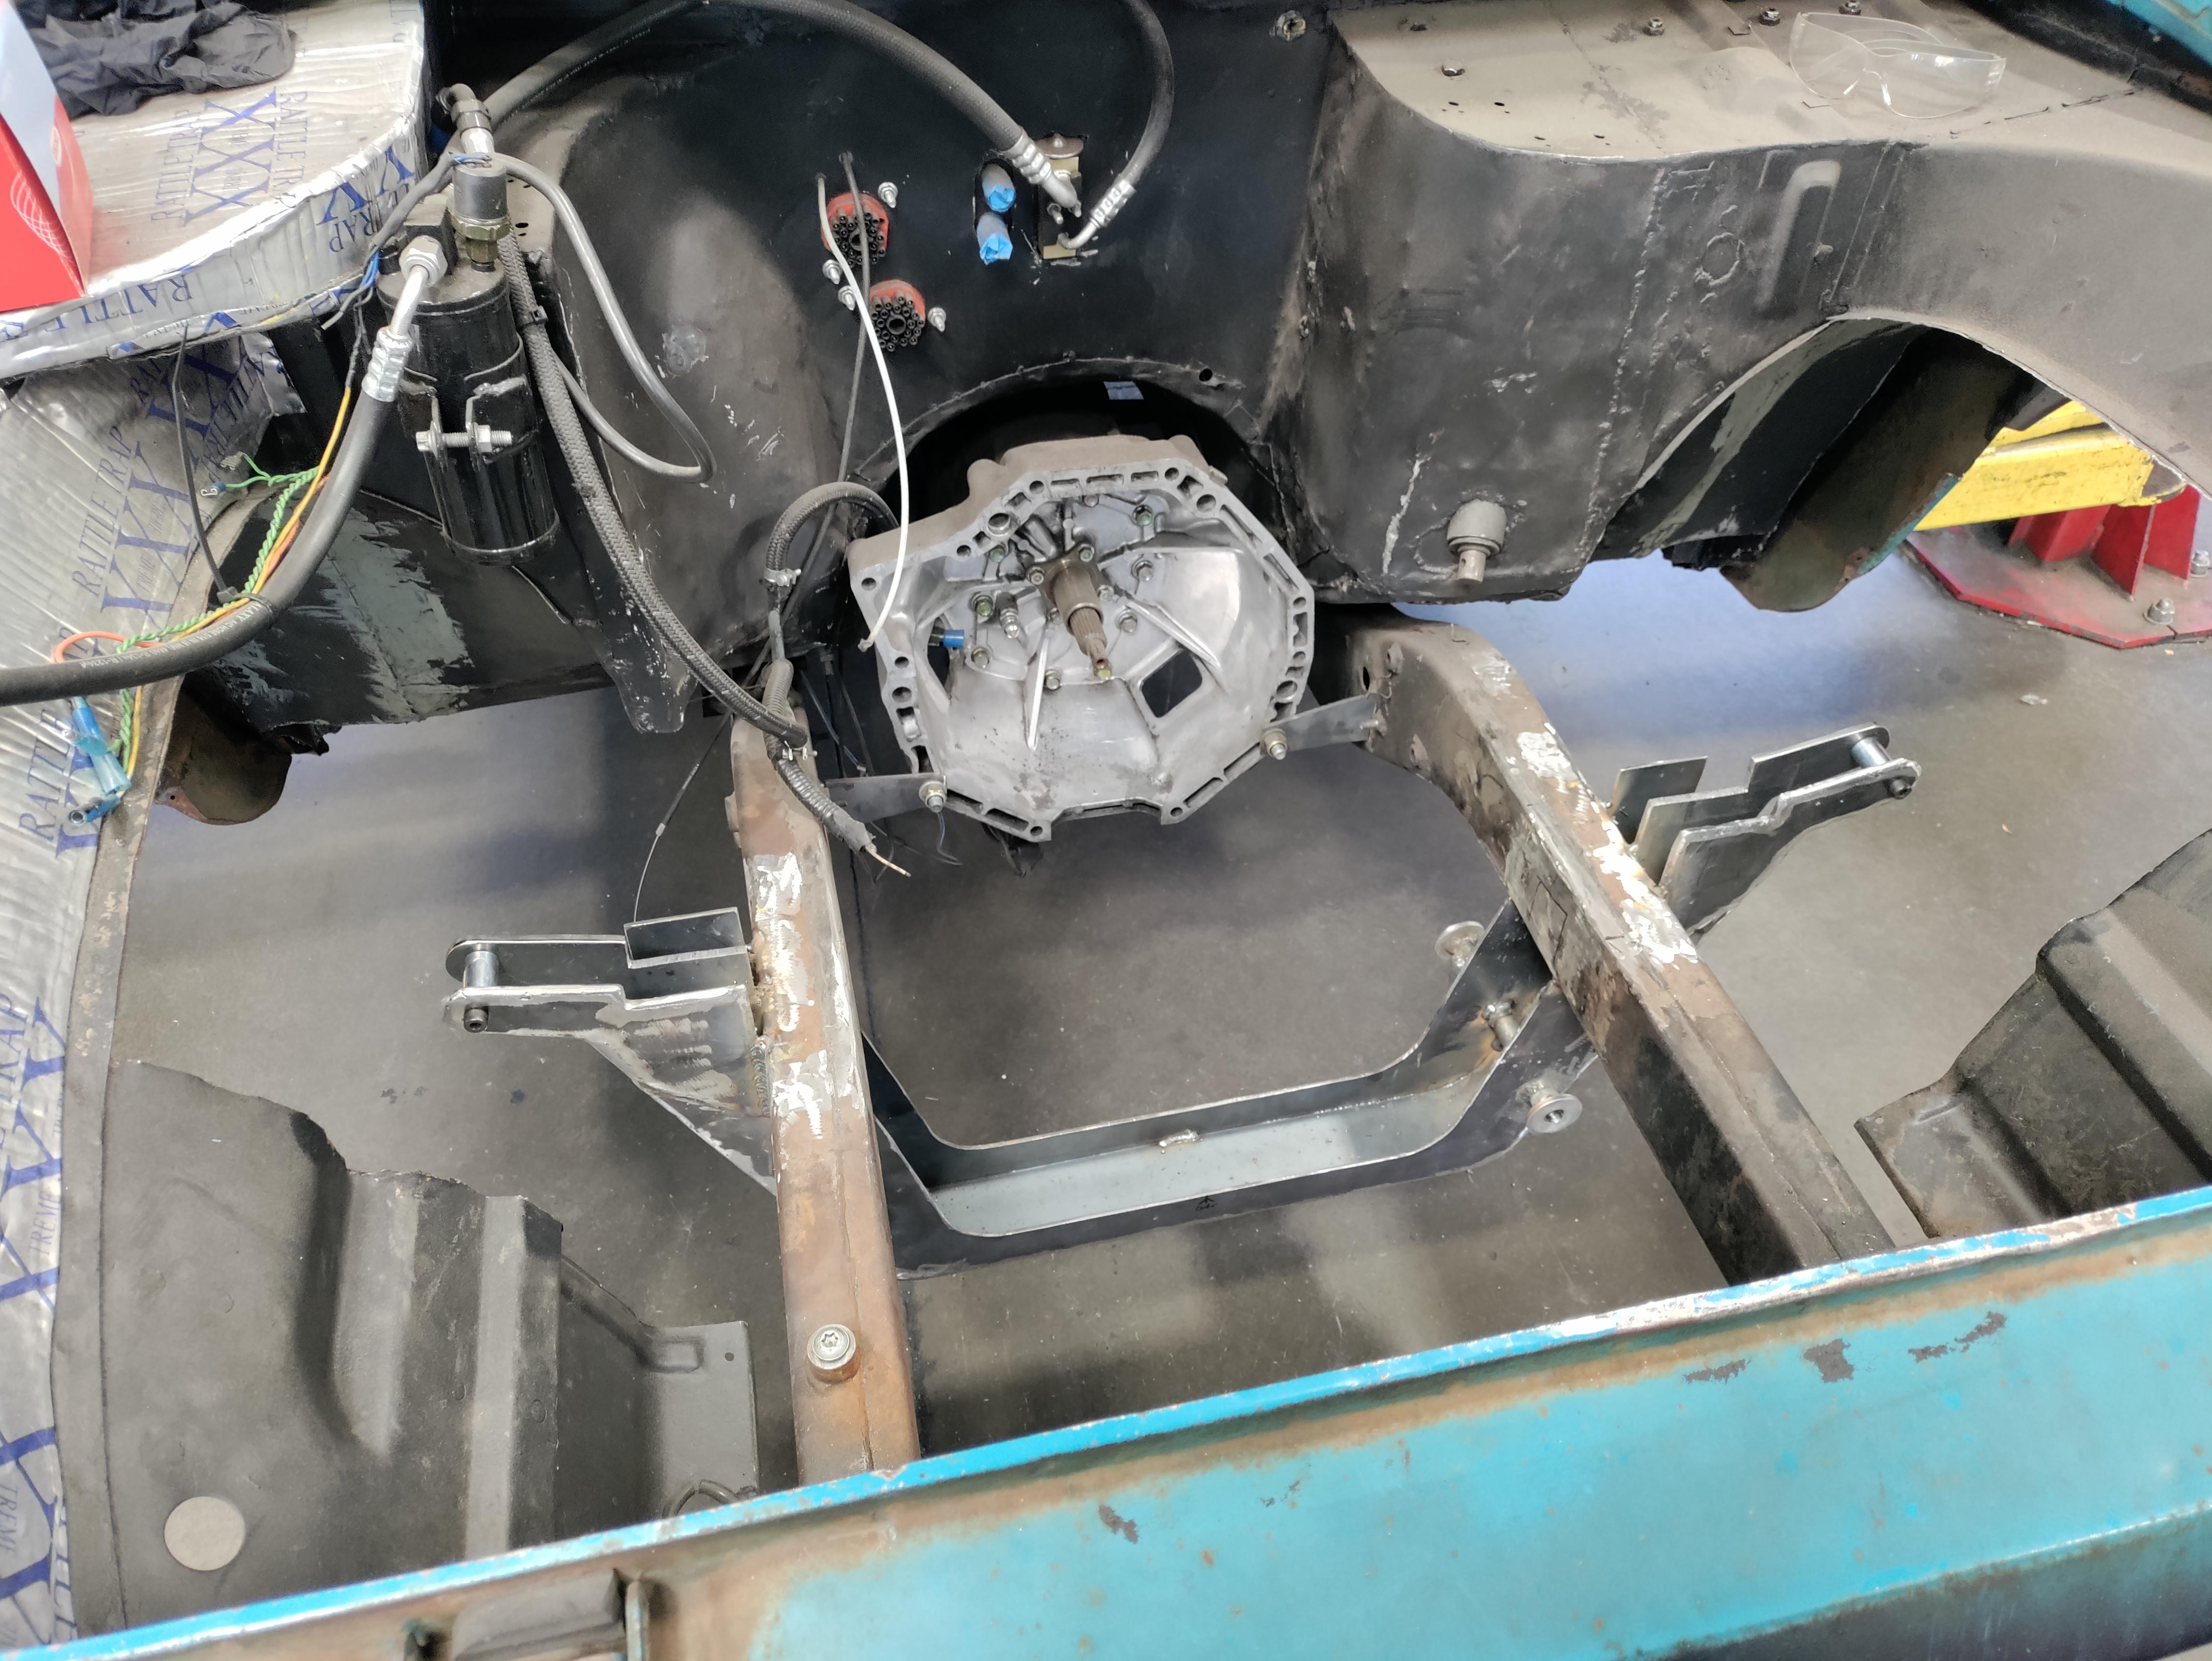
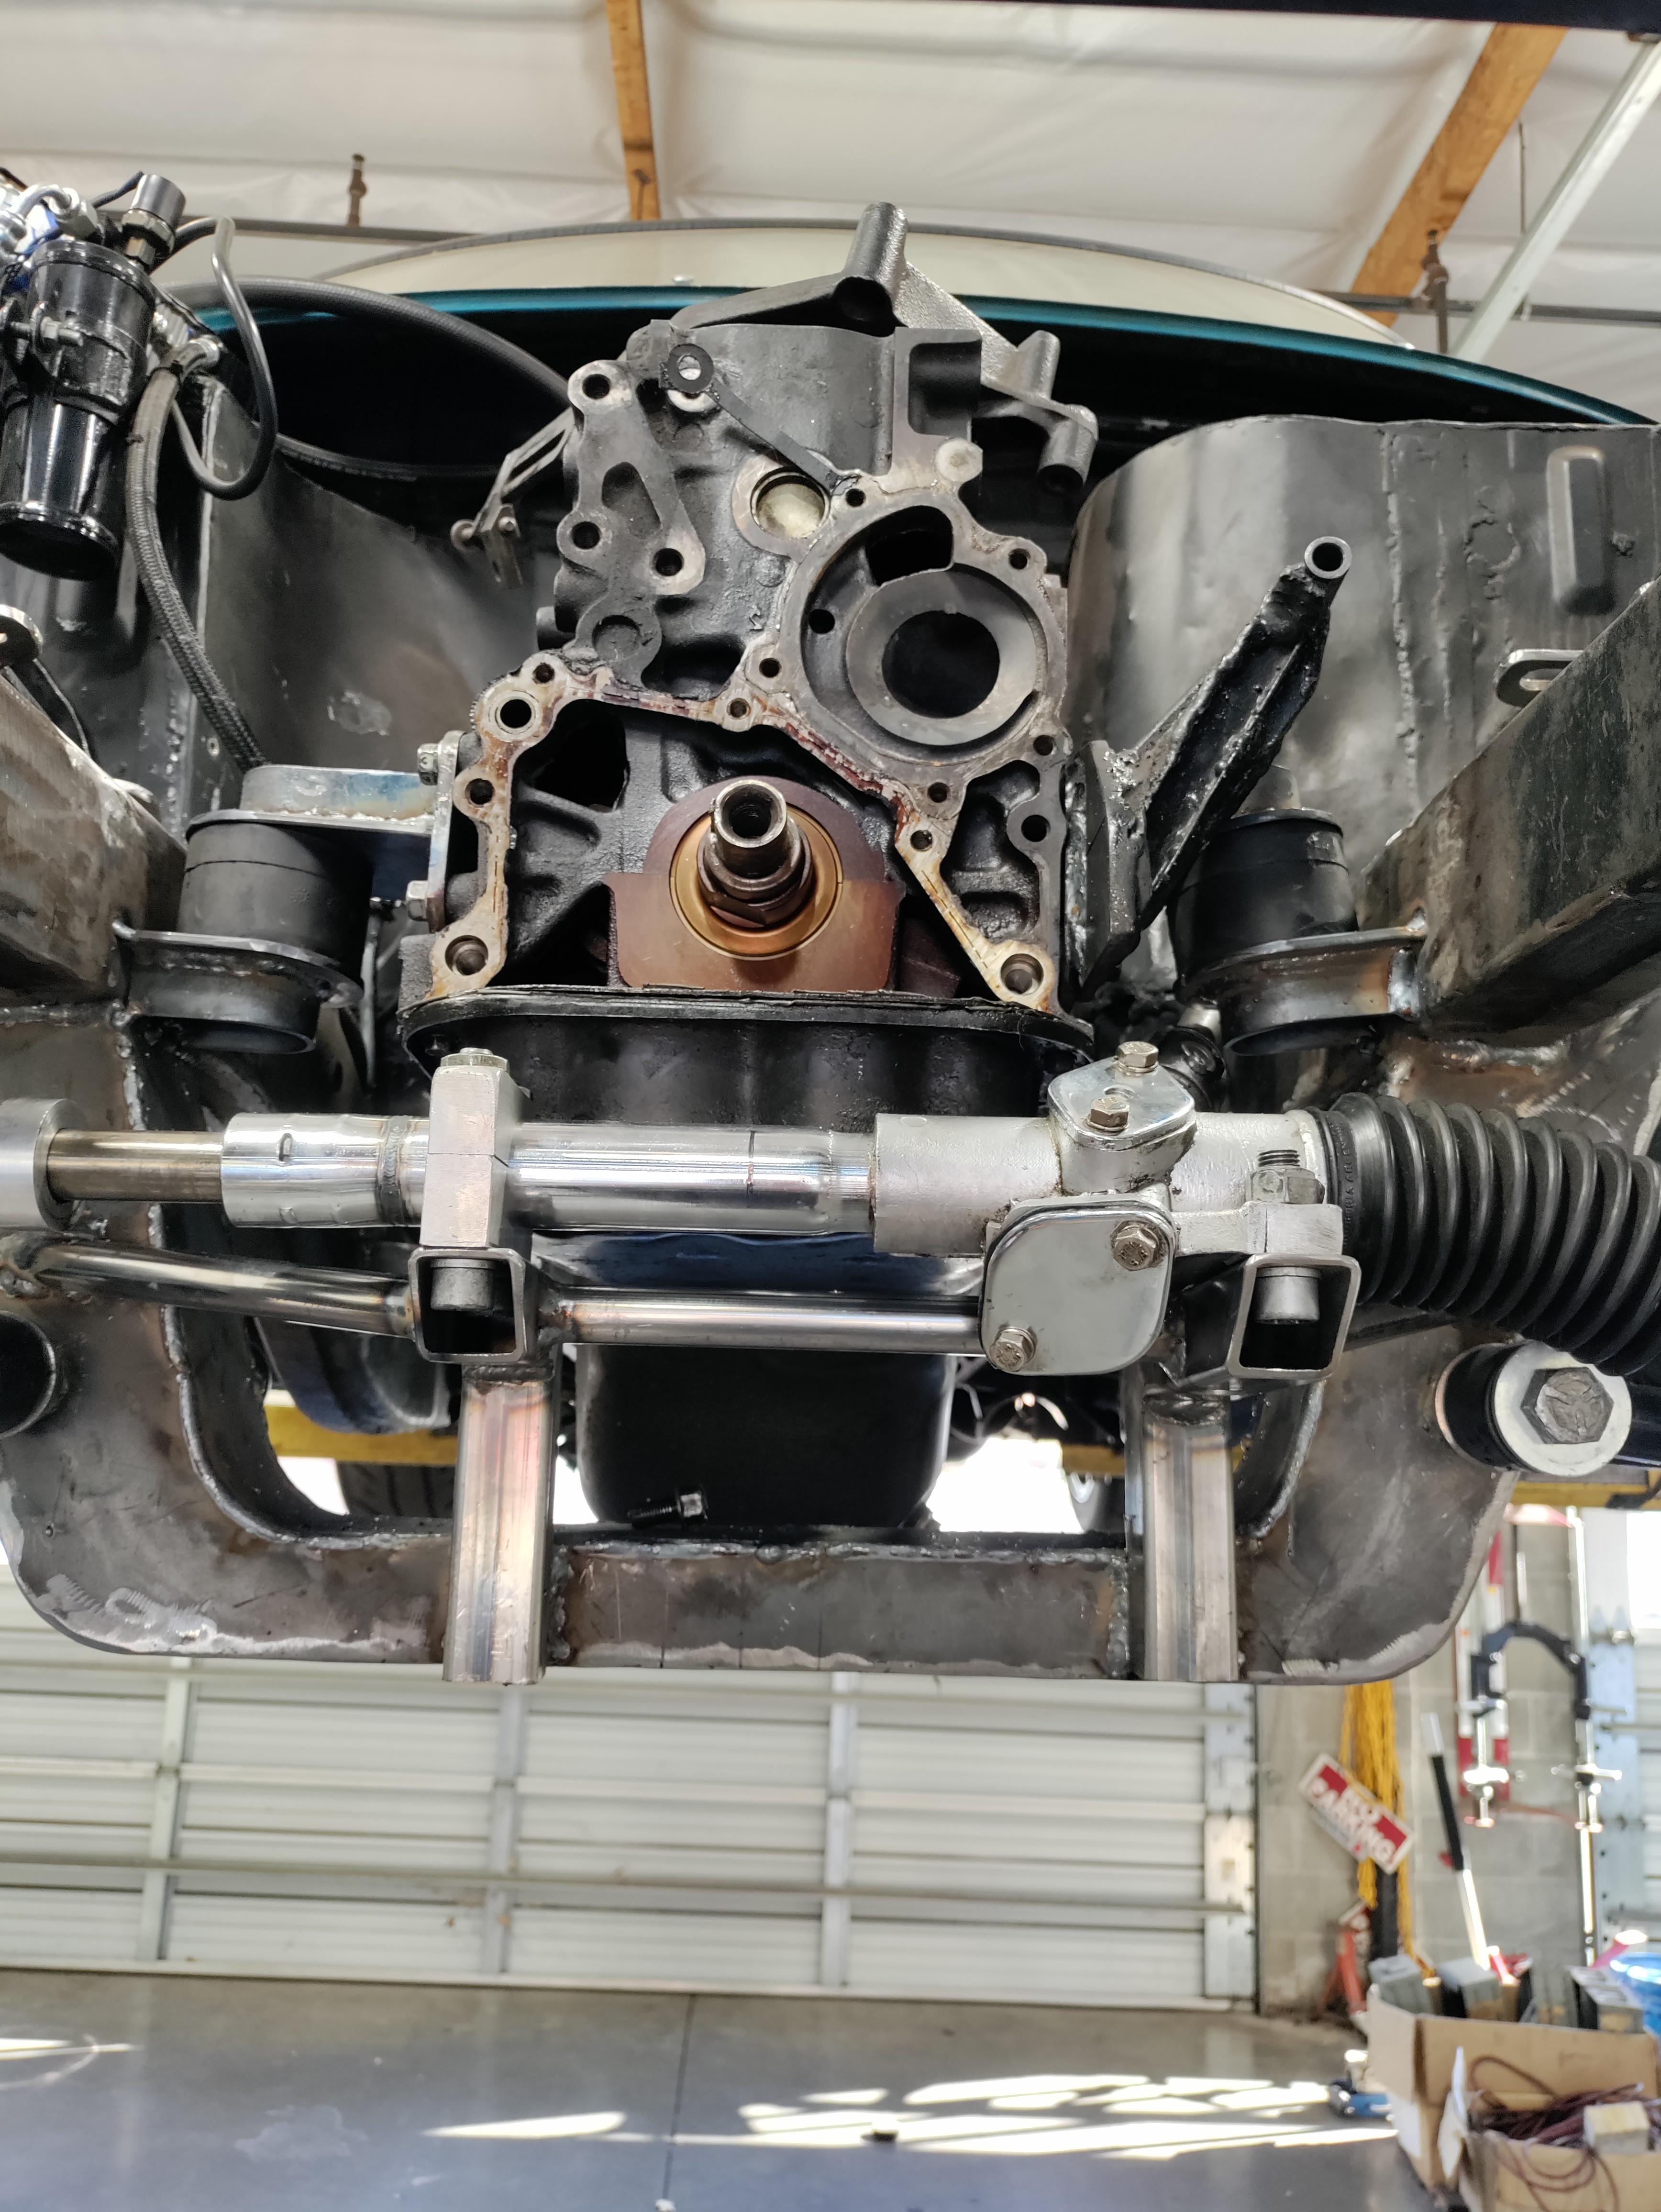
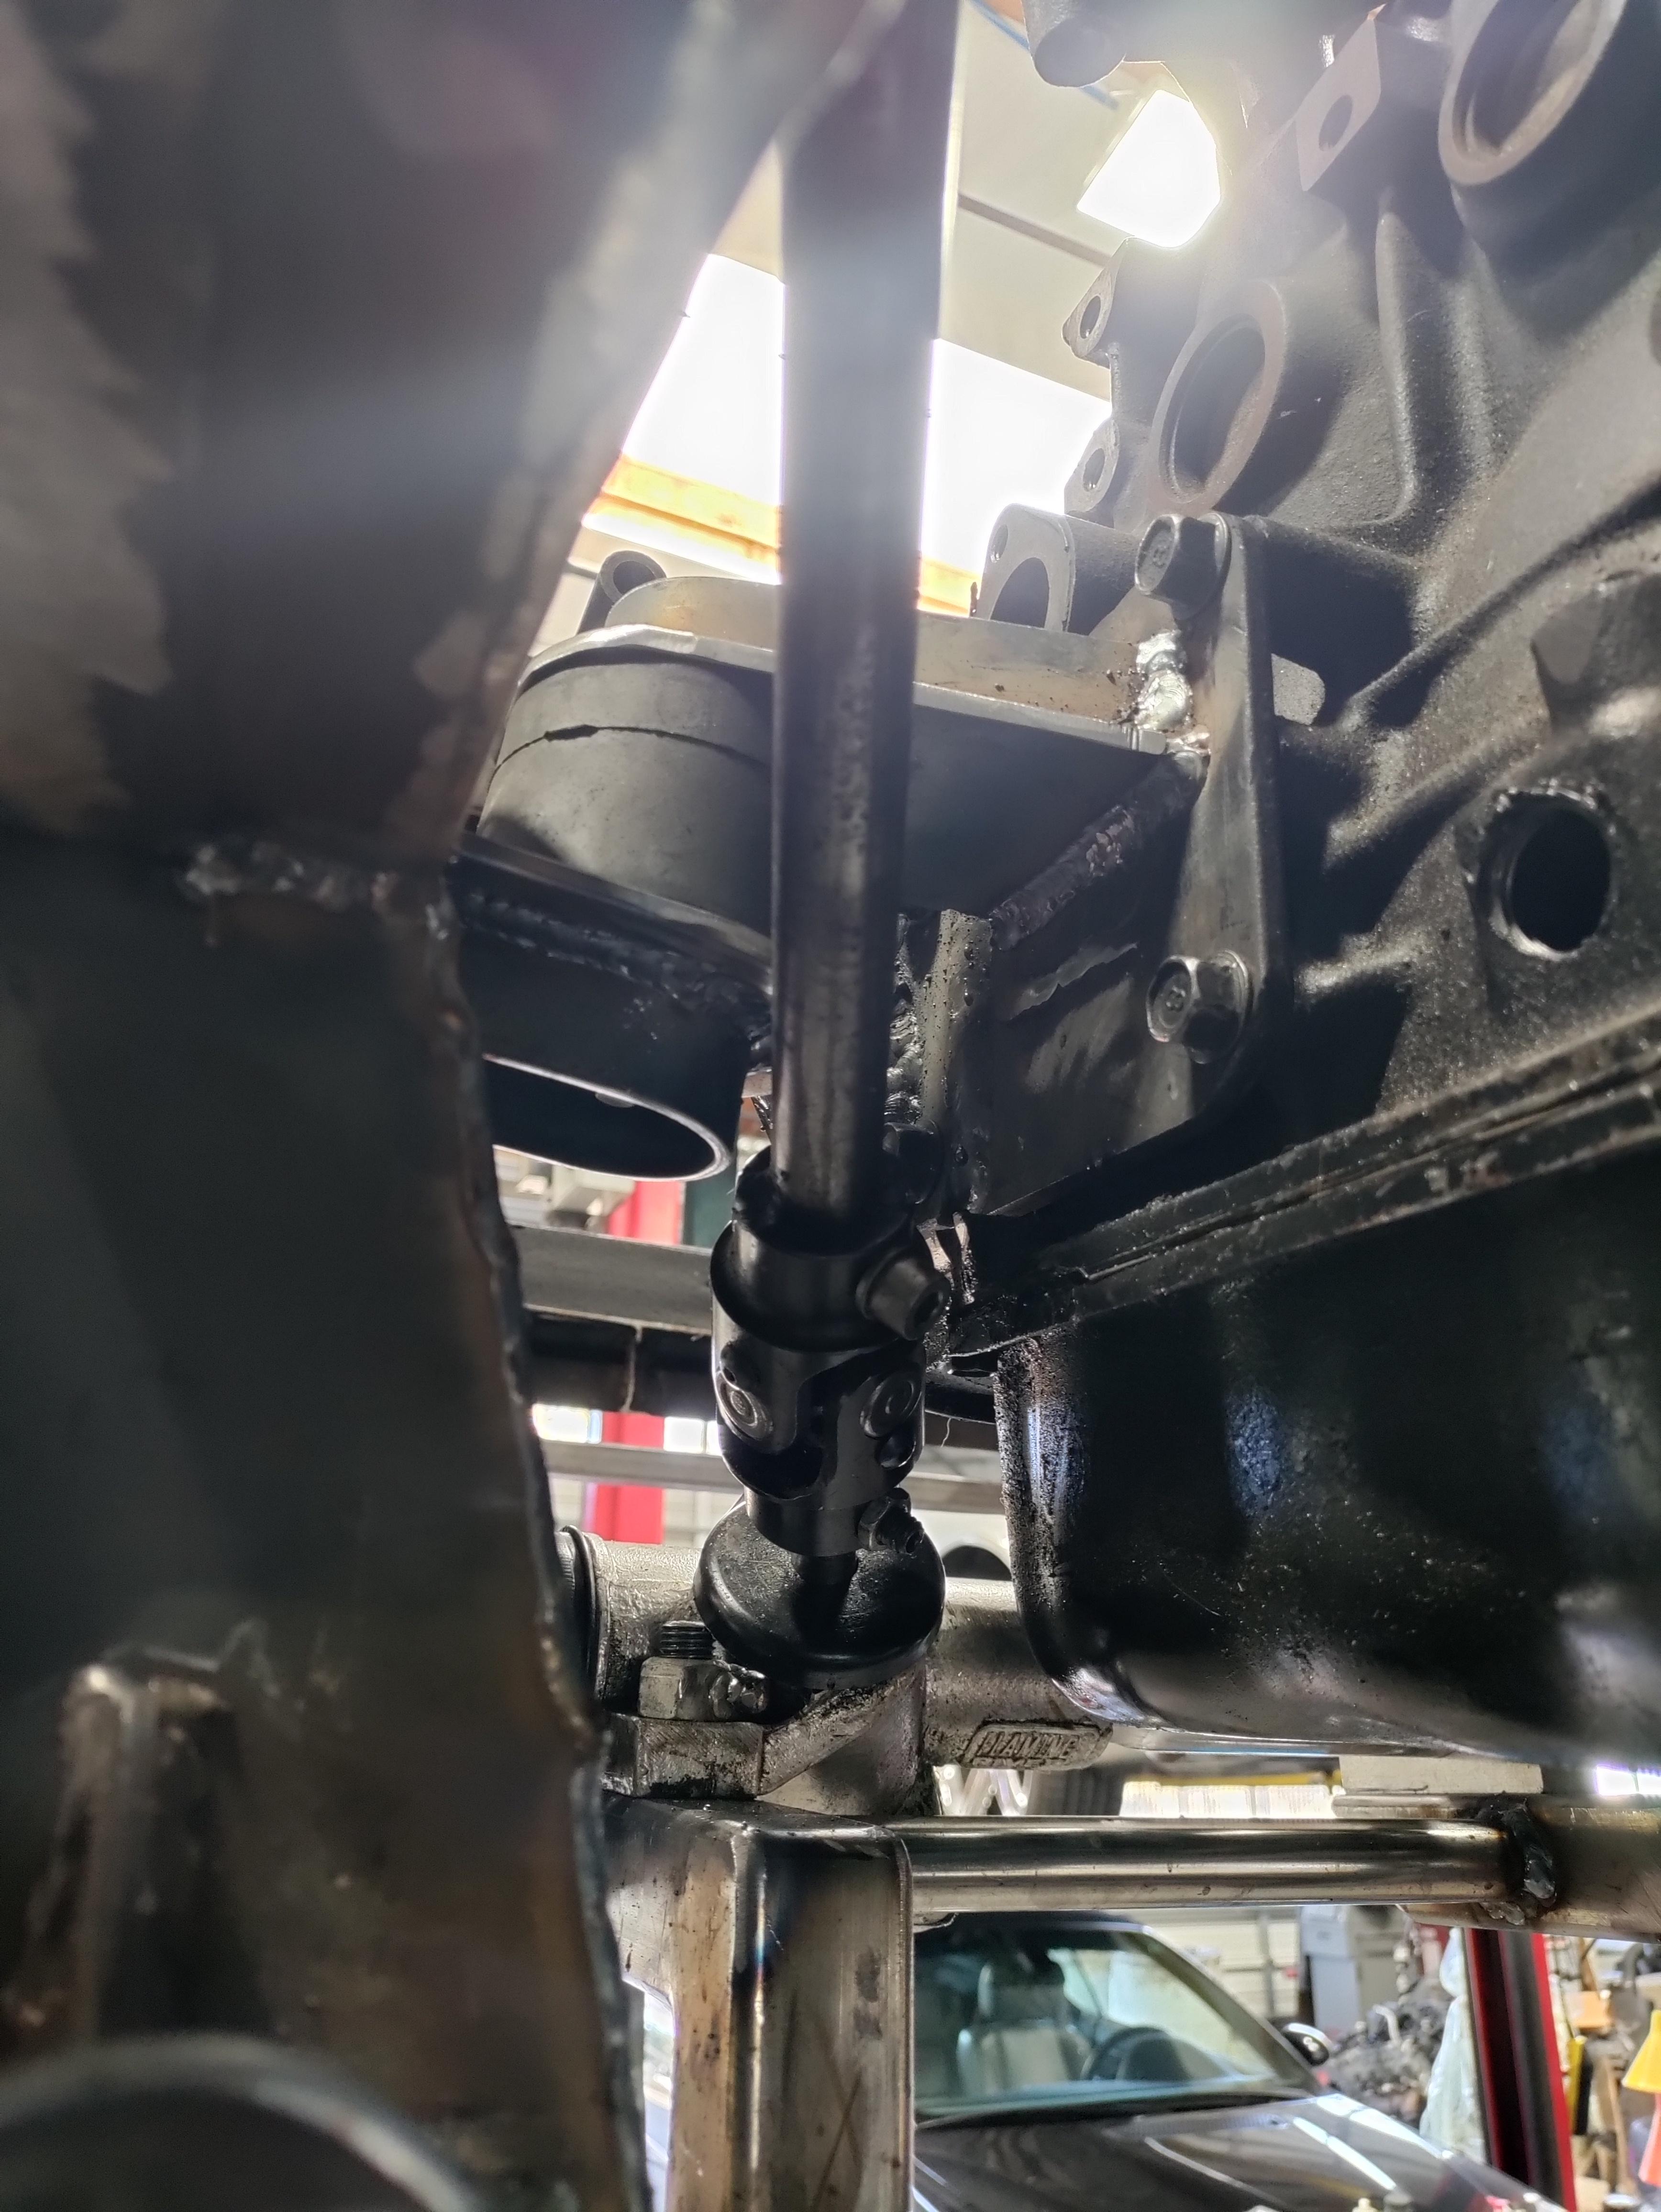
Out with the old and in with the new. It took 4 straight hours of grinding to get the frame rails smooth again. I now need to mount the steering rack so I can make the new engine mount brackets.
I gotta say, you are a madman! As always I appreciate you keeping this thread updated, it's always fun to see what you are doing next. Clean work on that subframe rebuild!
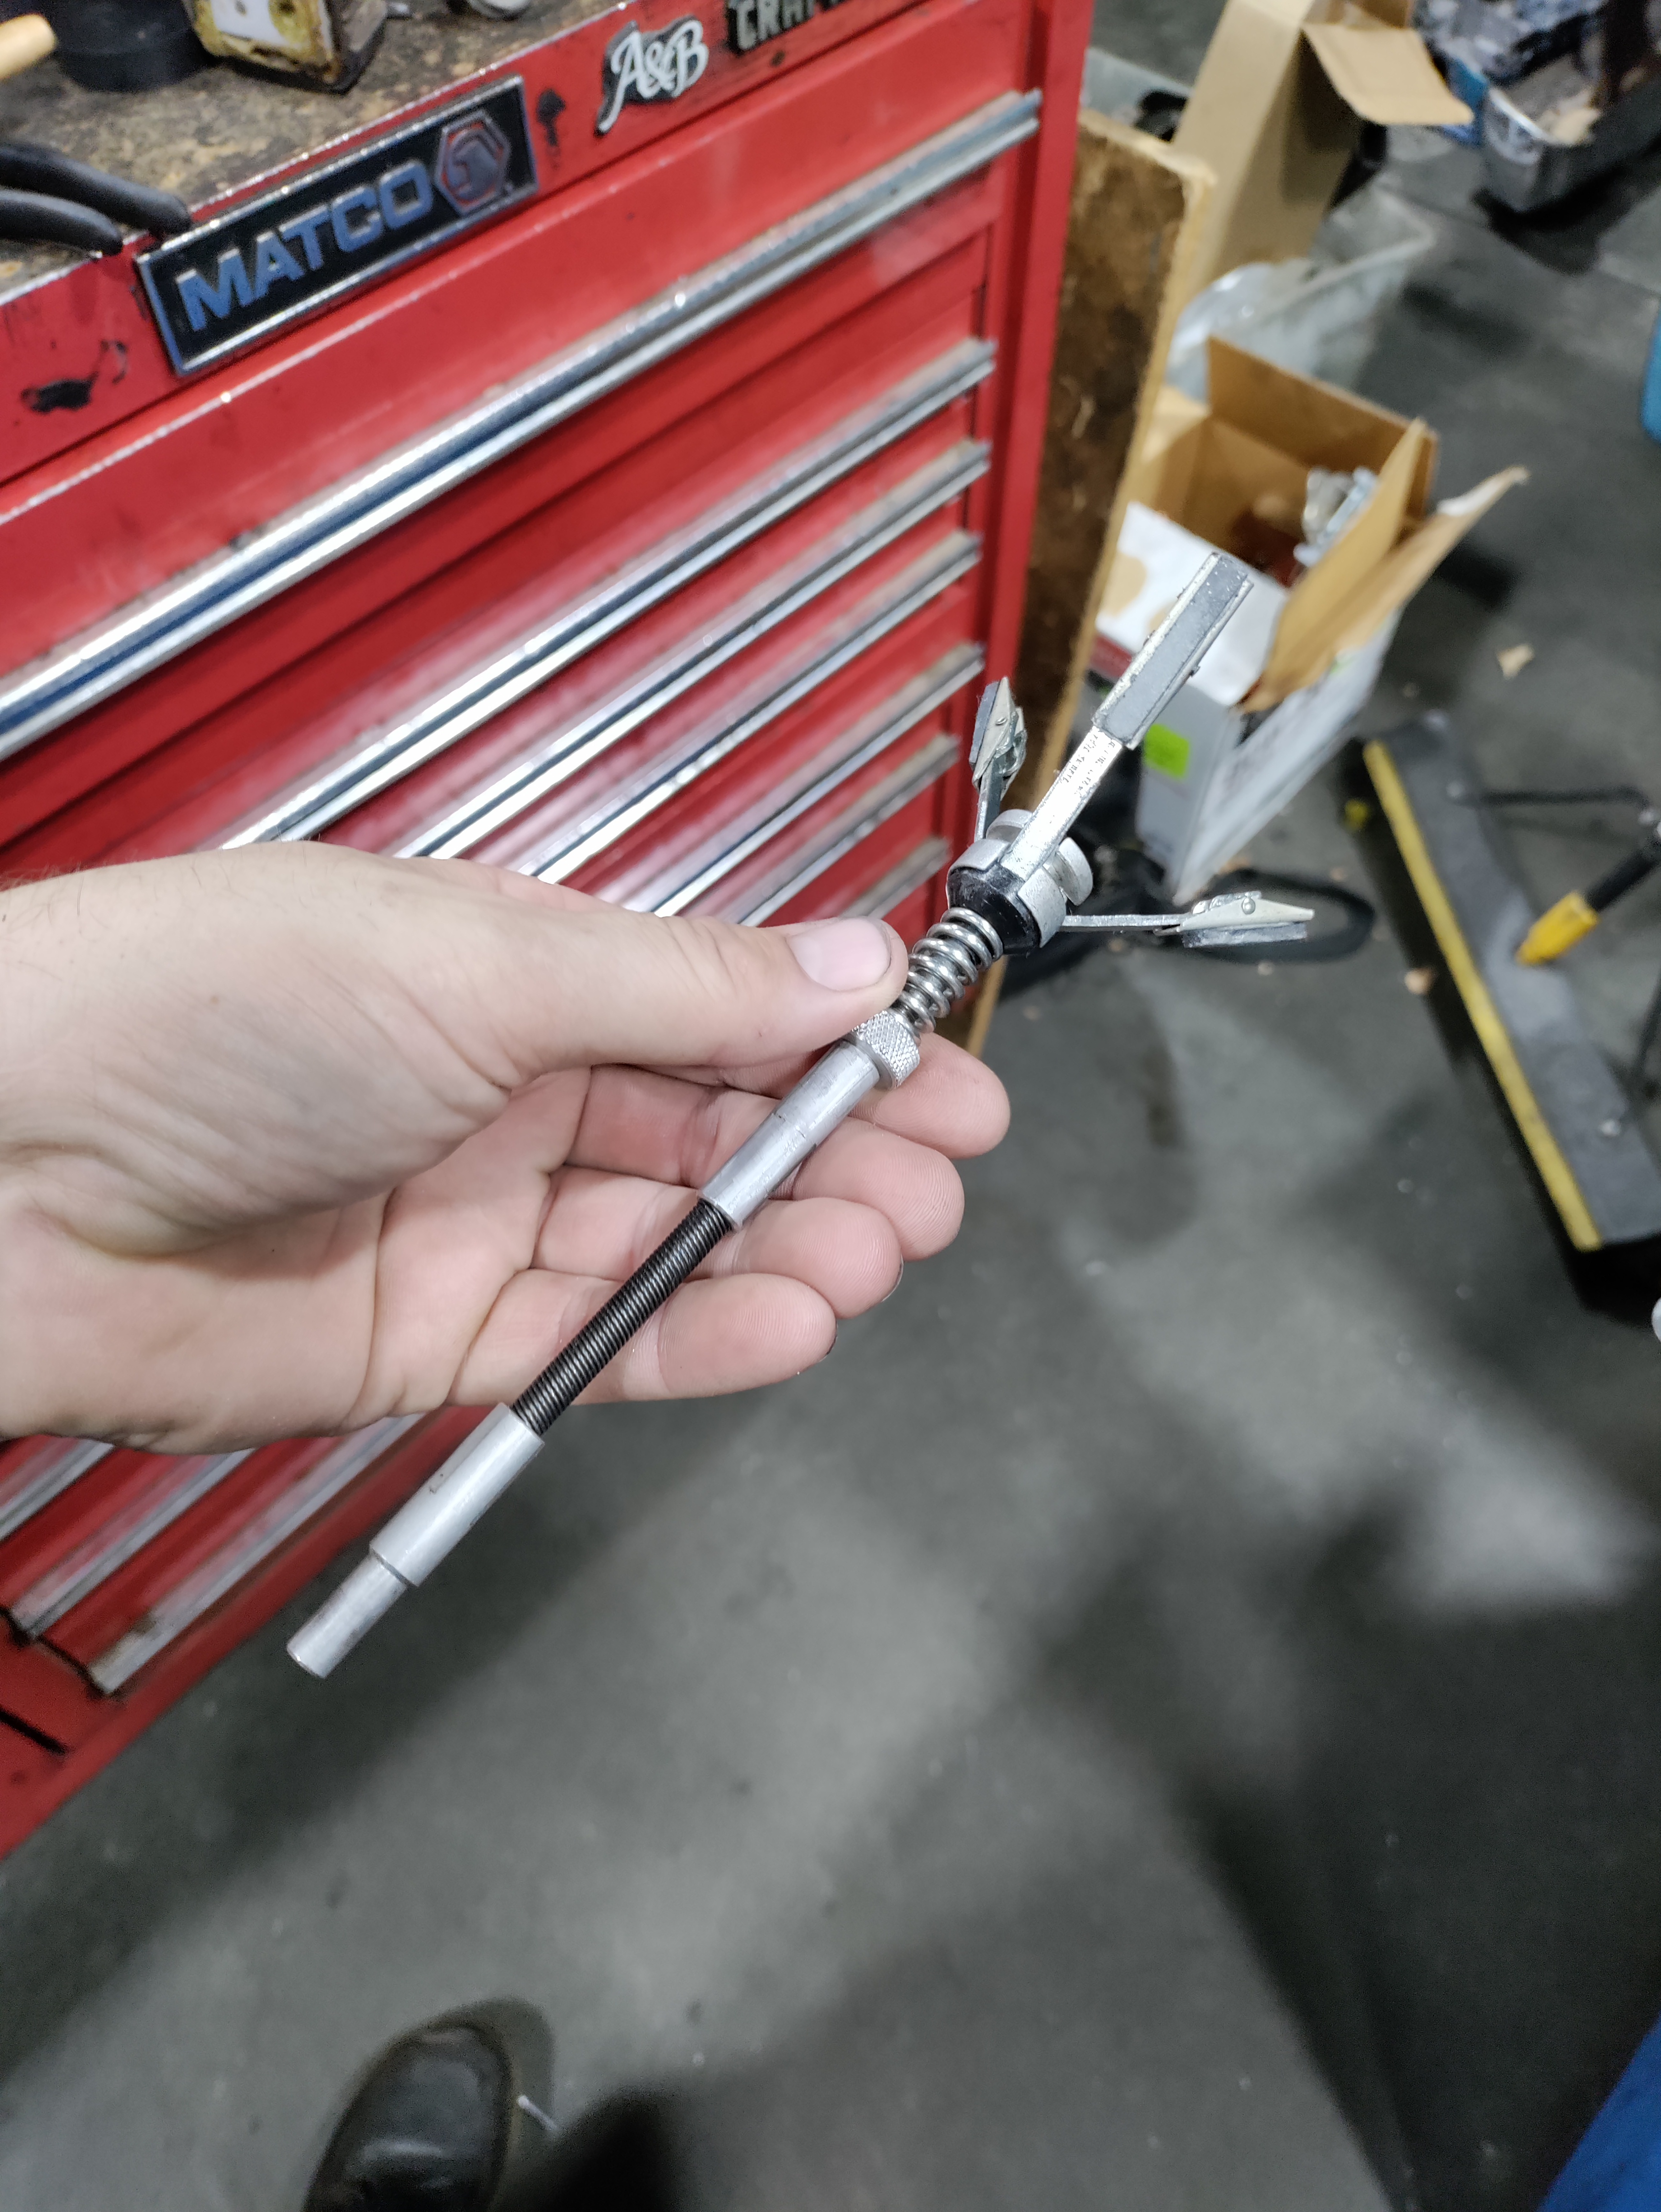
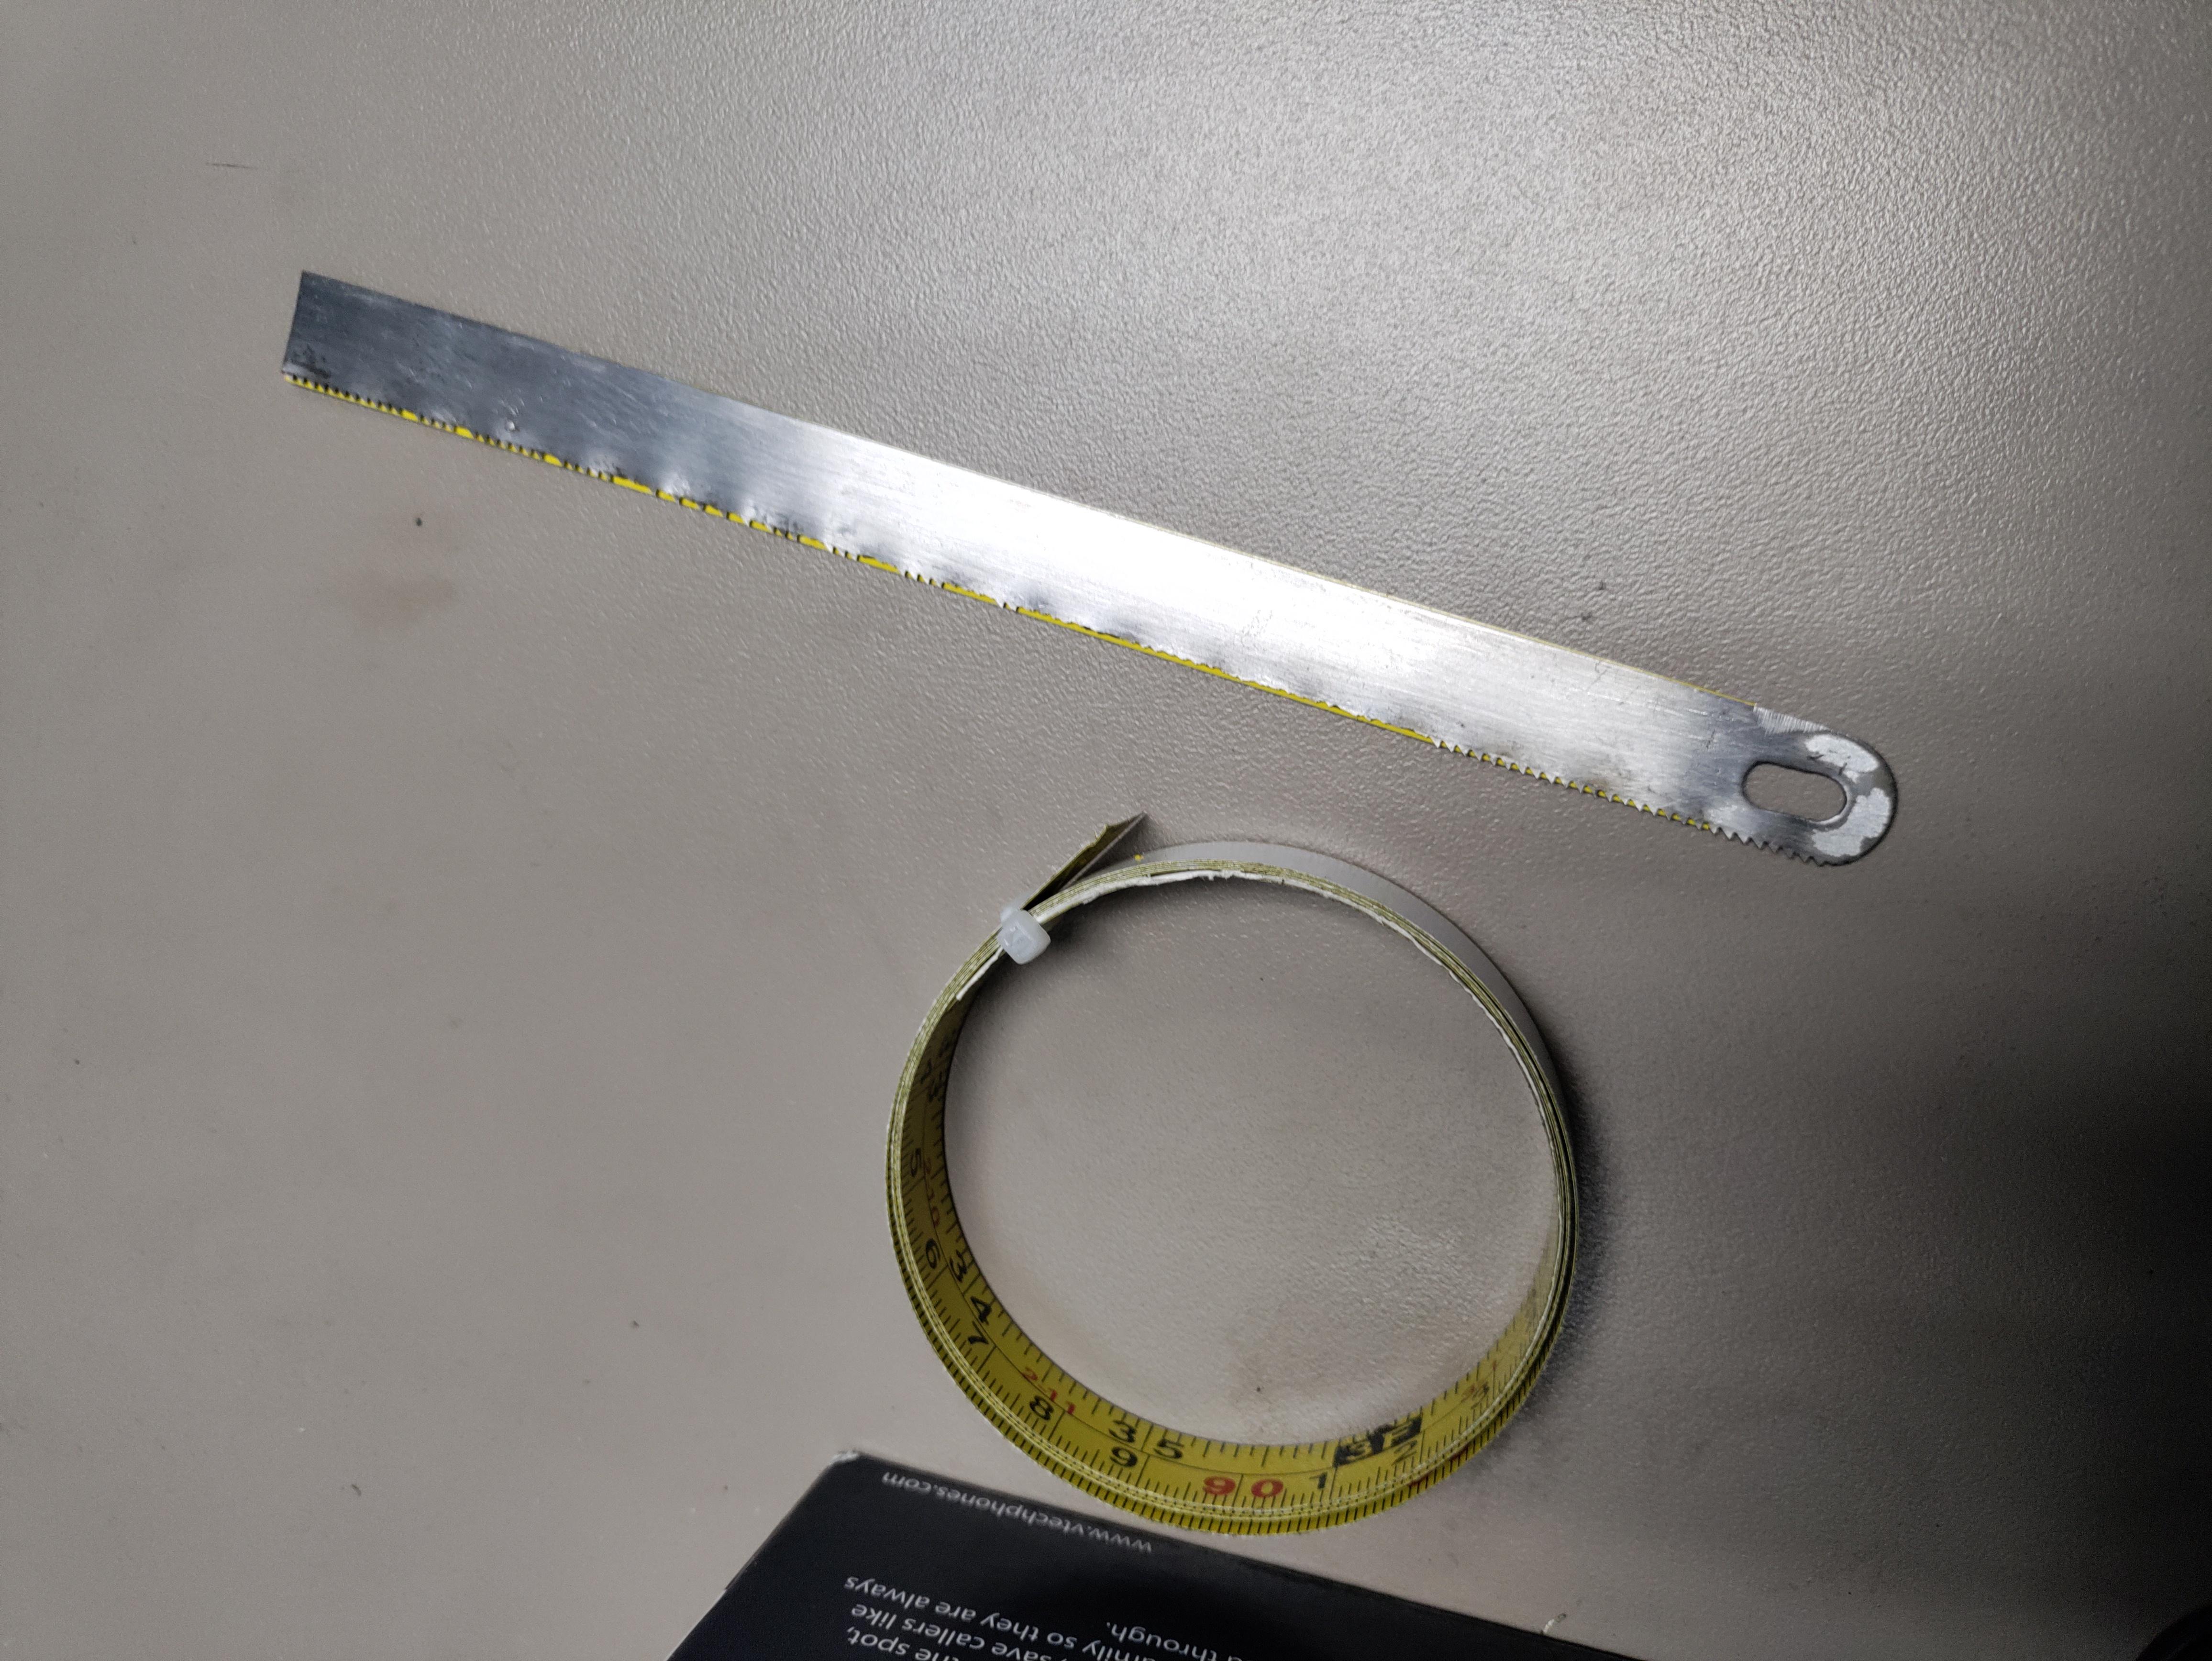
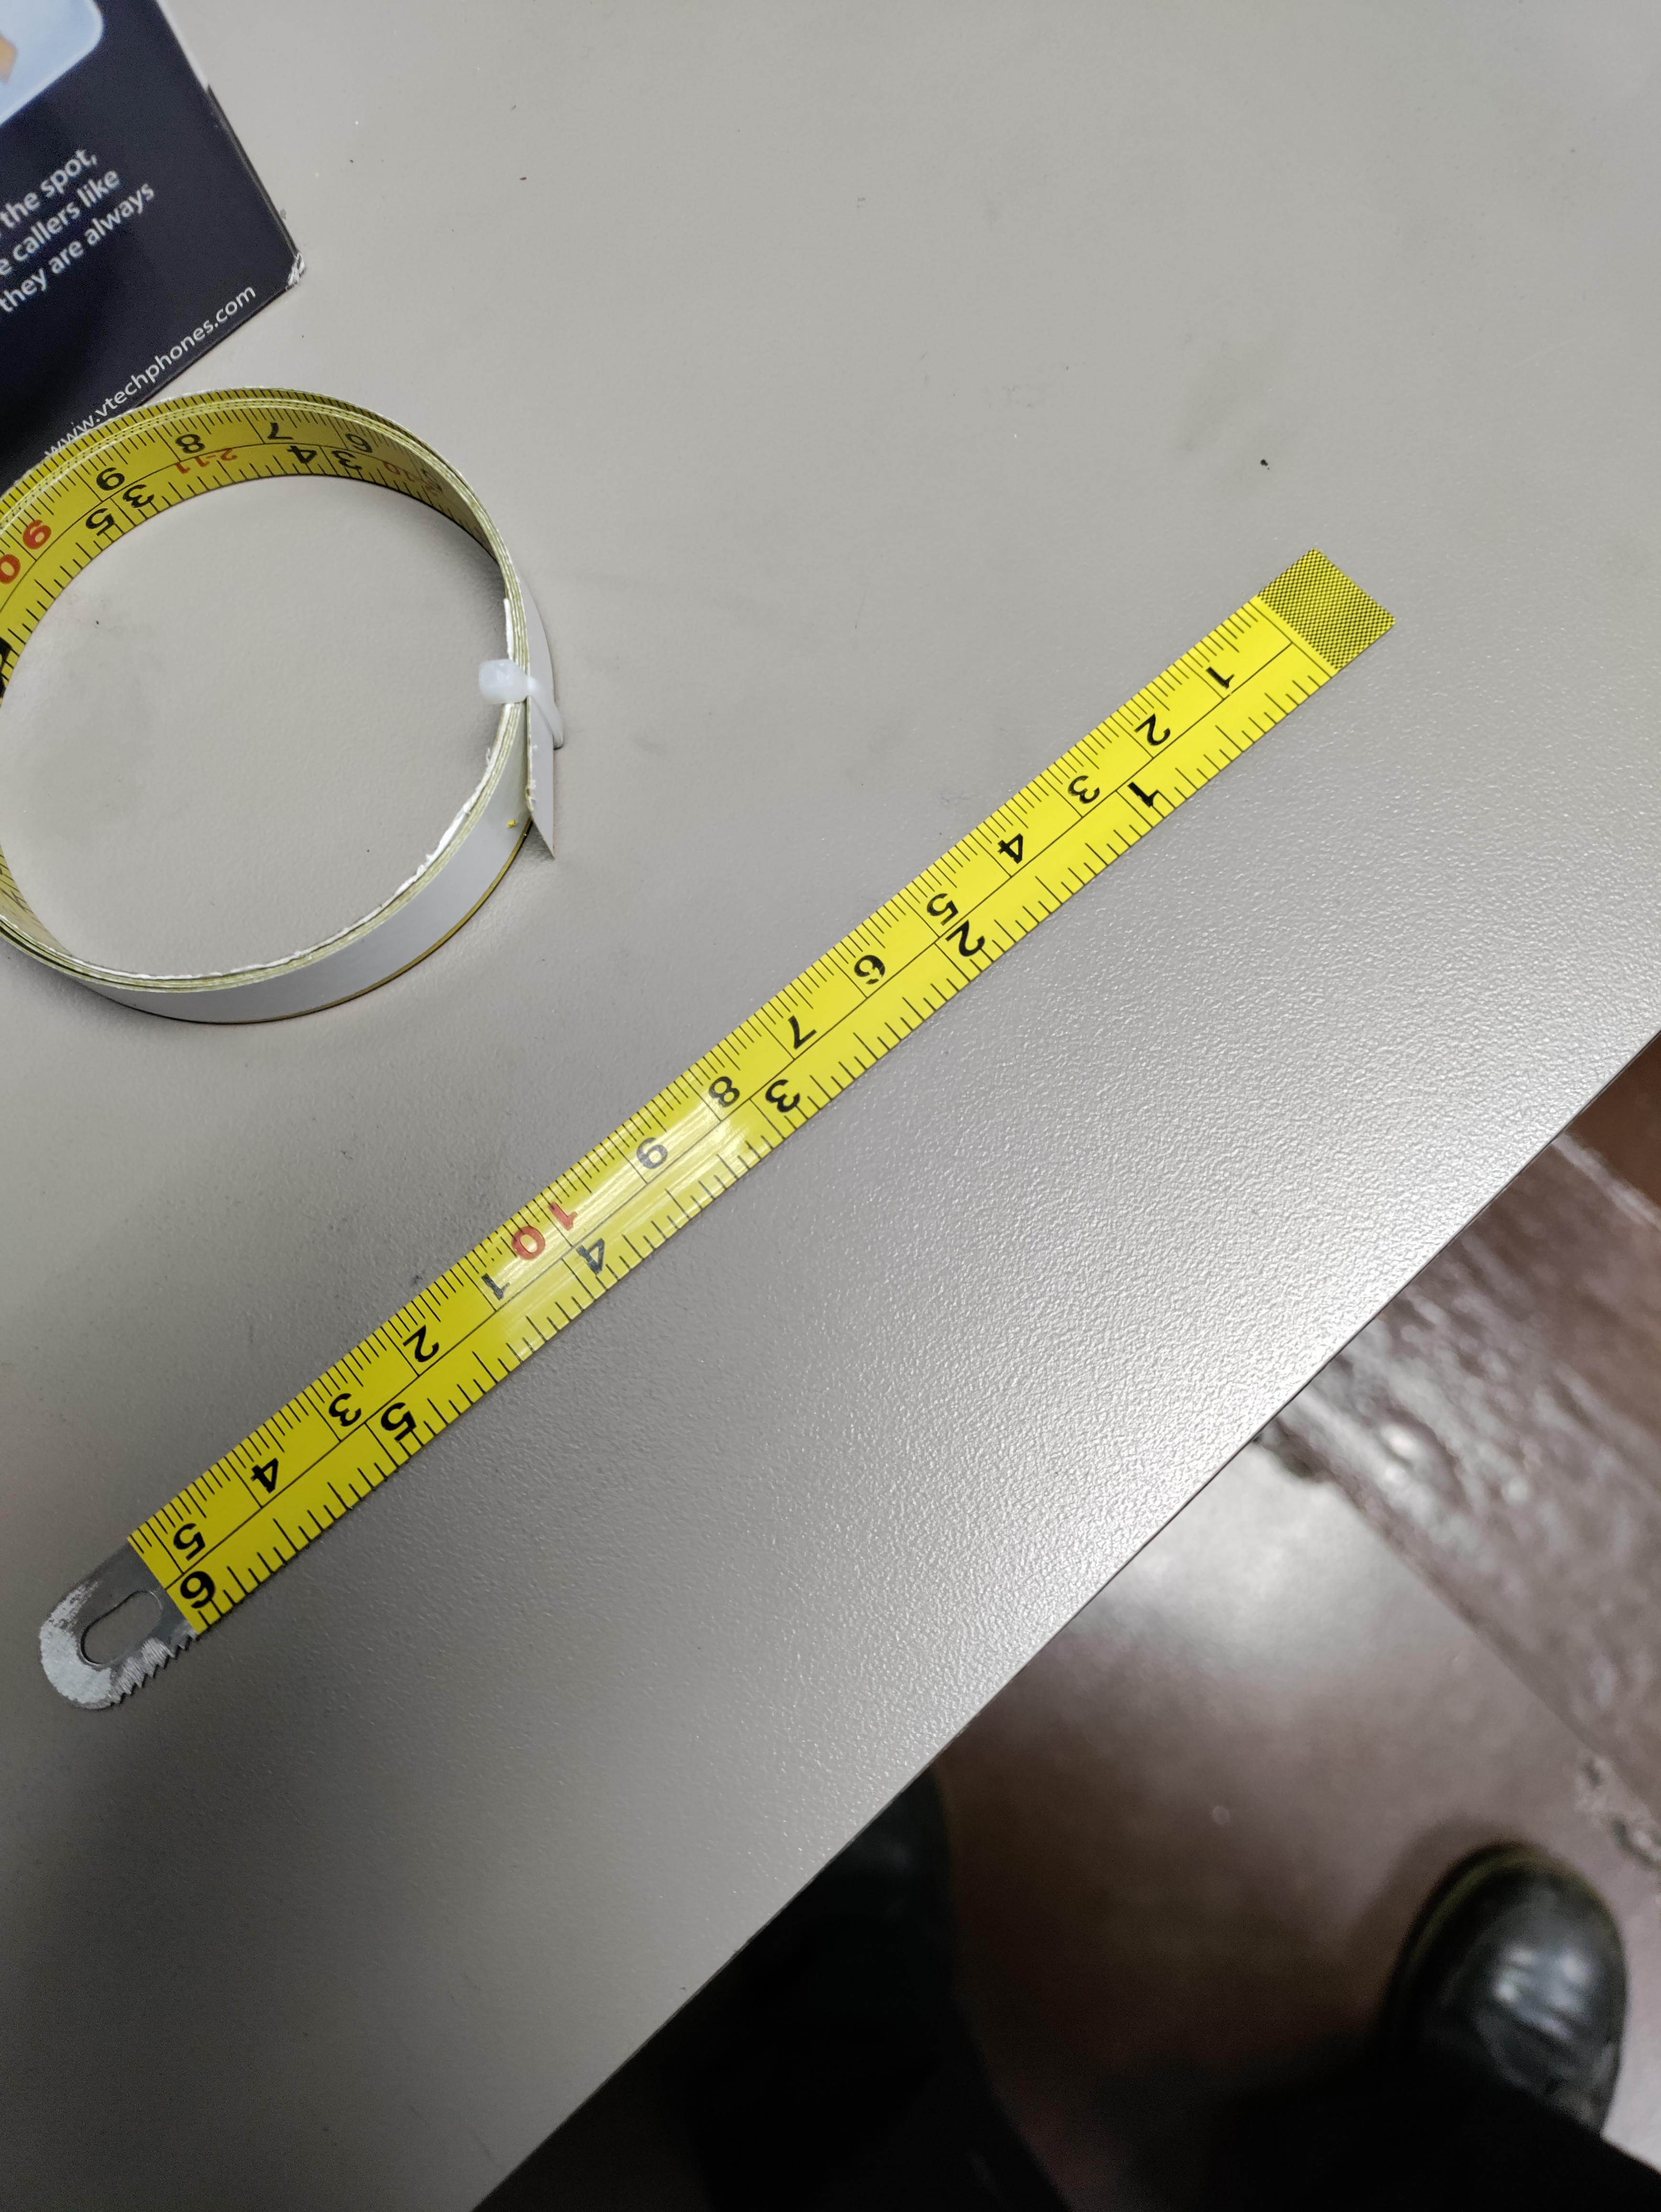
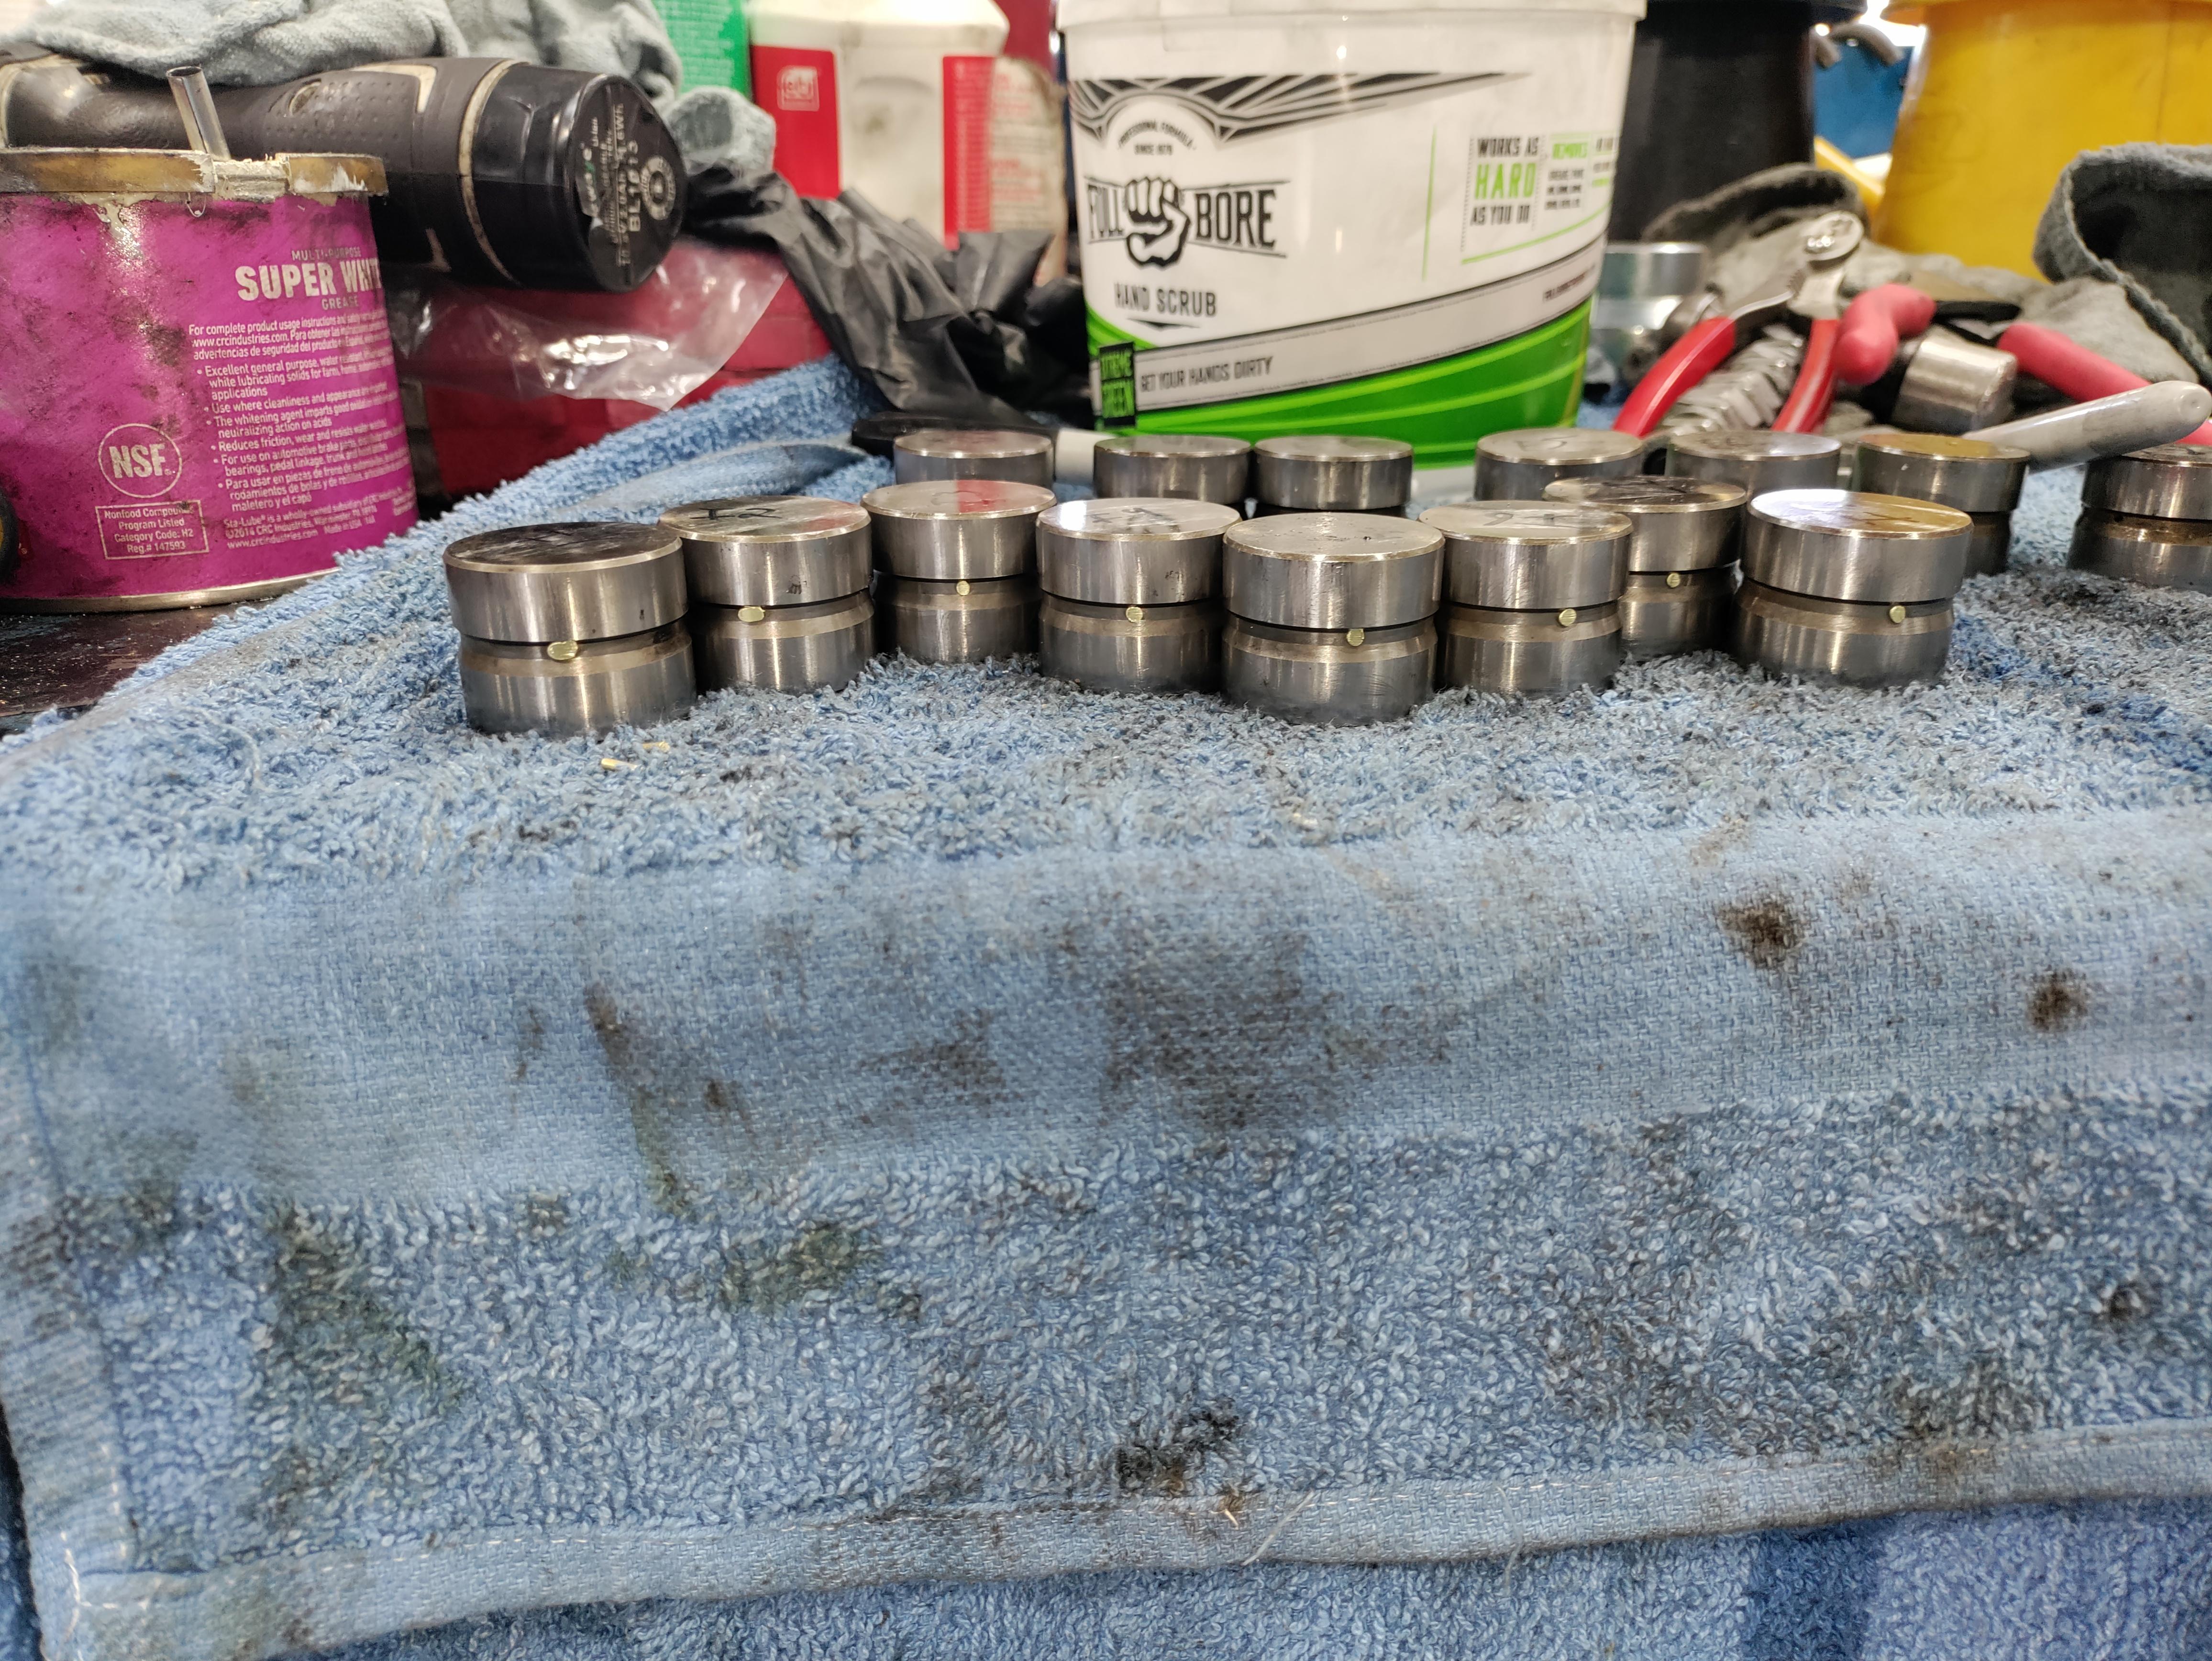
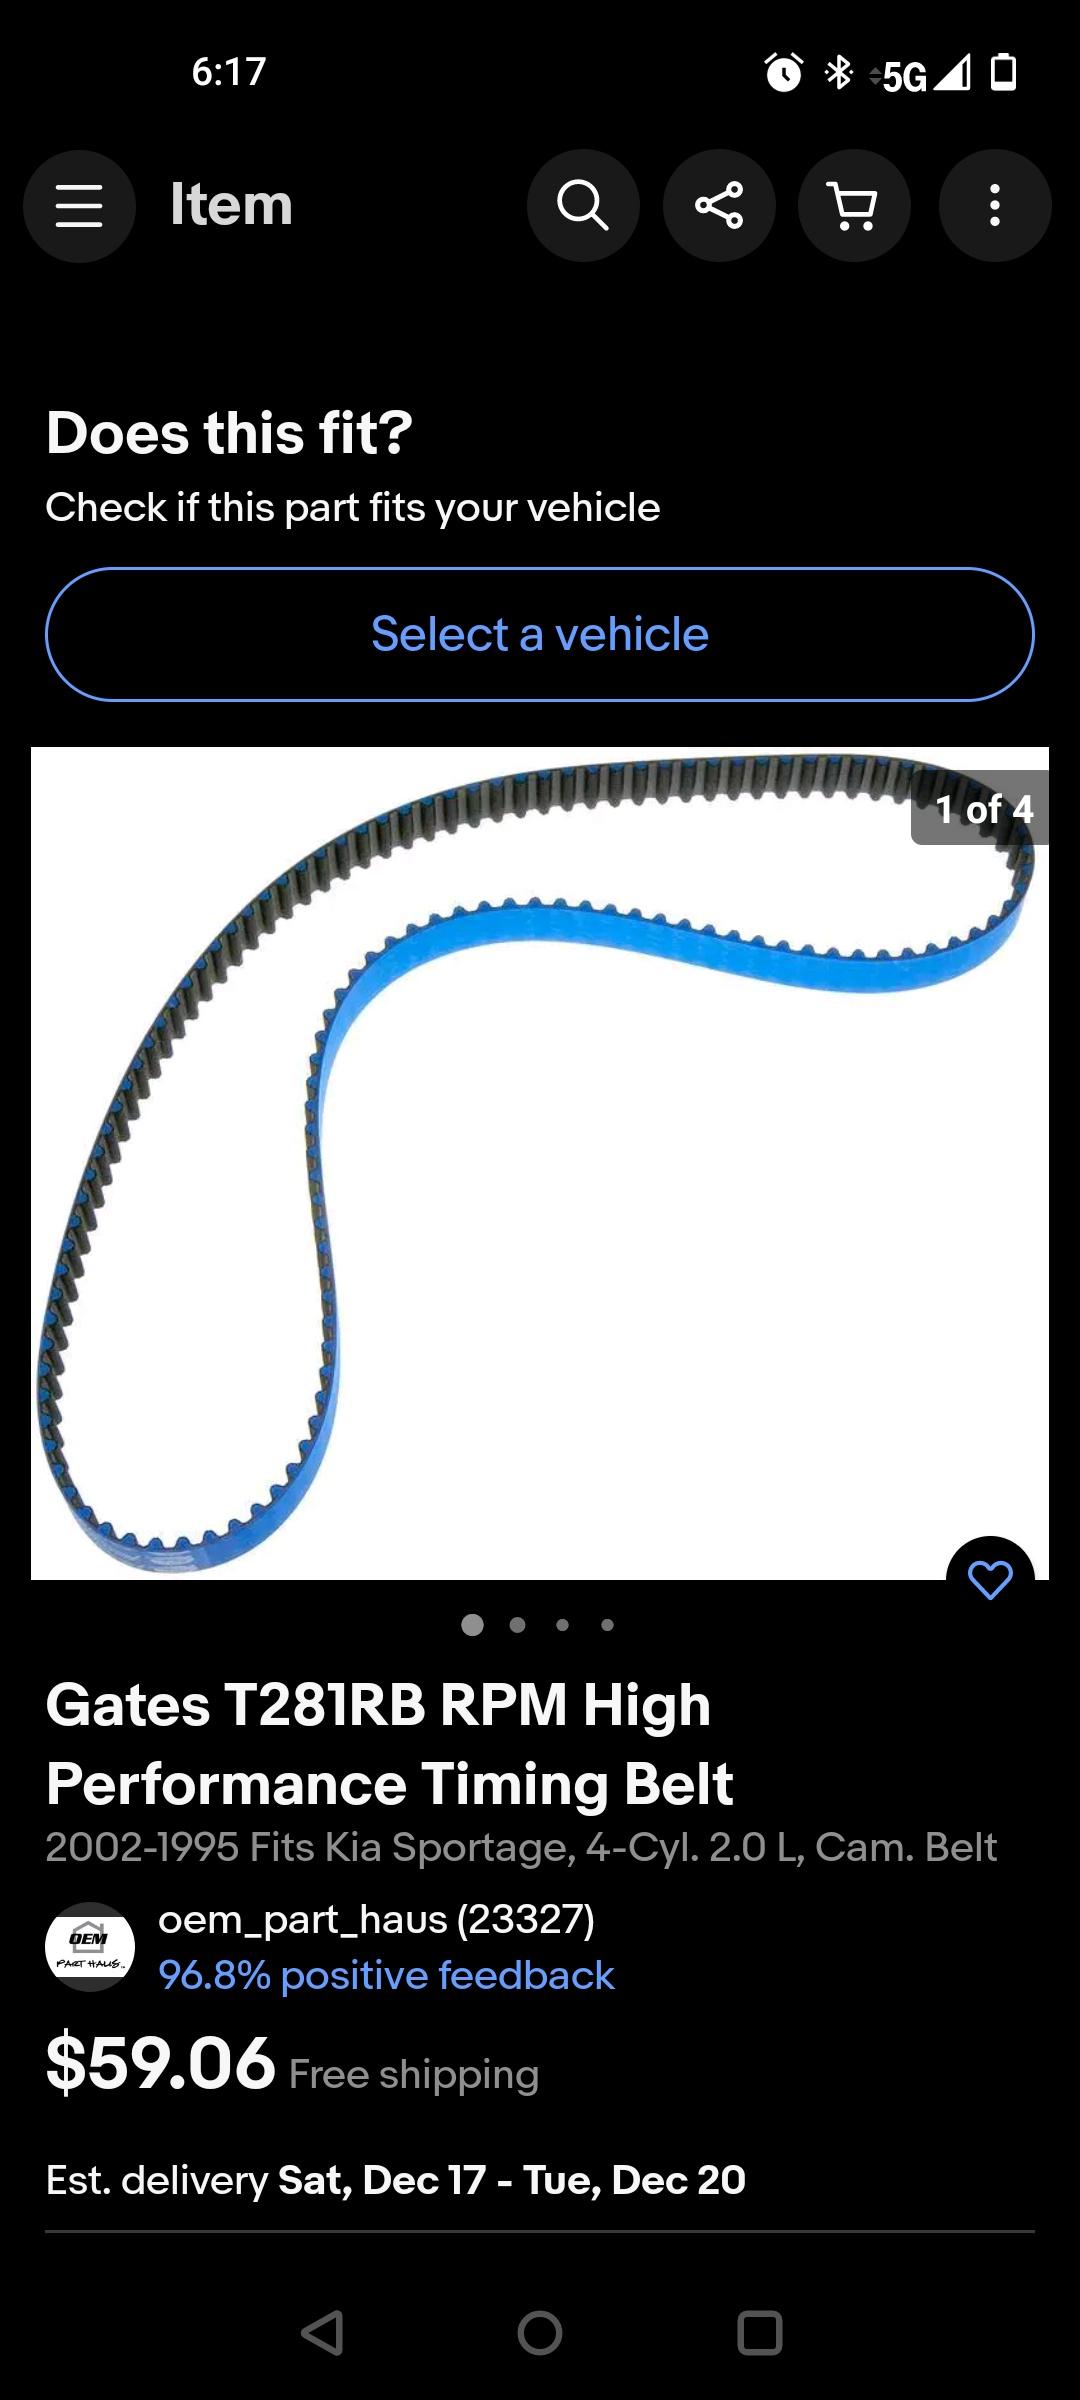
Finally got a hold of Rimac to get a replacement scale for my spring compressor. They said they are no longer available, so I made my own with a metal adhesive backed tape and a hacksaw blade. The head is back from the machine shop so it won't be long now until its running. finished drilling all the holes and pressing the in all the pins in the oil holes of all the buckets with my home made pliers. I put the buckets in the lathe after and turned the pins .015" below the surface. The lifter shims are only in .05mm increments so there will be a lot off polishing/sanding the shims to get all the valve clearances perfect. Oddly enough with nothing being available for these engines Gates still makes racing timing belts for them.
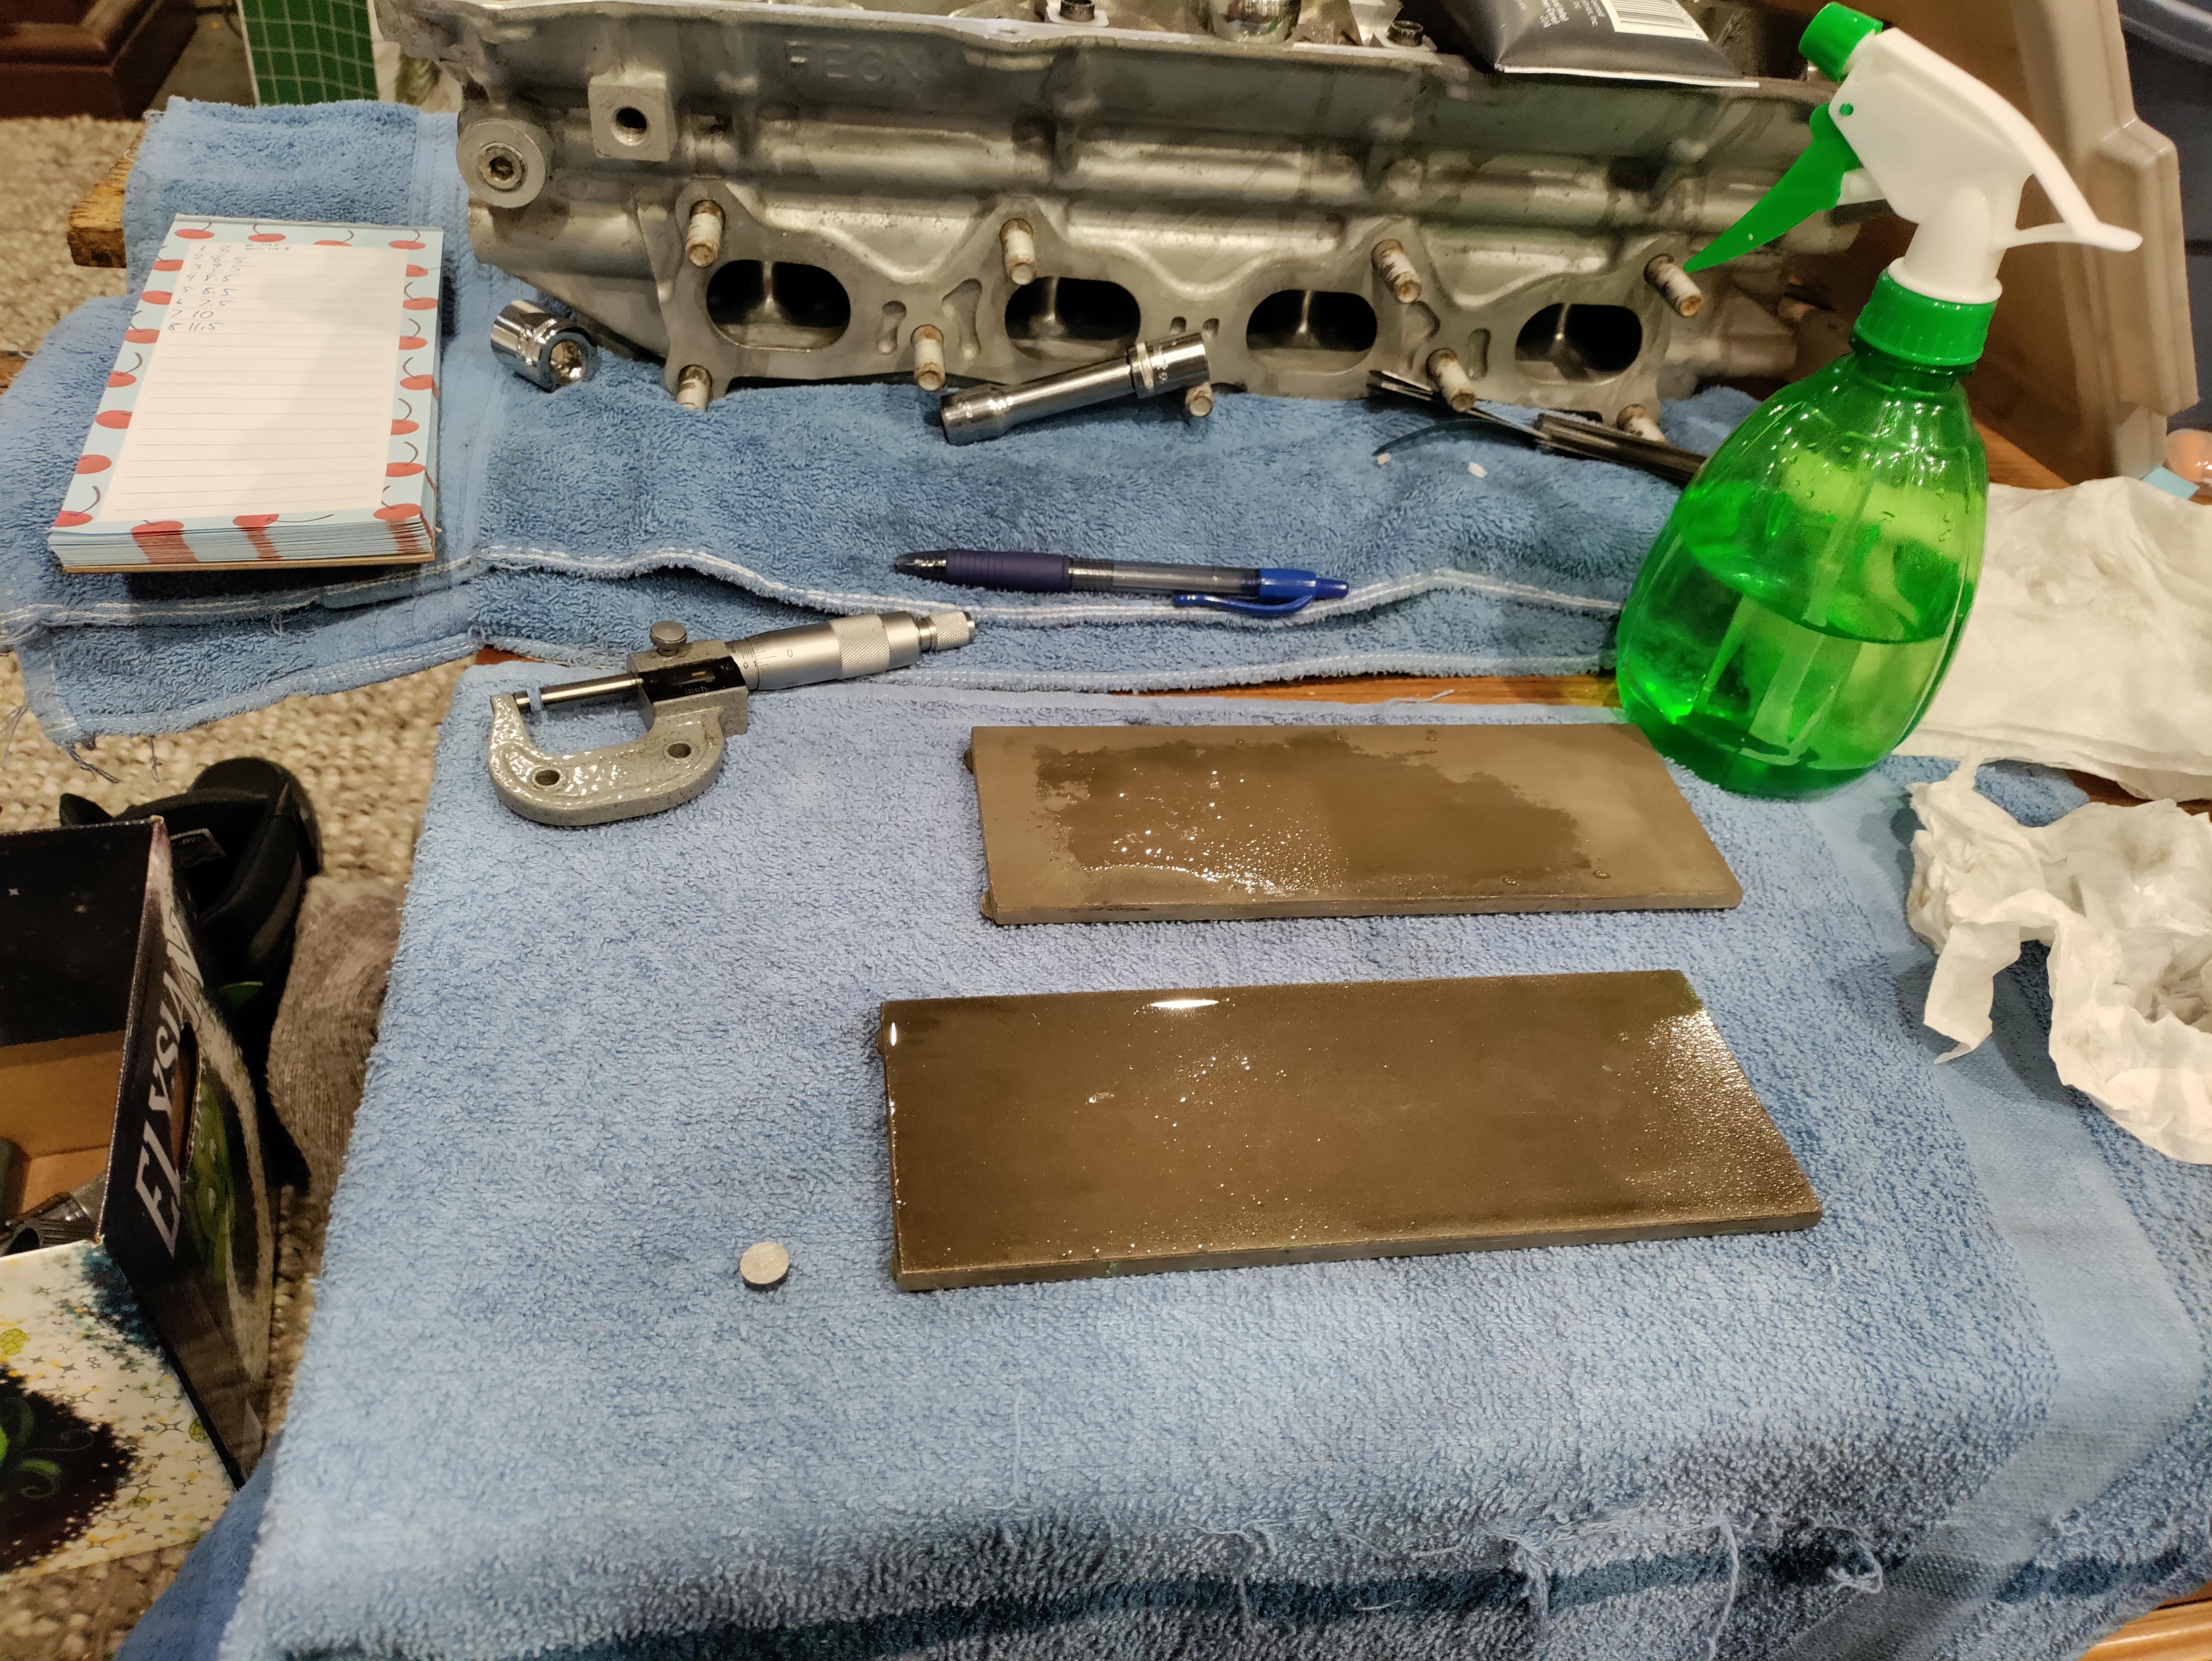
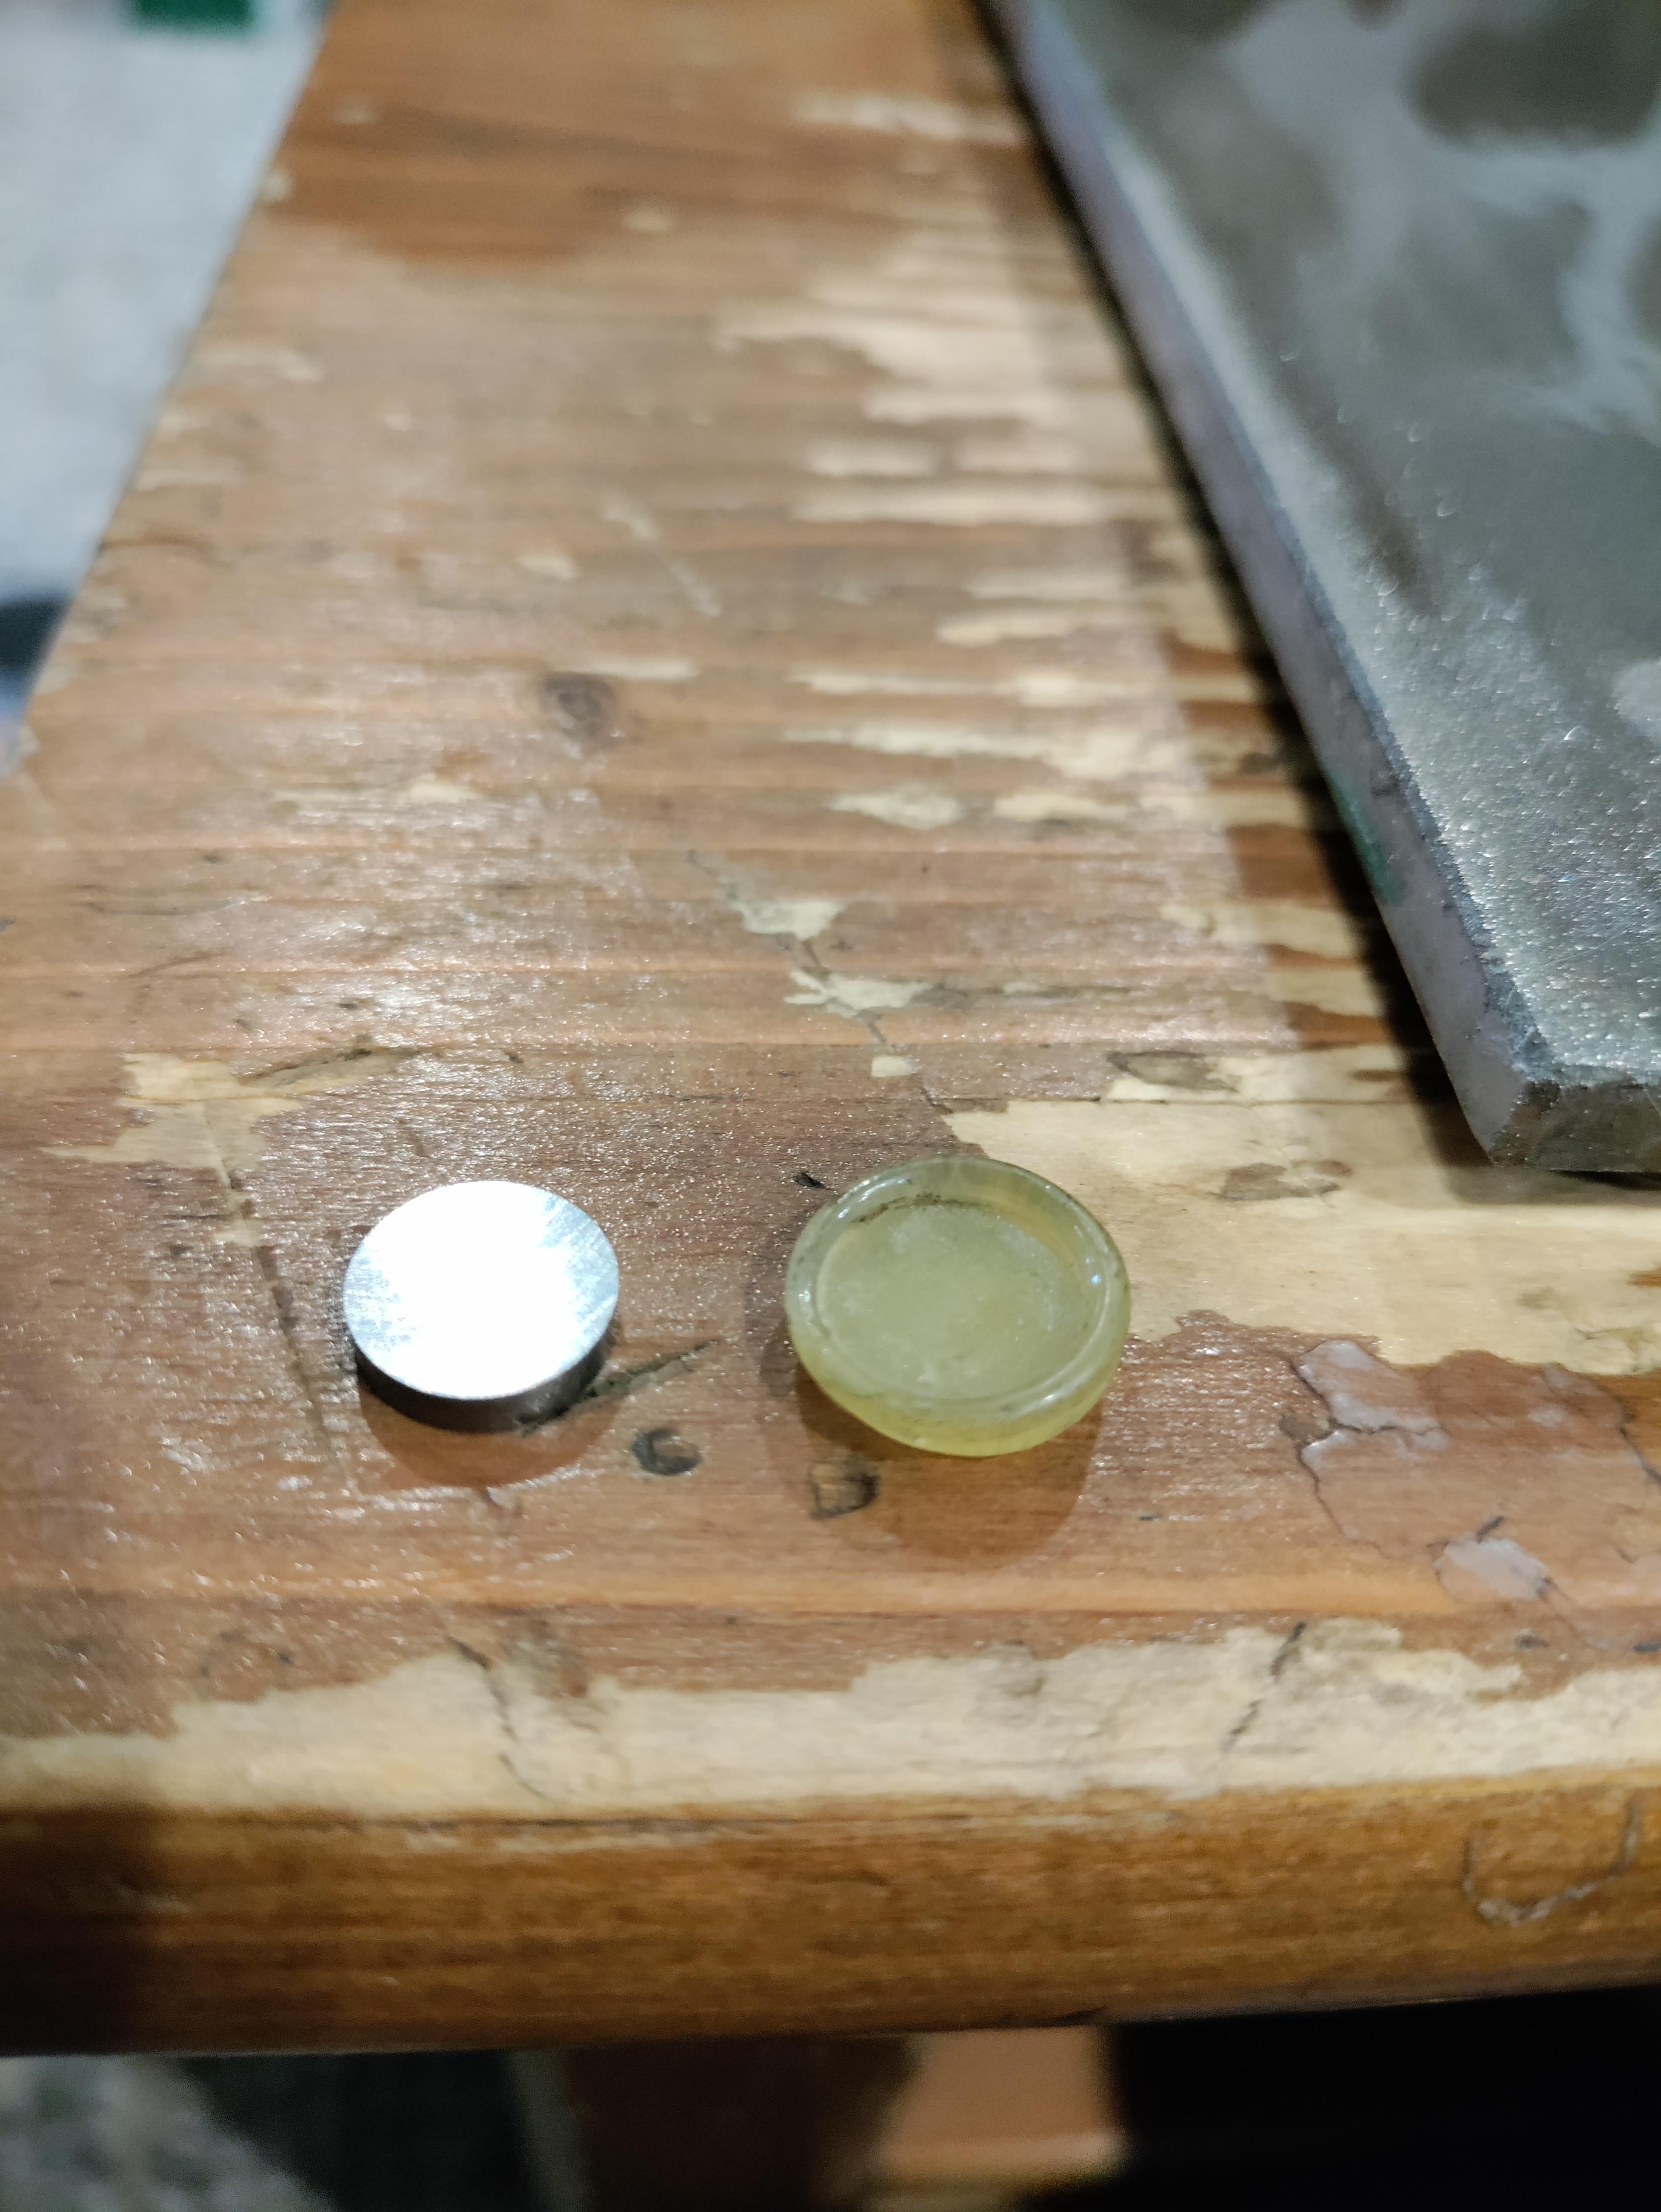
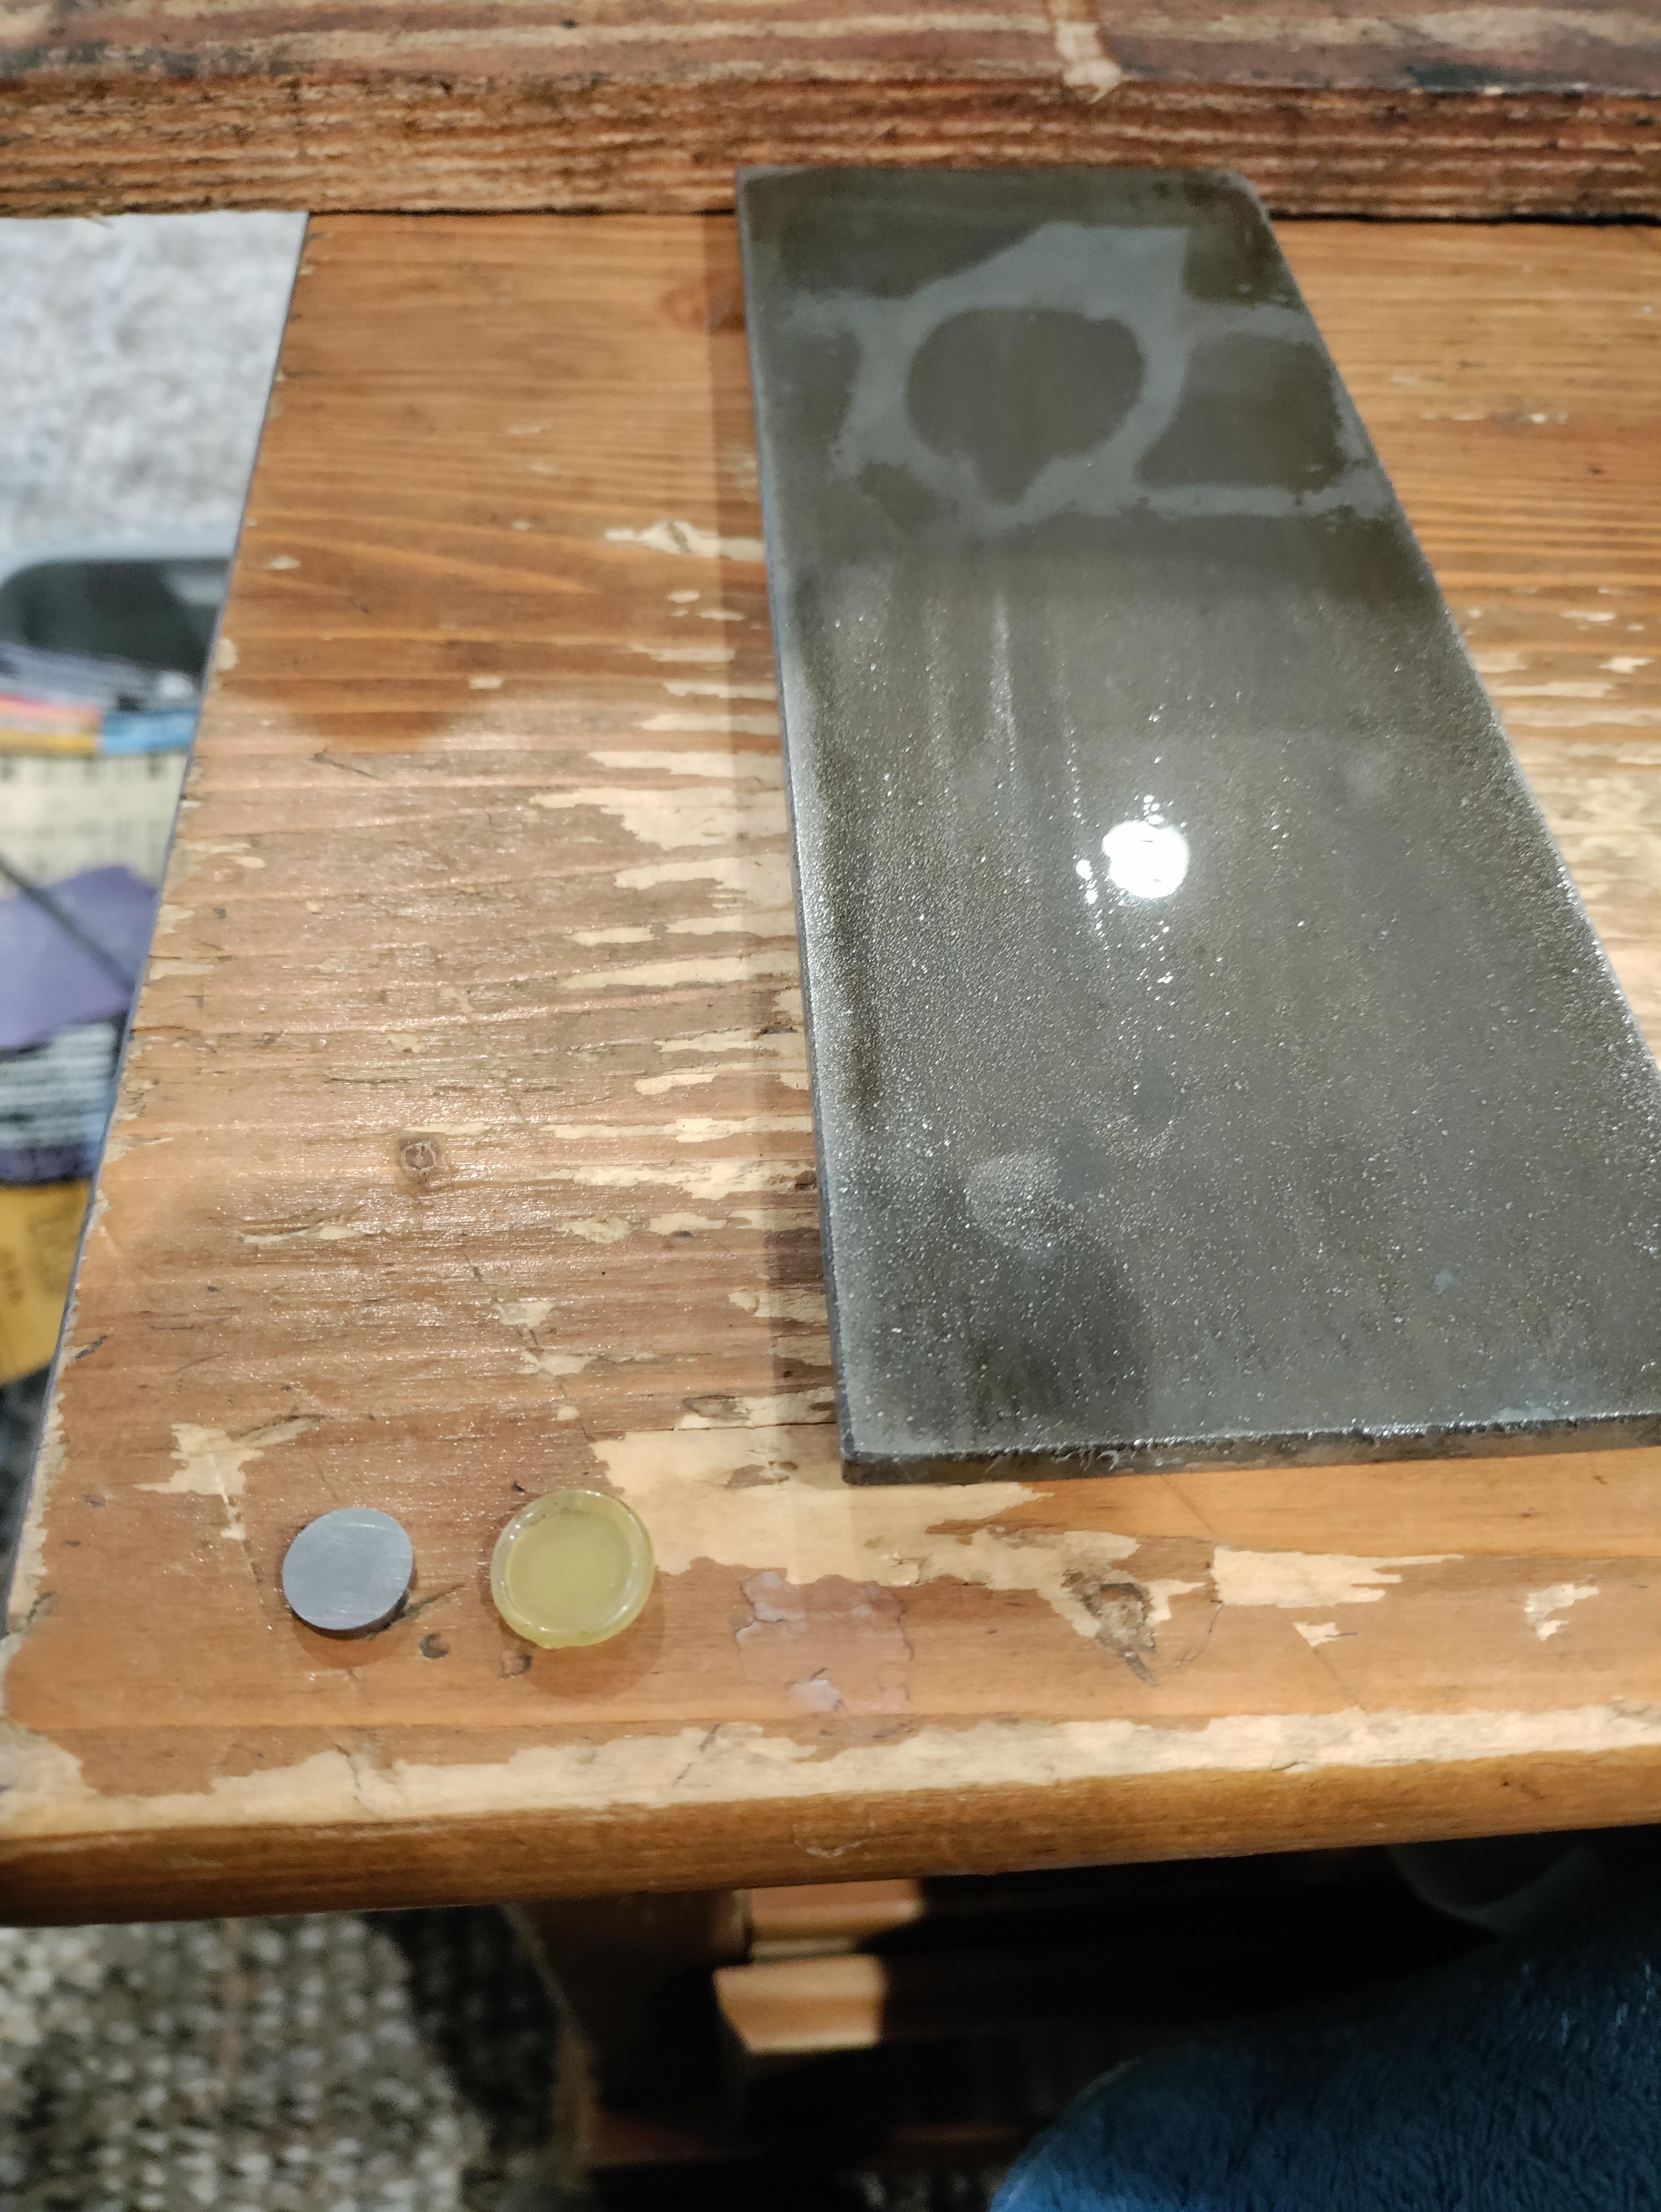
All the valve clearances are finally set. What a pain in the ***. They are in .05mm increments which is .002". The specs for the intake are .008"-.009" so I had to sand them down. Those tiny little pucks are so hard it took about half an hour each to take off .001" using the 250 grit diamond honing stone.
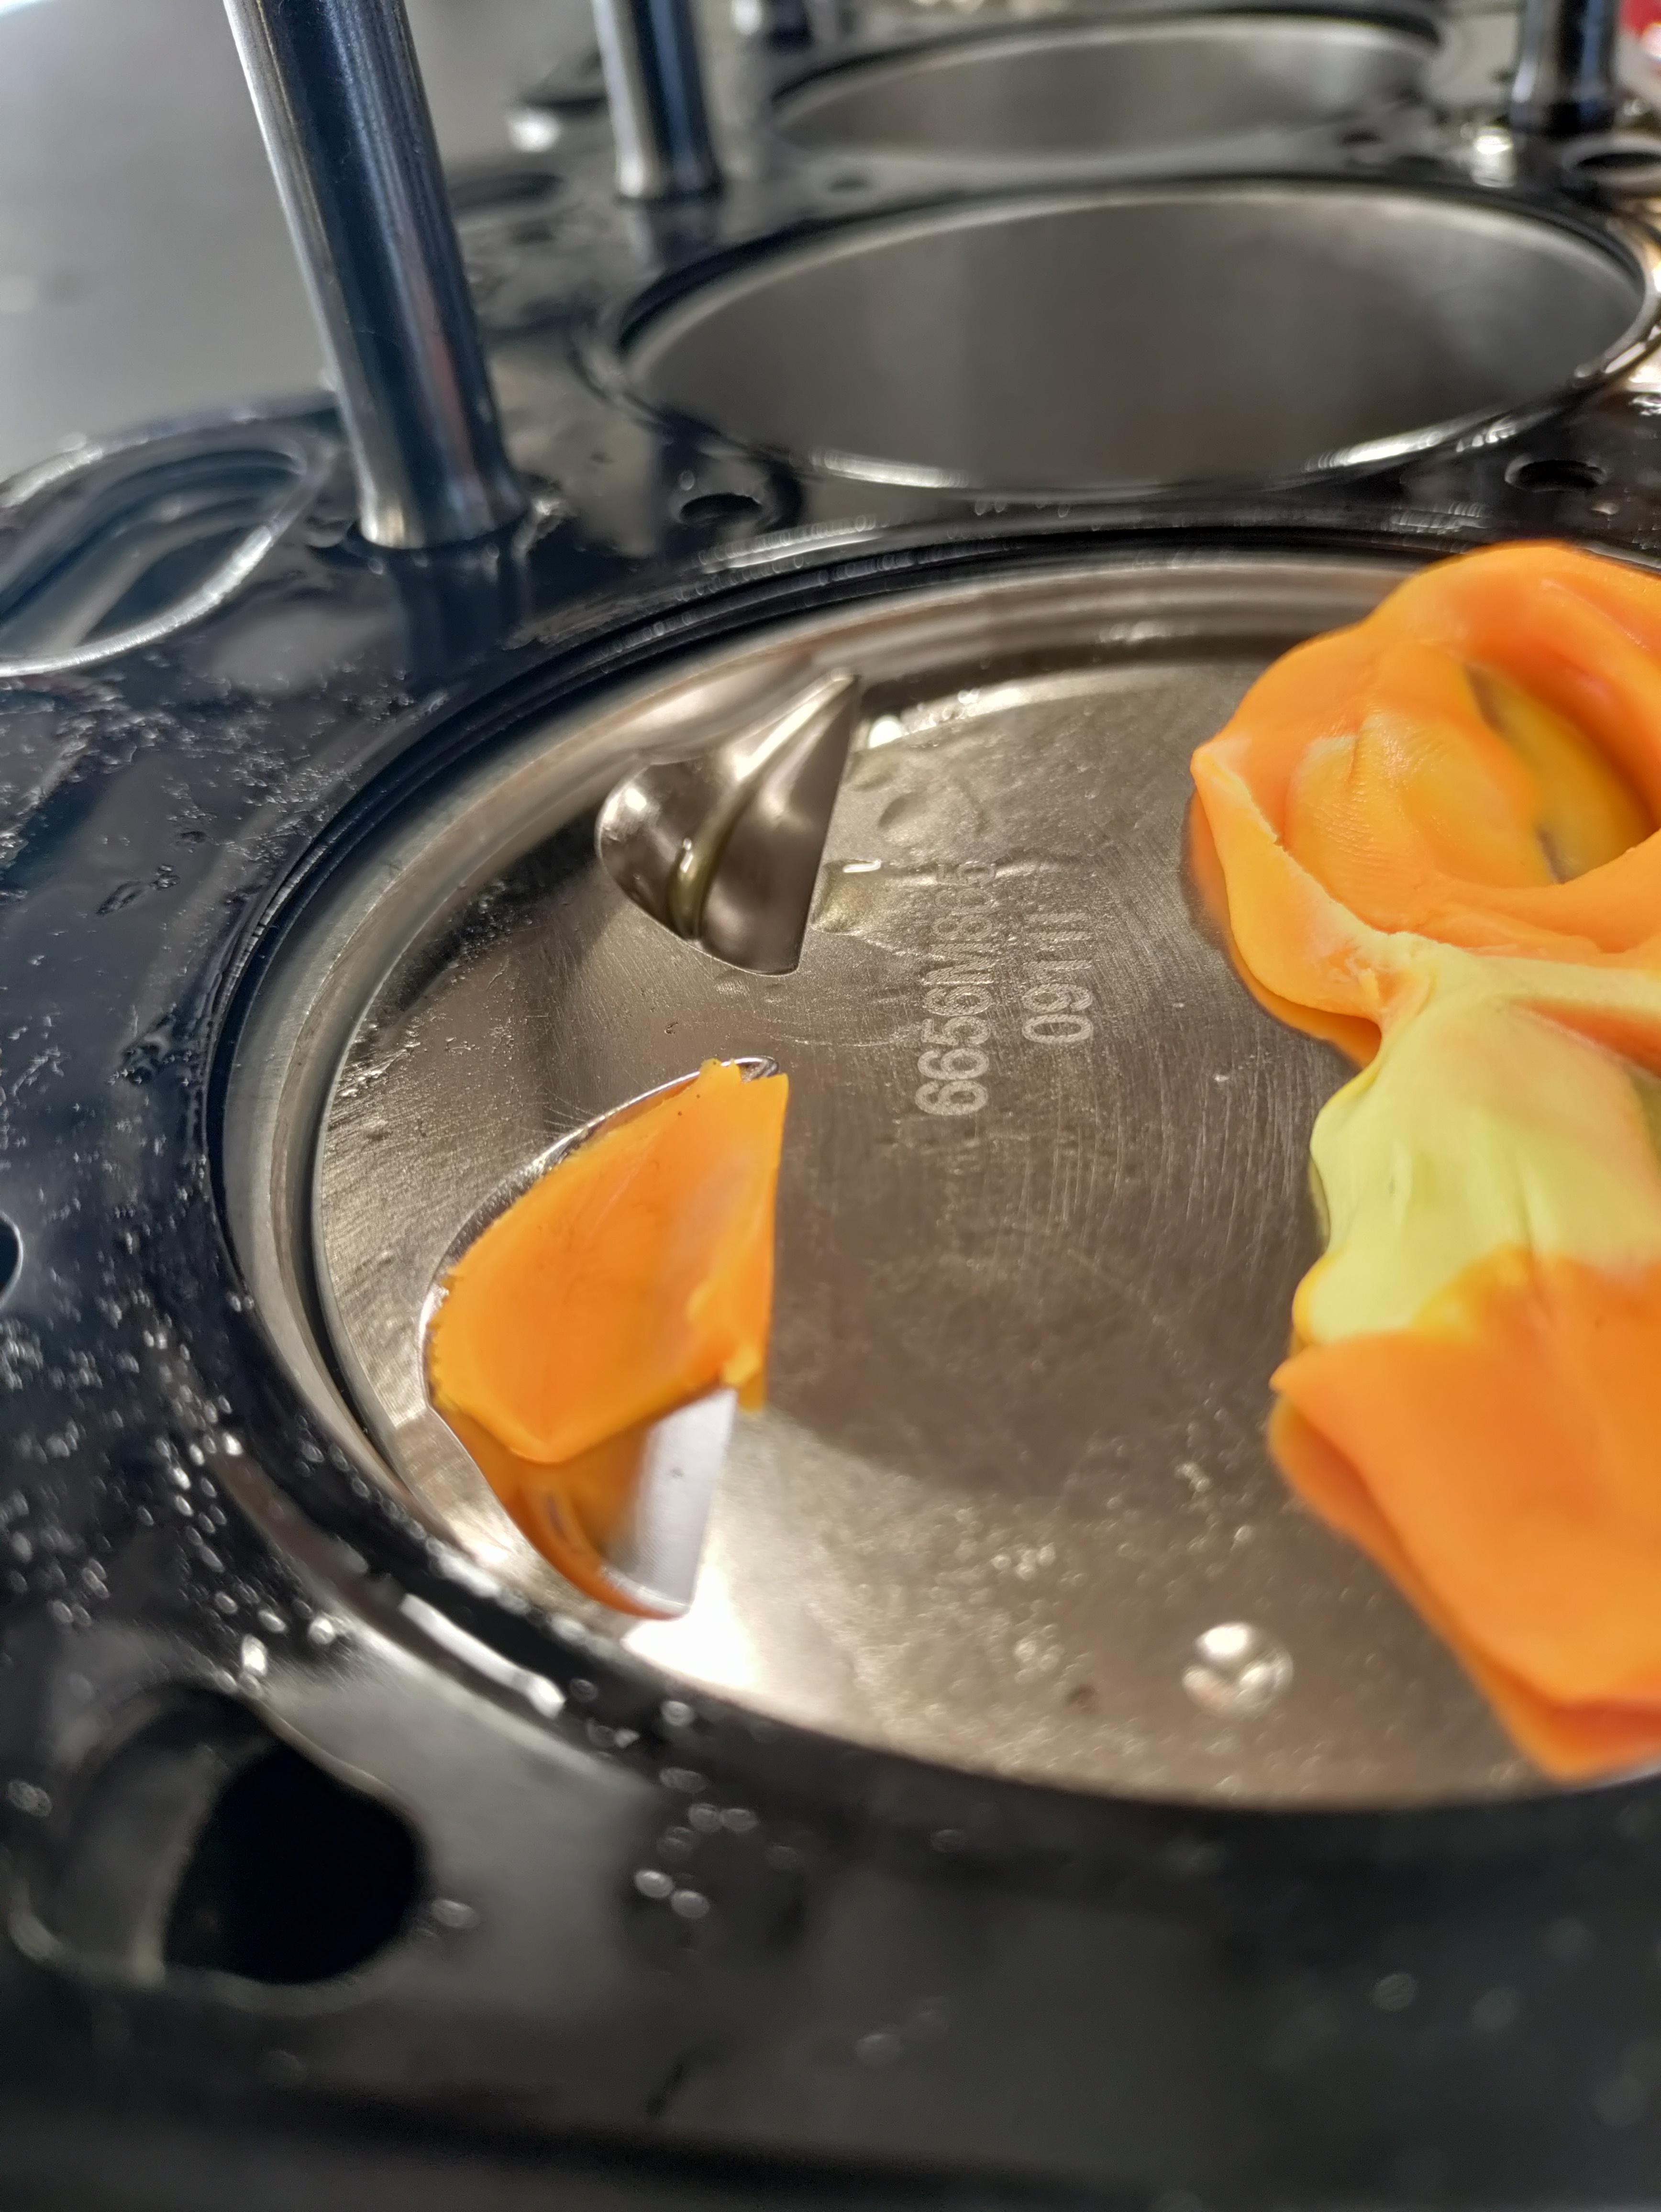
I forgot my Playdoh to check piston to valve clearance. I'll hopefully remember it tomorrow to verify everything and start assembling the engine.
Geeze, I'd never try that, I have used a shim grinder though (but with that it is easy to take too much off). Usually, if I don't have the right size in the spares box I just order the ones I need for overnight delivery. There is a manufacturer down the road and they express them up - it's not a big package obviously!
I remembered my Play-Doh and was able to check valve clearance. I have 1mm on the intake and .060" interference on the exhaust. I'm going over options as to how to move forward. Either I'm gonna try to get a 3mm thick head gasket which seems way too thick or contact Wiseco to see if the dome thickness is enough to cut the valve reliefs deeper. I'd prefer to keep the engine non interference just in case.
I don't like the thick HG idea. Quench/Squish goes down the toilet and you throw away what little efficiency these already inefficient engines have.
I also love compression. The more the better. I think Sean was running 12.5:1 on his last BP on like 30+psi with a GTX35R. It's definitely the right direction for e85 and big powa
 08-12-2022, 12:05 PM


 1
1