NOT A MIATA, FE3N+HOLSET+73 FORD COURIER BUILD
 05-03-2020, 04:41 PM
#141
Senior Member
Thread Starter

Join Date: Jan 2011
Location: sacramento ,ca
Posts: 563
Total Cats: 160
THIS DAMN TRUCK HAS HAD EVERYTHING REDESIGNED ON IT SO MANY TIMES WHICH IS WHY IT NEEDS TO RUN BEFORE ITS 5 YEAR ANNIVERSARY AT THE END OF THE MONTH

Reply
 0
0

0


 05-06-2020, 10:28 AM
#144
Senior Member
Thread Starter
Join Date: Jan 2011
Location: sacramento ,ca
Posts: 563
Total Cats: 160
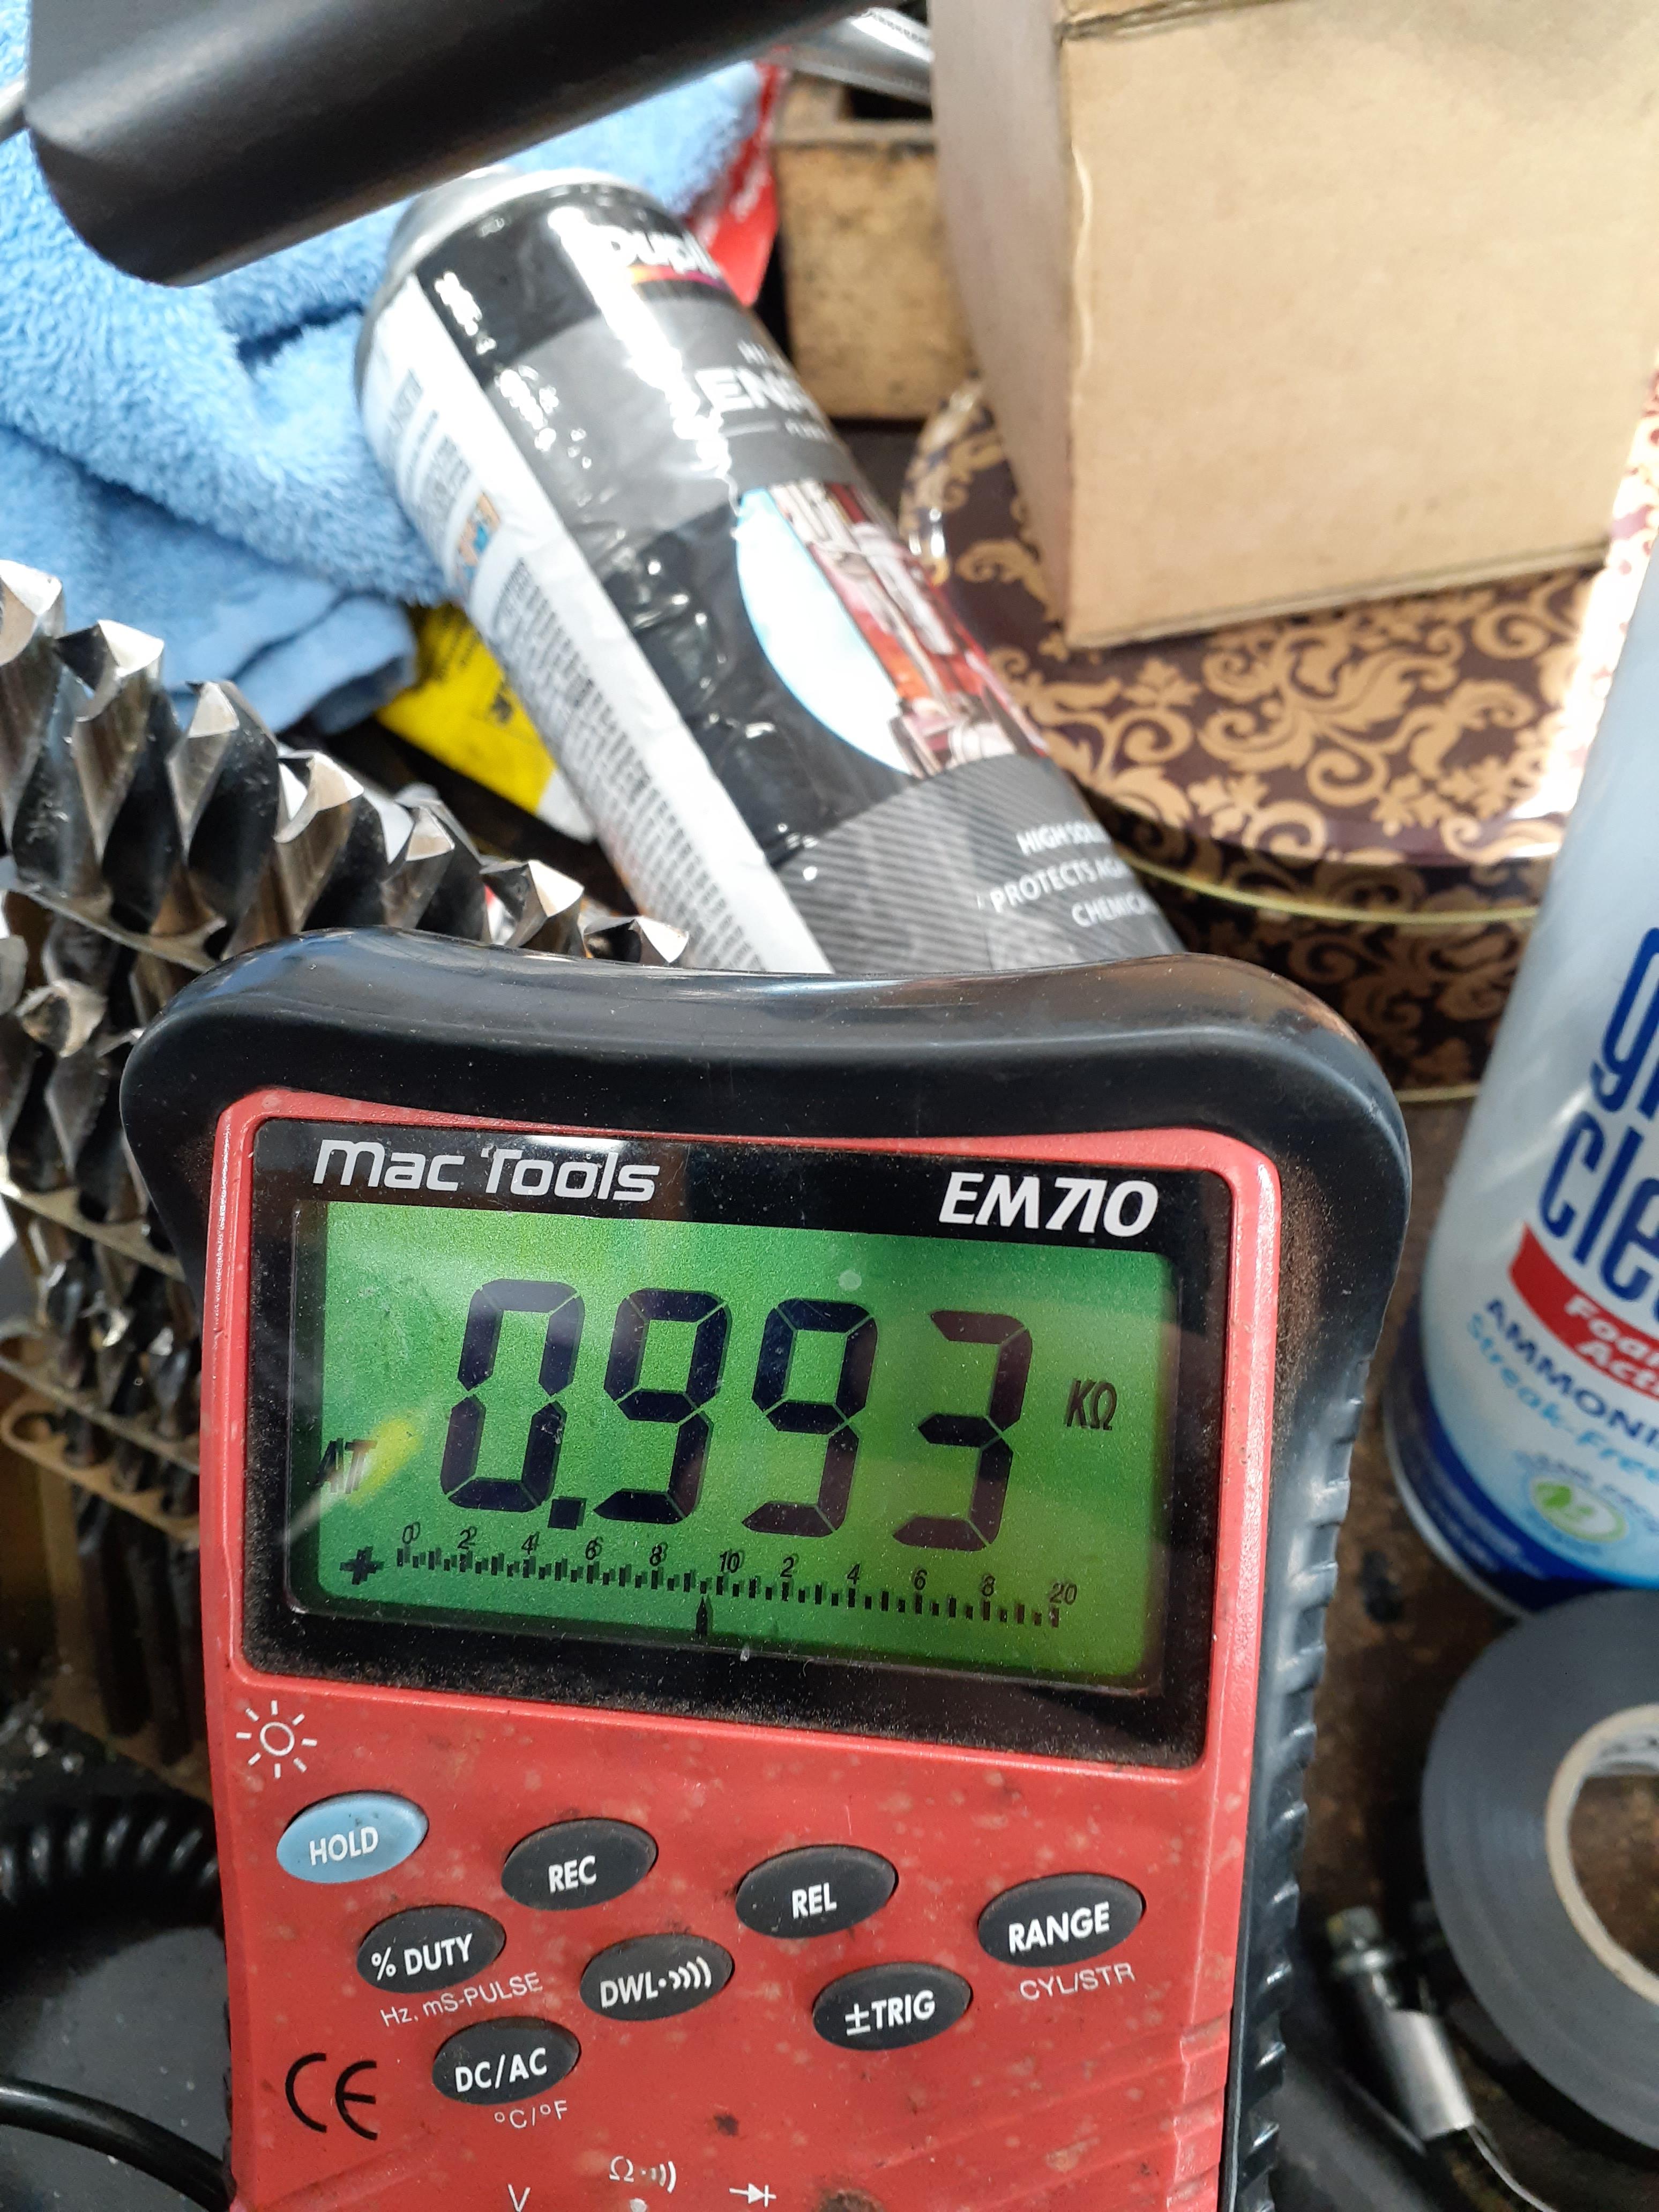
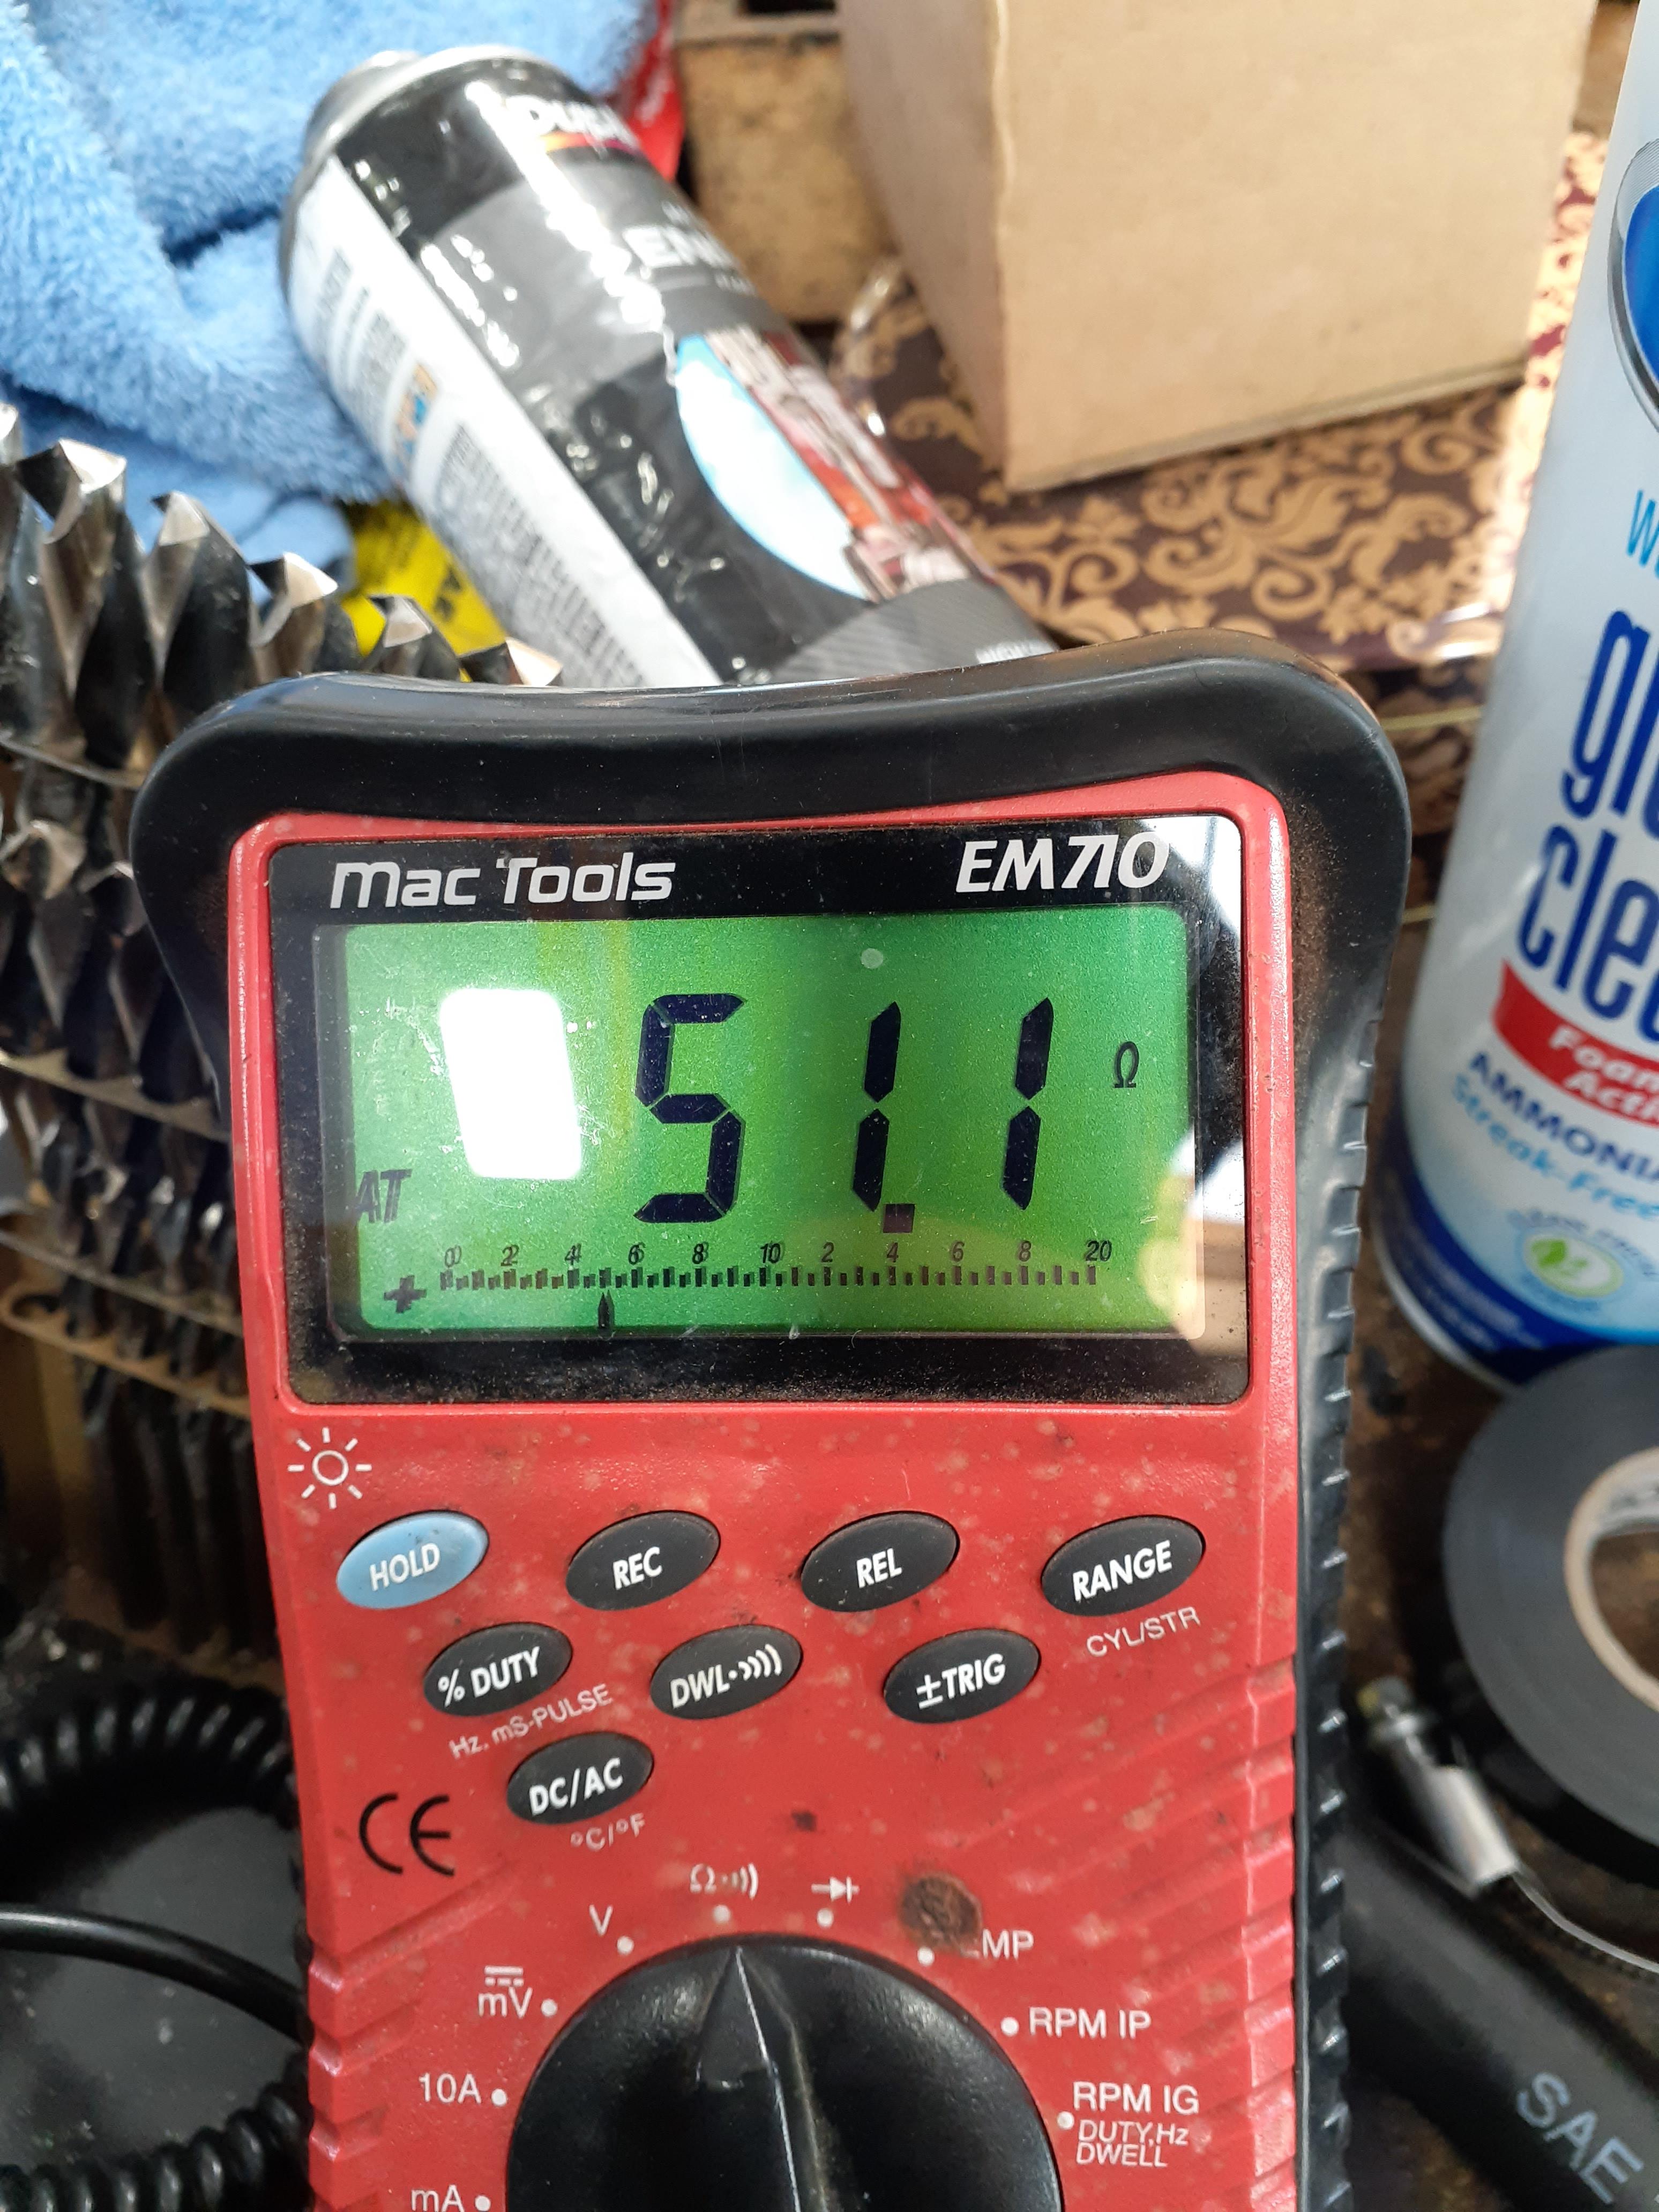
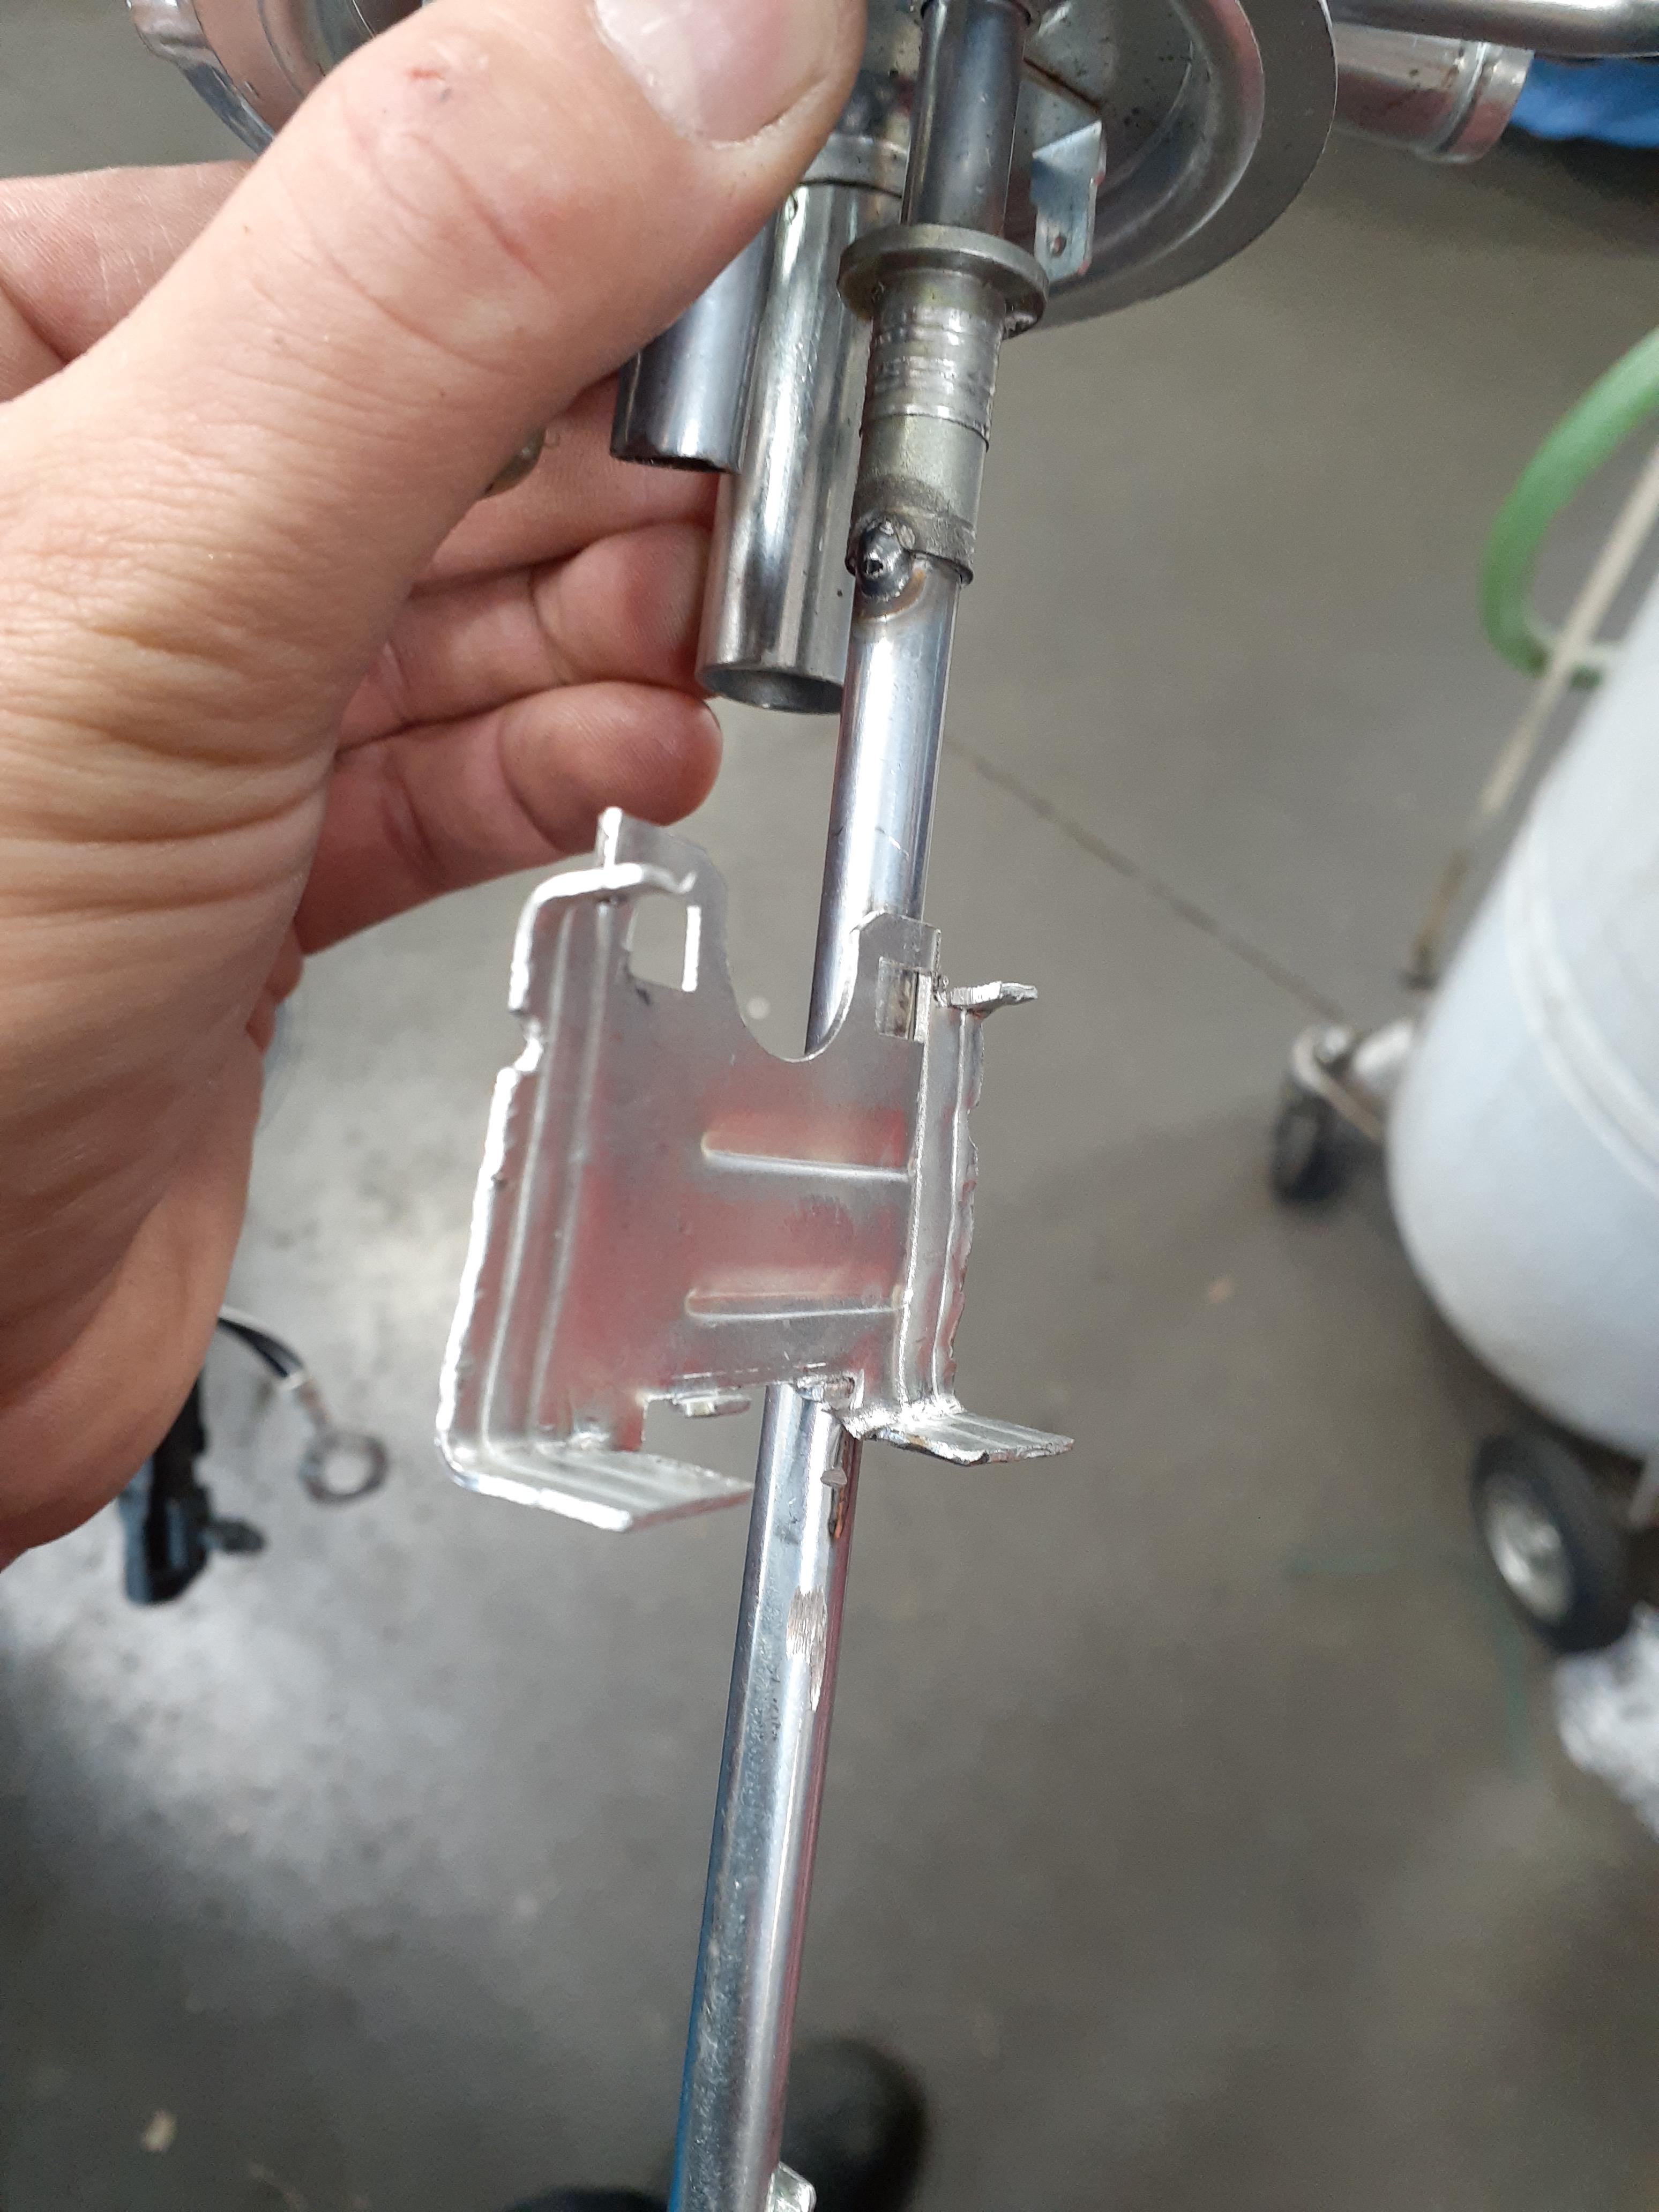
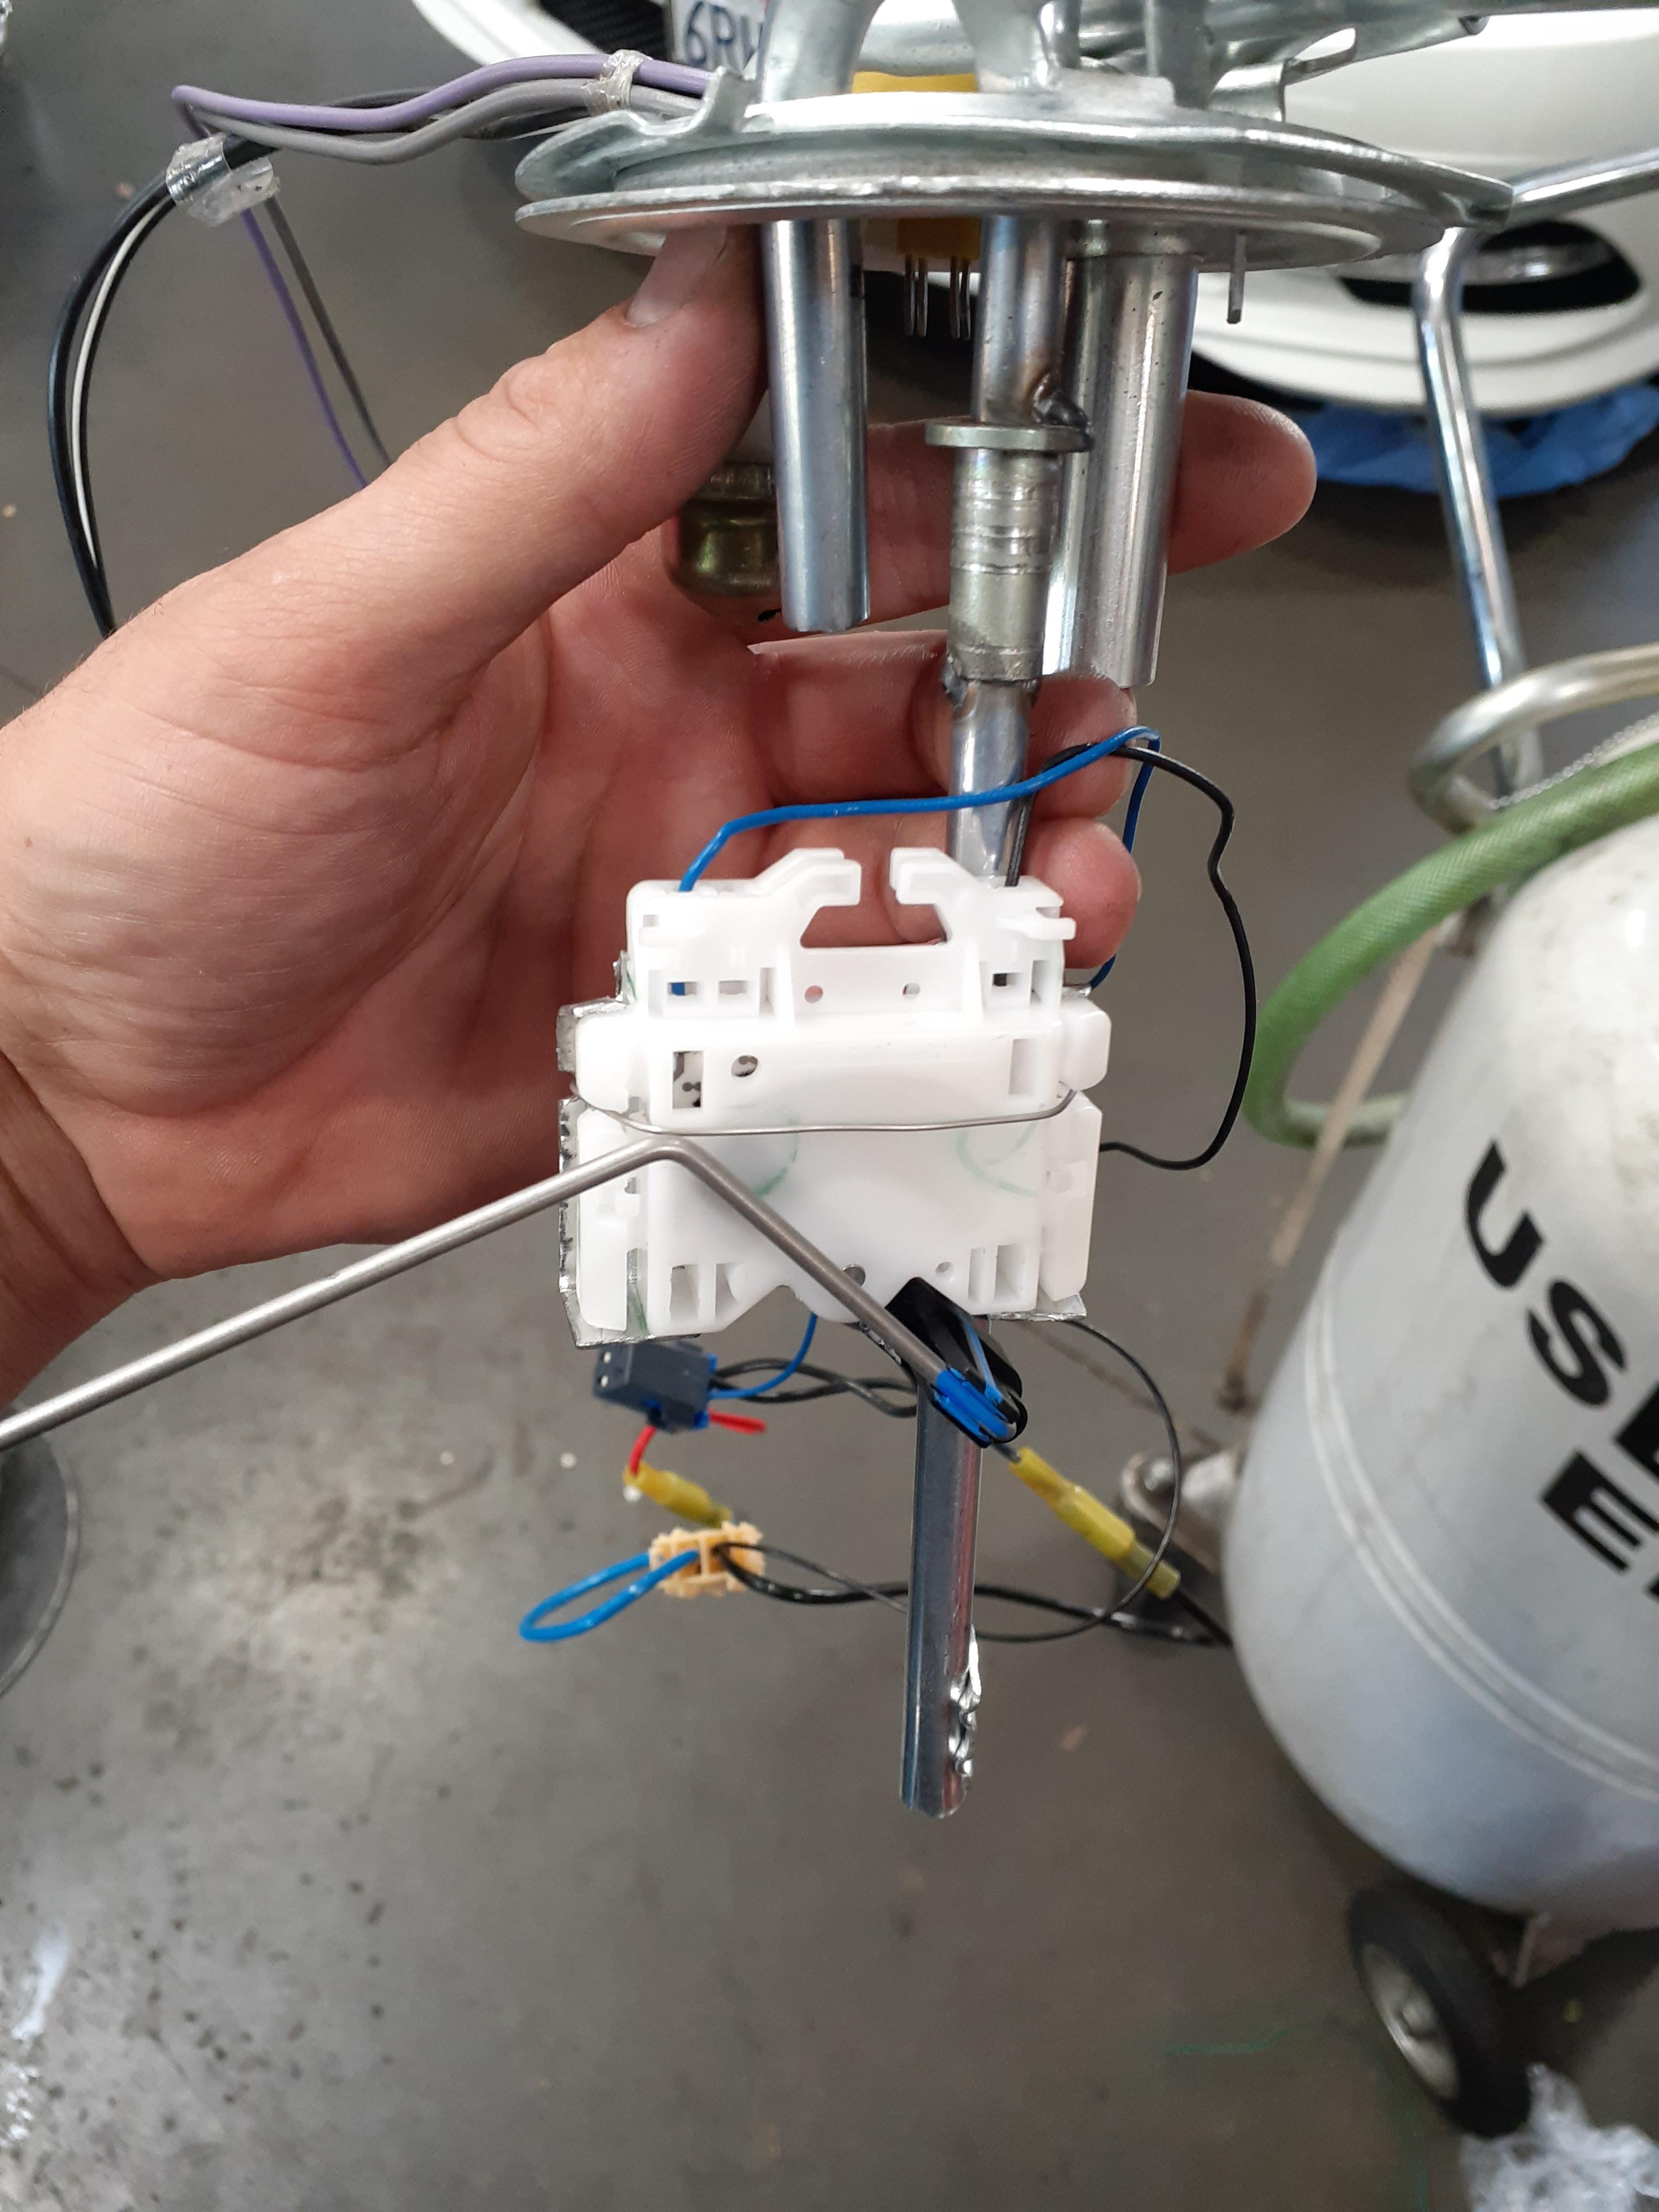
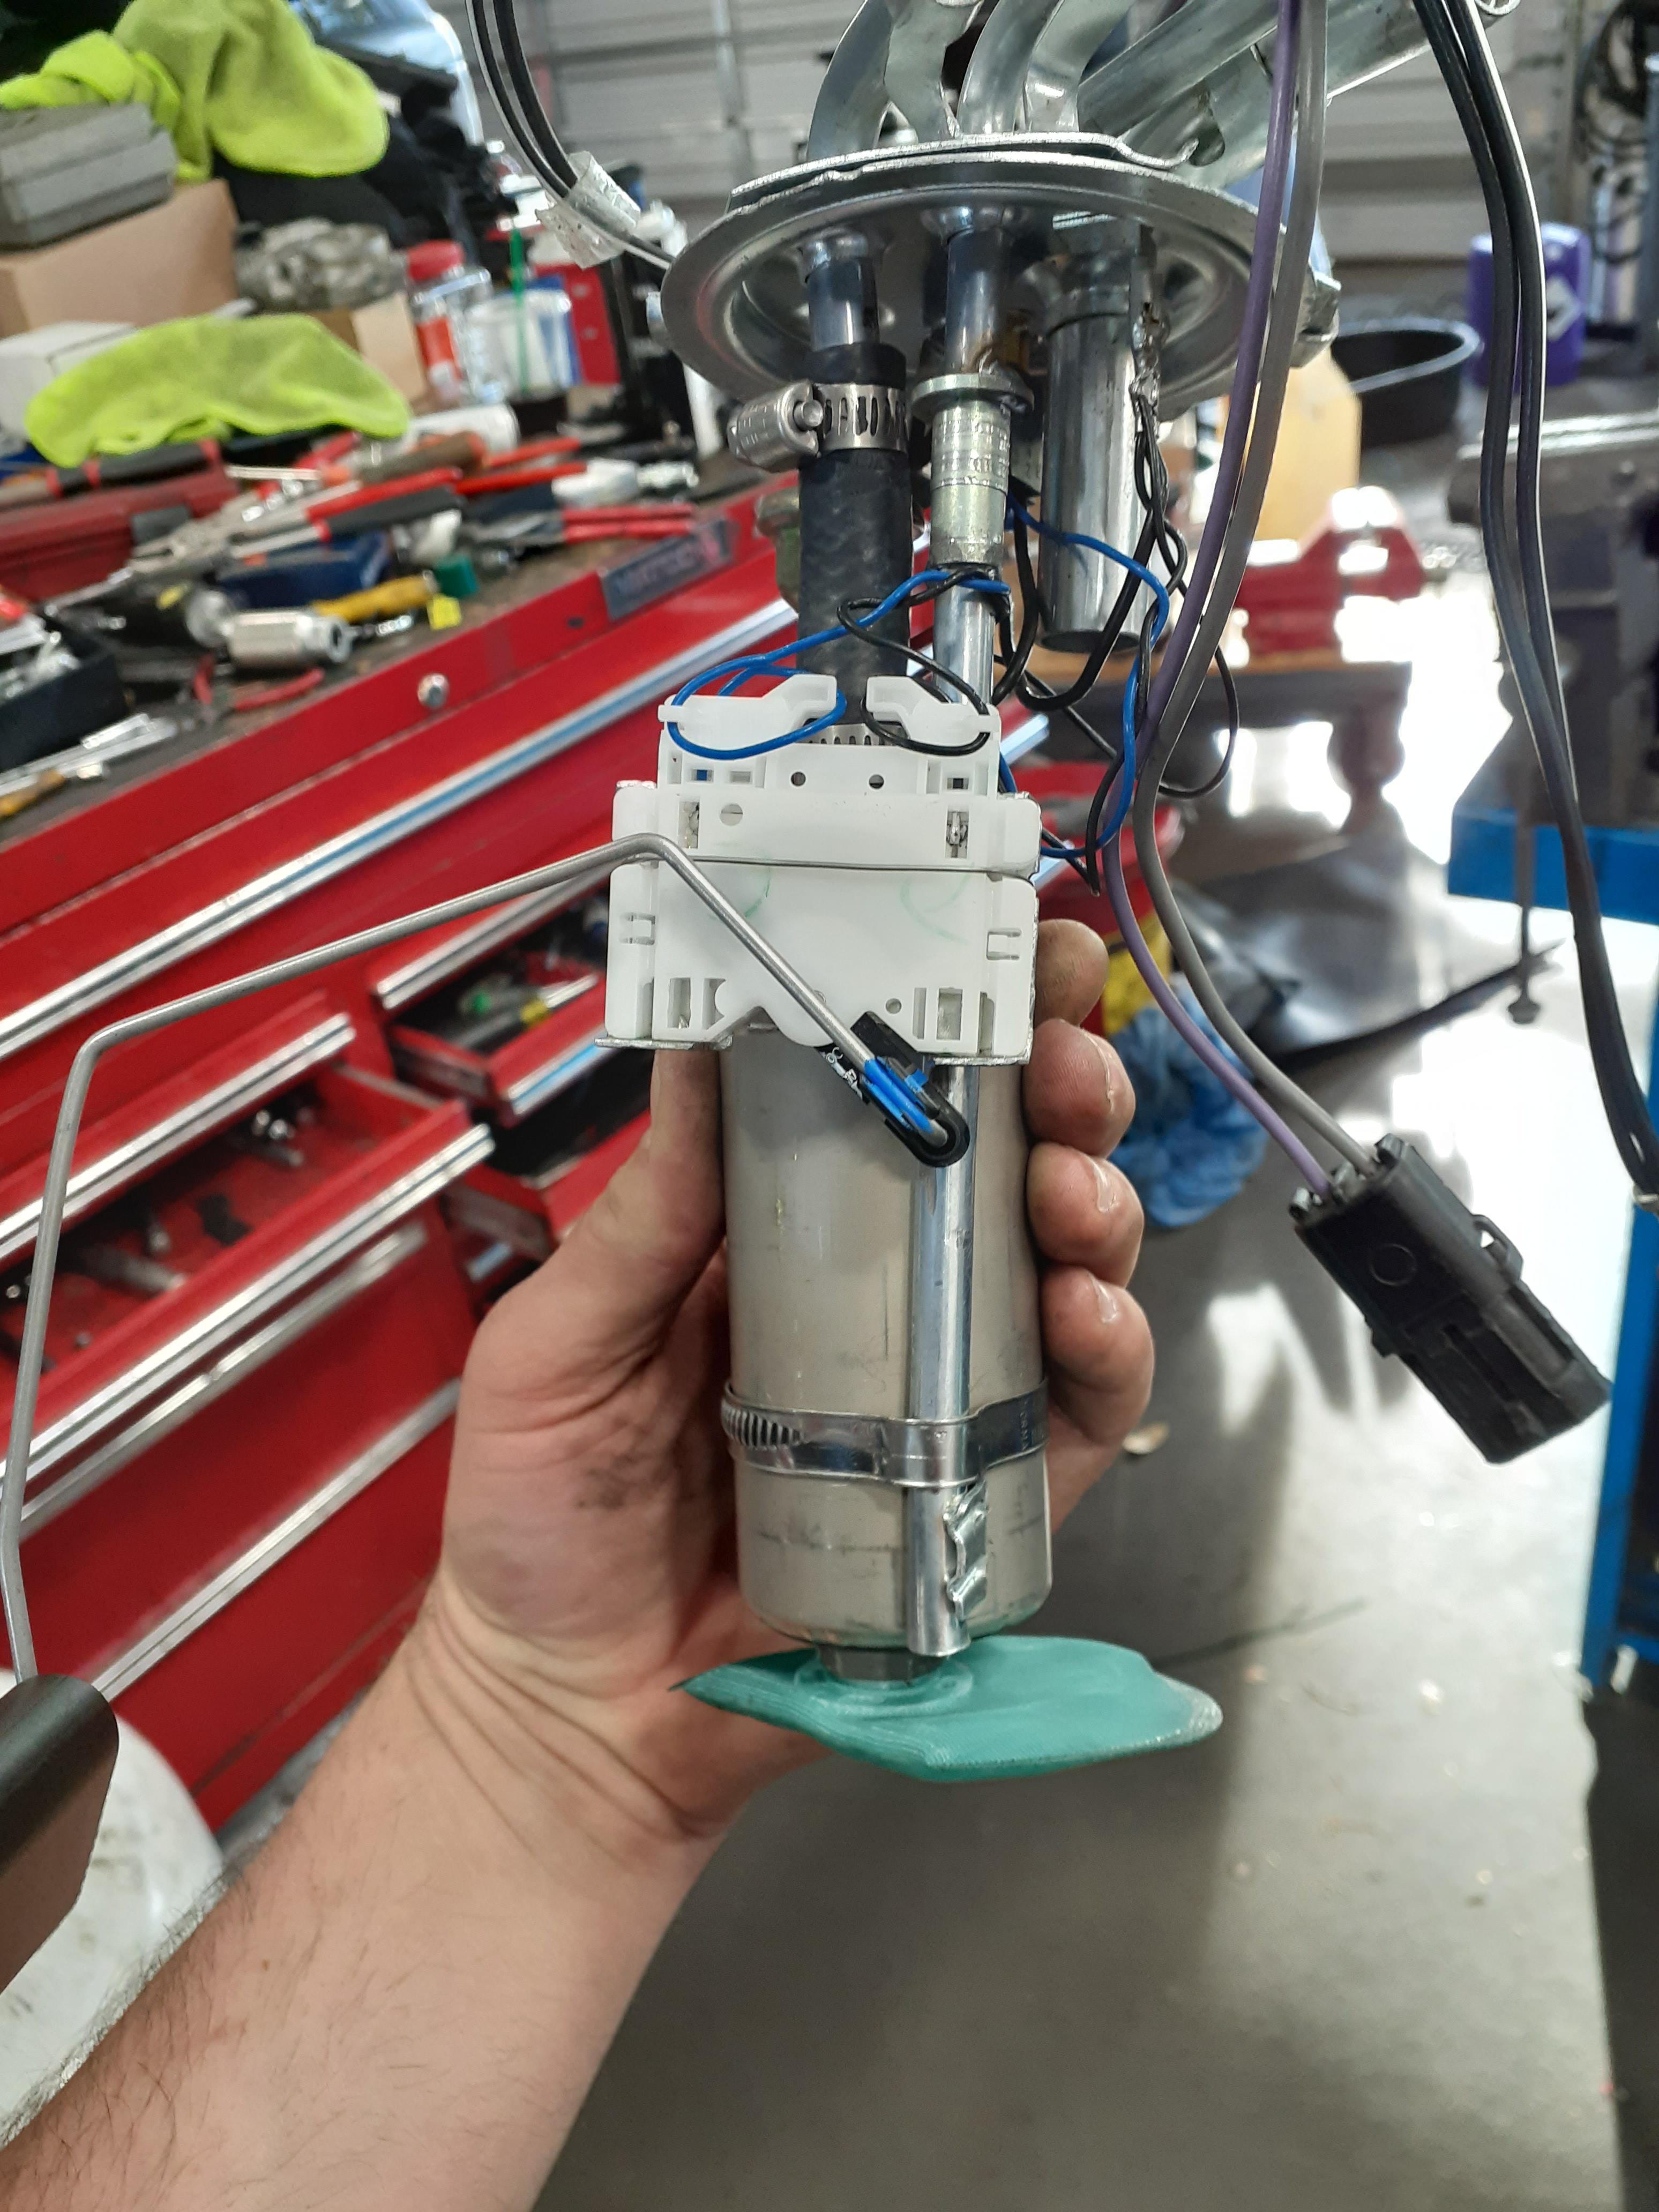
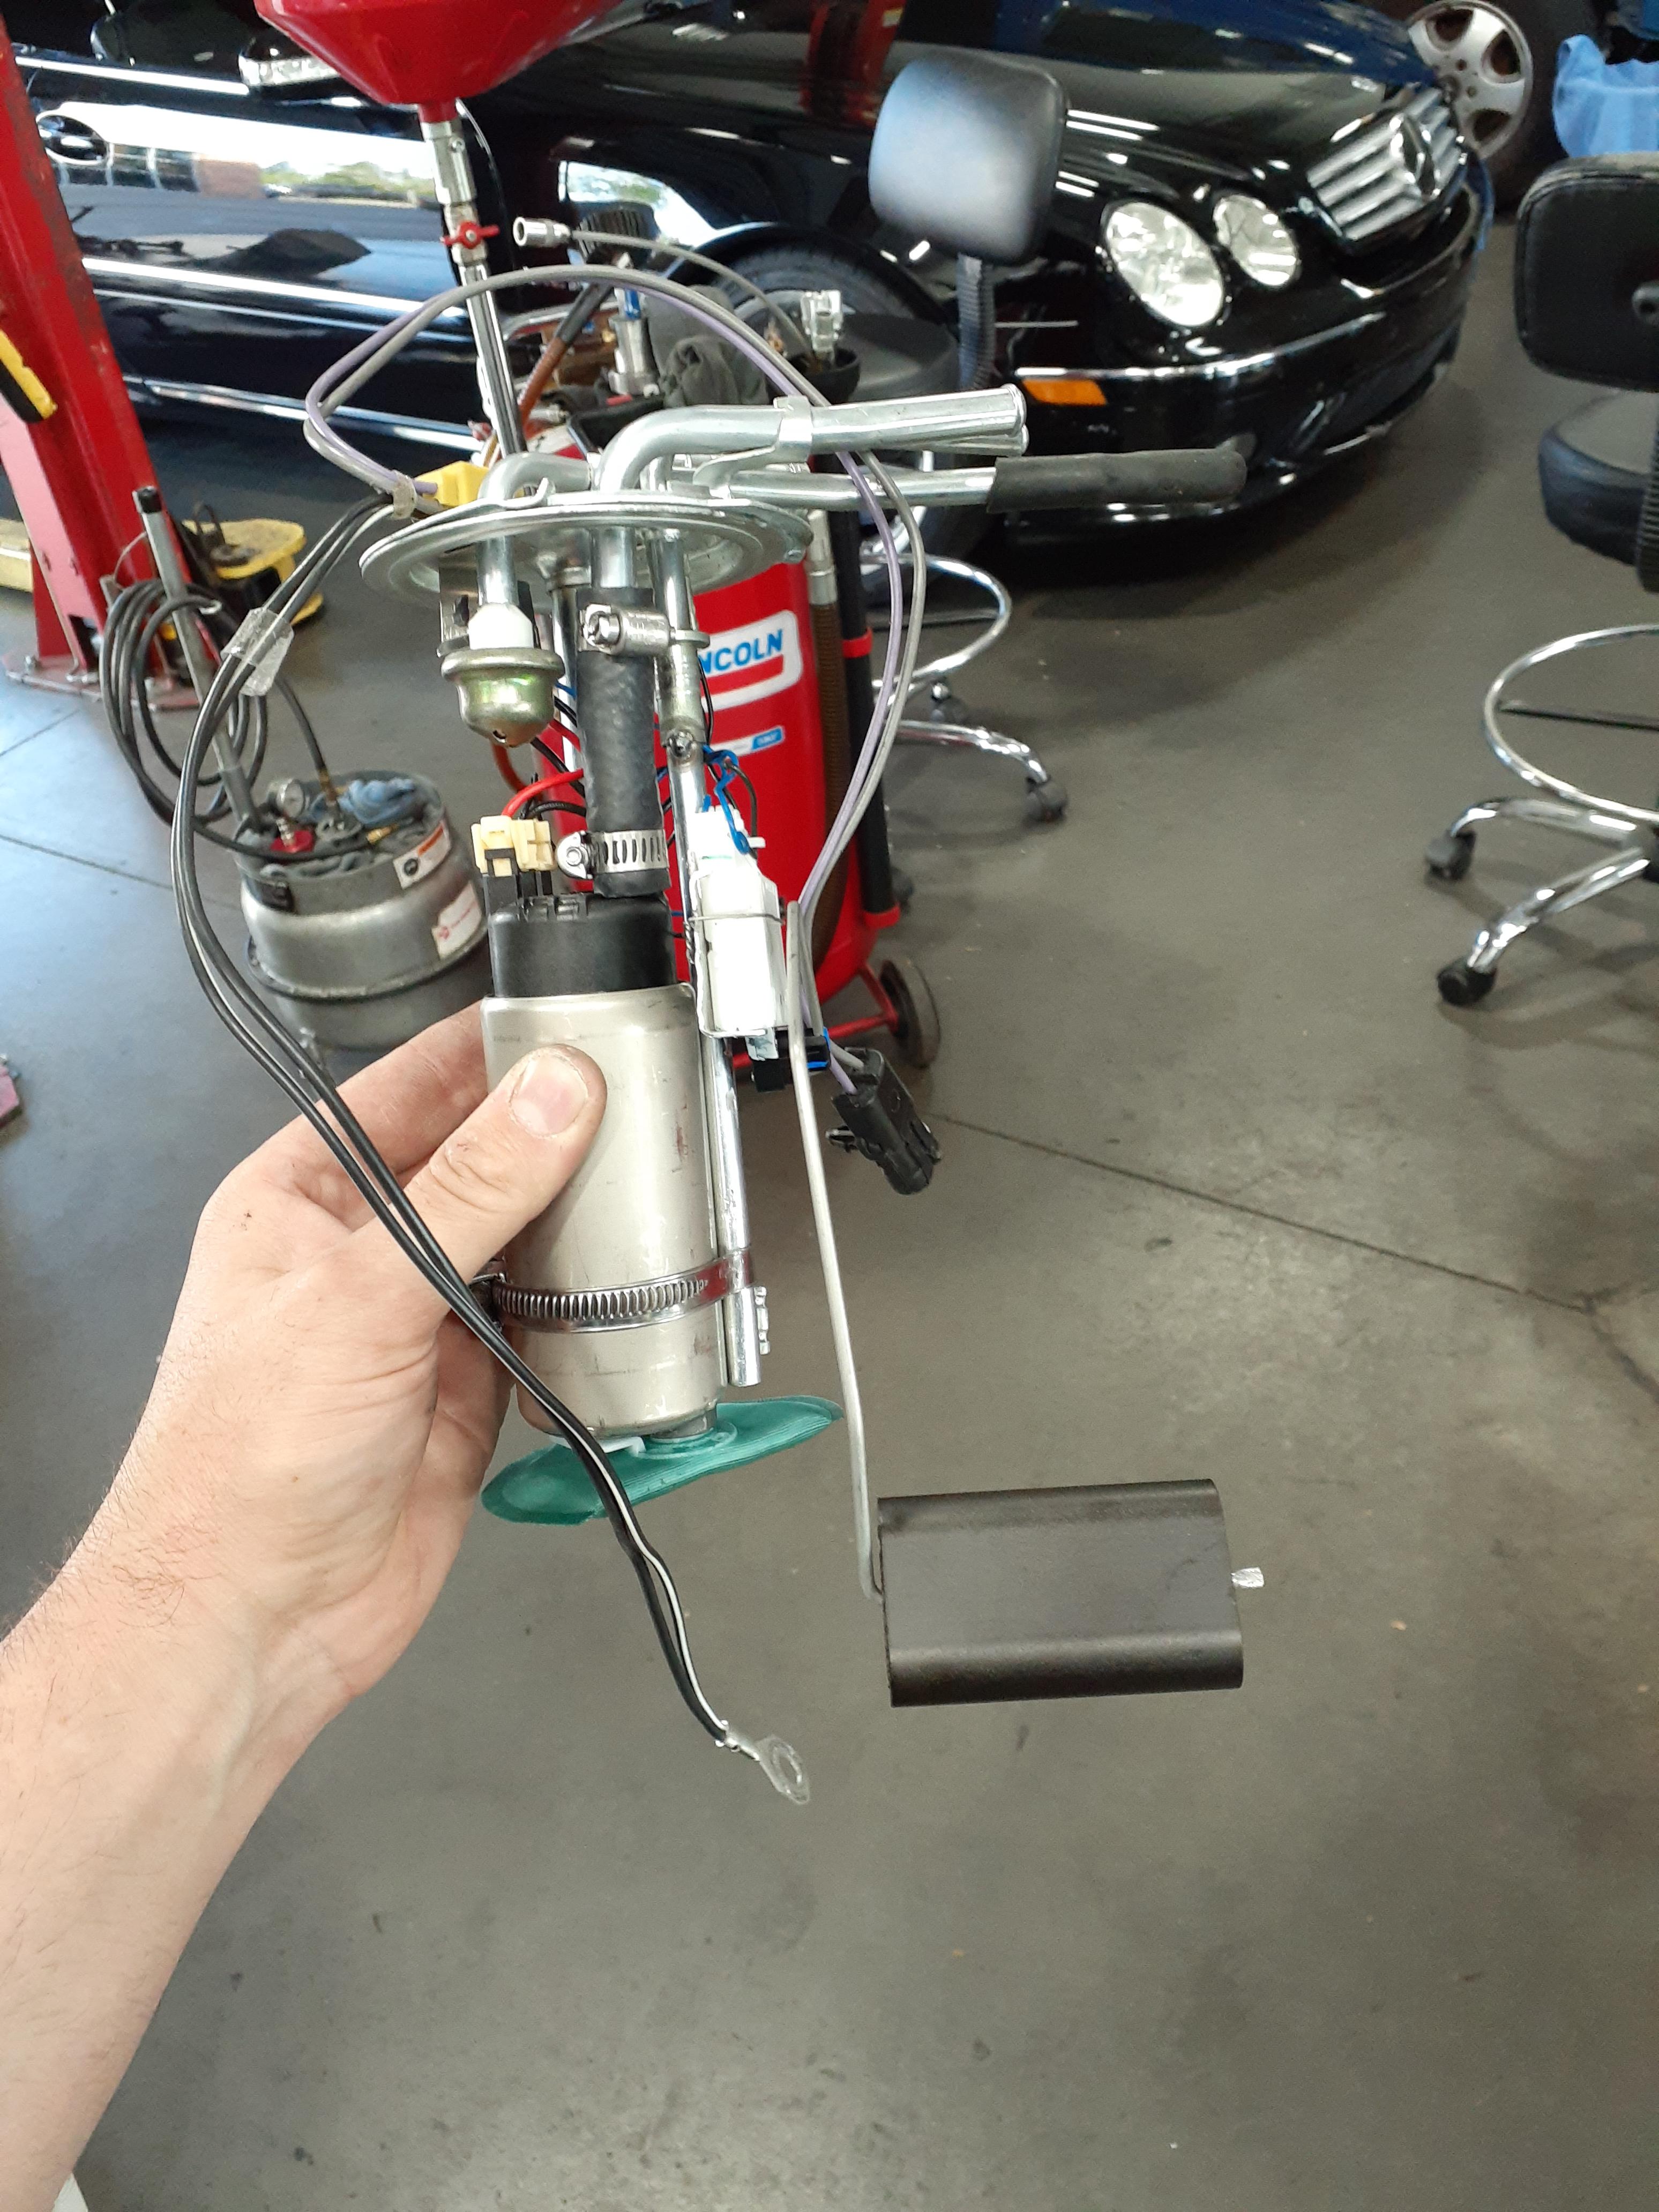
after some dicking around tunerstudio i realized the blazer fuel sender is ****. its too low of resolution, 35-90ohms, i was gonna go with a chevy one but they are only 40-250ohms, then i found out that for whatever reason dodge is 50-1000ohms. i picked up a sender from a 2012 flexfuel 3.6 charger. super smooth fuel level readings that dont jump all over when running the level sensor stop to stop. install was pretty straight forward, cut and bent the stock level sensor mount and used stainless saftey wire to hold it in place. i did need to bend and reverse the elbow on the float wire to fit it in the tank cause i mounted it upside down(not pictured)
Reply
0
0

 05-20-2020, 11:22 AM
#149
Senior Member
Thread Starter
Join Date: Jan 2011
Location: sacramento ,ca
Posts: 563
Total Cats: 160
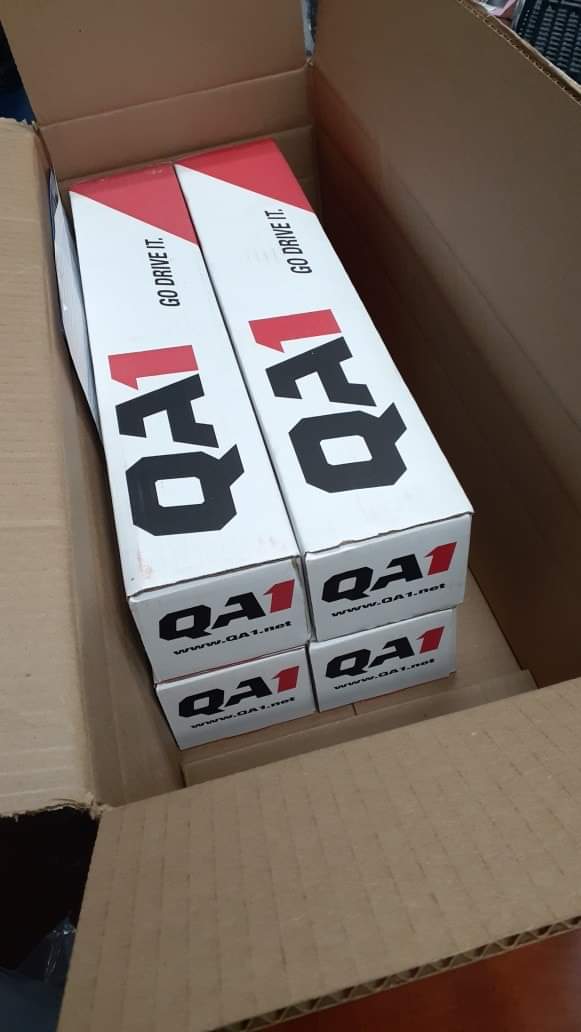
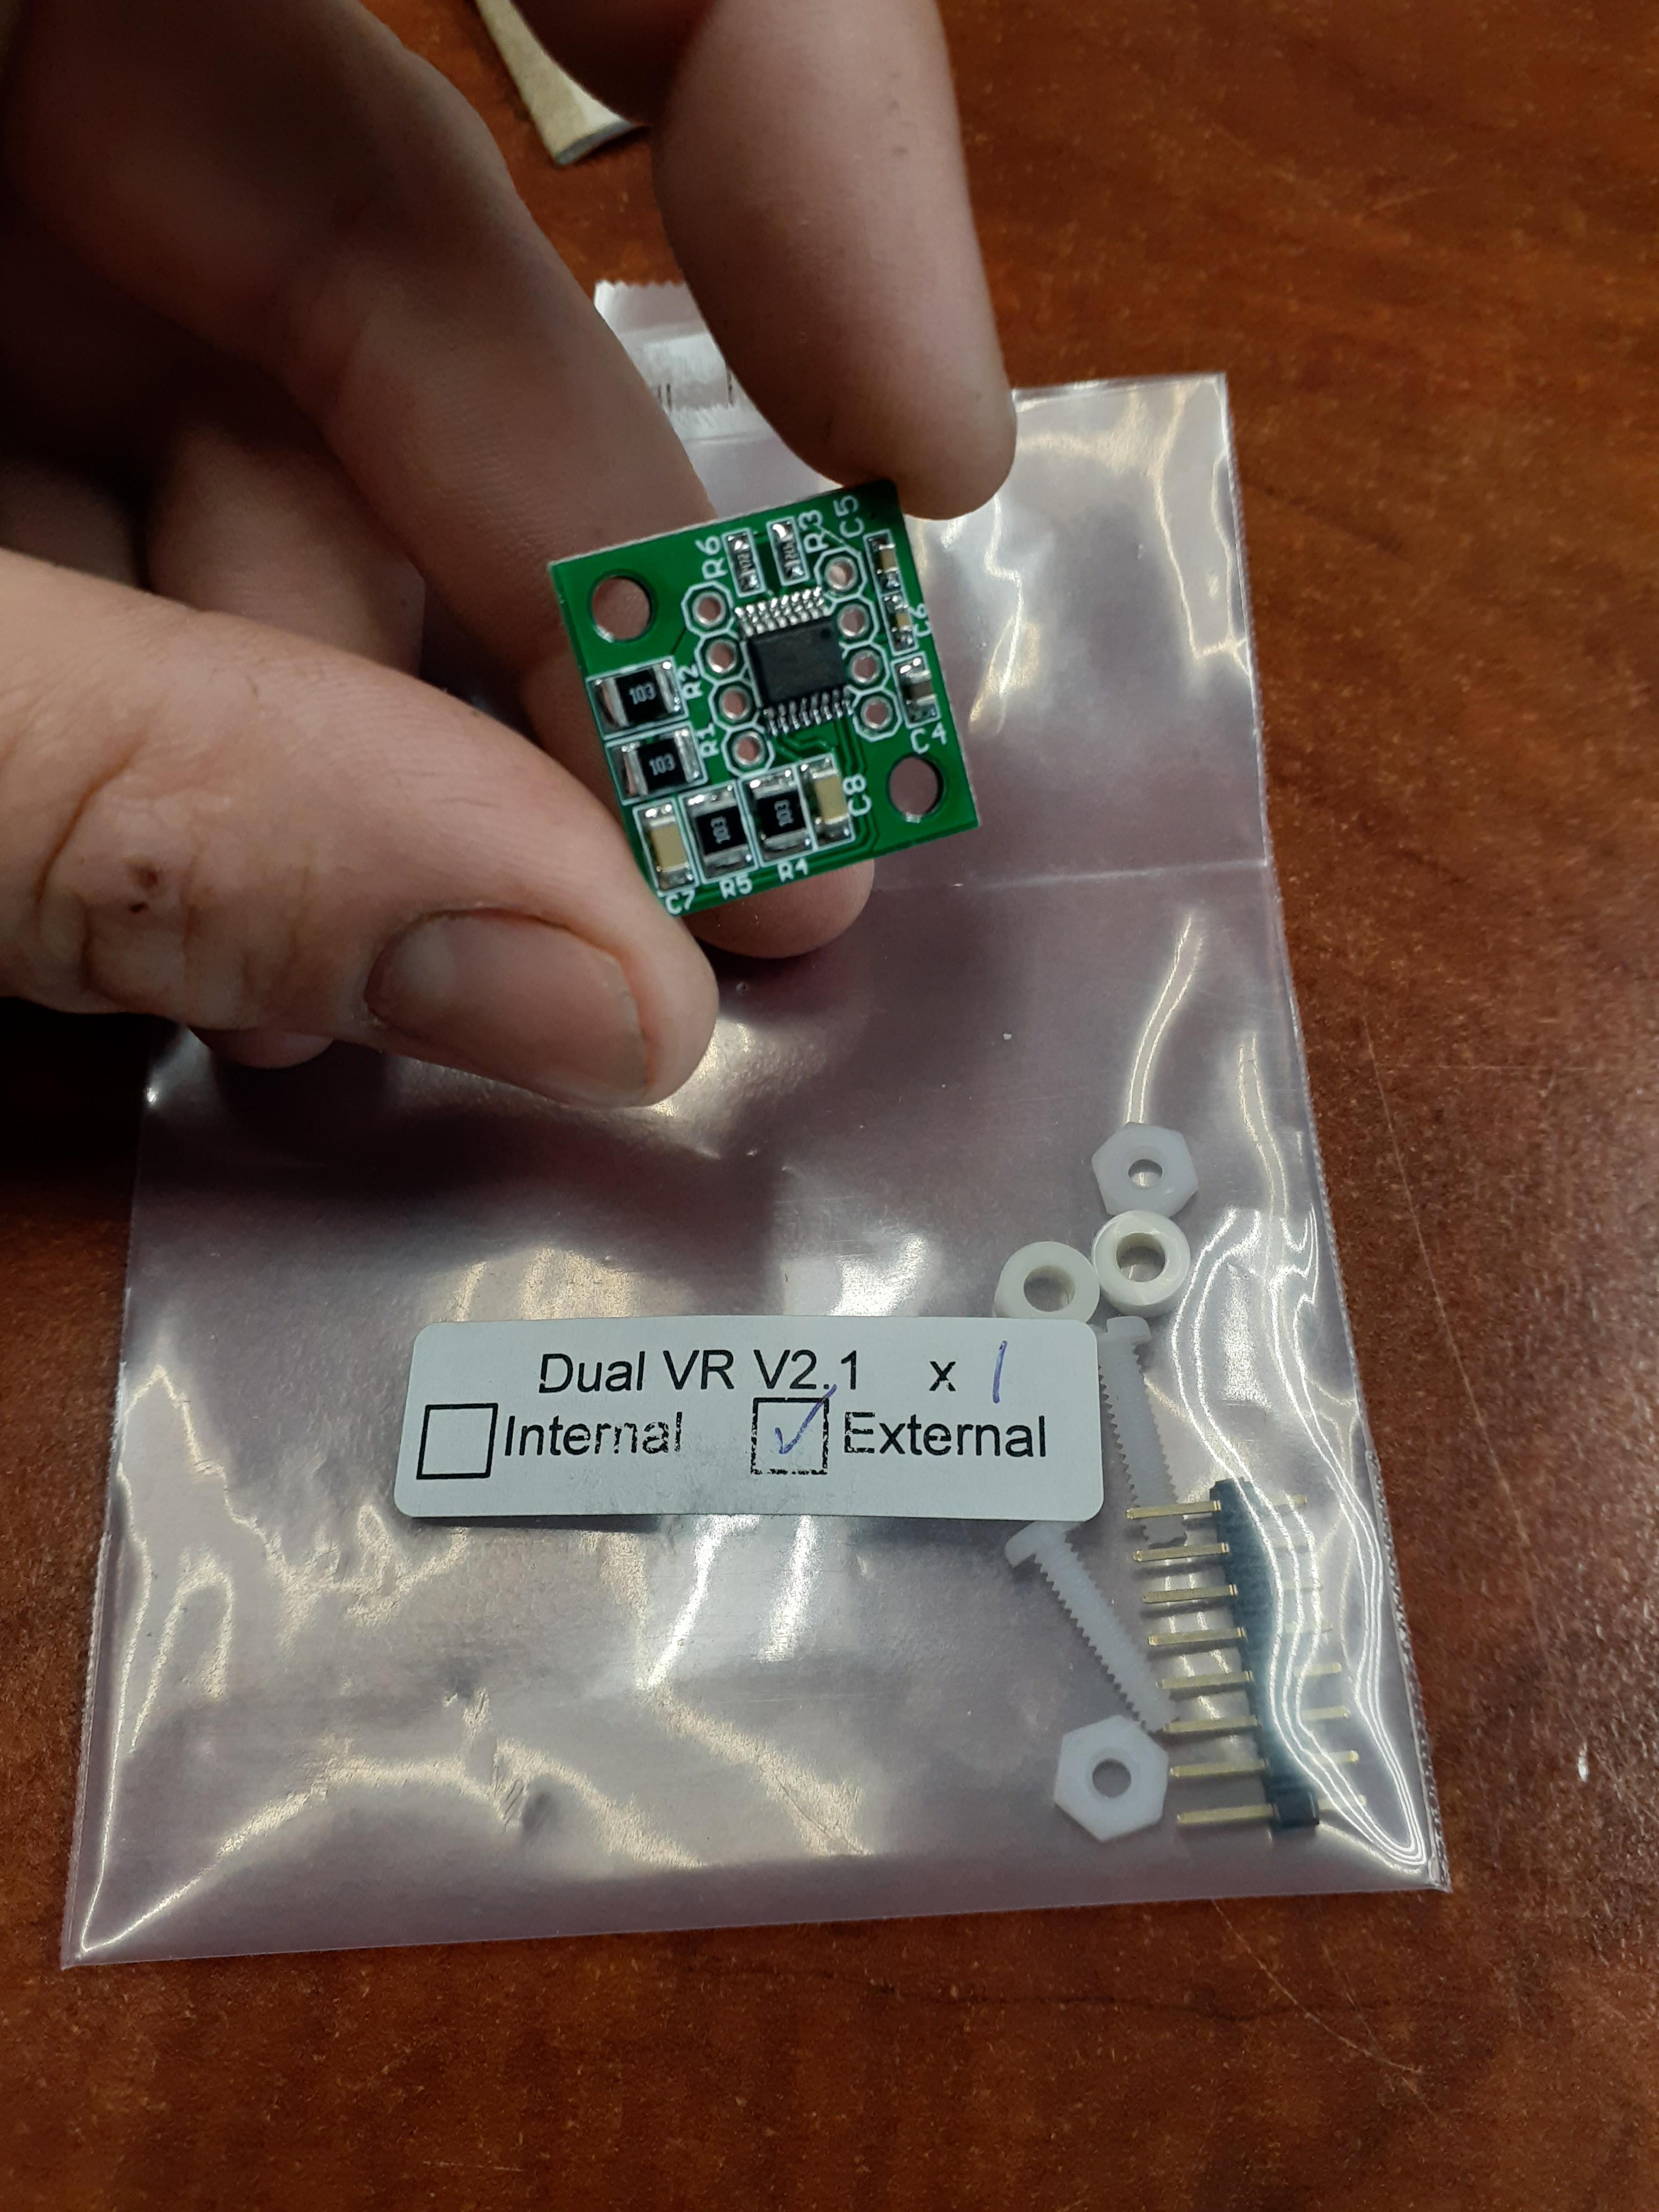
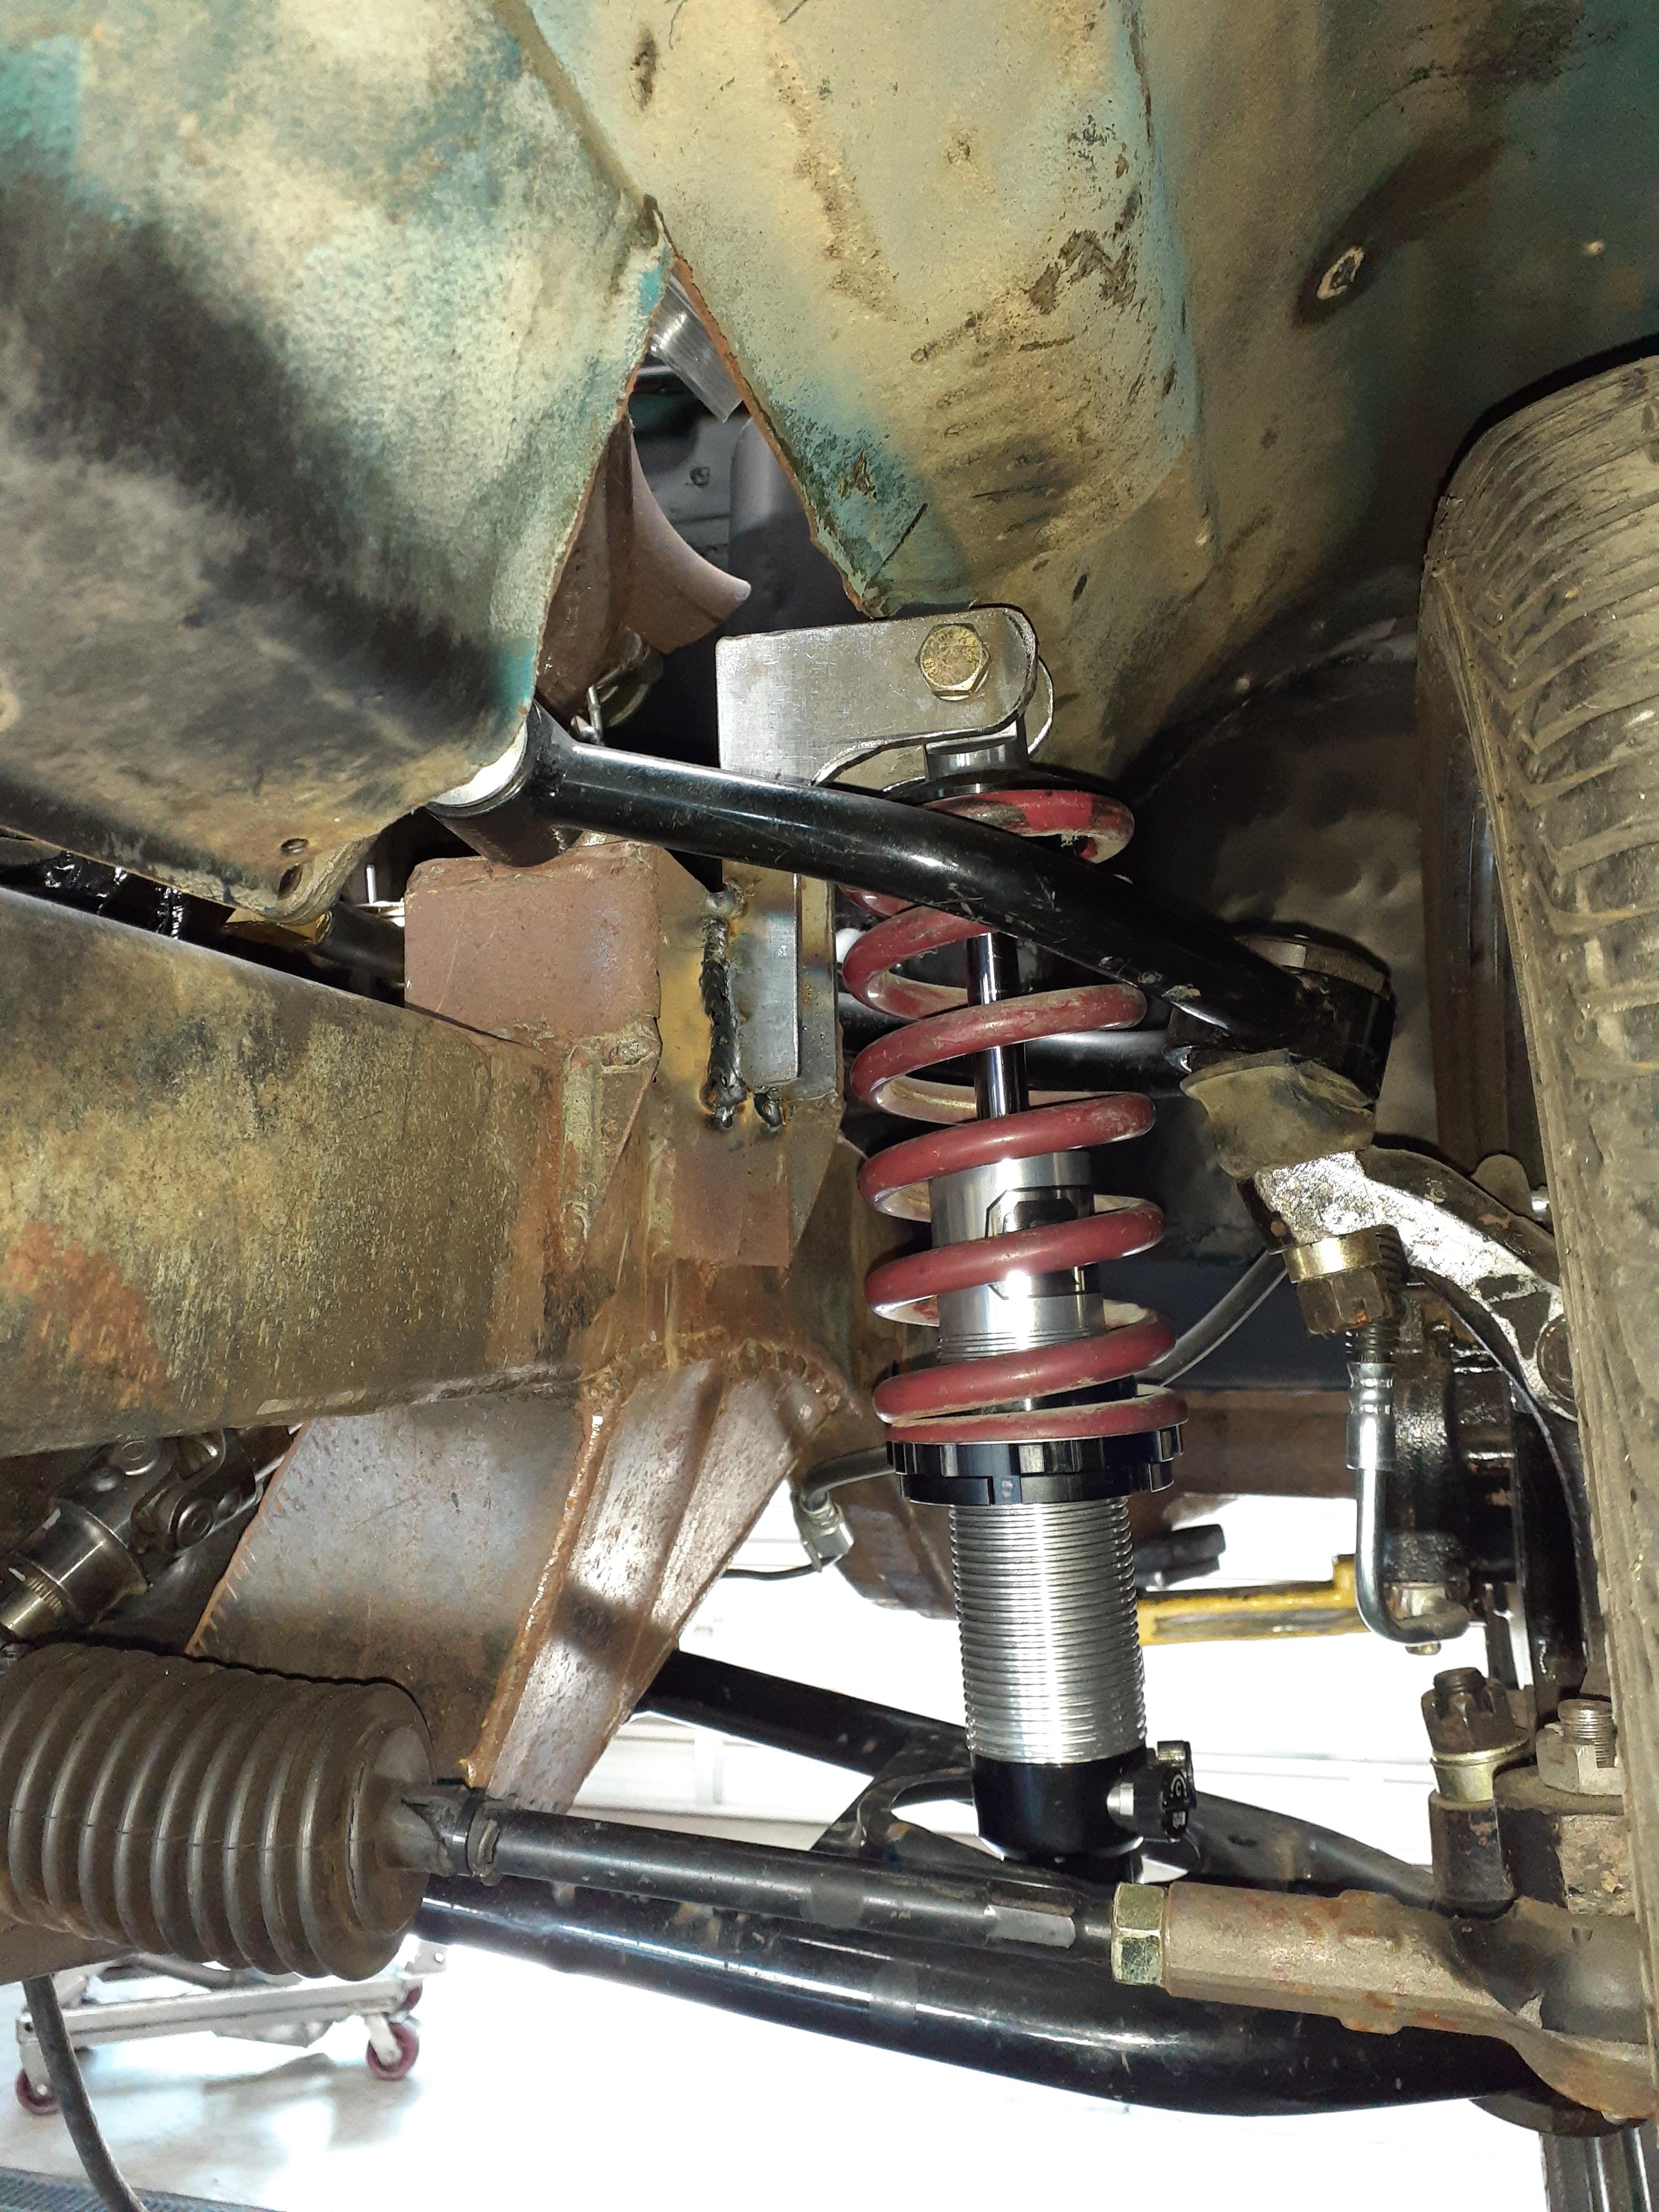
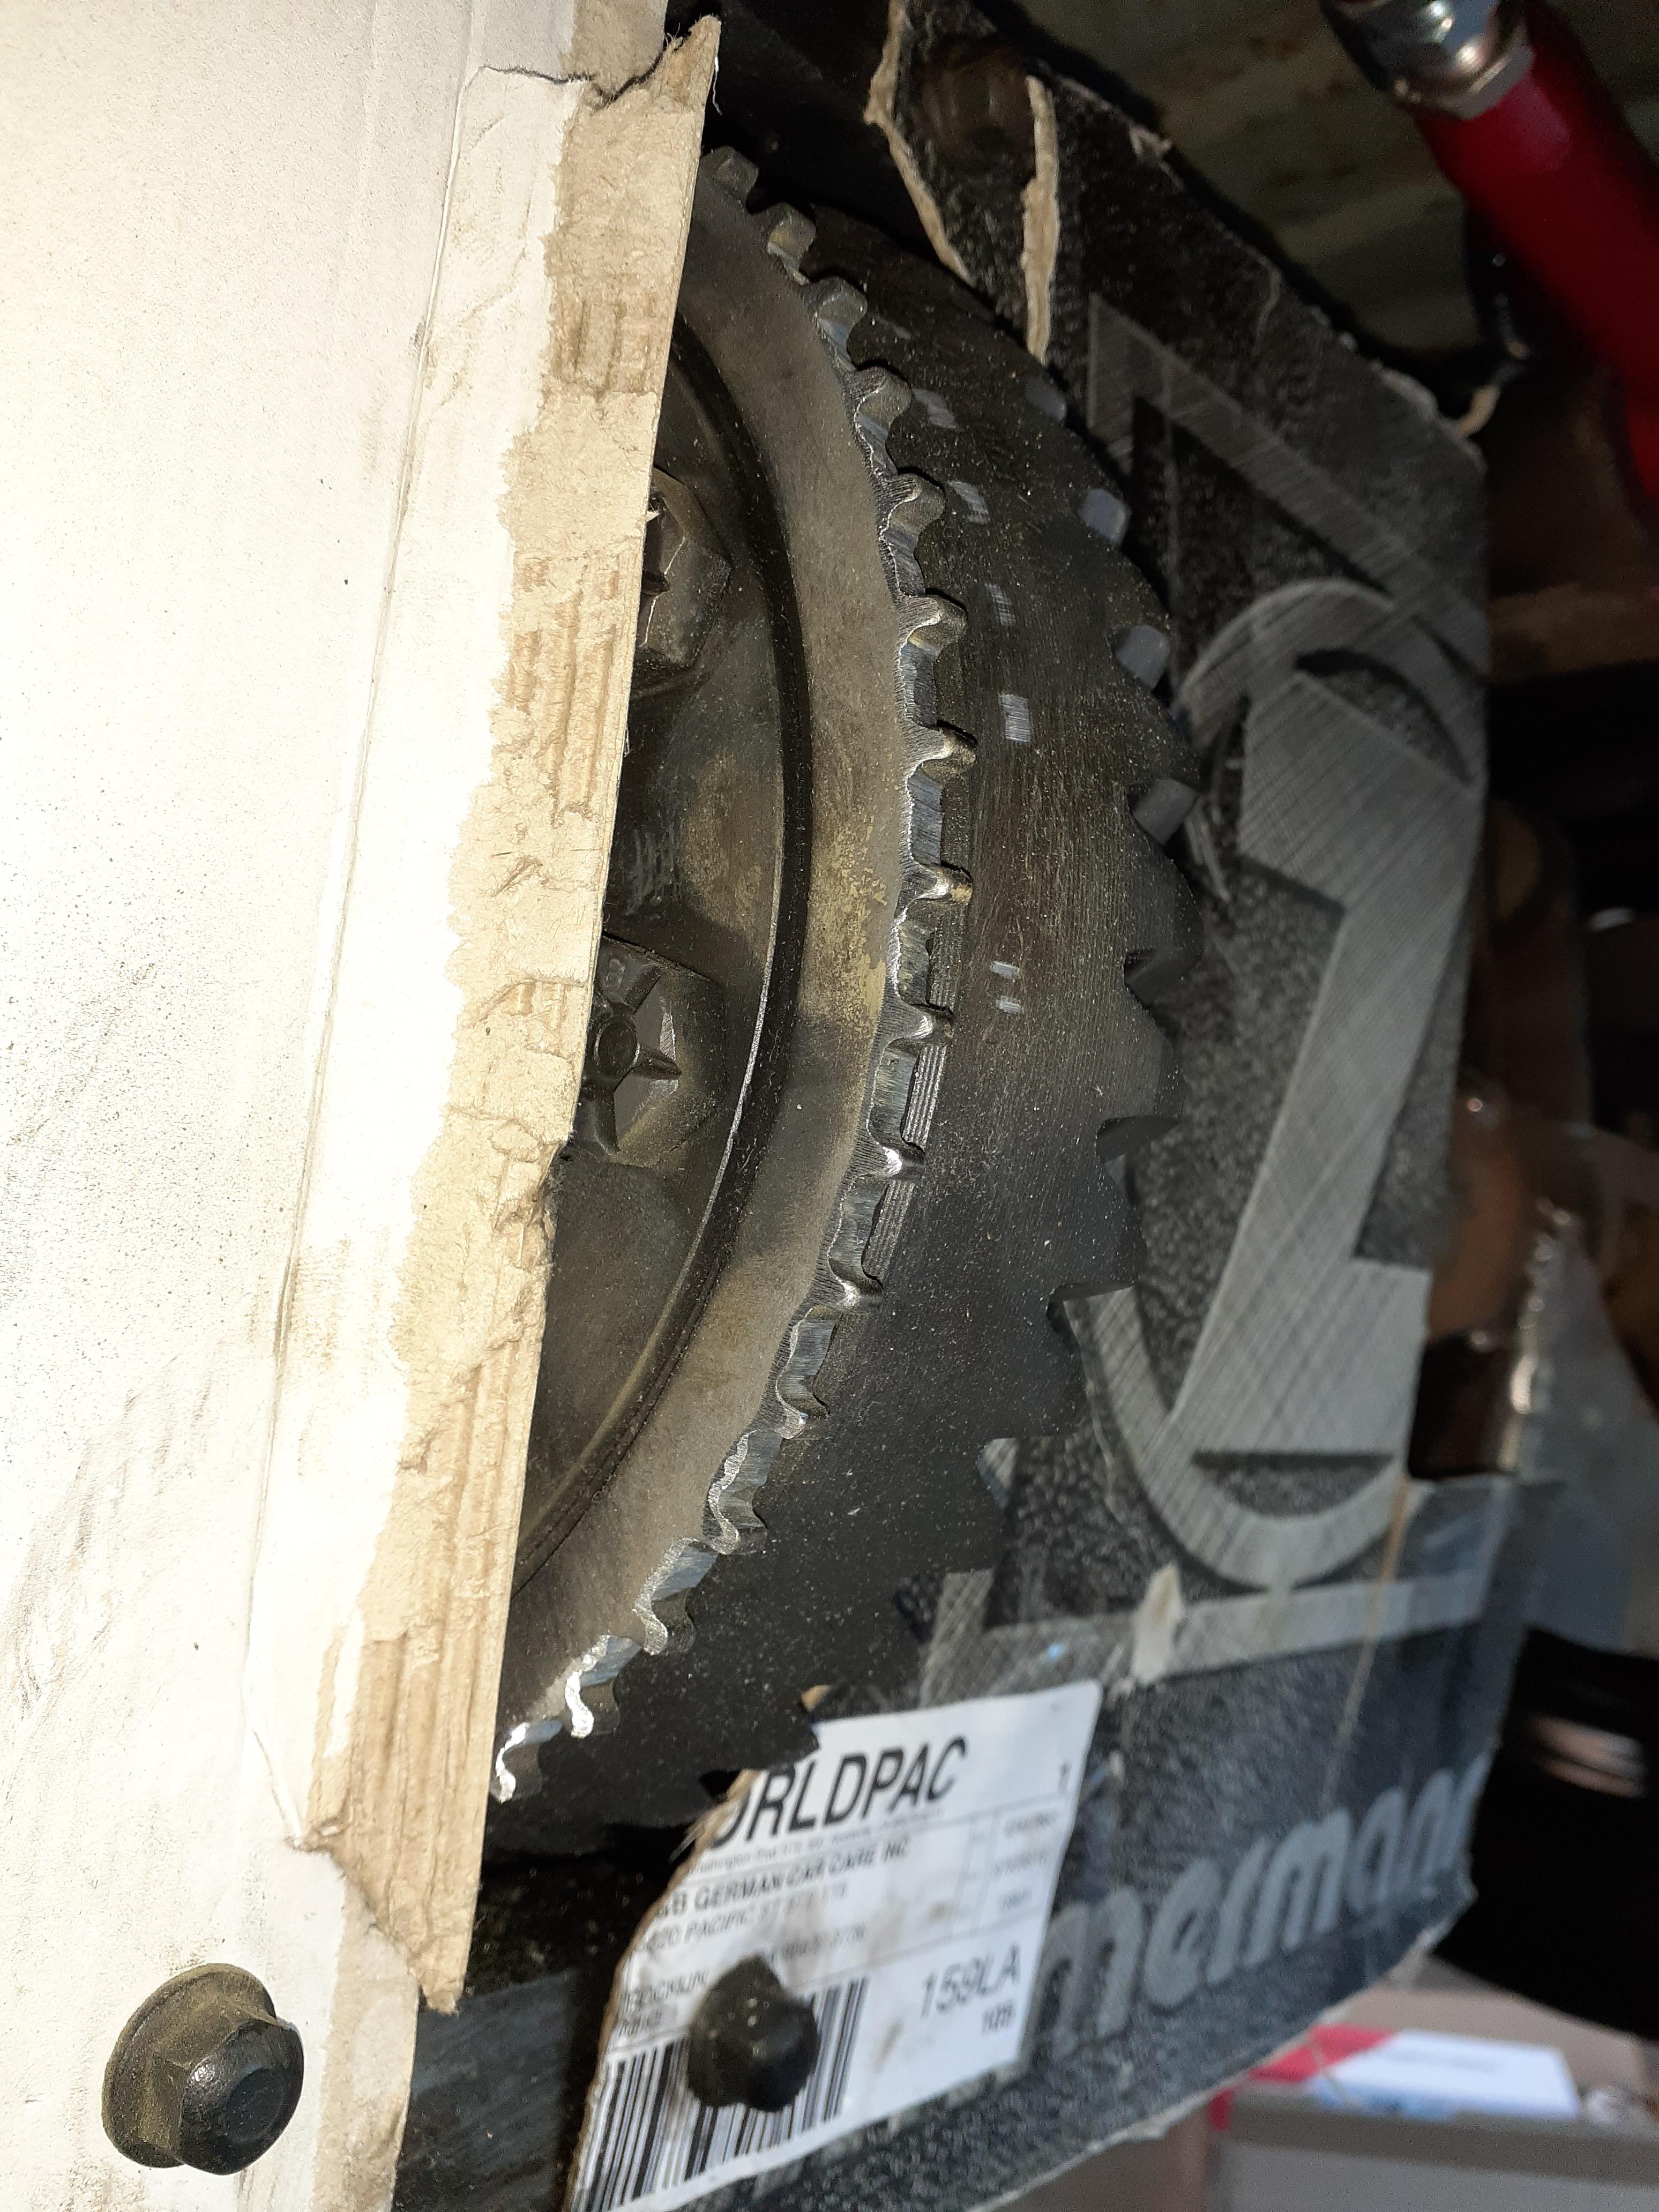
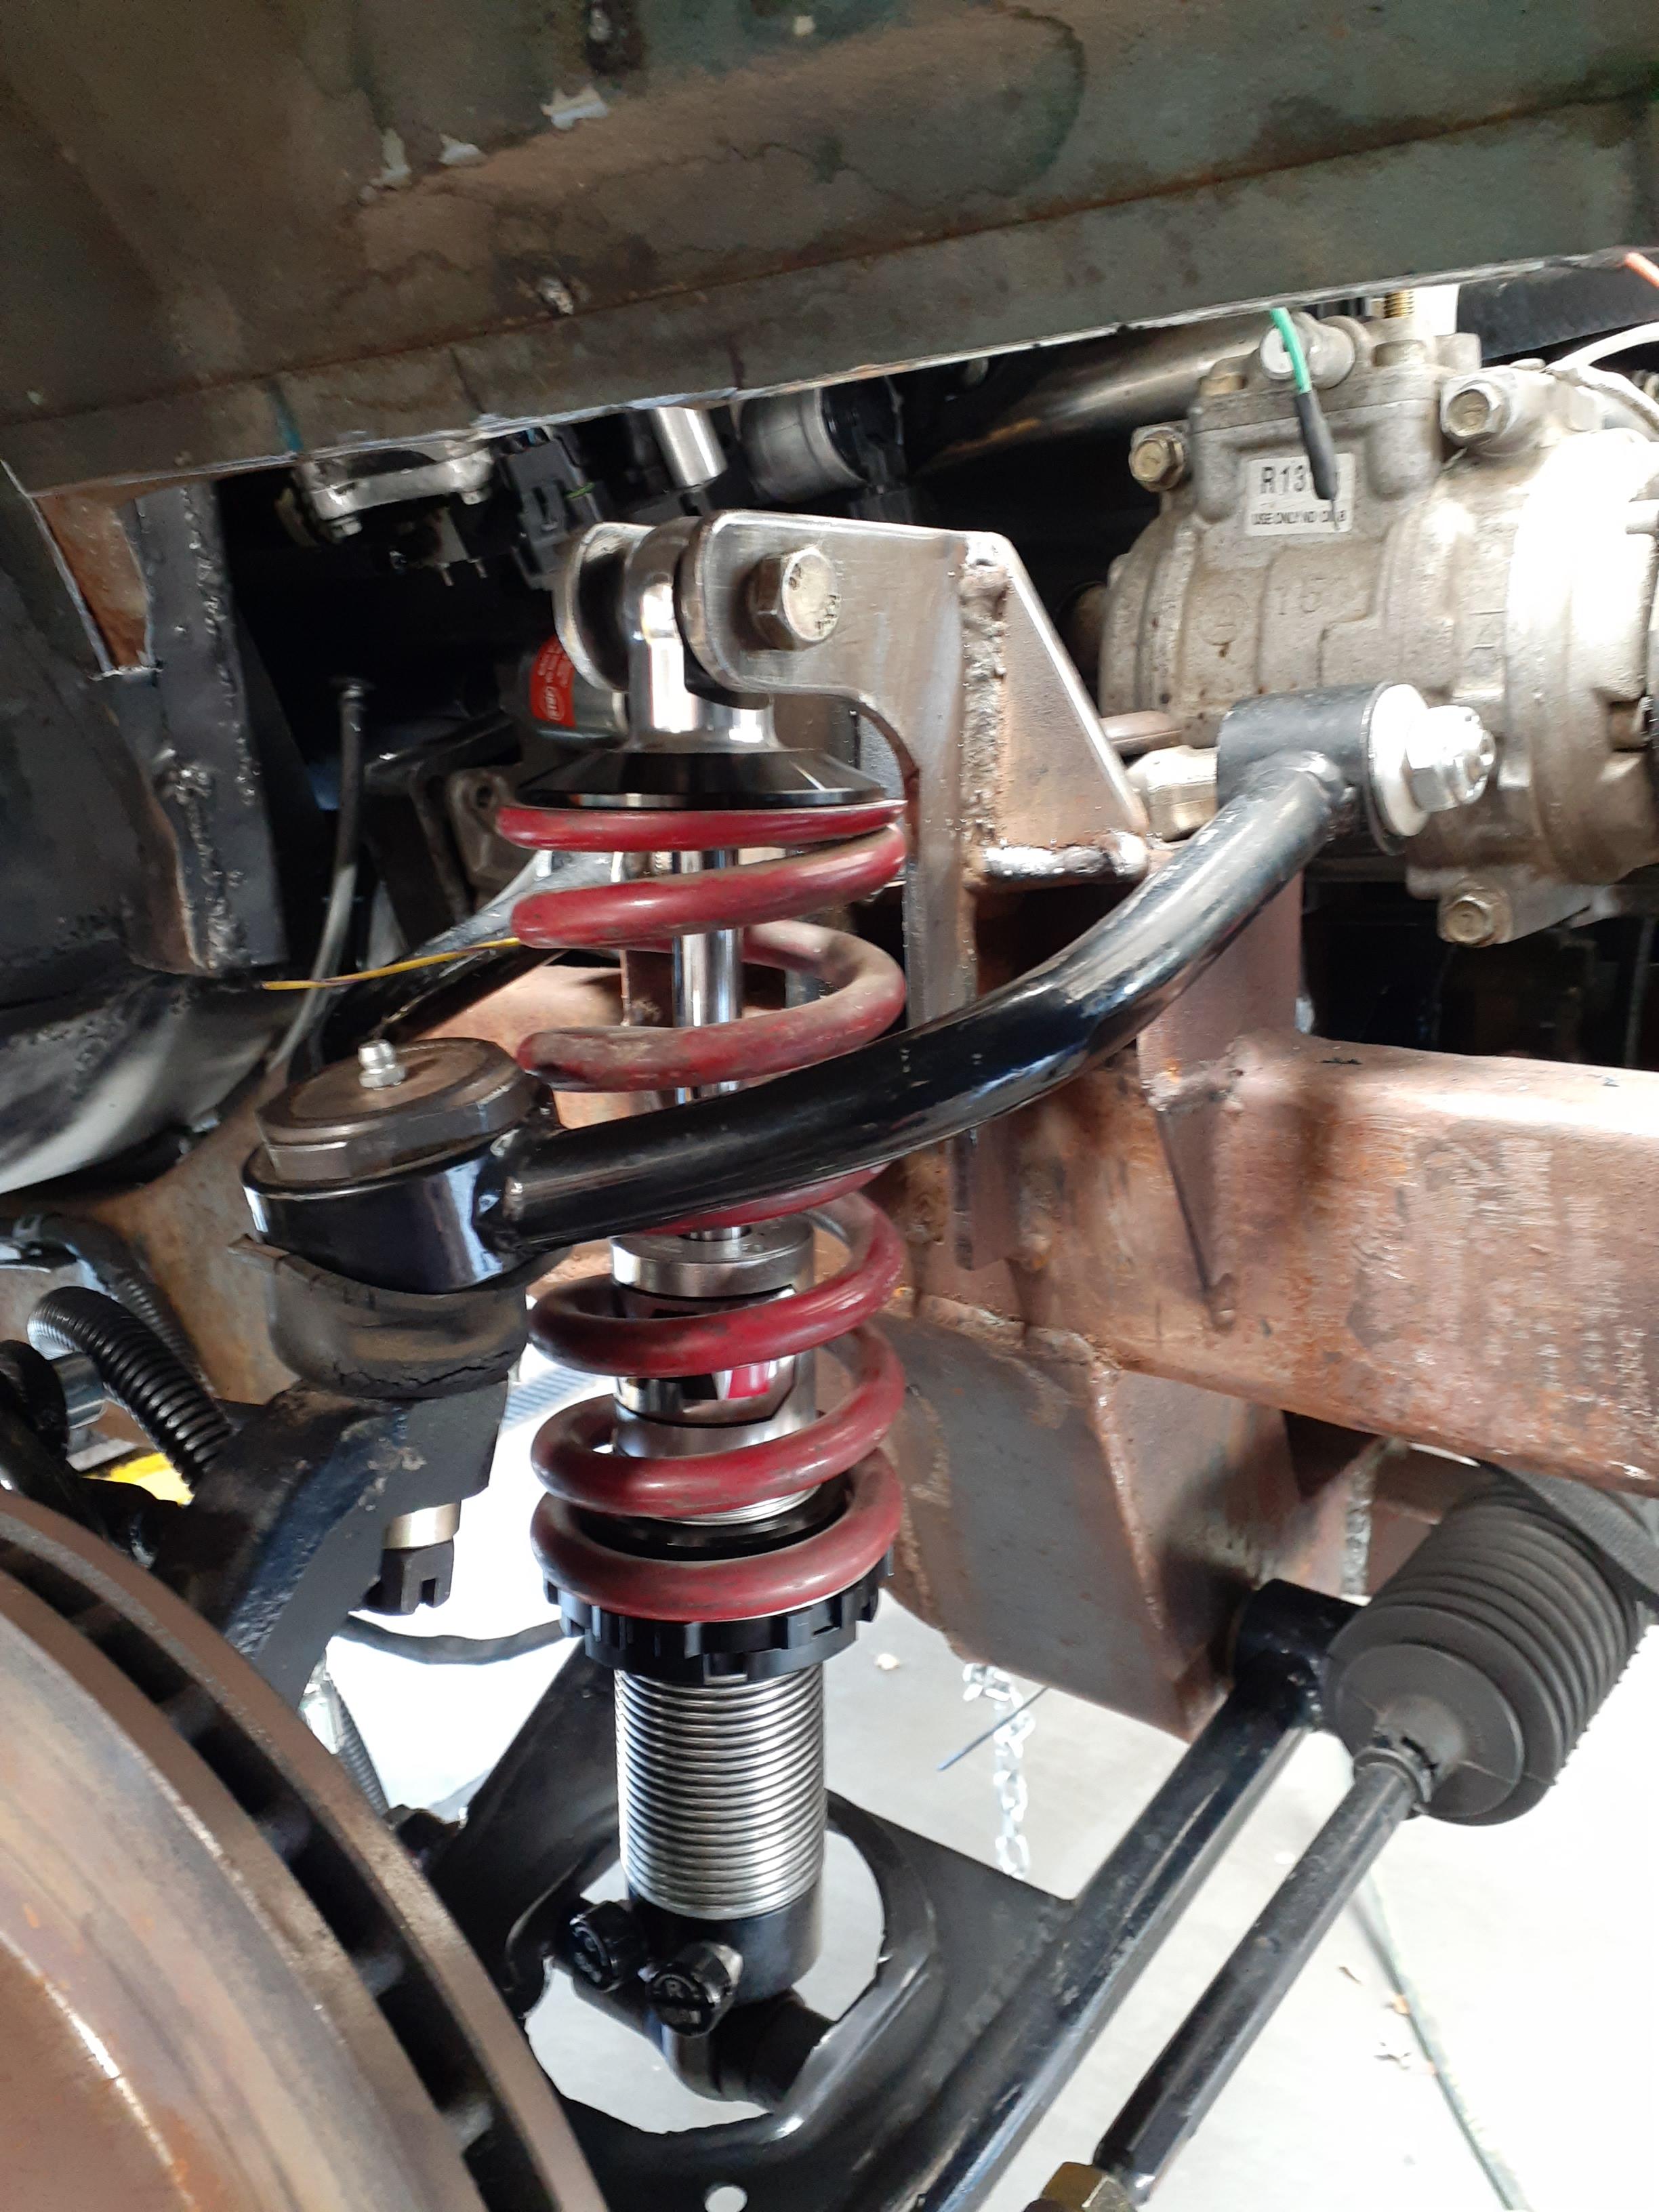
I was finally convinced to buy real suspension for the #superterd. Some QA1 DD402s ill be reworking the mounts and get them installed this weekend. i did finally finish the gas pedal and started shaving off every other tooth on my 108 tooth abs ring to get the pulses per mile low enough for the MS3X to read my speed accurately. My VR conditioner also showed up so ill be wiring that in too.
very low tech cable retainer, cable end is held stationary and the housing is pulled because the cable needs to come out of the firewall on the passenger side.
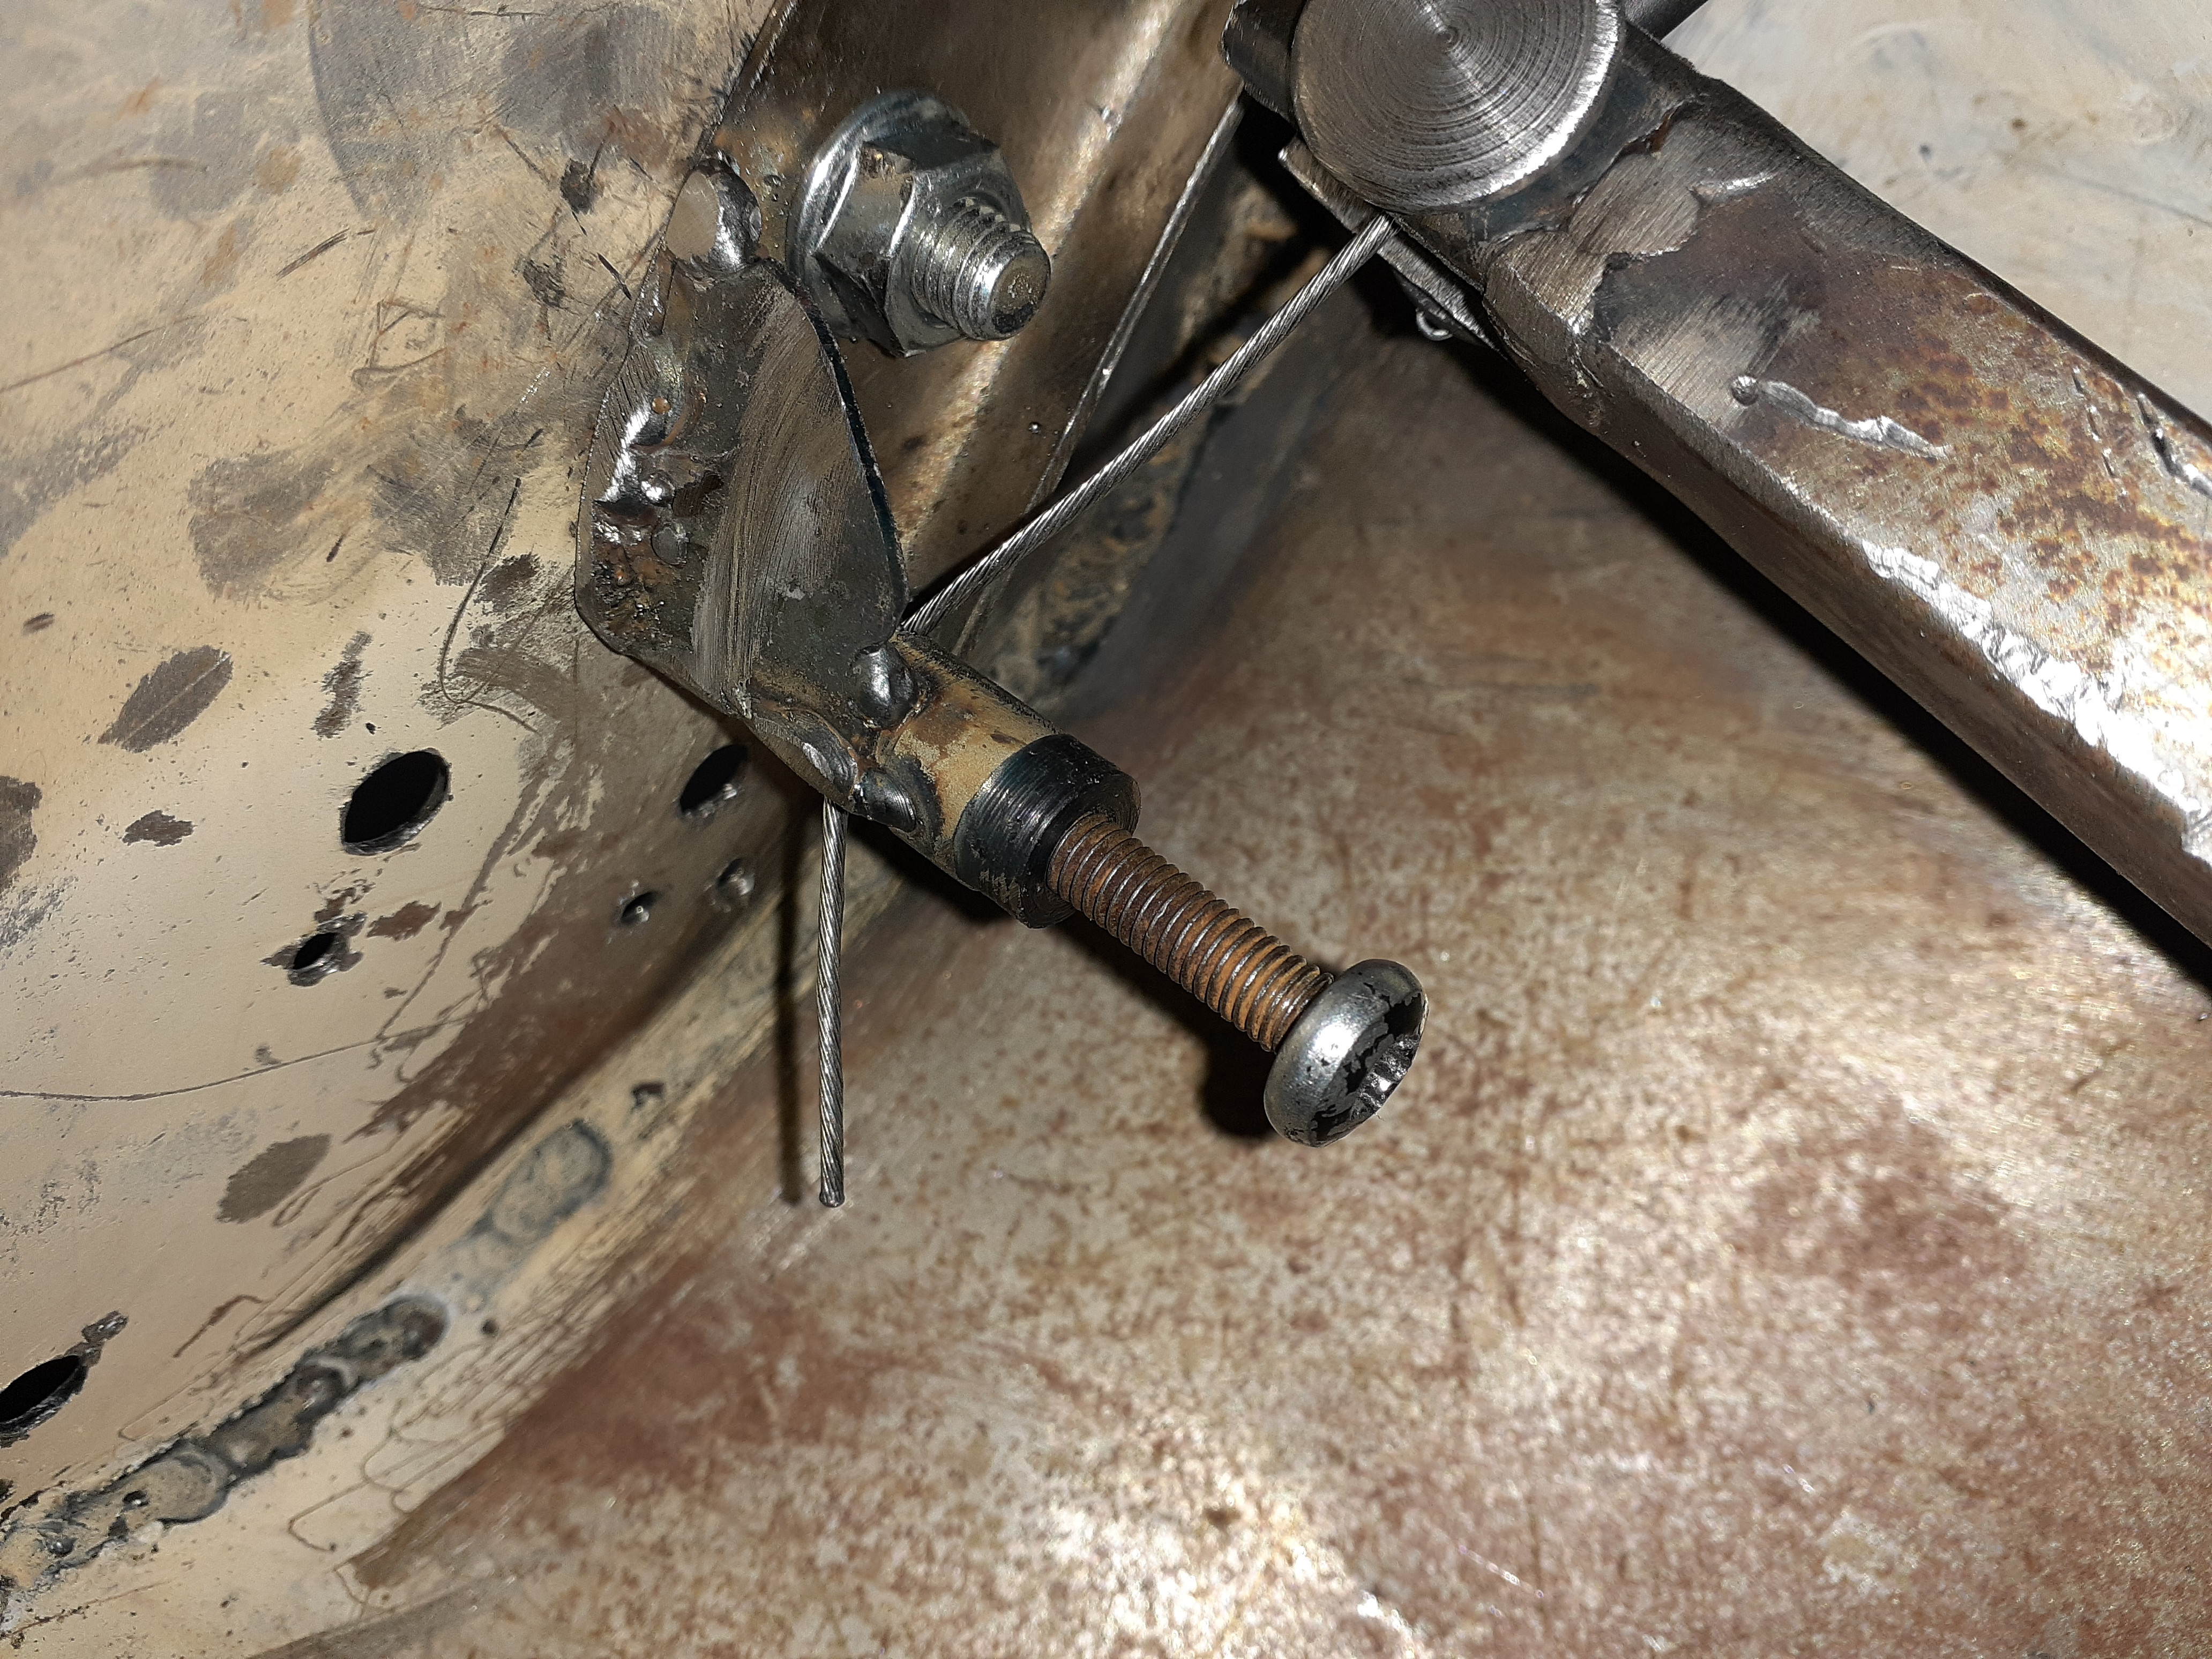
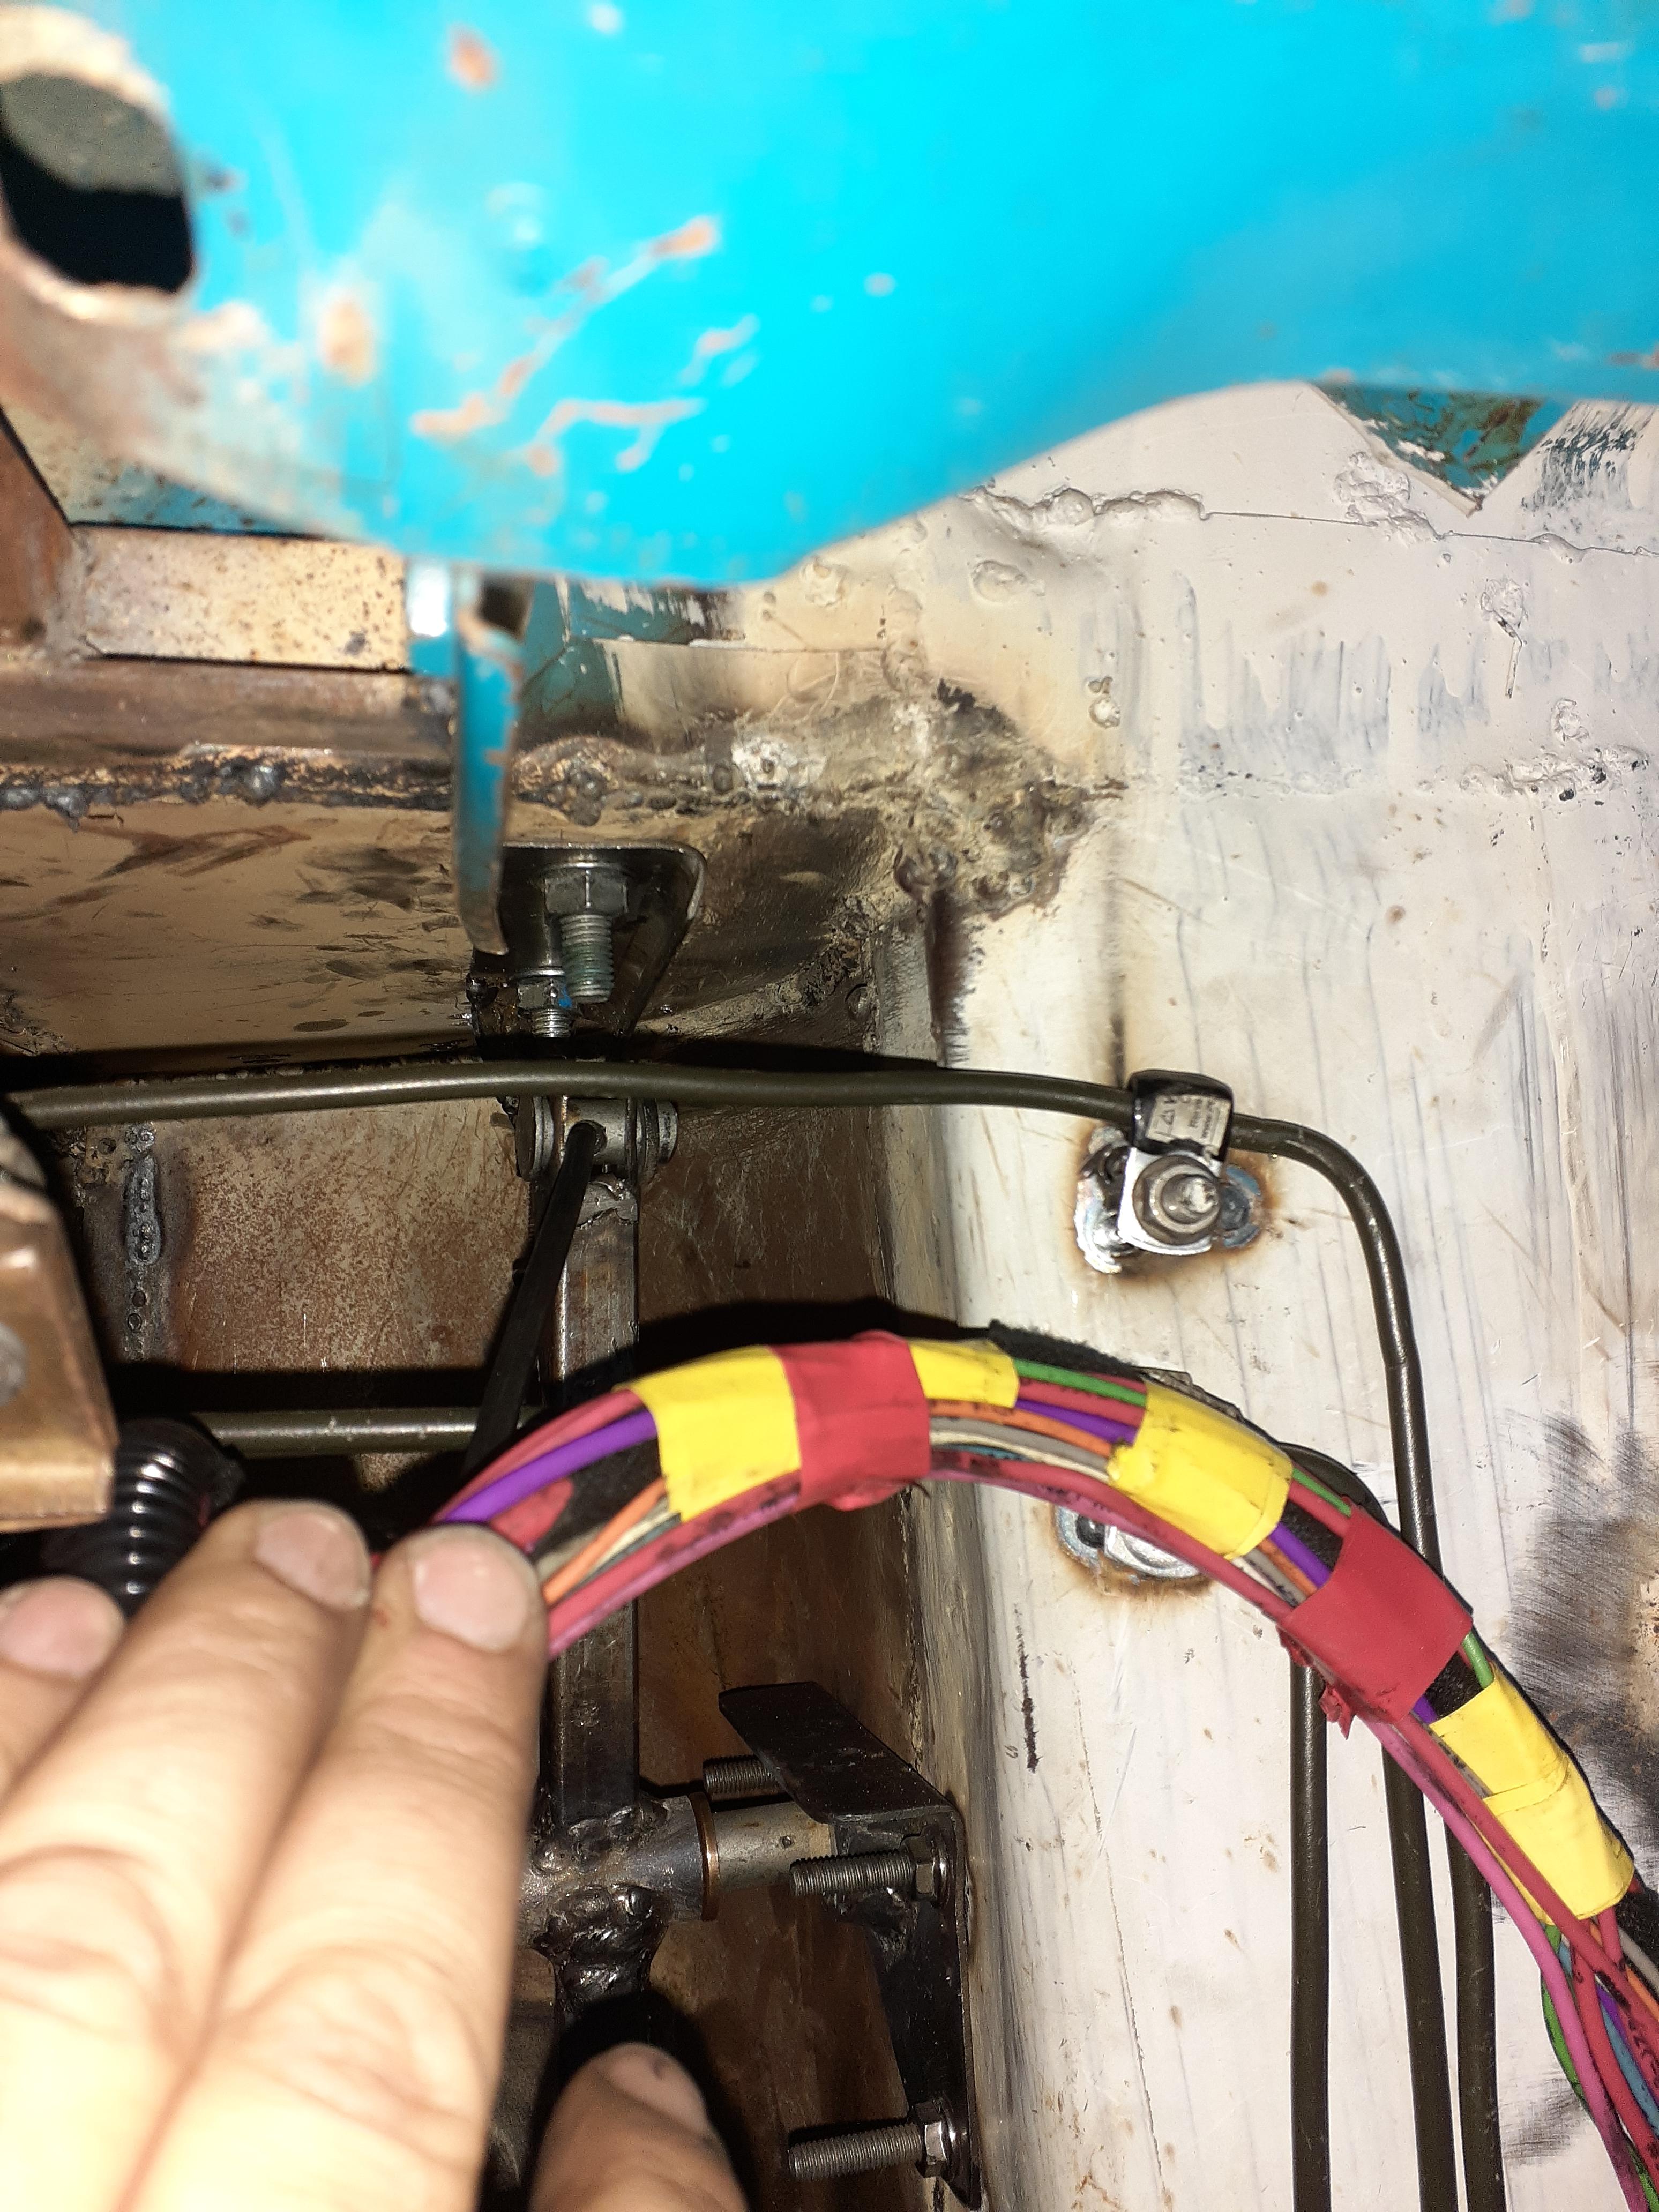
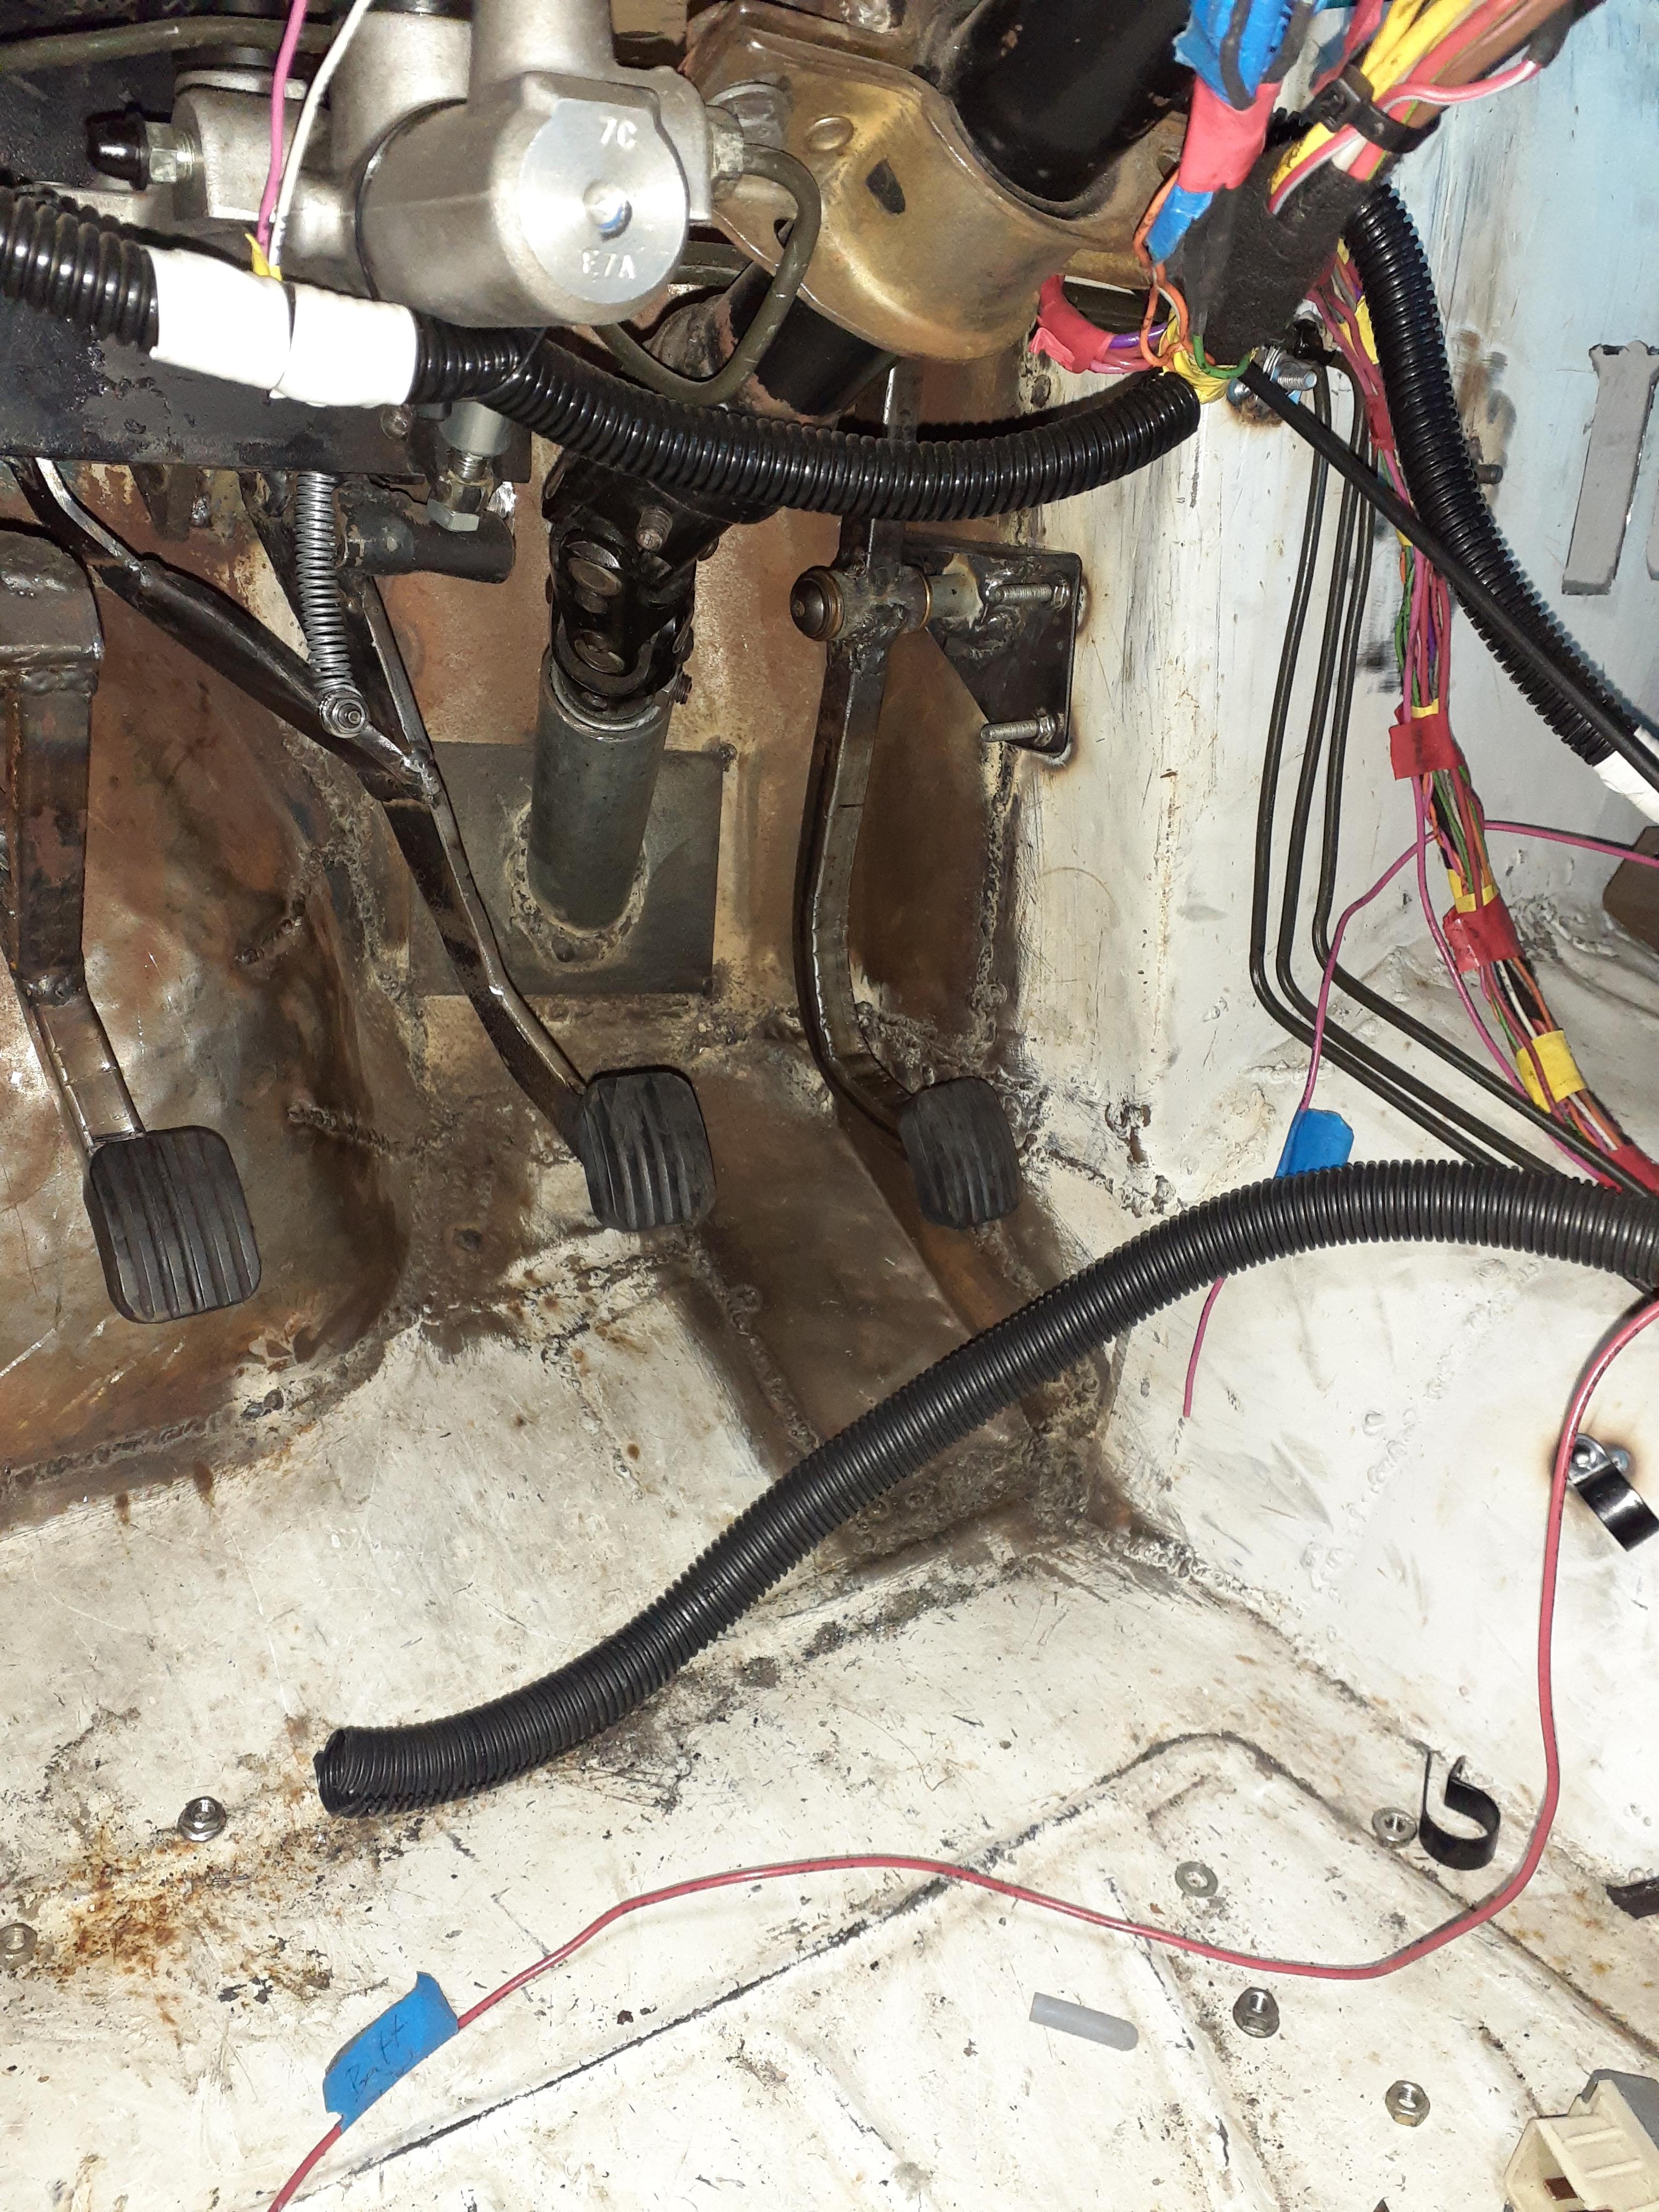
very low tech cable retainer, cable end is held stationary and the housing is pulled because the cable needs to come out of the firewall on the passenger side.
Reply
0
0
 05-21-2020, 11:42 AM
#151
Senior Member
Thread Starter
Join Date: Jan 2011
Location: sacramento ,ca
Posts: 563
Total Cats: 160
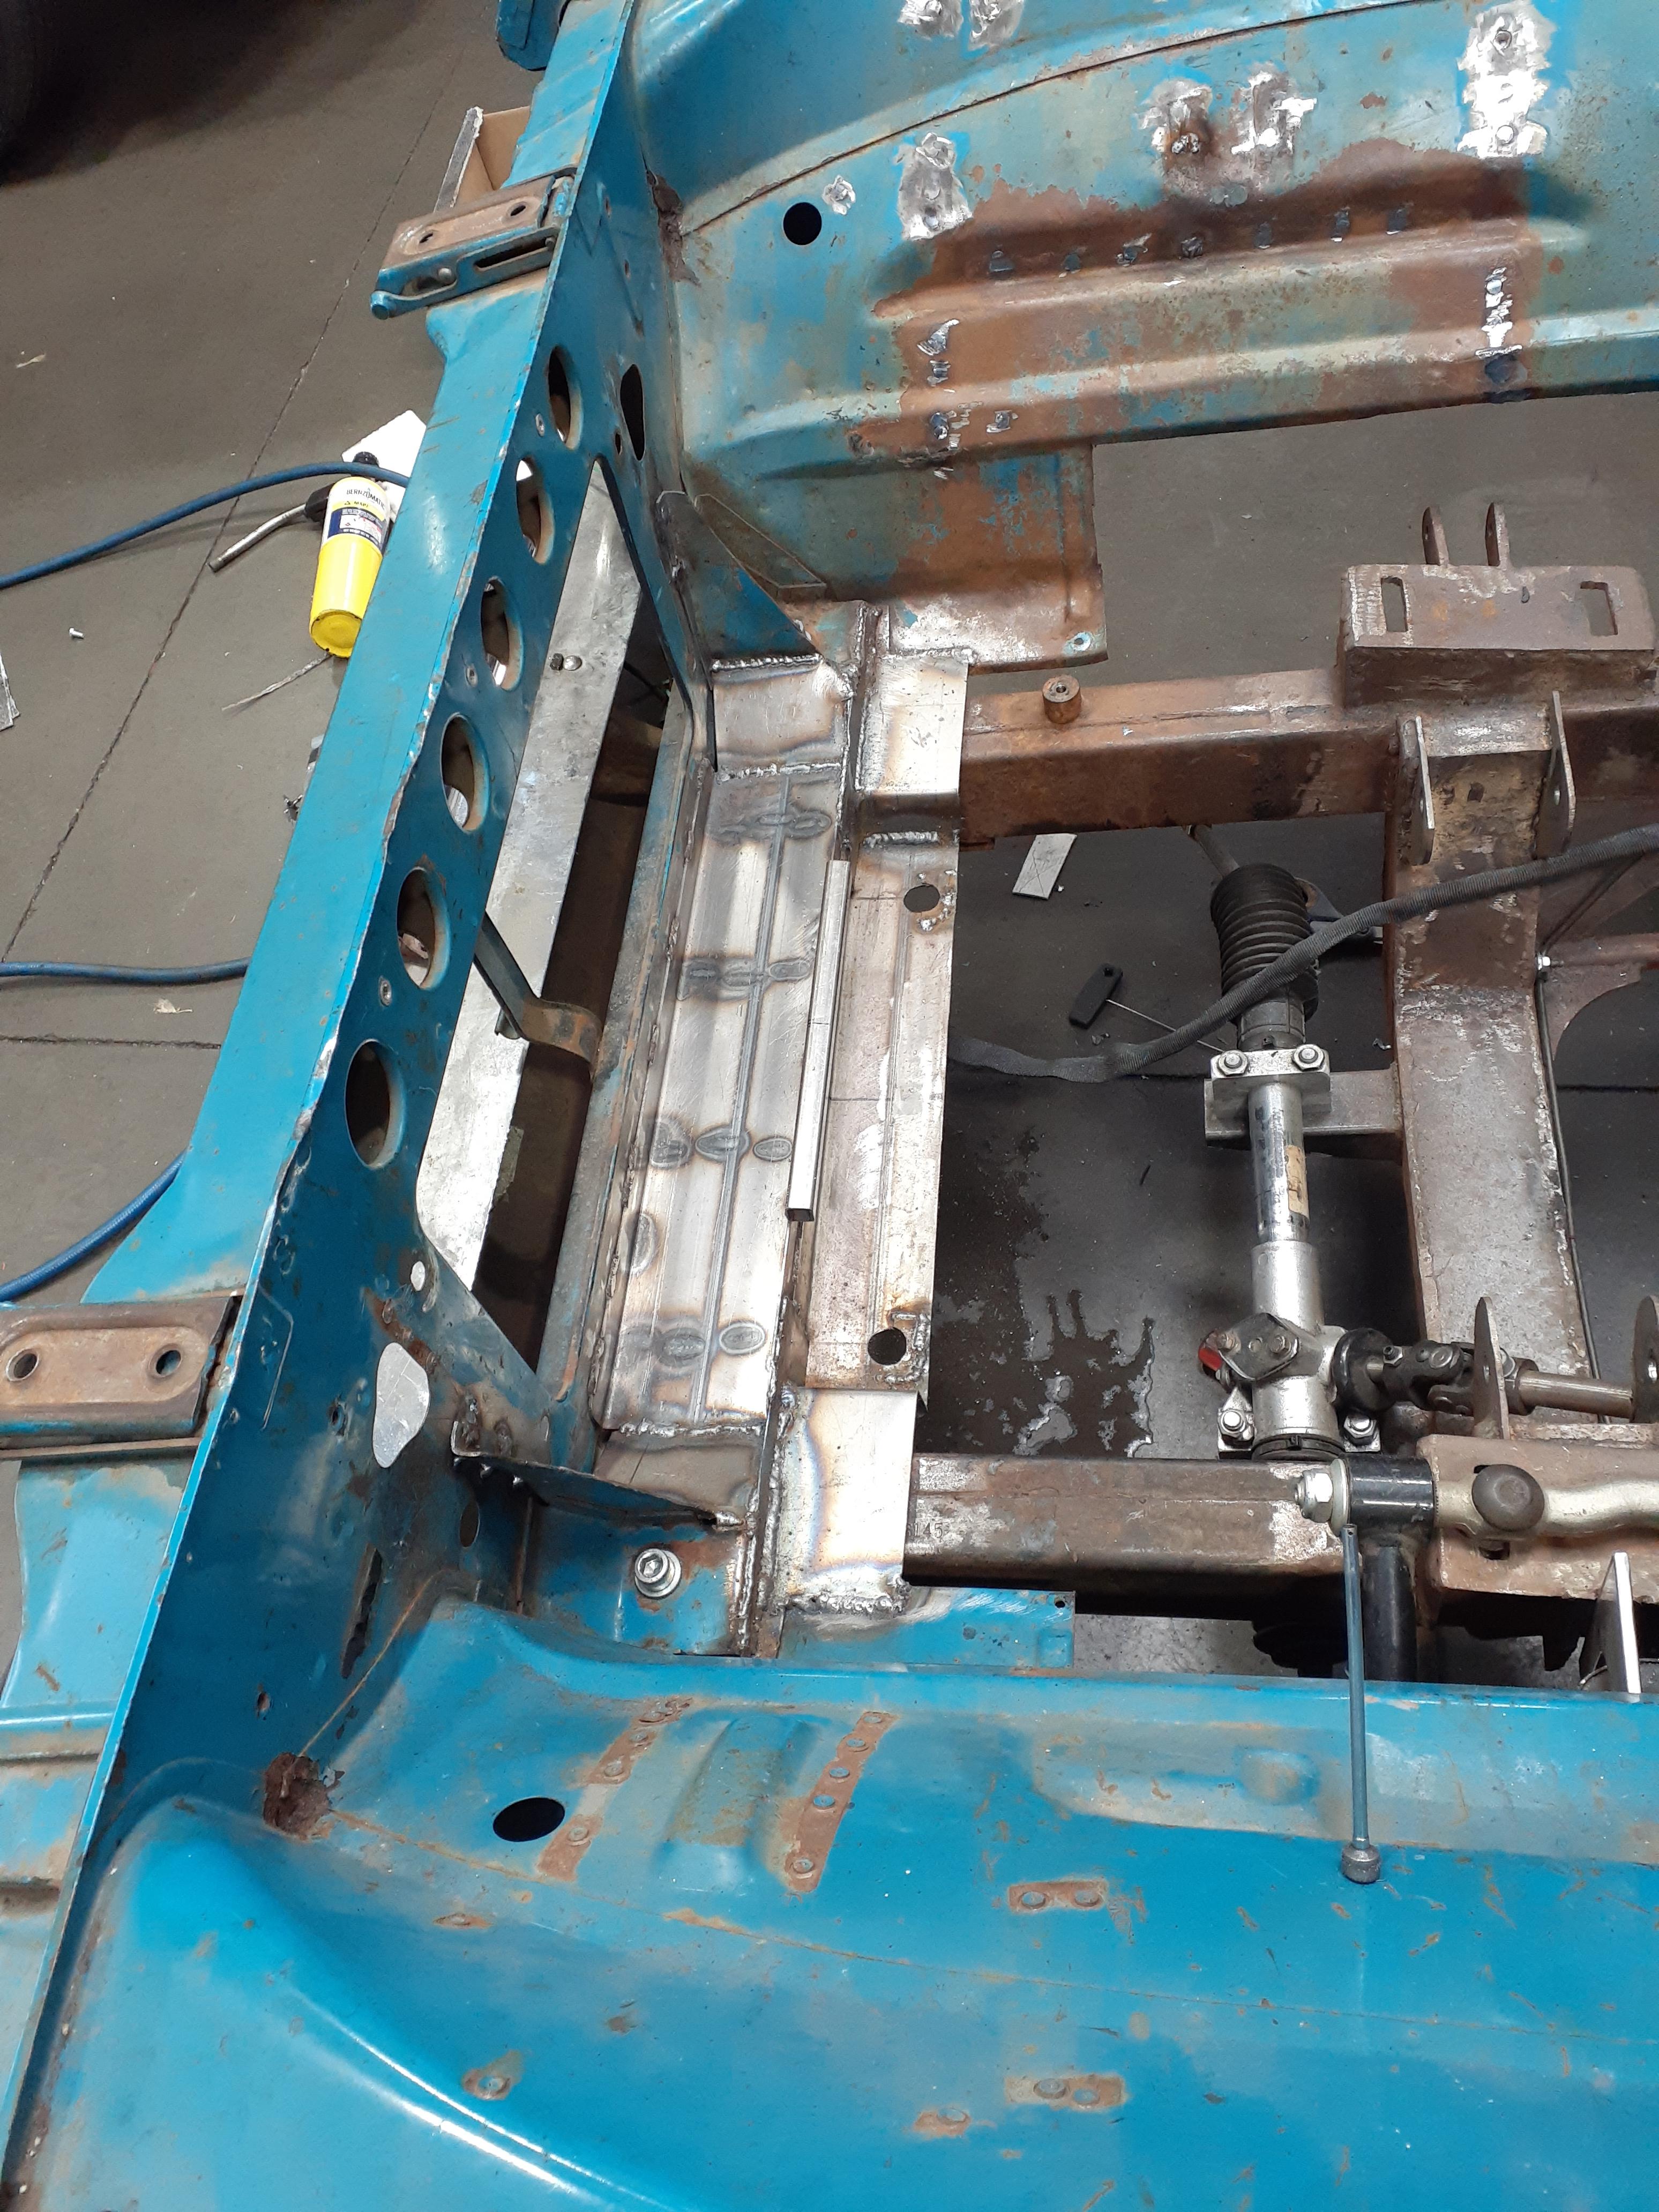
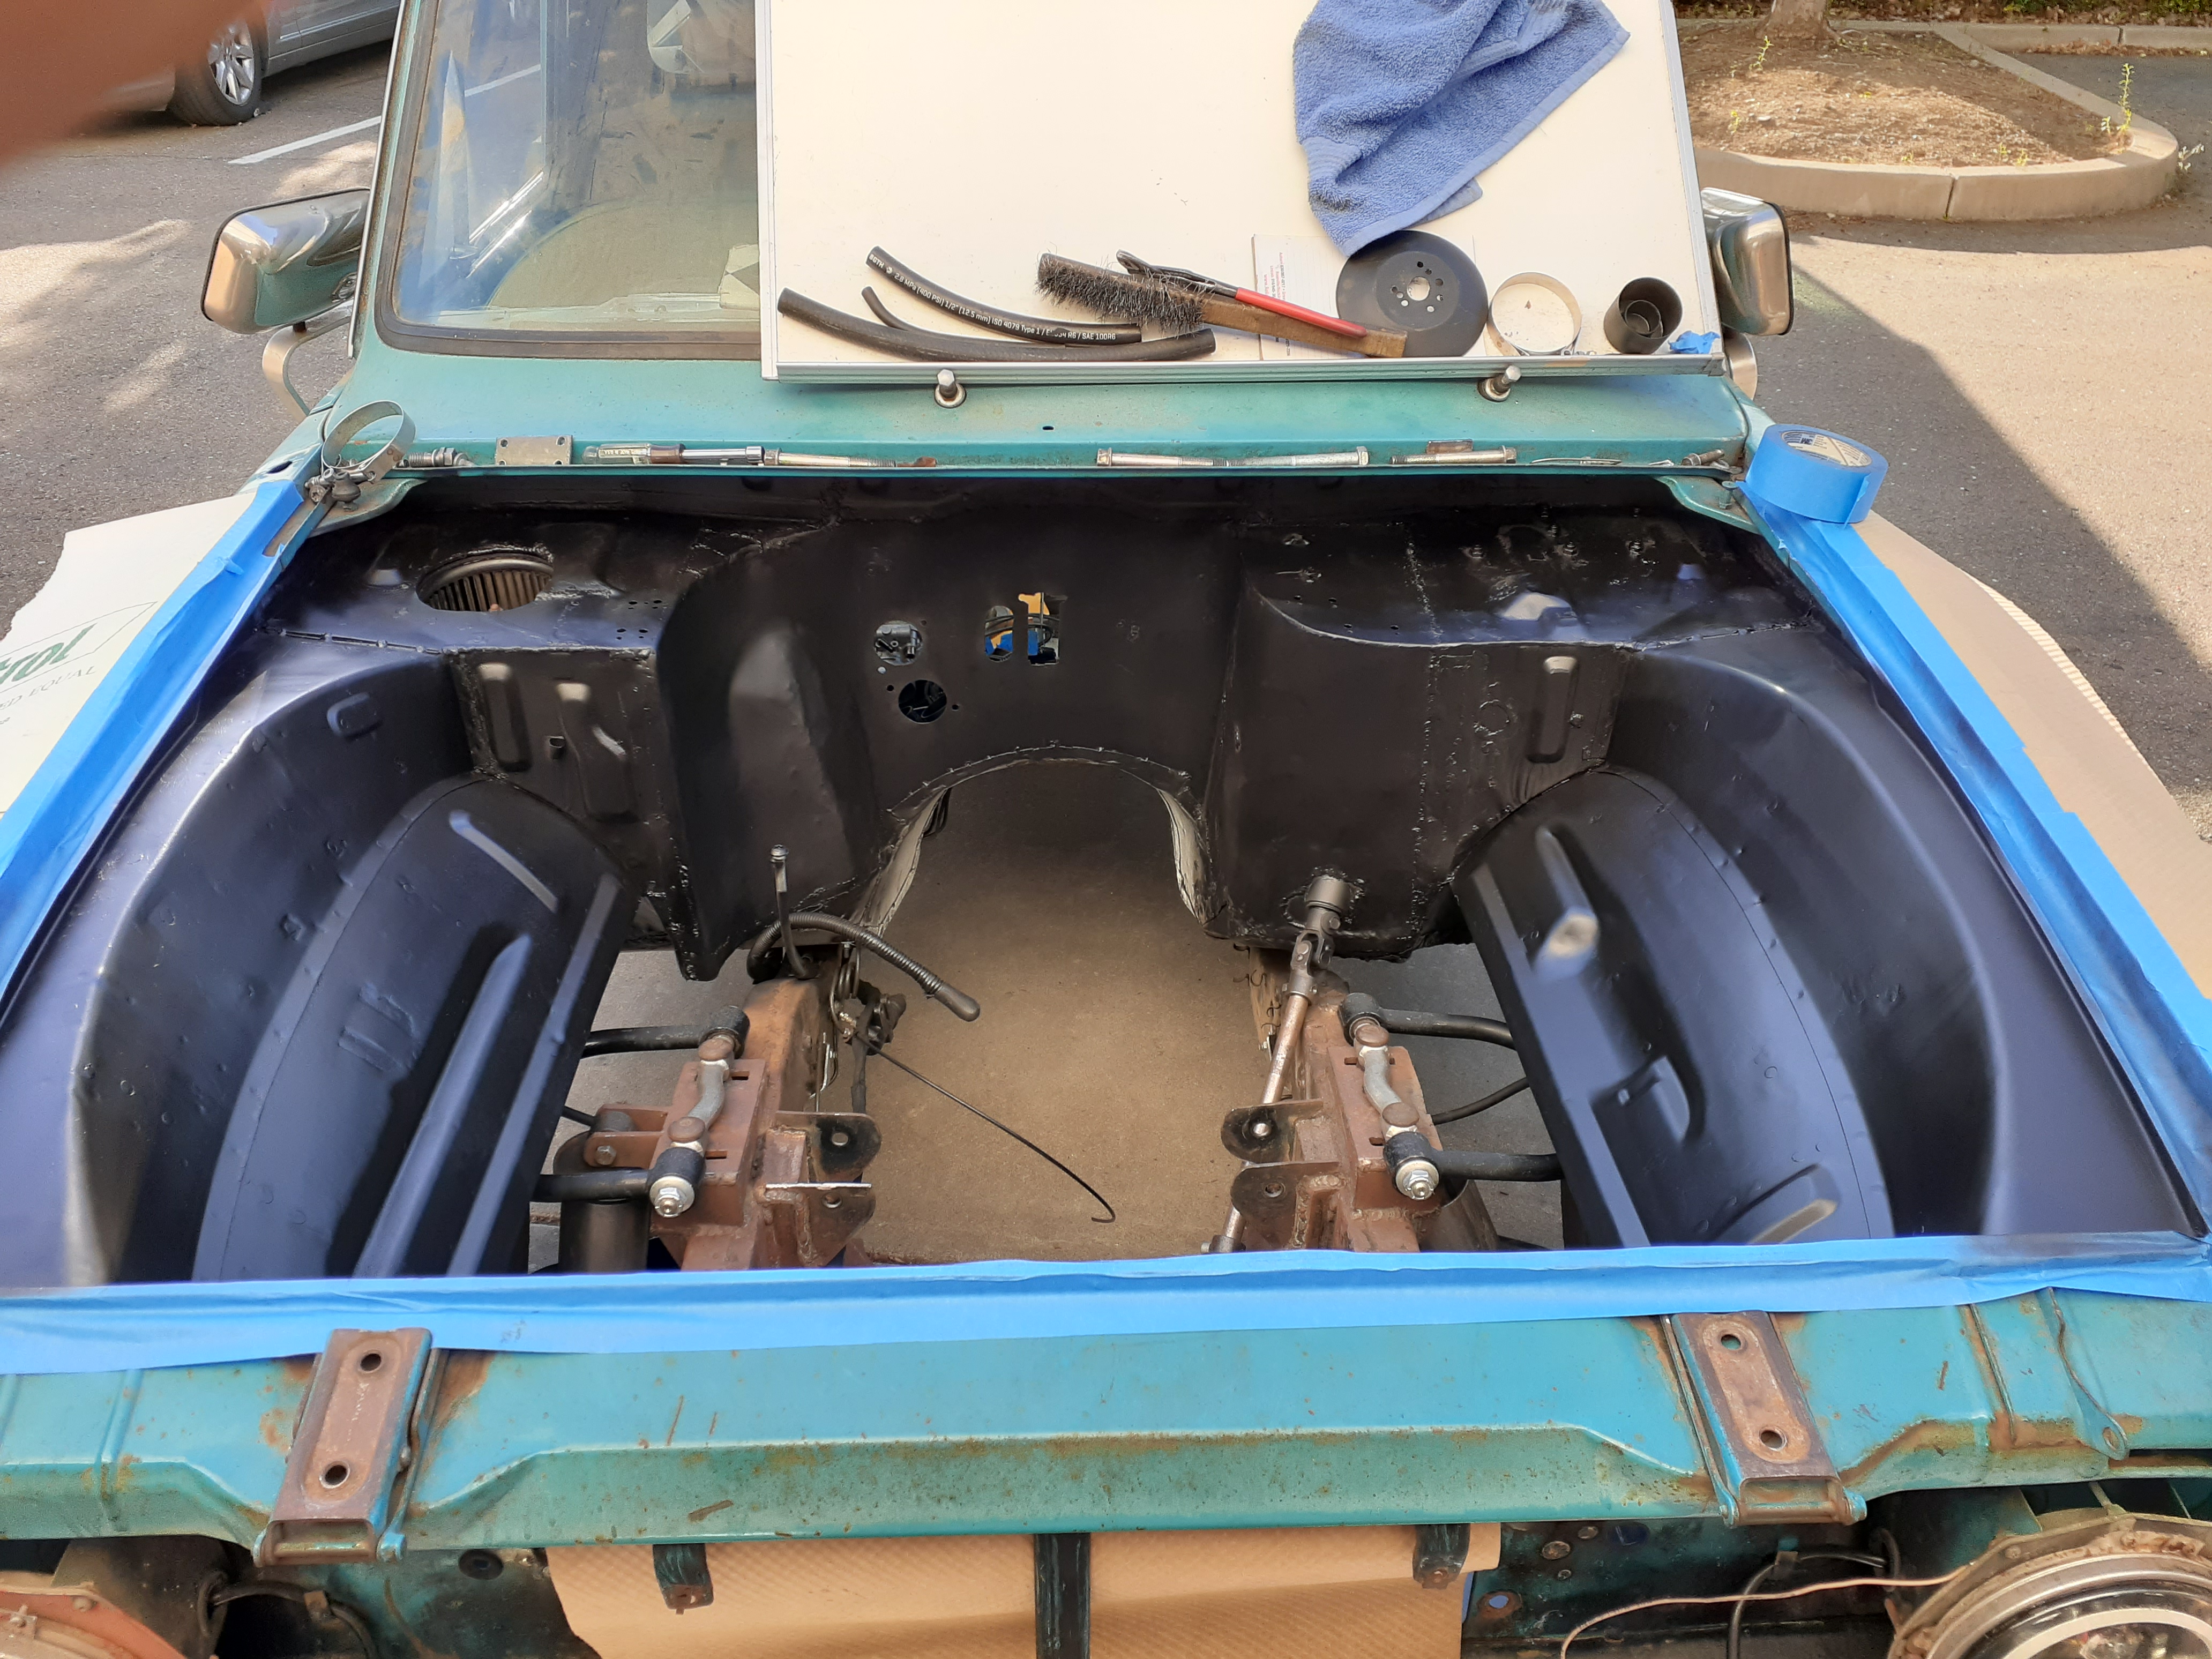
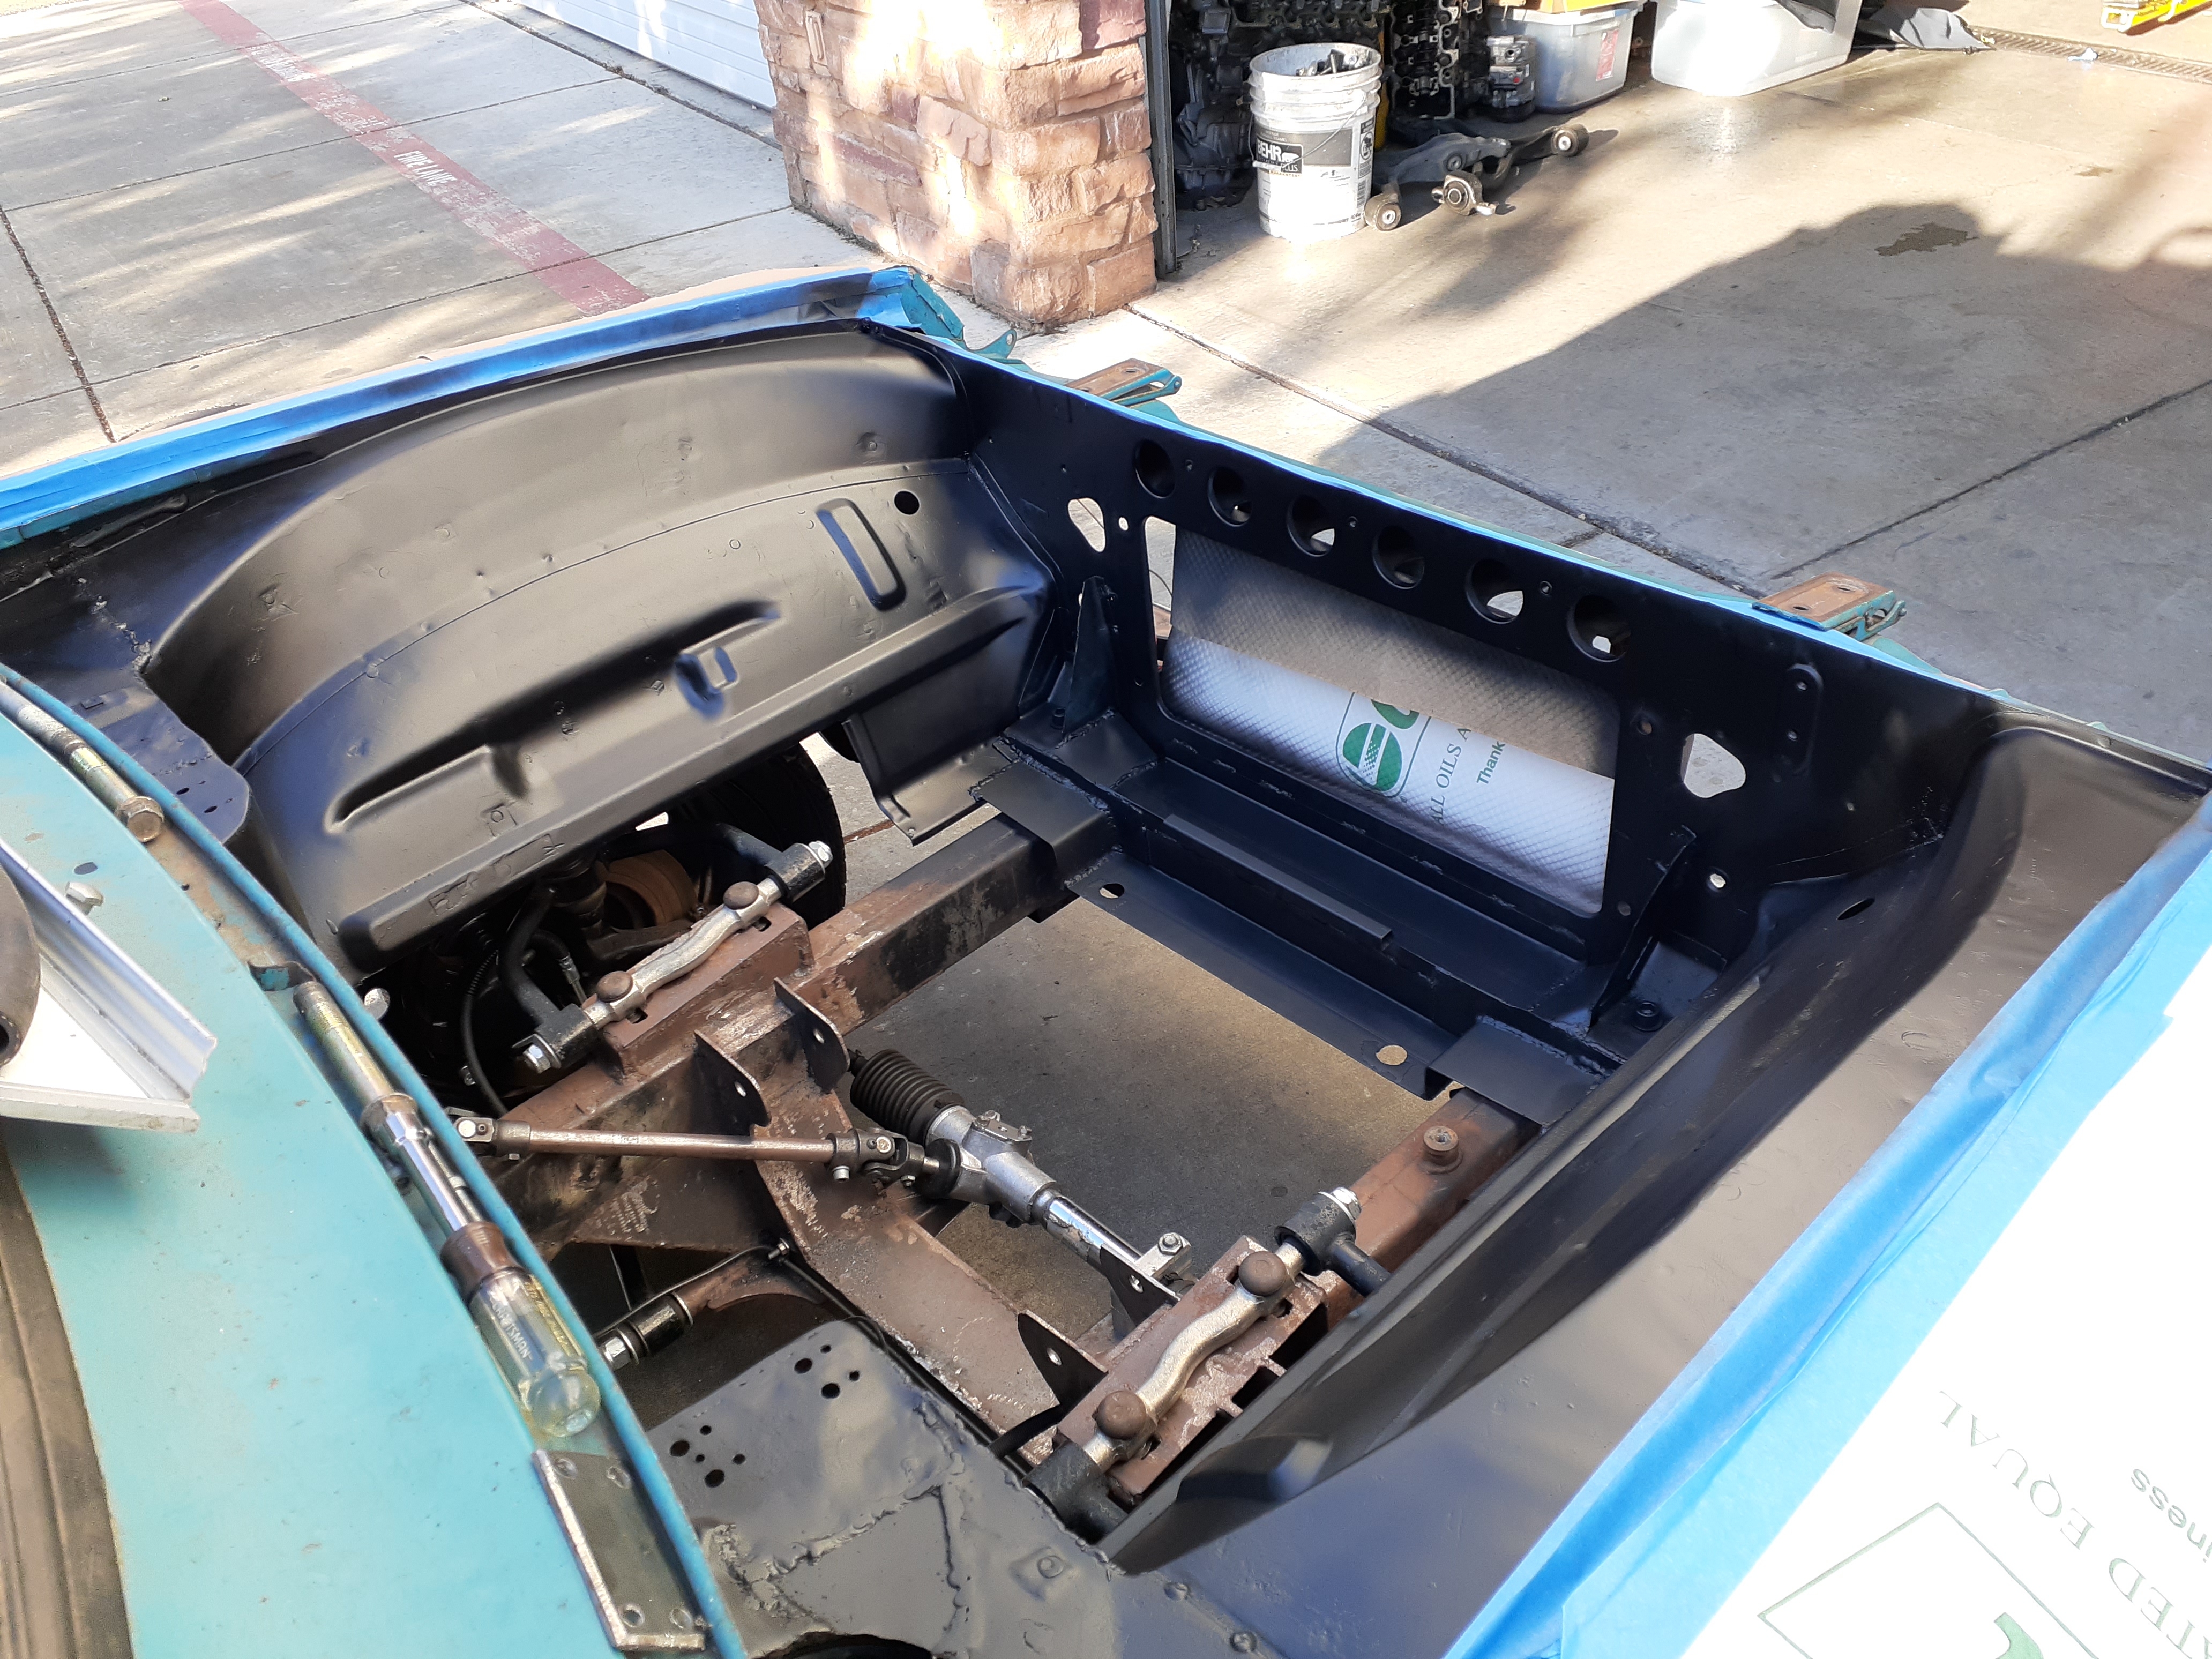
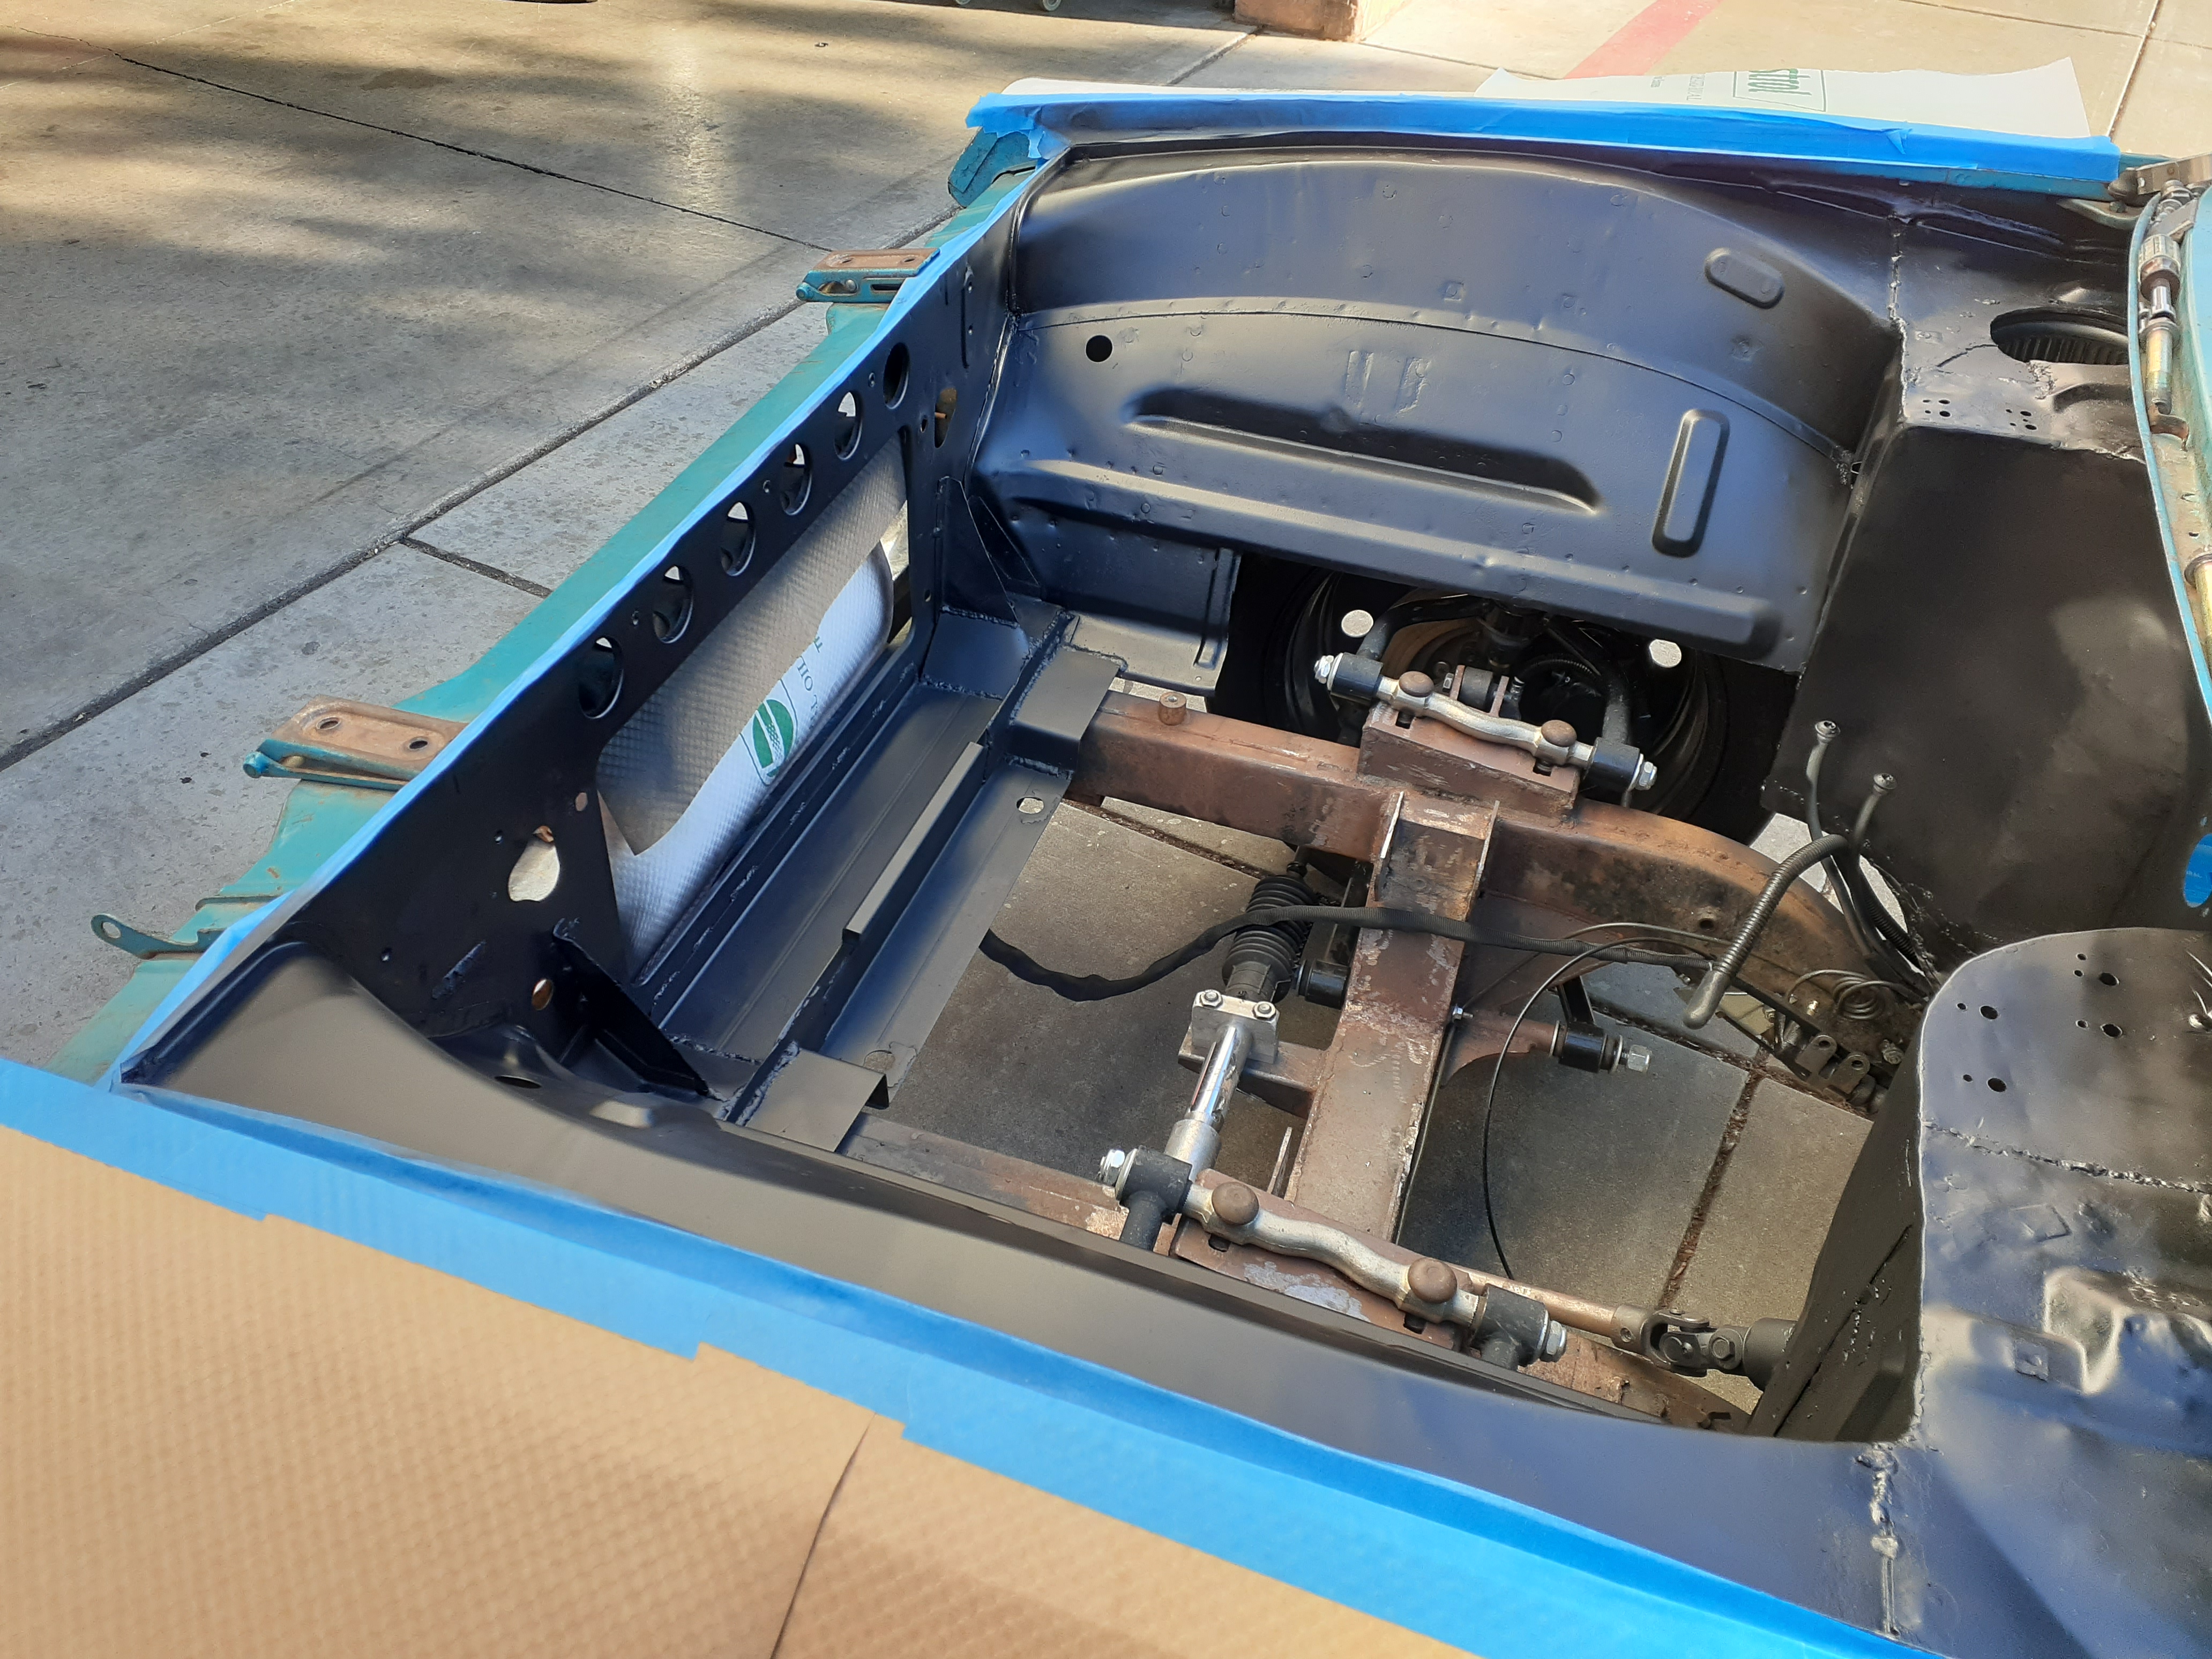
painted the engine bay for a little rust protection. im trying to get one small thing done after work everyday and save the big stuff for the weekends so i dont burn myself out when im so close to driving it
Reply
1
1
05-26-2020, 12:11 PM
#152
Senior Member
Thread Starter
Join Date: Jan 2011
Location: sacramento ,ca
Posts: 563
Total Cats: 160
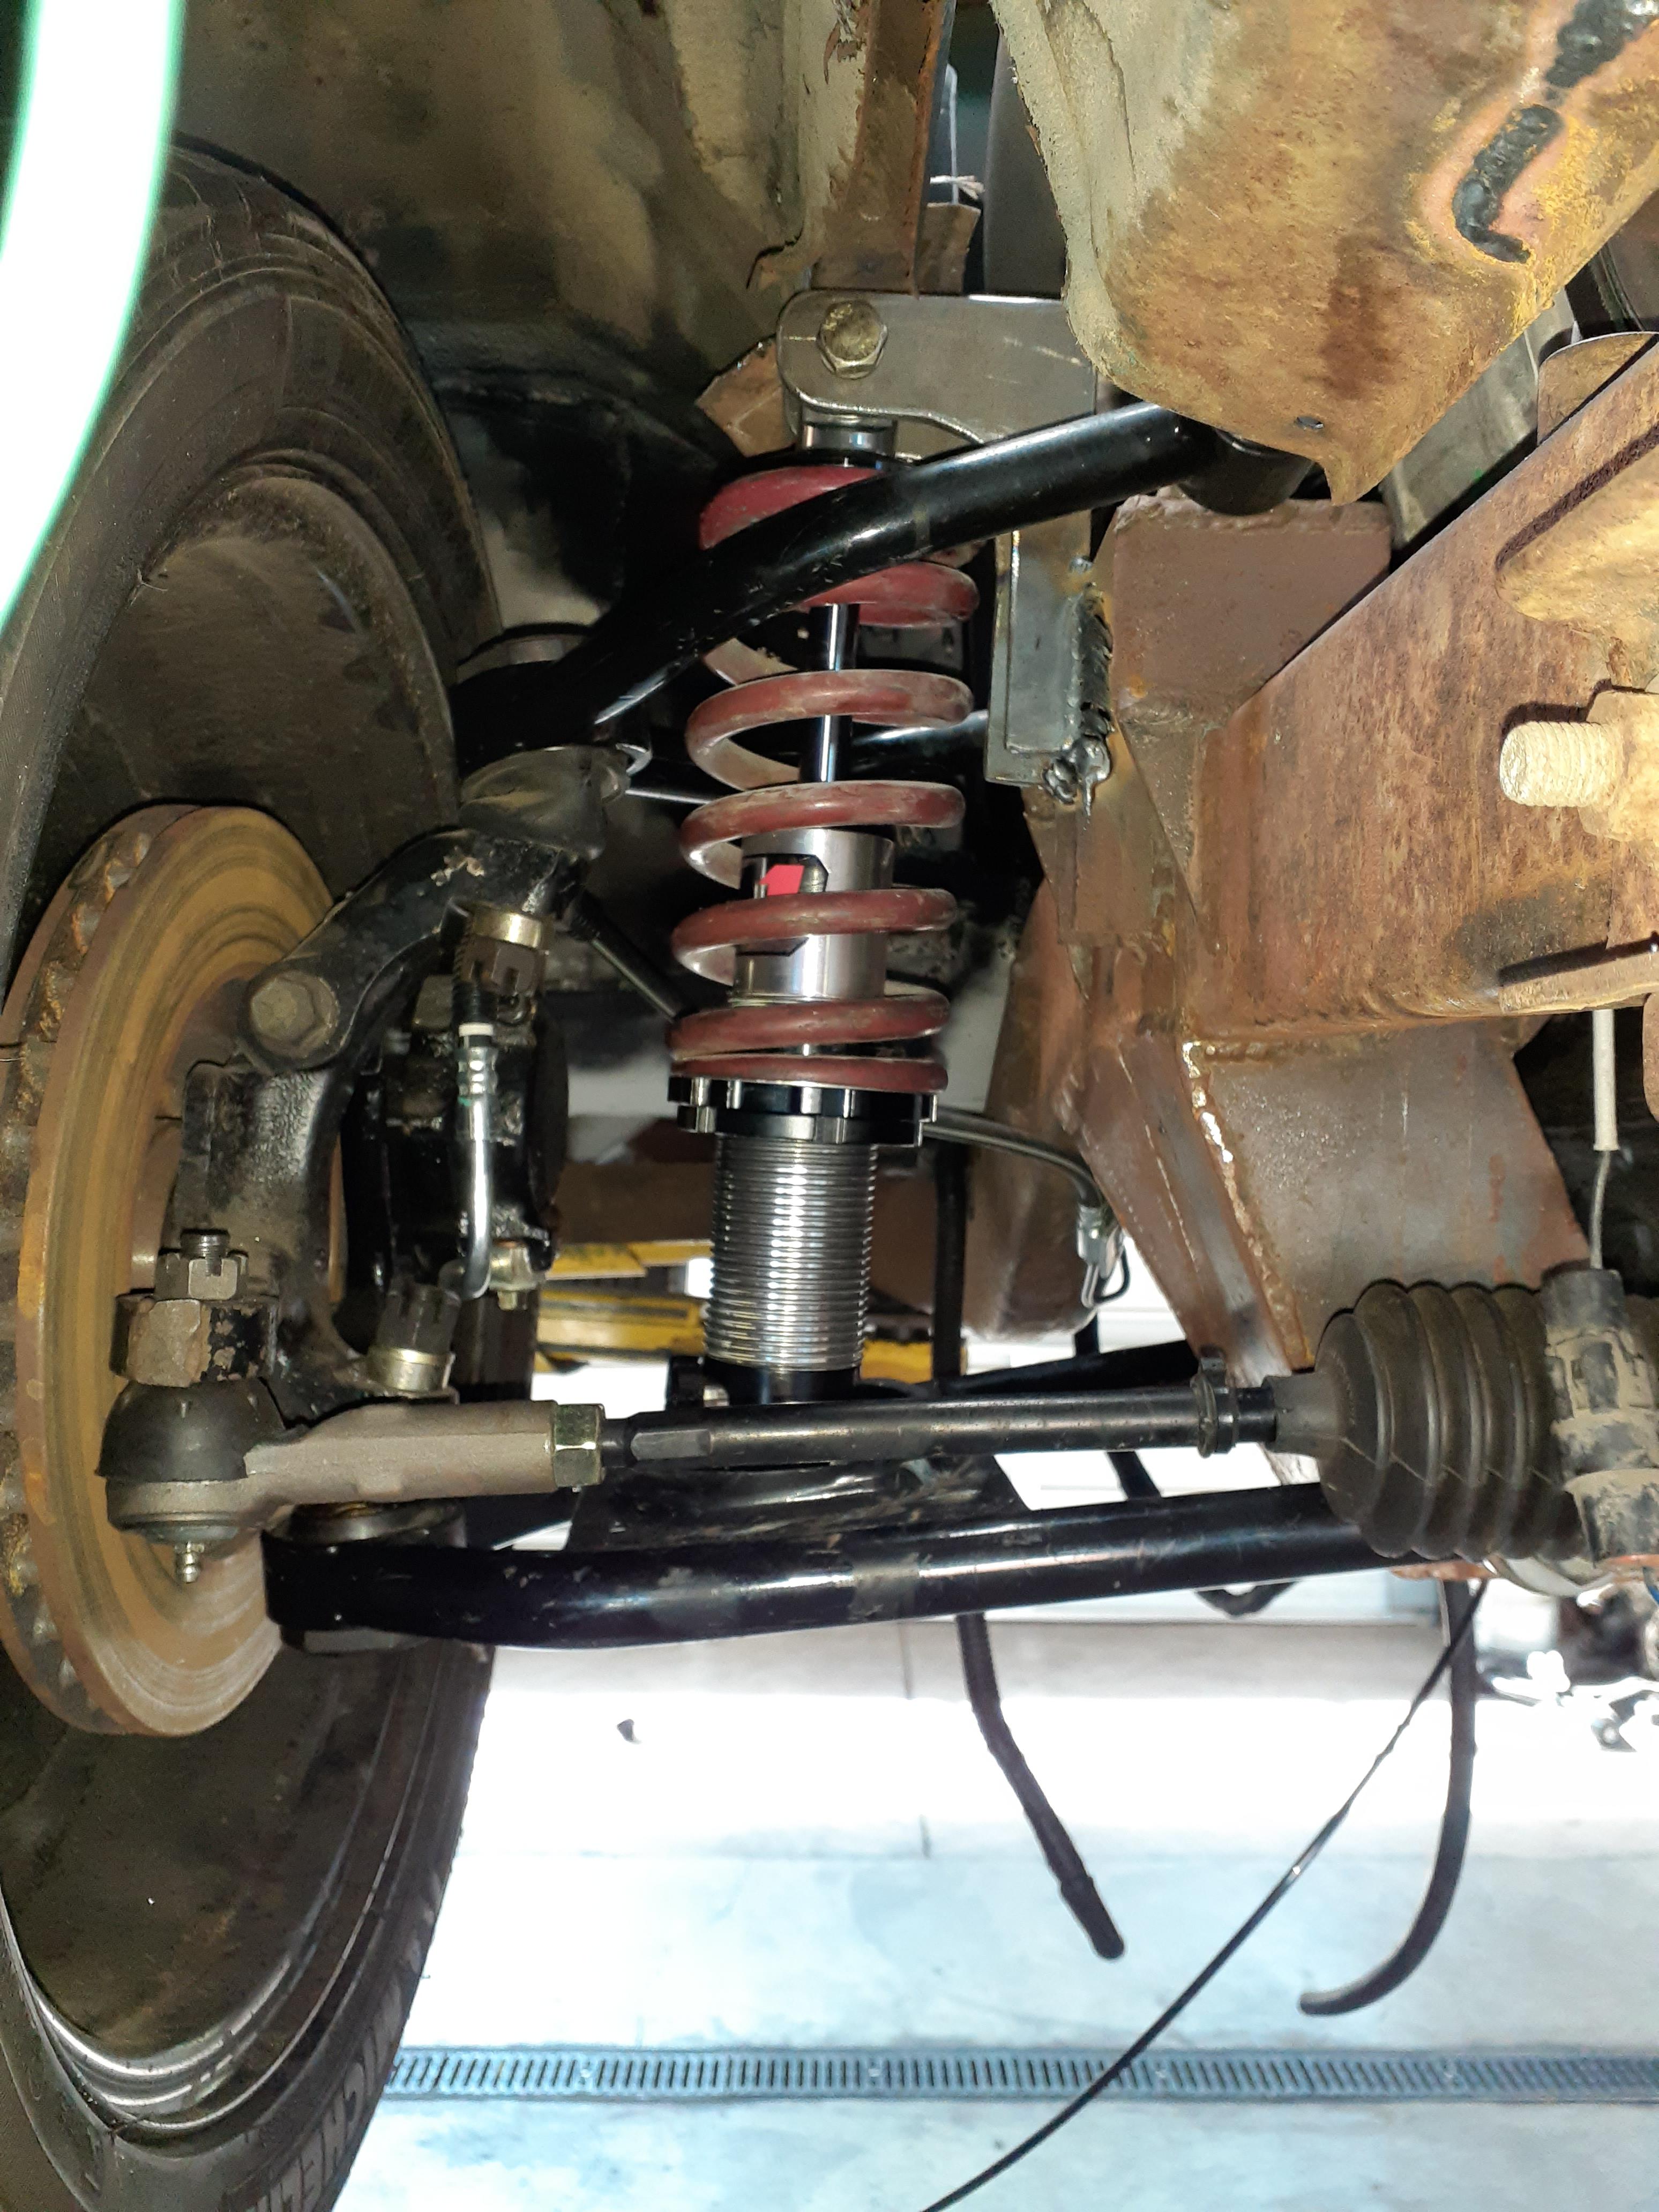
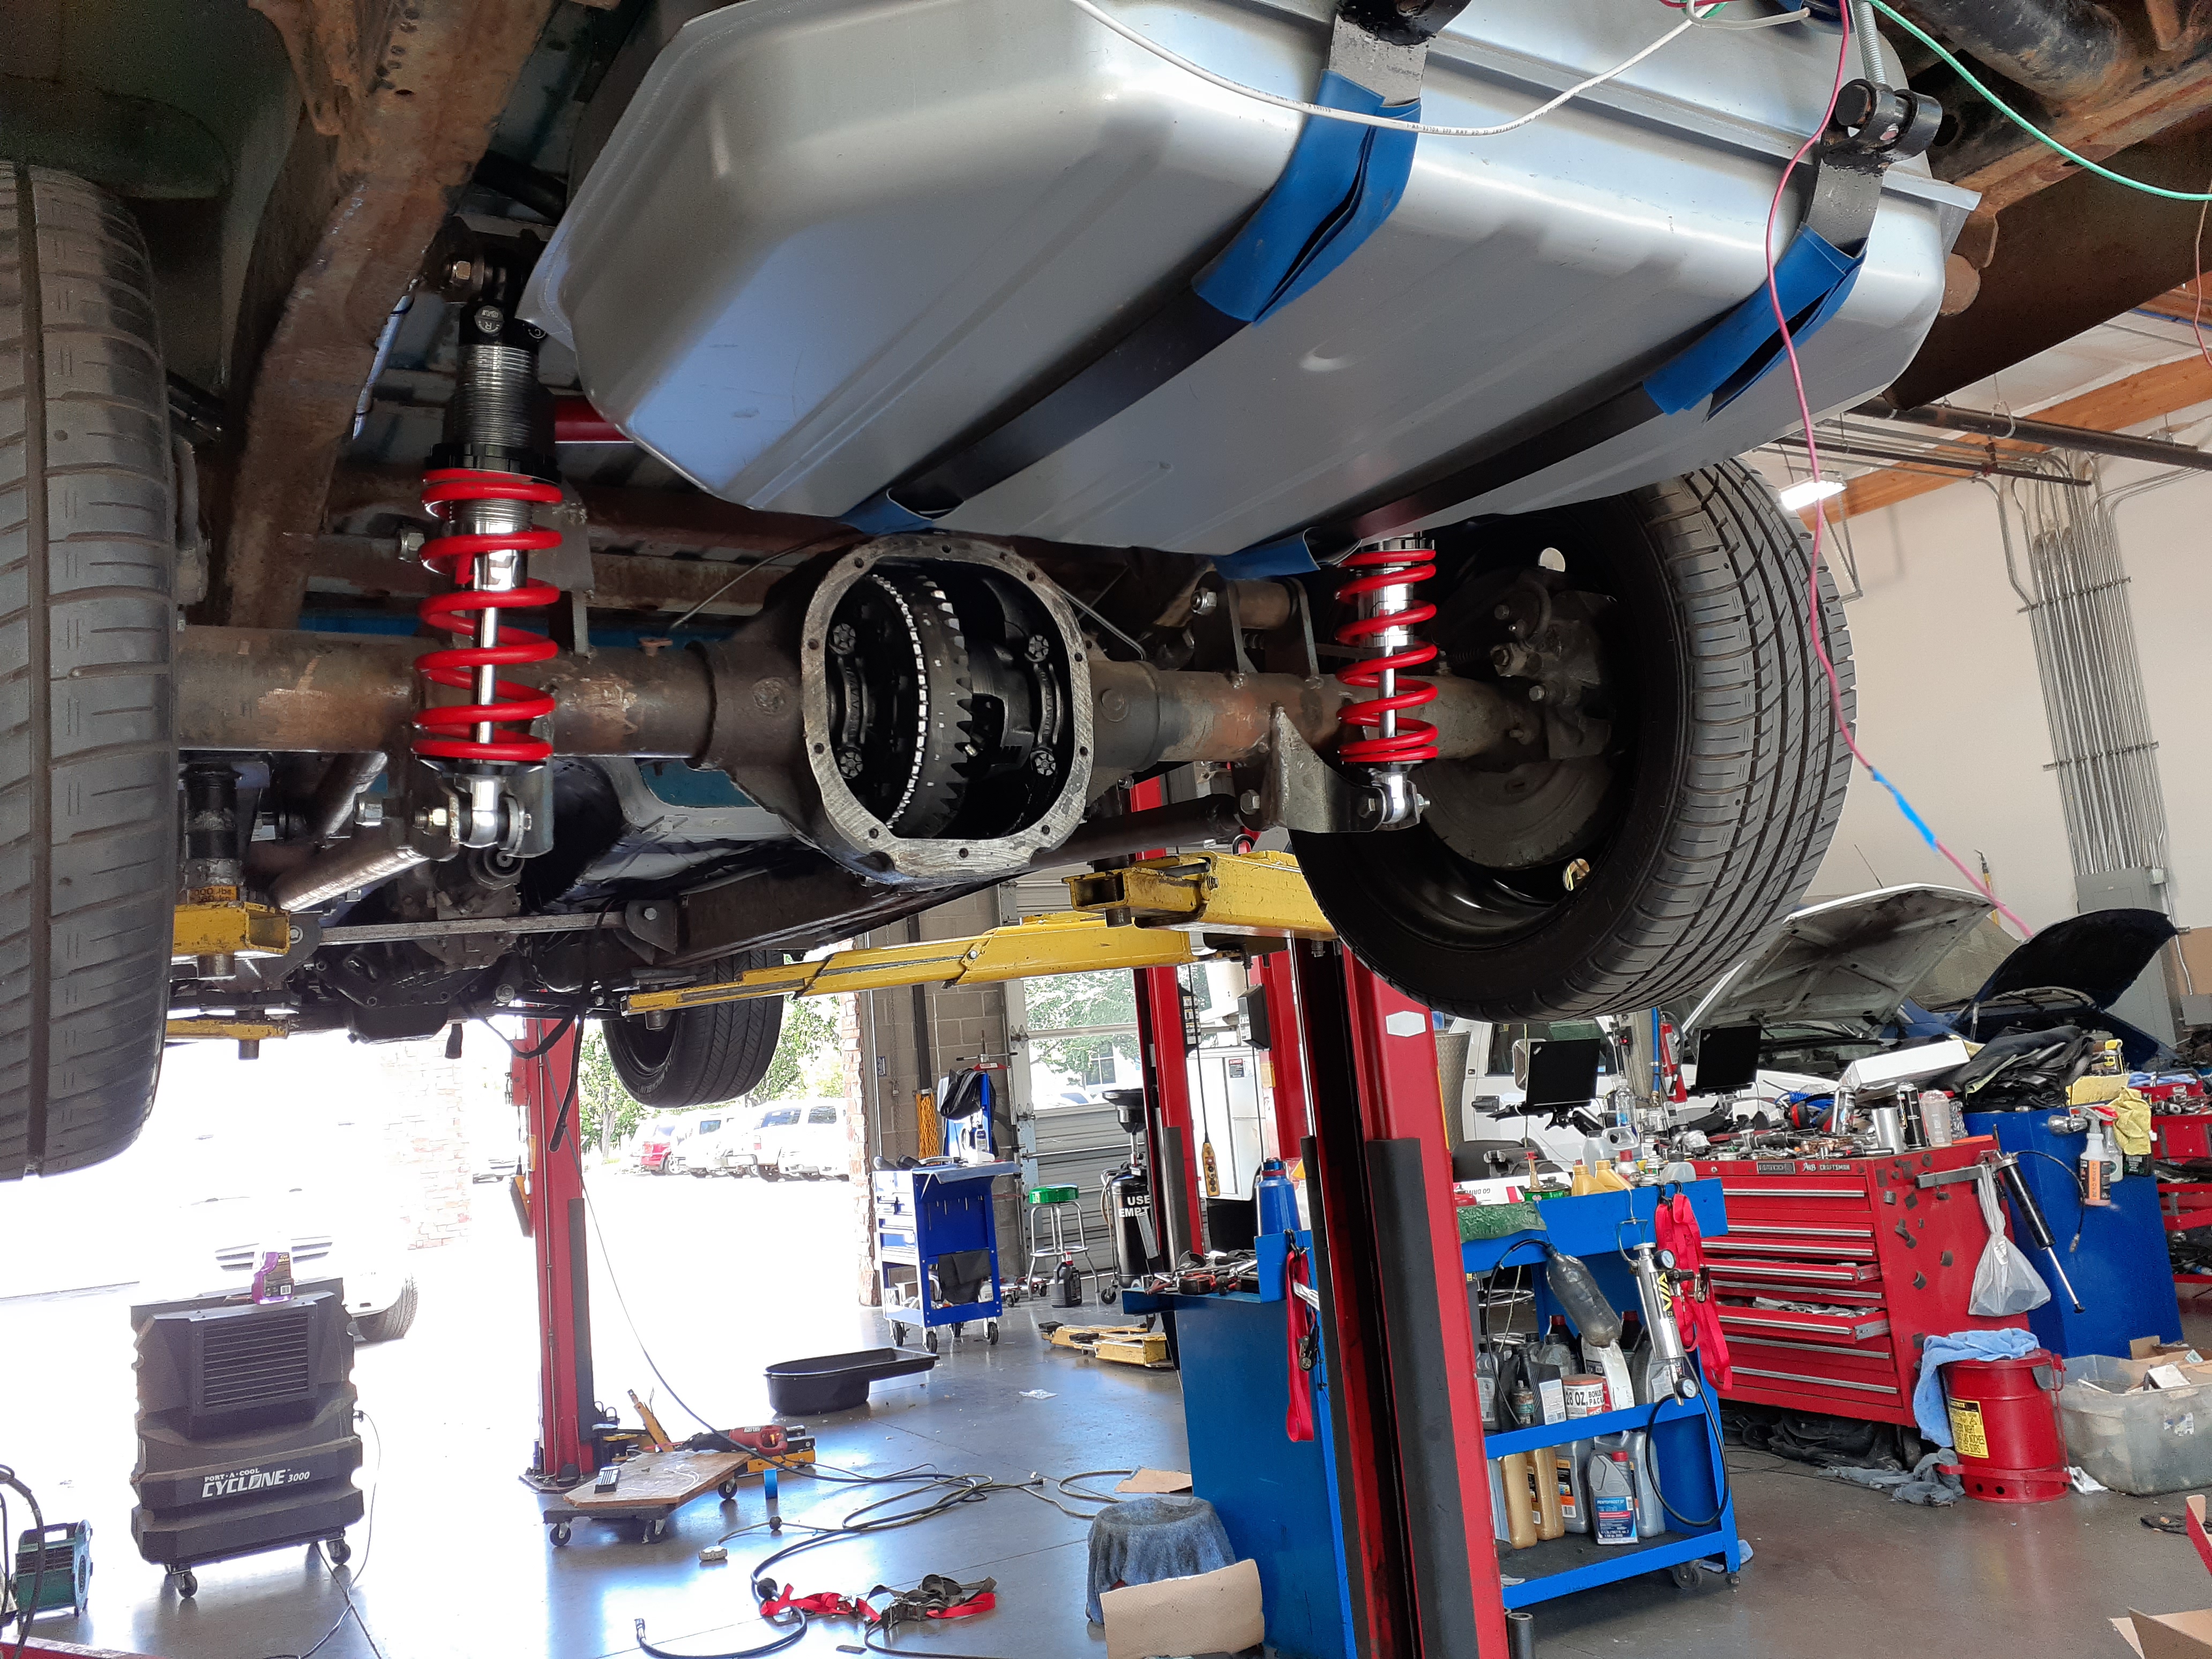
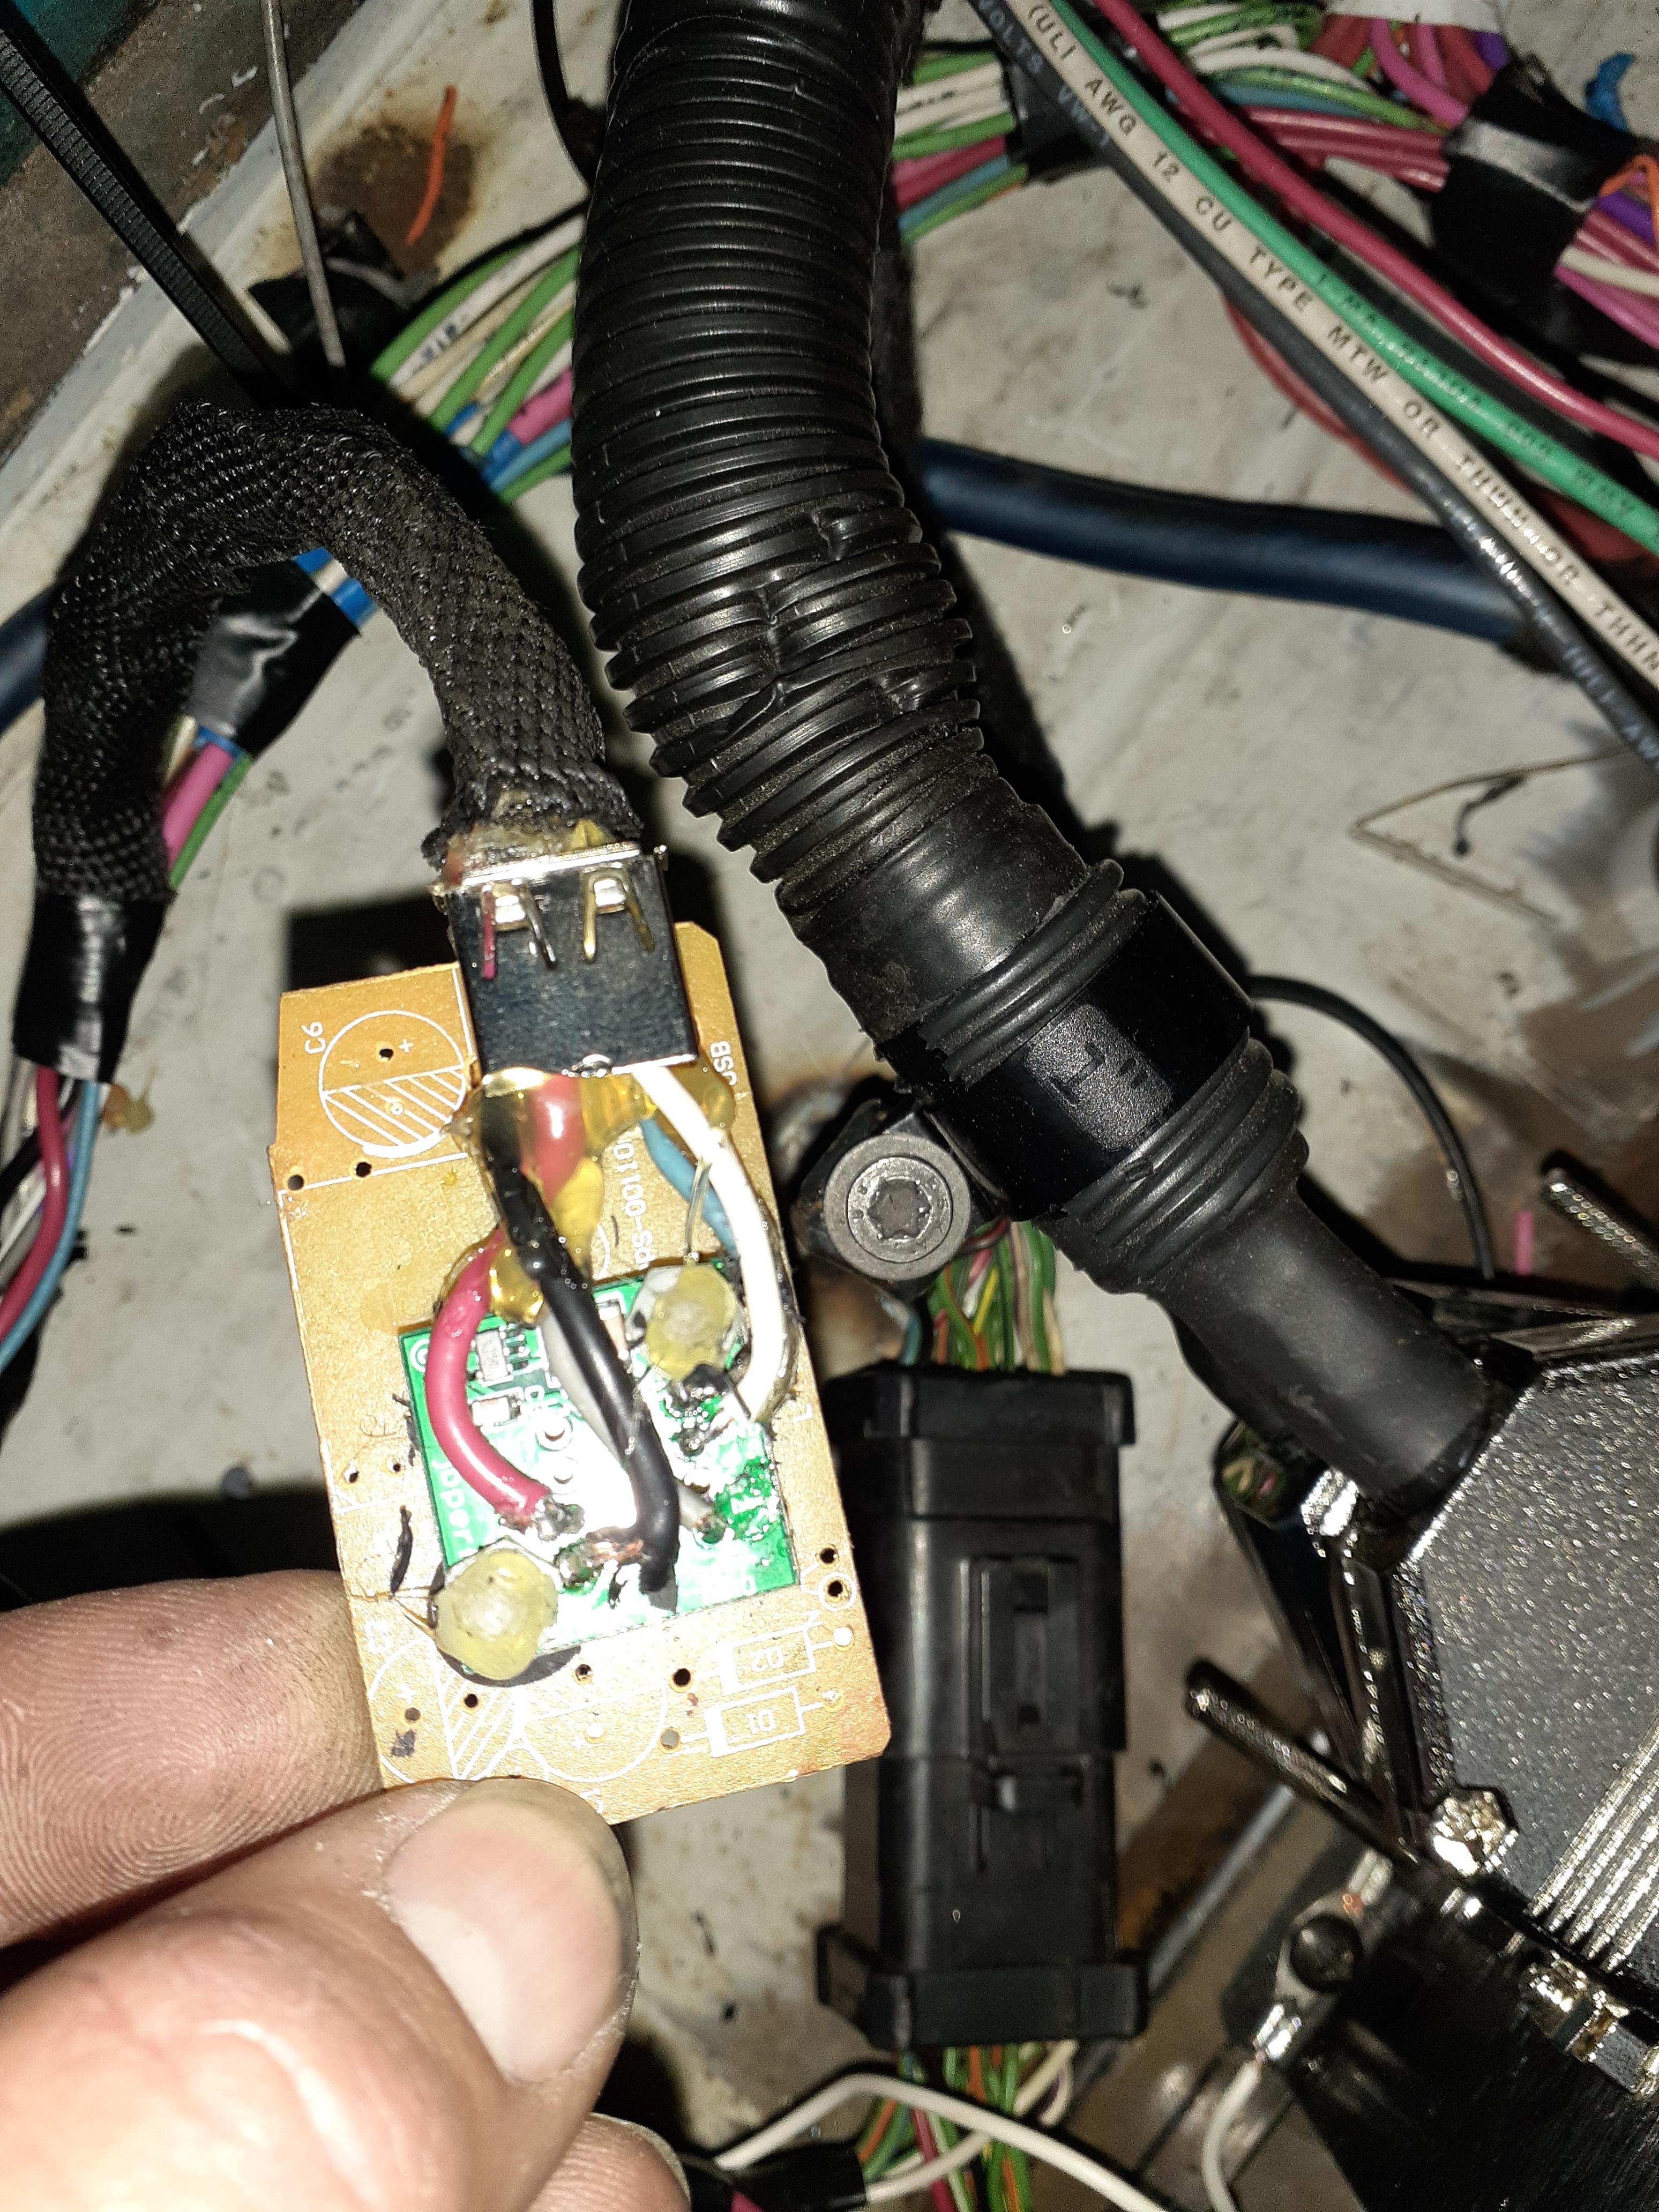
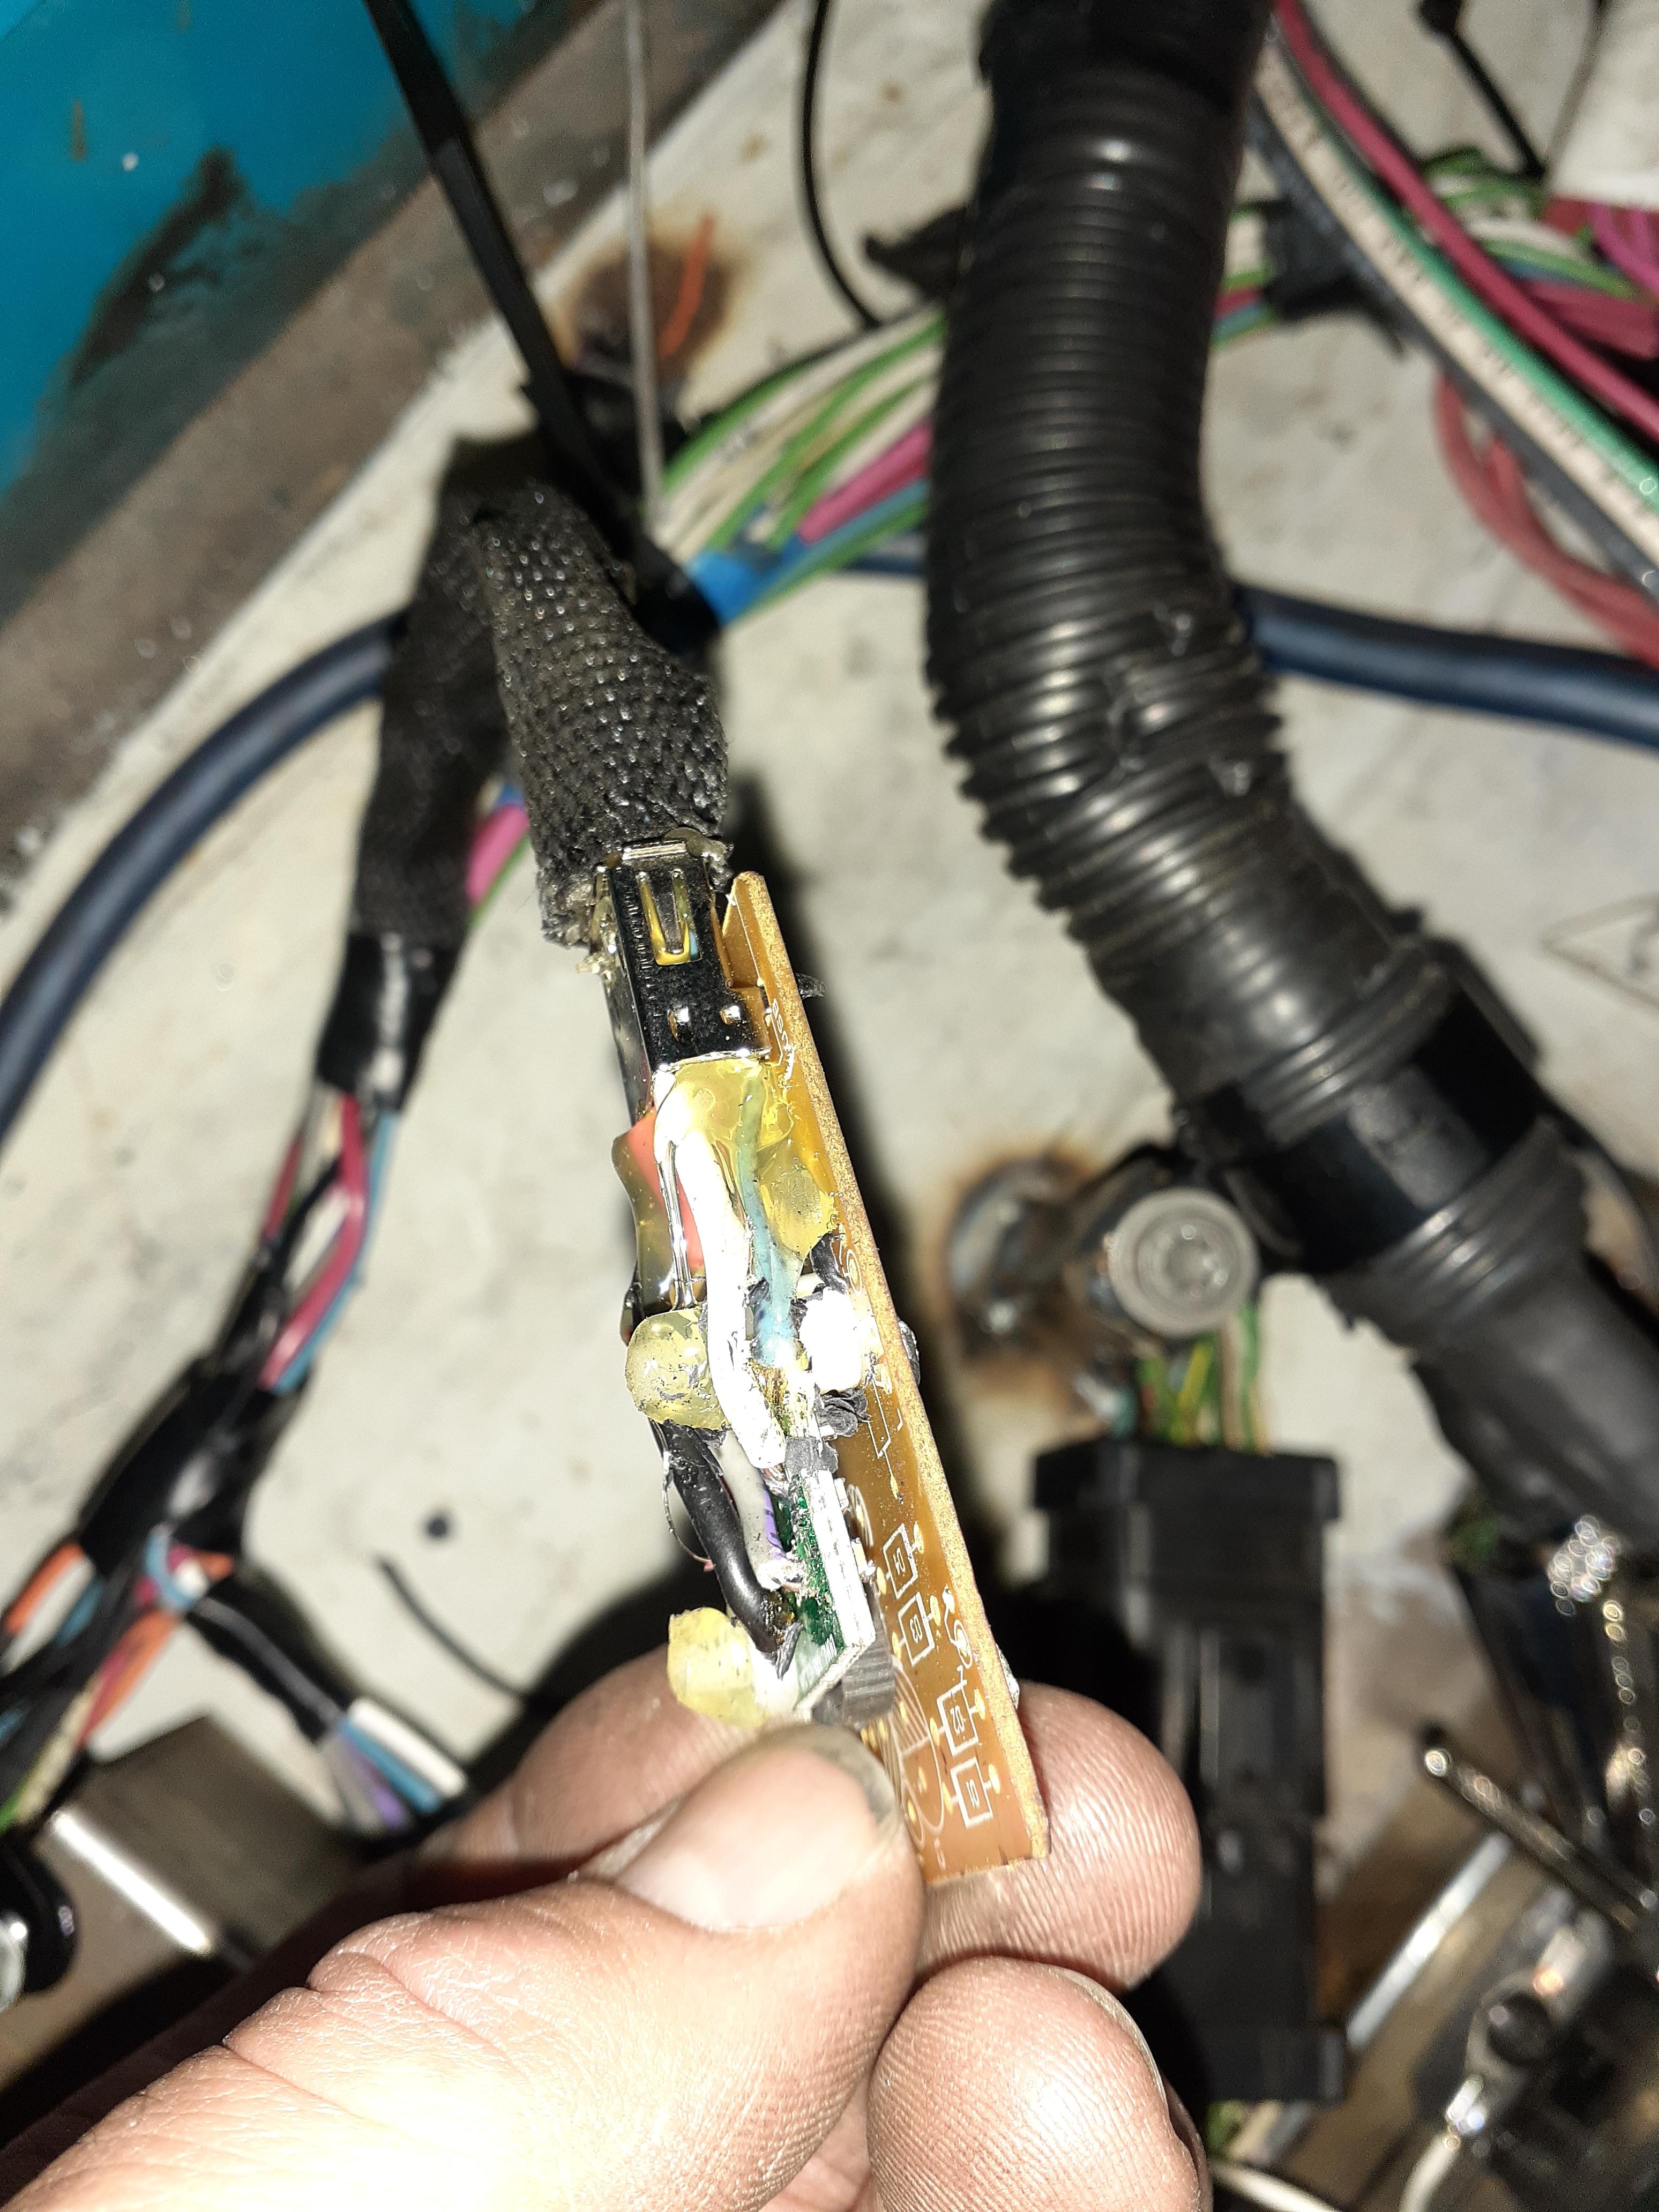
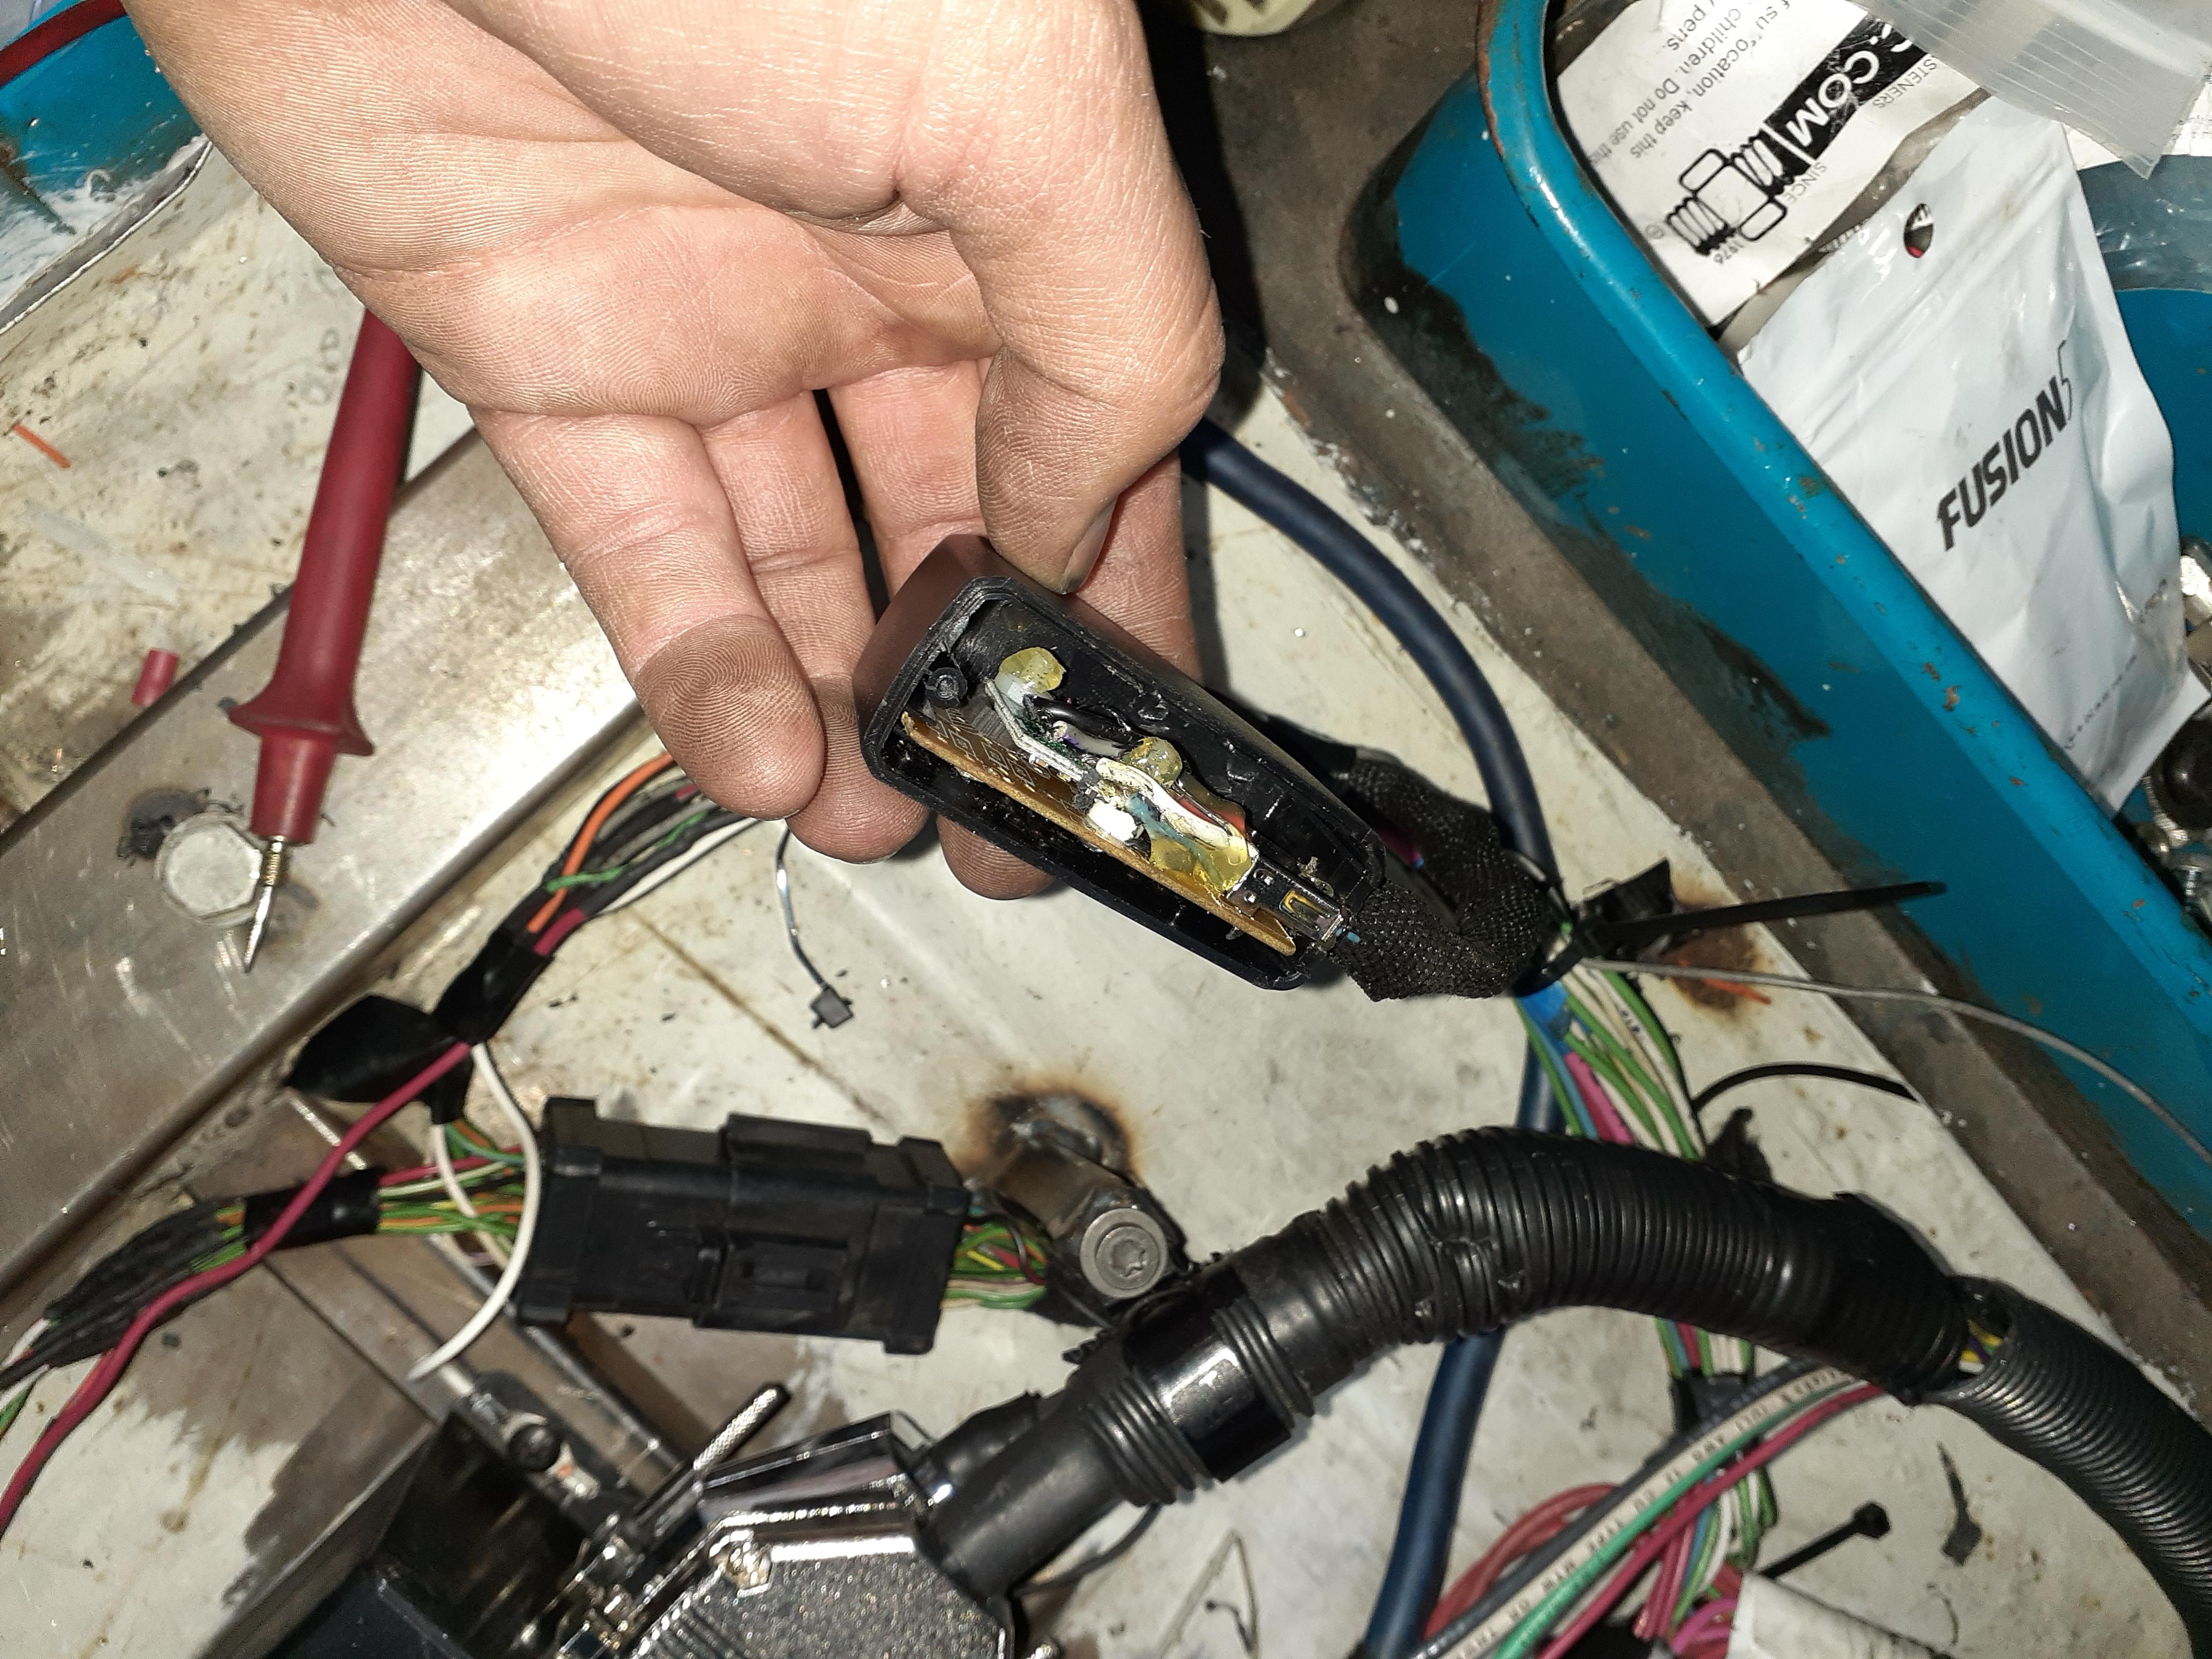
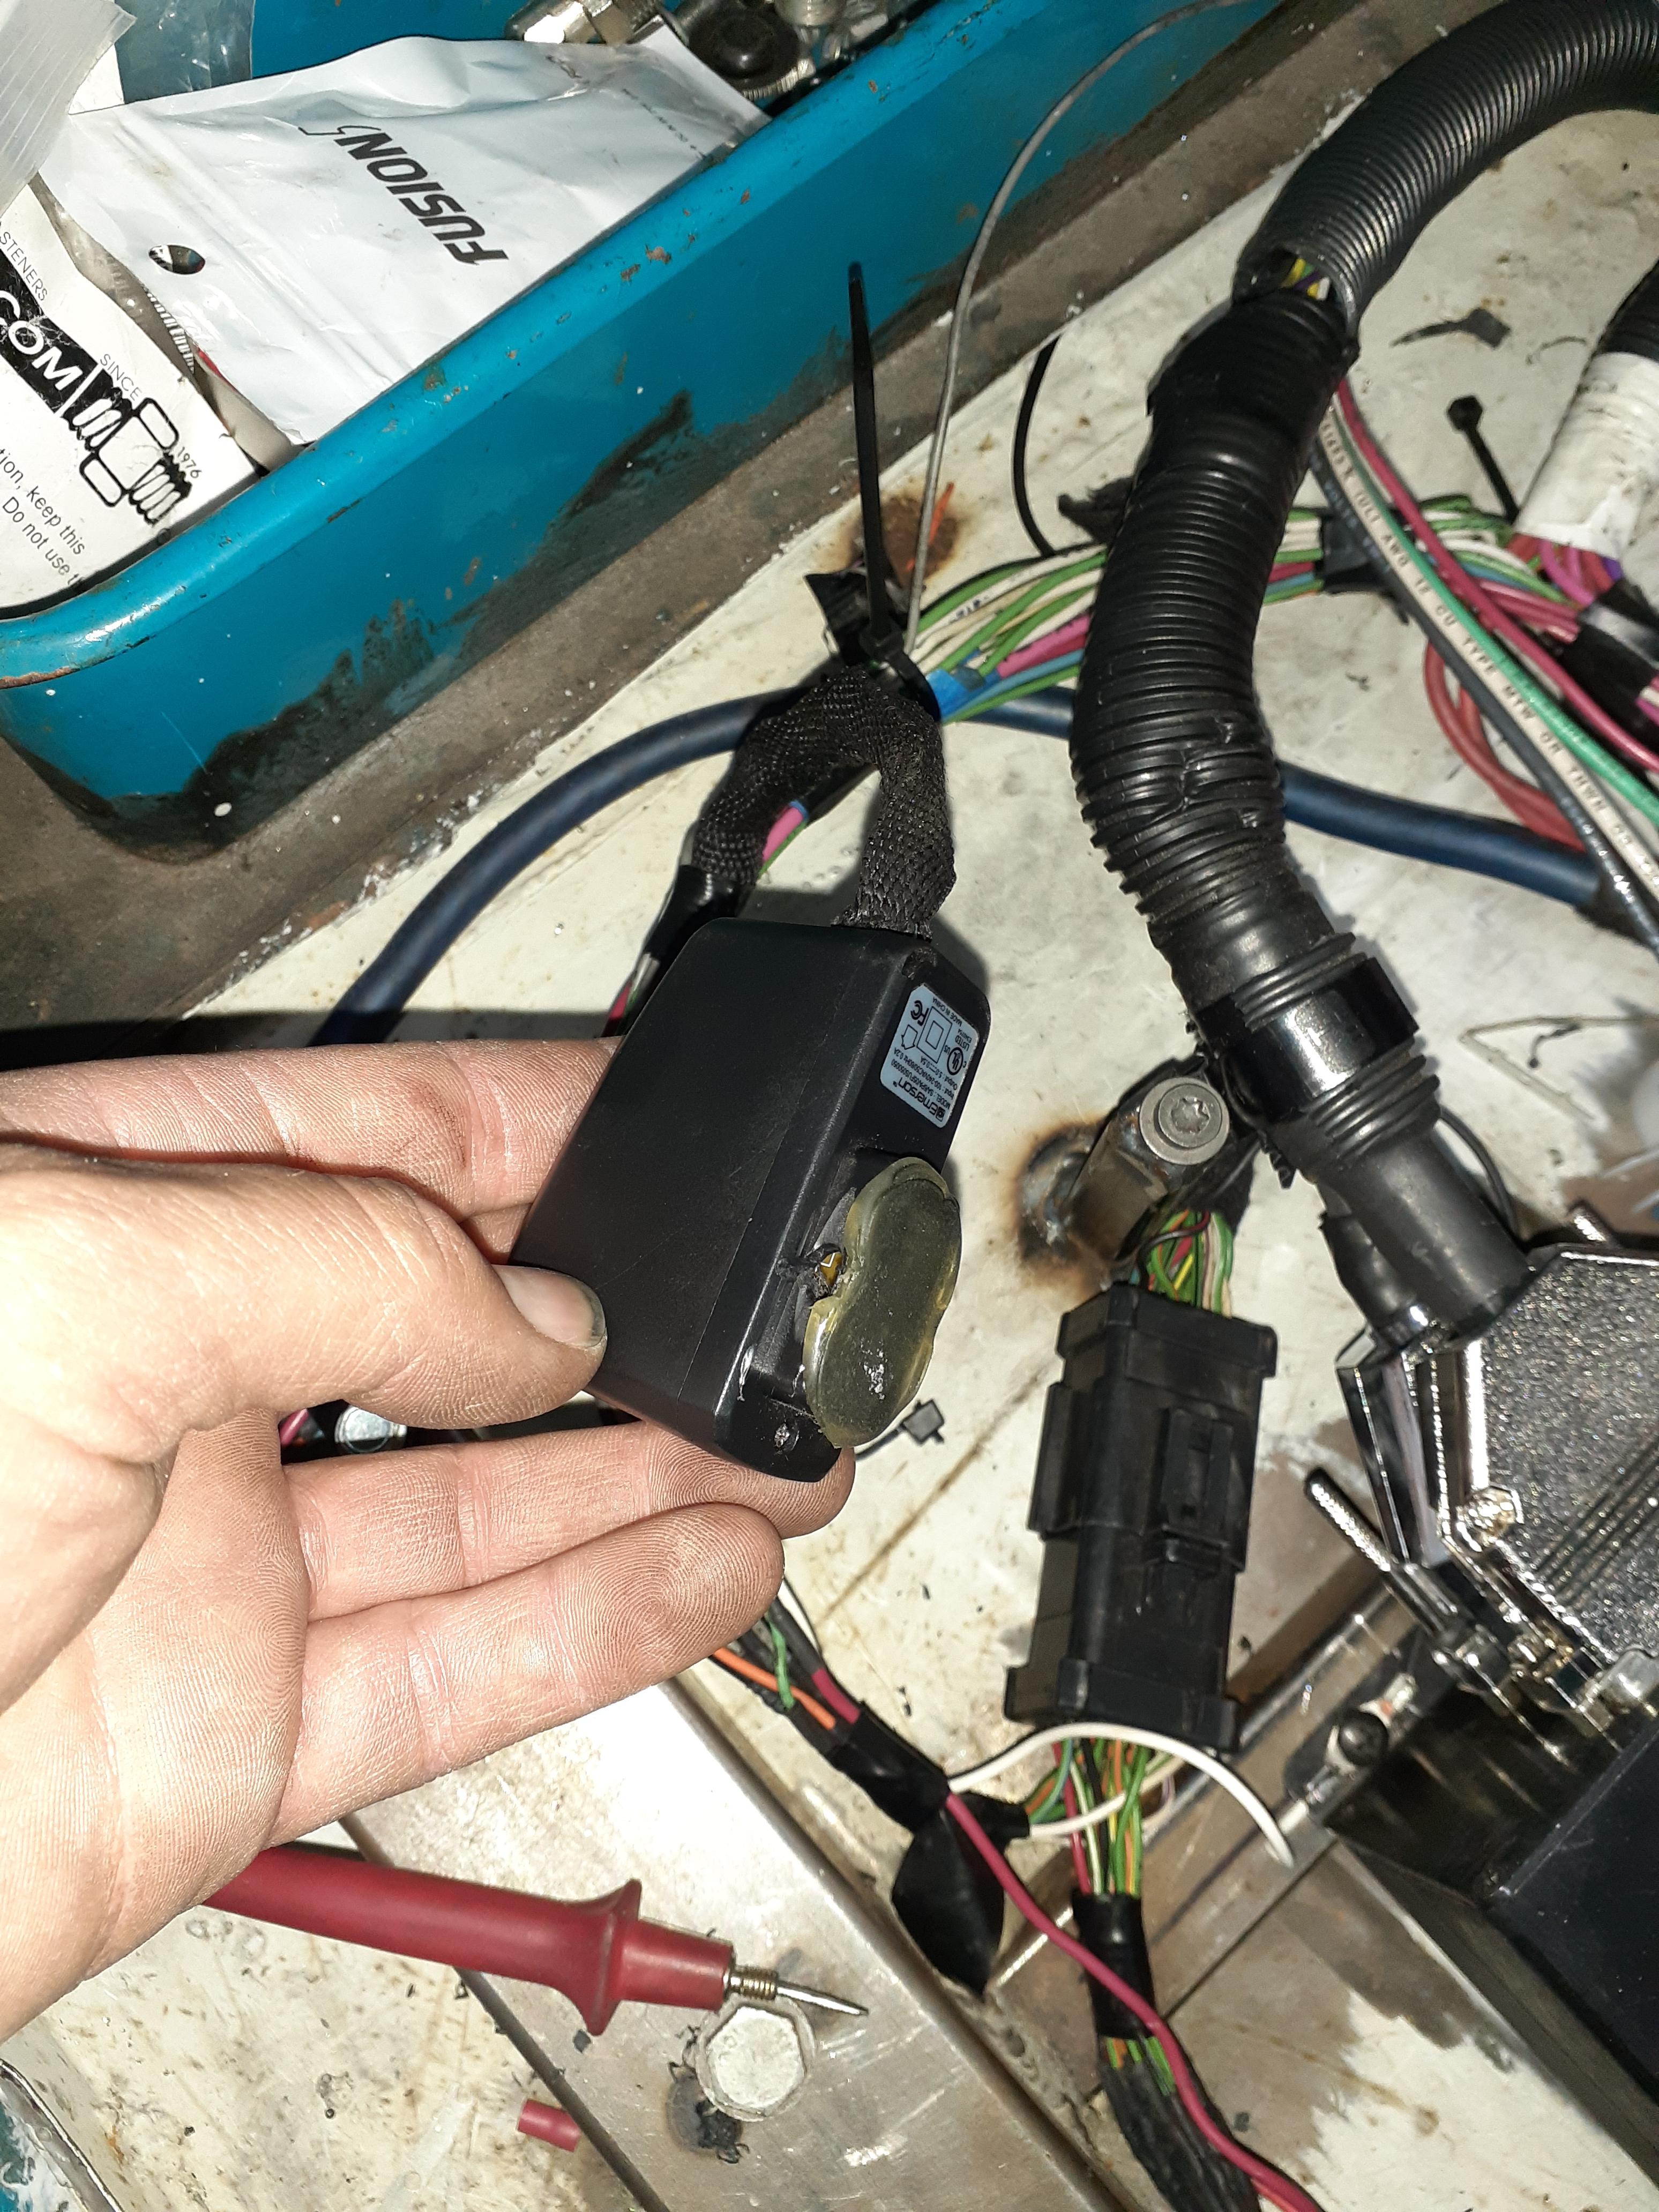
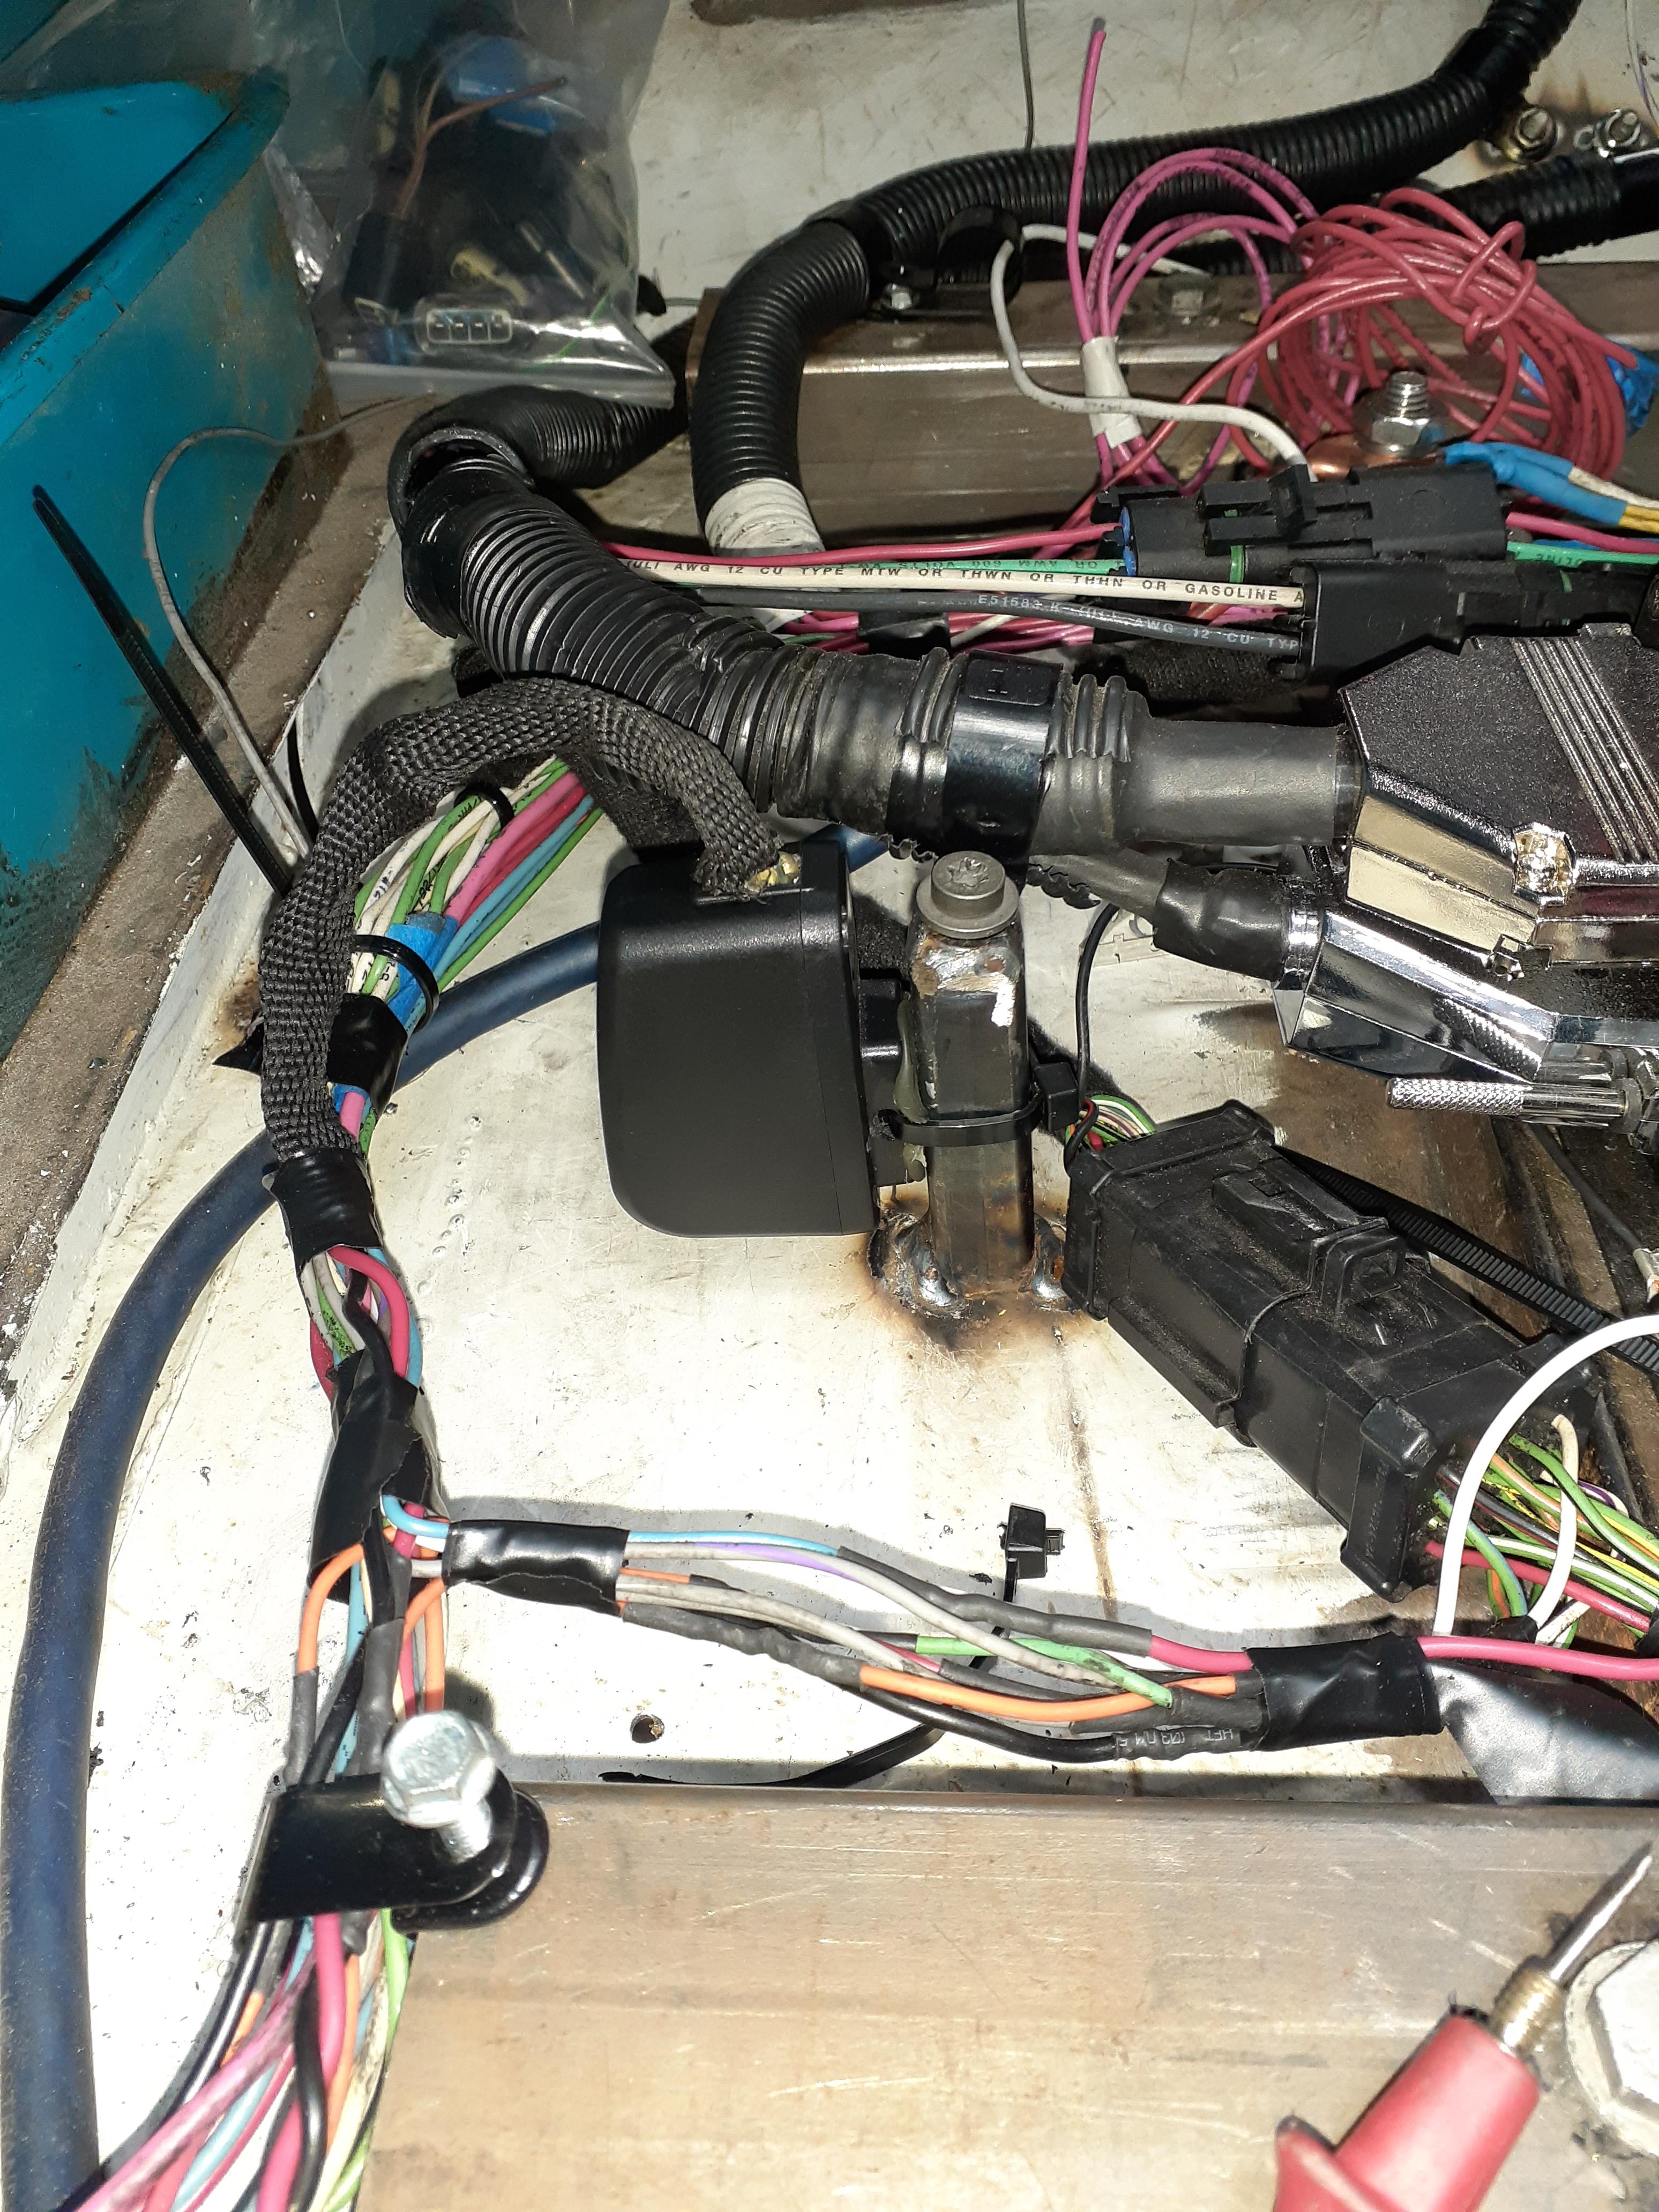
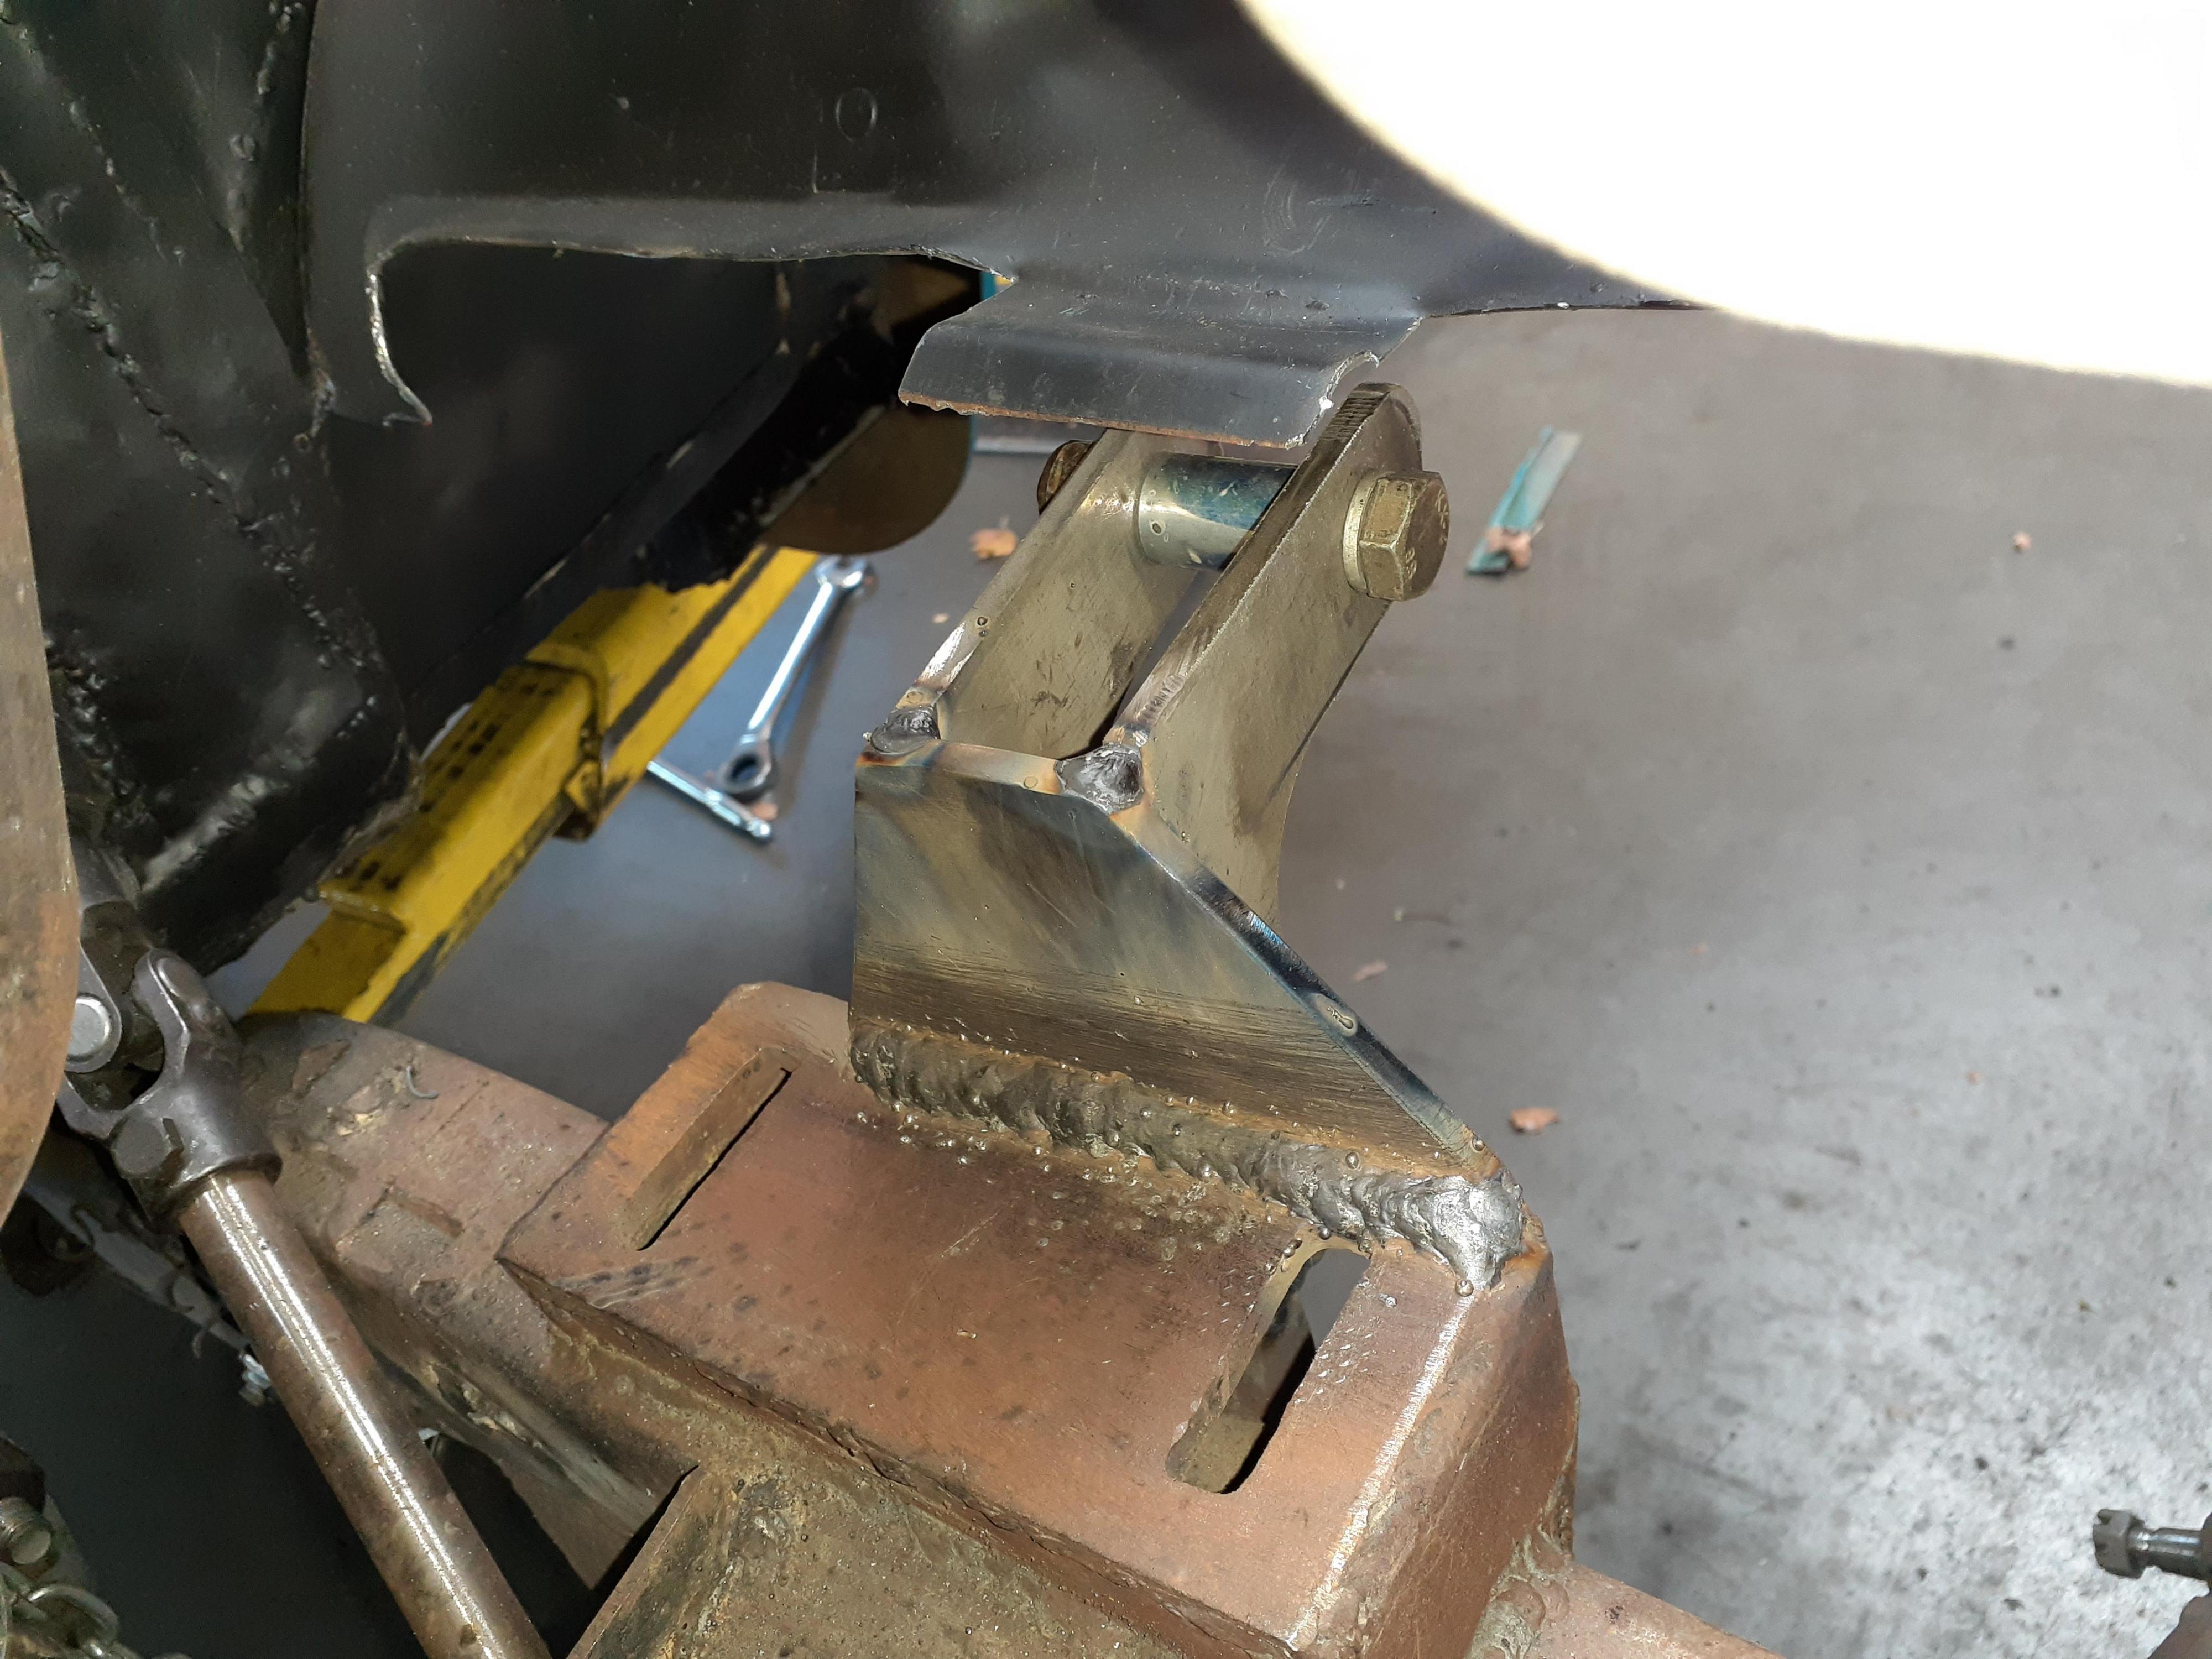
The Truck is finally sitting on its own springs under its own weight. The front mounts need to be gusseted in still. The block is drilled and tapped for my -10 AN turbo drain, all 54 extra teeth have been cut off of the ABS sensor wheel to bring the pulses per mile into the usable range, JBPerf VR conditioner circuit is wired in and installed in an old wall charger as a protective case. Started working on my dashboard lay out.
Reply
0
0
 07-27-2020, 12:03 AM
#154
Senior Member
Thread Starter
Join Date: Jan 2011
Location: sacramento ,ca
Posts: 563
Total Cats: 160
more progress!!!!!
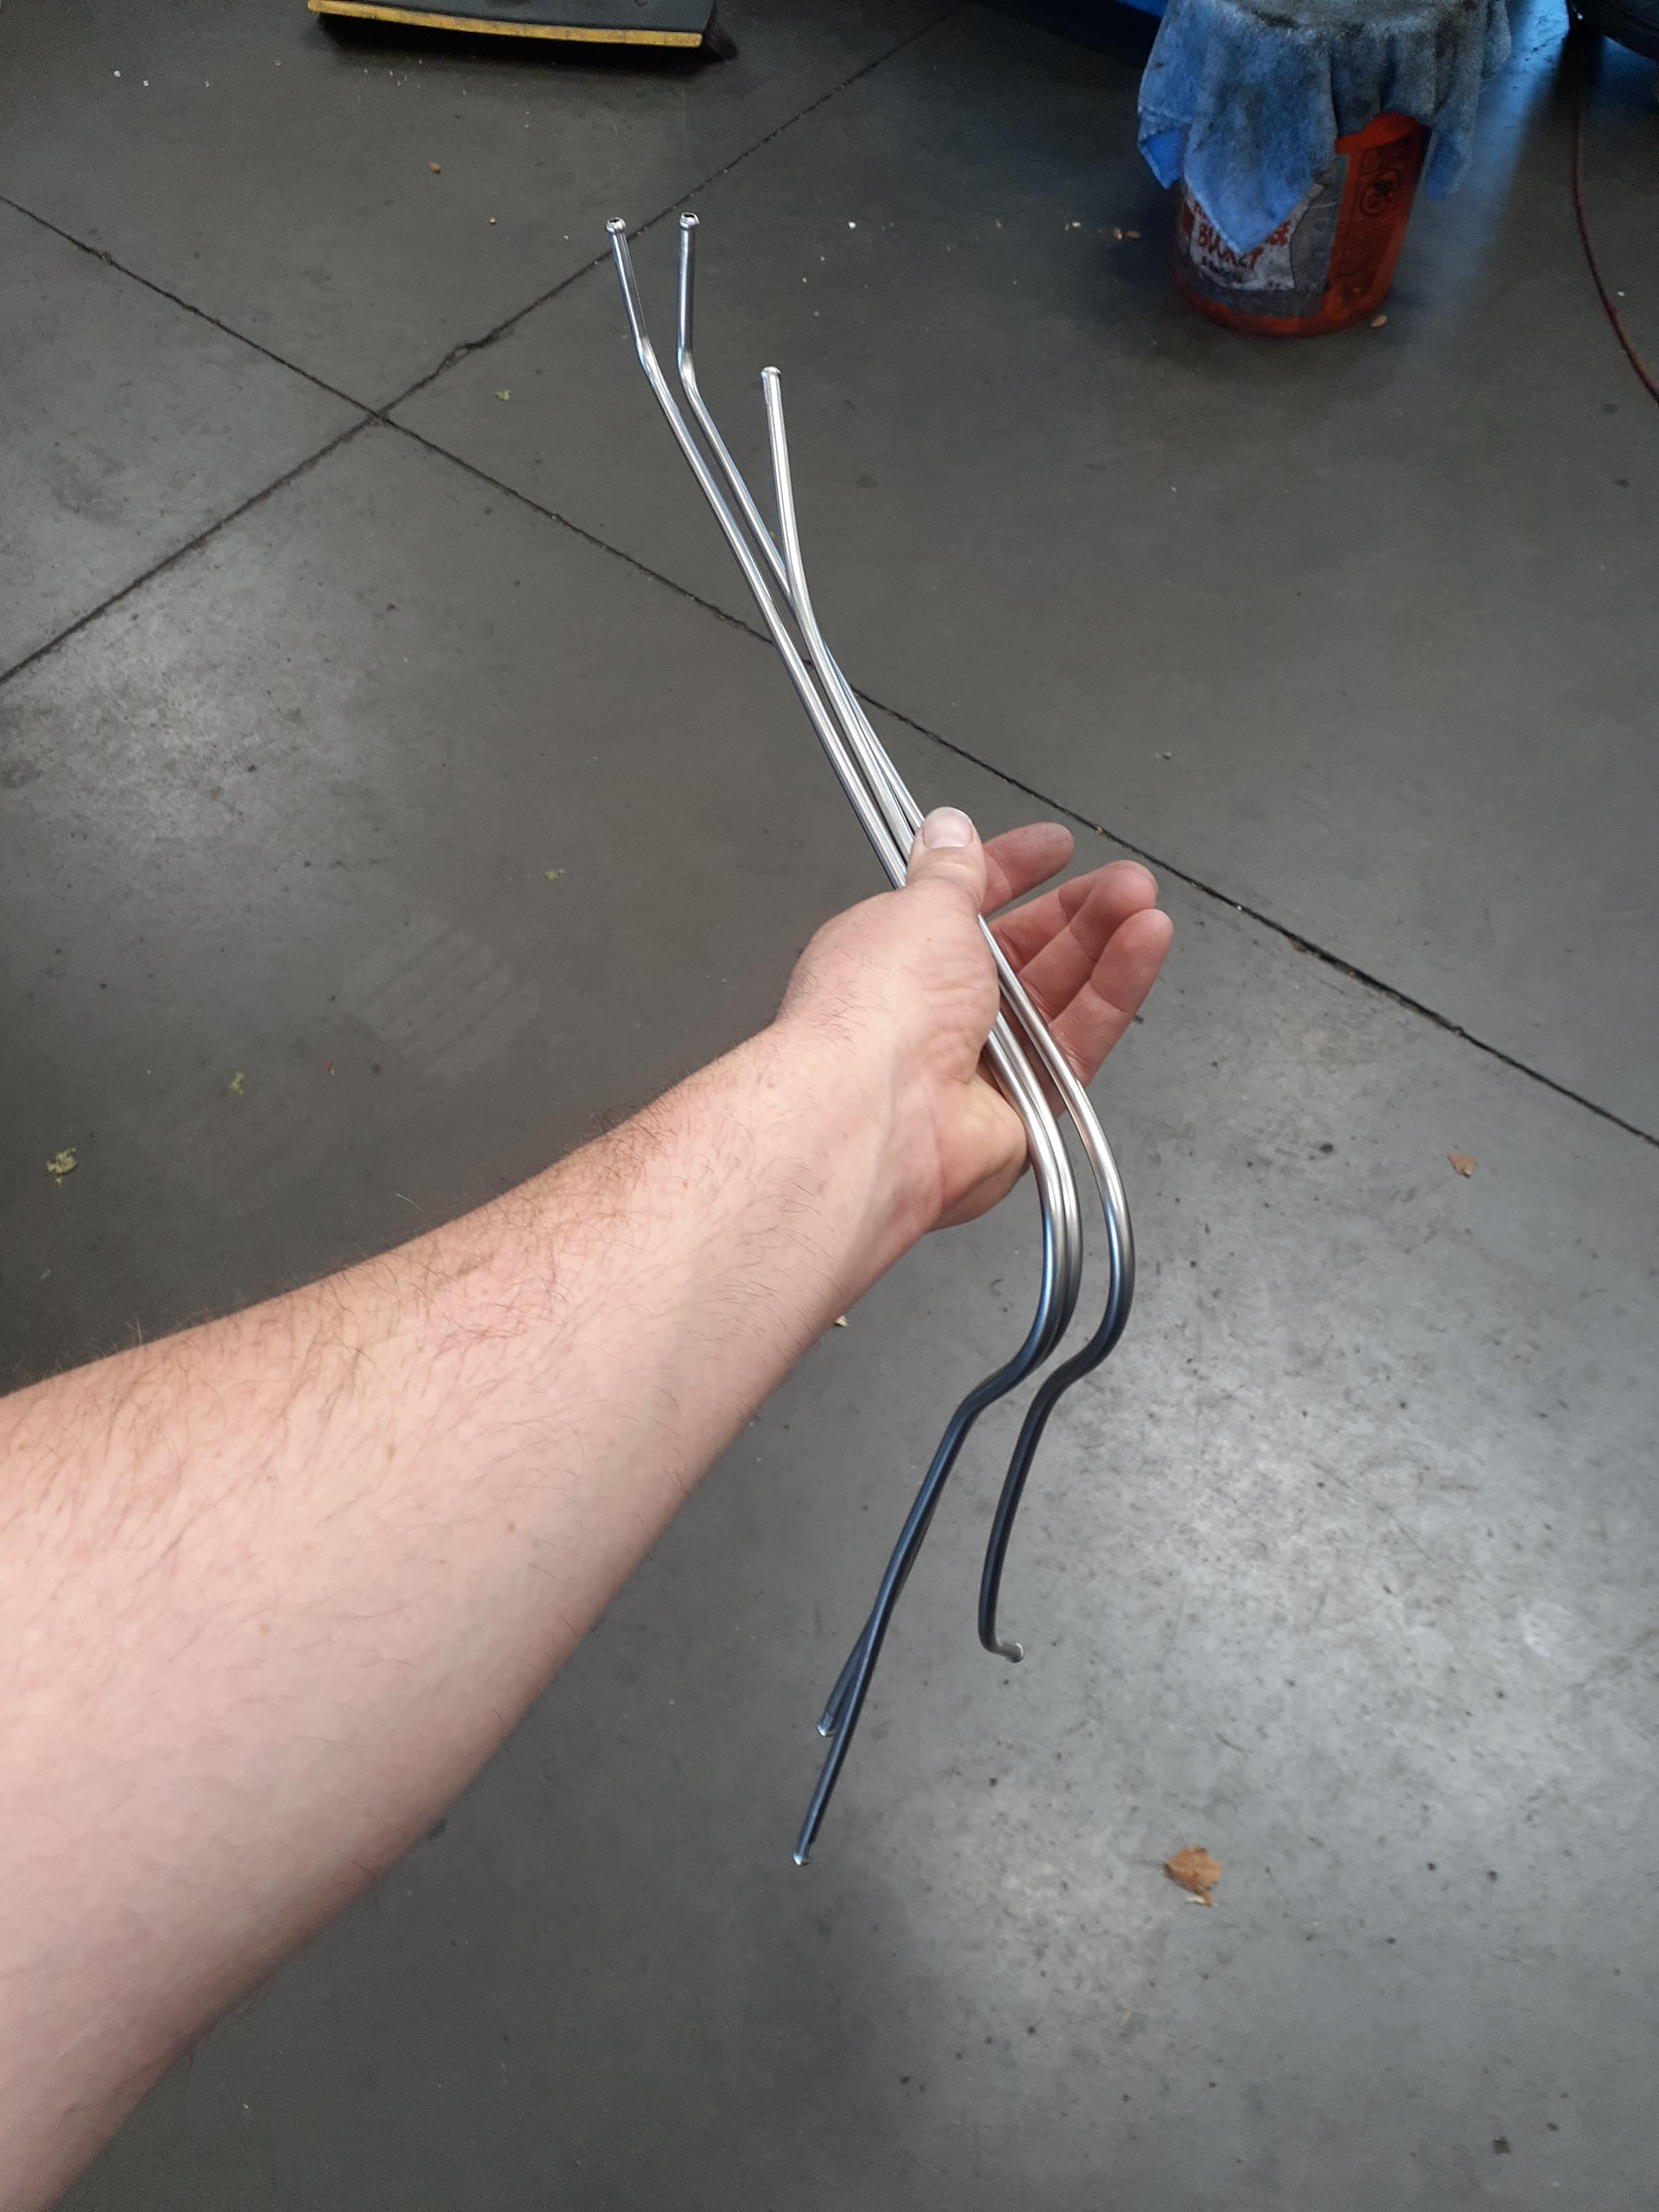
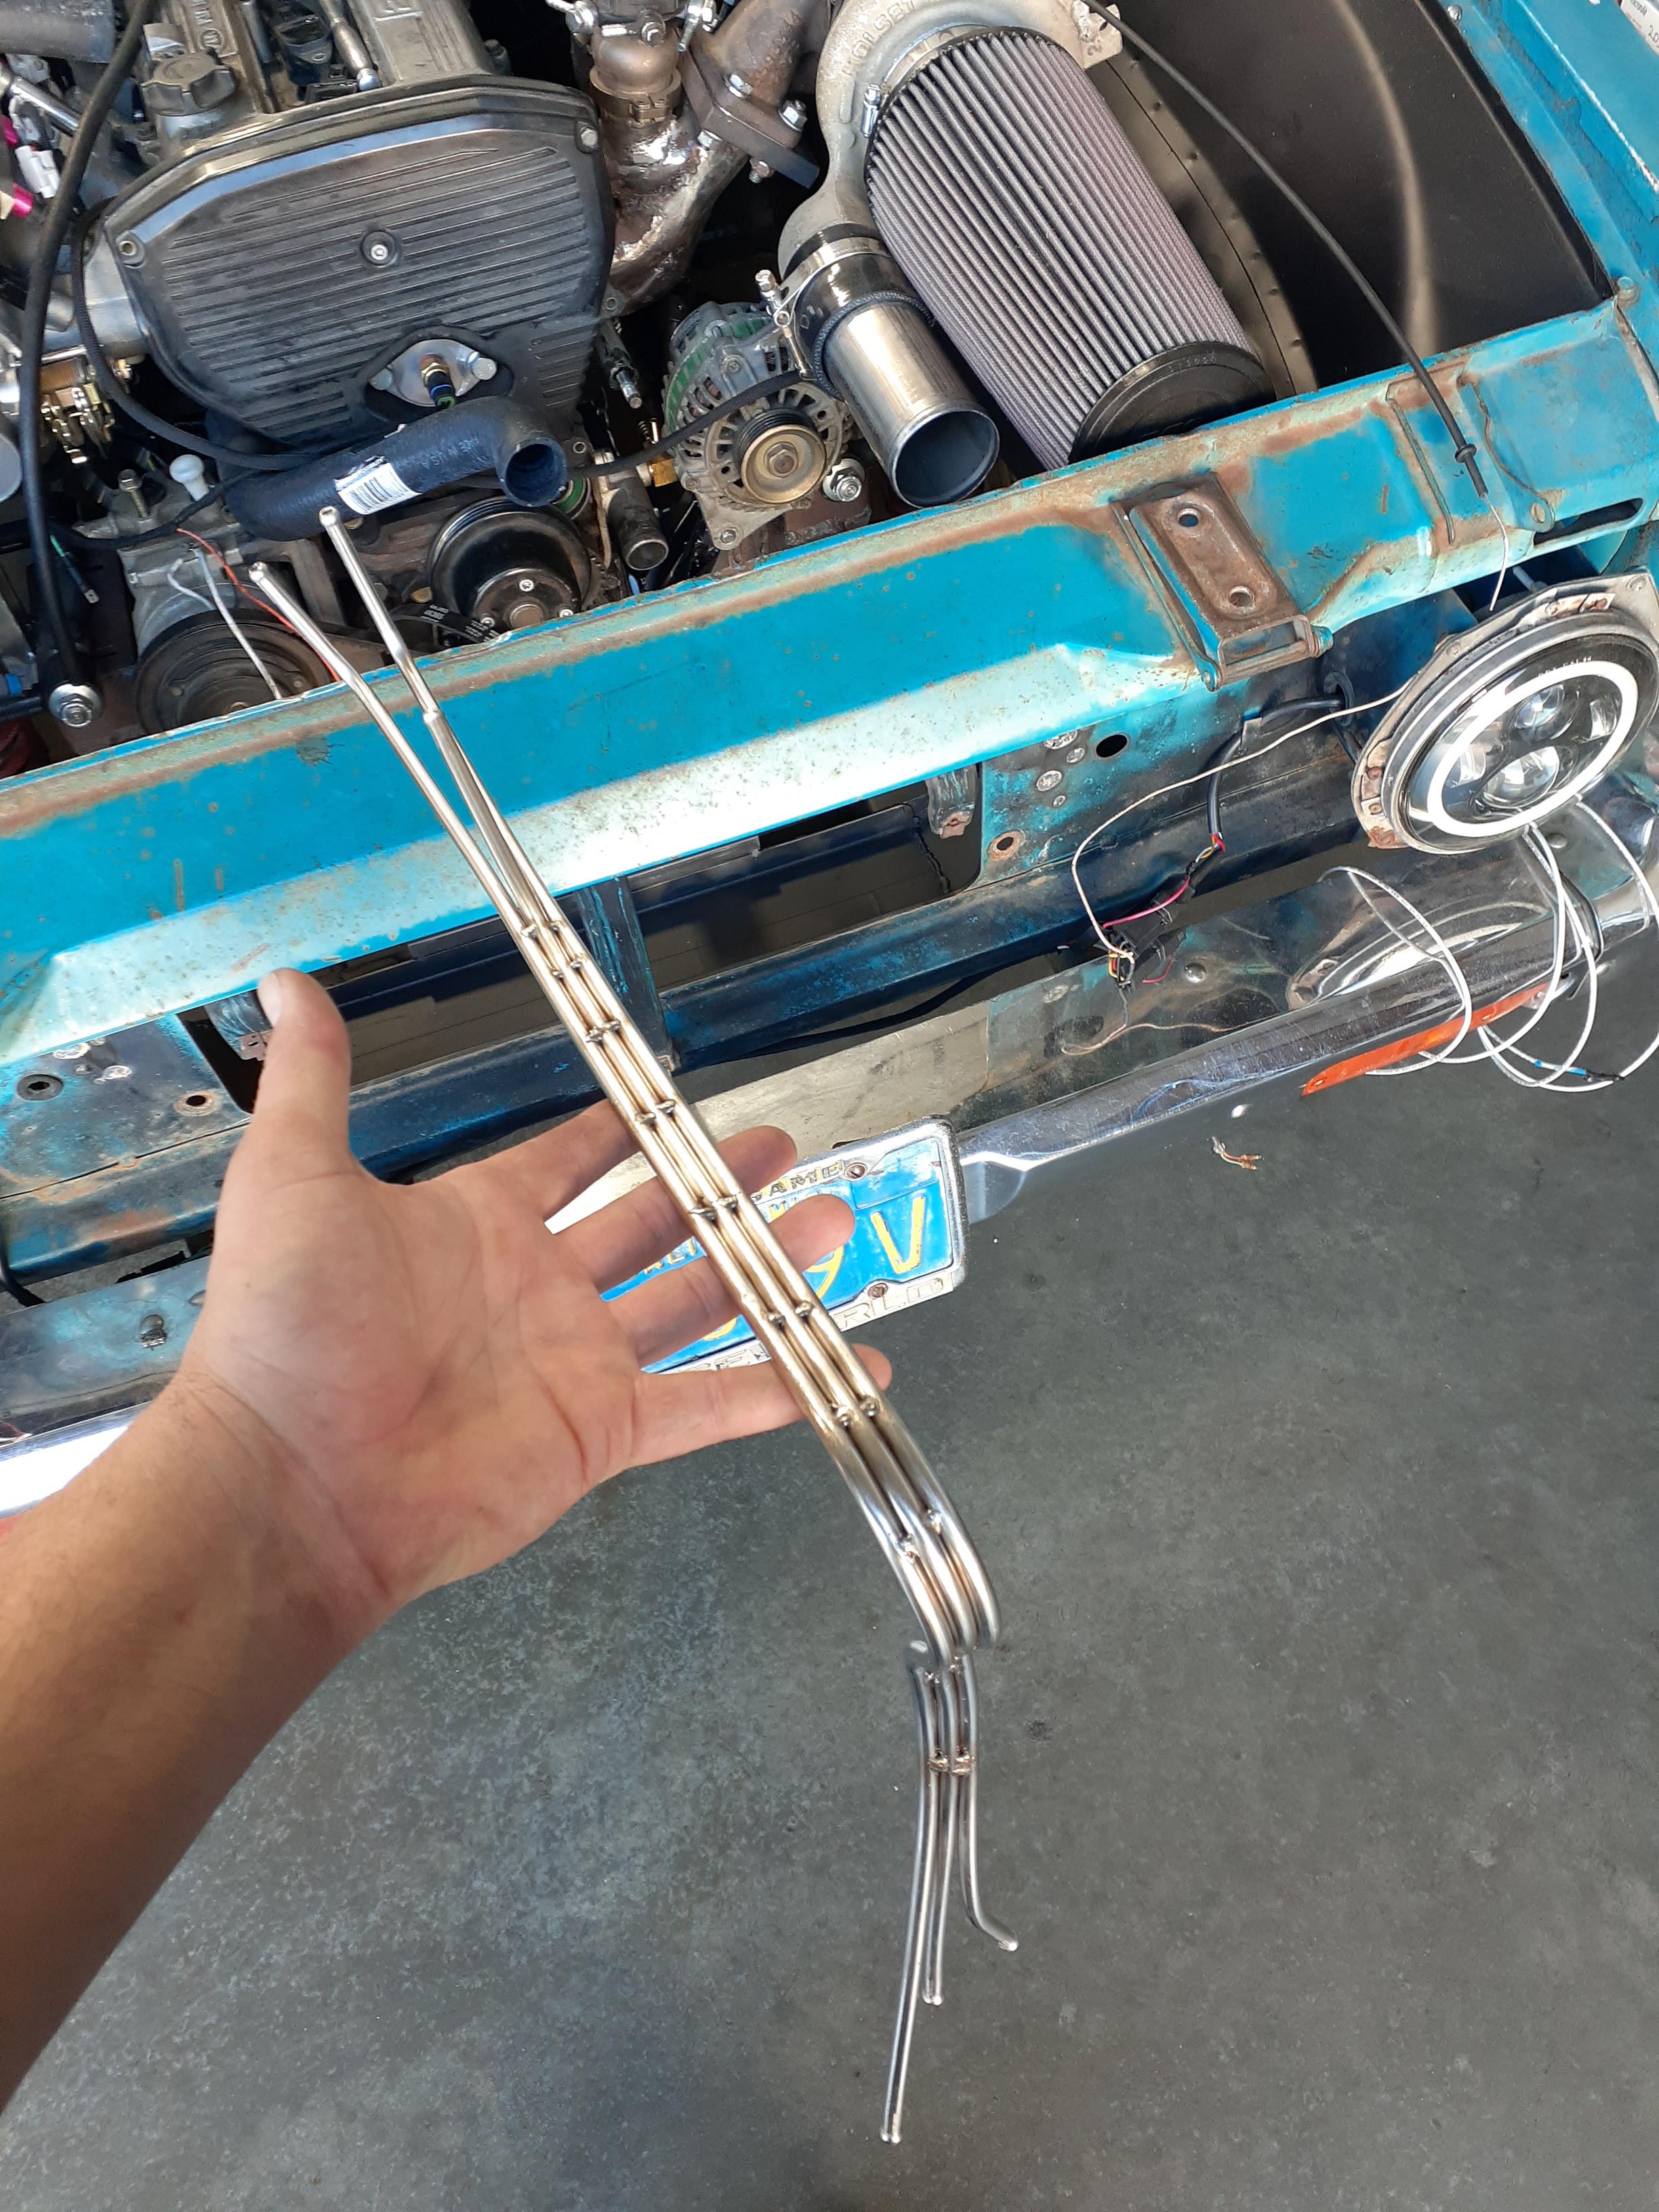
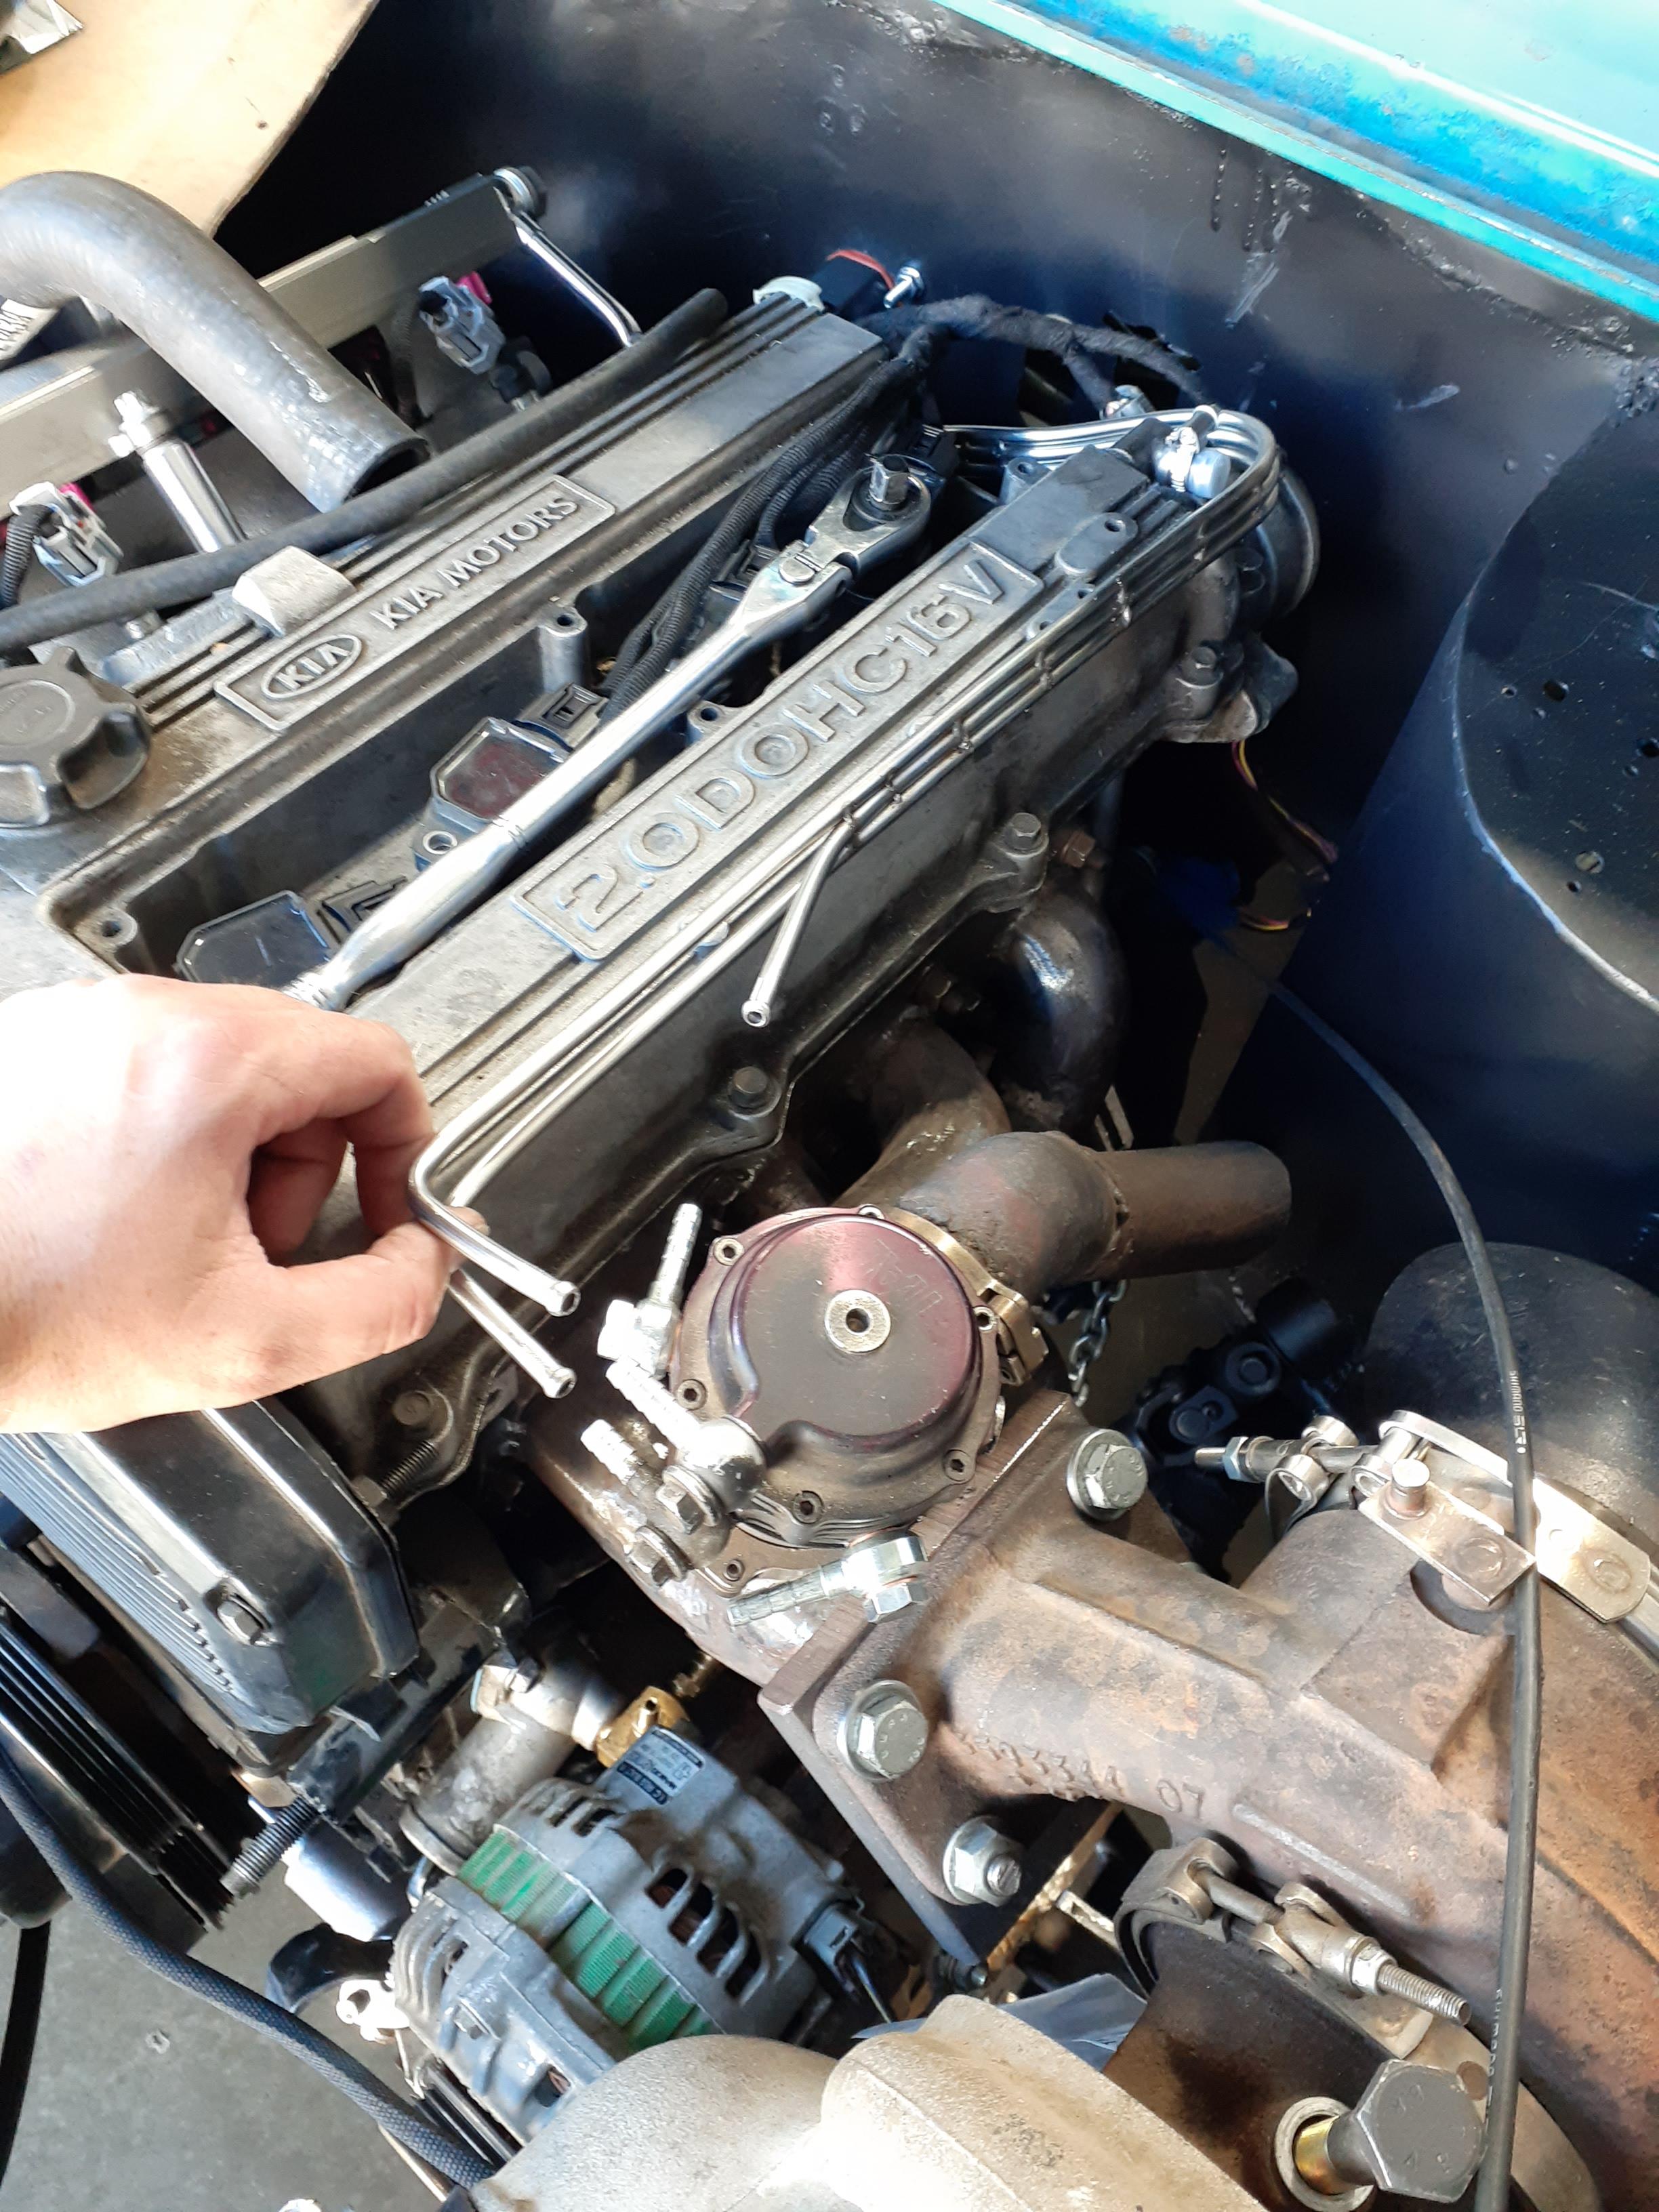
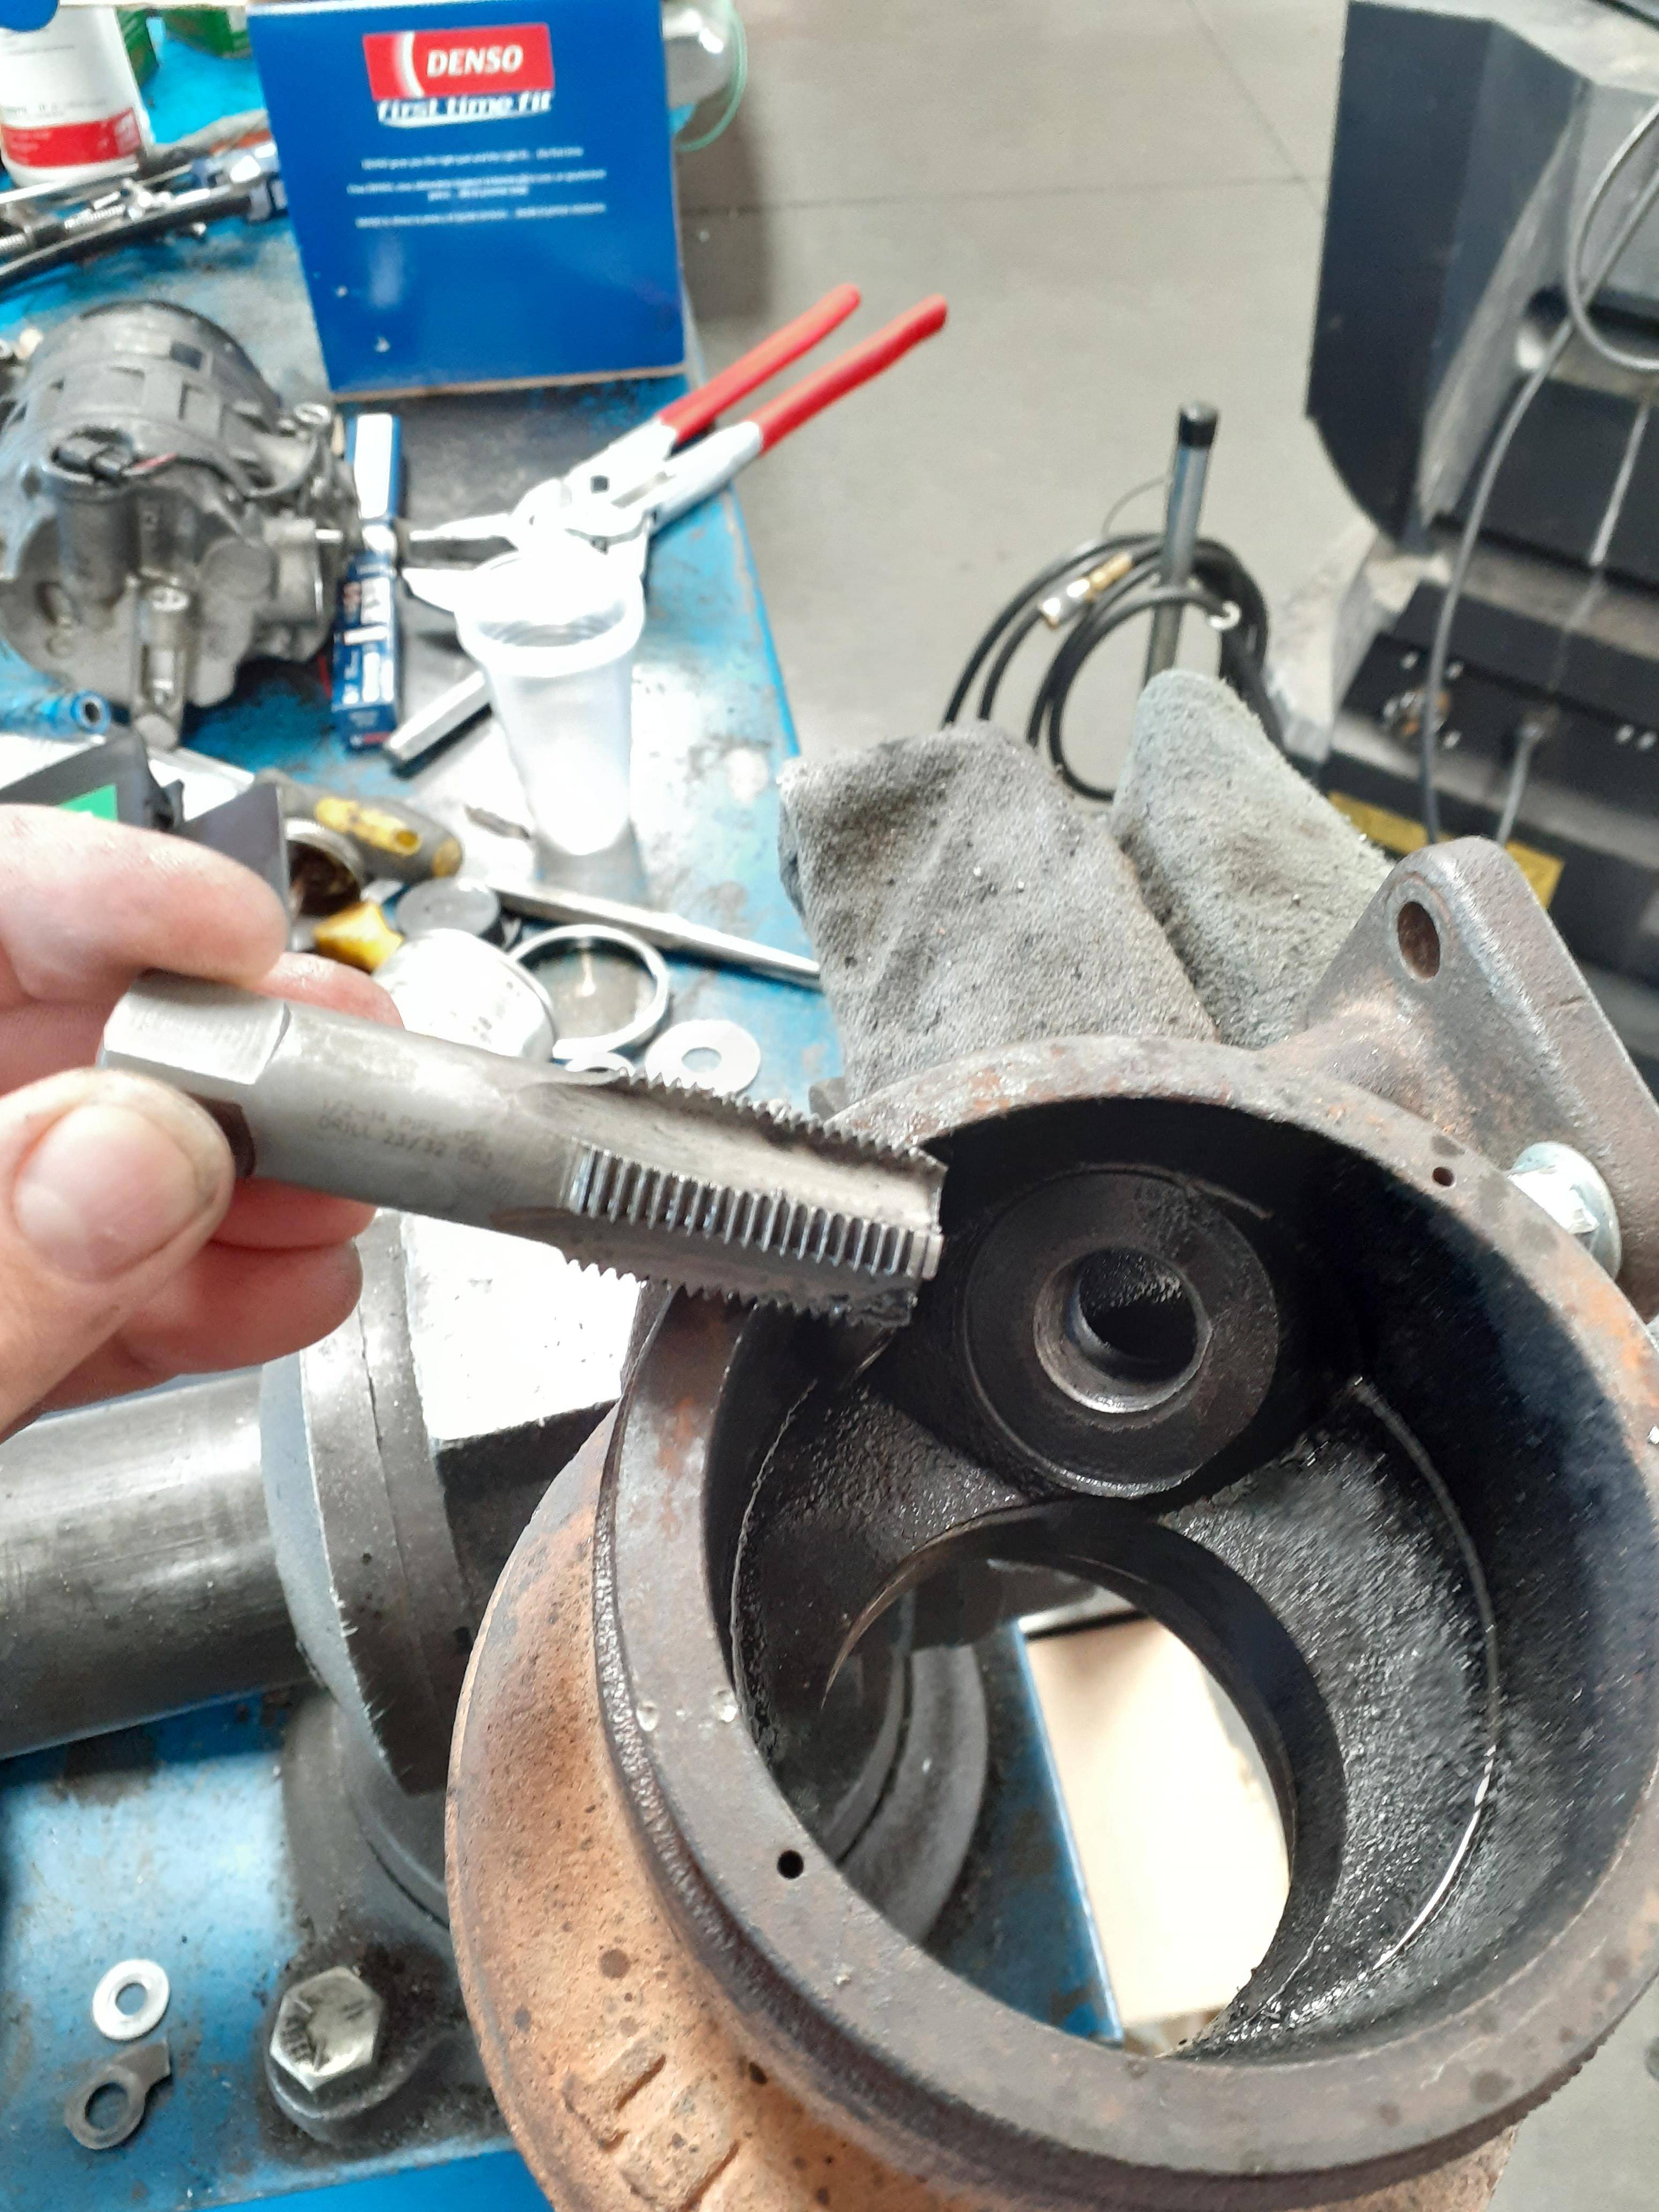
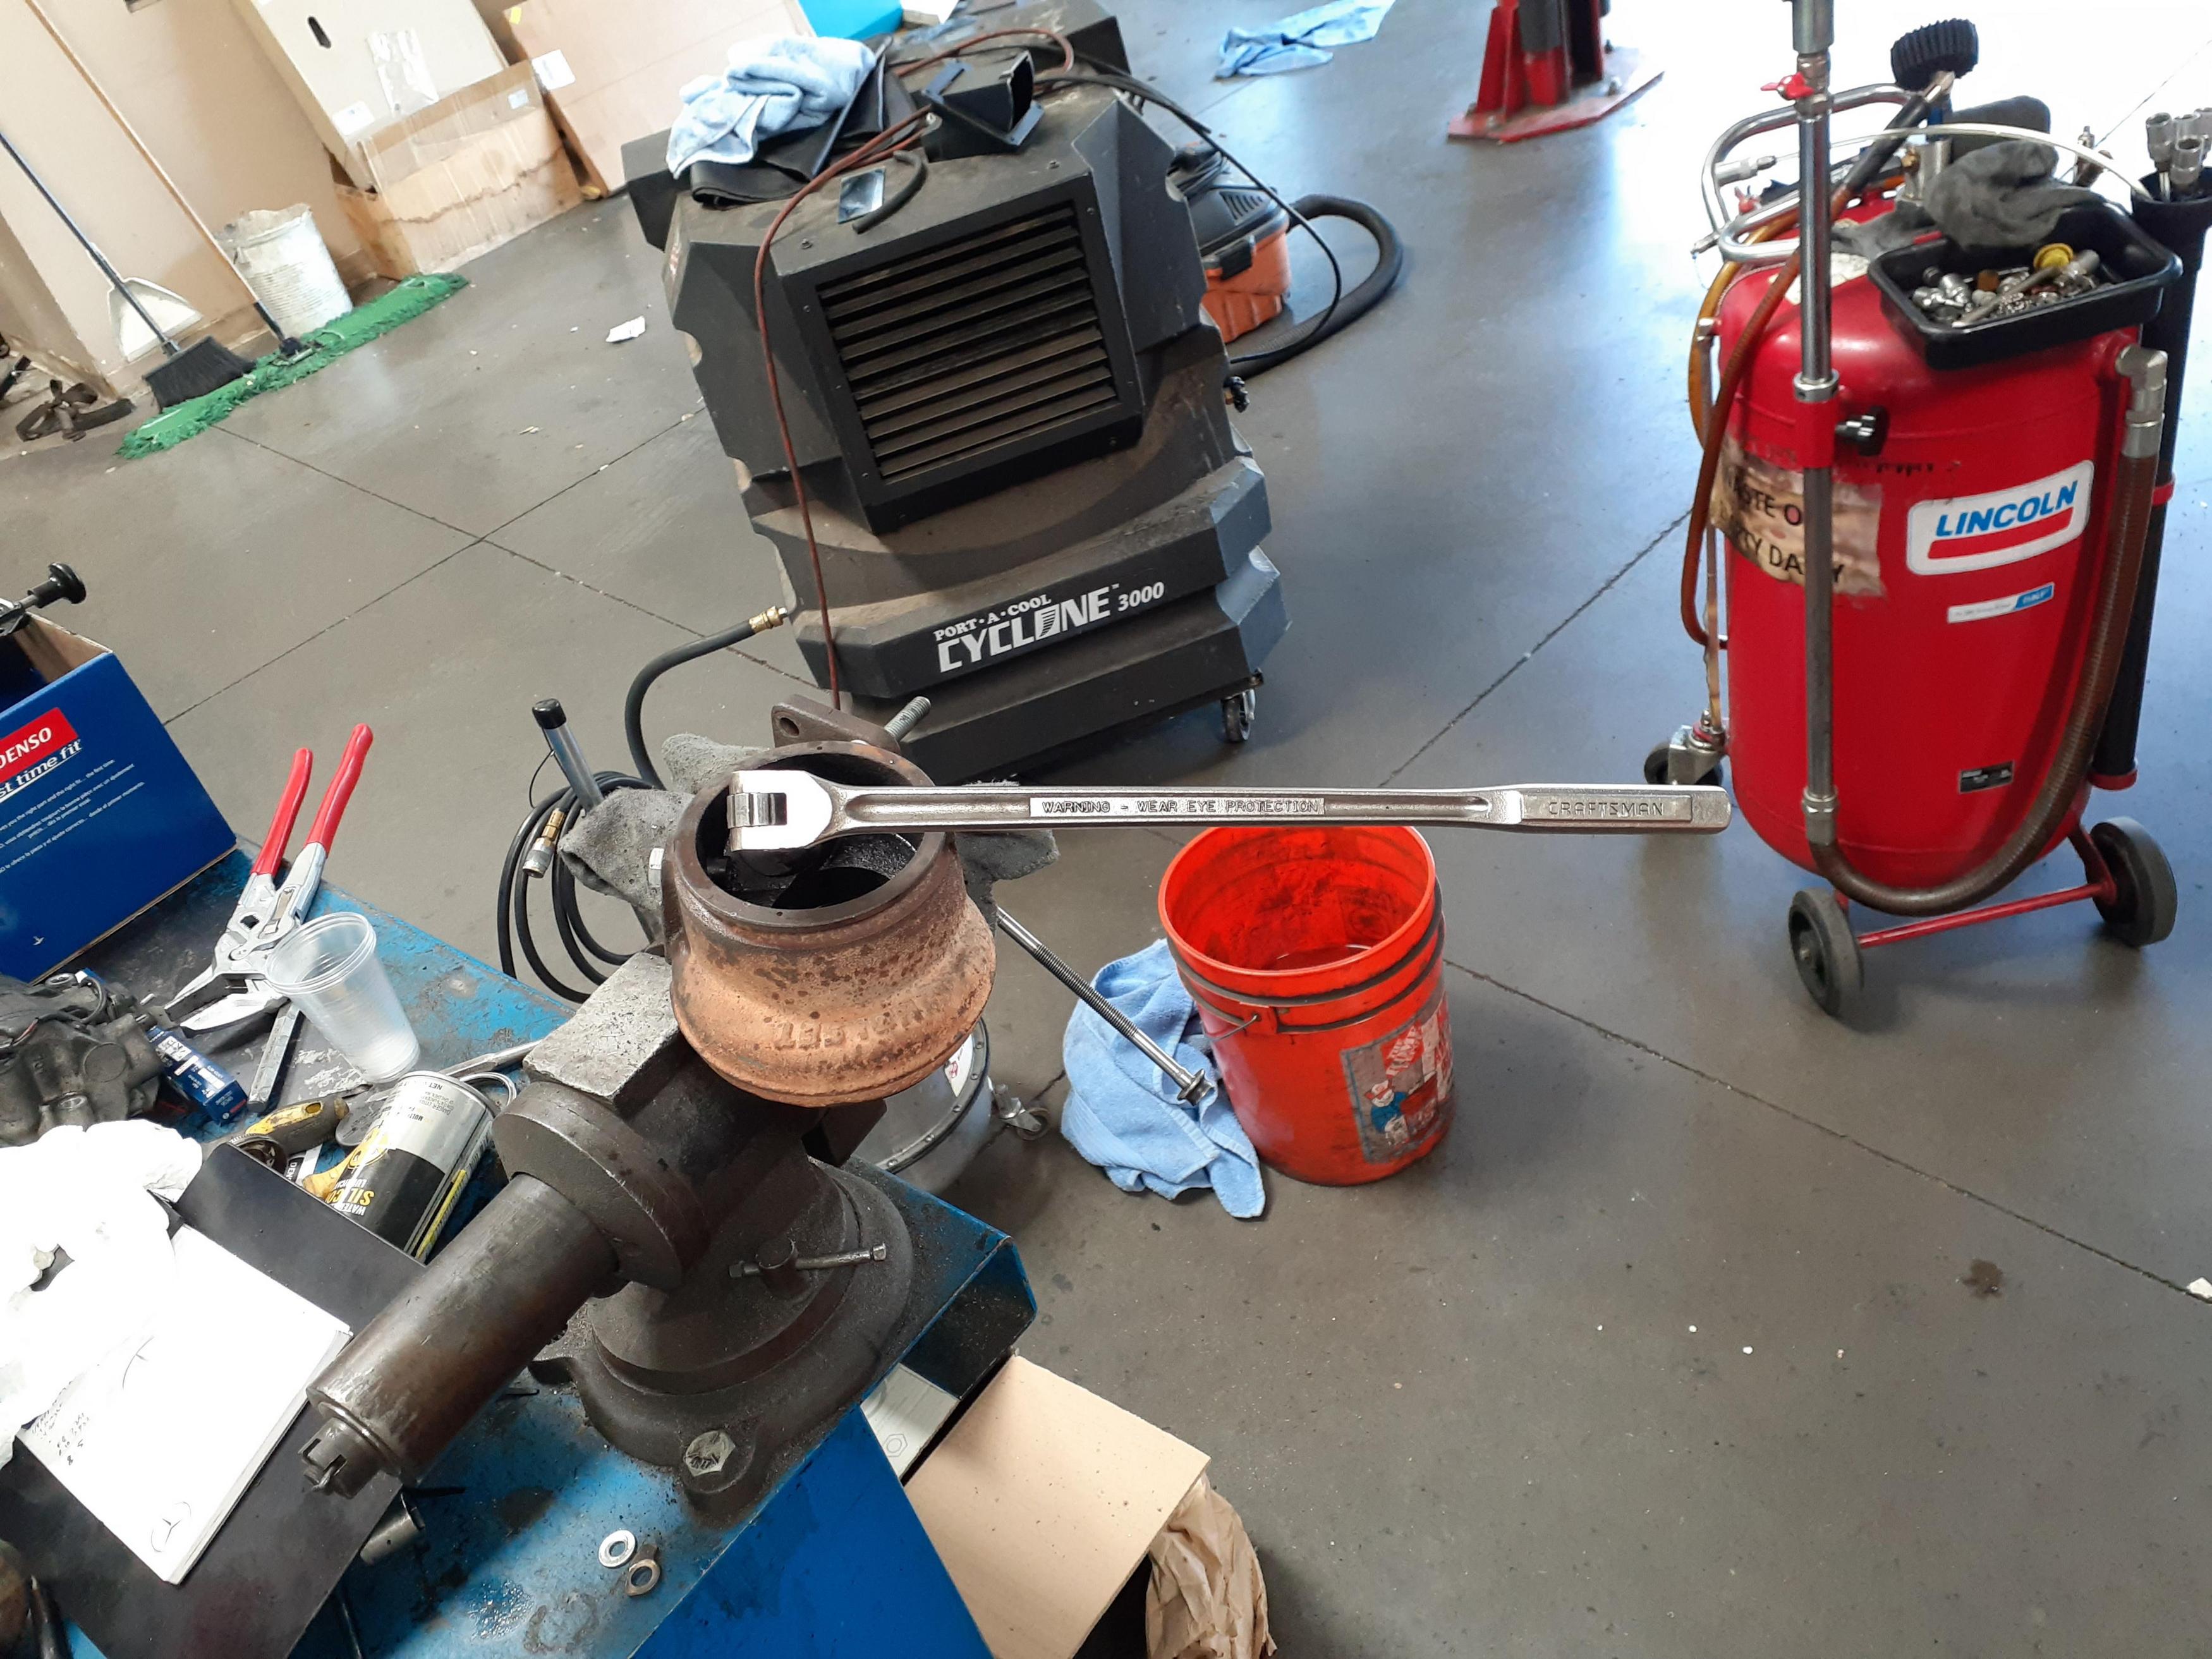
finished all the hose routing under the intake manifold, all wastegate boost/coolant lines are in their proper place, thermostat is installed, heater hose to the heater core is installed, the other one is in the process of being completed. the ront coil over mounts have been reinforced with more 1/4" plate. i pulled the hot side off of the turbo and sealed up the internal gate holes. A 1/2 NPT tap is just about perfect for the factory hole(i still drilled it out before tapping). this was the 3rd time that tap was used and it was still a huge pain in the ***. anything smaller than that 1/2" breaker bar wouldnt move it. Im still waiting on some hose fittings so i can run the oil pressure and drain lines to the turbo.
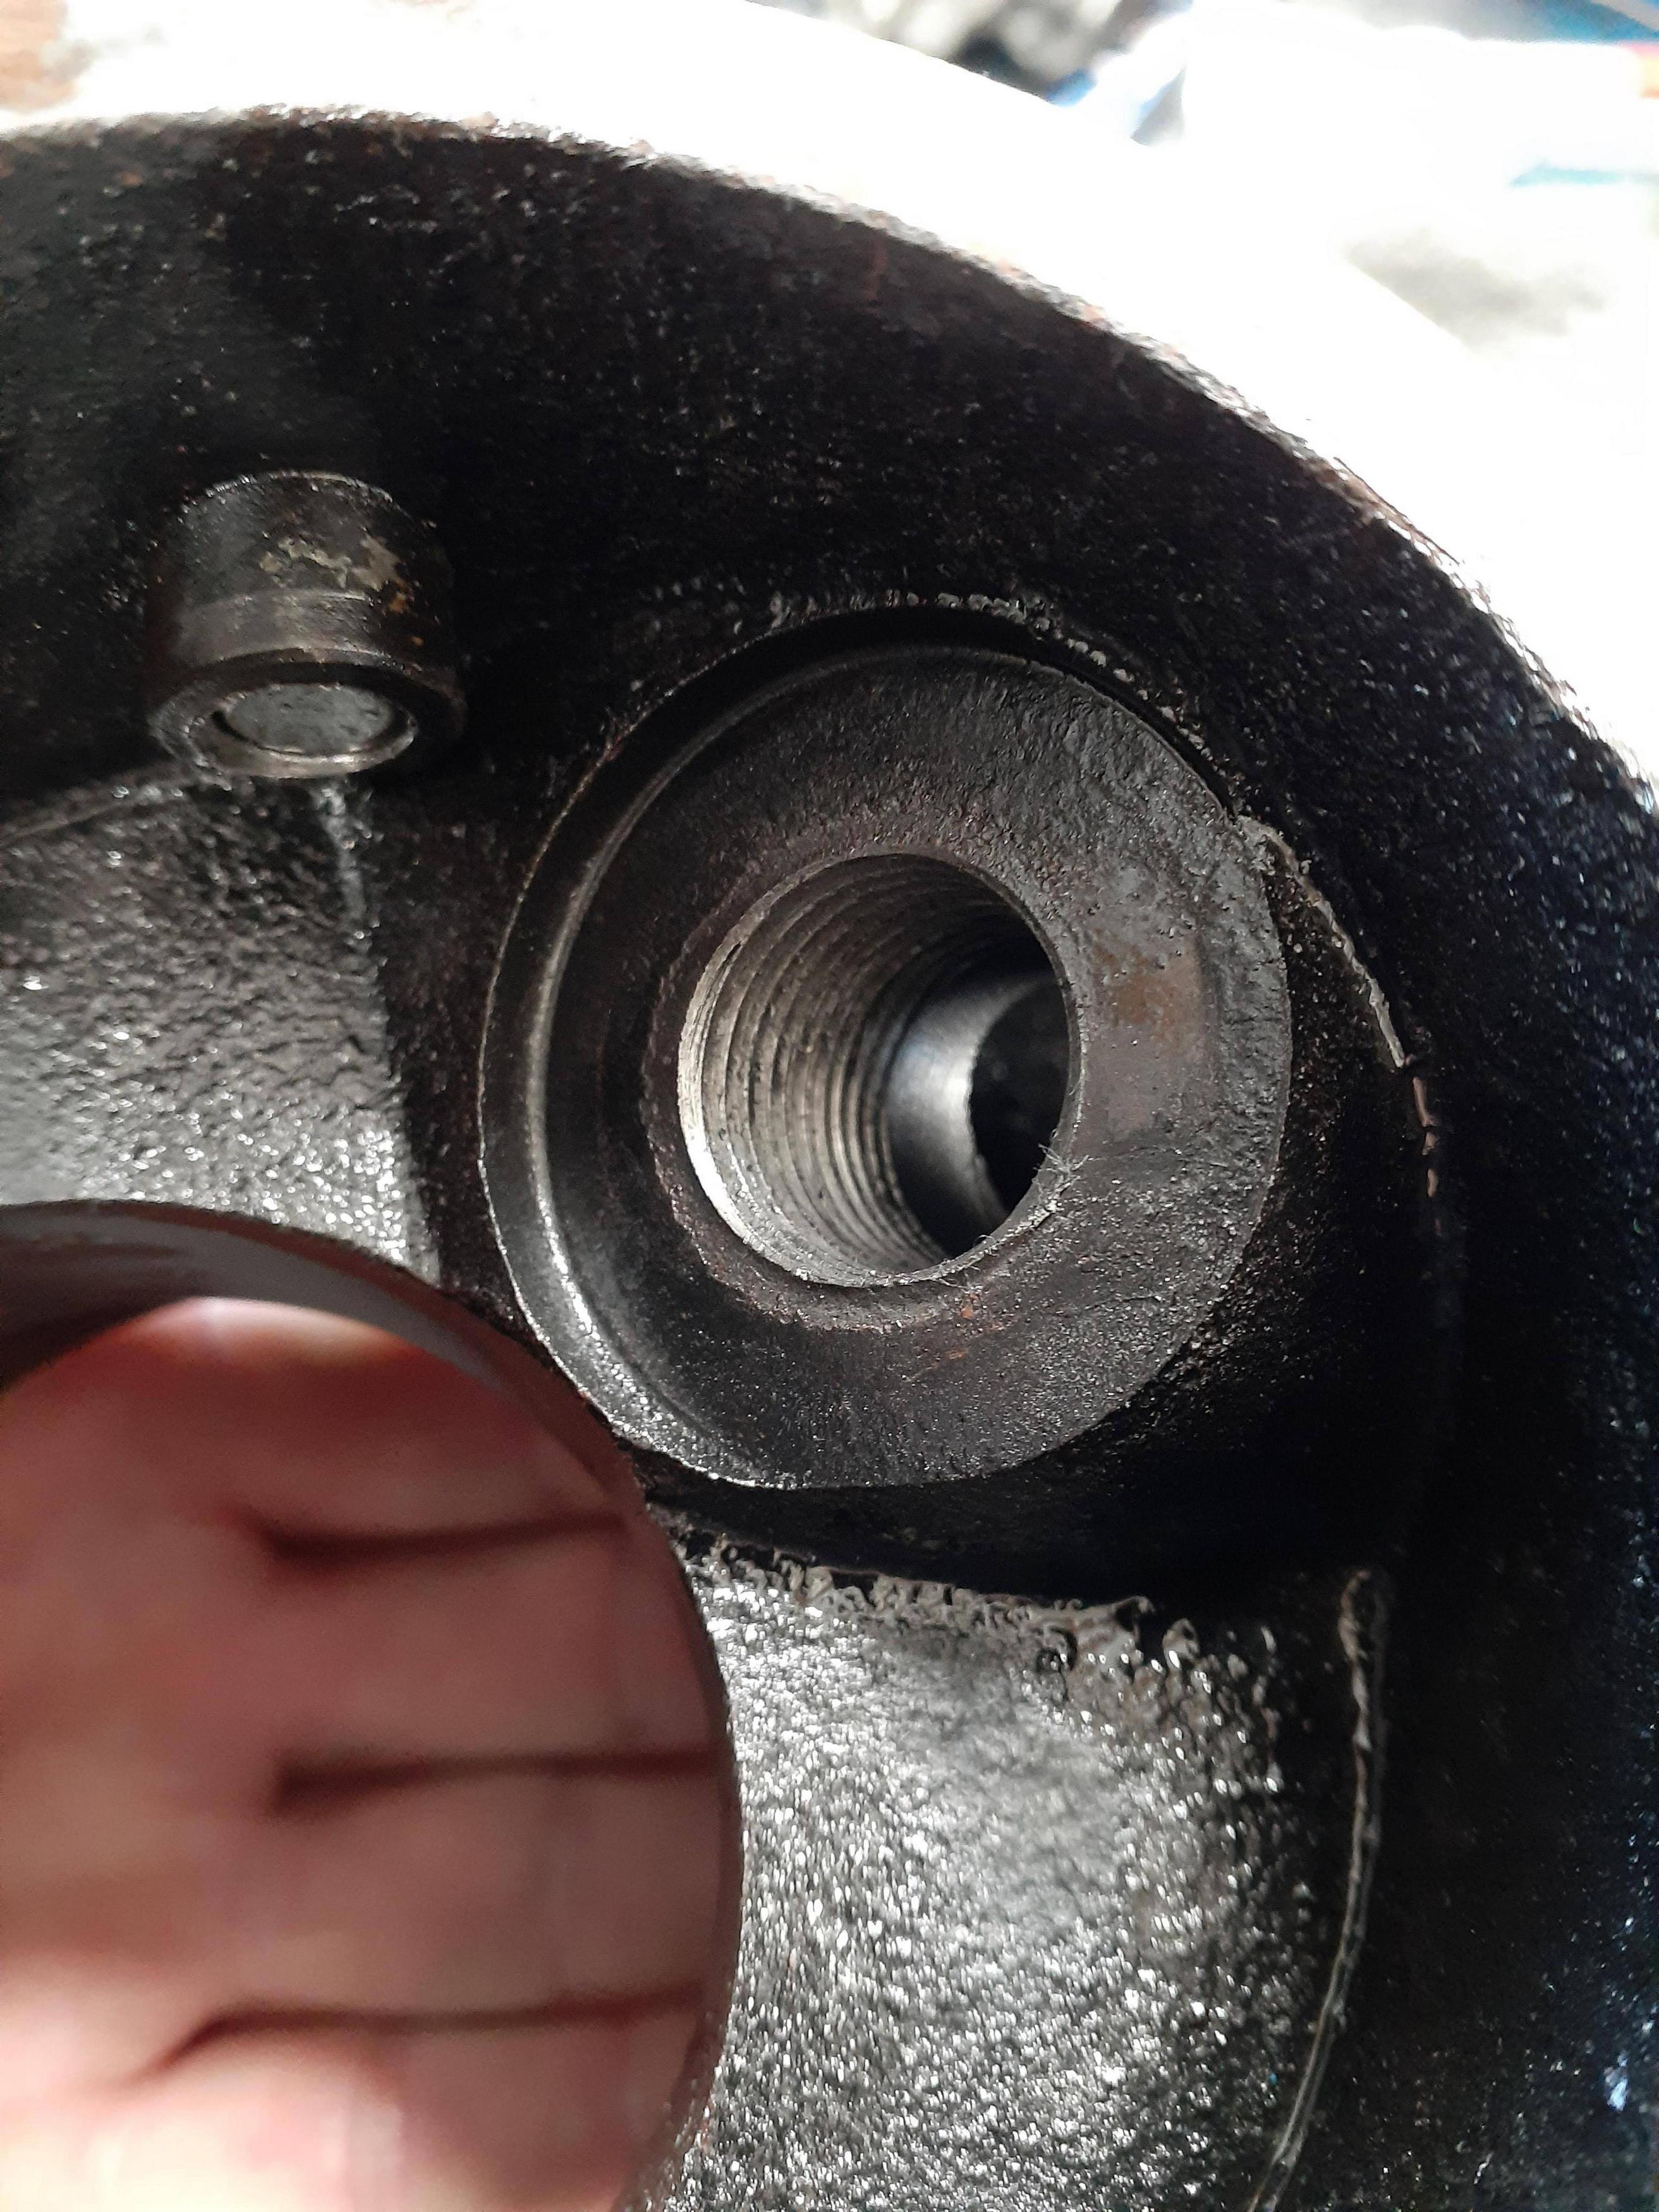
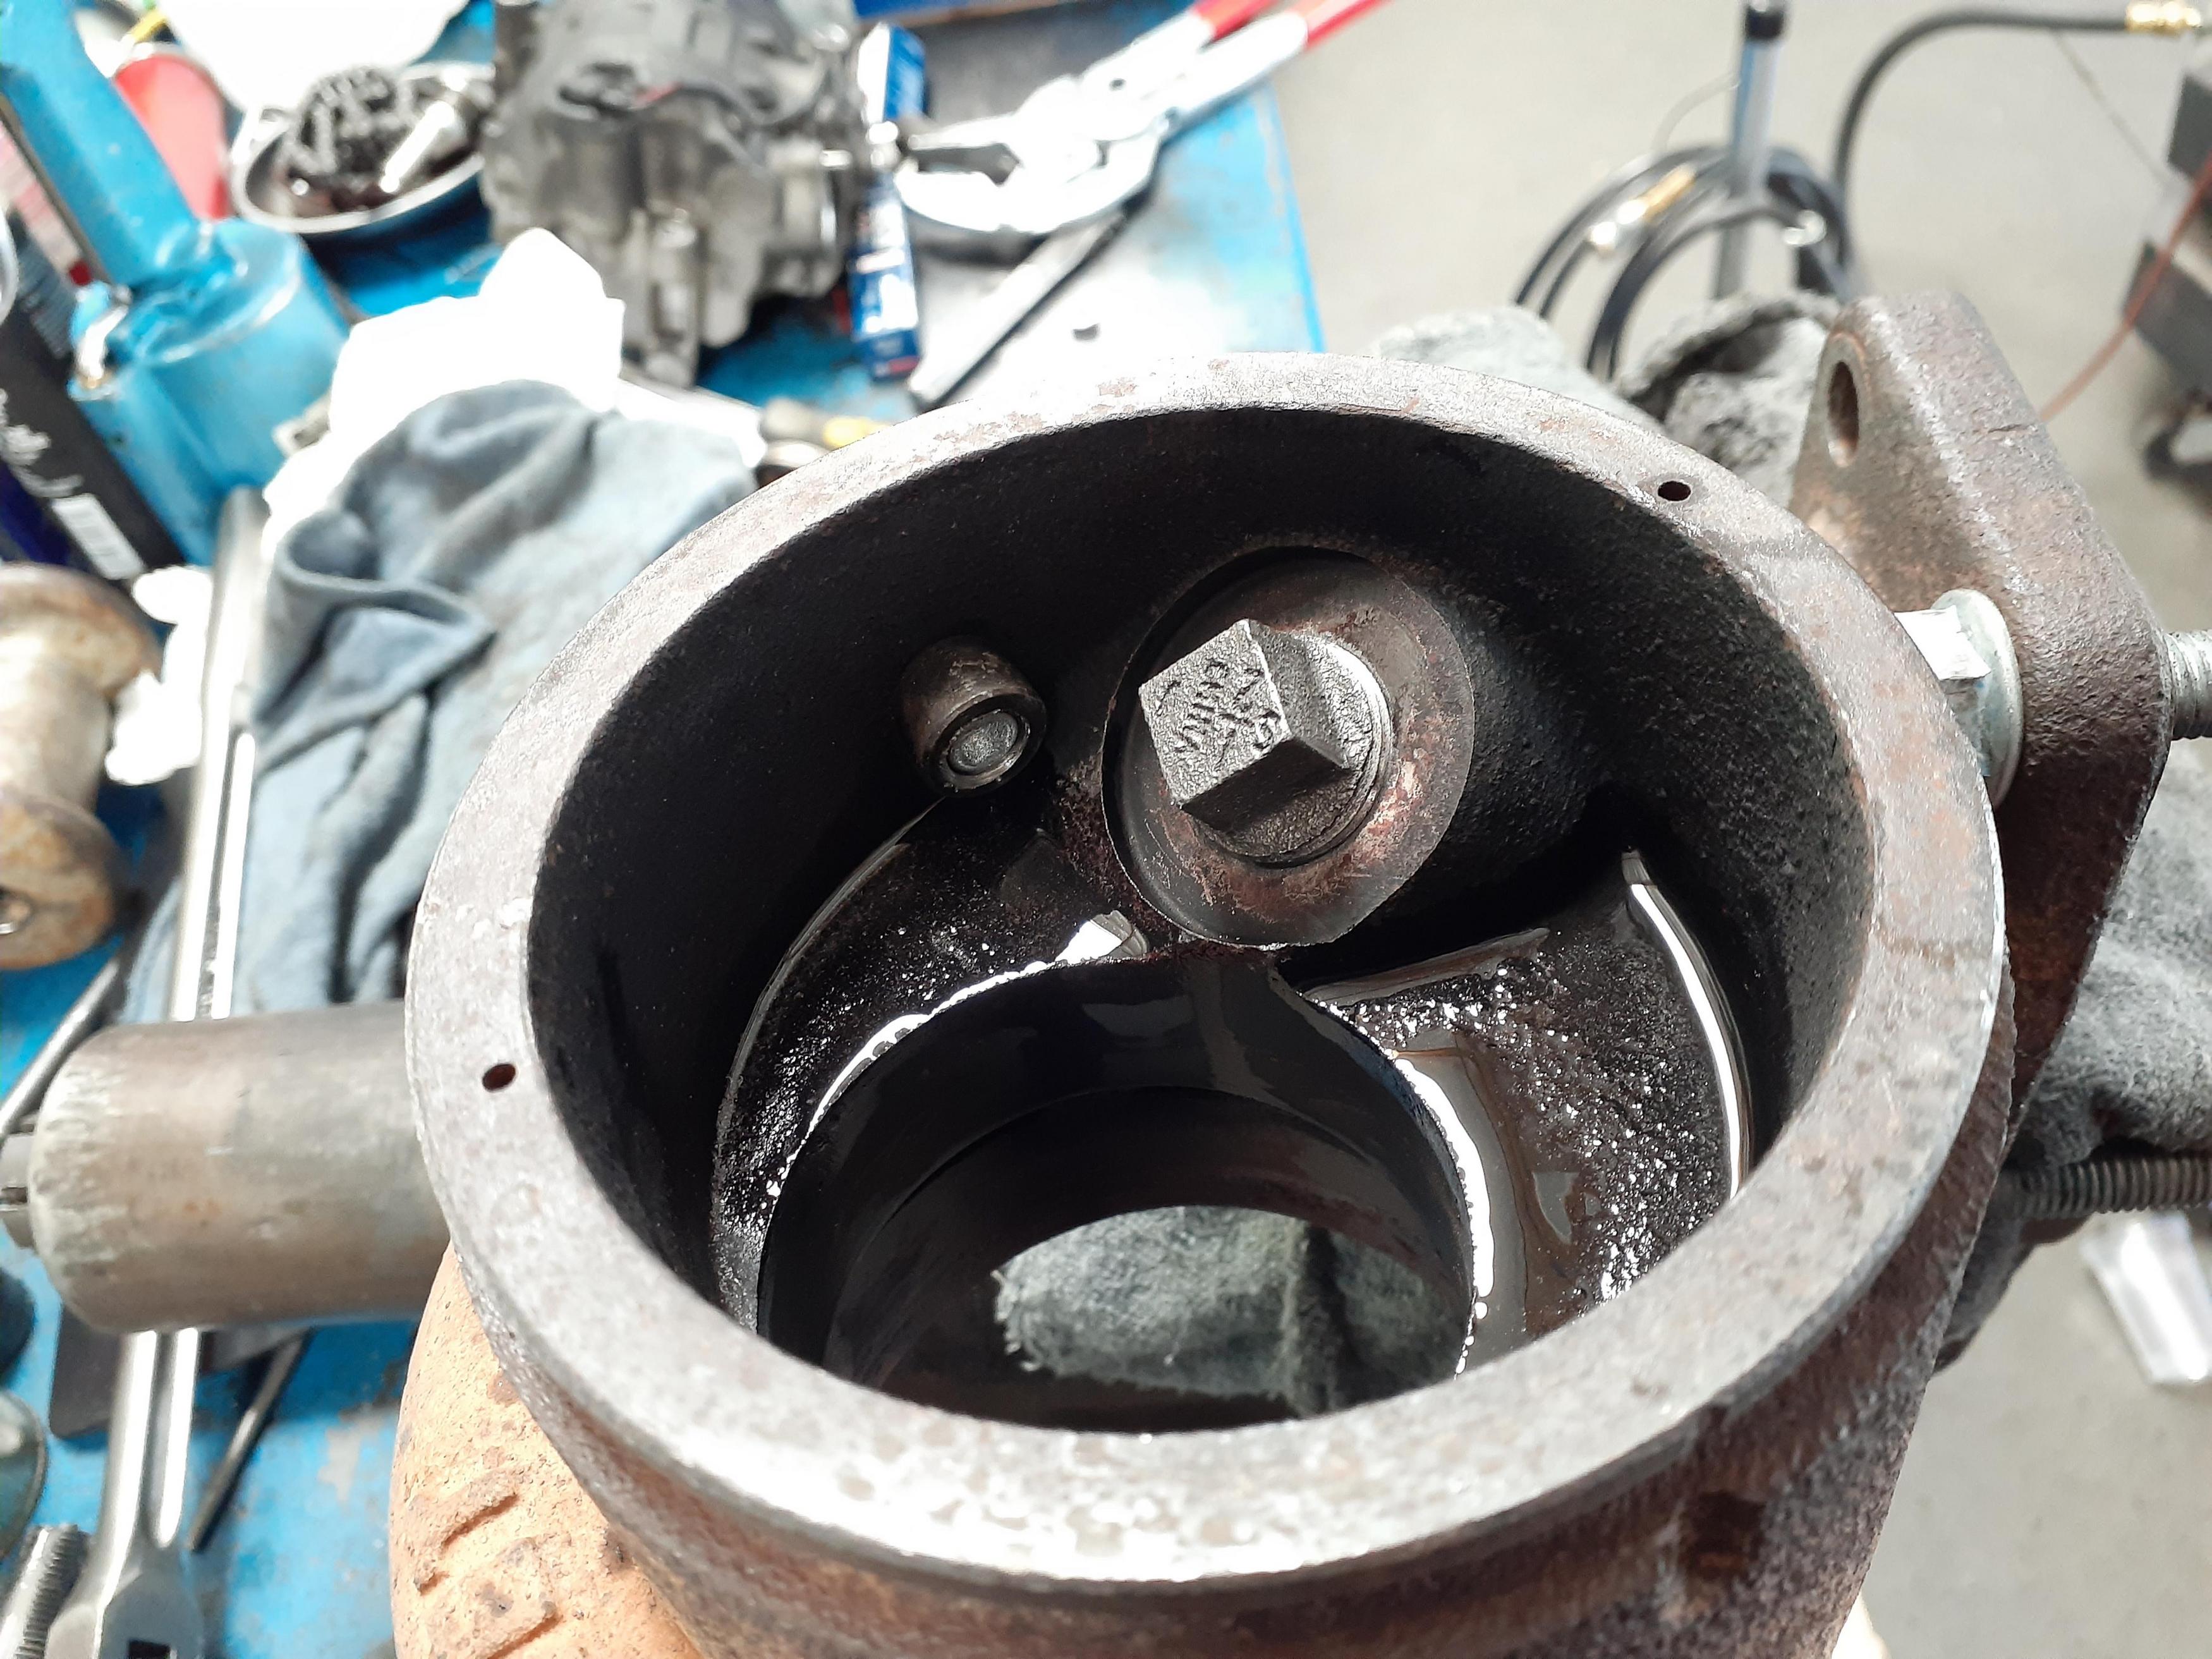
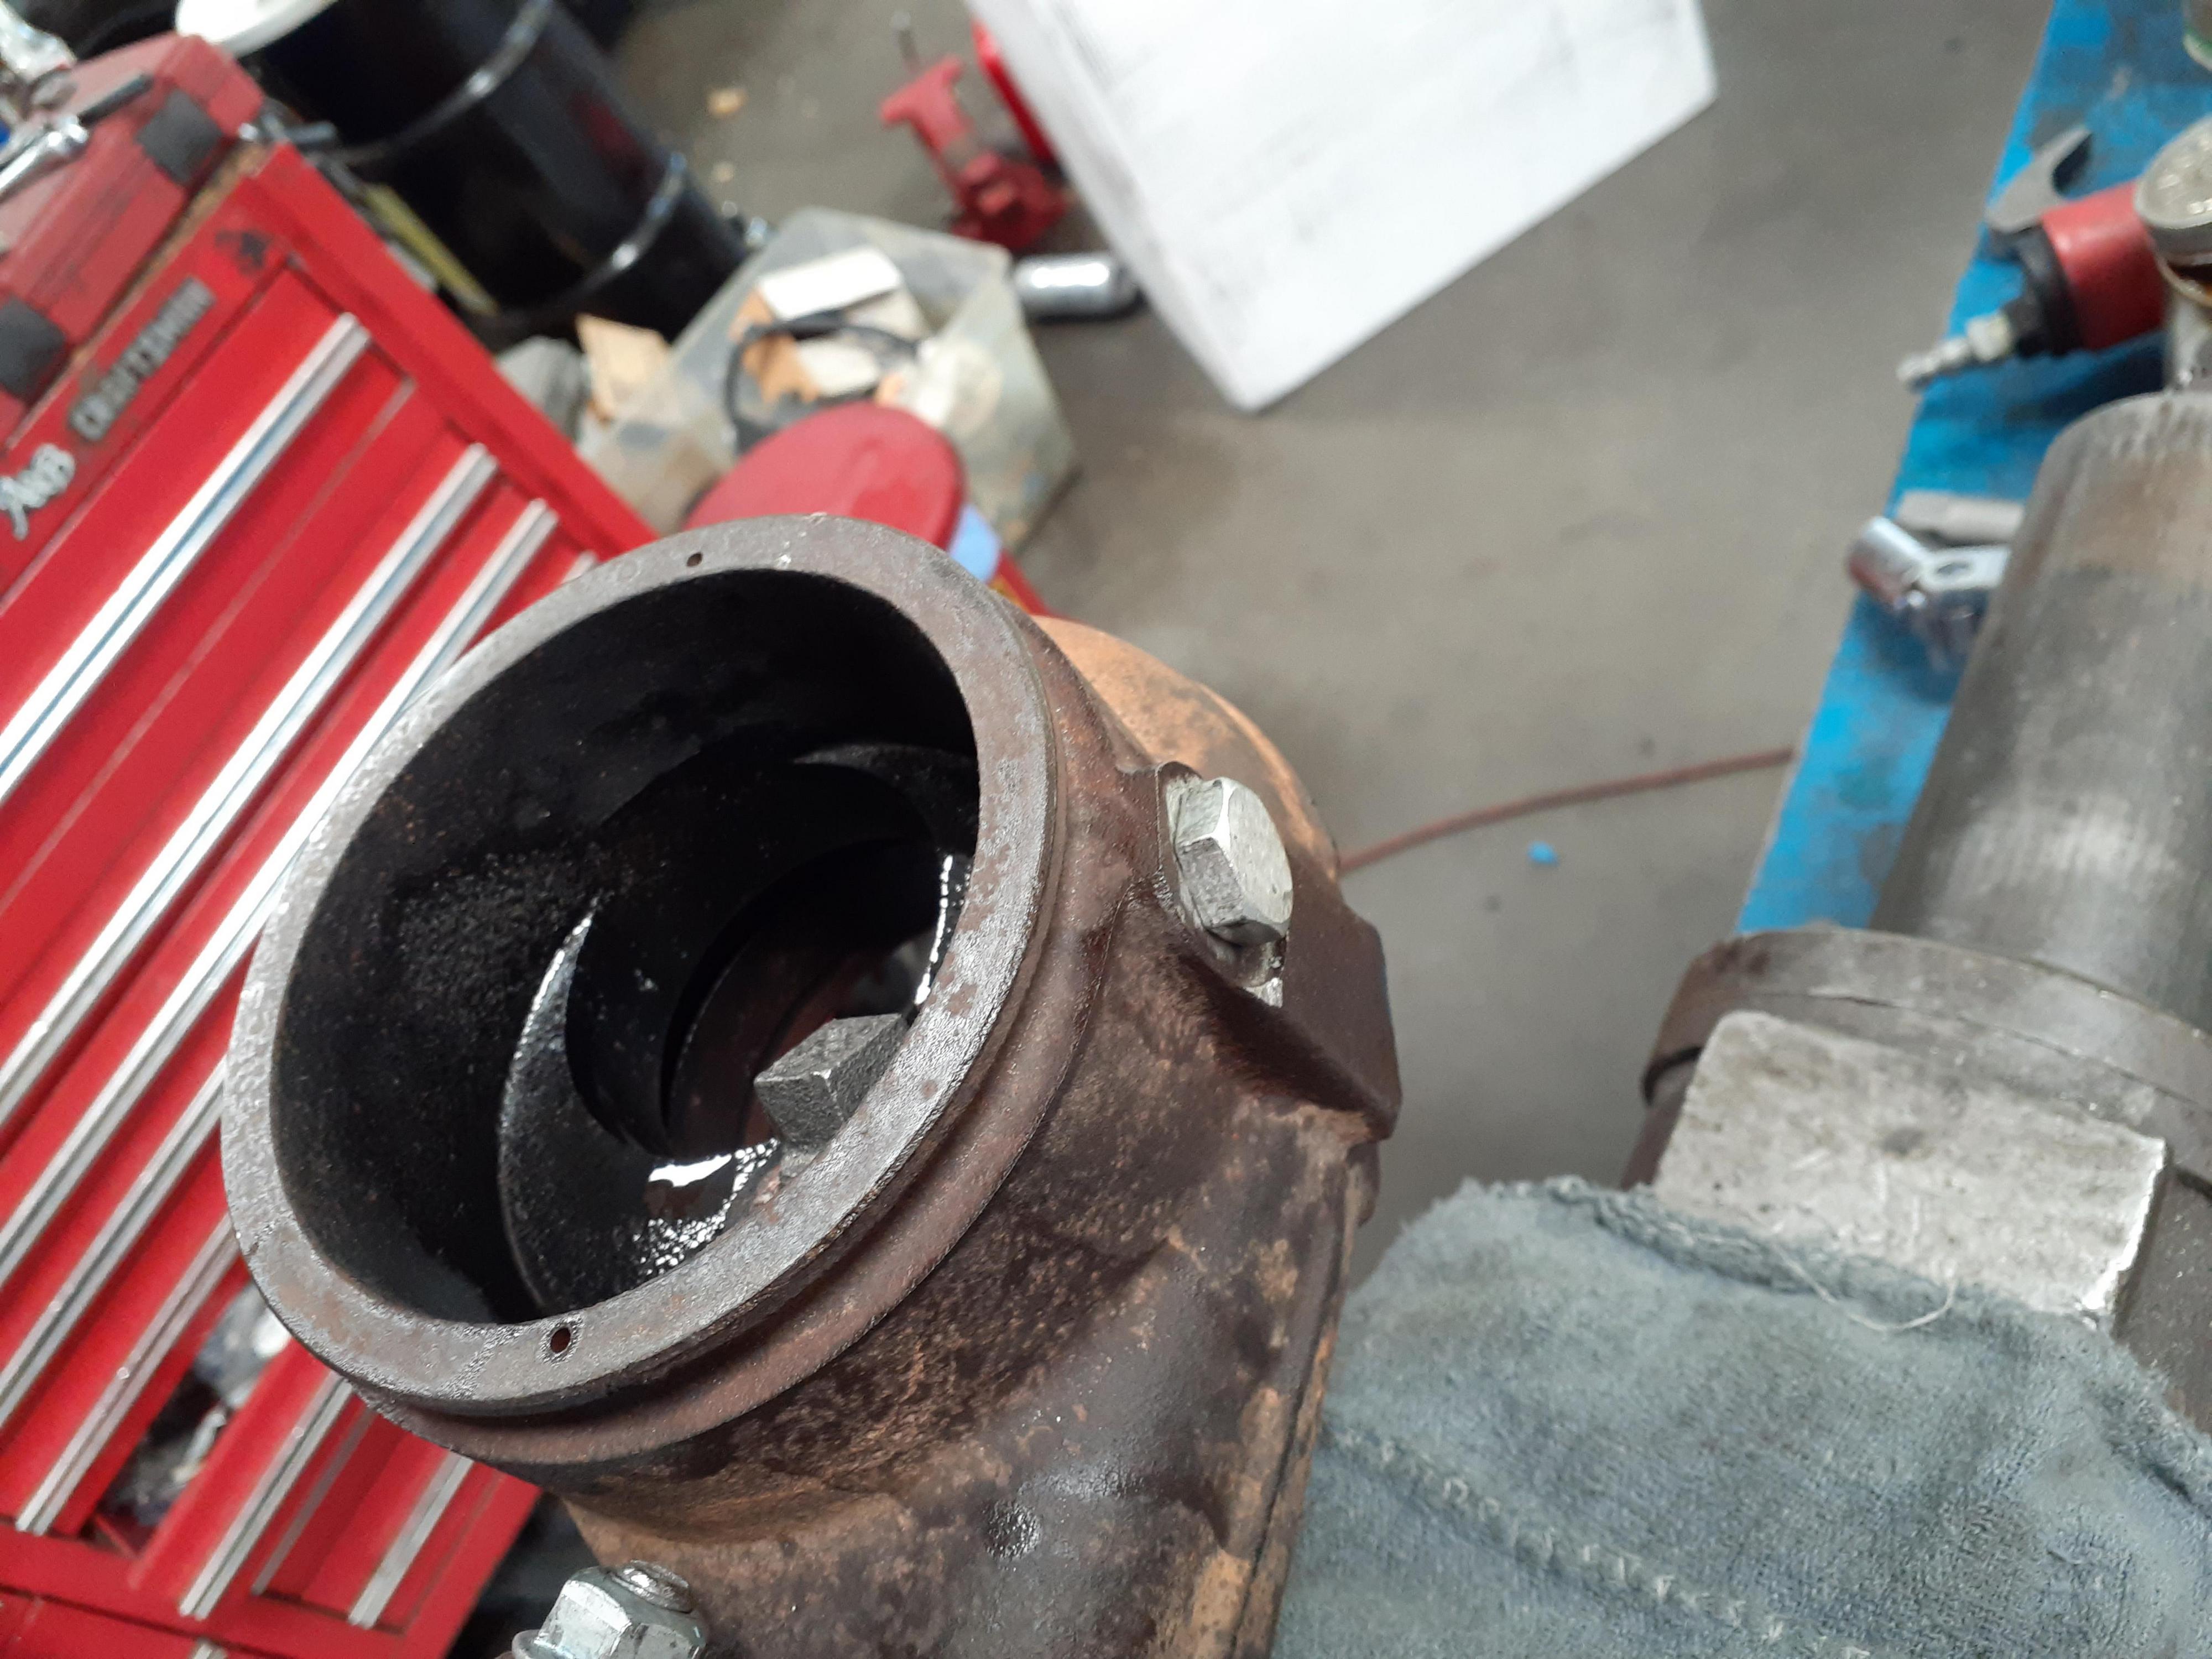
finished all the hose routing under the intake manifold, all wastegate boost/coolant lines are in their proper place, thermostat is installed, heater hose to the heater core is installed, the other one is in the process of being completed. the ront coil over mounts have been reinforced with more 1/4" plate. i pulled the hot side off of the turbo and sealed up the internal gate holes. A 1/2 NPT tap is just about perfect for the factory hole(i still drilled it out before tapping). this was the 3rd time that tap was used and it was still a huge pain in the ***. anything smaller than that 1/2" breaker bar wouldnt move it. Im still waiting on some hose fittings so i can run the oil pressure and drain lines to the turbo.
Reply
1
1
08-19-2020, 09:34 PM
#155
Senior Member
Thread Starter
Join Date: Jan 2011
Location: sacramento ,ca
Posts: 563
Total Cats: 160
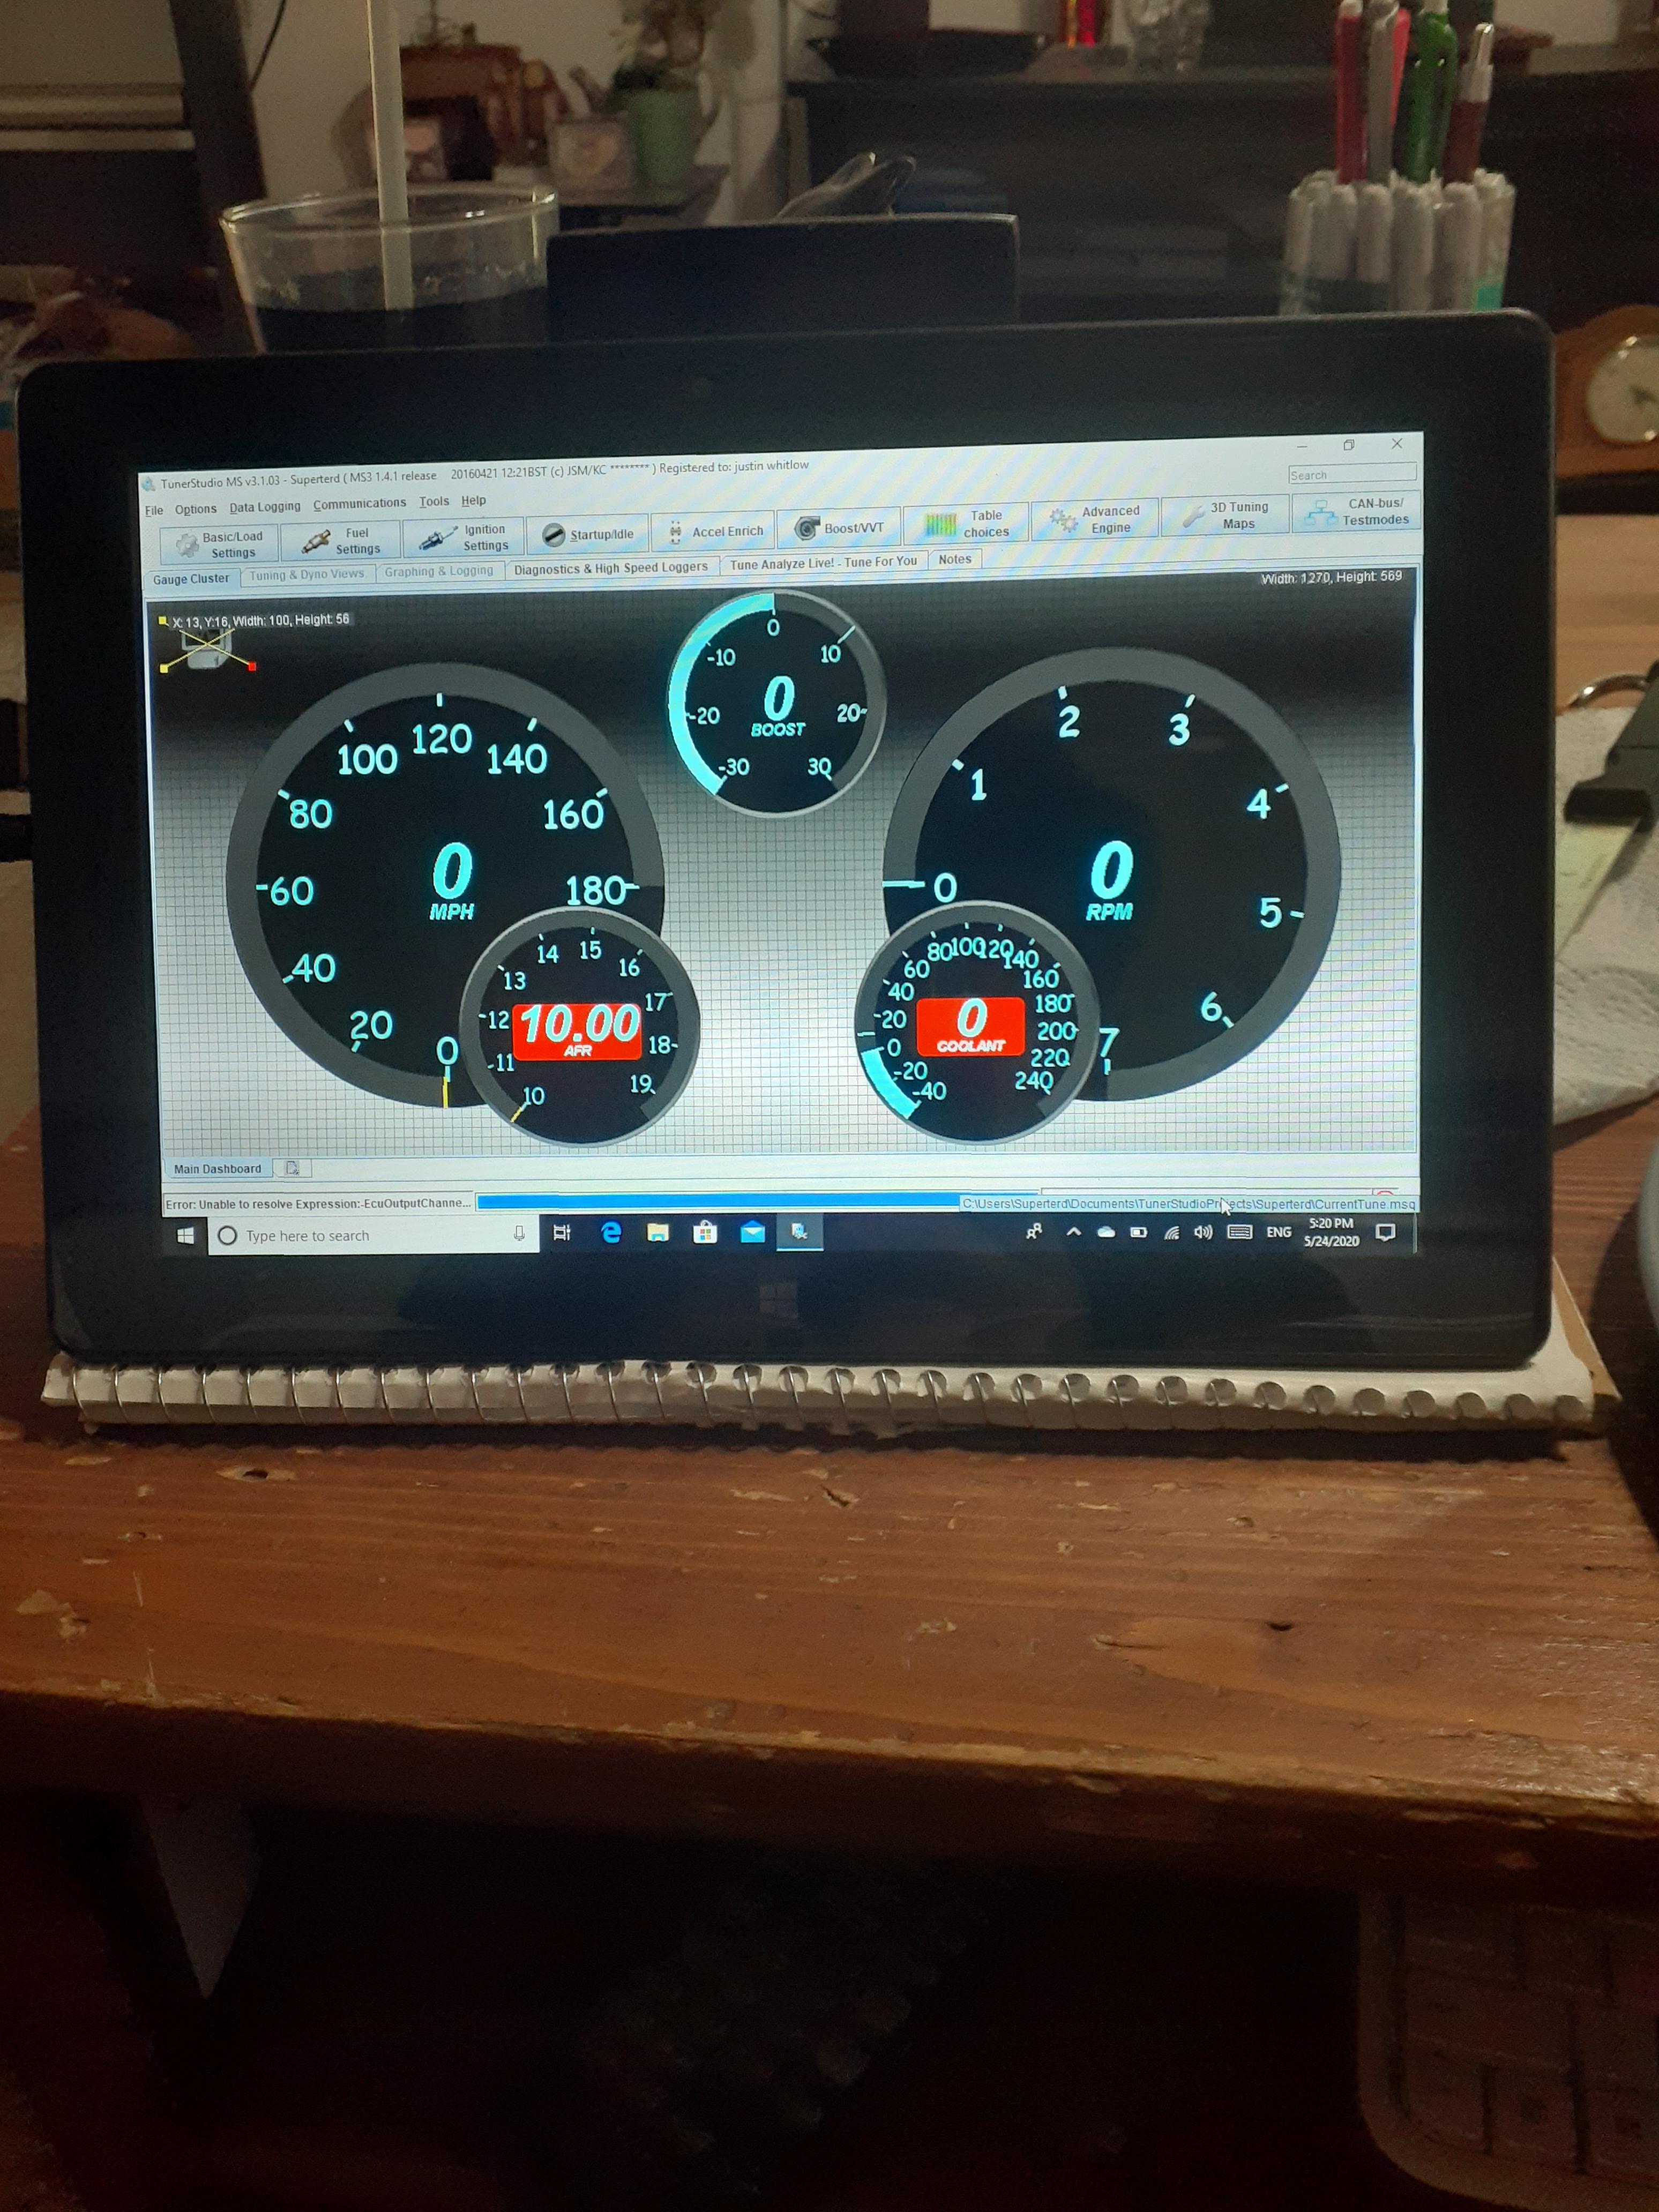
It started today! Still alot more to do before driving and tuning but its closer! Thanks 18psi for pointing out my messed up trigger settings, one screenshot and it fired up!
Reply
2
2
08-23-2020, 06:35 PM
#156
Senior Member
Thread Starter
Join Date: Jan 2011
Location: sacramento ,ca
Posts: 563
Total Cats: 160
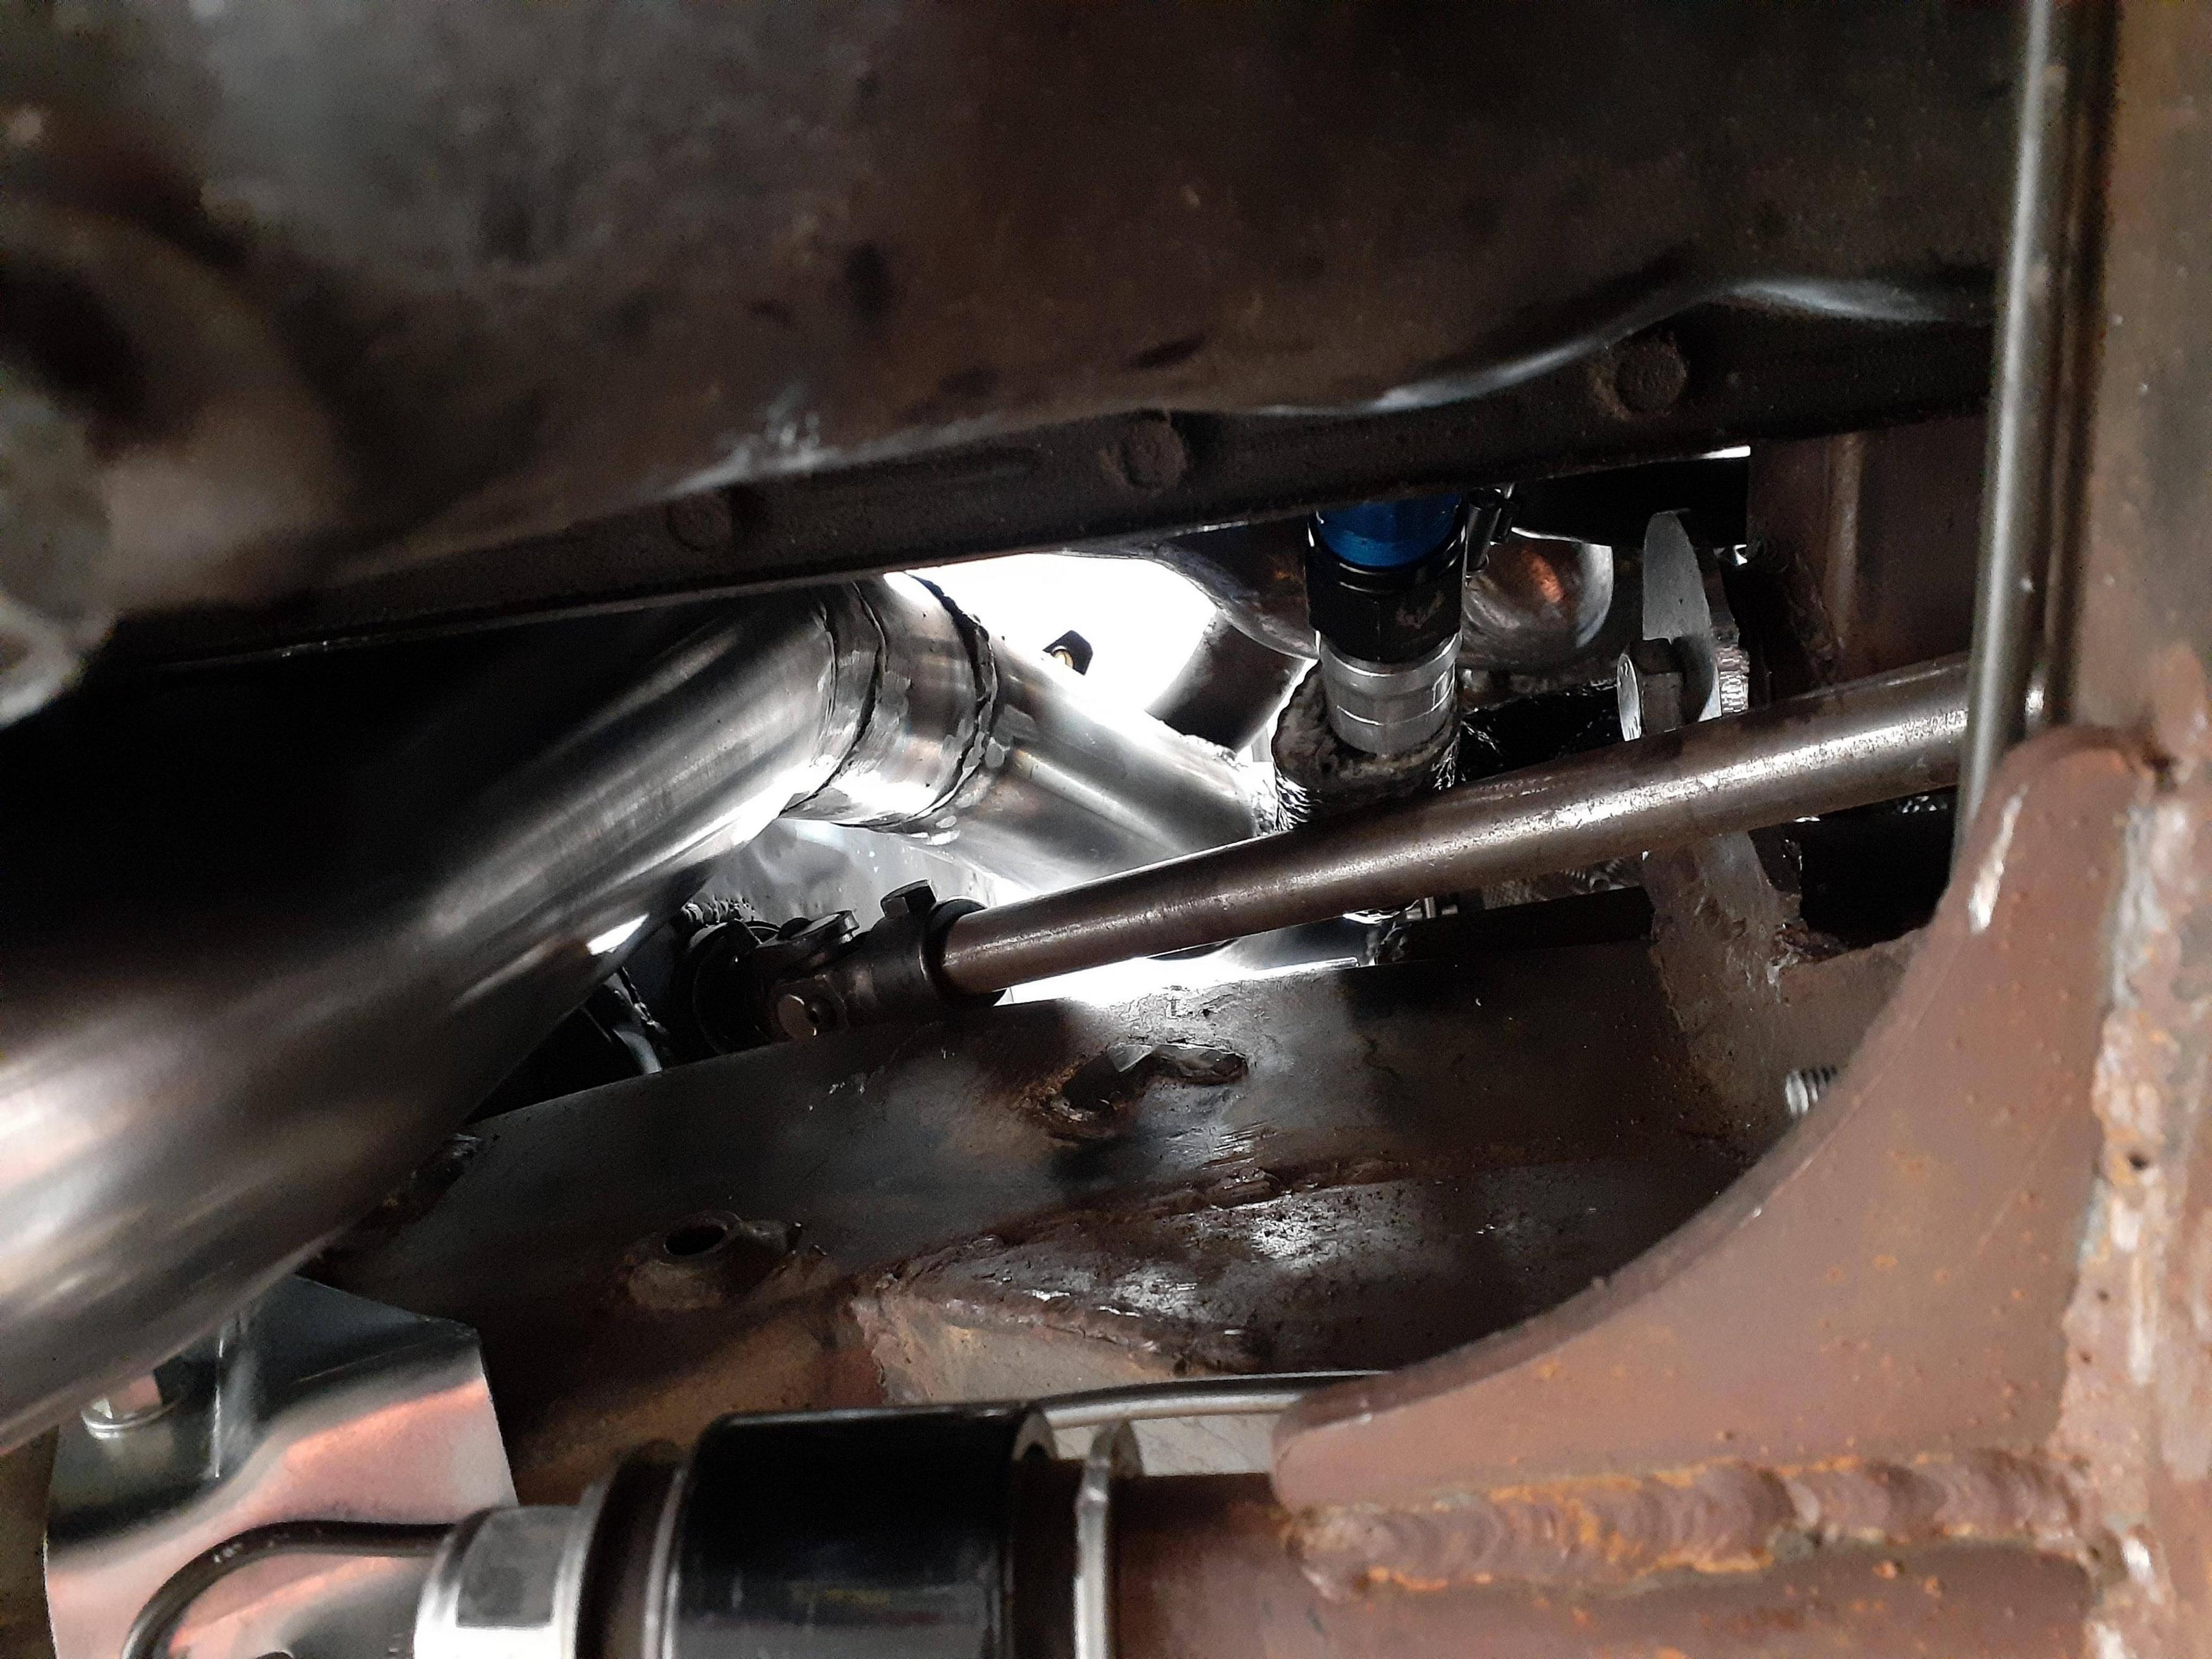
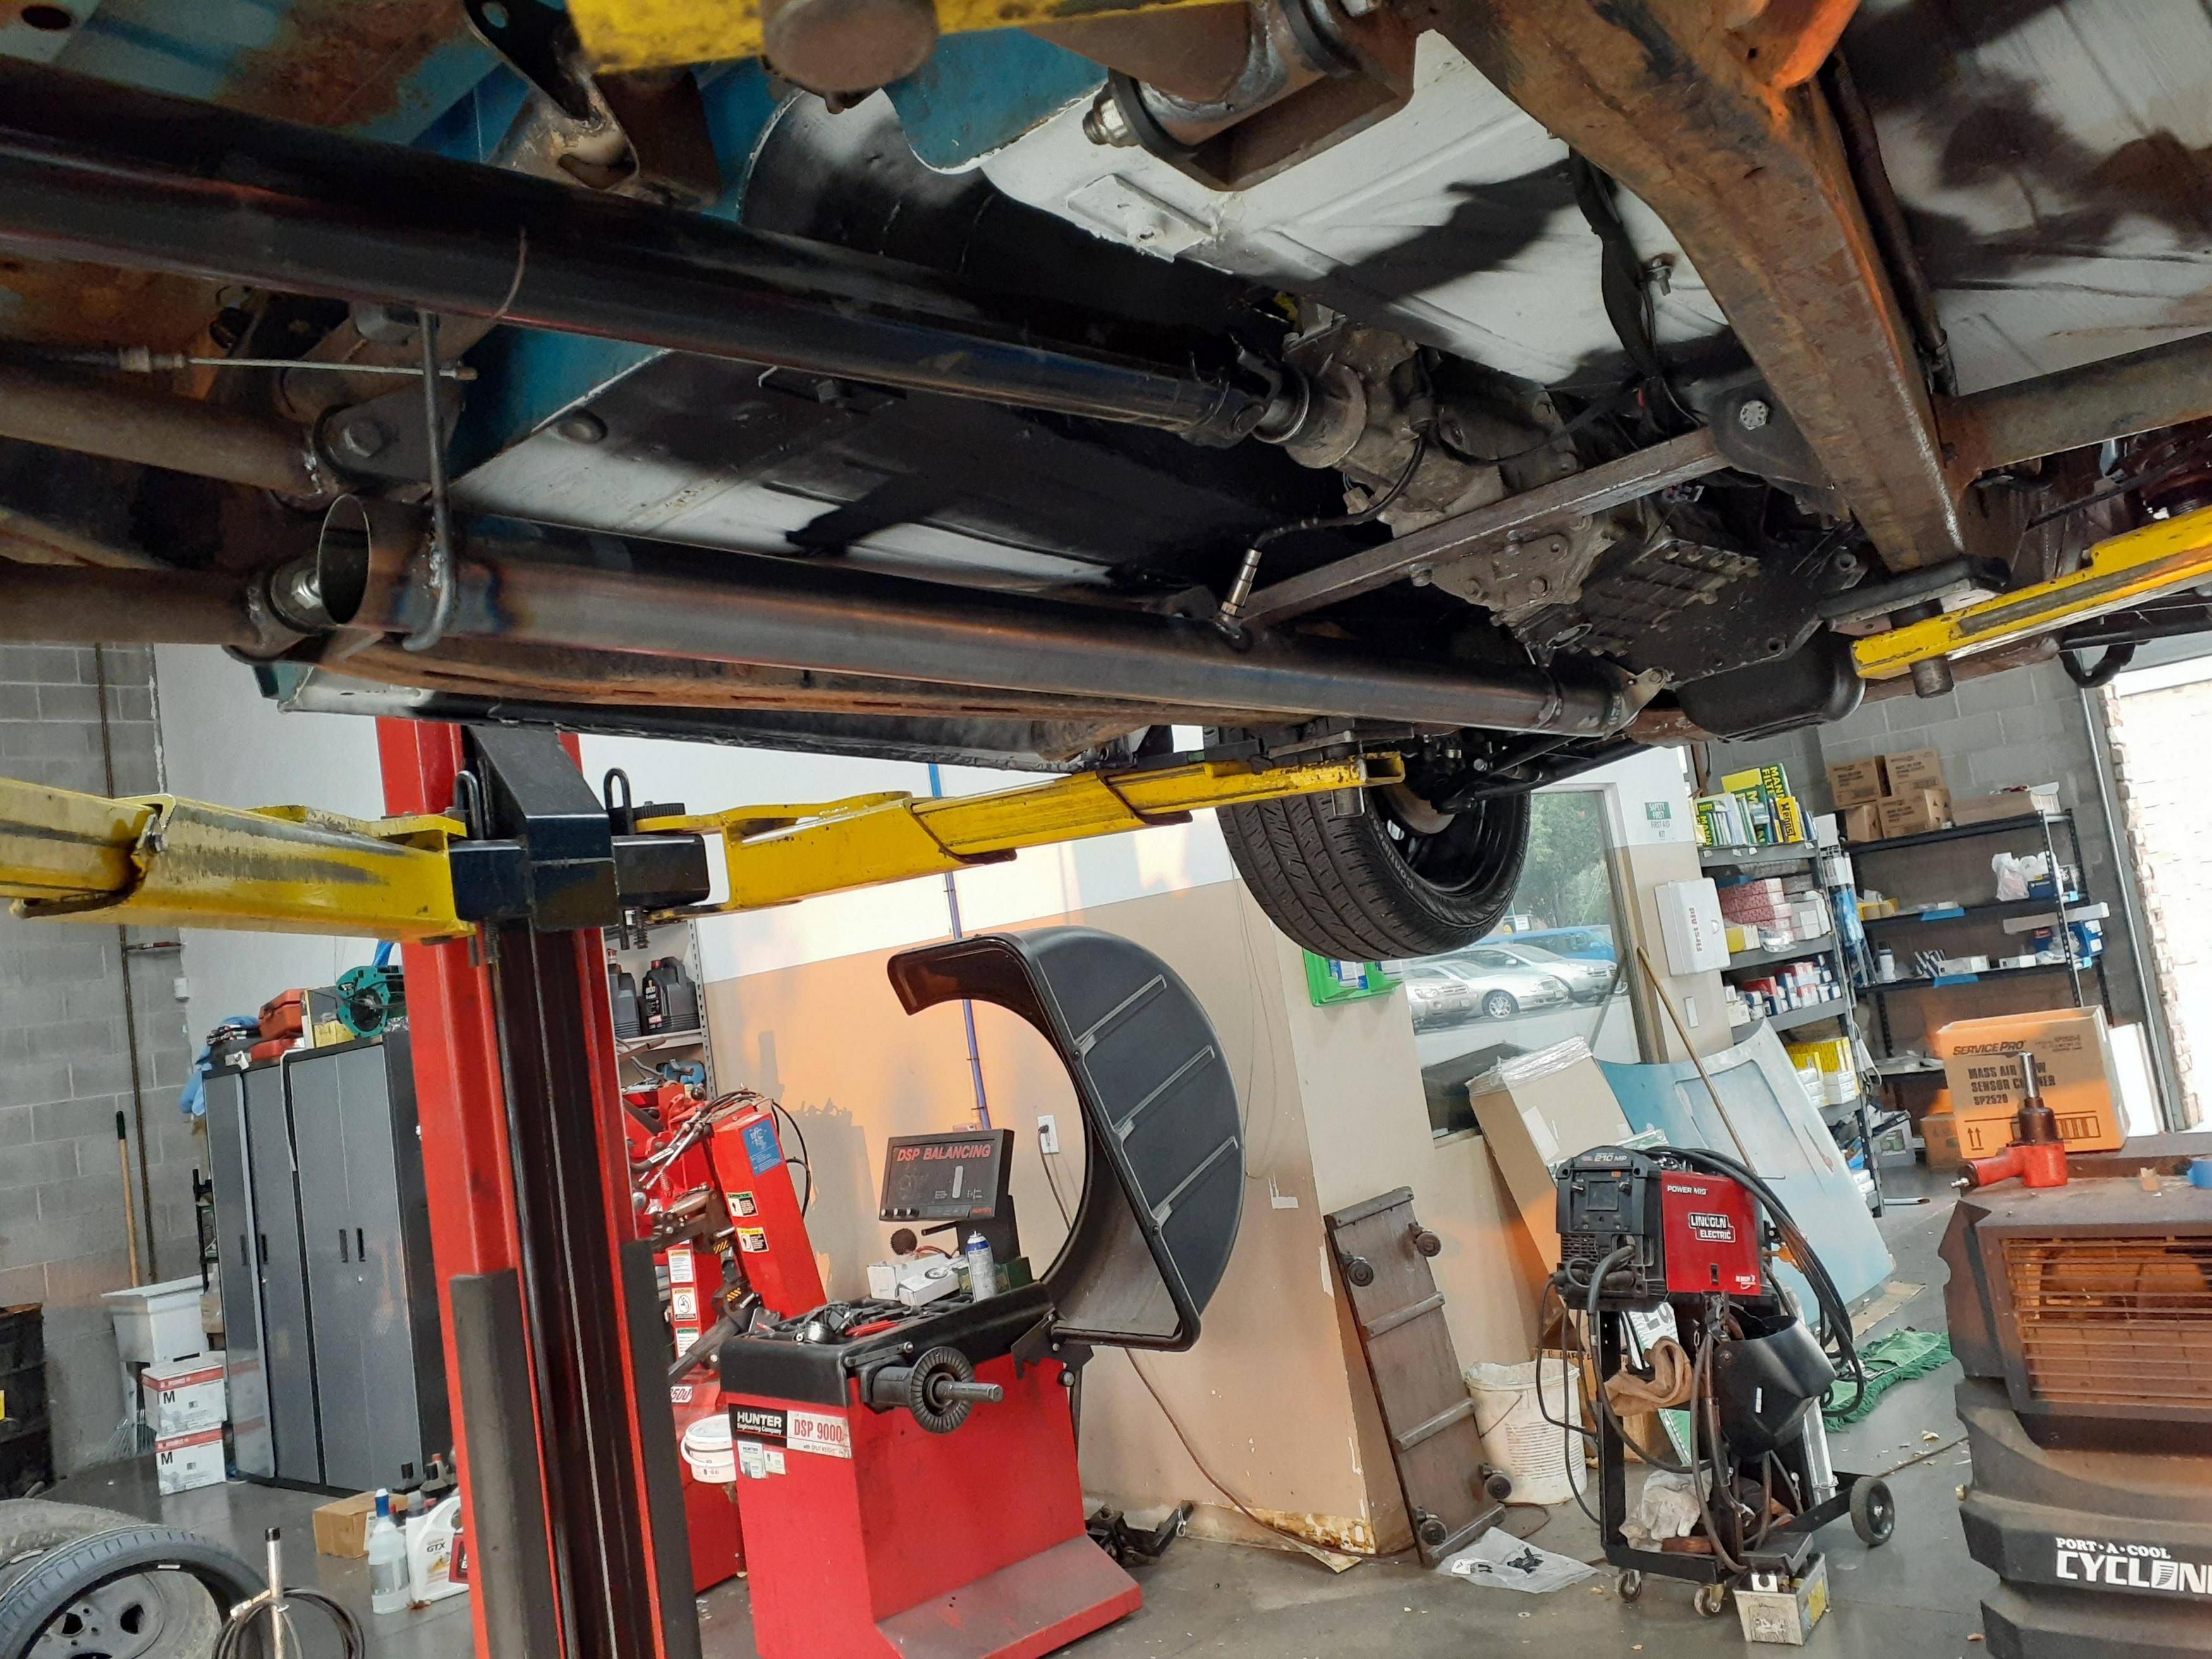
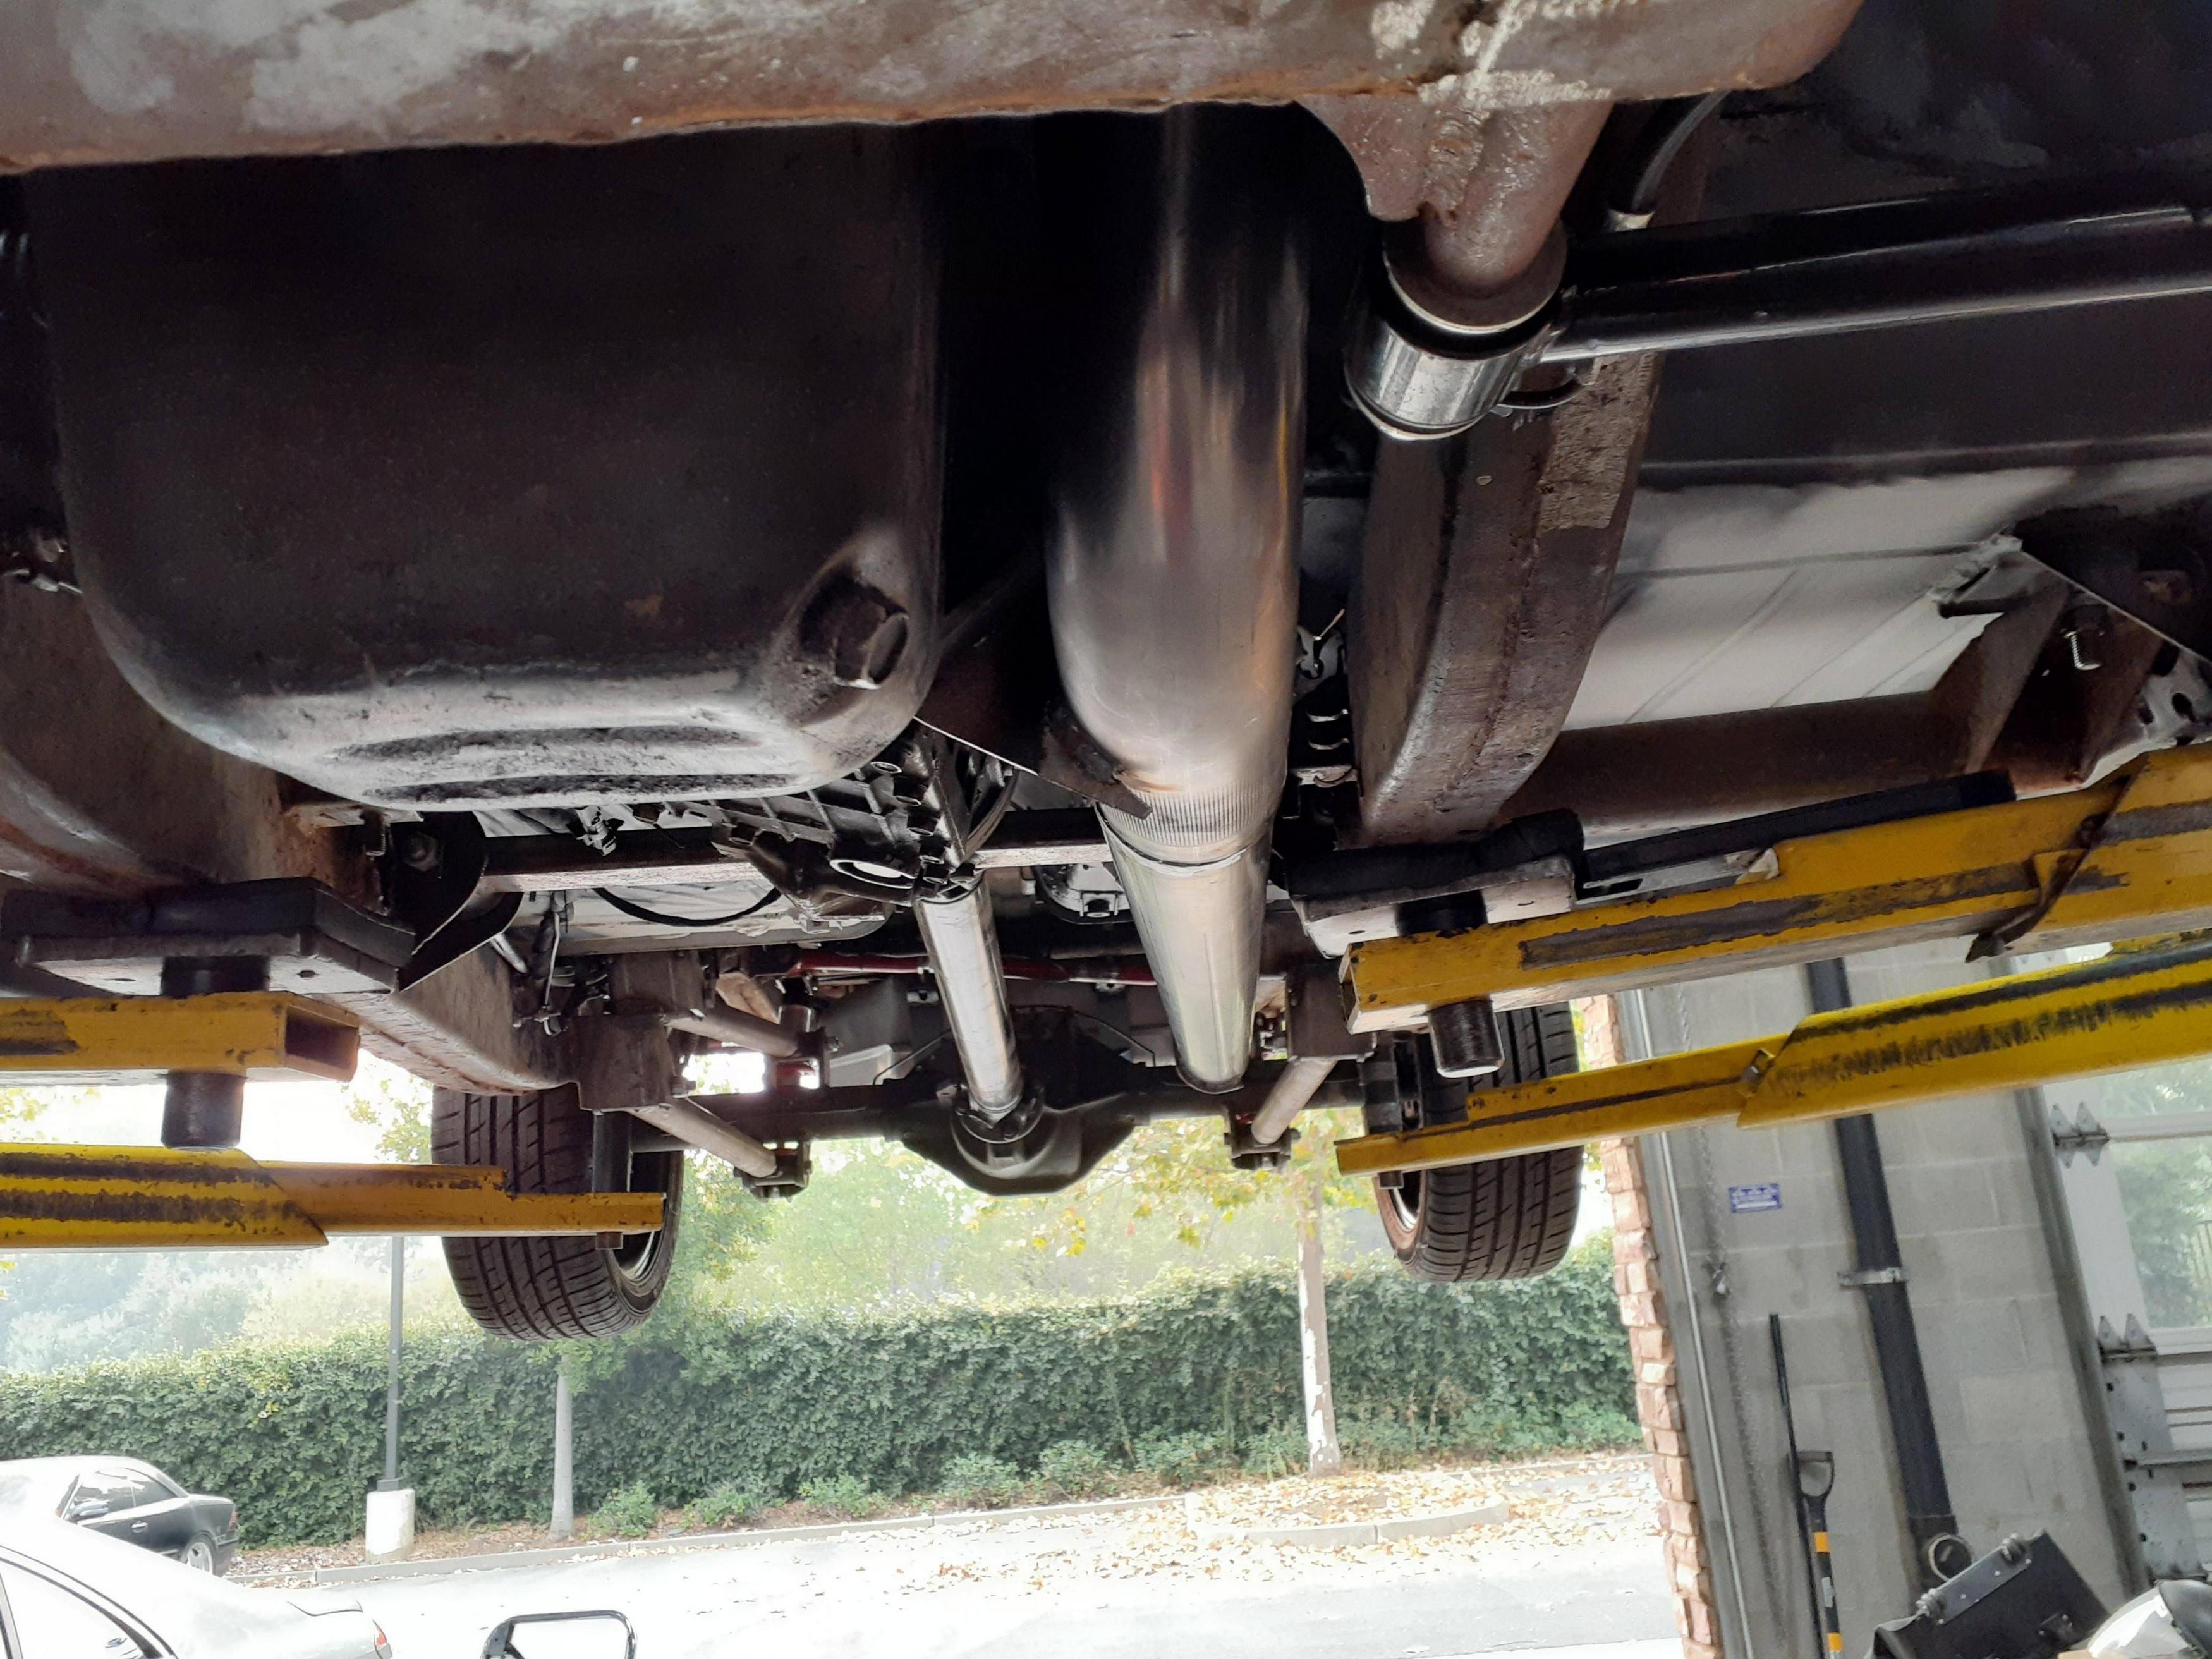
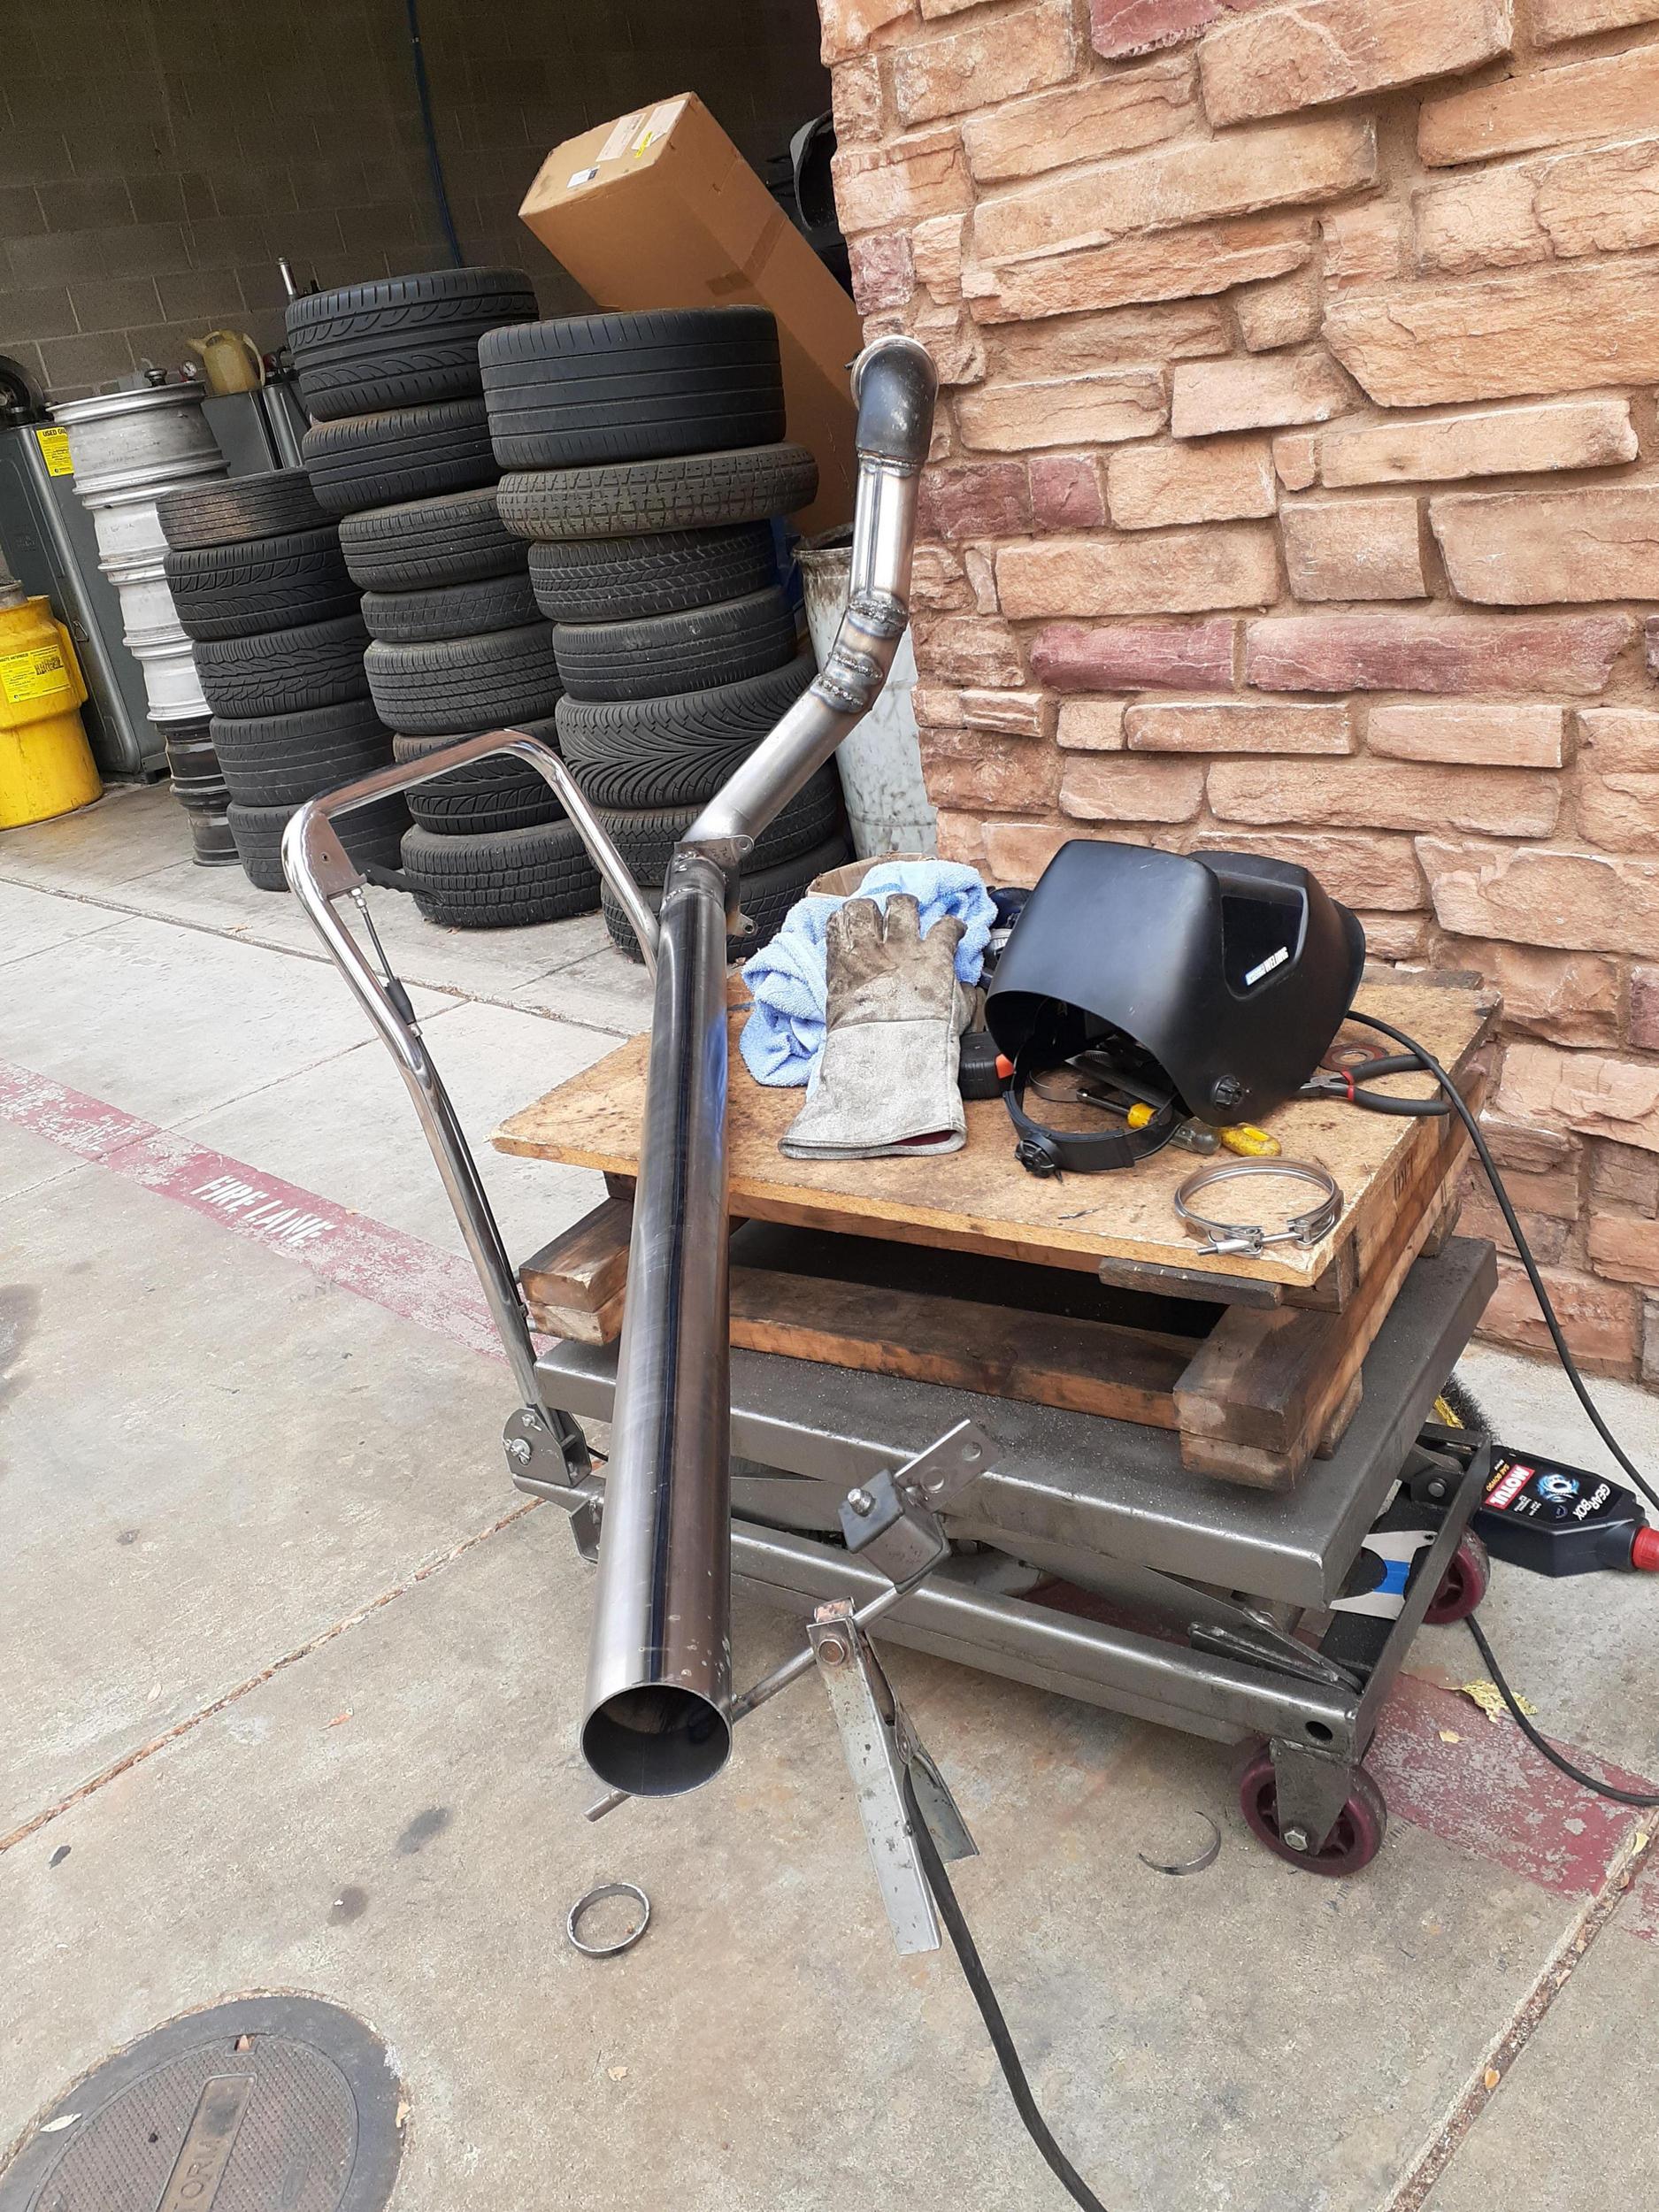
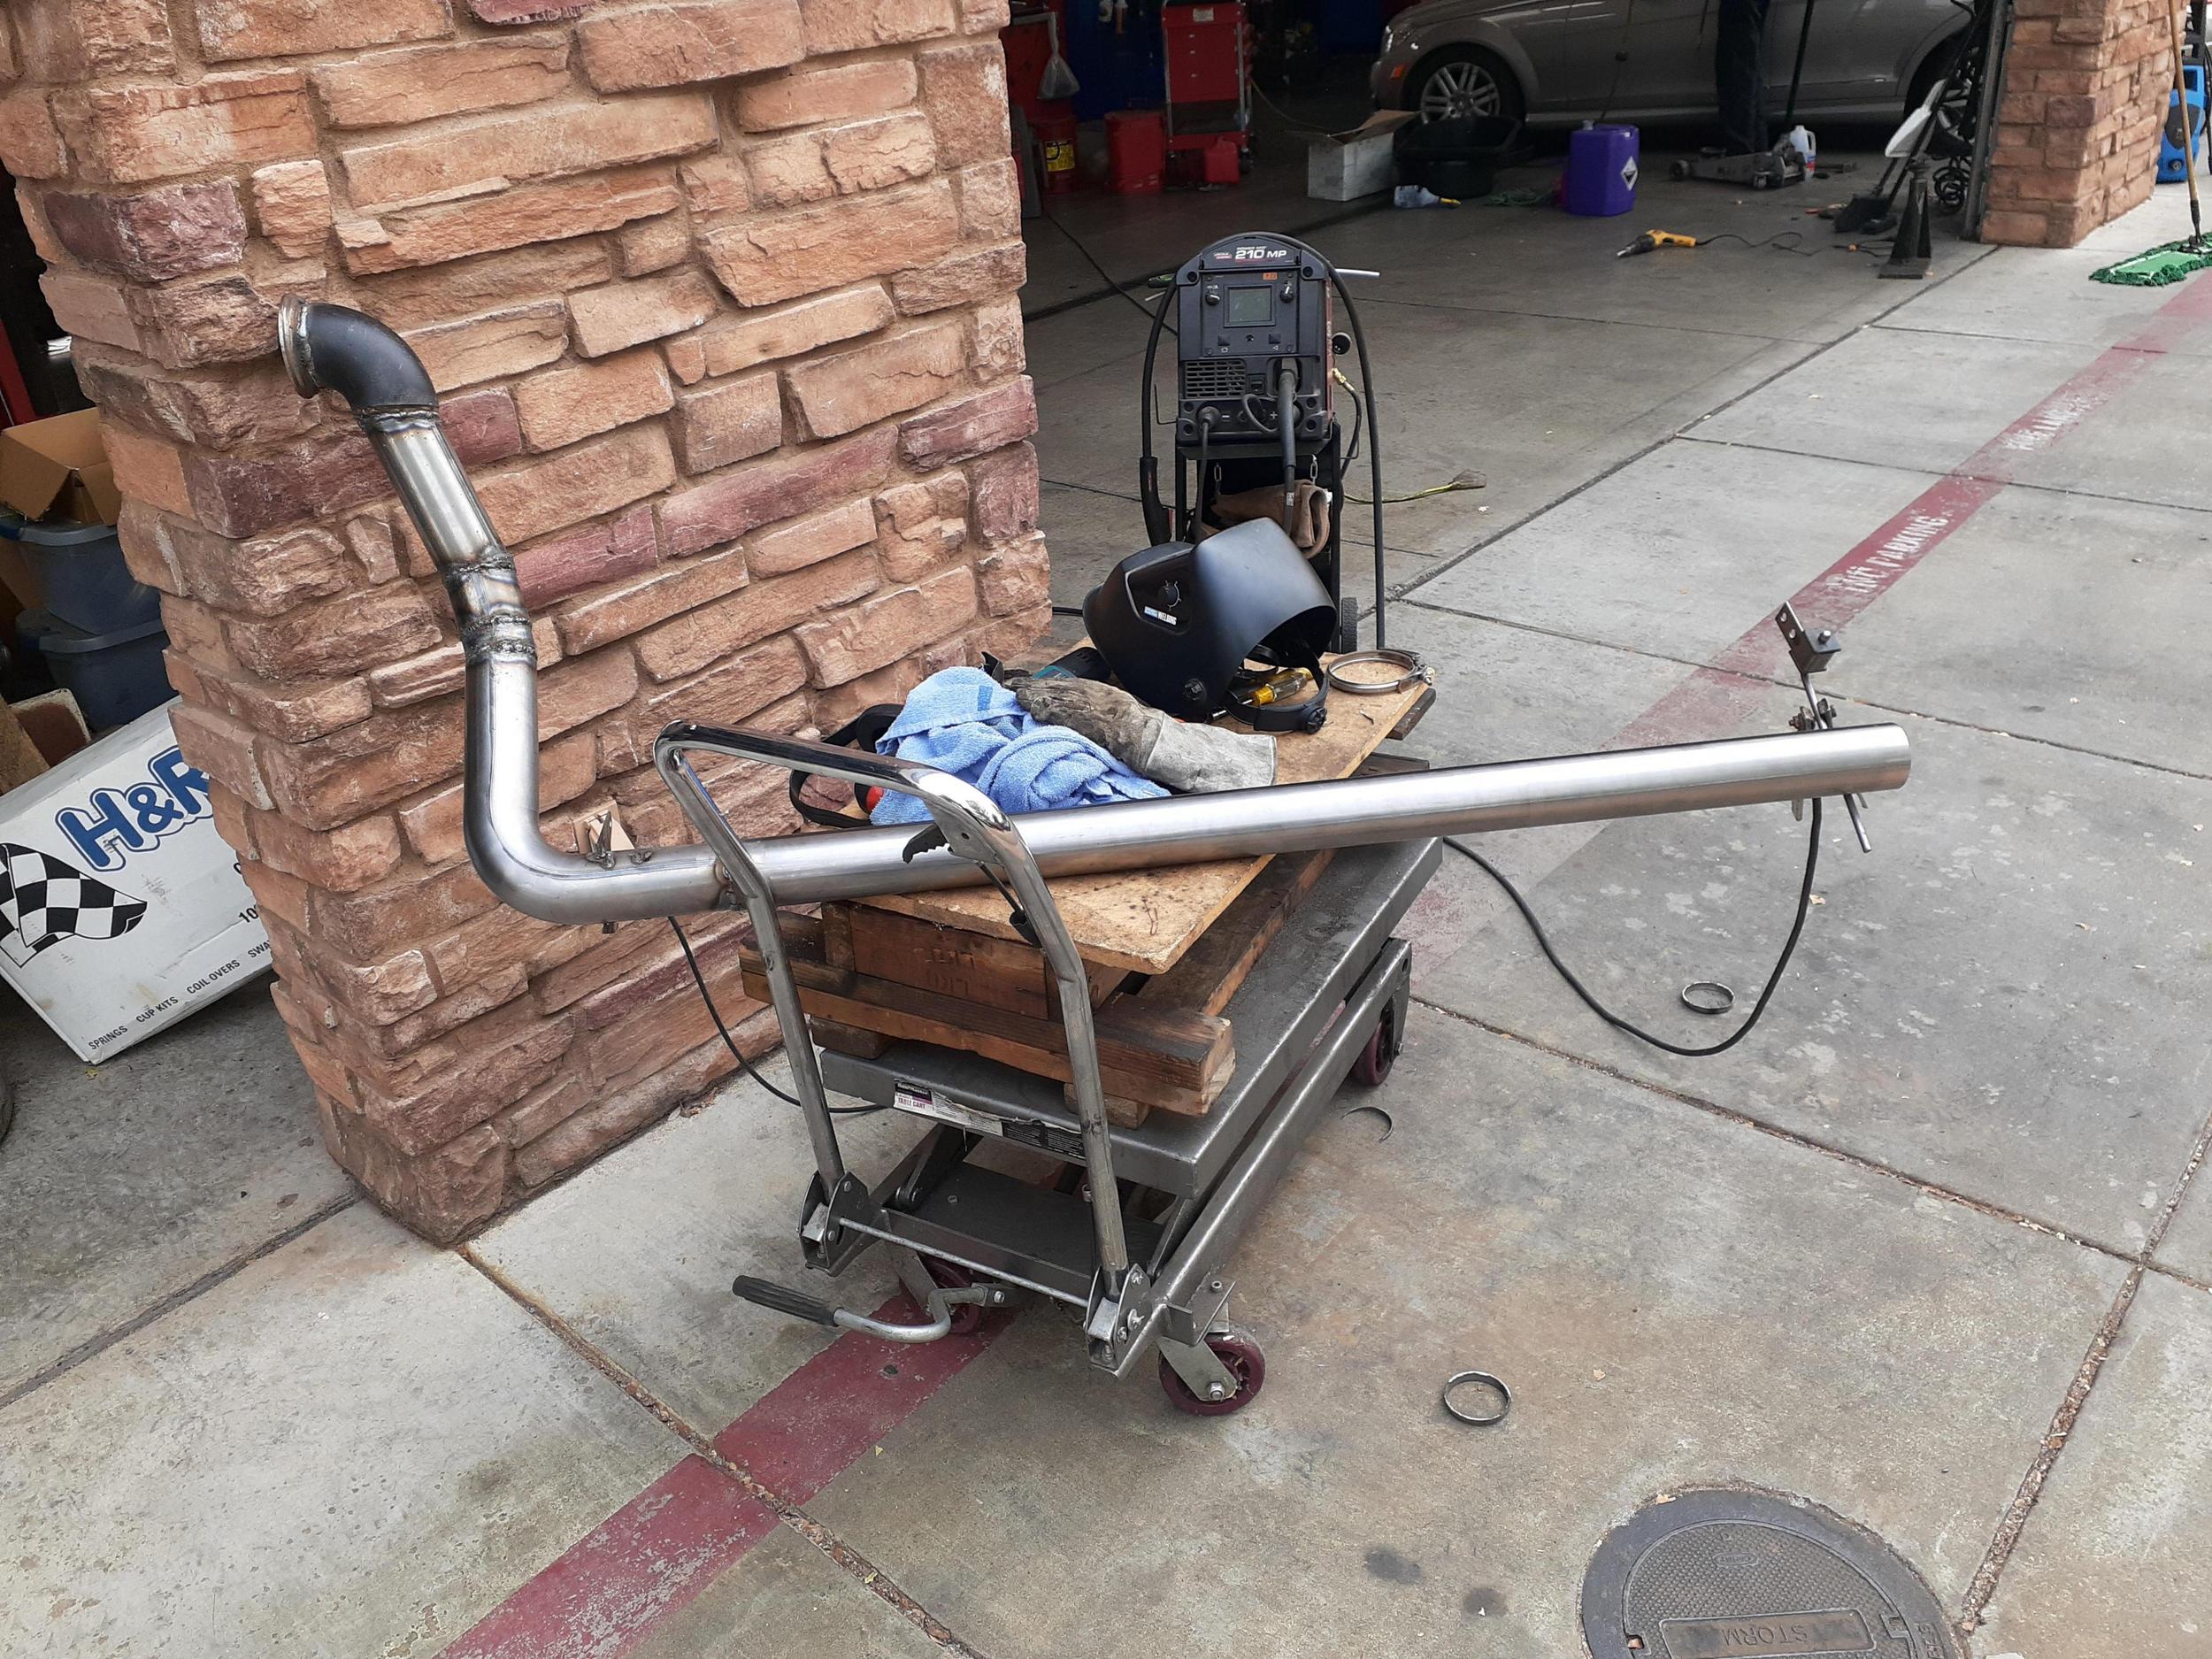
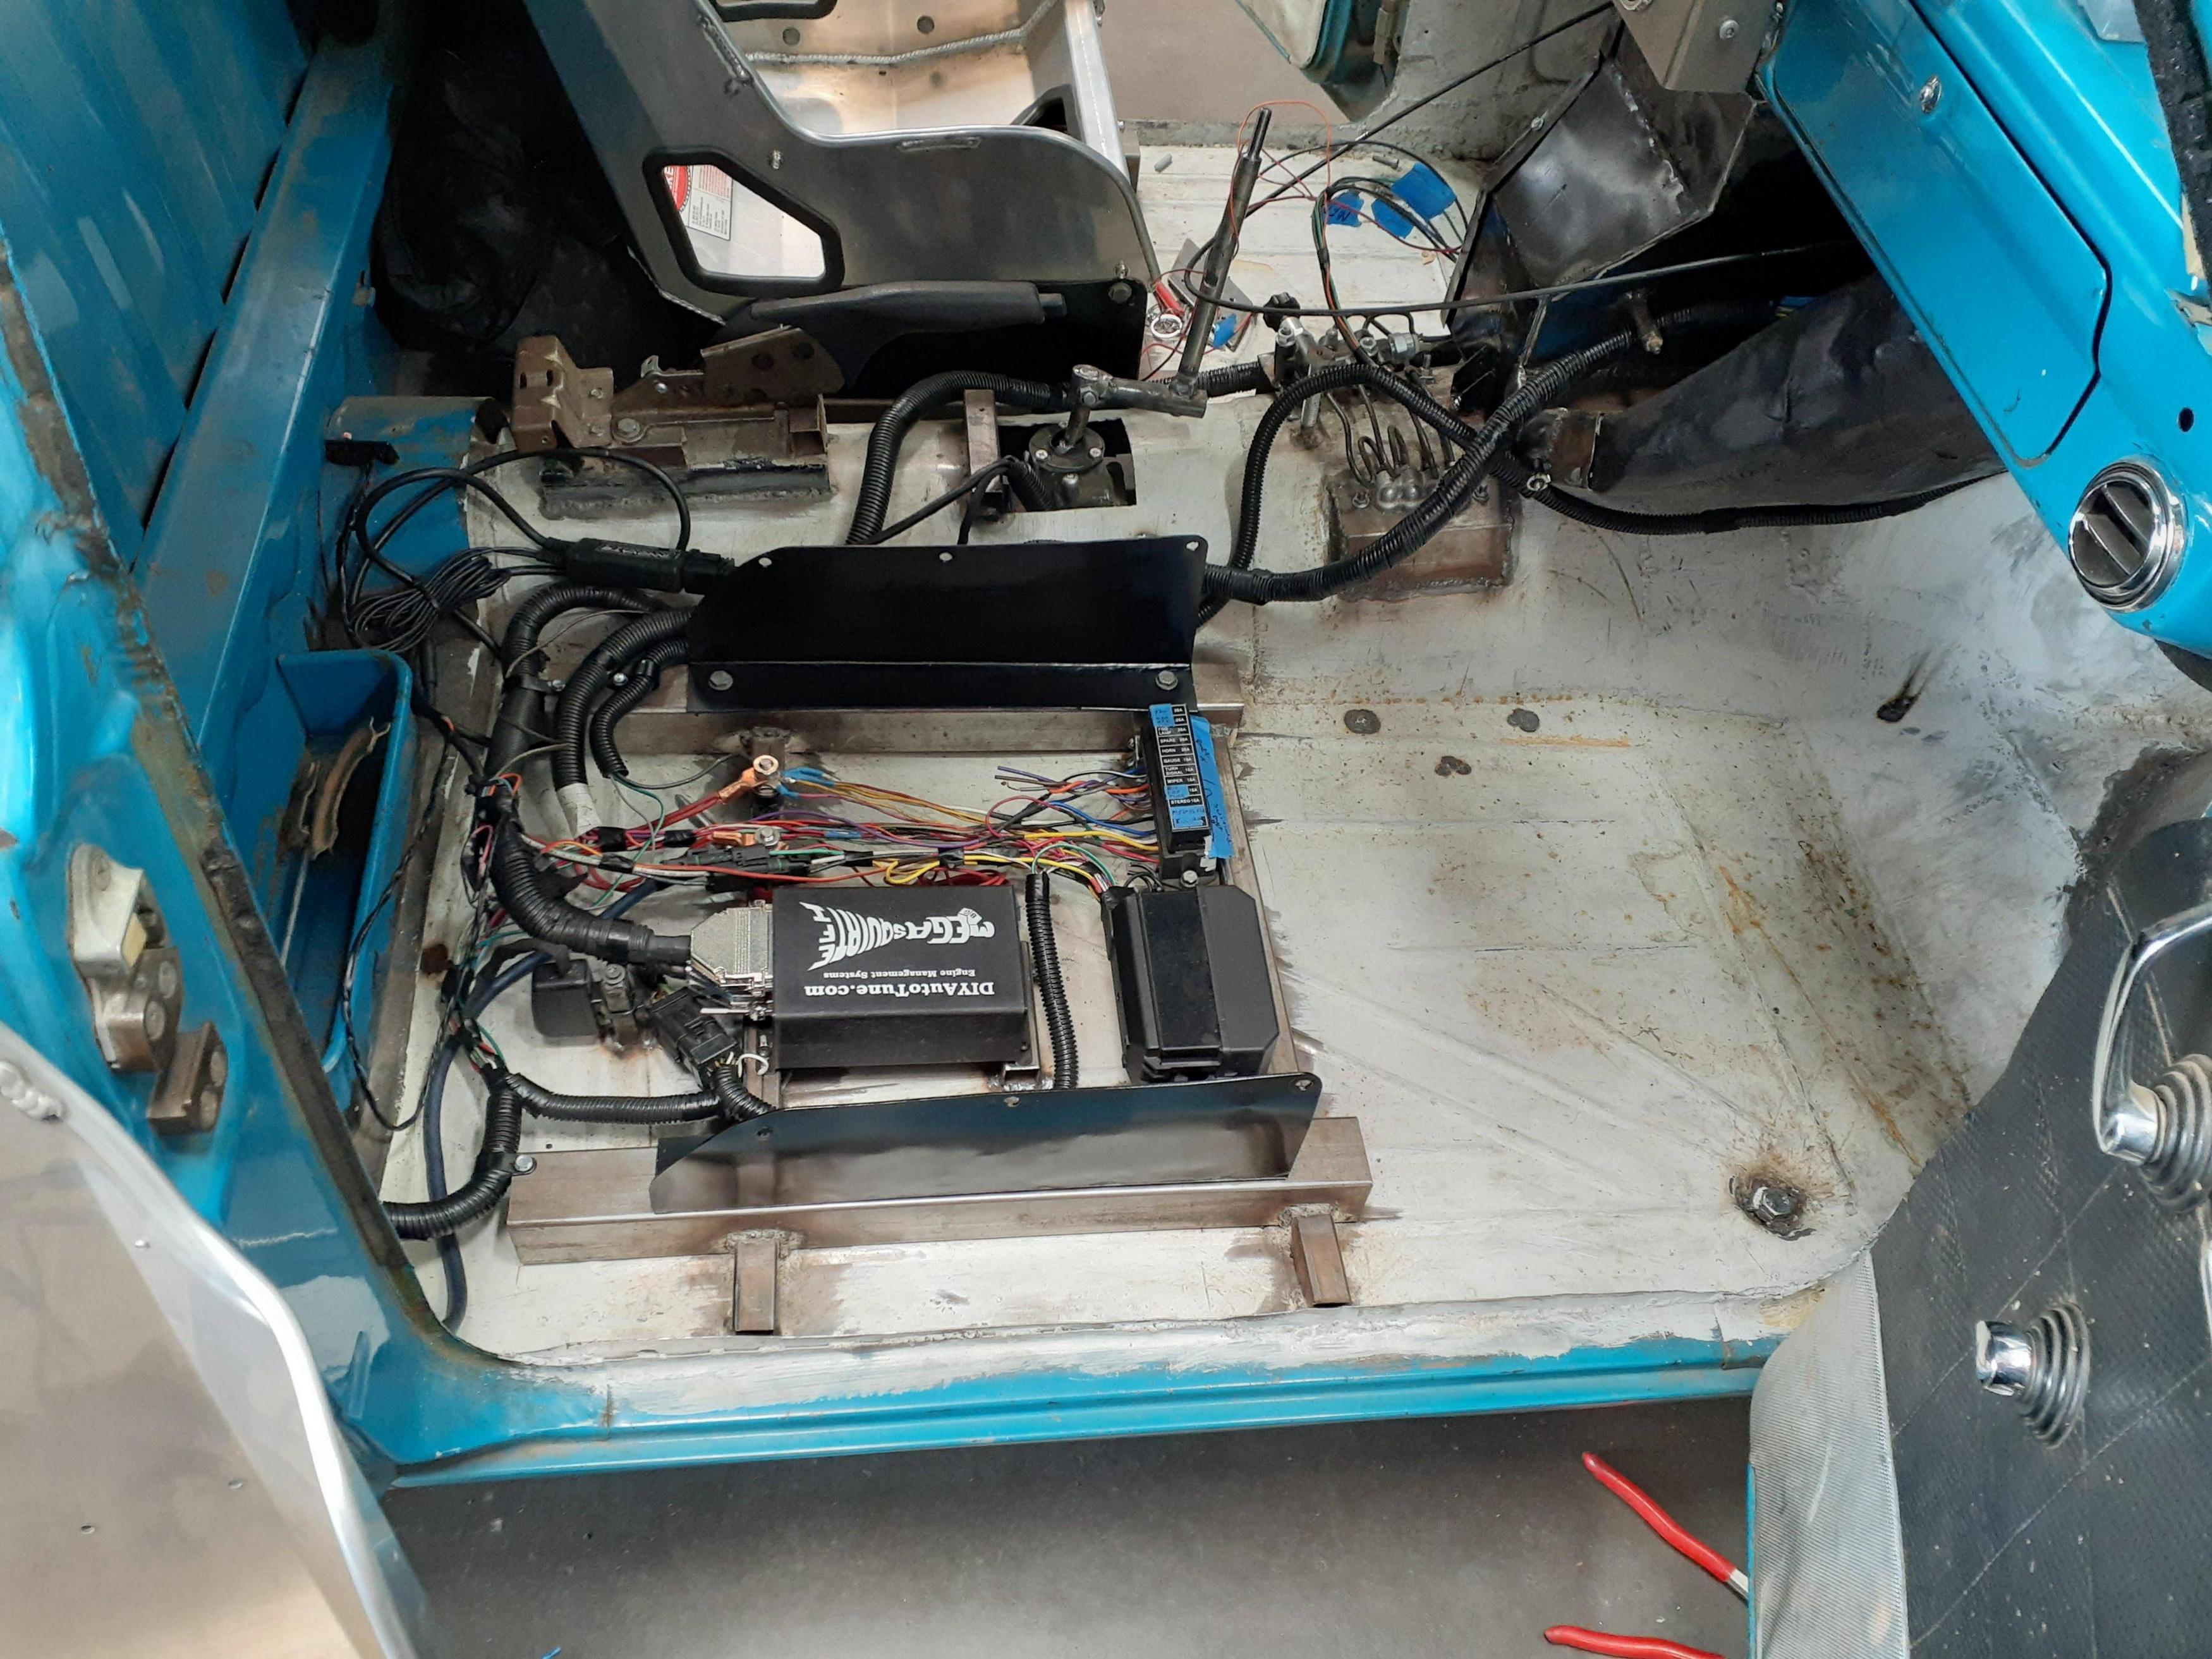
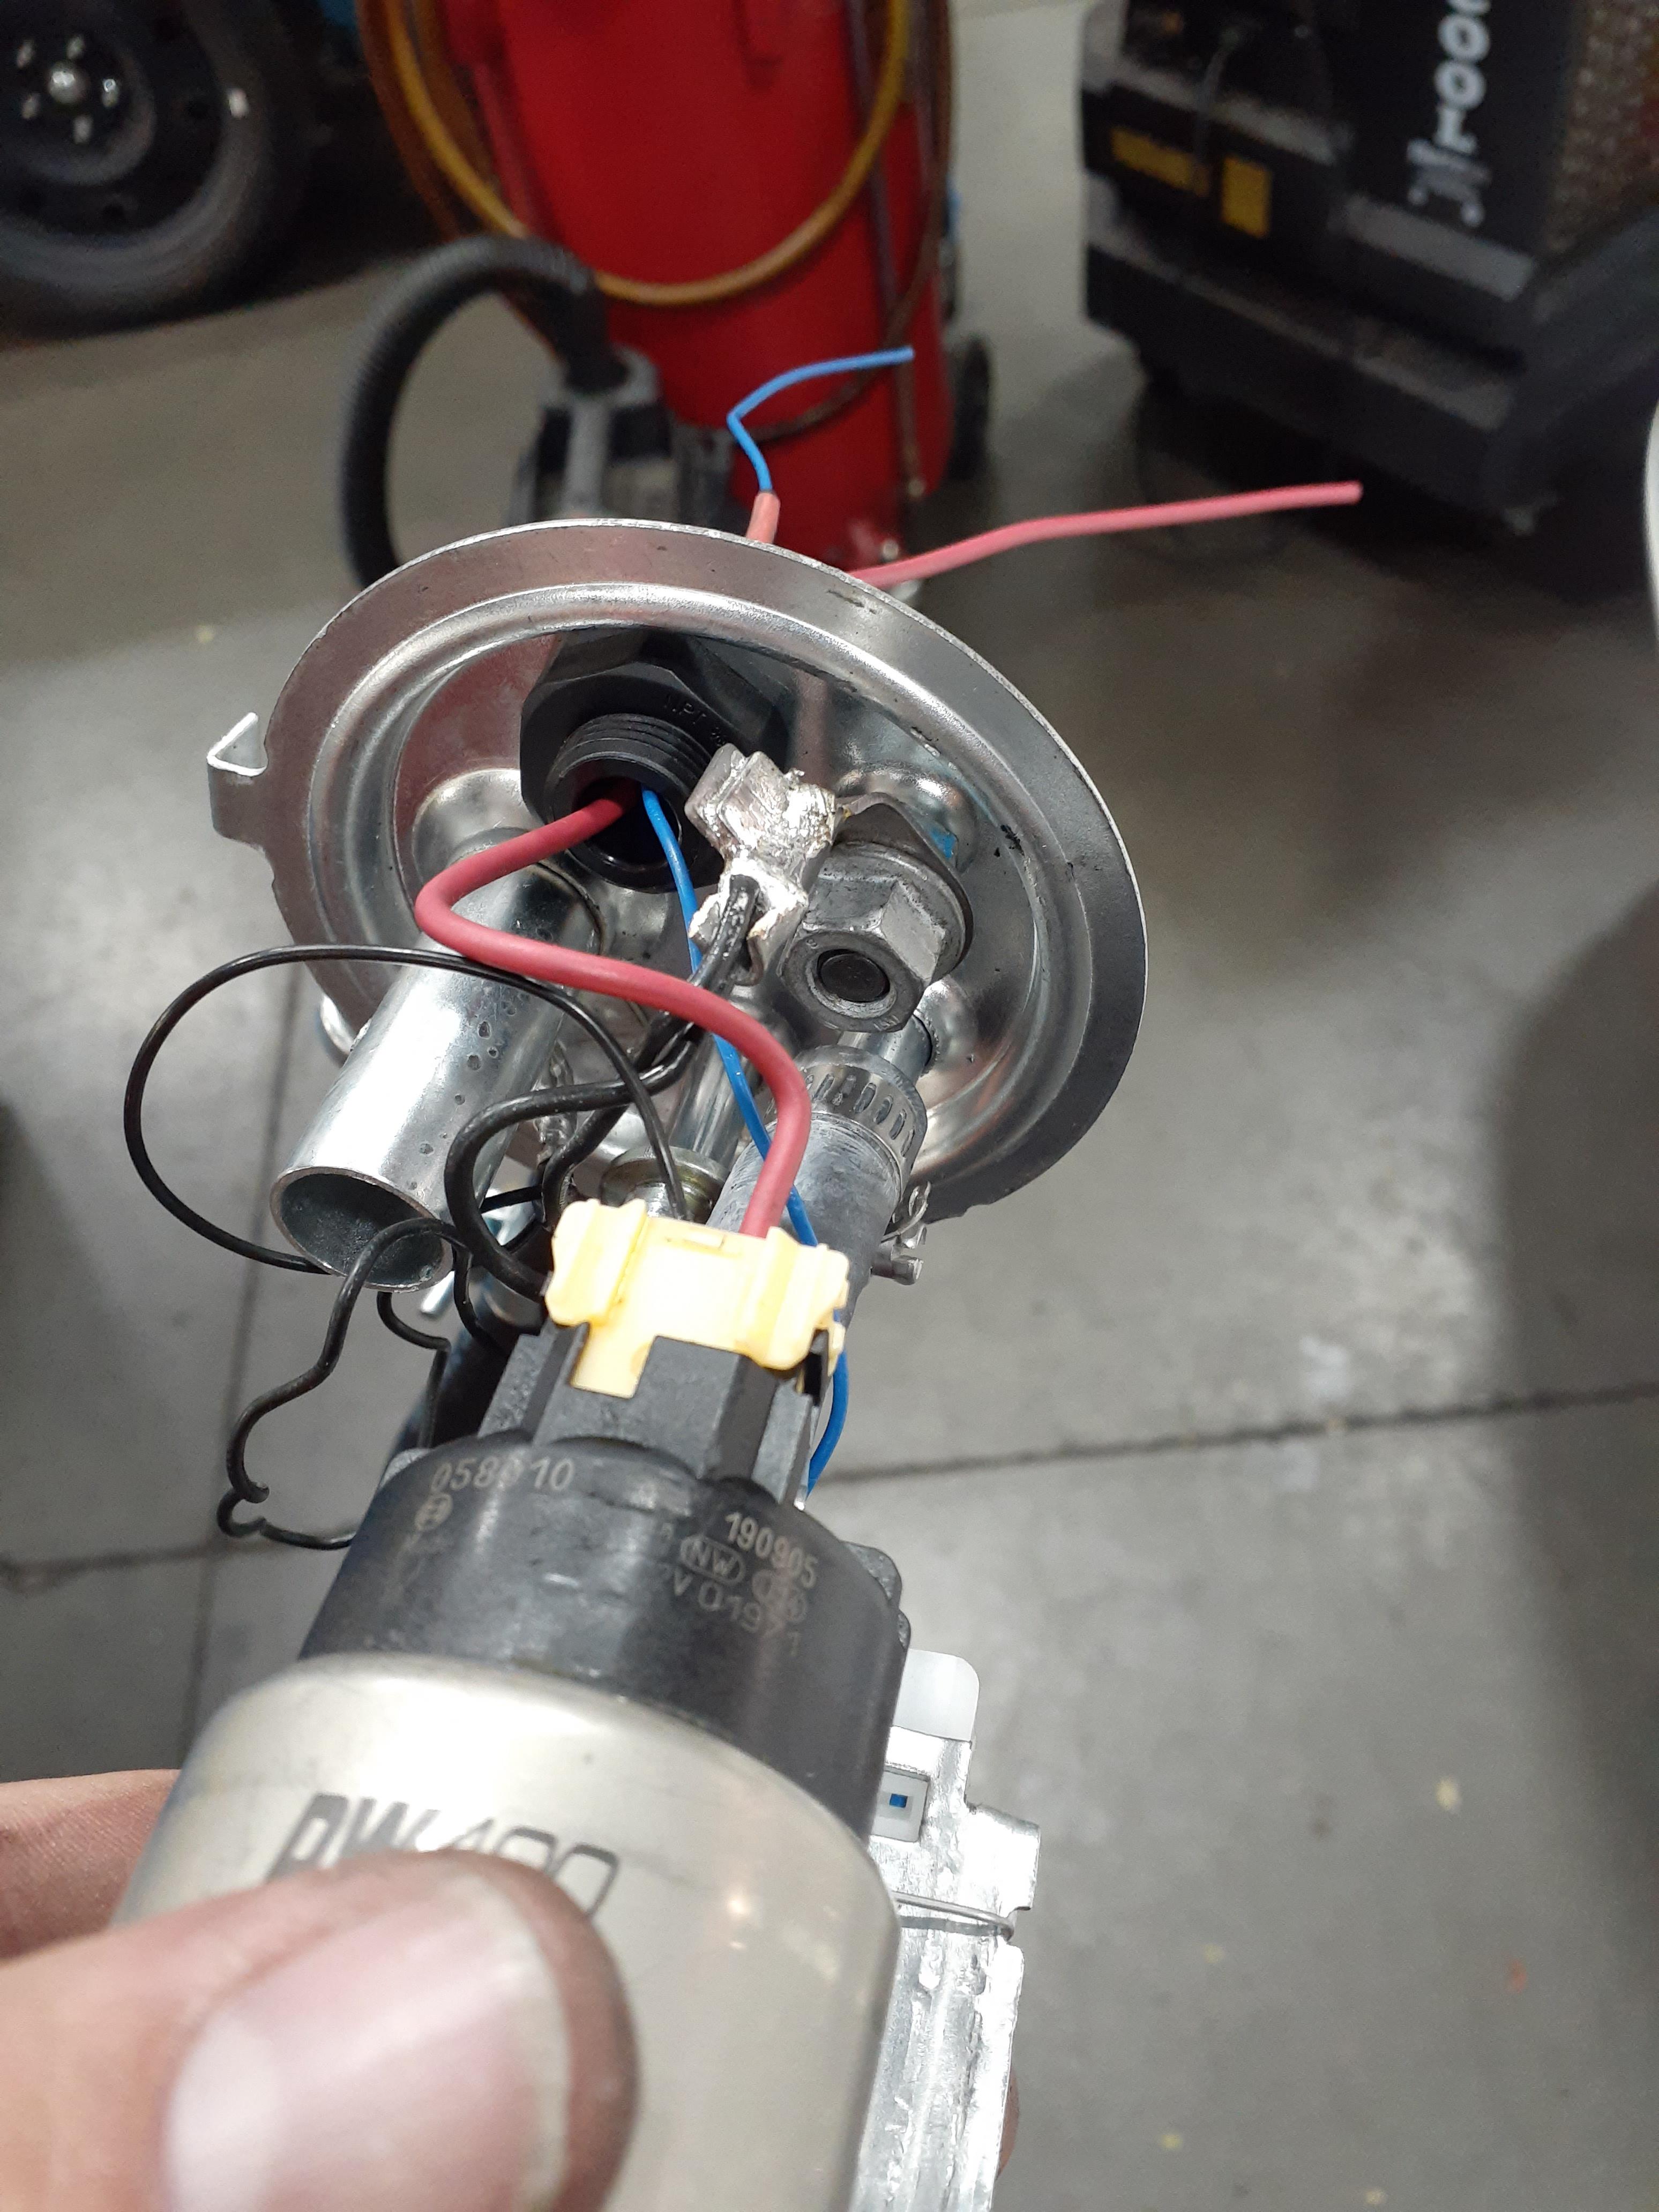
the hard part of the exhaust is done, not sure how its gonna exit the bed yet. factory fuel pump wiring burned up in less than an hour trying to power a dw400 pump. sorted all the wiring under the passenger seat. as far as i can tell everything works like it should. ill have parts from summit tuesday to fix the pump wiring.


Reply
0
0

 08-30-2020, 10:43 AM
#159
Senior Member
Thread Starter
Join Date: Jan 2011
Location: sacramento ,ca
Posts: 563
Total Cats: 160
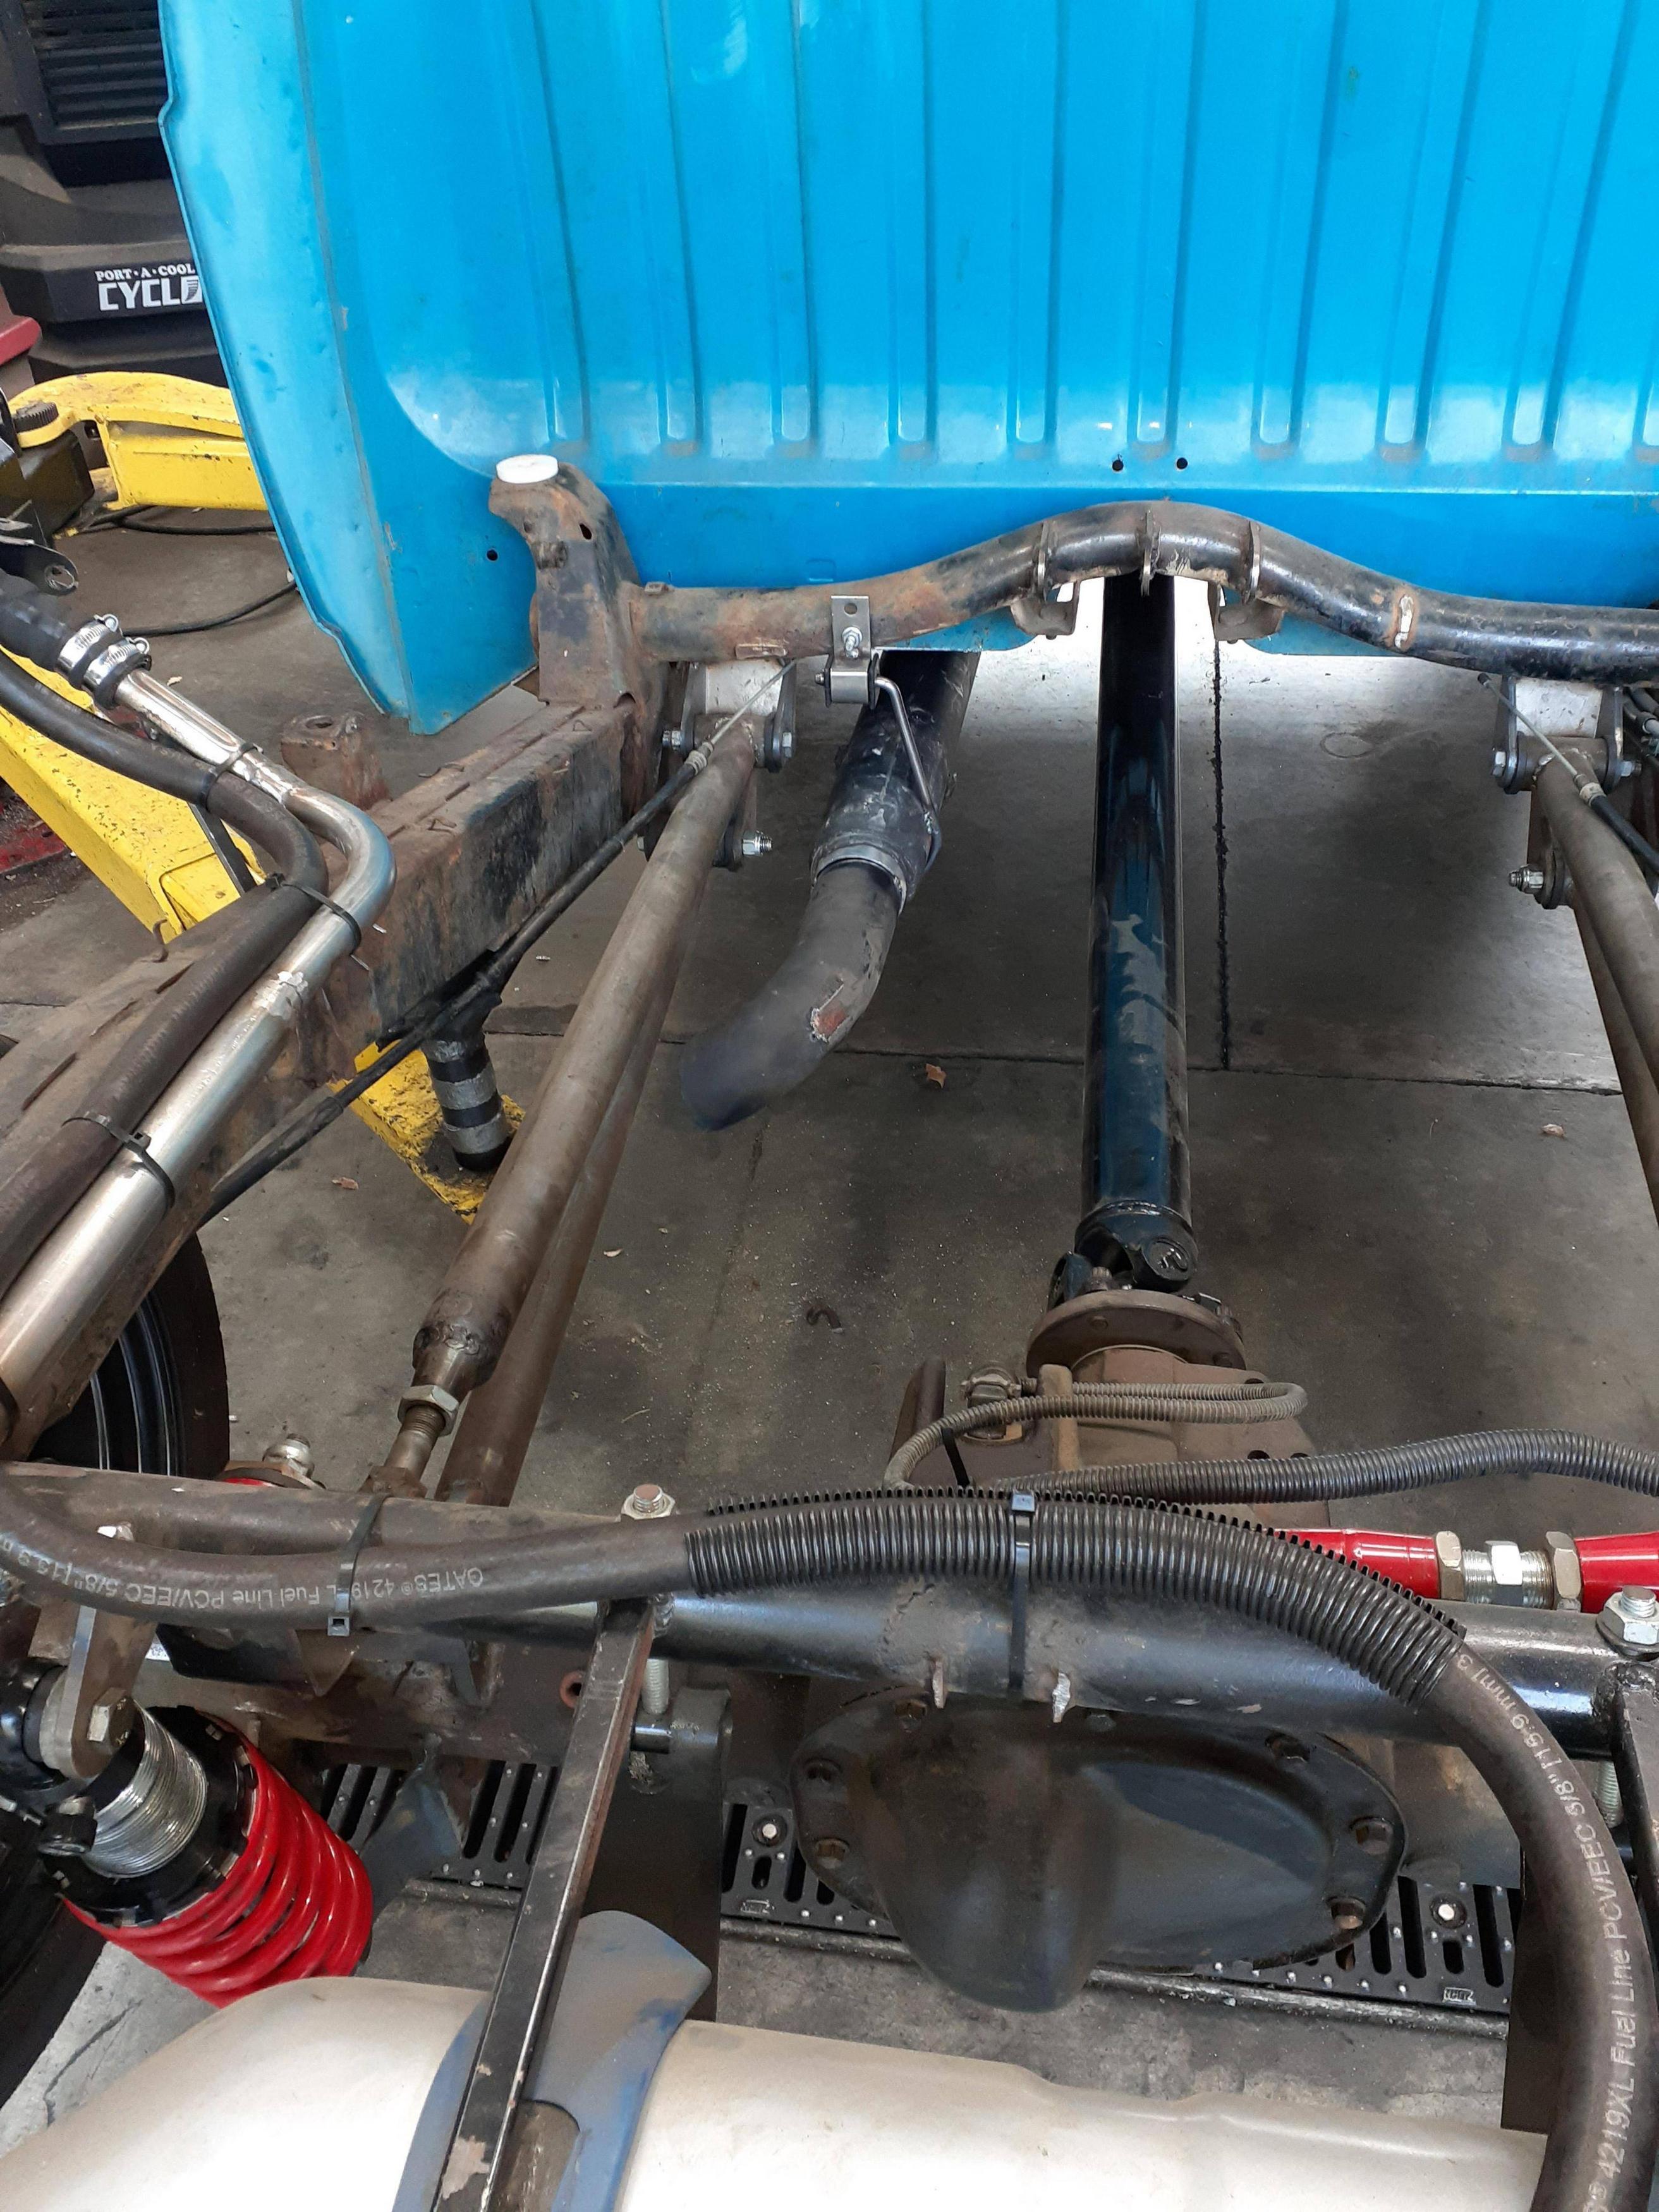
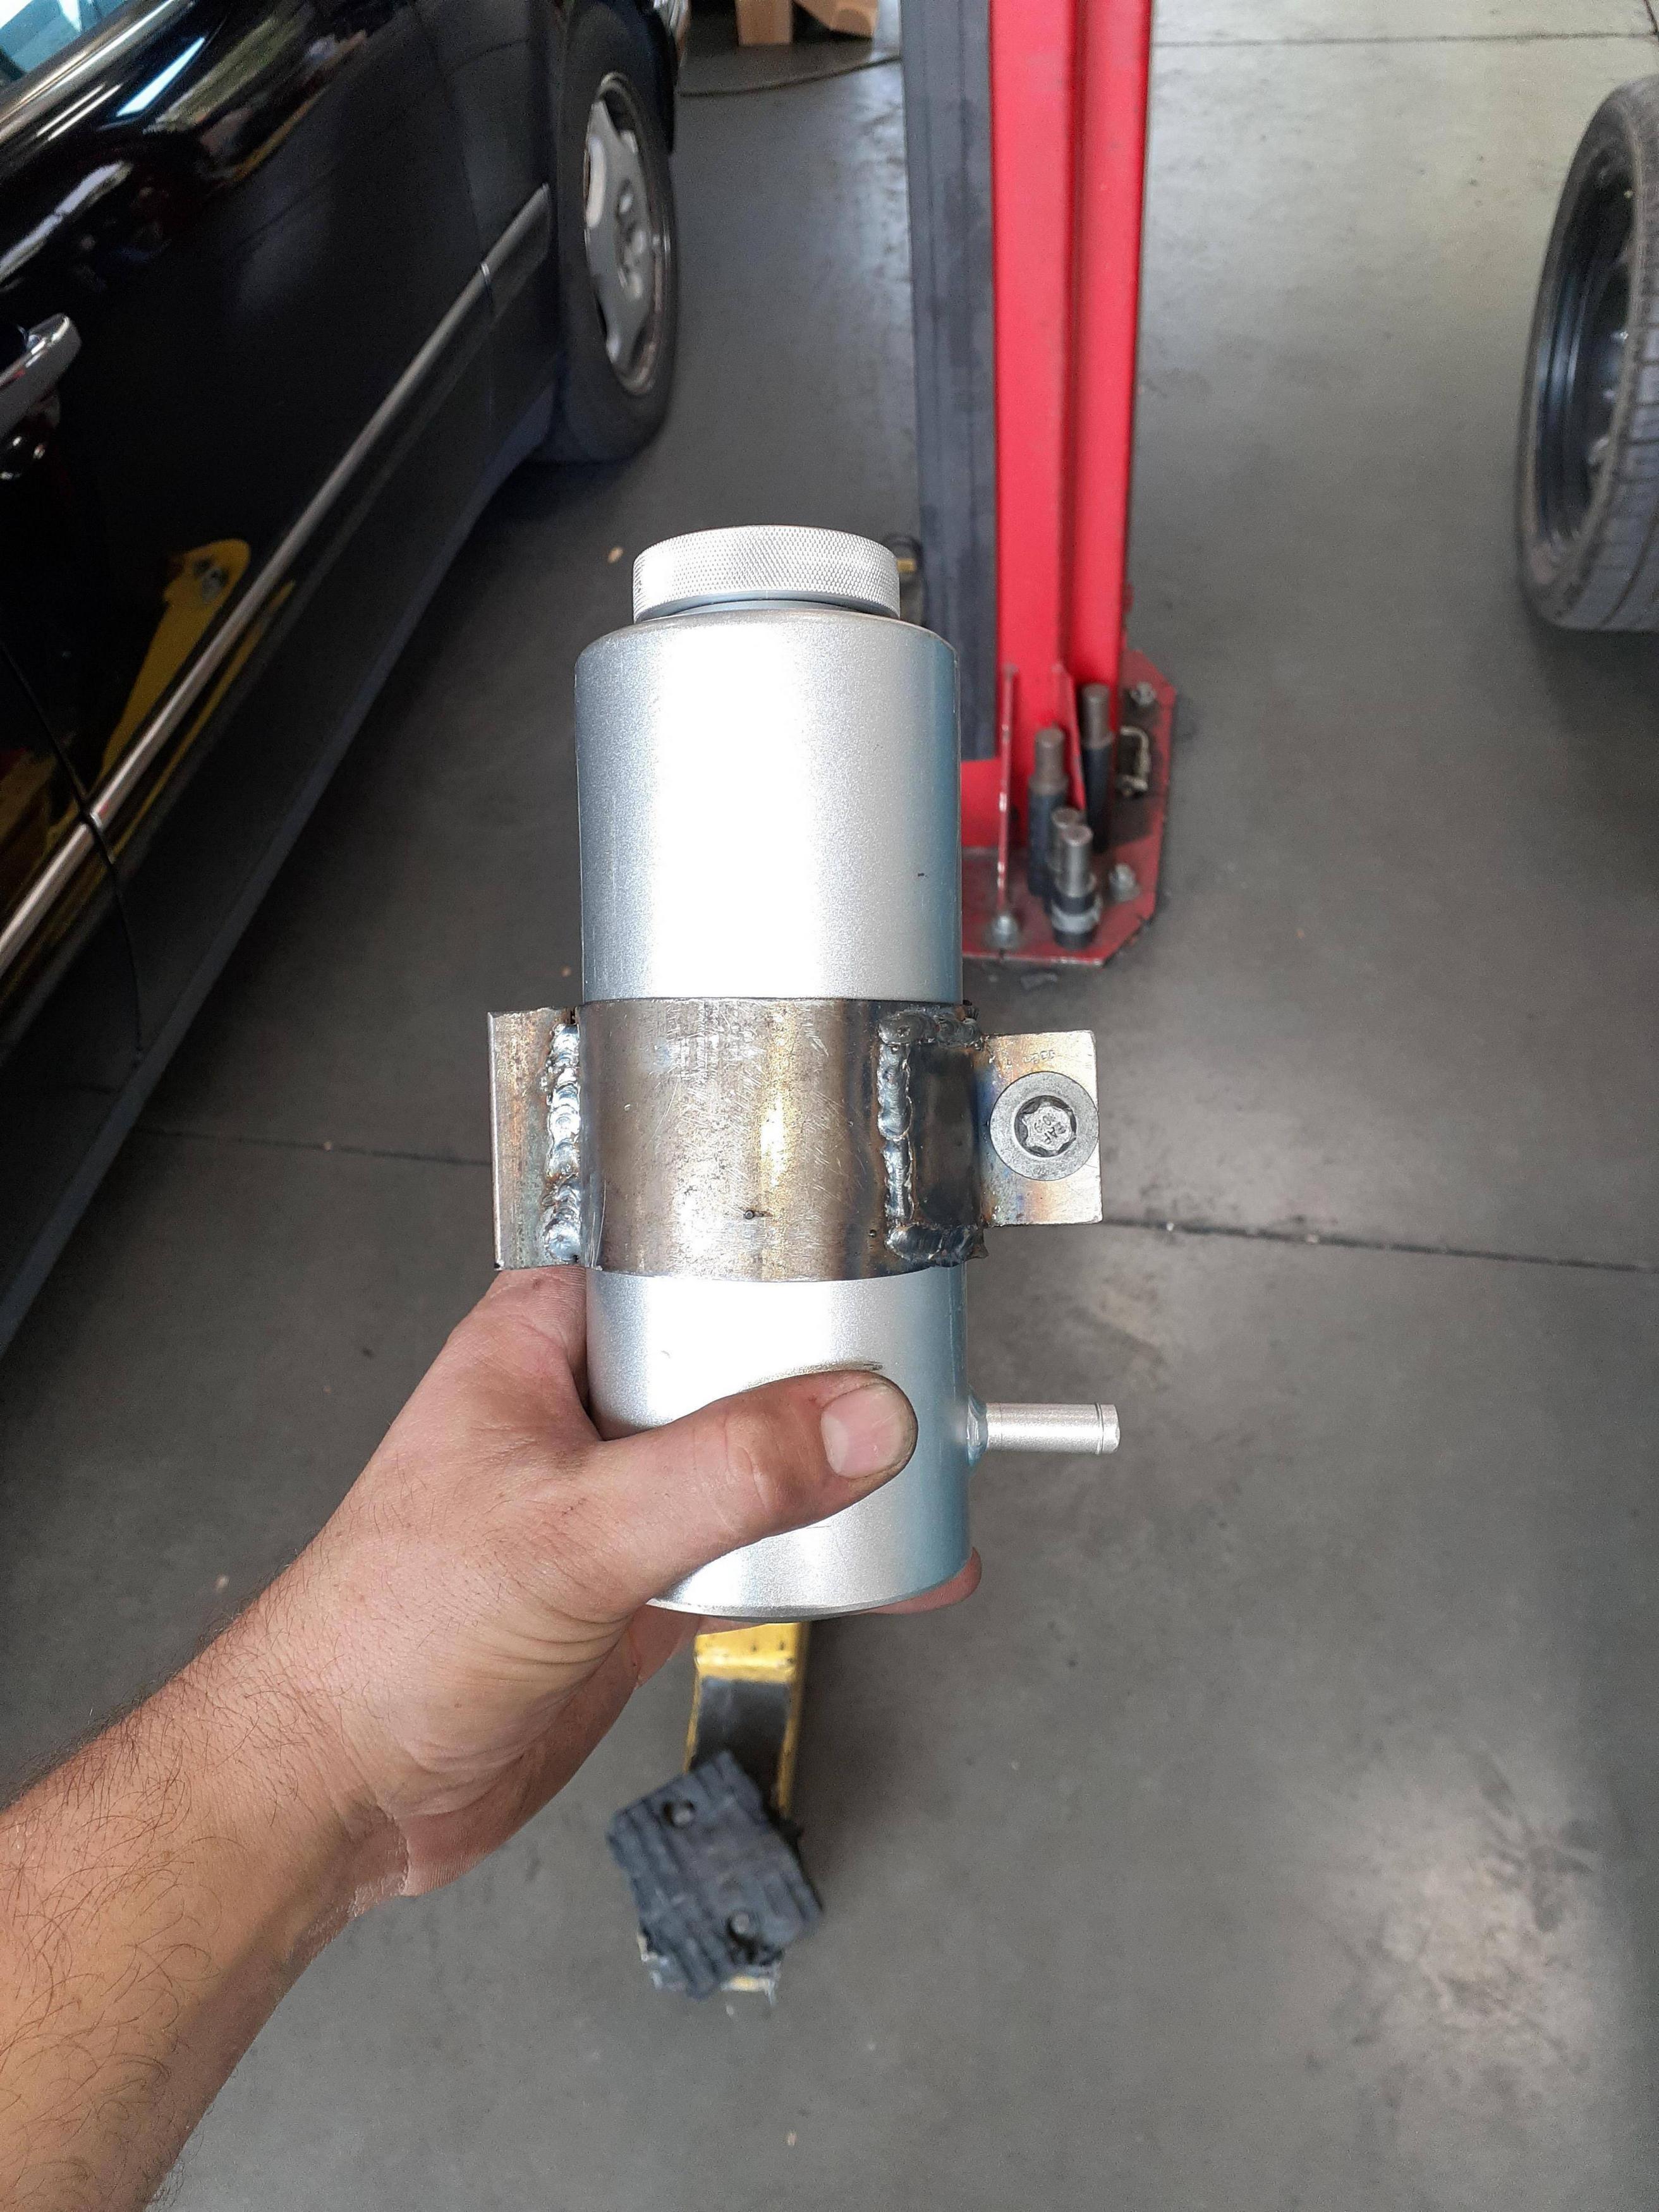
replaced the straight pipe with a 30" glass pack. decided on a simple turnout/down rather the an overly complicated over the frame rail design i was thinking about. also got my coolant reservoir from amazon. made a bracket and have been trying to figure out where is gonna be mounted.


Reply
0
0


