When you click on links to various merchants on this site and make a purchase, this can result in this site earning a commission. Affiliate programs and affiliations include, but are not limited to, the eBay Partner Network.
One man brake bleed: complete
I always feel like one bottle of RBF600 isn't enough, but 2 bottle is a waste. Its been how many years and I'm STILL getting SuperBlue dye out of the system, lol
Fel-Pro gasket came in, as expected.
Fits gr8m8 also as expected
PO of the header had a think for orange RTV, I'm not nearly that hacky but I'm also too lazy to clean it.
Protec yo shaft befo yo rek yo shaft:
Swaggu level: over 9000, to be sure.
Will probably throw some Rotella T6 15w-50 in it along with a new filter, because FSM knows when the last time it was changed. Better safe than sorry.
Maintenance nearly complete, and a whole almost 10 days before trackday! A terrible omen, to be sure.
One man brake bleed: complete
I always feel like one bottle of RBF600 isn't enough, but 2 bottle is a waste. Its been how many years and I'm STILL getting SuperBlue dye out of the system, lol
[size=13px]
[/size]
It hangs out in the bottom of the Wilwoods. People say you don't need to open the bottom bleeders to flush it, but you do. Back when I was trying to figure out a soft pedal after doing the ABS swap on my car I'd put a couple of gallons of brake fluid through the system and afterwards in desperation I bled the bottom bleeders on the Dynapros. Blue fluid came out, when it wasn't visible anywhere else in the system. (it didn't fix the pedal -- that required a 1" master).
Will probably throw some Rotella T6 15w-50 in it along with a new filter,
That would be T6 15w-40. I had Amsoil on my brain when I typed that out, but with current supply chain fuckery I'm not convinced they can get me 4-5q of 15w50 before the 17th.
Originally Posted by afm
This time next year: Gordon spends a month wondering if these shock covers will cause overheating
Well NOW I'm thinking about it. Hah! I've had these sitting on my desk for probably a year just haven't had an opportunity to install them. Seemed like as good a time as any! If this keeps the fancy Torrington bearings alive a little longer then I'll be happy. How do I know when these need a rebuild anyway? I know you put a billion track hours on them
Originally Posted by codrus
It hangs out in the bottom of the Wilwoods. People say you don't need to open the bottom bleeders to flush it, but you do
Humm... I've always wondered about this but everyone just keeps preaching "don't touch the lower bleeders" so I've stuck with the conventional wisdom here. It makes sense that if all you want to do is get the air out of the things all you would need to do is open the uppers, but for full fluid flush it feels like you would want to do the lowers as well. I'm out of the fancy Motul fluid at the moment but I might give this a try the next time I've got some on hand. What's the worse that could happen, bleeders start leaking?
1) you don't want squish on the poly engine mount bushing, you want to contact the clevis with the sleeve, squishing the poly is where the NVH starts getting not fun
2) Check any silicone hoses for the coolant leak. They *will* start to seep over time, Ben found that out on Eiffel.
1) you don't want squish on the poly engine mount bushing, you want to contact the clevis with the sleeve, squishing the poly is where the NVH starts getting not fun
There is a sleeve in the V8R bushing? If that's the case then its reaaaaaal short. If I can squish the poly then I'm guessing there is no sleeve, or the sleeve is too short. I have room to keep cranking on these things.
Originally Posted by boileralum
2) Check any silicone hoses for the coolant leak. They *will* start to seep over time, Ben found that out on Eiffel.
Interesting, good to know. I've got a positively ancient Gates Racing blue silicone hose on the pump inlet, and some Crapimoto hoses on the heater. The other stuff is new Vibrant silicone that I bought to go with the reroute install.
Originally Posted by concealer404
Yeah thanks for reminding me. I need to order oem heater hoses and throw that trash in the trash.
What's in there now? Curious how long they lasted for you.
Of course if its anything like you and clutch slave cylinders, I expect you change your hoses every time you change your oil.
WOOOO! Get ready to be sweaty! I'm signed up with GGLC as well so I'll see you there! No more spots in Intermediate so I signed up in Novice. It's been a LOOOOONG time so I figured that would be safe.
Yah, am definitely going to be bringing the sun block and ice water! I wear a karting suit when I track the Exocet. Plenty cool on the track unless I�m stuck on the grid but man it gets toasty when I�m in the pits!
So, are you going to give me a ride along so you can do a spin out to show me what you have learned since that time I gave you a ride years ago?😄
Your welcome to go on a ride with me. Don�t have the turbo installed yet so won�t feel as aggressive as Geoff�s ride. Here�s a video from last week at LS playing around with the Garmin Catalyst
I fought a similar fight last year with my V8R motor mounts. The problem was that the sleeve was too thin for the bushing and the clevis would clamp on the bushing effectively negating the usefulness of the bushings.
I fought a similar fight last year with my V8R motor mounts.
HAH! Thanks for the link to the thread, thats outrageous!
I really didn't want to but in the ended I zipped up my jorts, putting on my safely flops, and ripped the driver side mount out in order to check. As far as I can tell, mine are also too short by what I perceive as exactly 3mm. How much you want to be the steel "ears" on the clevis are exactly 3mm thick? lol. I'll measure it tomorrow to find out.
That would have crushed the hell out of the "lips" on the edges of the bushings causing the NVH nightmare that you and @boileralum was referring to. So I guess I need to make a set.
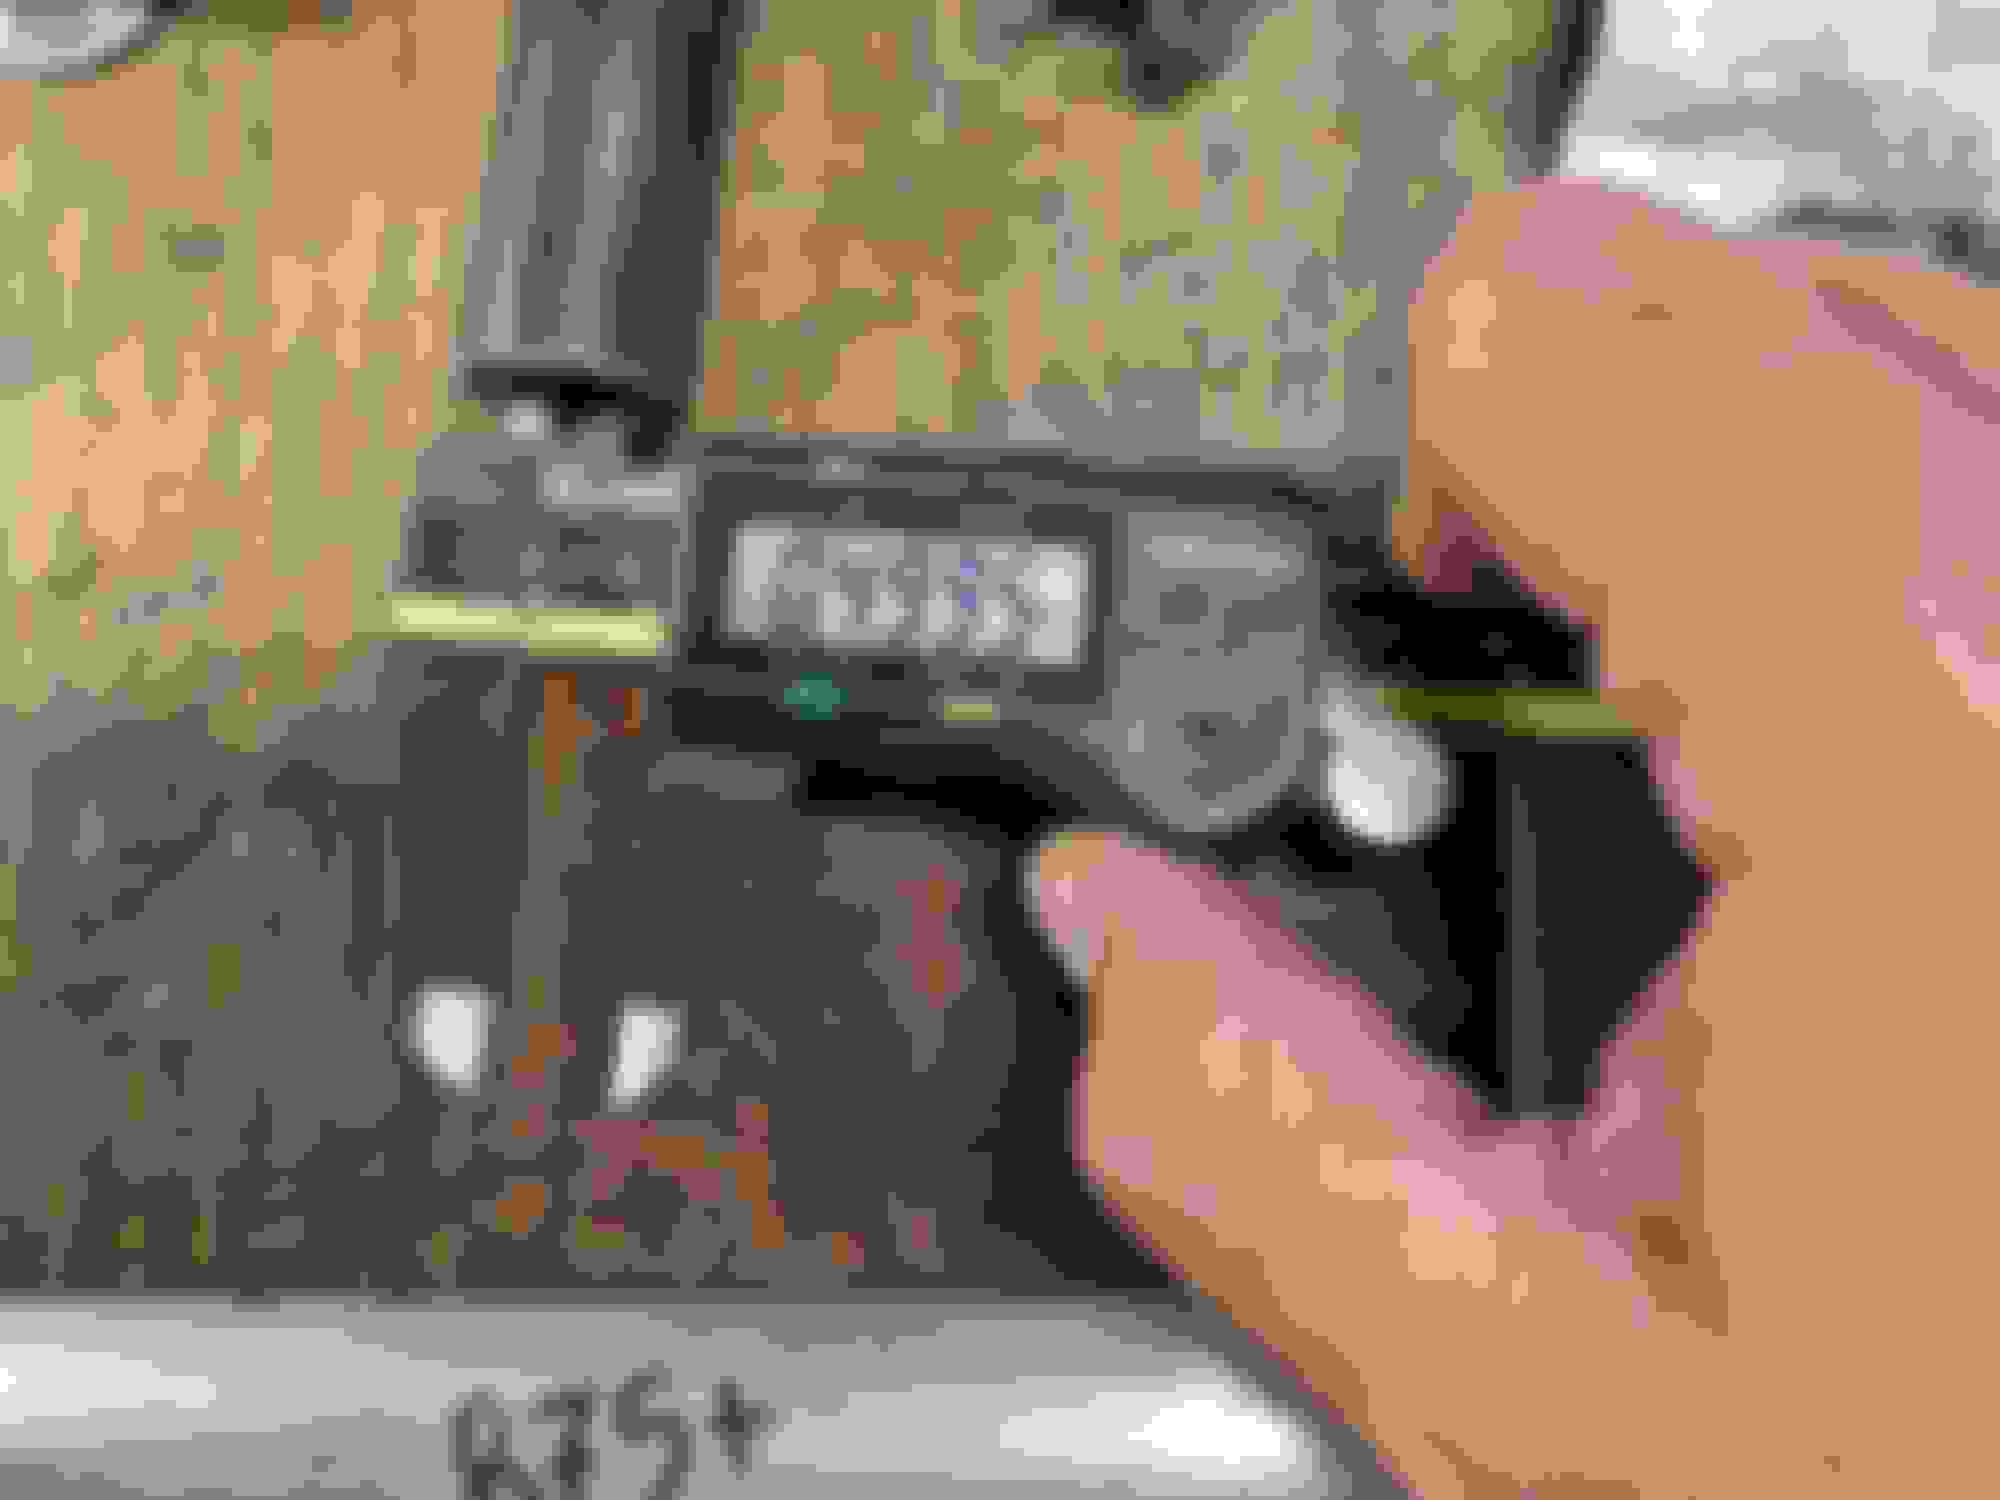
Steel sleeve as provided by V8R is a nominal 7/8" OD tube
With a 1/2" nominal ID. I don't have any steel but I do have some 0.875" aluminum bar stock, which for this application should be fine. Plus aluminum is lighter than steel. Gram strategy bro. #becauseracecar
Inside of the "clevis" is 60mm. I love mixing imperial and metric
Width on the bushing is close enough that it shouldn't matter.
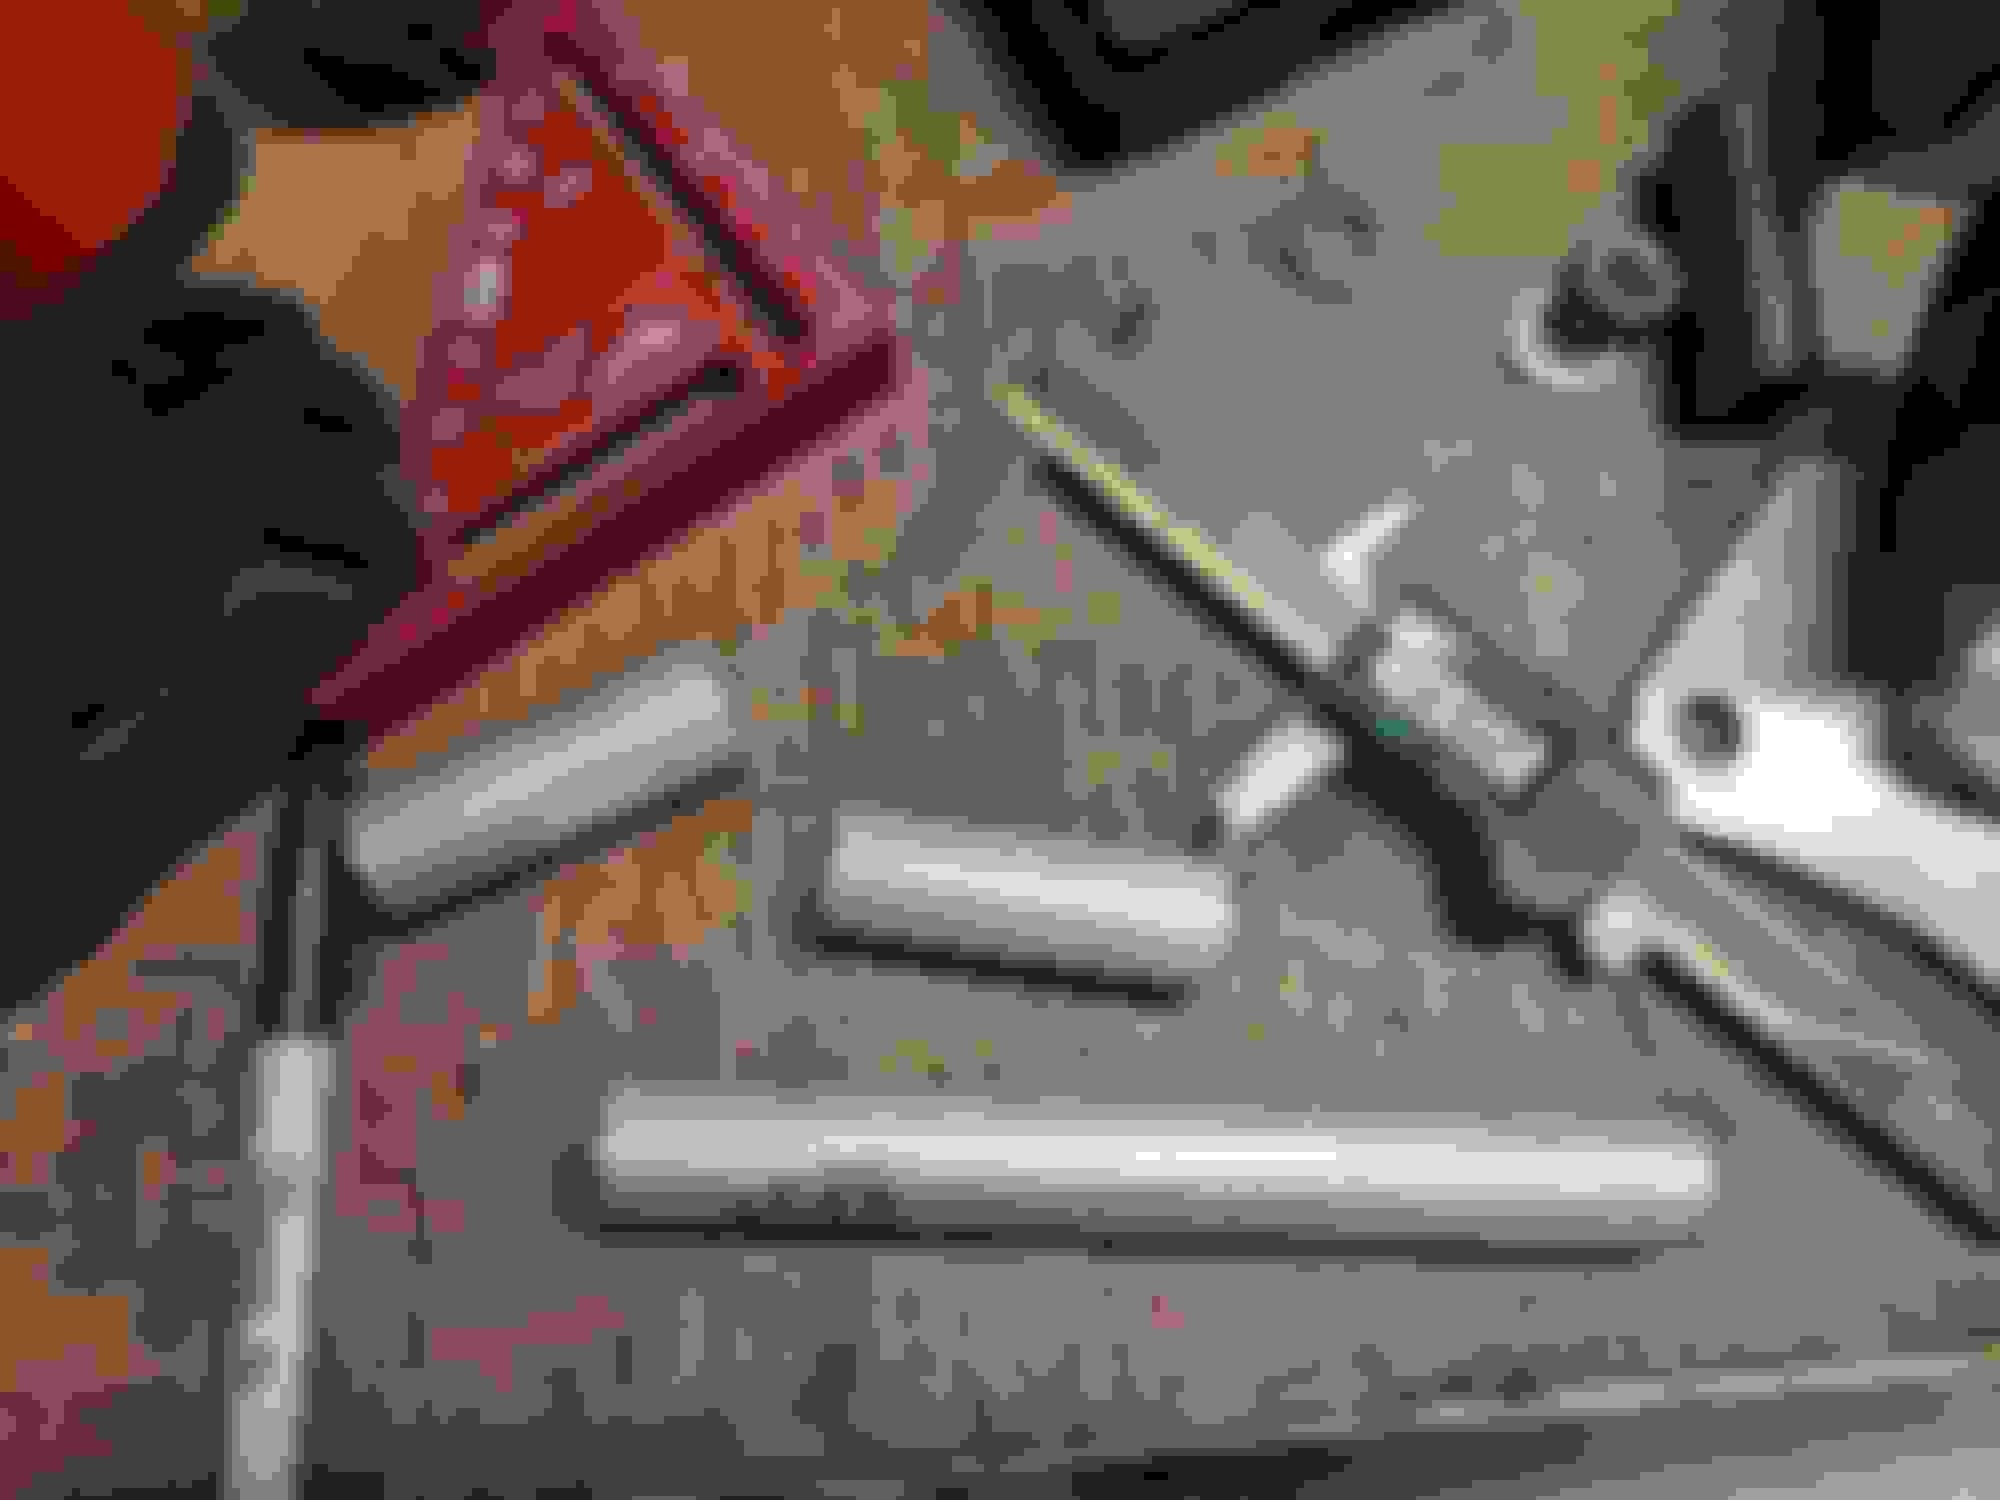
Knock out some slugs on the Porta-Bandsaw
Overlength slugs I might add.
With beer #3 in hand its off to the mini lathe where they are faced, as is tradition.
Then flipped the cut to length. P R E C I S I O N. Almost makes it look like I know WTF I'm doing.
Center drilled, then through drilled with whatever random drill bit was on the bench (15/64" maybe?)
Then blast her through with the "big" 1/2" drill. Note to self: mini-lathe does not like 1/2" drill
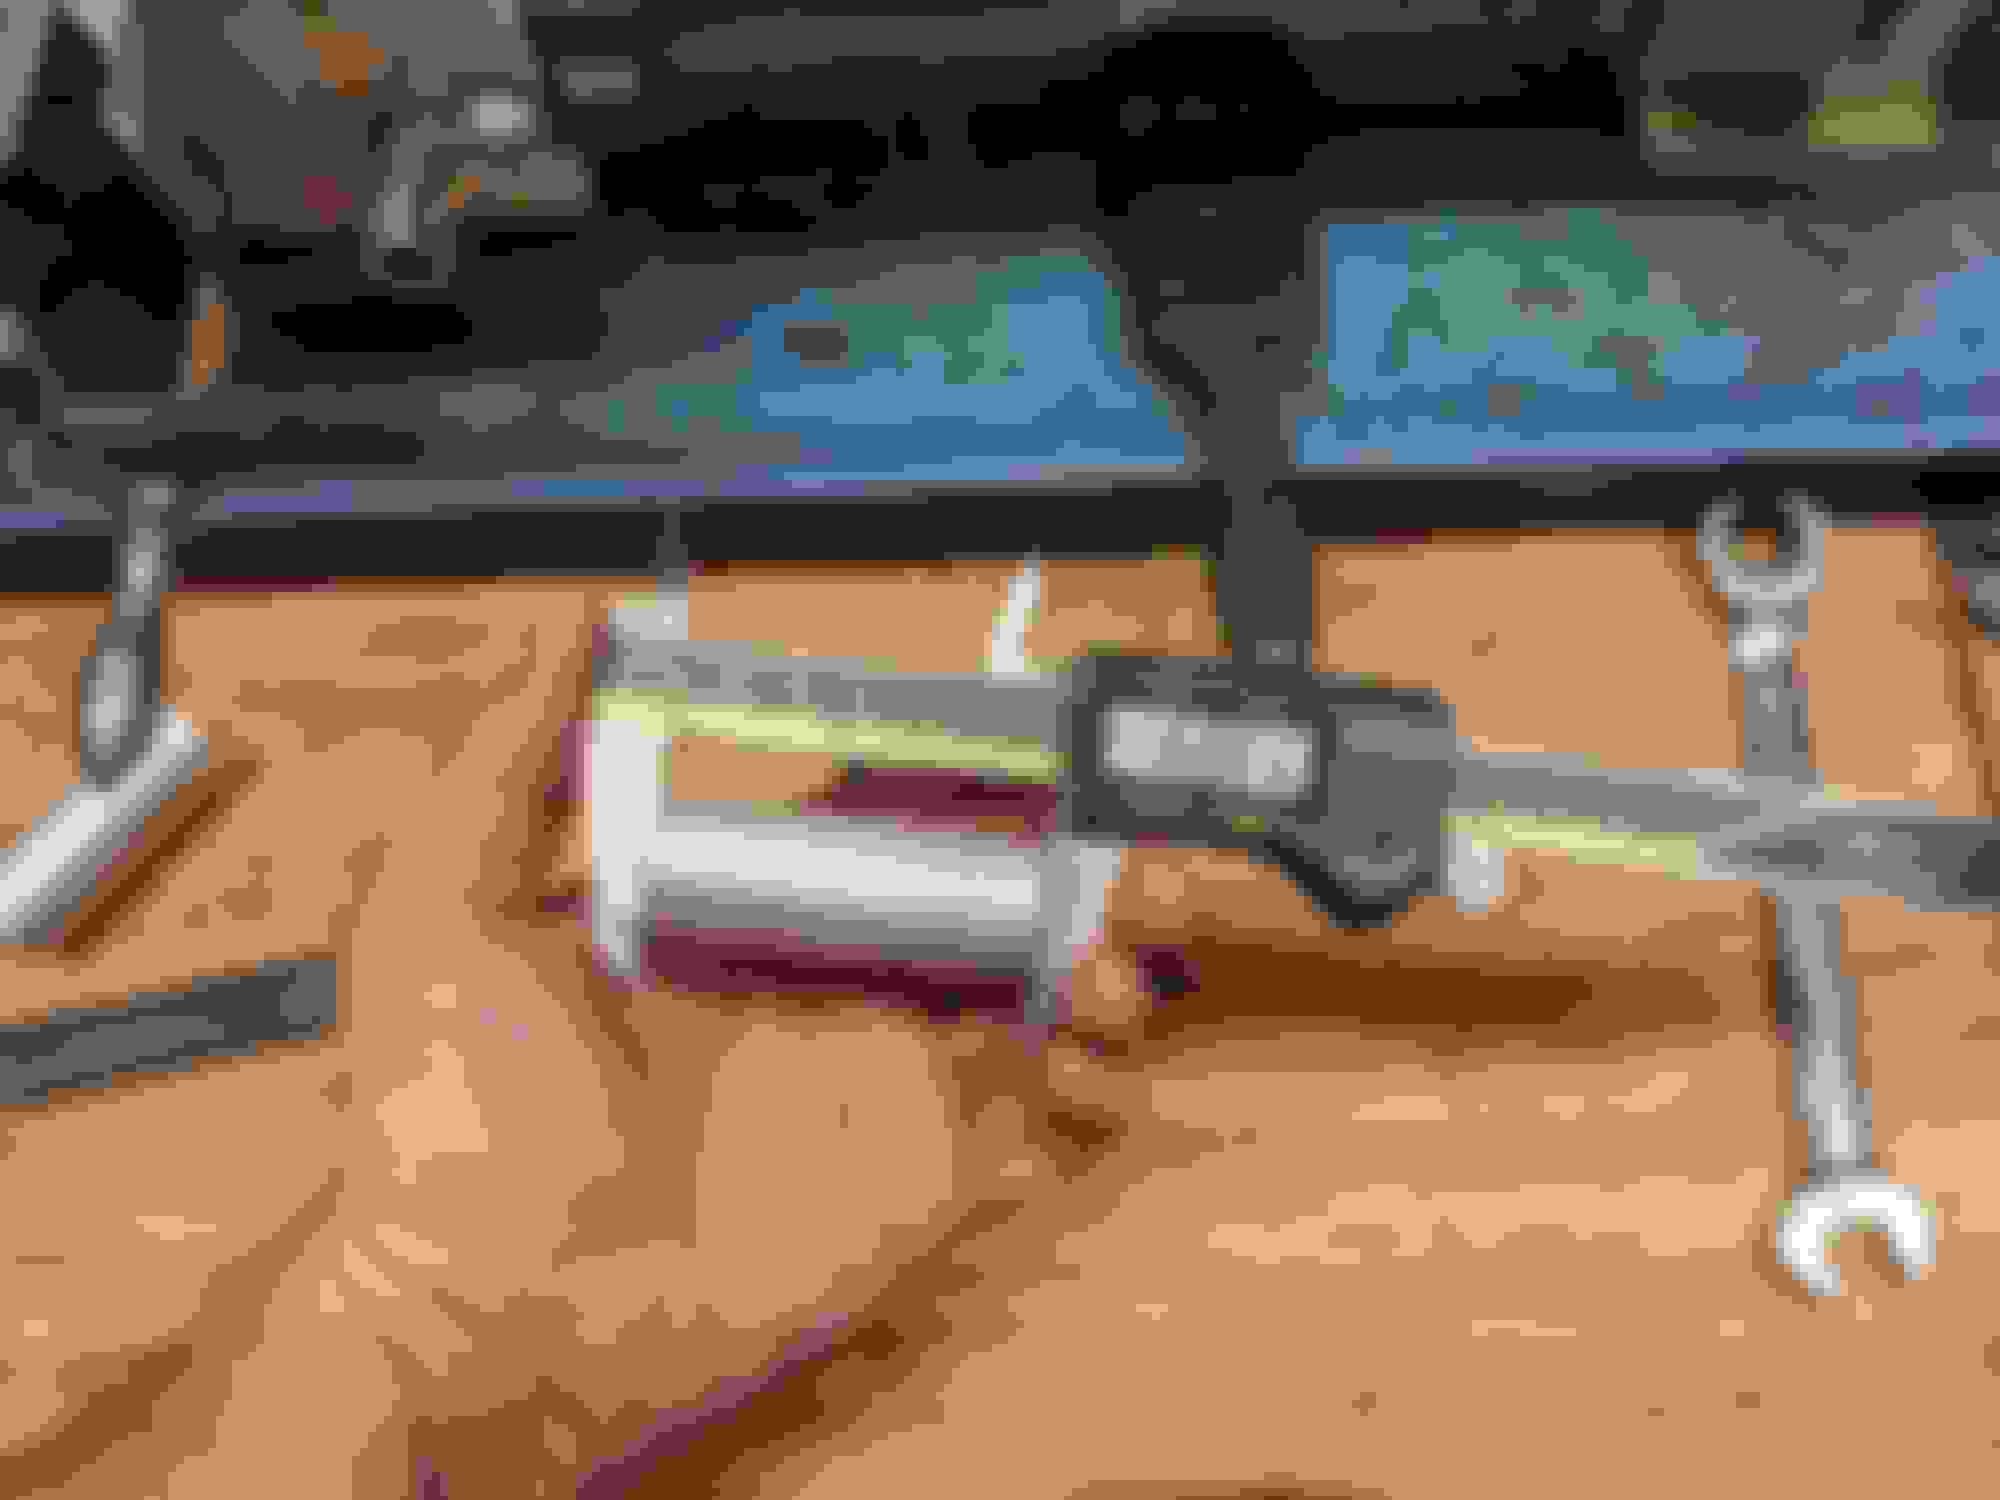
A little debur and ready to rock.
Fits gr8 m8. They came out just long enough to push into the clevis and hold themselves in place between the "ears"
Then make another one just like it!
Hopefully V8R made these things consistently enough that I can chuck this one back in tomorrow morning, retorque everything, then pull the passenger side one and do the swap on that side. Bleh. I appriciate the heads up there @andym
Originally Posted by codrus
Biggest challenge is that since the screws are upside down you have to remember to flip which way is loosening/tightening. Don't strip them!
I'm thread-dyslexic anyway, so 50/50/80 rule applies (if given a 50/50 chance, 80% of the time I'll pick the wrong one) kind like USB-A plug.
What's in there now? Curious how long they lasted for you.
Of course if its anything like you and clutch slave cylinders, I expect you change your hoses every time you change your oil.
Whatever 949 sells (Mishimoto? Which would probably explain my experience). They started seeping coolant after about... 50 miles? Not enough to be visible, but it reeks and coolant level very slowly goes down.
All silicone hoses I have tried over the years do the same; slowly "sweat" coolant, they are all a bit permeable. This (and the shiny finishing) is why I hate them. On the other hand, I love OEM-style spring clamps, so I am not exactly sane...
All silicone hoses I have tried over the years do the same; slowly "sweat" coolant, they are all a bit permeable. This (and the shiny finishing) is why I hate them. On the other hand, I love OEM-style spring clamps, so I am not exactly sane...
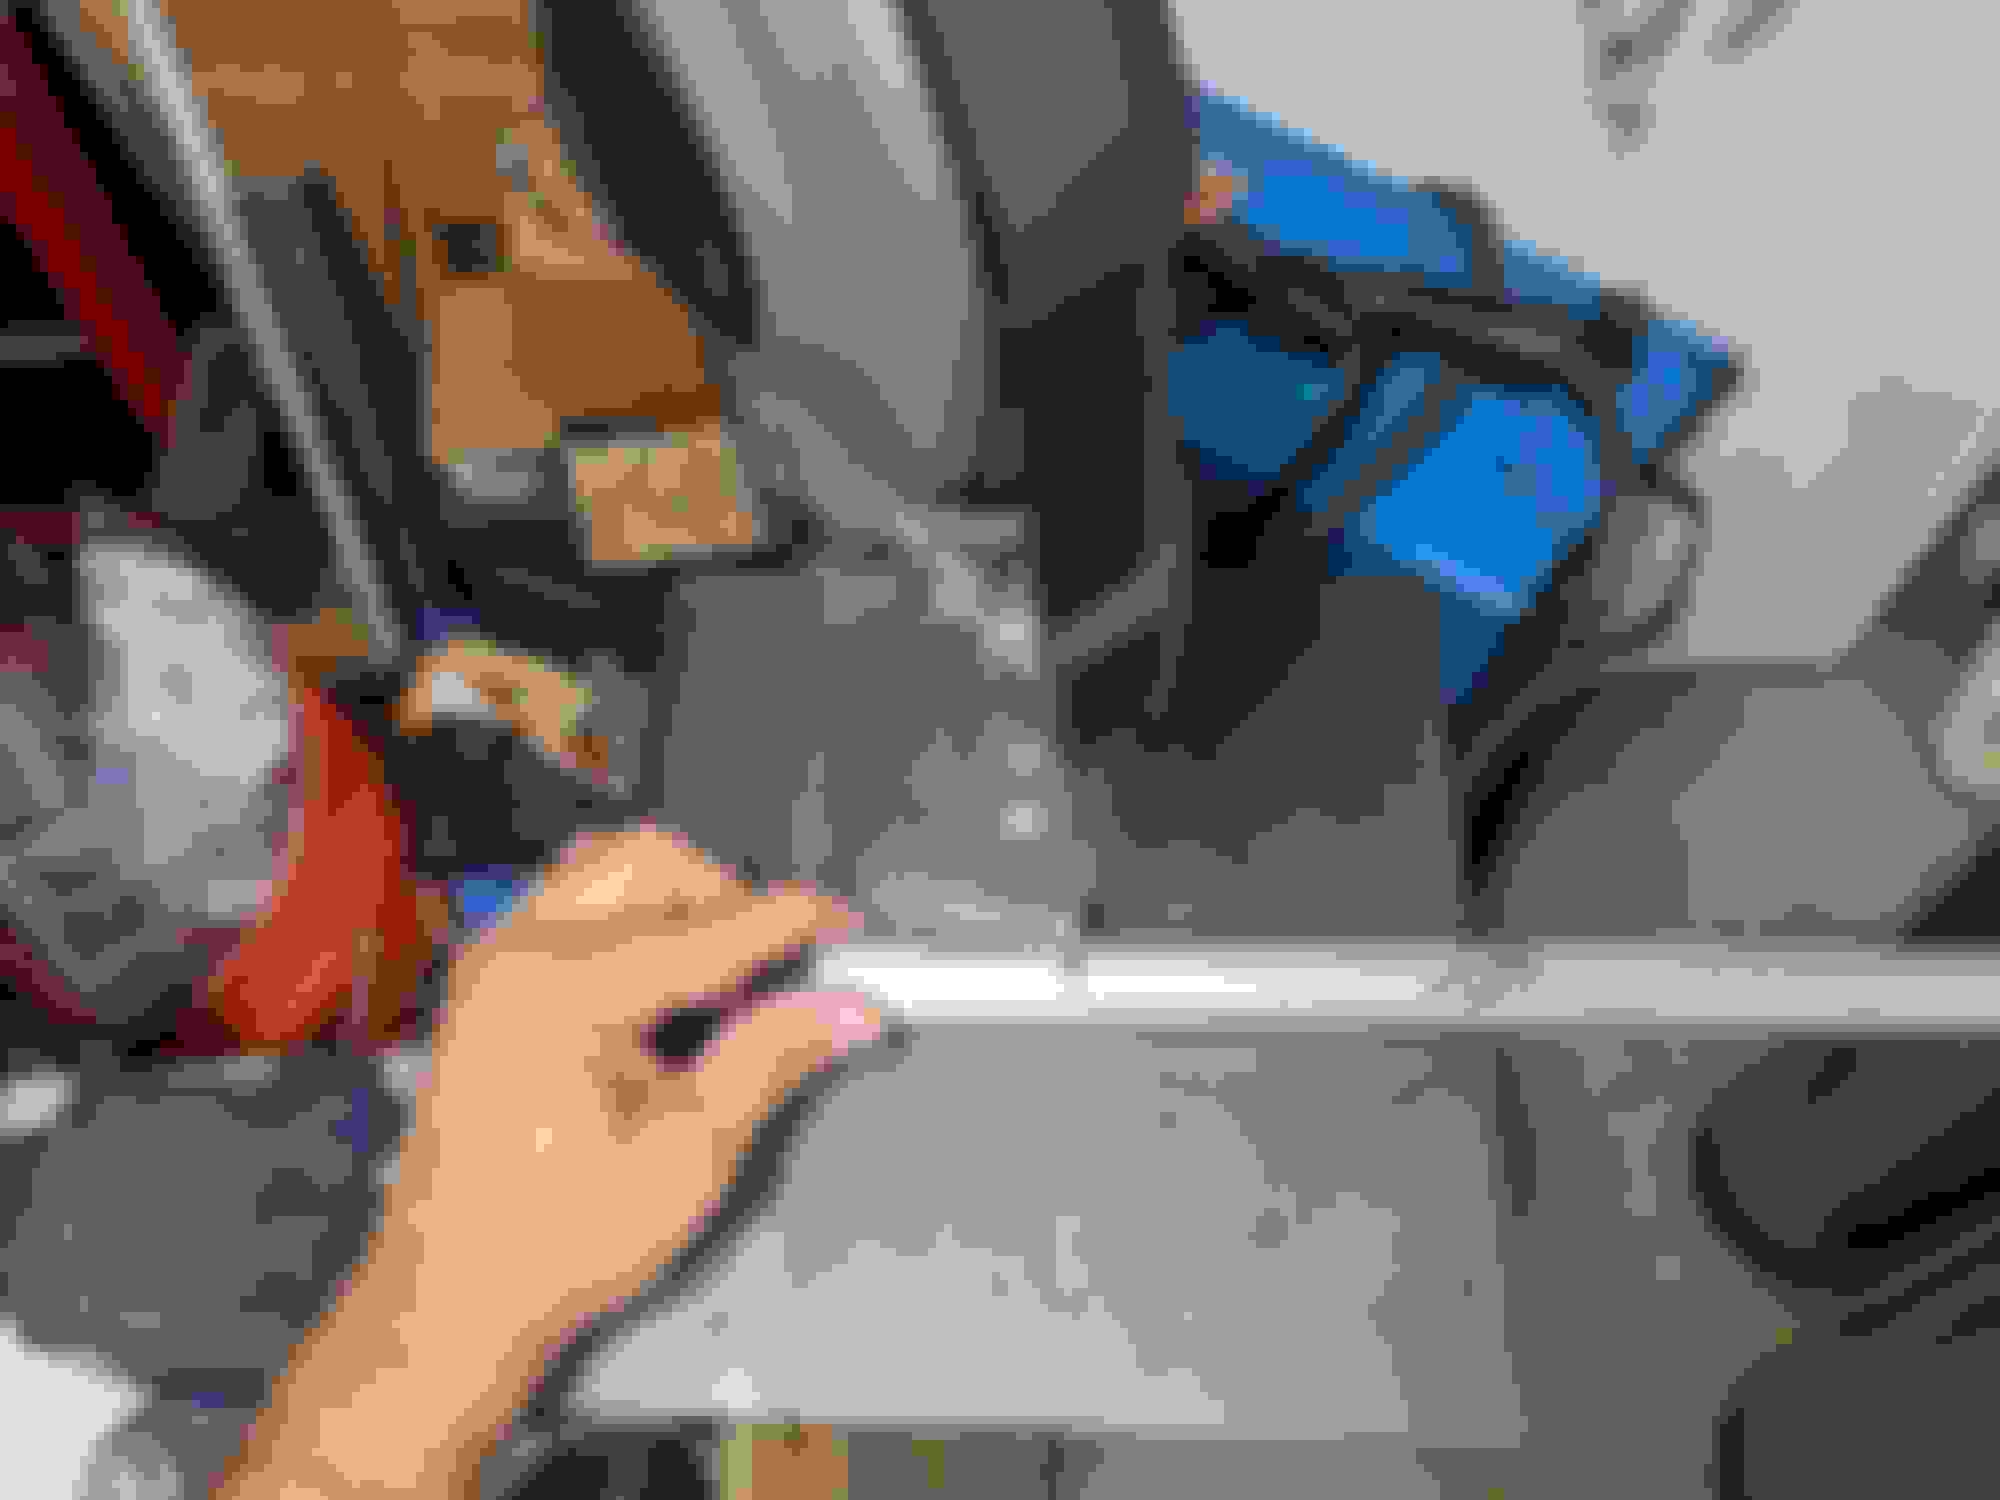
Interesting find this morning while doing sleeve R&R on pax side:
That looks an awful lot like contact.
Looking at the clearances when assembled, the only way to fix that would be to take a slice out of the aluminum bushing eye with something like a mill. Contact would completely negate any function of the bushing and I'm pretty sure Cadillacs aren't designed with metal-to-metal contact in the engine mounts. Sent her all the way anyway, we'll see if it's an actual problem.
Another interesting find:
Please forgive the samsquanch legs and jorts, it's already 85� out here this morning.
The poly bushing isn't completely supported by the ears of the clevis. I don't know if it actually matters, it just seems like an odd design choice. Or hacky oversight. Either way I don't really like it.
Looking at the clearances when assembled, the only way to fix that would be to take a slice out of the aluminum bushing eye with something like a mill. Contact would completely negate any function of the bushing and I'm pretty sure Cadillacs aren't designed with metal-to-metal contact in the engine mounts. Sent her all the way anyway, we'll see if it's an actual problem.
Originally Posted by EO2K
The poly bushing isn't completely supported by the ears of the clevis. I don't know if it actually matters, it just seems like an odd design choice. Or hacky oversight. Either way I don't really like it.
 07-07-2021, 11:09 PM


 2
2


 No more spots in Intermediate so I signed up in Novice. It's been a LOOOOONG time so I figured that would be safe.


 nice work!