When you click on links to various merchants on this site and make a purchase, this can result in this site earning a commission. Affiliate programs and affiliations include, but are not limited to, the eBay Partner Network.
Since it's pretty much done I moved her out of the garage and finally washed the car. Usually keep my Nissan in the garage so the Miata is back in the driveway.
As the title states nothing special here - plan on doing the very popular T25 + cast manifold = 250ish build. This is mostly a reference for my local miata friends and future documentation if I sell the car eventually.
So I have had this car for about 6 years now. Bought it stock with a bunch of extra parts as the previous owner had plans to turbo it but never finished. Its was pretty rough - AC leaking bad, 160k miles, soft top had tons of holes, lots of rust, but it ran great and I wanted something practical for my commute to work (mpg-wise) and rwd. Relevant list of what I bought:
1997 5 speed with torsen
15x8 wheels
Hardtop
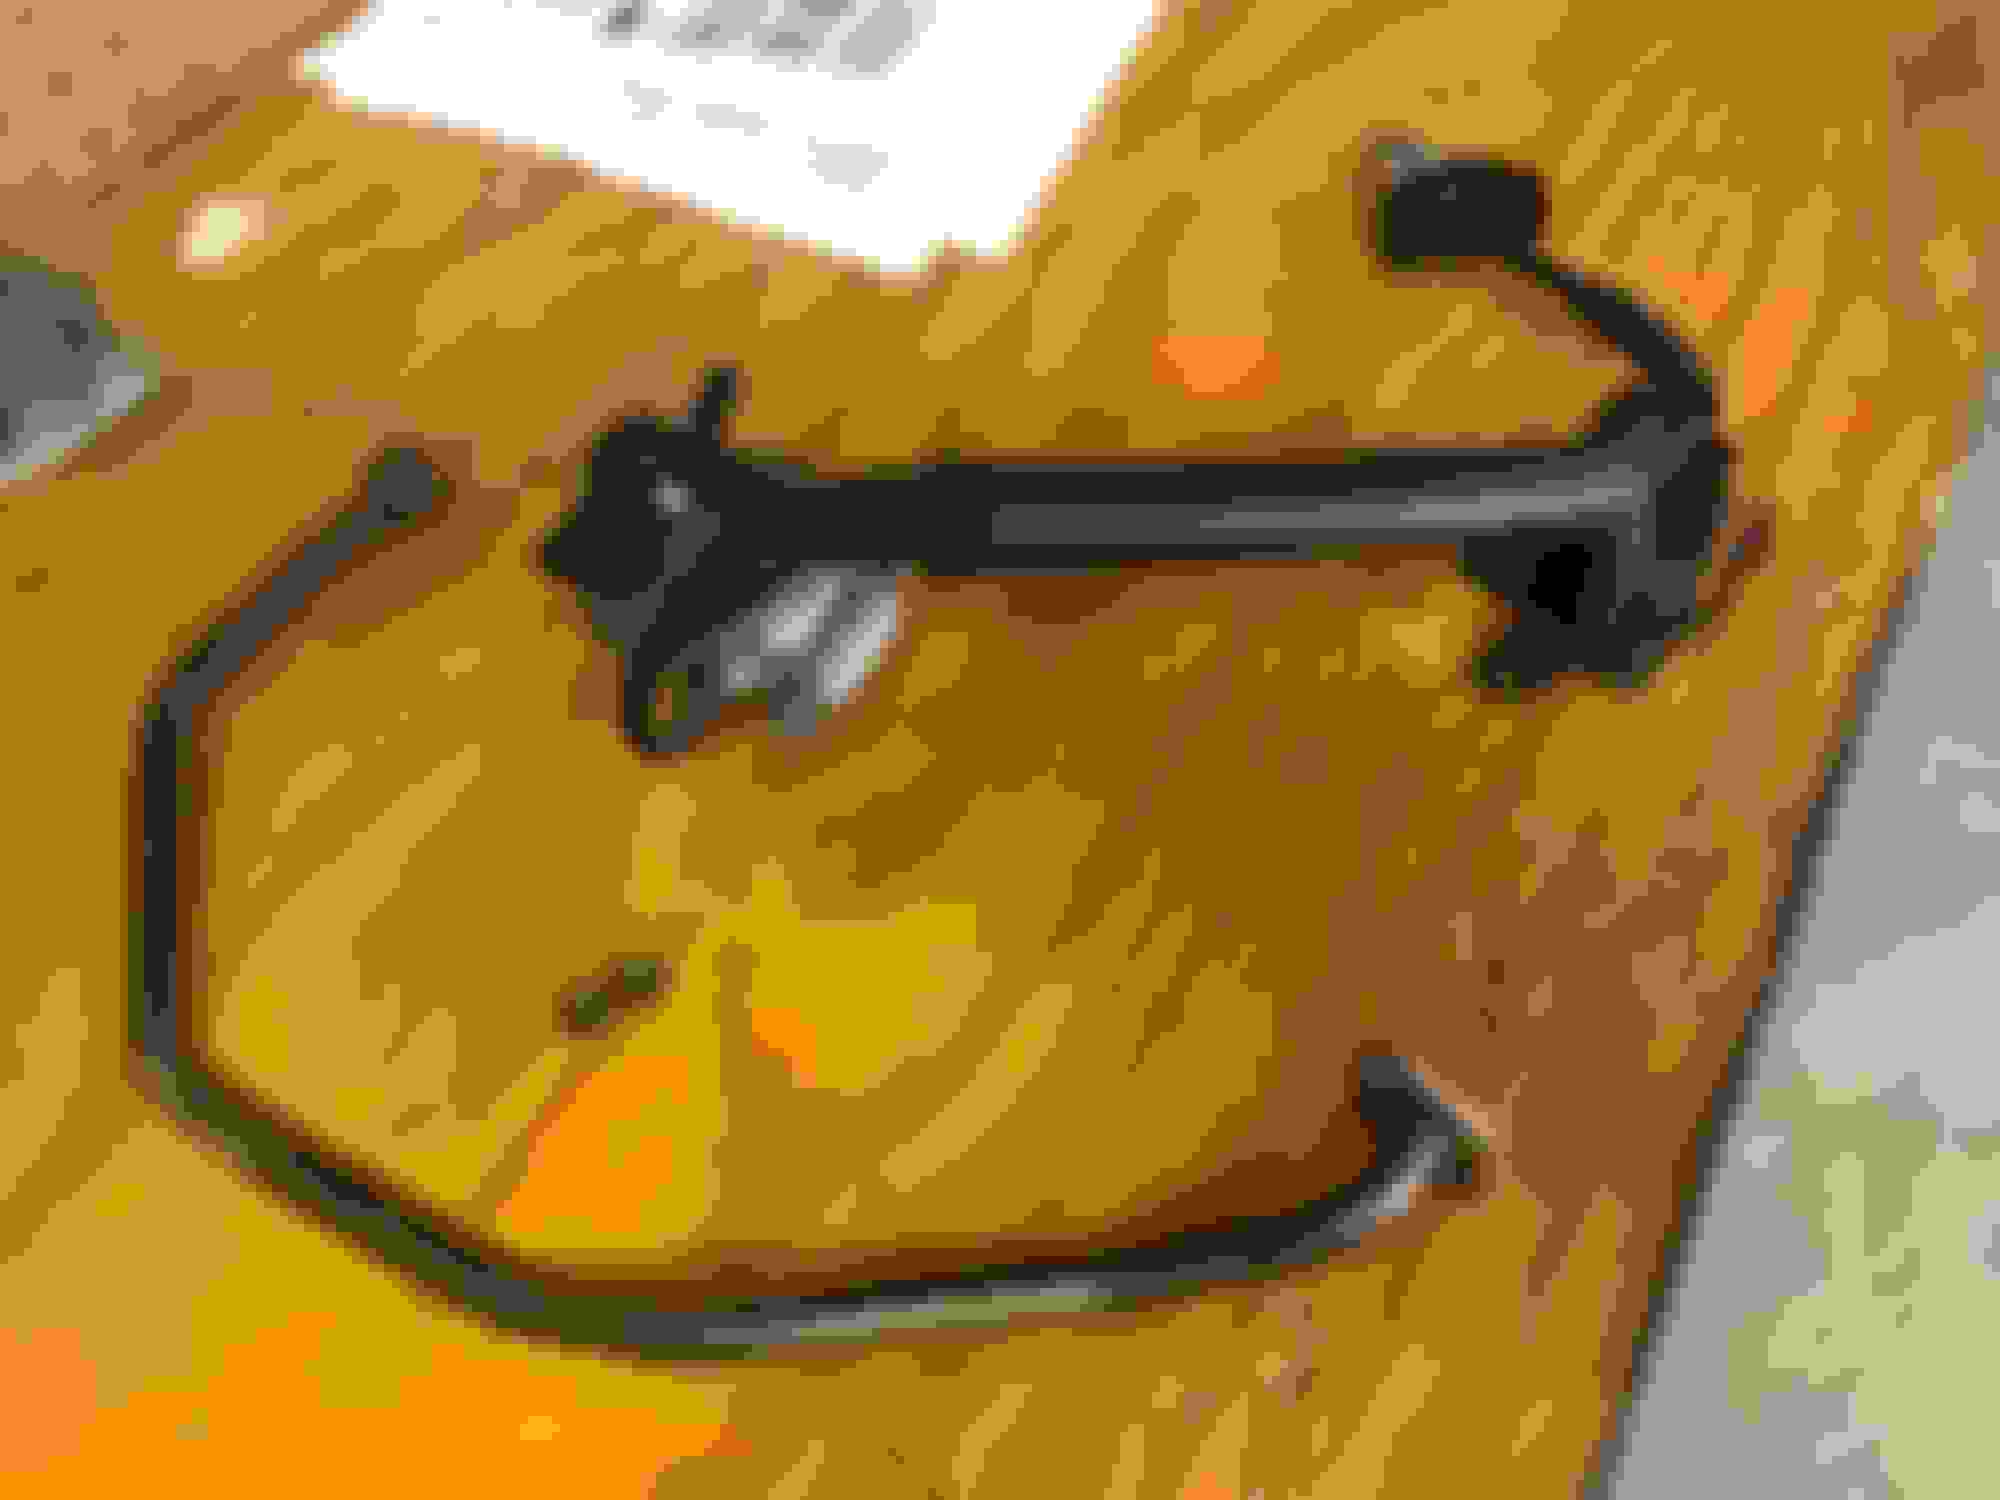
Hard dog single diagonal roll bar
KYB agx with GC sleeves
Knock off bucket seats and harnesses
Front lip and tow hooks
---Not installed but included with car---
Brand new Innovate wideband, oil and coolant gauges
Most turbo parts from a wrecked MSM
Set of hoosiers with unknown amount of heat cycles
Because of the rust I got it for a good deal and all the included stuff I either wanted to install anyway or would sell. Here is how it looked when I picked it up
Never owned a Miata before but really fell in love with this car. So easy to work on, cheap aftermarket, tons of them in the junkyards to pick apart and probably the best handling car I have ever driven. I just got to work on maintenance stuff, hooking up the gauges, painting the hardtop and removing all the soft top stuff and deleting AC. At this point I just daily drove it the way it was.
Bought a diy bikini top and vented side windows. Makes the car great to drive on hot days.
And took it to a few track, autox and drift events.
Since I bought it the plan was to turbo the car eventually. I wanted to experience the car stock before adding anything so I appreciate it a little more. It was at this point (maybe 3-4 years ago) that I started reading a lot on MT.net. Before reading my plans was to use the turbo parts I got with the car, but soon changed my mind after visiting this site. Here is what came with my car
So I sold the MSM stuff and planned a goal for my turbo build. I also sold the hoosiers as I really didn't have any interest in them. I like going to the track but am not very serious and just go for fun.
I was moving around a lot at this point due to work so I only did a few small things mostly non-turbo related.
Added some side skirts and a factory passenger seat. The full bucket that came with the car was very uncomfortable and looked awful.
Deep dish steering wheel and short hub. I like my wheel to sit a little closer to me and this felt great.
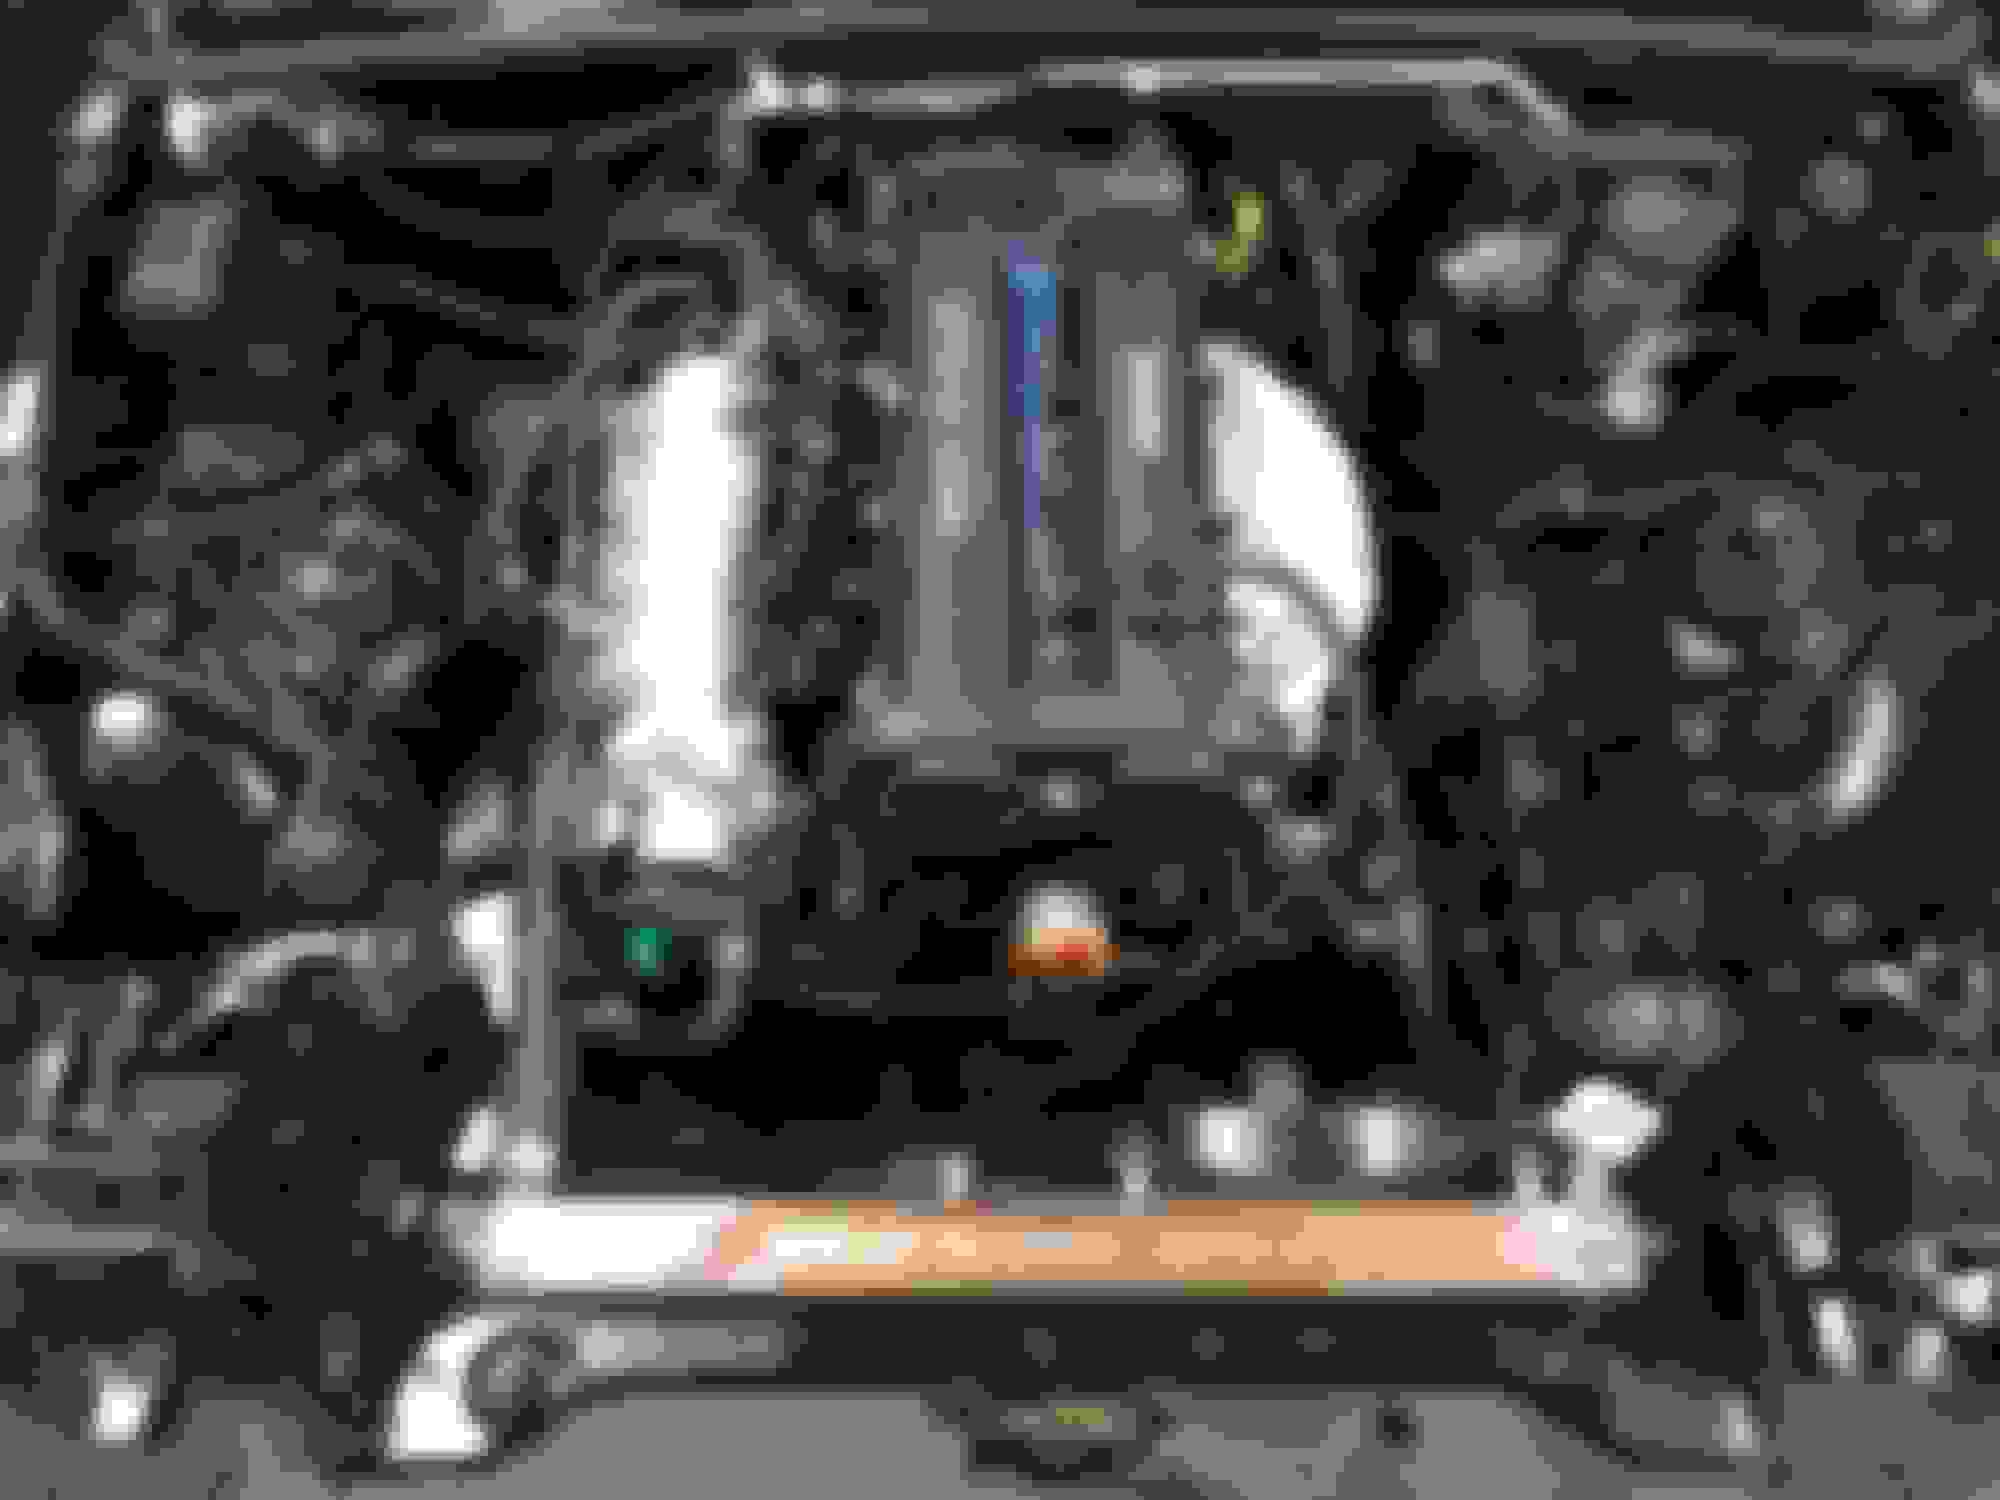
Tidied up the bay a little. Painted the valve cover when I replaced the infamous leaky cas o-ring. Deleted a couple of things I didnt need.
So I acquired a cheap 1.6 dash and door cards from a junked miata. I always liked how clean the dash and doors looked on a 1.6 so I decided to swap. Re-covered the cards with quilted leather.
About the only kinda turbo related thing I did around this time was a diy 3" cat back exhaust. Magnaflow muffler and ricer tip. Oh did the bumper cut too. Not sure how I feel about it. but my bumper is pretty messed up anyways.
The reason I sold the MSM turbo stuff was that everyone complained that the msm turbo is too small and the factory setup would all need to be replaced anyway if I would choose to upgrade.
So my plan was to go FMII no electronics, rx8 injectors and MS2PNP for a great budget setup.
I purchased the fm lv1 clutch, 10lb flywheel, MSPNP2, and a used 2560r.
My plan was as follows
1. Get new clutch and flywheel in and break in procedure done
2. Get car running on MS
3. Swap the RX-8 injectors in, get car running on those
4. Install turbo stuff, get car running
5. Get it dyno tuned
Decided to install clutch and flywheel myself on my garage floor. I have never installed one with the engine/trans still in the car, let alone by myself.
...aaaaand that sucked. Next time I will do it on a lift or just pull the whole motor. Replaced the pilot and throwout bearing, rear main seal, shifter bushing and added MT-90 gear oil. It wasn't fun but it worked great after I got it back together. Lighter pedal feel too!
Next was the MS. So this is where I screwed up. I got it installed fine but did not read enough about tuning and initial setup. I assumed the base map would get my 100% stock engine running without much involved - I was wrong. It took me about a week after the install to get the car to start and another week to get it to stay started. Not sure what I did wrong but I could not figure out how to get this car running. It was always extremely rich and no matter how much fuel I took out nothing changed. After a month I gave up and put the old ECU back in. I was about to move again and ran out of time to mess with it. Once I moved and took break from working on cars due to work ramping up, I sold the MS to my buddy who had a whole turbo kit ready and needed an ECU. At this point I knew I had to do way more research before trying a standalone again and wanted to go MS3 anyway. The MS I bought was used and I was starting to wonder if it was maybe defective.
In a local deal I bought a taco manifold and FM downpipe. Even though my original plan was to get a better manifold, it was a good deal and from what I read it should all fit.
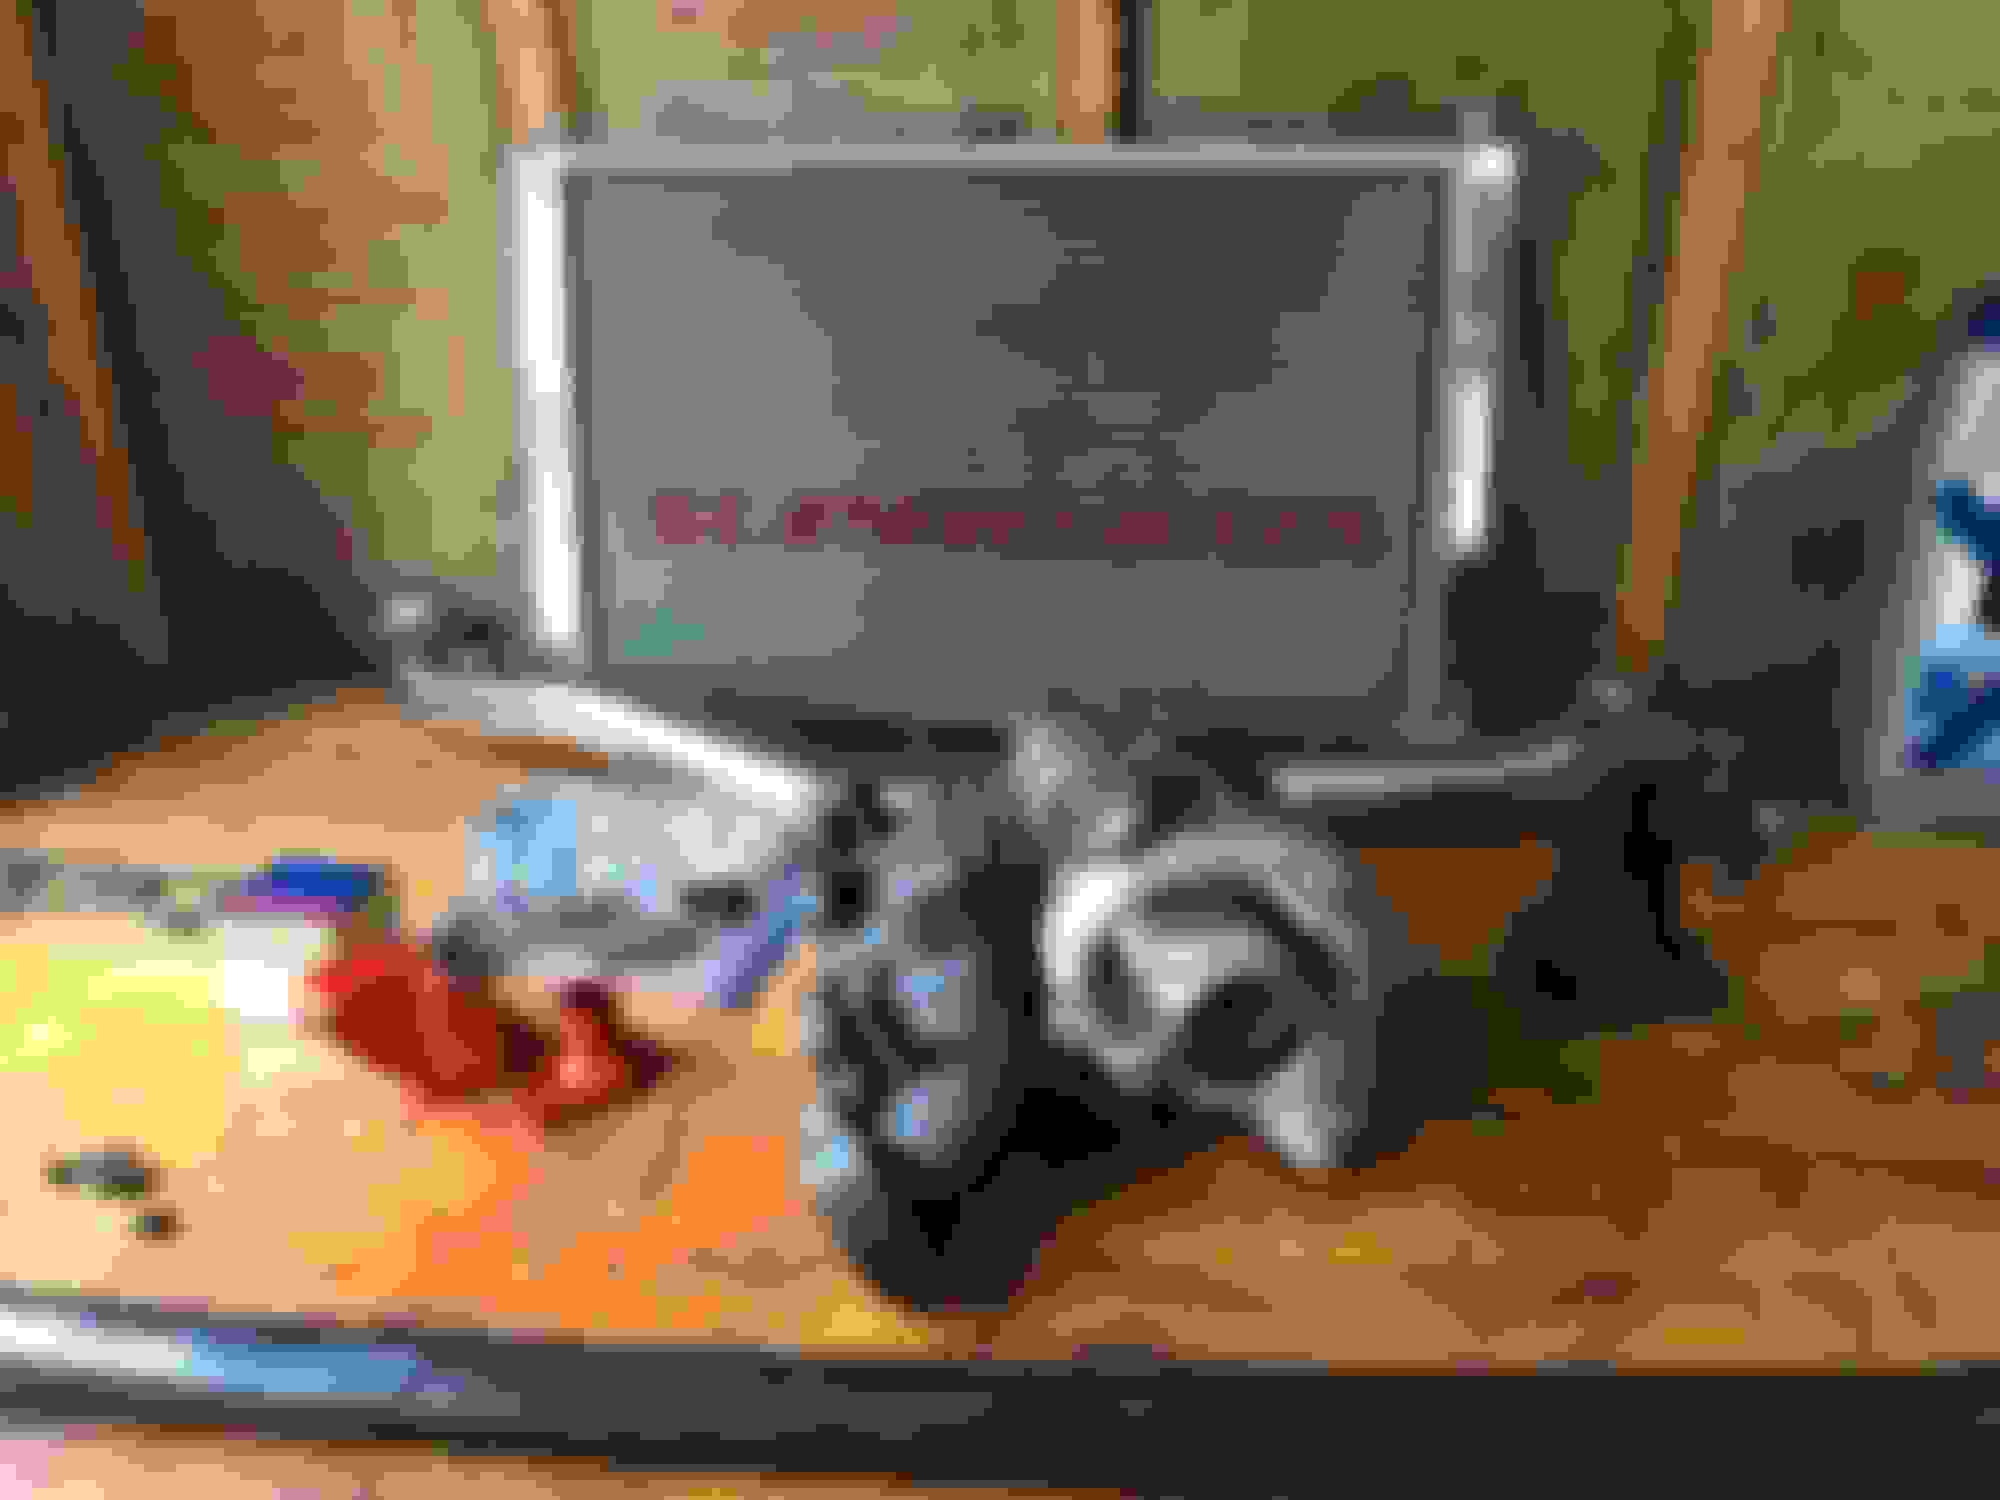
At the same time I bought a TSE coolant reroute and csf crossflow radiator. My original radiator was probably the original as it was the nasty brown/green color even though I didnt really have issues with my cooling other than on track days. Also replaced the bottom radiator hose with a silicone one. Finally, I tucked away some wires for a cleaner look.
Now it was time to attempt to get this car on a standalone again. It had been over a year since my failed MS2 attempt and this time I decided to go with a MS3 Basic with the can module.
Got it all installed and connected directly to my wideband via serial cable. This time I had been reading for a significant amount of time and had a much better understanding of what to do and the basics of tuning. Bought tunerstudio pro and had the car started right up. Within the first day it was running great. Not sure if it was the base tune or me being much more prepared but I was amazed to see it running so smooth hitting the afr targets very closely in such a short amount of time. This thing is amazing. Can module was totally worth it as one of the issues I had with my MS2 was that my wideband was never matching with the ecu. It was always slightly off no matter what calibration setting I used. The MS3 basic reads 100% what my wideband displays all the time and makes it so much easier to tune.
After a couple of weeks of auto tuning and changing various settings I have the car getting 30mpgs again and running very smooth. Only issues I still have are cold starts (have to give it partial throttle for about 30 seconds or it dies) and what I assume is accel enrich settings (off throttle the car goes very rich for a second or two before over run kicks in) but the car is good enough for daily driver duty.
Deleted the EGR with some block off plates and capped the manifold. Also deleted the PRC solenoid as I found out that MS doesn't interface with that.
Unrelated project again but shaved my taillights
I ended up selling the taco manifold, the FM downpipe and the used 2560r. I had wanted to get the turbo rebuilt as I didn't know the history of it. After seeing the cost of a rebuilt I decided to buy a new one. So I sold the turbo for exactly how much I paid for it and ordered a new one.
As for the turbo hardware I decided to buy a matching set manifold and downpipe that I knew would fit so I can do all of this without needing someone to help adjust for fitment issues. I went with the T25 Kraken kit. It shipped really fast and so far looks like great quality!
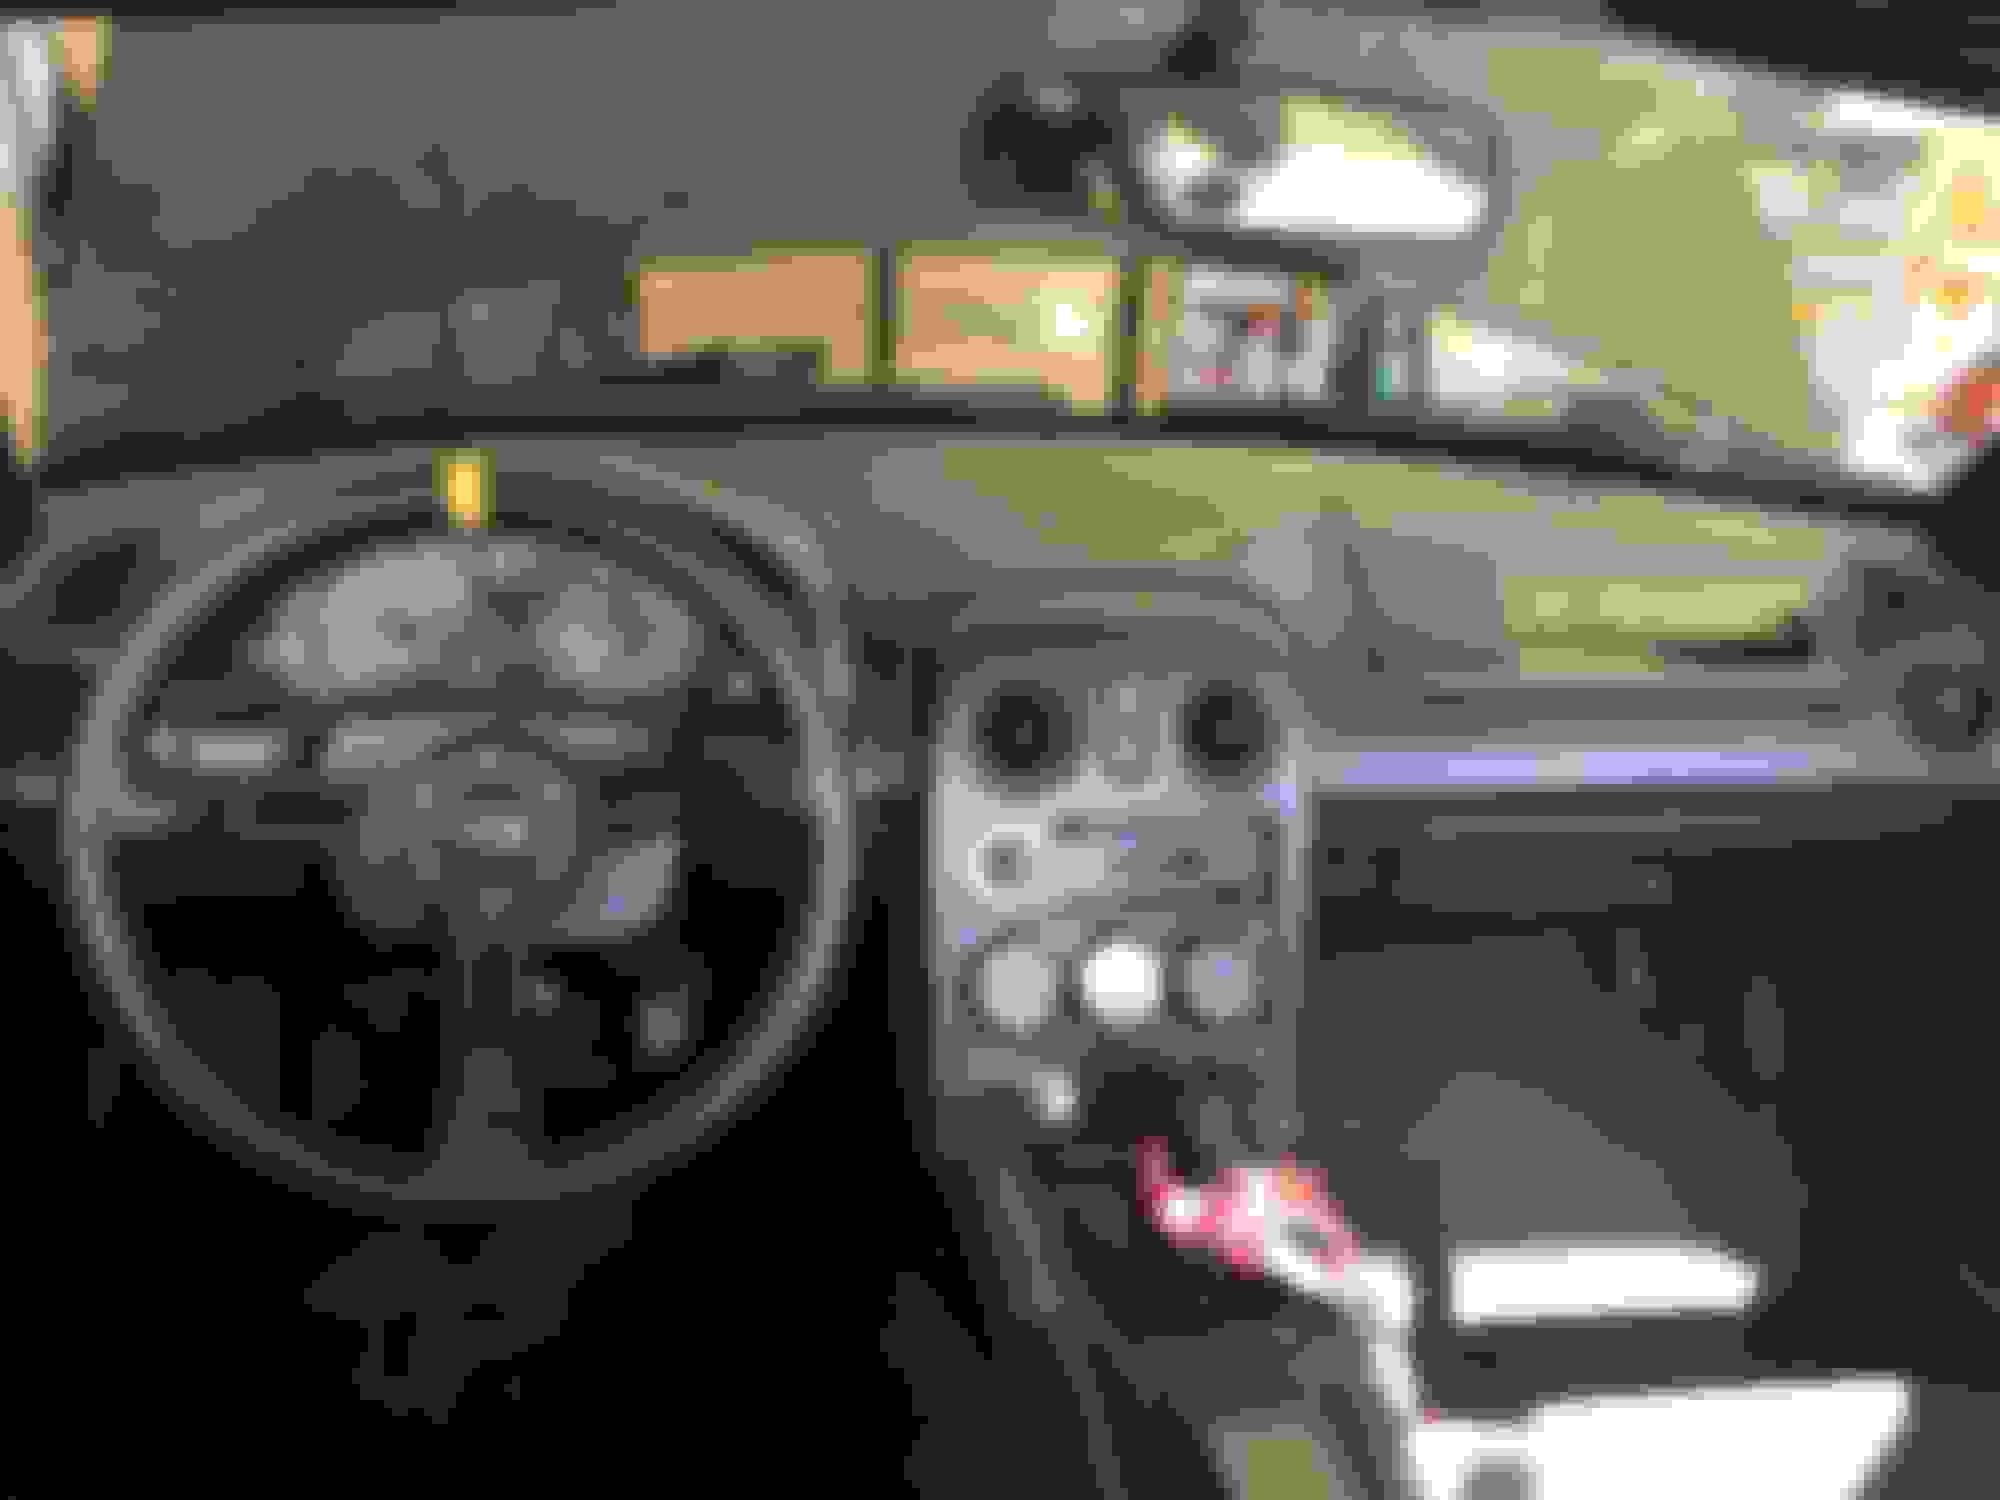
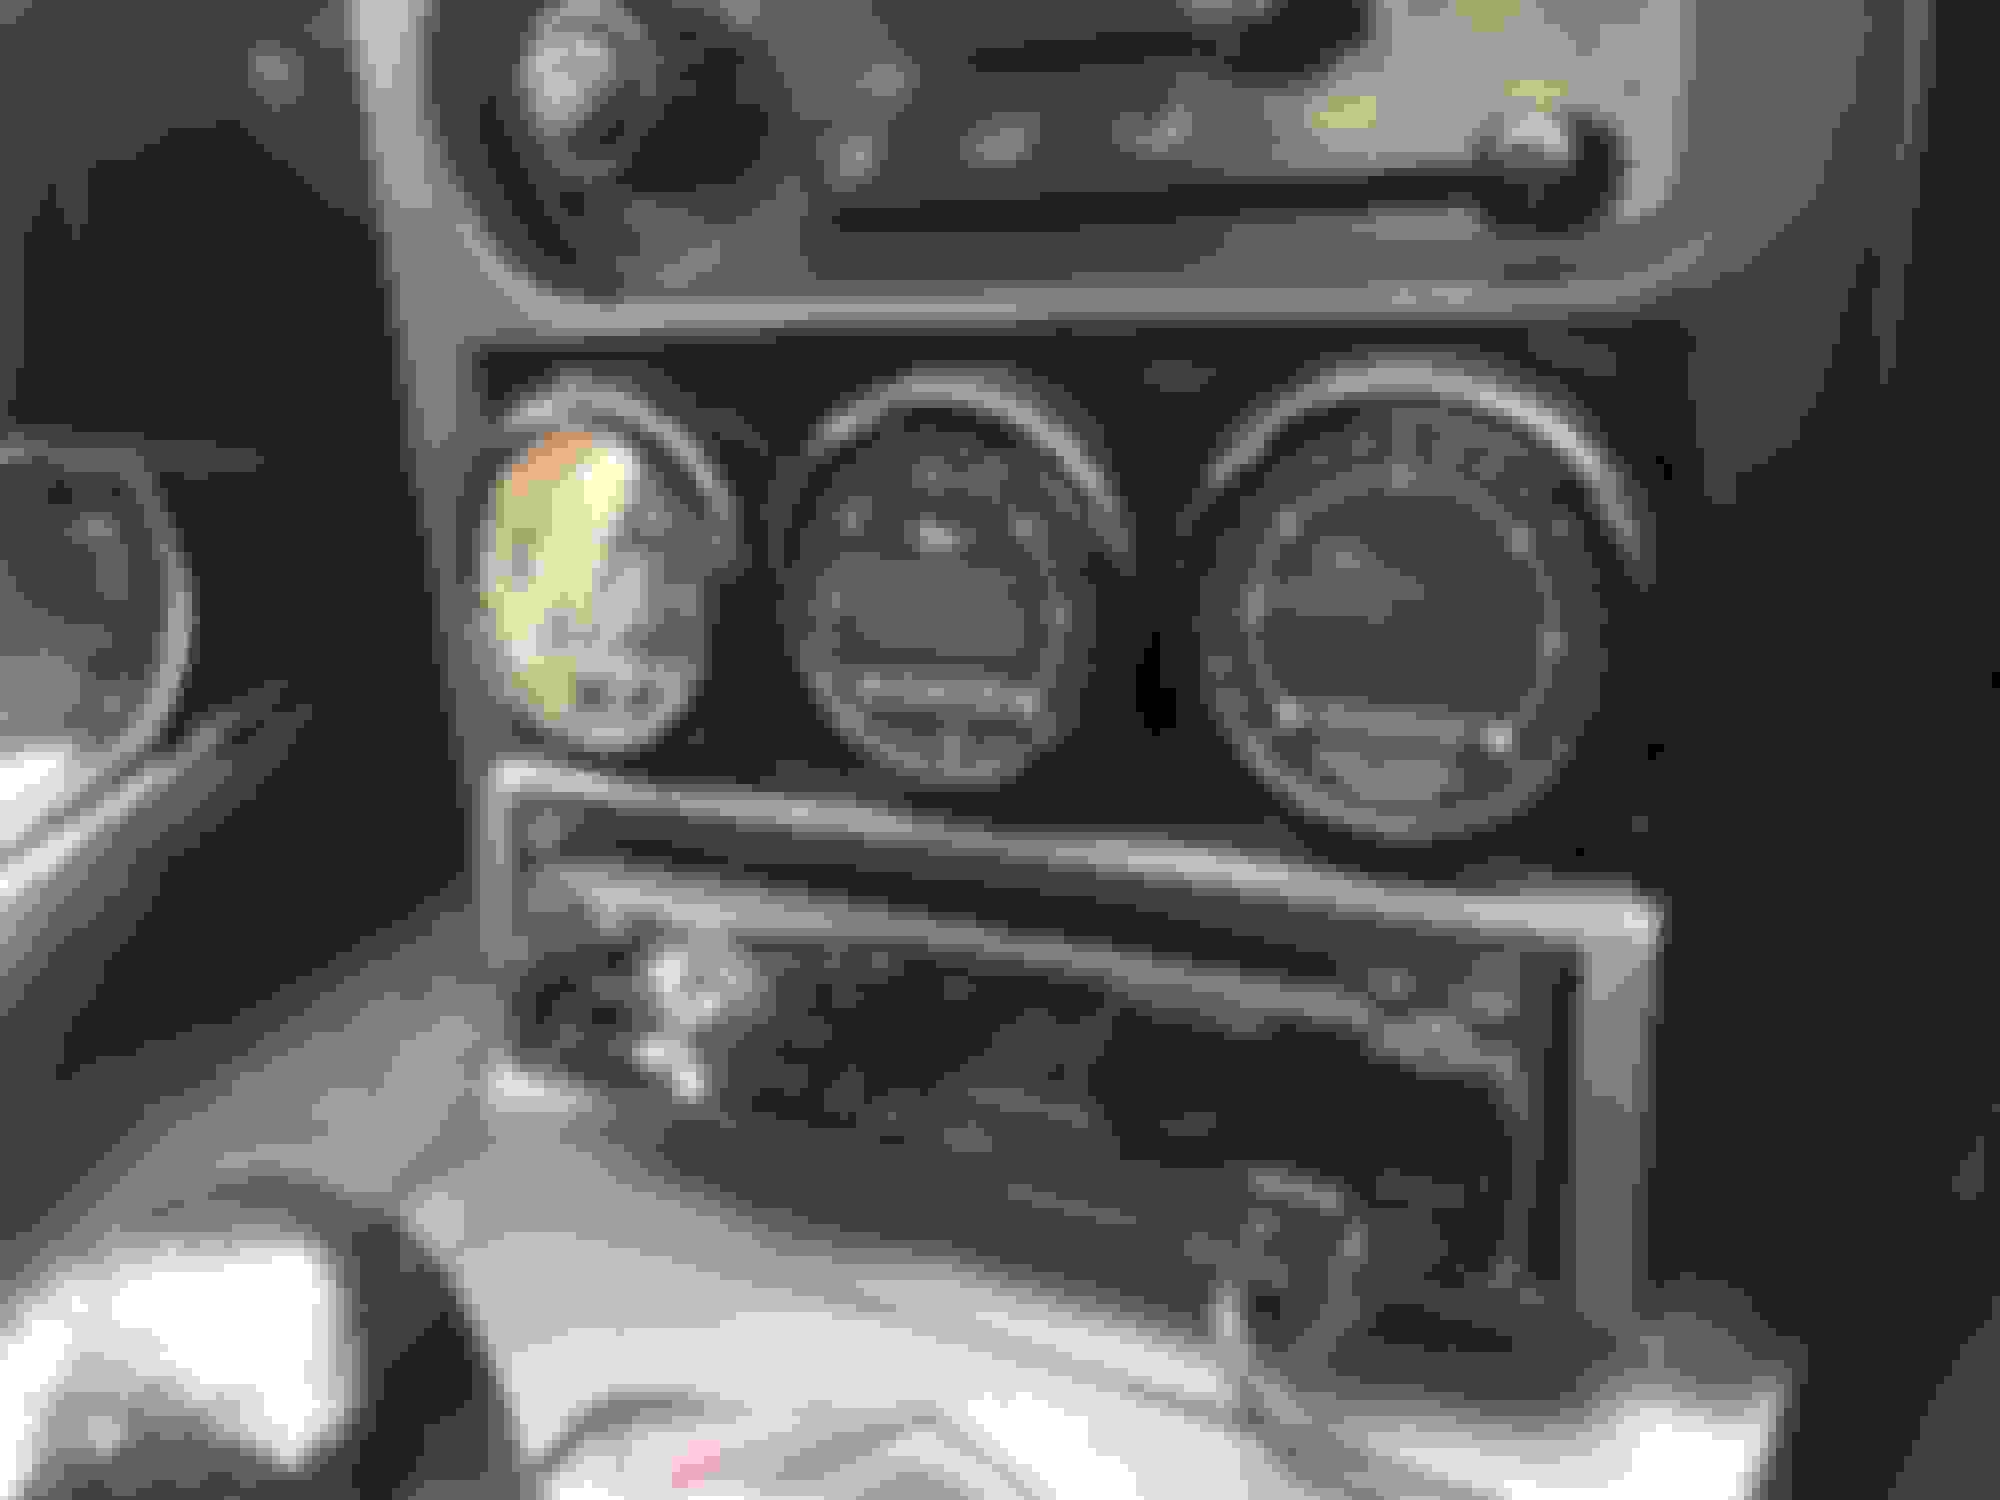
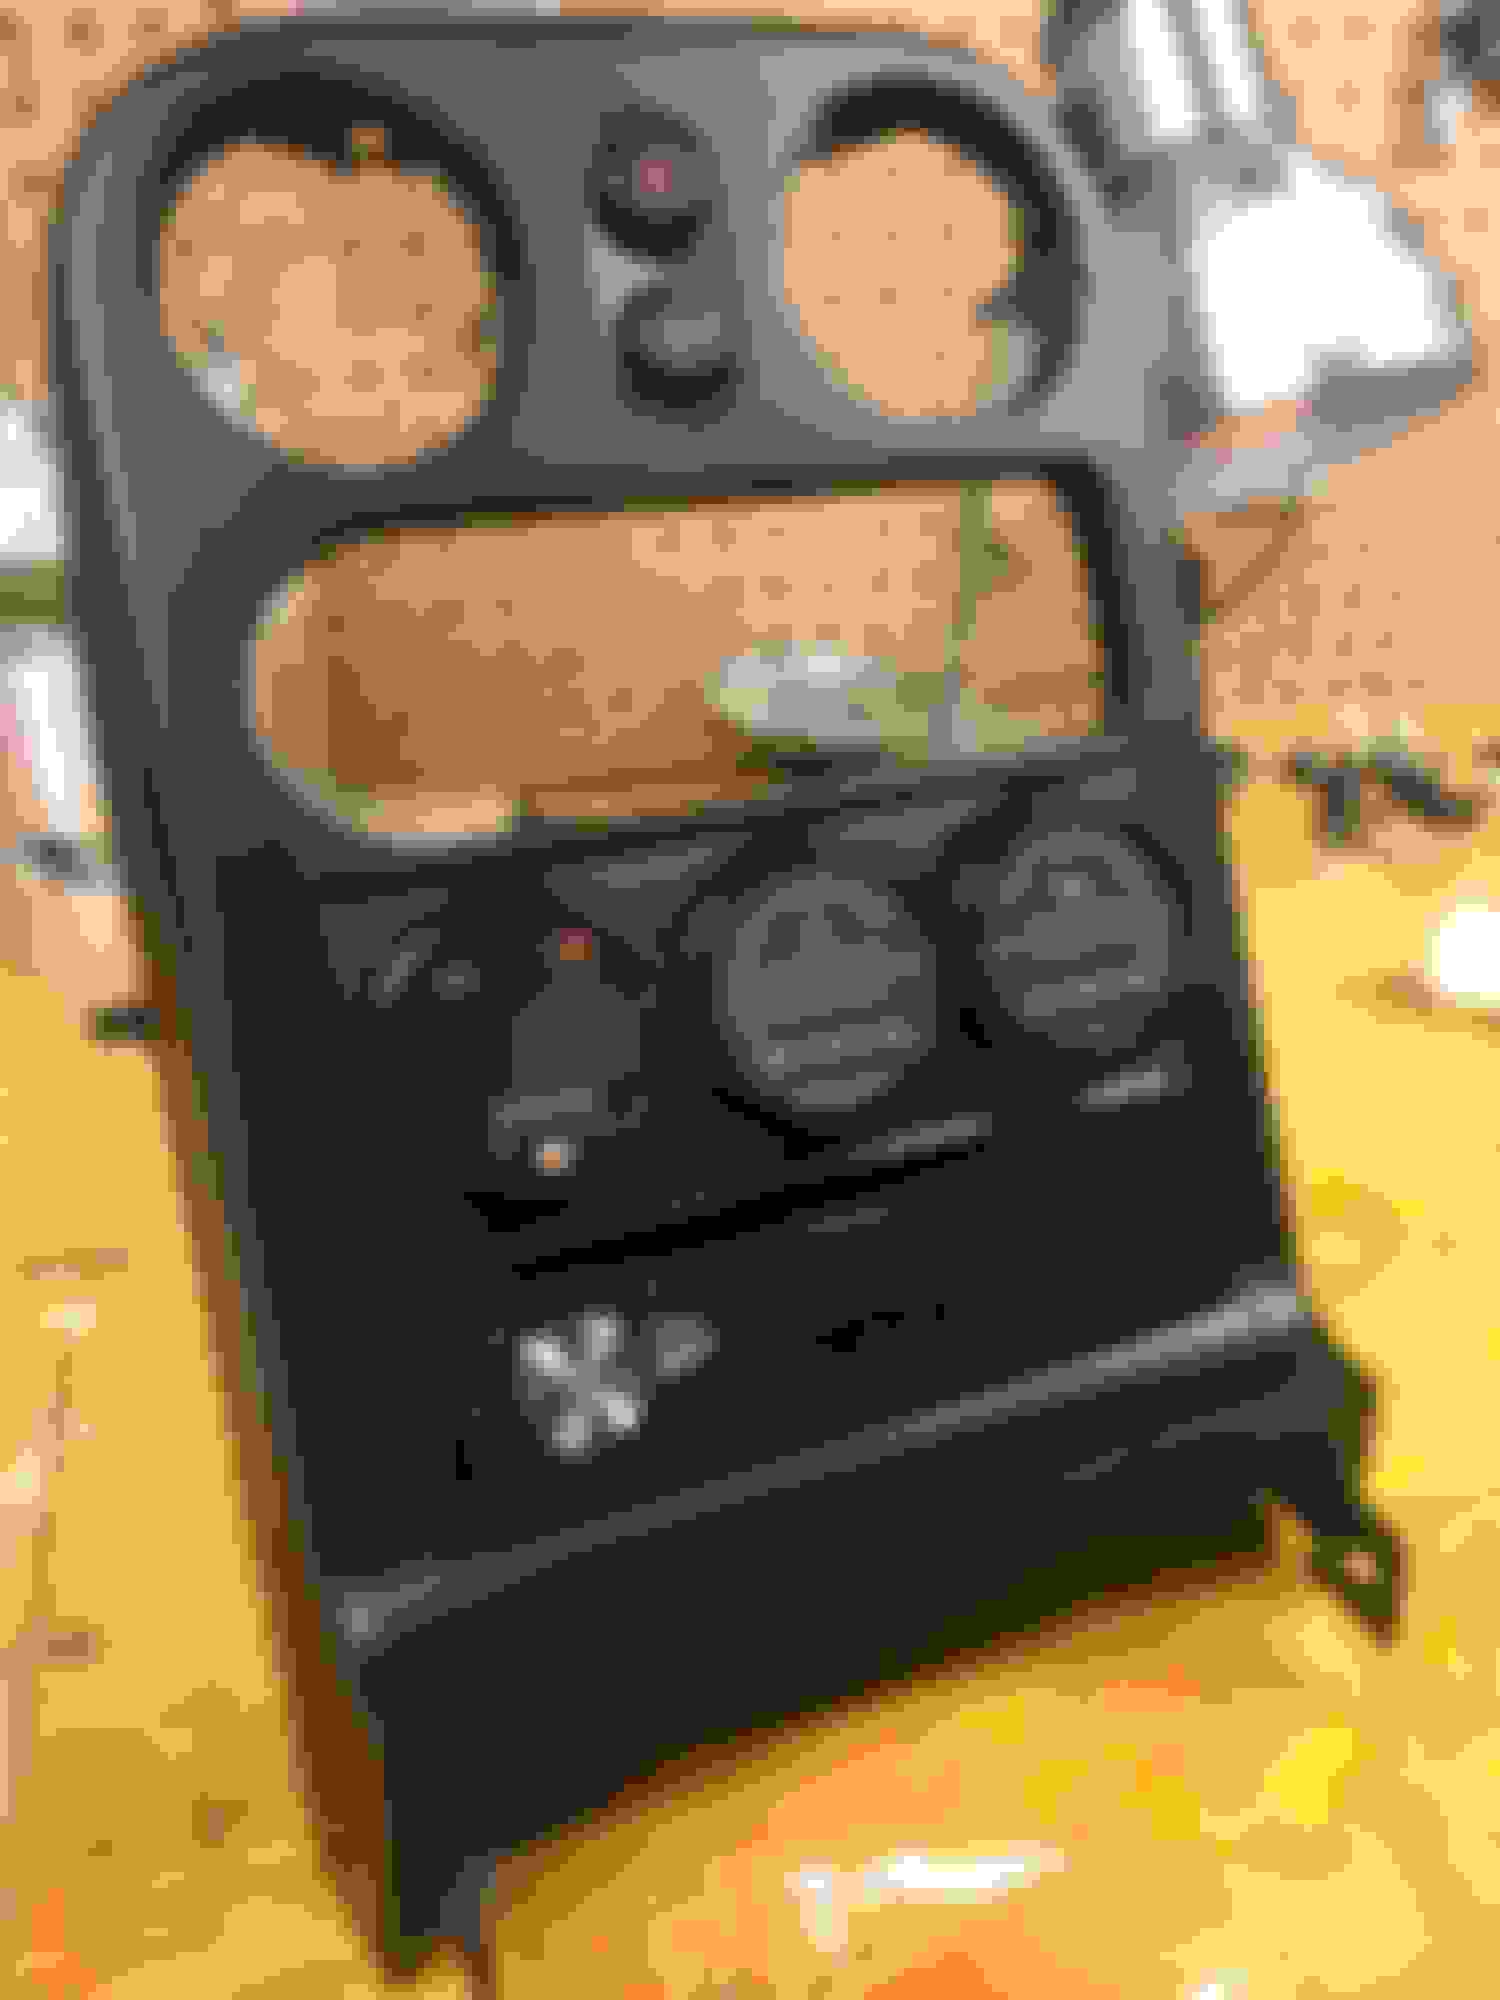
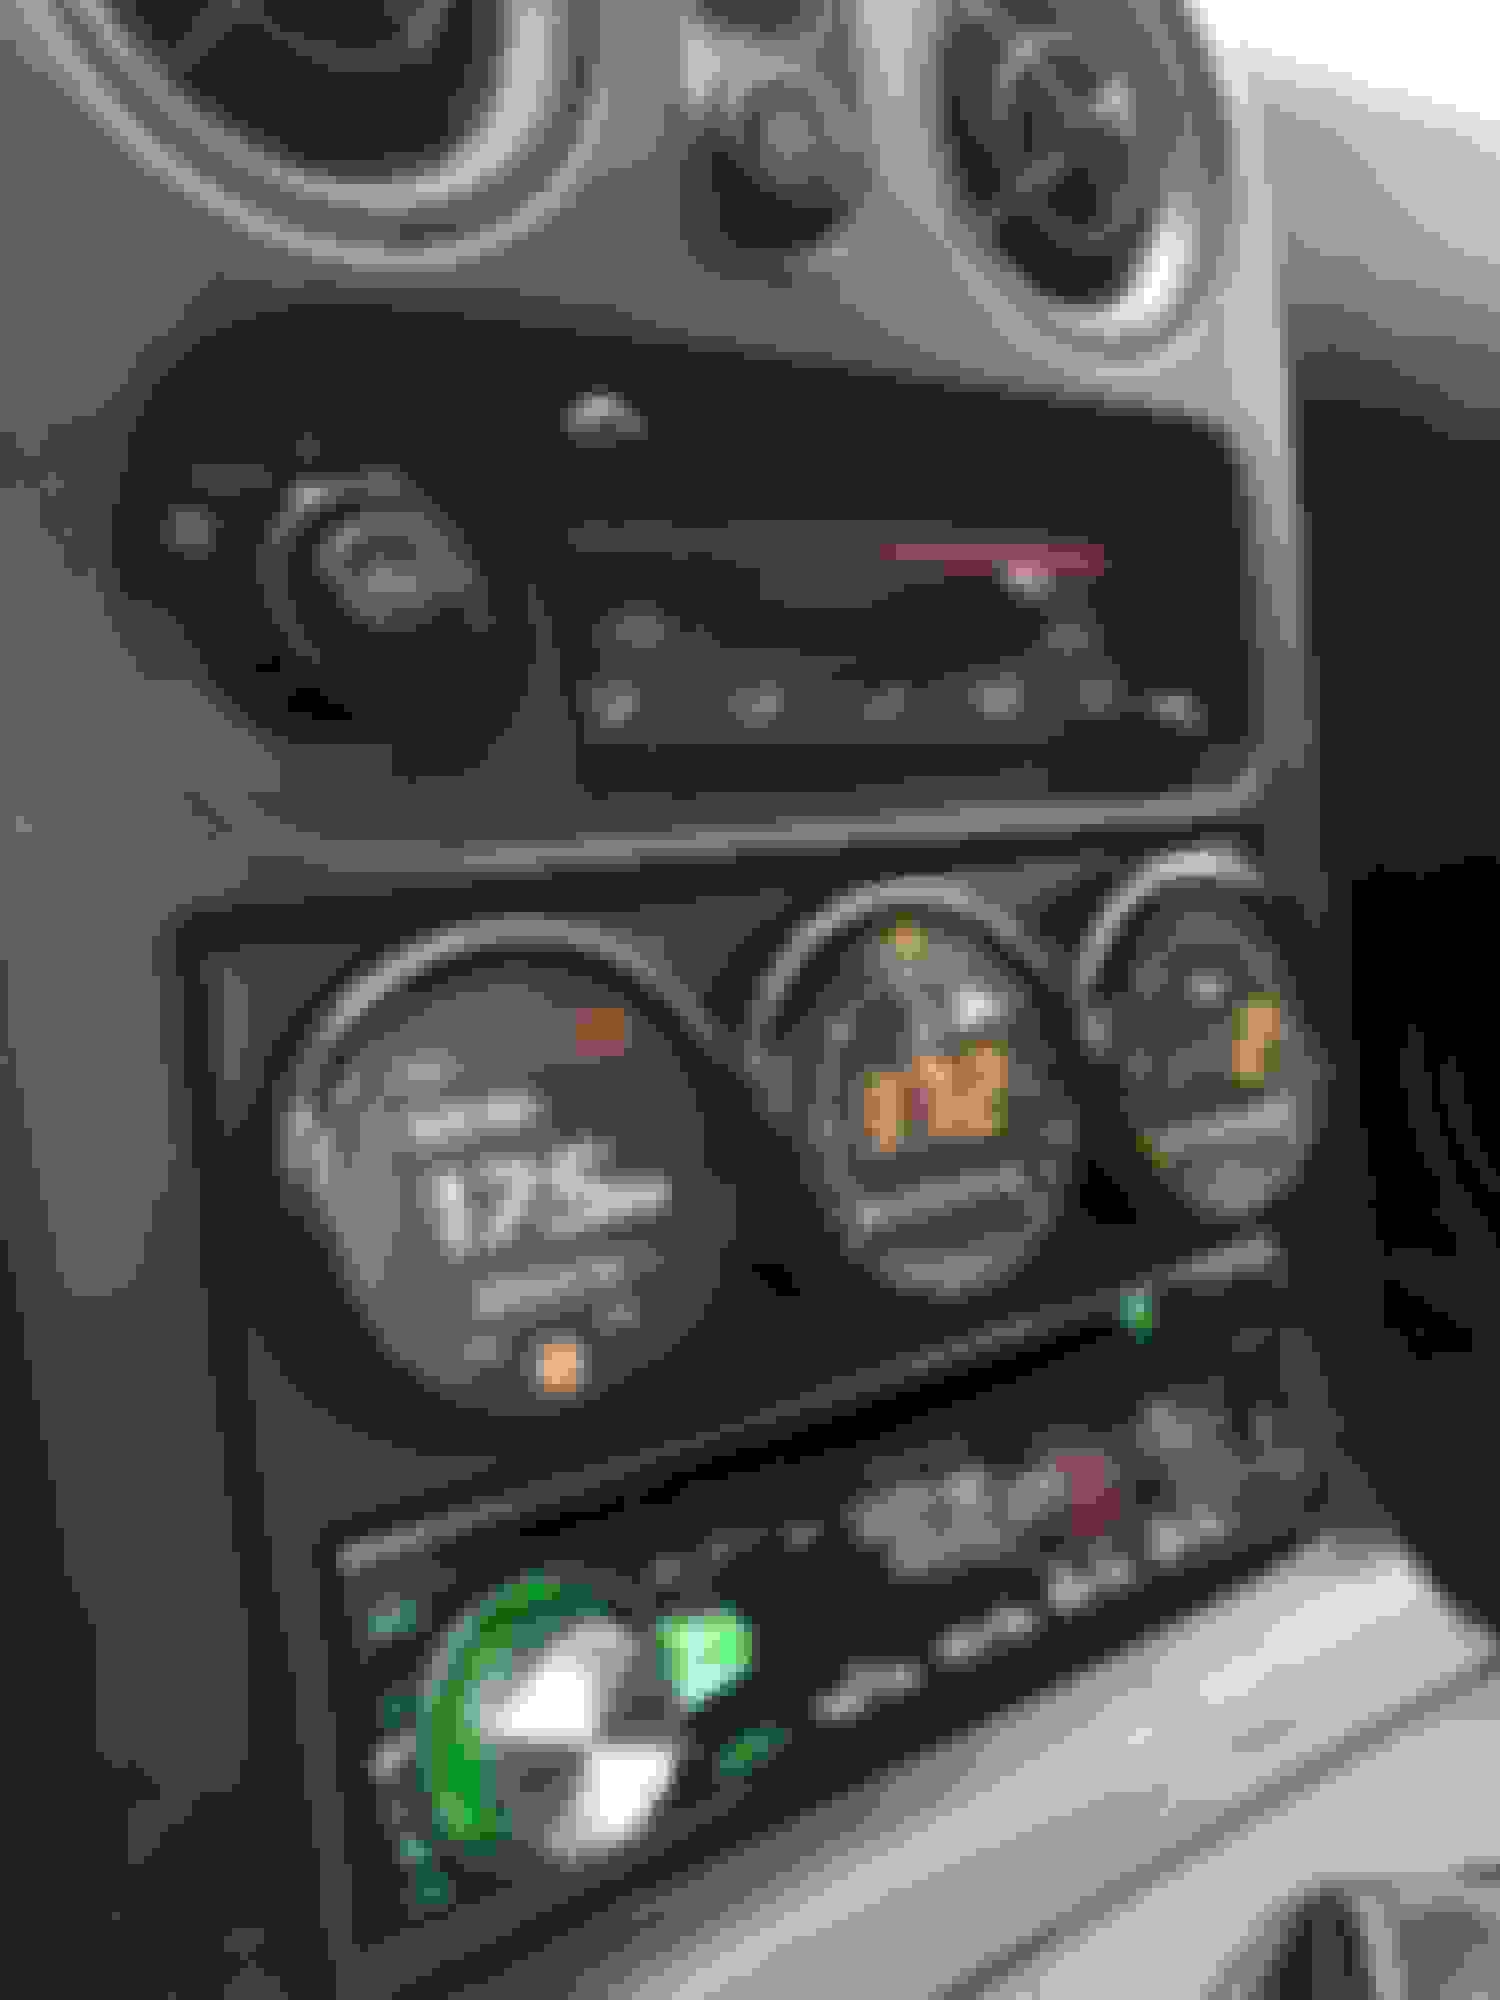
Fixed my janky gauge setup and my headunit that has just been resting in the tombstone. Before:
After:
Swapped out my MTX-L for a new PSB-1 only because I needed a boost gauge and didn't want to mount gauges anywhere else on the car like the A-pillar or in the vents. I also like how the gauge will show you peak boost and can be configured to cut power to your boost solenoid if your AFR's reach a specific threshold - even though MS3 can probably do the same.
Which brings me to where I am today. I have almost all the parts I need to do the turbo install. Because I live on the east coast the recent hurricane has delayed the last few deliveries I am waiting for, which is the turbo and injectors. I have a much better job now and have more time to put into this so I should be able to get this boosted in the next week or two following the arrival of the rest of the parts. Can't wait
Looking forward to seeing how your setup does with the 2560. What exhaust are you using? Looks like you didn't get the Kraken exhaust.
Thanks! Just a diy setup with spare 3" pipe and a magnaflow 11229 muffler. Don't have a better picture but its routed in the same orientation as the oem exhaust.
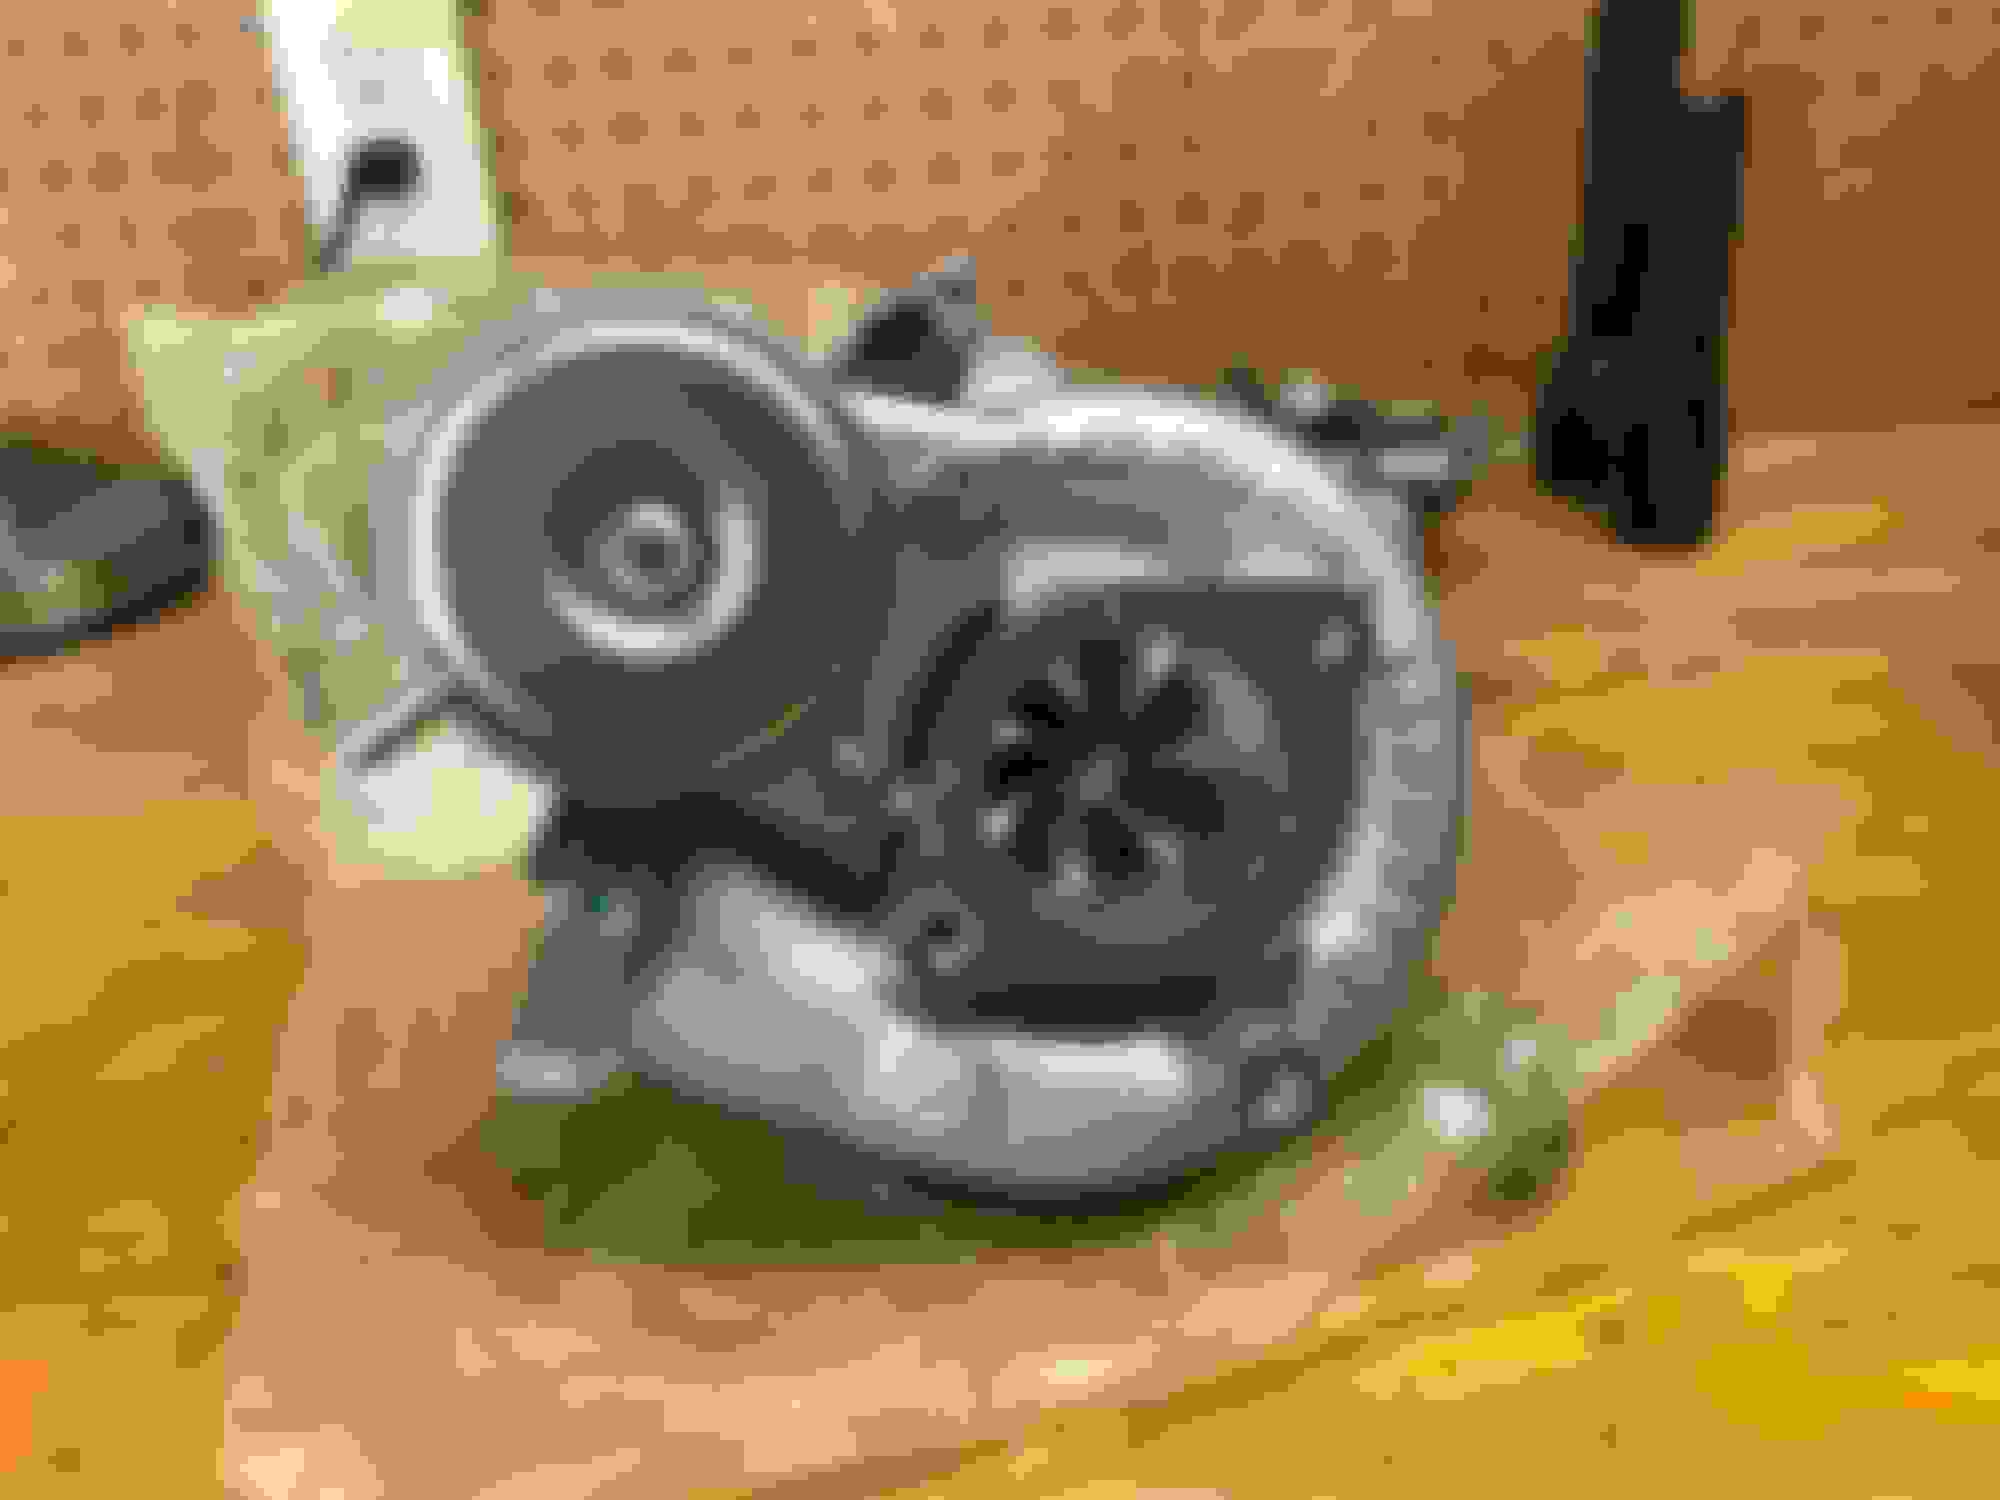
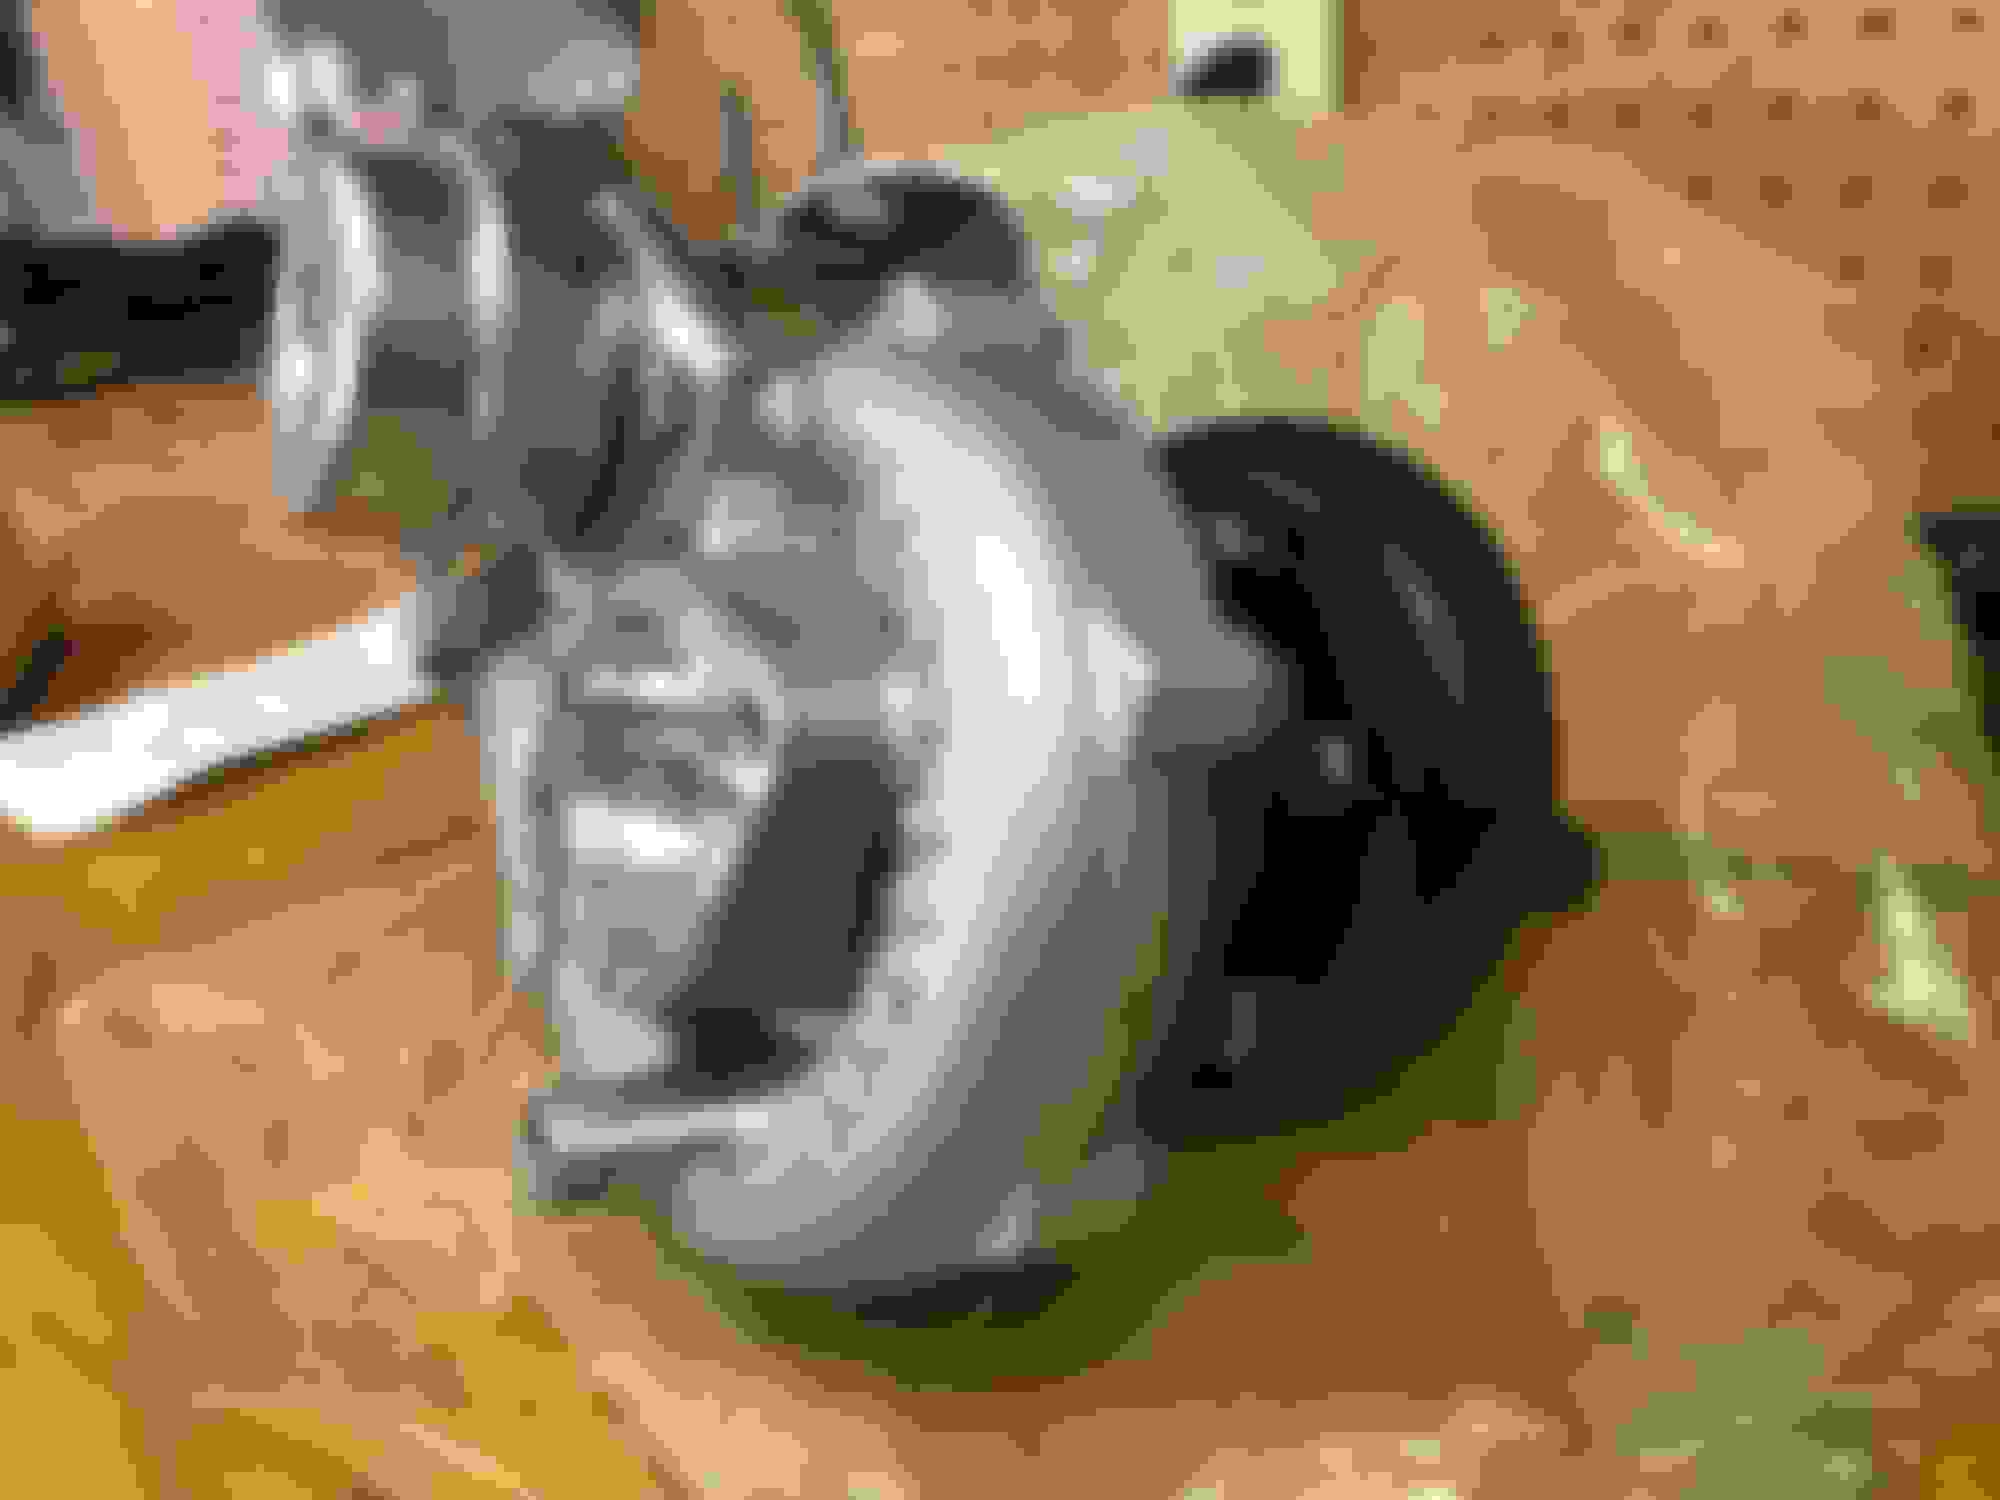
Went with a new GT2560r with upgraded billet compressor wheel and ceramic coated turbine housing
Another mistake made: I didn't realize that the (what I assume is S15) wastegate actuator is not able to relocate to any other position on the turbo without modification. So when I clocked the turbo at the estimated position of course it didnt line up. I will have to ghetto rig something to work temporarily until I get something like this:
Actually can anyone recommend a decent adjustable actuator for a 2560? I will be running a boost solenoid so it doesn't much matter what pressure.
I don't think my injectors will be here this week but I am putting it all together this weekend anyway.
If you're running EBC anyway, then you should get a wastegate with the lowest pressure you'll want to run. With a 2560, you don't really want to go over like 15-16 lbs anyway, so even an 8psi wastegate will be able to do what you want it to.
If you're running EBC anyway, then you should get a wastegate with the lowest pressure you'll want to run. With a 2560, you don't really want to go over like 15-16 lbs anyway, so even an 8psi wastegate will be able to do what you want it to.
So I ended up ordering one of those adjustable ebay ones with a bunch of different springs. I'd like to run it at 6-7 psi for the base spring pressure.
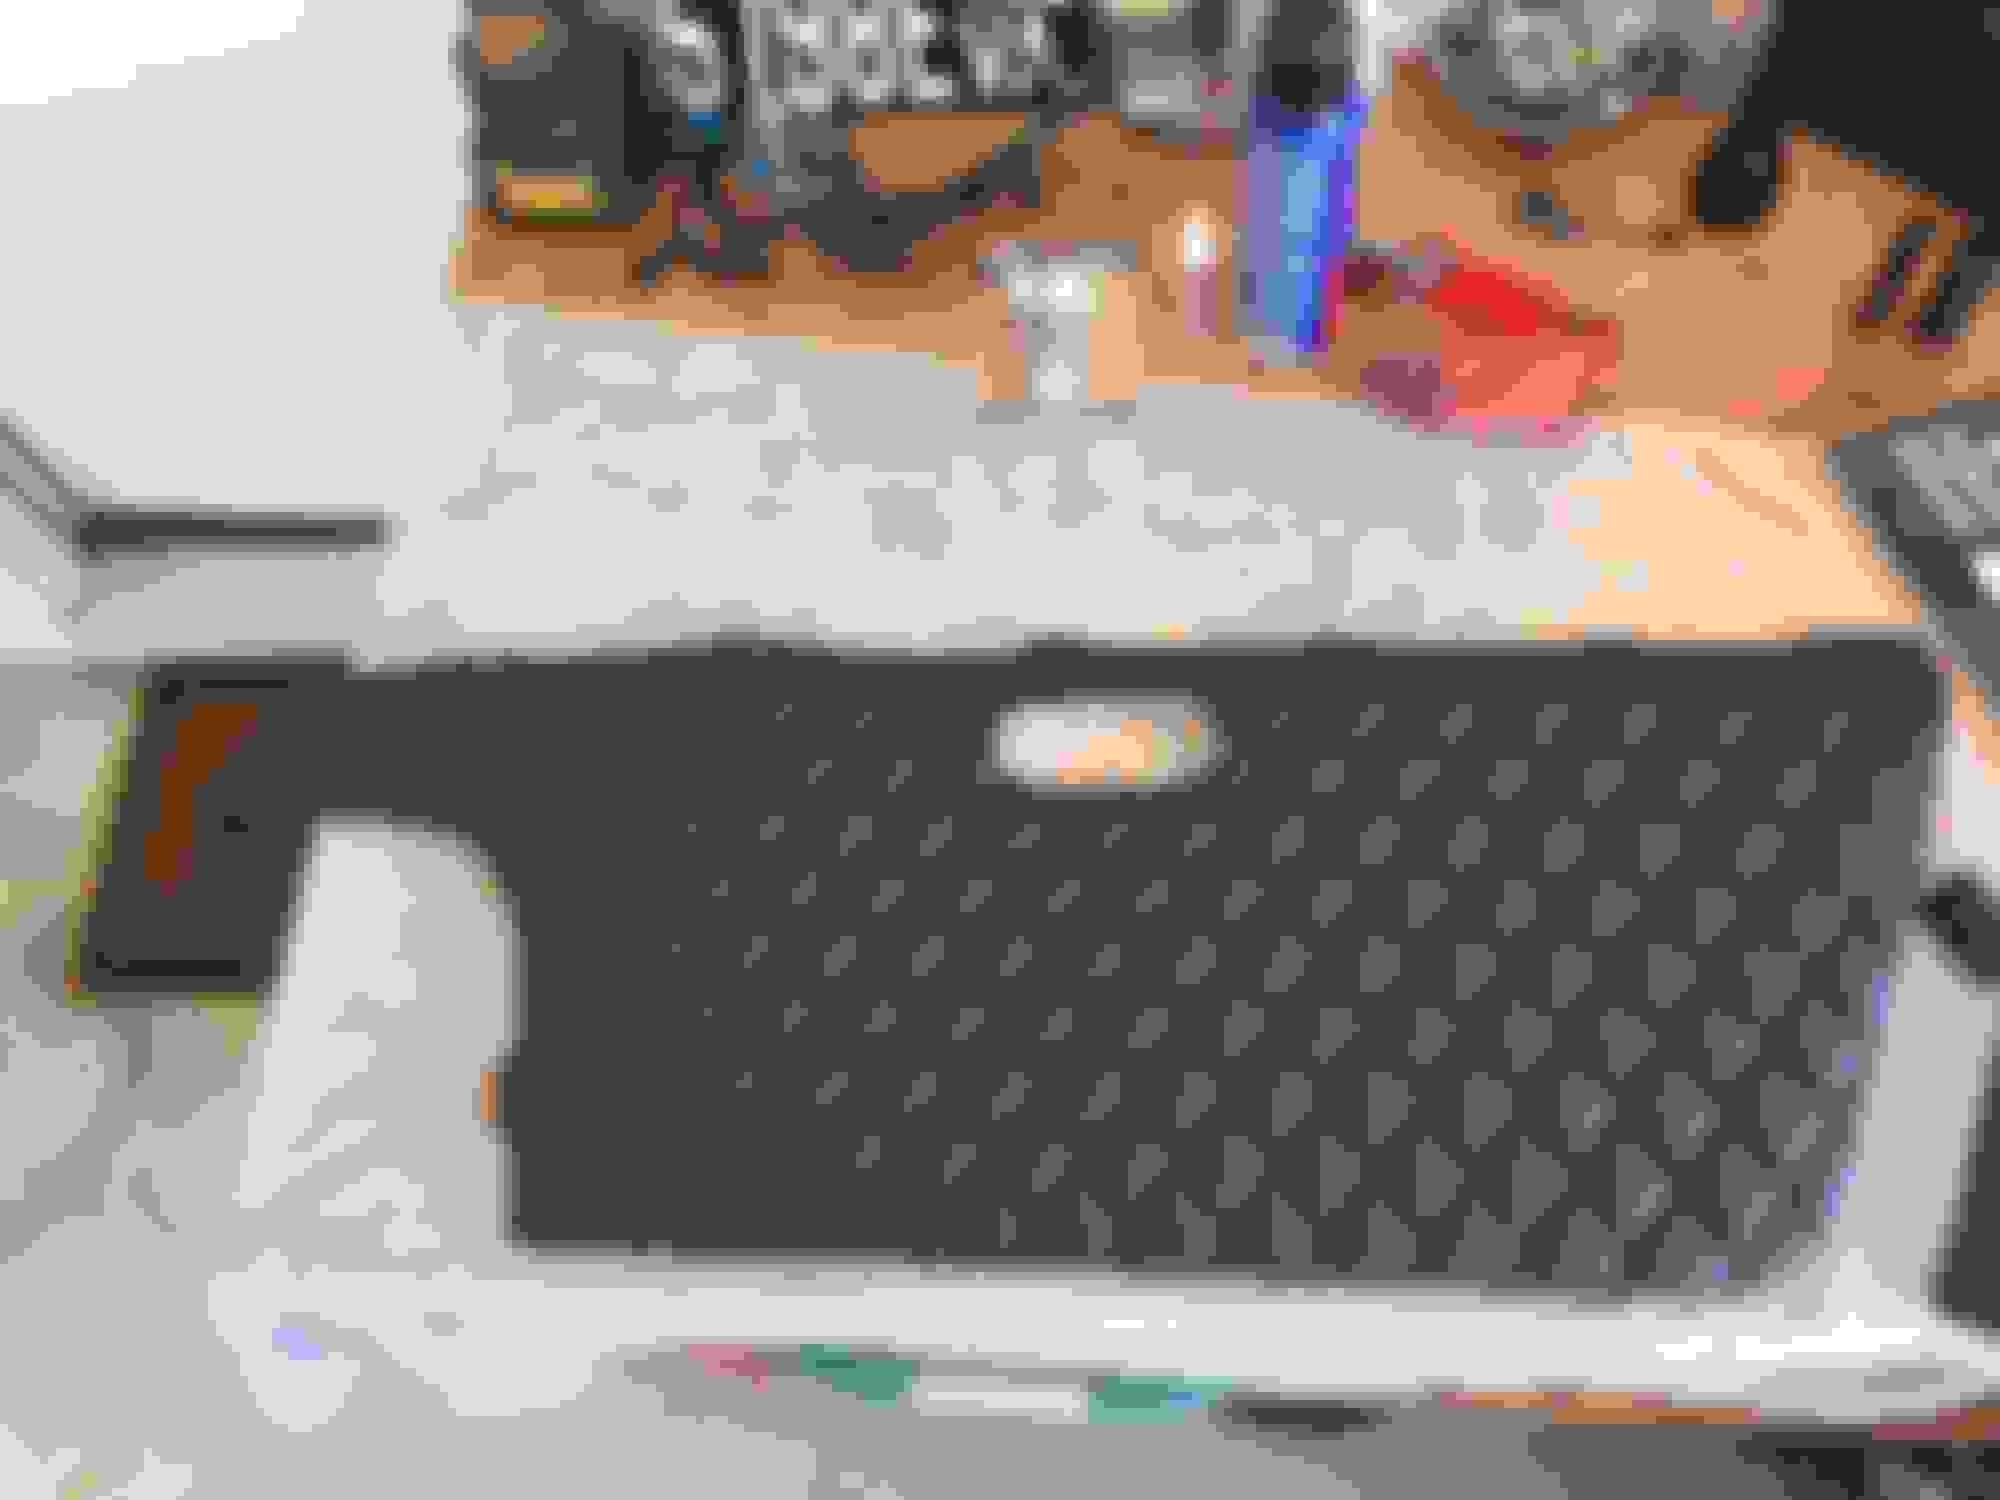
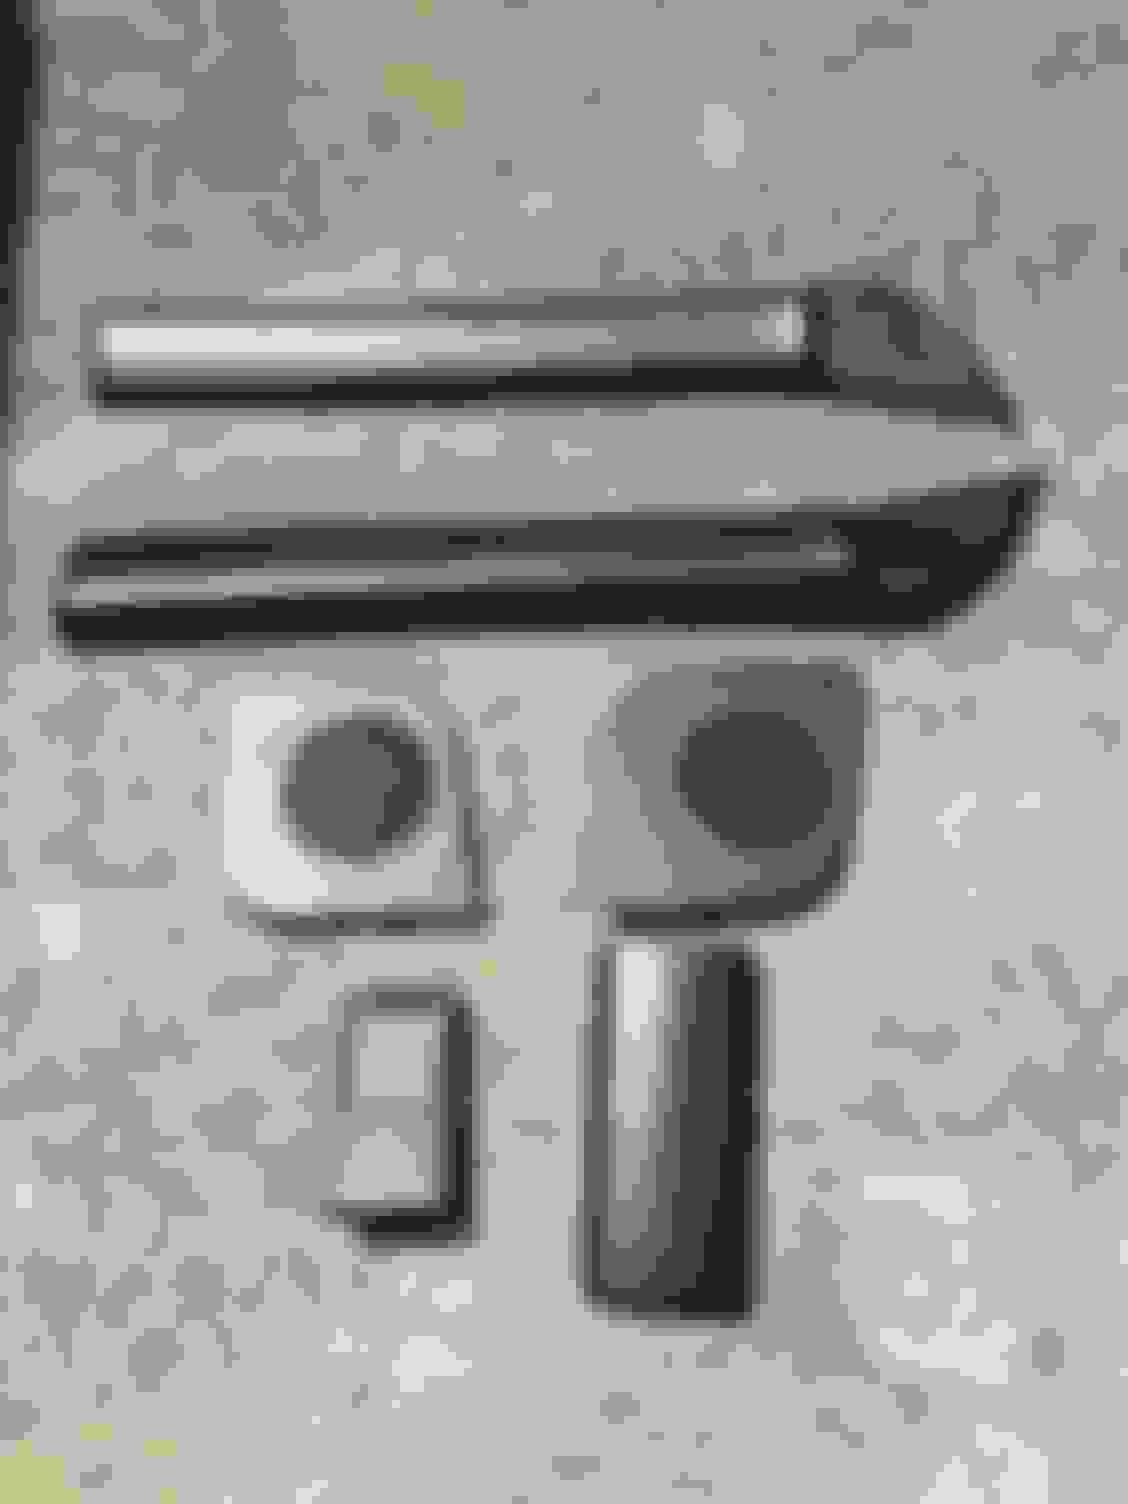
Got the exhaust components back from the local ceramic coater. The idea was to somehow prevent the ugly surface rust from coating the cast manifold. If it actually lowers temps like they say it will thats just a bonus.
I've heard mixed reviews about ceramic coating. Hopefully this stuff doesn't flake off within a month.
Install starts tomorrow morning! My pile of parts is just about complete.
Only thing missing is injectors, so for the next week I'll be on stock fuel components. Think stock NA8 injectors can handle 6psi? I'll be extra careful of course and have overboost protection on but just curious.
Started the install today and made some decent progress. Removed all the factory components, which wasn't too hard as I had already cracked the rusty *** bolts on my almost 200k mile car at some point during my ownership.
So the scary pan drilling wasn't that bad. Took my time and went slow. Once the hole was there I felt around for the oil pickup that everyone warns you about and it wasn't even behind the spot where I drilled! All nervous for nothing I guess
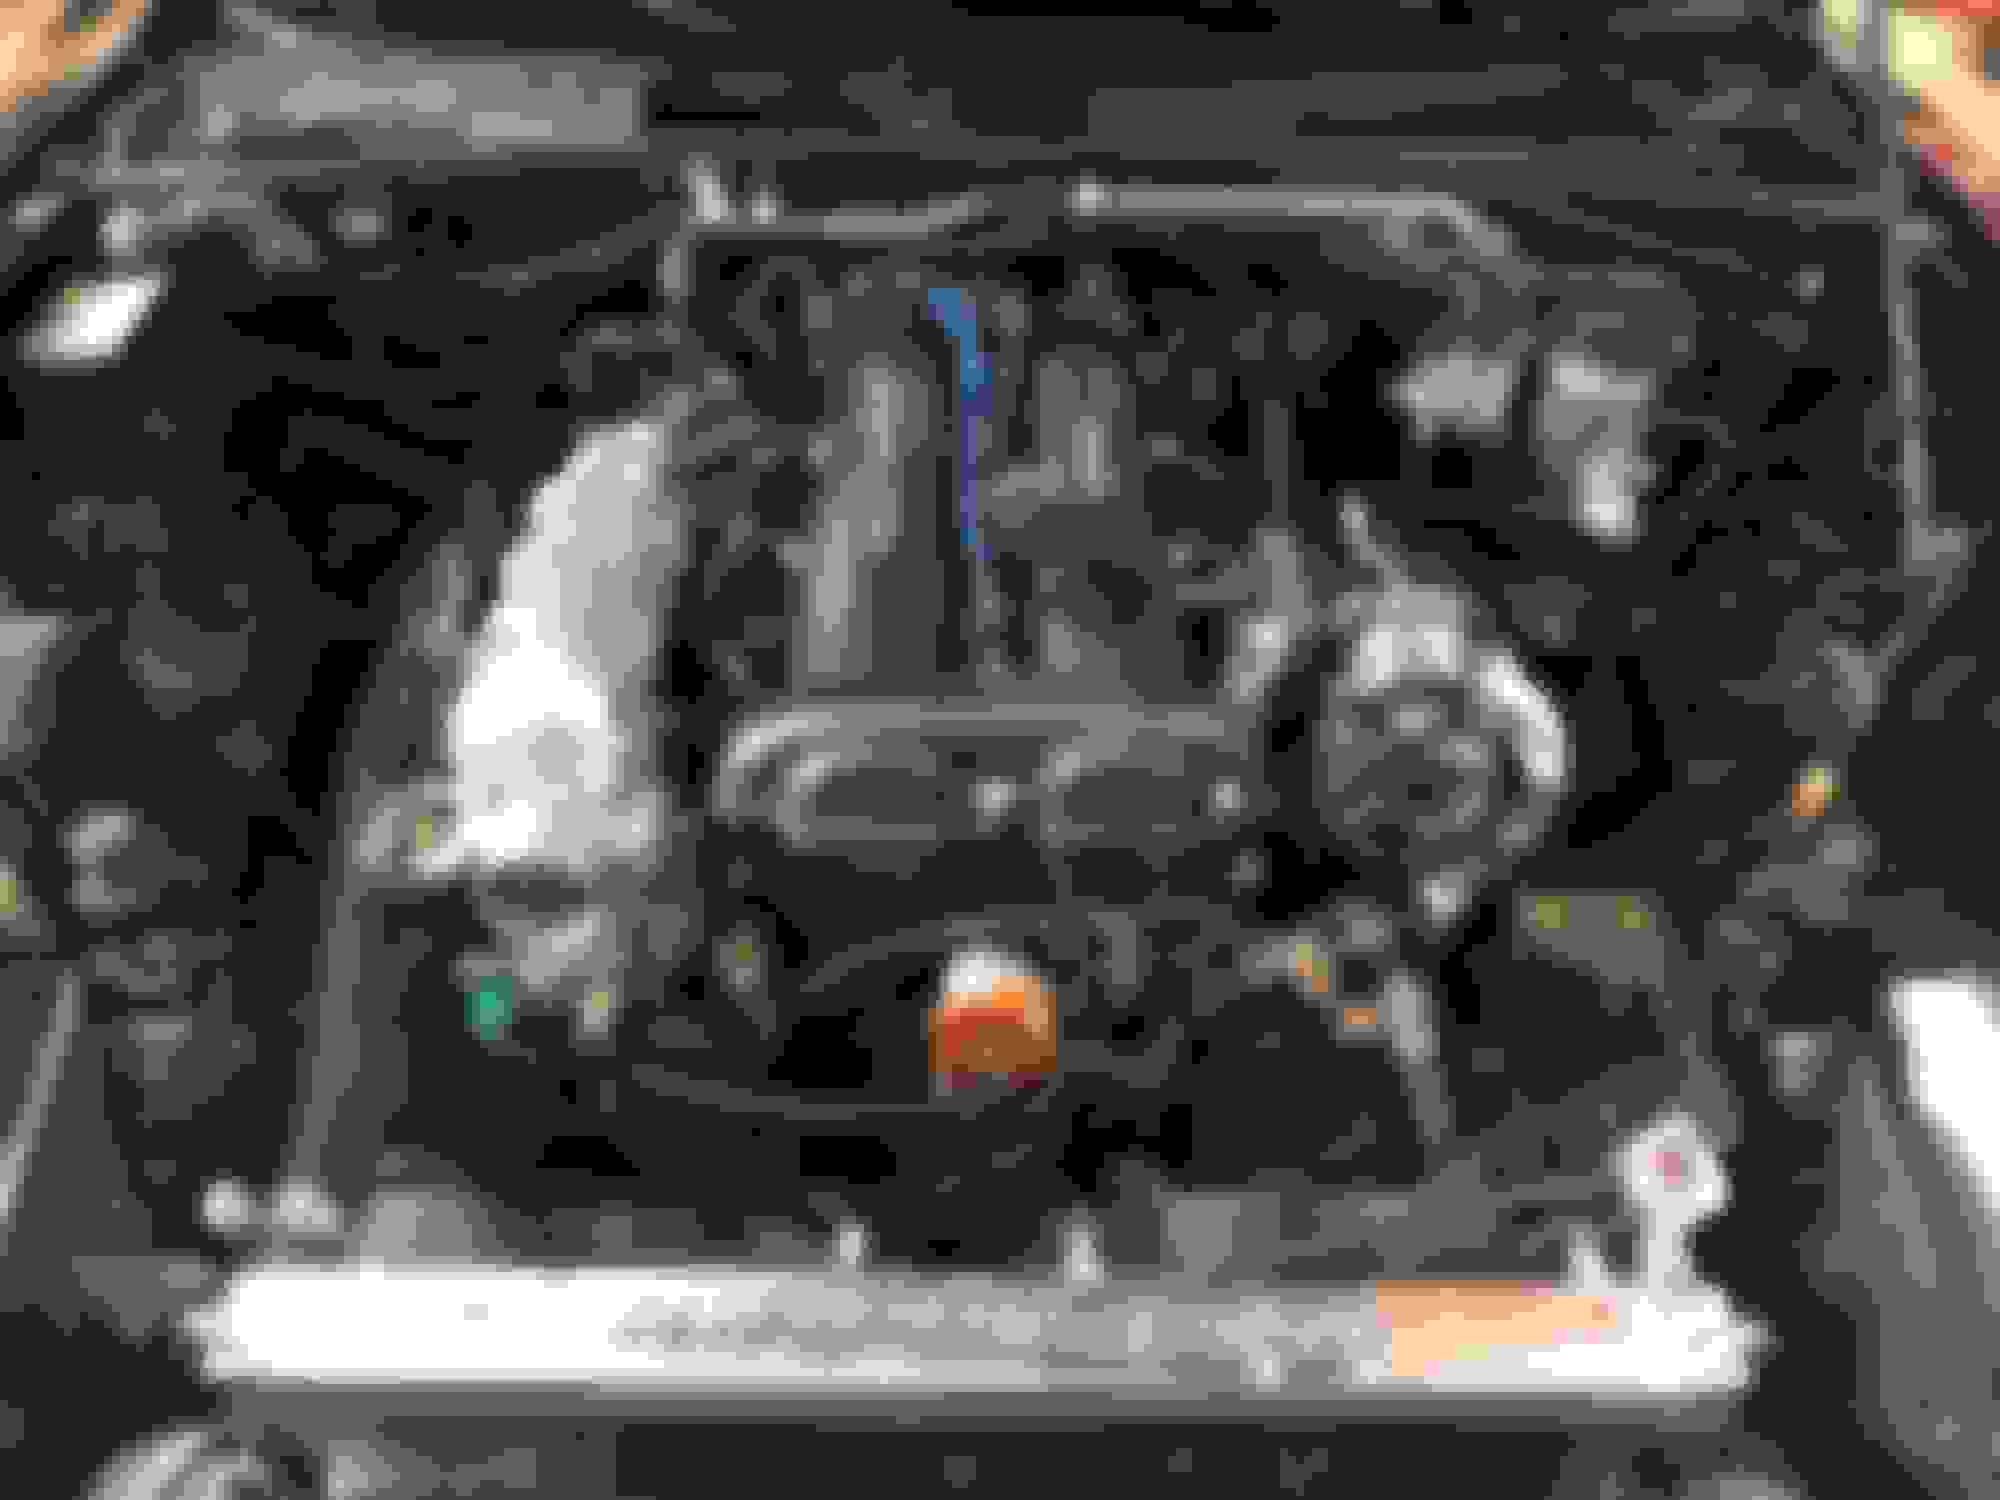
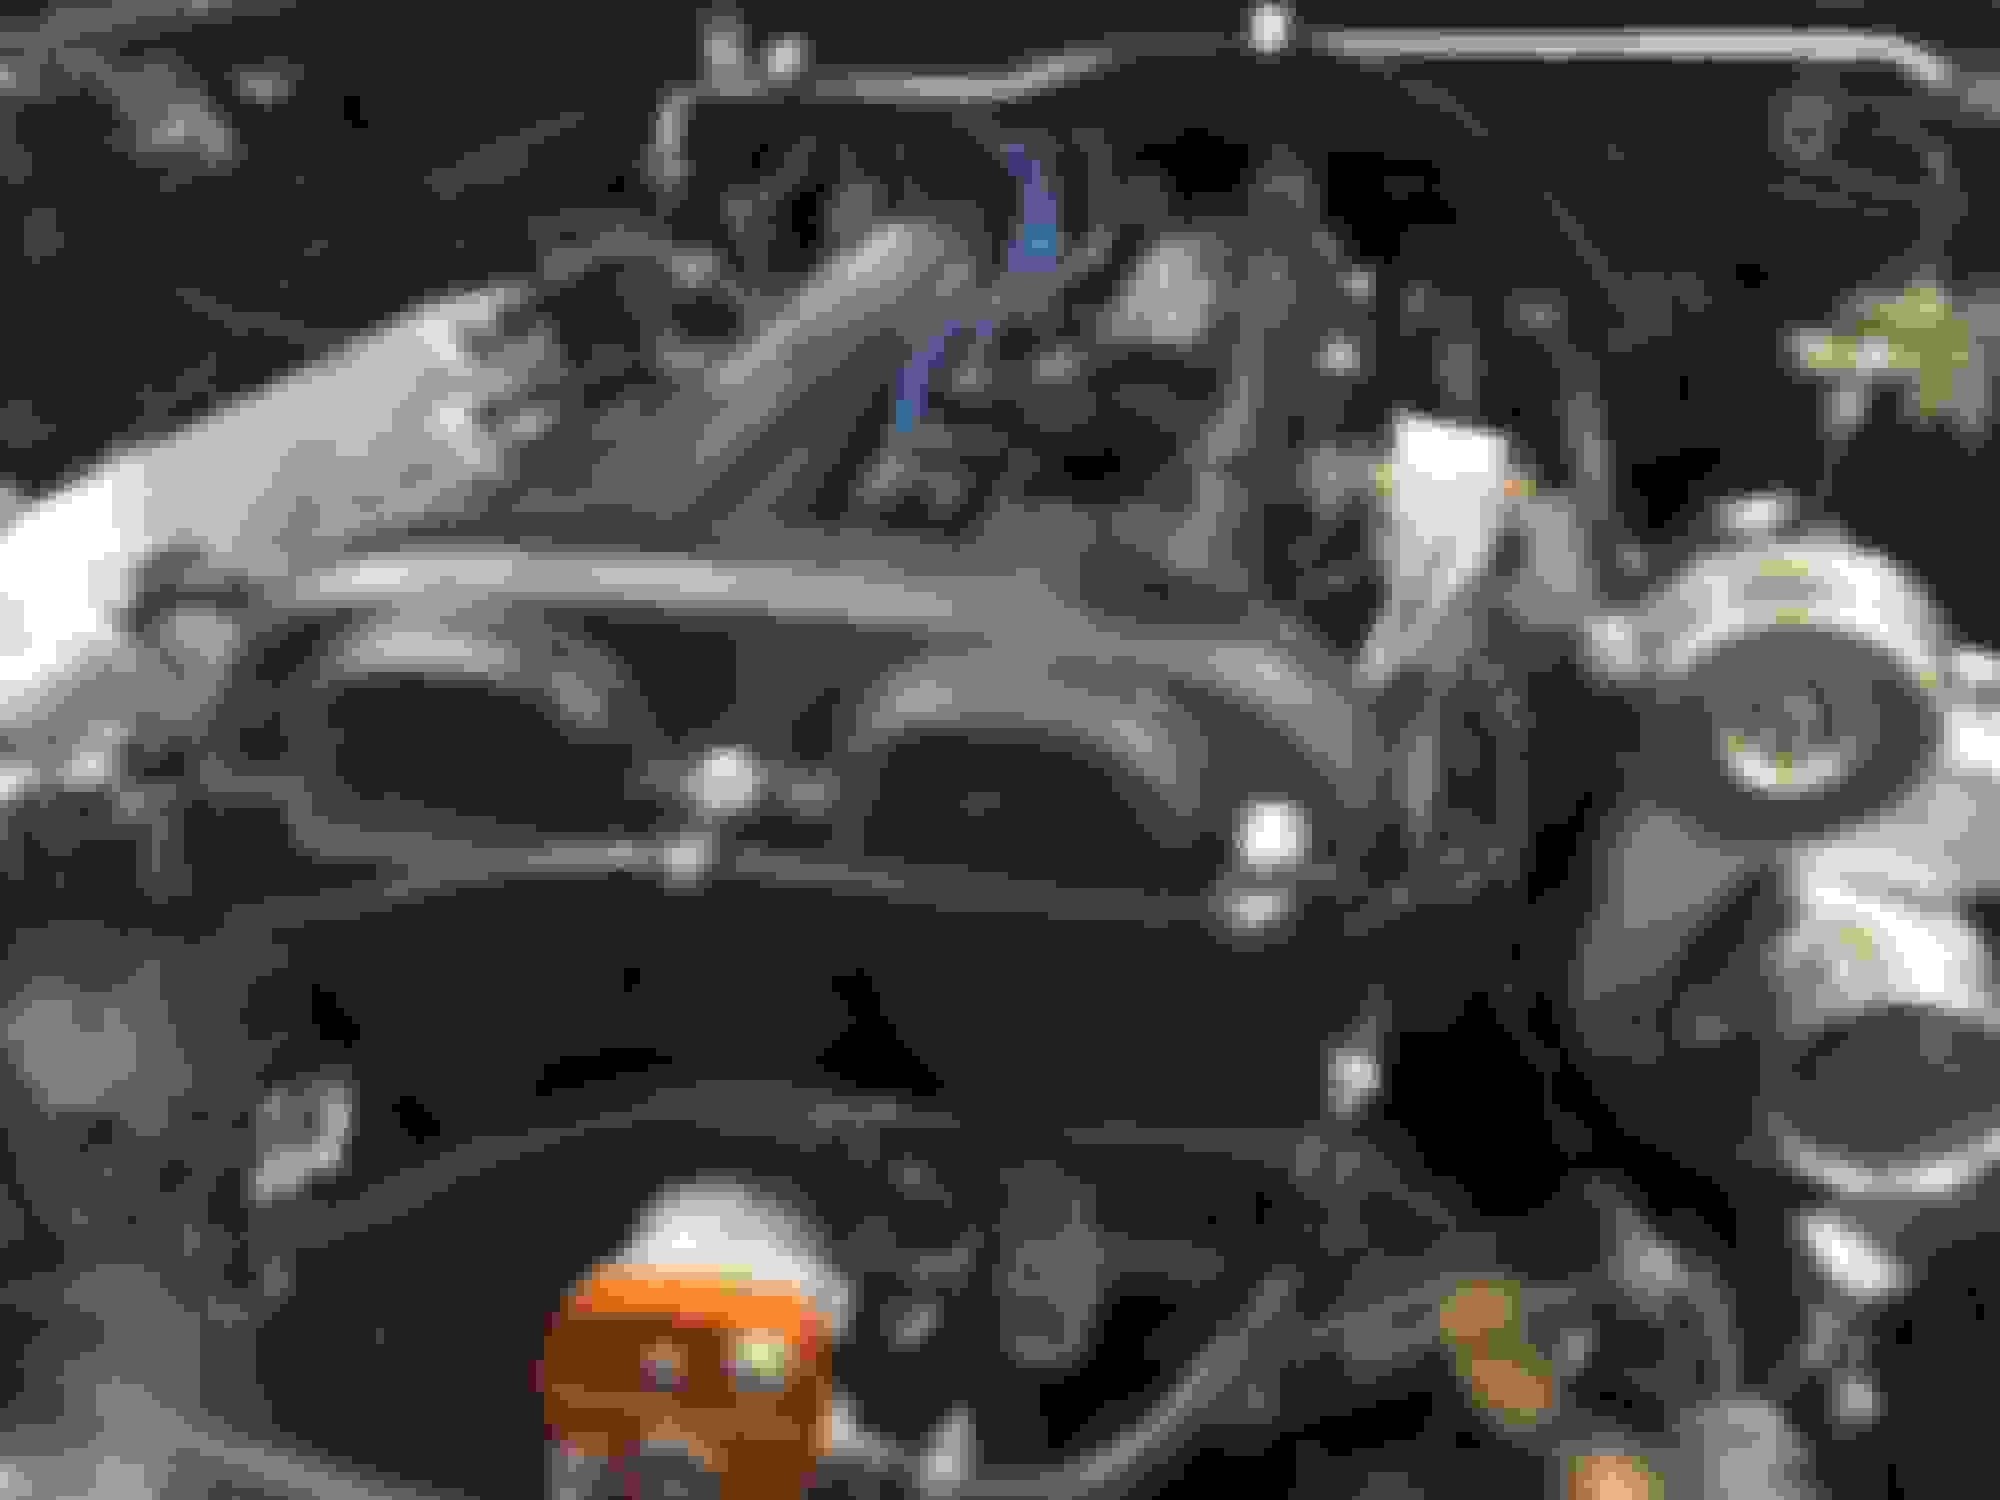
So this is where I left off. Oil lines are connected on the motor side, exhaust manifold is mounted, hot side IC pipe is done and the intercooler itself is mounted. The "hard part" in my opinion was getting the oil source line connected to the block, drilling the pan and getting the hot side IC pipe through the rats nest of power steering and coolant lines. Now that those are done the rest should be relatively easy. I expect to have it finished by tomorrow!
Still to do:
Install studs to manifold with the inconel studs, resbond, stage 8 locking nuts combo and bolt down turbo
Connect oil lines to turbo
Run coolant lines to turbo
Mount and connect downpipe
Cold side IC piping and BOV
Install gtx PCV
Extend harness for IAT sensor
Run wastegate and BOV source lines to intake manifold
Trim and reinstall splash pan
Shield various items with fire sleeve/aluminum tape
Hardly made any progress today because I reached a few roadblocks.
First I got the studs installed in the manifold and the turbo mounted. Oil and water lines are now connected on both ends as well. First snag I ran into was the studs on the back of the turbo. Looks like the cast elbow I got from Kraken has one hole that doesn't quite line up.
For now it has no stud there but I will have to take it to a machine shop as I don't have the tools to drill this out or widen the hole myself.
Second snag - while I was fitting the downpipe to the cast elbow the vband clamp bolt broke. It doesn't look like I crossthreaded it. But it binded really bad when I tried to loosen it and after fighting with it the bolt broke. Couldn't find a local place that sells them so I will have to order a new one.
And the last issue is that the FM throttle body inlet pipe I planned on using apparently isn't compatible with my CSF radiator. The hot coolant side will touch the inlet and be a half inch away from the IAT bung which I'm sure will cause too many headaches. Looks like I will sell this piece and go a different route. I'll be using what I should have used in the first place: a 90 degree elbow straight down. At least the rest of the FM piping works and actually made the install easier + reduced the amount of potential boost leak areas in the IC system.
Hopefully I get all the parts I need in this week so I can continue but for now it looks like the car will be down for at least a week
Move the IAT to the intercooler end tank and don't worry about the hoses touching. The heat from the radiator will heat soak the sensor in that spot even if the hose wasn't there. Otherwise looks good.
Move the IAT to the intercooler end tank and don't worry about the hoses touching. The heat from the radiator will heat soak the sensor in that spot even if the hose wasn't there. Otherwise looks good.
And this is exactly what I decided to do today.
Drilled and tapped the intercooler. Glad the IAT sensor happened to be the same thread size as the oil return fitting I used in the oil pan.
Now to extend the pigtail
Heat shrinked the joints and wrapped in some braided loom
Secured it behind the bumper support, leaves it in an easy to reach spot and is out of direct contact with air from the mouth.
Also trimmed the splash pan to fit around the lower charge piping
At this point I have a few small things to do but I am waiting on parts to make any real progress.
More small progress today
Got the rest of my charge piping in today. Modified the greddy bov flange pipe to connect to the iacv:
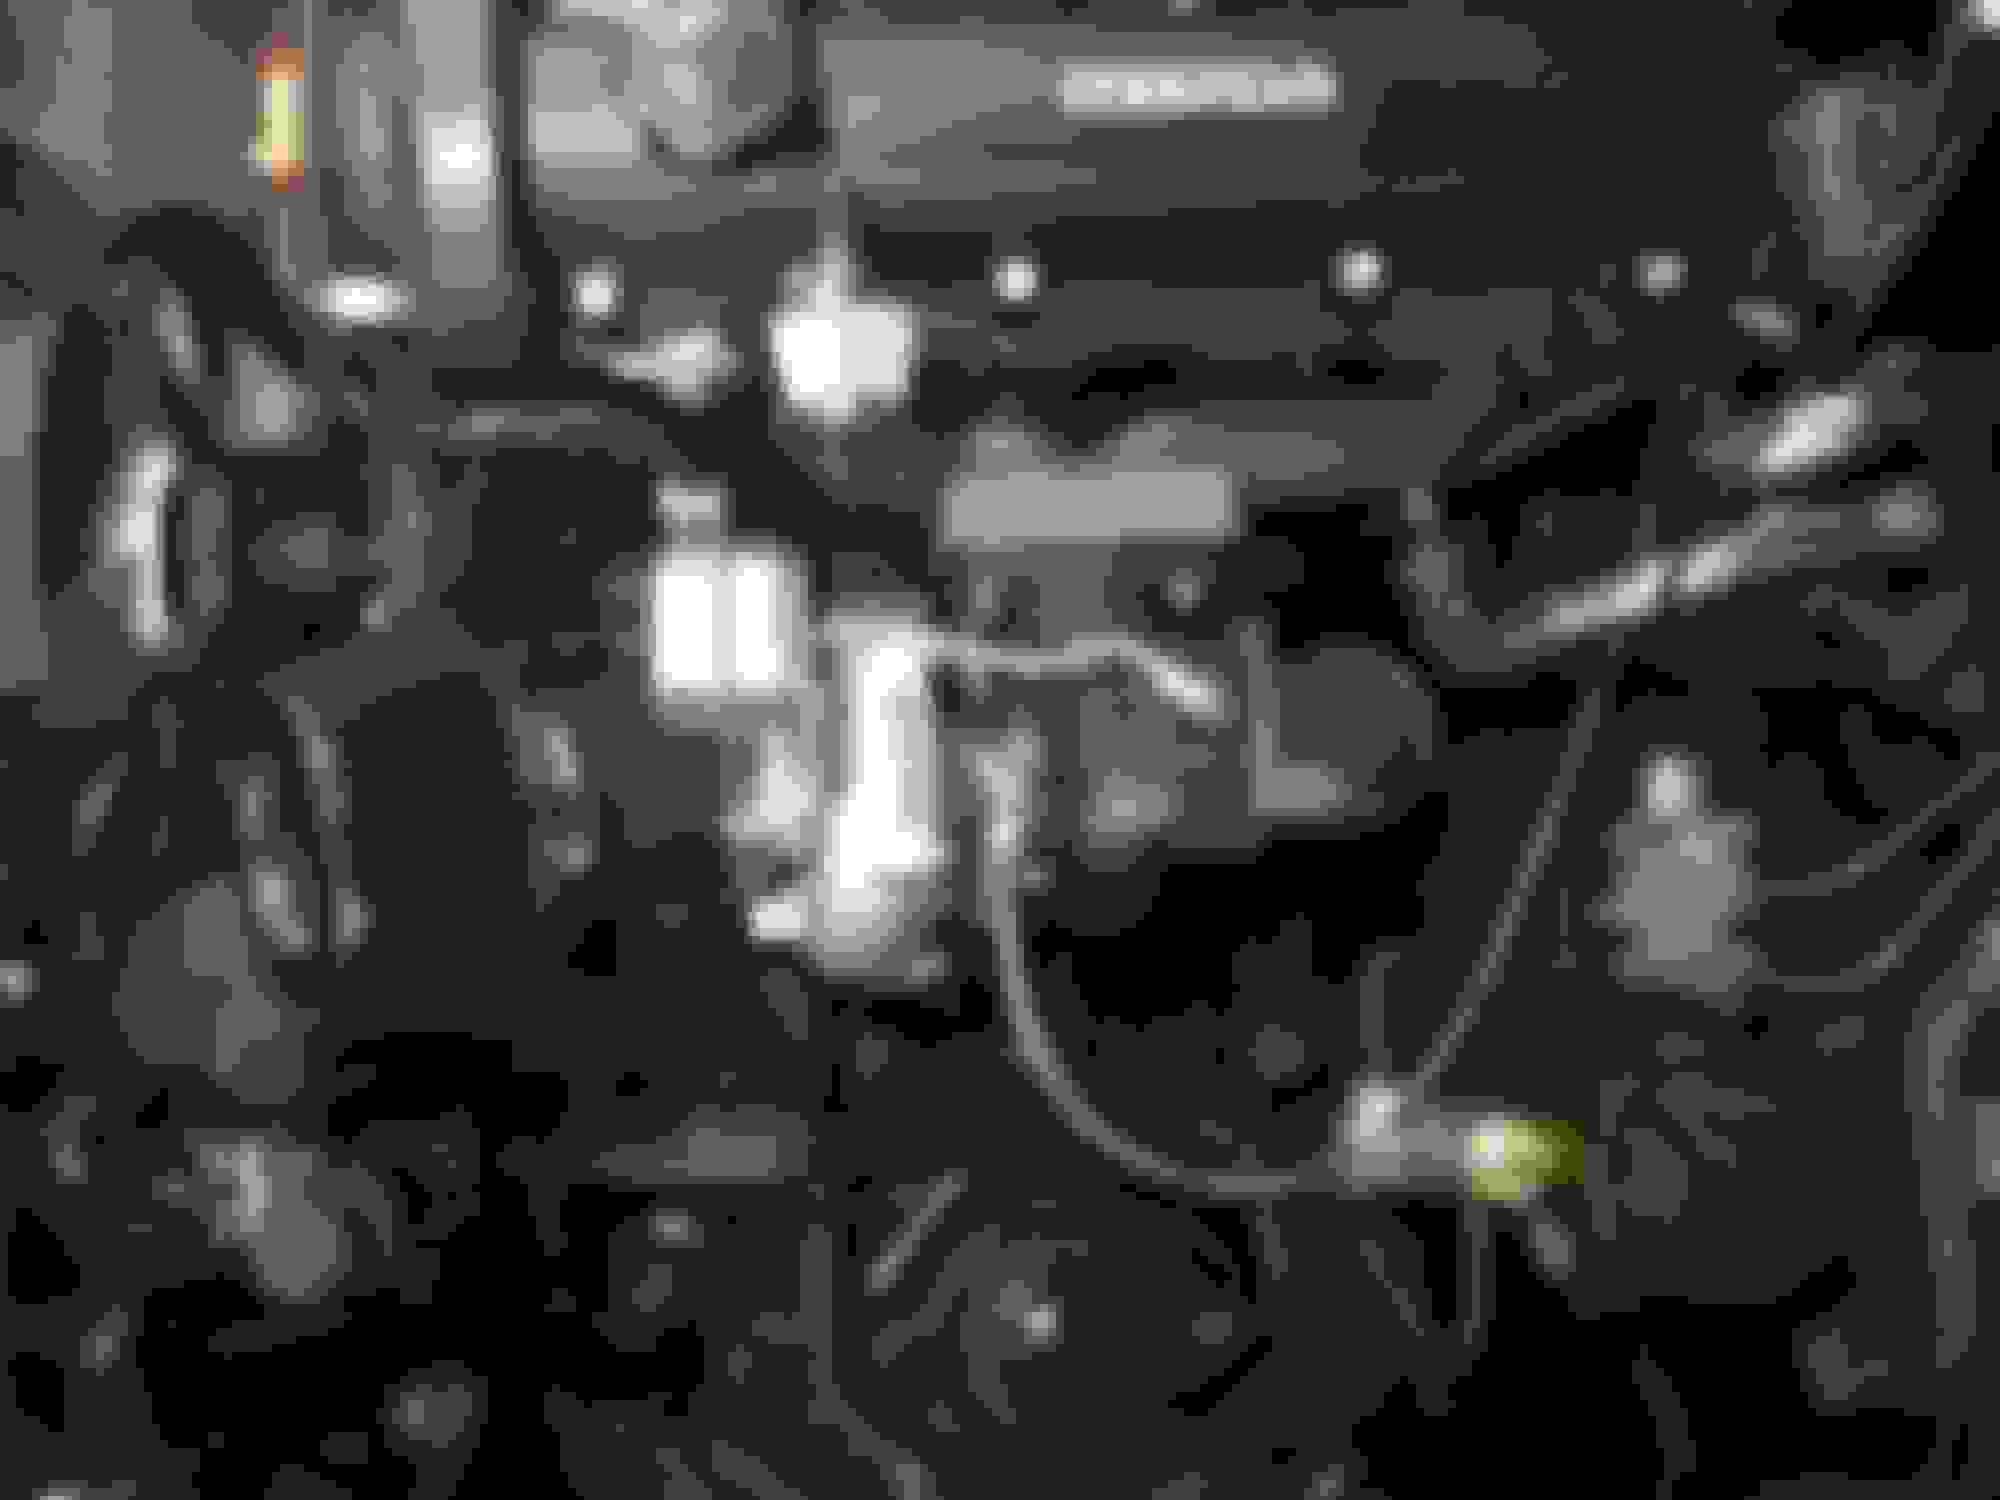
Ran the wastegate actuator signal hose to the intake manifold. Put a small section of heat shield on the hot side and secured it to the front of the engine with stainless hose clamps.
Then got the cold side all connected and torqued down. Ran the bov vacuum signal as well.
Here you can also see I have a an intake filter now. Not sure how I feel about it I might do a 90 degree further off to the right.
Got the turbo outlet/downpipe neck back from the machine shop. Fits perfect with all the studs now. Also shielded the heater hoses and dipstick tube with aluminum tape. These hoses are close to the downpipe but do have an air gap of about 3/4 of an inch. Stretched a piece of heat shielding over the plastic dipstick handle so it's completely covered. Brake master is covered in gold tape on all plastic parts that face the DP/turbo.Can someone let me know if this will be sufficient protection?
A replacement vband clamp should be here tomorrow. Once the downpipe is installed its time to start the car and check for leaks. Once I know it runs leak free I will start swapping the injectors. Can't wait for this weekend!
....so apparently this post didn't go through last night so I'll just post it now.
Got the ebay wastegate actuator in. Mounts so much nicer and I can actually preload this one how I want.
Got replacement vbands in so I mounted the downpipe. The Kraken stuff fits great. No modifications needed to fit the turbo or downpipe.
Calibrated my wideband and got that mounted in place. Also added some of the DEI heat shield stuff to the heater hose that is close to the downpipe.
I was excited to start it up but upon filling the car back up with coolant I found a leak at the heater hose under the header that connects to the water pump. That spot has leaked before for me and I never really fixed itm just jiggled the connection and lubed and it would stop. This time I would like to replace the o ring properly so I will need to visit the hardware store/auto parts store tomorrow. Hoping to start it tomorrow morning
You can bend the heater core return pipe at the end near the downpipe to get more clearance. I got myself from touching to 1.5" clearance. Used a deep socket and a piece of iron pipe.
That o-ring is metric. Finding the right one at the autoparts stores around here is a PITA. I gave up and just slathered everything with RTV and it is all good.
Oh, and one more thing. People have sucked the center cone of those specter filters into their turbo/super before. Though mine lasted two years in front of a JR M45 kit at 9psi. But the whole filter broke off the base the other week...
Thanks for the insight. I was avoiding bending that pipe because I didn't want to crack it but I ended up bending it when the motor was still hot. Gave me another inch clearance.
I didn't know about the intake filter. Any suggestions? I have a standard 3in cone filter and I cant get it to fit under the hood. Is FM the only one who stocks those 'flat' cone filters?
Not much progress but I got the coolant leak sorted out with a new o ring. Filled and bled the system
Primed turbo by filling the oil feed port with a few pumps of oil and spinning the turbo by hand, then pulling the main relay and cranking until oil pressure is seen.
First start was a success! No leaks and minimal smoke from the new components curing from the heat. Running open downpipe for now and it's way louder than I thought
Still on stock fuel so I didn't take it for a drive yet, mainly because I dont have anyone to keep an eye on my injector duty cycle.
Tomorrow these will be installed and and then I can test drive it. FF 660cc EV14 injectors.
Worked on the injectors today. Old 240ccs came out really easy. Cleaned up the holes for the new injectors
Spent some extra time cleaning and tucking the injector harness and was really pleased with how it turned out. The extensions for the EV14's made it so I could tuck the main bulk of the injector subharness out of sight under the intake manifold. Also cleaned and threw a coat of paint on the fuel rail while it was out.
So at this point the car runs like **** with the new injectors. They are all firing and are not leaking so its just a tuning issue. All I did was follow the instructions to the T by setting Req Fuel, setting the injector deadtime and the small pulsewidths. I read that I will likely have to completely redo my tune, but before that can anybody offer any tips? Right now it will start right up but will cut fuel and go full lean on decel. Also while trying to hold revs at idle it will oscillate cutting fuel and then giving way too much resulting in massive afr swings and the car almost dying when it goes from 9 to 22 afr. I am running on a lightly autotuned MS3 Basic base map originally set up for stock 1.8.
At this point most of the work is done under the hood and plans should be
-Tune good enough to drive around
-Find an exhaust shop (or person) to connect my downpipe to my exhaust
-Take it to get tuned by a pro on dyno
I'll be tuning whenever I'm free this week and will be researching who to take it to for the exhaust and pro tune. Hopefully can get this done soon so this car can get back to daily driver duty. Oh and so I can finally enjoy my boosted car
 09-15-2018, 08:56 PM


 0
0