When you click on links to various merchants on this site and make a purchase, this can result in this site earning a commission. Affiliate programs and affiliations include, but are not limited to, the eBay Partner Network.
Yesterday was a pretty good day. Got my VE table good enough at idle and free reving through the lower range to take it for a drive. Basically I added 25% to my fuel map across the board and it got me to a stable idle and somewhat close afrs on my short, slow drive. It's running a bit lean so I think I will increase the whole map by another 5-10% to hopefully get it running a bit rich. I'd feel safer needing to pull fuel than keep adding it. It will idle and 'cruise' (in 1st and 2nd) pretty close to my target but hits high 15's low 16's giving it any more throttle. It didn't blow up and didn't leak so I suppose it was a small victory.
Because of the open downpipe it's just too damn loud to drive for too long right now. Doesn't help that the dp hits my steering column a bit with it not being attached on one end.
Overall I'm pretty happy with the EV14s. The idle feels very close to stock injectors and I'm sure after tuning they will be great.
Will be taking it for short drives to get it ready for the trip to the exhaust shop which should be later this week.
What was wrong with the Kraken supplied wastegate bracket? Can't you make it work on the genuine 2560R?
Couple things. The way it comes the holes to mount it to the turbo itself did not line up, the inside bend is not big enough to wrap around the compressor inlet, the slots to mount the wg actuator were off as well. Then because of the shape of the wg actuator mounting tab it doesn't sit flush enough to keep it sturdy against the bracket - which is why I had to weld it. It will work but it requires a lot of modification and is pretty ugly since the now hacked up piece covers the entire front of the compressor housing. I would advise everyone in my situation to not bother with it and get an adjustable actuator.
You are going to want to protect those steel brake lines and the the master cylinder from the heat, especially the line that goes down inside the frame rail to the left front wheel.
I didn't document it well but here you can see the notch that needs to be cut to get around the inlet
Here you can see the two bottom holes that are supposed to mate up with the factory WG mounting bolt holes on the front of the compressor housing. They didn't line up so one hole had to be elongated. Also when aligning the WG after clocking the turbo I could not get it lined up how I wanted it. I could have re-clocked the turbo a few times to maybe get it better but it just didn't fit very well. The rod on the stock actuator isn't adjustable so mounting on either side of the kraken bracket makes the rod too long or too short, so it will need to be bent or sectioned.
So yes, it will work but the piece I received definitely had to be modified. Even if it didn't I really didn't like how it covered the front of the turbo. The adjustable actuators available for the 2560 mount behind the compressor housing, the bolt slots line up and the adjustable rod comes with two different length ends that thread on the rod with a good inch of adjustability in and out. You can clock the turbo any way you want and it would be able to mount cleanly and straight.
I didn't even know he supplied WG brackets. I definitely never got one in my kit from him!
It was a nice gesture because I had no clue the kit came with one either.
So I took it for another drive today. This time after autotuning for about 20 mins decided to ease into boost. First gear was fine - hit about 4.5psi but was only giving it maybe half throttle. After shifting to second though boost would come on for a split second then the engine would bog down until I lifted and it was out of boost. My fuel map is super rich so I noticed that in boost I am hitting 9~ afr.
So please excuse my noob question here but would an overly rich condition cause this behavior or does it sound more like spark blowout? When I got back from my drive I realized I forgot the gap the plugs down. I am running BKR7E's and they were at a 0.045 gap. I put them down to about 0.030 and won't be able to check until tomorrow if that helped. I am thinking spark blowout but have never encountered it before on any other cars of mine.
If you are stupid rich it can foul the plugs and cause all kinds of problems.
For the EV14s. I got a set from an 8 pack a friend and I split and mine seem to be very non linear at low pulse widths. So my idle and light cruise stuff was a bit wonky to tune. (Basically, anything below about 1.7ms total pulse width is off on my set). Once I open the faucest though they are good to go.
It was the plugs. So happy to say that this last drive she boosted straight through gears 1-4 WOT without issue. Wastegate pressure is 6psi and is rock solid. Afrs are in the low 10's while in boost. I think I'll autotune the last log one more time and leave it like that for the tuner. Car cold starts and idles just like it did on stock injectors.
Only issue I have now is the open downpipe is rattling against something in certain rpm ranges. Dropping it off tomorrow at an exhaust shop about 20 miles away and it looks like it should make it there fine.
If I can find my gopro I will take a video soon. Thank you guys so much if only you knew how long I spent researching this whole process over the years and 99% of the information came from here.
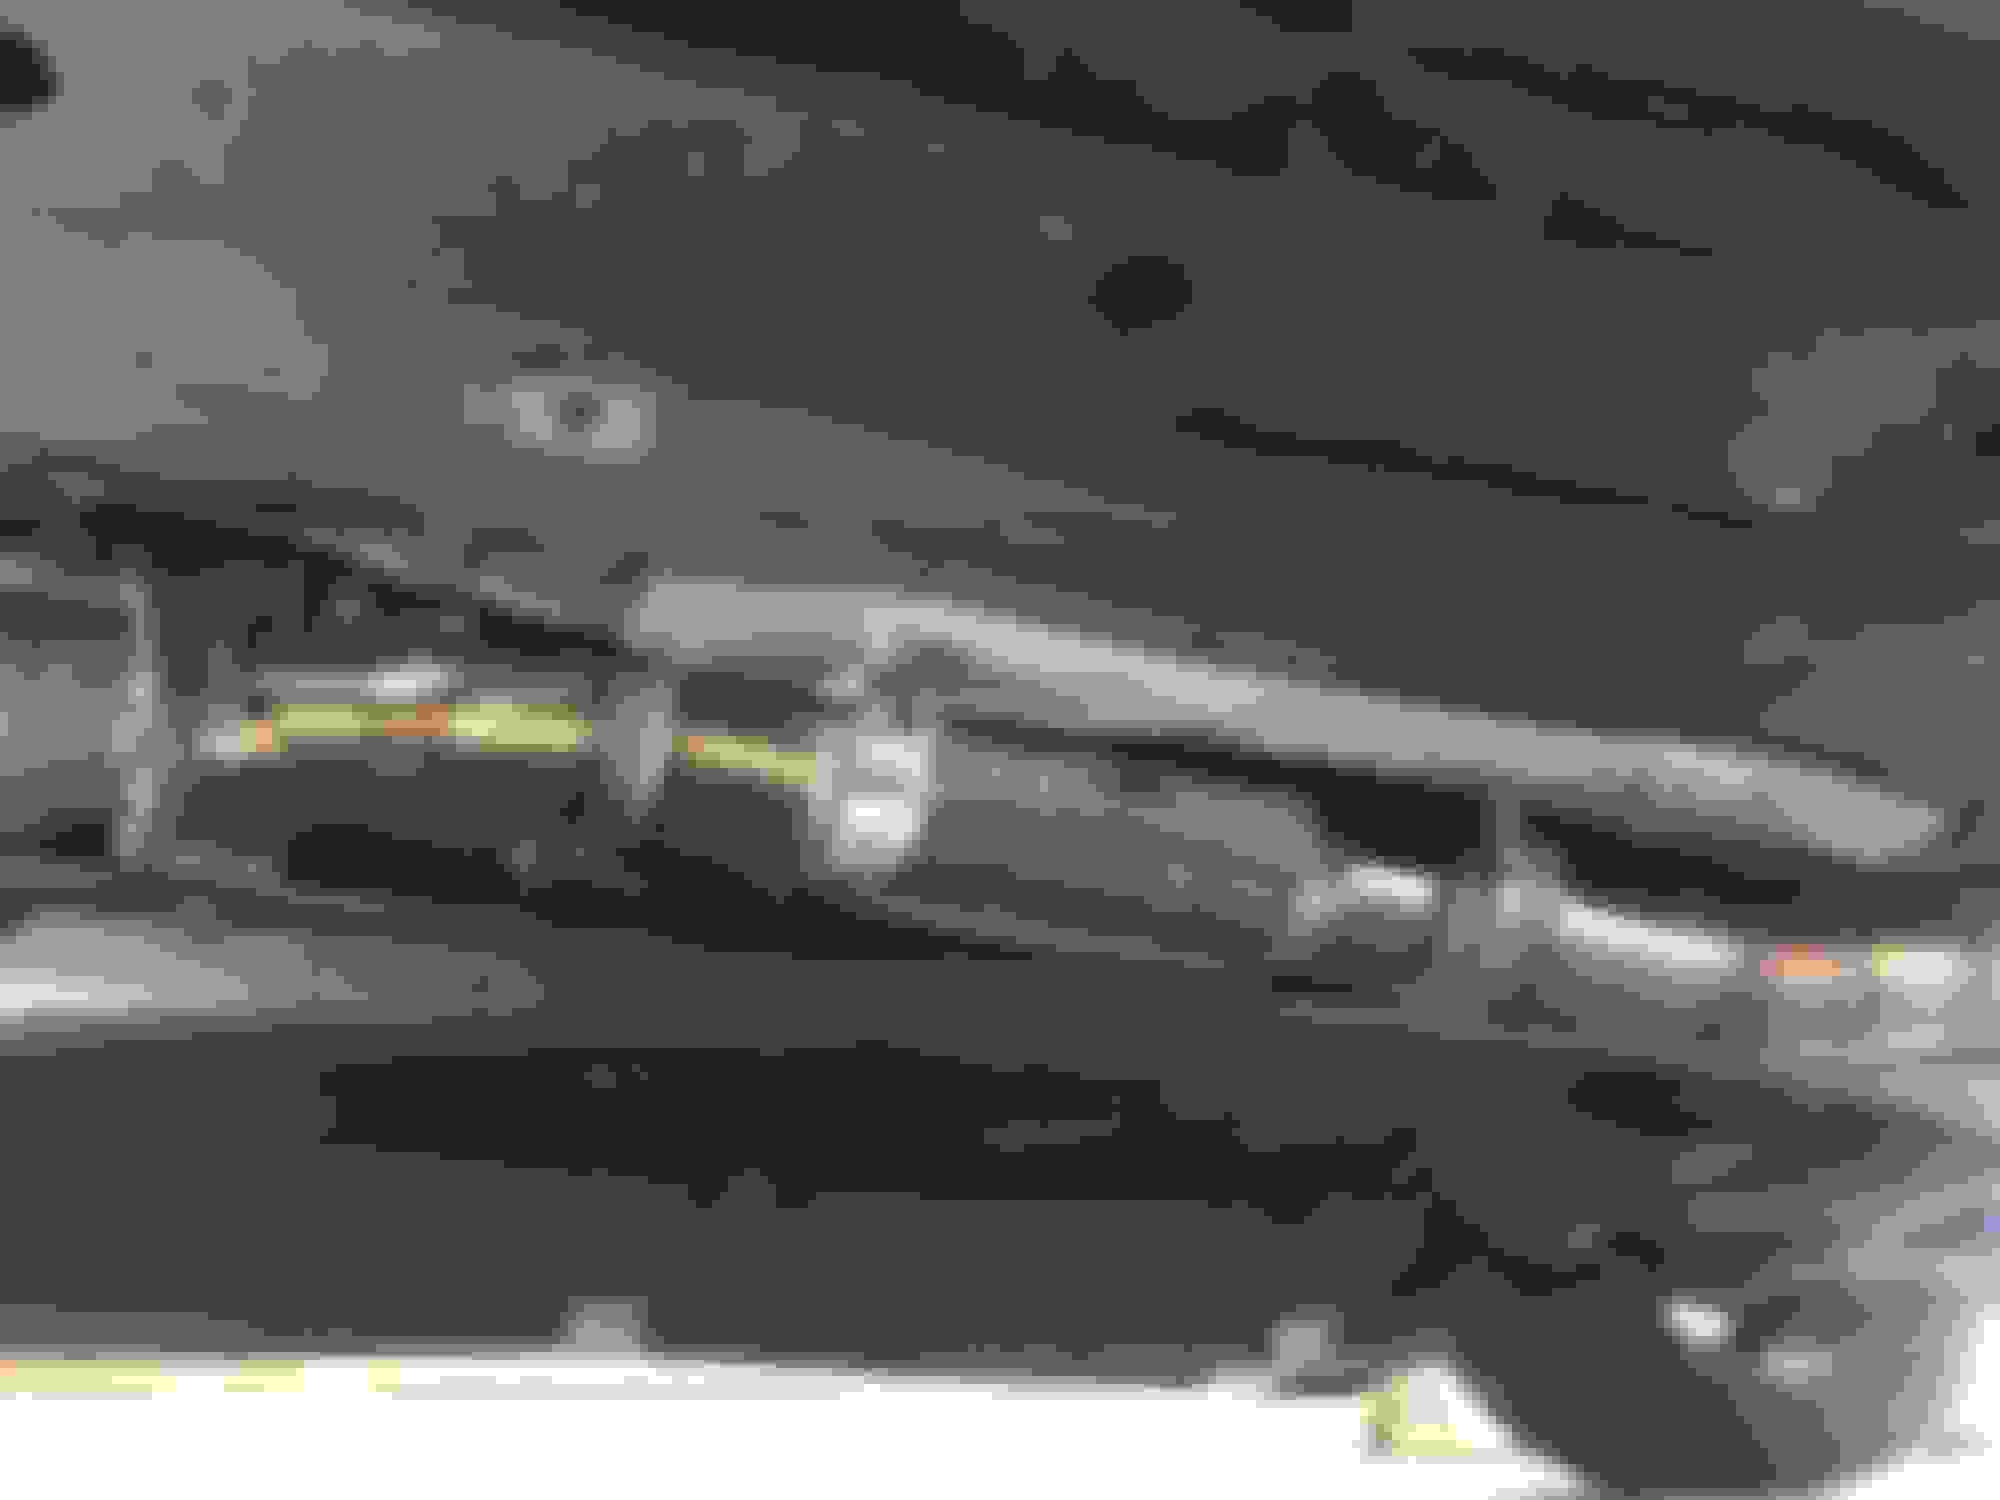
Small update I had an exhaust shop connect my downpipe to my exhaust. First time going to a decent shop for exhaust work. They did an amazing job.
What I had was: Stock header > stock cat > stock exhaust section with second O2 sensor > 3 inch exhaust section > 3in muffler
So I had them do: 2.5in Kraken downpipe > 3in mid pipe section > 3in exhaust/muffler and they made a small flat spot in the downpipe to give more clearance since it was barely touching the steering shaft. Exhaust all tucks under the frame rails nicely.
They used some extra vband flanges I had laying around. Welds are a work of art.
The car is an absolute blast to drive now. Boost comes on quicker than any of my previous turbo cars and the idle and cruise are just as smooth as they were on the stock ecu/injectors. The exhaust is actually a bit quieter now then it was with the half stock exhaust + cat.
Now the car is ready to go back to daily driver duty. I ironed out some low idle issues and the tune is pretty good. Will see if I still get my mpgs since I have a long highway commute to work every day.
I do notice that the exhaust and motor shake a bit when the car is hot, like after driving at highway speeds for 40+ minutes. I'm thinking motor mounts or exhaust hanger bushings?
Exhaust shop did a good job!
My Kraken downpipe is touching my steering shaft also, but i don't have the full exhaust connected, thought this would get more clearance fully assembled,
but it looks like i need a little flat spot also, got any pics?
My Kraken downpipe is touching my steering shaft also, but i don't have the full exhaust connected, thought this would get more clearance fully assembled,
but it looks like i need a little flat spot also, got any pics?
Not a good one. Just find where it touches and hammer a flat spot there. Mine is close now but it doesn't rattle at all.
Since it's pretty much done I moved her out of the garage and finally washed the car. Usually keep my Nissan in the garage so the Miata is back in the driveway.
Now that I am driving the car more the coolant temps seem a bit high. I decided to do a diy mount duct that connects the mouth to the radiator and closes around the intercooler. I forgot to get pics but its nothing special.
Also, back when the car was stock and I did the coolant reroute+new radiator I removed the AC fan that I had wired in parallel. Well now that the turbo is in it runs hot and the fan never shut off so in addition to doing the mouth duct I put the AC fan back in.
The results were improved but still in the range that keeps my fans on all the time - even at highway speed while cruising.
Here are the numbers:
Before turbo (Stock with Qmax reroute and crossflow radiator):
Low: 192F
High: 197F
After turbo:
Low: 204
High: 215
After turbo + duct/AC fan:
Low: 198
High: 205
Basically the car warms up and stays at 205 while driving/idle and sometimes drops a degree or two while coasting to a stop. Fans are on the whole time. Cooling setup consists of TSE Qmax reroute, CSF crossflow radiator, 195F Stant thermostat, 25% coolant mix, OEM undertray and now the mouth duct and both Oem rad fans. Fans are set to come on at 203 and off at 198.
Suggestions on this? Are the temps ok? Should I adjust fan on/off times? Different thermostat?
I haven't really beat on the car for extended periods so I want to know if these "normal" driving temps look ok or if I need to look for a problem.
I had some interference with the DP and steering rod as well, but was able to get around it by adjusting the V Bands on both sides of the downpipe. If I can get it justttt right, it doesn't interfere at all during driving. I need to adjust it a hair because it buzzes a little bit sometimes.
Also, a coolant temp of 205 is nothing to worry about, especially if it's in hot weather.
 10-02-2018, 07:03 AM


 0
0