When you click on links to various merchants on this site and make a purchase, this can result in this site earning a commission. Affiliate programs and affiliations include, but are not limited to, the eBay Partner Network.
First things first, that Spectra LO157 gasket seems to have done the job sealing up the fuel tank
So that one is a keeper. I'll let you all know if this changes. Also, my apologies for the cancer that is vertical video. I have no excuses and your criticism will be well deserved.
Ok, so on to cooling system things.
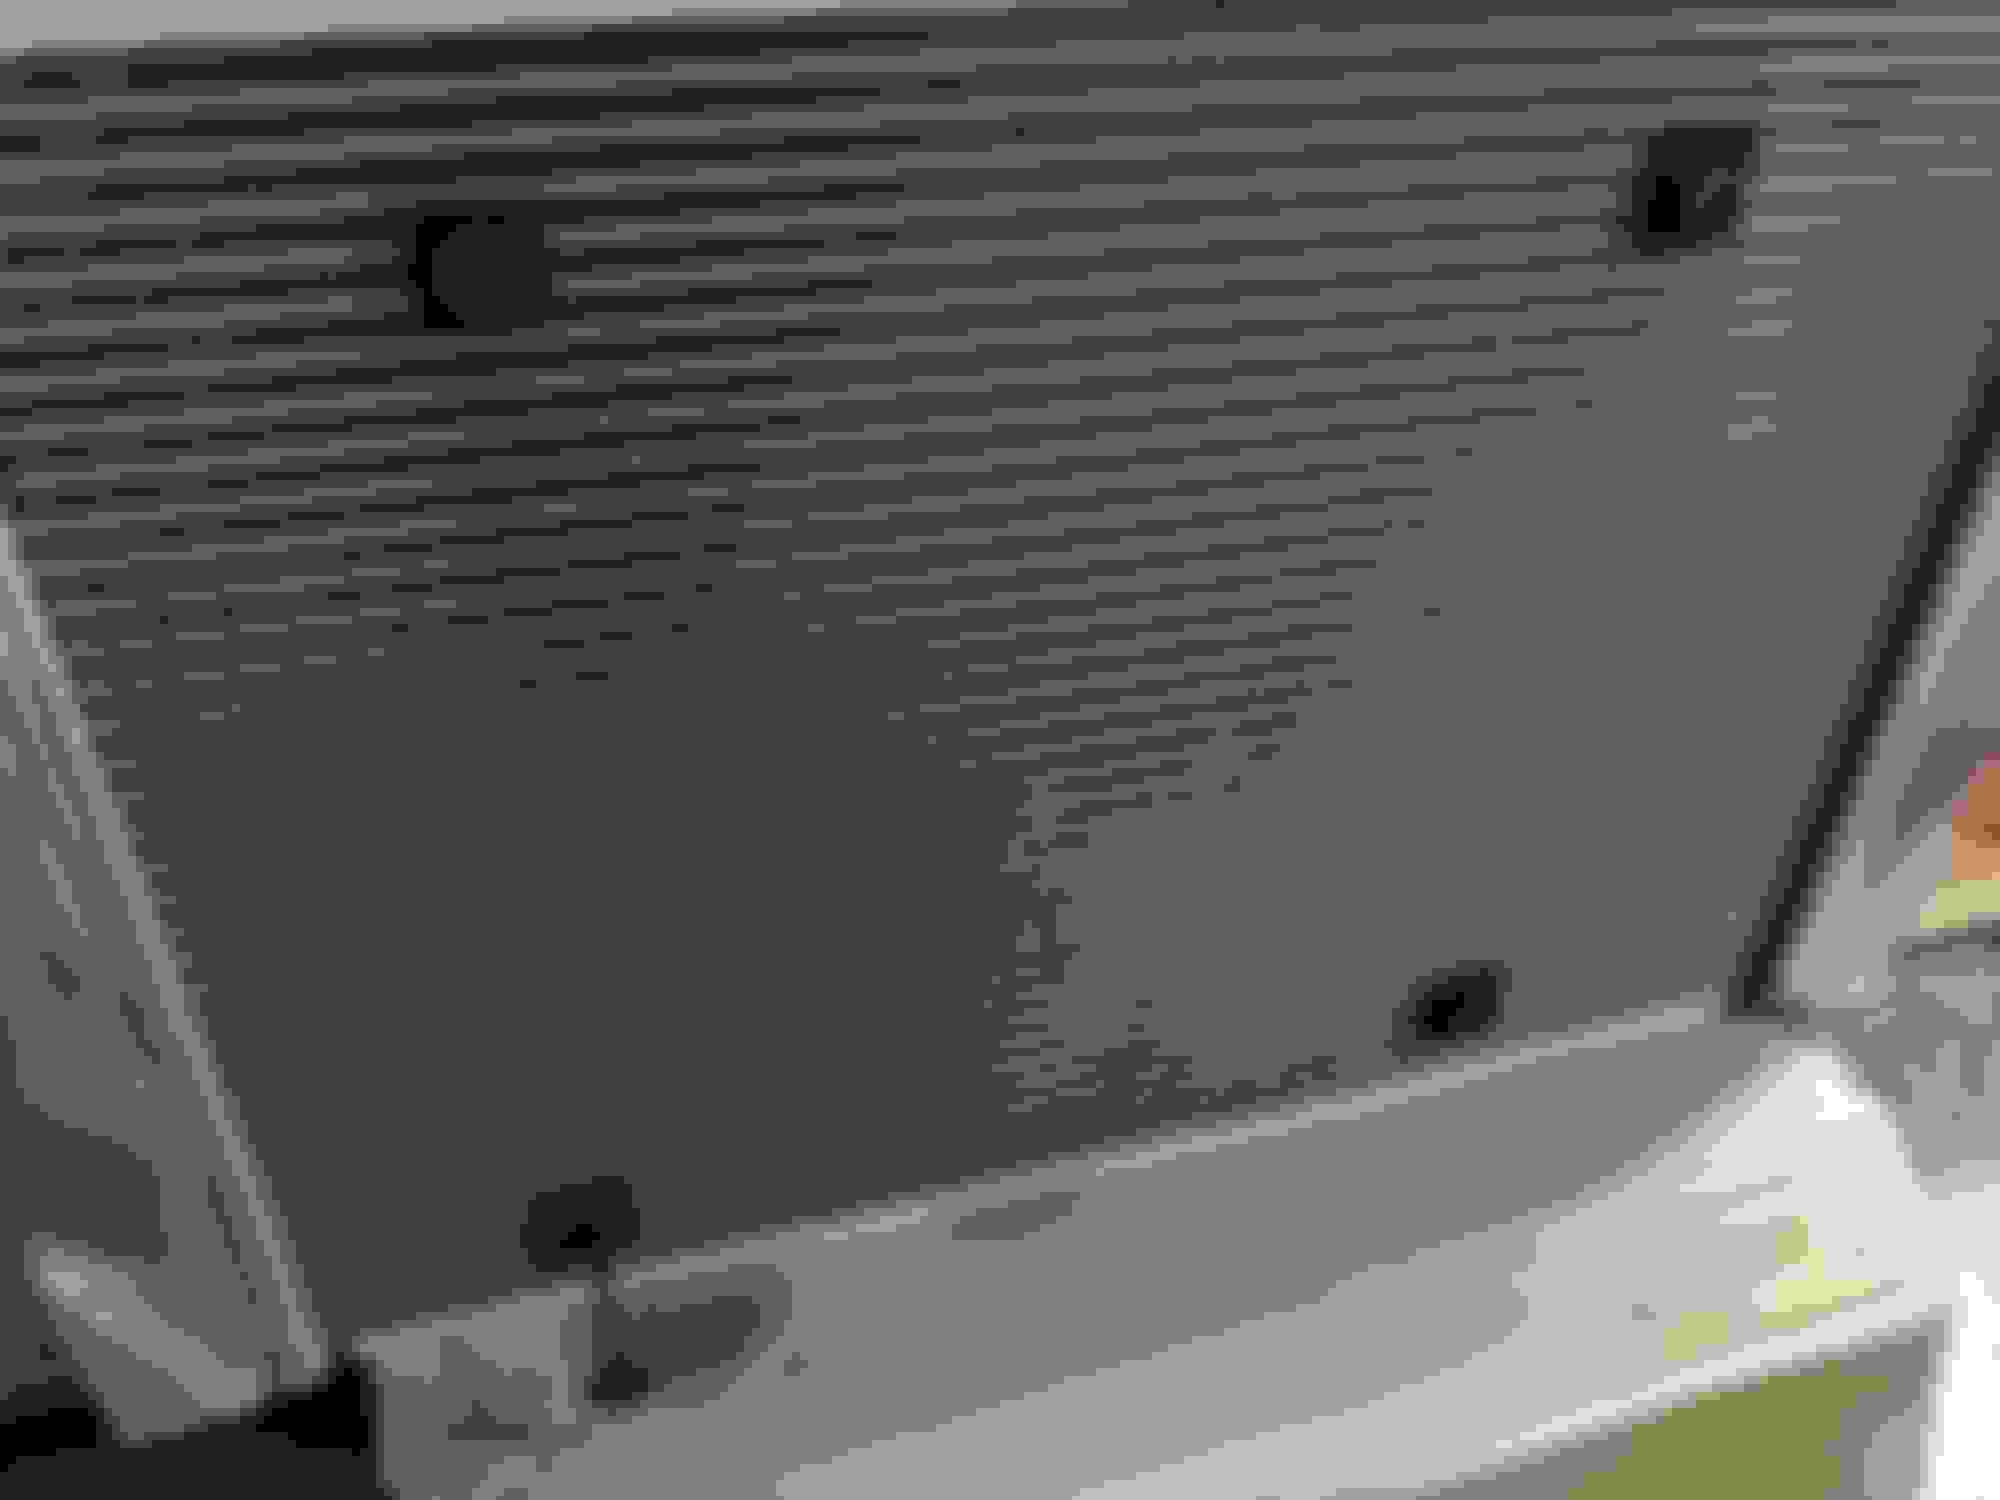
So the sheet pan is a tremendous idea, and the one I picked out fits the radiator INCREDIBLY well.
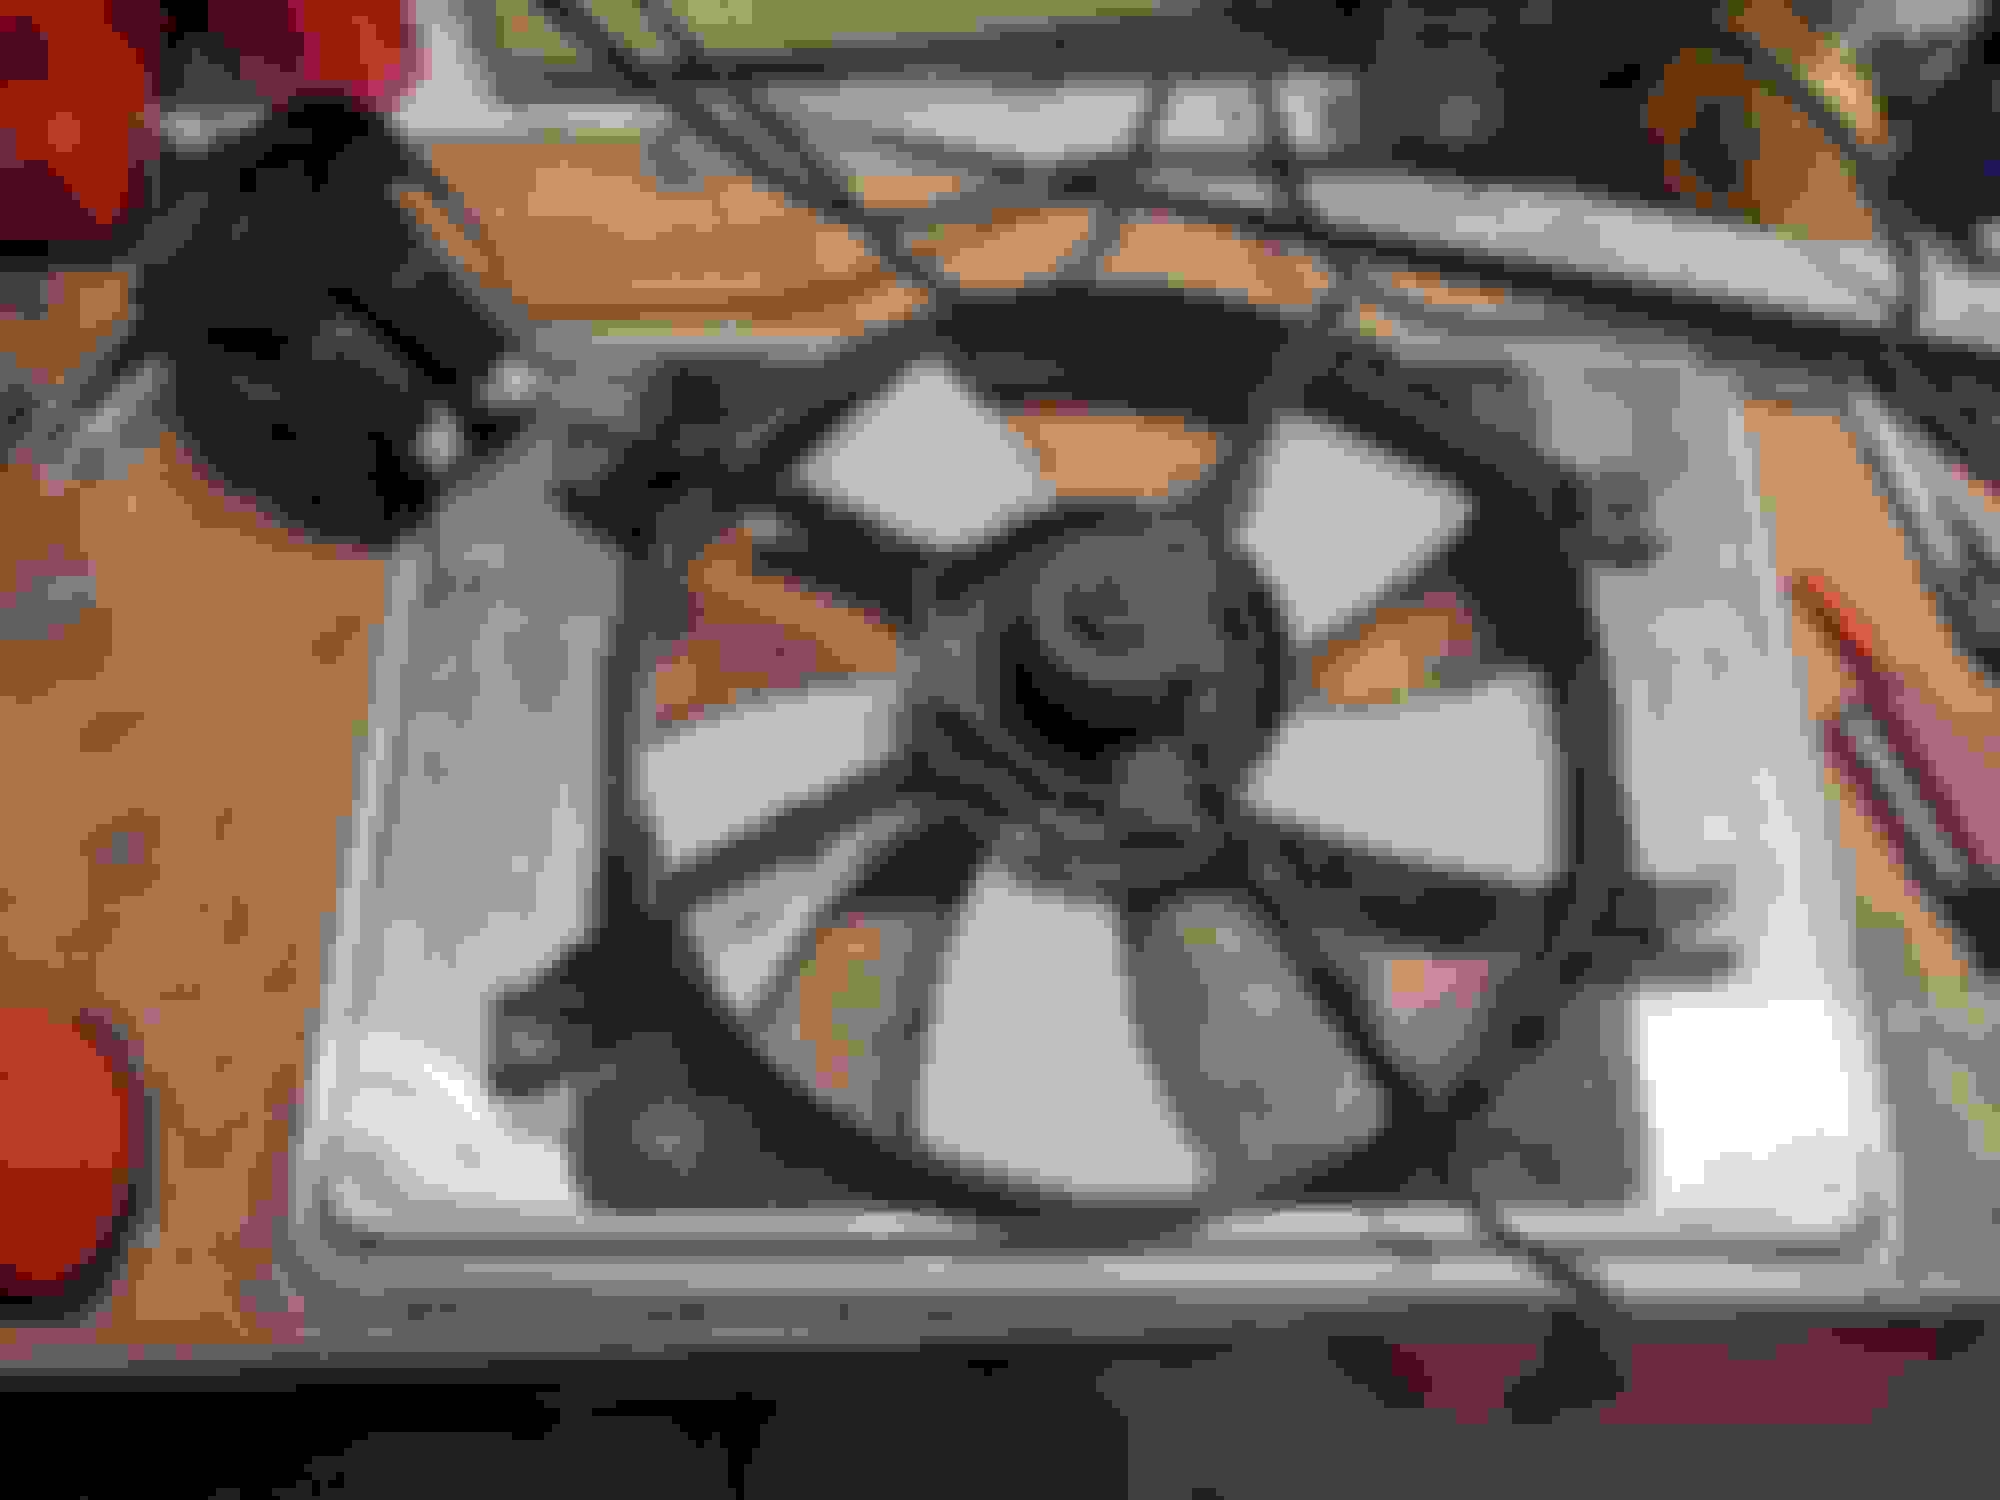
I wanted to maximize clearance from the fan motor hub to the accessory drive so I trimmed on the "step" in the OE fan shroud, this way it could sit flush with the pan. I ended up using my jigsaw which... kinda worked. I could have done a better job.
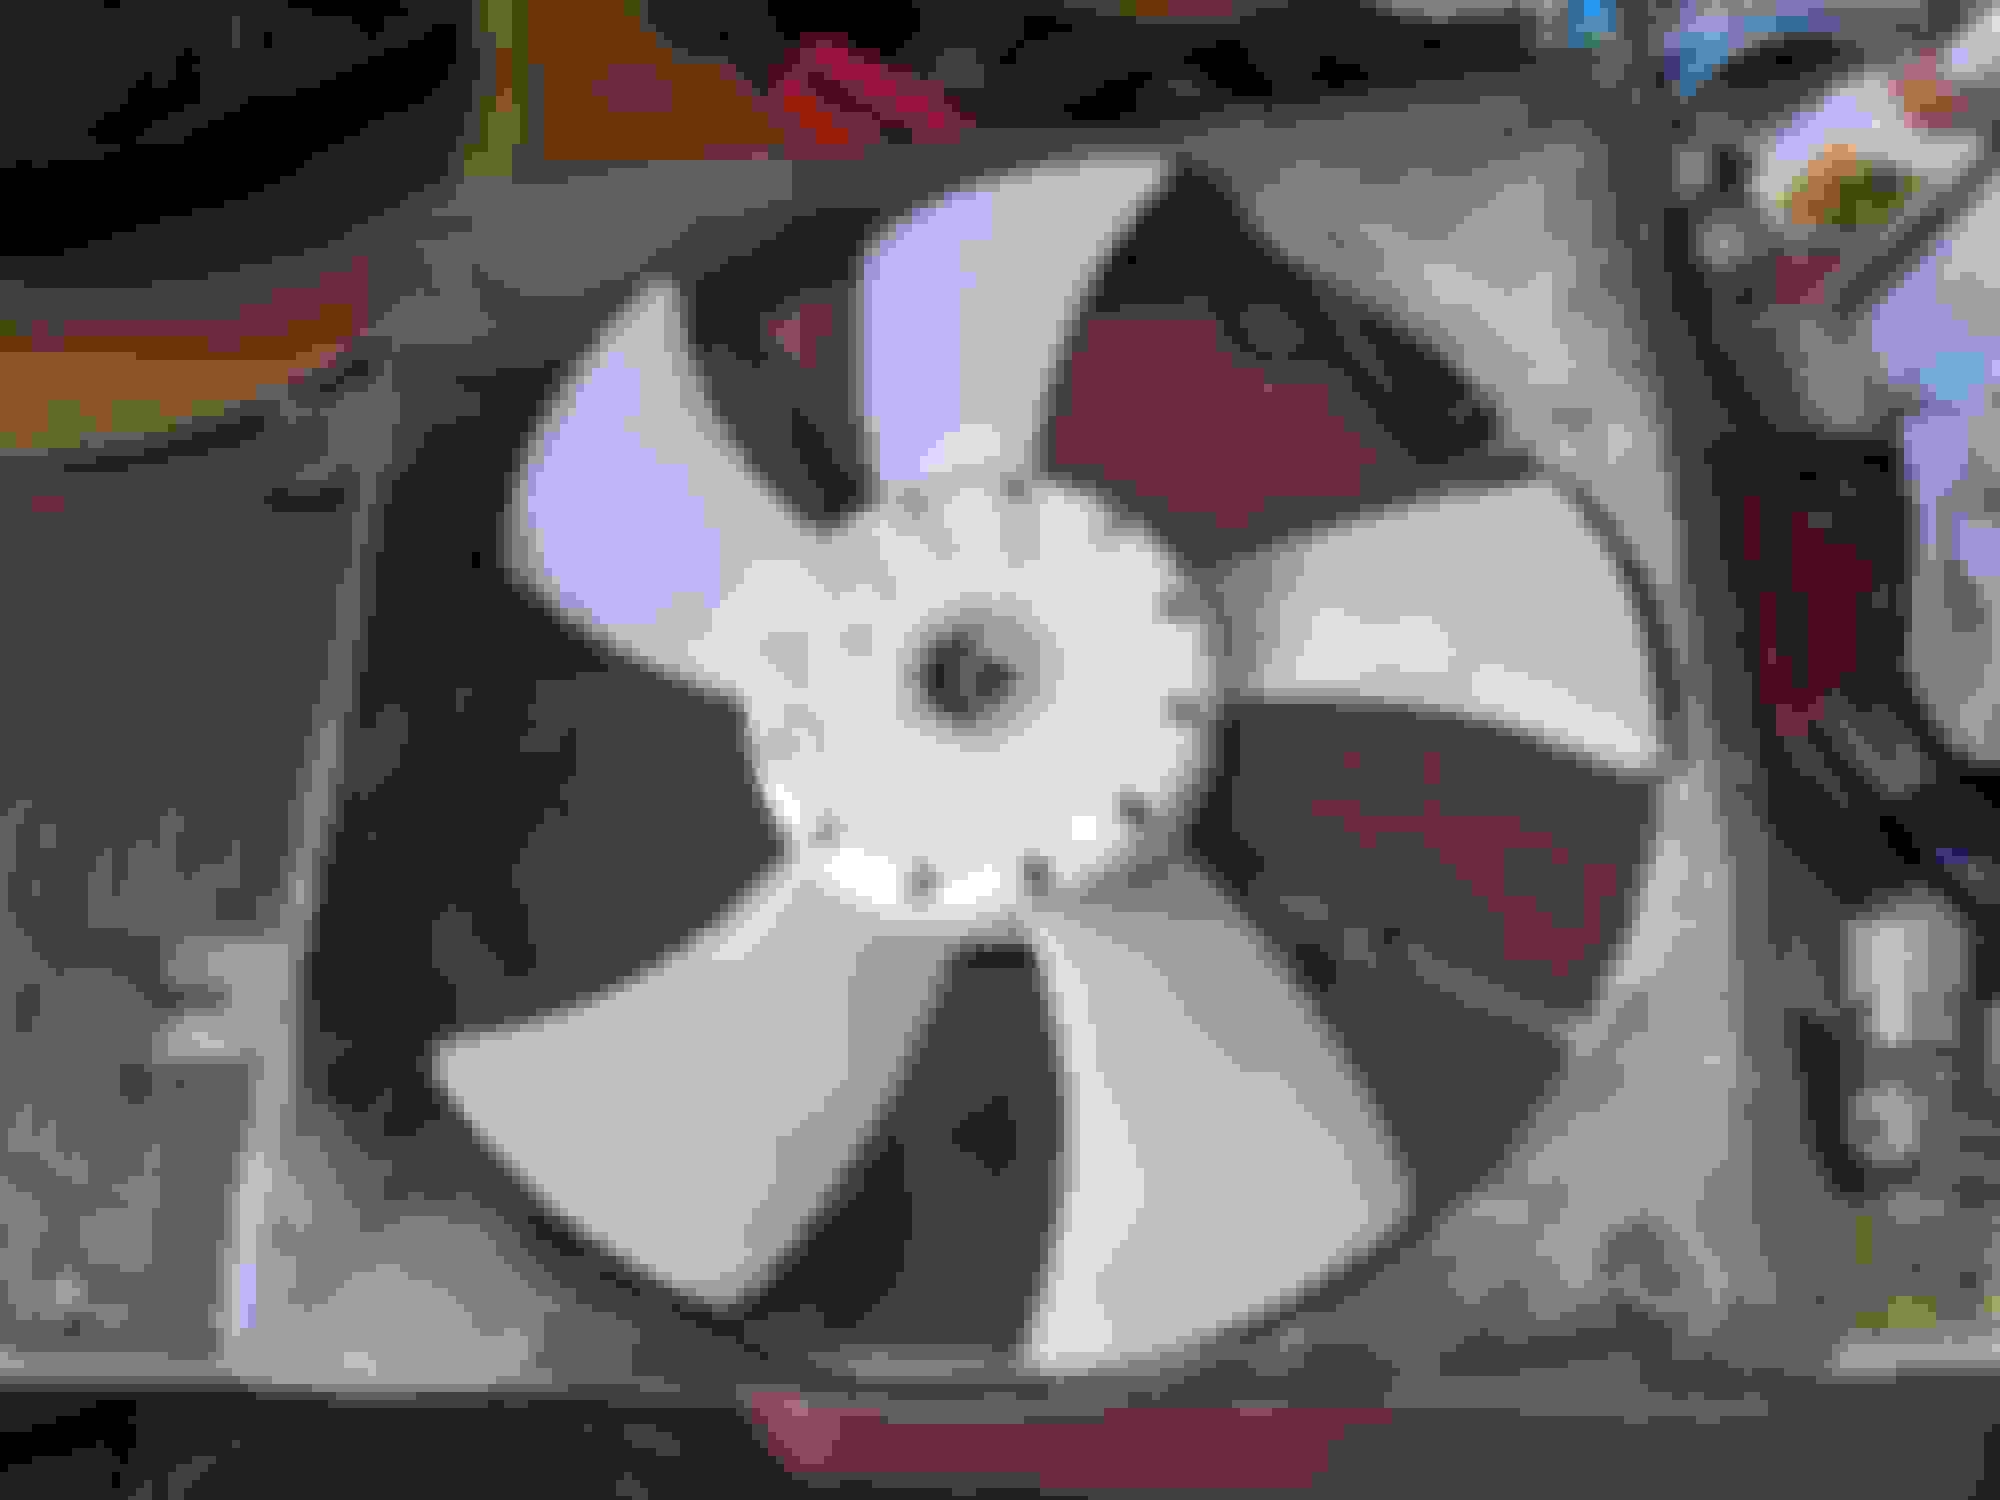
Flopped the fan onto the bench and converted the template into CAD
I did the outside edge and the basic internal clearances in the CAD so I knew what I was dealing with. You can see the flat edges here. Remember, we want ALL the air going through the fan to come THROUGH the radiator. Leaks are unacceptable.
Cut on the red line and now we have our fan clearances!
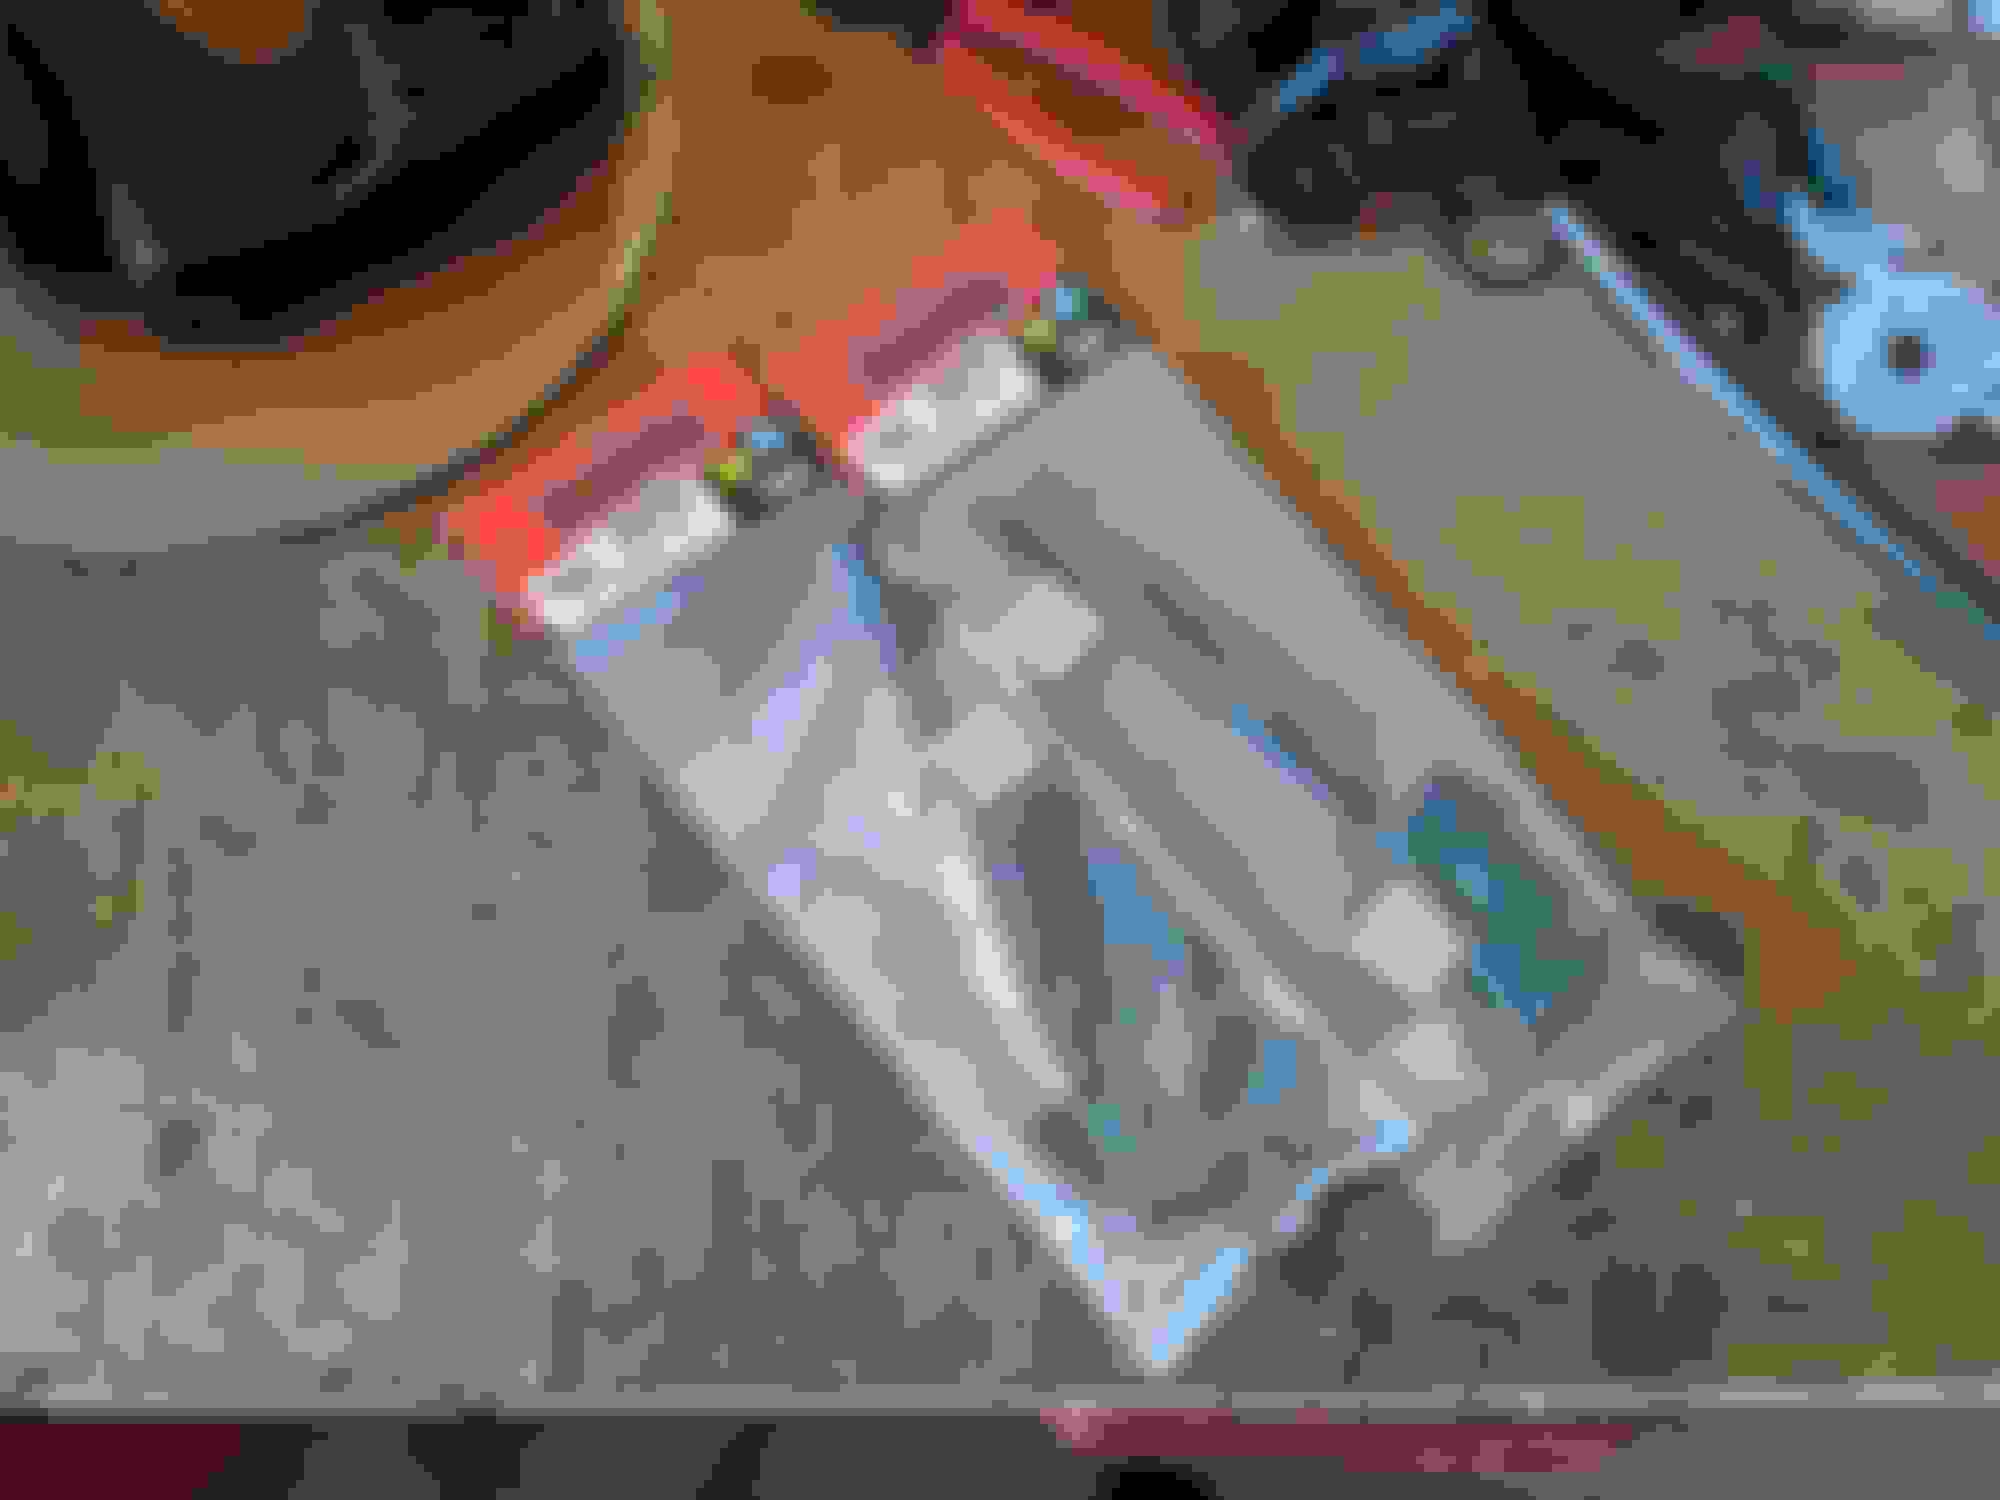
After several test fits and a lot of temporary duct tape, that template gets transferred to the pan
And then we slaughter the pan with the jigsaw
Dirty great hole is a perfect fit for the fan!
So now I need to mount the fan to the pan, and the pan to the radiator.
Mounting the fan to the pan is the easy part. Adding 4x 0.25" spacers under the OE fan mount ears and a M6 bolt into a riv-nut mounted into the pan was a done deal. But then... pan to rad. What followed was probably a week of drinking and stress where I tried to come up with a clever yet simple way to mount the pan to the radiator. A hundred different solutions were tried and a few of them would have actually worked, but all of them required tools or technology that I just don't have access to. I was starting to get really bogged down with the whole thing when a friend (I think it may have been @afm ) recommended the "through the core" plastic fan mounts. I'd dismissed this idea previously because I'd used a set of these to destroy a really expensive aluminum radiator about ~15 years ago, but this radiator is much more beefy than that one so I figured I'd give it a go.
I ordered 2x sets of Derale 13001 fan mount kits from Summit. After all the stuff I've returned to them in the last 3 months I'm shocked they are still willing to do business with me!
The more I sat there and looked at these things, and the more I thought about it, I decided that rather than complicate this even further lets try simple and see if that works. My NB with the TSE rad is simple and it works great with a stock fan and no shroud so... lets give that a try! Through the core it mounts it is!
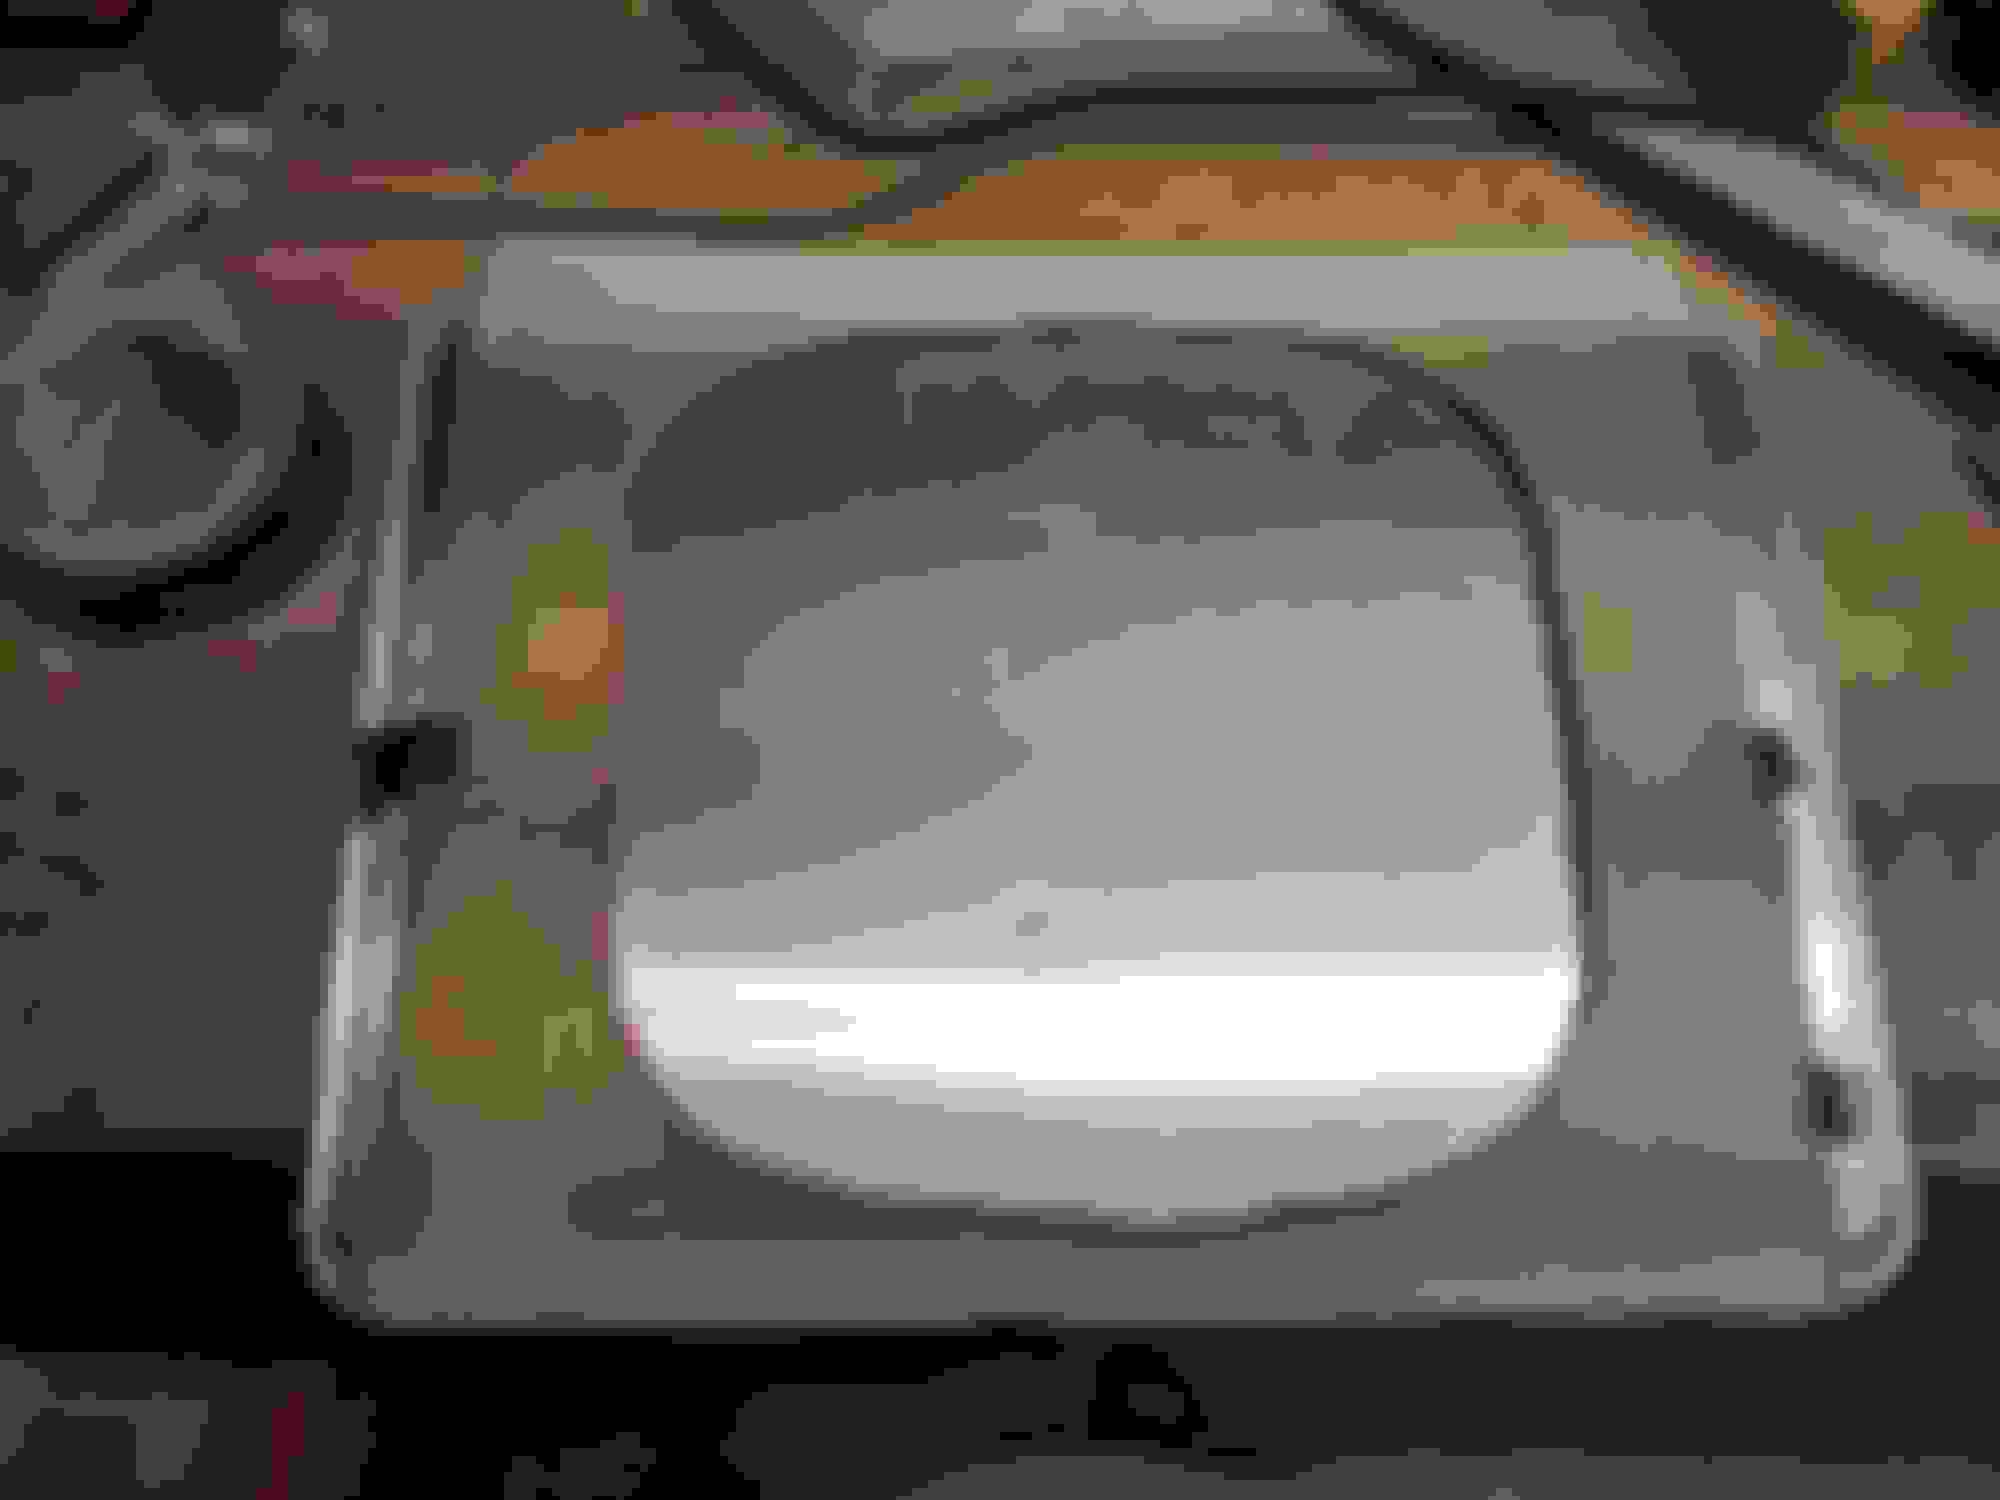
With the fan mounted directly in contact with the core, I realized the hub and the blades would rub any time the fan triggered. The plastic shroud would also rub, so something needed to be done to space it out and protect it from abrasion. A quick trip to Home Depot Racing Supply yielded this fantastic product:
Because every Miata owner loves the D
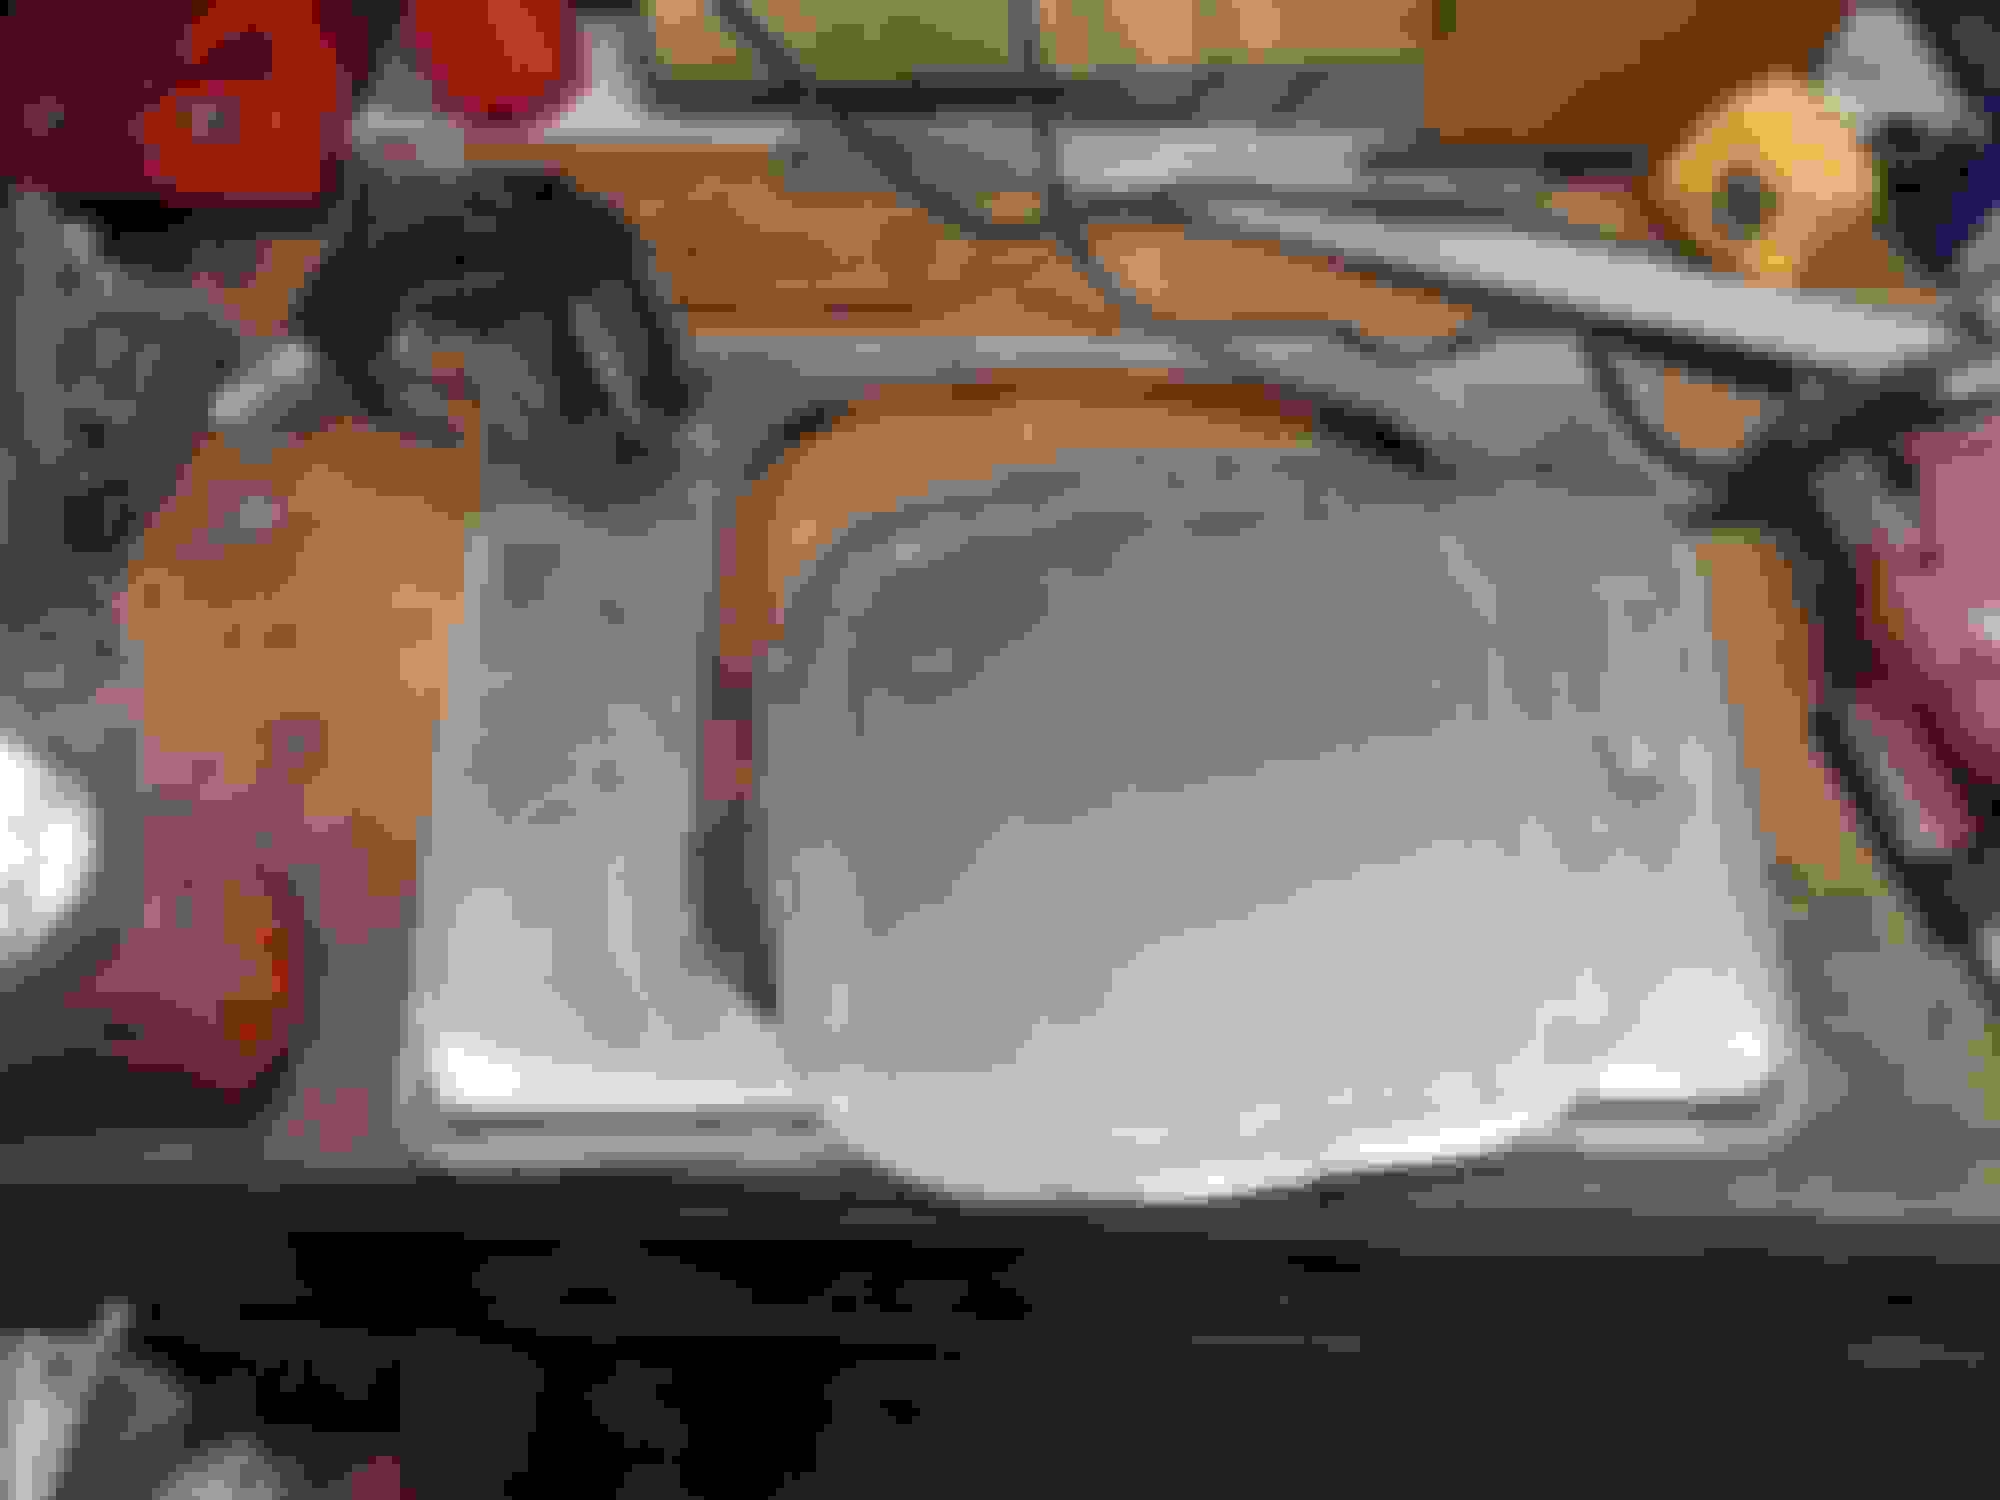
In the pic above there is a single layer of the foam around the outside, but I ended up doubling it up to give it a bit more cushion.
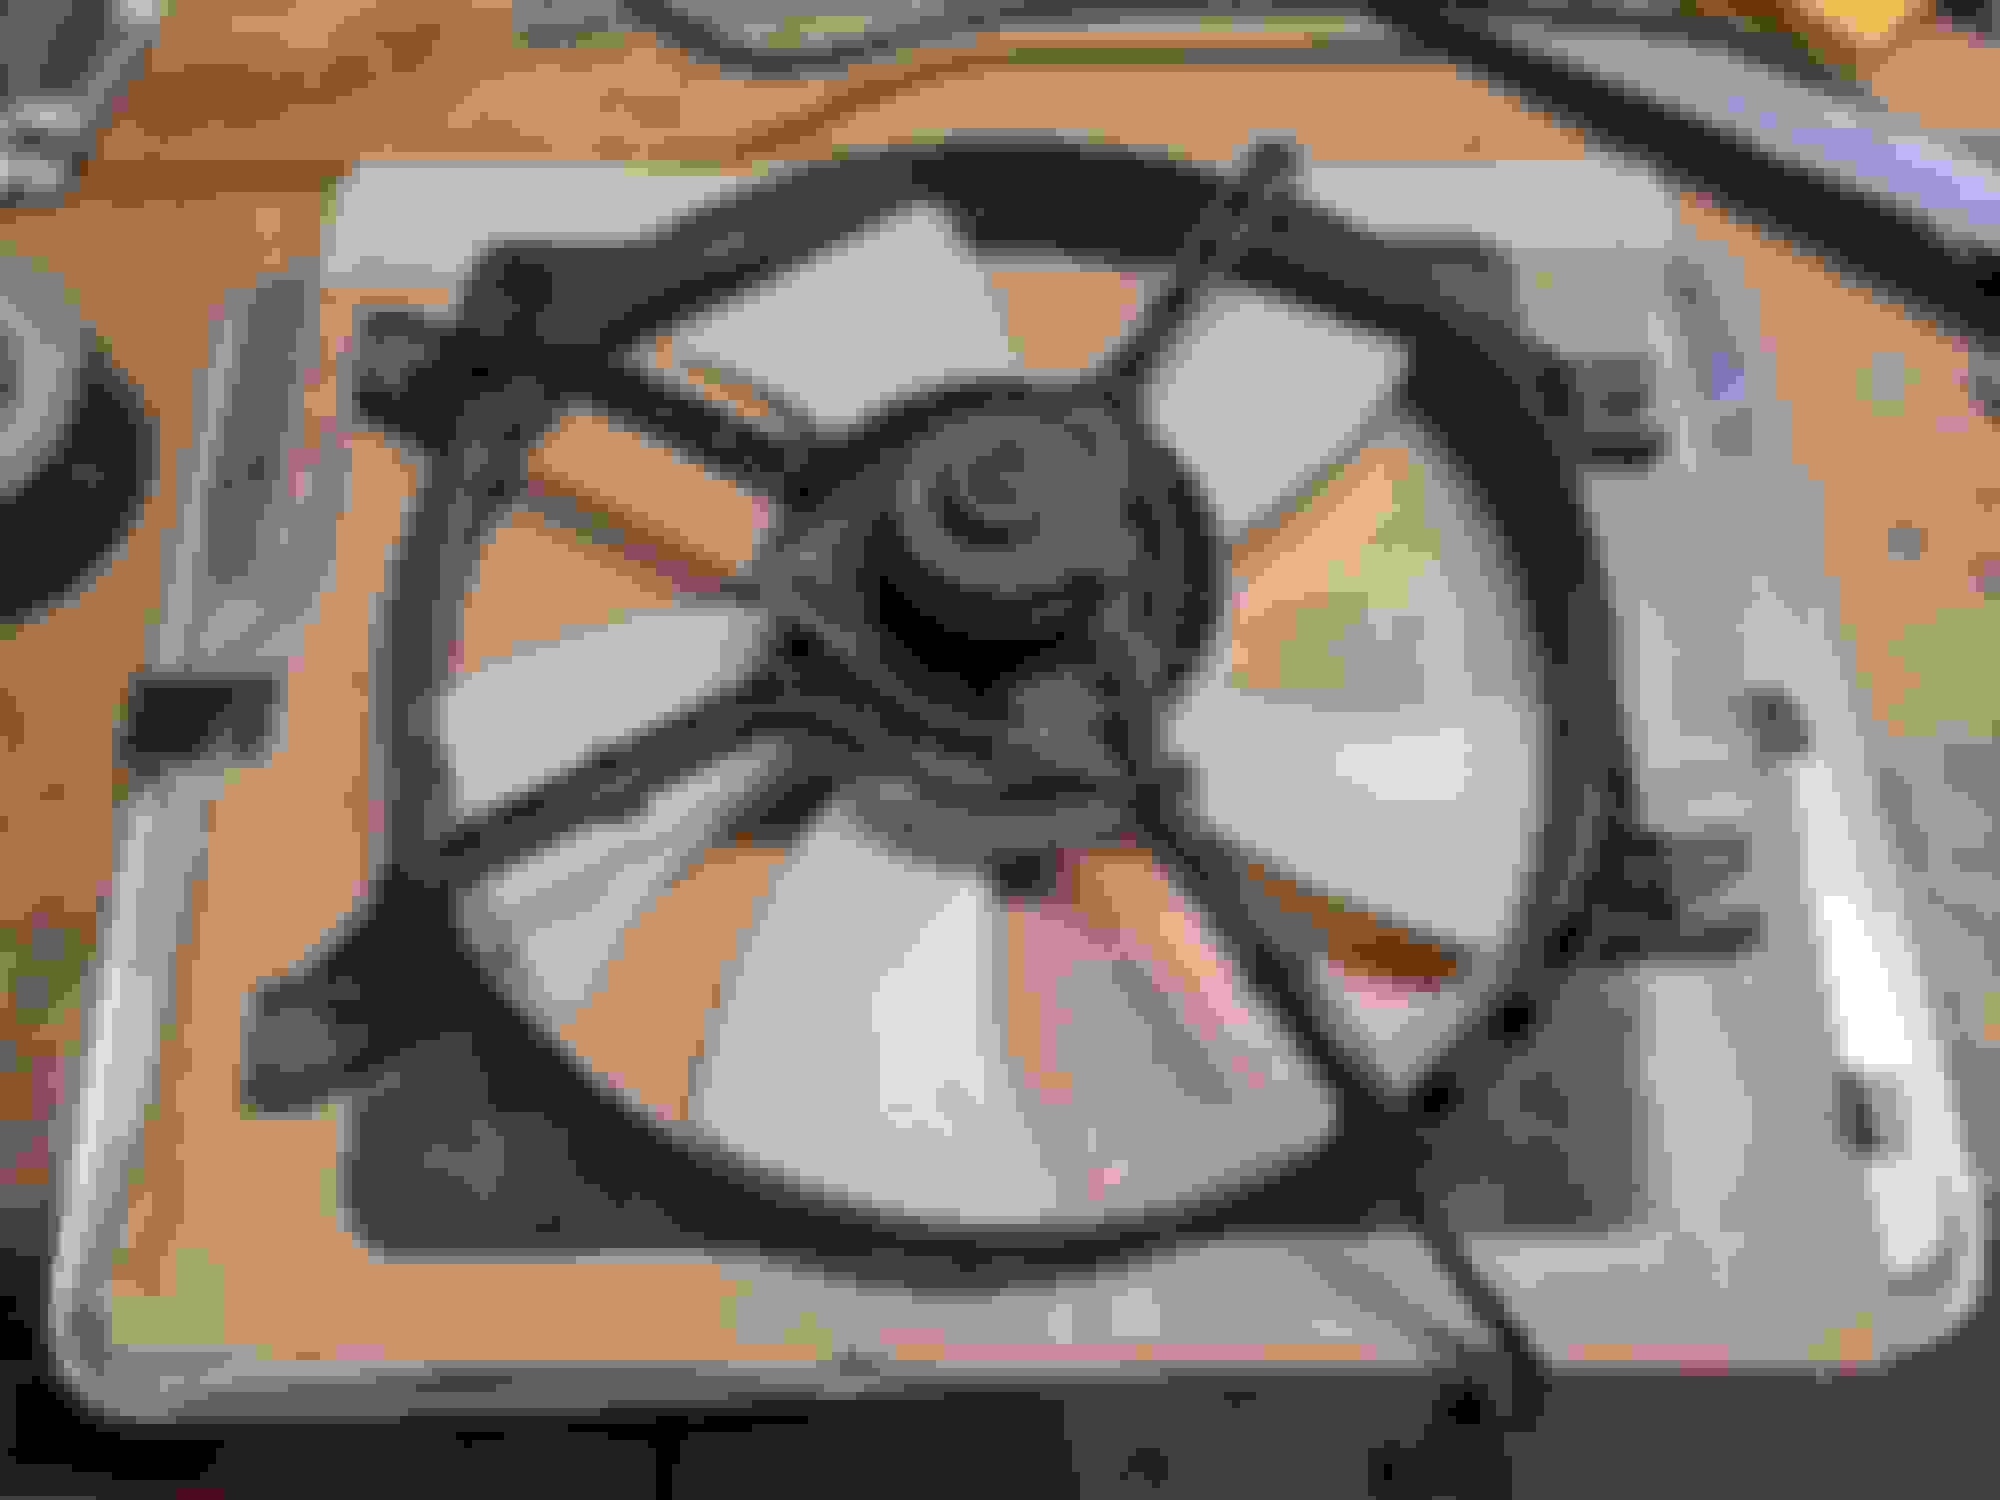
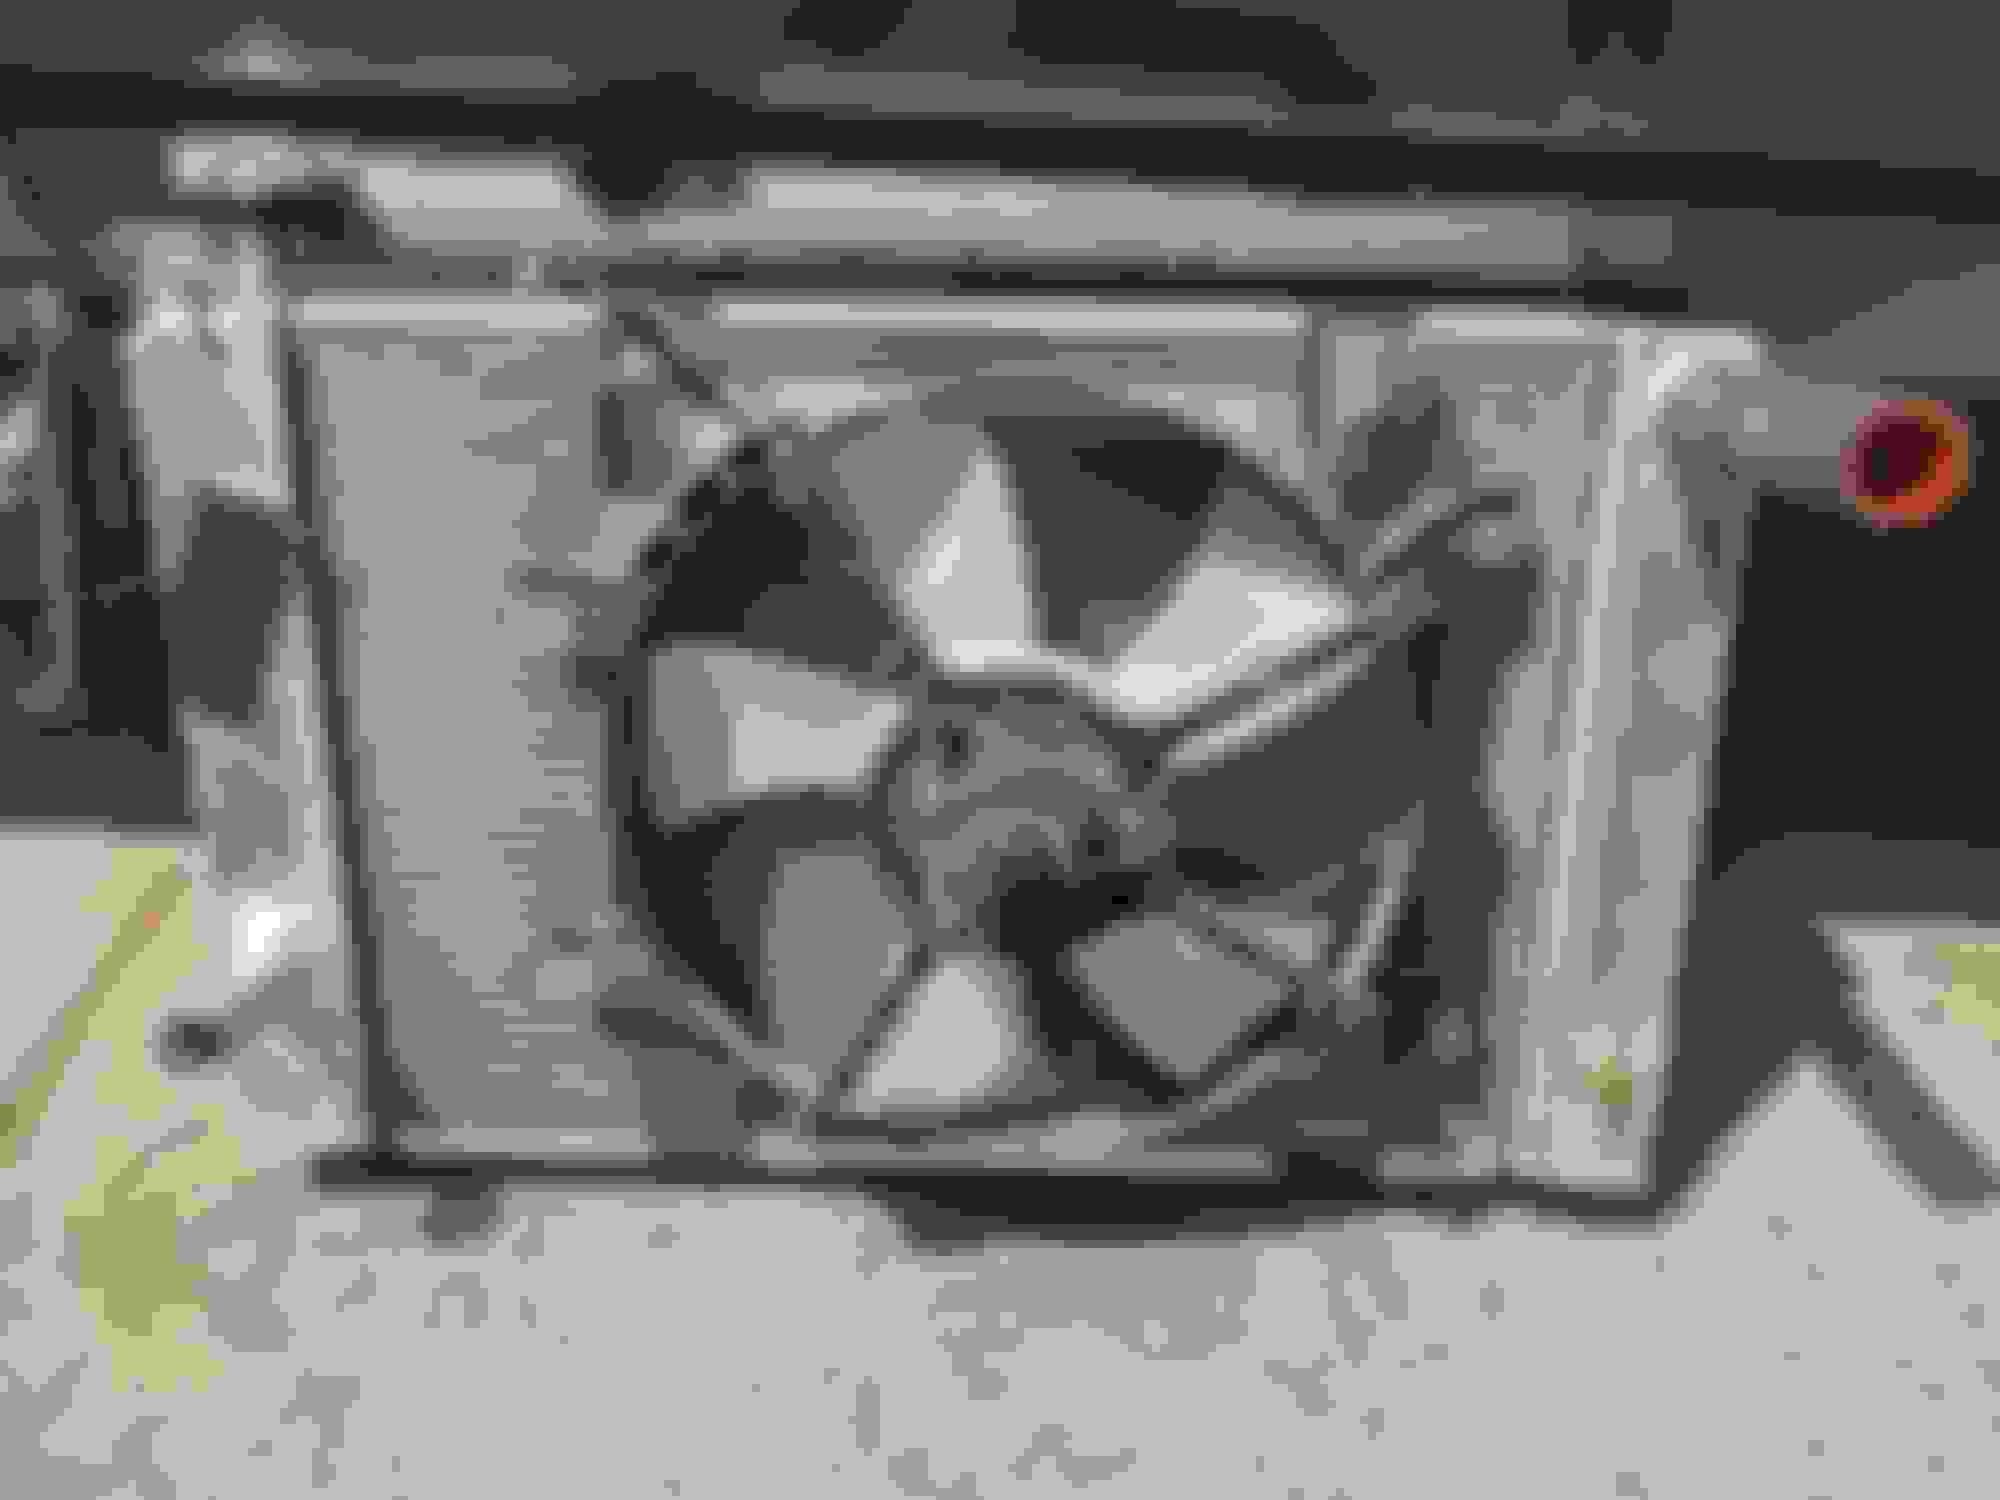
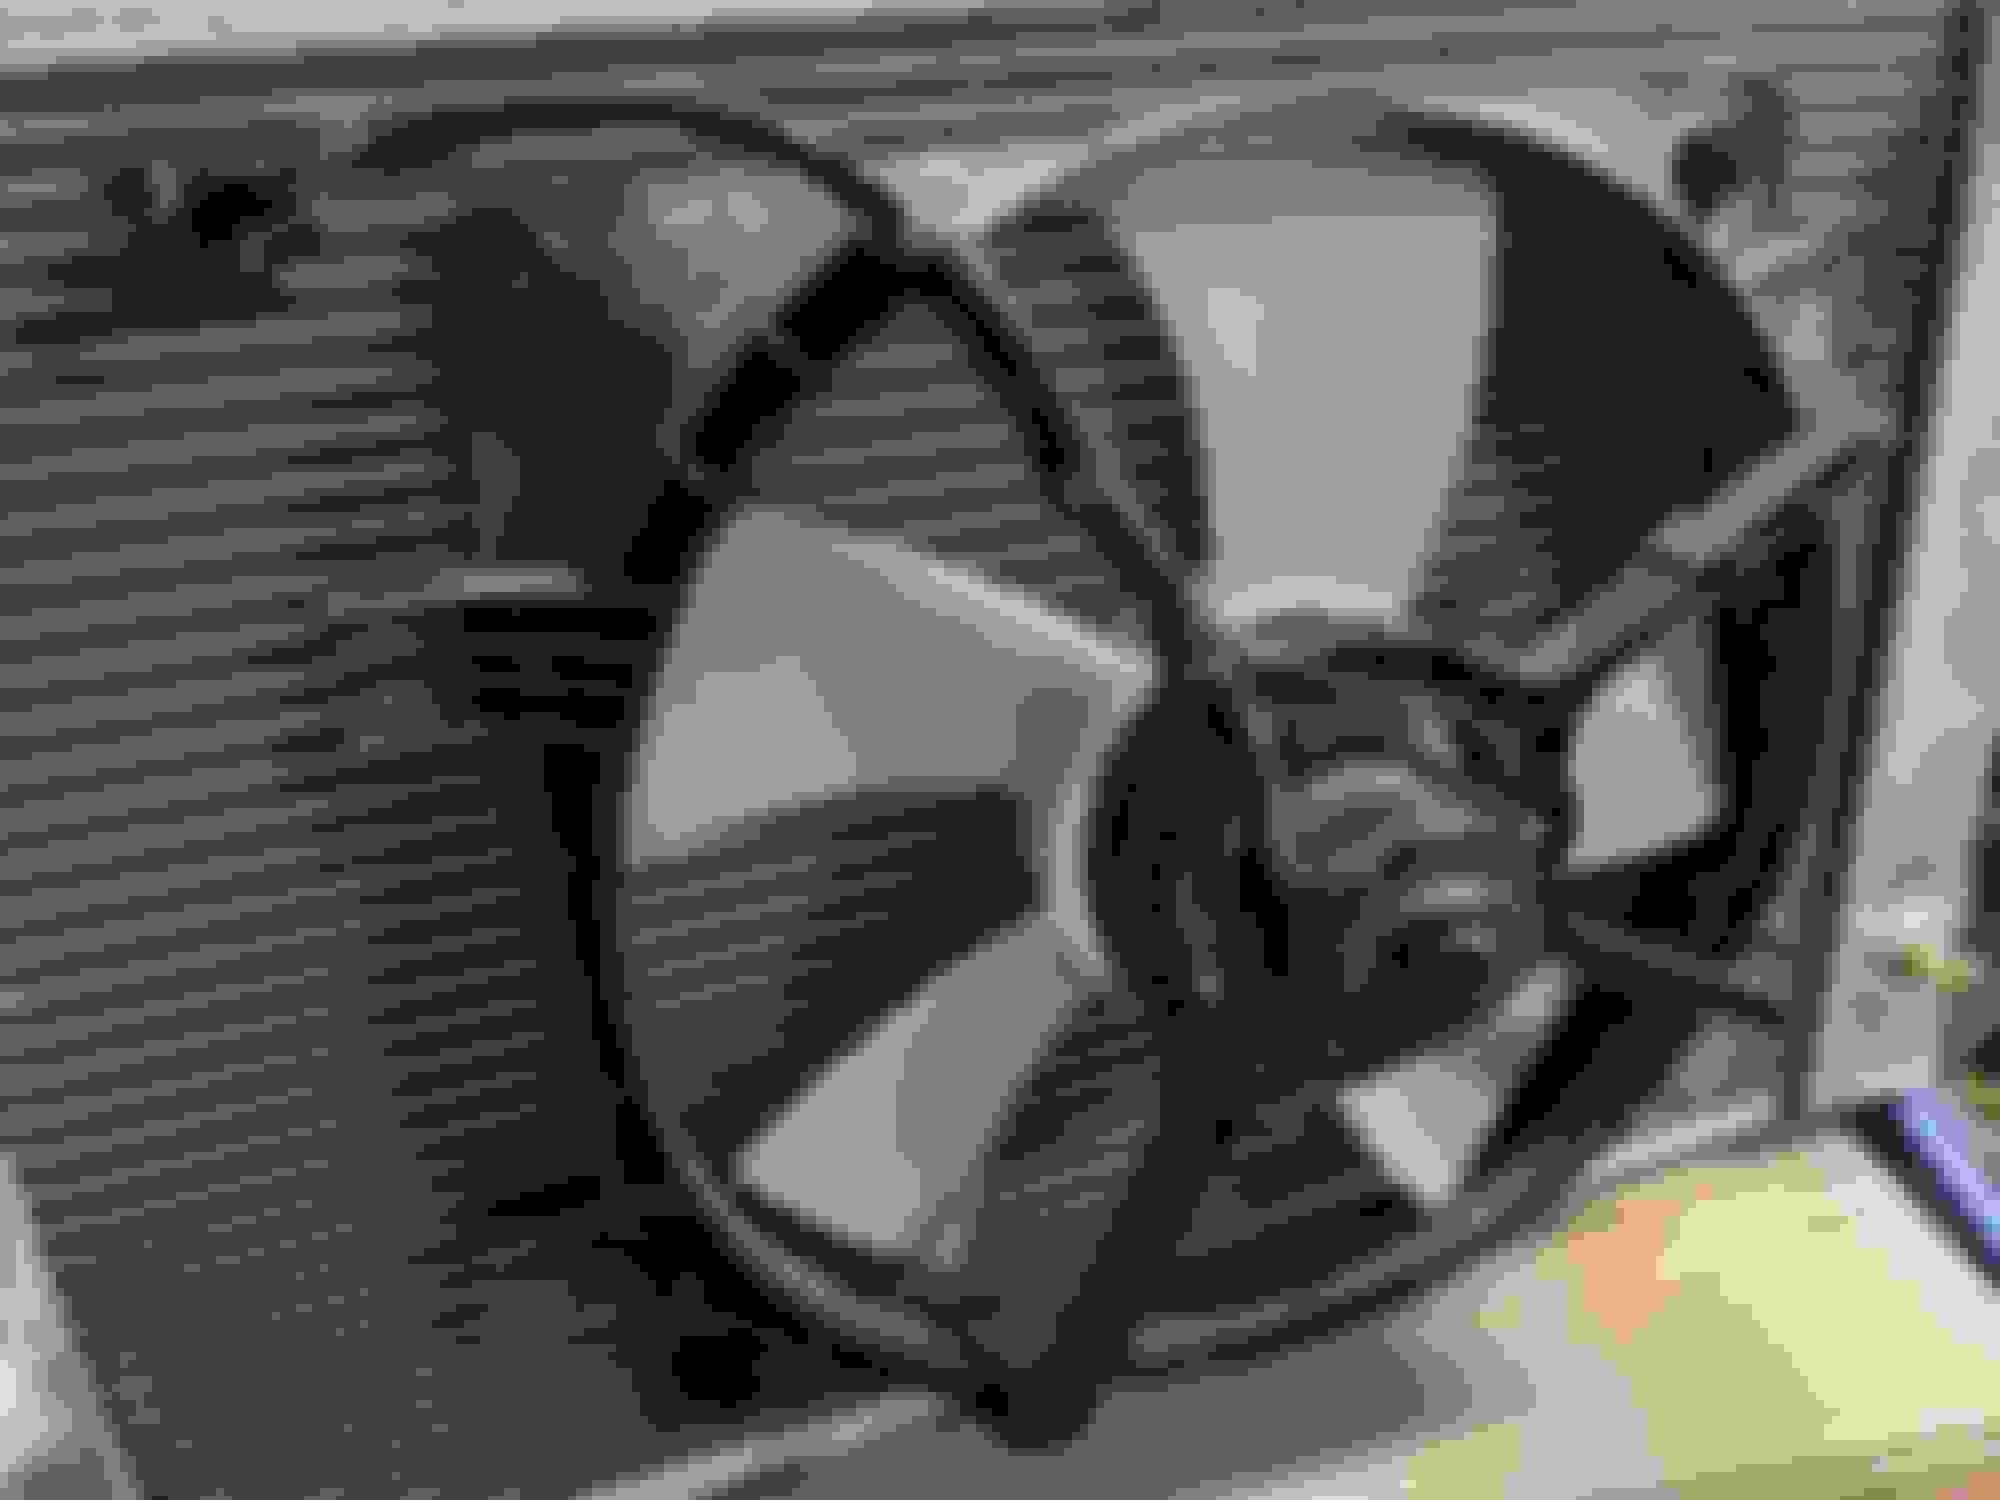
Again, heavy duty duct tape was used to secure the fan to the core for test fit
And I ended up with a whole lot more clearance! Yes!
The mounts were poked through the core with the pads on the outside (as there were no instructions this seemed like the safest way to do it)
Fan wiring was rerouted a bit to accommodate for position, hole locations marked and drilled in the plastic shroud for the mounts and the little backing nuts were applied. Perfect!
Unfortunately I wasn't quite paying attention to the fan location with relation to the leads, so I'm a little short with the wiring. SIGN. Oh well, nothing I can't fix with some 1/4" QDs and some heavy gauge wire.
FIXED FOREVER!
Both the NA 3 piece and NB 1 piece lower radiator hoses were not going to work with the revised outlet position so I found a 17" universal "ribbed for your pleasure" hose with the steel coil in it (barf) at the O'RLY that's a fairly perfect fit. Its 1.25" to match both the rad and the water pump inlet, and the 17" lets it hang out there and dodge the power steering mess. Its Gates Vulco-Flex II hose, PN 25253. That information is actually COMPLELY USELESS to anyone except me, because custom radiator, but if I put it here I don't have to remember it in the future
At this point, the cooling system was completely reassembled for the first time in months, out came the Magic Funnel�, and I proceeded to burp it like an angry baby.
...only to find that the coolant that was in the block looked like rusty mud because I'd never finished my coolant flush process. DAMN. IT. I'm SUPER STOKED to have pushed all that rusty **** into my brand new fancy radiator. So... again we flush.
Disconnected the heater core and lower radiator hose and let things fly with the garden hose. Remember that cooling systems, gaskets, hoses and heater cores are only designed for 16-22psi so don't risk over pressurizing the system and ruining something. I forward and back flushed the system until it ran clear. Once clear I drained as much hose water out of it as I could and refilled with distilled water.
So to burp a car with the QMAX I do things a little differently. I've actually found it quite useful to get the rear end of the car as high into the air as you are comfortable, open the bleed nipple on the reroute and add coolant to the Magic Funnel�.
The coolant/water will "find its own level" and automatically purge air from the system and dramatically reduce bleed time and effort. I tossed my little MityVac dick pump jobber on the nipple and pumped away to get the last of the little bubbles out. From there, I dropped the *** end down and bled as normal. Traditional bleed is of course required because the heater core will undoubtedly have air trapped in it due to the crazy angle. At first I thought it had lost a head gasket due to the amount of air coming out of the system, but luckily cooler heads prevailed (did you see what I did there?)
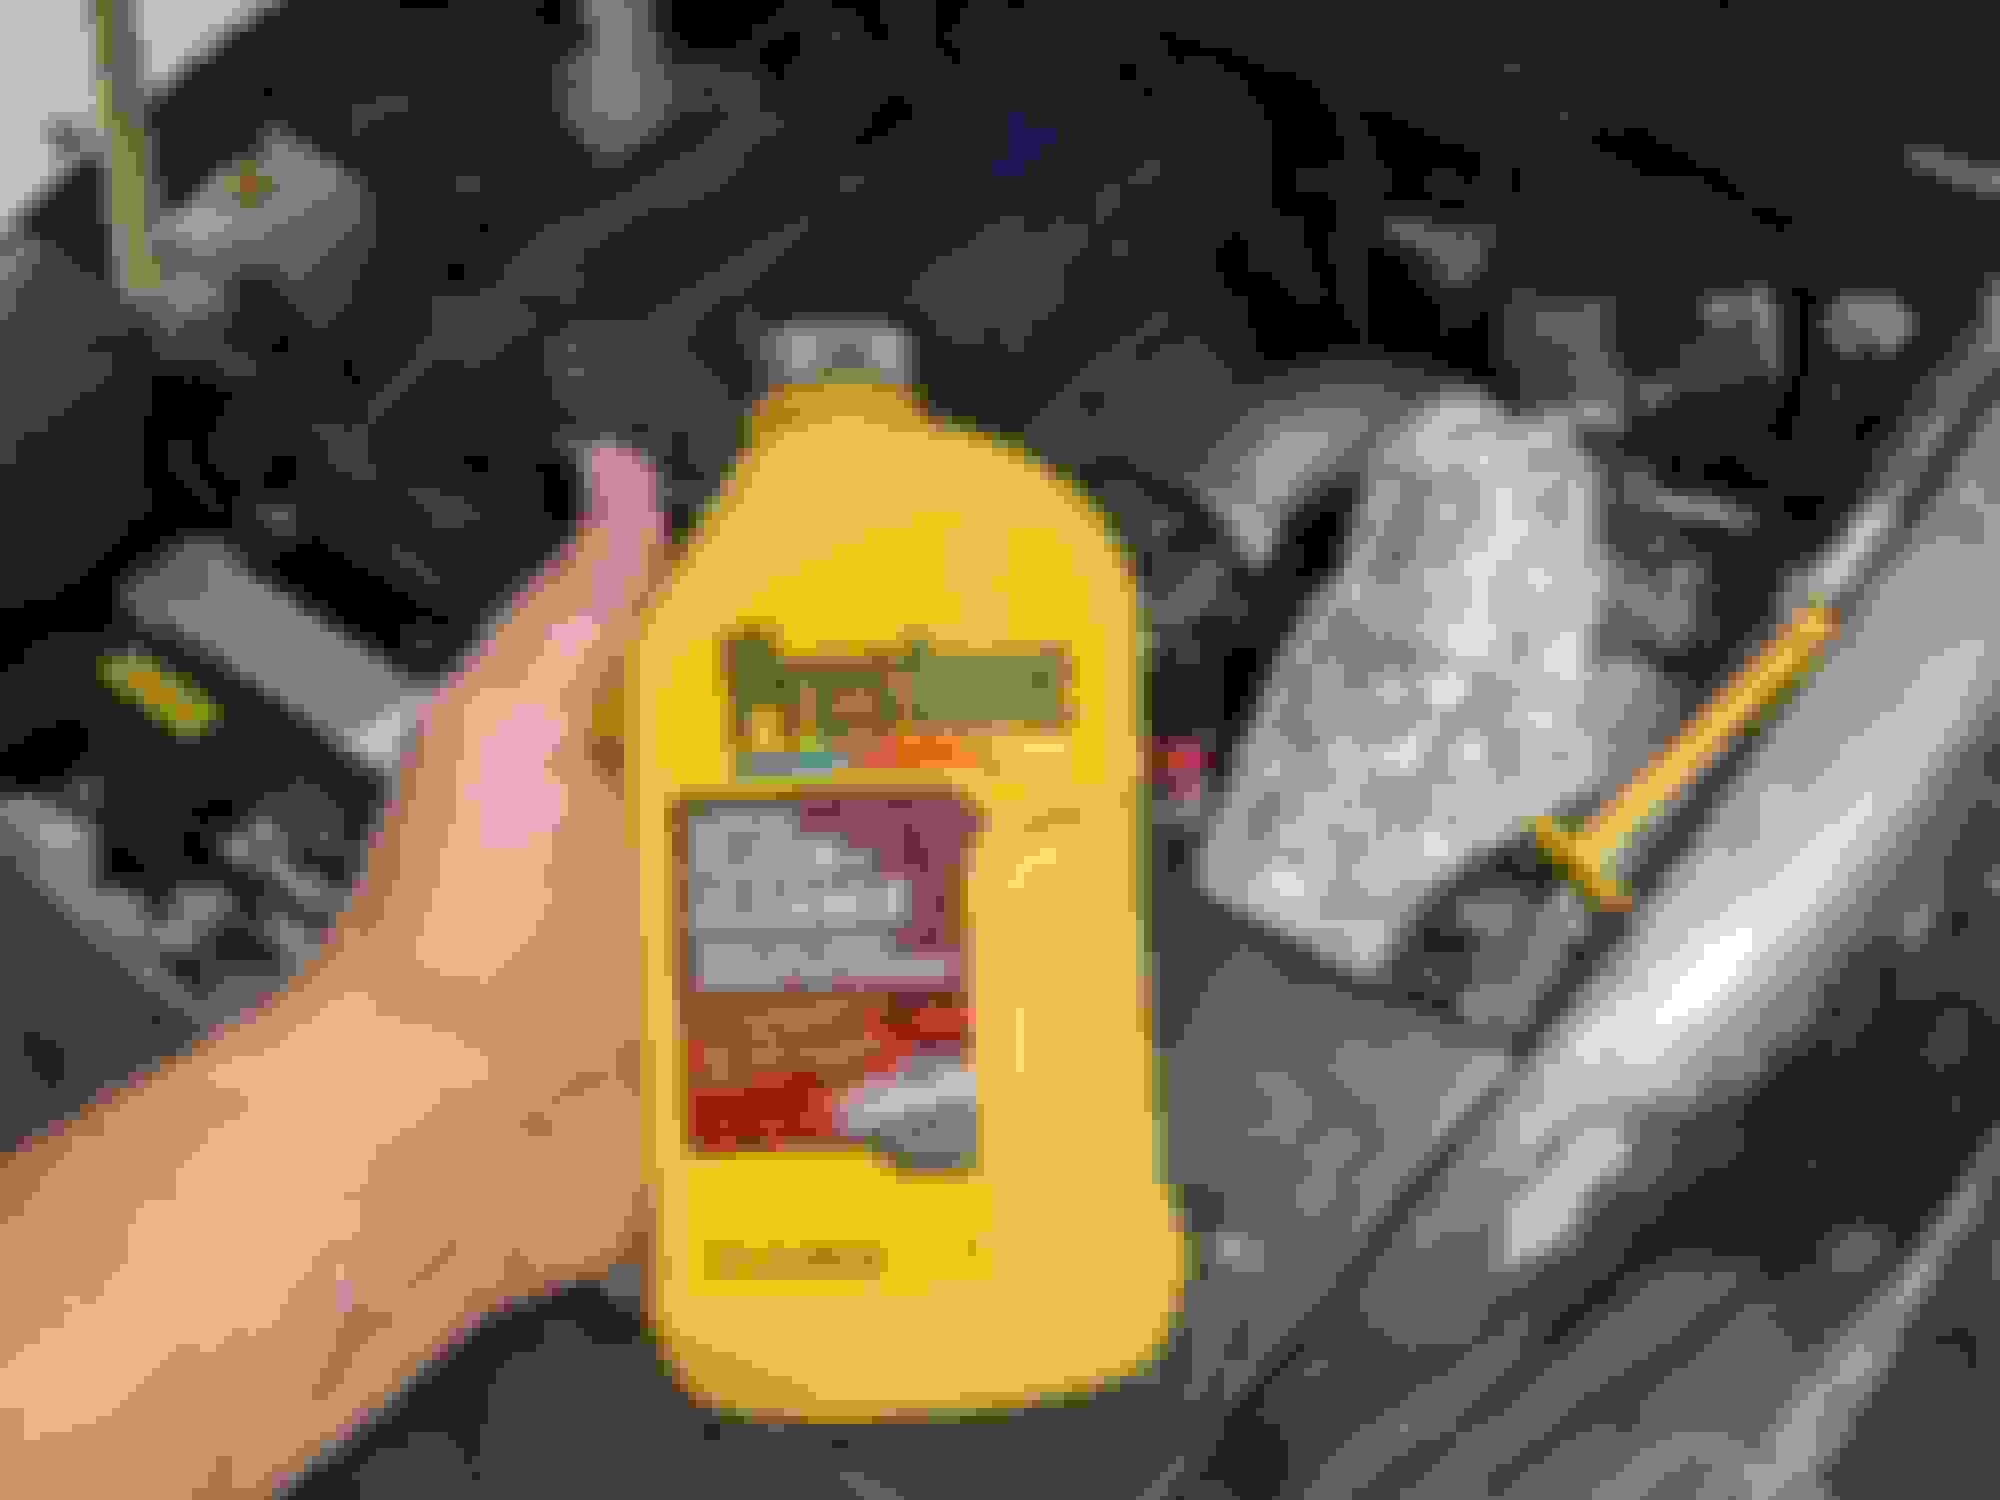
For good measure I threw a bottle of this stuff in there to try to get some of the rust cleaned up and whatever foul smell is in the system. Its more than just old, rancid coolant and rust which quite honestly weirds me out a bit. I've worked on plenty of rusty coolant systems but never one that had a stink. Anyway, this will look familiar as this was the bottle I bought before but never got around to using. The instructions indicate that I can leave this in the system for up to 300 miles so I'll try to drive the car some and then do a few flushes with straight distilled. After that, I'll find a bottle of that Evapo-Rust Thermocure we discussed and really get the iron oxide garbage cleaned out of this thing.
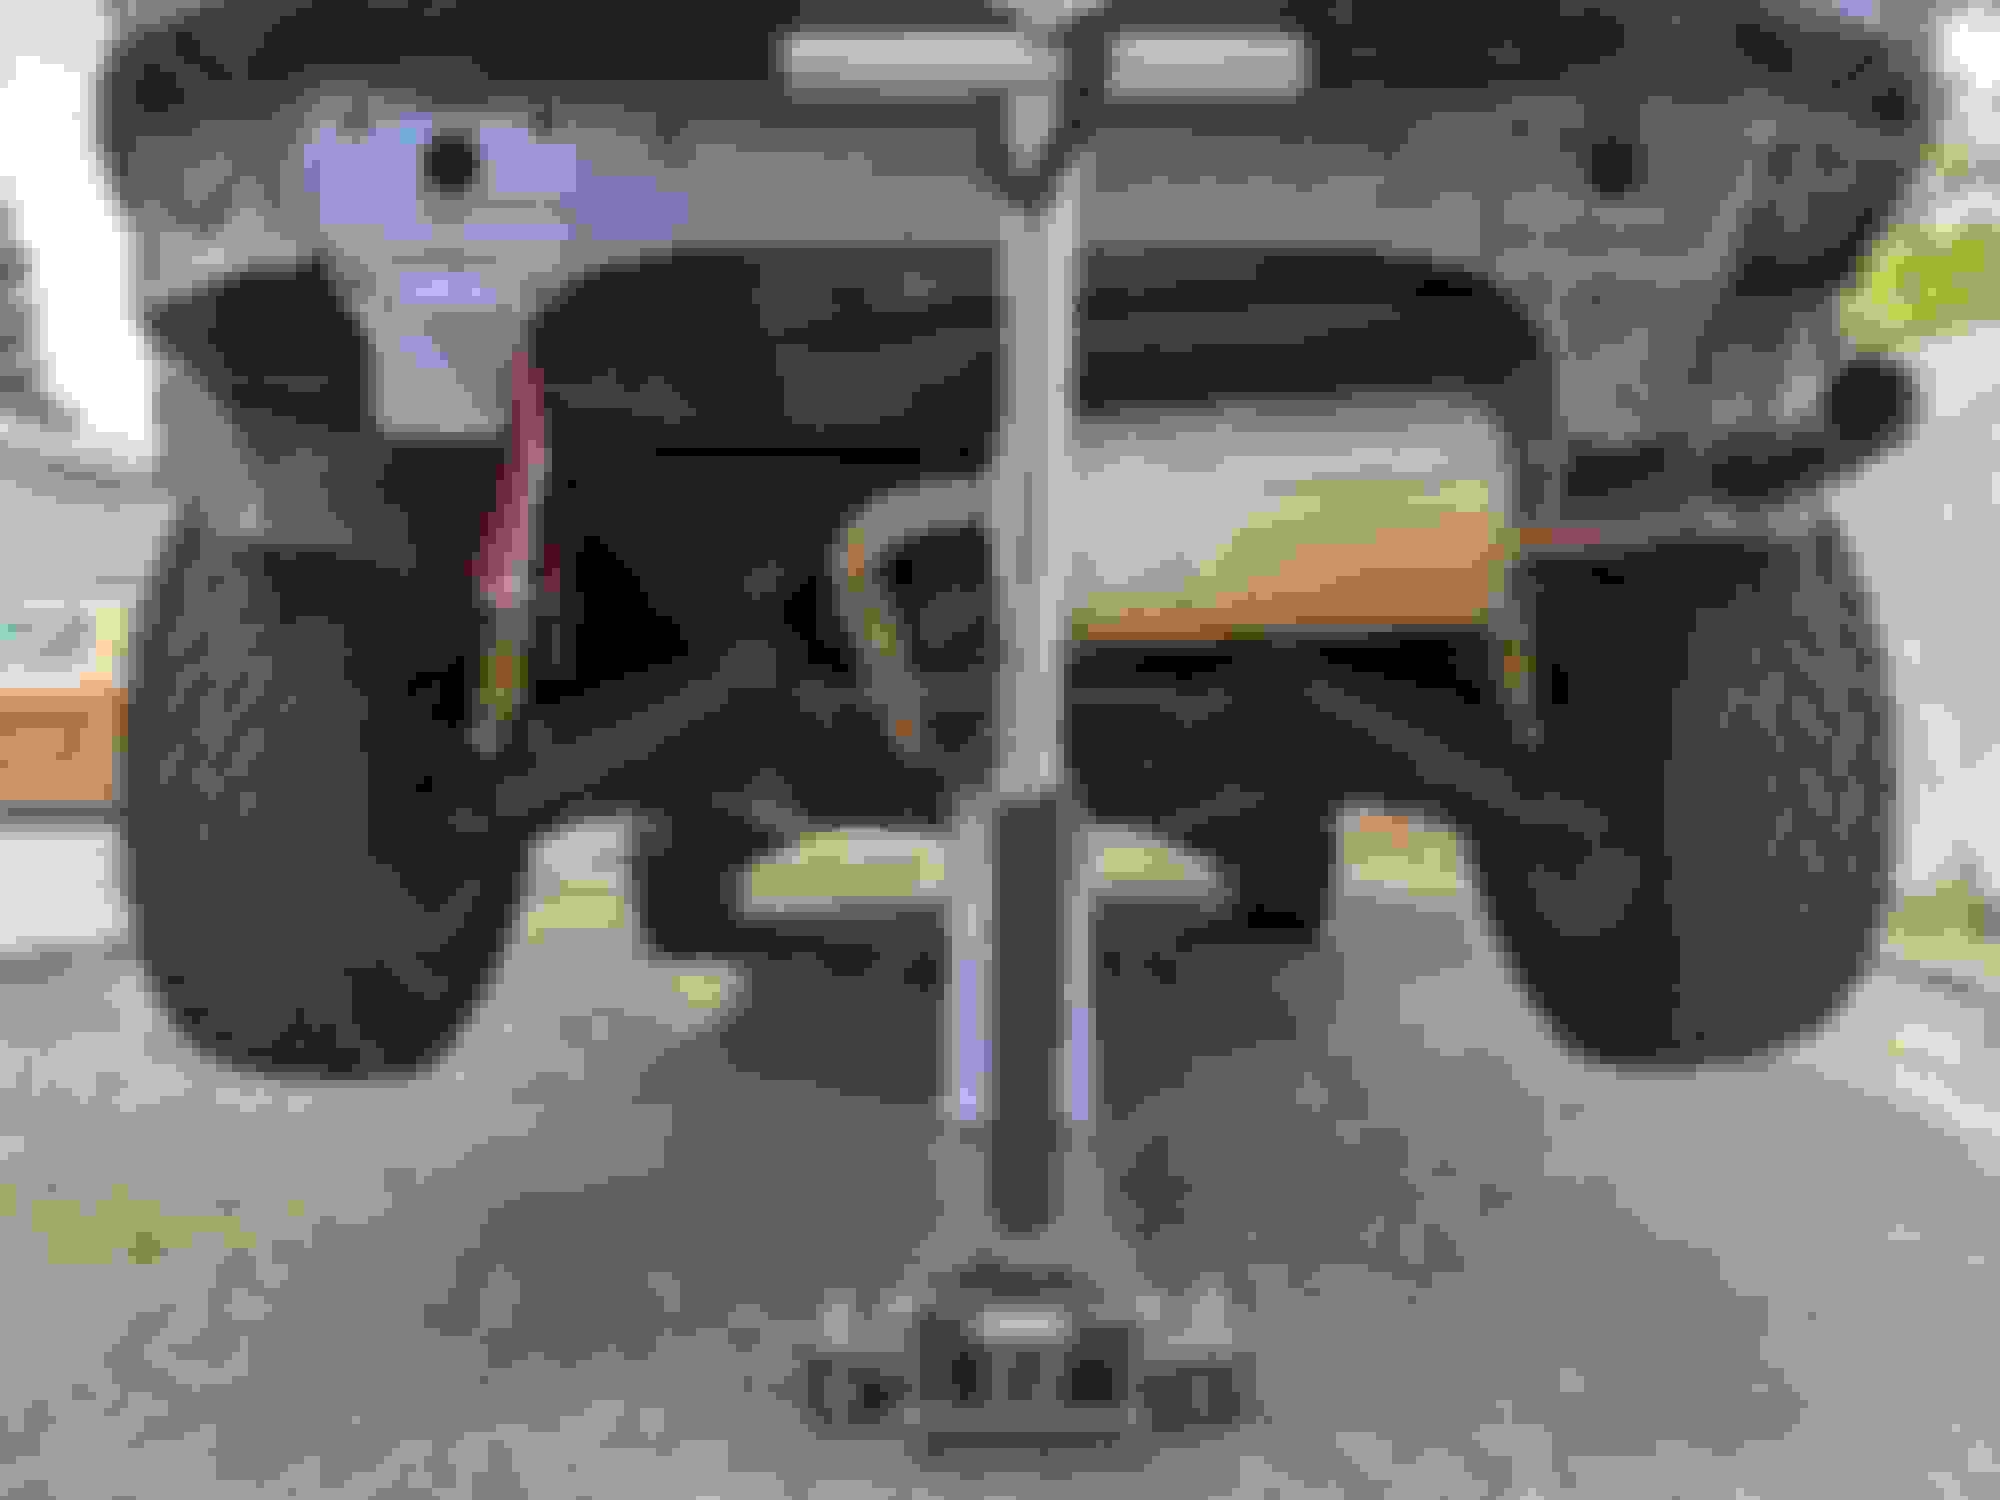
For now the car seems to run fine. I need to do the timing reset but it did great on the drive to the gas station and the auto parts store, so I have no complaints. Well, no complaints other than the 4.1 gearing in the rear end. Combine that with the big tires and retarded time and she's a bit soggy. All in due time however, it is a project after all.
I'm just glad to have it off jackstands and able to drive it again
I admire your sense of symmetry, but if you mounted the fan to one side or the other, it would cool just as well (I reckon, just spitballing here), and avoid the need to bridge the connectors.
Disappointed you didn't use the pan though, I was looking forward to see that.
I admire your sense of symmetry, but if you mounted the fan to one side or the other, it would cool just as well (I reckon, just spitballing here), and avoid the need to bridge the connectors.
I actually offset the fan to make sure it reached the connectors, only to realize after I pinned everything down that I'd offset it in the wrong direction because my brain mirrored things while moving between the car and the workbench...
But yes, it will fit much closer to the center, I just didn't feel like pulling it all apart again. The through-the-core mounts are not really removable and I'm holding on to the spare set for now.
Originally Posted by Gee Emm
Disappointed you didn't use the pan though, I was looking forward to see that.
Fear not, I still have it! It may turn out that it wants the pan shroud for low speed things in which case I'm prepared to re-engage the pan mounting ideas. I've got a bunch of aluminum tabs that I cut and bent up for this task that I think would work great, but they require a TIG welder to mount. I'm not giving up on the pan completely, just bypassing it for the moment for the sake of instant gratification
I doubt you will need it, because physics. It will pull the same amount of air pan or not, and that implies same cooling. The catch may be that the lower speed airflow because of the pan drawing air from all across the rad is noticeably more efficient in transferring heat out of the rad, than the more localised area and commensurately higher air speed under the fan shroud, but I'd be surprised if this made a real-world difference.
I doubt you will need it, because physics. It will pull the same amount of air pan or not, and that implies same cooling. The catch may be that the lower speed airflow because of the pan drawing air from all across the rad is noticeably more efficient in transferring heat out of the rad, than the more localised area and commensurately higher air speed under the fan shroud, but I'd be surprised if this made a real-world difference.
Higher velocity is generally better for convective heat transfer. This is why crossflow rads cool better.
The exceptions are when higher velocity creates secondary issues like local boiling from pressure drop or cavitation in systems with the potential for phase changes.
Yup yup! Right now I'm doing some work on the ducting in the front end to make sure I make best use of the airflow available. I'm trying to resist the urge to make it more complicated than it needs to be, but I'm sure I'll screw that up eventually. Progress pics on that when I get a little further along.
While in principle I do not like through the core mounting, I have yet to see one fail. You *could* even mount the pan the same way (just sandwich it between the fan and the radiator).
Yarp, mounting the pan with the through-the-core fasteners is what afm suggested as well and its actually what I was going to do... but decided to try it without the pan first and see what happened.
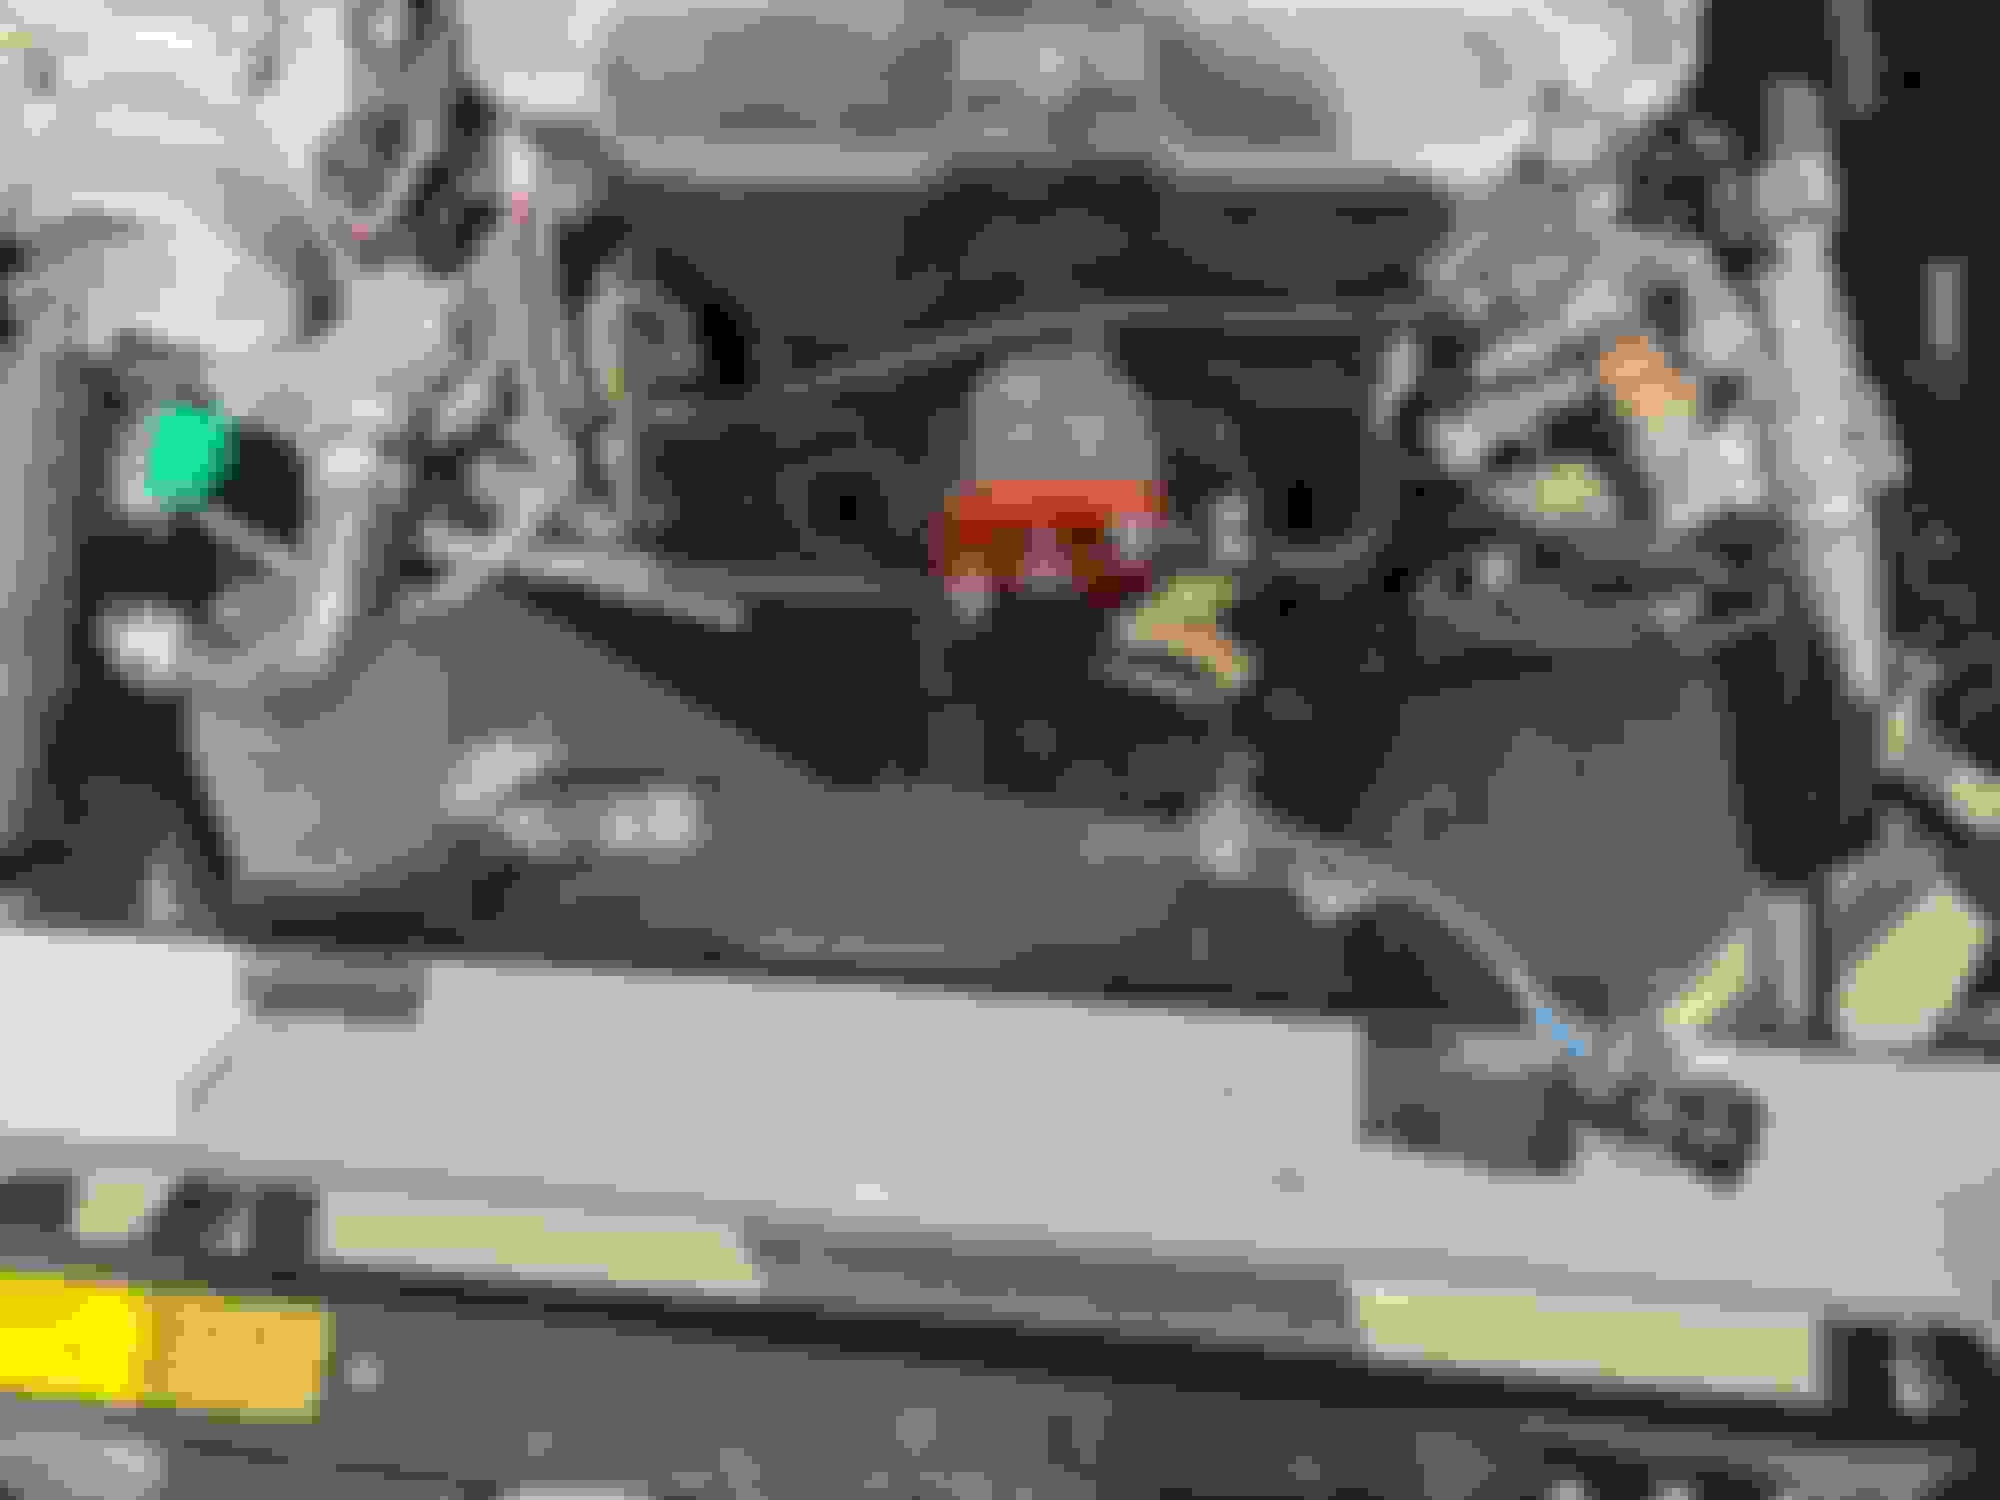
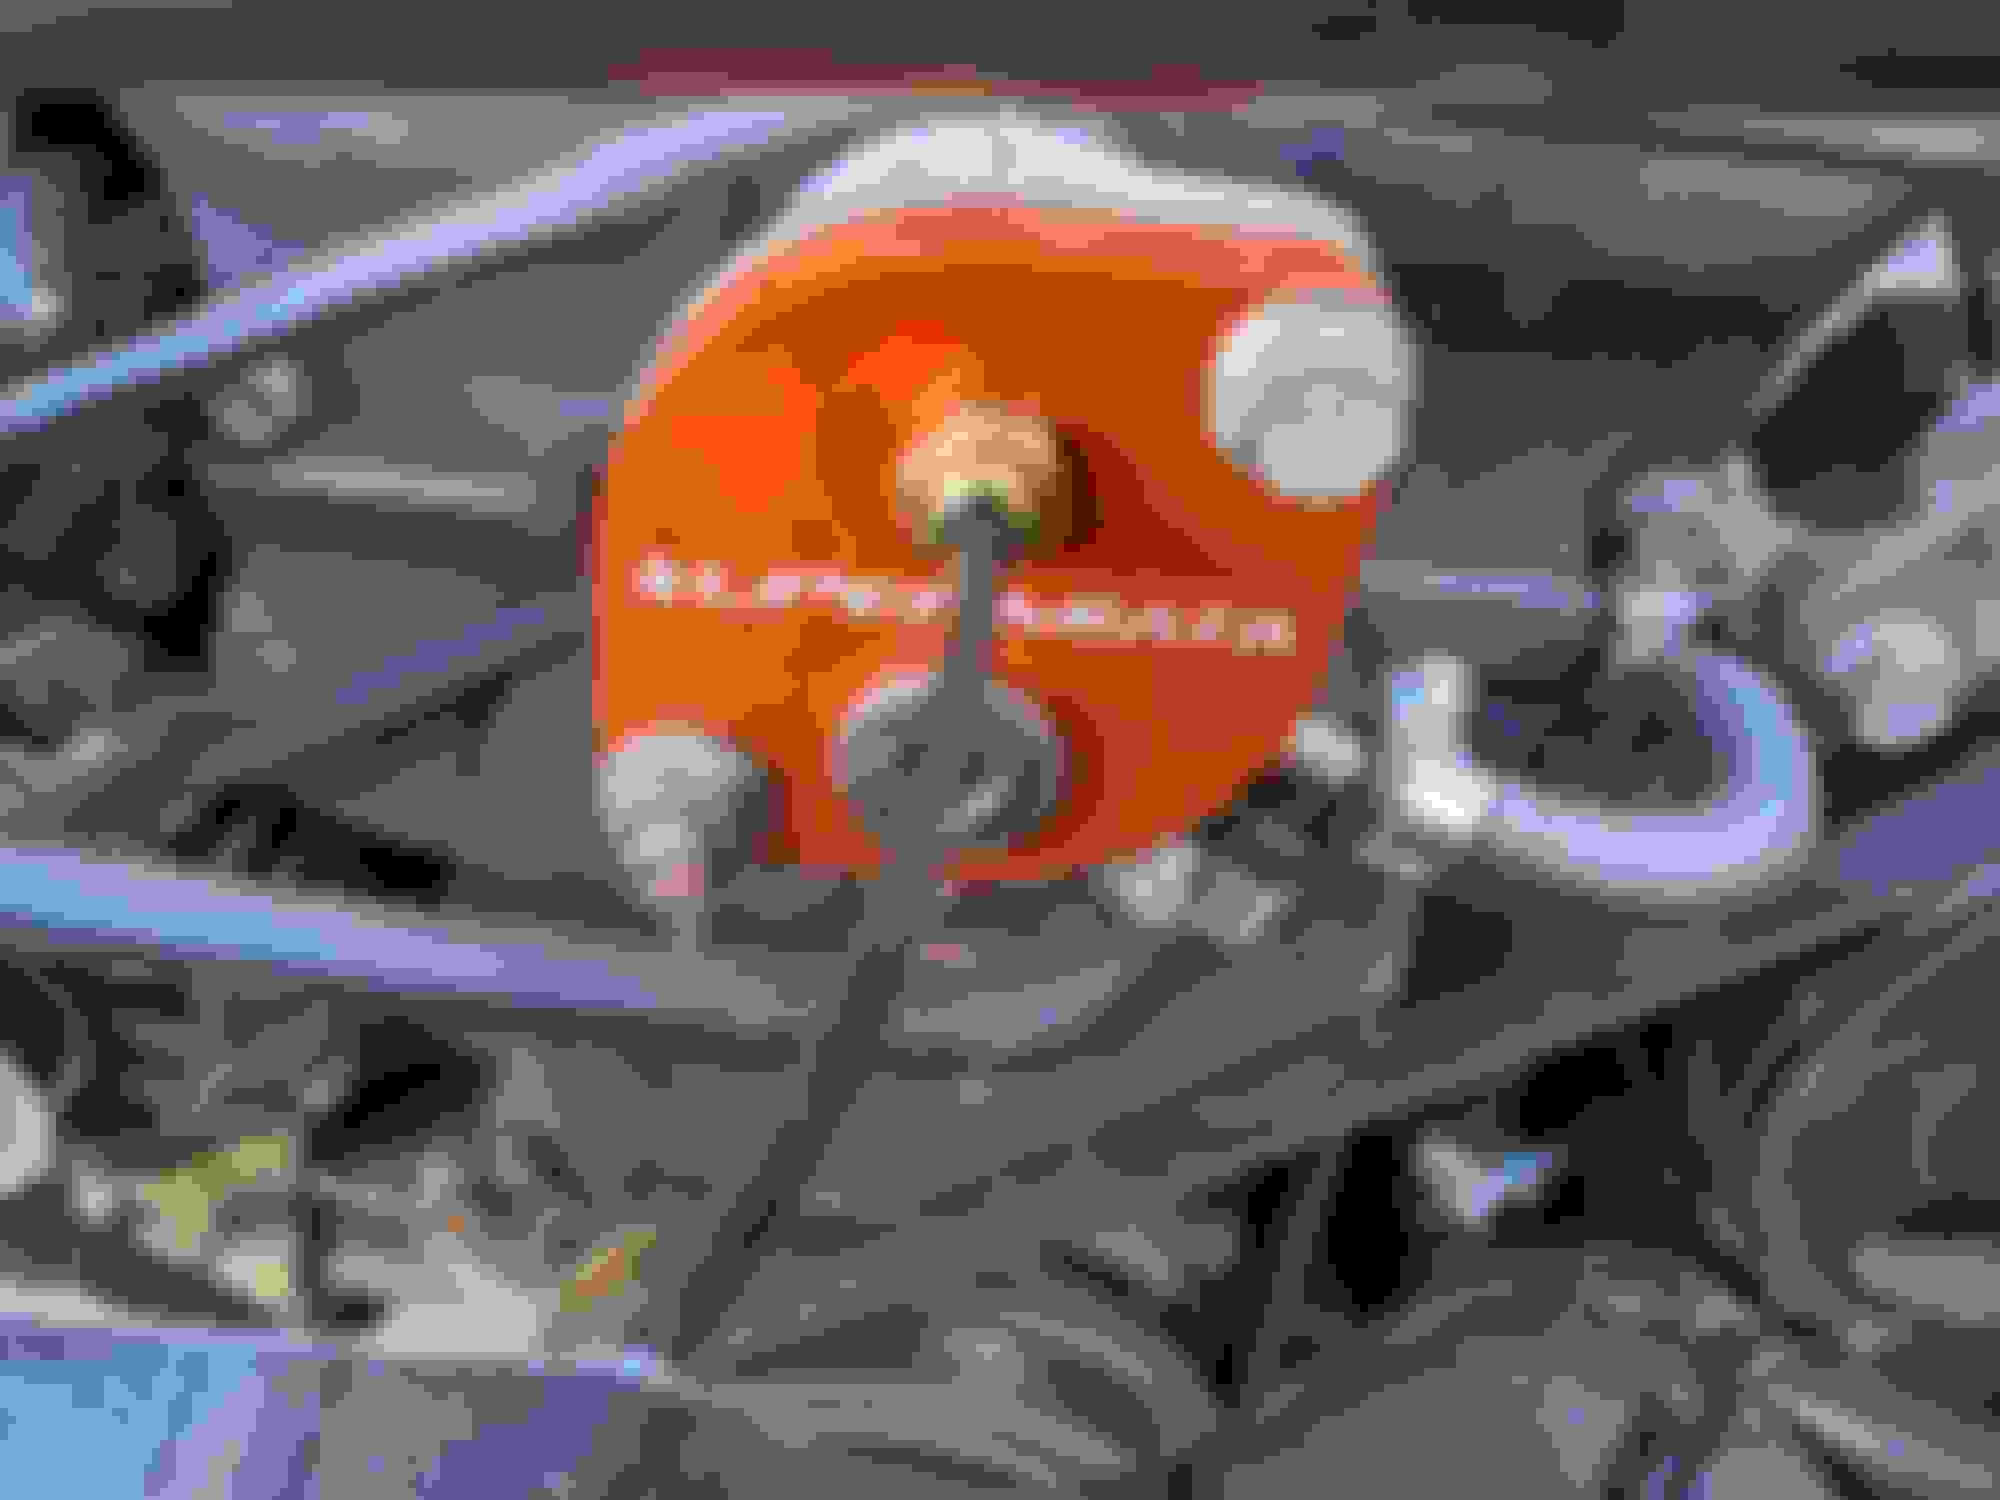
Used Perrin oil filter spacer is holding the 3 wire oil pressure sender
And 2 wire water temp sender mounted in the 949Racing Supermiata front thermostat blockoff spacer. I'd have put it in the reroute spacer at the back of the head but I didn't feel like fighting with the CAS again.
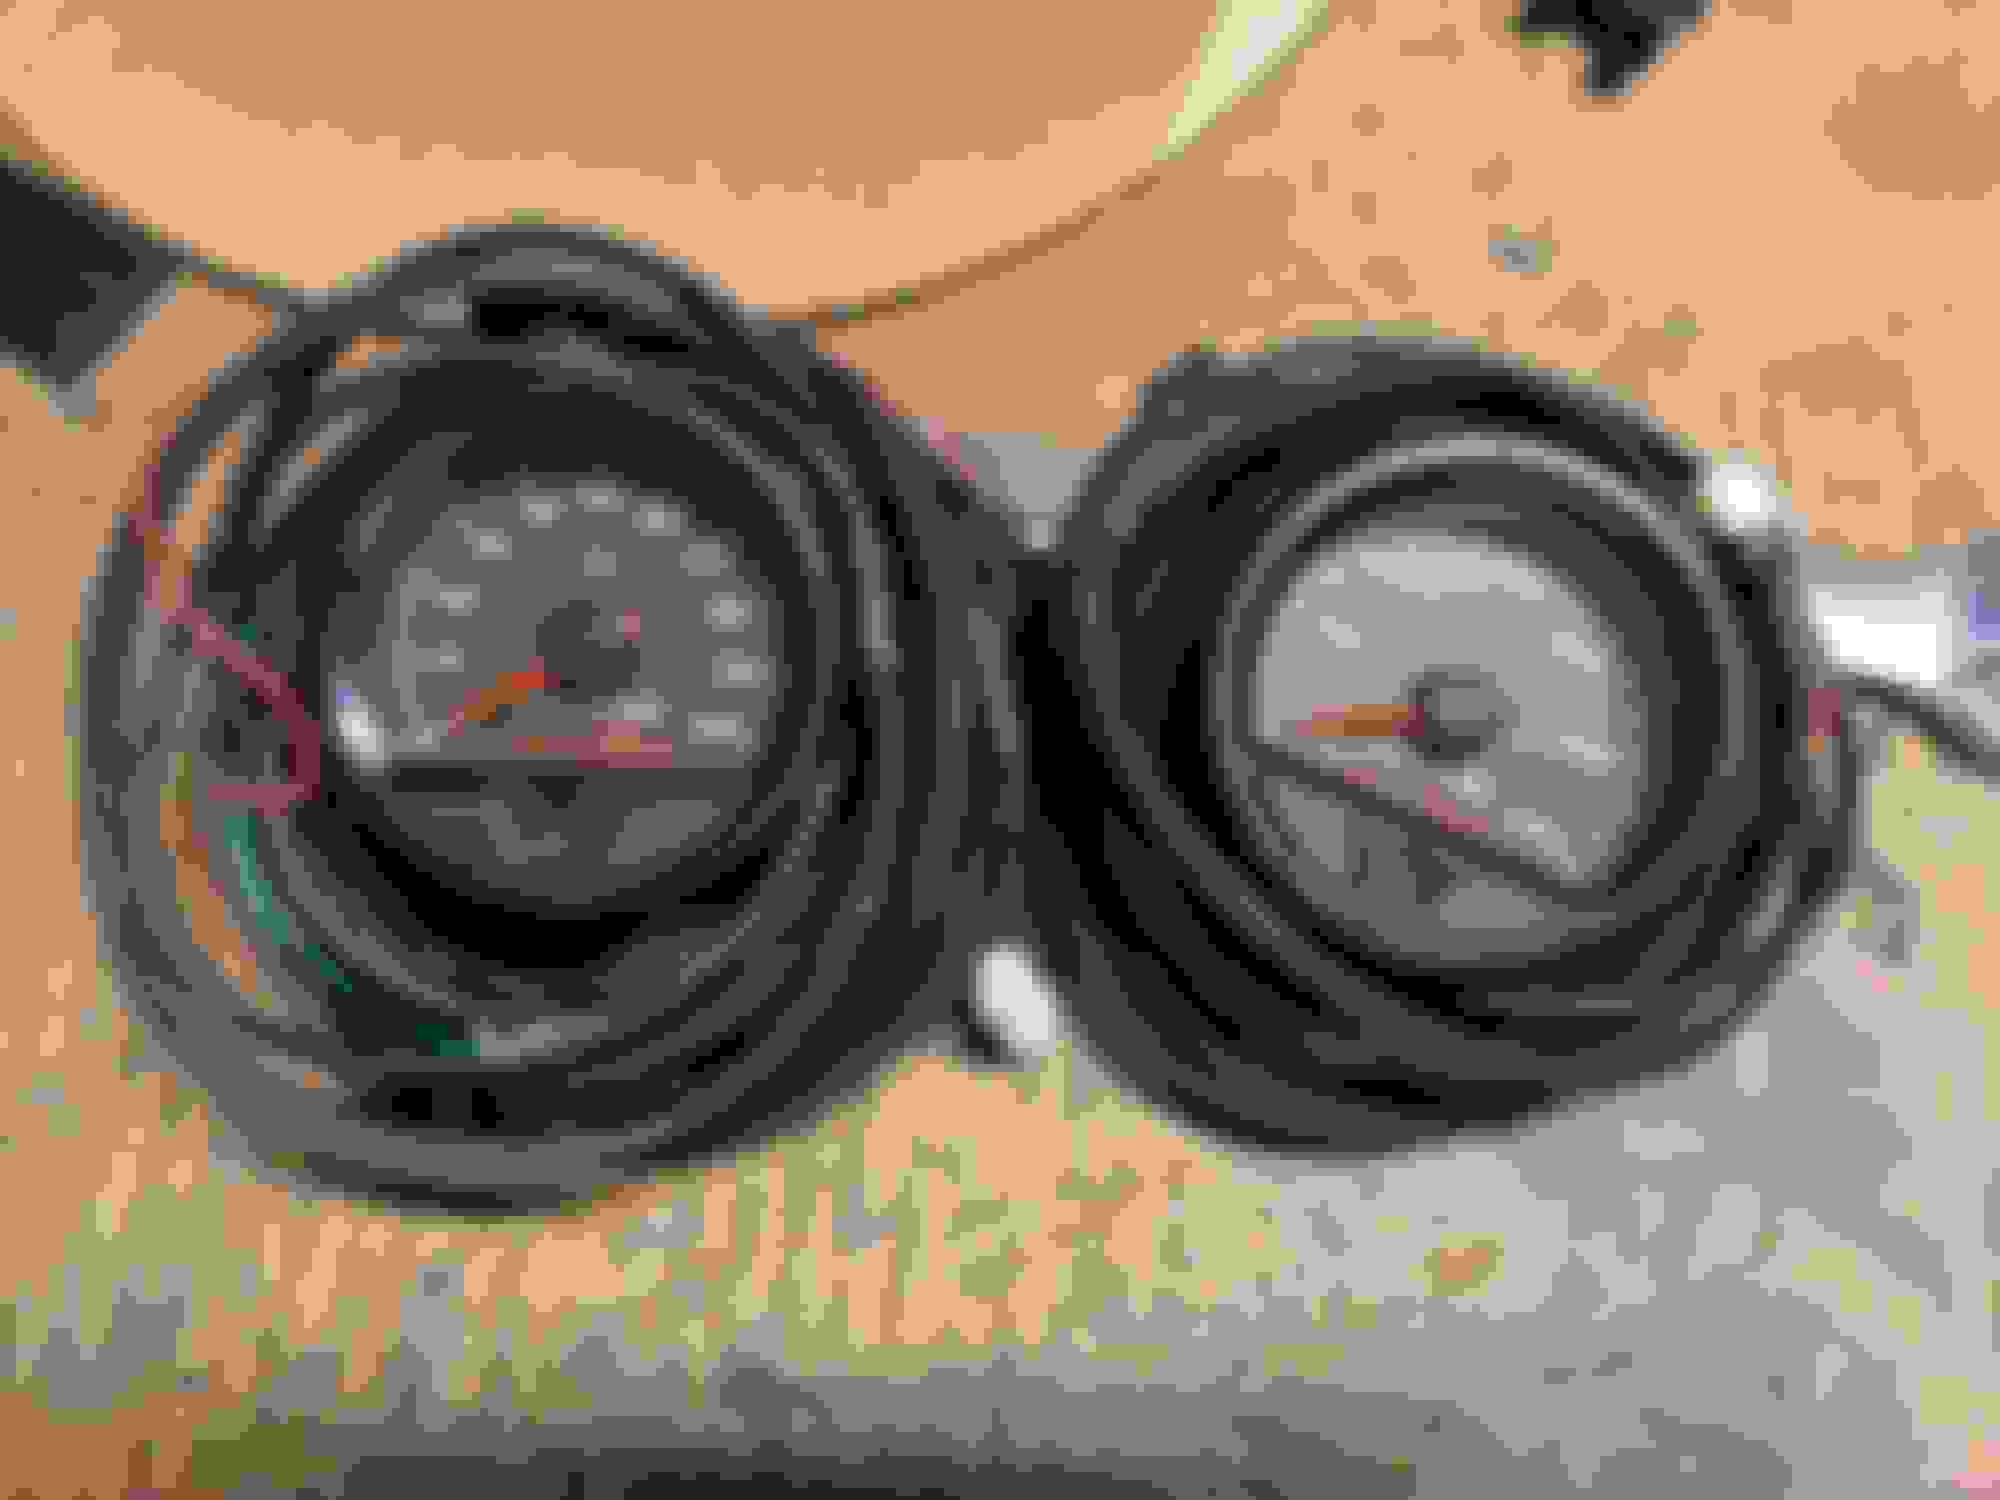
These senders work with the Longacre AccuTech SMi series of stepper motor driven pressure and temperature gauges. These are, hands down, the best gauges I've ever worked with, and I've wasted a ludicrous sum of money on garbage gauges over the years previous. Longacre primarily makes stuff for the roundy-round in the dirt crowd which turns off a lot of people, but these are solid value for money. The senders DO NOT reply on grounding though the sensor body for signal ground which makes them *highly* accurate and reliable. The programmable warning setpoints are worth the cost of entry alone. The pressure gauge has an external trigger so you can wire it in to a light, or in my case a buzzer, if the blinking gauge backlight or red warning LED isn't enough. That warning feature quite literally kept the shitty VW alive throughout the Lemons Rally. I initially learned of these gauges from the 949Racing 25H cars a few years back and I've loved them ever since.
These are racecar gauges, no question. They mount in an oddball 2 5/8" or 66.7mm hole as its expected you'll yeet a hole in your flat aluminum diamond plate dash panel with a hole saw, and there is no provision for a backlight dimmer. The LED backlights are pretty damn bright and the color contrast is super high so they are easily readable at a glance. I bought and installed this set in the NB, then mice ate the wiring harnesses while the car was stuck in Paradise, I bought 2 sets of new harnesses and spare senders, extended one set of harnesses about 12' and mounted them in the Shitty VW I ran in the Lemons Rally in 2019, pulled them out before I sold the car and now I'm reusing them again in this NA.
Unfortunately Longacre has discontinued this series of gauges but you can still find them in stock from various circle track vendors, and they occasionally pop up on eBay. I like them so much I bought a couple spares.
Something else I picked up but haven't mounted quite yet was a low coolant pressure warning sender.
This one is a Longacre LON43241 and its pre-set to 3psi. The idea here is that if you punch a hole in your radiator or lose coolant hose, pressure drop will register much quicker than your temperature gauge will show and (hopefully) inform you about your catastrophic loss of coolant incident. It'll be HIGHLY obnoxious while waiting for the car to warm up and build pressure, but its a small price to pay for the piece of mind. This can be mounted anywhere in the cooling system, but mine will use the bung on the radiator that was intended for the nearly useless drain petcock. (Thanks for the idea @gesso !) Unfortunately it does rely on grounding through the body of the sender so that will need to be addressed.
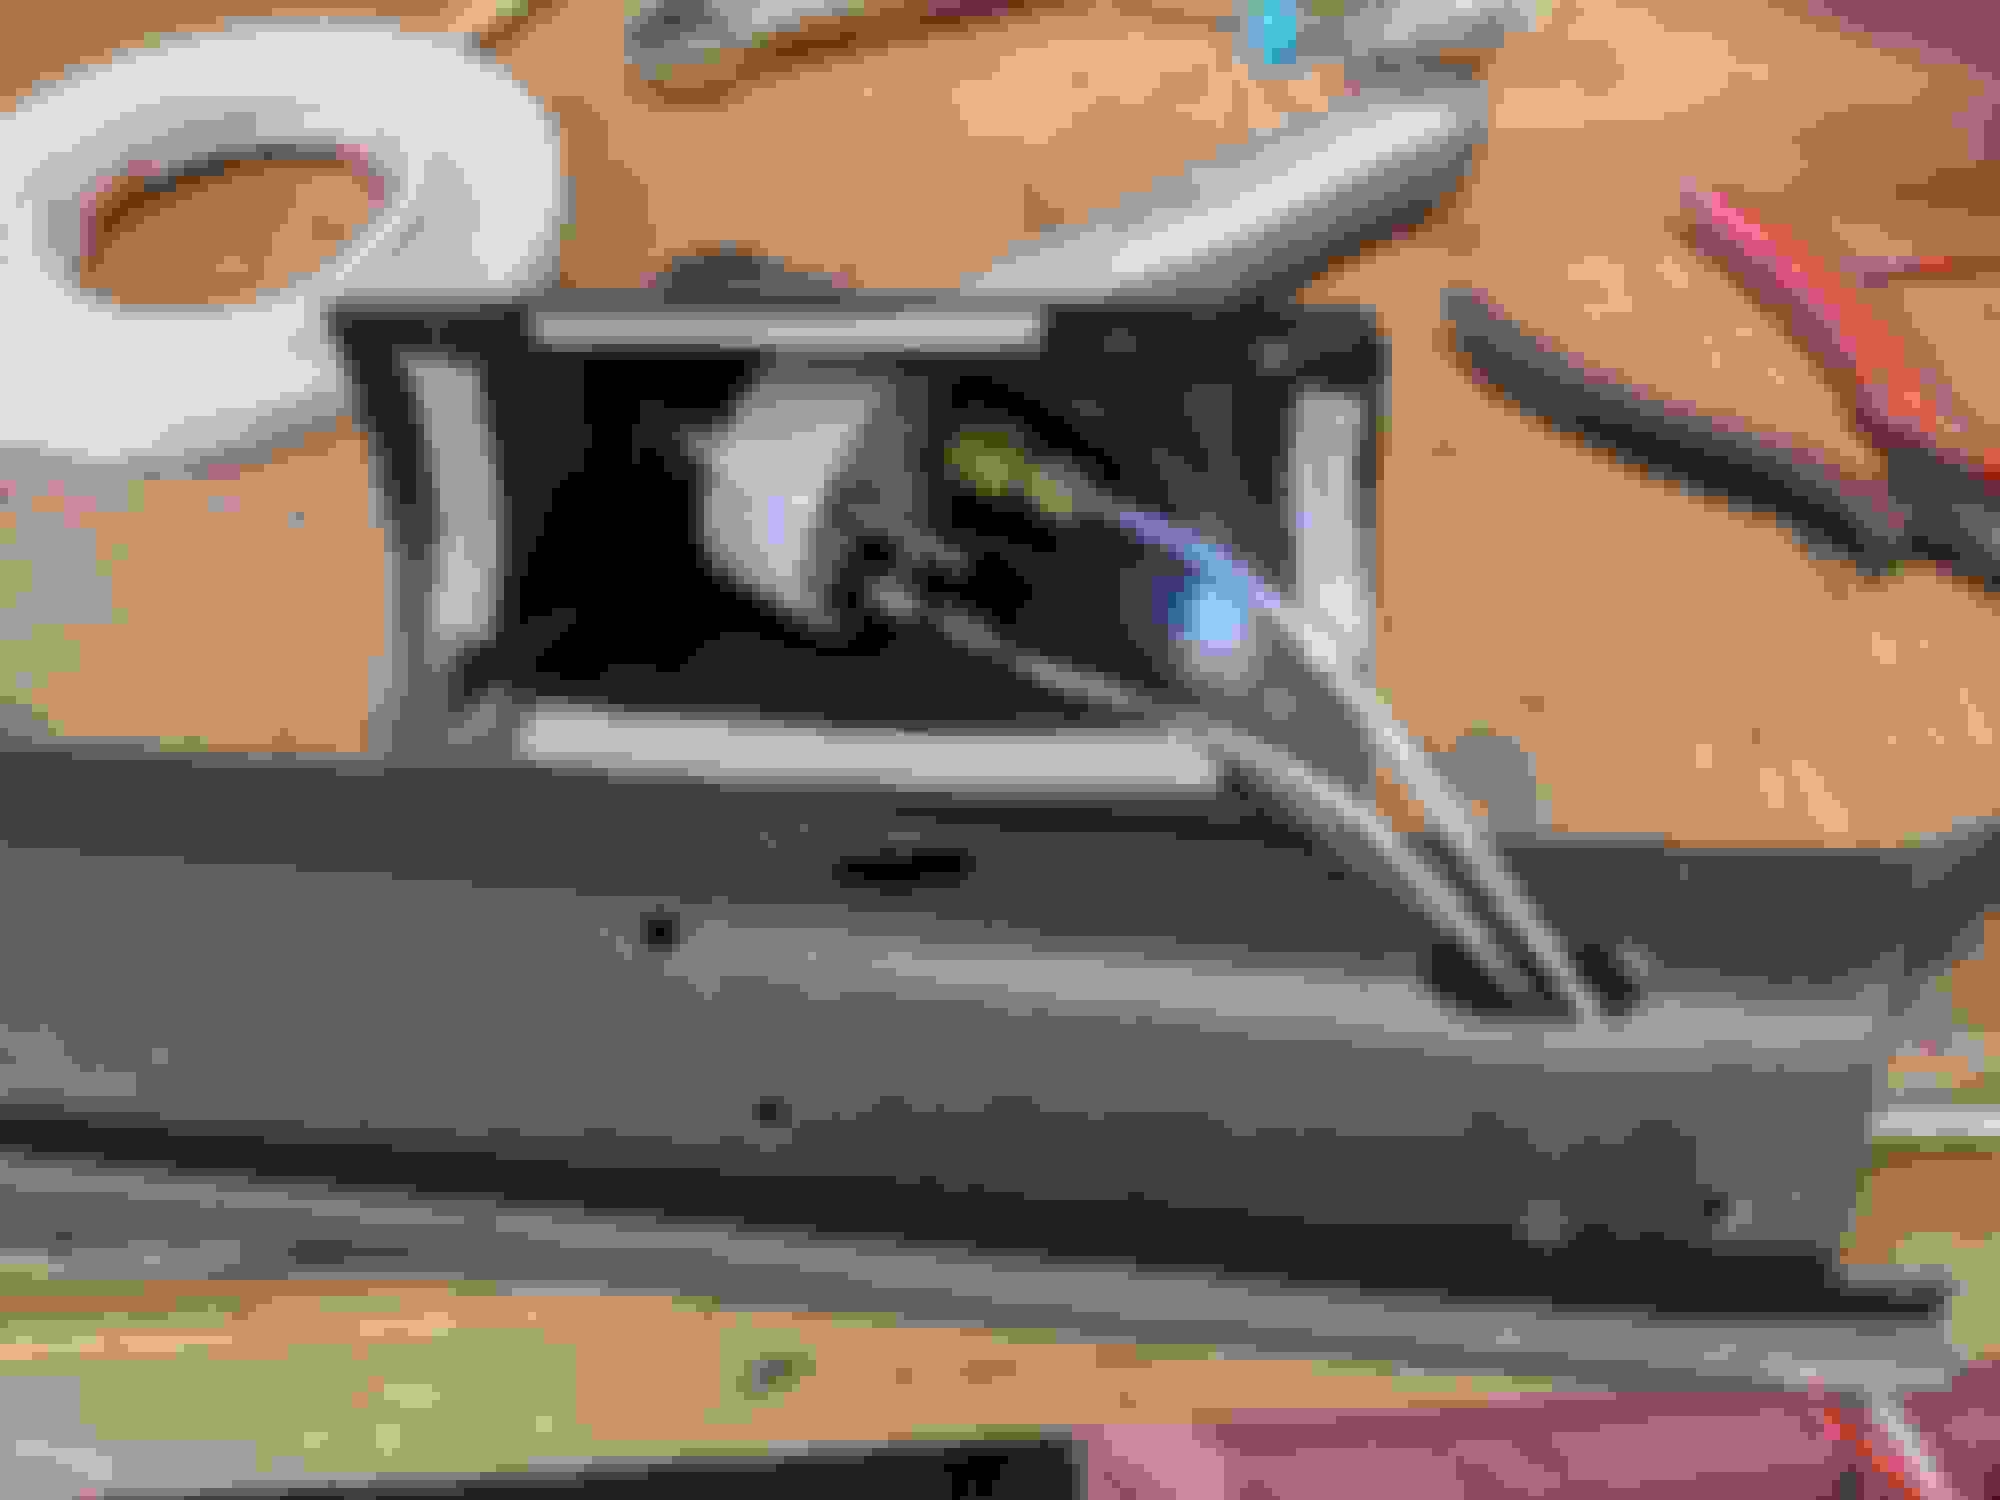
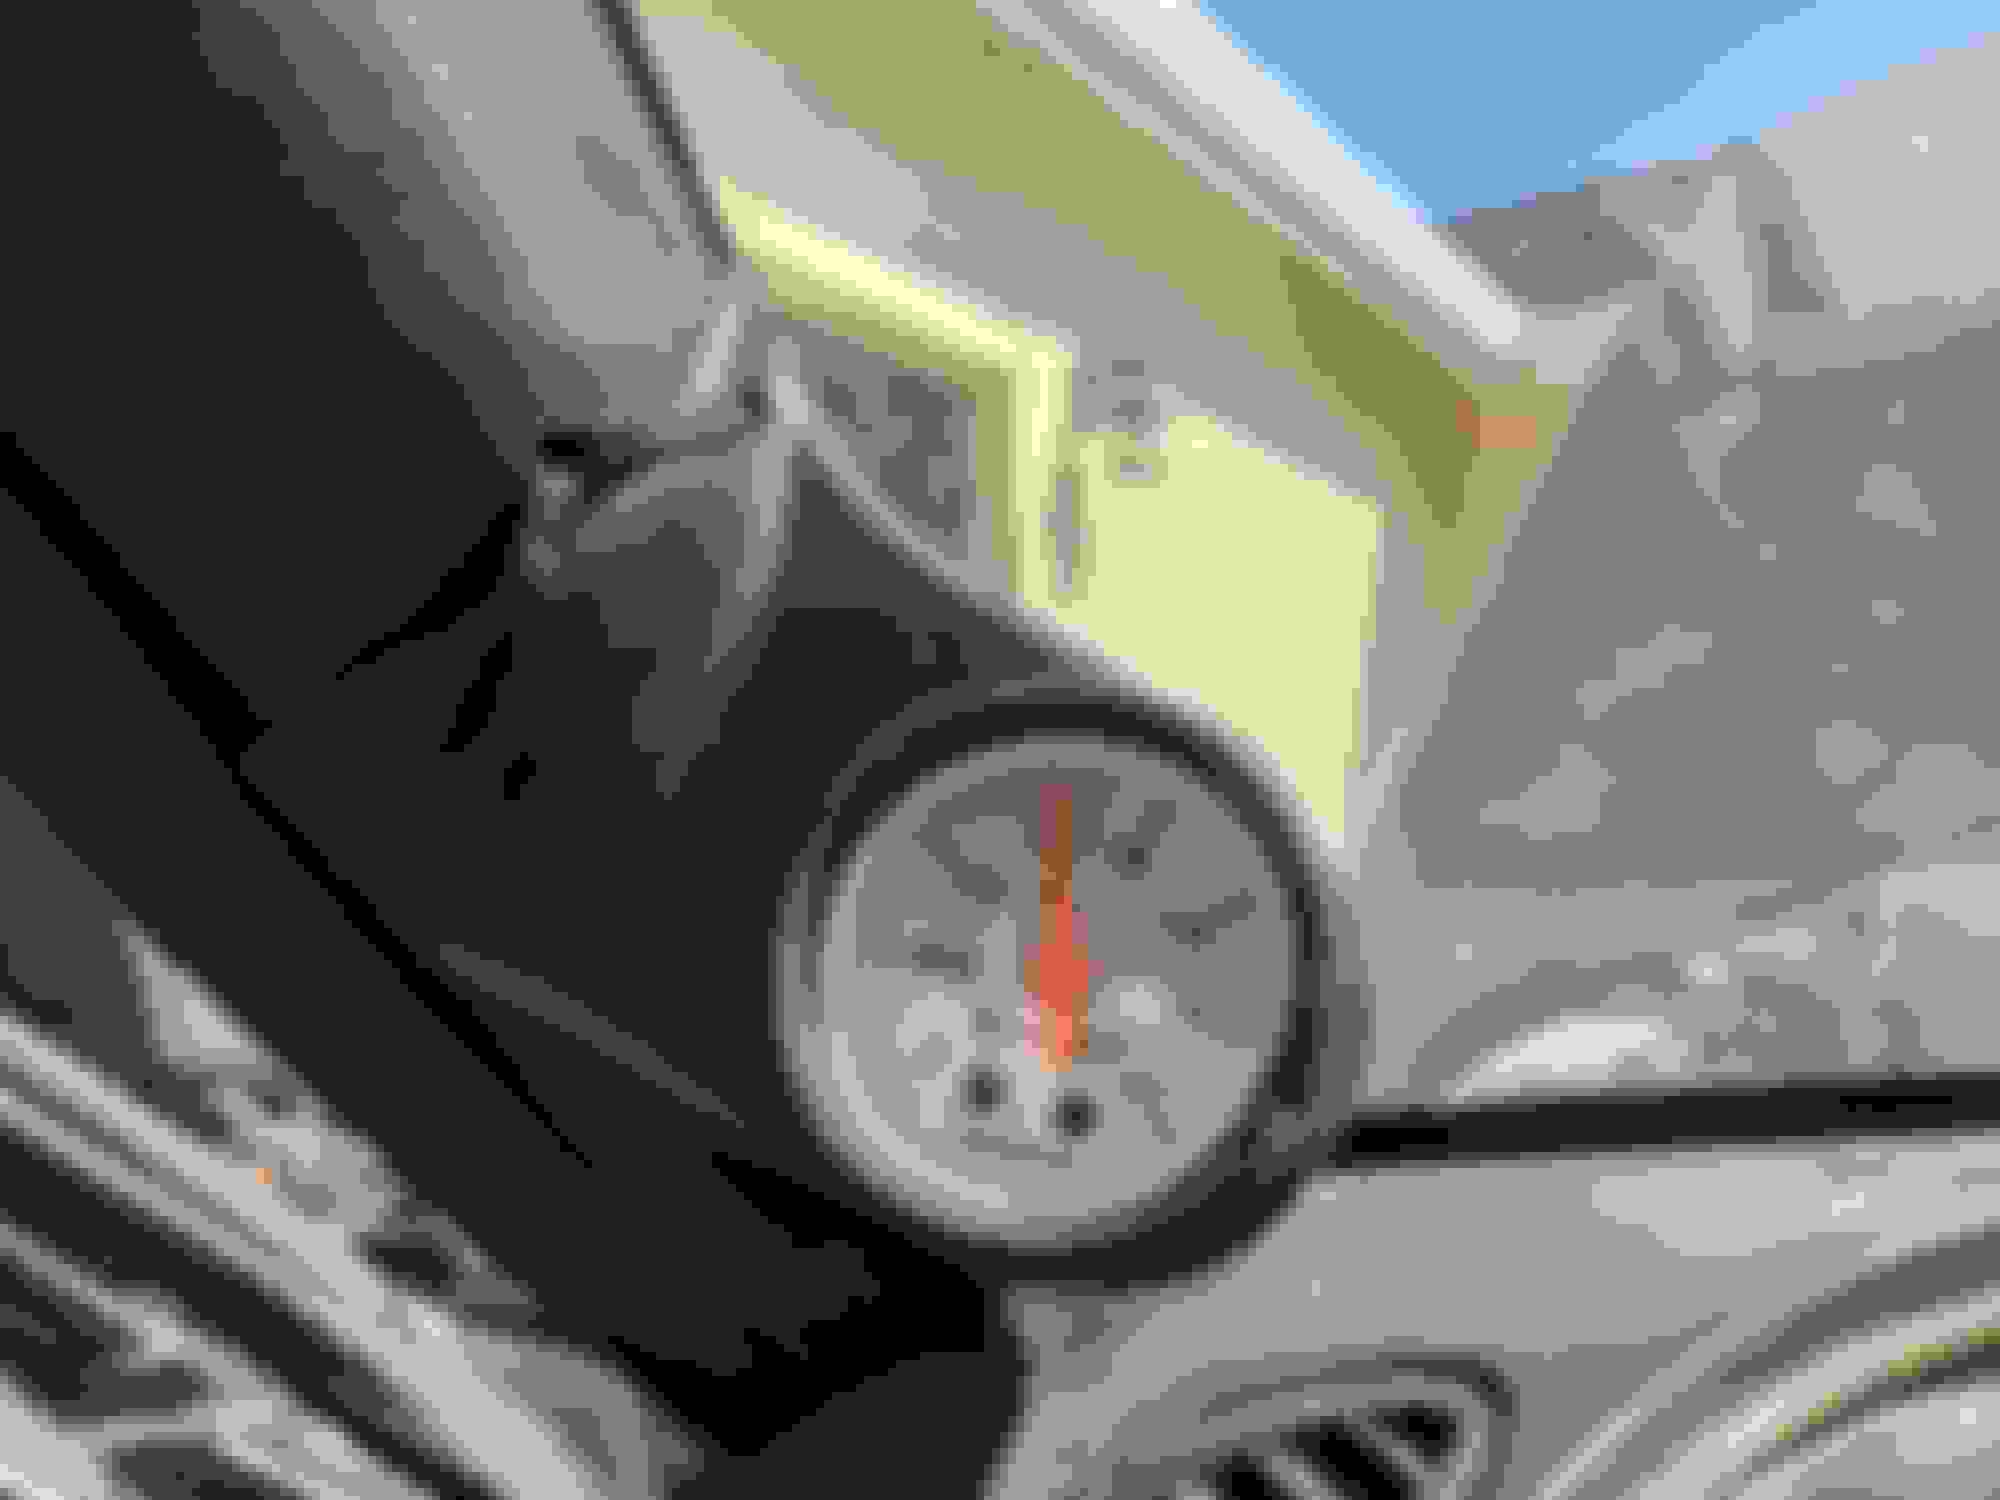
While we are on the subject of gauges, I got the highly optimistic boost gauge installed:
She works a treat! The gauge and the pod were included with the box o' crap that we explored previously, I just had to add a capillary tube kit to get it plumbed in. The a-pillar pod was not intended for a Miata and required a bunch of work with an exacto knife before it even attempted to fit.
Mounting is a bit DIY but this a-pillar trim has already seen some **** so no harm no foul. Wires were extended and run under the dash, now I just need to figure out where to splice them in.


 2
2