When you click on links to various merchants on this site and make a purchase, this can result in this site earning a commission. Affiliate programs and affiliations include, but are not limited to, the eBay Partner Network.
Made a decent bit of progress today, but it was a total pain in the *** the whole way. I'm working out of a tiny apartment garage, so this is a look at my work area.
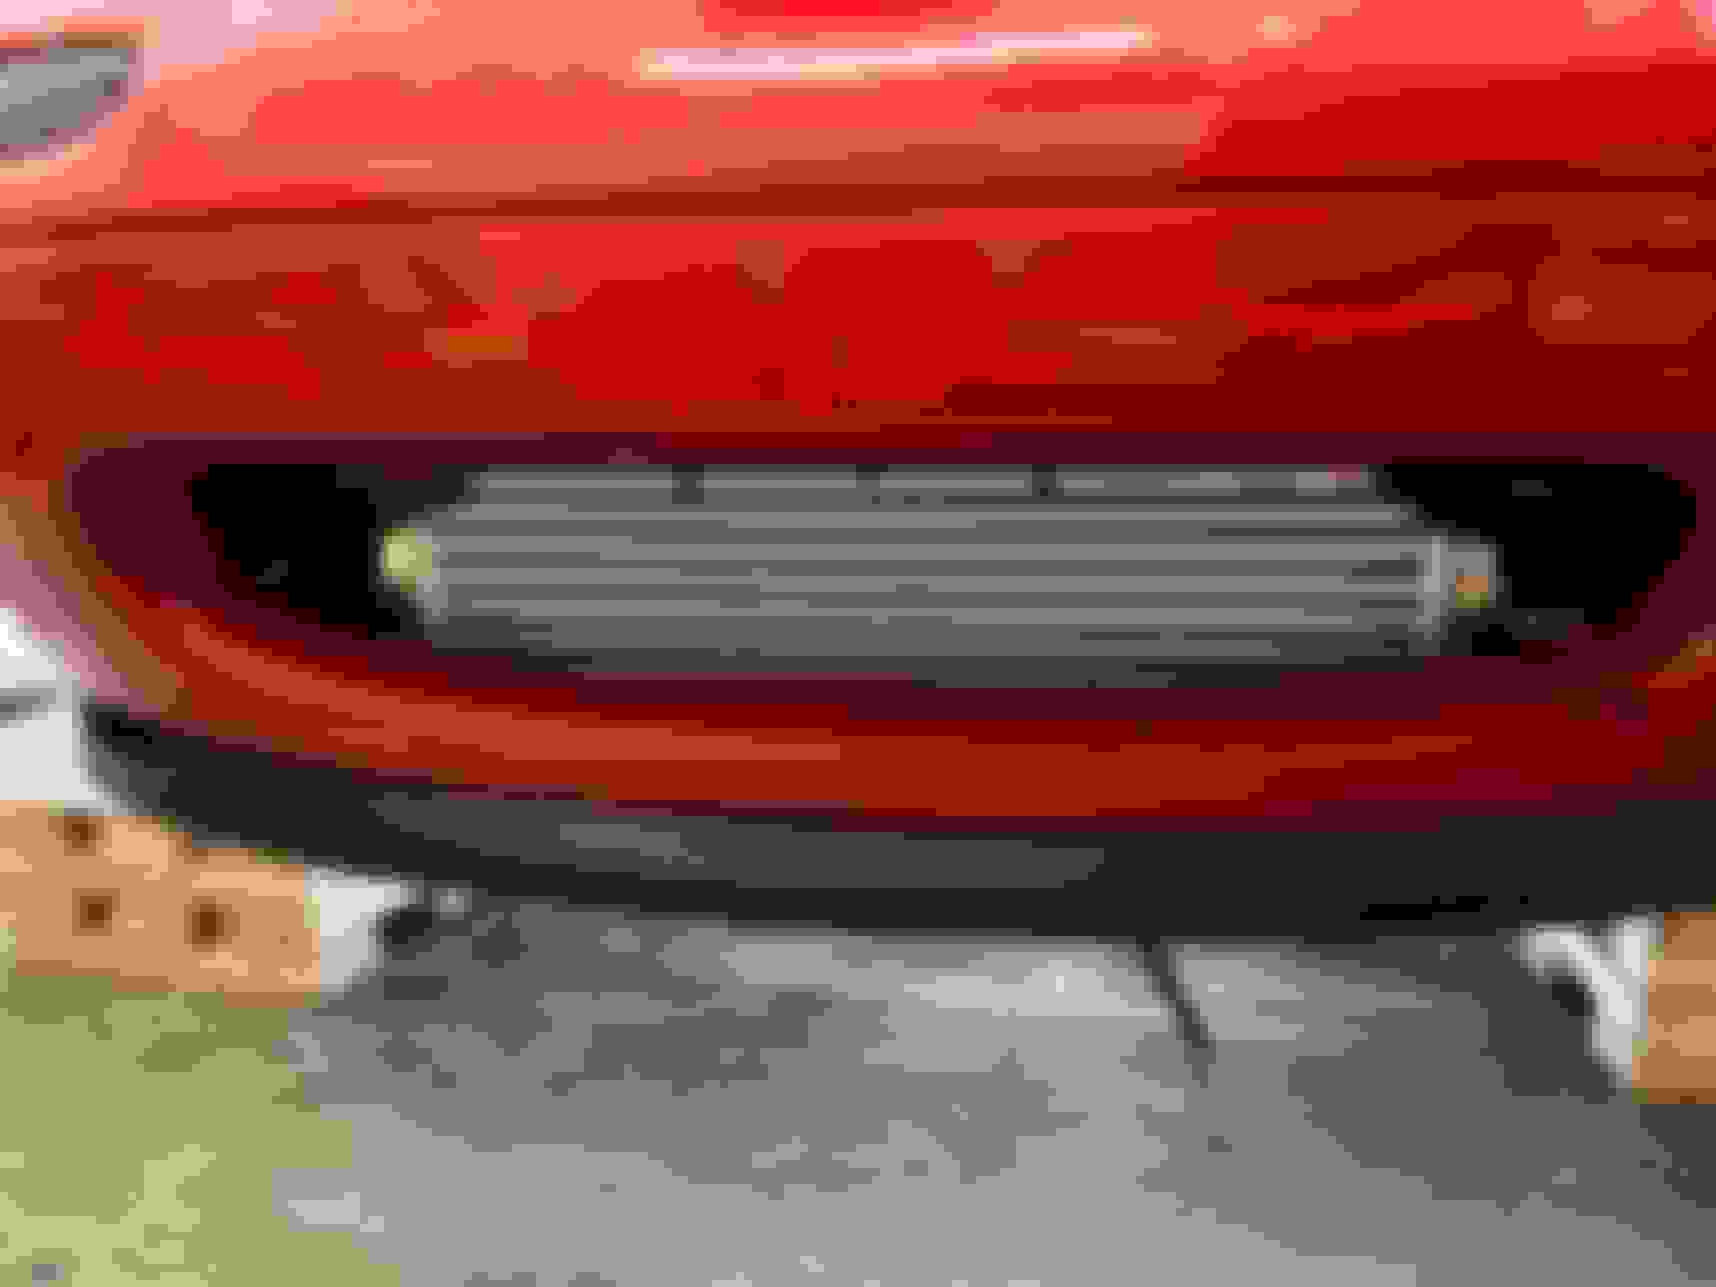
I struggled a bit making the AN line for the oil feed, but eventually figured it out. The fitting started to get chewed up when I was tightening it, so I left it until I can get a proper wrench tomorrow.
Once I got that on, I started ******* around with the new mixing manifold stuff. It's a nice piece, but the part that connects up to the heater hose does not fit up right. I tried several different orientations, but it would either bunch up towards where the manifold would be or get in the way of the dipstick. It comes with a fitting to put the OEM hard pipe on, but the hard pipe was not even close to fitting. Eventually I got the AN line to fit kind of ok.
I think this photo was before I did some more adjusting. The final fitment was a little better.
And finally I started to lower the manifold into place. It looks like some power steering stuff is in the way, so I'm guessing I will have to jack up the engine a bit to clear them. I was pretty beat at this point, so that's where I called it. I'll pick it back up tomorrow.
Seeing it kind of in the car feels really good. I'm not sure if I'm sold on the low mount vs the high mount though. It's a really cool setup, but it's such a bitch and a half to get in there and pretty much impossible to get to any of the lines once it is in.
I'm leaning towards deleting power steering just to make my life easier in the future when it has to come out again. I intend to autocross the car more, so I'm curious what people's experiences with running a depowered rack on an autocross car. The steering rack needs new seals, boots, and tie rods, so the rack has to come out whether I decide to go through with it or not.
I ran to Harbor Freight this morning to grab the remaining tools I needed, and was able to get the oil feed stuff wrapped up. I double checked the AN fitting and everything looked good, so I tightened everything down.
Before I started ******* with the turbo stuff again, I wanted to put on this air valve delete plate I had bought off of @thehakunamiata on instagram. Youtube had recommended me a video of someone swapping a miata engine into an MG midget, and I commented to see where he got it. He ended up pointing me to the guy I ended up buying the piece from. It's a nice piece and it's nice to delete those coolant lines that make getting the TPS off a pain in the ***. I had originally planned on deleting the water neck, but since I didn't have the water port under the exhaust, I left it on. That'll be a project for another day.
So the thing that has been causing me trouble with the low mount setup is this power steering cooler hard line that goes up right where the turbo sits, but I was able to bend it out of the way enough to get the turbo on. The amount of room under the hood is crazy with everything tucked down so low. Despite being a major pain in the *** to work around, it really is a good looking setup.
But that wasn't the end of my fight with the power steering cooler line, It's still in the way of both the oil drain line and the hot side intercooler piping. The oil drain line can be routed in front of it, but that makes things crowded in the hole that is supposed to be where the intercooler elbow shoots through. I forgot to get a picture of the elbow, but it's essentially an L shaped hard pipe that bolts to the triangle flange on the turbo. I'm wondering how on earth it is supposed to fit down there because when I did a test fit it opens up right behind where the oil drain fitting is.
That's about where I gave up on the turbo side of things. I'll have to see what I can do about bending that power steering out of the way some more and hope it doesn't break. If it does I'll either create an AN line that I can route out of the way or just pony up and rip out the power steering.
I didn't feel like stopping for the day, so I started to fit up some of the intercooler stuff. The intercooler fit up nicely and mounts to the bolt holes for the baby teeth.
Cold side piping all fits really well and went together pretty easy. Air intake temp sensor mounts on the passenger side of that vertical hard pipe, so I'm hoping there isn't any heat soak issues. Should at least be better than my previous setup though.
And that's where I stopped for the day, feels good that it's starting to come together. Once I can get the turbo stuff figured out the car is pretty much done aside from a few small things. I'm really hoping I can get it figured out without having to delete power steering right now, so I don't have to delay things further. I'll spend this week trying to figure that out.
I was able to get in contact with Kraken to get some reference images of the intercooler piping all bolted up. He responded pretty much instantly which is very impressive, but here's what he gave me:
It's a really tight fit, and the piping comes really close to where I have the oil drain drilled into the oil pan. He suggested I give the 45 degree or straight AN fitting a try rather than the 90, so I will see if I can make that work when I pick things back up this weekend. Looking at this routing, it looks like I definitely will have to do something about the power steering hard line. With how the pipe mounts, I may be able to just bend it out of the way rather than cutting it and replacing it with something flexible.
Hopefully anyone else running this setup can get some use out of these pics too. In hindsight, it may have been smarter to test fit the turbo and piping before drilling the pan to get a better placement. Drilling the pan seemed like the scariest part of the install, so I wanted to get it out of the way. Measure twice, drill once I guess. If I can't get the oil drain to clear, I should be able to get an shorter adapter for the turbo and run a silicone pipe elbow off the turbo rather than the hard pipe. That should give me a bit more wiggle room to get out from the steering rack area.
I guess that's an option. That would require pulling the motor though right? It looks like from that reference pic I can probably make it work where it's at. If that hard pipe doesn't work I'll see about either modifying it or replacing it with a silicone elbow, and I'll have to start looking into moving the drain or ripping out power steering lines if I can't get anything else to work.
Alright, another weekend of trying to get this turbo on. I removed the power steering cooler hard line, so I could at least get the pipe on and see what the clearances were like. It kinda works, but still comes pretty close to the oil drain when a fitting is on. With everything bolted down, it's pretty much sandwiched between the oil drain and the steering column.
It kinda looked like any sort of barb coming off that power steering cooler feed would push the turbo pipe over too far. At this point I just decided to ditch the power steering. It's not worth the trouble to try to work around it, and I was leaning towards getting rid of it eventually anyways. My main issue with doing it now was that I didn't want to have to pull the rack, put all new tie rods, and realign the car until after the car was back up and running again, so for now I'm just going to loop the lines.
There's miles of room now with all of that stuff gone, and I was able to get in and clean a bunch of caked on gunk off of the subframe with all of the power steering stuff out of the way. I was able to get the hardlines cut, but I need to get some proper fitting hose and some clamps to finish it up. I also ordered some plugs to cap off the holes that are open.
I had to run around town to find a pair of snap ring pliers that were beefy enough to get the compressor housing off. The only pair that I could find were a straight par, which was good enough to get it off and let me play around with clocking the turbo a few different ways.
With the power steering lines out of the way, I might be able to make the original route work. An alternative is to have the pipe come out towards the side and route it down. I may end up ditching this hard pipe and replace it with a silicone elbow, so I can shorten the elbow a bit and rotate it where it needs to go. I also got an adjustable wastegate actuator bracket, so I can clock the turbo if I need to.
I think it should finally start coming together soon. Once the stuff I'm waiting on in the mail shows up, I should be able to start finalizing the intercooler piping and get everything back together.
Alright I think I have the intercooler routing figured out. No matter what I tried, I could not get that turbo outlet pipe to work coming out from below.
The 90 degree fits pretty close, but it's pressed up pretty hard on the steering rack and the fitting. Not really realistic for this to work.
No way the 45 degree fitting works, can't even get the housing on.
And the straight fitting would have to be bluetooth for this to work.
So I ended up making things work routing it out from the side. With the pieces in the kit, I can at least get the car running and driving. I think I'm going to have a shop fab up an elbow that tucks down under the chassis a bit more and runs closer to the subframe. This will look way less goofy, and give me a place to route the intake.
The only thing left is to figure out what I need to do to mount the wastegate actuator. With the way the turbo is clocked, I might be able to find an off the shelf bracket that'll work. If not, it's a pretty simple bracket, so I should be able to just make something simple. I'm an idiot for buying that other bracket since it doesn't fit this turbo, and even if it did, it doesn't work with the turbo clocked this way
Bummer that this intercooler kit was such a pain in the ***, but I'm just glad it's almost done. As long as the downpipe fits up, I don't see anything else really holding up getting this thing back up and running.
Probably won't have much time this weekend to work on it, since there's an autocross event on Sunday. With the Miata still down, I'm gonna take the Civic and see how it does; It's completely stock and on Firehawk indy 500s so should be a fun time.
Well, when I went to leave for the autocross on Sunday, I came out to find one of my tires flat, so I ended up having to miss the event and go get it patched. It was 104 degrees that day, so not super bummed I had to miss it.
As for the miata, I was able to get the oil drain hose built and test fit.
It's pretty kinky and I think I could've got away with cutting it just a hair shorter, but it works and I should be able to angle the 90 degree fitting up enough that I won't have any drain issues. It's such a tight run, that I probably would've just done a rubber hose if I was doing my own kit.
I got some clamps, so I could finish up the depower stuff. Ended up just reusing some of the hose from the power steering.
Just testing it while it's on the blocks, the steering is really not that heavy at all. I found out I measured caster wrong when I was doing my alignment, so when I retook measurements, I actually had around 3 degrees of caster rather than the 5 I had originally thought, which explains why the steering felt so light and darty. I think when I go in and do a proper depower I should be able to set it at 4 degrees and it'll be perfect.
And lastly, I finally got my new wastegate actuator in the mail today. It's from Kinugawa, and from the measurements I took, it had the exact length, offset, and bracket I needed for my setup. I saw a few threads on here that said they weren't total junk, so I went for it. With a little bit of bending, I was able to get it to work.
I had some clearance issues getting it to mount on the back with the water line, so luckily I was able to make it work on the front. So happy it worked without me having to build a bracket. I just need a couple more odds and ends and I'll finally be able to get this thing started up. I just need a couple metal elbows and the wastegate actuator clip, so I should be able to get that all on amazon. Shooting for this weekend to get it all wrapped up.
I finally got all of the parts I was waiting on, so I was able to get all of the lines attached to the turbo, and get the turbo mounted pretty easily. Getting all of the manifold bolts tightened was way less of a pain than I thought it would be, and I was able to get all of the piping finalized.
I'm not super happy with the hot side routing, but it works and everything goes where it needs to be. I added some heat shielding to the oil feed and the heater hose that run right next to the manifold for some extra protection. Eventually I'll need to create a proper heat shield that blocks off that entire back corner, but that'll come later. I filled the engine with oil, changed the spark plugs, put in the 323 GTX PCV valve, and put on the downpipe. The V-band coming off the turbo was super easy to get to through the subframe, and the bolts to the cat ended up being more of a pain. The flanges don't line up all that well due to how small the cat flange is and the way that the flange is oriented it's a major pain in the *** to get to the nuts. I really want to get rid of the stock cat and get a high flow cat that I can connect up with more V bands.
The very last thing I needed to do before I could start the car was to fill it with coolant. I got the car filled up and noticed a waterfall coming from the AN line that connects to the mixing manifold.
The car wasn't even on and it was pouring out, so I figured it was just loose, but the fitting was already tight. After pulling off the line and taking off the fitting, I see this:
Cool. This line was pre-made by Kraken and I wasn't really bending the line all that much, so I'm guessing it was damaged when it was built. I'm pretty annoyed I have to build another line for this, but I had bought some extra AN line to reroute this line in the future so it's not a huge deal. The barb that comes off this line is way too close to the header, and I was only able to get it where there was about half an inch spacing between the rubber hose and the header. I'm probably going to have this line come out under the turbo and over by the brake booster, so that I can route the heater hose to the right. Something like this:
I'll try to get something to work with what I have on hand, and come back to it later when I have a better idea of how I wanna do the heat shield. I'm really hoping I can finally get the car started tomorrow. There's still a bunch of little stuff I need to do before the car can drive, but I really just wanna hear the car run.
Got an early start today, and was able to get a bunch done before it really got hot out. Yesterday I grabbed this cheap clip on bench vise from harbor freight for like $20, and I feel like a real dummy for not getting it sooner. Way easier to cut a straight line and screw on the fitting without pushing out the line. Should've done that sooner, but always forgot until it was too late.
I learned that the extra AN line that I bought was the rubber hose kind rather than the PTFE kind that comes with the Kraken kit. I couldn't get it to work with the Kraken fittings, so I ended up just cutting off about a half inch off the original line and routing it a bit lower. I need to do some more reading about AN stuff because I'm a bit confused on whether the two lines need different fittings. Anyways, I was able to get coolant put back in the car and get the wastegate line routed. No more coolant was leaking, so I was finally able to get the thing started.
Nothing blew up and I didn't see anything pouring out from anywhere, so it was a good start. The exhaust seemed way louder than it should've been, and I eventually found that the V band wasn't on right. It's so nice finally being able to ditch the cracked stock manifold that I had on the car, and not have it sound like a tractor when starting it up. Everything looked good, so I took it out for a test drive.
The exhaust probably half as loud as it was before, and the turbo noise is way louder than I expected. Not complaining, the car makes all of the right noises now. My AFRs weren't crazy off from what they needed to be and I just let autotune run while I did some slow pulls. I pulled off to check for leaks and noticed the oil feed was pissing oil from the block side. I got it home and thought the line was messed up, but it ended up just being loose. After that I mostly just drove around trying to get it tuned. Here's a bigger pull that hit around 5 or 6 psi.
I'll try to get some better videos once I get the tuning mostly finished, but so far I'm super happy with it. The 2554 with the kraken low mount spools really nice, and it'll be really nice to see how it does once I start pushing it higher. I brought the car in because coolant temp was starting to creep up into the 220s. I think I just need to bleed the coolant some more because the fan is working and I wasn't really pushing the car. Either way, I'm glad to finally have the car running and driving again. I severely underestimated the amount of work needed to get this all done, but I still had fun doing it. I'm hoping I can get the car tuned before next month, because I really wanna get this thing out to an autocross.
No real updates on the car, I've mostly just been driving around getting the fuel map dialed in. I've noticed it's running quite a bit hotter than when it was stock, which I guess is pretty expected, but even during idle and cruise its still creeping up into the 200s. The car has a stock radiator that's relatively new, coolant reroute, 180 degree thermostat, and an undertray which I just got fitted back up today. I think my next step is going to be replacing both of my fans with a set of OEM fans. My driver's side fan died on me years ago, and as a quick fix I bought a cheap electric fan from autozone, cut out the OEM fan, and bolted it in the shroud. You can kind of see it in this old pic:
It's smaller than the original fan, and definitely does not move the same amount of air as the passenger side fan. The passenger side fan I had turned off because it makes this horrible whine that I'm guessing is from the motor/bearings. Hoping to get this ironed out before my next autox on the 17th.
I finally picked back up making some progress on the CAN gauge. I've been getting better at 3D modeling, and have been messing around with getting the housing for the gauge designed. Here's my pile of failed attempts:
It's been tricky trying to get the clearances for everything right since the entire package needs to fit in the 52mm gauge pod, but I finally was able to get something working.
I eventually want to mount it in the air vent, but it fits perfectly in the existing radio bracket gauge hole. I'm super happy with how the packaging came out, it fits together really nicely and is no bigger than the boost gauge next to it.
I added an access hole, so you don't have to disassemble everything to update the software.
And all of the connections to the car are made using the Molex micro fit connector. I may end up changing this connector in a future revision though because I cannot get the pins to stay in the male side of the connector. They are super delicate and like to push out way too easily, so I may size up to a larger molex connector since there's plenty of room to run a 4x2 connector.
I didn't feel like pulling everything apart, so here's an example of how the PCB is mounted using one of the failed prints. The board is secured with 4 M2 screws into some nuts that press into the bottom of the plate, and the plate just slides in. The LCD holds the plate in place on the front which is also screwed in with 4 M2 screws.
I still need to figure out how I'm going to mount the faceplate, but here's a test design to see how it would look. The holes around the screen are for the LED ring. I'm thinking I'll just keep things simple and do some countersunk screws rather than try to some sort of clips. I care more about it not breaking or rattling than I do about the face looking super clean.
I'm super happy to finally have some sort of a final product though! There's a bunch of little things I need to change in software and about the board design, but it's nice to finally have something that can go in the car.
I've found that the undertray plays a huge part in keeping coolant temps down. I'd guess that the radiator is your weakest link in the cooling system. One way to keep temps down would be to run distilled water and water wetter. Even on ~90 �F days I'm still seeing solid 190-195 �F temps when cruising with a 195 thermostat. When running normal coolant it was about 5-7 degrees hotter
I've found that the undertray plays a huge part in keeping coolant temps down. I'd guess that the radiator is your weakest link in the cooling system. One way to keep temps down would be to run distilled water and water wetter. Even on ~90 �F days I'm still seeing solid 190-195 �F temps when cruising with a 195 thermostat. When running normal coolant it was about 5-7 degrees hotter
Next would be to get a supermiata crossflow
I took some logs while running errands today, and yeah, with the undertray on I'm already seeing a decent drop in max coolant temps. I'm just running some 50/50 coolant I had on hand, so I'll try to add some distilled water to see if I can get some more out of it.
Supermiata crossflow is definitely in my future, but for my wallet's sake, I'm hoping I can push it out until next spring
This is a really cool build thread! I actually just finished up my own turbo build so it's interesting to see the different struggles you went through compared to me. I have a high mount 50trim turbo and my oil lines went far better than what I see you had to do. It's nice to see you got it all sorted and are driving the car! Boosted is a whole different world from the stock form.
I love what you did with the custom gauge to show all that data. That's super cool and I may have to do something similar in the future. Like you, I am mostly just working on map tuning and enjoying the ride. Great build.
Haven't really been doing anything post worthy the past few months, mostly been enjoying the car around town. I'm starting to notice some coolant and oil leaks, so I've been gathering parts to redo the oil feed and drain. I was able to re-tap the oil drain for 1/2" npt, so I can replace the Kraken bung which uses some weird 3/4" UNF threads.
I'm pretty sure there is a small oil leak coming from the oil drain, so I'm converting from AN to 5/8" rubber hose. You can kinda see where the mixing manifold is leaking, so I'll have to get to that once I pull the turbo out to finish the oil lines. I've been fighting leaks with that thing since I put it in the car, so I'm not sure if I'll keep it or not.
I've been running my CAN gauge in the car for a few months now, and I'm really happy with how it's come out.
This is the dashboard view that gives a bunch of basic info.
And then there's a single gauge mode that is much easier to see at a glance. The analog boost gauge is kinda useless now, so I'll probably ditch that soon. I also want to get rid of the ddmworks radio surround since I don't run radio anymore, and 3d print a block off plate to mount the remaining gauges.
Here's the repo for the gauge in case anyone is interested in building one themselves. I'm working on getting Teensy 4.0 support since Teensy 3.2 is OOS for the foreseeable future. I'll add instructions and stuff once that is complete.
I've been playing around with the idea of making another gauge that uses this circular LCD screen. It's multicolor, higher resolution, and the LCD screen is easier to see in direct sunlight.
I'm still in the experimenting phase with this one, and trying to be a little more deliberate with the code design to avoid some of the annoyances with adding features to the previous gauge. It probably won't be ready for a while, but here is the link in case anyone wants to follow.
And then there's a single gauge mode that is much easier to see at a glance. The analog boost gauge is kinda useless now, so I'll probably ditch that soon.
I'm a big fan of analog gauges. I even use them in TunerStudio on my digital dash.
Easy to read and understand at a glance when you're at speed. You get used to the needle position that indicates "good".
I'm a big fan of analog gauges. I even use them in TunerStudio on my digital dash.
Easy to read and understand at a glance when you're at speed. You get used to the needle position that indicates "good".
That's a pretty cool setup.
Yeah, analog gauges are nice to have, and that's part of the reason I want to get that circular screen working.
Been slowly working on the car over the past month, mostly being held up due to waiting on parts.
This is the intercooler piping we are starting with (minus the air intake), and I really hated how the pipe has to snake up and around to make that three bolt flange adapter work. I ended up finding this compressor housing that has a normal coupler instead: Housing Link
What I didn't realize at first, was that you needed an adapter to get this housing to work. After researching, I found that this is a T04b sized housing and you need this adapter ring from a GT28 turbo to get it to work. The housing then bolts on with some retaining clips.
Because the housing was much bigger and I now had to mount the wastegate actuator to the back, getting everything to line up right was a total bitch. I ended up buying a torch and bending one of the straight rods to get everything working. Ended up coming out alright.
The new housing is MUCH larger and makes it look like I've got a big boy turbo, but it's still just a stock 2554r. The part I care about the most though, is the fact that now I can clock it straight down and have a straight shot to the intercooler, rather than having to snake it up.
While I had the turbo off, I ended up re-sealing a few fittings that were leaking, and re-routing a few hoses. I removed the AN line that went under the manifold and replaced it with this 90 degree barb, so I can route the heater hose further from the manifold. I also replaced the oil feed with a premade hose because the old one was leaking.
The oil drain was leaking, so I replaced the AN oil drain with a 5/8" hose. The NPT to barb fitting is a good bit shorter that it replaced, so it makes the oil drain routing so much easier.
And here's the final product. I'm really happy with how much cleaner it all looks with the piping down and out of the way. After running the car for a bit to bleed the coolant and taking it on a short test drive, I don't see any major leaks, so hopefully I don't have to pull this all apart again.
The turbo spool sounds totally different with this setup, and I'm not sure whether that's due to the shorter turbo intake (it's just a single 90 elbow instead of a longer pipe that goes behind the headlight) or the new housing. I don't really notice any major performance differences with the larger housing just from the quick drive. I noticed with everything back together, the oil pressure gauge is freaking out at high RPMs, so I will need to look into that. I pulled the sender off to remove the oil feed tee, so it's probably just a grounding issue or something.


 0
0