When you click on links to various merchants on this site and make a purchase, this can result in this site earning a commission. Affiliate programs and affiliations include, but are not limited to, the eBay Partner Network.
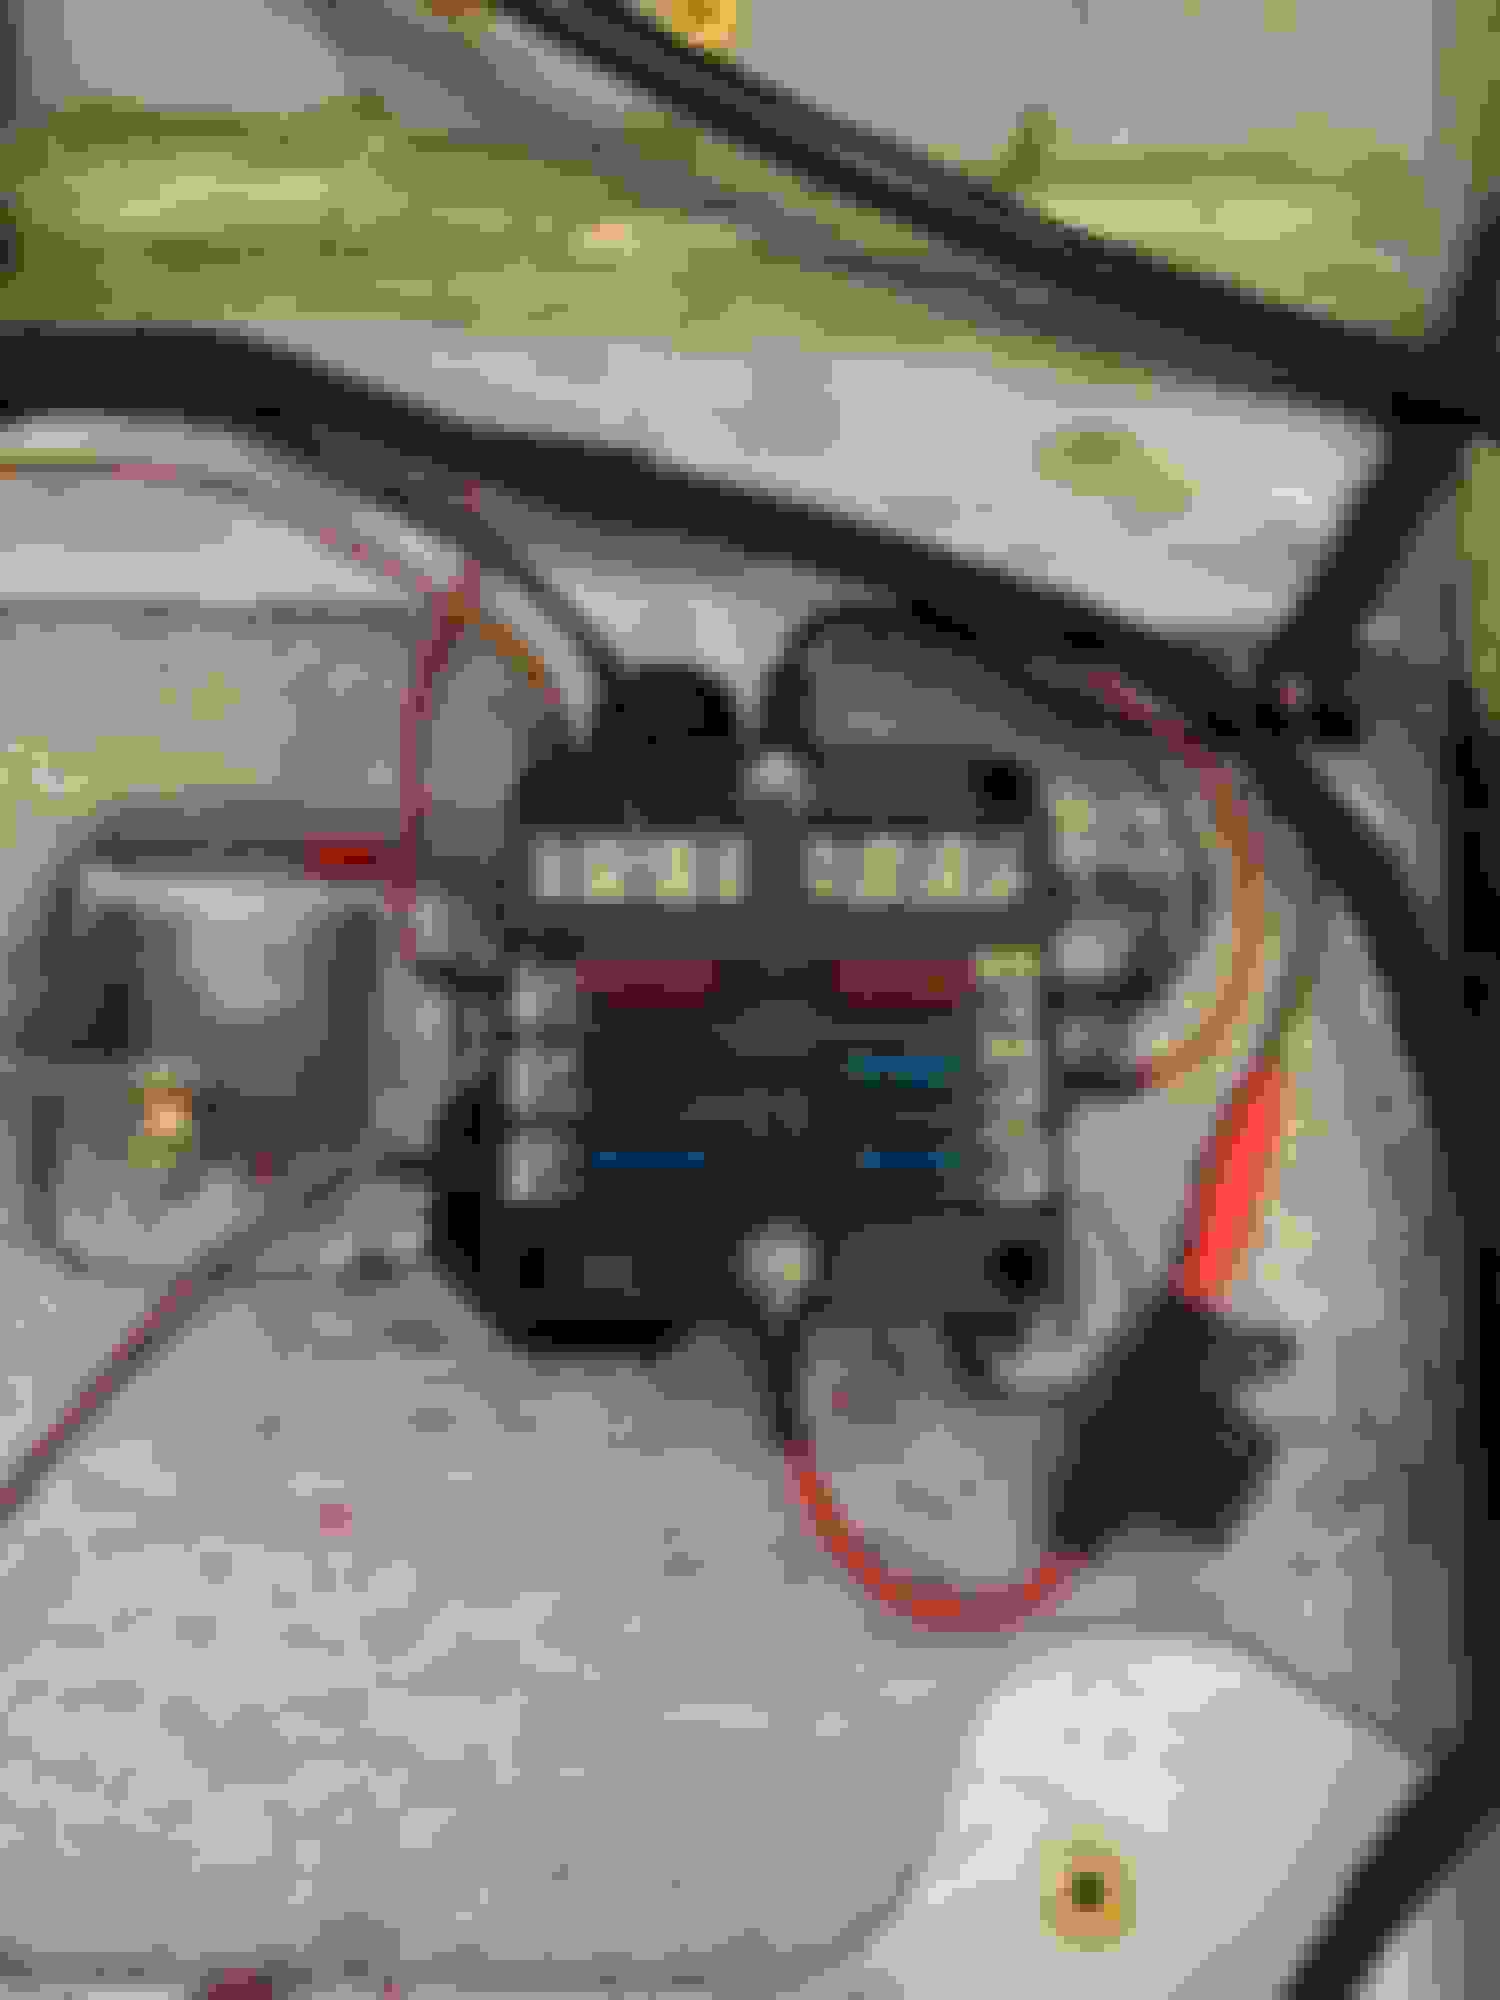
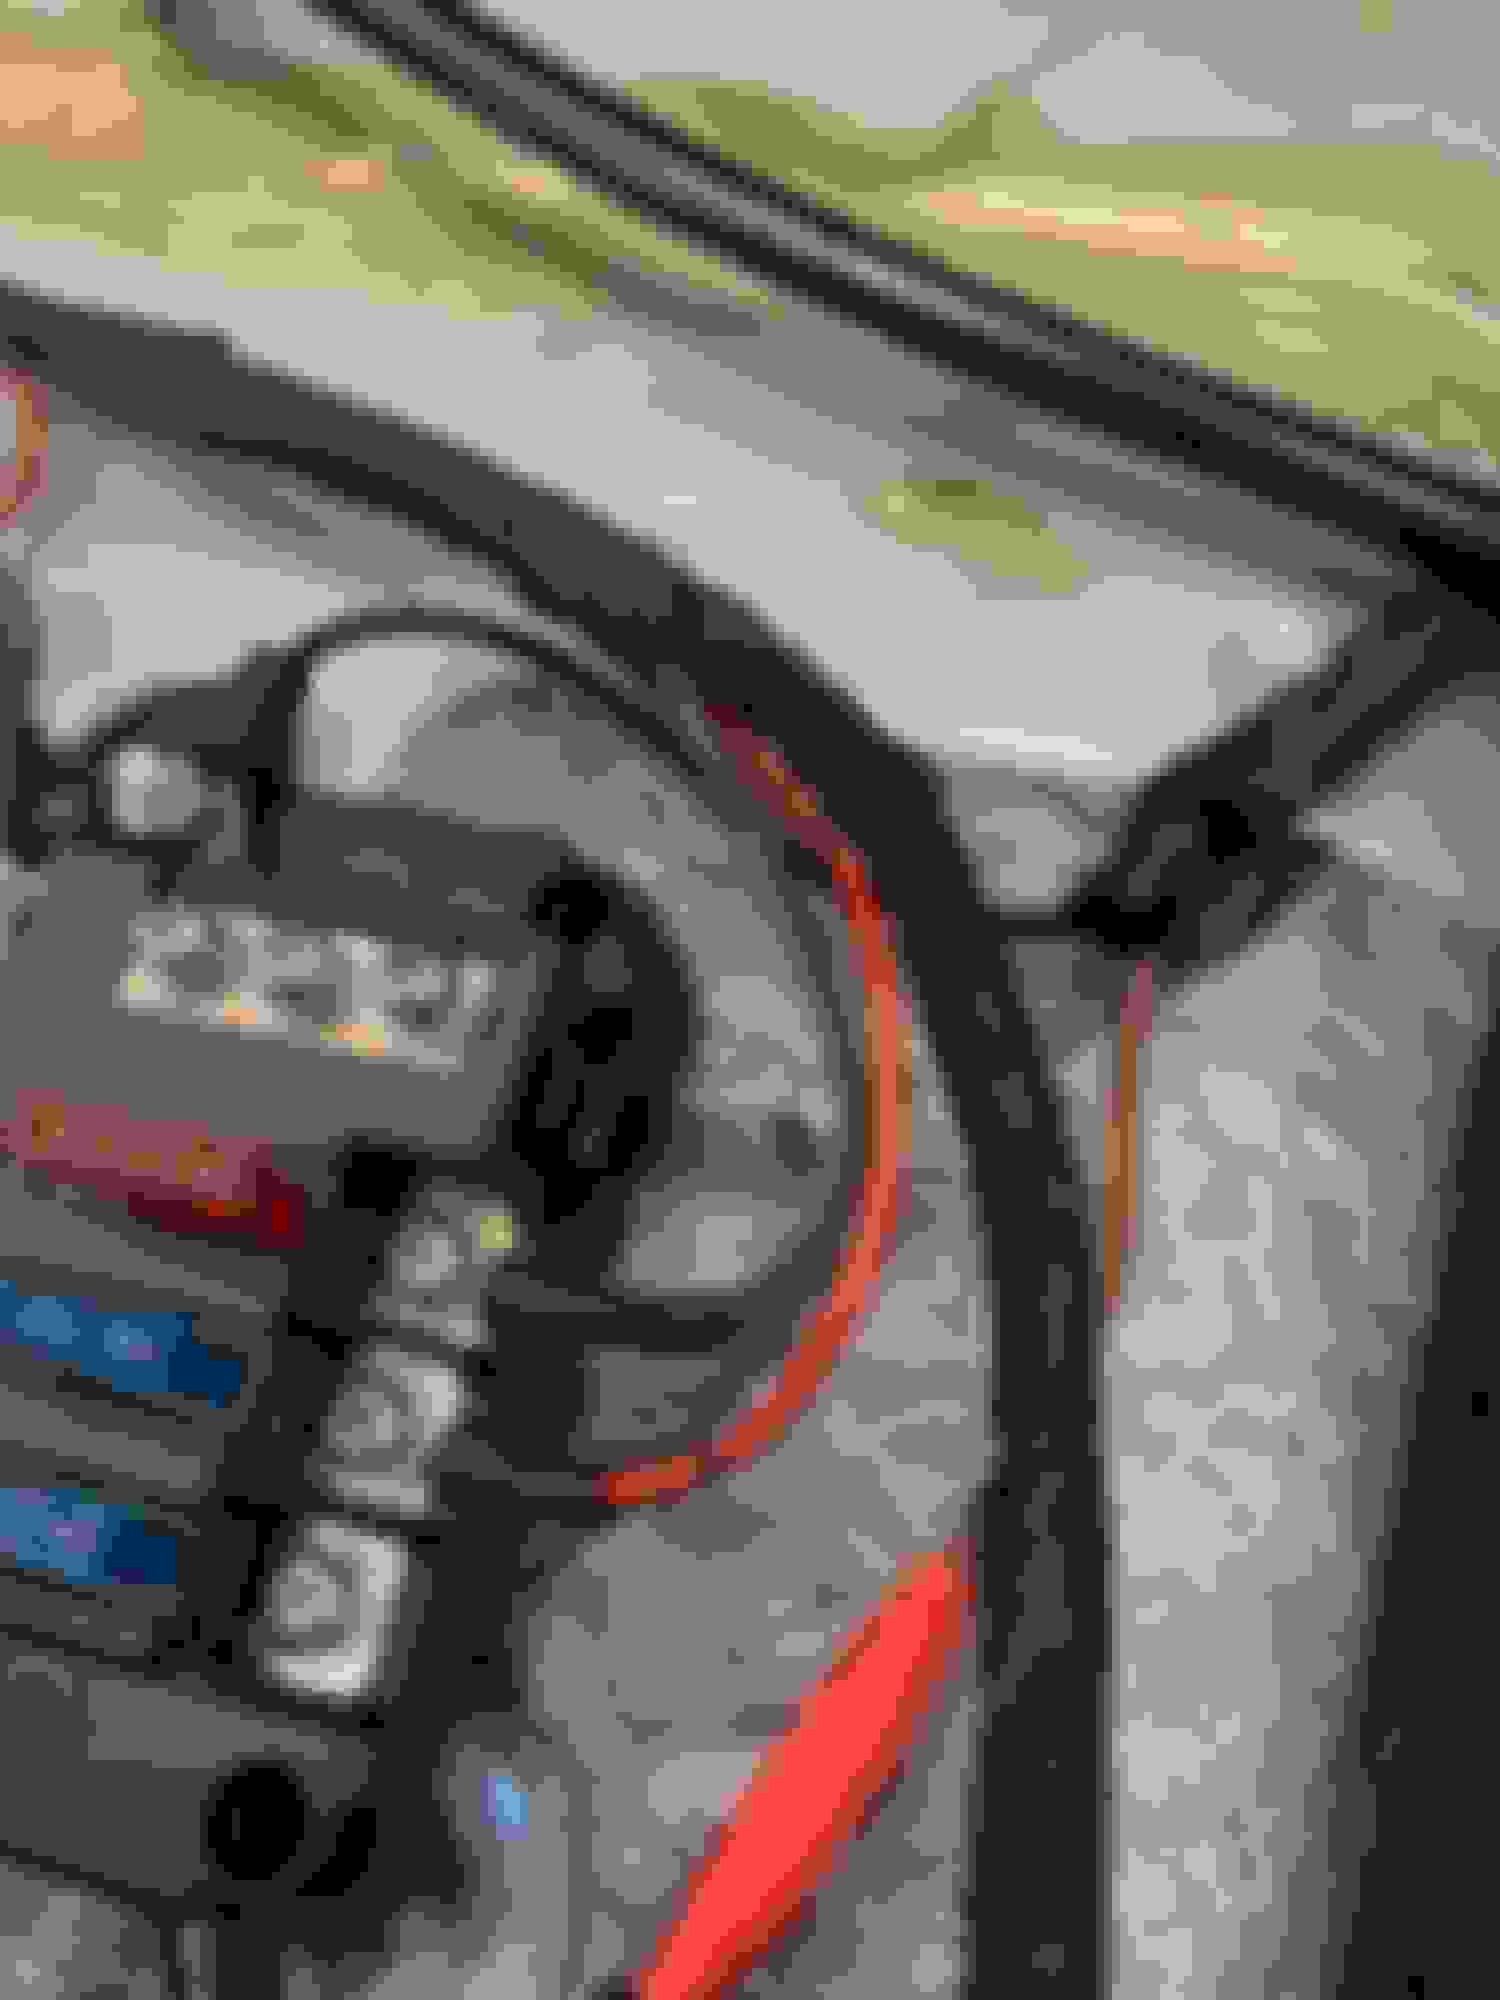
Ok here is my v3. I still need to label the wires but other than that I think its not bad. I took the time to strip each terminal of the red plastic sheathing and used glue lined heat shrink instead. I also added in a fuse for the power feed and Tesa taped as much as I could.
George this is a lot better. What all is it powering? Your primary power wire is pretty small. Might be worth figuring out your amp draws then looking at an amp draw chart for wire size and length.
May I suggest relocating the source power fuse as well? It might be too late now that it's all taped up but I would place the fuse as close to where the power is coming from as possible. Example, when I ran the power wire from my battery to a relay that powers my fuel pump, I have the fuse as close to the battery as possible. This is so that if the wire breaks, no matter where it breaks, the fuse will trip and stop a short...unless it breaks on like the 4" of wire that's between the fuse and the battery itself.
In your case, if your main power wire is ran straight from the battery and the fuse is right where you placed it, if there's a break in the wire then your fuse would do nothing to stop it. The break would be pre-fuse.
The main power and ground are using the factory harness (window switch). So I will have to look at some diagrams to see where it actually leads to. Are broken wires a thing that actually happens with 14awg wire? Especially factory wiring?
Originally Posted by skylinecalvin
One last thing that I can think of. I just realized that fuse block has negative post. Where is it grounded?
See above
Thanks for the advice everyone. Its amazing what a bit of constructive criticism can do.
The main power and ground are using the factory harness (window switch). So I will have to look at some diagrams to see where it actually leads to. Are broken wires a thing that actually happens with 14awg wire? Especially factory wiring?
If it's coming from a factory circuit then it's already fused for the OEM wire size at the factory fuse location. If your wire isn't smaller than the factory wire then you don't need an additional fuse. If it is smaller than the factory wire then just fuse it appropriately at the splice point.
No worries, if you're using factory grounds, then I wouldn't worry. Same with fusing that power line, if you ever go over the amperage or have a short, it'll break the OEM fuse.
I made a finish panel out of 3/32" ABS to cover the hole in the oem cluster. It really helps to clean up the area visually. Its not perfect, there are some gaps, but it's better than nothing for now. Its hard to explain, but it's not as simple as tracing the dash and cutting holes. On my second revision It will be much easier, since I have a good baseline to start with. I can trace the holes I already have, then trace the dash to make sure it fits perfect. Just not a high priority right now.
Next, I dropped the diff to plate the housing where the factory crash relief cut is and to install the SadFab delrin bushings ive had laying around forever.
Getting the lower bushings out was a royal PITA. The main bushings took probably 7 min for both sides with a 3 jaw puller, where as I spent over an hour burning/scraping the lower ones out since they are bonded. I hit the metal plates with a few coats of primer to prevent rust and called it good. I also replaced the diff seals while I was in there and slammed the thing back in.
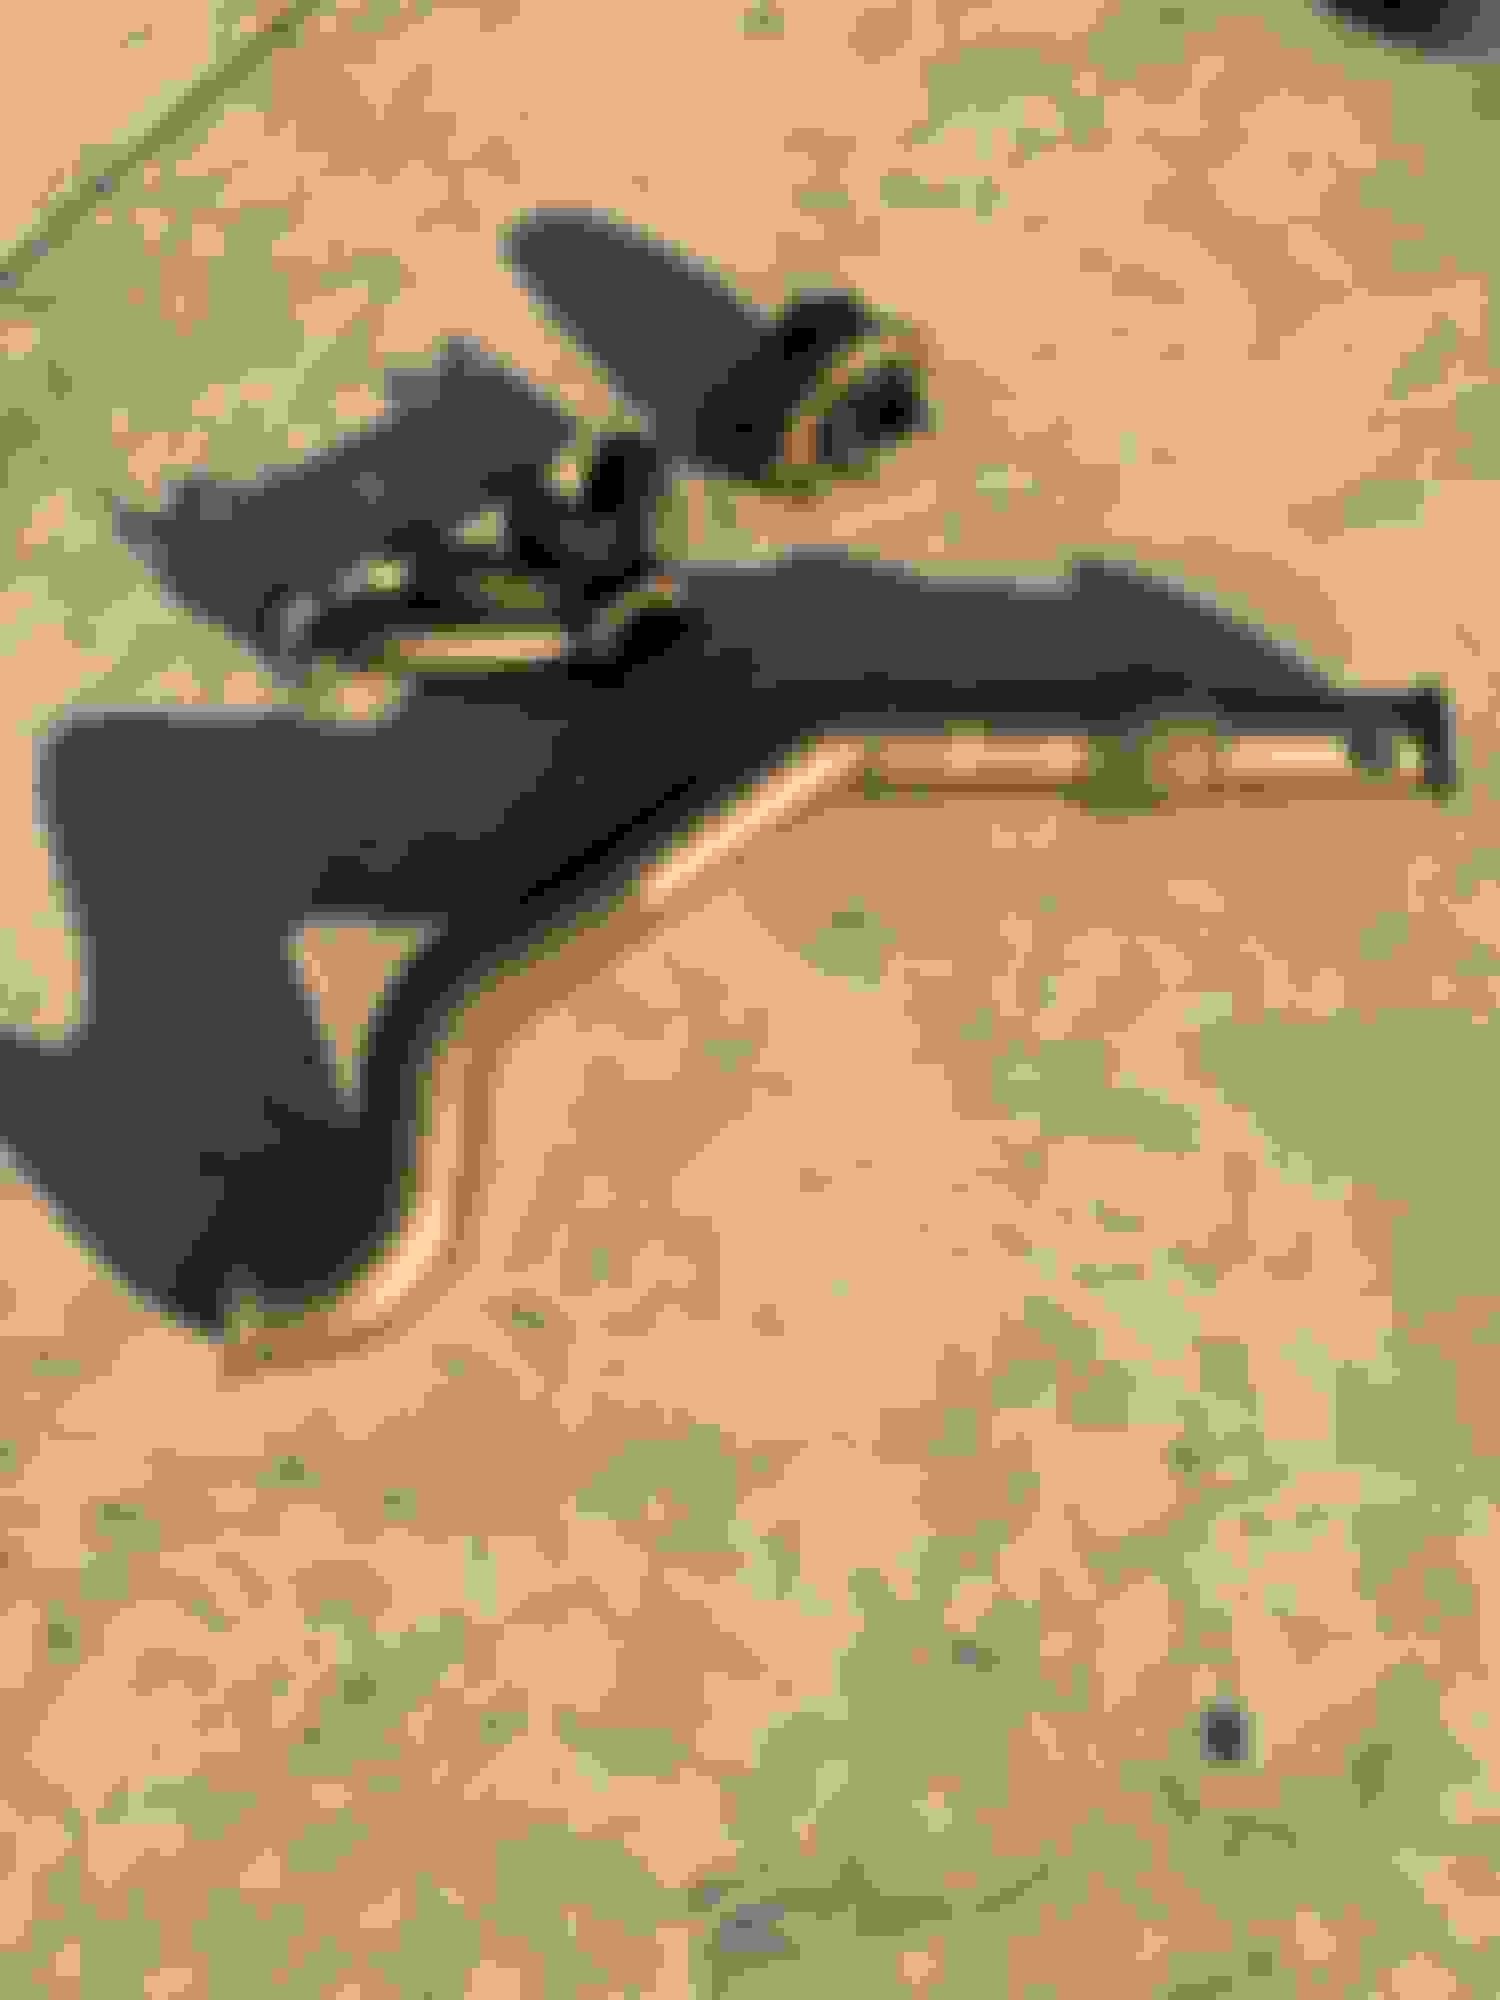
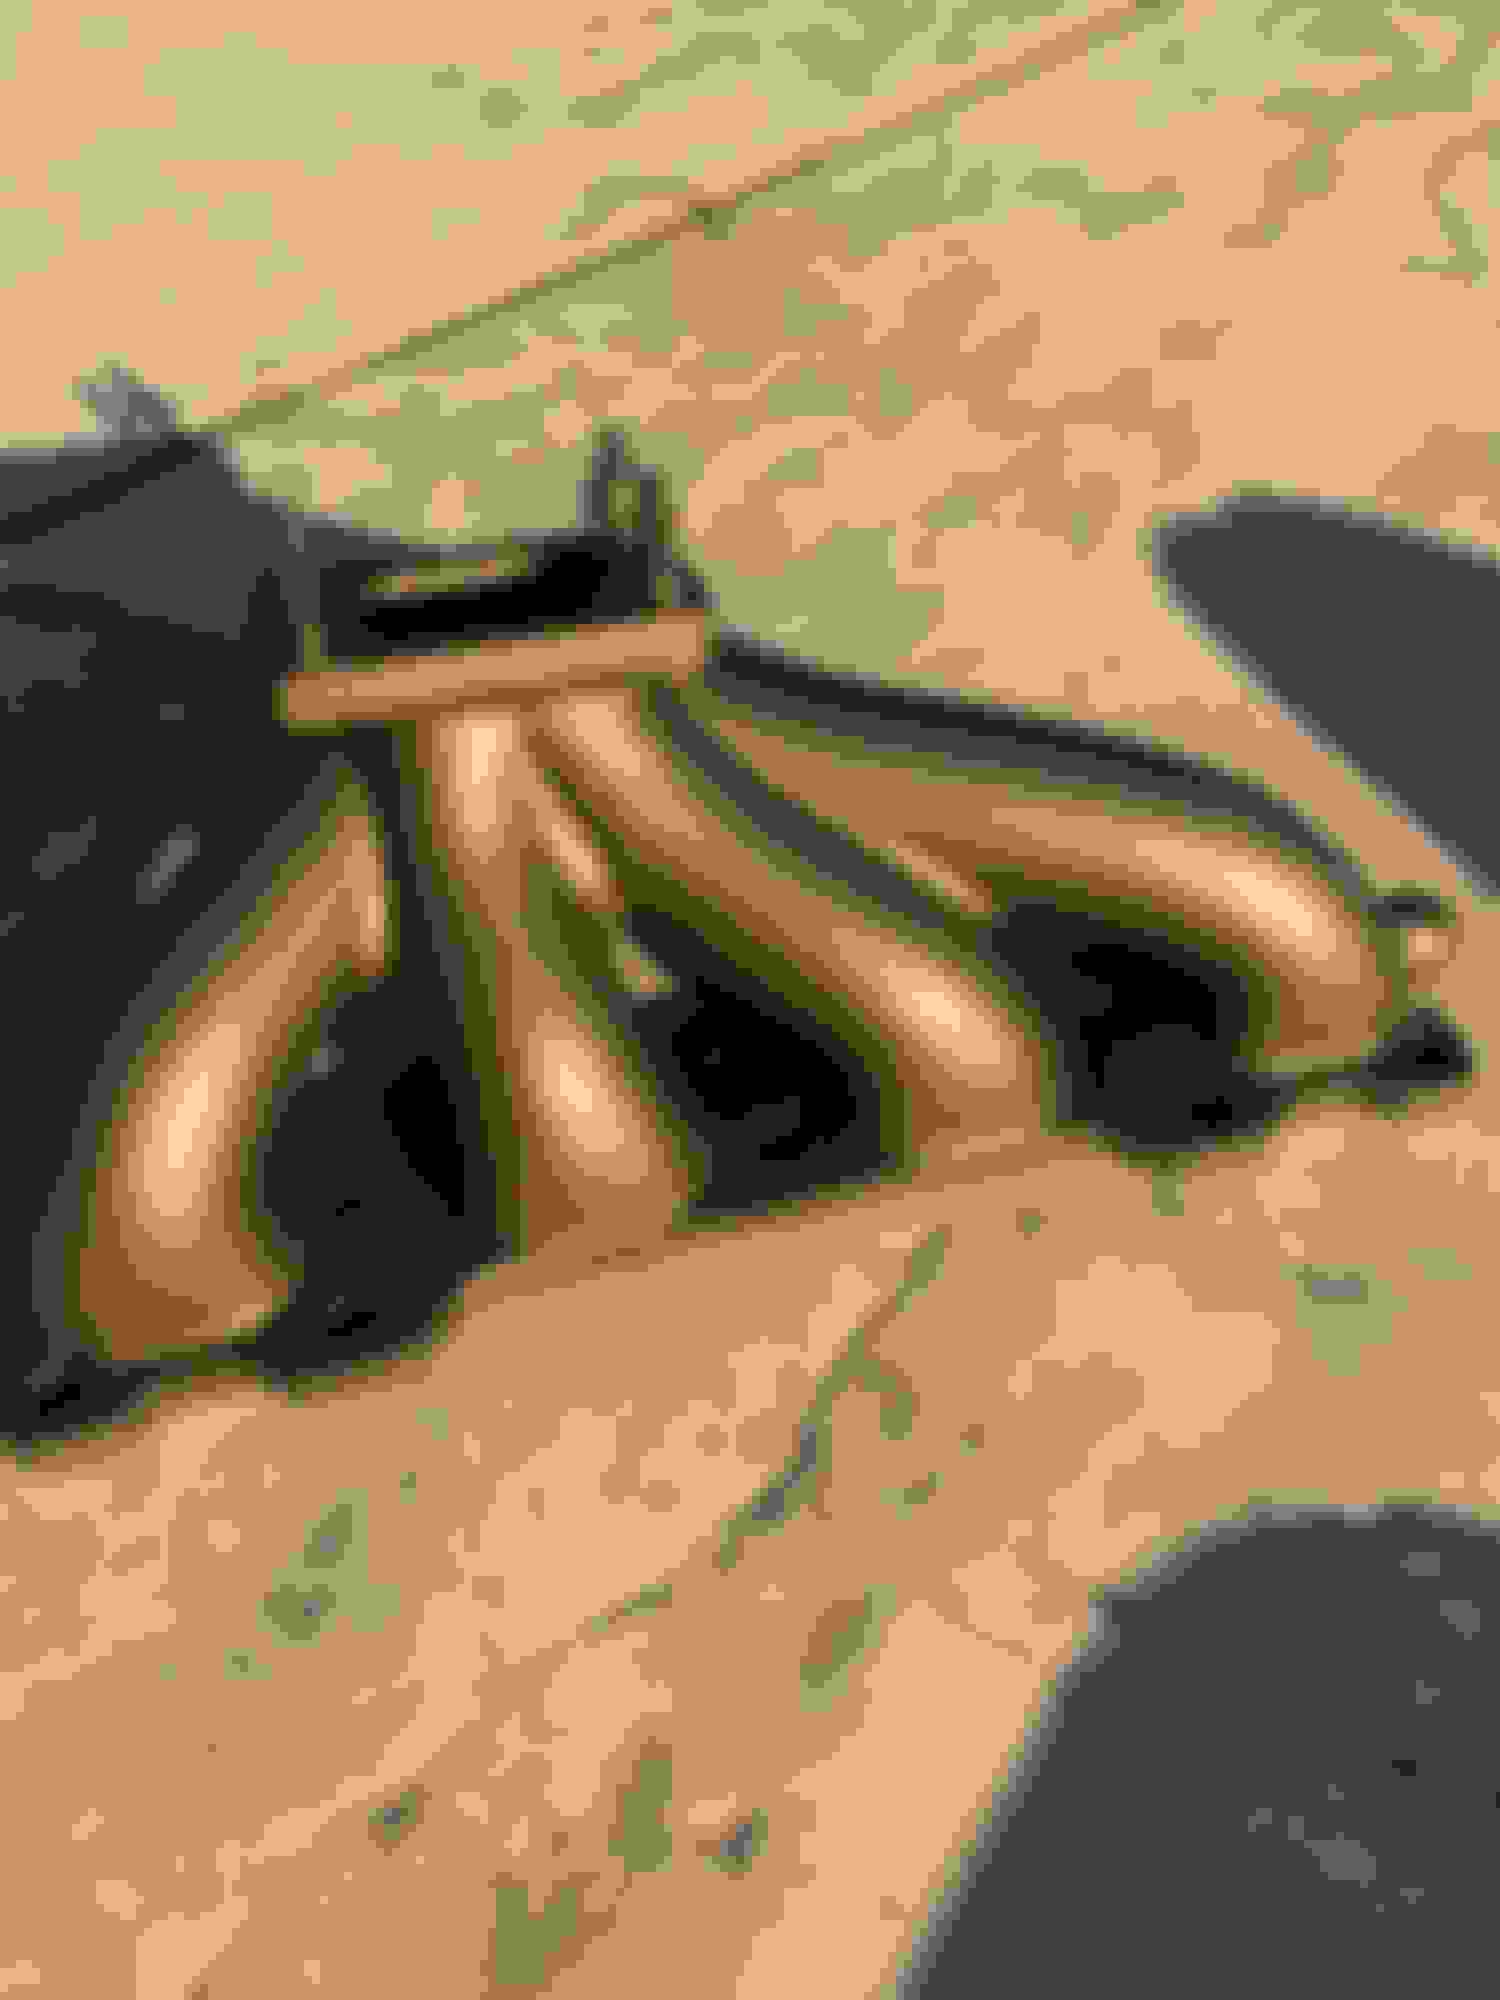
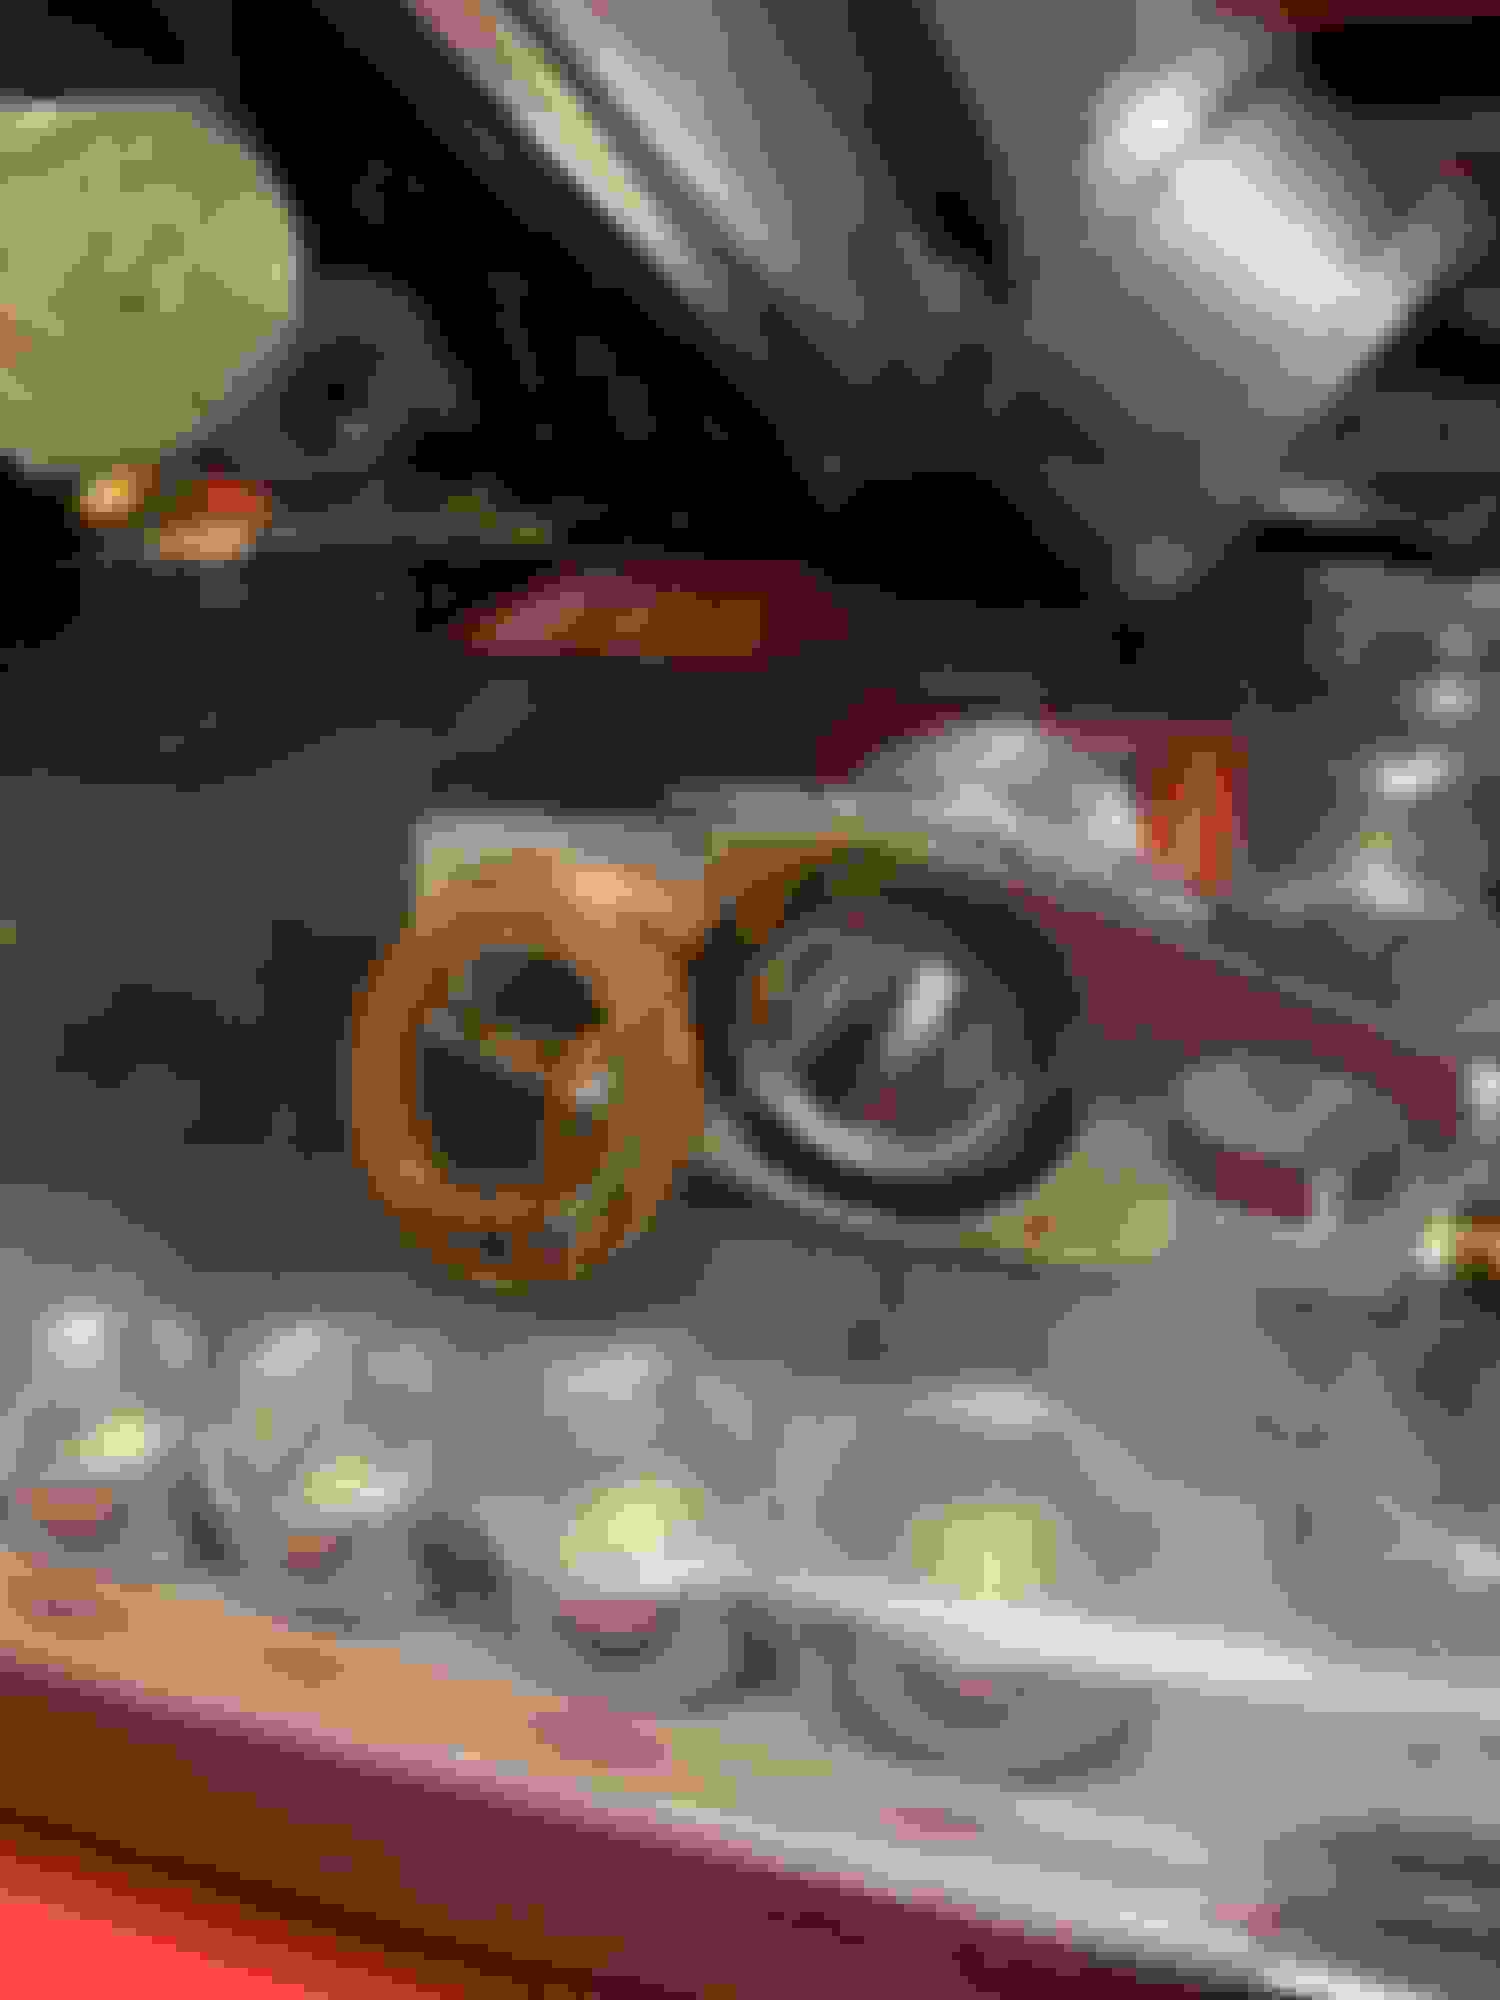
I also finally got my hot side parts back from Cerakoting. As you can see, I went with a burnt bronze finish to tie in to the cage. Im super stoked on these, they came out great and should cut down heat a decent amount.
Finally, I got the rest of my fuel system parts in.
The other big radium box is an AOS. Not fuel related but whatever. I'll get pics of all the shiny stuff when im installing.
The To-Do list is as follows:
1. Get the seat/harness mounted
2. Re-install hot side parts.
3. Fab/weld new exhaust hangars for the mid-pipe/muffler.
4. Install fire system
5. Make switch panel
6. Weld IAT bung to intercooler end tank/relocate IAT.
7. Install hood vents
8. Weld reinforcement plates to front subframe LCA mounts / Install FUCA SadFab Delrin Bushings / install new front springs. (ill do it all at once).
9. Fuel system install
10. SPM rear sway bar install
11. Make ducting
12. Make new splitter/mounts
13. New brakes
15. IGN1A Coil install
16. Dyno Tune
17. Alignment.
18. Shakedown.
Damn thats a long list. Gahhhh.
Last edited by icantlearn; 07-29-2020 at 03:32 AM.
First on my To-Do list was to get the seat/harness mounted. No biggie.
Welp, as it turns out, a Racetech RT4009 is a tall seat, and absolutely does NOT fit in this car. My head was wedged between the roll bar padding and the right side of the halo.
Ok fine. I guess ill just cut the seat humps out like everyone else and it'll be great. Hah. Right. This didn't help much at all. See, this WOULD have worked if I got a new seat, but I am stubborn and wanted to keep this seat since its comfy. I am an idiot if you count tell by now. Don't be like me. Buy a seat that fits.
So being the idiot that I am, I figured the correct solution is to do a floor drop. I remembered seeing a Mazda Racers kit for sale locally so I picked it up that night. Little did I know the **** show I was about to embark on...
Step one: Remove floor
Step 2: Place new floor in hole
Step 3: Notice how not a single corner or side lines up even remotely close to where its supposed to be. Fantastic. (the green is primer)
Step 4: Beat the living **** out it with a 5lb sledge to get the gaps closer together. Realize its not enough. Put relief cuts in various locations (not pictured).
Step 5: Weld the pan in. Think to yourself, "Damn, I suck at welding". Realize you ran out of argon. Get more argon. Lay beads. Realize you don't suck that bad.
Step 6: Realize the "frame rail" doesn't fit either. Cut it in half, cut it some more, hate your life. Weld it in like you are Helen Keller because its midnight, 87*, and you only have a flashlight to see what ur doing.
Step 7: Paint it
Step 8: Realize the kit is missing the backing plates/mounts for the harness. Cuss. Make your own. Drill holes. Install hardware.
Step 9: Install seat. Sit lower. Realize still not low enough. Want to pour lighter fluid over entire car and light a match. Sit in car as it burns.
Step 10. Remove seat cushion. Finally low enough. But sad because my boney *** gonna be sad.
Step 11. Install harness. Hope to never install a seat ever again.
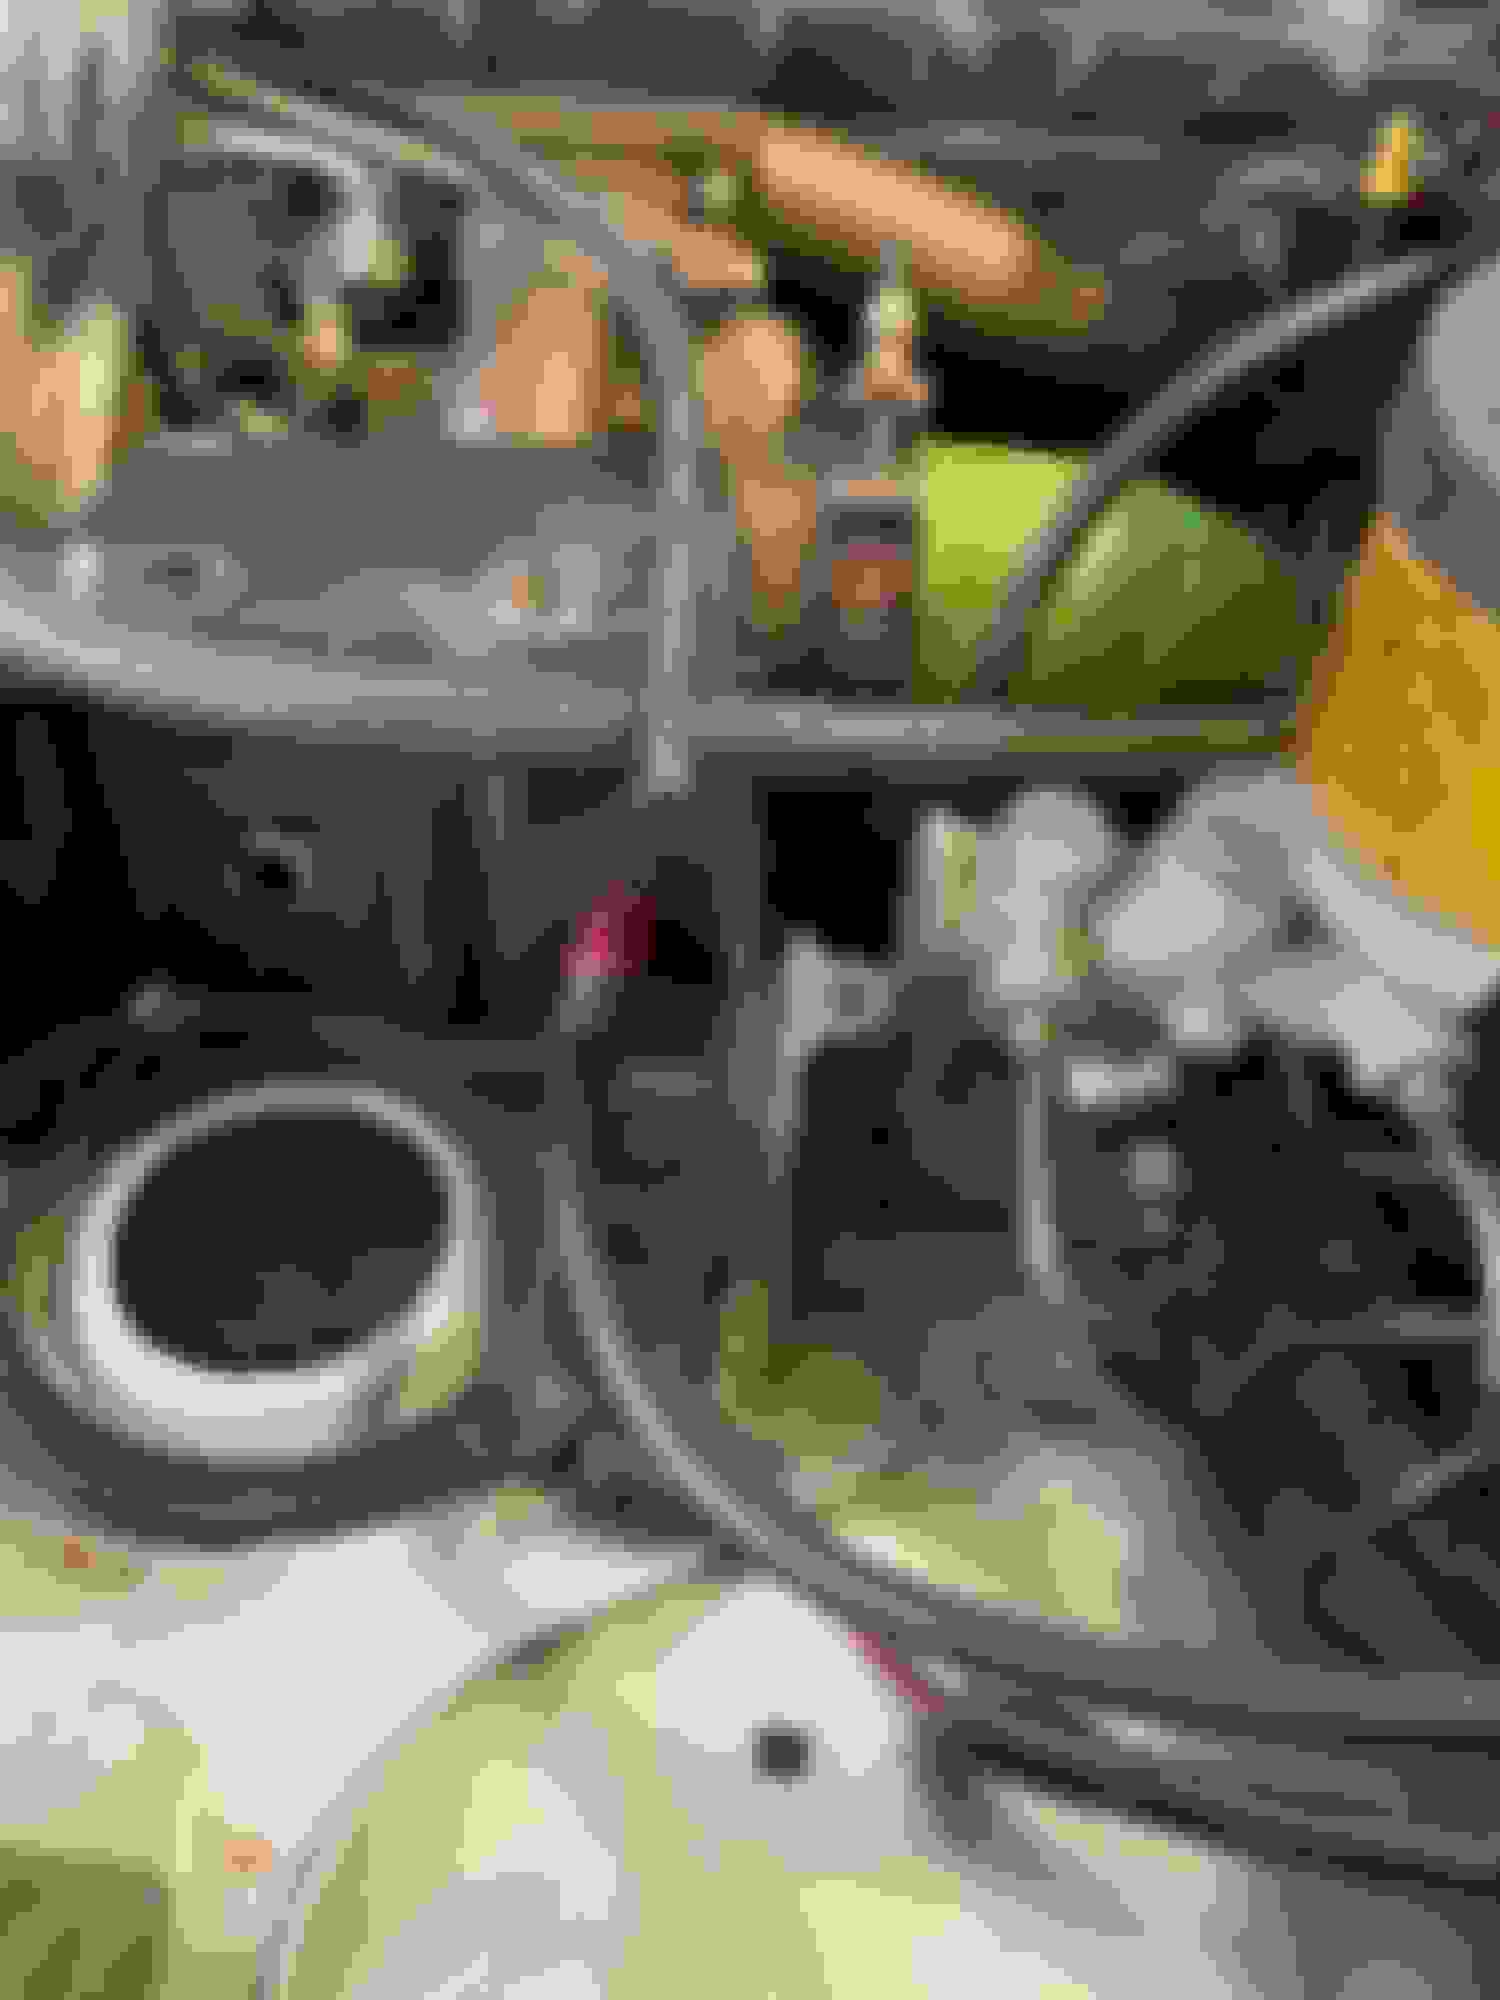
Next on the list was to install the hot side parts. I popped the exhaust housing back on the turbo and went to install the oil drain fitting on the turbo when I saw this.
I ordered a new one, fixed that. Went to install the turbo and it wouldn't go on. Somehow my manifold received a long *** stud. My inconel one must have gotten damaged at the machine shop or something. A friend of mine happened to have a single stud laying around, so I should have it this weekend.
The next thing on the list was to make new exhaust hangars. So I bolted up the turbo to get that done even though I will need to pull it to install the new stud.
Continuing along with the theme of nothing going well, I had to cut the end of my mid pipe off because it needed to shoot out straight. It was pointed up slightly because I tucked it up a lot tighter than it was before. So I cut the end off, I had a few pieces of scrap laying around from when I first built the exhaust. So I made a few pie cuts to get it where I wanted and welded it up. Then I made a new exhaust hangar right off the subframe to hold it up and called it good.
I wanted to ditch my old muffler since it was a bit too quiet and had a bunch of bends. The idea with the new setup is I can swap the muffler in a matter of minutes. Its just a single V-band and a bolt-on exhaust hangar where the tip is. So 2 bolts and its off. The new muffler is a magna flow 14x8x5 iirc. Its slightly smaller than my previous muffler so I think it should fit the bill. I had to massage the trunk floor a bit to get it tucked up as high as I have it but its all good now. You can also see the SPM rear sway bar I installed while I was down there.
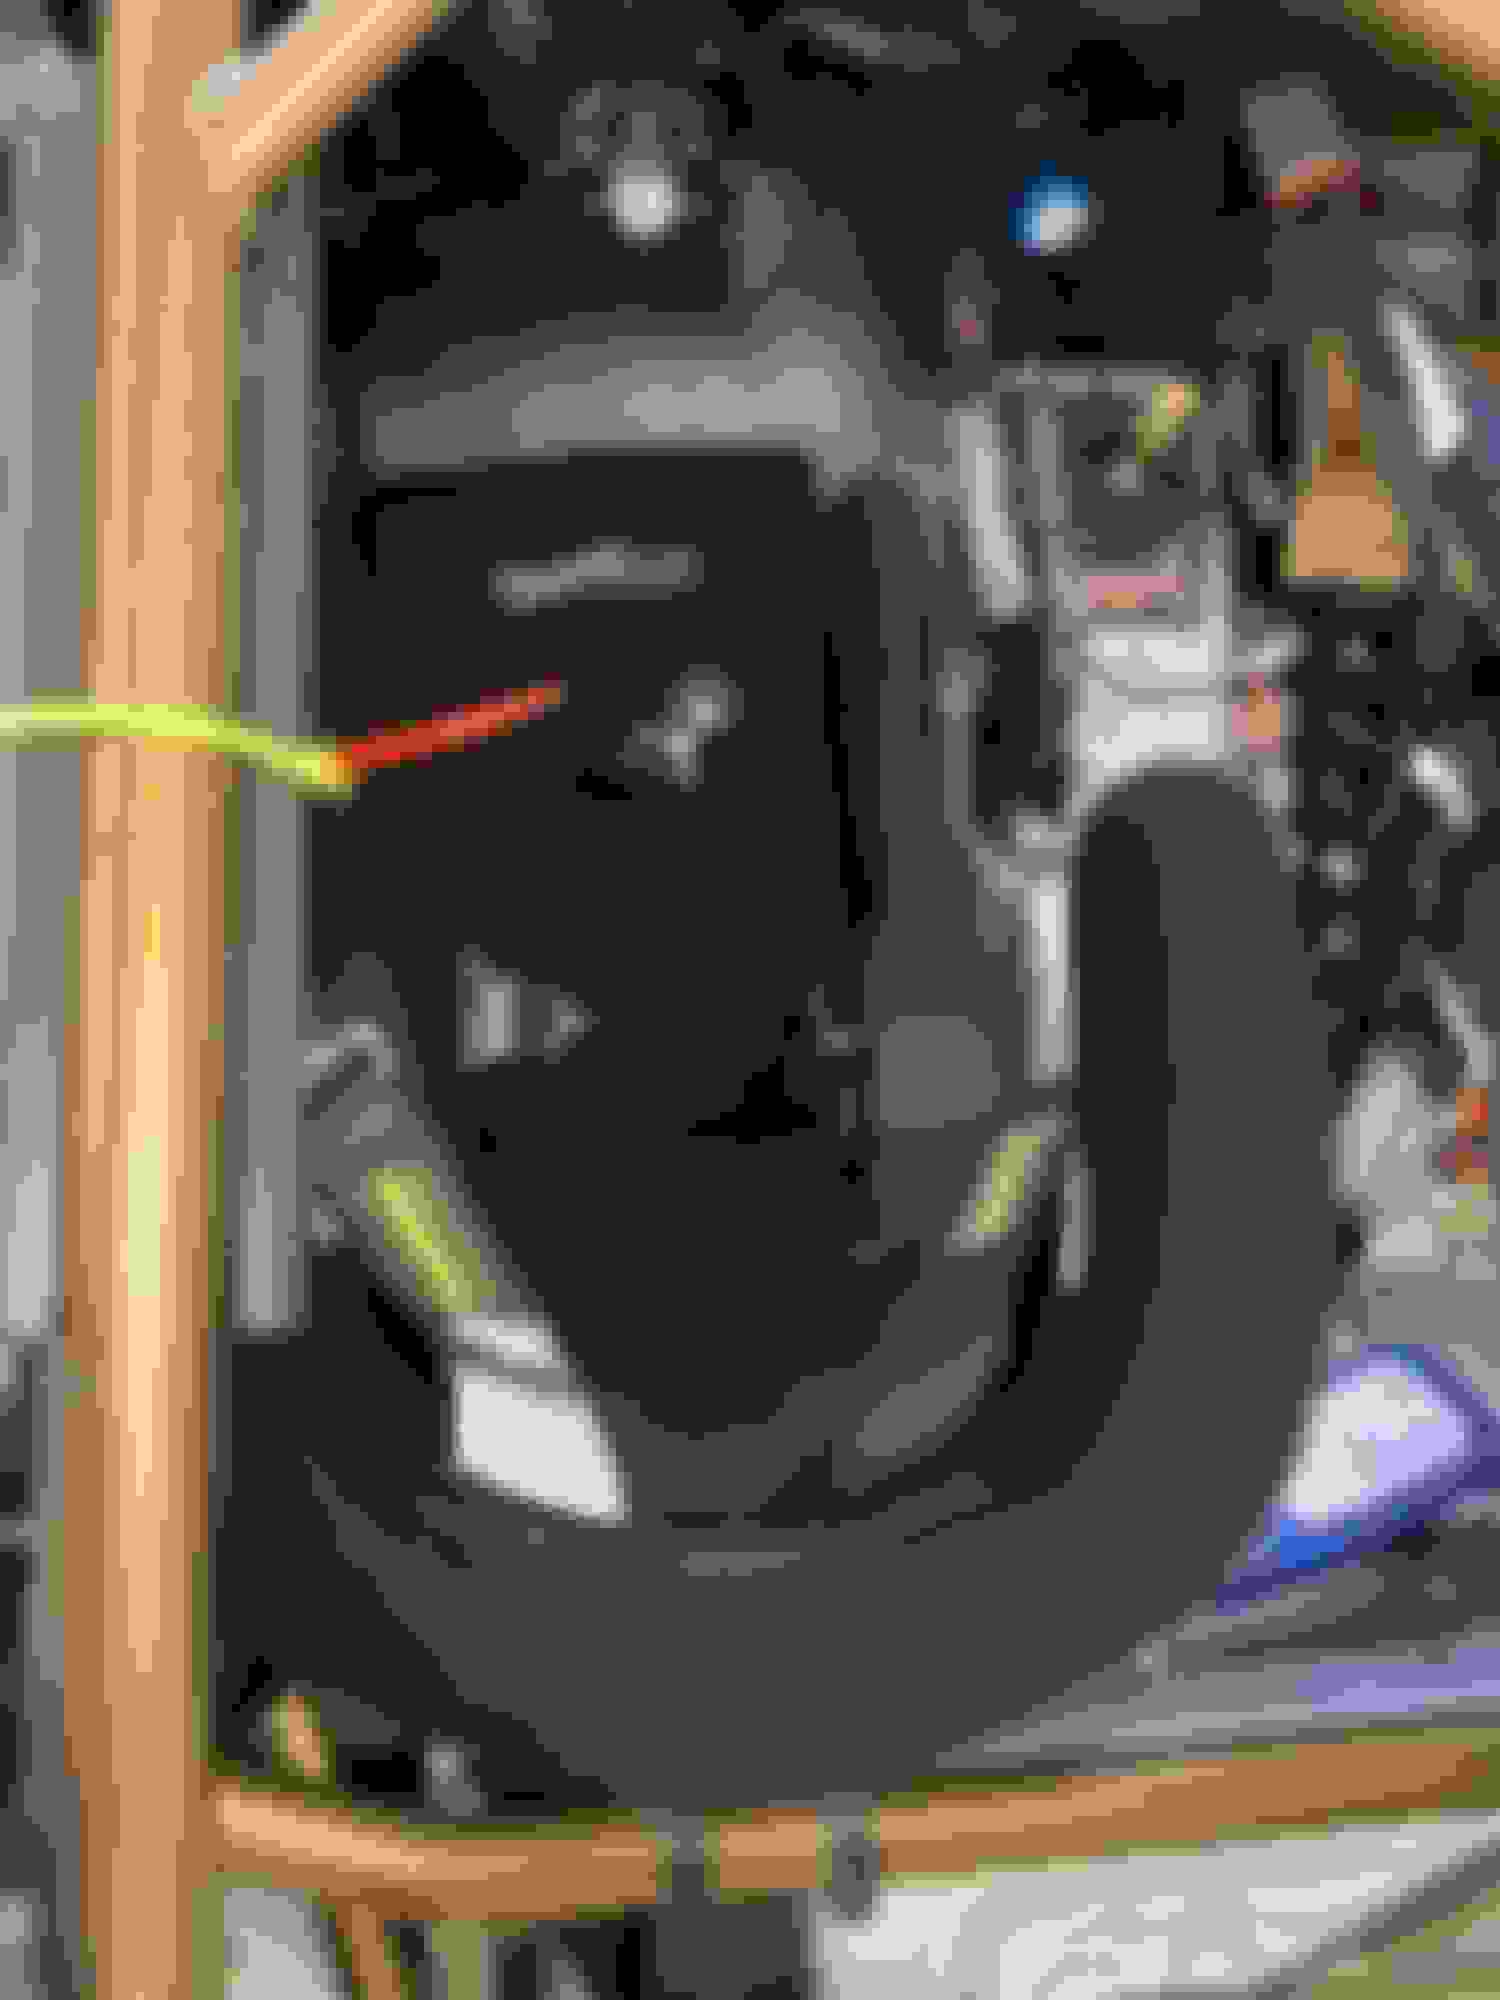
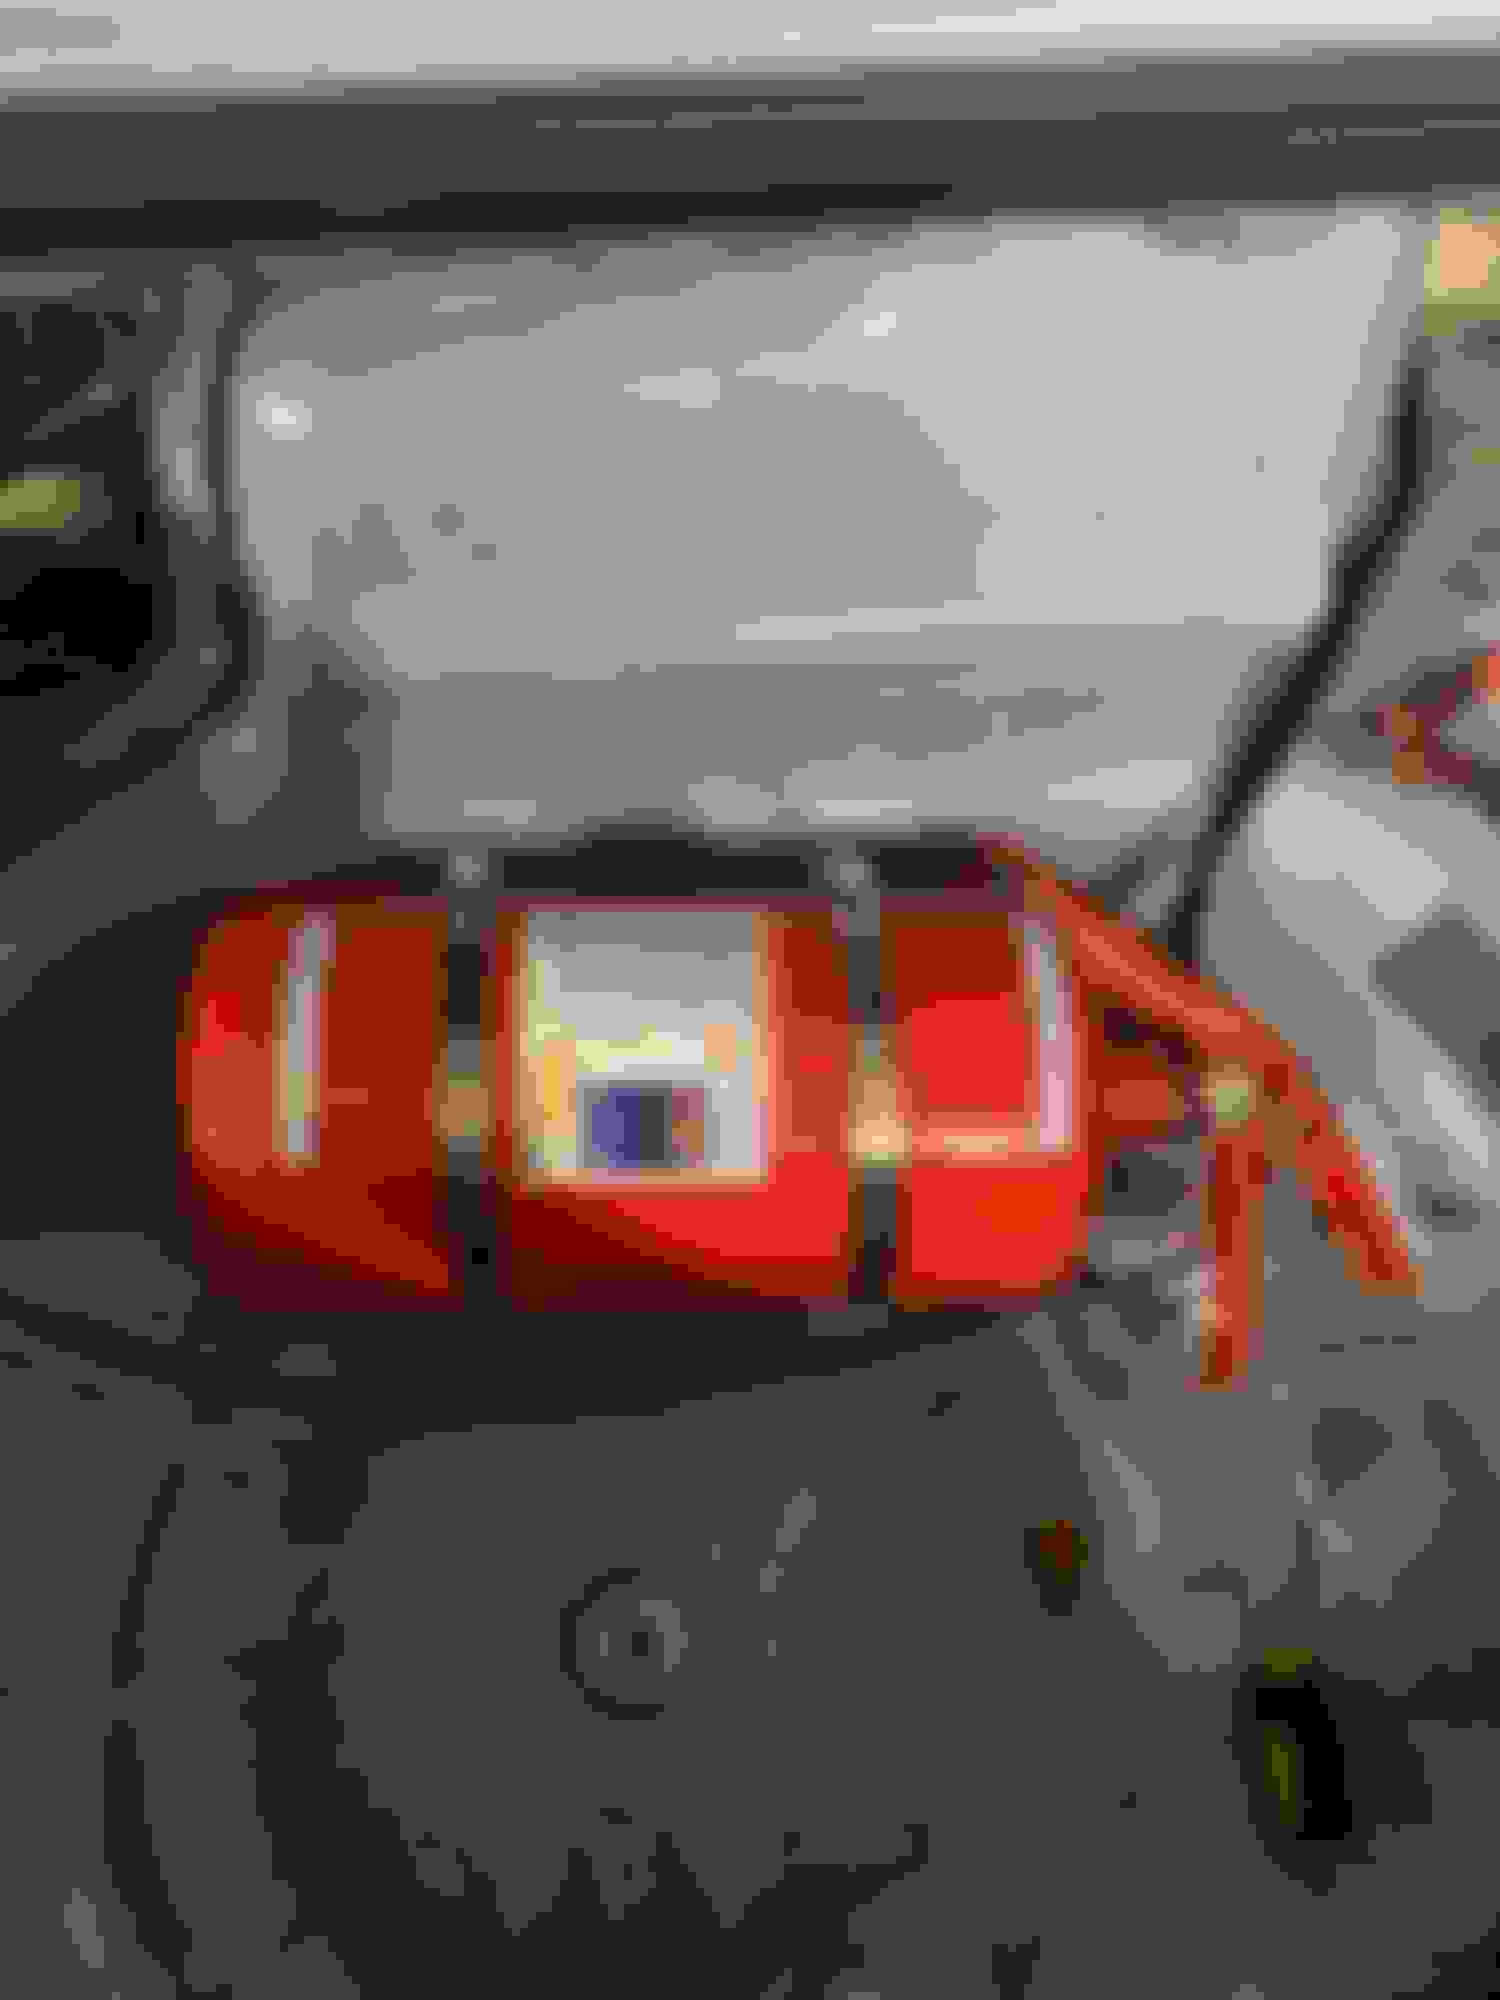
Next up on the list was to install the fire system. I decided to put the bottle in the trunk to keep the passenger side open for a seat/cool suit cooler.
I put one nozzle in the shock tower brace mount pointed straight at the turbo oil feed/drain/exhaust housing. I am waiting to put one on the other side because I want to see where all the fuel system lines/fittings are going to be so I can aim it at those instead of a generic location on the passenger side engine bay.
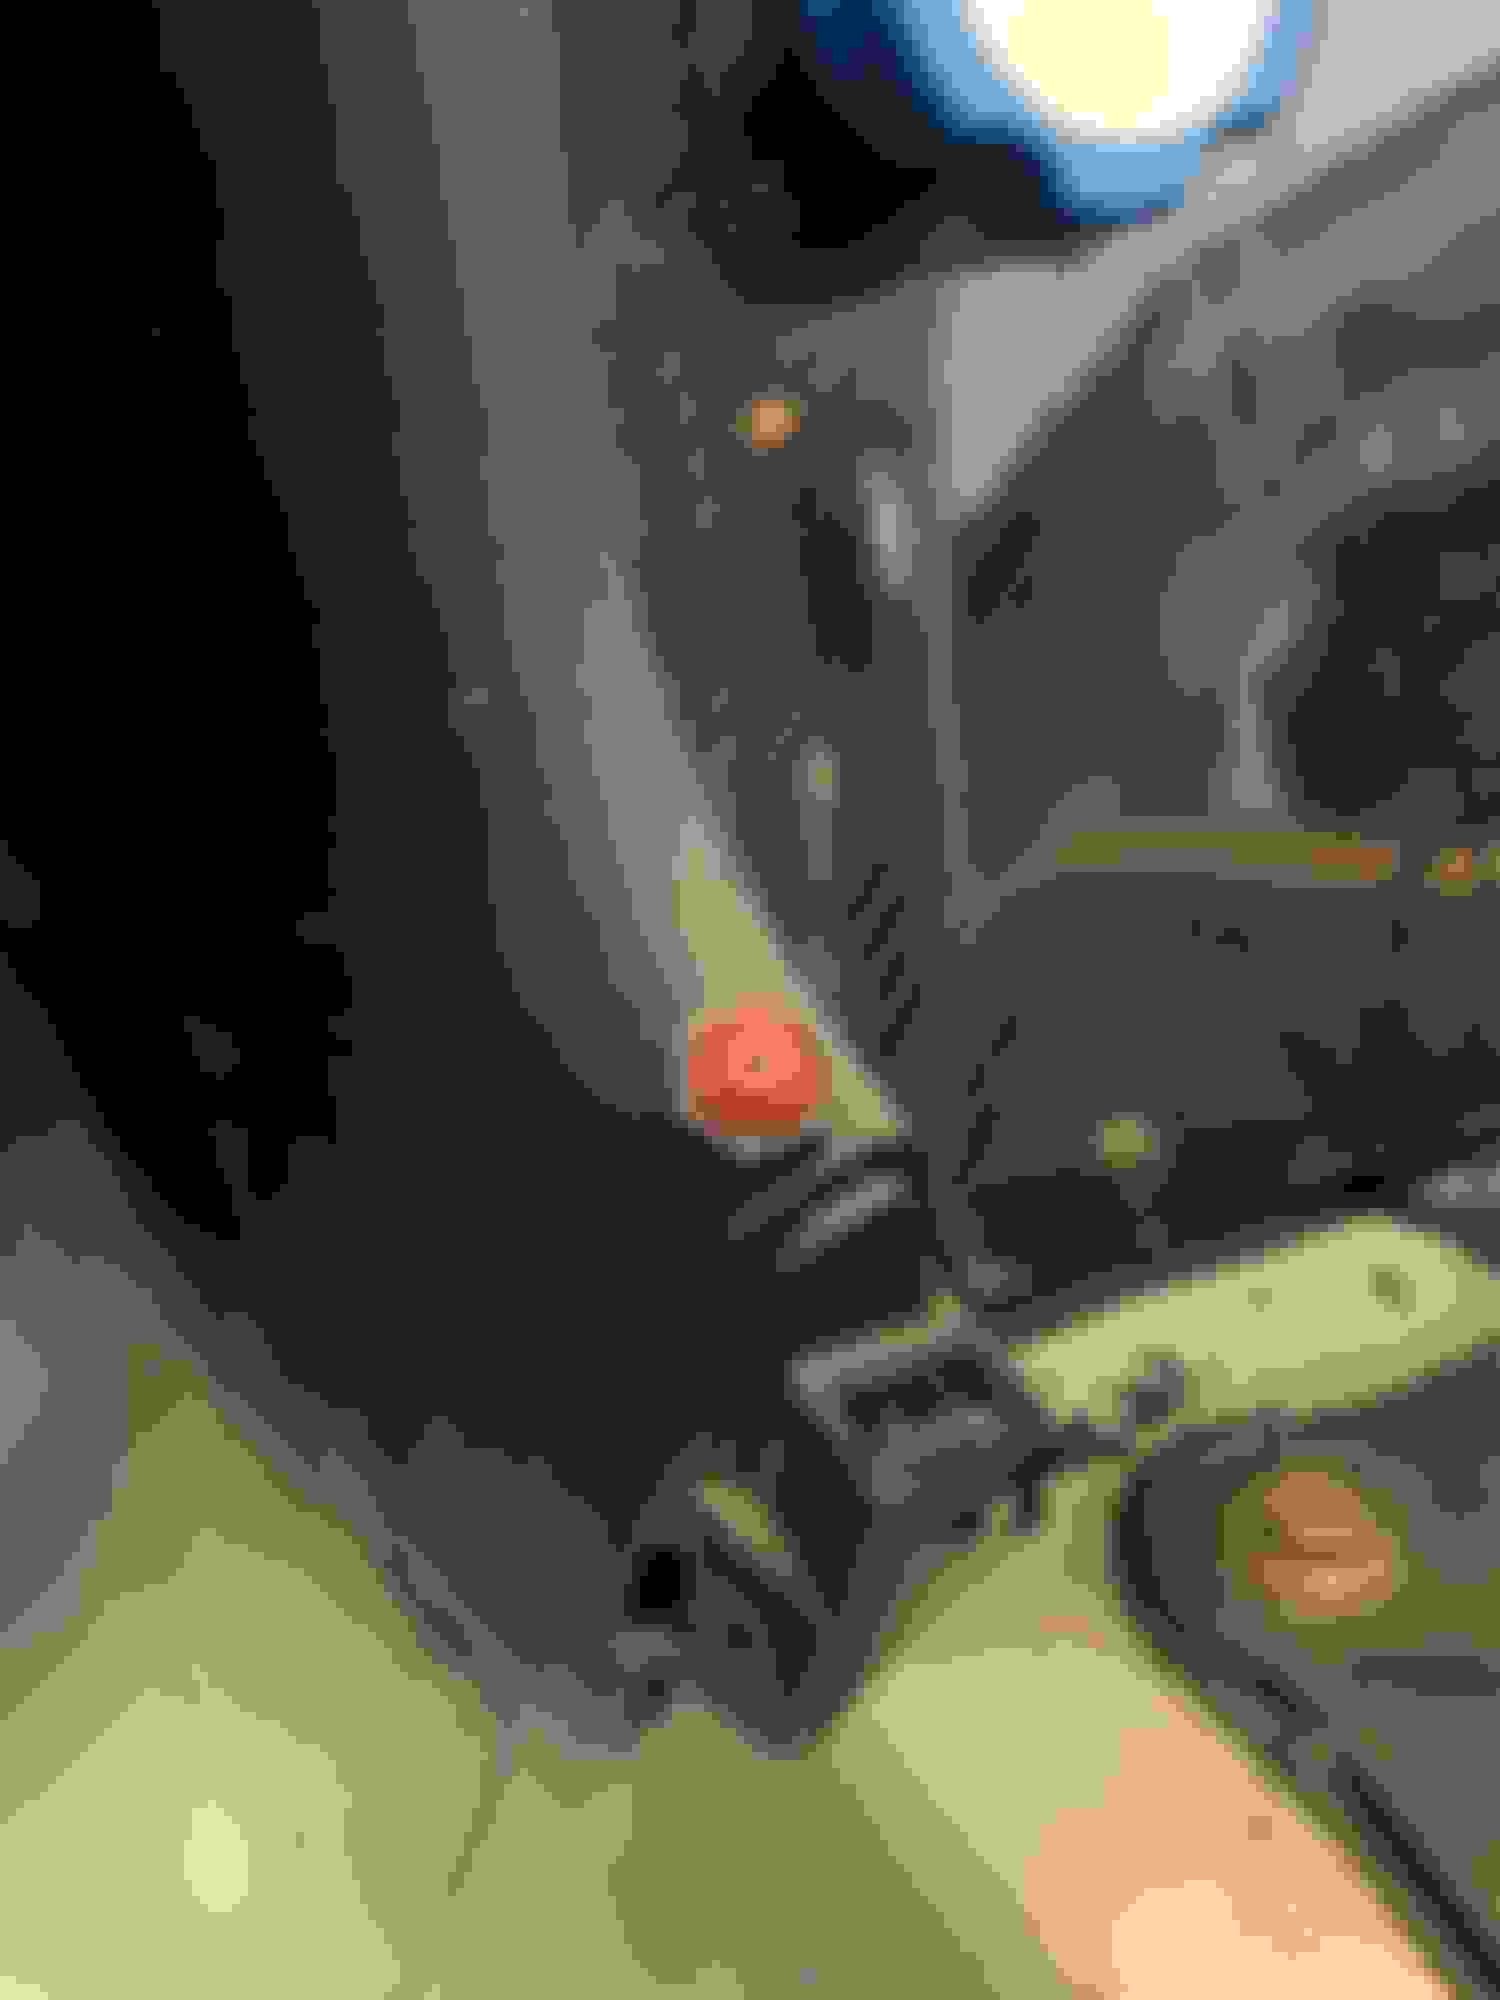
the two interior nozzles are pointed straight at me from the dash area. I have one mounted on the lower dash area as you see in the firs pic below, aimed at my chest. The other is aimed at my legs/waist from the cage about where my ecu is. It looks like its pointed away from me in the pic but I bent the tab inward.
I mounted the first fire pull on the passenger side of the trans tunnel. I didn't want to put it on the switch panel because it would probably rip out. I wanted a more sturdy mounting solution. So I made a little tab, drilled a hole, and shot it with paint.
The external pull I put in the cowl.
Next up on the list was to make switch panel. If you didnt catch it by now well here you go. I jumped around on the list while I was waiting for different parts to come in so these were done in no particular order. I just have the wildwood brake bias adjuster and data port for dash right now. I still need to decide on what I want to do for boost control/map switch (rotary, toggle, etc.)
Next up on the list is to weld IAT bung to intercooler end tank/relocate IAT. The intercooler is with Gesso right now. I should get it back this weekend so all I will need to do is extend the wiring.
Next on the list was to install the hood vents. So I did. I didn't bother taking pics because its been done countless times and its not very interesting.
Next was to weld reinforcement plates to front subframe LCA mounts / Install FUCA SadFab Delrin Bushings / install new front springs. Im still waiting on the 1100 springs to come in. They should be here on monday. But I got the rest done. Bushings not pictured because boring. Might not bother taking pics of the spring swap because boring.
Whala.
I am swapping my front bar to the 1.25 bar so im trading cowlover my 1.125 bar for his 1.25.
Other than that we are pretty much caught up. So the revised To-Do list at this point look like this:
1. Install new inconel stud/install turbo
2. Install intercooler
3. Spring swap 4. New brakes 5. Fuel system install 6. Make ducting 7. Make new splitter/mounts 8. IGN1A Coil install 9. Dyno Tune 10. Alignment. 11. Shakedown.
 07-13-2020, 05:18 AM


 0
0