When you click on links to various merchants on this site and make a purchase, this can result in this site earning a commission. Affiliate programs and affiliations include, but are not limited to, the eBay Partner Network.
So I decided it's time to dig up this relic post in this thread, since I think it's fun to write about what I'm doing.
As mentioned before, I decided to rebuild my car. Since I have been putting some time into taking the old rusty one apart and getting some new/better parts.
The old miata is pretty much stripped from it's entire interior and the entire wiring loom is out. Next step is to remove the gearbox, then the cylinder head, and then the engine block, after that all remaining drivetrain parts (diff, axles, etc.), then the brakes, and after that all the subframes. When the subframes are out I'm slowly going to take all the remaining body panels off of the old car, along with any remaining parts that are left on there.
Also I have found a "new" chassis/body. It's one that's been run into a ditch, the subframes are bent but the rest of the car is rust free and has no damage, except for a dent in the rear left quarterpanel. I got this one because it was rust free and the price was right. This is the chassis when it was being driven to my doorstep
This is the poor old thing in my garage, can't wait to start putting parts on this one! Also the fender is dented, but the chassis under it is fine
Coolant reroute parts I had found online for €90! Buying these new and shipping them from the US would've cost way more than that! Only thing I need now is some hoses and maybe some piping, but this is a start!
Some mirrors I had also found online for a steal. I have always loved the look of these mirrors on miatas. I like them so much I'm willing to sacrifice some visibility for it :P
Last but not least I'm planning on repainting the entire new car. I'm going to use hammerite or brantho korrux for the engine bay, subframes, suspension arms, inside (under the carpets) and the underside of the car to prevent it rusting away from under my ***.
The outside of the car will be blue, I'm thinking the R34 GT-Rs "Bayside Blue" or Subaru's "World Rally Blue". If you want you can look it up and give me your opinion, I'm still not 100% sure which one I want to go with, but I'm leaning towards the Bayside Blue.
Today I've been working on the car(s), like every Sunday since that's the only day I have "time fo dat".
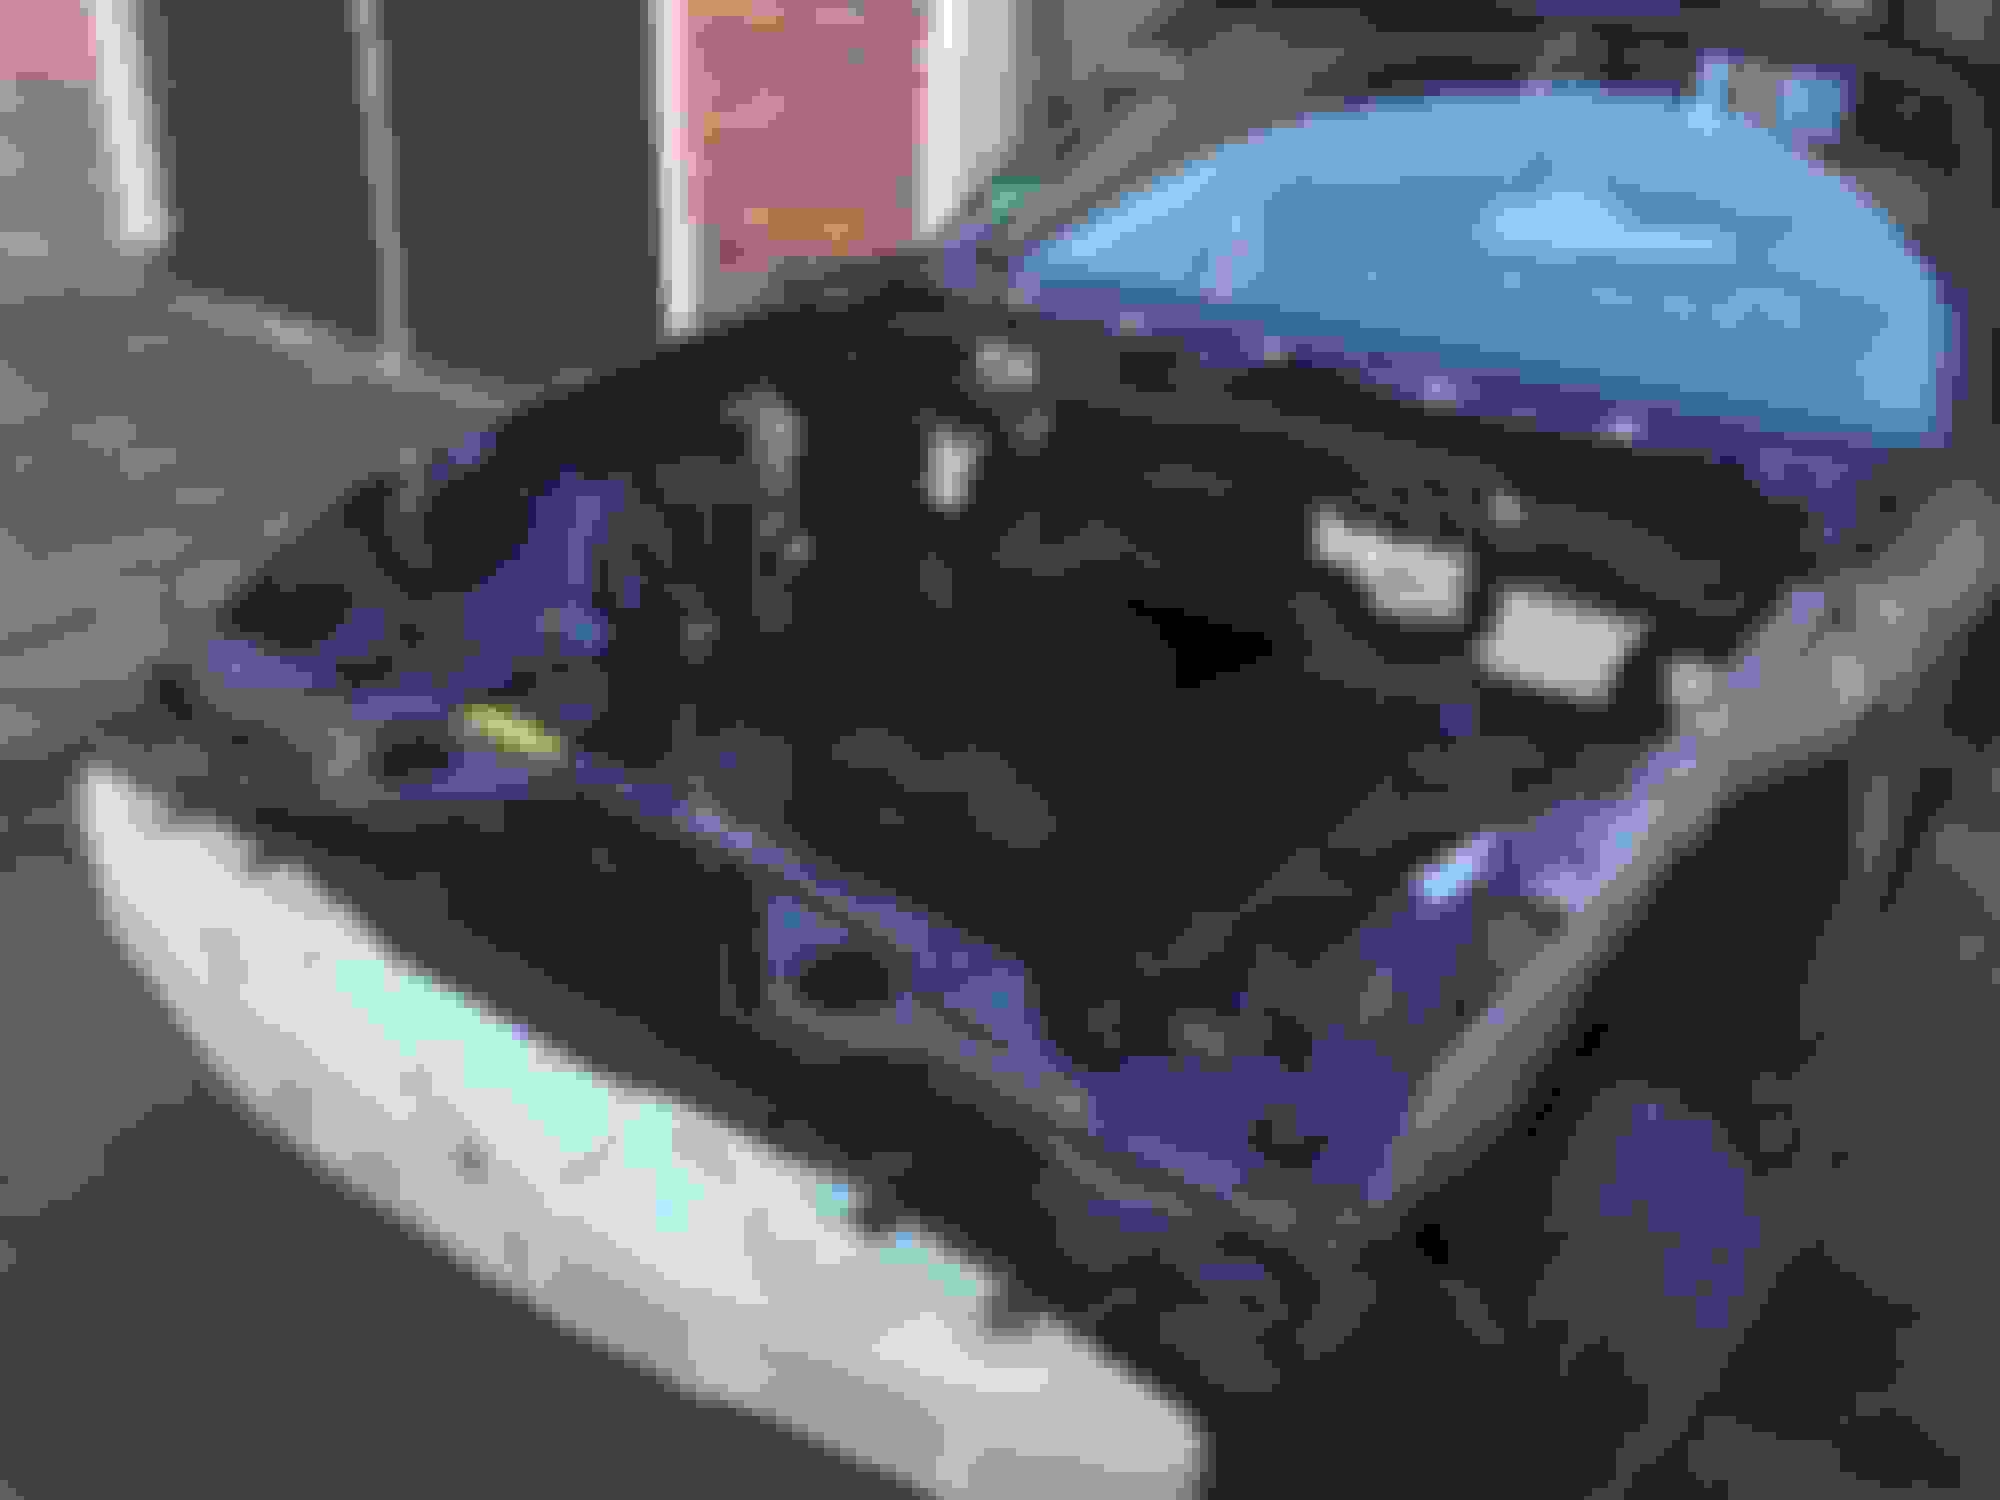
I started out by cleaning the new old car. Cleaned the engine bay.. Got rid of all the disgusting insulation stuff so I can paint the inside as well.. Removed the timing gear so I could take a look at the crankshaft. The lower timing cover is a little scratched/burnt away by the pulley rotating against it :') The infamous short nose crankshaft with a seemingly intact keyway (flash in the photo makes it look worse), despite the pulley wobble.. I might have been just in time to replace the surrounding stuff to prevent damage The timing gear and pulley, which seem to be really stuck.. That's why I pulled the entire thing off with the timing belt still on :/ The part inbetween the pulley and the gear seems to be a little wavy. Could someone tell me what it's for and if it's still usable despite it's 'wavy-ness'?
I also spent some time to check my DIYPNP and what I want to do with it for when the car is in working order again.
I need some help wiring the things in, the last two pictures are my take on the 'problems'..
I mainly need help with the EBC wiring, since that's the most "crucial" of these things :P Car would work fine without them but it wouldn't get anywhere near 200whp on this wastegate without some form of boost control. I want EBC since that's the fanciest :') (Also the DIYAutoTune EBC solenoid is about as cheap as the manual boost controllers)
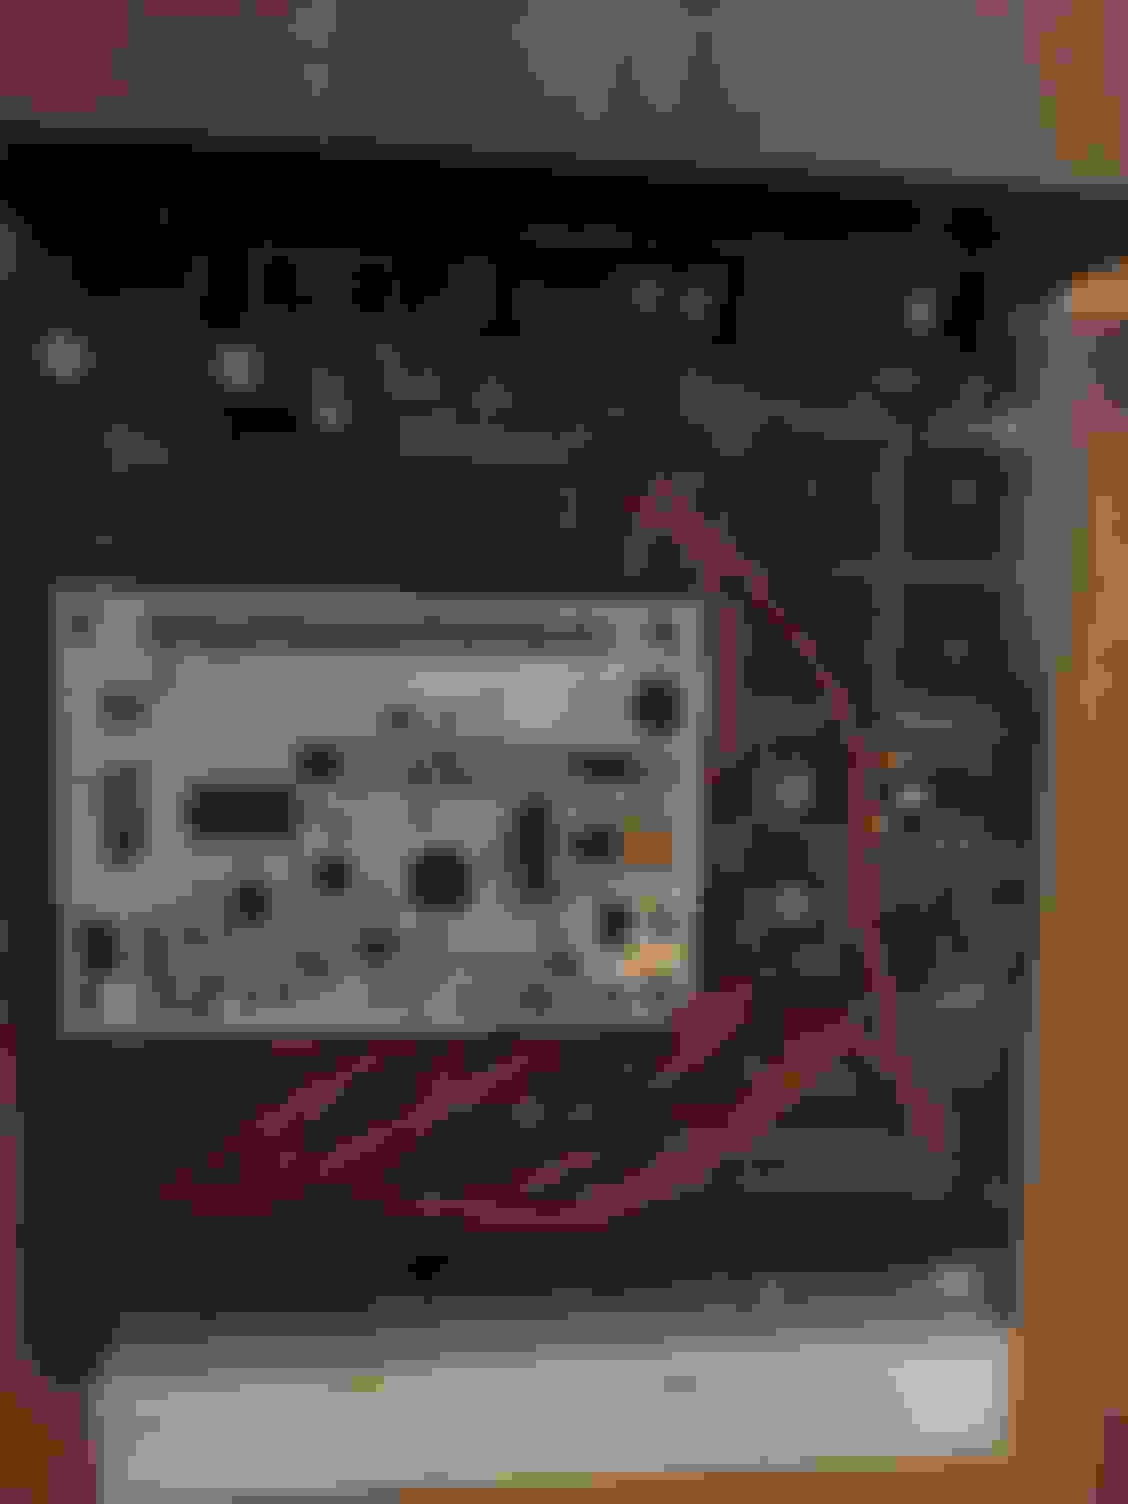
The front of my DIYPNP, just for reference The back of the DIYPNP, again, just for reference My incredible artwork, I need help wiring some things
Okay so the picture is way too big on my screen, but oh well. I've been searching on the interwebz for info about this but I can't find that much information that I understand. I found this thing on DIYAutoTune.com (https://www.diyautotune.com/support/...s-and-outputs/) from which I was able to pull some information.
I'd really like a physical switch which I can use to change fuel/spark maps, something like a "Sport button". (despite the an mx5 pretty much always being in "Sport mode" when the engine is on) But I might get something like an exhaust butterfly valve in the future, apart from that I'd like to artificially create some pops in the overrun, but I want to be able to turn them off as well without diving into the software. This seemed like a really cool way to do that in my opinion. Also I could get it tuned and let it switch between more/less aggressive spark maps. According to DIYAutoTune that's would be possible with "table switching", but I don't know if it'll work the way I have drawn it.
I also want to get the EBC solenoid from DIYAutoTune but I have no idea on how to wire it. My thoughts were something using the DB15 but I have no idea what. Also need help for this wiring :')
Last but not least, since the MX-5 does not have the starter interlock "Clutch Switch" like the Miata has (mine doesn't have one), I want to come up with my own switch system thingy, which I also want to be able to turn off using a regular switch on the dashboard. As far as I understand it'd work pretty much the same as the table switching switch, so this would be my take on that.
I recently had time and went ahead and pulled out the motor, since I dont have an engine hoist, it wasn't as easy as it could've been, but we got there eventually.
Firstly I took the head off to reduce the engine's weight, so we could lift it out ourselves. The head seems in good condition thankfully. Took the engine out and the clutch off Gearbox is still chillin' in that general area, didn't have time to pull it out yet. The reason why the clutch slipped on quickly shifting with stock power is quite obvious, this one is toast. Finally I cleaned the carbon off the pistons. Apart from that does anyone know if I need to clean the top face of the block before I put on a new head gasket because that stuff is stuck on there pretty hard :/
Last but not least I decided to do a Coil on Plug conversion, since the bracket on the old coil pack is broken and the coil pack was held on by zip ties. Just want to clean the engine bay up and maybe go for a tiny bit more reliable ignition. I ordered some COPs from a 1.0 Toyota Yaris/1.5 Prius for next to nothing. Was worth the shot since the 1ZZ COPs are harder to come by here. Just need a spare ignitor now and some wires to build the harness for the COPs. I want the extra ignitor because I want it to be plug and play
Take a wide, flat paint scraper and gently remove all residue from the machined surface of top of the block.
Okay I'll try that. Wanted to do it with a knife at first but stopped because my hands were freezing off.
Do I need to worry about some of the residue falling into one of the coolant/oil ports?
Okay I'll try that. Wanted to do it with a knife at first but stopped because my hands were freezing off.
Do I need to worry about some of the residue falling into one of the coolant/oil ports?
Yes. Don't get crap in your water jacket of the block or it will clog up the radiator, heater core, and thermostat.
Painting my NB come spring and using a Nissan paintcode (LP2 Cabernet Pearl). Bayside Blue would look great!
Thanks! Are you going to paint it yourself? If so I'd love to see how it turns out! That color looks really nice as well. (so many pretty colors) I'm also waiting until spring to paint everything since it's freezing outside, and I don't want to waste any paint or get a shitty result.
In the meantime I'm saving up for all the parts I need and restoring some parts before painting. I still need to pull the suspension and subframes off my old car along with most the body panels and some fuel/brake lines. I'm mostly not looking forward to pulling the old one apart, I am really excited for building the new one though, can't wait!
Yes! Spray can painted my NB when I got it since it was about 3 different colors and pretty rough (10$ paint job). But it's time for a halfway decent paintjob. For the price of the paint and a mid range HVLP sprayer I figured why not try it myself.
Originally Posted by JaguarJay
I'm mostly not looking forward to pulling the old one apart, I am really excited for building the new one though, can't wait!
Excited to see the new shell all clean, painted up and waiting for some turbo goodness
Yes! Spray can painted my NB when I got it since it was about 3 different colors and pretty rough (10$ paint job). But it's time for a halfway decent paintjob. For the price of the paint and a mid range HVLP sprayer I figured why not try it myself.
That's what I thought as well. We already had an air compressor and a spray gun laying around and collecting dust, so I might as well give it a shot, especially since I don't want mismatched black/silver car :')
Originally Posted by bg894
Excited to see the new shell all clean, painted up and waiting for some turbo goodness
The paint will be interesting to say the least, I actually want to coat the inside (under the carpets) and the engine bay in a layer of white, rust protective paint. Thankfully the turbo is just a bolt on kit right now from when I pulled it apart (no more makeshift engineering , I just want to wire in some goodies like a clutch switch for launch control (on spark cut, mostly to scare bad drivers lol) and EBC so I can get to 200whp *giggles like a schoolgirl*


 12-01-2016, 08:30 AM


 0
0