When you click on links to various merchants on this site and make a purchase, this can result in this site earning a commission. Affiliate programs and affiliations include, but are not limited to, the eBay Partner Network.
I have tested the cold plate with the 12 peltier devices. As near as I can tell it's in the ballpark of what I expected cooling wise.
I have really no idea if this thing is over designed. I suspect it is, but still plan on adding the additional 12 peltiers to it.
I don't have to run them all if I don't need to.
Anyway, power is a concern. At 14.6v, the 12 peltiers stabilize at about 24 amps, and the fan is drawing 21 amps.
So all in, if my electrical system were somehow able to maintain 14.6v we are talking about 70amps, or 1.4hp.
I suspect (hope) this will be a peak requirement, with much lower draw once the cooling water is brought down to working temp.
The issue with my calculations, is that the peltier heat pumping capability changes with the temperature differential between the hot and cold sides of the device.
So I need the heatsink to be as close to ambient as possible, and I need the water to be as close in temp as the cold side as possible.
If I can maintain a 40C differential at 14.6v the devices should pump ~250watts
If I can maintain a 30C differential at 14.6v, the devices should pump ~550watts
If I can maintain only a 50C differential at 14.6v, the devices will only pump ~70watts.
A person at rest, generates ~100w.
So a lot of uncertainty here.
Anyway, I have at least a month here before things even start to warm up so I can effectively test this.
Didn't use the cool shirt last season, because the temperature here did not get as hot as normal. It seems that most other places were
getting tortured with heat, so we lucked out. I am thinking I will be needing it this summer.
My battery was on it's last legs and I was planning on building a LTO or Lipo4 battery with individual cells. I then found that Batteryhookup.com was
selling slightly used NEC 35AH Lipo4 batteries that had maximum charge/discharge of 210a. Since they were only 95$ and this should be enough current to start a Miata, I
bought one. It turns out it has no issues cranking the Miata under normal circumstances. During the summer my master clutch cylinder failed, and I had to start the car in first gear quite a lot trying to get the car home.
On a few instances, the BMS in the battery decided not go along with it, but a subsequent retry seemed to always work.
Of course you can't charge Lipo4 batteries when it is below 0C, so I purchased a battery blanket. I rarely run the car when it is cold so that seemed like a
reasonable option.
The battery is currently at 93% capacity. So should give me many decades of use.
I also purchased a 93 RX7 upgraded 160A alternator. Time will tell if it was wise to get the higher amps version, because there are lots of false claims being made out there.
I still need to install this, but soon. I am using 1/0 CCA wire with a 150A fuse that I still need to heat shrink.
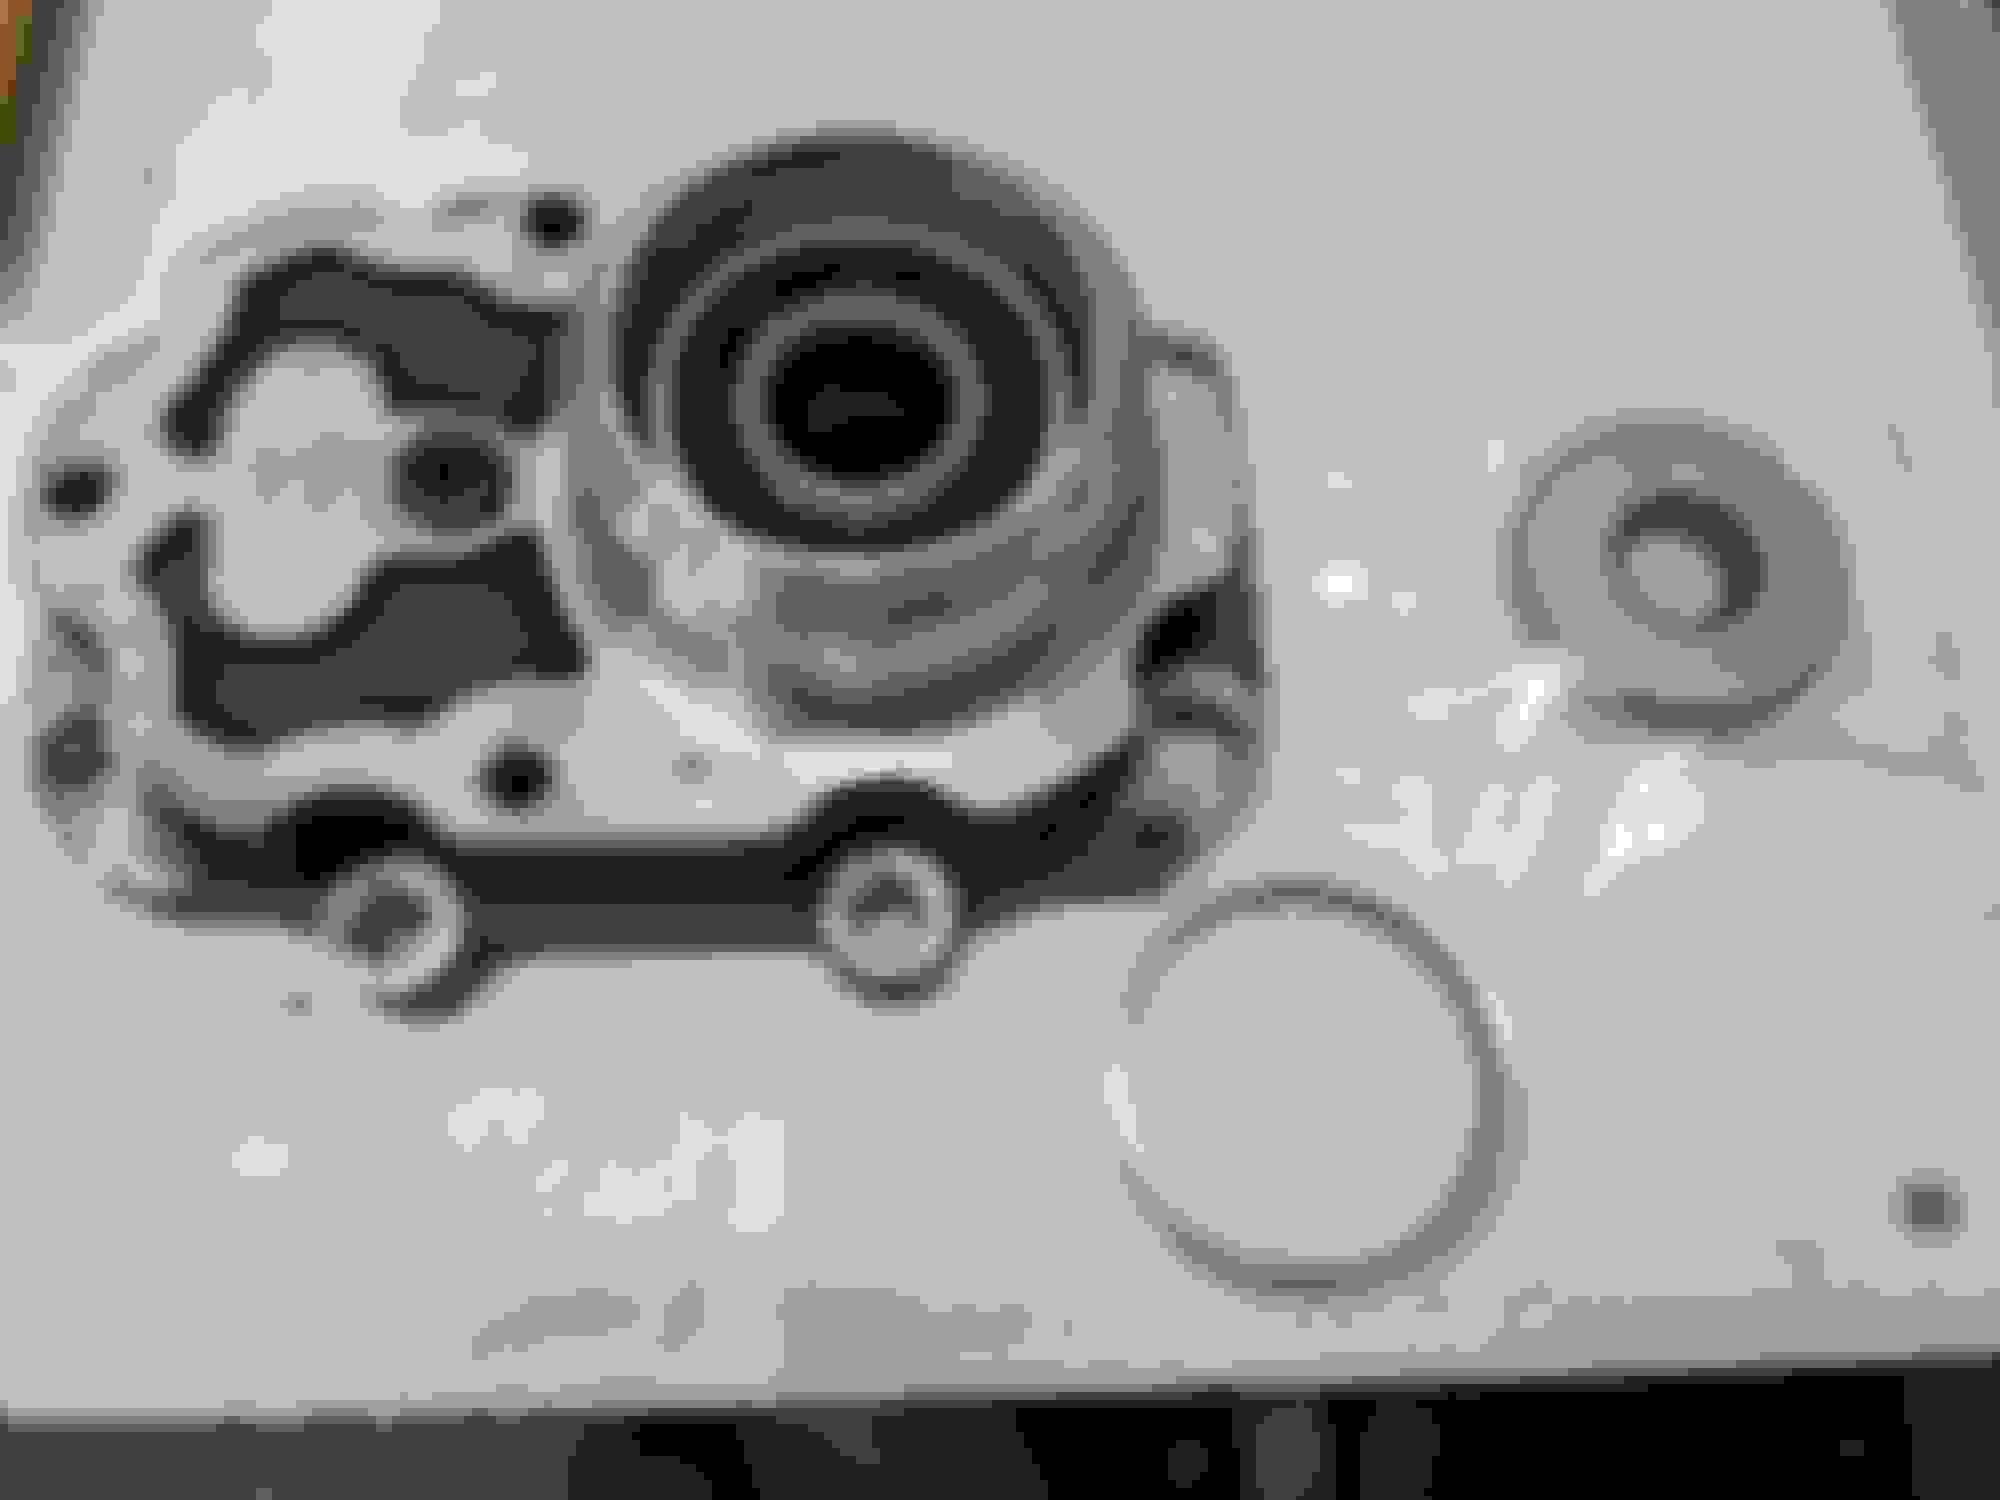
So the last few years, my supercharger has been leaking at the snout seal. Last year I replaced the seal, but no significant improvement.
I knew the shaft was worn, so I ordered a Speedi-sleeve, which is a thin sleeve you press over the shaft. This makes the shaft a bit larger than nominal
however many seals can cope with that. (The sleeve and install tool are at the bottom right of the below picture).
After getting the sleeve in and seeing how the front assembly goes together, I was not confident I could install a PTFE seal over it without damaging the seal. I have been using PTFE seals due to
their higher RPM rating. Another issue I discovered, when trying to order a new PTFE seal is that no-one seems to make them with an OD of 52mm (now a max of 47mm), which is what I need to fit the supercharger case.
Fortunately, I looked through my used supercharger stuff, and found a fairly new shaft in there. I can't measure any wear on it.
I ordered the 47mm OD sleeve and had a steel part machined to take up the difference between 47 and 52mm. This should solve things.
The old shaft was worn down .006" in diameter!
Ready for re-installation with 47mm OD seal and a adapter ring to fill the gap to 52mm.
Still have quite a few things I want to get done before summer. Lets see if the weather continues to be reasonable.
Yes, I have seen internal pictures of the construction and it looks like it will stand up to vibration, and of course being mounted in the trunk solves the heat issues.
It's the only energy storage battery I have found, which supports the currents needed to start a car. Unlike motorsports lithium batteries, the BMS in this battery will disconnect it if
you run the voltage down too far, or up too high.
The internal battery layout uses a 4s12P pack, using A123 ANR26650M1B cells, which are rated at 50A continuous current each. So the battery pack itself is rated at 600A continuous, while
the BMS limits things to 210Amps. These are excellent high discharge cells with good life. I have 2496 pcs of these cells in a solar battery and they have performed well.
NEC lists applications as Telecommunications, UPS systems, Medical equipment, off grid power and electric mobility.
Assuming I don't abuse it, it should last forever.
These NEC batteries are very expensive if purchased new. I have seen battery hookup selling them twice at $100 less 5%, and they don't stay in stock very long.
Well, I haven't made any changes to the car for a long while now, so I figured I should do something.
There are some engine related items which could stand an upgrade.
1. The turbo manifold is very poor flowing. As a result I am running very high boost, but not making great power.
2. The supercharger outlet going to the turbo is very restrictive. This is a problem at higher RPM as
the supercharger sees some back pressure (about 3psi) when it is basically free wheeling. I went to the
dyno last year and measured that the supercharger was consuming an average of 25ft/lb above 5000rpm. So at 6000rpm
the supercharger is pulling 29hp from the engines net output to move air with no boost increase to the turbo inlet.
3. At times, during part throttle, the inlet of the supercharger goes into a slight (1-2psi) vaccuum. This causes oil to leak
into the intake. I put an oil pump on the turbo drain and that is helping, but not solving the issue. I need a way of maintaining
atmospheric pressure at the inlet of the turbo.
So step one will be the turbo manifold. I cannot use the Kraken top mount, because the turbo will get pushed too far forward, not
giving me enough room for interconnecting pipes. Flying Miata have re-engineered their manifold, however I have not seen any
real world results at elevated boost pressures with this manifold.
So that leaves the Kraken low mount. This mounts the turbo further back in the car, which gives me more room in the front for hoses
etc. Of course getting the Kraken low mount installed is a bitch.
Anyway, so I ordered the manifold, water lines and a 5bolt flange to v-band adaper from Kraken, and a T25 .63AR exhaust housing for my GTX2867 along with a new wastegate actuator.
So the first step is to convert to EPS (Saturn/Vue). The idea here is to free up room under the hood.
There are several excellent guides on miataturbo already, so I will just note the differences in my build.
-I used the stock upper portion of the Miata column, which means I had 3 welds on the column.
-correctly aligning the shafts for welding is difficult. I used a 3d printer to print jigs. I used .0025" clearance(.005"dia) for the jigs and a .1" thick wall.
the jigs were used to tack weld the parts. yes they caught on fire but worked perfectly.
-I purchased the splined adapter from Sweet Manufacturing, part #301-30142
-I purchased the controller from ServTronic
-The main body of the Saturn EPS has a large steel shaft for mounting the EPS to the dash. I removed this steel shaft and then later whe
I had trouble fitting the unit due to the dash wires getting in the way I cut off the aluminum ears which normally hold the steel shaft on.
This made a huge difference on how easy it was to position and get the steering column in there. (sorry no pics of this)
-I initially purchased a used column out of the US and when I went to install it into the car, I discovered that early Canadian cars used
a different steering column, because these early Canadian cars did not have airbags.
-Once I got everything installed, the unit would randomly shut off. It turns out the motor needed to be cleaned and then run for
20 minutes with no load to better bed in the brushes.
3 Jigs are needed.
The motor in the EPS is a permanent magnet motor, but it does not cog if you turn it with the power off. Also the brushes were curved, so they only made contact with the commutator in 2 small areas.
The brushes on this motor were in good shape and worked well after bedding them in.
The column ready to be test fitted (again)
In order to orient the motor to clear everything, you need to install it in the car, get it into the correct position
and then mark the shafts. The Jig held everything in place while doing this.
Making this change, along with installing the Kraken billet mixing manifold and lower water line really freed up space!
So I only have 12 days until the first autocross of the year, and a ton of stuff still to do.
I mocked up the down pipe in plastic and then purchased mandrel bends and trimmed them to be like the mock up.
This could probably be straighter, but it's ready for tack welding.
After completing the down pipe, I need to properly bolt the turbo/manifold in and then start trying to figure out the intake.
I have some PPS-CF10 and PA612-CF15(nylon) filament, so the plan is to print some parts of the intake. Not sure what exactly, but it will be seeing
supercharger boost pressures (about 10psi max for very short periods, maybe less with the new turbo manifold employed).


 0
0