When you click on links to various merchants on this site and make a purchase, this can result in this site earning a commission. Affiliate programs and affiliations include, but are not limited to, the eBay Partner Network.
First post, but I've been reading forums here for a few years now. I have a 2002 SE with a K24 that I've been driving/tracking for about a year and a half now. The swap completely changes the car, I'd recommend it to anybody. Just a few photos:
I'm always open to answering questions. I know not a whole lot of info is out on this swap so info can be hard to find. It's a blast!
That torque number is actual "rear wheel torque" (as in torque measured at the rear wheels with a load cell, as multiplied through the driveline), but the X-axis is confusingly labelled with engine RPM rather than wheel RPM. Dynapacks also have a "flywheel torque" screen which divides the measured number by the driveline ratio in order to produce a chart that looks more like the torque you'd see on a dynojet display (Despite the name, this is not a figure that tries to back-calculate driveline losses).
Welcome! Really nice, clean installation. Love the exhaust and the gauge setup too.
Not sure how I even noticed this, but I'd suggest moving that oil temp sender off the side of the block and mount it right to the chassis and use a stainless line to connect it. The sender will eventually crack off from engine vibration if you have it mounted that way. I'd hate to see that ruin your day.
__________________ KPower Industries
Home of the original KMiata Swap
Welcome! Really nice, clean installation. Love the exhaust and the gauge setup too.
Not sure how I even noticed this, but I'd suggest moving that oil temp sender off the side of the block and mount it right to the chassis and use a stainless line to connect it. The sender will eventually crack off from engine vibration if you have it mounted that way. I'd hate to see that ruin your day.
That's some cool customer service.
I watched my friend almost get his k24 project completed then give up on the home stretch. Definitely could be the future of my sunburst.
Here's the day I bought the car. It wasn't cheap, but it was a garaged 75k mile SE model with a hardtop. It already had a roll bar and an oil cooler so I was willing to pay a bit more. I think I paid $6500 - despite everybody saying "you can get a mint NB for like 2 grand bro!". Uh, maybe it's different around here, but that wasn't what I was looking for.
Car was clean inside and out.
First mod: Brakes, wheels & tires. I can get Dynapro for a good price through work so that's what I did. The fixed 4 piston has lots of stiffness and clamping force. BP-20 pads work great as a dual-duty compound.
Break in was tough. As you can see I managed to get the rotors warm, but not real hot. The rotors are 11.6" diameter and shed lots of heat. Caliper to wheel is tight but acceptable.
She's a bit of a pig as stock, about 2600lbs with me in it (I think I weighed 180 at the time) 100HP just got old. Time to do something about it.
Got the K24 stripped and primed with acid etch.
A few coats of 2K basecoat and trial fit parts. Notice the Mazda logo on the intake, this fools most people - "What Mazda motor is that??"
I like to mark all fasteners after torquing to keep my sanity. I always take photos of flywheel bolts to ensure myself later they are torqued to spec.
I have nothing but good things to say about the ACT street clutch. The pedal feels almost stock if not a bit lighter.
I pinned the adapter plate to the trans. I dialed in the adapter plate to the motor first to make sure it was concentric with the crankshaft. Then I transferred that to the trans, dialed it in, and drilled for dowel pins. This way it guarantees the trans input shaft is within a few thou concentricity to the crank. I think I got it down to .003". It took around 4-6 IIRC but it's worth the effort.
Nice clean trans with adapter plate ready to go. I don't work with greasy parts, I'm a sissy that way. I like my **** clean.
Steering rack must be depowered. I printed plugs to thread in for a clean look.
About time!
This was sketchy.
Holy **** it fits.
Header trial fit. Looks good.
Tight fit. The header is of good quality.
255lph fuel pump
Removing sound deadening with a mixture of alcohol and dry ice, works like a charm. It all comes off in big chunks.
Cascade Audio VB-1X applied. Works much better and lighter than Dynamat. I removed about 9 lbs of factory deadener and applied 10lbs of VB-1X for a net gain of 1 lb, and this stuff is way more effective.
I'm not aiming for things to be super quiet, just cut down the rattles. K24's vibrate quite a bit.
You can tell when it's dry when it is no longer purple.
I went through a metric **** ton of molded hoses. I probably spent $300 and returned all but a few. I like the OE look and less stress on aluminum or copper heater hose outlets from strained hoses.
Getting closer.
3D scan for printing an air intake. The dots allow the scanner to know where it is relative in space.
Huge Magnaflow muffler. I like things quiet! Outlet
If this isn't centered it will irritate me forever.
Routing isn't too bad.
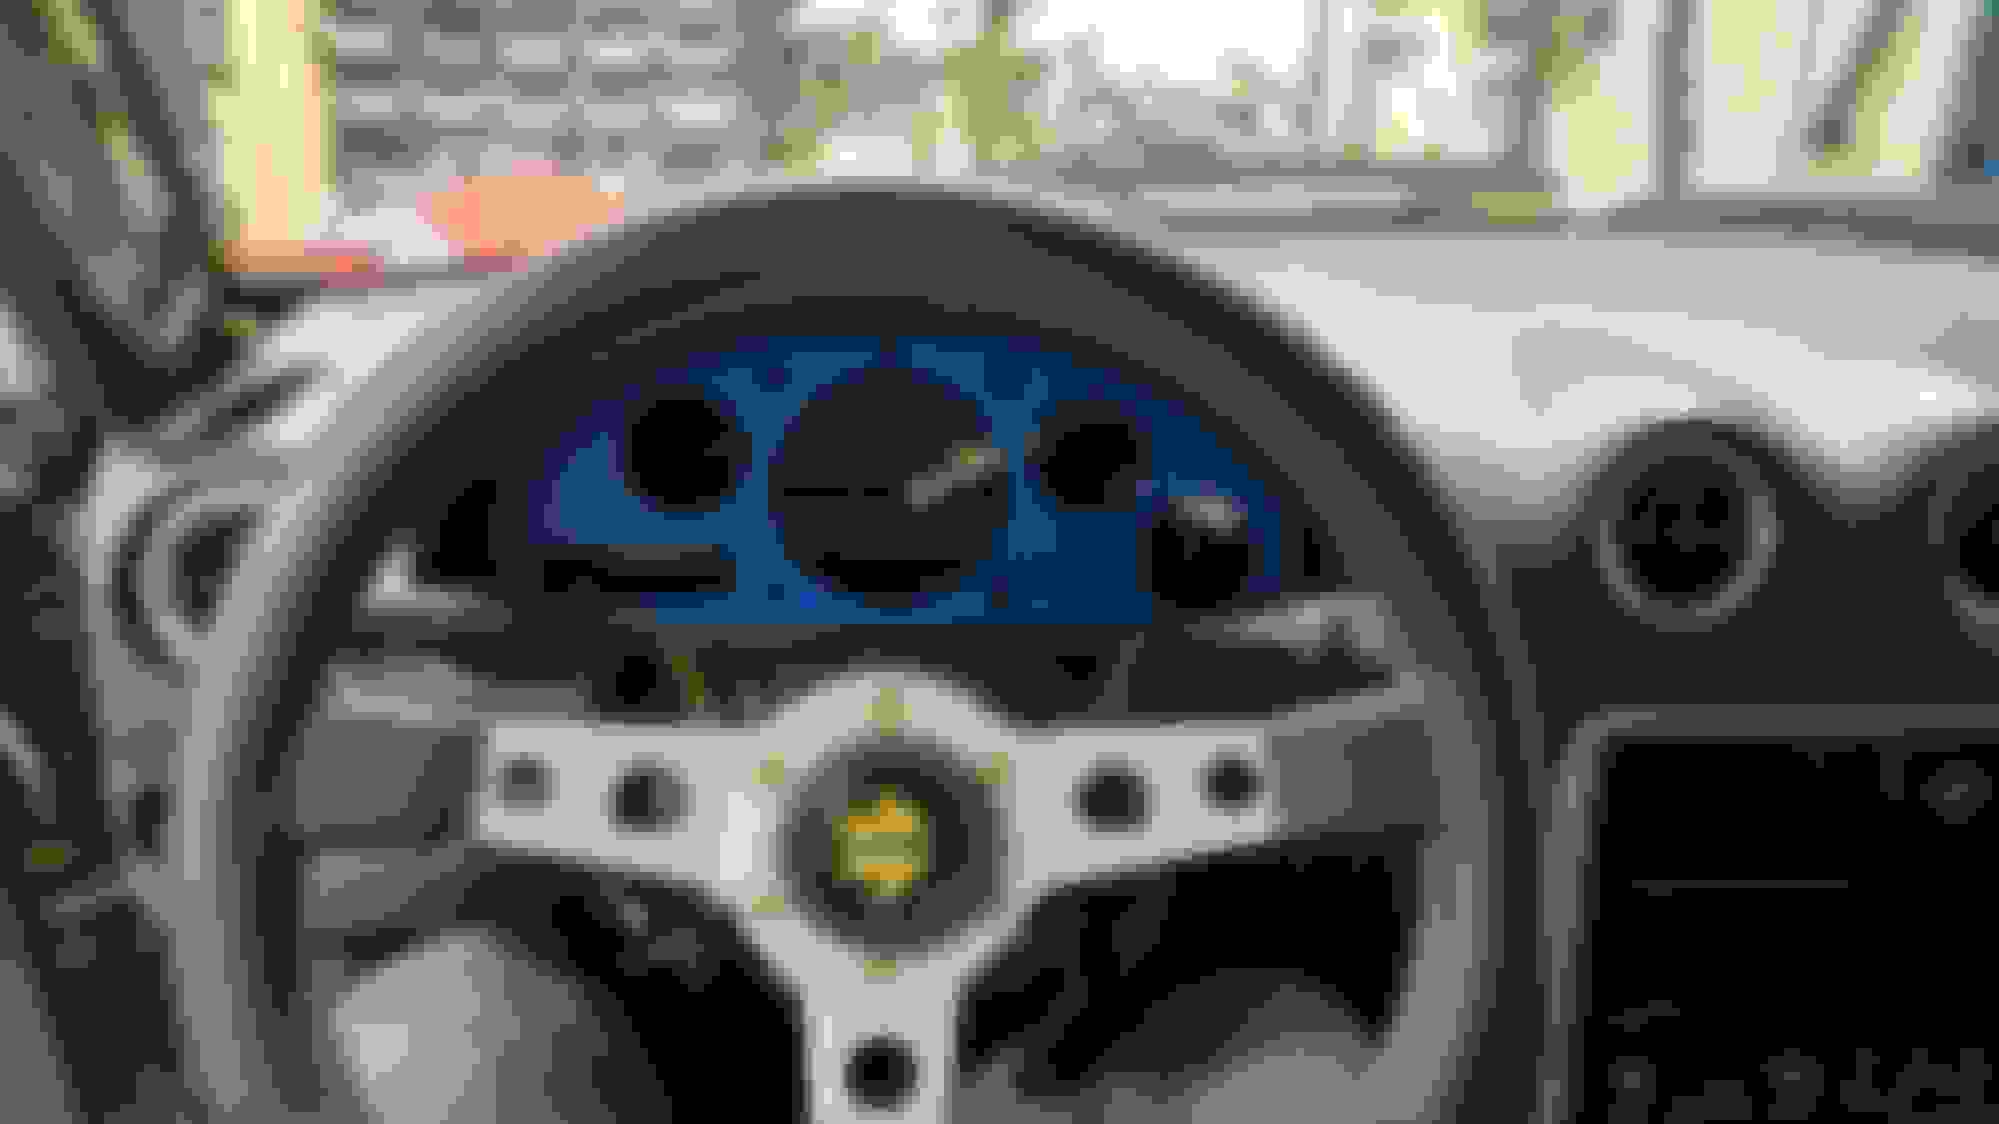
Time to figure the dash: I didn't like the old gauges and I want something more track focused, also I didn't want to fiddle with the stock gagues to work with the K24. Might as well just start over. Here's the initial mock up. All gauges must be visible all the time.
Mock up wth 3D printed shroud. The tach is huge but it's the main focus, as it should be IMO. All wired up. Notice the OLED display for speedo and fuel level. The 3D printed panel was textured and painted to look like OEM plastic trim. Not easy to do but looks nice.
Final product.
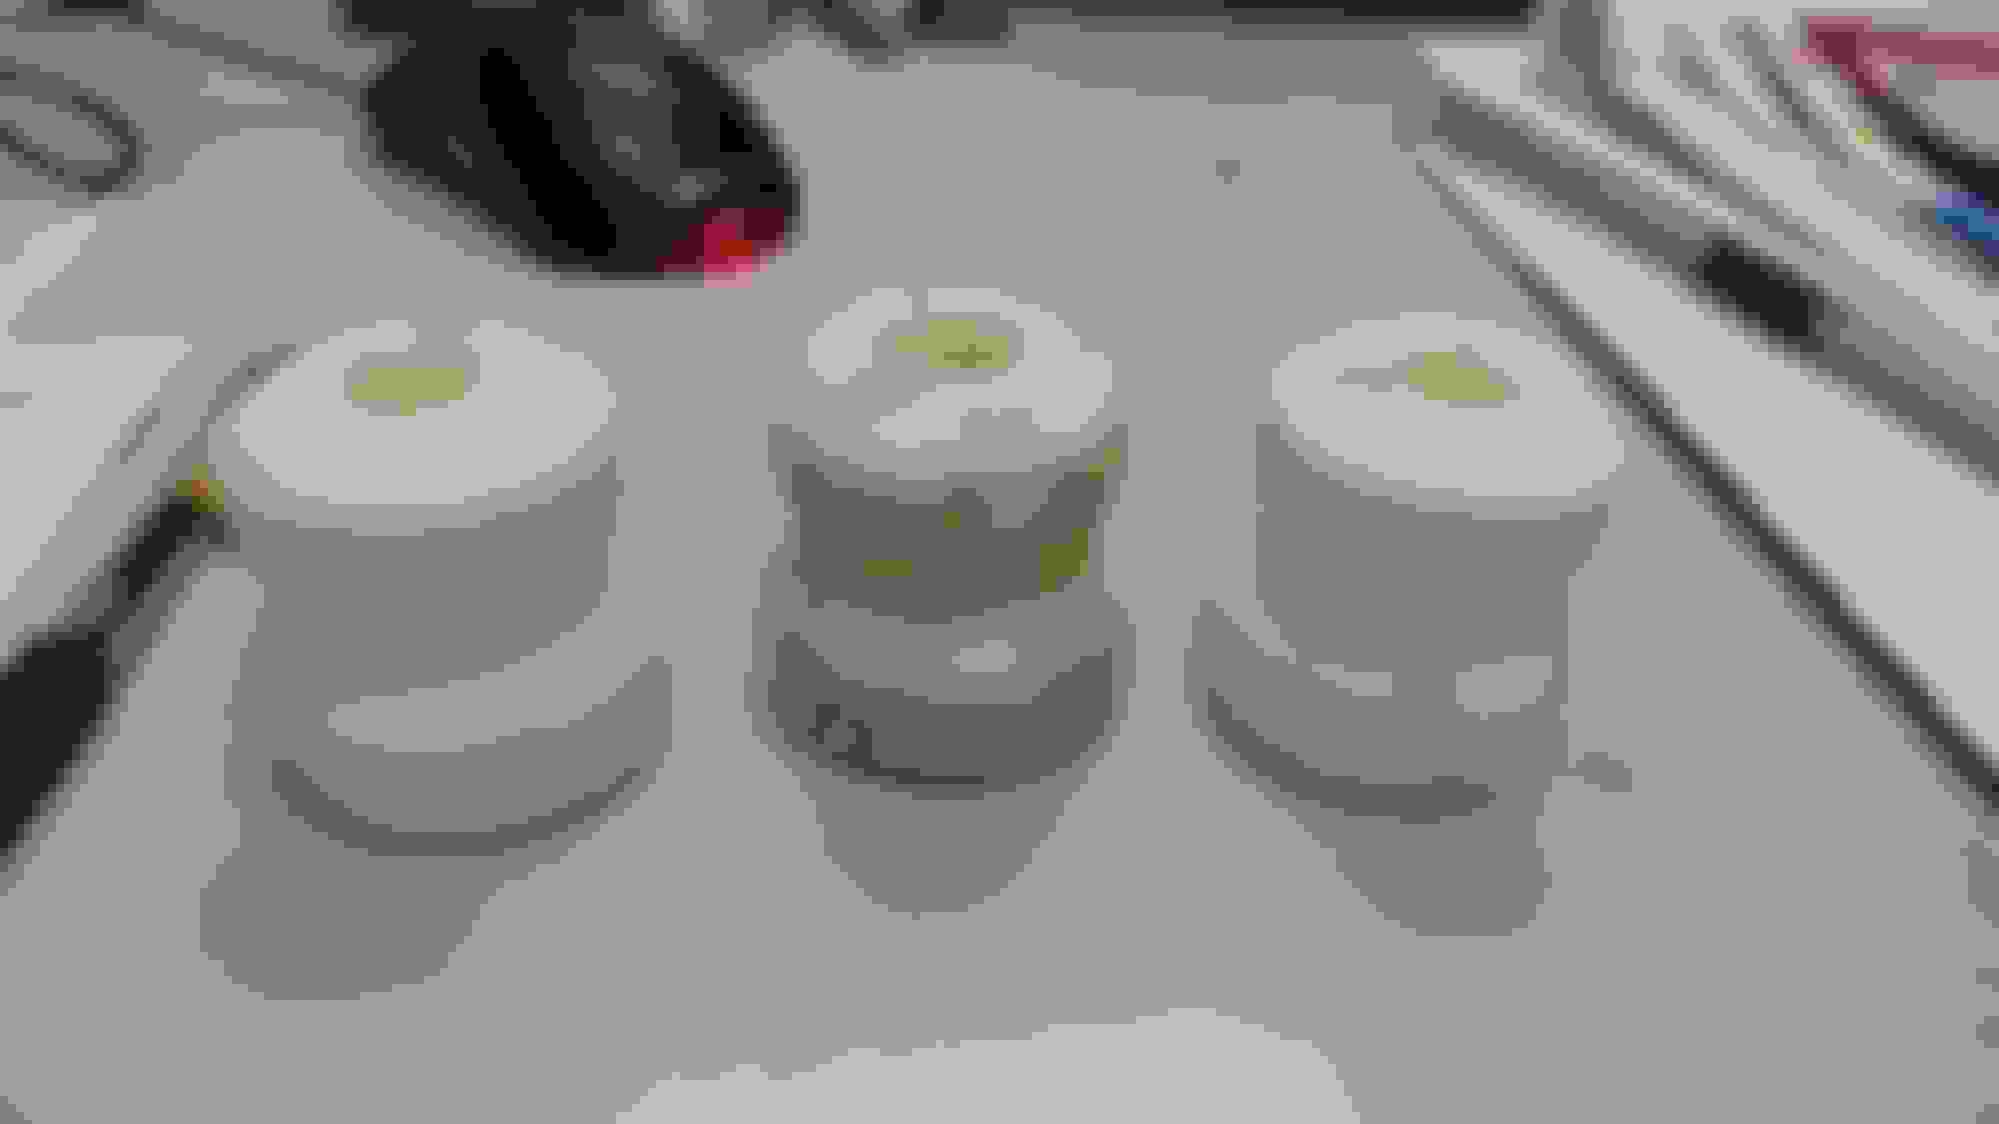
On to coilovers: Here's 3 urethane bumpstops I cast to get the desired results. I knew what I wanted in terms of force/displacement and thought it might be fun to 3D print a mold and cast them myself. Works well.
Here's the adjuster **** of the Bilstein AS2 coilovers. Very easy to get to, adjust, and read at a glance.
So where are you located because i saw this on CL this morning
Yep, that's me! I've decided it's finally time. I have 4 toy cars and it's hurting my family. I hate to see it go, this is the most enjoyable car I've ever owned.
Welcome! Really nice, clean installation. Love the exhaust and the gauge setup too.
Not sure how I even noticed this, but I'd suggest moving that oil temp sender off the side of the block and mount it right to the chassis and use a stainless line to connect it. The sender will eventually crack off from engine vibration if you have it mounted that way. I'd hate to see that ruin your day.
Will do!! Thanks!!
Your kit was great, it turned a dream to reality. This car set the bar really high for future projects and I worry I'll never be able to top it.
Let's paint a picture: I'm a car nerd. I'm a car guy, but an automotive suspension engineer as well. So I nerd out on everything. Hopefully these pics will give people some ideas now that 3D printing is becoming a reality for home users:
RPF-1s were scanned to make sure the Dynapro's would fit with a Mini Cooper 11.6" rotor. Big, cheap rotors combined with a stiff caliper. Win!
I recreated the Kmiata adapter plate in 7075 aluminum. The Kmiata is steel, but for a good reason: thread stripping. I made one out of aluminum, lightened it, and used thread inserts.
I scanned the deal in the console to turn off the passenger airbag. Using that profile, I created a new panel to mount the Wilwood remote proportioning ****. Looks factory. I'll get a photo of the finished product.
Front suspension to check clearances with the Bilstein AS2's and a 15x9 wheel.
Same for the rear.
I like to use a combo of poly and bronze bushings. The control arm pinches on the center steel sleeve while the poly rotates with the aid of the bronze bushing. This helps to remove bind and rely more on the shock/spring to control movement. I think I'm on McMaster's christmas card list.
Cluster modeling
This uses the square hole in the firewall for the cruise control and holds the remote bias adjuster cable. Looks clean when installed. I try to keep the firewall as clean and sealed as possible.
Weight of steel radiator bracket.
Weight of 3D printed bracket. Every ounce counts, I did this on numerous parts, but ended up scrapping a couple due to durability.
I am in love with this car. It's everything I want.
That exhaust looks almost exactly like my Artech system. Is that header at risk of vibrating on the oilpan/trans?
Well, it is for sale! I can't post an ad here yet, I think I need to be approved? Not sure.
I'd have to double check on the header. I know it's damn close to the flywheel cover, but decent clearance to the oil pan. I was worried about oil temps but it hasn't proven to be an issue at all.
If anybody has any questions be sure to ask, I don't mind helping at all.
Uh huh. You seem like an intelligent person. We are to believe that you don't know why you can't post an ad, and that you don't know what you're actually trying to do with this thread?
 03-27-2019, 12:43 PM


 3
3