MEGAsquirt A place to collectively sort out this megasquirt gizmo

Cranks but doesn't start, runs fine on stock ECU. MS3x, unshielded wires?

Thread Tools
 
Search this Thread
 
Old 11-02-2016, 08:44 AM
  #21  
Elite Member
iTrader: (4)
 
psyber_0ptix's Avatar
 
Join Date: Mar 2012
Location: Northern VA
Posts: 4,648
Total Cats: 544
Default

warm and fuzzy feelings in this thread
psyber_0ptix is offline  
Old 11-03-2016, 12:03 AM
  #22  
Newb
Thread Starter
 
soaps42's Avatar
 
Join Date: Aug 2016
Location: Miami, FL
Posts: 20
Total Cats: 6
Default

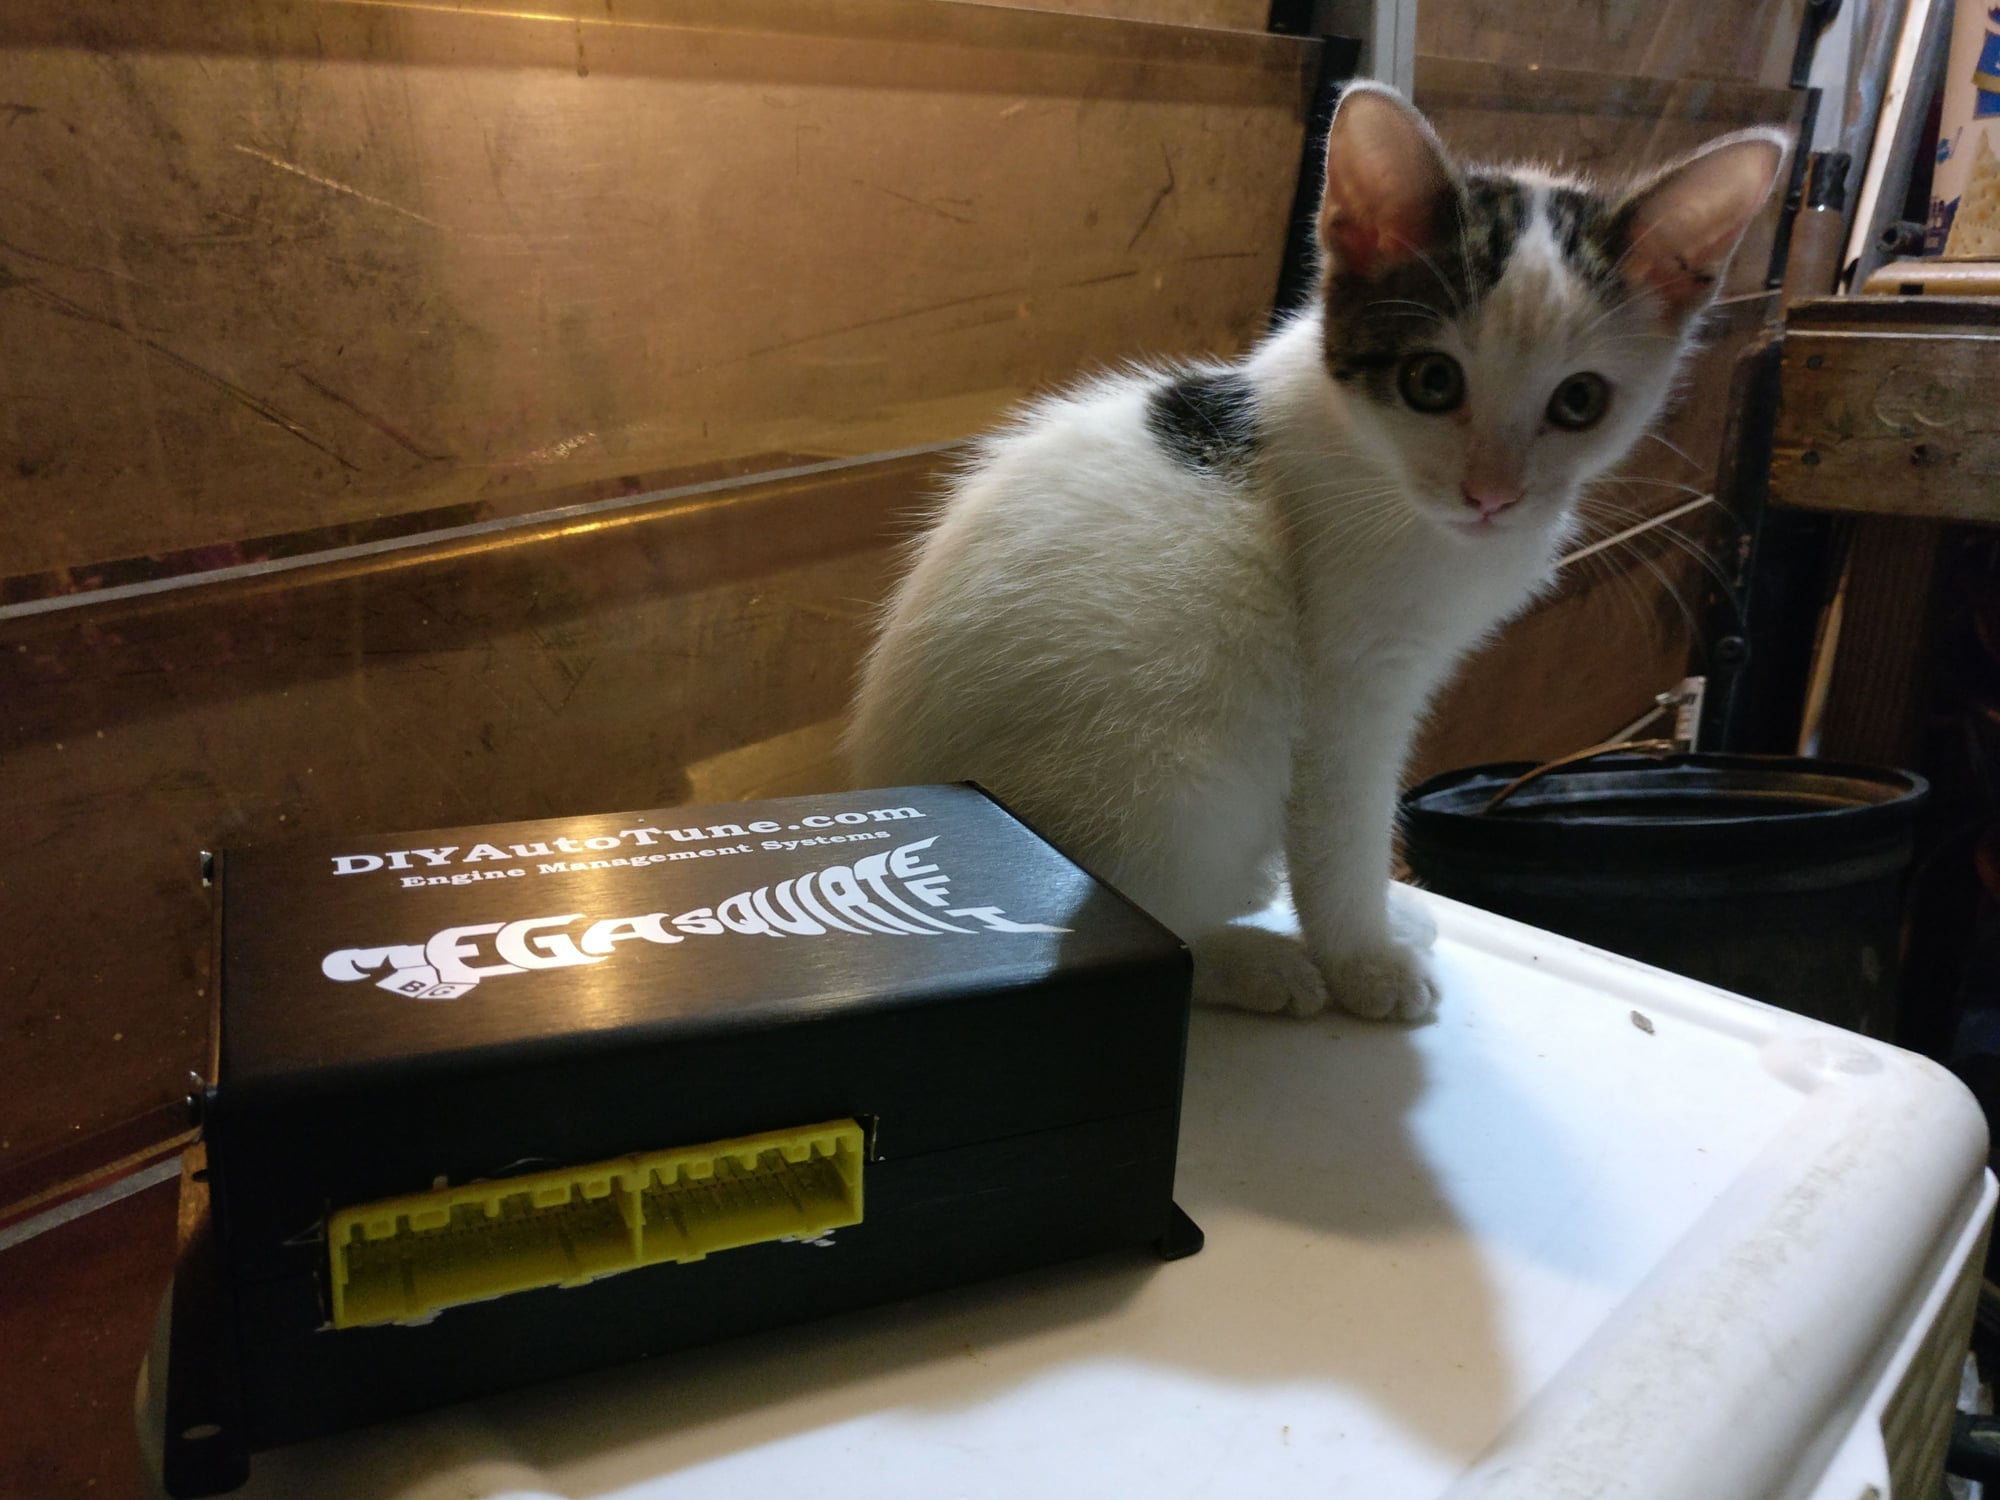
Here it is finally put together, for some reason the MAP sensor didn't line up with the hole on the case so I had to drill it out. Getting those screws threaded was a damn mission, had to add washers to two...

It doesn't look perfect, but my little buddy approves!

soaps42 is offline  
Old 11-03-2016, 08:35 AM
  #23  
Boost Czar
iTrader: (62)
 
Braineack's Avatar
 
Join Date: May 2005
Location: Chantilly, VA
Posts: 79,493
Total Cats: 4,080
Default

did you put the map sensor on upside-down, or on the wrong side of the board or something? that doesnt make any sense.
Braineack is offline  
Old 11-03-2016, 09:27 AM
  #24  
Newb
Thread Starter
 
soaps42's Avatar
 
Join Date: Aug 2016
Location: Miami, FL
Posts: 20
Total Cats: 6
Default

Damnit, its on the right side of the board, but it has to be upside-down. I wasn't getting proper ambient pressure readings either, which I thought was sensor calibration, now I know. Flat side should face away from PCB... hopefully I'm running out of **** ups at this point
soaps42 is offline  
Old 11-03-2016, 09:54 AM
  #25  
Boost Czar
iTrader: (62)
 
Braineack's Avatar
 
Join Date: May 2005
Location: Chantilly, VA
Posts: 79,493
Total Cats: 4,080
Default

there's a little hole in the bottom of the MAP Sensor, yours is probably facing up now...

the notched lead should also fit into the square hole--where the rest are round holes.
Braineack is offline  
Old 11-03-2016, 11:15 AM
  #26  
Newb
Thread Starter
 
soaps42's Avatar
 
Join Date: Aug 2016
Location: Miami, FL
Posts: 20
Total Cats: 6
Default

Yep, didn't notice the notched lead, and yea looking at the pics I took it has the little hole facing away from PCB. Gotta fix that tonight. Thanks!
soaps42 is offline  
Old 11-03-2016, 11:21 AM
  #27  
Senior Member
iTrader: (1)
 
stefanst's Avatar
 
Join Date: Sep 2011
Location: Lambertville, NJ
Posts: 1,215
Total Cats: 74
Default

Originally Posted by soaps42
[...]Getting those screws threaded was a damn mission, had to add washers to two... [...]
I assembled 3 MS3s now and you're right- those screws are the worst part. I usually pre-thread the holes with some 'sacrificial' sheet-metal screws of the same size. They're sacrificial because after using them for a few holes, their heads get all mangled from exerting a lot force with the screwdriver.
stefanst is offline  
Old 11-03-2016, 11:27 AM
  #28  
Boost Czar
iTrader: (62)
 
Braineack's Avatar
 
Join Date: May 2005
Location: Chantilly, VA
Posts: 79,493
Total Cats: 4,080
Default

Originally Posted by stefanst
I assembled 3 MS3s now and you're right- those screws are the worst part. I usually pre-thread the holes with some 'sacrificial' sheet-metal screws of the same size. They're sacrificial because after using them for a few holes, their heads get all mangled from exerting a lot force with the screwdriver.
I've complained numerous times to DIY and they said I'm the only one with issues. Glad to see im not the only one.


I use #4 sheet metal screws from lowes that are stronger than the black ones to first drive in, then I'll replace with black screws. otherwise I've snapped way too many black screws in cases.

I can snap the black ones by hand hold each side with a wrench and twisting. I cant with the silver ones...


the cases didnt used to be this tight. it was never an issue before -- but now it's my least favorite part of building ms3xes.
Braineack is offline  
Old 11-03-2016, 11:29 AM
  #29  
Senior Member
iTrader: (1)
 
acedeuce802's Avatar
 
Join Date: Dec 2010
Location: Farmington Hills, MI
Posts: 1,218
Total Cats: 175
Default

I've had numerous issues with the screws as well. Surprisingly, when I switched from using a screwdriver of proper size to a small 12V impact driver with proper sized bit, my problems seemed to go away. I can assemble and remove the screws without mangling the heads. I've snapped heads off with a screwdriver, but never with an impact, go figure.
acedeuce802 is offline  
Old 11-03-2016, 11:33 AM
  #30  
Boost Czar
iTrader: (62)
 
Braineack's Avatar
 
Join Date: May 2005
Location: Chantilly, VA
Posts: 79,493
Total Cats: 4,080
Default

after you drive them in the first time you should never have the issue. you literally have to cut the spiral into the metal housing.
Braineack is offline  
Old 11-03-2016, 11:36 AM
  #31  
Newb
Thread Starter
 
soaps42's Avatar
 
Join Date: Aug 2016
Location: Miami, FL
Posts: 20
Total Cats: 6
Default

Huh, I would have though an impact would mangle them in seconds. I did have some extra luck repeatedly backing out the screw a bit to get the threads made, but it is an extremely tight fit.
soaps42 is offline  
Old 11-03-2016, 11:41 AM
  #32  
Senior Member
 
mmmjesse's Avatar
 
Join Date: Aug 2007
Posts: 574
Total Cats: 44
Default

Those screws suck. I wish they would resize the holes to what they have on the diypnp as those go in just fine first time and hold well.
mmmjesse is offline  


All times are GMT -4. The time now is 02:43 AM.