When you click on links to various merchants on this site and make a purchase, this can result in this site earning a commission. Affiliate programs and affiliations include, but are not limited to, the eBay Partner Network.
You could prevent that in PLA by annealing it in a fixture after its printed. Every time that got really hot in the car it slightly relieved the internal stress from the differential cooling during printing. Just heat the oven up to like 150 and put some stiff metal around the cup holder and then put it in and turn the oven off and let it cool down. to room temperature.
Thanks for the tip, I didnt print this myself, i bought it off some guy on facebook. Hopefully this new design and PETG wont have this issue.
Ok, printer seems to be back up and operating. Got some prints finished this weekend and shipped.
Zephyr, Pretty much everything to recreate it, I assume the outward face is the only curved portion and the rest is a rectangular prism, in which case I really only need the main dimensions and a detailed picture of the front and side preferably with a ruler in the picture for reference.
Science, First one should go on the printer today, just got caught up
Zephyr, Thanks man, I'll check them out and see what I can do. I kind of figured it would be a bit of a pain, things like that are deceptively simple until you try to recreate it.
Brainz, finished your cruise plugs, slide in them DM's
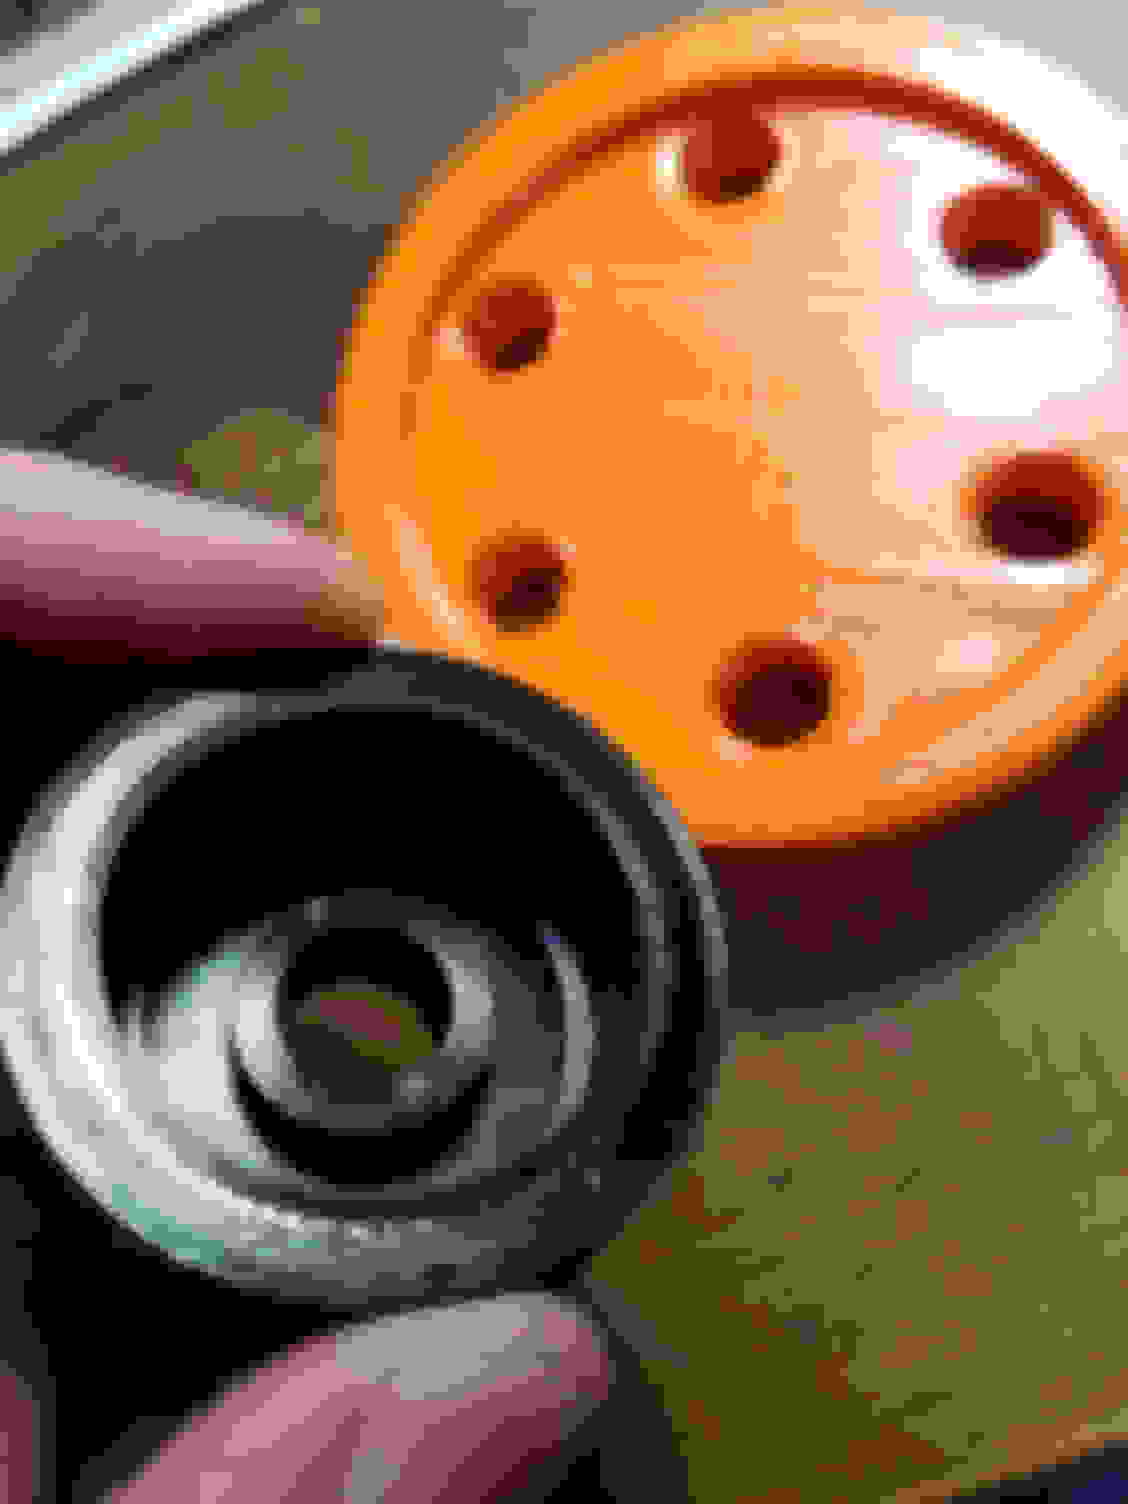
Just a heads up for future orders, I'm running low on black filament so I'm using up some of my other colors. I assume most of you will do some sort of finishing to the parts anyway, but if you plan to leave the parts as they come and would prefer a specific color, let me know otherwise you'll get whichever color happens to be on the reel. (currently orange)
Pretty sure I've been responding to everyone, but I feel like I'm forgetting stuff so I'm going to try to go through this whole thread again and get a list of all the parts y'all want and jam out some designs. I'm leaving for another trip from Aug 2nd to 13th, this time I'll be completely off the grid. Printer is still working overtime and I appreciate all of your patience. This corvette style cupholder is a 40+ hour print for instance, so I promise I'm not being lazy or ignoring y'all, just the constraints of the technology.
Did some volunteering in the Montana backcountry clearing trails
Came back and completely disassembled the printer, reassembled, updated firmware, migrated software, multiple testing iterations to get it printing right again.
Some thoughts:
I'm going to scale back my offerings. Everything will still be available as custom pieces, but honestly some of these parts aren't worth printing. I know everyone loves the cupholder idea, but its like a 45 hour print and I charge $20 plus shipping, so profit is on the order of $10 bucks, or about 22 cents an hour. I'll be focusing on parts that fit my printer better and that I can print higher quality. (a cupholder on my best quality takes over 140 hours.)
Cam seal and crank seal tools now available:
$5 and $10 respectively
Do you think the gauge pod idea would be something that is manageable? Just wondering if I should look into other solutions to mount my gauges or if I'll wait (no pressure, I promise!)
:
Some thoughts:
I'm going to scale back my offerings. Everything will still be available as custom pieces, but honestly some of these parts aren't worth printing. I know everyone loves the cupholder idea, but its like a 45 hour print and I charge $20 plus shipping, so profit is on the order of $10 bucks, or about 22 cents an hour. I'll be focusing on parts that fit my printer better and that I can print higher quality. (a cupholder on my best quality takes over 140 hours.)
If the cupholders are popular, consider getting them 3D-printed by a dedicated company in batches of 5 or 10 and in another durable material.
I did this with my DIY OLED console gauges, mostly to see what they'd look like in Nylon (vs the PLA I use at home).
The nylon versions were a little tighter so a I assume that they annealed the gauges afterwards which caused them to shrink a little.
It wasn't as expensive as I'd feared (in Australia's small market, doing this type of thing tends to be very expensive since there's little demand) but the finish was superb and required no additional work (the nylon has a very matt finish).
My PLA versions looked like dodgy prototypes compared to the finish of the nylon versions (I needed to spend a lot of time with wet&dry paper on the PLA gauge face to give it a smooth finish - the rest of the gauge I don't care about since it's not visible when installed in the instrument cluster).
This WILL make the pieces more expensive but requires no more effort on your part other than to send the order with your model attached and there's no wear&tear on your printer or time needed by you for each print.
Do some investigation on this, get some quotes and forum feedback to see if the extra cost is still acceptable to people.
You don't have a commercial-grade printer so it won't hold up to continuous printing - use it for prototype work.
I have both, I could try to throw together a model of them and send it over if you wanted. It'd be in my off time so I don't know how soon it'd be, but it probably wouldn't take long.
I have both, I could try to throw together a model of them and send it over if you wanted. It'd be in my off time so I don't know how soon it'd be, but it probably wouldn't take long.
Oh awesome, You're local so I could come pick them up if you're free. I could probably pull the measurements for the designs in a couple minutes actually.


 0
0