

How to install a Heli-Coil

Thread Starter
Senior Member
iTrader: (1)
Joined: Mar 2012
Posts: 588
Total Cats: 205
From: Pensacola Fla.
How to install a Heli-Coil
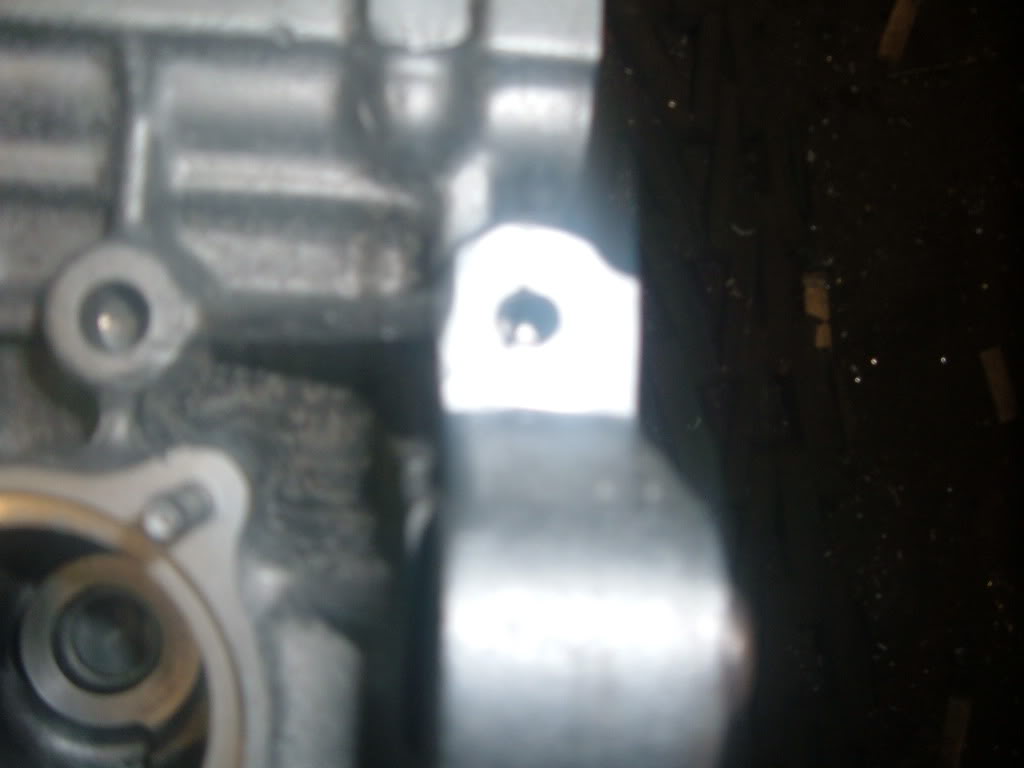
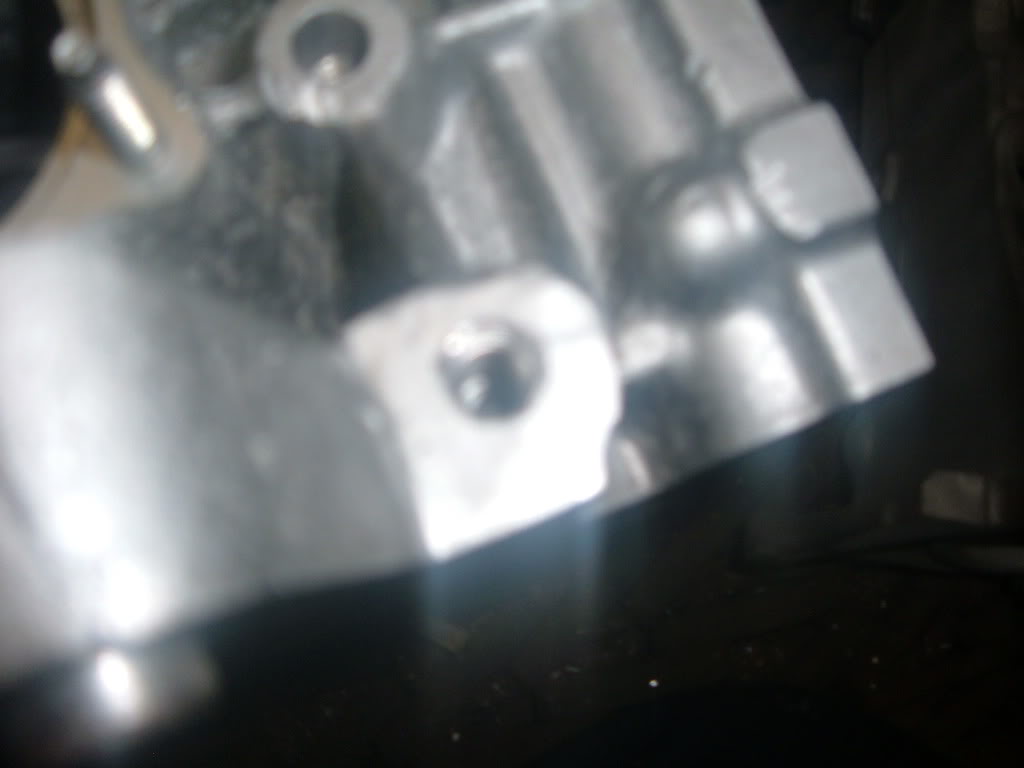
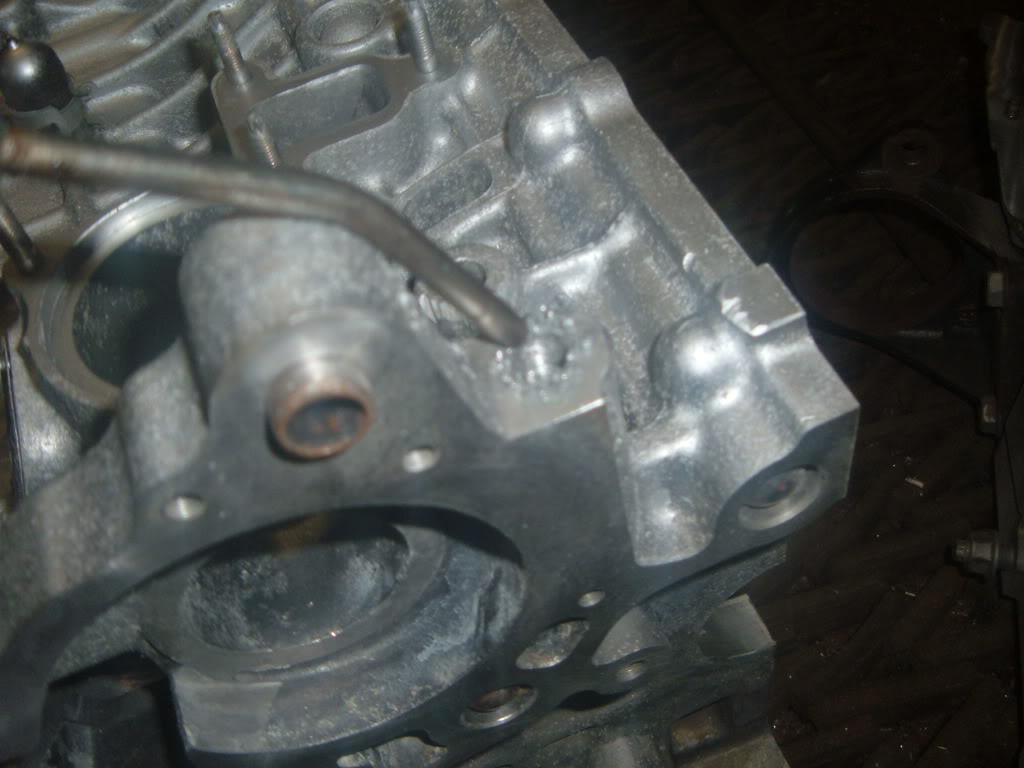
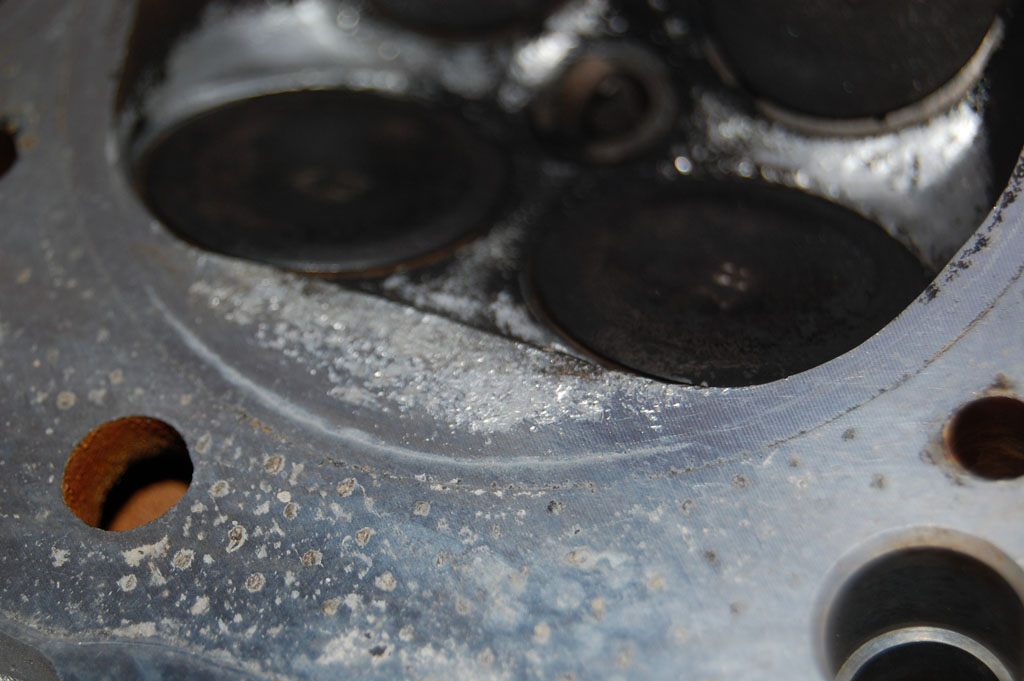
The subject is a Toyota 2ZZ engine block
The bolt holes were cracked and then were welded making the holes out of line. The heil-coil will make this a simple fix.
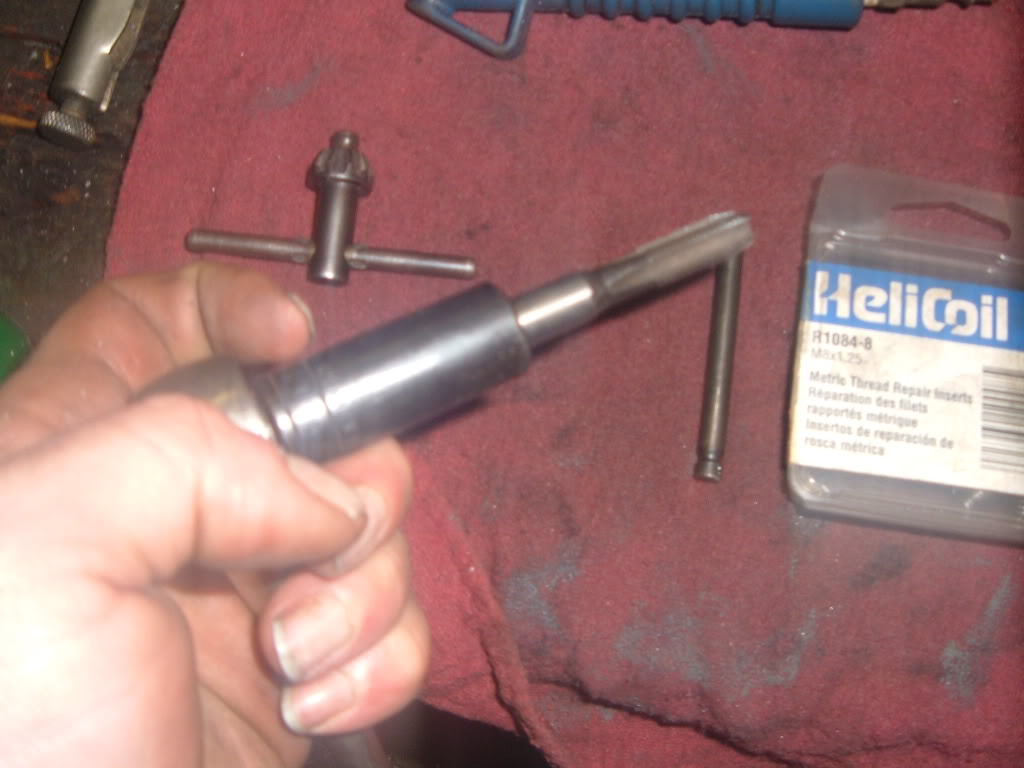
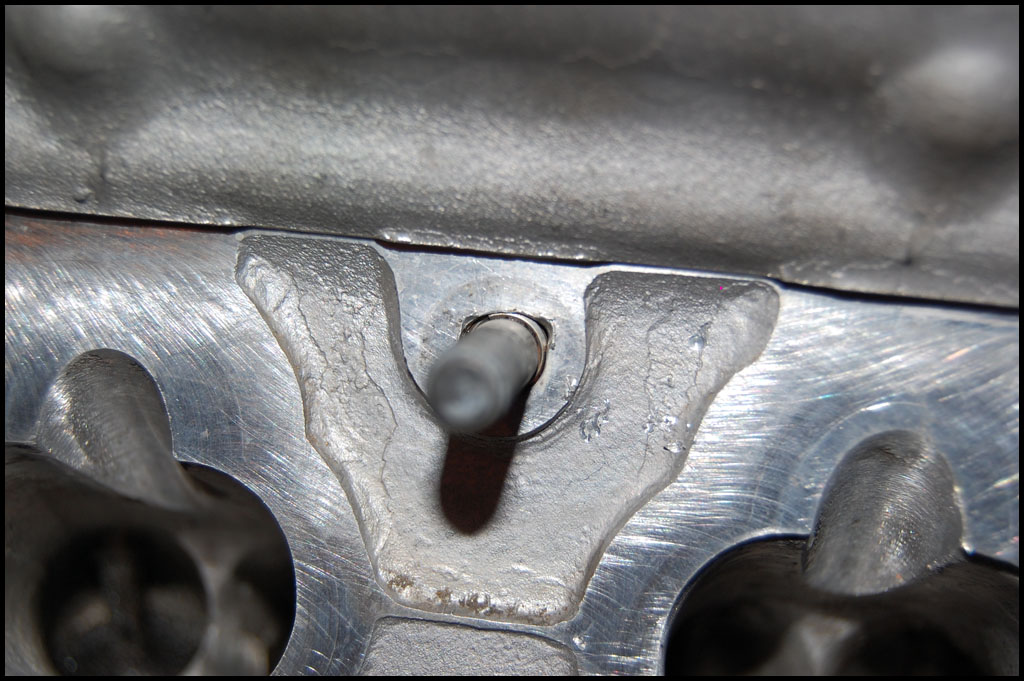
The tools needed will be a Drill motor, the proper sized drill bit for the heli-coil kit, the heli-coil tap, install tool, and the heli-coil insert.
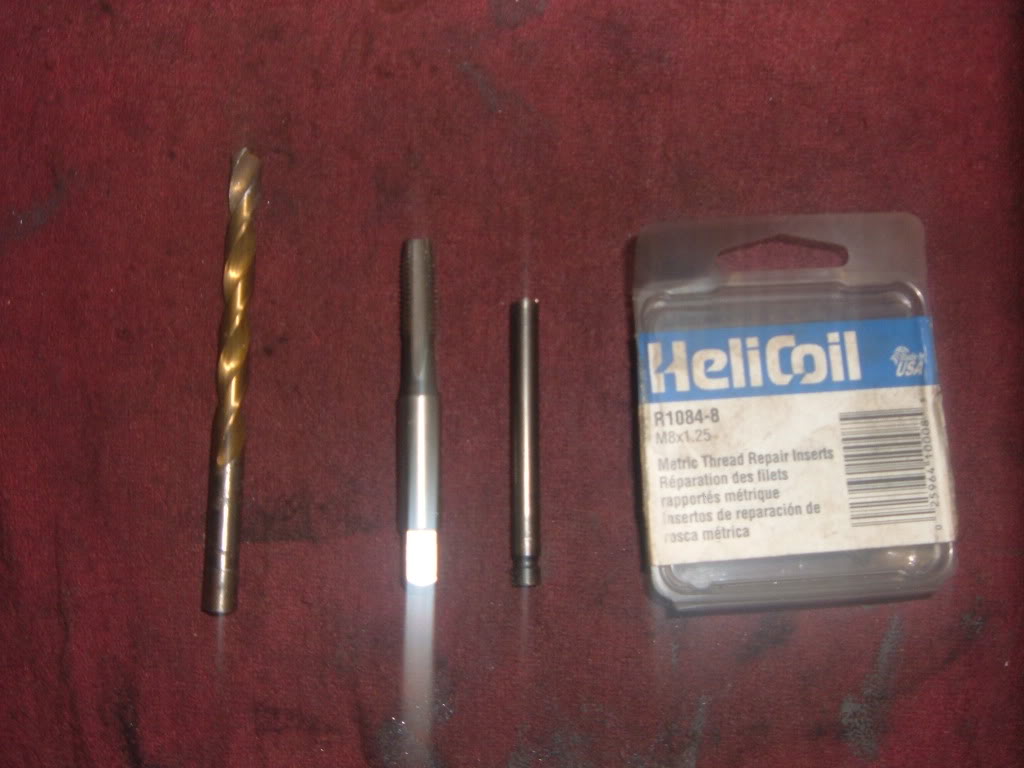
The Heli-coil kit being used is a 8 x1.25mm
The drill bit needed is 21/64
Install the drill bit into the drill motor, and drill the hole out.
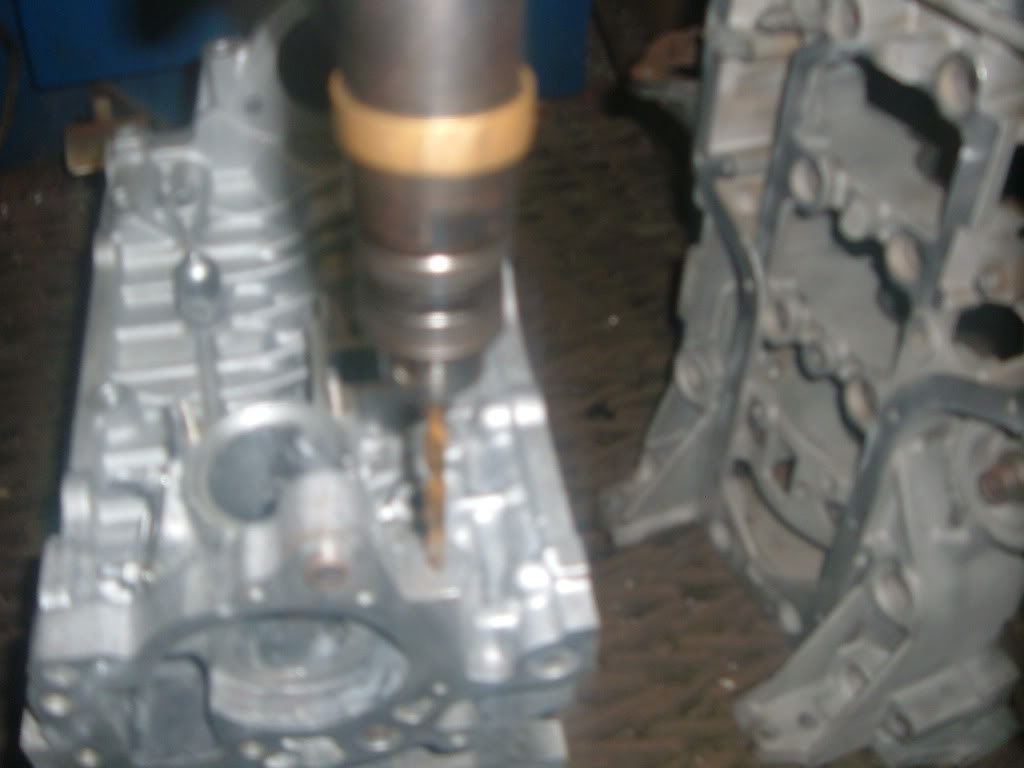
Blow out the hole with compressed air
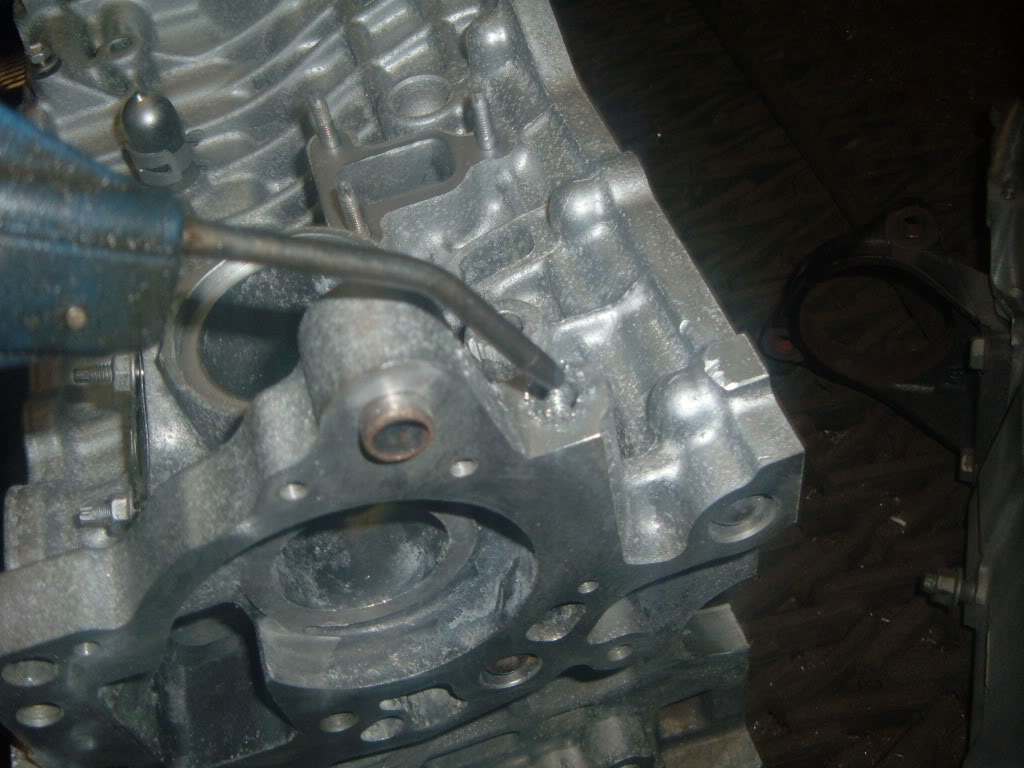
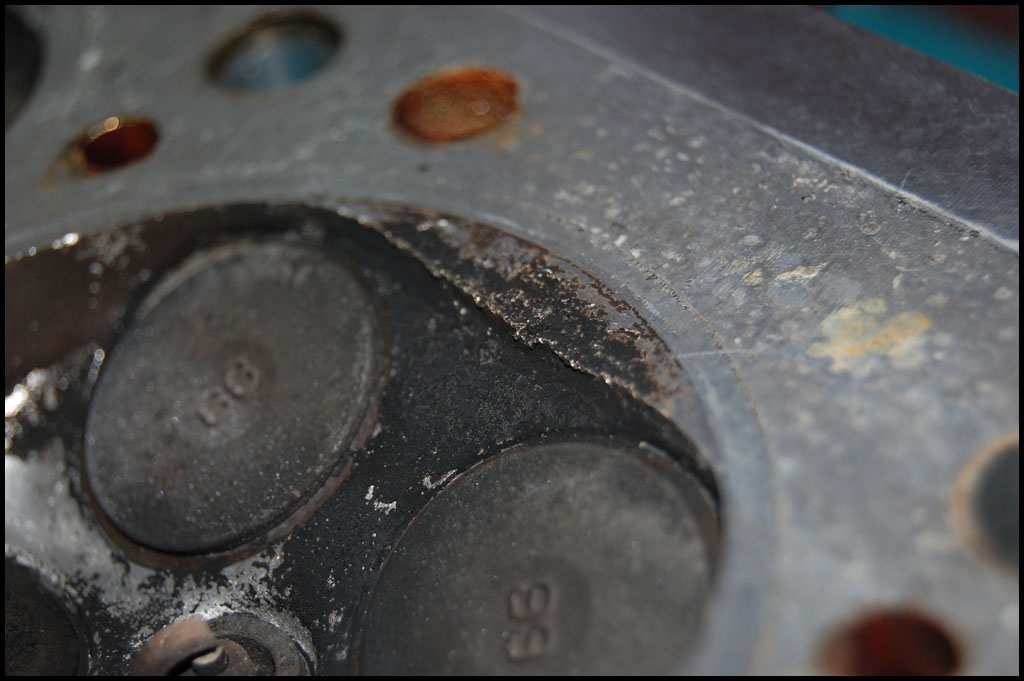
Next take the heil-coil tap
Tap the hole to its oversize.
*NOTE* Heli-Coil taps are an odd size.
On aluminum use a cutting fluid.
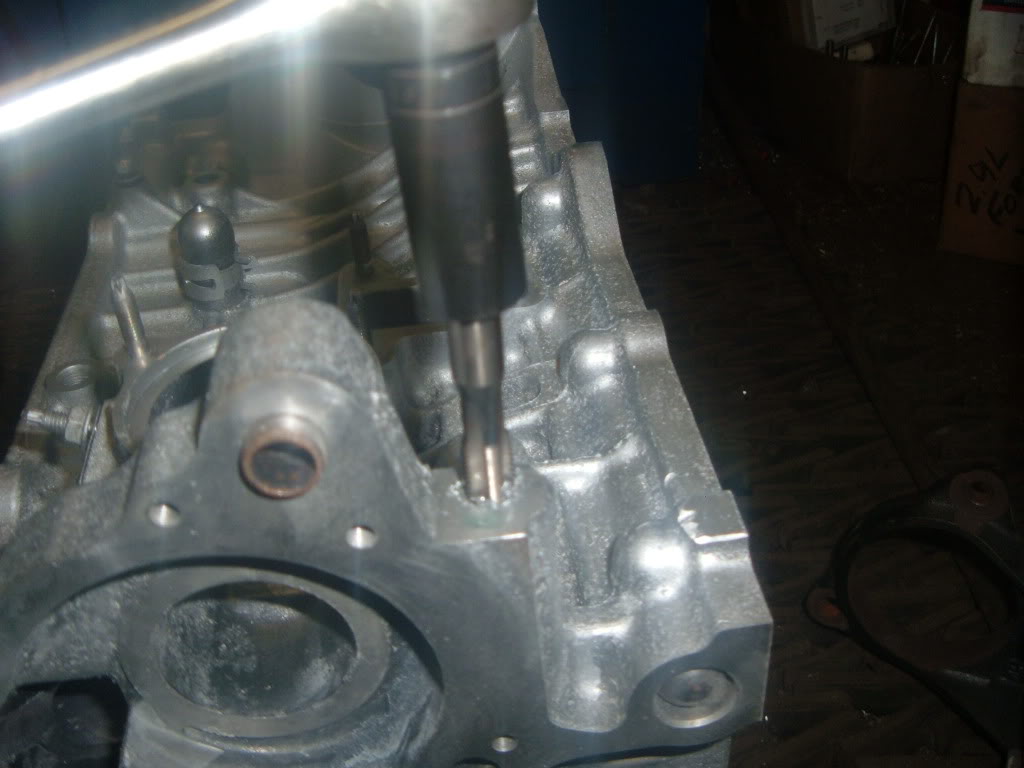
Keep the tap straight and square to the work piece.
Blow the hole out again
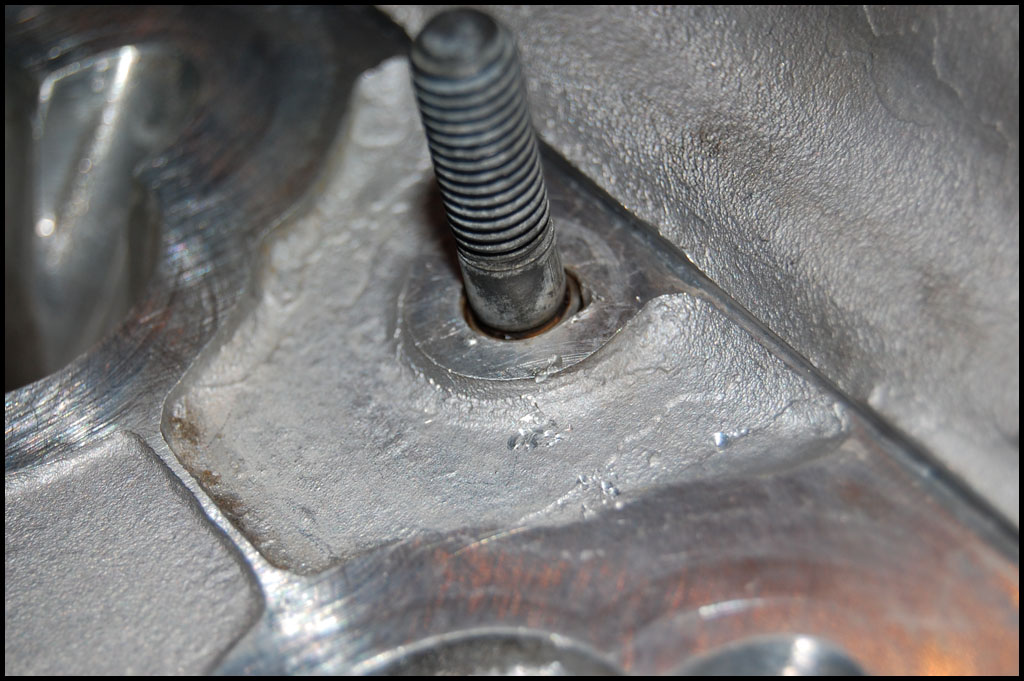
Now put the insert on the install tool
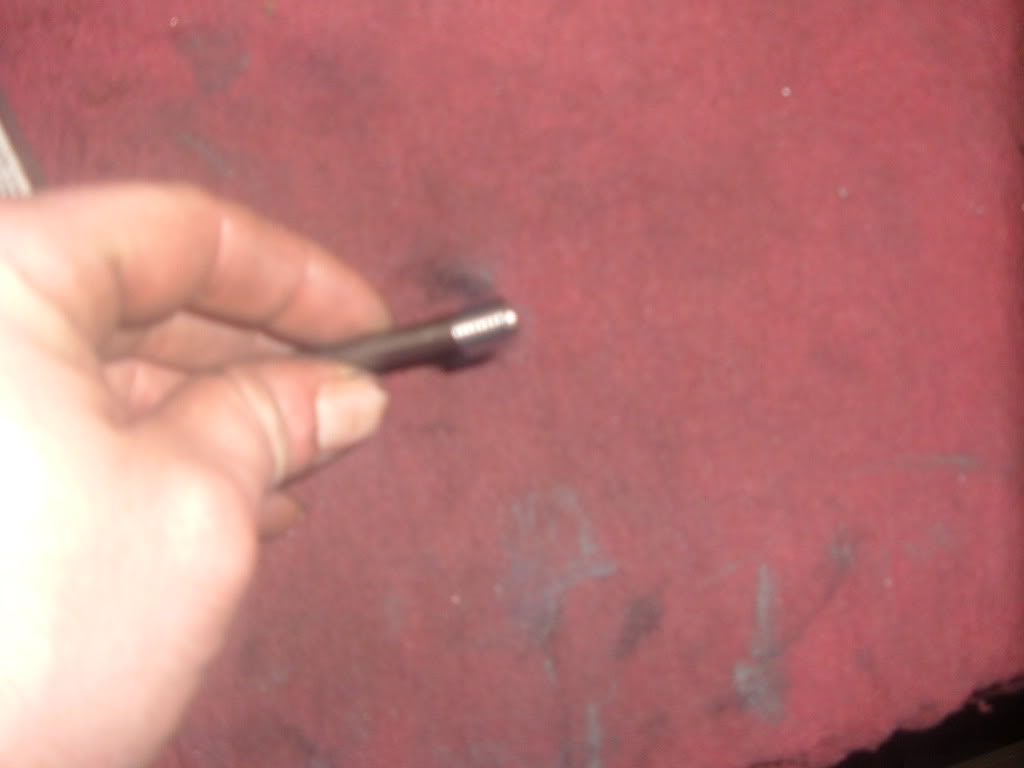
Now carefully screw the insert into the threads that were just cut, being careful not to apply too much force and skip a thread.
Make sure to counter sink the top of the heil coil by a thread or two
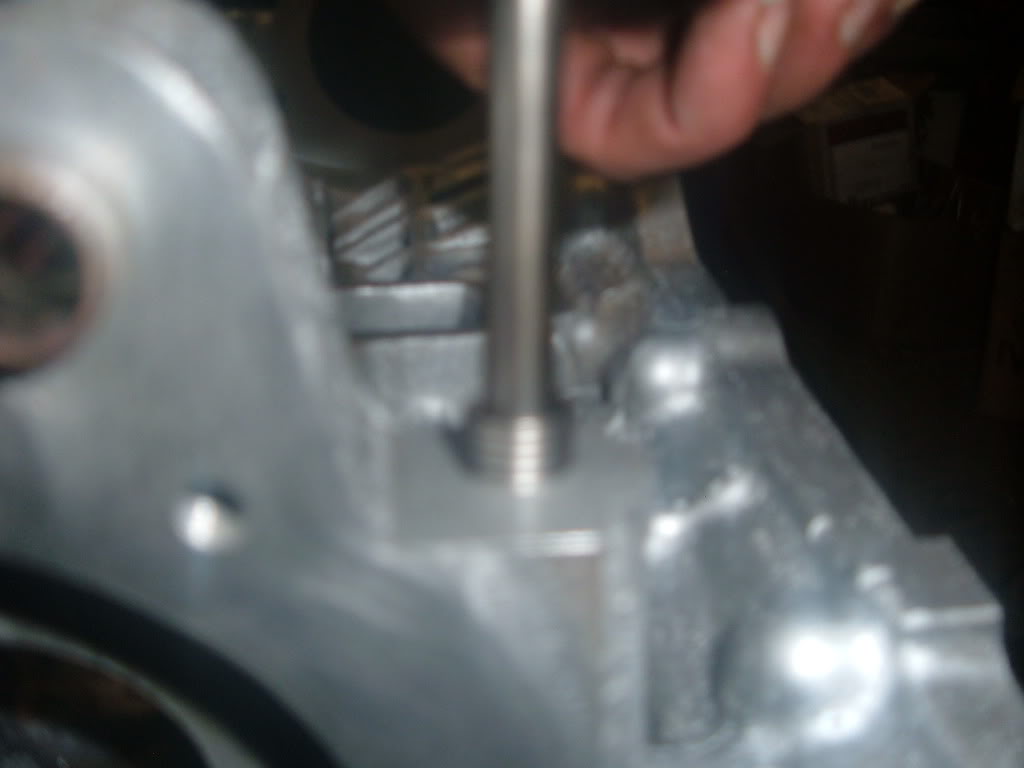
Once the insert is in properly, snap the bottom tab off and blow it out of the hole.
All done and ready to have the part bolted back!
The subject is a Toyota 2ZZ engine block
The bolt holes were cracked and then were welded making the holes out of line. The heil-coil will make this a simple fix.
The tools needed will be a Drill motor, the proper sized drill bit for the heli-coil kit, the heli-coil tap, install tool, and the heli-coil insert.
The Heli-coil kit being used is a 8 x1.25mm
The drill bit needed is 21/64
Install the drill bit into the drill motor, and drill the hole out.
Blow out the hole with compressed air
Next take the heil-coil tap
Tap the hole to its oversize.
*NOTE* Heli-Coil taps are an odd size.
On aluminum use a cutting fluid.
Keep the tap straight and square to the work piece.
Blow the hole out again
Now put the insert on the install tool
Now carefully screw the insert into the threads that were just cut, being careful not to apply too much force and skip a thread.
Make sure to counter sink the top of the heil coil by a thread or two
Once the insert is in properly, snap the bottom tab off and blow it out of the hole.
All done and ready to have the part bolted back!
Reply
 2
2

2

Senior Member
Joined: Aug 2010
Posts: 936
Total Cats: 27
From: Arl. Texas
Seriously, if you haven't read through all of his informational posts and don't known about the camera situation, shut up and read. For being the old camera, this one is really good. The words are whats important anyway, silly picture booker.
Reply
0
0


Junior Member
Joined: Jun 2011
Posts: 88
Total Cats: 2
From: NSW Australia
I have read, and its very informative and detailed, makes life easy for everybody who wants to attempt these jobs, and about the camera, I was merely making a joke, chill the **** out.
Reply
0
0

Thread
Thread Starter
Forum
Replies
Last Post
StratoBlue1109
Miata parts for sale/trade
21
Sep 30, 2018 01:09 PM
stoves
Suspension, Brakes, Drivetrain
5
Apr 21, 2016 03:00 PM
JesseTheNoob
DIY Turbo Discussion
15
Sep 30, 2015 02:44 PM


