When you click on links to various merchants on this site and make a purchase, this can result in this site earning a commission. Affiliate programs and affiliations include, but are not limited to, the eBay Partner Network.
@Cincykemo hey I was just wondering and I may have missed this somewhere but have you considered going COP or ls coils? What gap are you running currently? Hope it's going good for ya sir.
@Cincykemo hey I was just wondering and I may have missed this somewhere but have you considered going COP or ls coils? What gap are you running currently? Hope it's going good for ya sir.
I really don't see a need for a COP with my current setup. The current gap was set by the shop that built the engine. I try to gap them as much as I can before spark blow out witch was usually .035" I think.
Last edited by Cincykemo; Sep 25, 2022 at 08:21 PM.
I really don't see a need for a COP with my current setup. The current gap was set by the shop that built the engine. I try to gap them as much as I can before the the spark blow out witch was .035" I think.
For sure makes sense. We run pretty much similar psi and setups except mine is not forged. I got them for the insurance and found a decent deal used. I wanna say they idled my 1000cc injectors better but that's probably just my tune not being dialed in before I installed the coils
After a few long weeks of working on the car in my spare time I finally fixed some issues and actually got to enjoy driving it for the first time in a LONG time.
First off I finally got the replacement trans in the car. Most of the problems I ran into just had to do with not ever having done it. I did a seal refresh on the trans and pulling the the seal for the input shaft was difficult. I also ordered a new throw out bearing and somehow lost it so I had to use the old. For trans fluid I cheaped out with Valvoline Synchromesh, I used in the last trans and it seems to work fine but this new trans seems to be a little more notchy and may benefit from something a little thicker. All and all it works.
Next I fixed the temperature issues. I made some ducting to seal the sides and bottom between the intercooler and rad. My water temps have fallen 10 degrees from cruising at 205 to now 195 and the temps don't climb nearly as rapidly when I'm getting on it. Also the oil temps are running 15 to 20 degrees lower with the additional heat being taken out of the cooling system.
I'm not proud of the ducting but I wanted something easy to make. I used this .07" thick hpde plastic from Amazon (link below), thick foil tape, 2 self tappers and it seems pretty dam solid. I've never used foil tape before but wow that's some neat stuff. I literally taped it to the radiator and it's holding up really well.
Got the piece of junk out from winter storage and commenced to working on it...more...again.
I was having a lot of issues with the belt jumping forward using the old tensioner (junk) and decided to finally make up the things I needed for an auto tensioner.
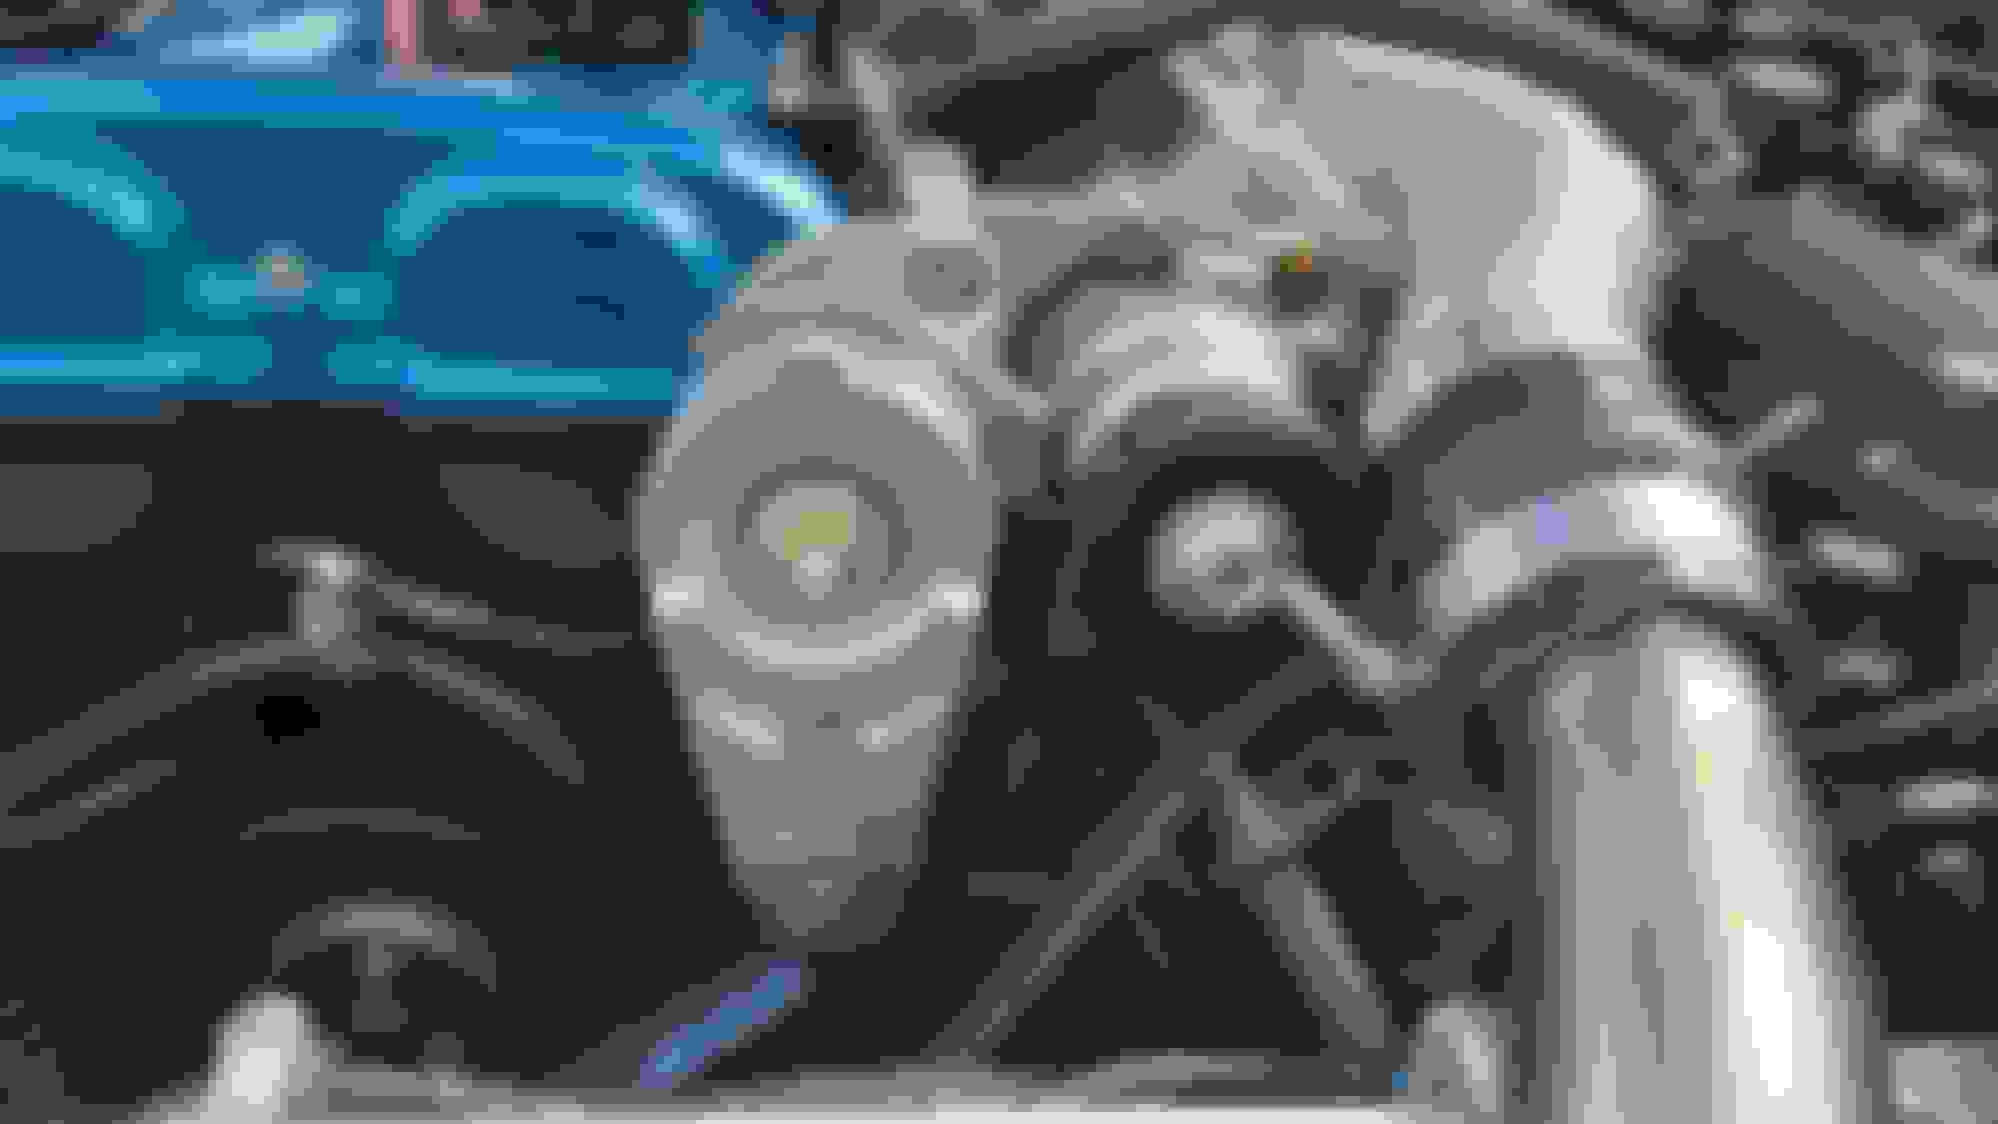
The original tensioner mounts.
This the tensioner mount "plate" was given to me by Tom at FFS, I think I just got super lucky and he had one laying around in a pile somewhere. Either way I'm super thankful to him for it. I had to have it notched to ensure clearance with the valve cover.
You can see in the pic the old mount uses a different post location, so I removed a bolt from the charger and ran a 80mm 316 SS stud into it. I had a machine shop fabricate the mount posts out of 316 SS hex stock.
You can see how close the tensioner mount plate is valve cover here.
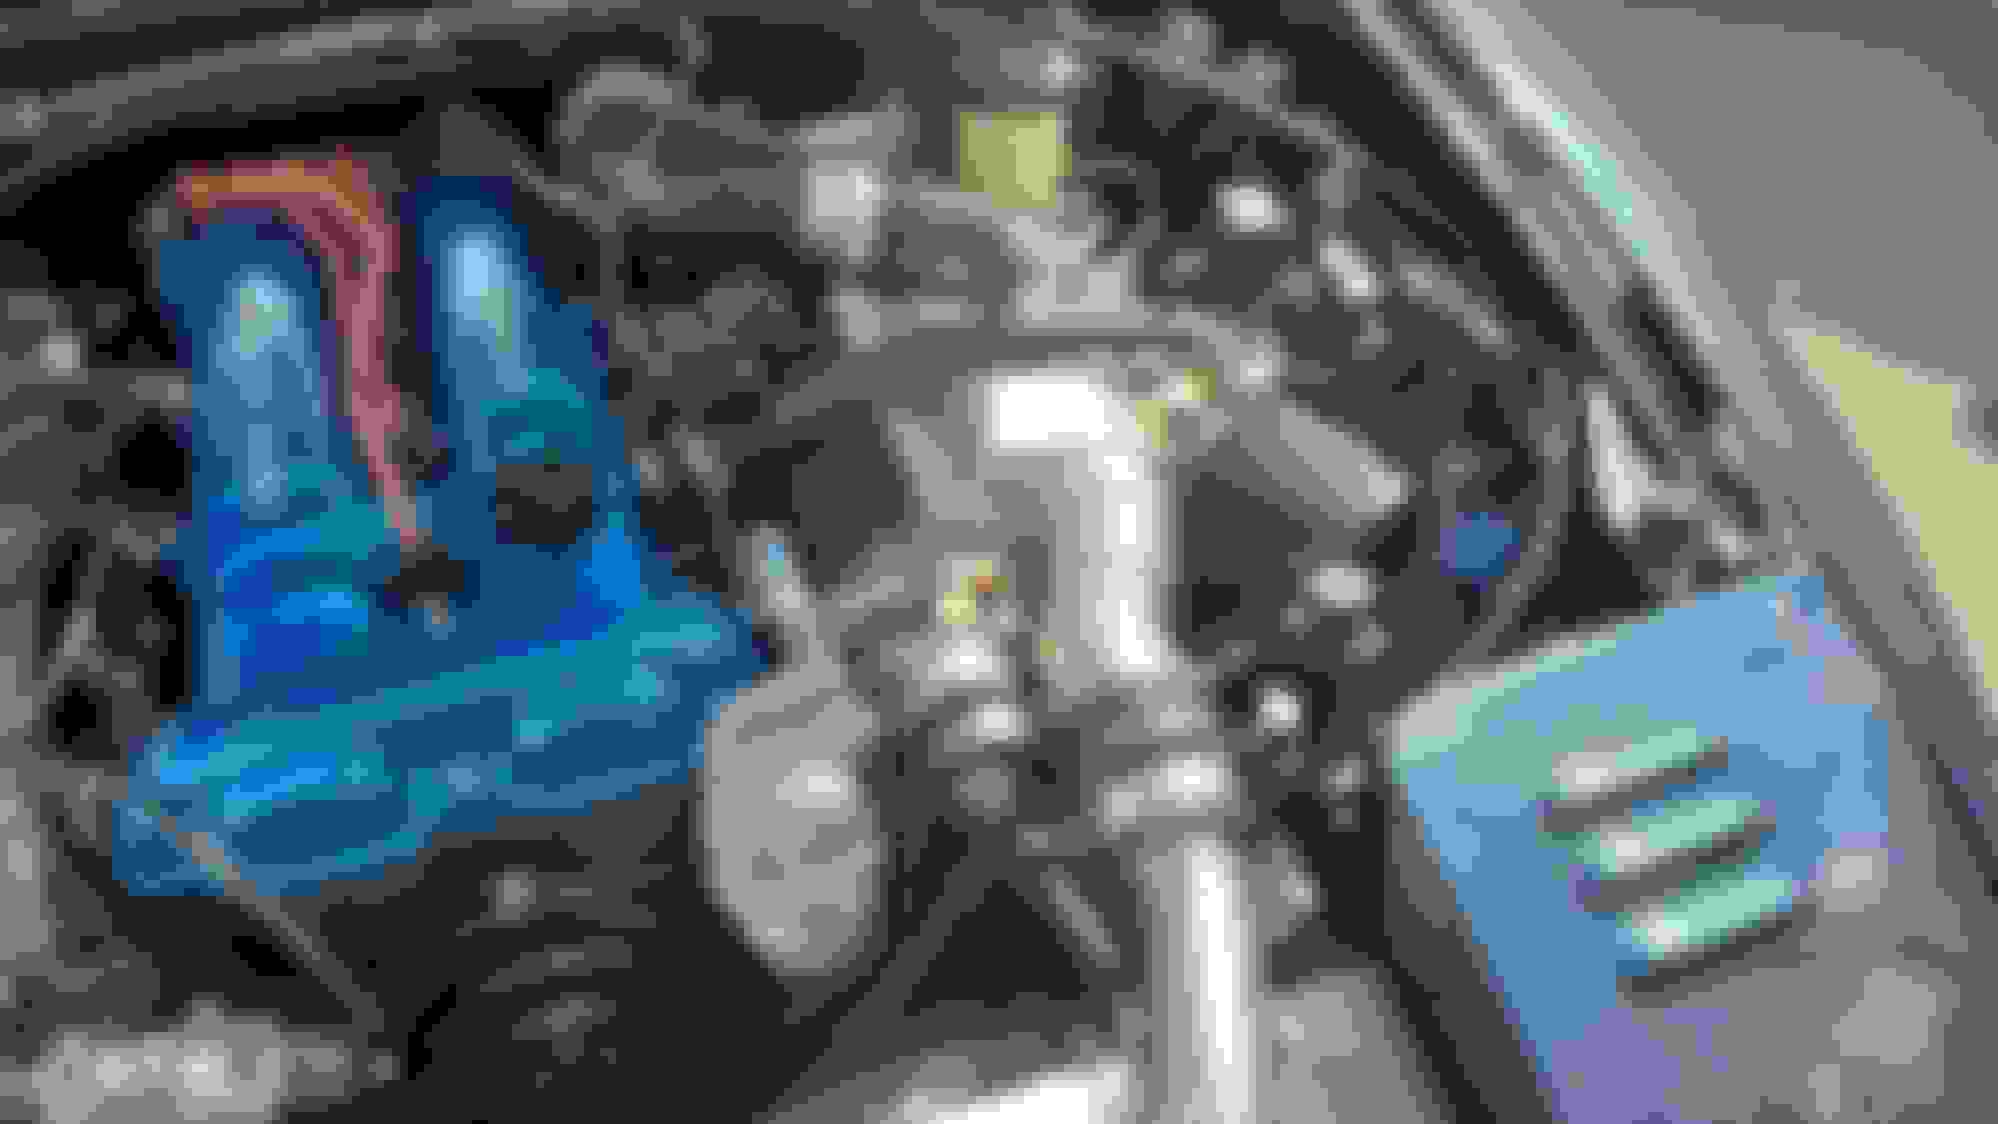
So putting on the belt is a two hands job and this auto tensioner doesn't have any clear way to keep it locked open. I had to make this super janky part to lock it in place. It's sketchy putting on the belt with this tensioner right there waiting to spit this piece out and bust my knuckles.
The tensioner works great and it hasn't spit the belt off even though I didn't adjust the charger the last time it spit the belt with the old tensioner. I'm feeling pretty good about where this old MP62 kit is at.
Last edited by Cincykemo; Apr 17, 2023 at 07:40 PM.
Scott
Did you come across the same issue with keeping your tensioner open so you could put the belt on?
No, I didn't have any help. It's been awhile but I don't remember it being too difficult putting the belt on alone. May just be the placement of the tensioner or a belt size difference? Guessing it would take much of a variance to make it a pain.
The square hole in the front of the tensioner is to permit use of a 3/8" ratchet or breaker bar to hold the tensioner back while installing the belt.
As far as I know, that black tab you are asking about is one end of the spring inside the tensioner housing.
Yes, this ^^^... The setup in the pic (as far as I know) was all original to the BRP kit besides the intercooler setup and the intake which I made myself. The flex hose thing that came with the kit was terrible.
For safety, I recommend the OEMTools 24687 (with the green handle) serpentine belt tool from Autozone. Not sure if they changed it, looks different on sites like Amazon. It folds up small enough to fit in longer bags. Helpful if you throw a belt away from home, and PLENTY of leverage. Most 3/8 breaker bars are sort of short, so holding that plus getting a belt on can be a bitch. Using an 3/8� Adapter on a 1/2� breaker bar can make the engagement wobbly.
Word to the wise, wrap the belt on the sc pulley FIRST. Then open up the tensioner from the front of the car and finish and finish wrapping the belt on the crank pulley. You will not forget the first time you wrestle with a belt on the SC, the tensioner slips and almost crushes your fingers under those sharp pulley ridges.
I currently run a small filter on my IACV because they're made to let air in not out but...
Yesterday I decided to log boost with and without a check valve on the IACV. I keep finding people who argue for a check valve and Track Dog Racing sells one claiming it increases boost by half a pound.
I made up this short length of hose and used the biggest (on Amazon lol) automotive check vavle I could find. On back to back runs (3rd gear 2k-7k) I recorded a max MAP of 188kbps with and without the valve. No change for me.
To end the night my clutch fluid disappeared immediately after recording the second log and I got towed. Nice.
It�s not specifically because of the IAC hardware itself. If that was the case, turbo owners would see the same problem. I think it�s one step removed, being the IAC is poorly controlled. The vendor who�s selling that piece, is still selling an item for 20yo solutions - M45s using really outdated piggybacks with stock ECUs on a MAF system with a boosty bit AFTER the throttle body.
You have none of those things, so I�d just simplify where you can.
Had the same thought.
Chris your valve closes above 2500rpm after 2 seconds. Checked your tune.
Howdy
Did Miata things over the holiday weekend. Starting with this Miata meet (pictured below.) It was a really nice event that was organized by a less performance more "casual" Miata club. There had to have been 40 cars at least with only one non Mazdaspeed turbo car.
This is me and a few of the people I rode up with including a newly formed group for southwest Ohio. It's southwest Ohio Miata's on Facebook if anyone wants to join. Good people.
On Sunday I finally entered my first (in the Miata) Autocross event. It was a test and tune day for the Cincinnati SCCA chapter. I was very happy with the car and the how I drove. I ended up 5th out of 14 in the novice modified class. The results are at the end. The Charger in #1 wasn't a legit run but they got listed as first due to a timing error.
I'm #68.
The first pic is the right side of the results and the 2nd pic is the left side (continuation of the right.)
Again the car did super well. It performed exactly how I intended it to, it was loose but controllable and has all the torque I needed to stay in one gear after I shifted out of first to launch. If I take the rear sway bar off, add some better rubber (still on 205 Conti ECS's) and get a little more seat time I feel like it would be very competitive. Shout out to the stock power NA that placed 2nd, that dude was drivin. The best compliment I got came from a Corvette driver with several auto/road course cars plus a pro mod drag car who told me multiple times my car looked like a blast to drive. Definitely the most fun I've had driving this car, it was amazing.
Thanks again to @Tchaps for the tune on this car. Coldside Engineering on Facebook if you're looking for a remote tune.
Last edited by Cincykemo; Sep 6, 2023 at 07:58 AM.


 0
0