2002 VVT swap into 1990 NA with MS3
 10-07-2014, 12:41 PM
#81
Junior Member

Join Date: Dec 2008
Location: Ft. Lauderdale, FL
Posts: 315
Total Cats: 9
Why do you guys assume a i/h/e vvt engine should make 140whp?
Because emilio did it on some of their cars?
Pretty sure vvt does nothing for peak power gains on a n/a car (at least significantly).
Variation in output can easily vary 13hp between different cars, dyno's, locations, days, etc.
I dunno, just seems like everyone is stuck on numbers when we start talking about this stuff. Like 140 would be amazing, and 128 is crap. Which, to me, is funny.
VICS manifold vs the VVT stock VTCS manifold (With Butterflies):
DYNO VTCS VS VICS.pdf
Last change was to a Racing Beat header from a Jackson Racing Header (Also completely changed the full exhaust so it is not apples to apples):
racing beat header.pdf

Reply
 0
0

0
10-07-2014, 01:13 PM
#82
Cpt. Slow

iTrader: (25)
Join Date: Oct 2005
Location: Oregon City, OR
Posts: 14,227
Total Cats: 1,147
Yeah, we definitely are leaving some power on the table with the VTCS manifold. I think he's already eying a flat top or VICS at some point.
The VCTS is completely deleted though. I cut the bar into 3 small pieces, then drilled at tapped the manifold flange for m6x1 set screws, and JB welded them in place to hold the bars in.
The VCTS is completely deleted though. I cut the bar into 3 small pieces, then drilled at tapped the manifold flange for m6x1 set screws, and JB welded them in place to hold the bars in.
Reply
0
0
 10-08-2014, 03:43 AM
#84
Junior Member
Thread Starter

Join Date: Apr 2011
Posts: 205
Total Cats: 12
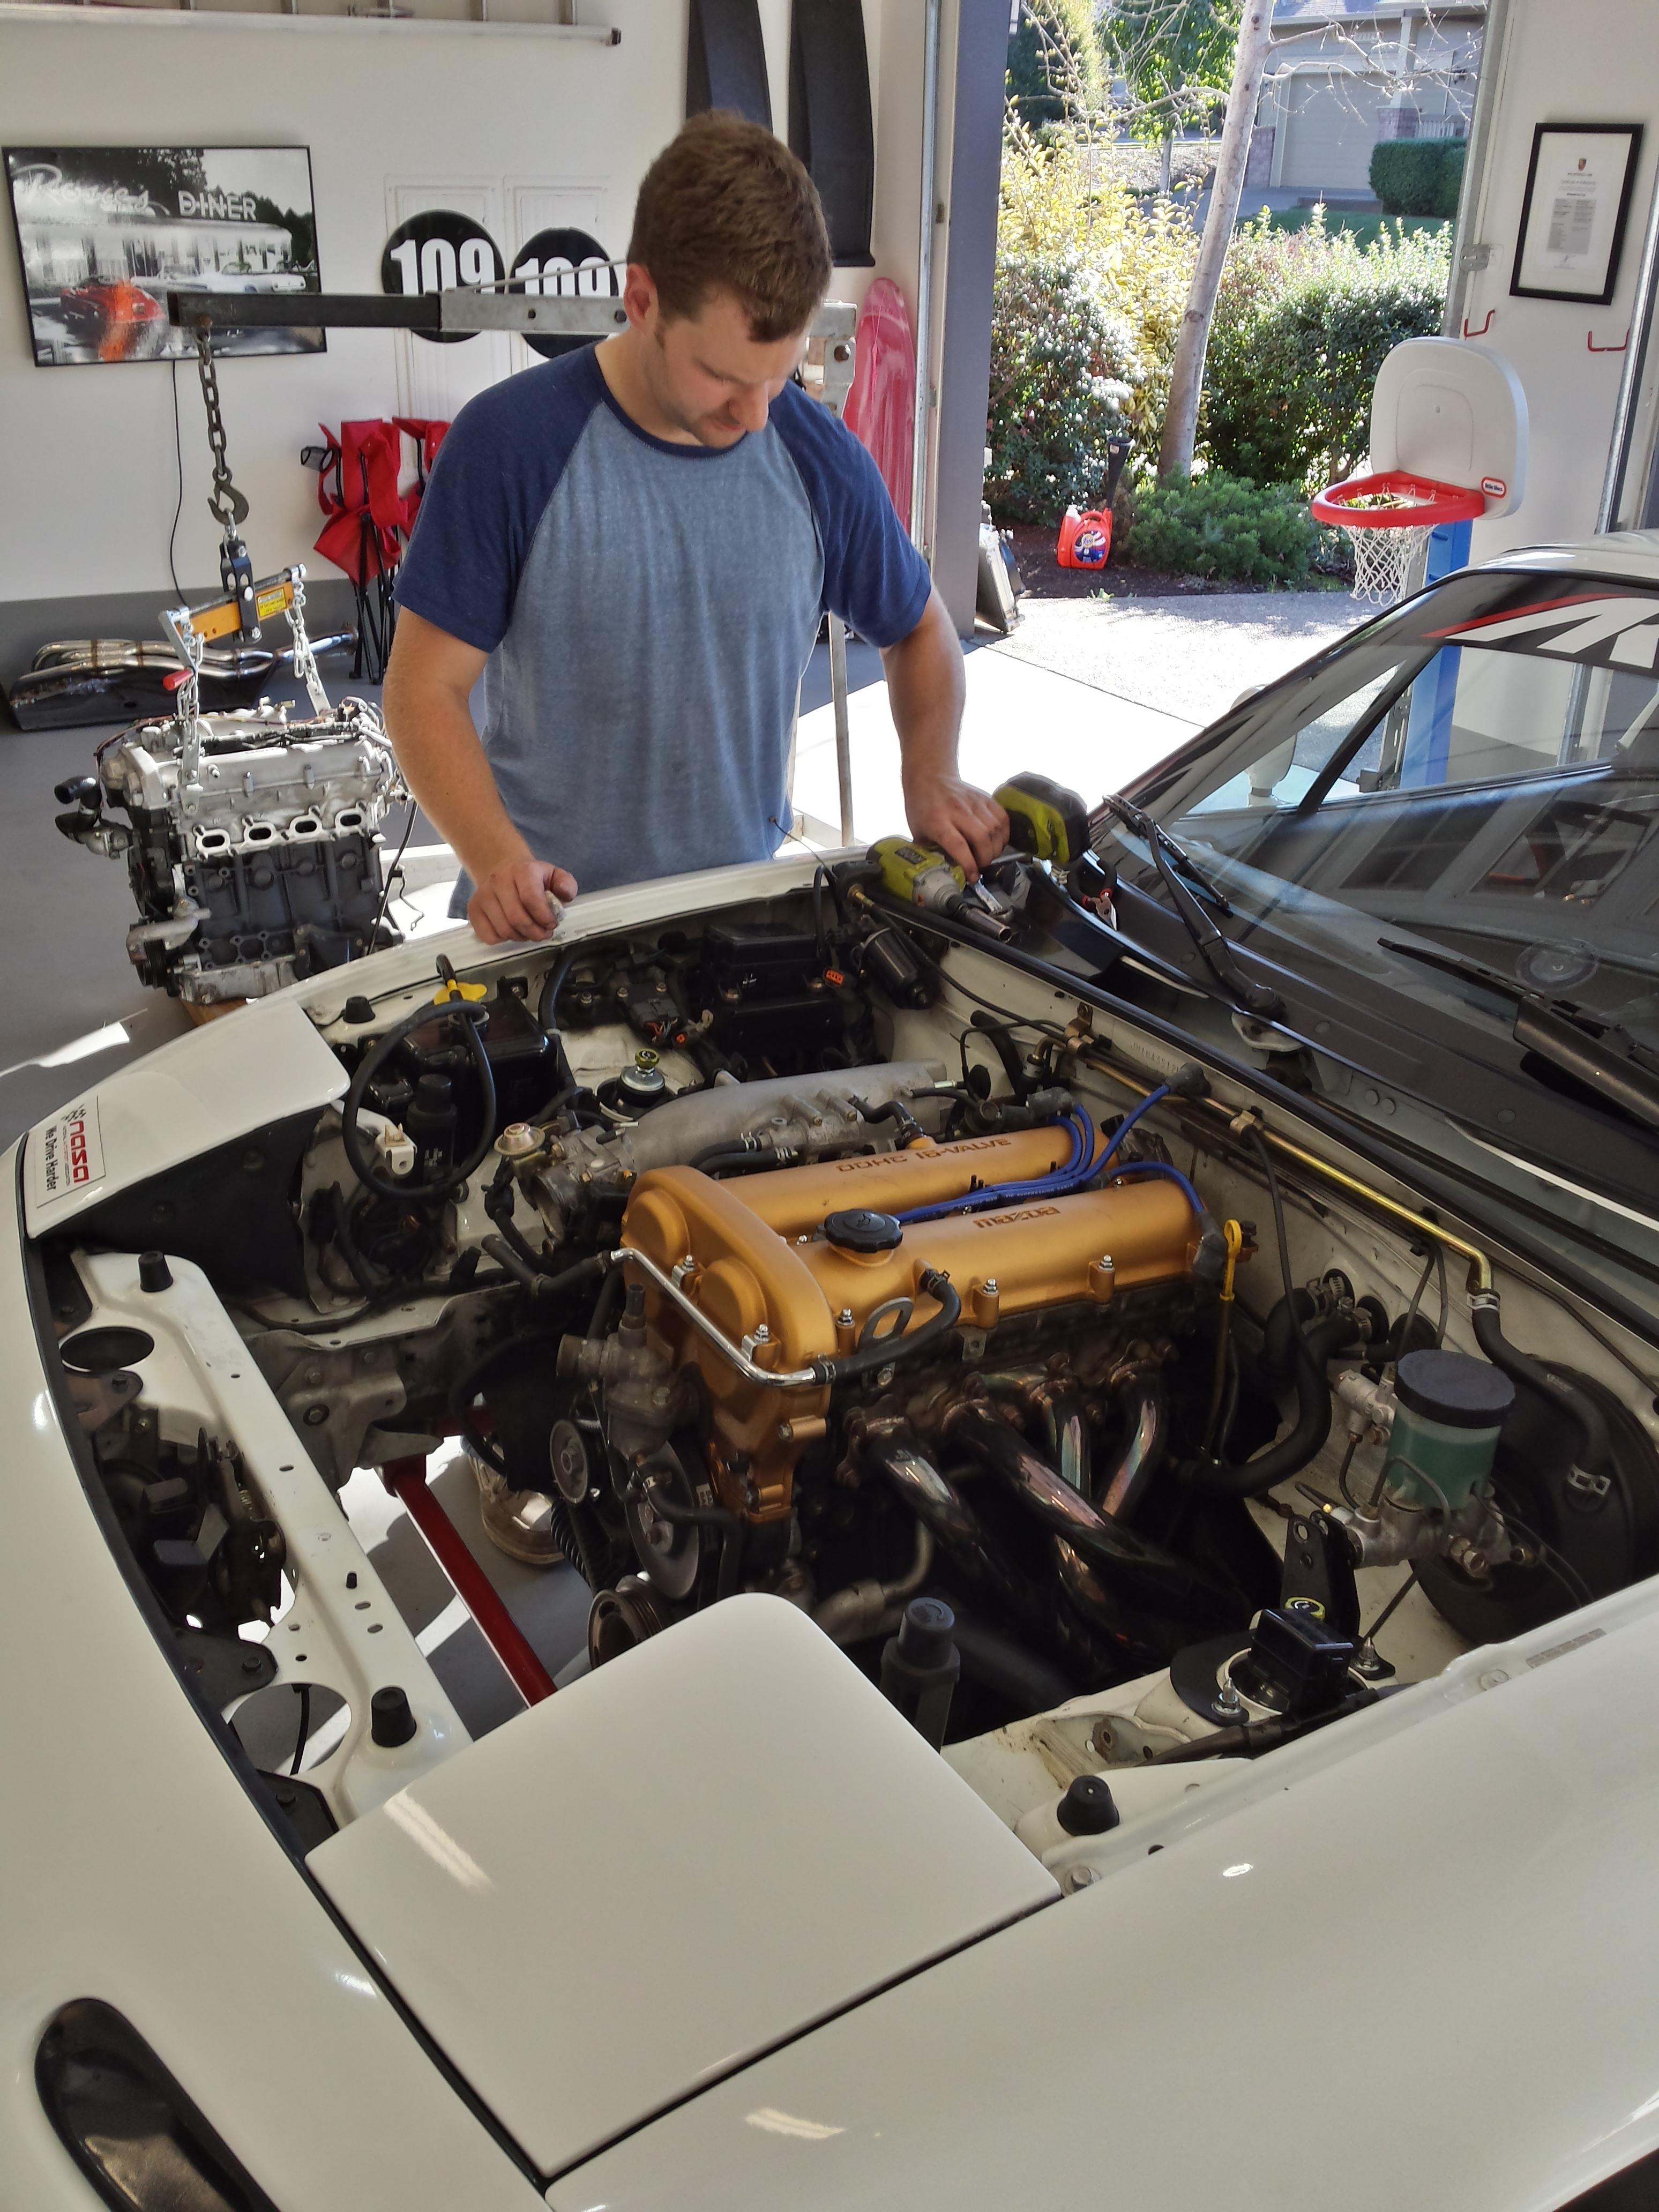
Many photos of VVT swap.
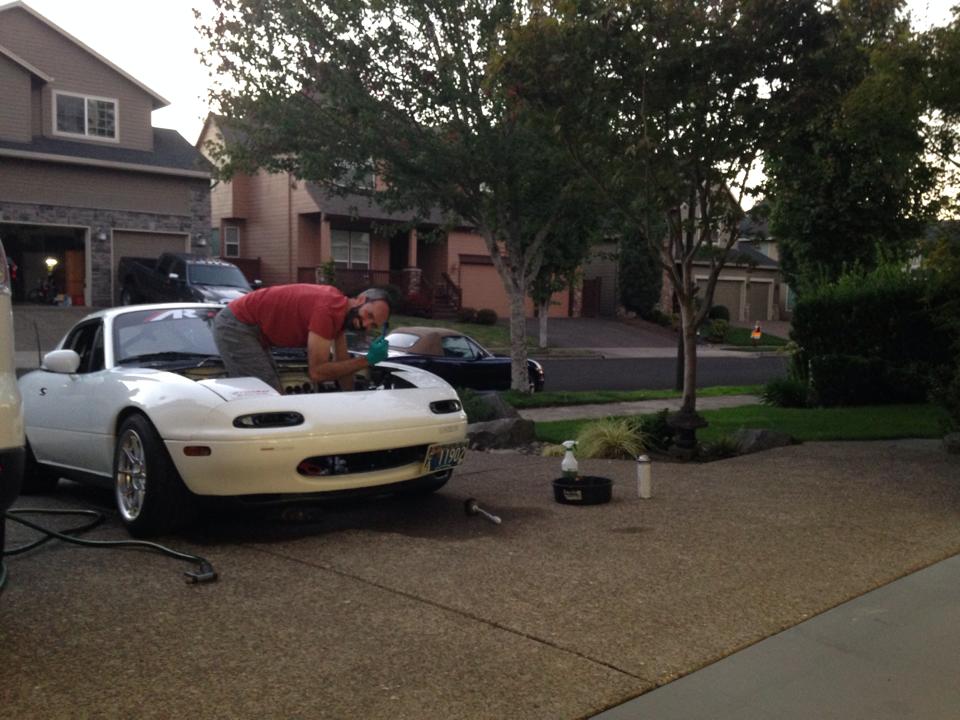
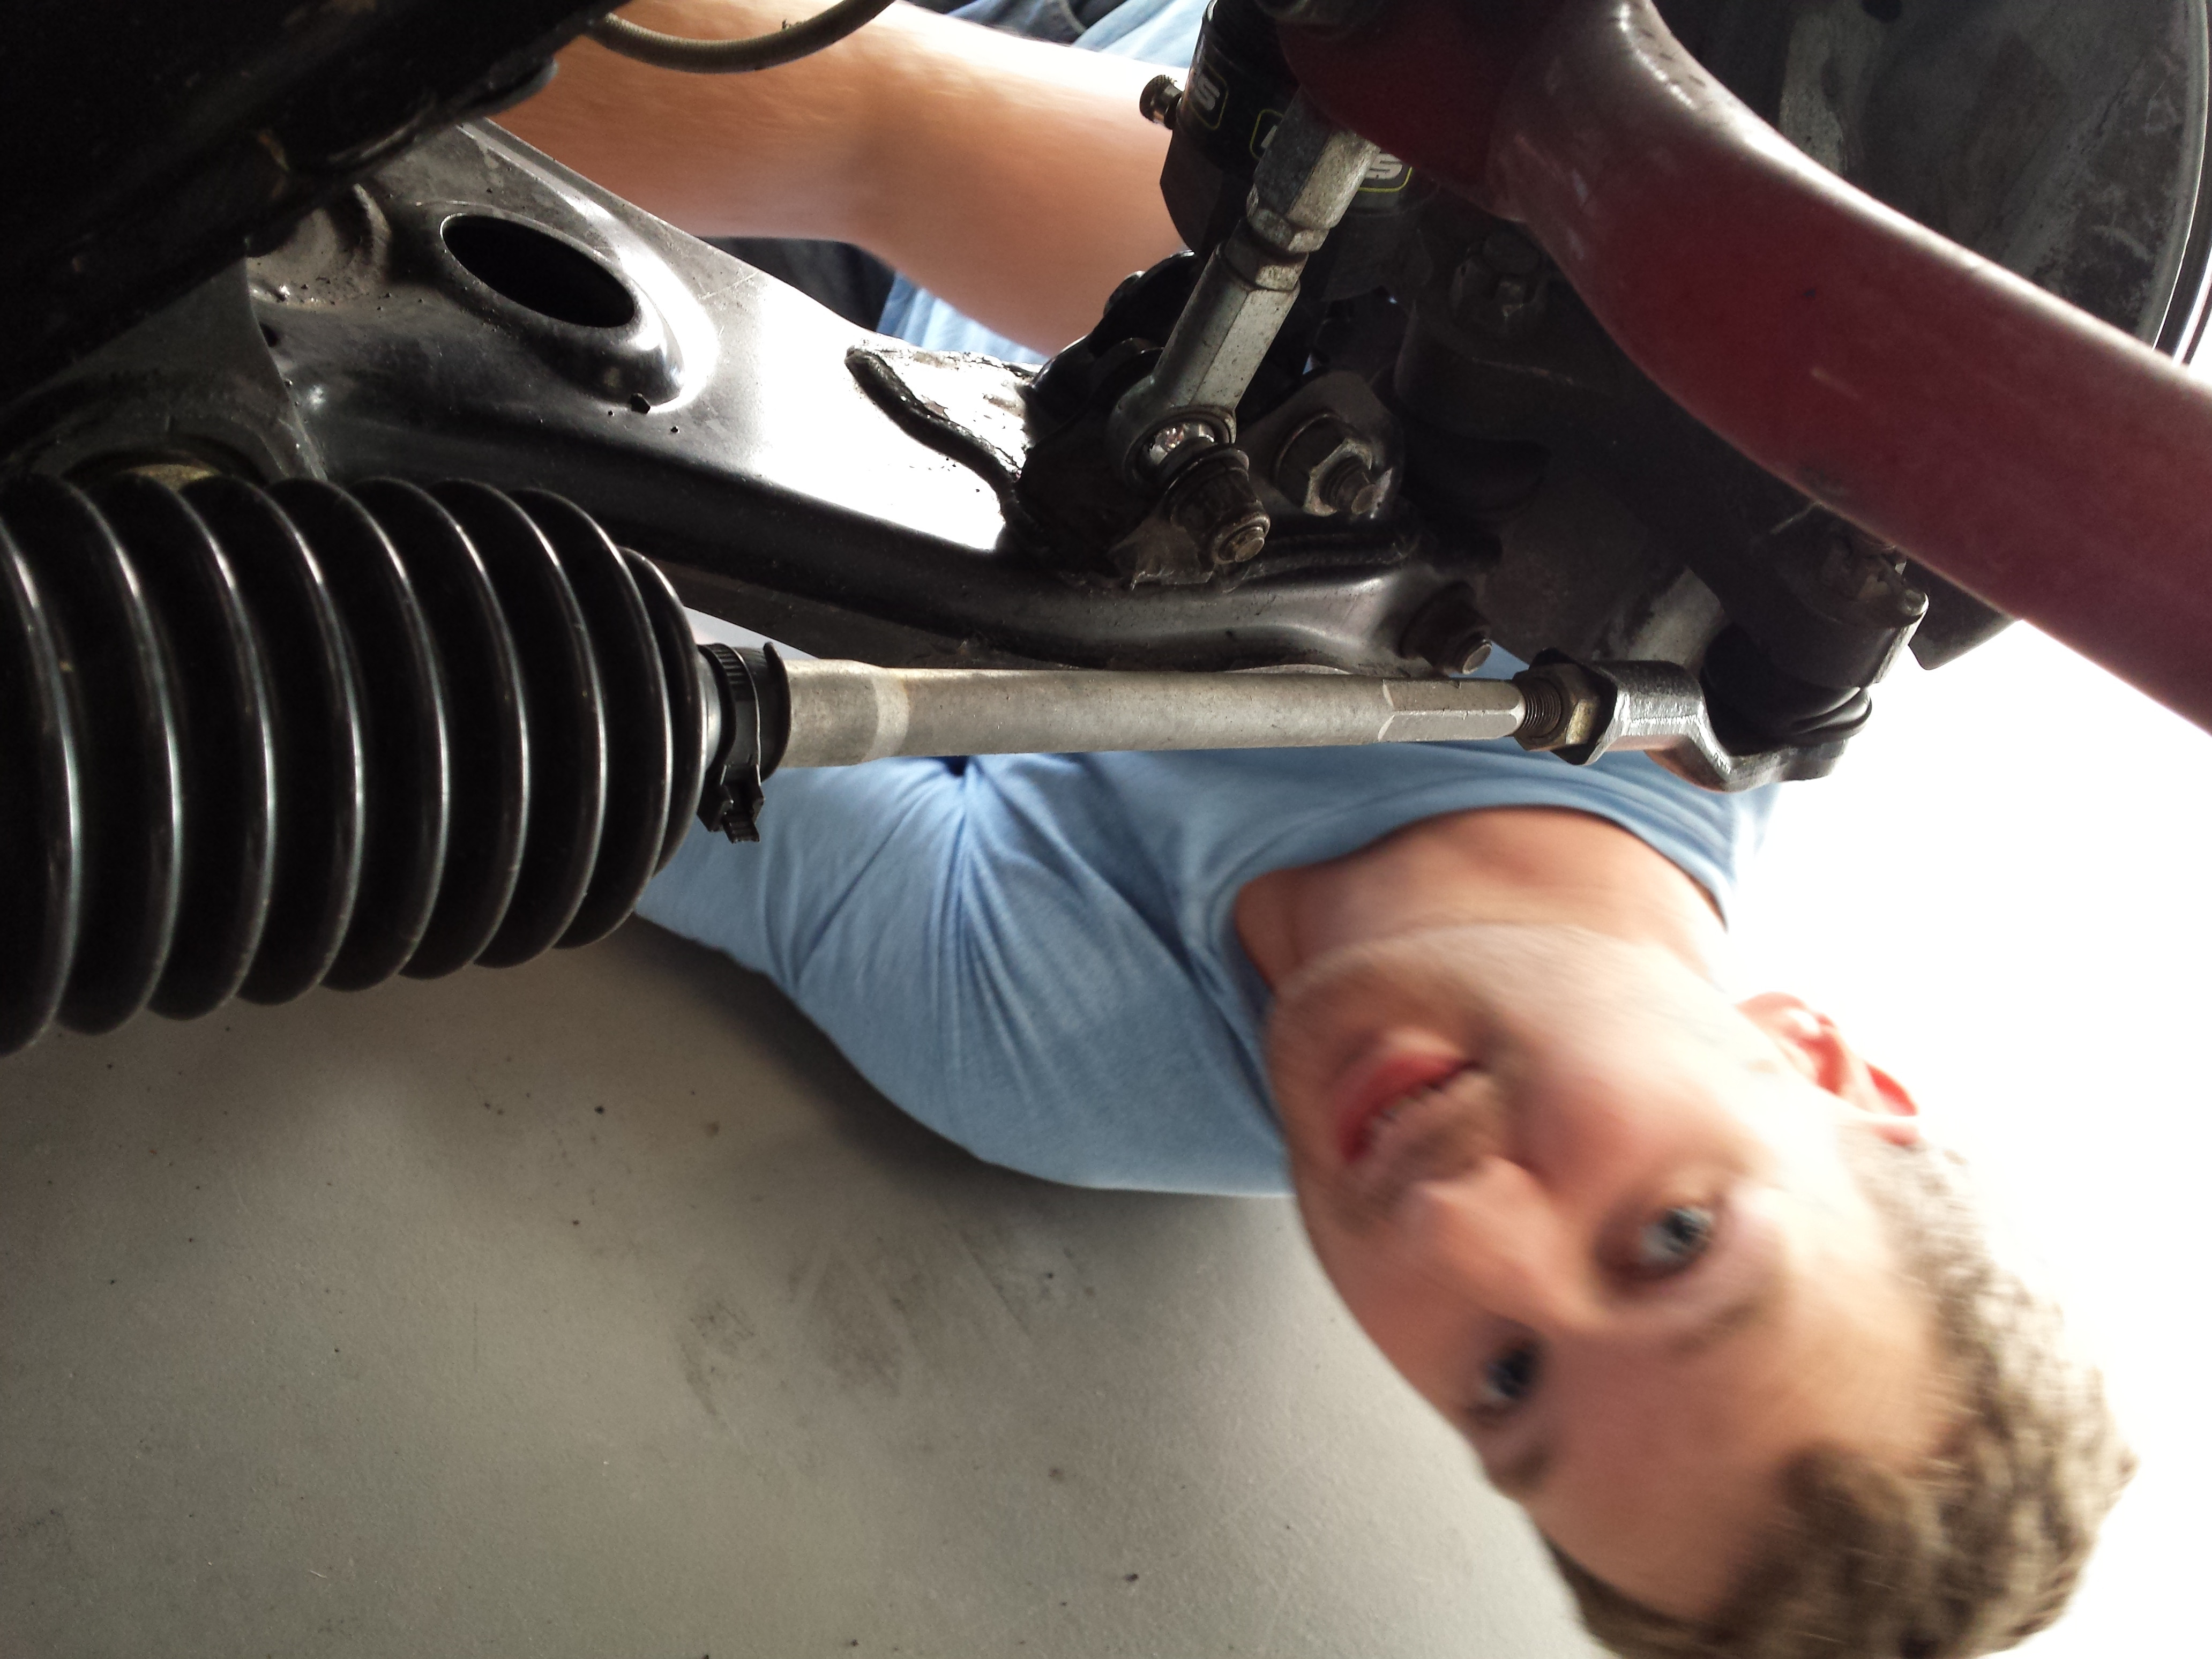
Curly acting like he doesn't know what he's doing, plot twist he does.
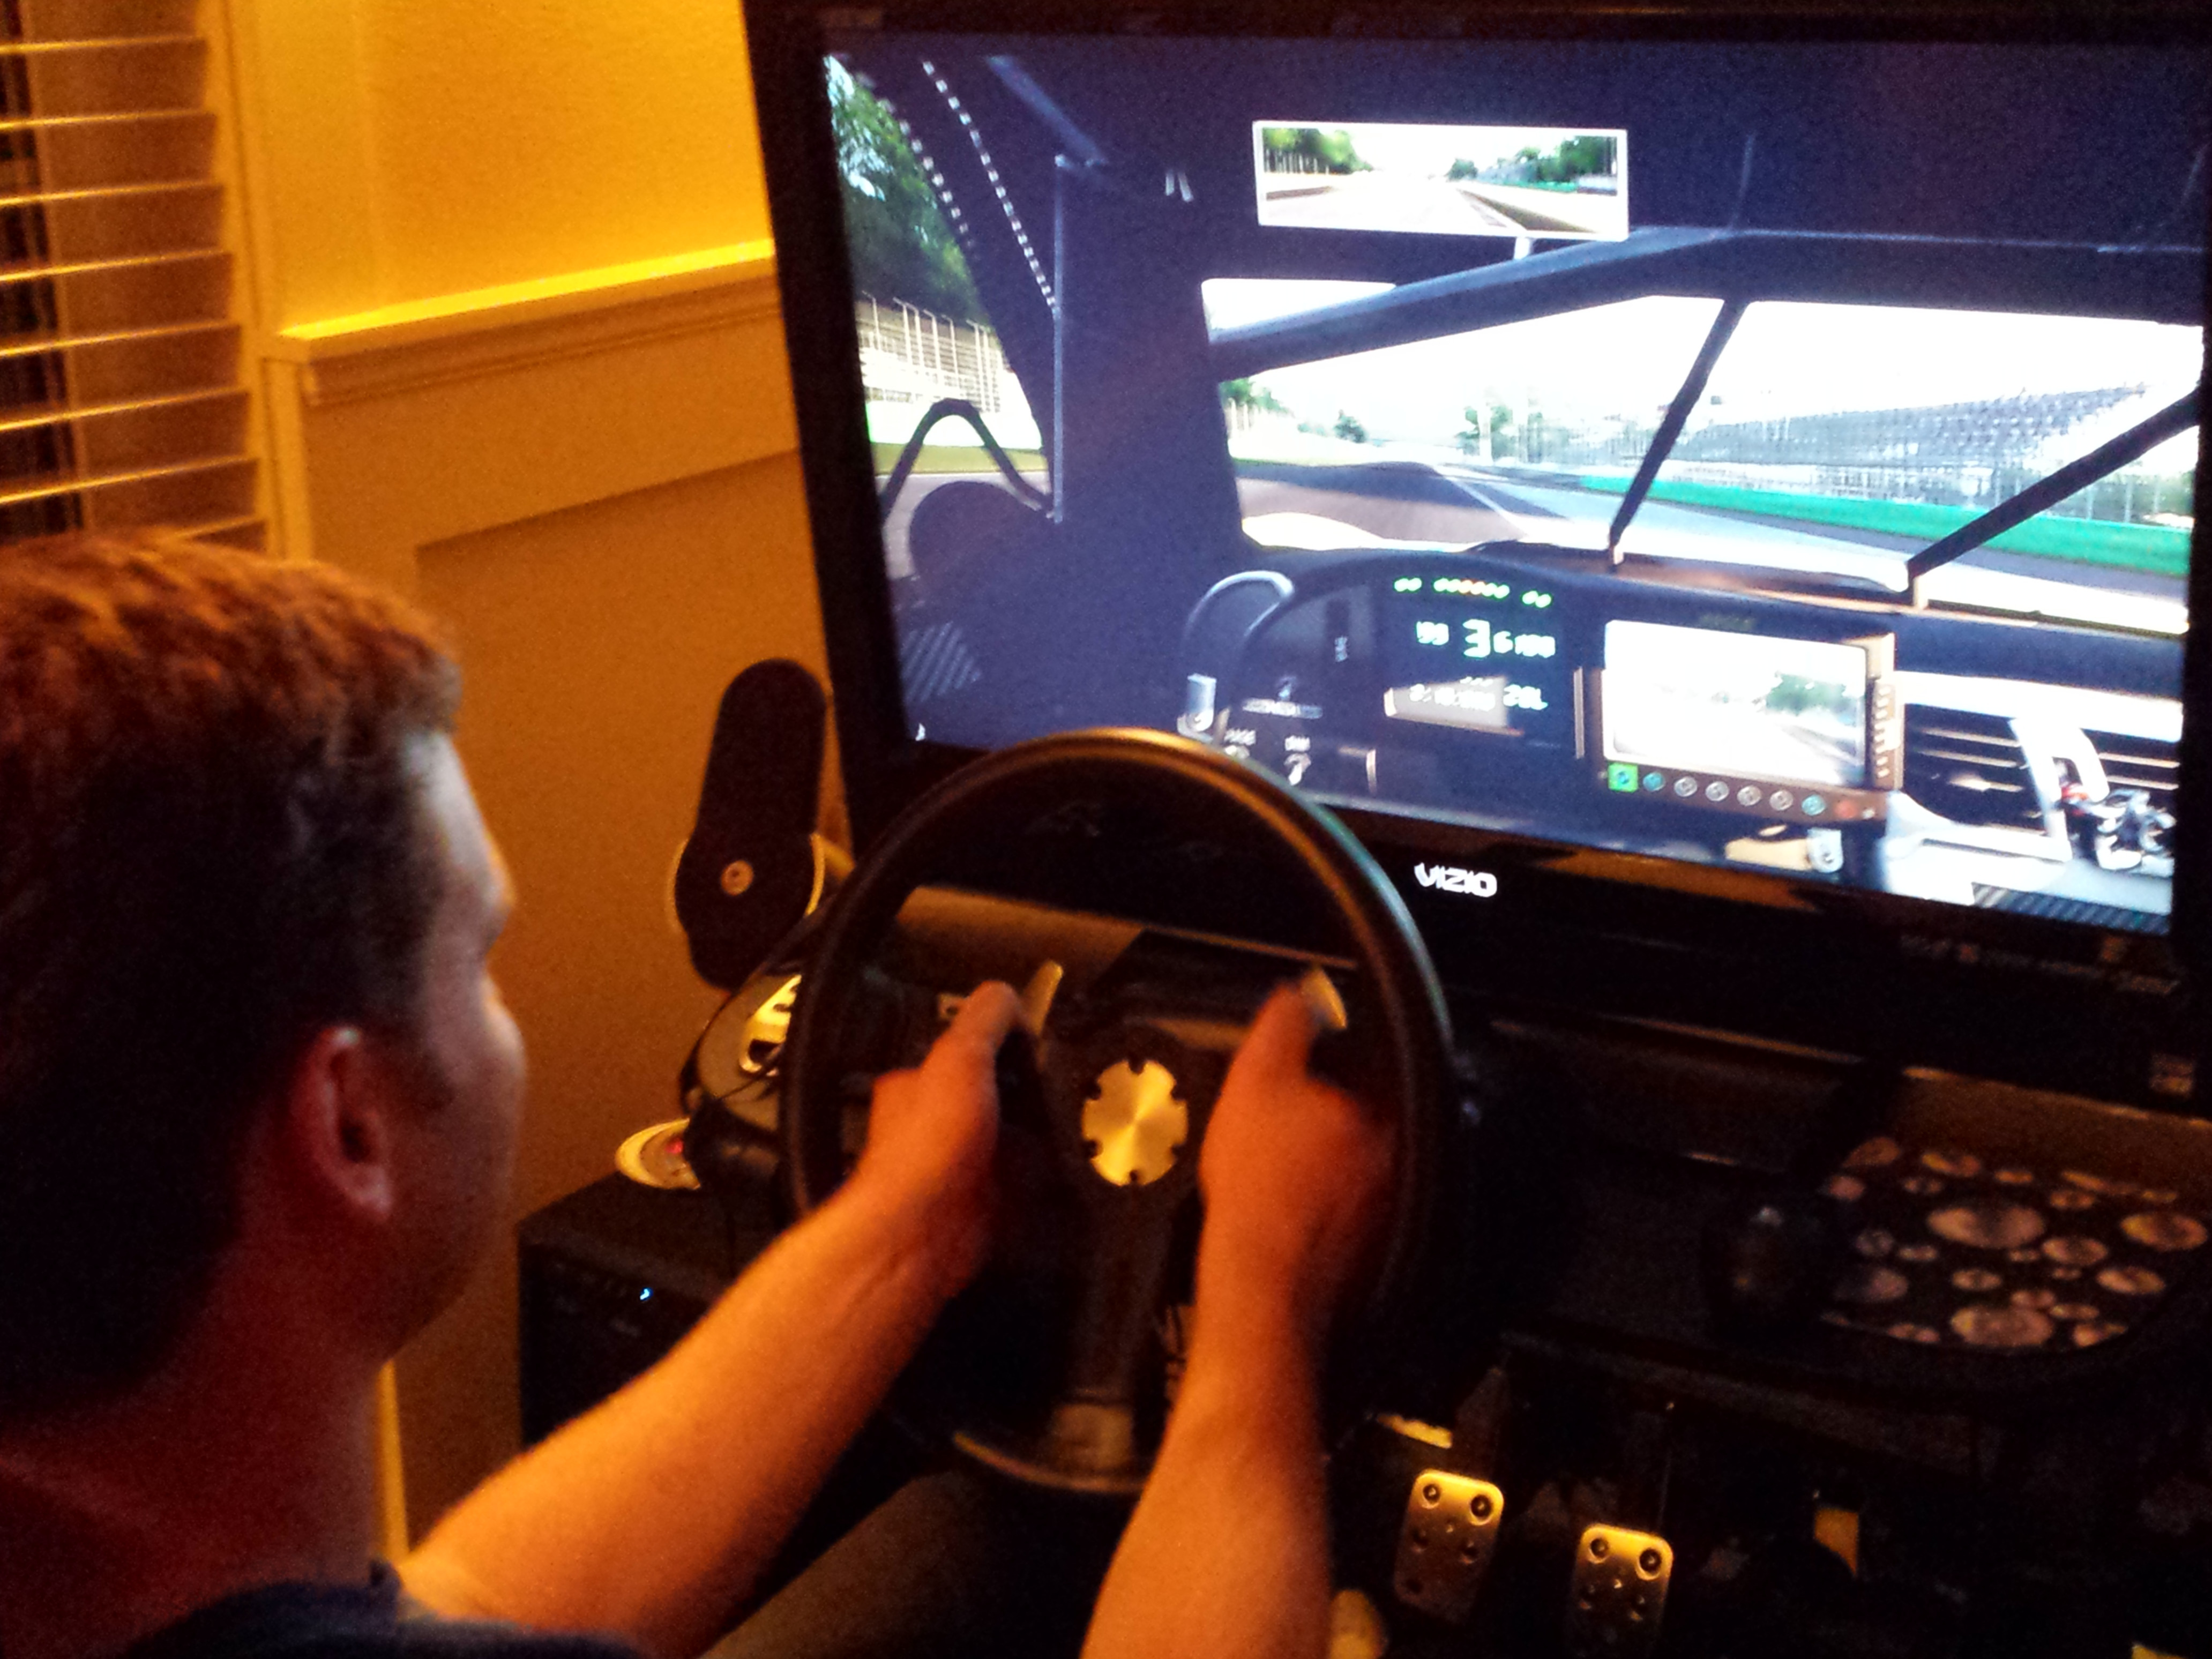
But he doesn't know how to sim race. What is this hand technique?
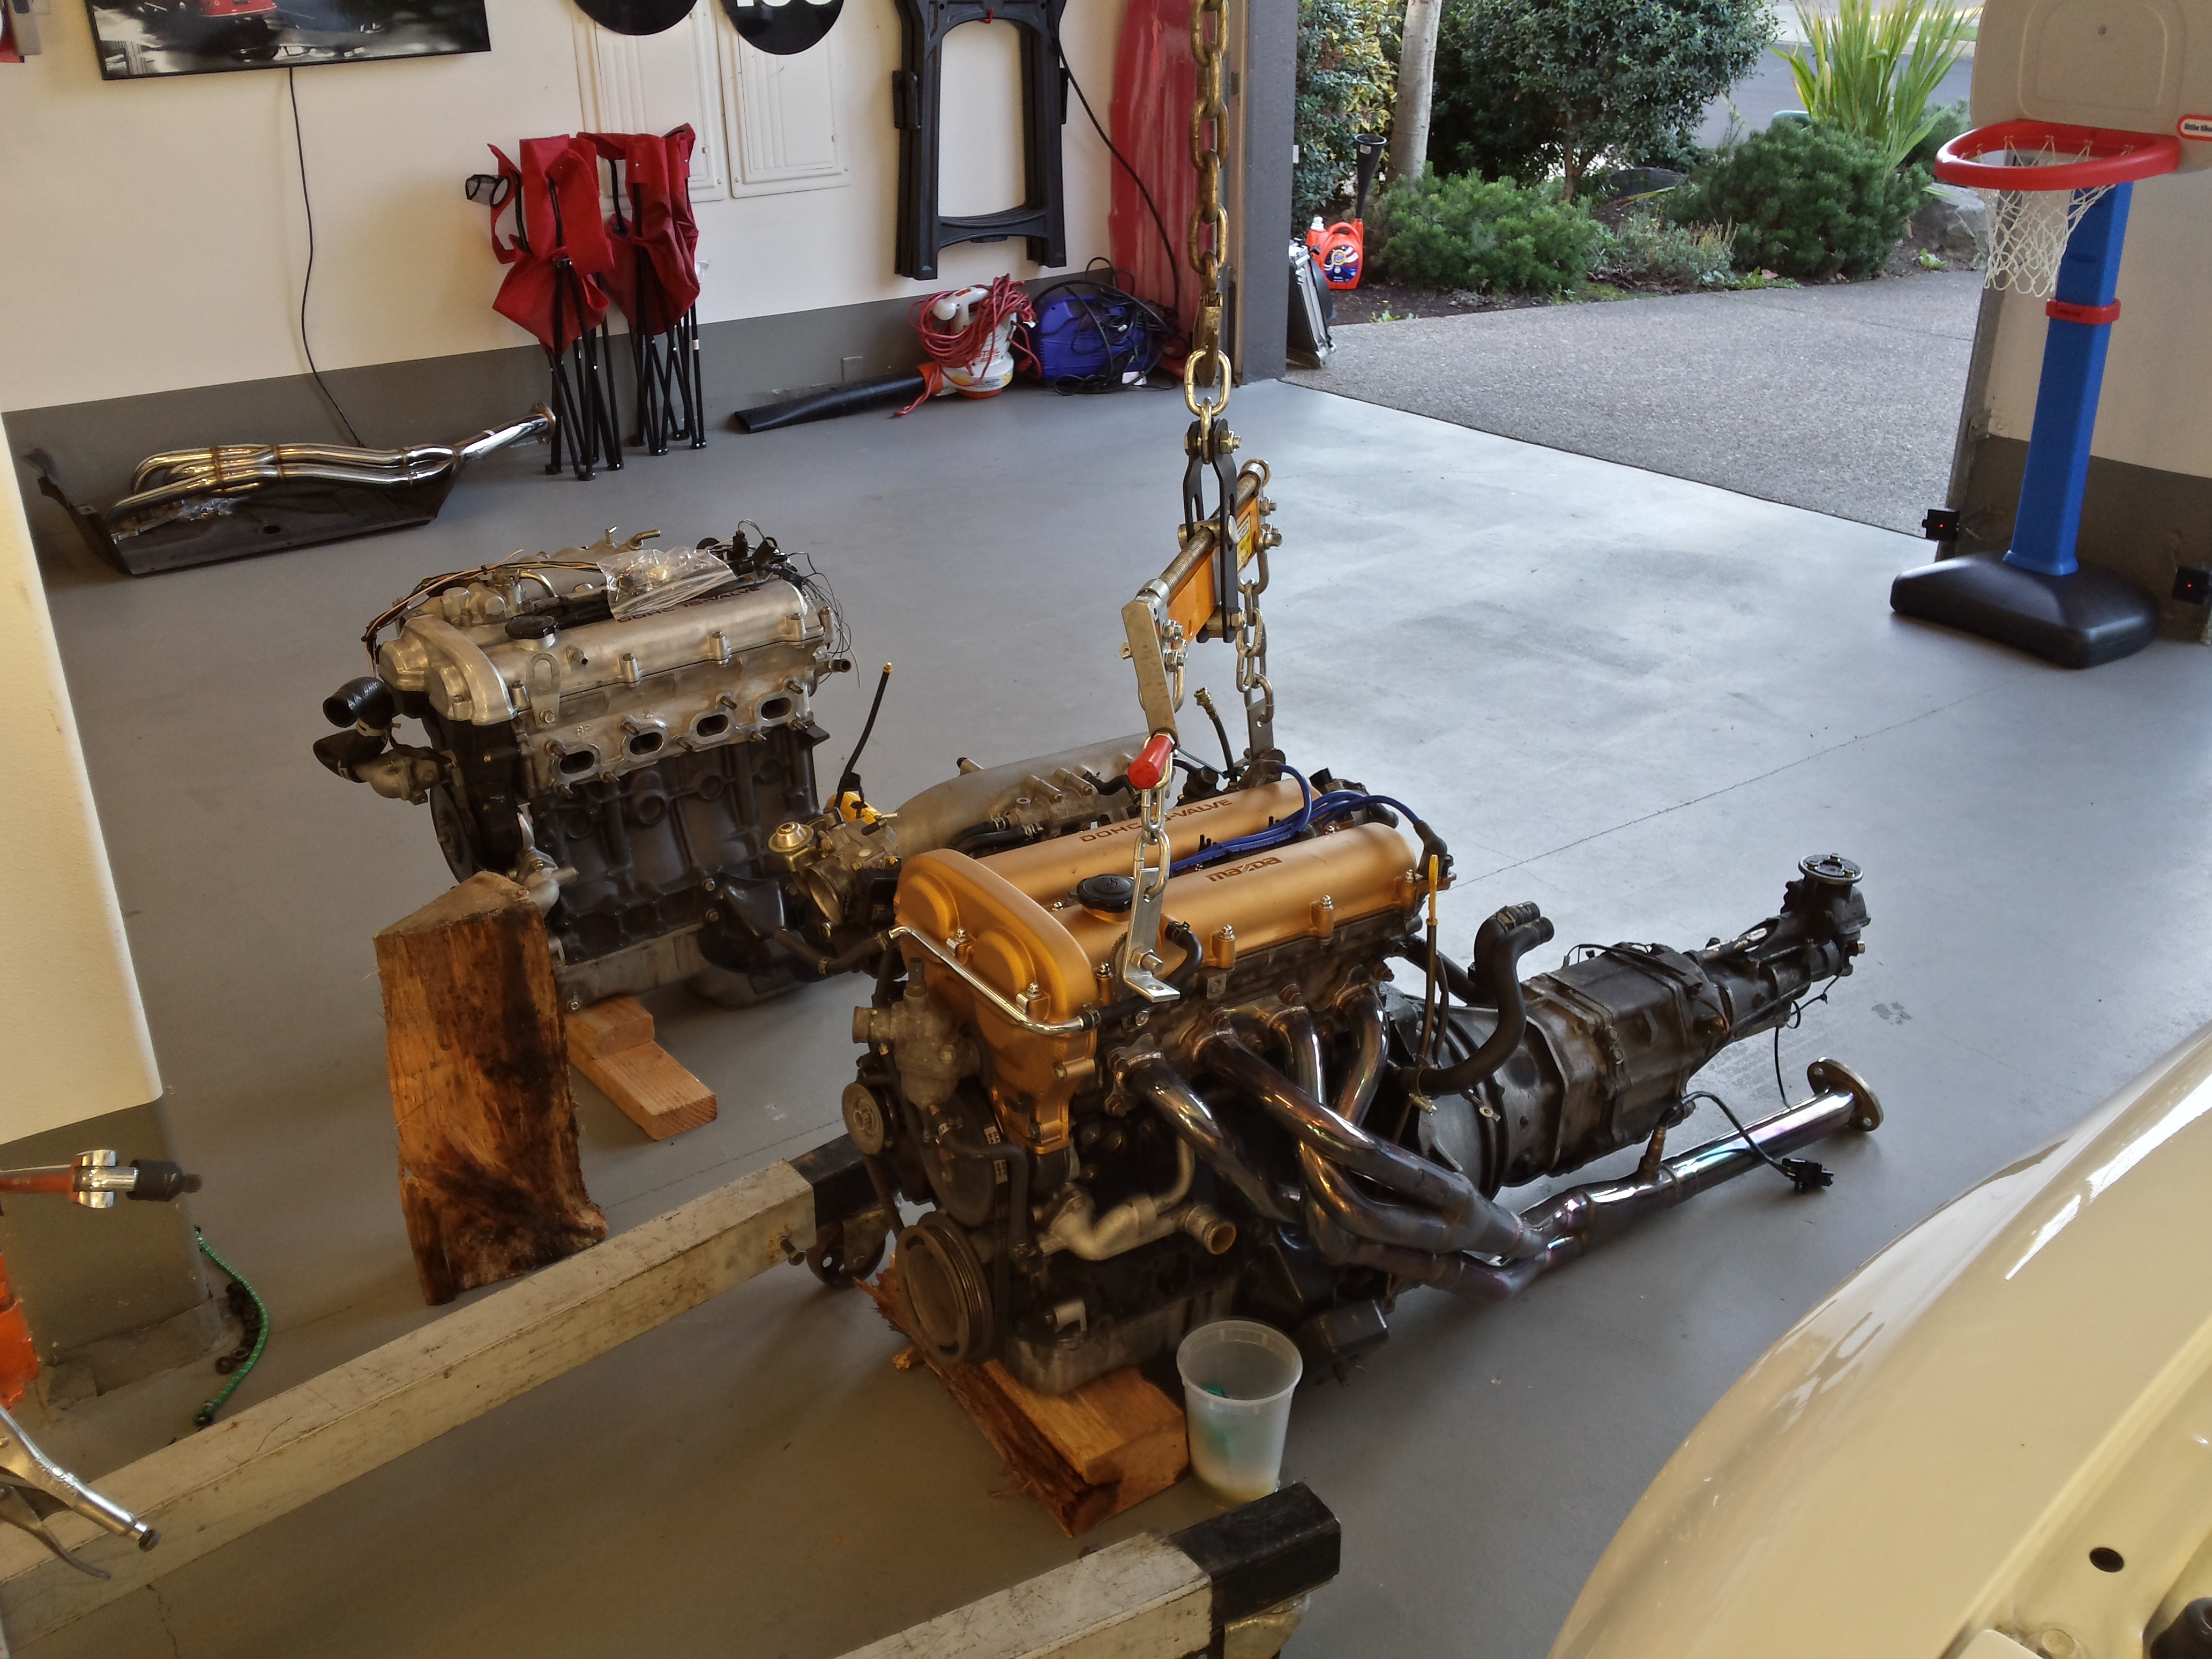
Healthy but extremely grimey and oily 1.6 is out.
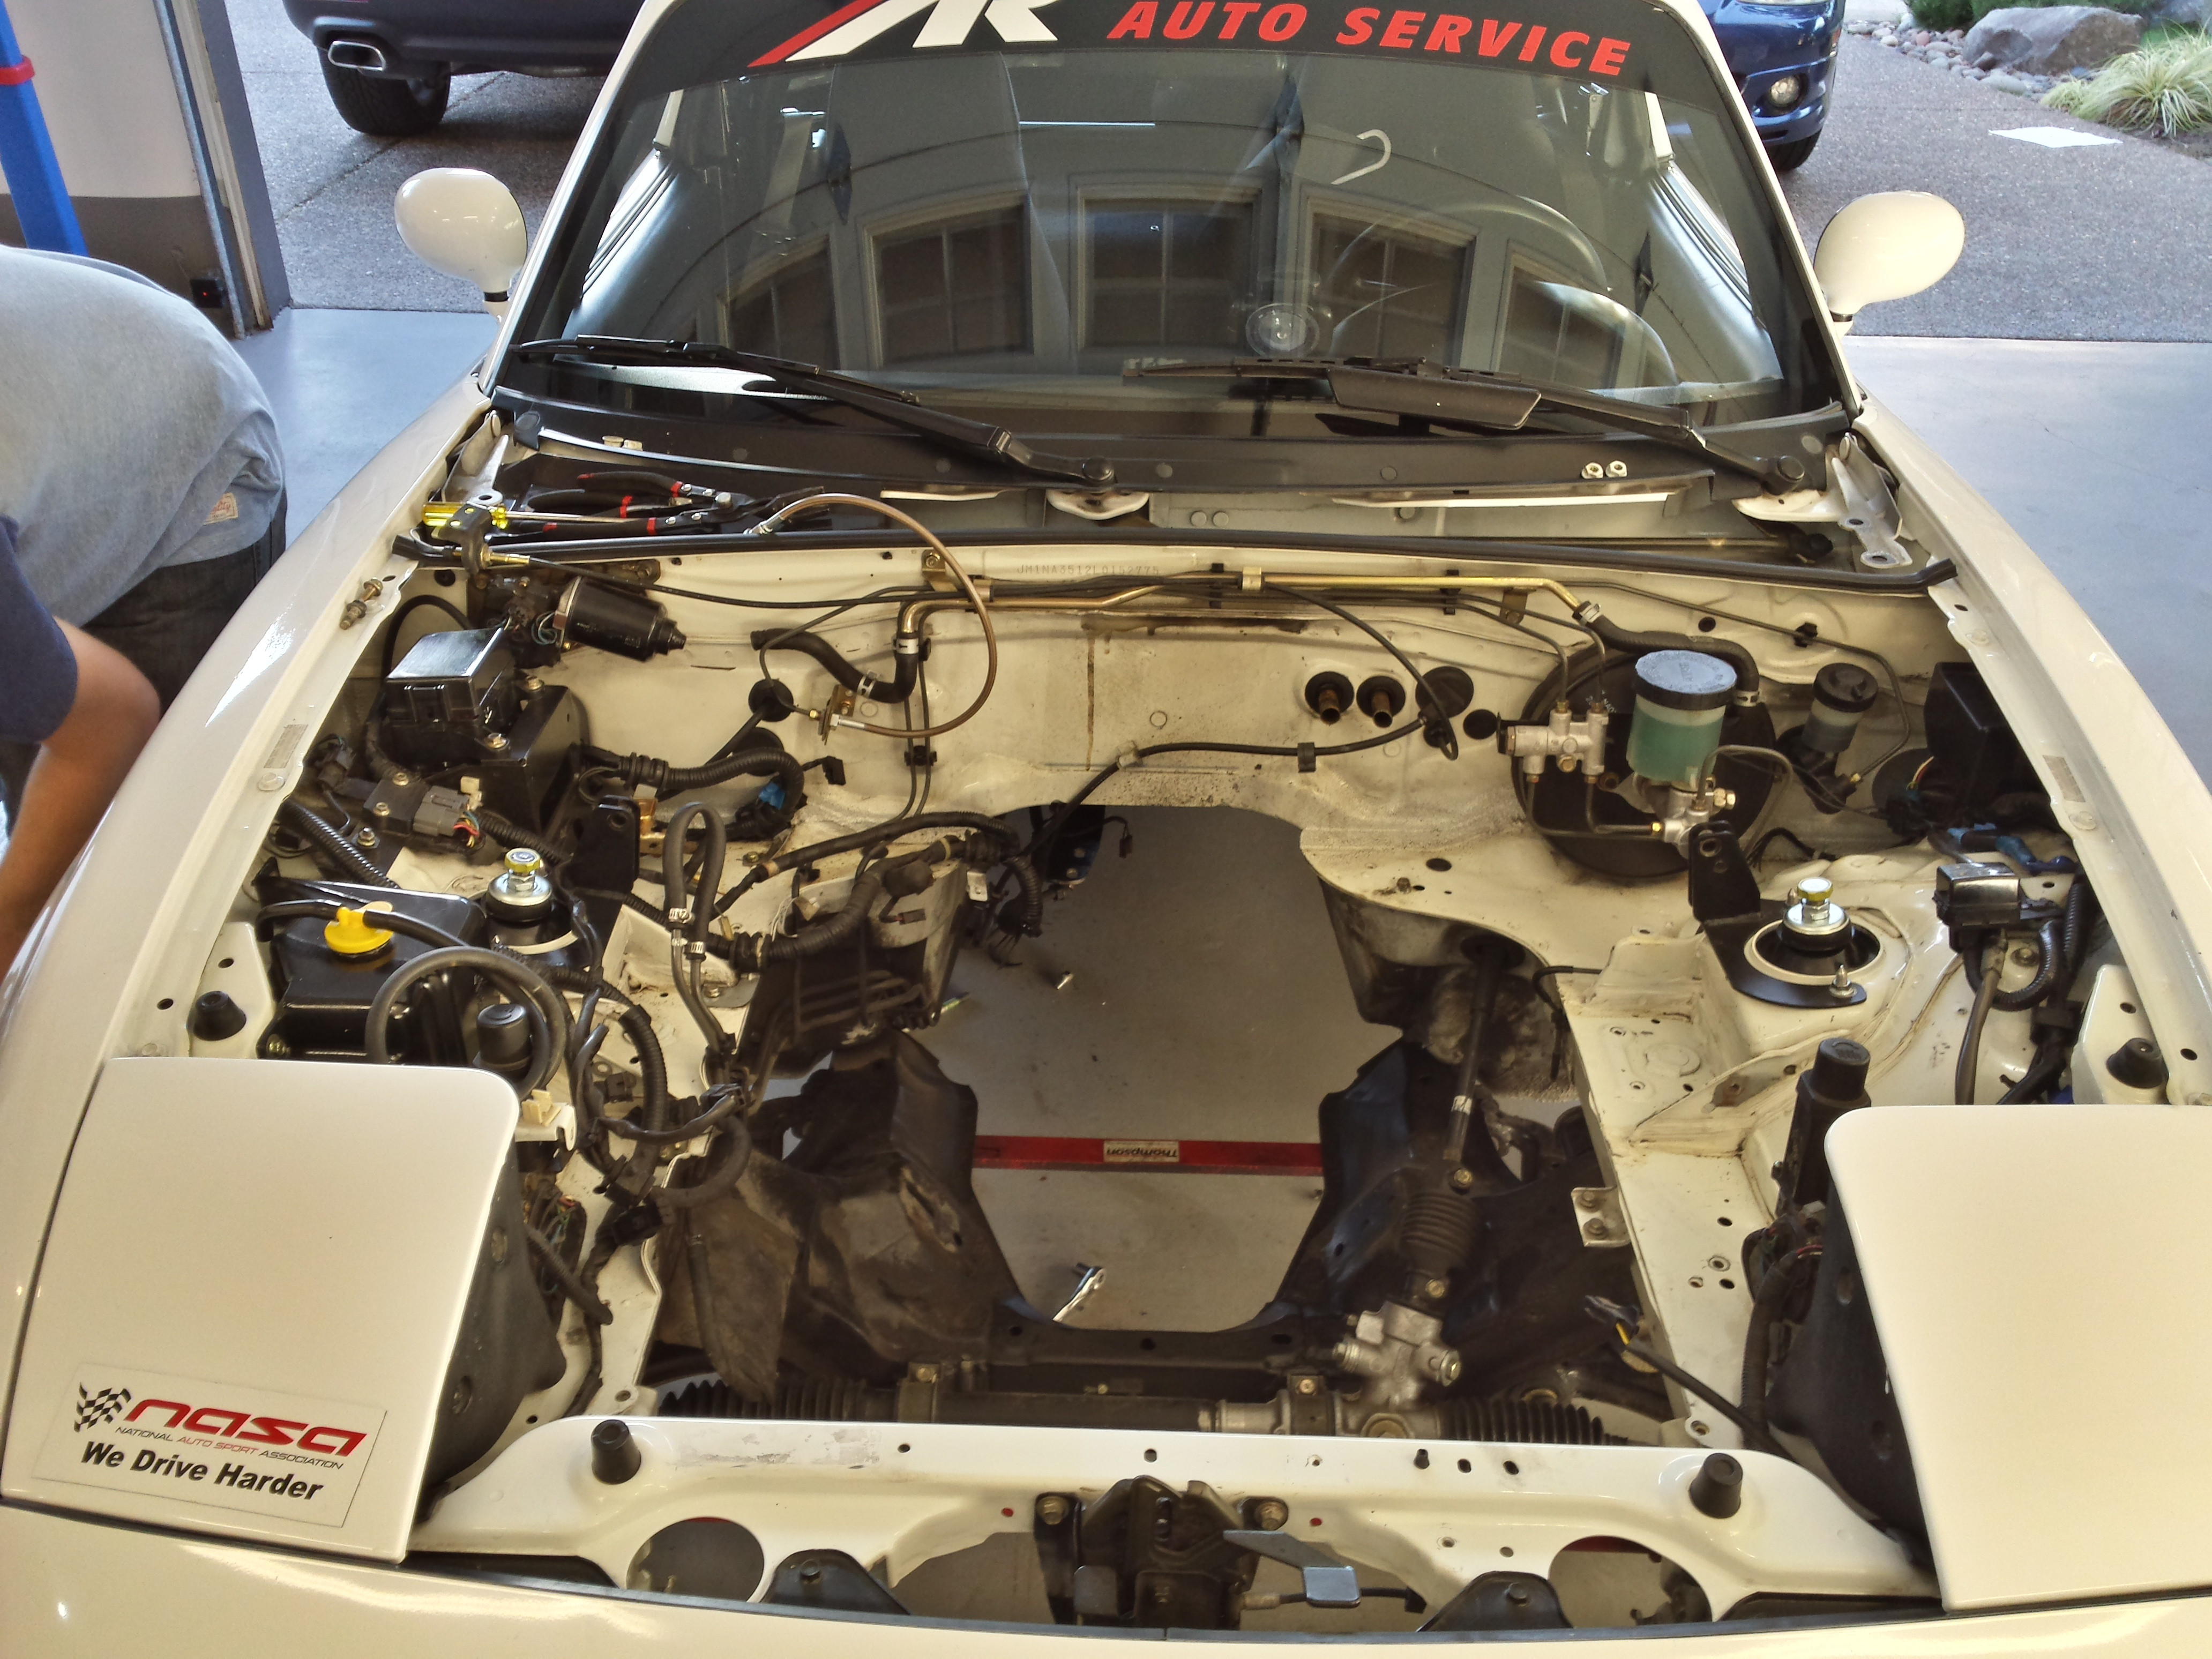
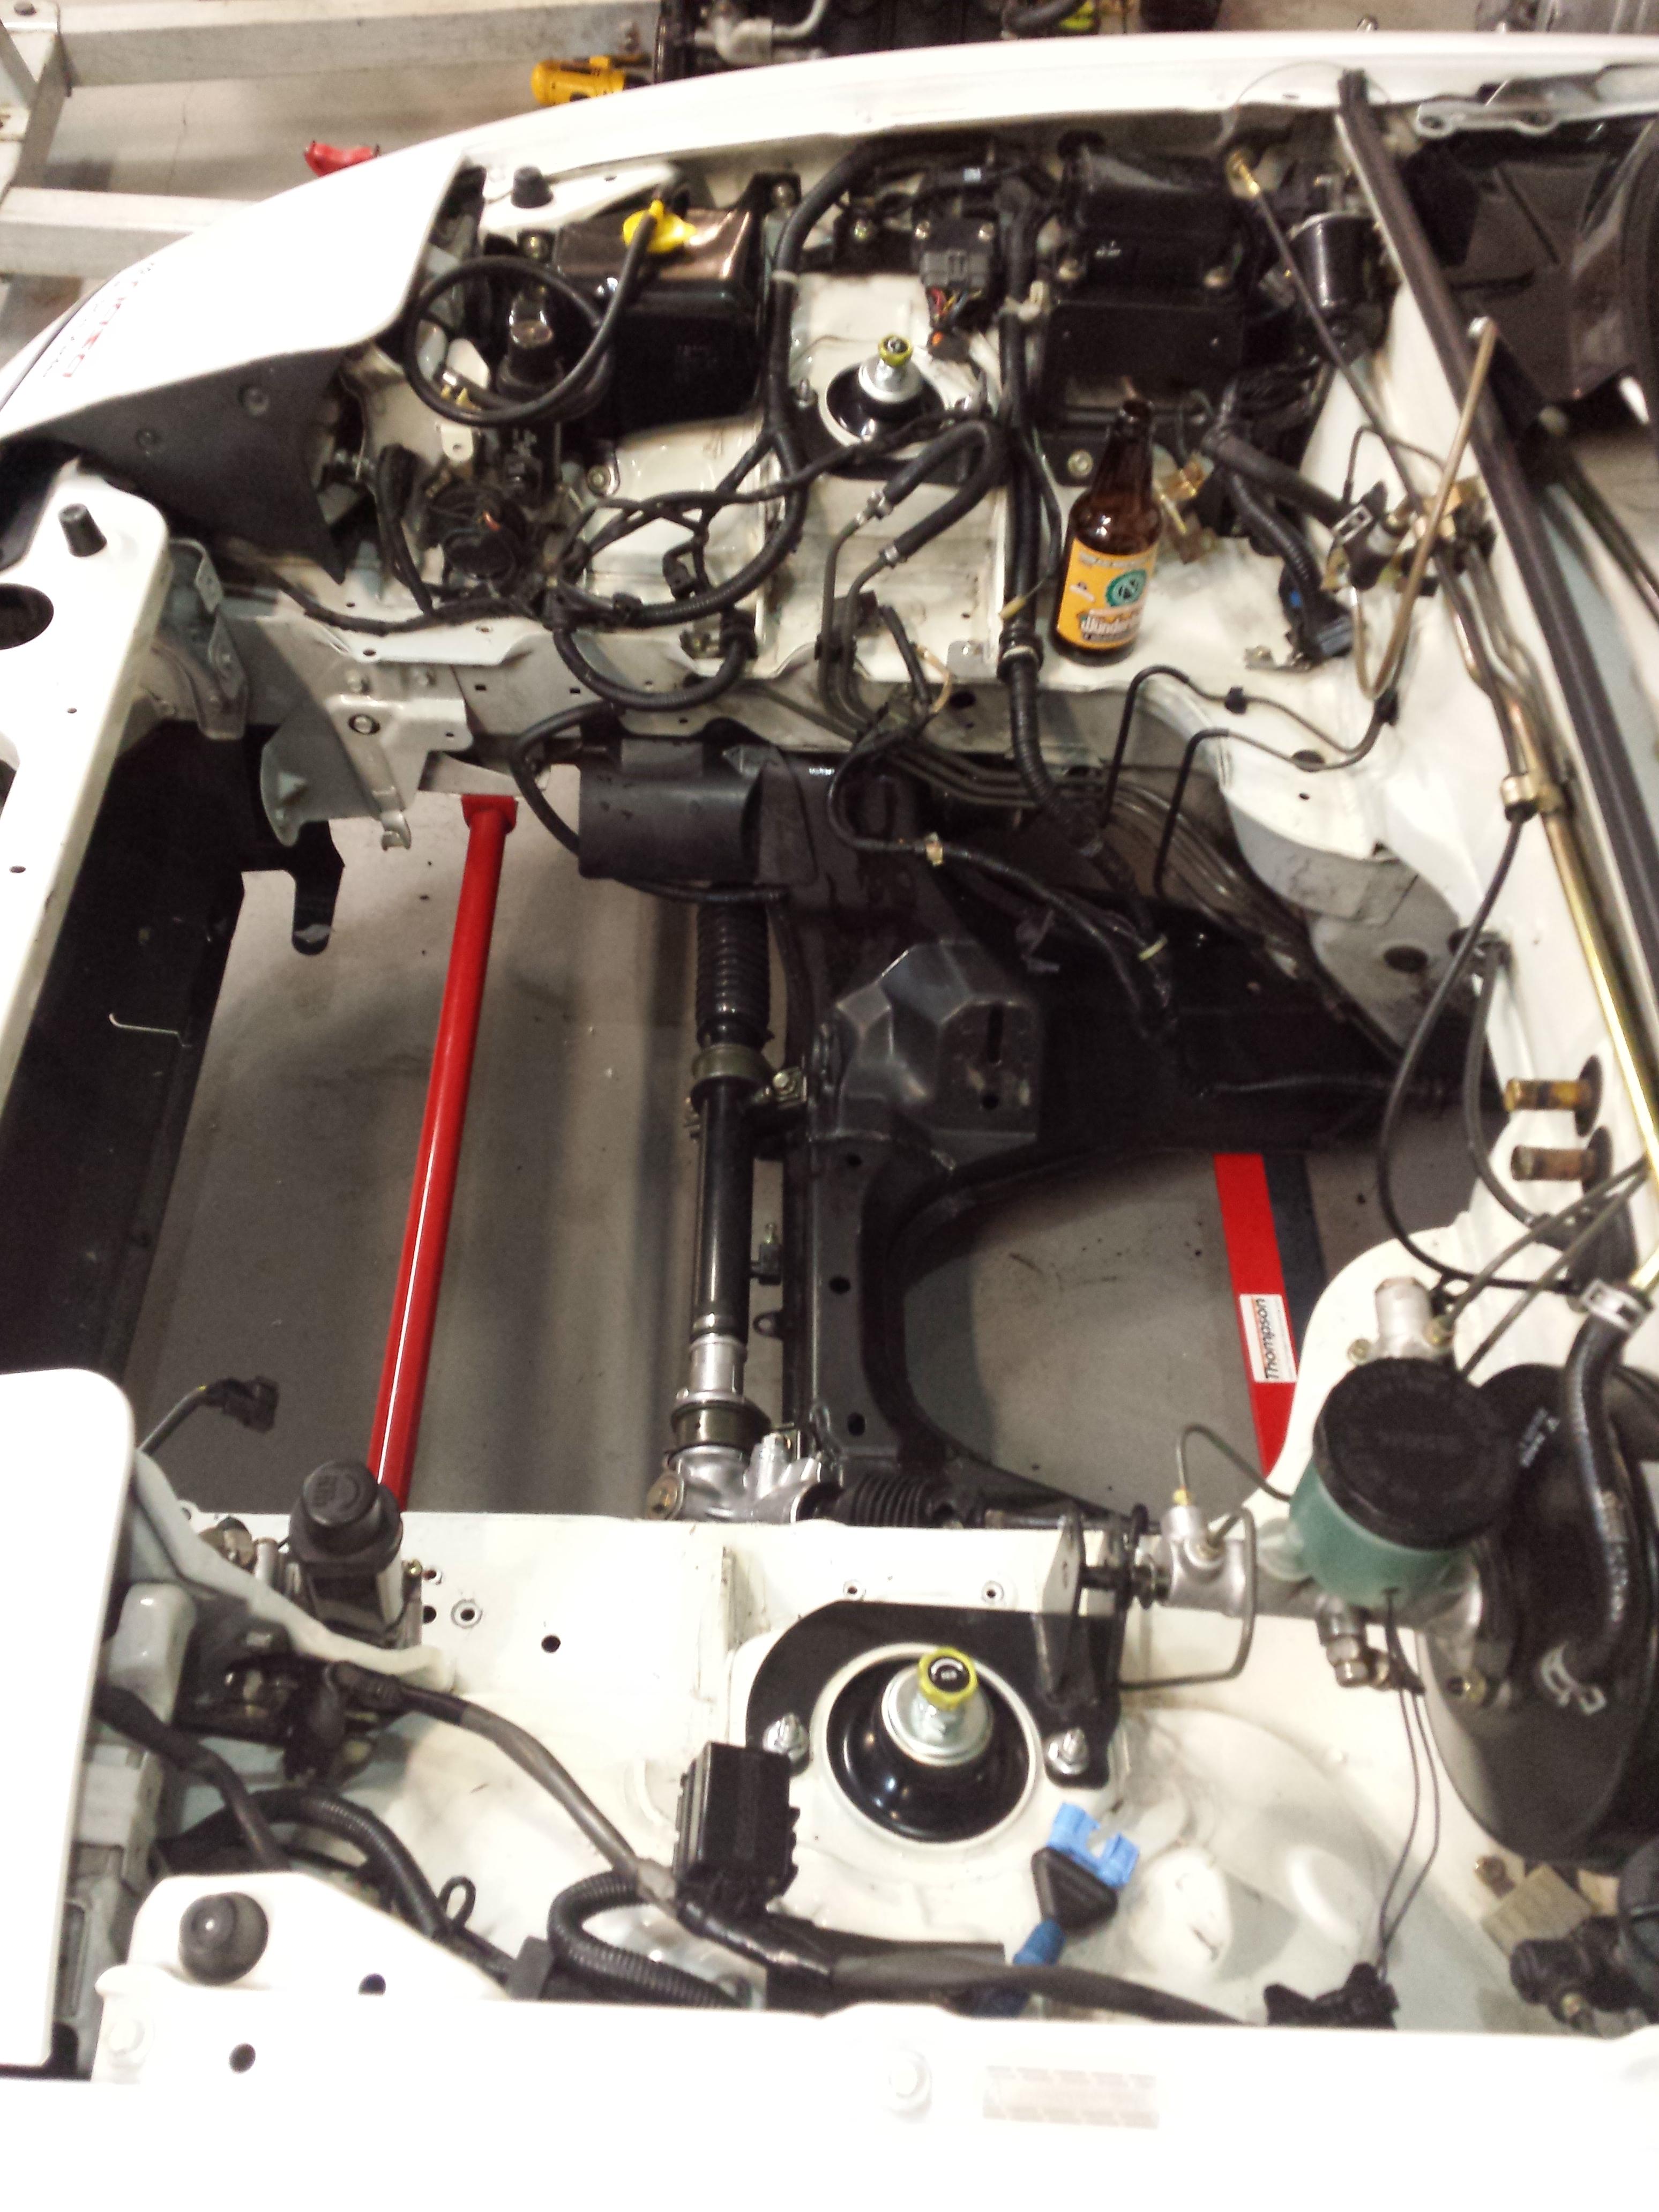
Empty engine bay before serious OCD cleaning began.
Curly acting like he doesn't know what he's doing, plot twist he does.
But he doesn't know how to sim race. What is this hand technique?
Healthy but extremely grimey and oily 1.6 is out.
Empty engine bay before serious OCD cleaning began.
Reply
1
1
10-08-2014, 03:46 AM
#85
Junior Member
Thread Starter
Join Date: Apr 2011
Posts: 205
Total Cats: 12
Sprayed engine bay and subframe down heavily with Simple Green, scrub brush and pushed it into the driveway for hosing down. Salmon and wildlife be damned. :(
A leaky valve cover over the years made for a thick grime that really needed to be adressed.
The tranny was black as well. More late night scrubbing and beer while Curly did real work.
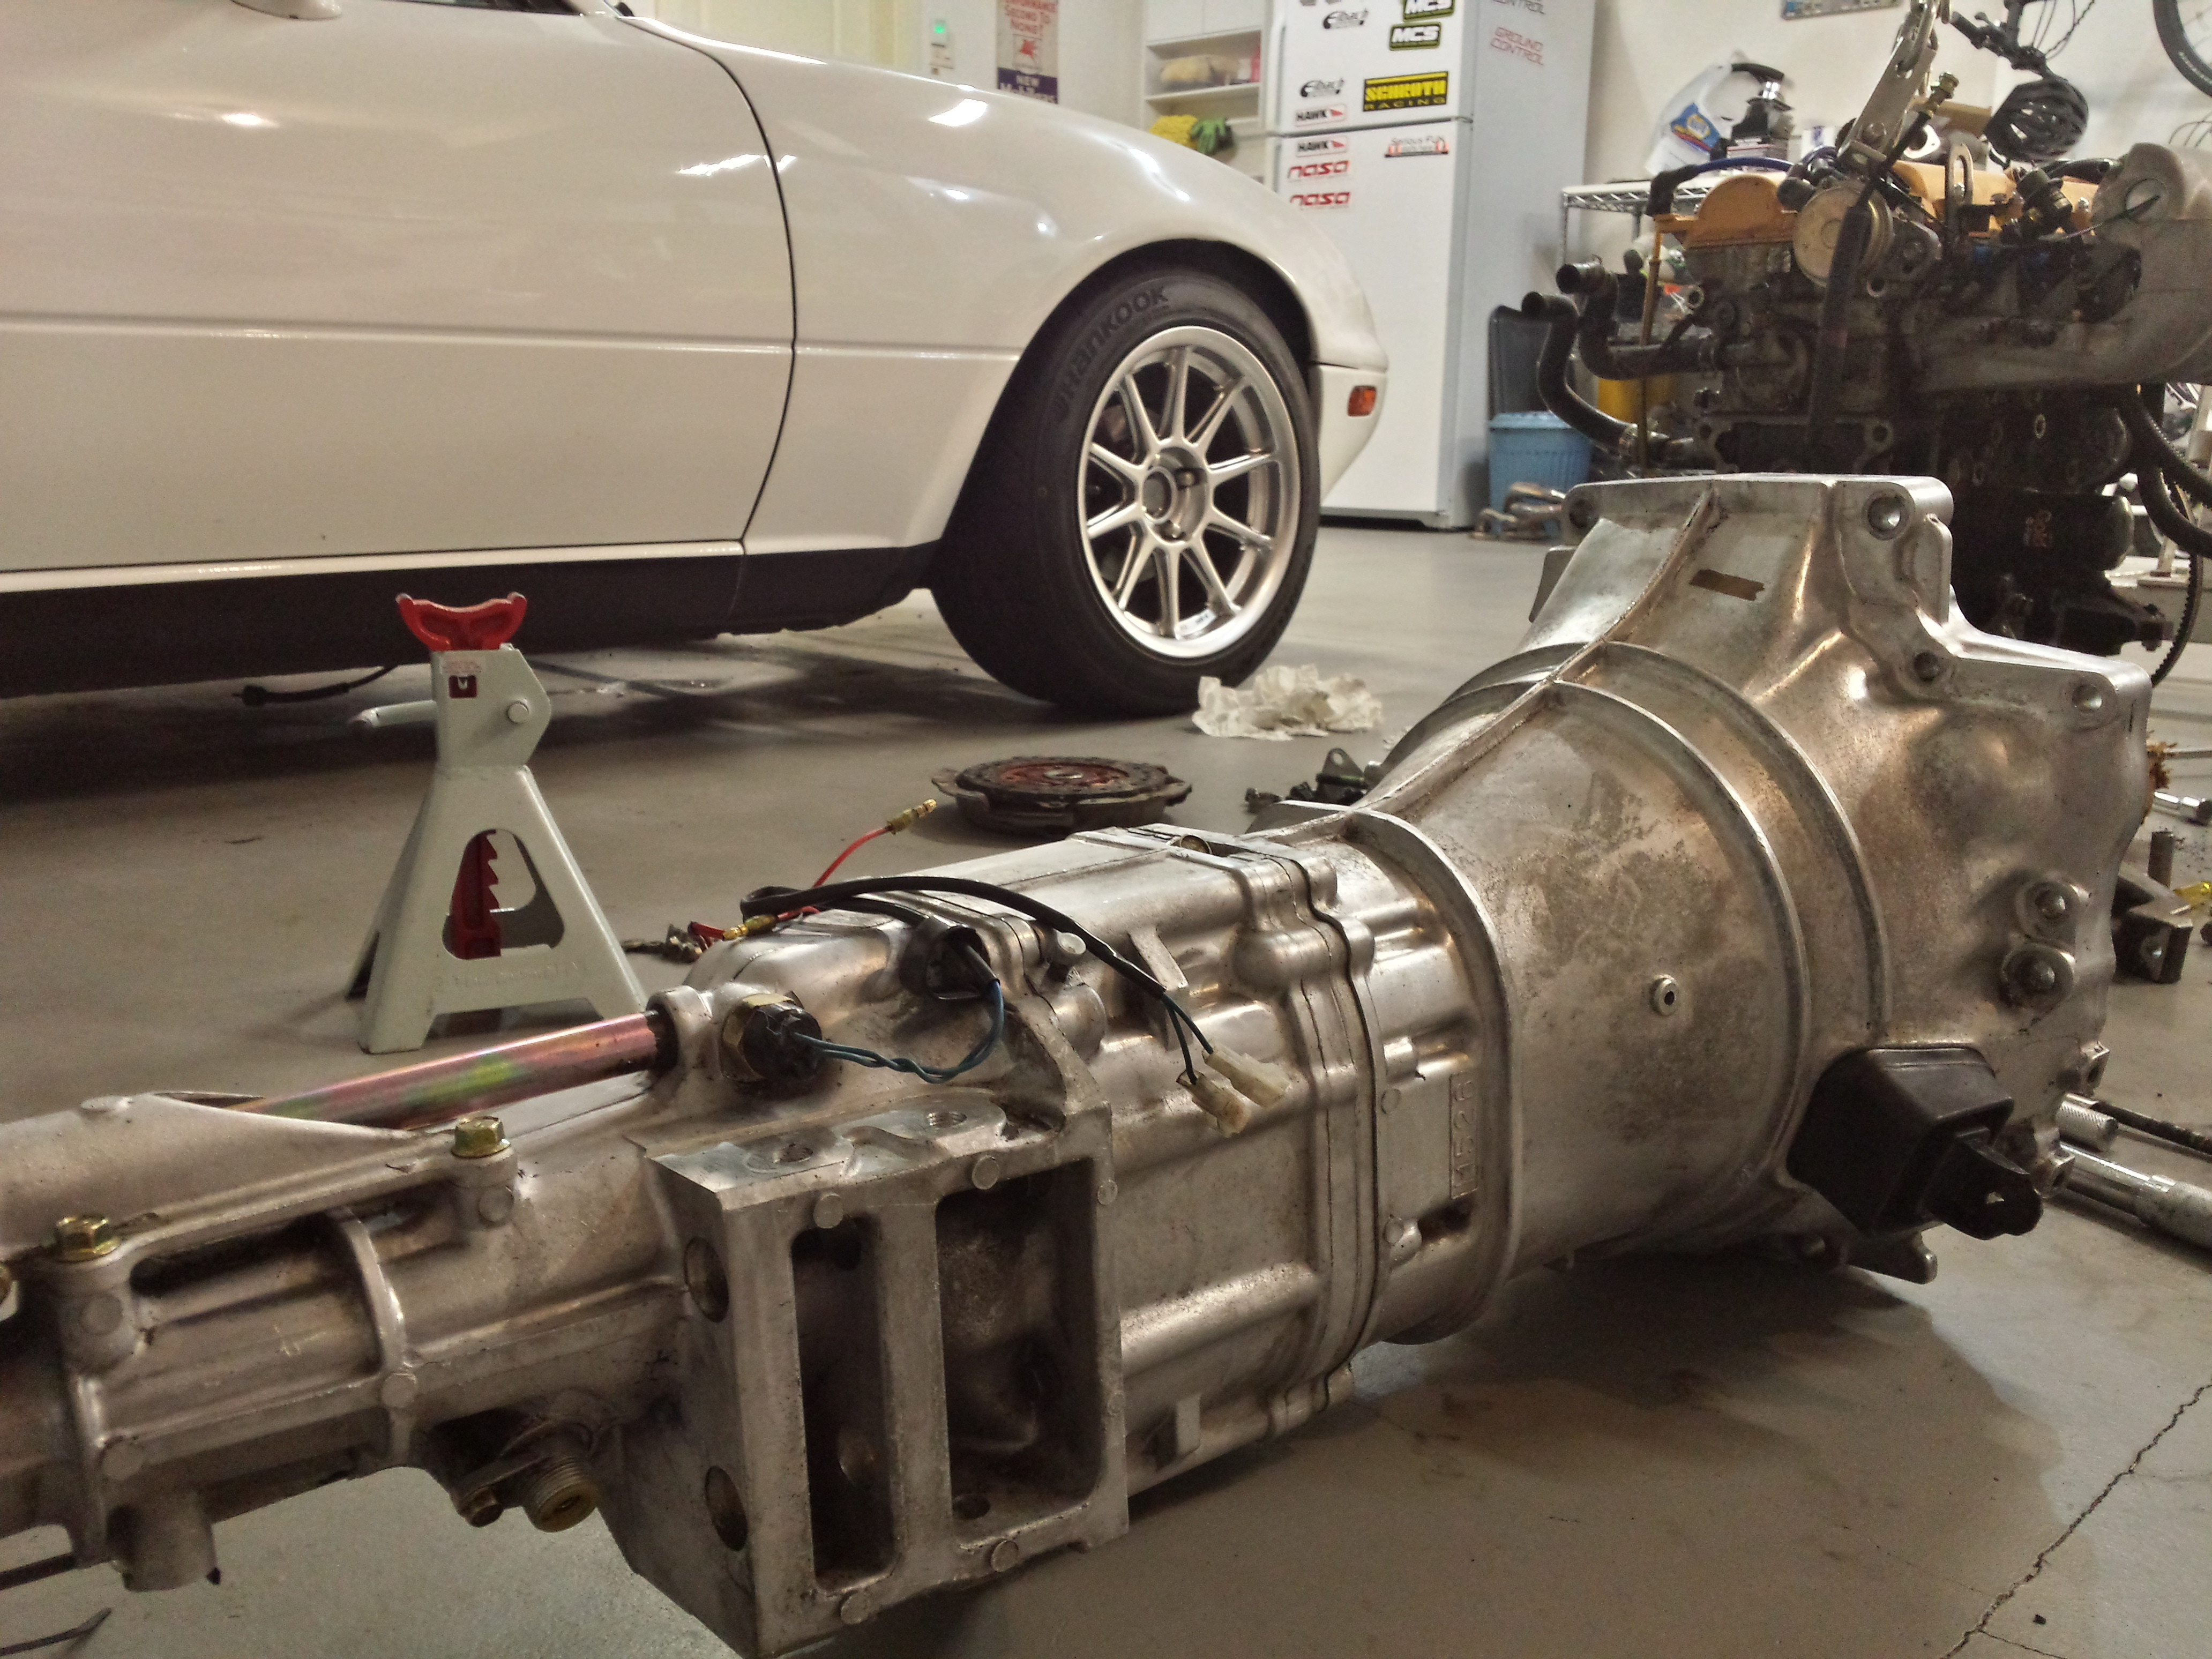
Turned out pretty well.
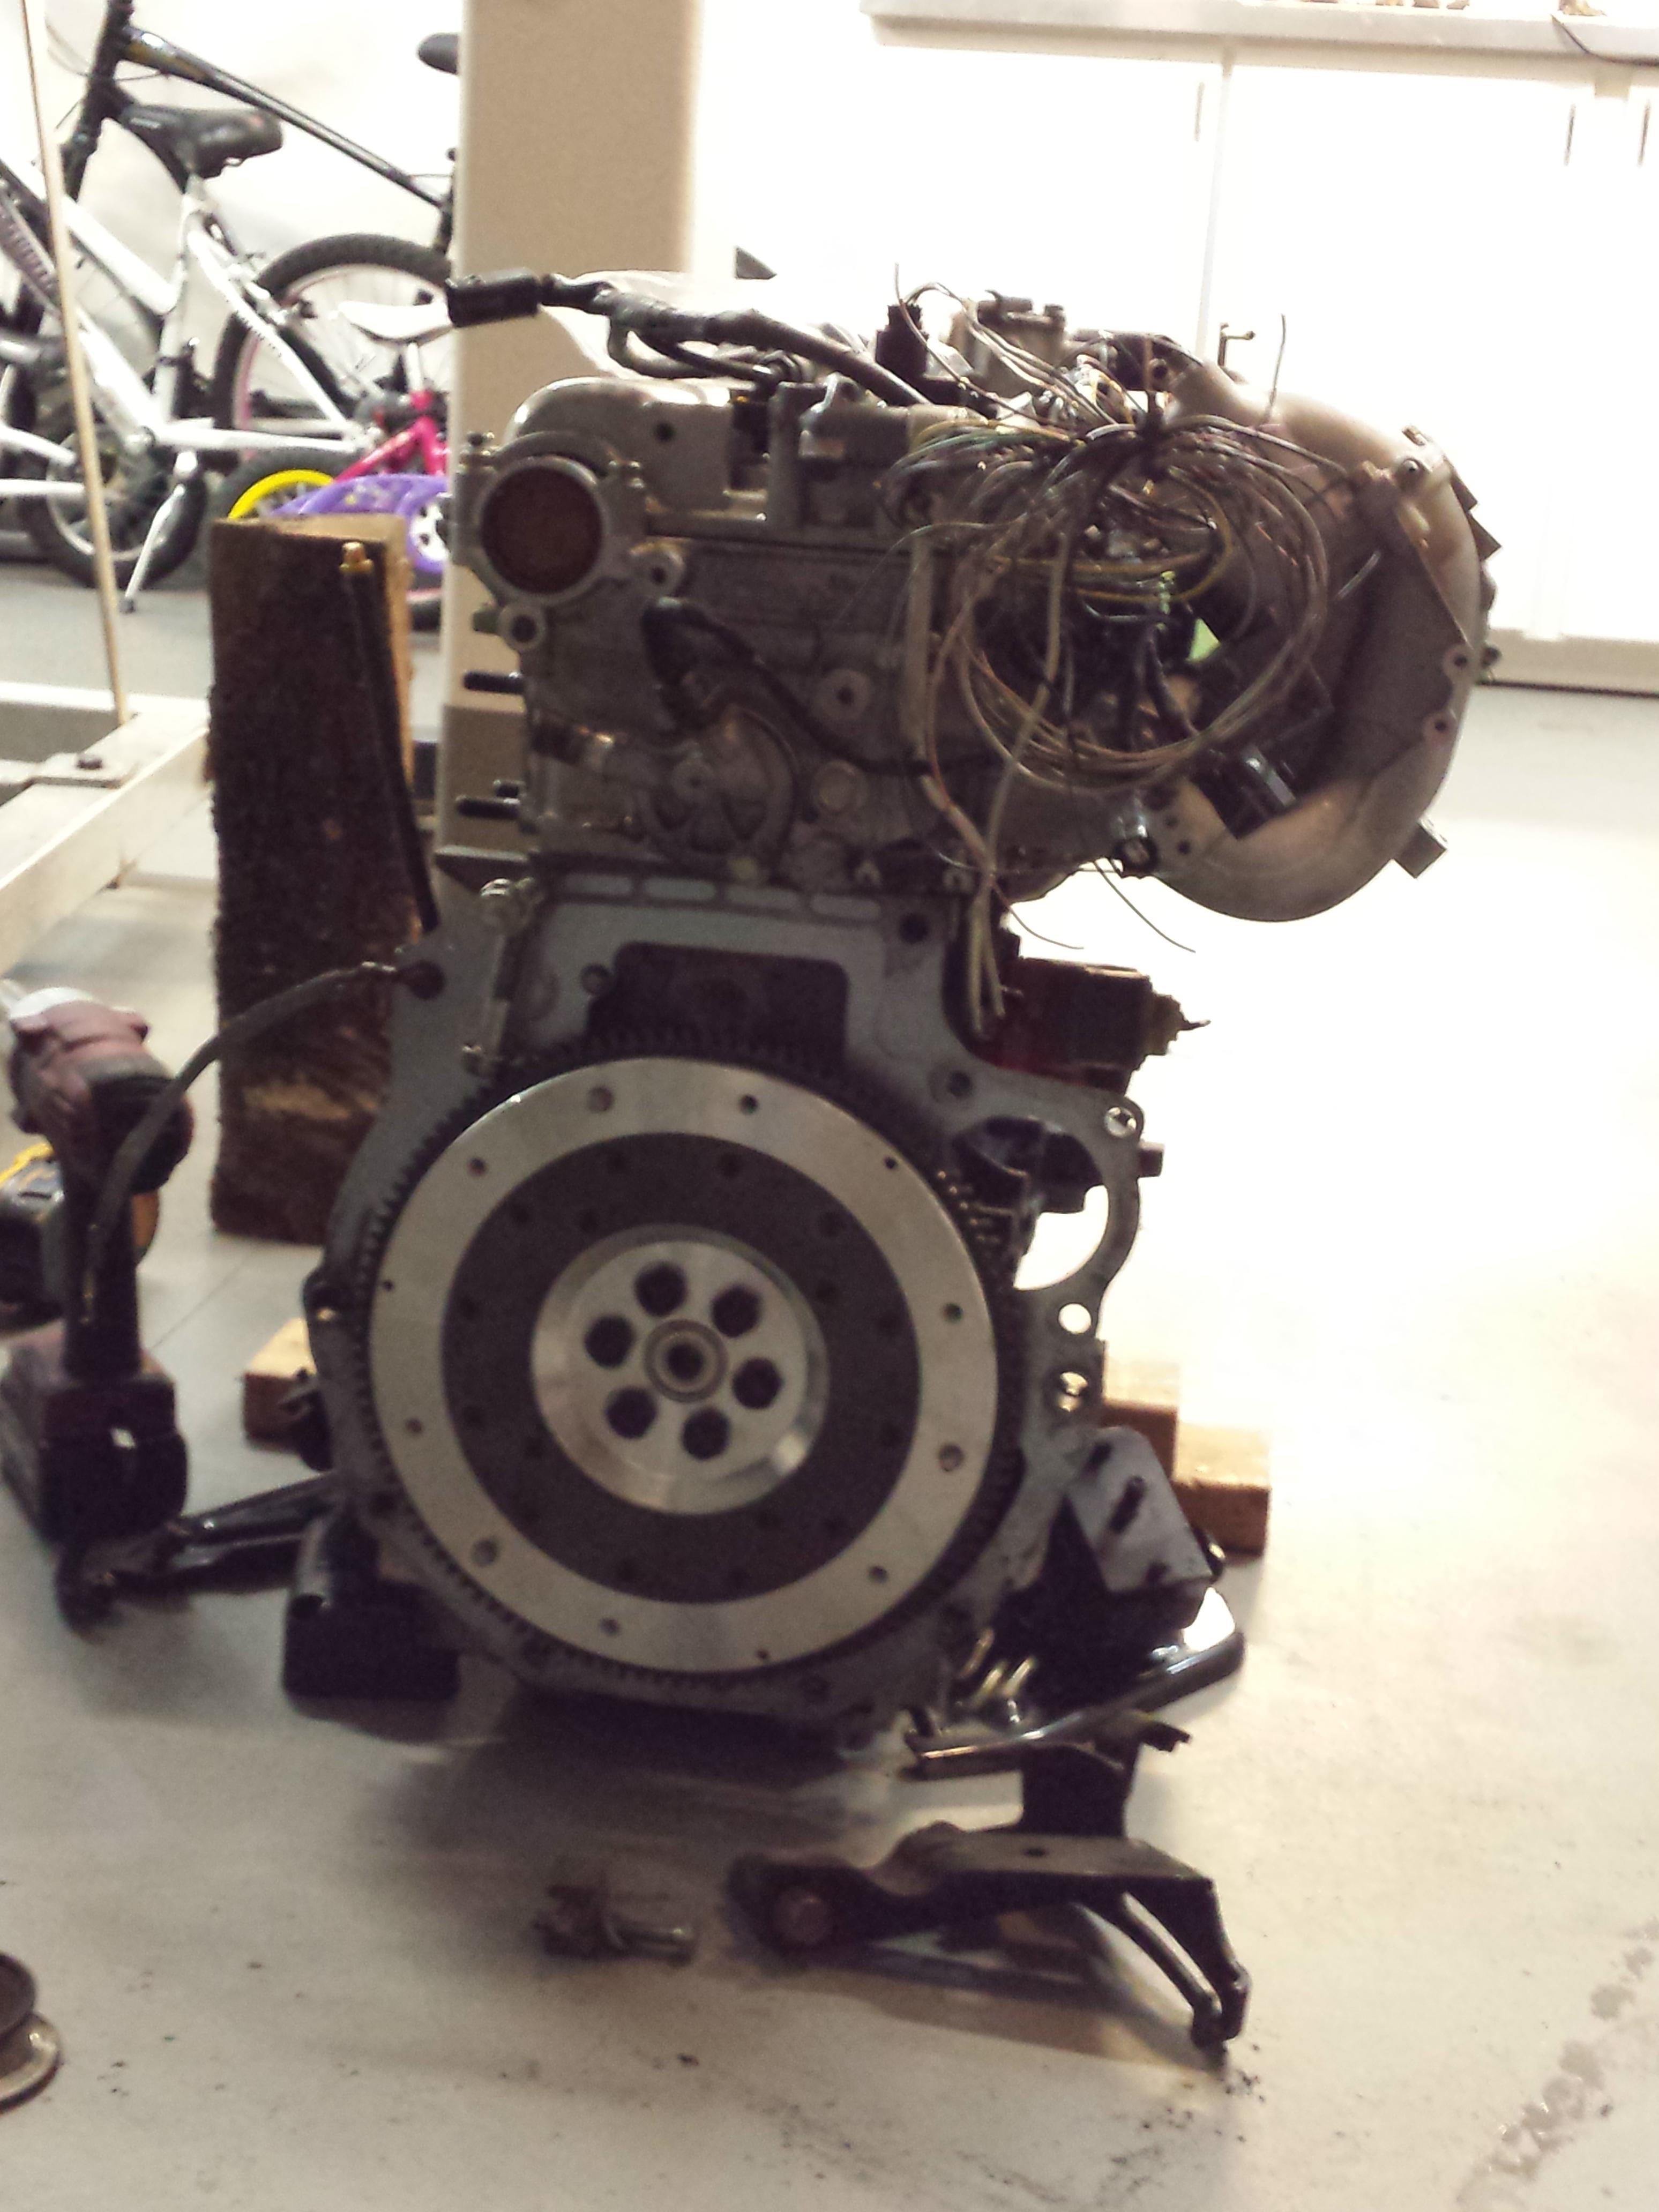
Supermiata flywheel installed.
Cleaned engine bay pics.
Quite satisfying really.
A leaky valve cover over the years made for a thick grime that really needed to be adressed.
The tranny was black as well. More late night scrubbing and beer while Curly did real work.
Turned out pretty well.
Supermiata flywheel installed.
Cleaned engine bay pics.
Quite satisfying really.
Reply
1
1
10-08-2014, 03:47 AM
#86
Junior Member
Thread Starter
Join Date: Apr 2011
Posts: 205
Total Cats: 12
You can see Max leaning against the hood and supervising, finally dropping the engine in.
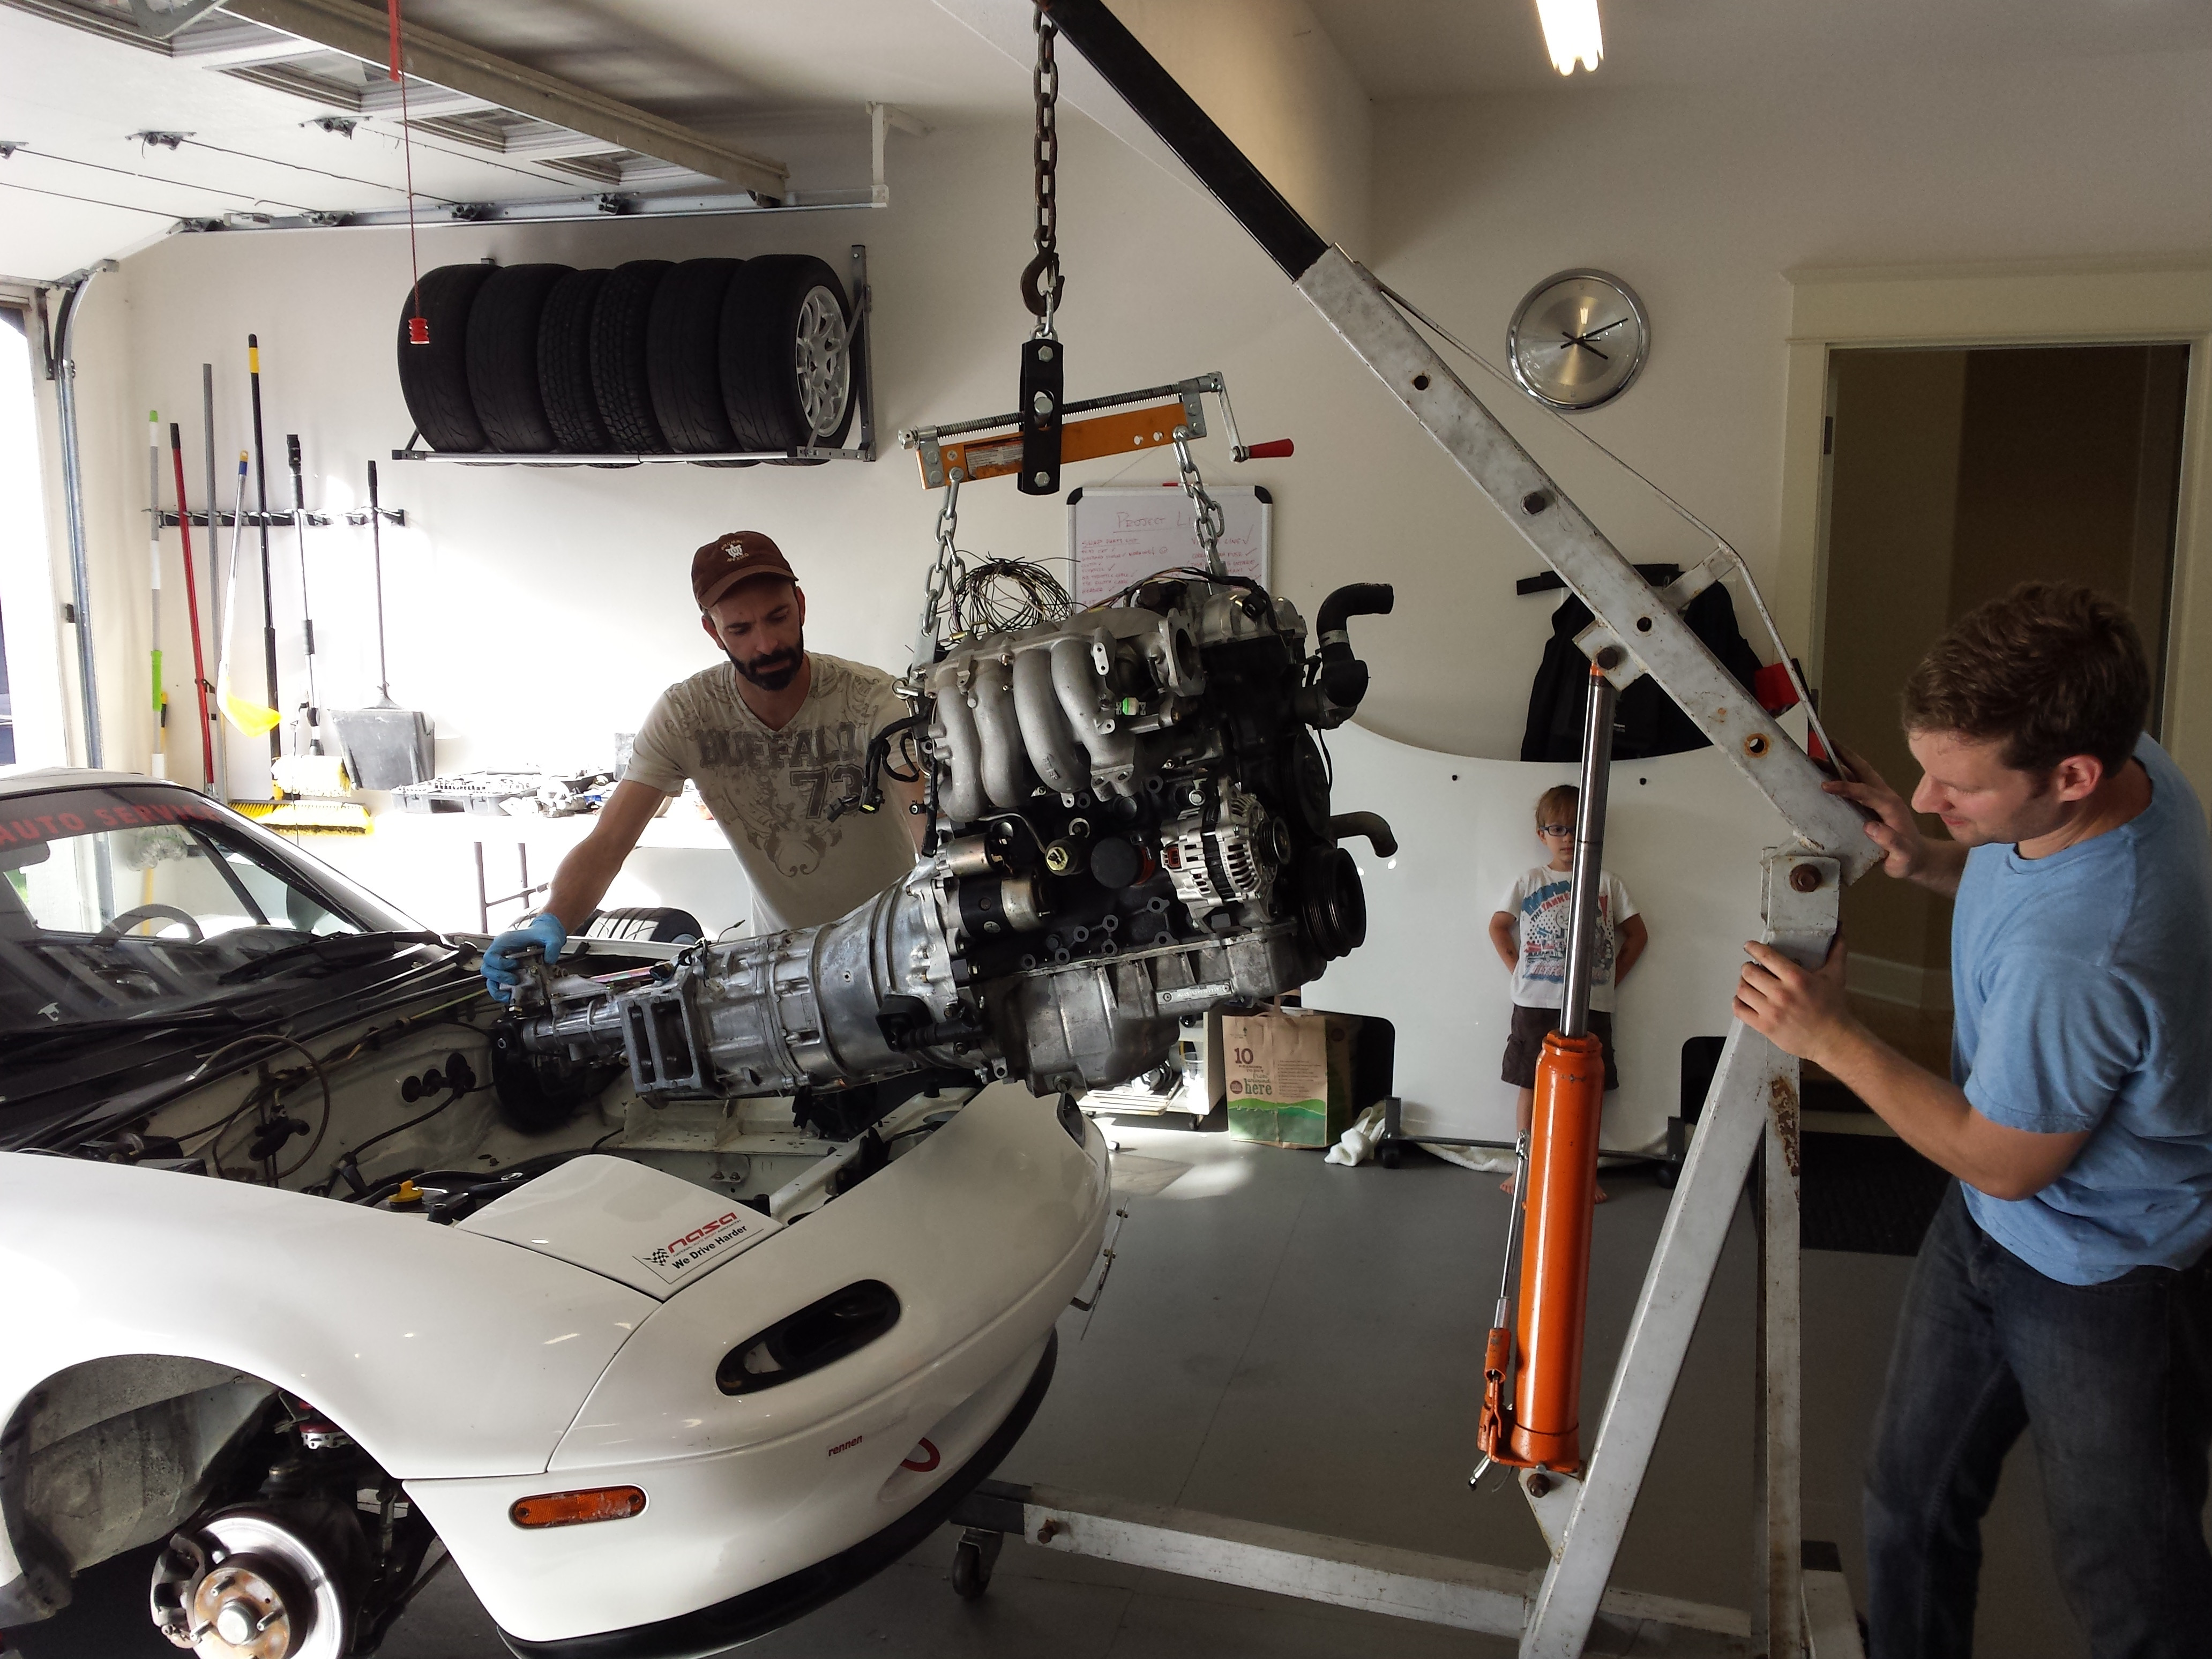
He's not looking to pleased with our technique.
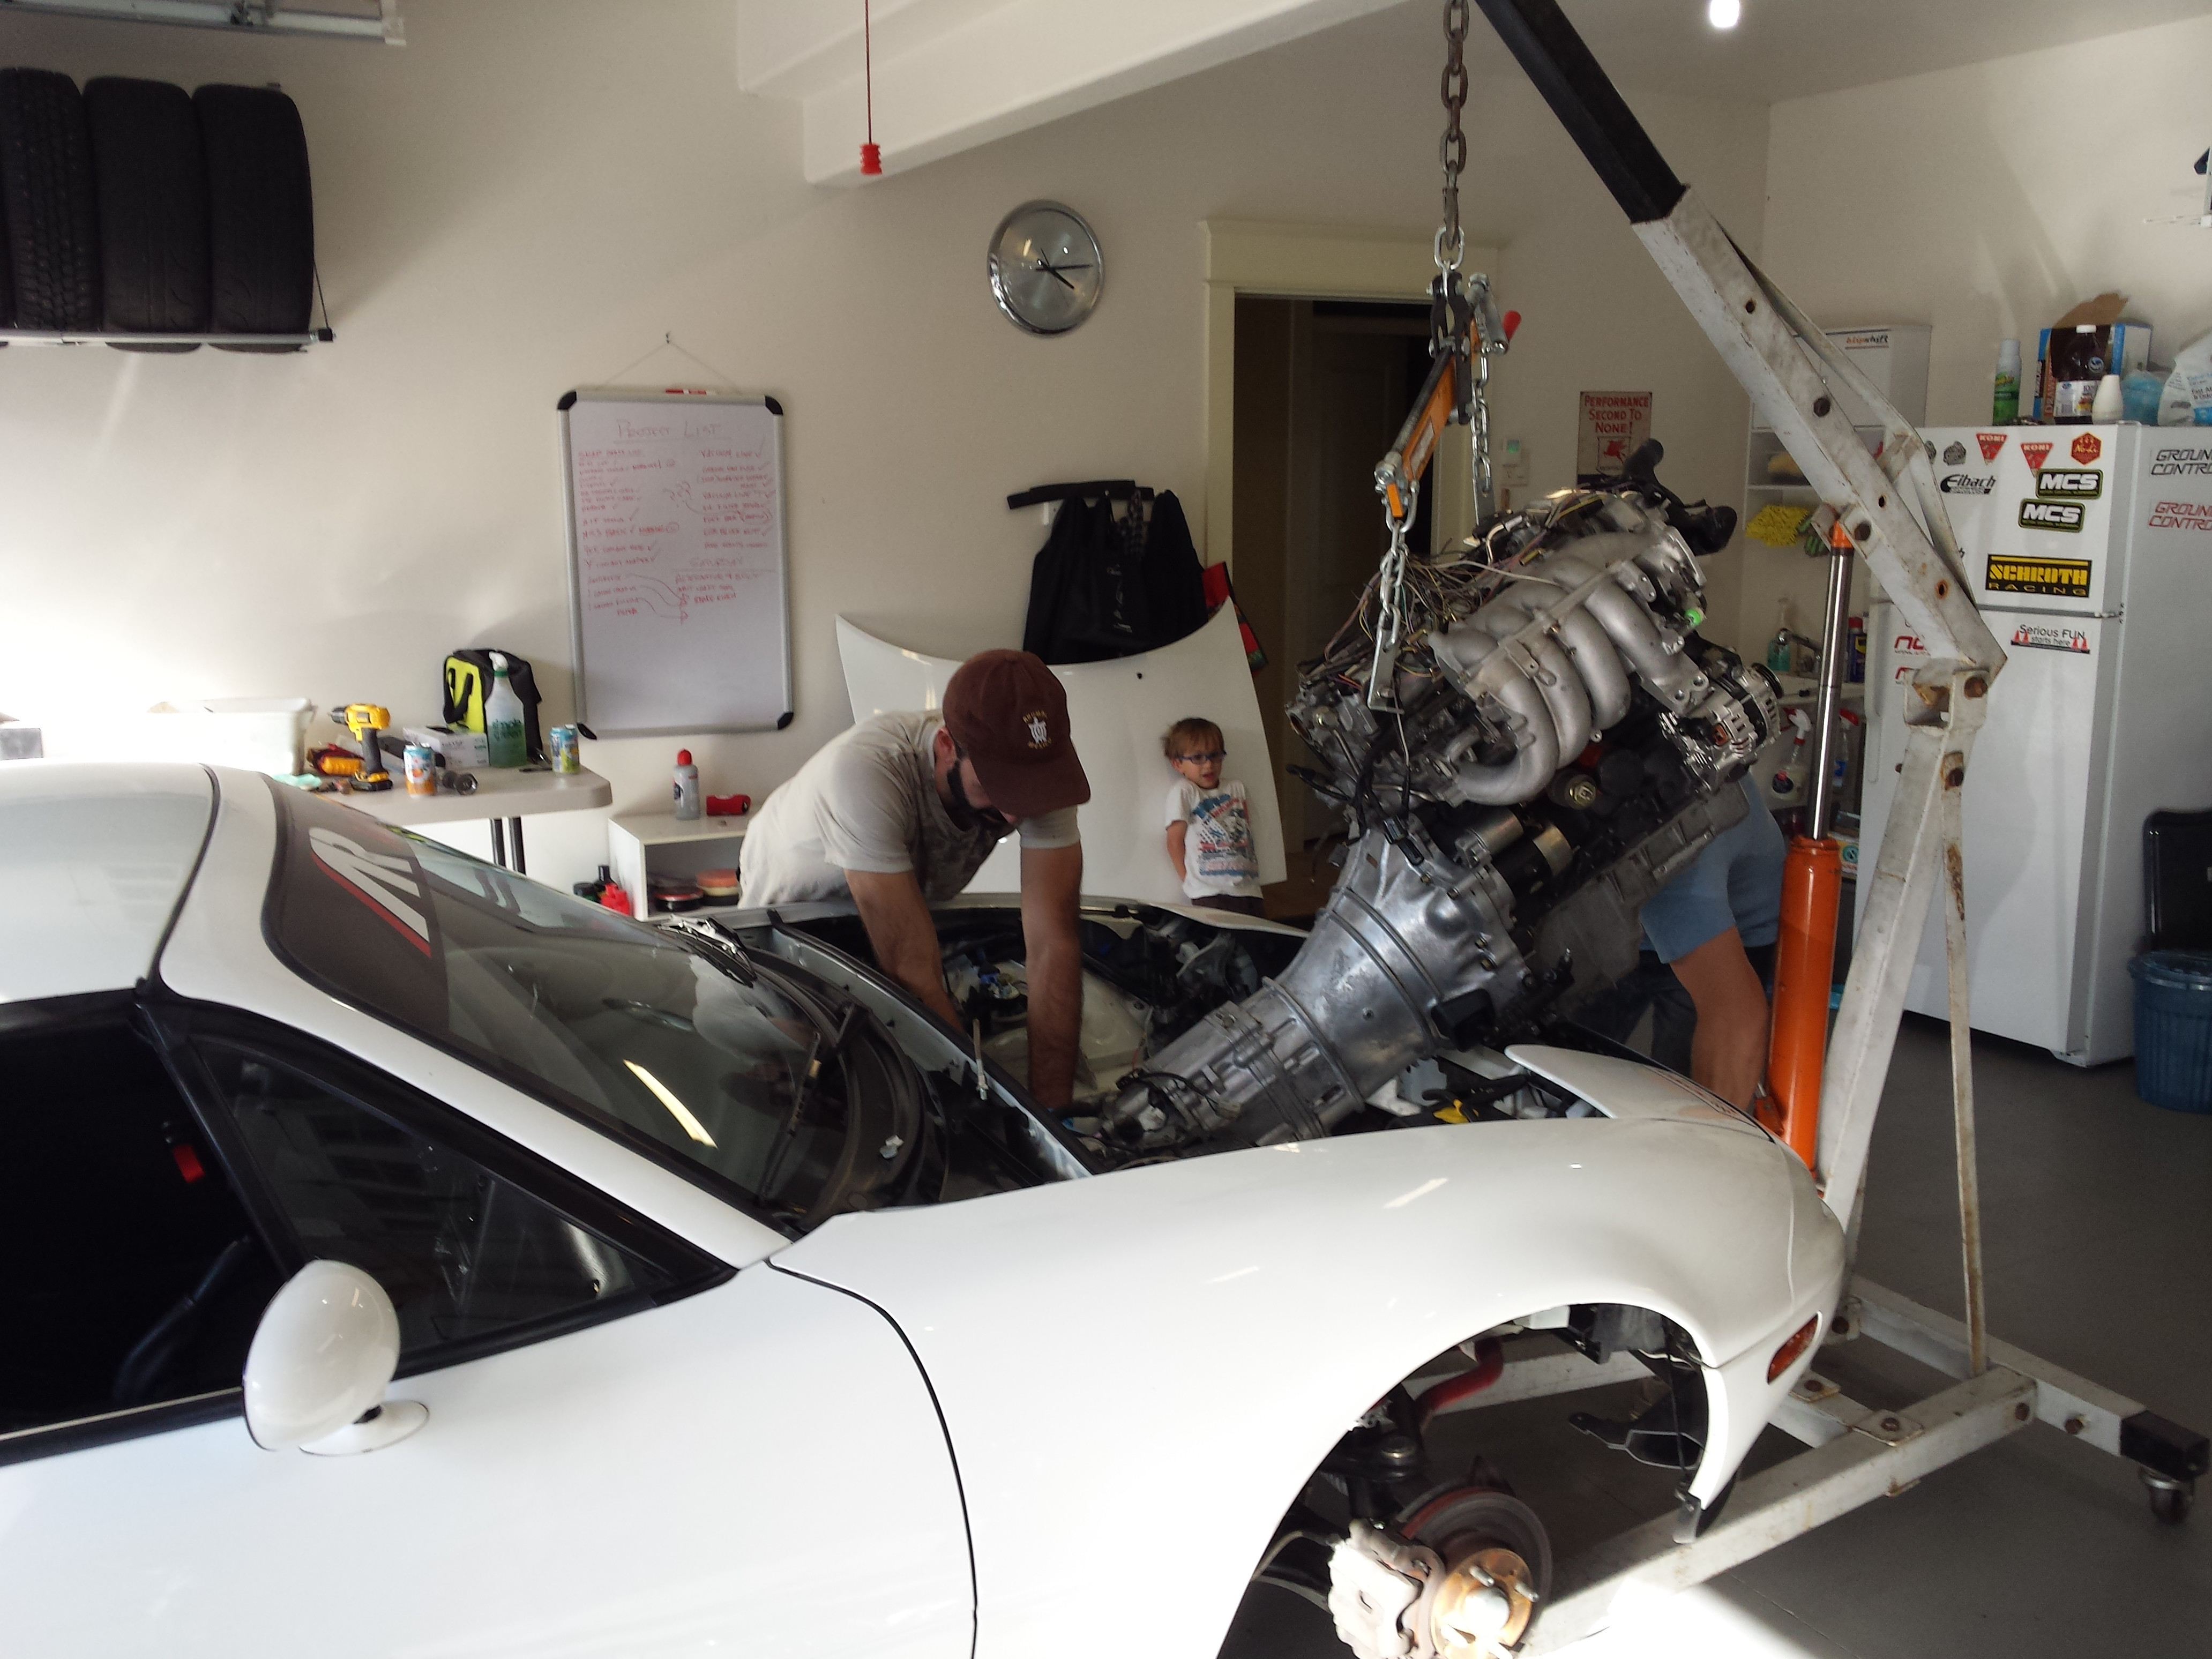
Ehh, what does a 4 year old know anyway. It slid right in.
Isn't he something folks? CSTG for life.
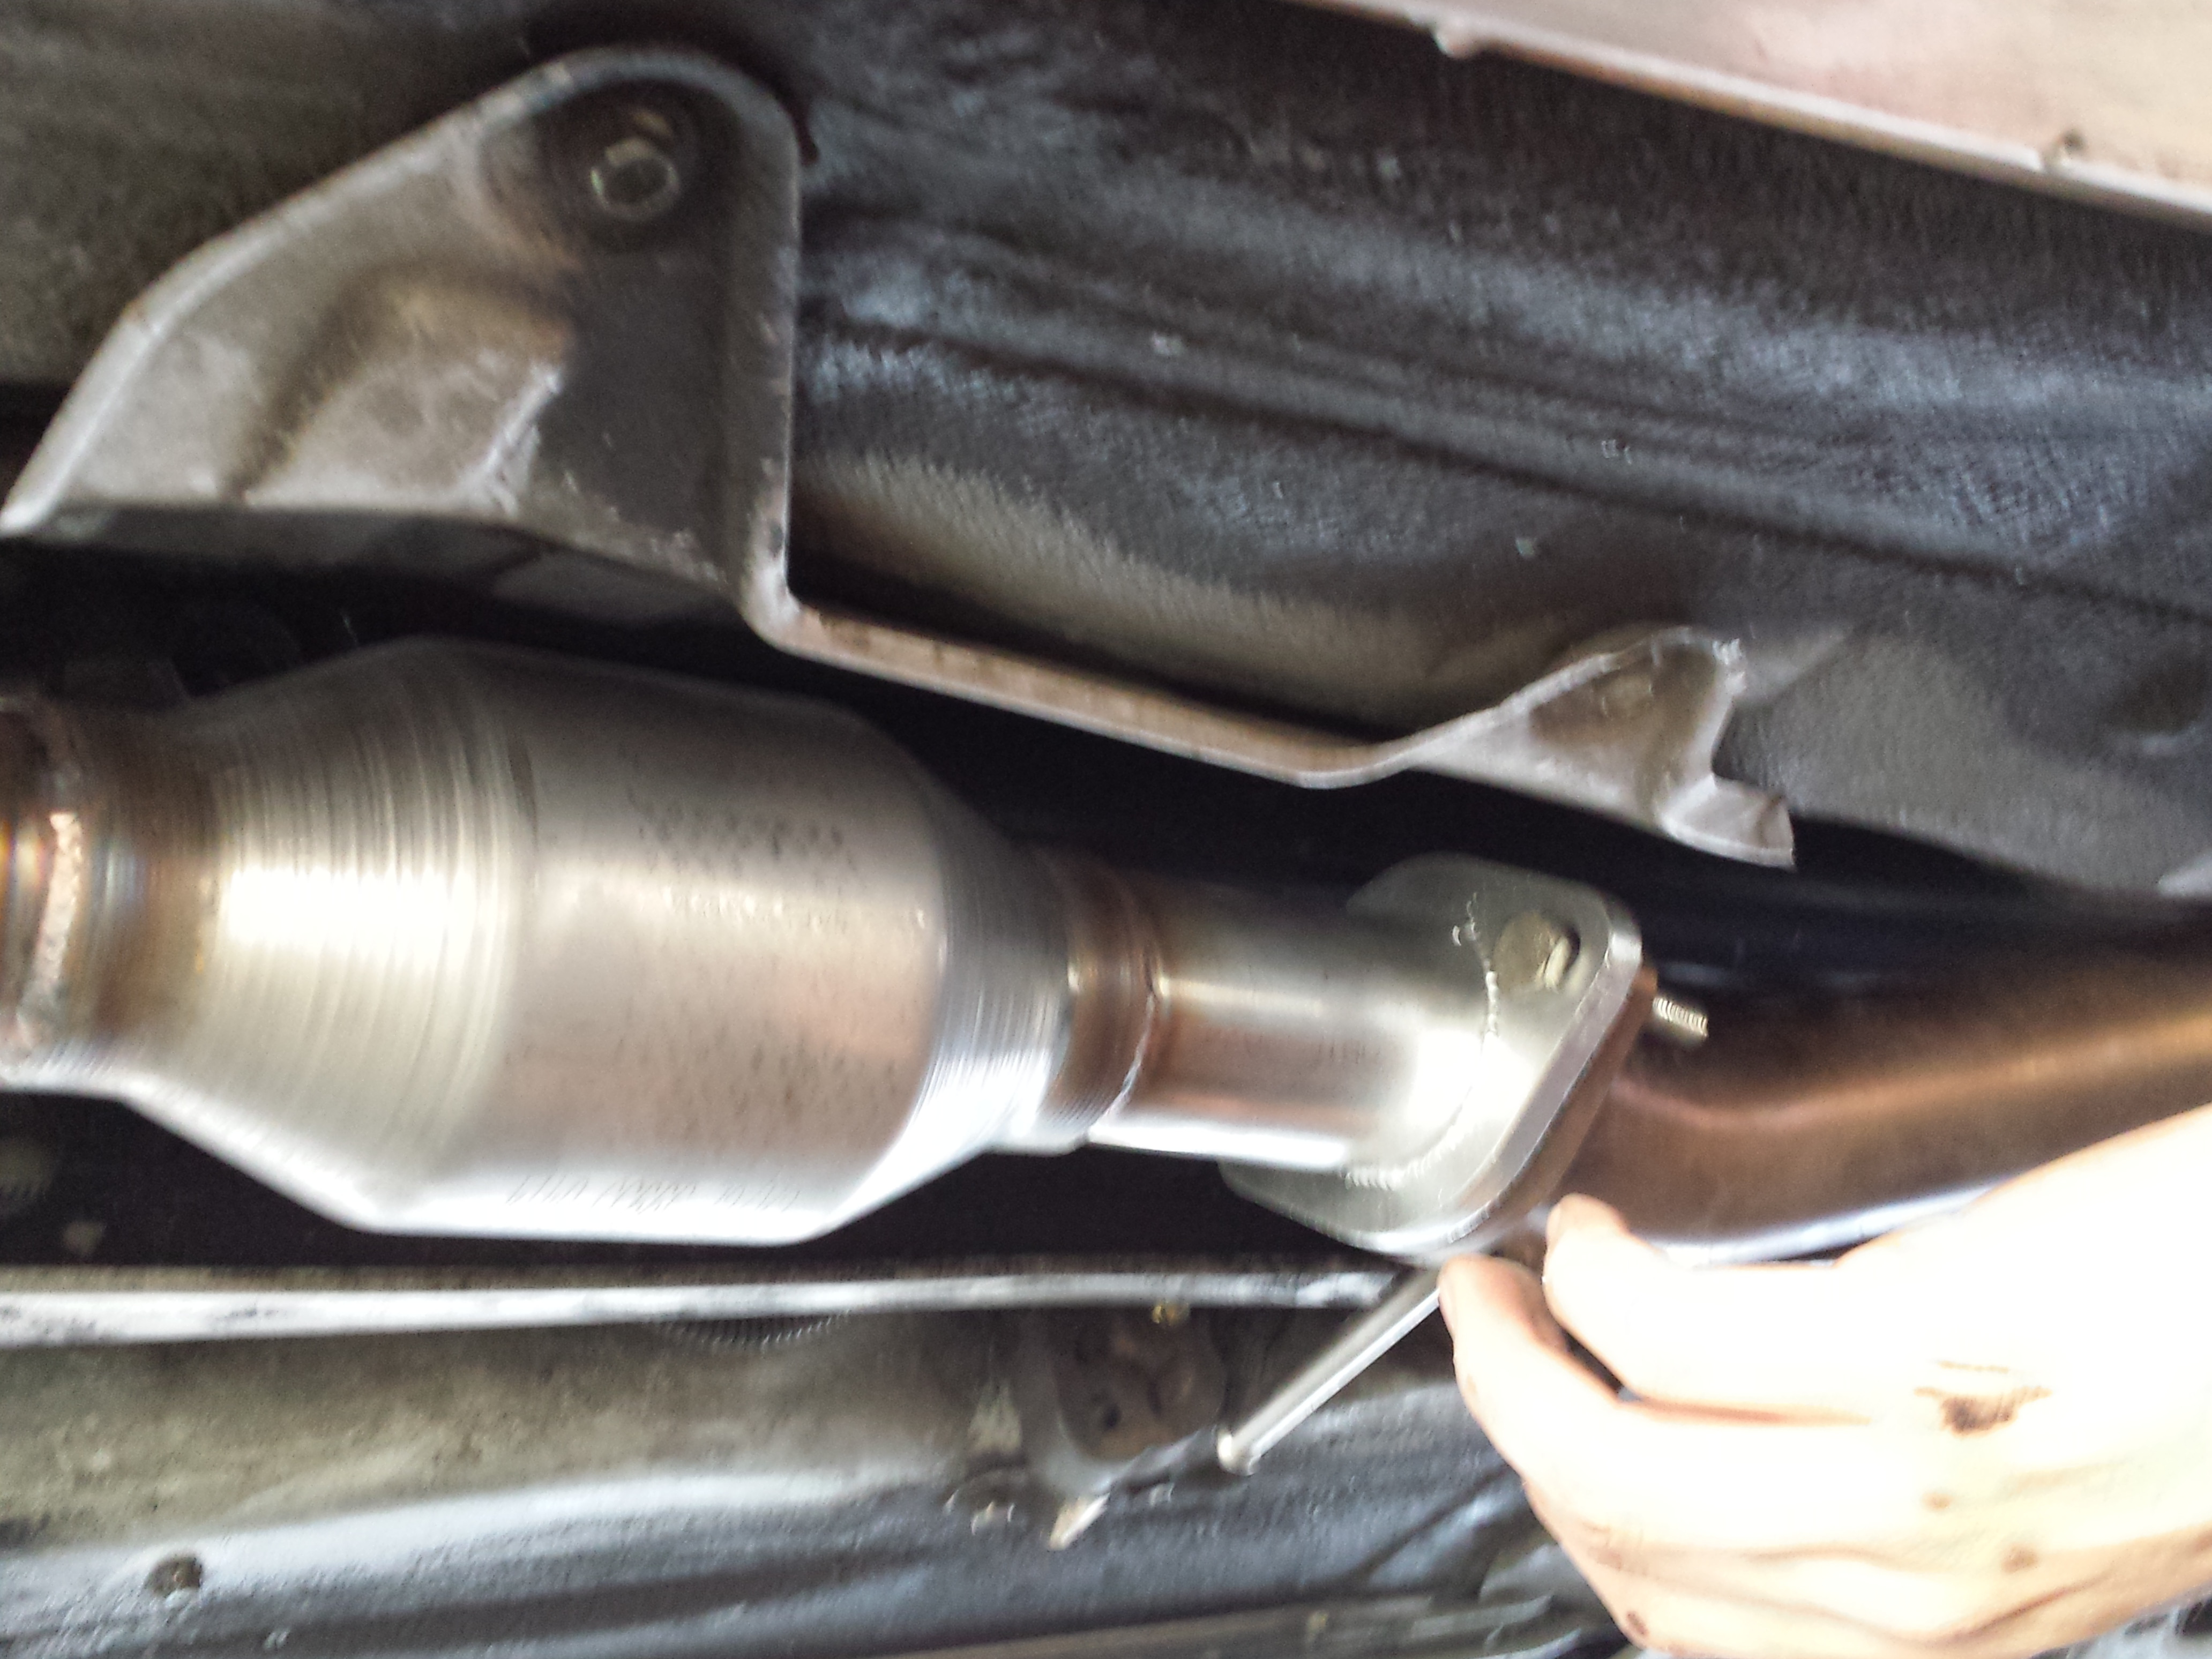
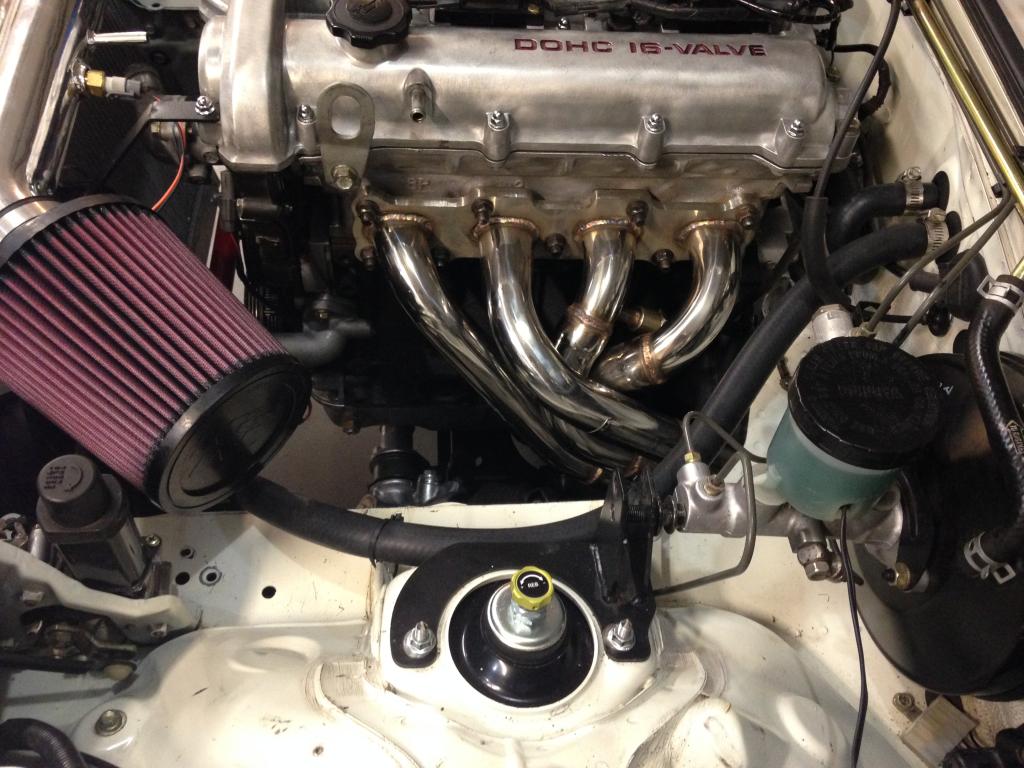
Enthuza's metal core cat installed. 94-97 header + 94-97 cat bolts to 1.6 Racing Beat mid pipe and muffler.
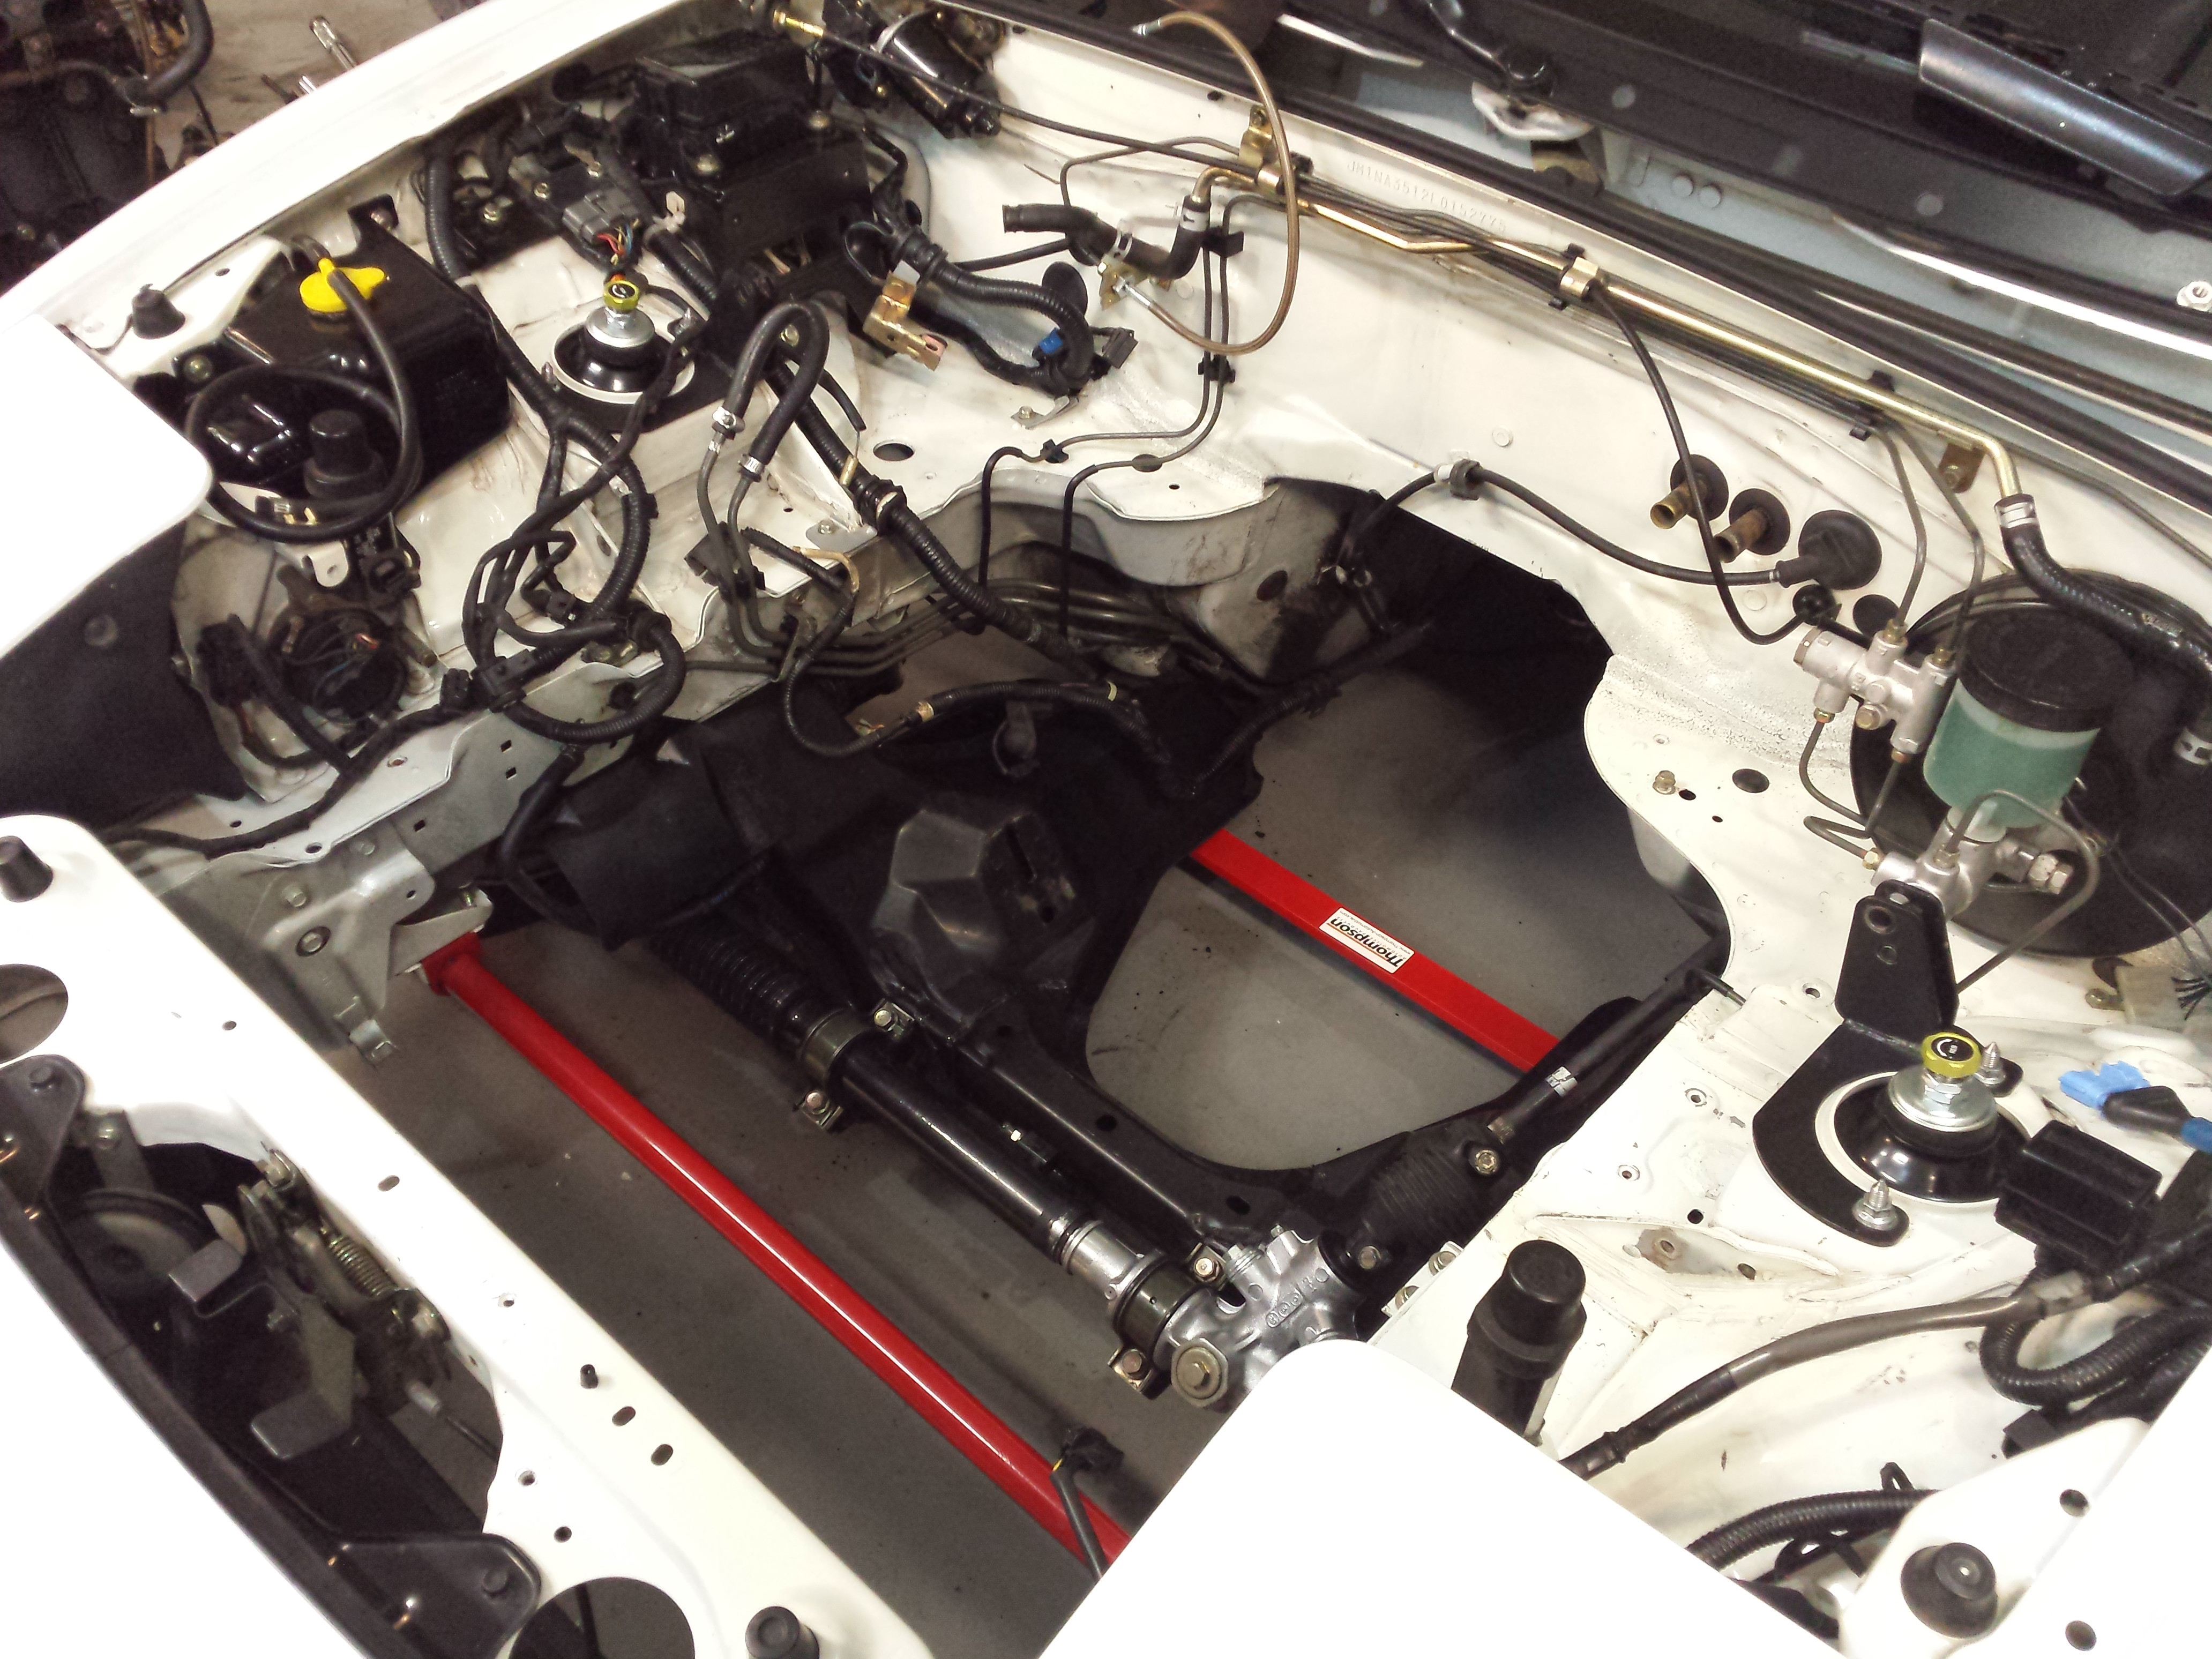
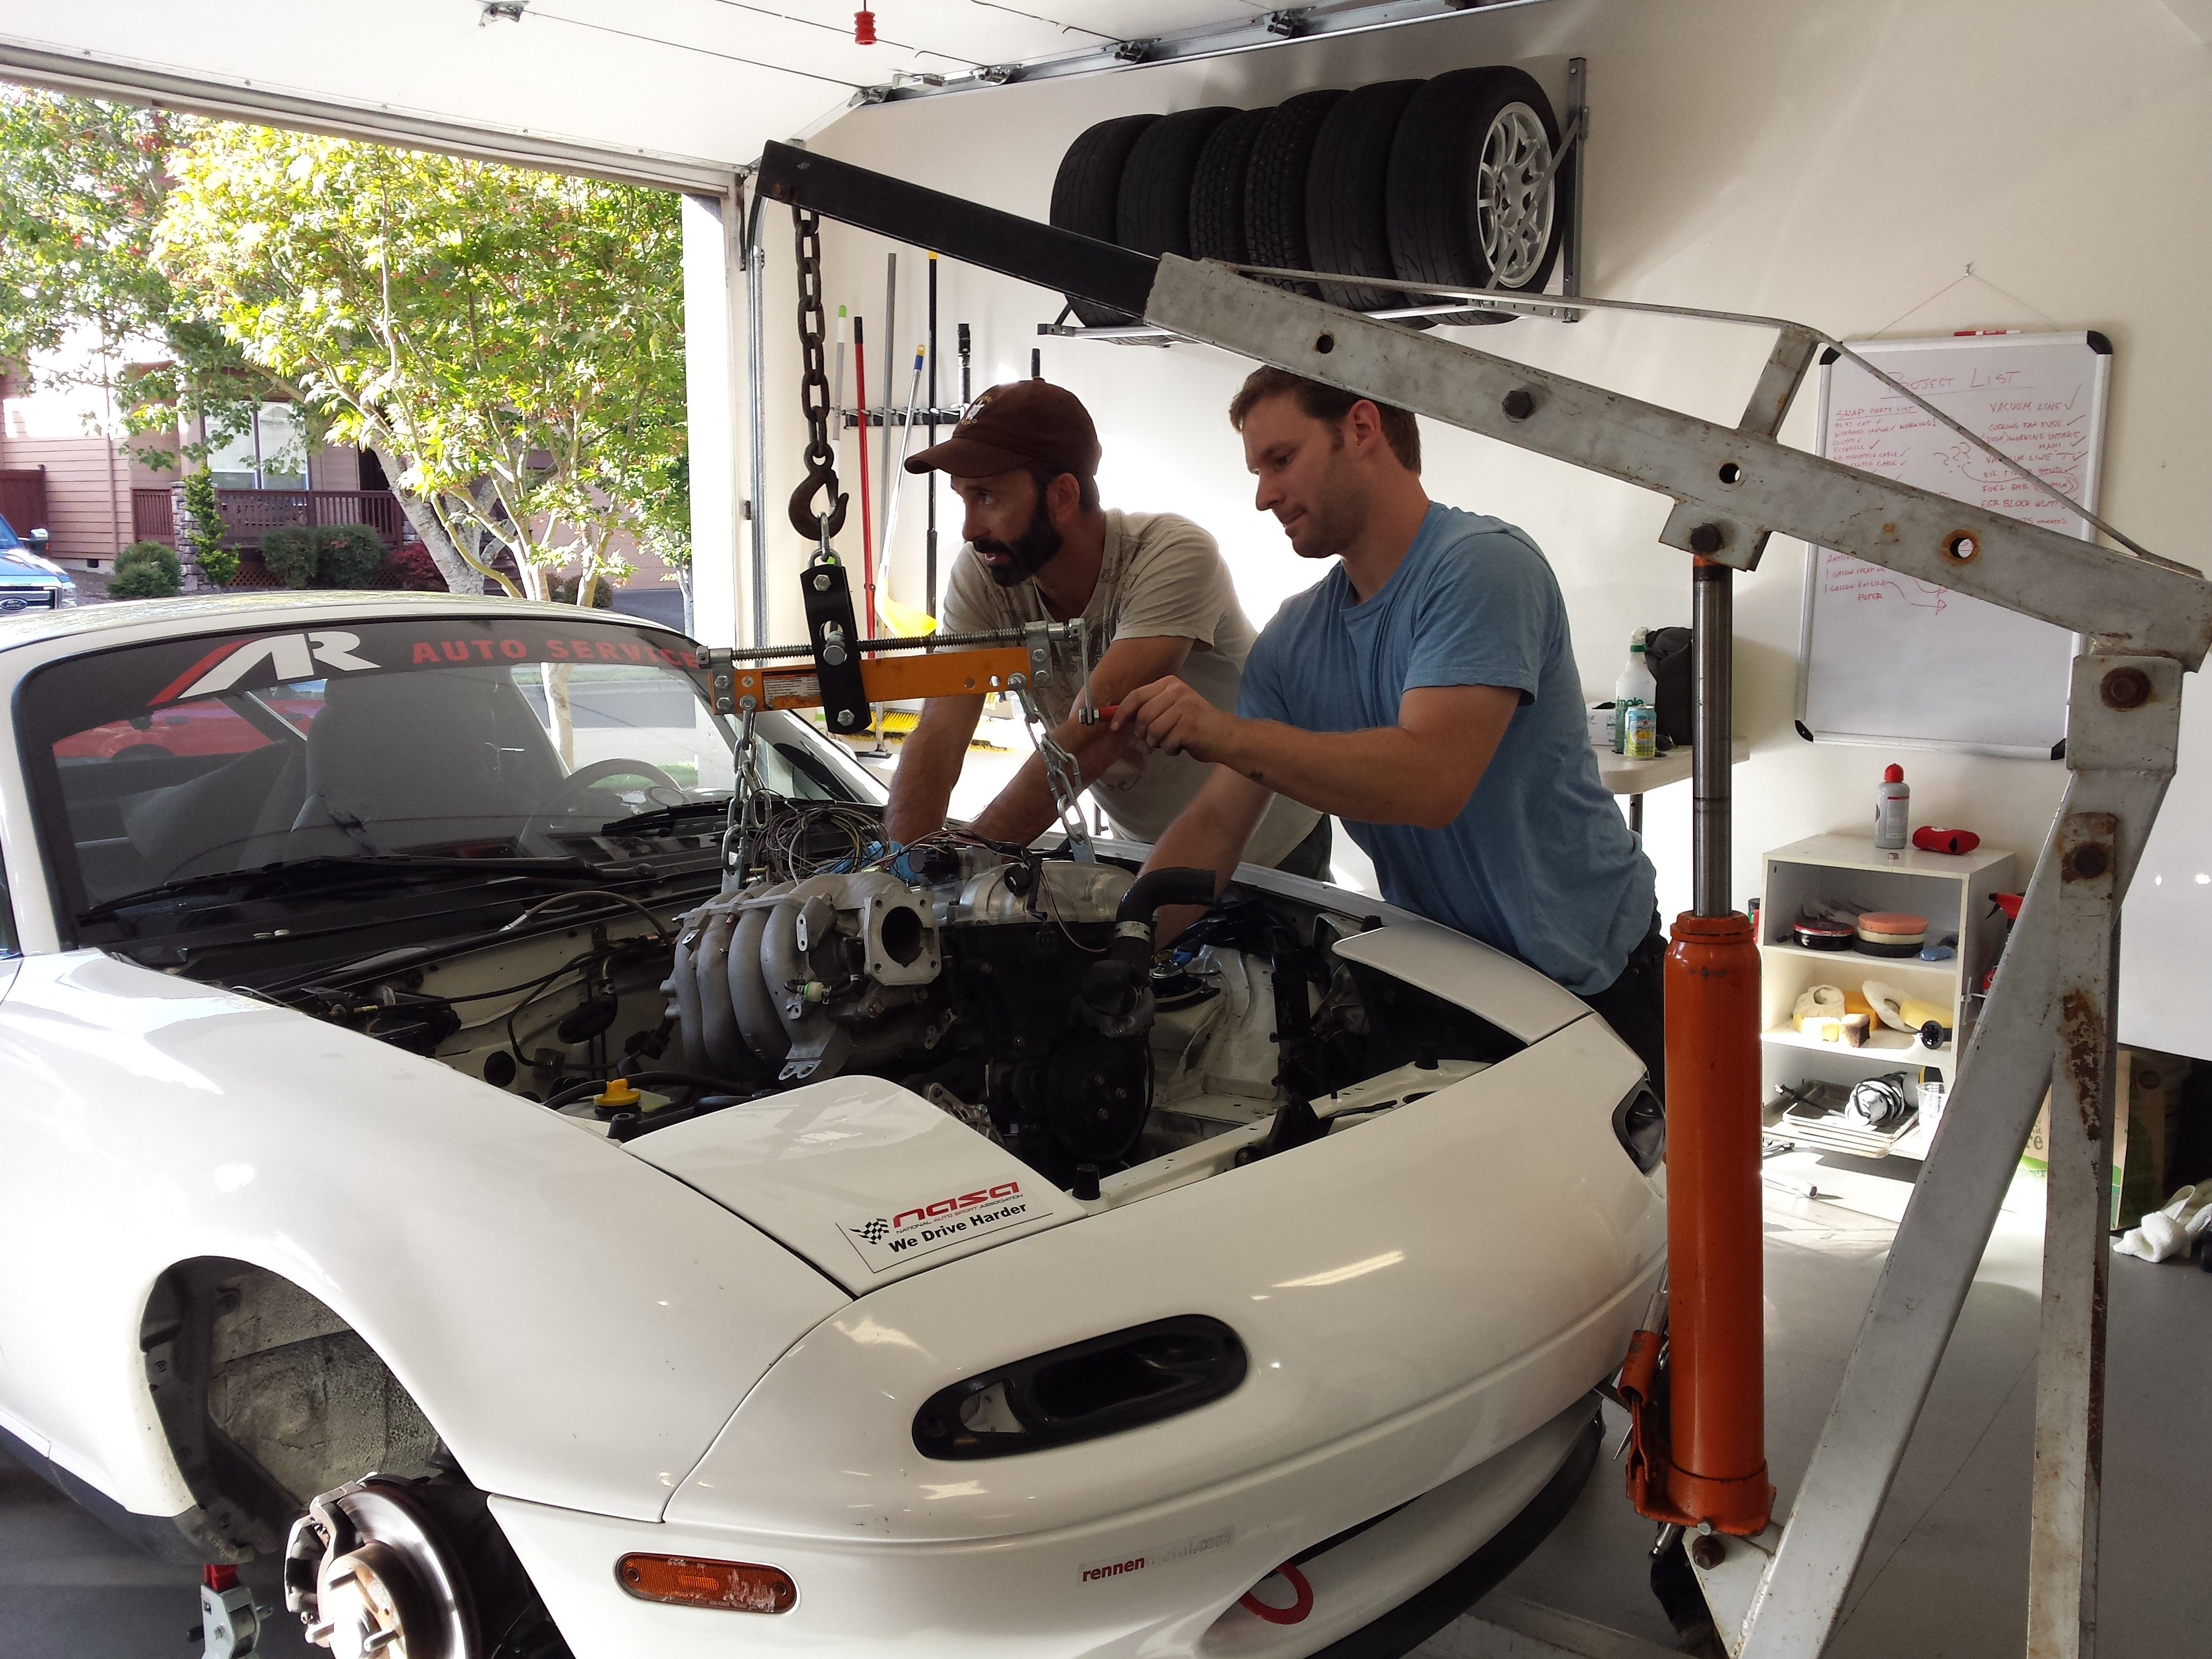
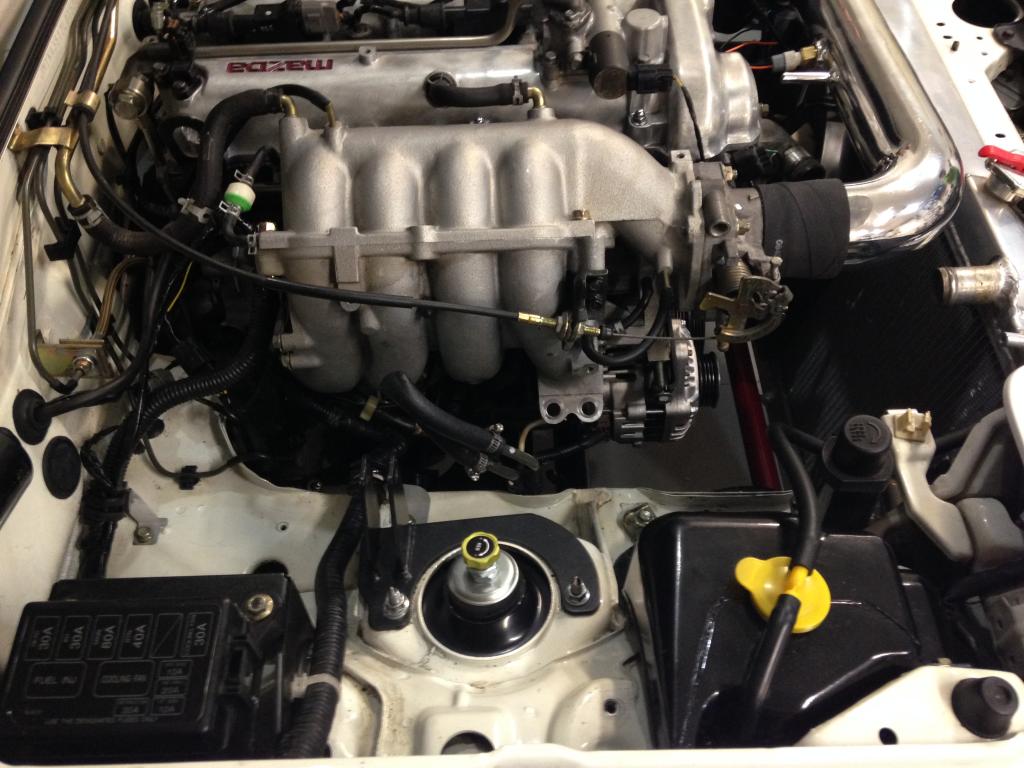
Alright so Josh spent some time hooking things back up and tidying up hoses and wires. Plenty more to do including running individual wires to MS. We're waiting for the correct 99, 00 fuel rail and a 1.8 NA alternator pulley, 2 items that caught us unprepared. Josh is great at finding little bits, brackets and pieces that are useless in the engine bay. WEIGHT SAVINGS, is his motto.
Here's where we are as of now and I'm extremely happy how it looks in the engine bay.


He's not looking to pleased with our technique.
Ehh, what does a 4 year old know anyway. It slid right in.
Isn't he something folks? CSTG for life.
Enthuza's metal core cat installed. 94-97 header + 94-97 cat bolts to 1.6 Racing Beat mid pipe and muffler.
Alright so Josh spent some time hooking things back up and tidying up hoses and wires. Plenty more to do including running individual wires to MS. We're waiting for the correct 99, 00 fuel rail and a 1.8 NA alternator pulley, 2 items that caught us unprepared. Josh is great at finding little bits, brackets and pieces that are useless in the engine bay. WEIGHT SAVINGS, is his motto.
Here's where we are as of now and I'm extremely happy how it looks in the engine bay.
Reply
1
1
10-08-2014, 10:35 AM
#87

Nice progress, good job you guys 
I think you guys are misunderstanding where I was going with that. I was just saying that its kinda funny to argue between 5-10hp when sometimes weather and altitude can account for that much between different cars/runs.
But I guess I'm thinking in turbo power terms, where 5-10hp isn't really worth talking about, whereas you n/a guys pay way more attention to the very last 1hp.
Thanks for the plots though, I've seen those before and it always amazes me how big the drop is on the vtcs mani past 6300
The first dyno runs with my VVT swapped '90 was 128hp. Further testing and part changes have resulted in 143hp. One tip I can give you, start with a '99-'00 VICS manifold if you cannot get a Flat-top.
VICS manifold vs the VVT stock VTCS manifold (With Butterflies):
Attachment 125156
Last change was to a Racing Beat header from a Jackson Racing Header (Also completely changed the full exhaust so it is not apples to apples):
Attachment 125157
VICS manifold vs the VVT stock VTCS manifold (With Butterflies):
Attachment 125156
Last change was to a Racing Beat header from a Jackson Racing Header (Also completely changed the full exhaust so it is not apples to apples):
Attachment 125157
But I guess I'm thinking in turbo power terms, where 5-10hp isn't really worth talking about, whereas you n/a guys pay way more attention to the very last 1hp.
Thanks for the plots though, I've seen those before and it always amazes me how big the drop is on the vtcs mani past 6300
Reply
0
0
10-08-2014, 12:26 PM
#88
Cpt. Slow
iTrader: (25)
Join Date: Oct 2005
Location: Oregon City, OR
Posts: 14,227
Total Cats: 1,147
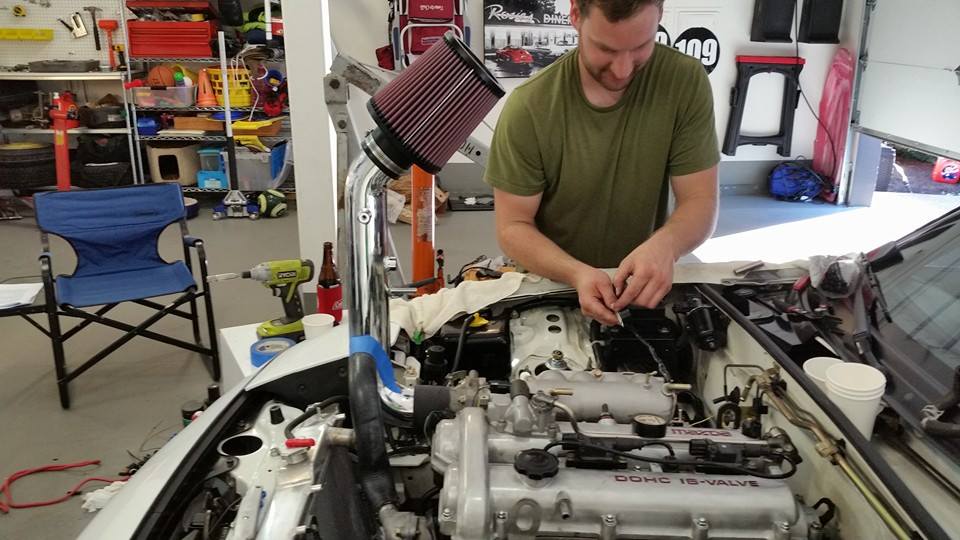
It's now 90% wired, with just the AIT left in the engine bay, and inside needs the 3rd and 4th injector wire and VVT actuator wire soldered to the MS3 plug. Then we're probably going to switch the wideband to the dedicated 12v and ground that Rev provides, and once we get a fuel rail (hopefully Monday or Tuesday) we can plumb the fuel lines and try to start it. GarageStar alternator pulley for the 1.6 alternator should be here today.
Unfortunately I failed at capturing just how clean the wiring is, although I'm not really 100% happy with it. I set it up with nice smooth curves, but once you wrap it with electrical tape, it likes to do what ever the **** it wants.
Unfortunately I failed at capturing just how clean the wiring is, although I'm not really 100% happy with it. I set it up with nice smooth curves, but once you wrap it with electrical tape, it likes to do what ever the **** it wants.


Reply
1
1
 10-08-2014, 06:52 PM
#90

It's now 90% wired, with just the AIT left in the engine bay, and inside needs the 3rd and 4th injector wire and VVT actuator wire soldered to the MS3 plug. Then we're probably going to switch the wideband to the dedicated 12v and ground that Rev provides, and once we get a fuel rail (hopefully Monday or Tuesday) we can plumb the fuel lines and try to start it. GarageStar alternator pulley for the 1.6 alternator should be here today.
Unfortunately I failed at capturing just how clean the wiring is, although I'm not really 100% happy with it. I set it up with nice smooth curves, but once you wrap it with electrical tape, it likes to do what ever the **** it wants.
Unfortunately I failed at capturing just how clean the wiring is, although I'm not really 100% happy with it. I set it up with nice smooth curves, but once you wrap it with electrical tape, it likes to do what ever the **** it wants.

Twist the loom before taping, holds its shape better and is easier to route.
Reply
0
0
10-09-2014, 12:22 AM
#94
Cpt. Slow
iTrader: (25)
Join Date: Oct 2005
Location: Oregon City, OR
Posts: 14,227
Total Cats: 1,147
Beyond the slight lack of tools, Ryan's garage is an absolute joy to work in. The floor surface, ample room, and two work benches make me so jealous.
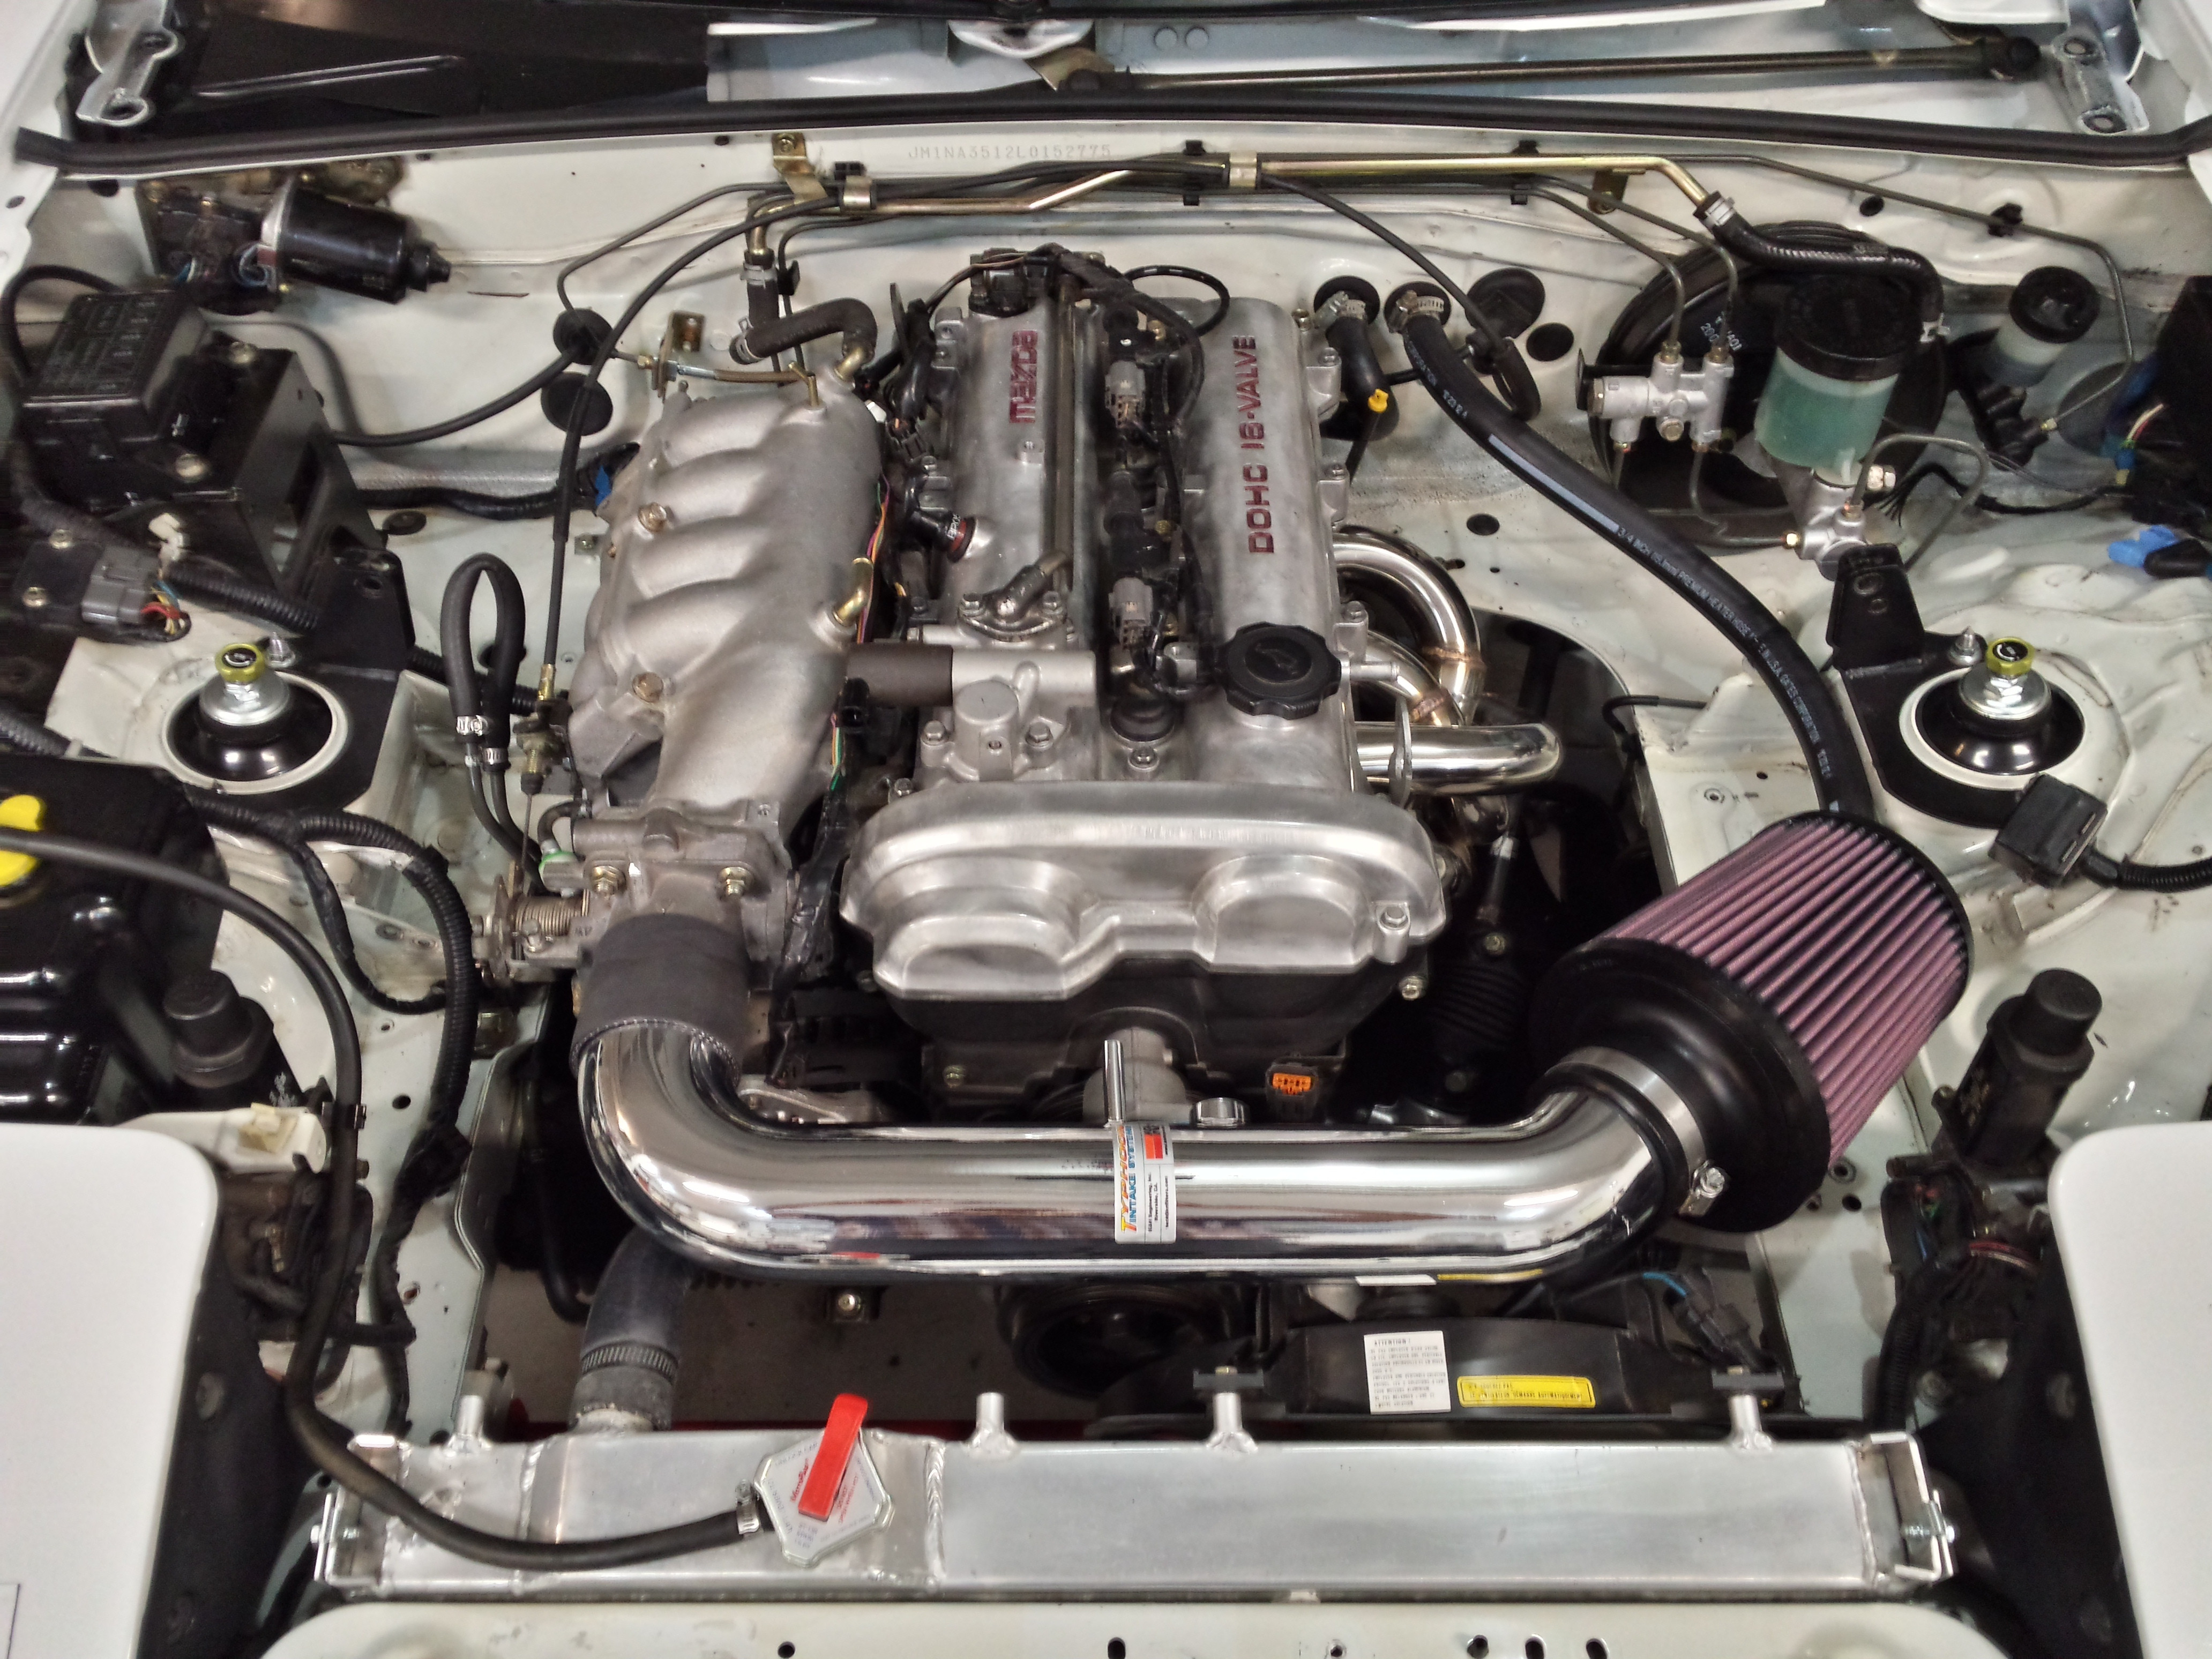
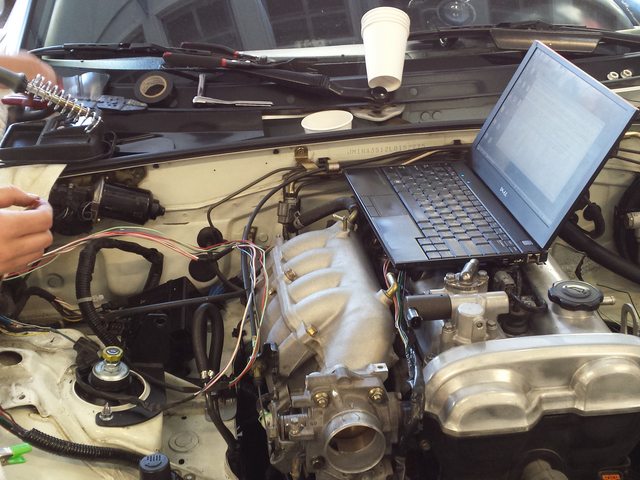
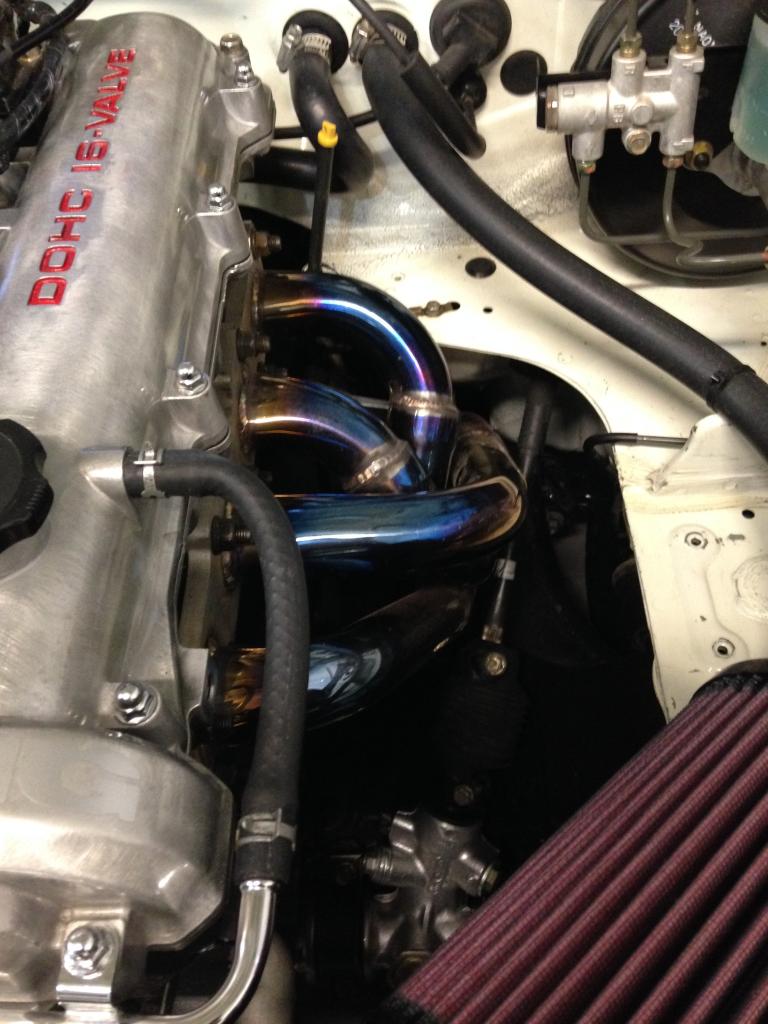
Here's the final engine shot:
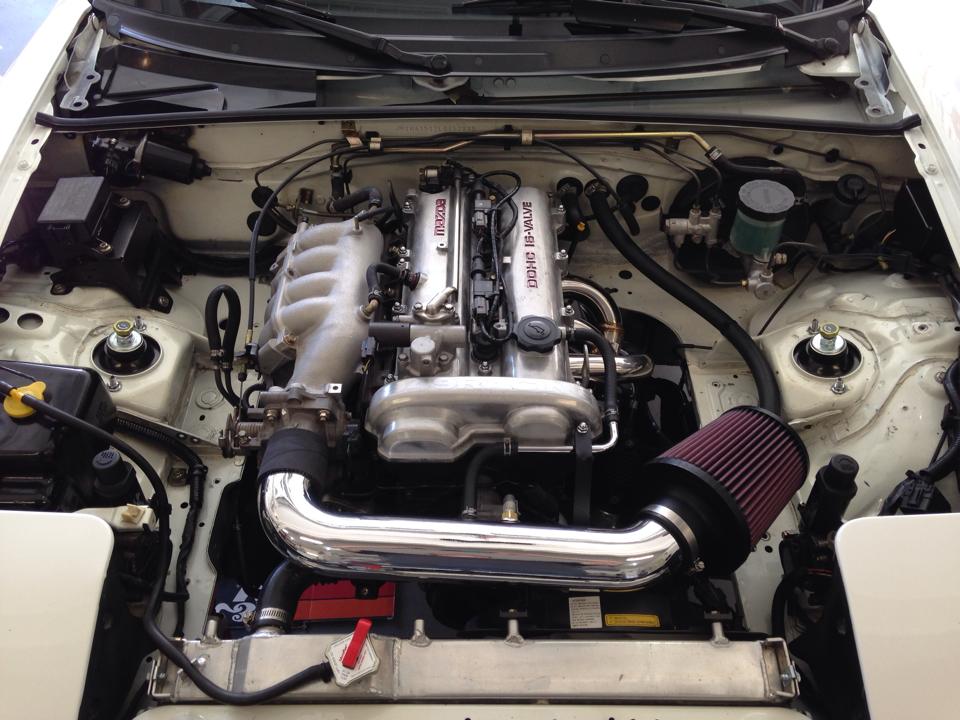
In this picture, it's 100% wired, and the only plumbing left is the fuel lines and the FPR vacuum line, which we have to wait on the '99 rail before installing.
Also waiting on some instructions from Rev on how to jumper his MS3 for sequential fuel. That'll be an interesting learning curve.
Reply
0
0
10-09-2014, 01:26 AM
#95
Junior Member
Thread Starter
Join Date: Apr 2011
Posts: 205
Total Cats: 12
3 cars plus kids stuff and storage makes it a priority. Is it wrong for the garage to get precedence over the rest of the house?
Behold true CAI.
3
Piles of stuff no one needs.
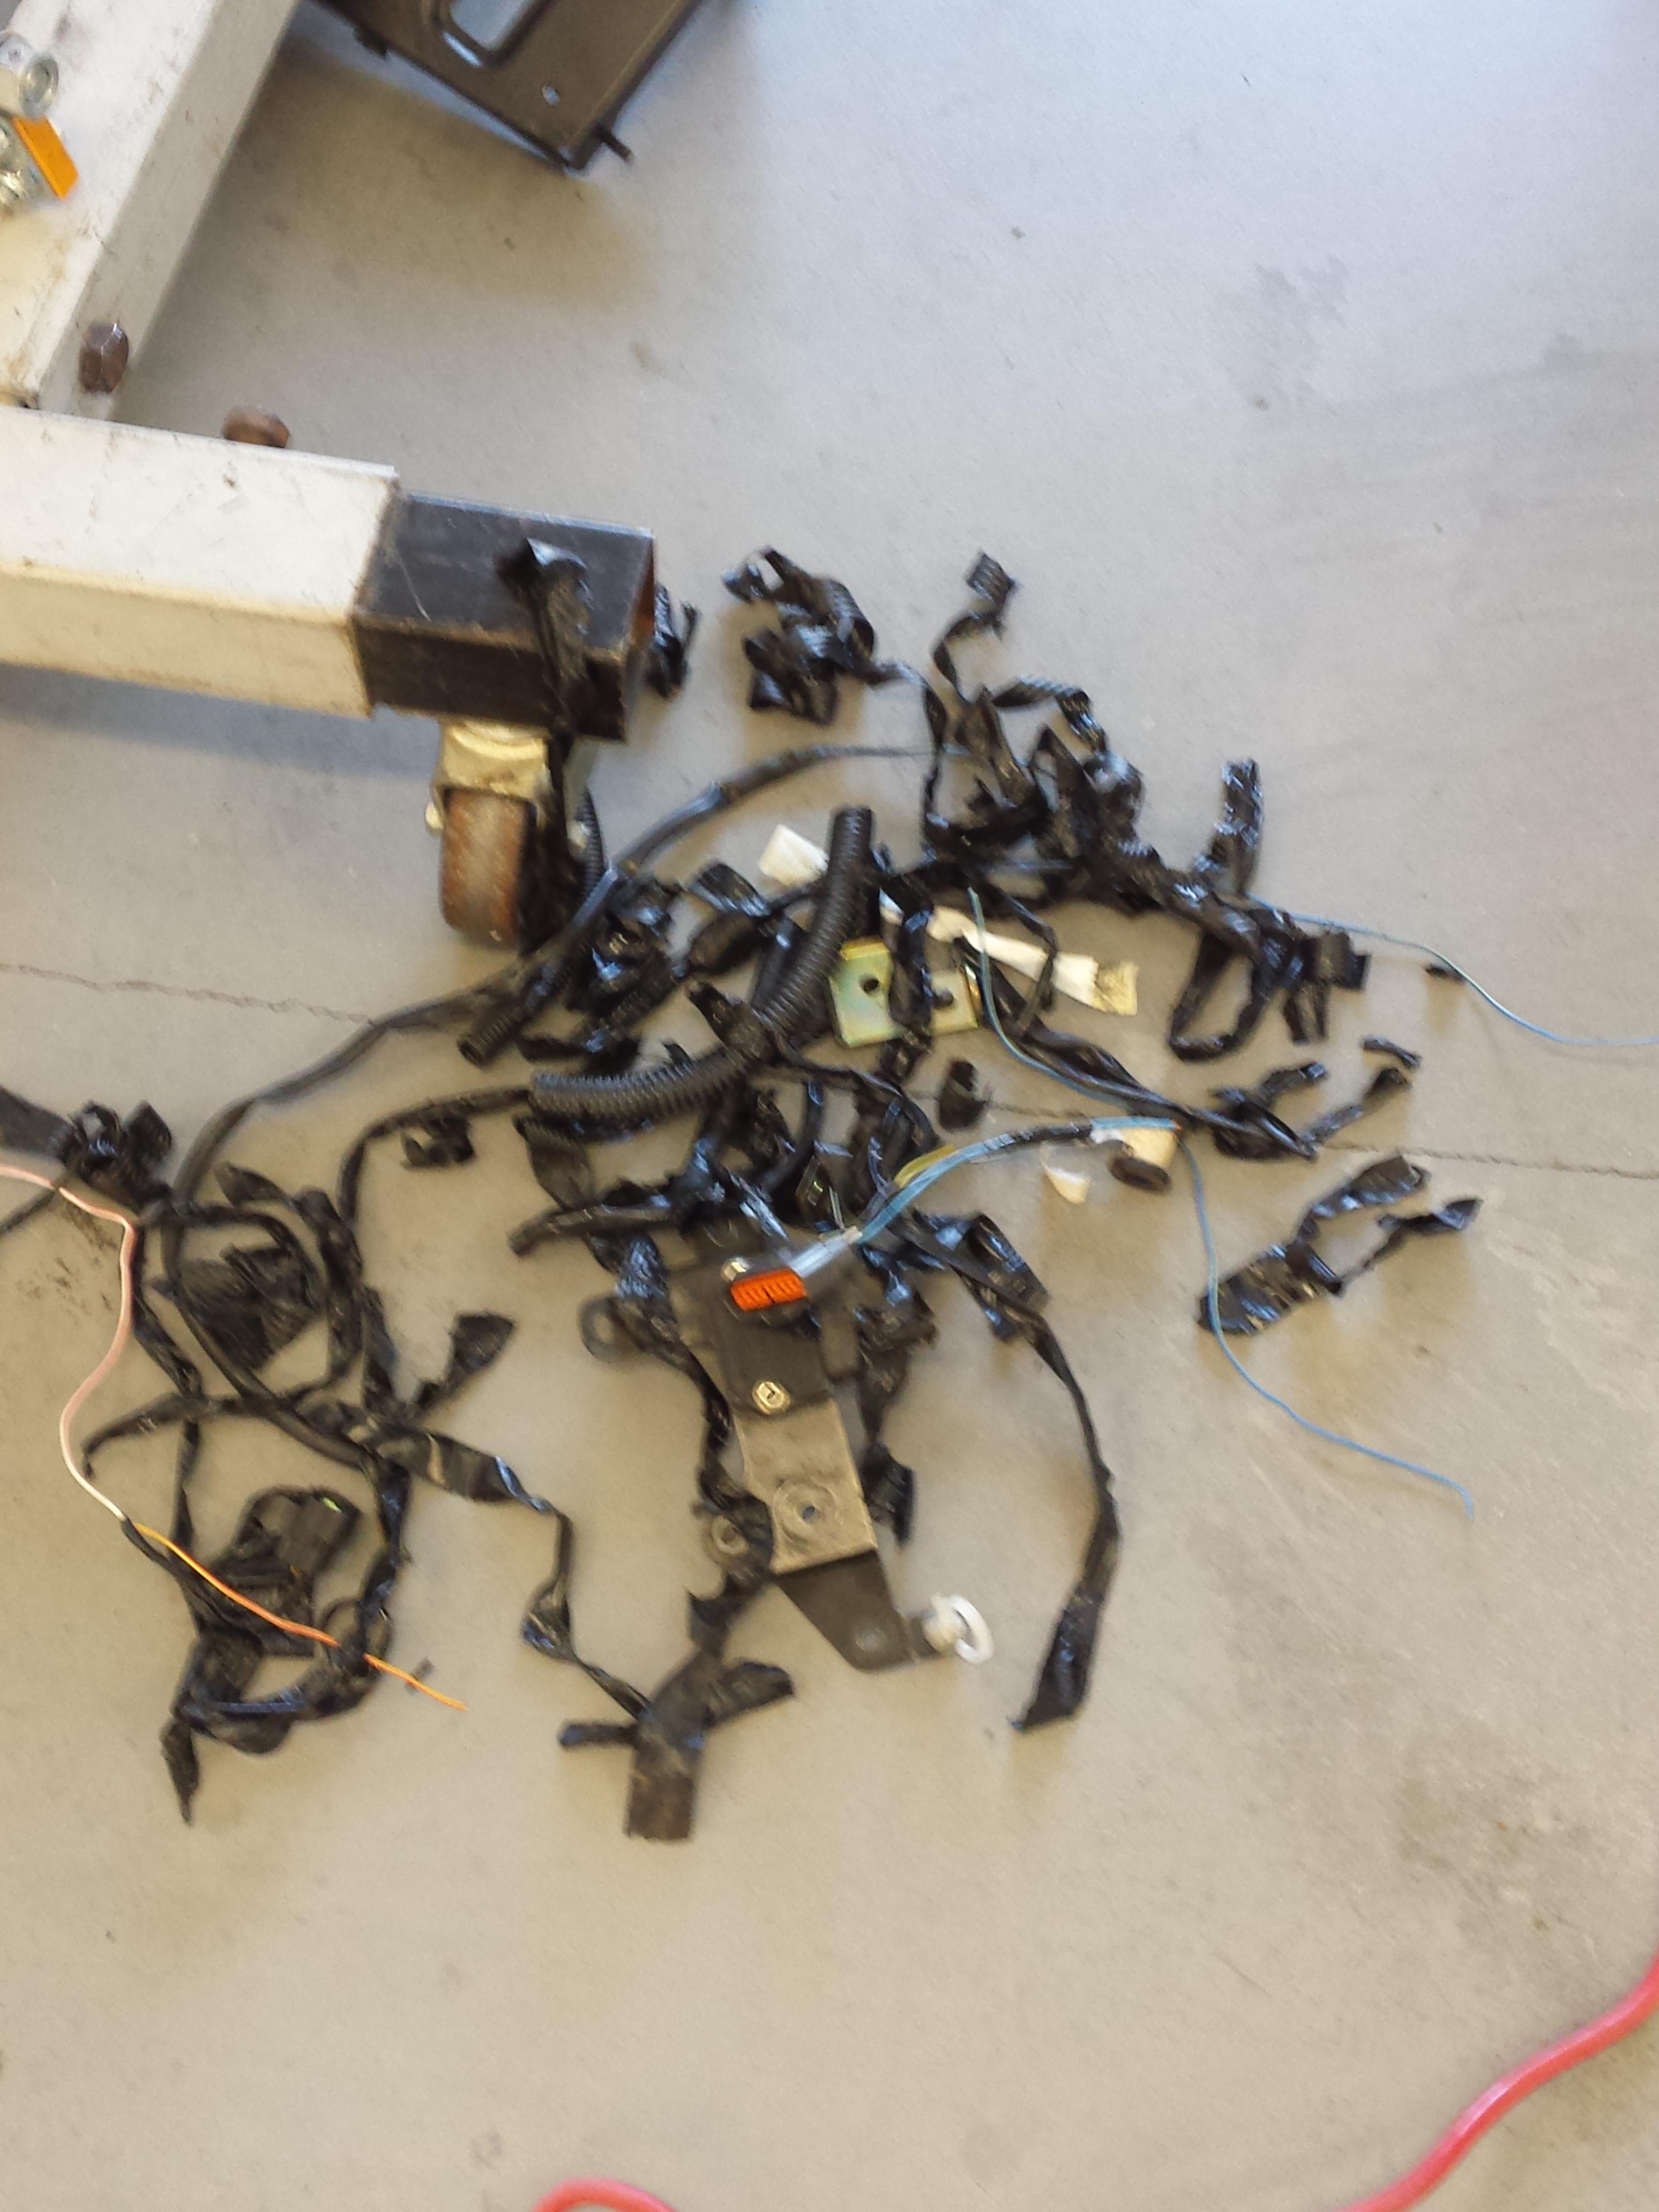
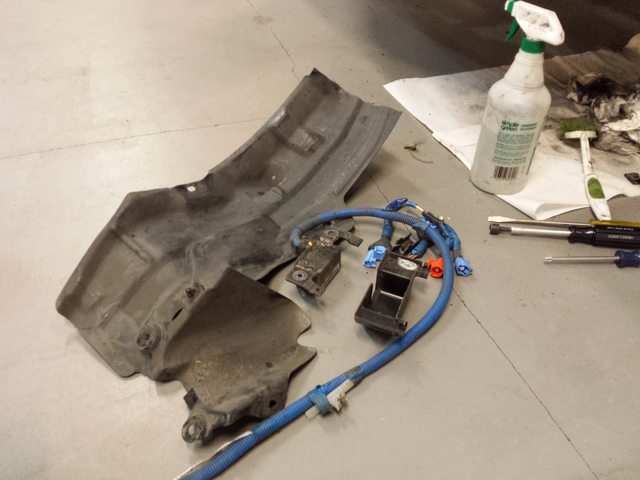
Here's airbag looms and sensor, each sensor weighs about 1lb each. (not all shown) There's 2 in the passenger front fender and 1 in the driver's side, plus the wiring behind the fender liners. During the mild fender roll, I cut about half the fender liners out and pulled the blue looms out. About 4.5-5lbs of weight there.
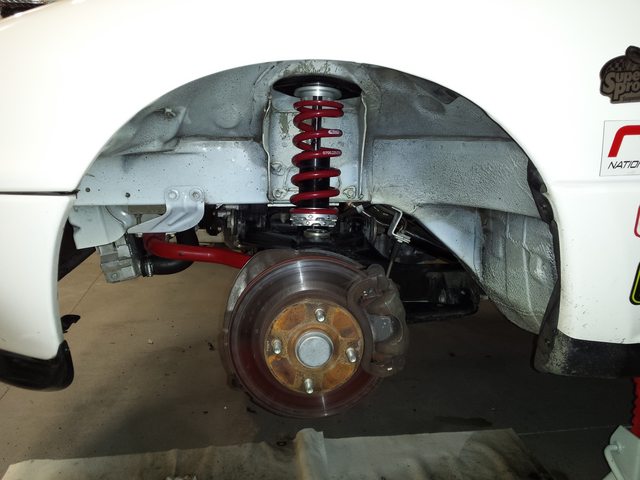
Cleaned fender wells only looked worse.
Before paint.
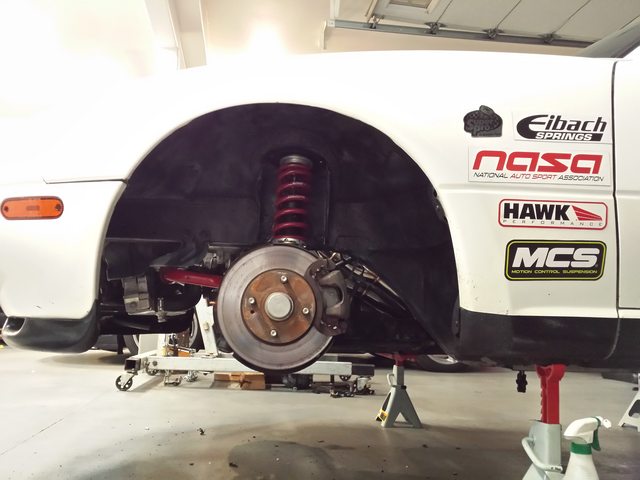
After some flat black paint.
CSTG running wires.
More tidying up the engine bay and 90% of the wiring complete. Awesome work Josh. We have some tweaking to do to the intake and bracket so it will sit straight.
On break for a few days while we wait for a couple parts to come in.
Behold true CAI.
3
Piles of stuff no one needs.
Here's airbag looms and sensor, each sensor weighs about 1lb each. (not all shown) There's 2 in the passenger front fender and 1 in the driver's side, plus the wiring behind the fender liners. During the mild fender roll, I cut about half the fender liners out and pulled the blue looms out. About 4.5-5lbs of weight there.
Cleaned fender wells only looked worse.
Before paint.
After some flat black paint.
CSTG running wires.
More tidying up the engine bay and 90% of the wiring complete. Awesome work Josh. We have some tweaking to do to the intake and bracket so it will sit straight.
On break for a few days while we wait for a couple parts to come in.
Reply
0
0
10-17-2014, 10:41 PM
#97
Cpt. Slow
iTrader: (25)
Join Date: Oct 2005
Location: Oregon City, OR
Posts: 14,227
Total Cats: 1,147
That was easy.
Afr map looks a little lean in lower cells, might have something to do with the blue header.
Otherwise runs good, just have to wire in the other two injector channels properly, they're currently shoved in 2u and 2v, as 1x and 2a weren't working as rev said. We'll figure that out tomorrow. I'm thinking when he suggest those pins, he meant surgically remove them from the harness and clip them into the currently empty 2u and 2v.
Reply
0
0


