240_'s Project Paint
 03-25-2012, 02:27 PM
#83
Elite Member
Thread Starter
iTrader: (2)

Join Date: May 2007
Location: Cromwell, Connecticut
Posts: 2,605
Total Cats: 16
Drove it quite a bit this weekend with no windshield. Good times.
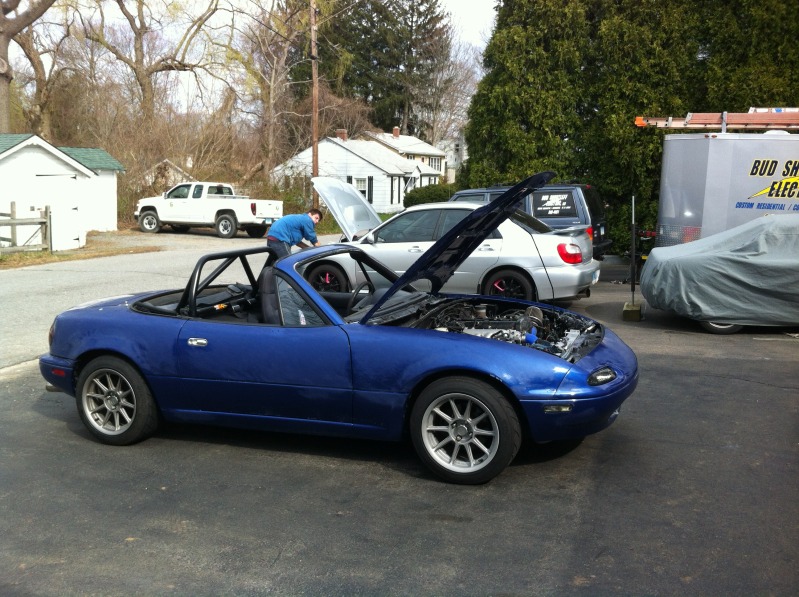
I should be getting the windshield next weekend and then I will start back up on wetsanding. For now I only have 1 stock seat in. Still waiting on my custom brackets to get laser cut at work.
I should be getting the windshield next weekend and then I will start back up on wetsanding. For now I only have 1 stock seat in. Still waiting on my custom brackets to get laser cut at work.

Reply
 0
0

0
 03-25-2012, 08:58 PM
#85
Elite Member
Thread Starter
iTrader: (2)
Join Date: May 2007
Location: Cromwell, Connecticut
Posts: 2,605
Total Cats: 16
hey hey its lower than stock.
I ordered some supplies to wetsand her. Going to use 3m's DA sanding products. Foam cushioning pad and 1500 then 3000 grit...should make quick work of it.
I ordered some supplies to wetsand her. Going to use 3m's DA sanding products. Foam cushioning pad and 1500 then 3000 grit...should make quick work of it.
Reply
0
0

 03-28-2012, 07:37 PM
#88
Elite Member
Thread Starter
iTrader: (2)
Join Date: May 2007
Location: Cromwell, Connecticut
Posts: 2,605
Total Cats: 16
It amazes me how Interior/Exterior "restoration" can make your wallet burn just as fast as turbo & suspension goodies. Just when I thought I was done buying stuff:
-3M 05776 Hookit 6" Disc Pad
- 3M 02088 Trizact Hookit 6" P1500 Grit Clear Coat Sanding Disc, (Box of 25)
-3M 02085 Trizact Hookit 6" P3000 Grit Foam Disc, (Box of 15)
- 3M 05777 Hookit 6" x 1/2" x 3/4" Soft Interface Pad
-MF1 Uber All Purpose Microfiber Bulk 50 Pack (splitting with a friend)
- 650G Uber Blue Pad 6.5 inch final polish pad (bought 3)
- 6515HOG Uber Orange Pad 6.5 inch medium polish pad (bought 3)
- 631G Uber Yellow Pad 6.5 inch cutting compounding pad (bought 3)
- M105 Meguiar's M105 Ultra Cut Compound Size: 1gallon
-M205 Meguiar's M205 Ultra Finishing Polish Size: 32oz (bought 2)
This weekend I plan on doing plugs, oil change, etc... and then back to body work. I want to fix the chip I got while putting her in storage. Next week I will begin wetsanding with the DA. I am pretty excited/nervous about cutting the paint with a DA, but people speak highly about this 3m trizact stuff. I plan on just keeping the DA at a lower PSI and seeing how it goes.
Reply
0
0
03-28-2012, 10:21 PM
#89
Junior Member

Join Date: Mar 2011
Location: Indianapolis
Posts: 76
Total Cats: 1
It seems like you bought A LOT of compound.
I barely used 1/4 of my 32oz 105 for my entire car, But I am pretty sure I need a more aggressive pad because the 105 wasn't quite cutting enough.
I barely used 1/4 of my 32oz 105 for my entire car, But I am pretty sure I need a more aggressive pad because the 105 wasn't quite cutting enough.
Reply
0
0
03-29-2012, 06:46 AM
#90
Elite Member
Thread Starter
iTrader: (2)
Join Date: May 2007
Location: Cromwell, Connecticut
Posts: 2,605
Total Cats: 16
Yeah I have a feeling 2 qts would have been about what I use...but the difference in cost from 2 qts to a full gallon was minimal. It will probably go to my friend as a thank you for helping me polish. I personally thought it was a lifetime supply. lol.
Reply
0
0
04-03-2012, 09:15 PM
#91
Elite Member
Thread Starter
iTrader: (2)
Join Date: May 2007
Location: Cromwell, Connecticut
Posts: 2,605
Total Cats: 16
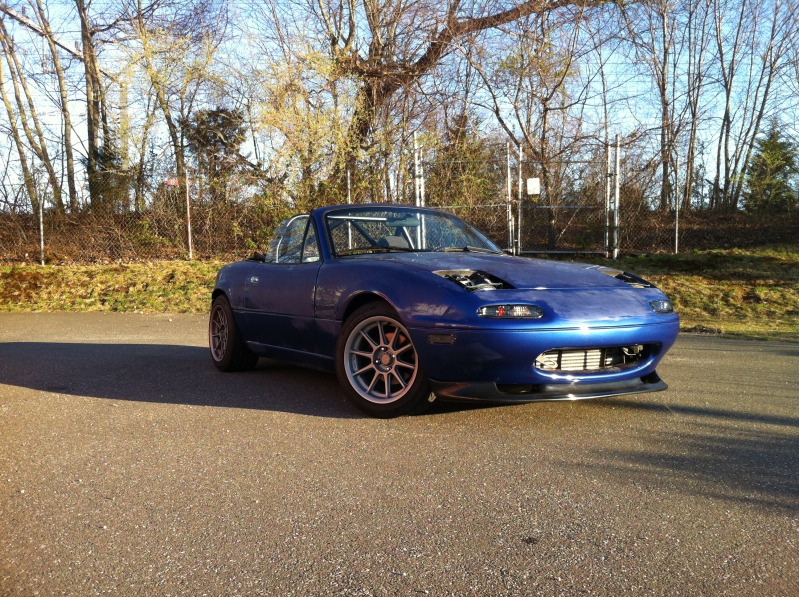
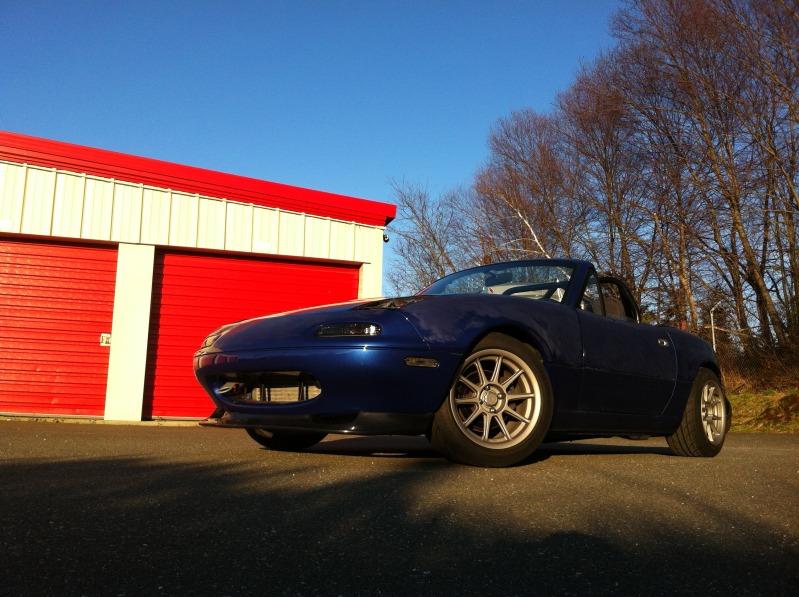
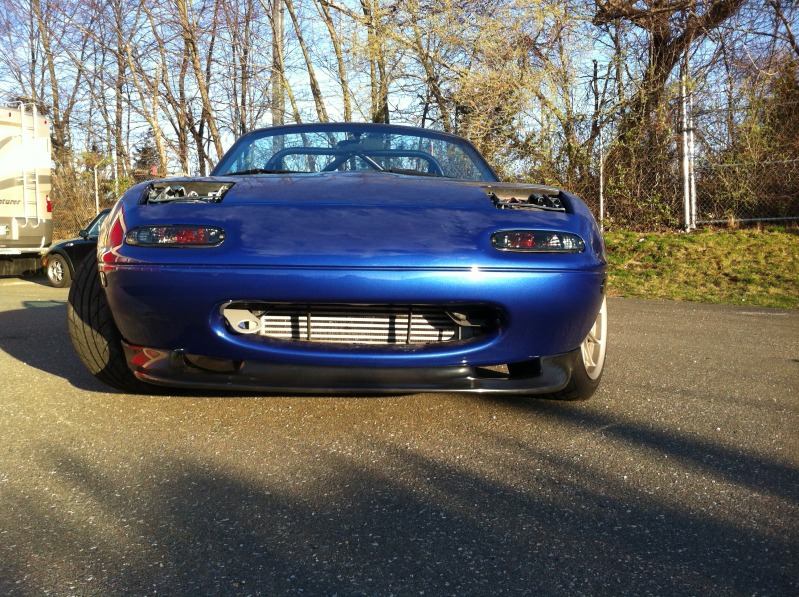
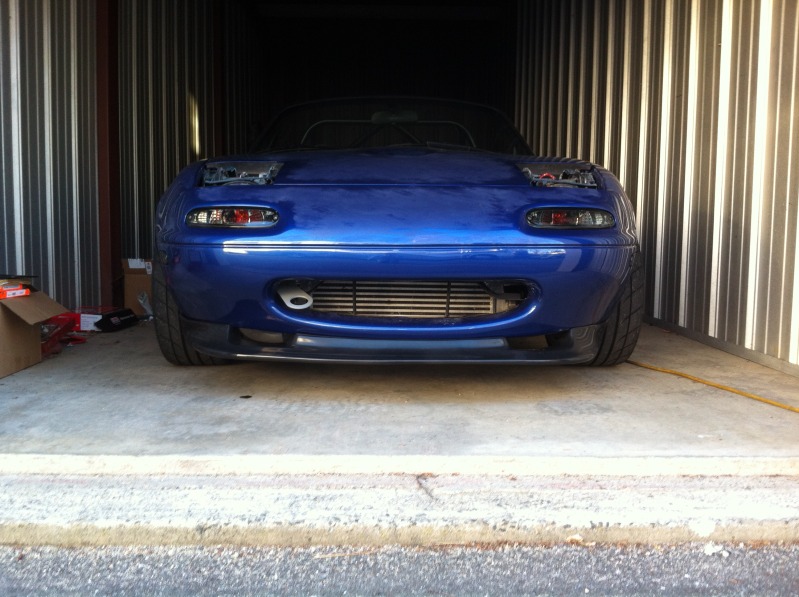
-Windshield installed
-random cowl trim installed
-front lip installed
- Oil changed. Spark plugs changed. Still need to change the fuel filter
I will be fixing my chip tomorrow and wetsanding all weekend. Maybe buffing next week!
Some "These might actually look nice if my car was done" pics (iphone4):
-random cowl trim installed
-front lip installed
- Oil changed. Spark plugs changed. Still need to change the fuel filter
I will be fixing my chip tomorrow and wetsanding all weekend. Maybe buffing next week!
Some "These might actually look nice if my car was done" pics (iphone4):
Reply
0
0

 04-04-2012, 07:31 PM
#95
Elite Member
Thread Starter
iTrader: (2)
Join Date: May 2007
Location: Cromwell, Connecticut
Posts: 2,605
Total Cats: 16
Yeah Yeah ik 4x4 blah blah
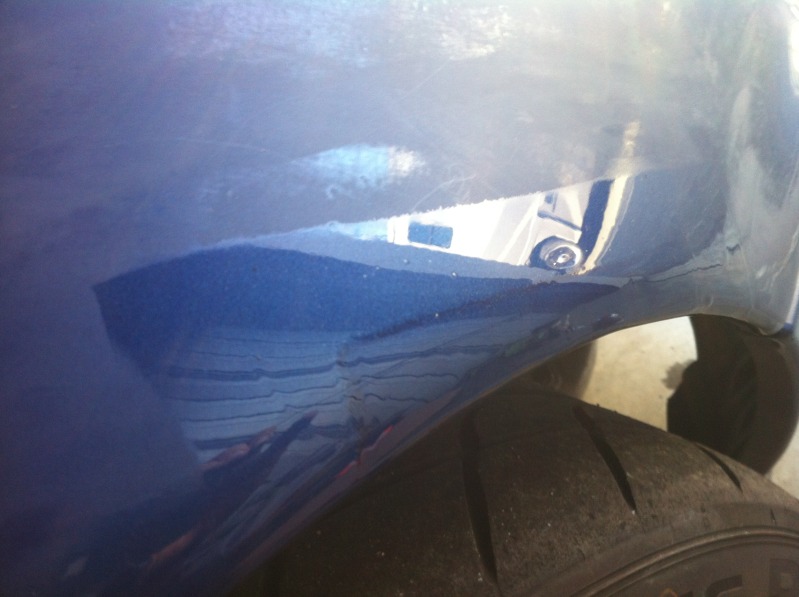
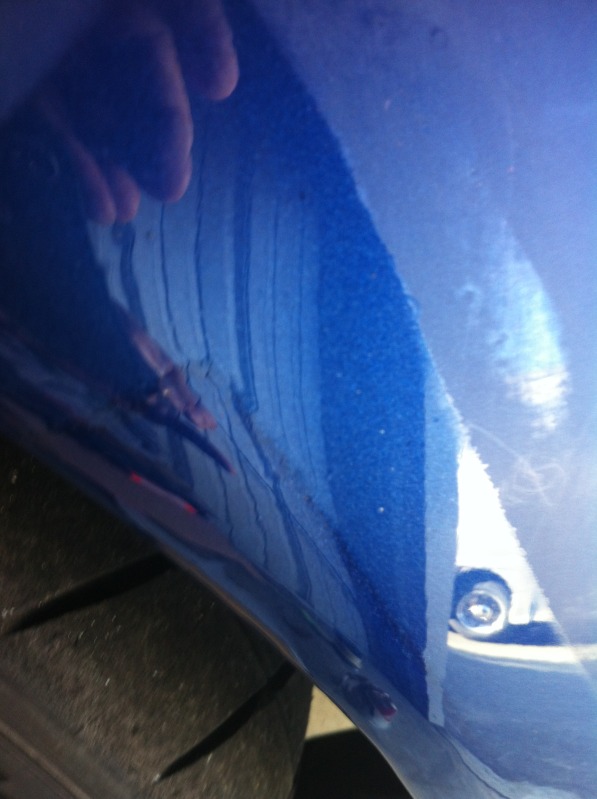
Today I learned how much of a ---- it is to spot repair metallic paint. I started by sanding the damaged area with 220. I didn't go crazy because I wanted to minimize the repair area. Next I feathered with 400. I cleaned and prepped the area and masked off using the bent over tape technique to reduce the chance of getting a hard edge. I did 3 coats of color (rattle can base coat), moving the tape back on each pass.
Next I did 3 coats of clear using 2k 2 part rattle can clear (its legit clear that you mix right in the can by pressing a pin). I moved the tape further and further back each time to reduce hard edges. It will all get wetsanded in and blended later anyway though.
This is where I made the mistake. in order for metallic to look good it needs to be sprayed in a complete pass. If you were to "dust" metallic it doesnt look right. In fact back when I had montego blue it would look crazy green (green metallic flakes in it) until you sprayed a nice wet coat. By trying to feather in the edges I created a half assed metallic line along the edge. I should have wetsanded the base coat with 1500 before continuing onto clear coat. What I ended up with was a wrinkle looking line in the base coat where the metallic got built up. Nothing I can do about it now short of sanding it again and re-spraying again but that will be another can of clear ($25) and mean an even larger repair area. Right now the repair area is still only about 1" tall x 4" long and right on the wheel arch so its not too noticeable. Oh well. She still will look good from a few feet away. My car is by no means a show car.
Pics:
220-
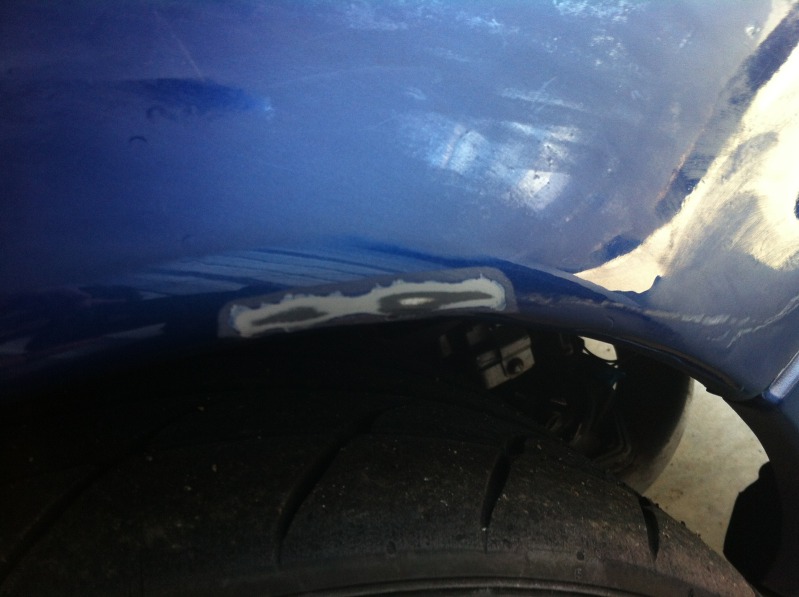
400
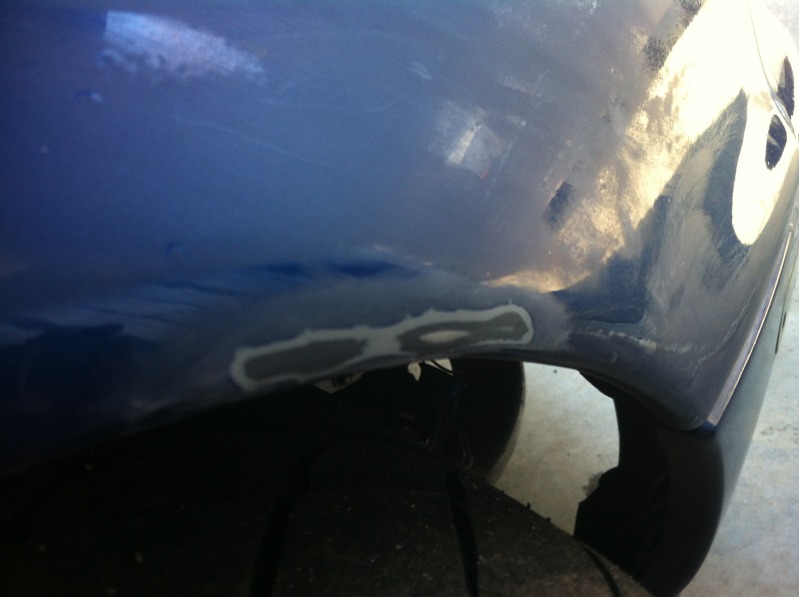
First coat
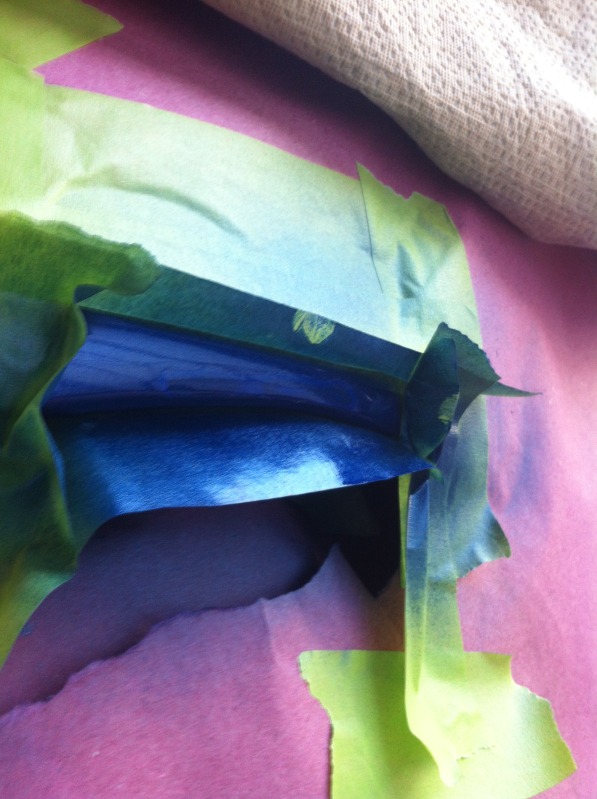
Second coat
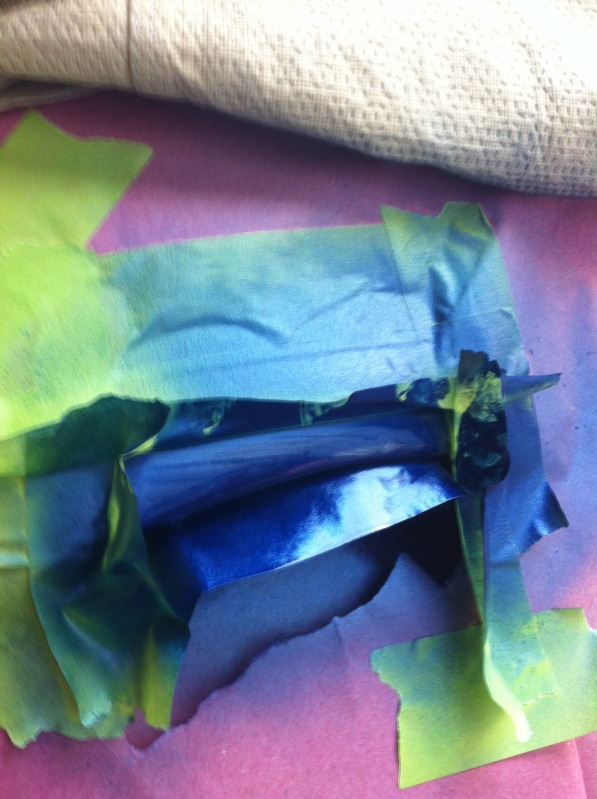
First clear (you can sorda see the edge)
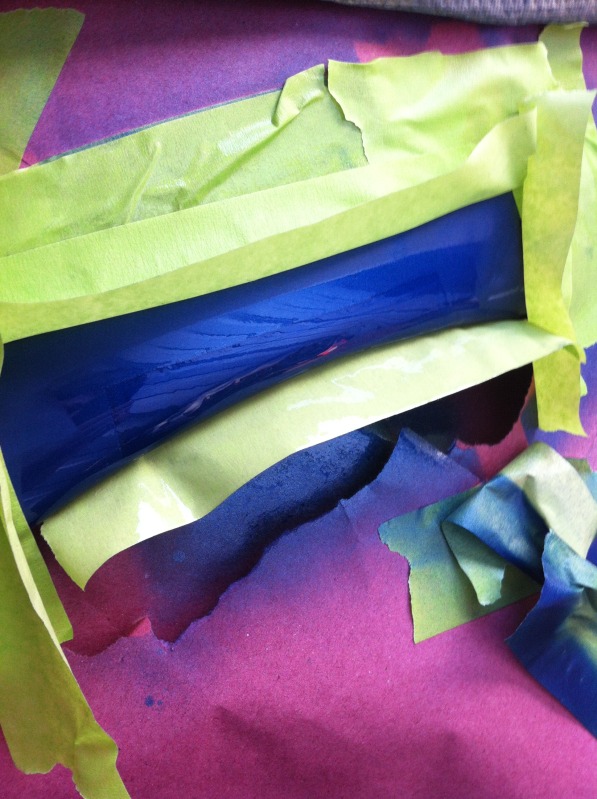
Second clear
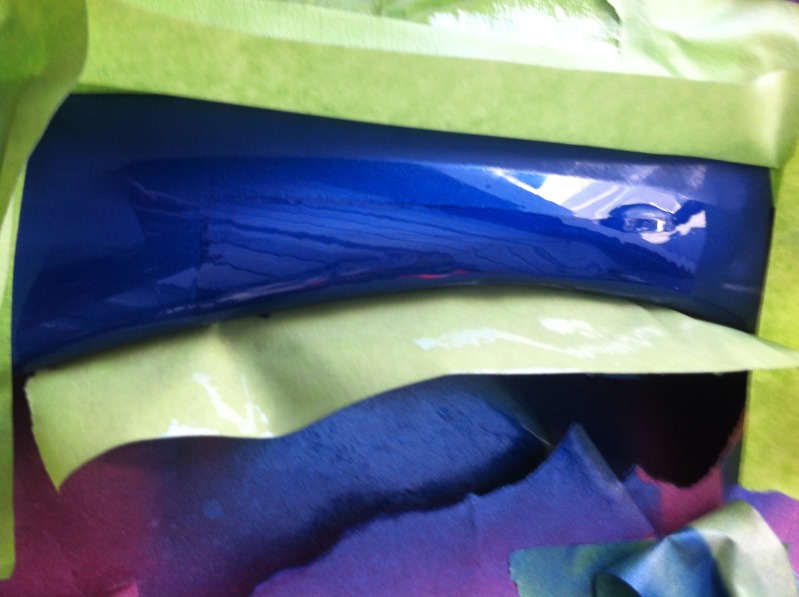
Final clear
Today I learned how much of a ---- it is to spot repair metallic paint. I started by sanding the damaged area with 220. I didn't go crazy because I wanted to minimize the repair area. Next I feathered with 400. I cleaned and prepped the area and masked off using the bent over tape technique to reduce the chance of getting a hard edge. I did 3 coats of color (rattle can base coat), moving the tape back on each pass.
Next I did 3 coats of clear using 2k 2 part rattle can clear (its legit clear that you mix right in the can by pressing a pin). I moved the tape further and further back each time to reduce hard edges. It will all get wetsanded in and blended later anyway though.
This is where I made the mistake. in order for metallic to look good it needs to be sprayed in a complete pass. If you were to "dust" metallic it doesnt look right. In fact back when I had montego blue it would look crazy green (green metallic flakes in it) until you sprayed a nice wet coat. By trying to feather in the edges I created a half assed metallic line along the edge. I should have wetsanded the base coat with 1500 before continuing onto clear coat. What I ended up with was a wrinkle looking line in the base coat where the metallic got built up. Nothing I can do about it now short of sanding it again and re-spraying again but that will be another can of clear ($25) and mean an even larger repair area. Right now the repair area is still only about 1" tall x 4" long and right on the wheel arch so its not too noticeable. Oh well. She still will look good from a few feet away. My car is by no means a show car.
Pics:
220-
400
First coat
Second coat
First clear (you can sorda see the edge)
Second clear
Final clear
Reply
0
0
 04-04-2012, 09:56 PM
#99
Elite Member
Thread Starter
iTrader: (2)
Join Date: May 2007
Location: Cromwell, Connecticut
Posts: 2,605
Total Cats: 16
darker. Hard to say until it dries.
when you buy paint in a rattle can or any small quantity its just a crap shoot if you will actually get the same color. 1 drop of a base color will throw it off so much.
when you buy paint in a rattle can or any small quantity its just a crap shoot if you will actually get the same color. 1 drop of a base color will throw it off so much.
Reply
0
0


