93' Miata stolen and flipped build thread

 02-17-2014, 09:40 PM
#1242
Elite Member

Join Date: Oct 2013
Location: Cedar City, UT
Posts: 2,764
Total Cats: 951
*edit* after reading what I wrote it may have come off as condescending or off putting, not my intention at all if so. I am pretty humble about stuff I do so hate it when I come off as an ***.
Last edited by Jeffbucc; 02-17-2014 at 10:35 PM.

Reply
 0
0

0


 02-18-2014, 12:11 PM
#1250
Elite Member
Join Date: Oct 2013
Location: Cedar City, UT
Posts: 2,764
Total Cats: 951
Yeah yeah, idiot Clubroadster award of the year goes to Jeff!
Here, how about some real work?
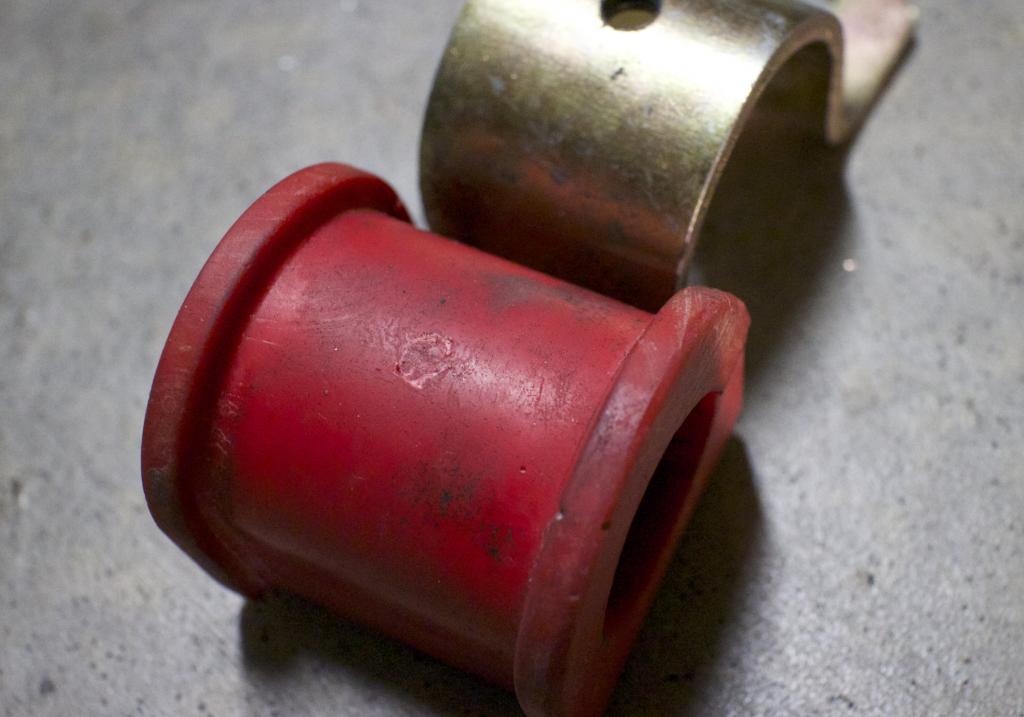
I installed the work of art 949Racing adjustable endlinks last night. While I was doing it I installed some zerk fittings in the frame bushings. I really love the zerk fittings in my VW for the sway bars so I wanted to do the same on the Miata.
Get your tools all ready. Deburr bit, drill bit, center punch, and M6X1.0 Tap.
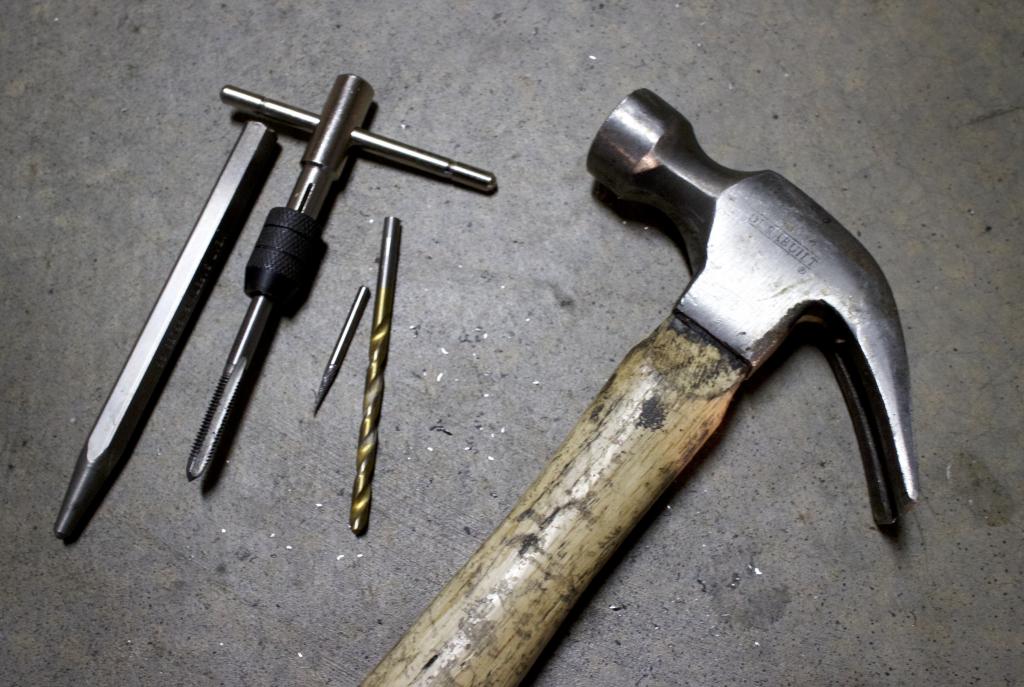
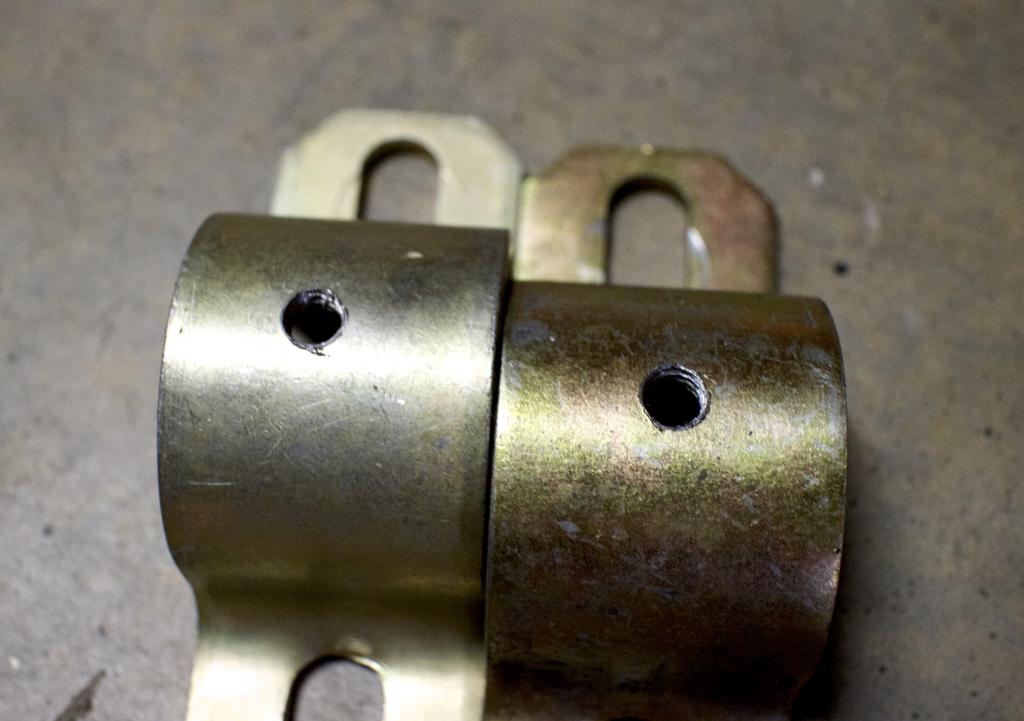
Drill and deburr the interior of the bracket, and then tap it.
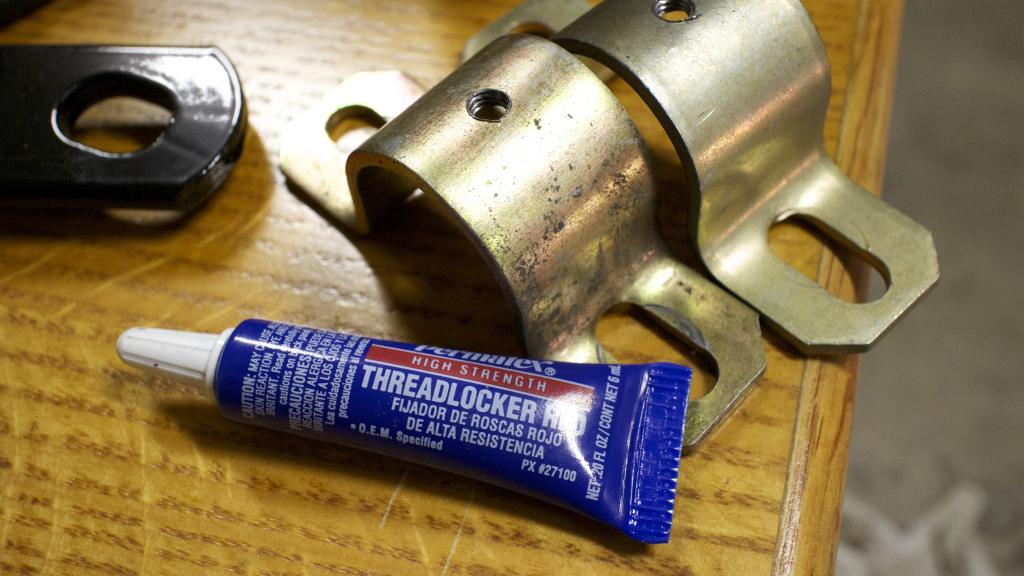
I used red threadlocker since I can't think of a reason why I'd remove them.
Mark the area where you will drill with a pin
Install the zerk and test to make sure you have good grease penetration
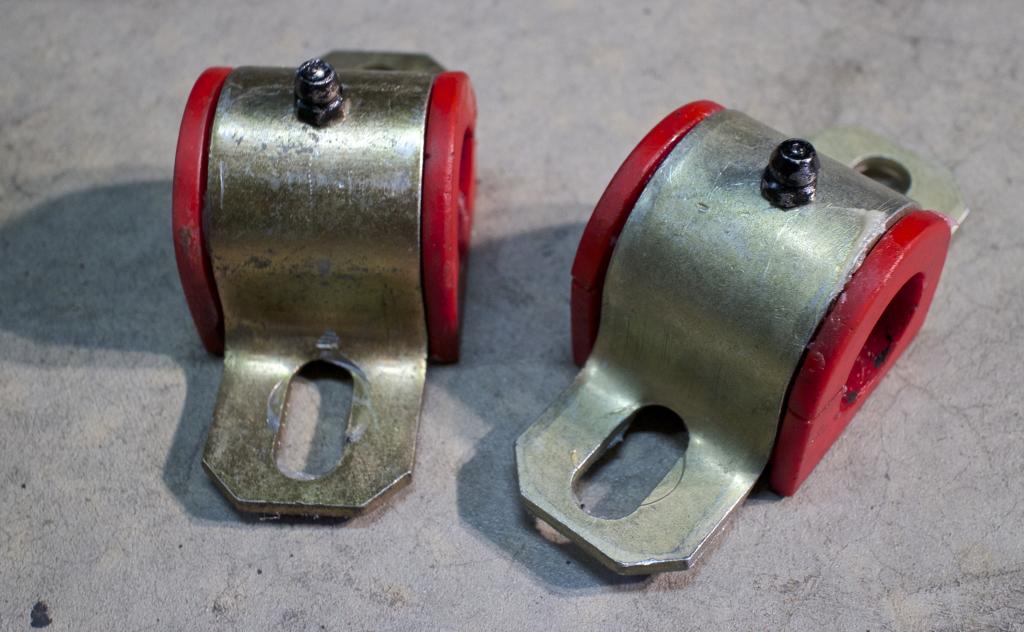
Installed
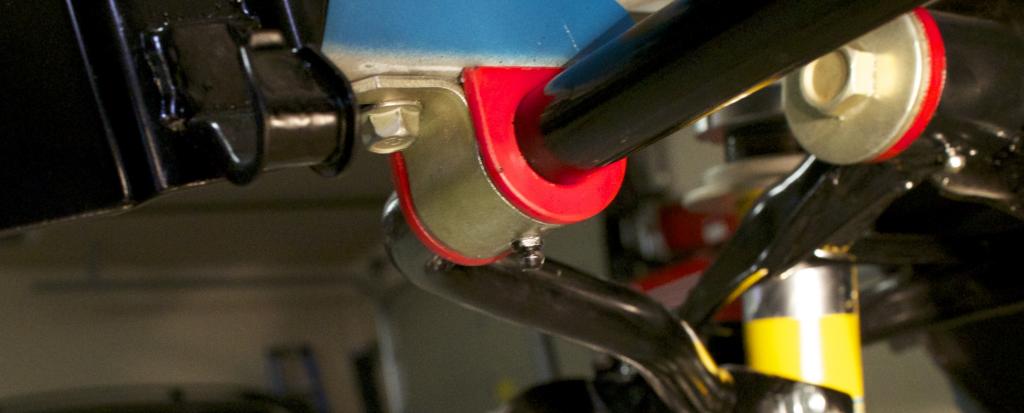
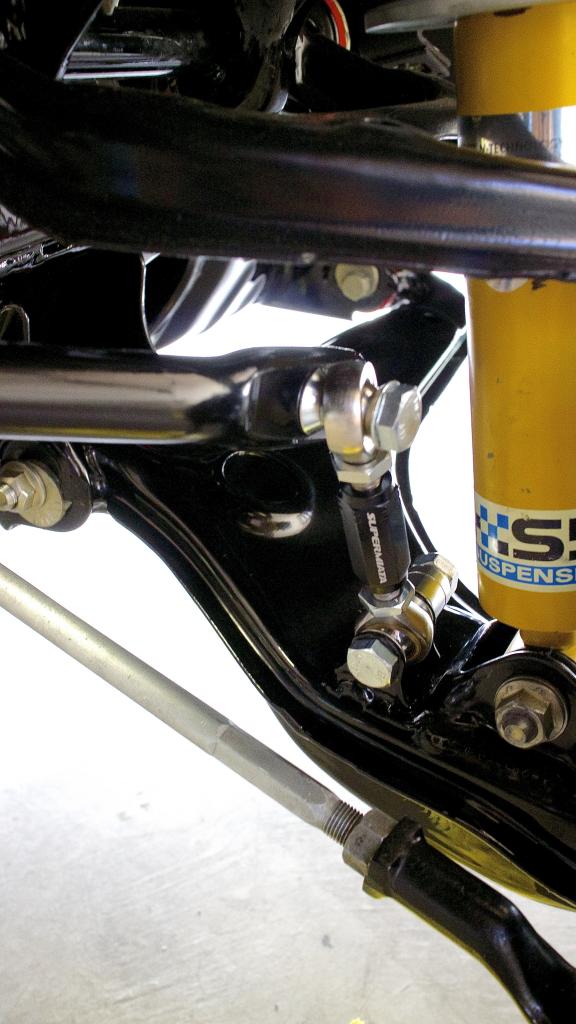
The purty endlinks. I'll adjust them perfectly when I get all the crap in the car for the final ride height.
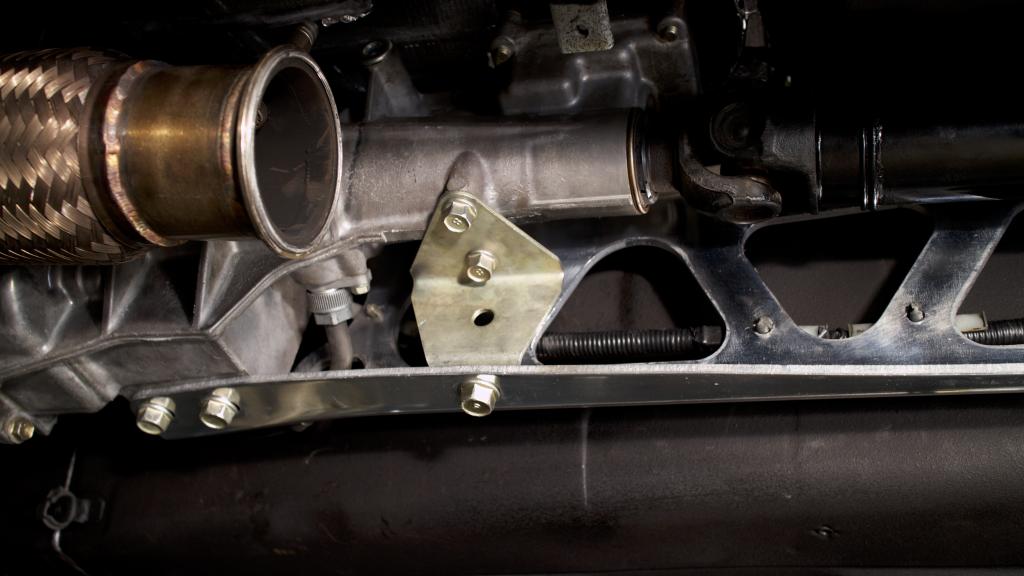
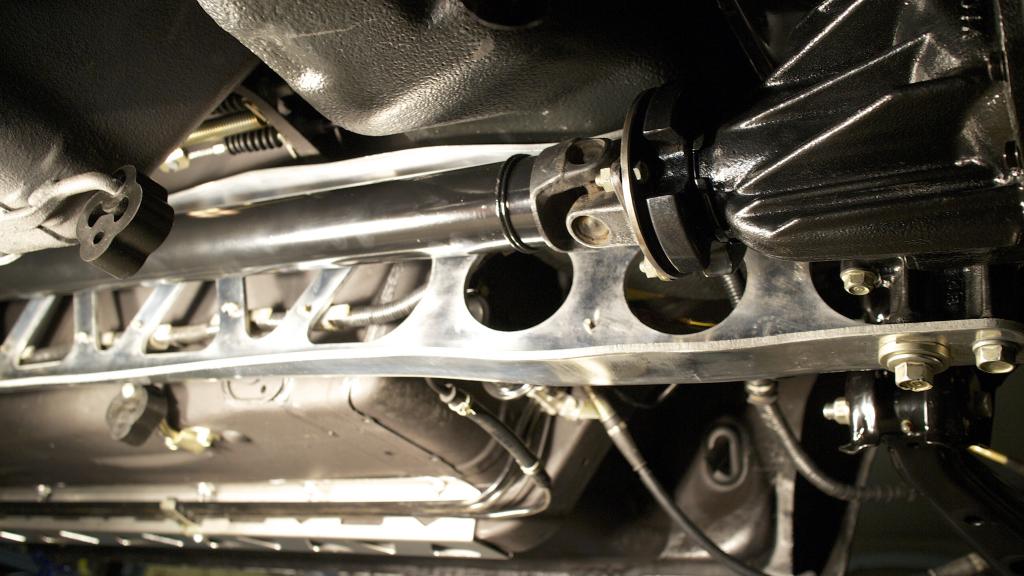
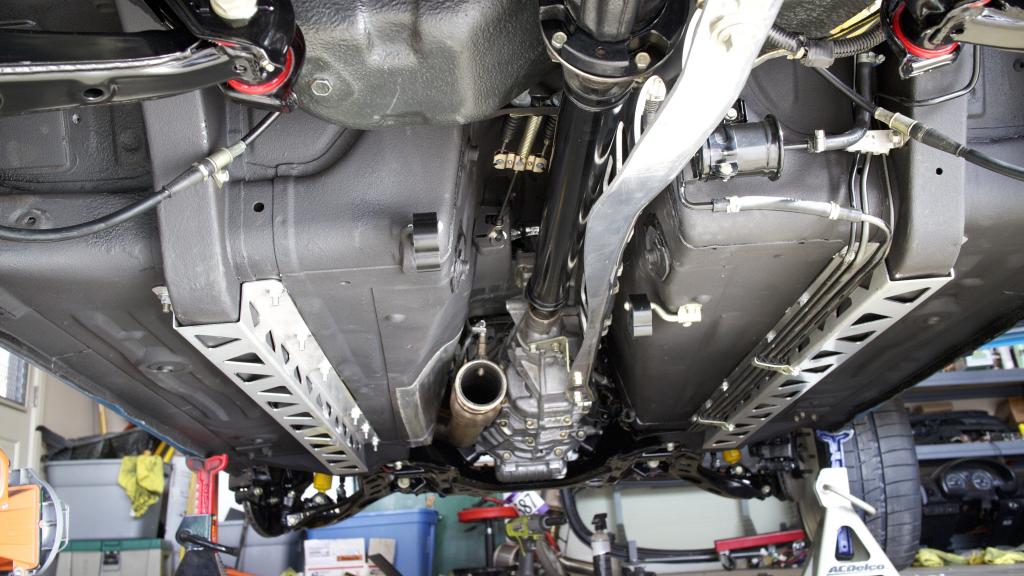
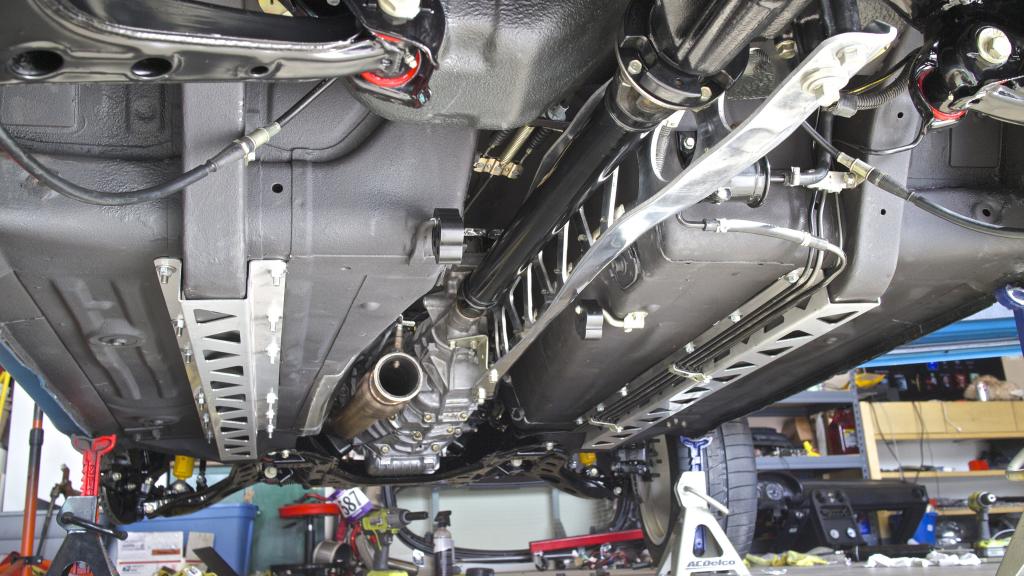
I also installed the PPF. Talk about a nightmare of a job. I never want to do that again. I just simply could not get the holes to sync up properly so it took a lot of swearing and muscle to get it all aligned. I will not admit how long it took me to install it.
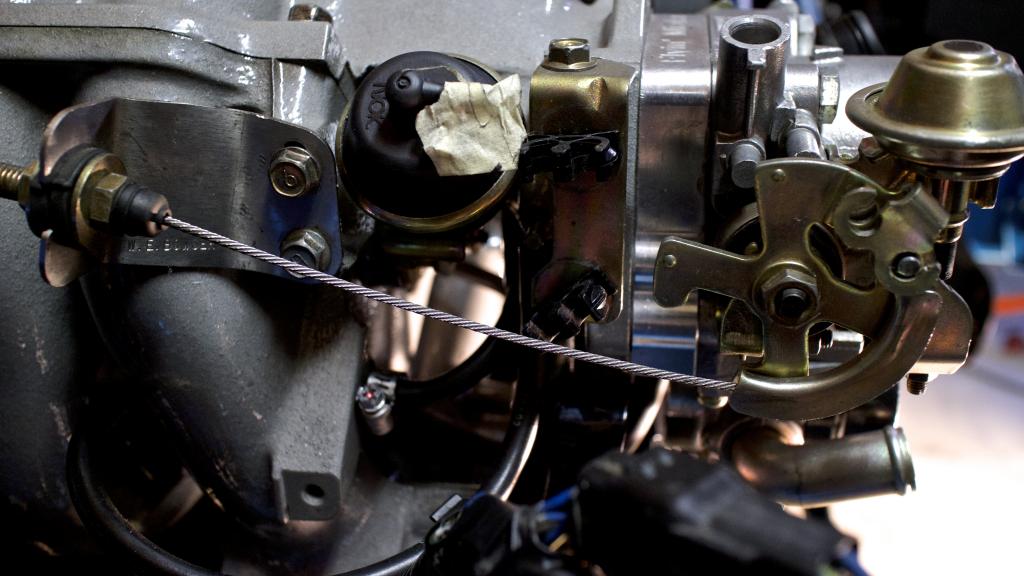
Throttle linkage installed
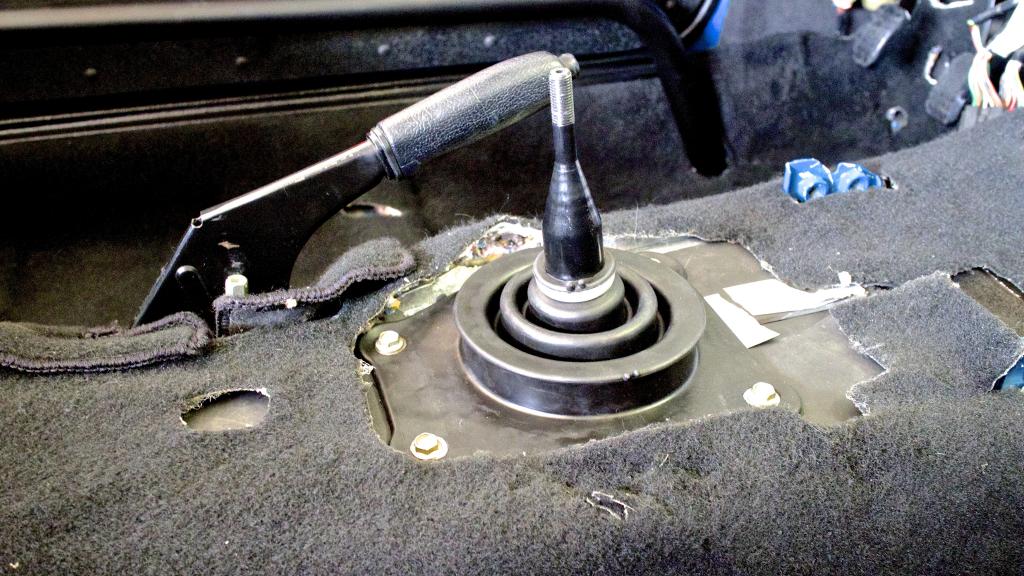
Deep cleaned the shift boot, removed all the old grease, and regreased the ball joint on it.
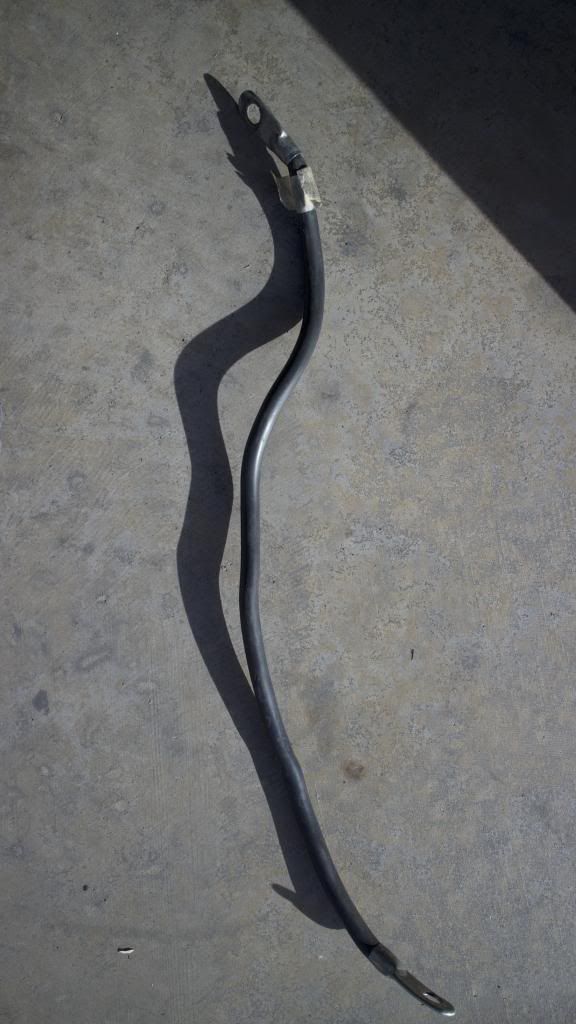
Anyone know where this giant ground cable goes? It has left my memory banks.
All in all it was a good night!
Here, how about some real work?
I installed the work of art 949Racing adjustable endlinks last night. While I was doing it I installed some zerk fittings in the frame bushings. I really love the zerk fittings in my VW for the sway bars so I wanted to do the same on the Miata.
Get your tools all ready. Deburr bit, drill bit, center punch, and M6X1.0 Tap.

Drill and deburr the interior of the bracket, and then tap it.

I used red threadlocker since I can't think of a reason why I'd remove them.

Mark the area where you will drill with a pin

Install the zerk and test to make sure you have good grease penetration

Installed

The purty endlinks. I'll adjust them perfectly when I get all the crap in the car for the final ride height.

I also installed the PPF. Talk about a nightmare of a job. I never want to do that again. I just simply could not get the holes to sync up properly so it took a lot of swearing and muscle to get it all aligned. I will not admit how long it took me to install it.


Throttle linkage installed

Deep cleaned the shift boot, removed all the old grease, and regreased the ball joint on it.

Anyone know where this giant ground cable goes? It has left my memory banks.

All in all it was a good night!
Reply
2
2
 02-18-2014, 12:28 PM
#1252

Today I used some touch up paint on my car and thought of this thread. I got more paint around the rock chips, than in the actual rock chips themselves. I'm okay with this.
Jeff would have stripped my car of paint, polished every panel, then repainted it.
That PPF. I don't even.. I cannot even..
Jeff would have stripped my car of paint, polished every panel, then repainted it.
That PPF. I don't even.. I cannot even..
Reply
0
0


 02-18-2014, 12:39 PM
#1256
Cpt. Slow

iTrader: (25)
Join Date: Oct 2005
Location: Oregon City, OR
Posts: 14,204
Total Cats: 1,138
There is a ground strap somewhere on the PPF, but I think its a braided cable with some cheap plastic covering, like the one you polished earlier in the thread.
Once you wrap your head around all the spacers, splined nuts, and sliding nuts, it goes in a lot easier. Mazda really took out all the stops for their PPF mounting solutions.
The front has two linked nuts that are captured on a plate that slides on some rivets. Then I think there is a sliding spacer that gets pushed up by the shouldered bolt? Although that could only be in the back.
The diff has splined nuts that lock into the PPF, the sliding spacer that gets pushed up with the shouldered bolt, and the removable spacer block that also locks into the diff. Most of which is a giant pain in the ***, until you hammer the splined nuts out of the top with the unshouldered bolt. Sav or Emilio taught me this trick, forget who, but it has saved my *** multiple times.
Reply
0
0
02-18-2014, 12:48 PM
#1257
Elite Member
Join Date: Oct 2013
Location: Cedar City, UT
Posts: 2,764
Total Cats: 951

Apologies Brain, I was exporting my iphoto library to dropbox and forgot to change the export quality when I uploaded them to photobucket.
Once you wrap your head around all the spacers, splined nuts, and sliding nuts, it goes in a lot easier. Mazda really took out all the stops for their PPF mounting solutions.
The front has two linked nuts that are captured on a plate that slides on some rivets. Then I think there is a sliding spacer that gets pushed up by the shouldered bolt? Although that could only be in the back.
The diff has splined nuts that lock into the PPF, the sliding spacer that gets pushed up with the shouldered bolt, and the removable spacer block that also locks into the diff. Most of which is a giant pain in the ***, until you hammer the splined nuts out of the top with the unshouldered bolt. Sav or Emilio taught me this trick, forget who, but it has saved my *** multiple times.

Glad you guys enjoyed the PPF insanity. I was laughing my *** off, as I uploaded the pictures know you guys would just close the window browser in ludicrous disgust.
I definitely went plaid on the PPF.

Reply
1
1
02-18-2014, 01:00 PM
#1258
Elite Member
Join Date: Oct 2013
Location: Cedar City, UT
Posts: 2,764
Total Cats: 951
Real quick though, I remember someone saying that there may be a spacer I'm missing on the rear swaybar bushing mounts. Does anyone know what this spacer looks like? I just want to make sure I do it right, before I bolt the rear swaybar on.
Reply
0
0


