
93' Miata stolen and flipped build thread


IIRC they are just 1/8" NPT plugs with an allen hole in the end. I pulled one out of a water passage on my head and it came out frighteningly easily. I'd imagine they would go back it without issue provided they were properly cleaned and an oil resistant sealant was used.
Though you might want someone with more experience with this to chime in here.
Though you might want someone with more experience with this to chime in here.
Reply
 0
0

0

They are just pipe plugs. Use Permatex thread sealant or old-school Indianhead Shellac when you put them back in. You could also just tell the shop you're concerned about the bead blasting and see what they say about the cleaning they did. No shop wants a pissed customer.
Normally, when I get a head from a shop, there is assembly lube on the cam lobes and journals. Yours looks dry. ??
Normally, when I get a head from a shop, there is assembly lube on the cam lobes and journals. Yours looks dry. ??
Reply
0
0
Reply
0
0

Elite Member
Joined: Oct 2013
Posts: 2,764
Total Cats: 951
From: Cedar City, UT
Reply
0
0
Elite Member
Joined: Oct 2013
Posts: 2,764
Total Cats: 951
From: Cedar City, UT
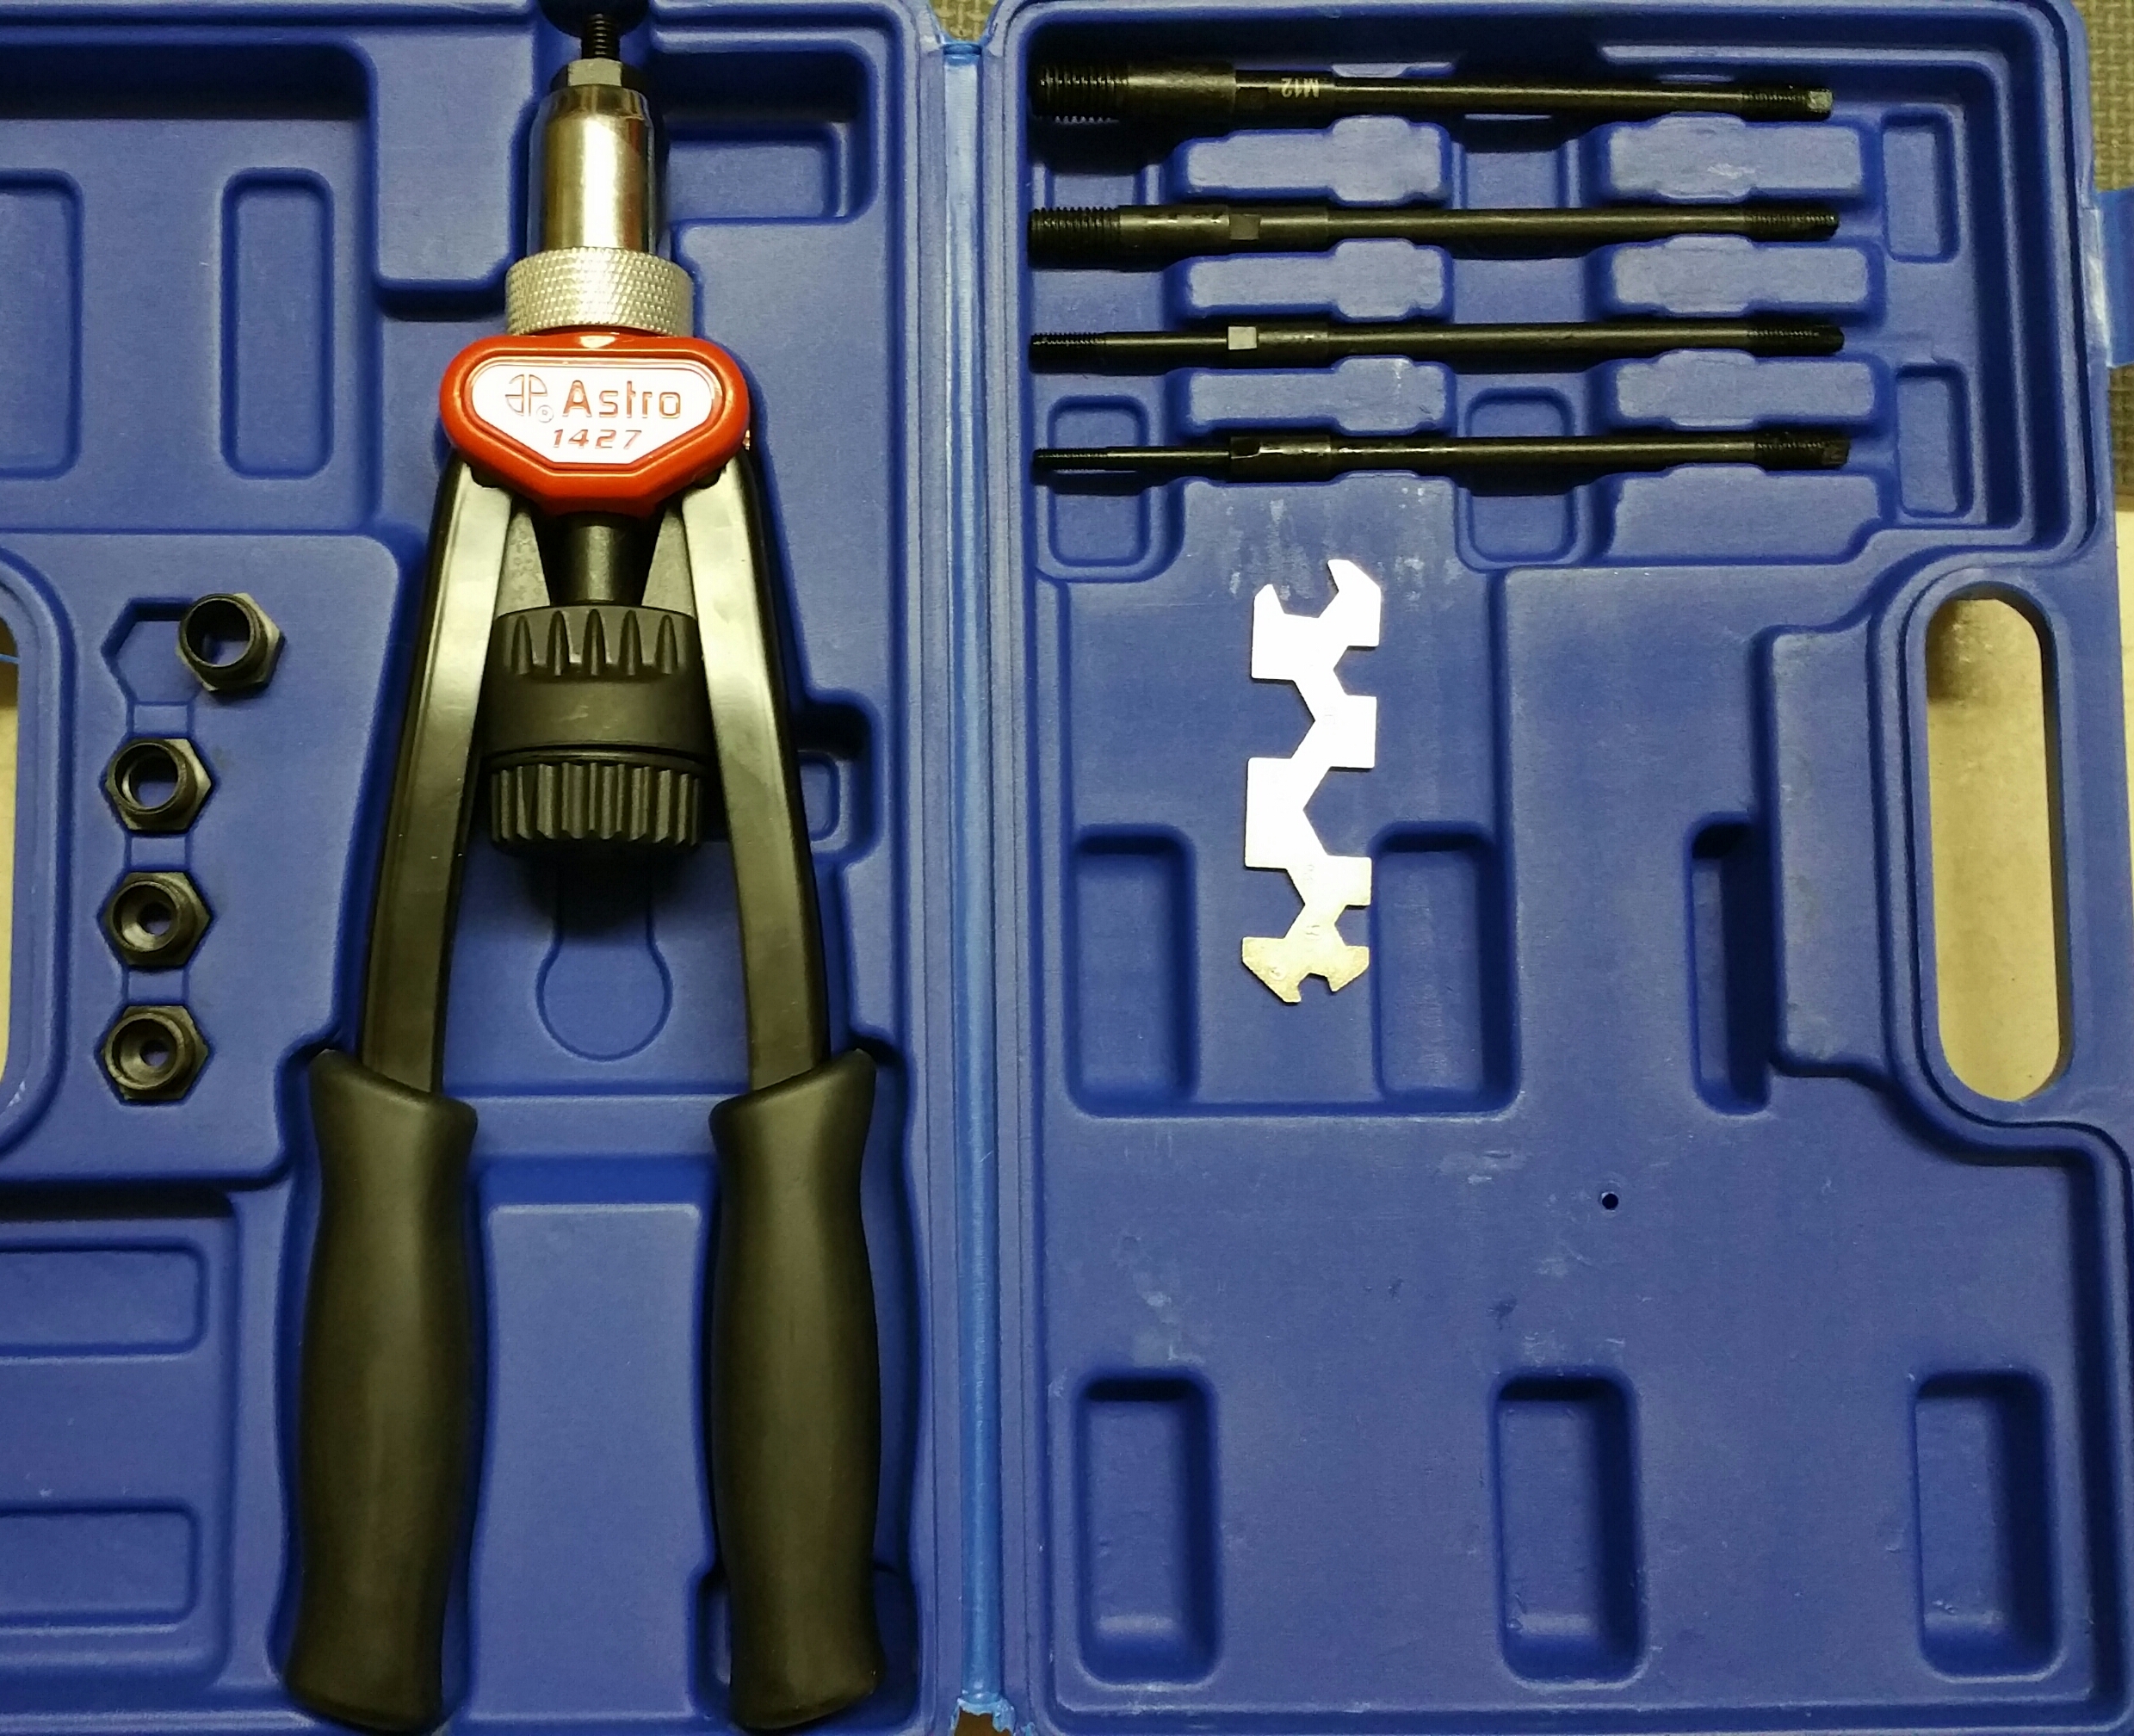
Also figured out how I'm going to mount my Meth tank and pump in the trunk.
The shelf under the trunk tension rods for a nice clean out of the way setup.
20 M6x1.0 rivnuts and this puppy and it's gonna be sweet!(Amazon Prime you evil temptress)
The shelf under the trunk tension rods for a nice clean out of the way setup.
20 M6x1.0 rivnuts and this puppy and it's gonna be sweet!(Amazon Prime you evil temptress)
Reply
0
0
Elite Member
Joined: Oct 2013
Posts: 2,764
Total Cats: 951
From: Cedar City, UT
Inner monologue
"I'm going to get so much assembled tonight so psyched to drive!"
...
Yeah right, it's like I forget I have a tick when I notice something isn't shiny or a tiny ignorable mite or rust.
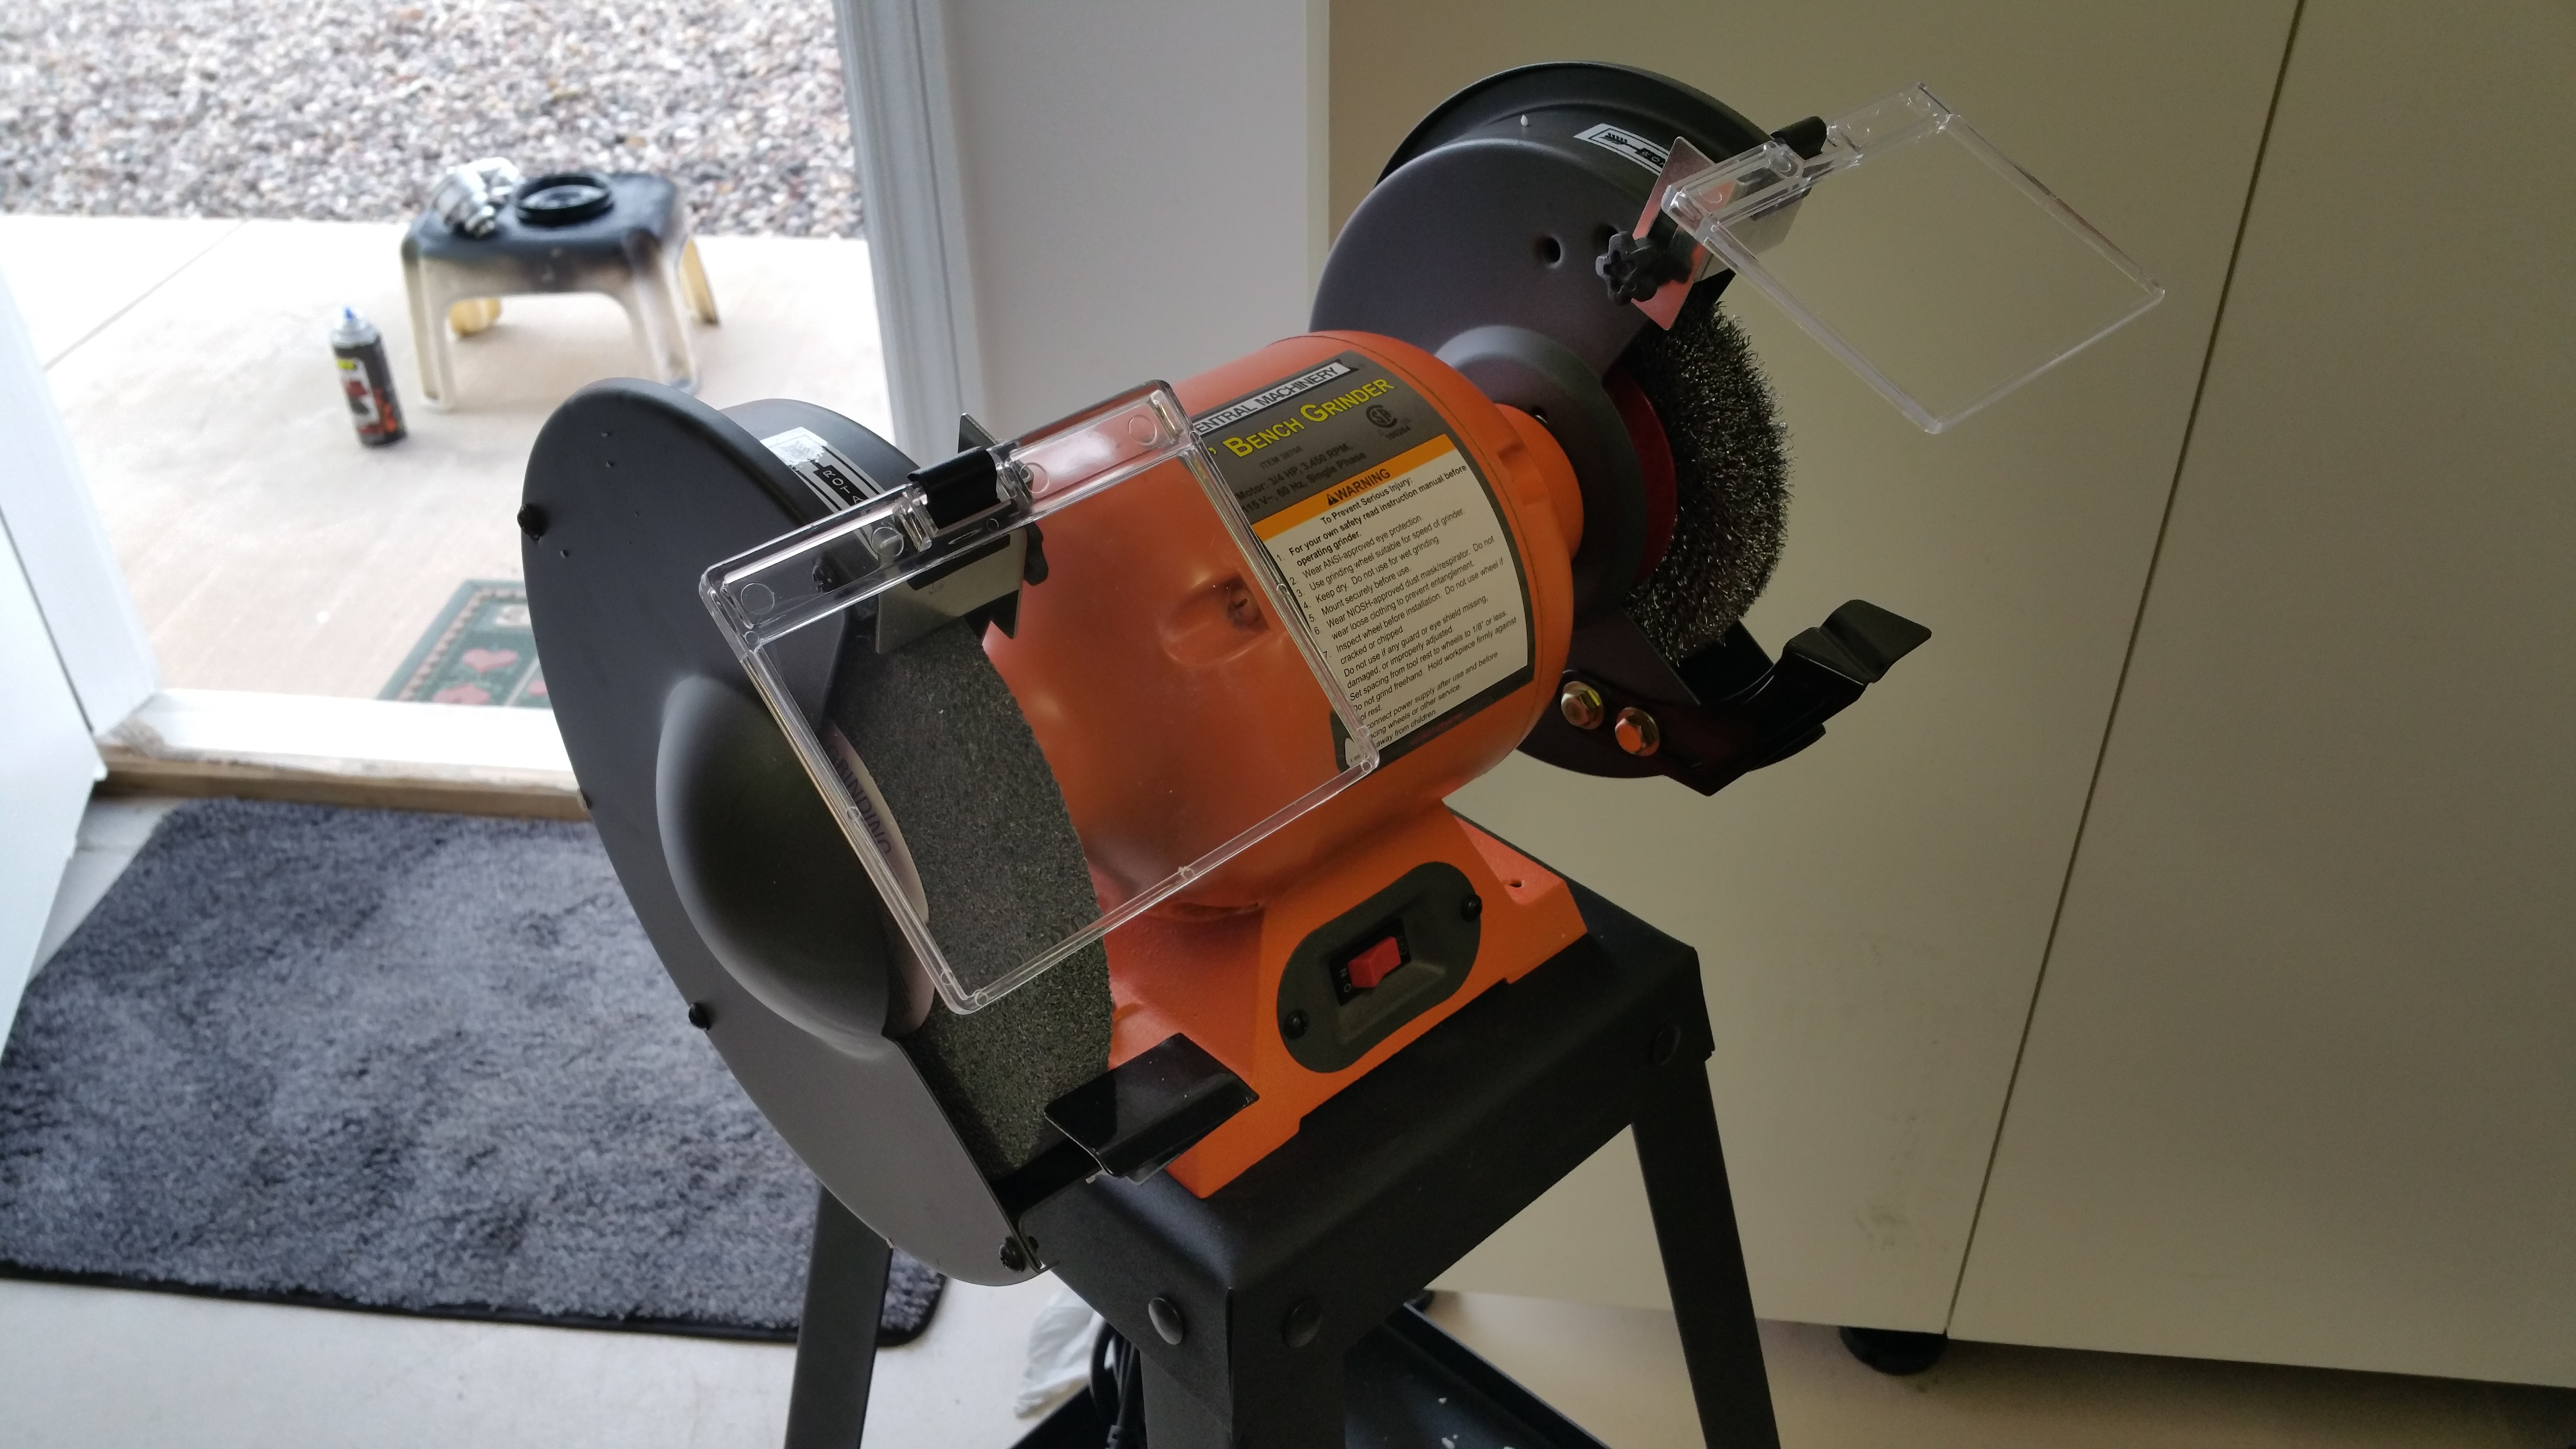
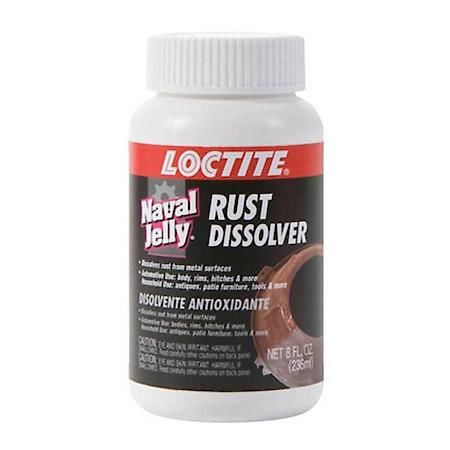
Luckily my pops got me this to help work on his monumentally rusty VW. Why. Did. I. Not. Get. One. Sooner! No more die grinder nonsense and it halfs the time getting 90% of paint/oxidation/et al off the part.
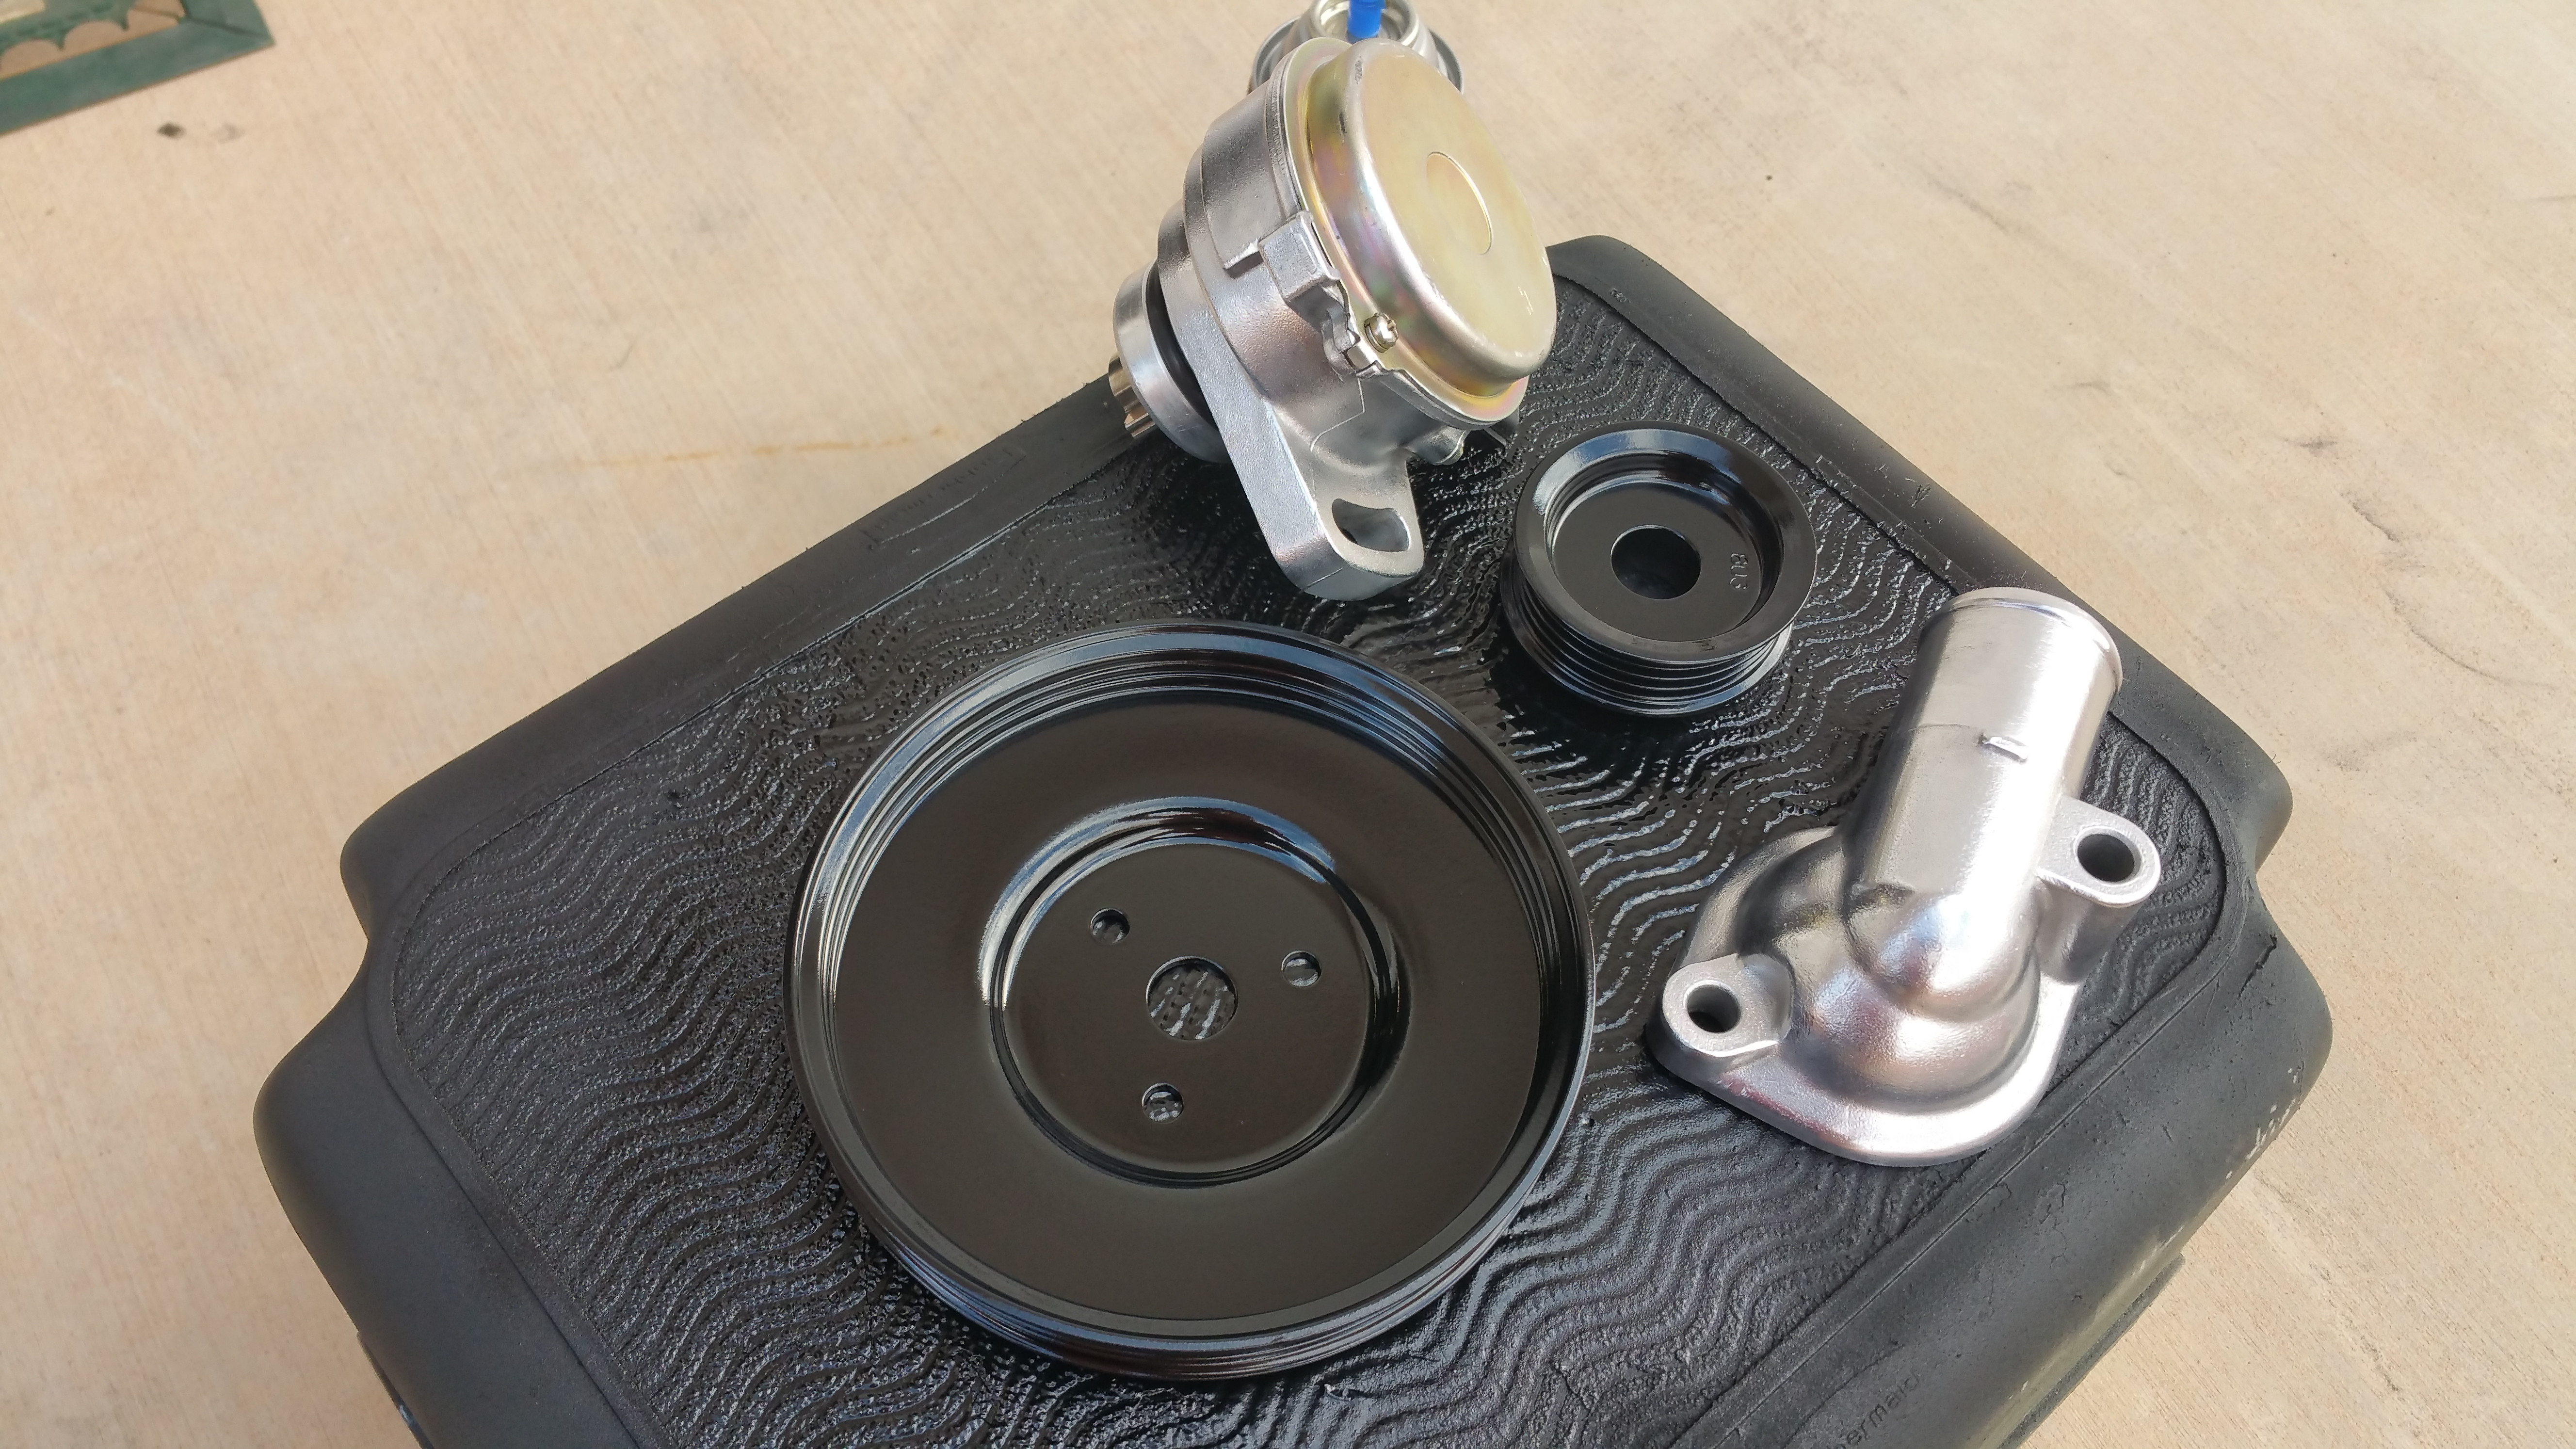
So I polished up my CAS and rear water neck then used a little aluminum polish to give it that nice burnished look.
Then I was about to put the pulleys from Bryan on and noticed the paint was chipping and the water pulley had some slight rust on it so I cleaned that all up and sanded with 400, etching primer, sanded, and used my favorite paint rollbar & chassis semi gloss black. I think I've used over 20 cans of this stuff on the car and it all has held up superbly(results may vary depending on prep.
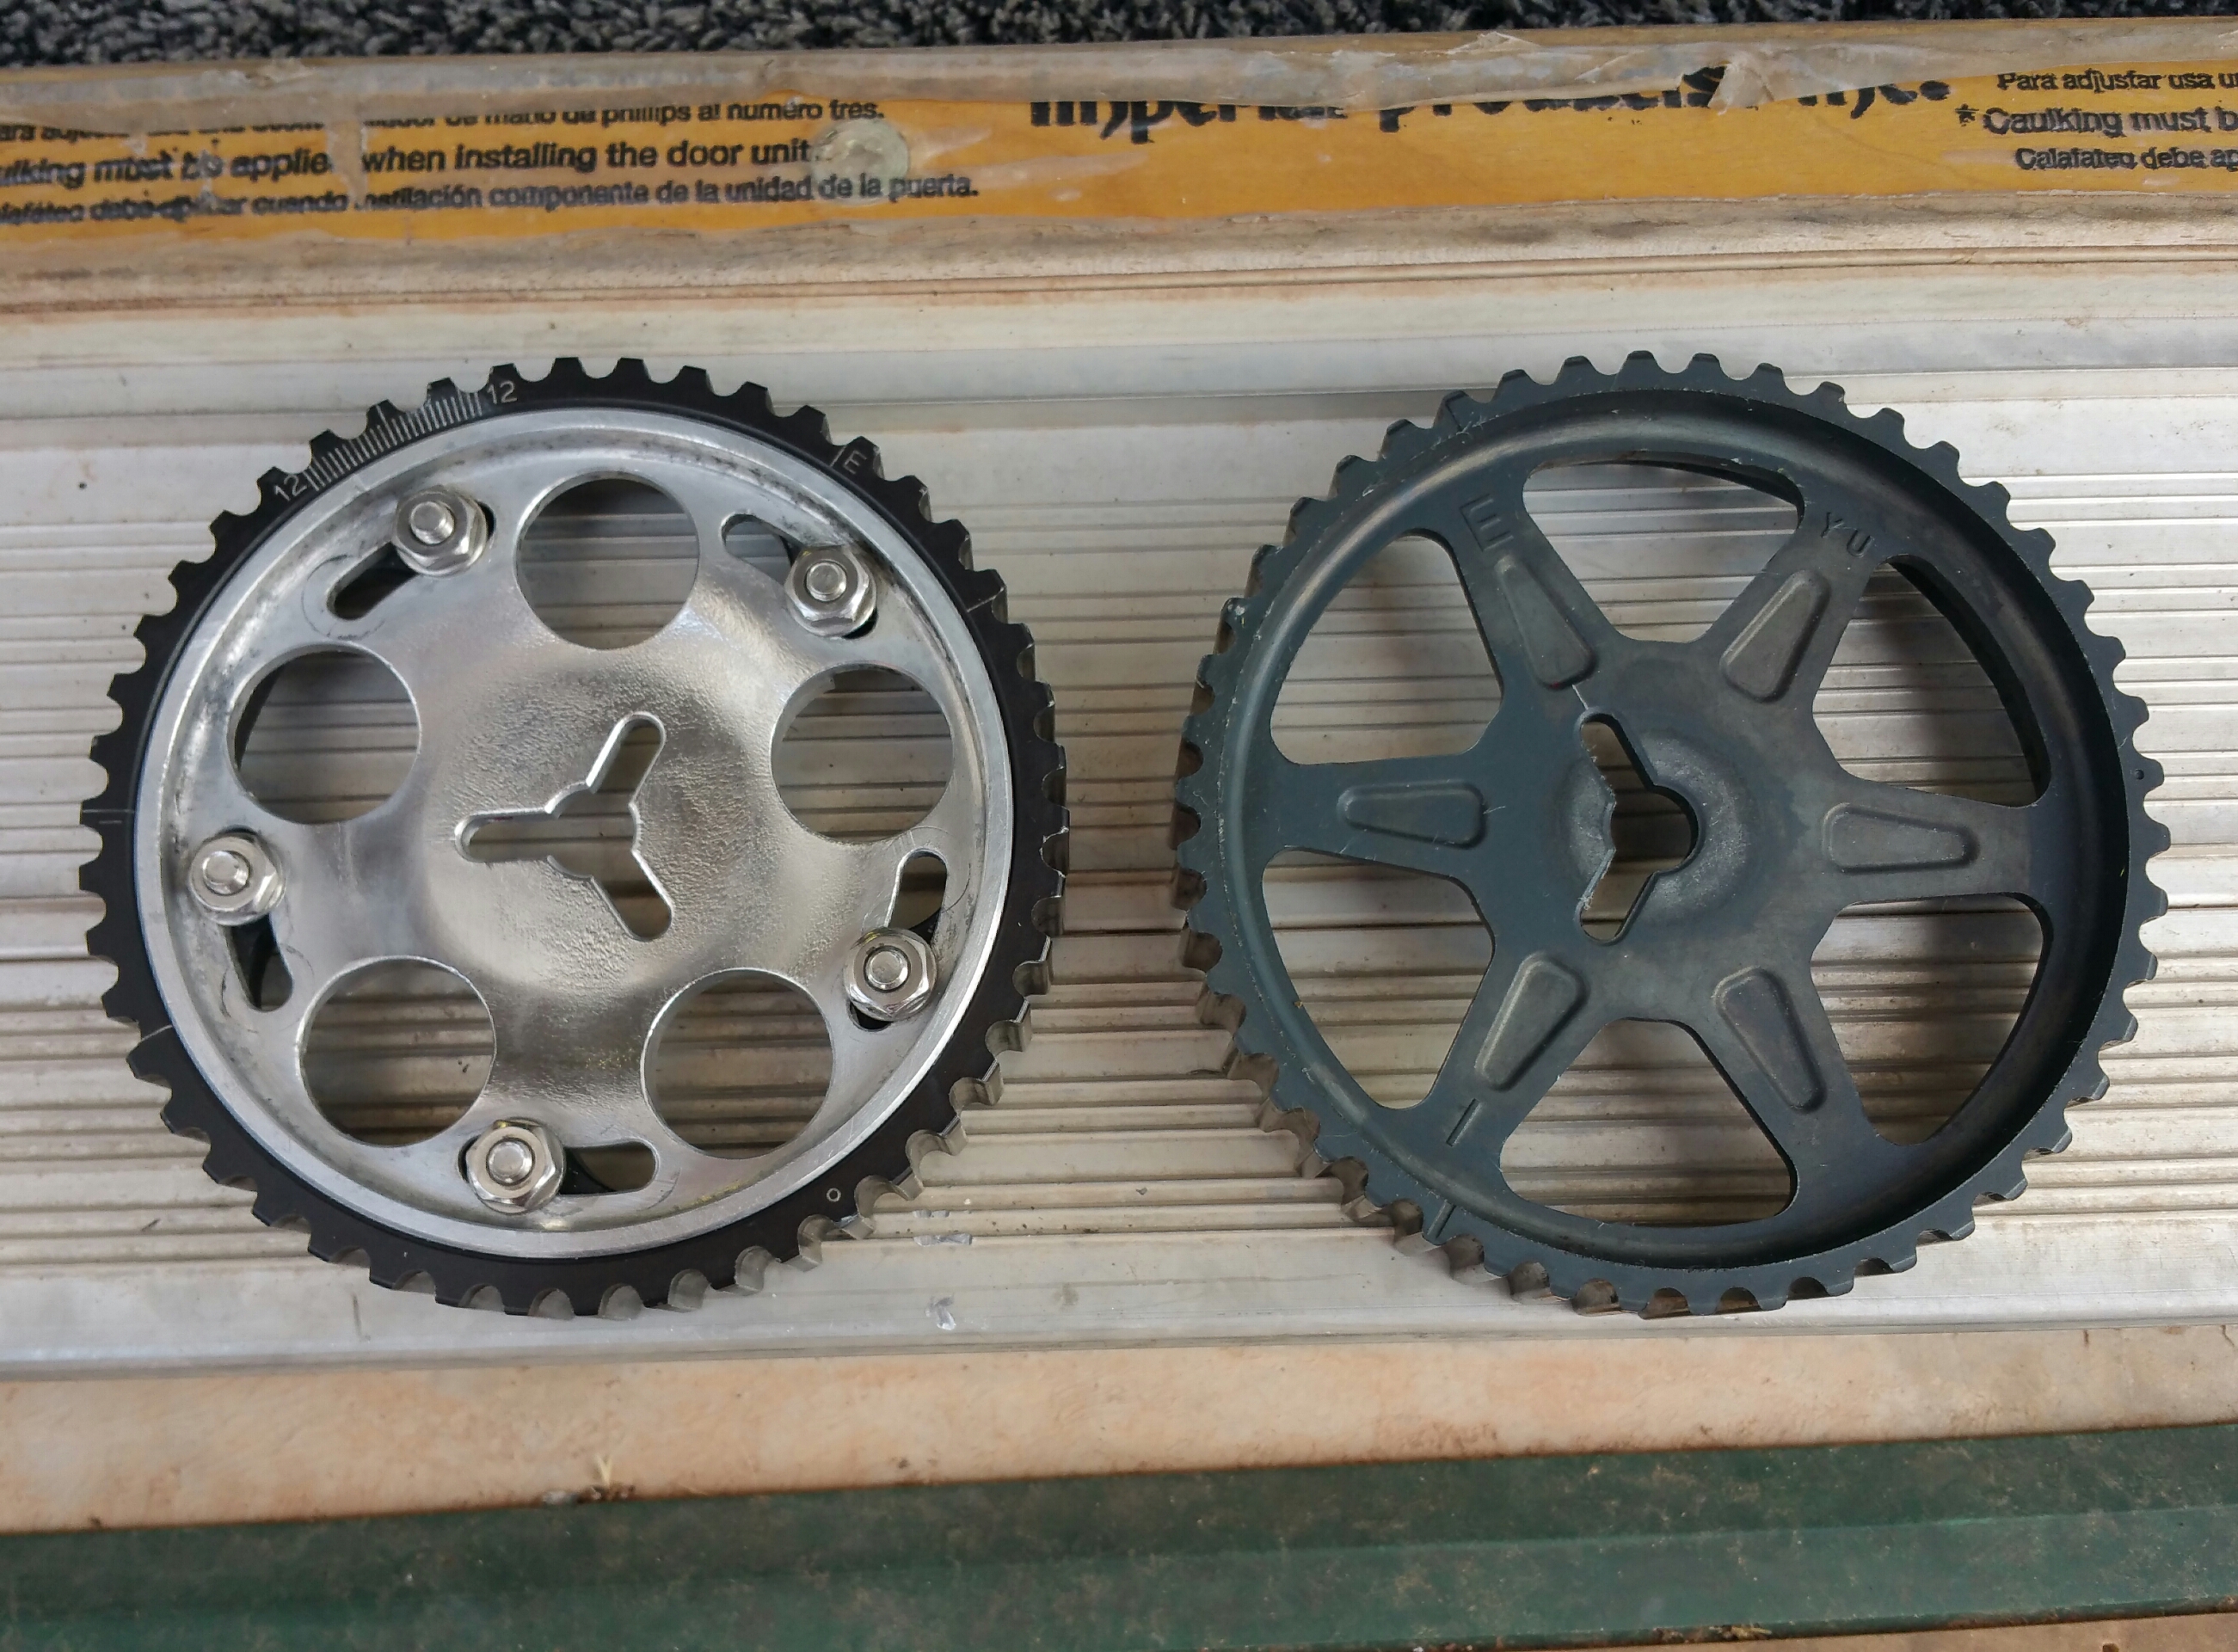
Now here is where I pause and use a little common sense. I want to paint these but I also don't want to **** with the cam gears too much by disassembling them and losing their initial adjustment which I'm assuming is "spot on". Definitely don't want to replace with new as the prices on them are absurb. May just clean them up a little and slot them back on, they haven't bugged me this long so it is obviously "on the teetering edge of ***** it*"
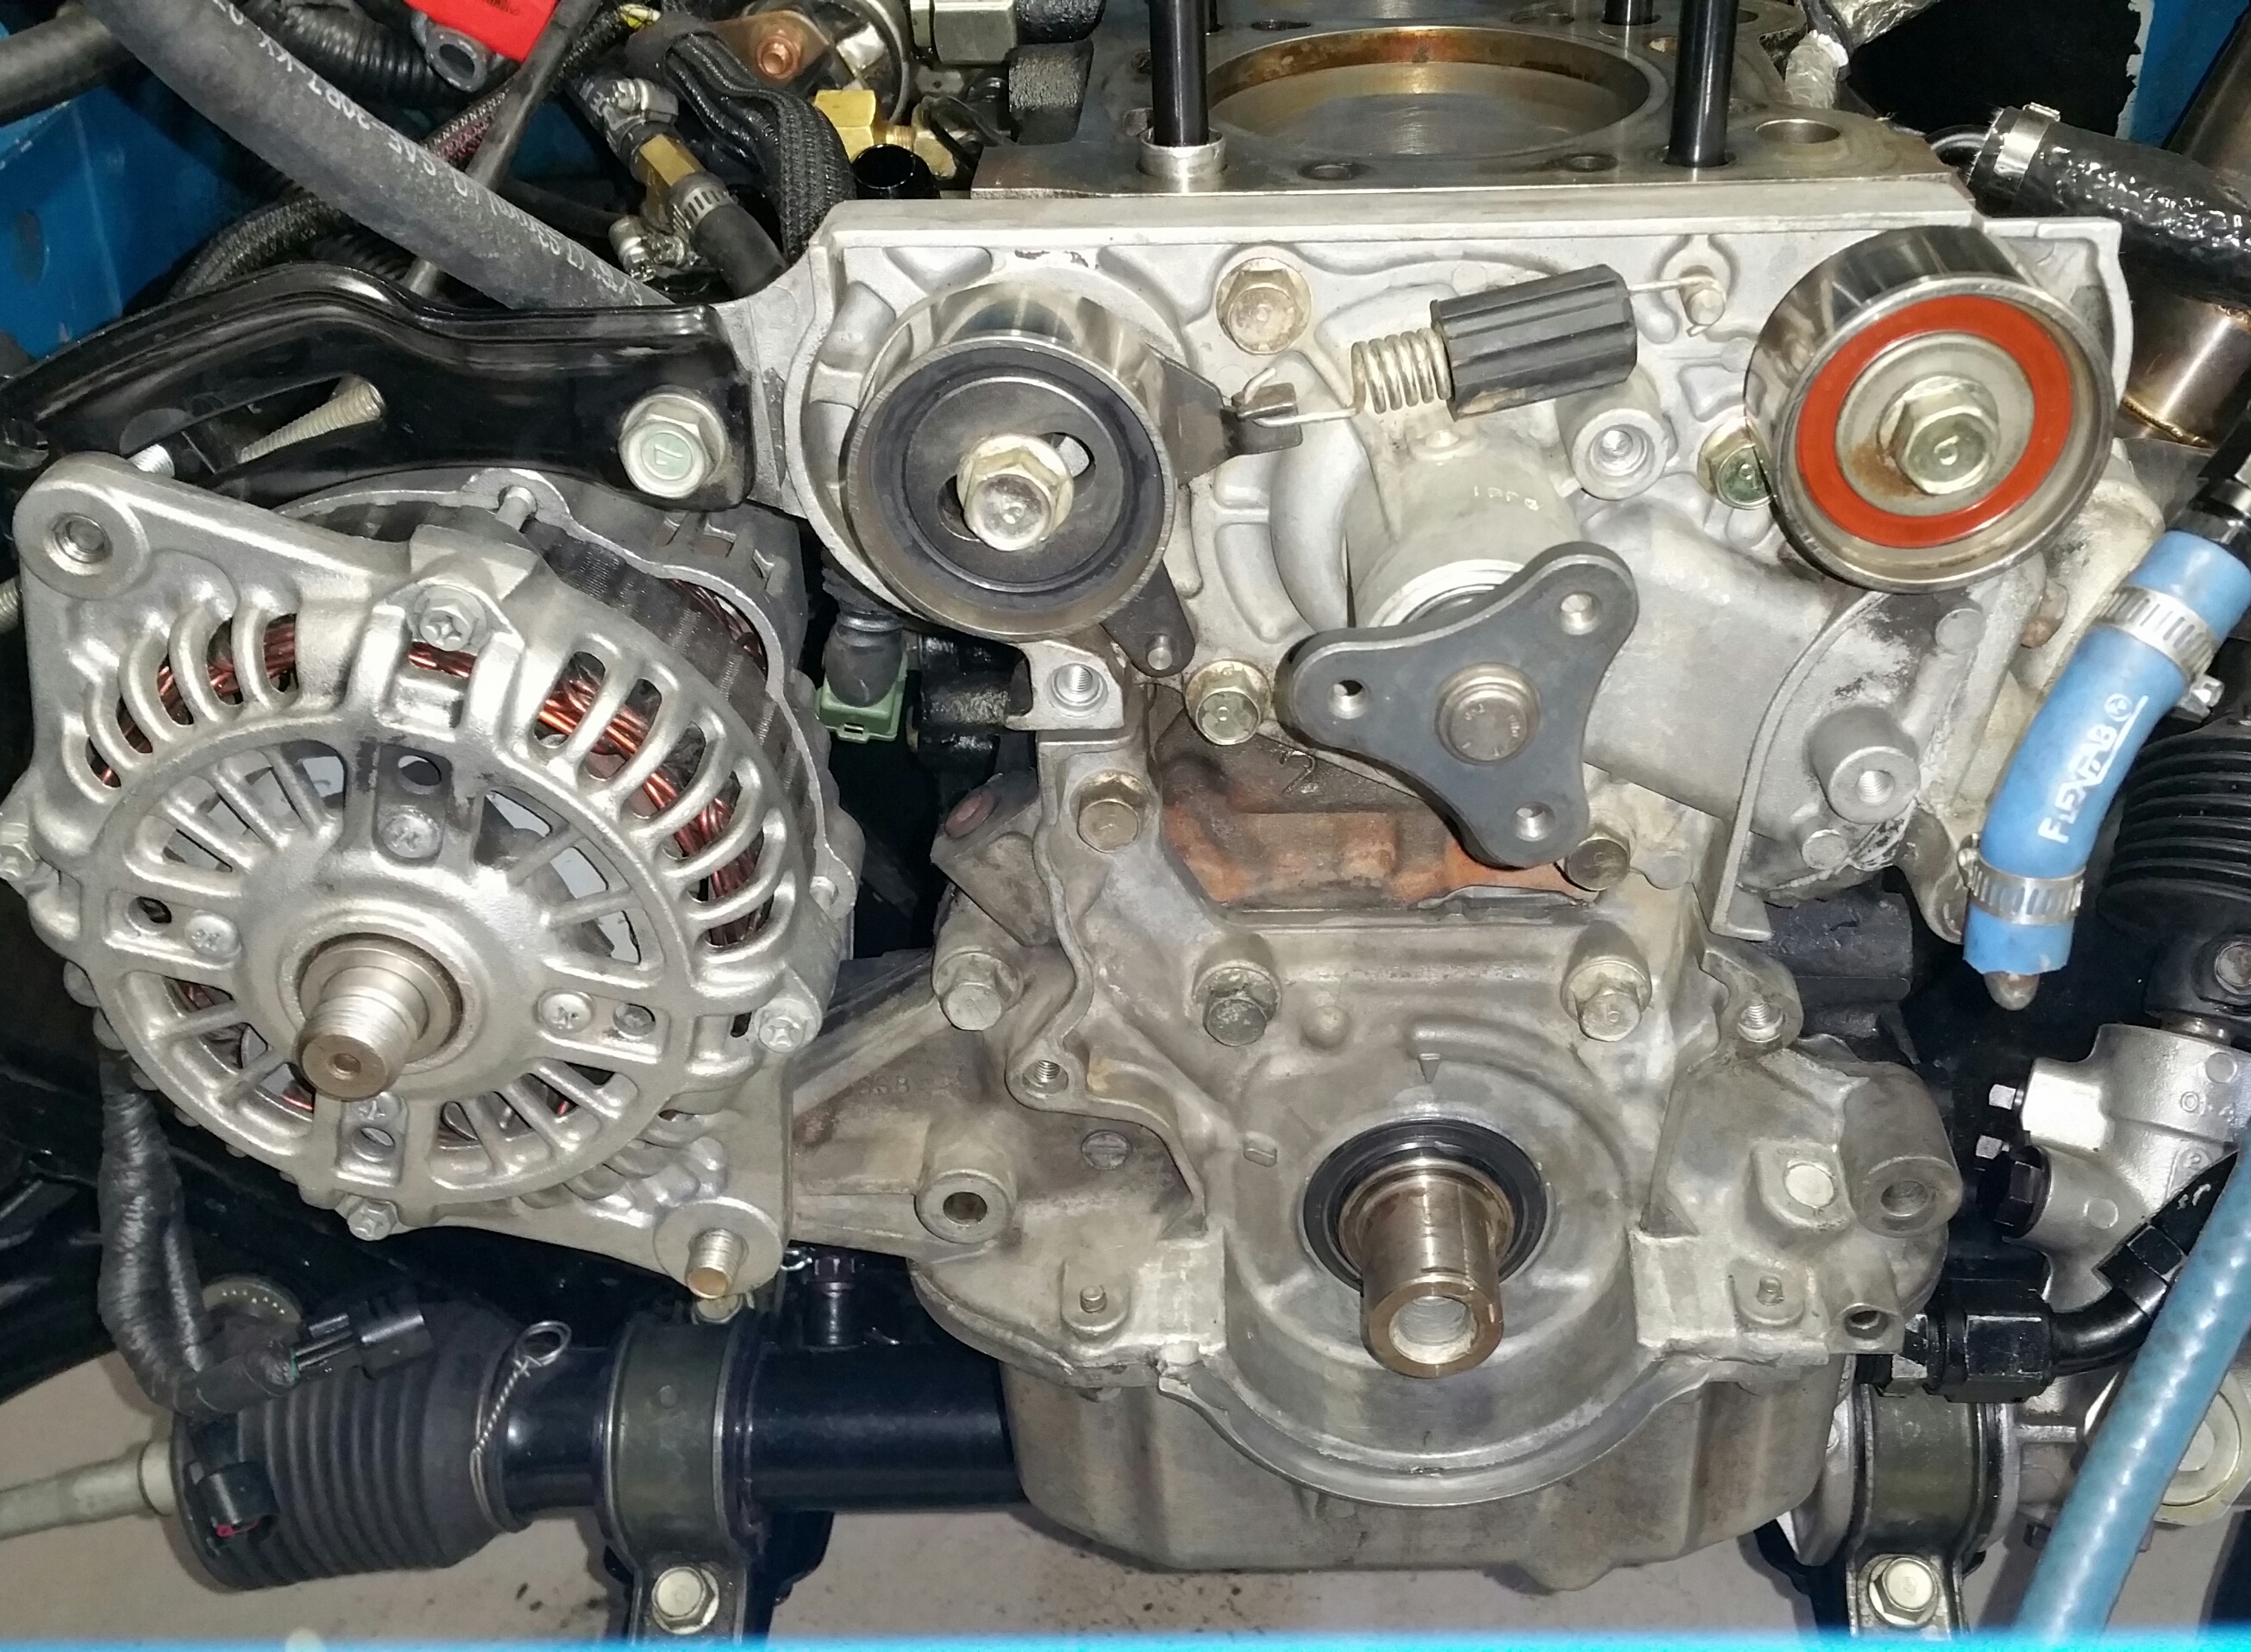
EO2K, I couldn't rise to the challenge, but I got all the crap my steam cleaner could pull off so it'll have to do. The slight surface rust on the block would be a royal PITA to paint so since it will be all covered up....meh.
On that note, the crank shaft has a little rust on it, but I don't want to mess with the tolerances on that...any suggestions?
"I'm going to get so much assembled tonight so psyched to drive!"
...
Yeah right, it's like I forget I have a tick when I notice something isn't shiny or a tiny ignorable mite or rust.
Luckily my pops got me this to help work on his monumentally rusty VW. Why. Did. I. Not. Get. One. Sooner! No more die grinder nonsense and it halfs the time getting 90% of paint/oxidation/et al off the part.
So I polished up my CAS and rear water neck then used a little aluminum polish to give it that nice burnished look.
Then I was about to put the pulleys from Bryan on and noticed the paint was chipping and the water pulley had some slight rust on it so I cleaned that all up and sanded with 400, etching primer, sanded, and used my favorite paint rollbar & chassis semi gloss black. I think I've used over 20 cans of this stuff on the car and it all has held up superbly(results may vary depending on prep.
Now here is where I pause and use a little common sense. I want to paint these but I also don't want to **** with the cam gears too much by disassembling them and losing their initial adjustment which I'm assuming is "spot on". Definitely don't want to replace with new as the prices on them are absurb. May just clean them up a little and slot them back on, they haven't bugged me this long so it is obviously "on the teetering edge of ***** it*"
EO2K, I couldn't rise to the challenge, but I got all the crap my steam cleaner could pull off so it'll have to do. The slight surface rust on the block would be a royal PITA to paint so since it will be all covered up....meh.
On that note, the crank shaft has a little rust on it, but I don't want to mess with the tolerances on that...any suggestions?
Reply
0
0


Joined: Sep 2010
Posts: 8,157
Total Cats: 1,094
From: Lake Forest, CA
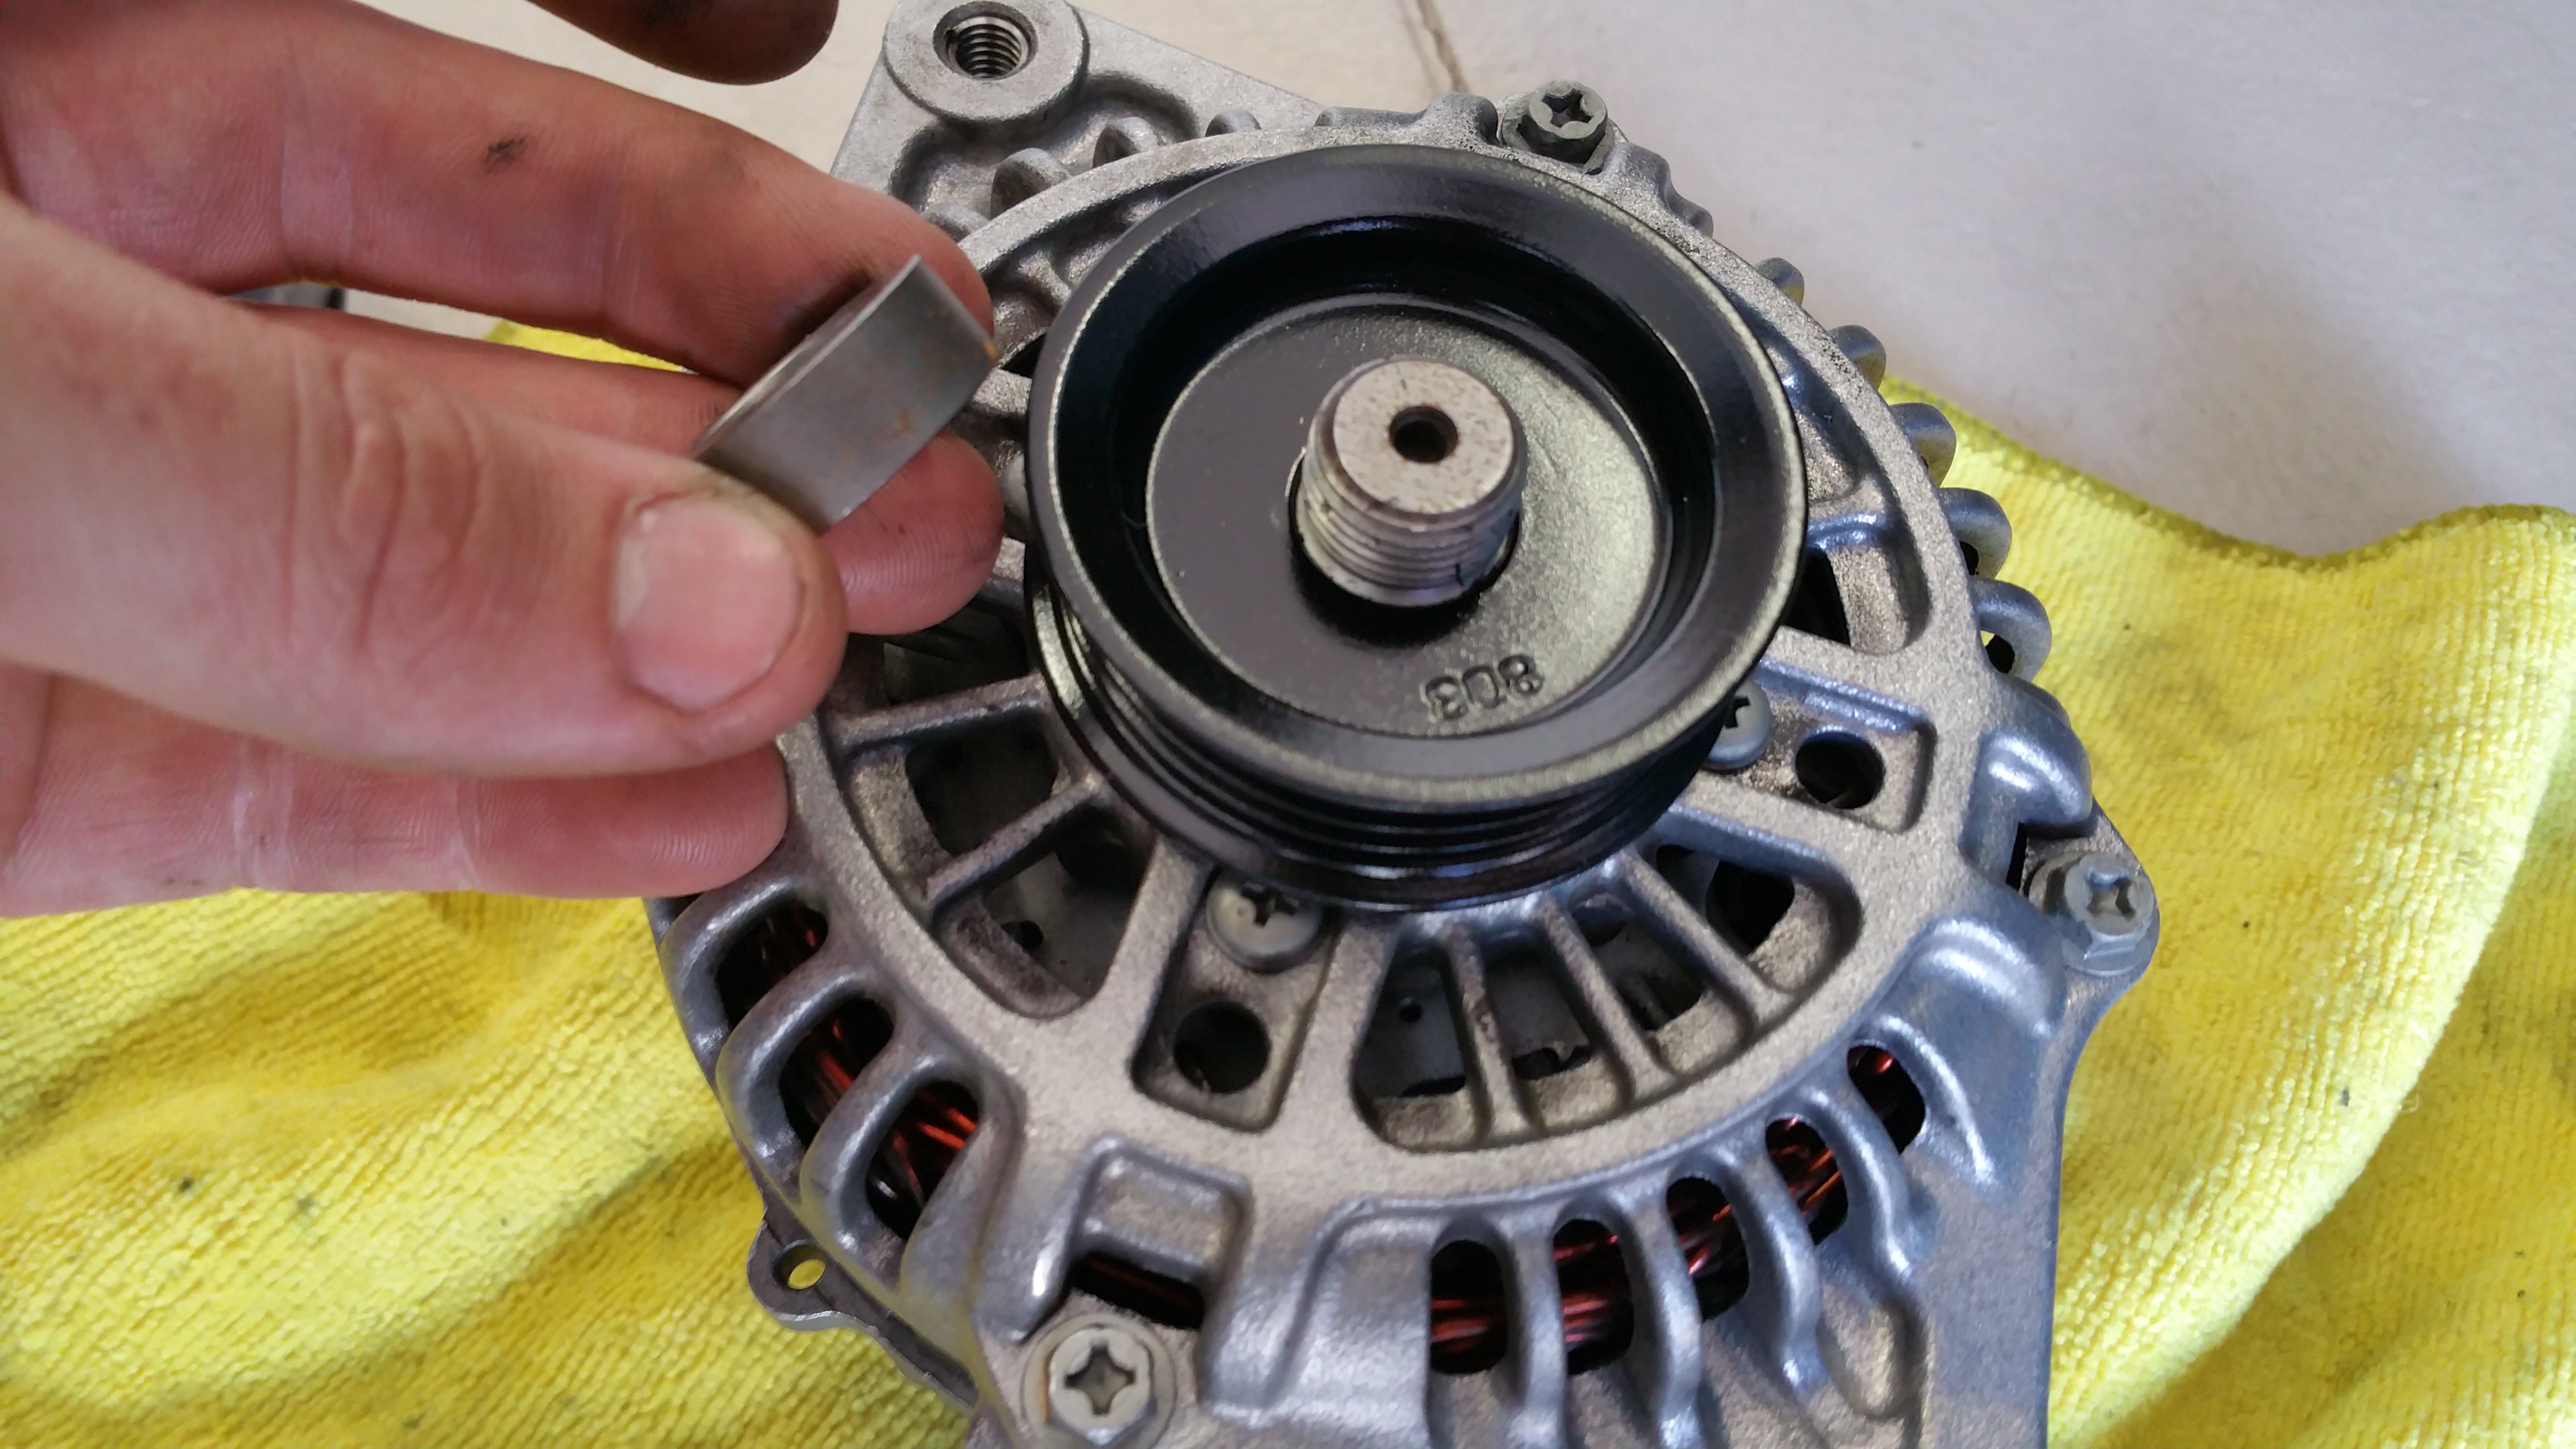
So, you were supposed to put that spacer on first before pressing the pulley on?
Is that right?
Is that right?
Reply
0
0
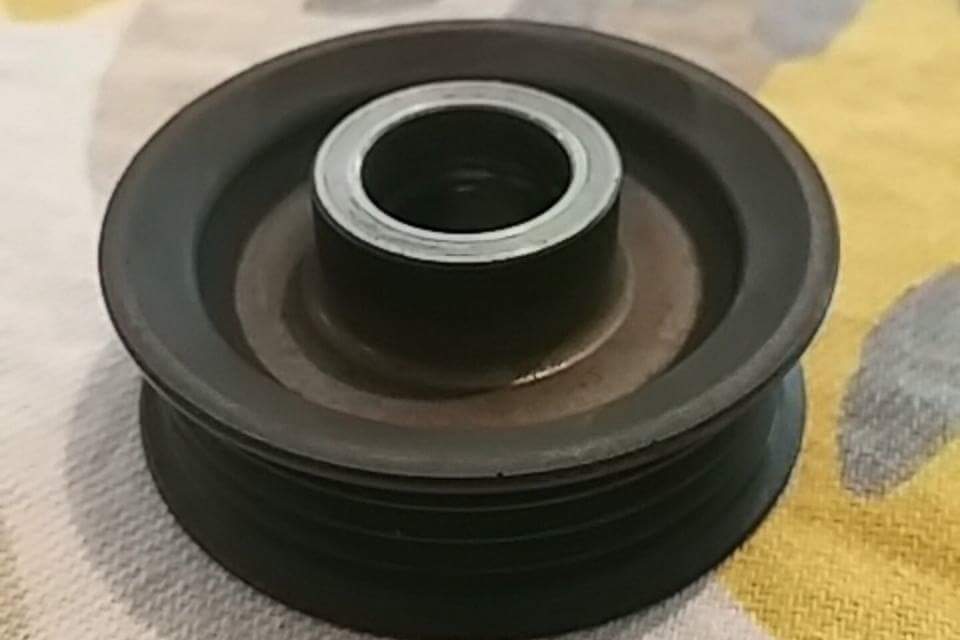
The pulley doesn't press on, it just slides on. Fairly loosely actually. Some pulleys have the spacer built in like the first pictured one, others require the spacer which he later found.
Reply
0
0
Elite Member
Joined: Oct 2013
Posts: 2,764
Total Cats: 951
From: Cedar City, UT
Spacer on
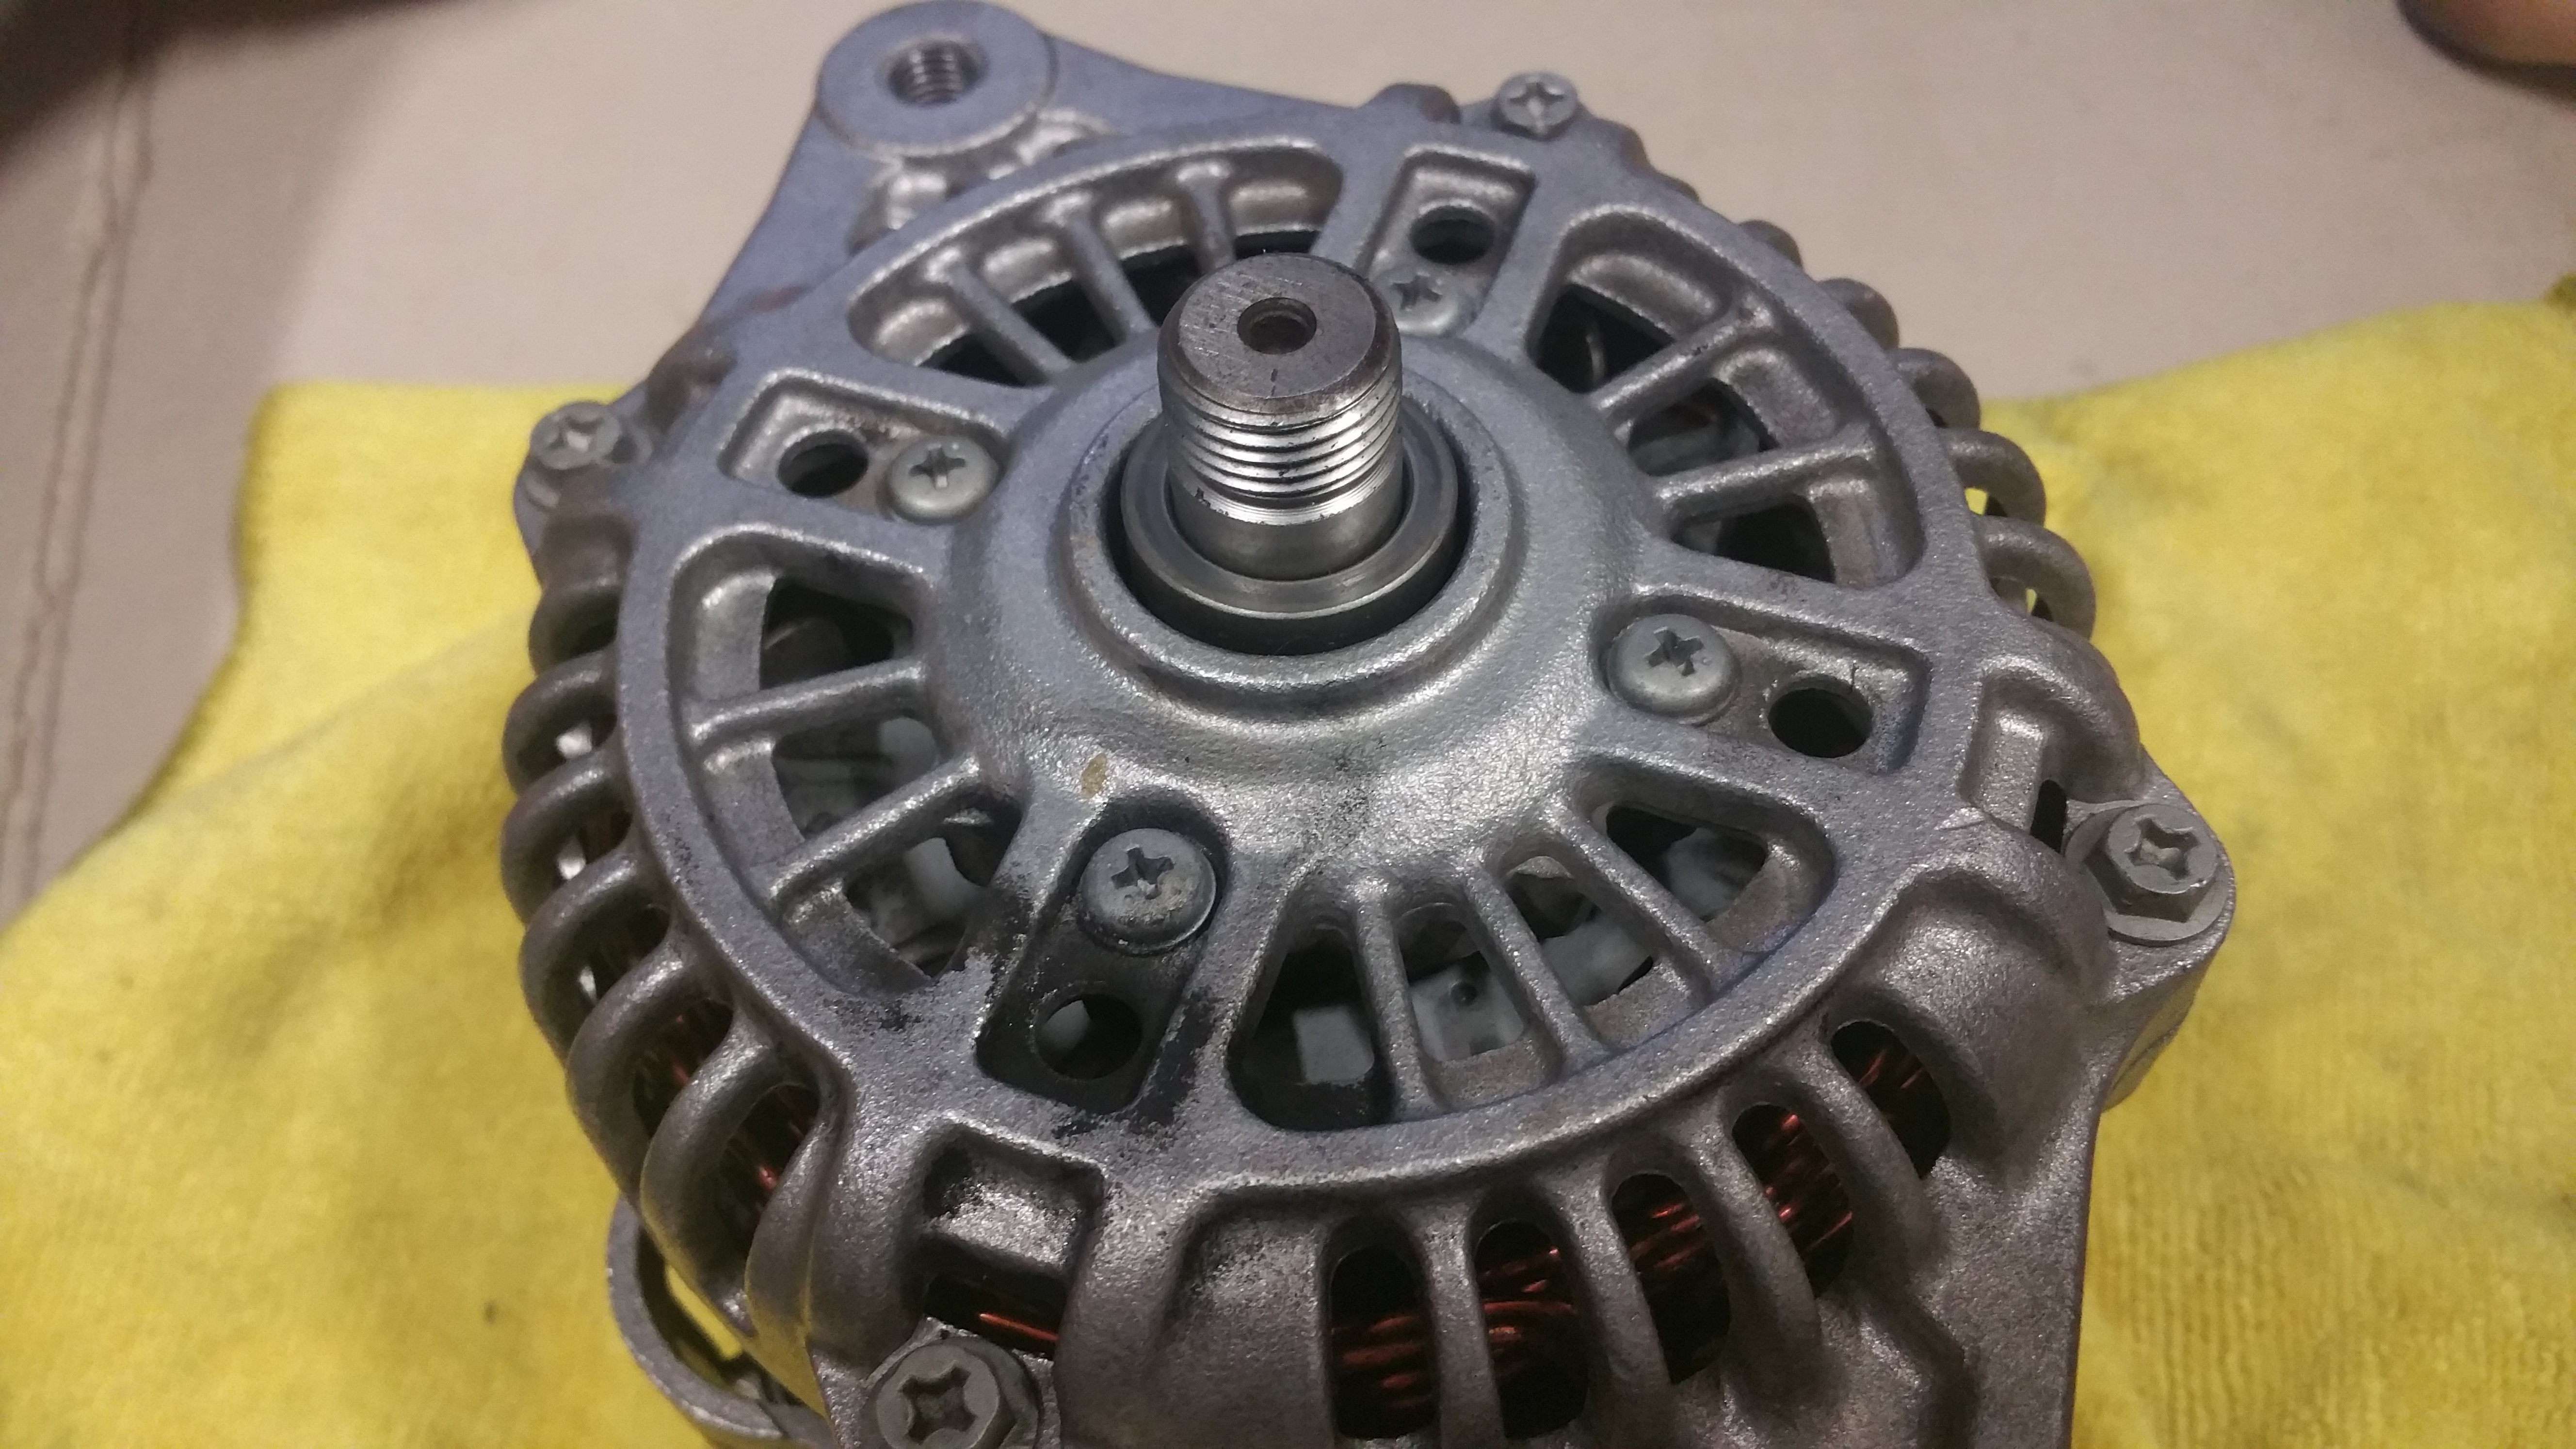
Spacer off
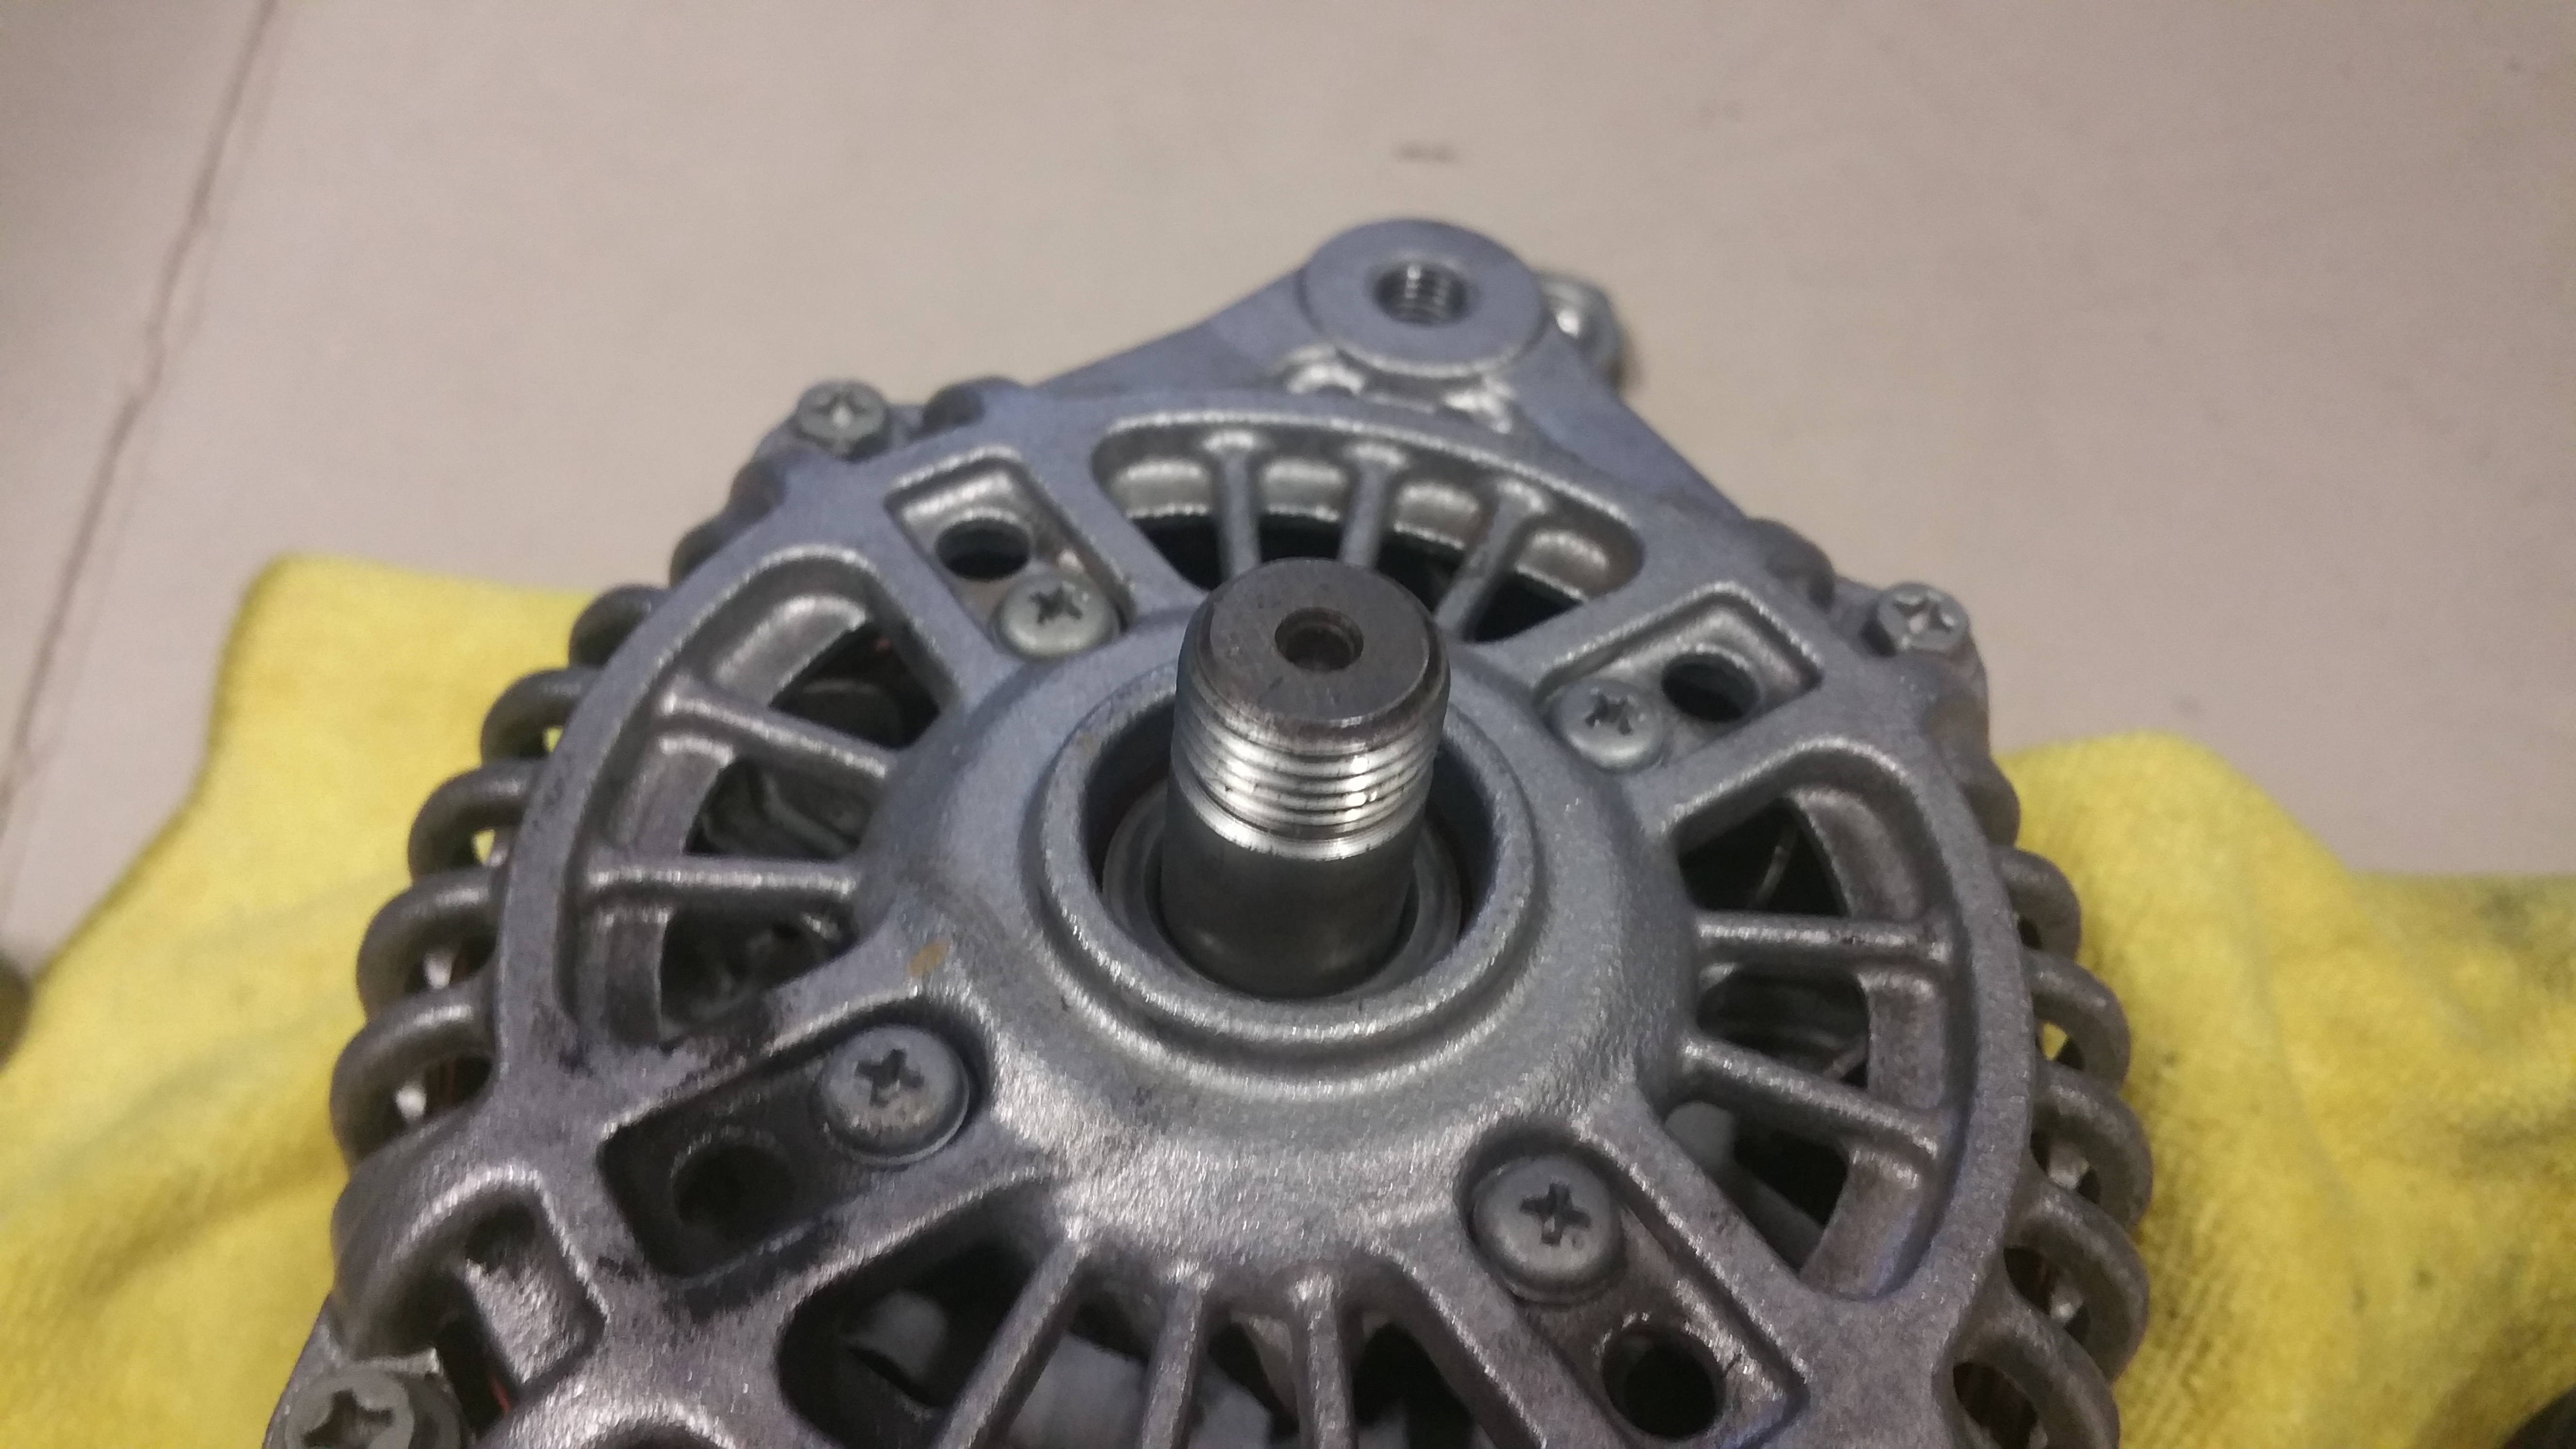
3 different pulleys with the 2 1.8 variants on the left.

Reply
0
0


