When you click on links to various merchants on this site and make a purchase, this can result in this site earning a commission. Affiliate programs and affiliations include, but are not limited to, the eBay Partner Network.
Hey thanks for the praise, just doing the best I can while trying to learn on the fly. I'm also lucky that my dad is pretty handy with a lot of the fabrication aspects of this as well and we're able to bounce ideas around to come up with some cool stuff. Your car is definitely going to be killer on track and will have more pace than mine. Would be cool to cross paths at the track one day once both these endless projects are drivable.
Just wanted to share this real quick. Feels like a big step forward finally spraying primer in the engine bay after the huge amount of hours that went into fabrication and metal work.
Having a racecar with a show quality shaved and tucked engine bay is going to be pretty baller once it's all said and done... also I've borrowed a rotisserie from my roommate so the work I need to do on the underside should be a lot easier. Plus now I can say it's a full rotisserie build.
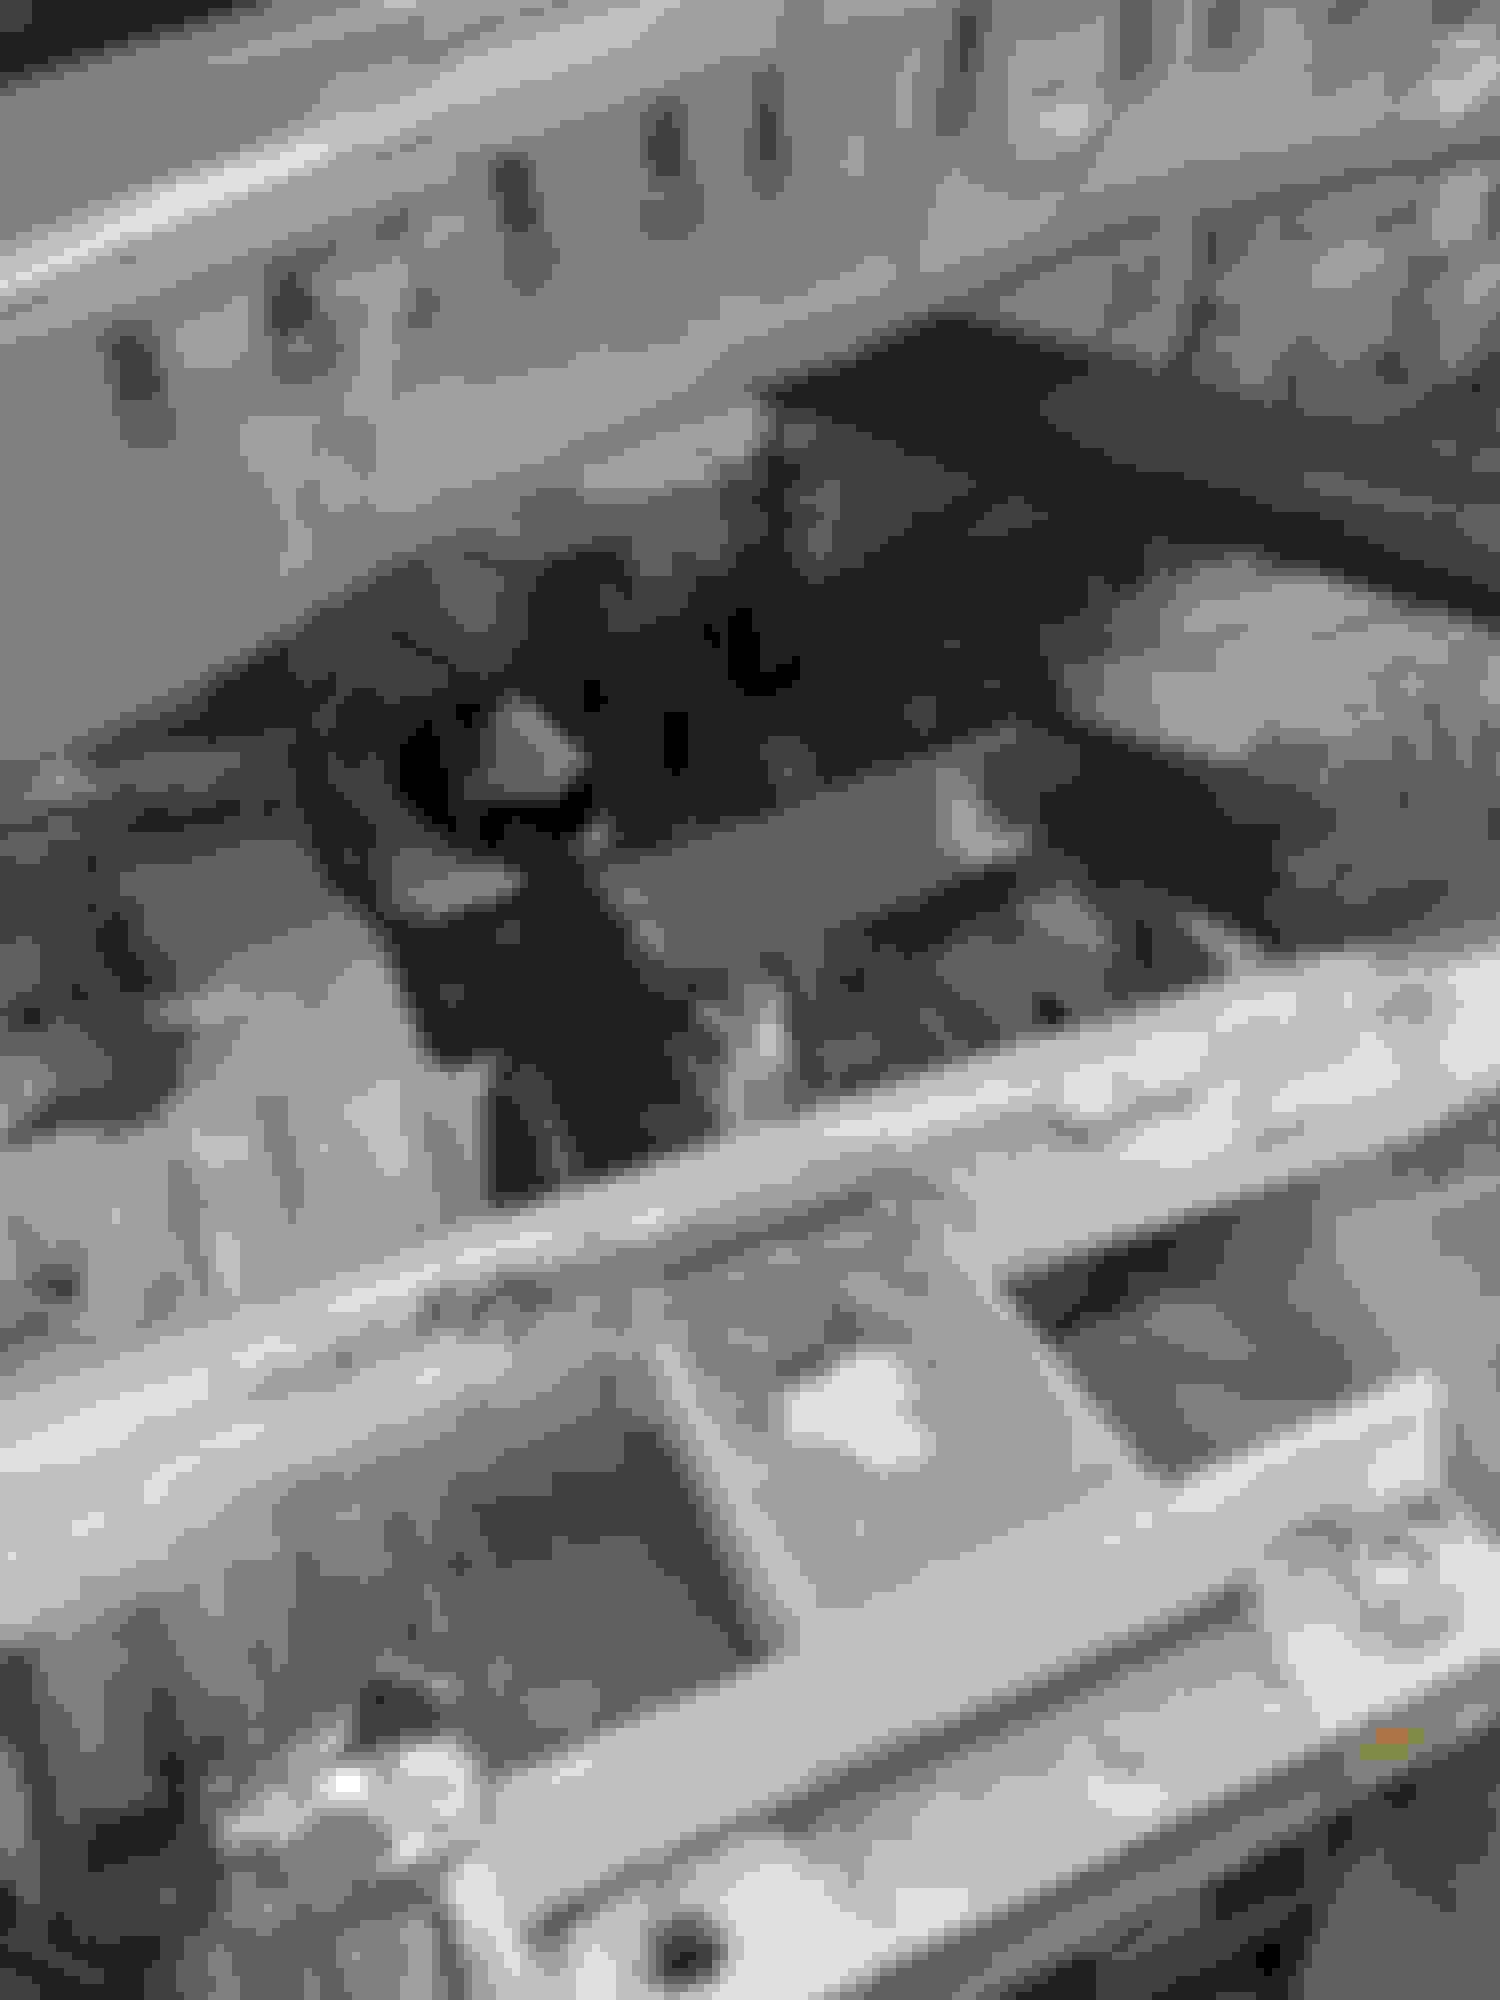
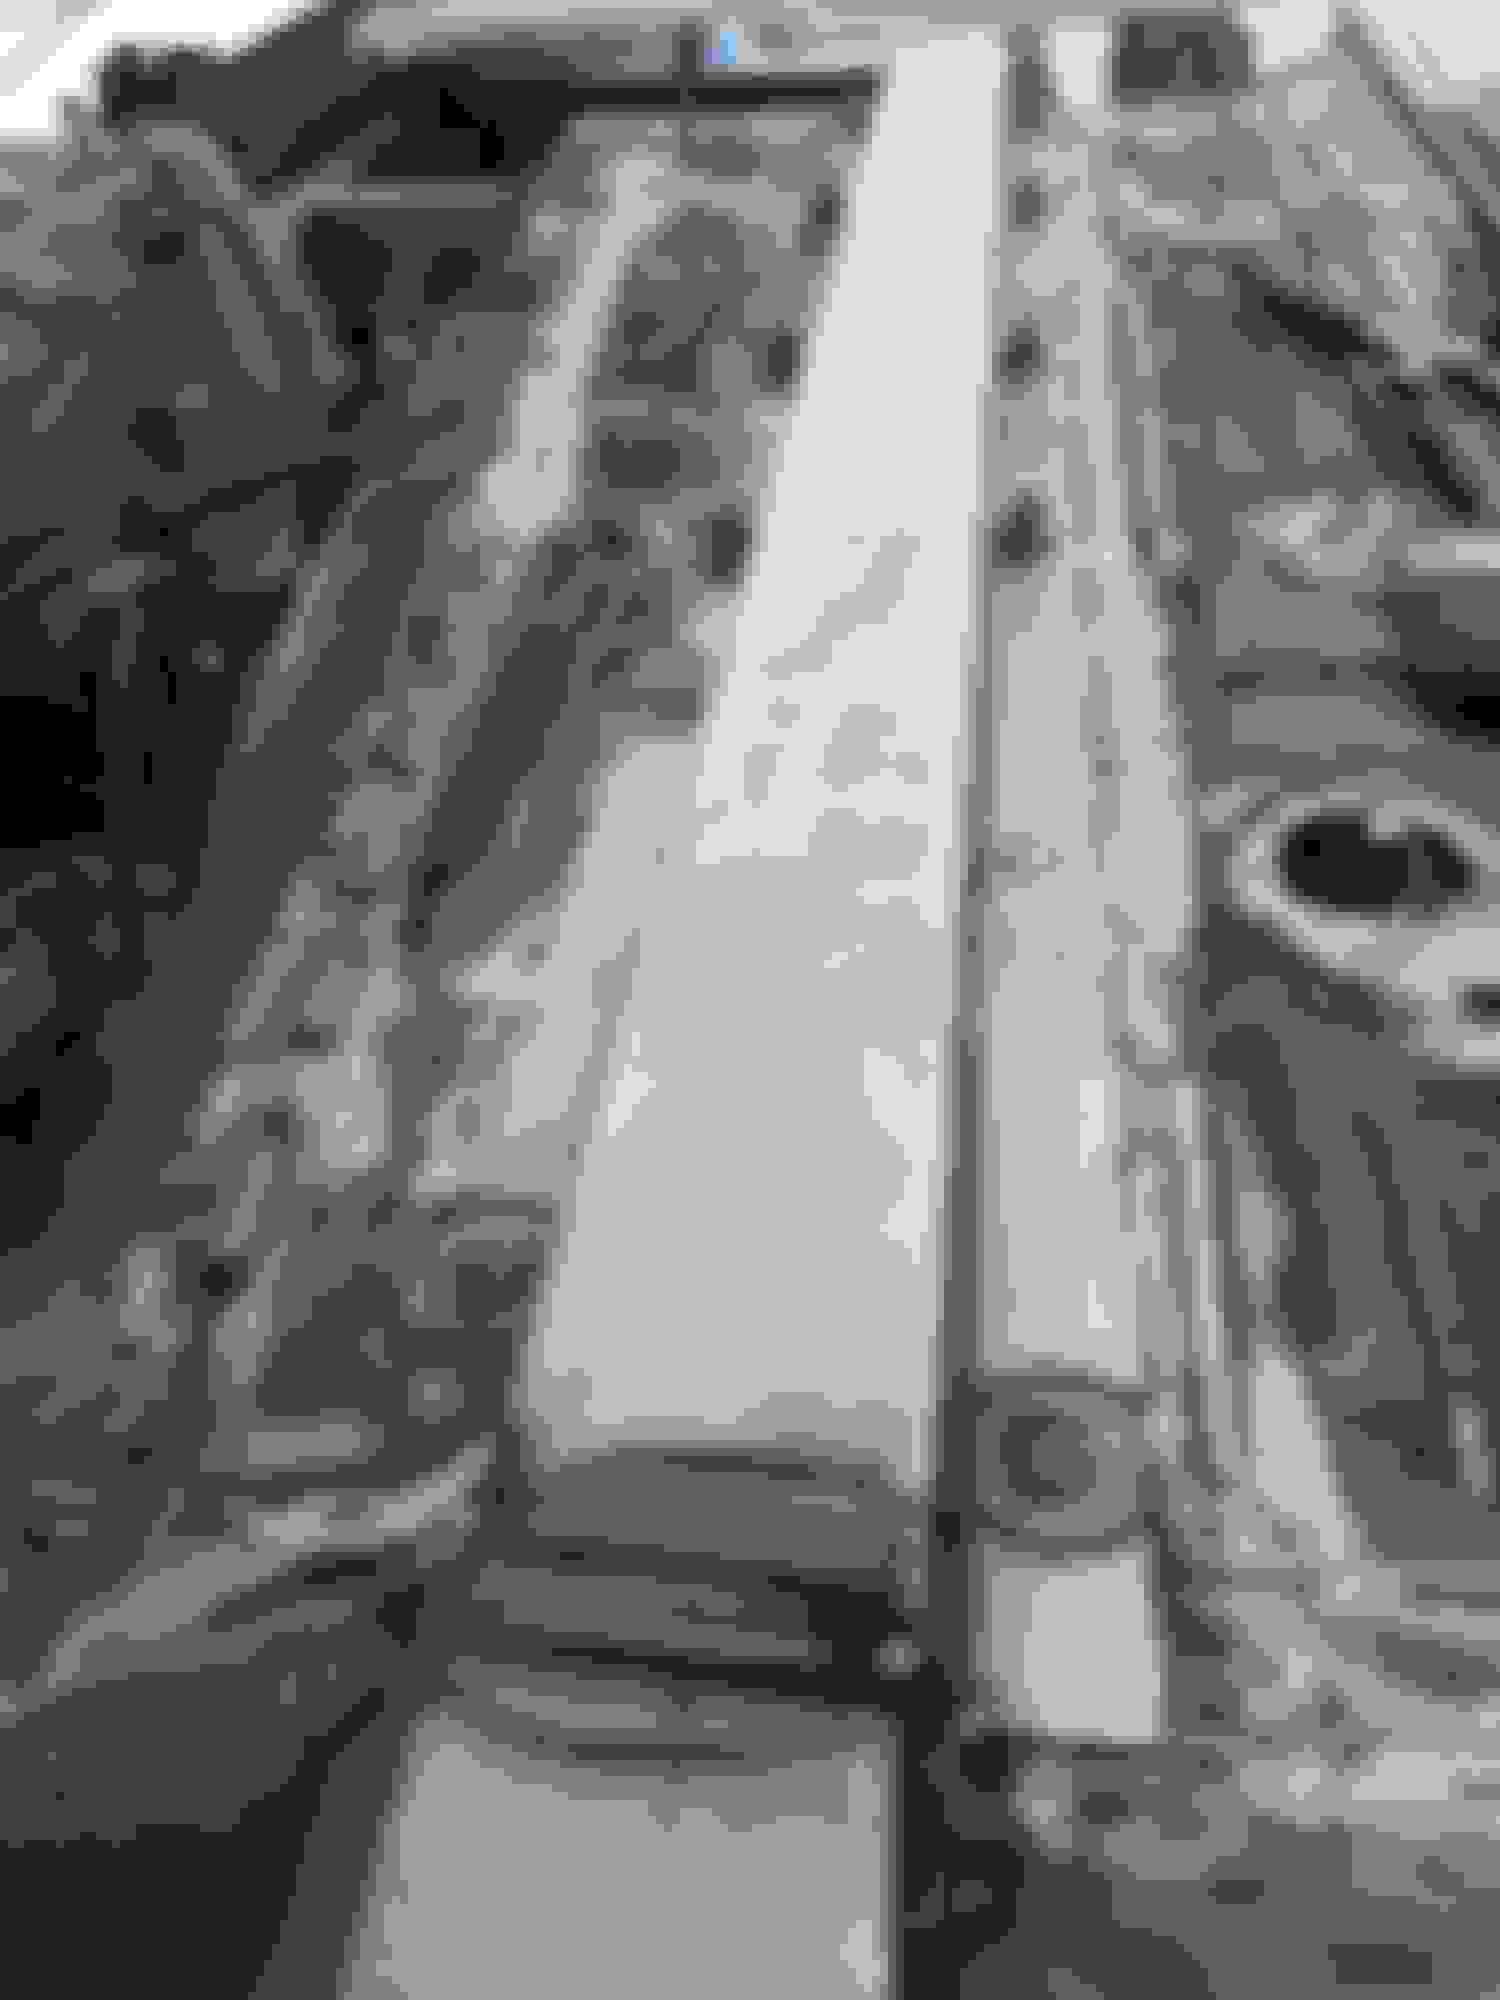
So one of the plinth boxes for the A pillar bar landing spot has always been a bit in the way of where my ankle sits and also is super close to the dead pedal when it's installed. The dead pedal already had to be shortened to clear this too. In the search for a little more comfort my dad ended up cutting off about 3/4" of the box and I used the mig welder to put an 1/8" plate back onto it. For how out of position I was and also the vertical welds I was really pleased with how this turned out.
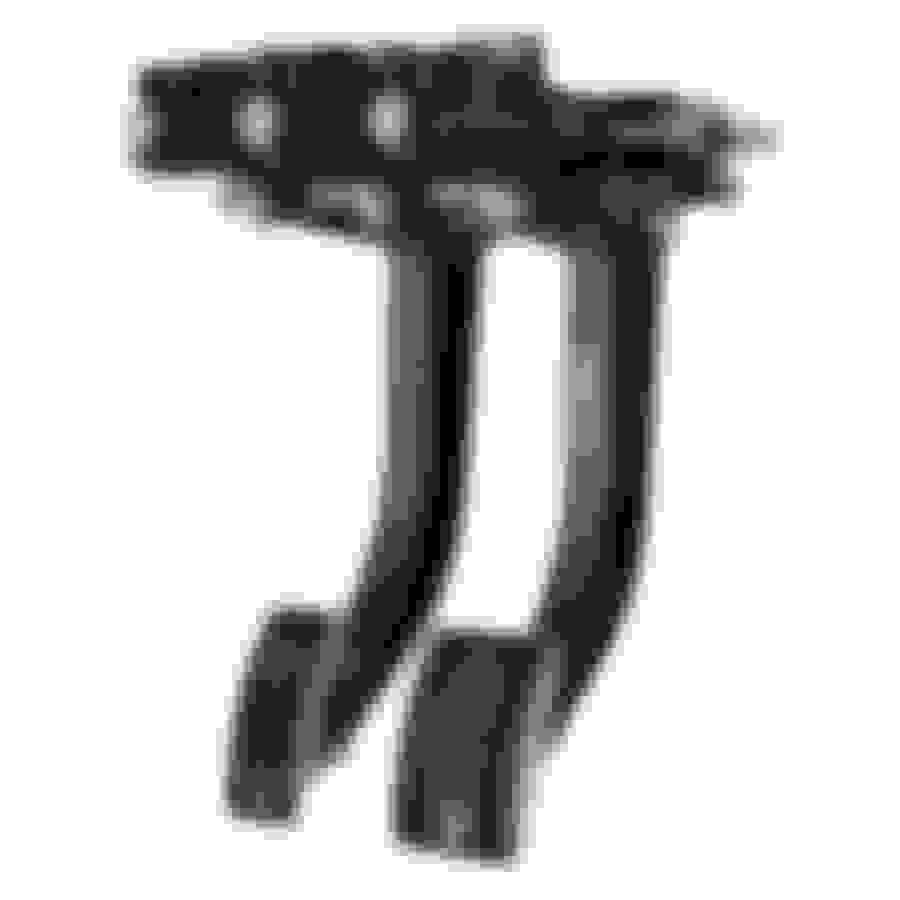
After that we started on looking at mounting the Tilton overhung pedal box and the steering column mounting to firewall tabs have to go. Without getting rid of that bracket and tabs the pedals don't have enough room to put them in the correct spot. So in the picture you see a new bracket that I've welded to the roll cage and that will bolt to a small leftover tab after those arms get cut off. The top mount will also have a little more plate added so that I can have four bolts going through the upper steering column mount to the cage instead of just the two you see in the second picture. The rest of the mounting solution for the pedal assembly will be mostly 1" square steel tube that I'll weld directly off of the cage. This should produce a pedal setup that has as close to zero flex as possible and be ultra strong. Doing my best not to take any chances with the entire braking system since the rear Stoptech BBK obviously has no provisions for an emergency brake.
Maaaaan, I need to get rolling on my car, you're already getting to mounting your pedals lol
You've got plenty of time haha... there's a mountain of work to be done. Car is still a bare shell and I'm getting ready to put it on a rotisserie...
I've got an absolutely monstrous to do list and I think I've only been able to check off like 3 or 4 items so far... also Facebook memories kicked me in the nuts the other day reminding me that I purchased these K24Z3 engines a year ago now.
I've got an absolutely monstrous to do list and I think I've only been able to check off like 3 or 4 items so far... also Facebook memories kicked me in the nuts the other day reminding me that I purchased these K24Z3 engines a year ago now.
You're knocking work out daily, pretty awesome. It seems like it'll come together quicker from here.
I hope so. Ordered frame rails and heavy duty sway bar mounts from V8R. I figured I need to ballast up for everywhere I plan to run anyways, I might as well make the frame rails a little stronger and add weight to the lowest possible part of the car that I can.
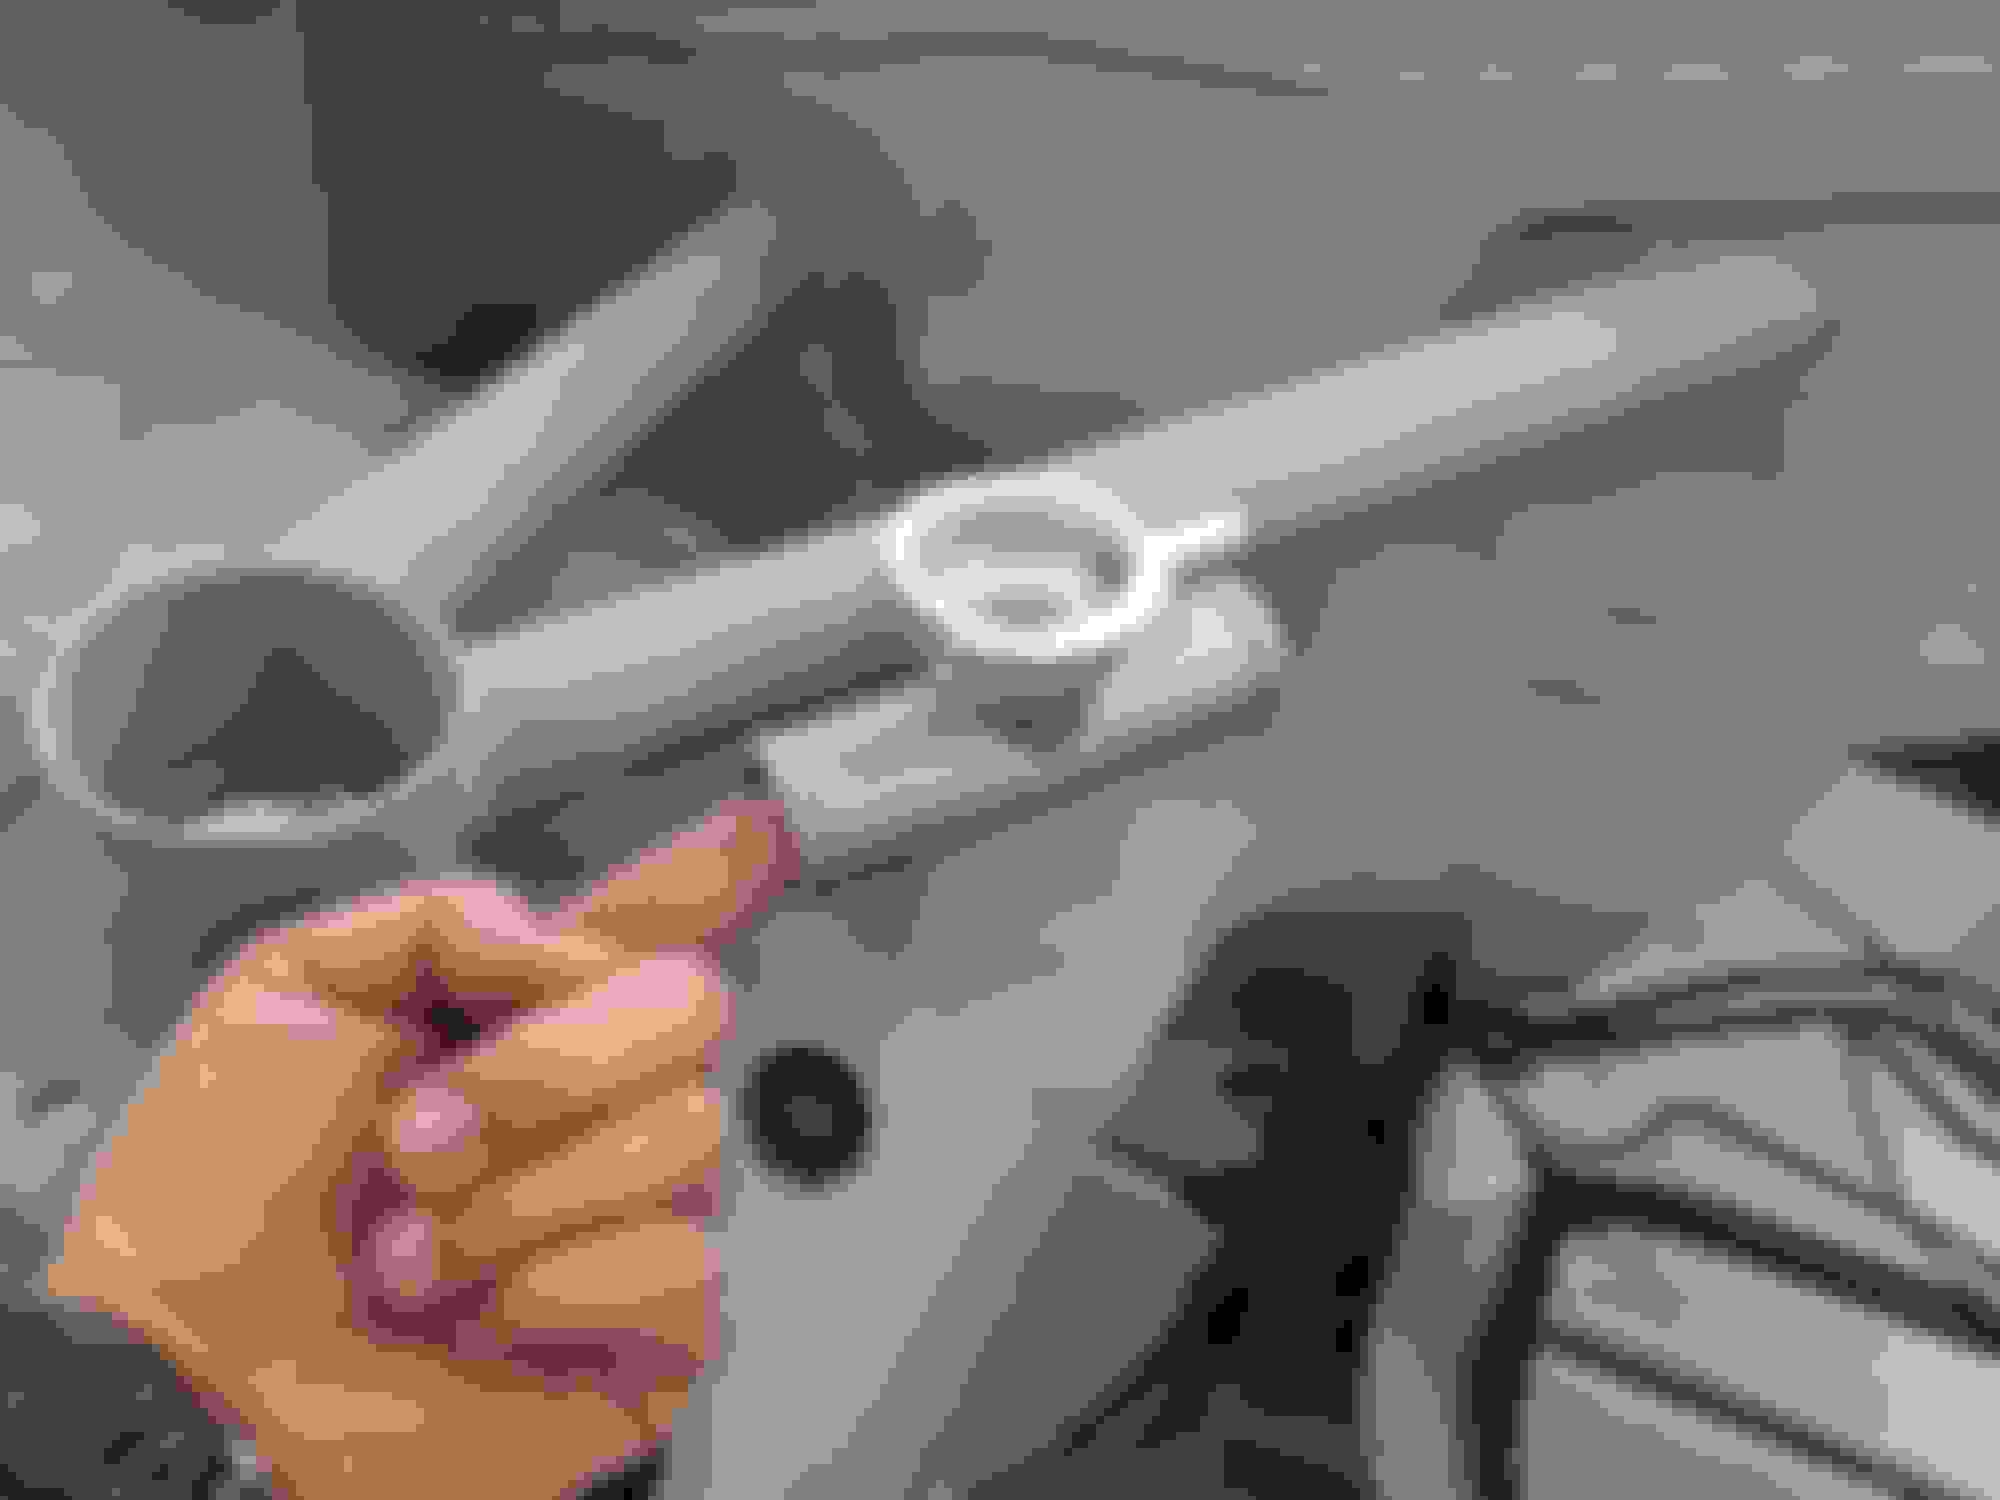
My dad has been prepping to get this thing on the rotisserie and even with both the subframes still bolted in, when he lifted the front of the car from the rotisserie mount bolted to the frame rails you could hear a ton of creaking from flexing up near the cowl and firewall area even though everything in that area is reinforced and stitch welded. The windshield frame is super weak too and you can wiggle it like 1/8" easily by hand. We decided to weld a 1/8" plate to the upper section in hopes that the entire cowl area would get strengthened and we were right. No more creaking when we lift it. It was a little tough to get these welded in and had to do some parts with the tig torch in my left hand. I also left a beveled edge in hopes of getting really good penetration, made it a little tougher to stay consistent and there were some weird gaps in different areas but I got through it. The different metal thicknesses made it worse too, I was pretty much full pedal at about 115 amps and I felt like that was a good spot. The car right there looked like about 0.080" thick, the roll cage tube is 0.095" and the plate was 0.125". Not the greatest looking welds but they will be hidden by the windshield and windshield banner anyways. First picture is right after welding and second is cleaned up a little.
Those V8 Roadsters sway bar mounts...I installed on my car. They are solid, but be aware that the holes in the bottom don’t line up with any sway bar I own. (Miata stock, Racingbeat, or Flyin Miata). I didn’t realize that when I bought them, and a bit irritated when I tried to mount up my sway bar and nothing fits. (V8R updated the website since to say you need to use slotted sway bar brackets, which none of my bars use). Anyway, I wish I knew this earlier. I would have bought something different or at the very least test fit / drill new holes before welding in the mounts and painting.
Since I can’t find slotted brackets for the bar I’m running (Racingbeat)...My Idea on fixing this...I plan on using one of the predrilled holes & drill a second on the v8r mount so the bracket works. Then I’m going to make a mounting backer plate of 3/16 steel approx 1” x 4.5” with two holes that I can slide into the v8r mount. (I would prefer to weld this into the v8r mount...but not going to happen now.) I’m also going to weld M8 nuts to the back of these two holes so I don’t have to mess with getting a wrench in there. I plan on making these this week, so I can shoot a picture over if it doesn’t make much sense.
NOTE: stock bracket in picture...I pulled it out to check after the RB bar didn’t fit. All my bars use the stock hole spacing.
I didn't even bother at this point. They are welded onto the car and painted & I'm fairly certain v8r knows, since it's on the website to use elongated brackets.
What a journey, I've been reading this thread on and off for the past couple of days. I just recently picked up a welder at the beginning of the year. Lincoln 140mp. It goes everything besides ac tig, so no aluminum unfortunately. At $1000, it's not a bad deal to get my feet wet though. Interested to see how a kmiata competes with cars in the faster classes.
I think I found some Energy Suspension brackets with zerk fittings built in already that will work with the sway bar mounts.
@Jwblack thanks! It's been an adventure that's for sure haha. I almost got the Lincoln 140MP as well but then decided I wanted a little more power in a Tig welder as well as the ability to do aluminum. If you run pulse settings and stuff you can get up over 140amps in a hurry. The 140MP looks like a great multi-process unit though, you will like it. After some discounts at Lowe's I got my Lincoln ProMig 140 for a little under 500 and the Primeweld Tig225x was 800 shipped. So for 1300 all in you have two separate units and get a badass tig machine with all the bells and whistles and a really nice CK Worldwide flex head torch.
Anyways, on to more updates. The hydraulic ram on my engine hoist went out, had to buy another one at Harbor Freight. This was when my dad was trying to lift the car up to get it onto the rotisserie, luckily it was only an inch off the jackstands when it failed so it just set the car back down. Could have been a lot more of a pain in the ***. Also stopped by the Industrial Metal Supply and got about 4 feet of 1/8" wall 1" square tube for 6 bucks from the REM section to fabricate the pedal assembly mount from. Then dropped by my friend's house @Silentoreo34 and bought a power steering rack to properly depower.
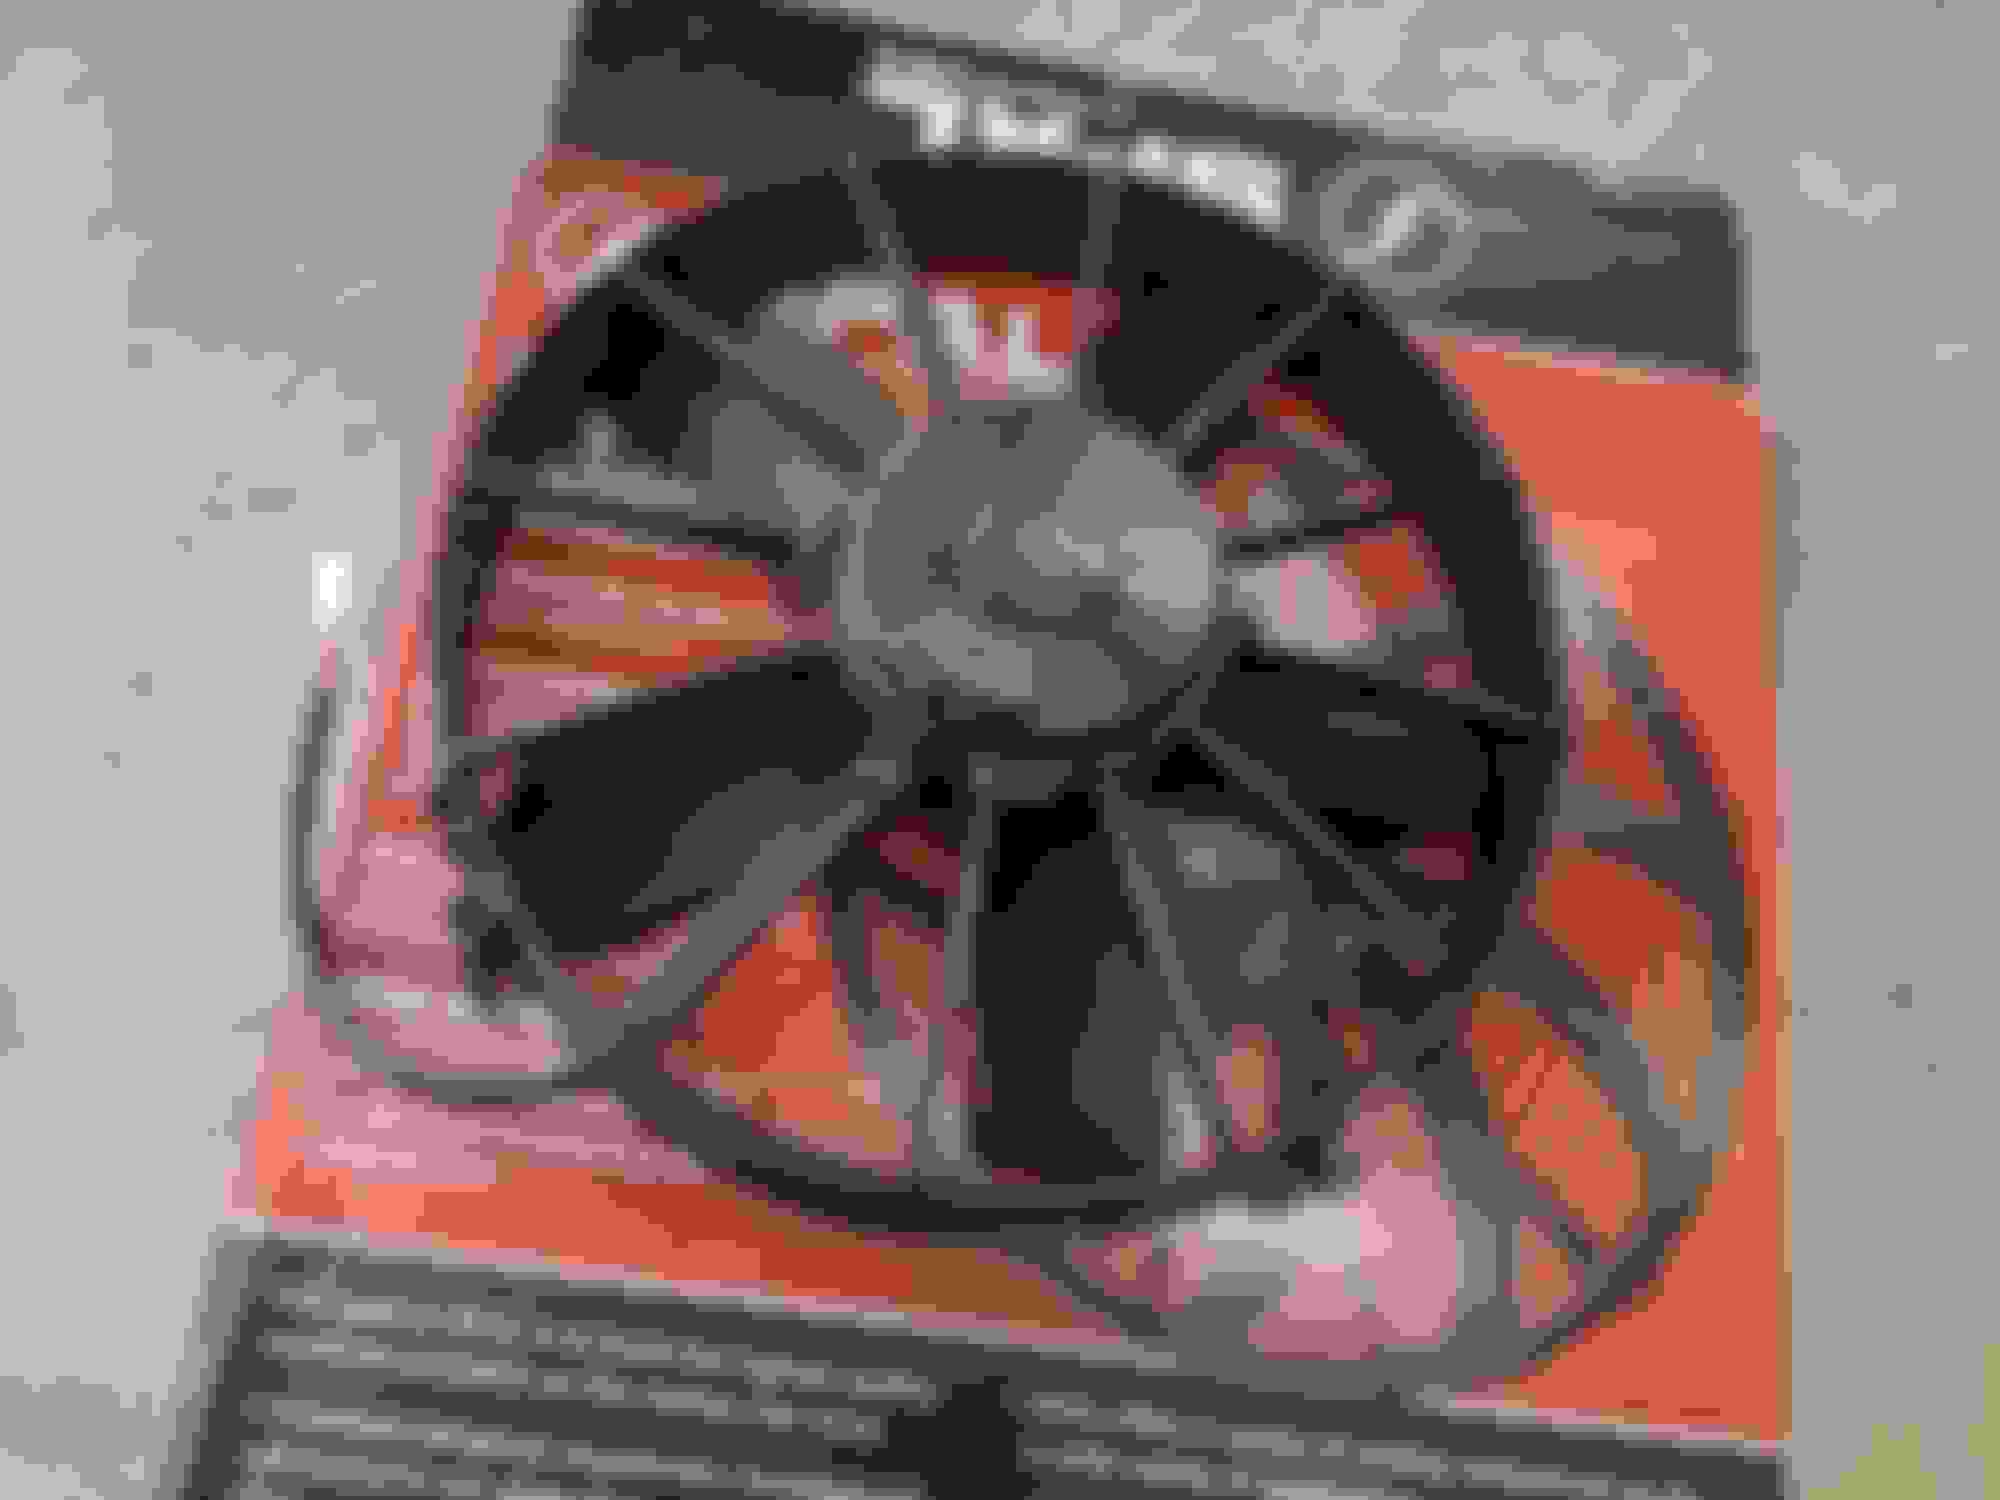
Other things that showed up, an inline filler neck that I'm going to mount onto the roll cage and should make bleeding easy since it'll be the highest point in the system, and also a 12" spal puller fan that is rated to around 1650CFM. I figured I would go to this one instead of a single stock fan so maybe if I'm drafting a lot it could possibly help. There's only one other 12" fan with a higher CFM rating, the curved paddle one, but it pulls too many amps for a single channel on my PDM lol... this straight paddle blade version moves more air than their normal S curve fans though, will be interesting to see how loud it is but that doesn't matter a whole lot to me.
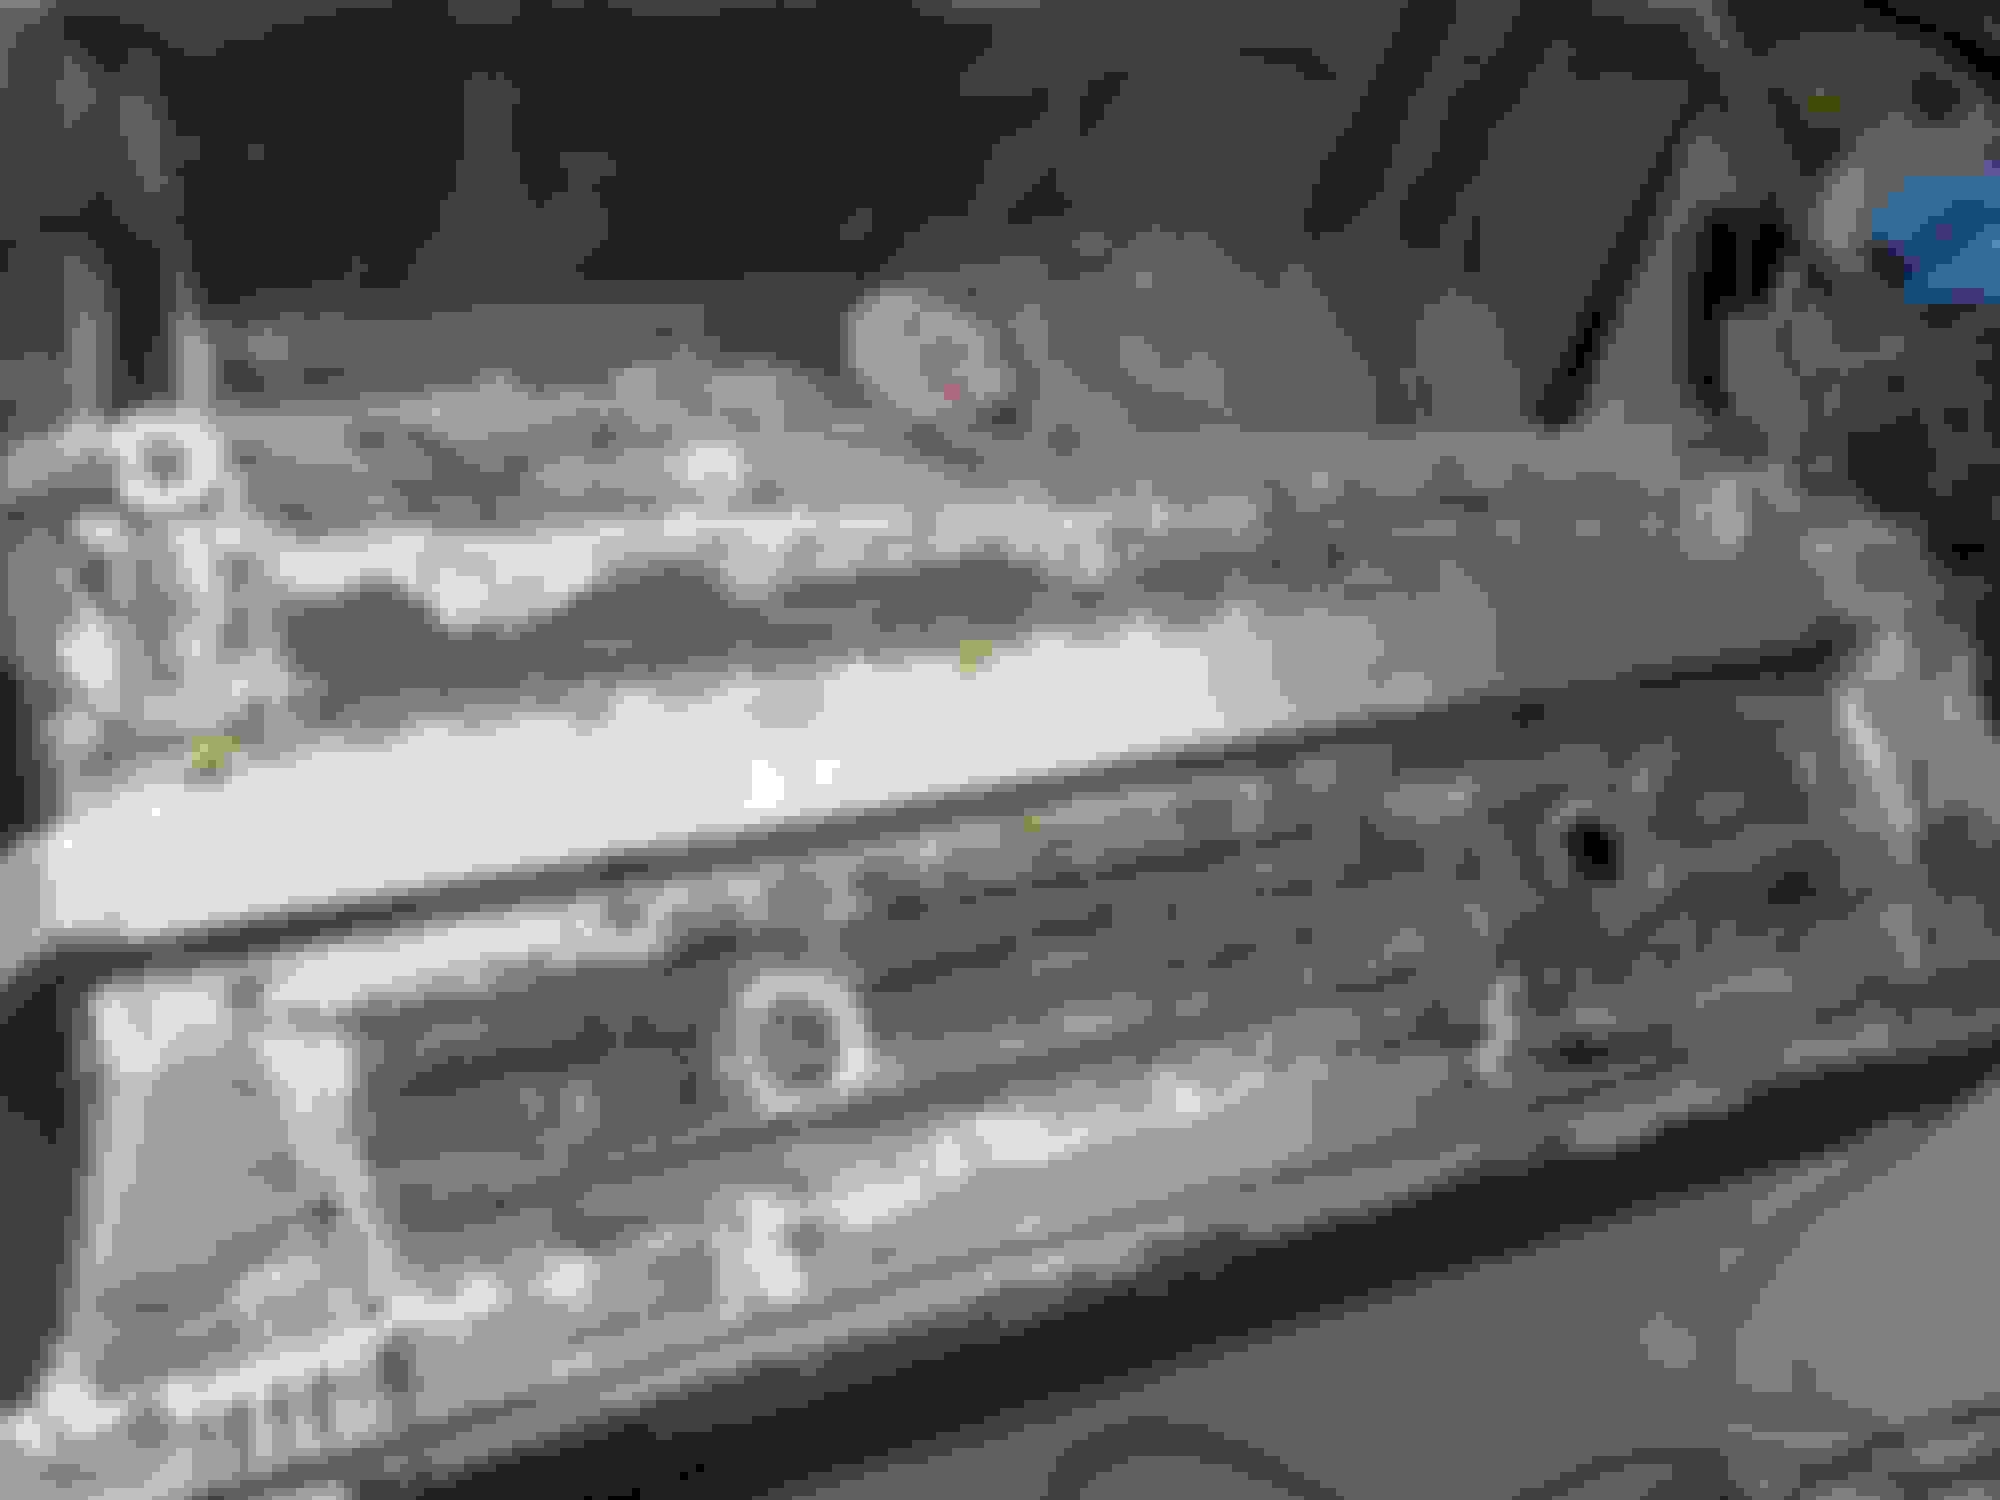
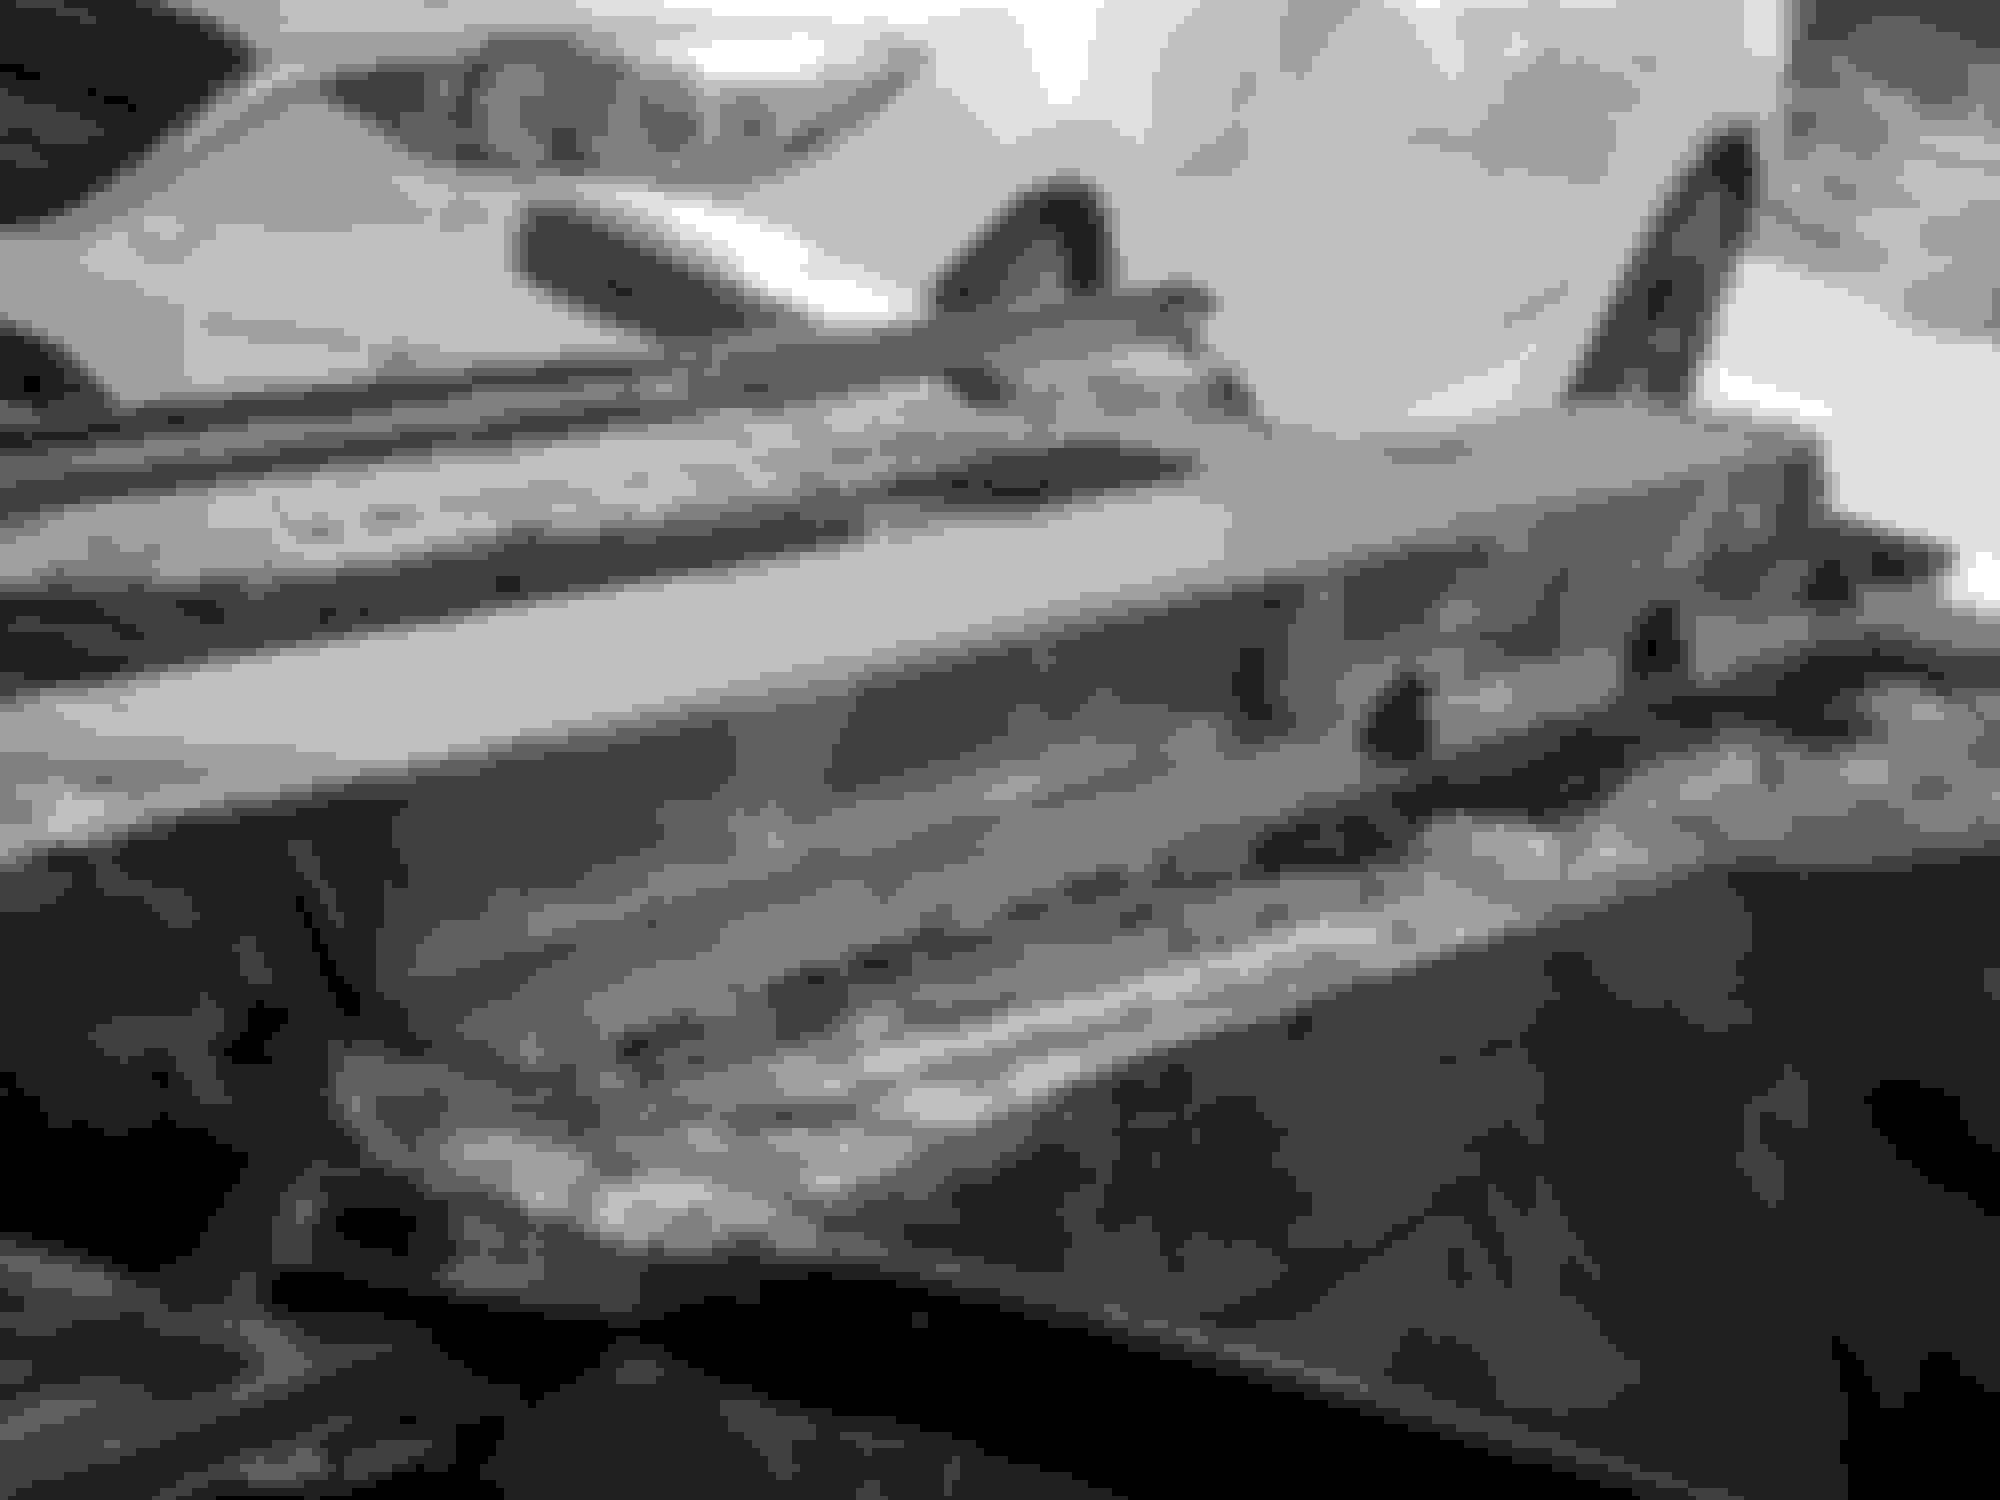
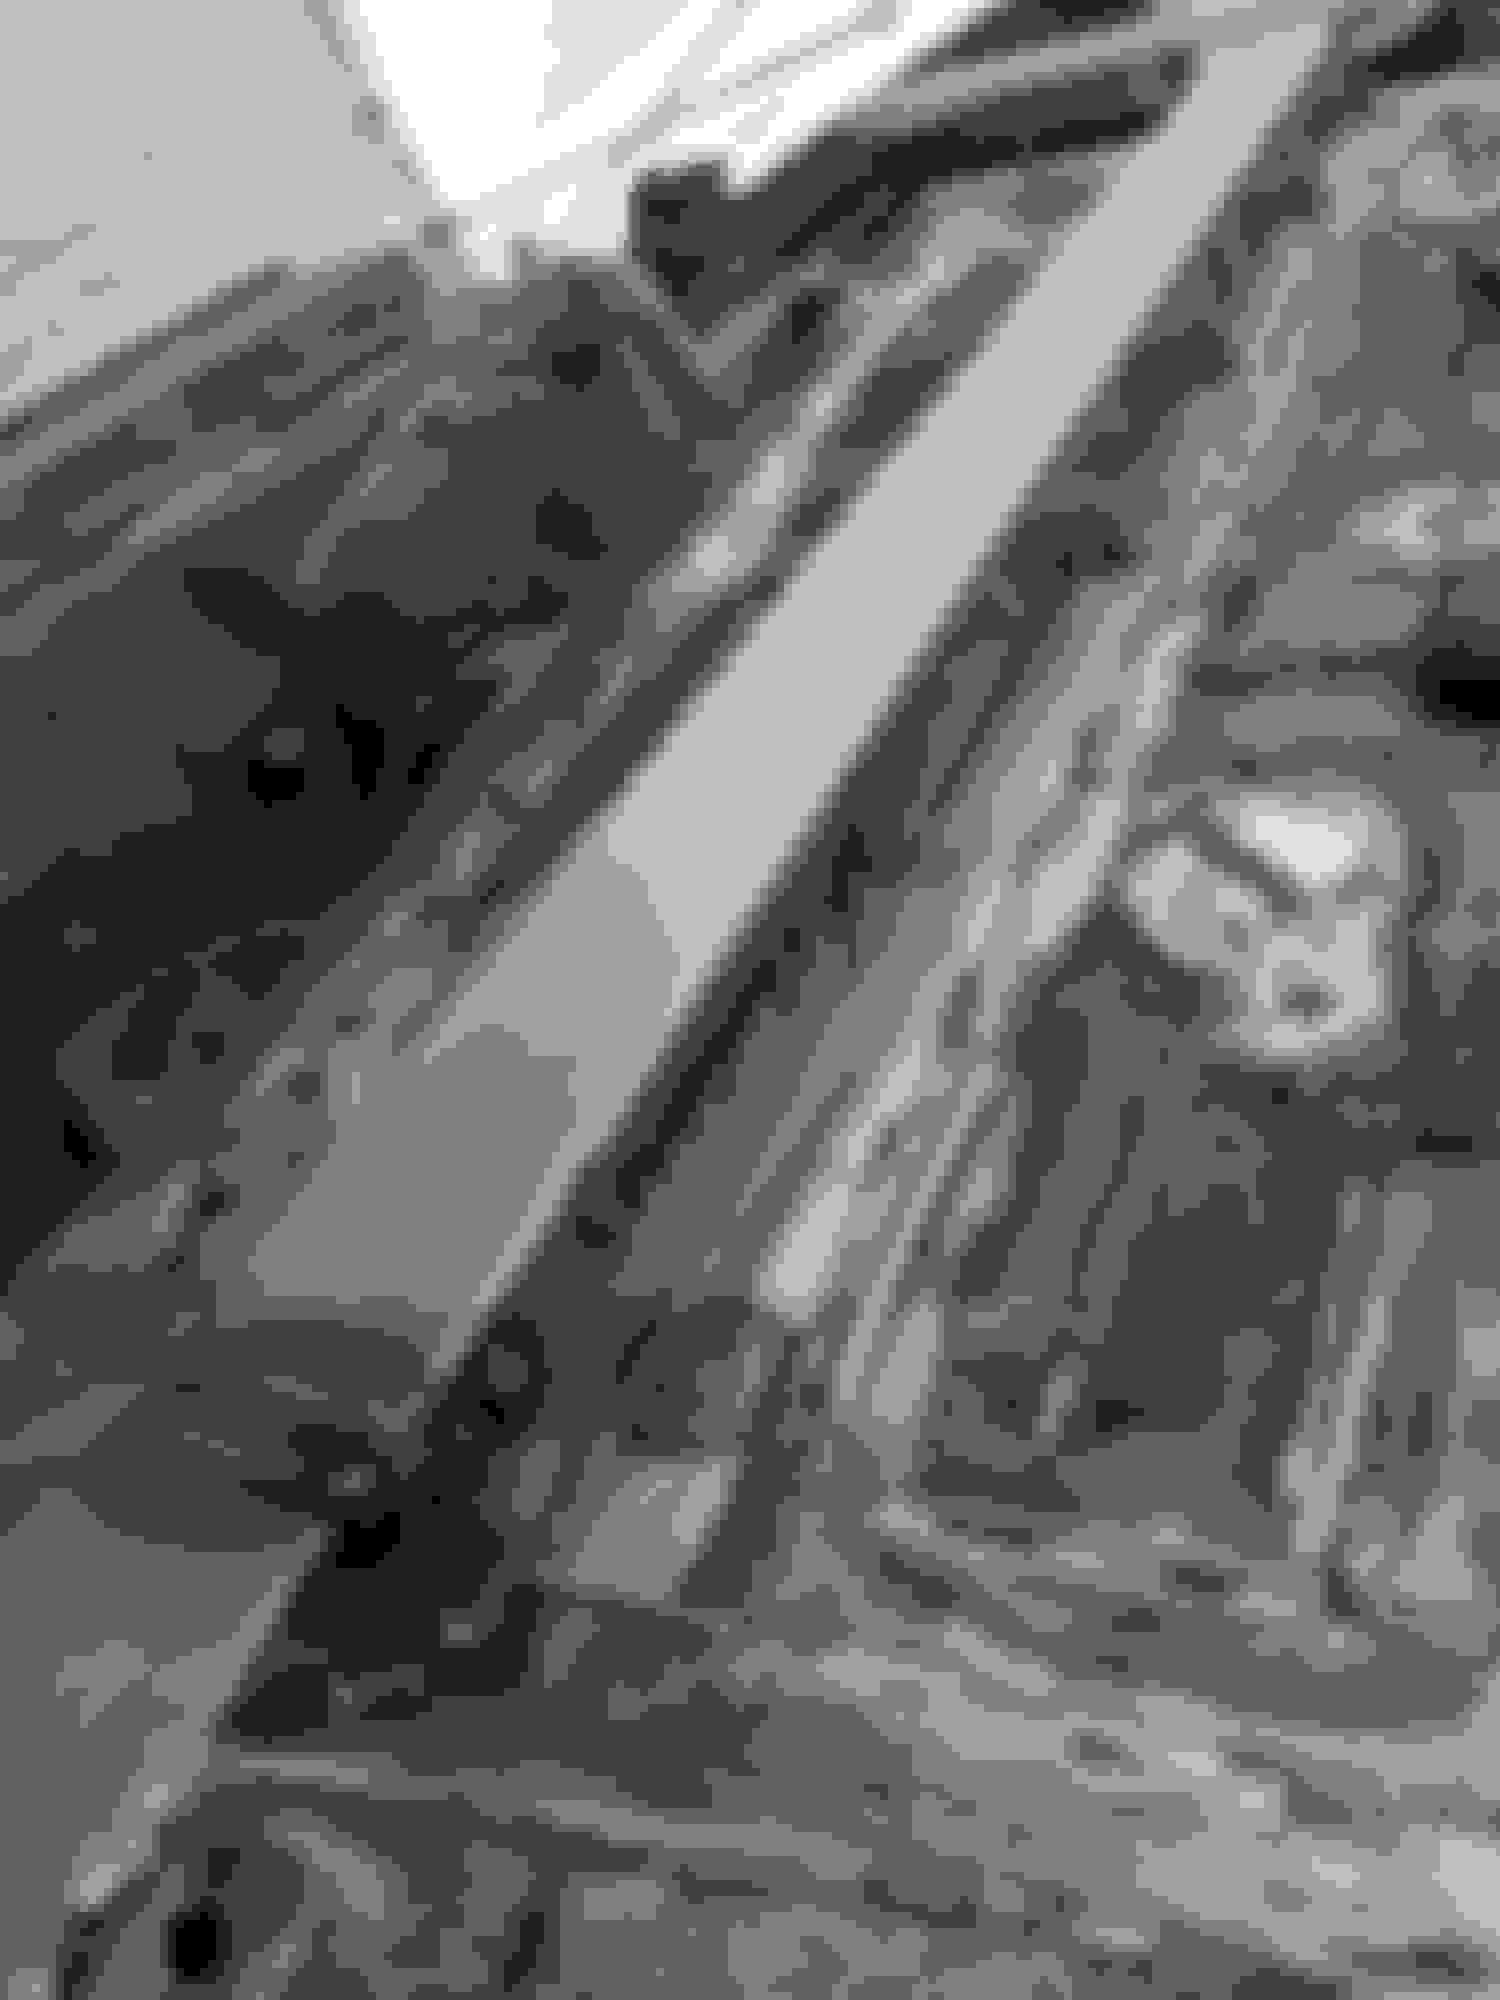
I haven't been able to work on the car much but my dad has been putting in time. He's getting better and better at mig welding as well. He's been cleaning off and stitch welding the bottom of the car, and also fitted up one of the frame rail reinforcements. The frame rails on this car were a little beat up and took some sledge hammer encouragement for the reinforcement to fit over it. He decided to bolt in the part of it that is under the seat but weld the front holes to the floorpan so we don't have bolt heads in the foot well area. Then he stitch welded the whole thing onto the car and fashioned some extensions for skid plates because those front and rear areas see impacts from time to time and we didn't want anything to snag the front lip of the frame rail reinforcement since it is about 3/16" proud of the frame rail itself. The other thing he did was drill some holes in the sides of it and then welded inside those holes to the frame rail metal and ground it back down, so it's got even more attachment points on the vertical faces of the reinforcement instead of just the horizontal tabs on either side.
Overall I'm pretty happy with these V8R frame rail reinforcements and after really seeing how beat up and weak the frame rails are on their own, I'm glad I got them. Makes for good ballast at the lowest possible point in the car and the weight is being put to good use for chassis strength and underside peotection as well. The V8R sway bar mounts on the other hand are probably gonna get sent back. They are like 1/2" wider than the frame rail itself and will get bent weird if I bolt them up and weld them, I also don't like the triangle cut outs since the points of triangle cutouts are weak points, plus all the unnecessary holes in the bottom. I'm probably going to bend up some of these on my own on the HF press brake and use the dimple dies on them.
Small update, just getting more stitch welding knocked out before getting the second frame rail bolted and welded in. After that just the back trunk area needs to be stitch welded up and it can come off the rotisserie.
I was able to finish up some more stuff. This is turning out to be a lot more welding than I thought and knowing what I do now, probably wouldn't attempt this without the rotisserie. Glad the opportunity to borrow this thing popped up.
 10-15-2020, 03:30 AM


 0
0