When you click on links to various merchants on this site and make a purchase, this can result in this site earning a commission. Affiliate programs and affiliations include, but are not limited to, the eBay Partner Network.
There was still a decent amount of undercoating still on there but no I didn't bother painting where I was going to be welding. I'm not worried about it, I'm going to prime and paint the underside soon and that'll be it. This car lives in either a garage or enclosed trailer and has probably only been driven in the rain half a dozen times in the last decade and I live in one of the most dry climates in the US.
Weld through primer is your friend, as moisture can (and will) find its' way between sheets in multi-layer configurations. That being said, I would not be terribly worried, given the intented use/conditions.
Wet Noodle no longer! With the cage, seam welding, & other reinforcements ie frame rails... You are winning the stiffest Miata chassis contest! That's a ton of work you & your dad have put in the car! Looks great!
Yeah I went further down the rabbit hole than I think I ever have before... also that thought in the back of my mind of potentially wadding up this chassis sometime in the future is pretty sickening now. Before it would have been a 500 dollar roller, drop it off for another cage with my fab guy and swap all the parts over. Now it's got hundreds of hours invested in it and I haven't even bolted a single part onto the car yet for this "swap project" lmao.
Originally Posted by HarryB
Weld through primer is your friend, as moisture can (and will) find its' way between sheets in multi-layer configurations. That being said, I would not be terribly worried, given the intented use/conditions.
I honestly had no idea something like that existed, if I had known about it I would have done it but oh well. Like you said, intended use/conditions makes me pretty confident it's a non-issue.
Originally Posted by rdb138
Wet Noodle no longer! With the cage, seam welding, & other reinforcements ie frame rails... You are winning the stiffest Miata chassis contest! That's a ton of work you & your dad have put in the car! Looks great!
Yeah some of the only other cars I can think of in "our realm" of club racing that have gone to this extent are maybe a couple cars that Moti at Blackbird may have done. And even then there's probably things I'm putting time into that wouldn't have made sense from a business standpoint to dump effort into. My hope is that this thing will be like Porsche factory cup car type clean.
All the work put into reinforcements are already really obvious, even when just jacking the car up, moving it around, having it on the rotisserie and whatnot, all the normal creaking, noises, and slight flexing are completely gone. For example when I unbolted the subframes the other day while on the rotisserie to get at more seams, I thought the chassis might "relax" and maybe the bolts wouldn't come out super easy the whole way, but when I undid them all the holes stayed perfectly lined up and after I broke loose the nuts/bolts I could just back them out by hand with no resistance.
Makes me wonder how much I'll notice it when driving the car or if it's been too long since I've driven it to remember.
I finished off the first 12.5lbs reel of mig wire the other day. Luckily I had another one sitting there. Also the last couple days I've gone through about two 125cf tanks of C25 mig gas as well. Since I'm welding in the driveway I had to turn the gas up to about 35 to 40 CFH since there's sometimes a breeze.
The amount that this work absolutely ******* sucks increases exponentially every passing hour.
There was way more welding in the rear of the car than I thought. Still need to grind down a ton of stuff and most of the welds turned out alright but if you've ever done this before you know how bad it is to fight seam sealer and paint stuck between sheets of metal.
Got all the subframe landing pads fully welded on. Patched a ton of holes. Welded in 1/8" reinforcement plates where the seat mounts bolt into. The sheet metal was tearing itself apart when it was just big washers and bolts. And of course what seems like tens of thousands of stitch welds. After grinding and stuff I'd estimate that there's about 7 or 8 pounds of metal added from mig welding so far. Almost done then I can finally prime and paint it and move on to something else... and now I understand why almost nobody goes through the trouble of doing this.
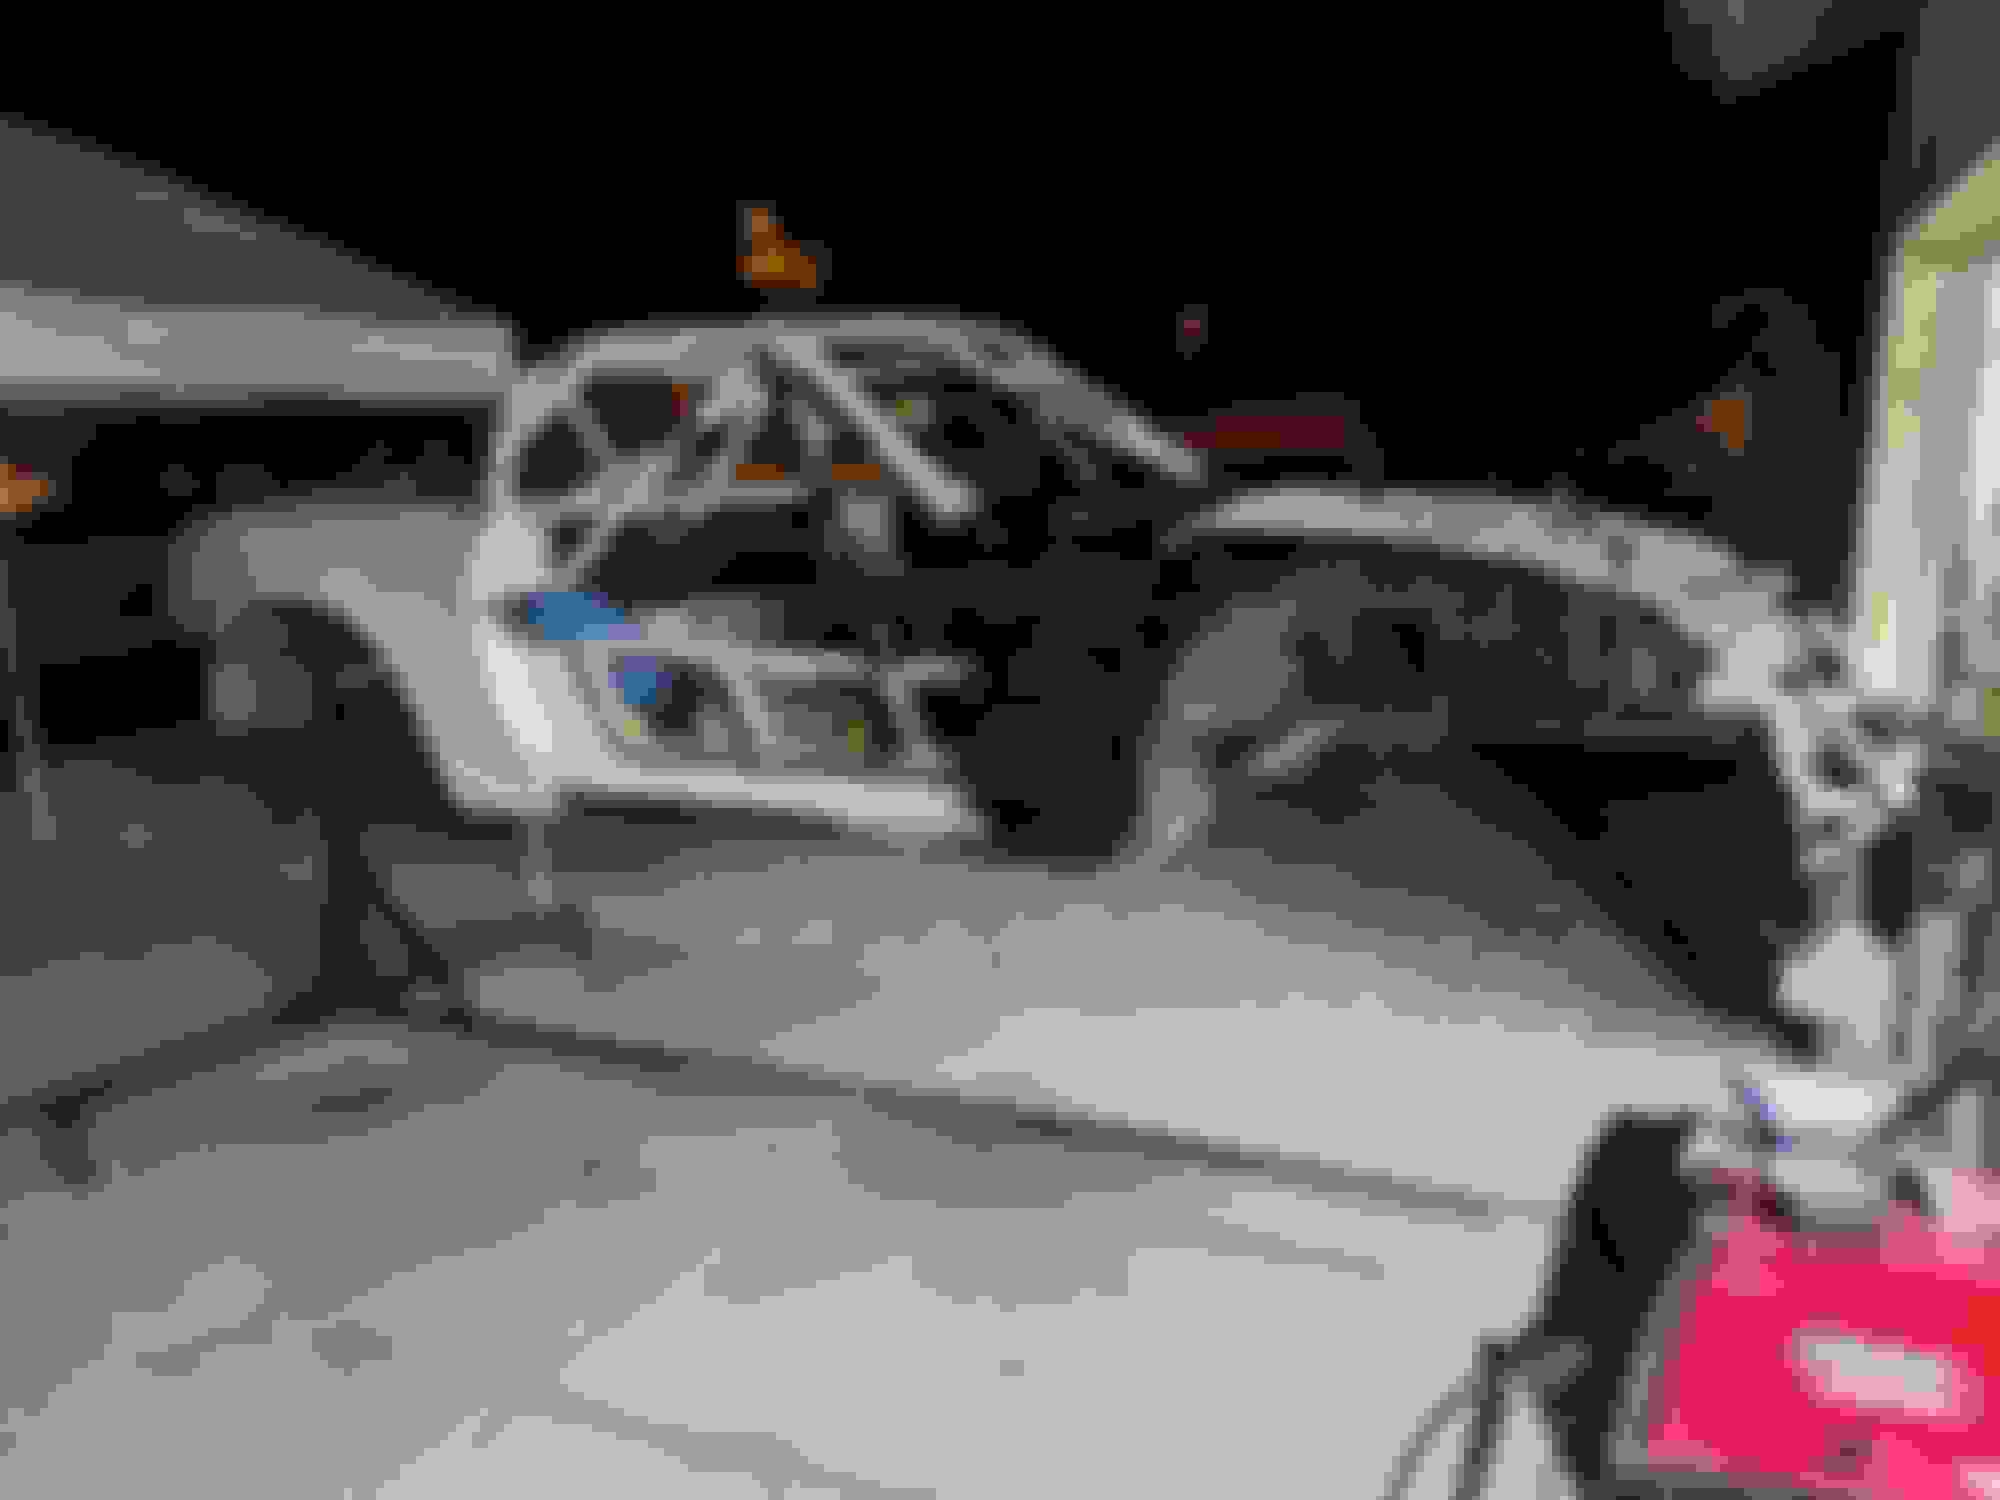
Alright. Feels like a big step forward again. Car is back on jack stands. And I actually bolted something ONTO the car for a change. It was just the new reinforced and freshly painted front subframe but still.
Also I bought a boatload of stuff on black friday. Oil cooler, thermostatic oil sandwich plate, a bunch of DTM connectors and raychem heatshrink, canbus battery isolator, fender vents, splitter quick release units, a new helmet for my dad and a new helmet for myself, some new tools, a bare exhaust elbow, probably some other stuff I'm forgetting. Oh and I bought some courses from HP Academy on their 50% off sale for motorsports wiring and intro to engine tuning and how to setup my Emtron ECU from scratch.
Anyways here's a couple of quick lists and I'll just throw a bunch of photos at the end.
List of things done:
Added jacking points to middle of pinch rail, with sloped leading edges so it can't suddenly catch on anything.
Reinforced pinch rail jackstand locations with 1/8" plate additions.
Finished all stitch welding and grinding and all that bullshit.
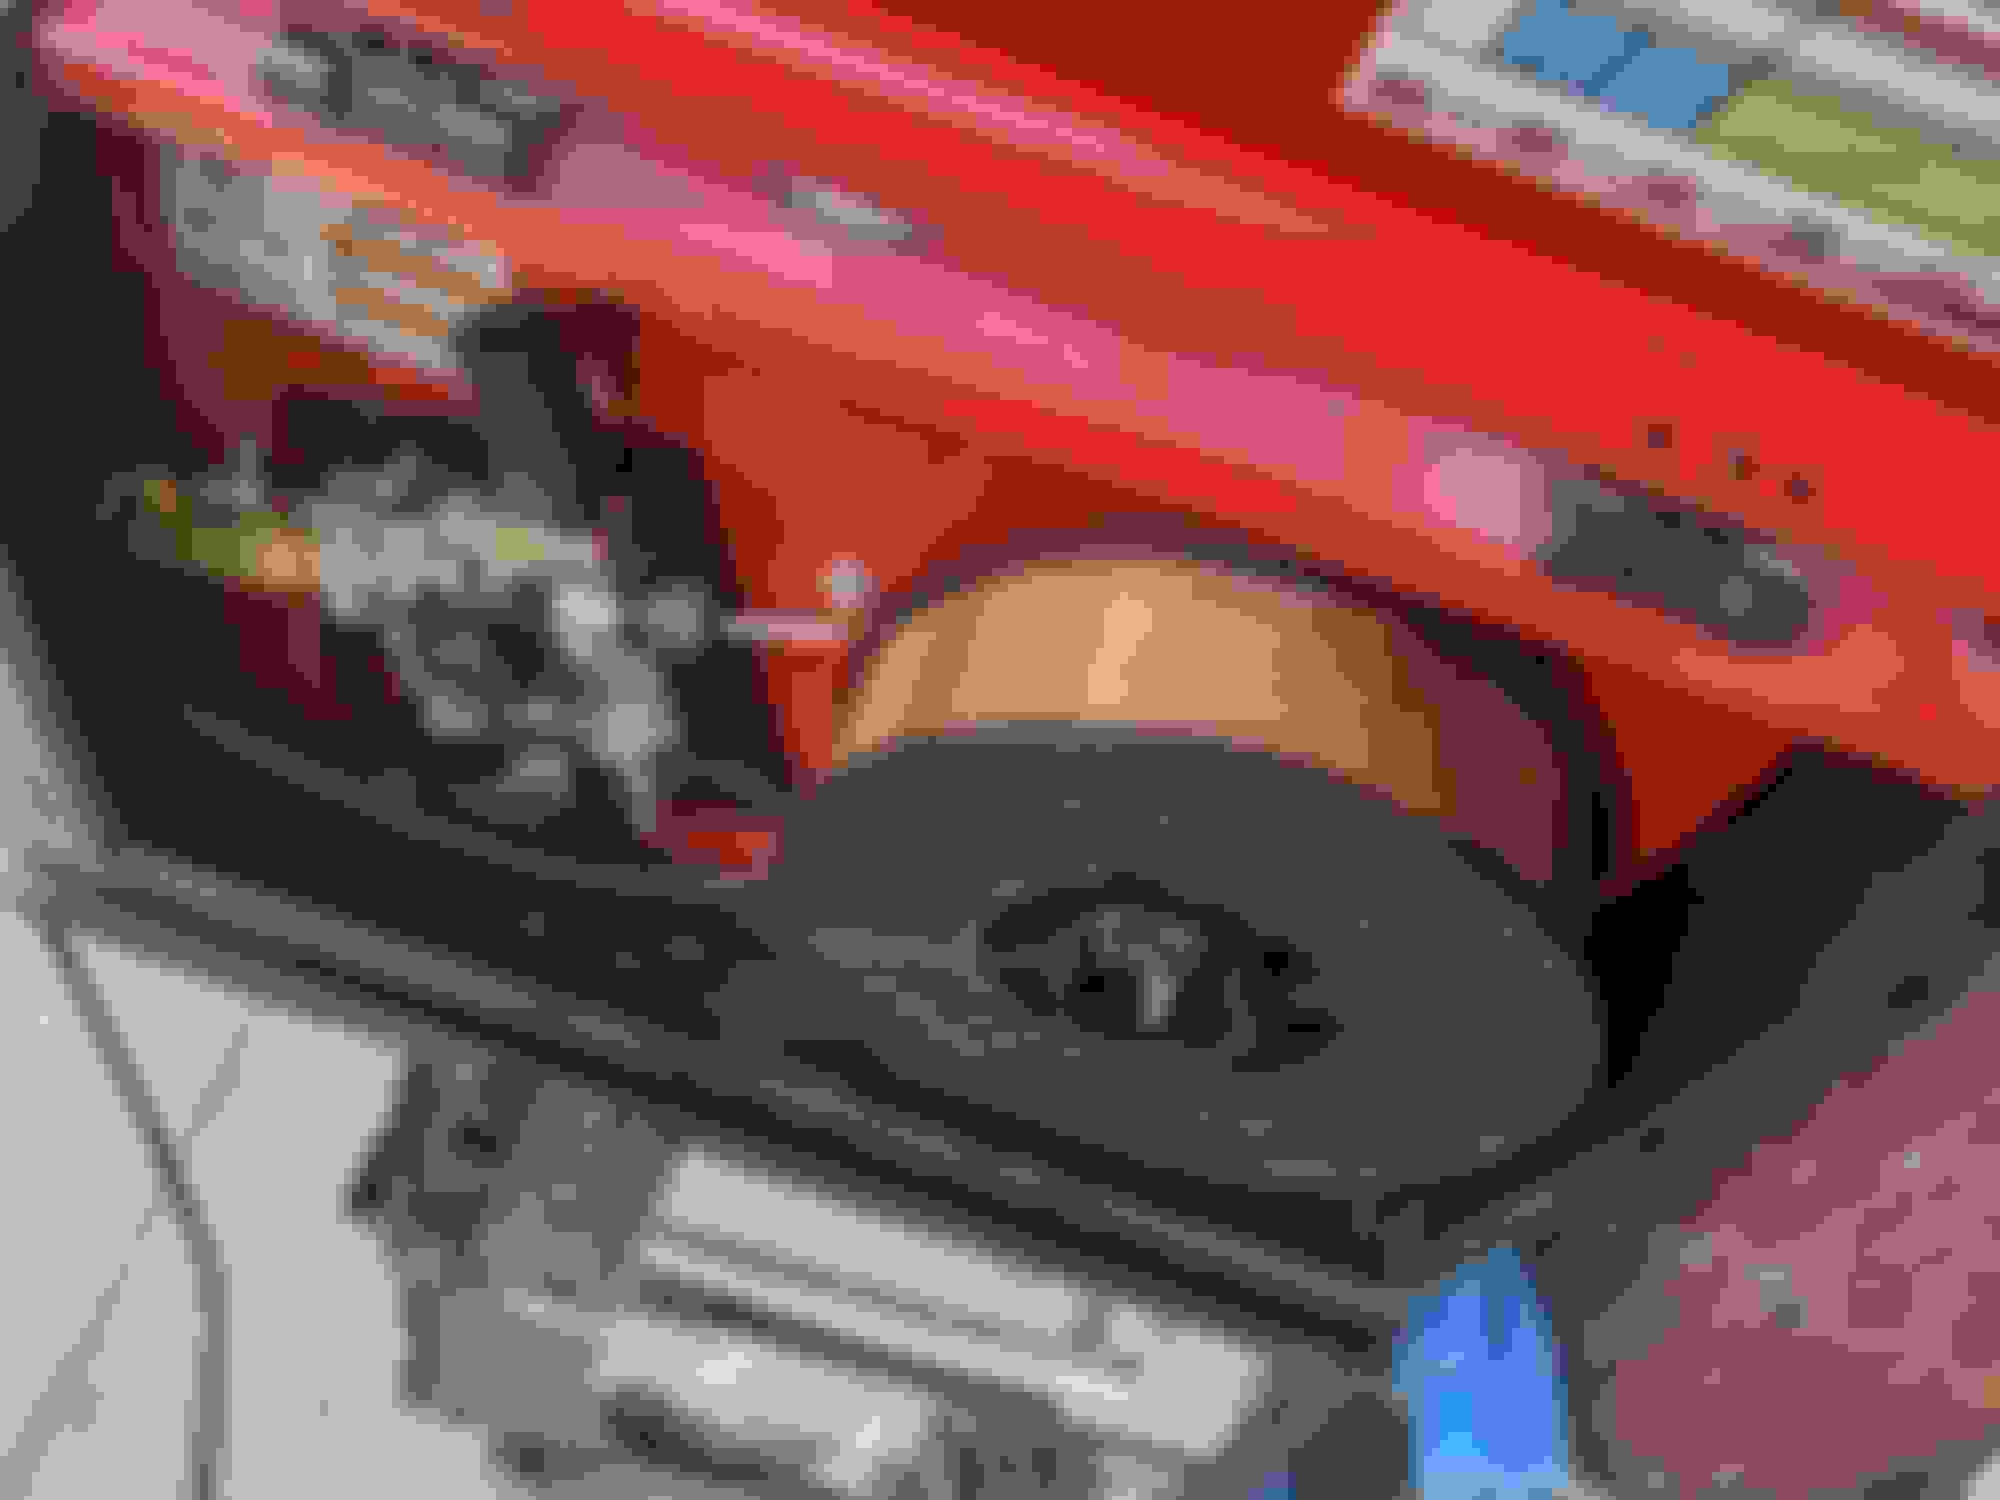
Sprayed self etching primer then VHT Satin Black Chassis paint on the bottom of the car. Included a picture if anyone wanted to know exactly what to look for. The filler type primer was used for just the engine bay.
Got it off the rotisserie.
Also I've got a monster to do list but here are the big ticket items off the top of my head:
Mount pedal assembly and gas pedal.
Fabricate transmission mount and diff mount (deleting PPF to run exhaust on passenger side)
Fabricate exhaust
Paint engine bay and interior
Get all the major components installed and in place.
Small update, splurged on a Stilo ST5. It's an SA2015 model that was on a blowout price reduction but still was about 1k with the extra visor. I opted for forced air duct on right side and comms on left side. Putting it on made it feel like it was worth it though, so much lighter than my previous Pyrotect and WAY more comfortable. My old helmet had a pretty bad pressure point just above my forehead so I'm glad this one fits much better after taking a gamble without test fitting.
One other thing I forgot to mention in the last set of photos was that trunk cutout. I welded that entire seam but the only way to do it was a bunch of tack welds and that alone took about 30 minutes of zap-zap-zap-zap-zap. Good ******* riddance. Next up is fabricating the pedal mounts. Then get the drivetrain back in so I can fabricate the trans and diff mounts and delete the PPF. Then I can move onto the exhaust and that's probably the point at which the engine bay and interior/roll cage can be painted.
One more thing, found someone on FB selling a Roux R-1C that was still brand new in the box for a screaming deal. Picked it up as a Christmas gift for my dad. Silver SA2015 with built in comms and drink tube. It also has that built in cooling system that you can connect to a cool shirt system but one of my buddies tried that out and said you can't feel it at all through the padding, so definitely won't be putting in the effort to hook that into the future DIY cool shirt setup.
Having a tough time figuring out what brake master cylinders to go with. Found a nice calculator online but there are lots of variables that are easy to screw up. Stoptech told me to use 1/2" front and 5/8" rear, but didn't tell me what pedal pressure they were aiming for. Tilton has a form that you can send to them as well so I'll try that too. And the calculator I found I landed on 5/8" front and 3/4" rear to get to about 85lbs of pedal pressure. A lot of places say 85 to 110lbs of pedal pressure is kind of the aim for most manual brake systems in a race environment. Also the cylinders from Tilton I want to use, the smallest size is 5/8" so that might be the deciding factor there anyways.
85lbs are a bit on the low side for manual brakes, I would aim at 100+, but that's highly subjective. Aero and CoG could be screwed up, but for the rest, I assume you have pretty solid data in hand. Use these, then use min and max expected values for aero and CoG height. This will give you ballpack figures, and let you understand how much these factors affect the overall system. Based on these you will be able to select something that should work, a balance bar will take care of the rest.
Yeah after messing around some more I'll go with the 5/8" front and 3/4" rear. 85lbs is still like double the effort it used to be so I think it'll be fine. If I need to make a change I'll just need to get one more master cylinder so only out about 100 bucks.
the standard Mazda brake pedal has a 4:1 ratio for the servo / boosted system, I've built a 5.5:1 pedal for my twin cylinder / bias adjustable setup and combined it with .625" front & .700" rear cylinders as this is the 'common' cylinder sizes used on rallycars with similar pedal ratios locally.
I'm using AP Racing cylinders but have Tilton's '75' series cylinders, these are similar sizes but the AP cylinders have top fluid outlet that works neater in my bulkhead install
bulkhead bracing being designed as I want to eliminate possible flexing
AP Racing make a 14mm / .551" bore cylinder if you really need the small size?
obviously I've not gone into the science with calculations but used what I've previously run on similar sized cars


 11-18-2020, 06:53 AM


 0
0