When you click on links to various merchants on this site and make a purchase, this can result in this site earning a commission. Affiliate programs and affiliations include, but are not limited to, the eBay Partner Network.
Keep up the good work, and look forward to seeing your brake setup. I've been debating doing rx7 all around or doing aftermarket in the front and then rx7 t2 in the rear since I believe those are basically bolt on.
Also am I correct that this is the old SpitfireEFI.com gtx?
Keep up the good work, and look forward to seeing your brake setup. I've been debating doing rx7 all around or doing aftermarket in the front and then rx7 t2 in the rear since I believe those are basically bolt on.
Also am I correct that this is the old SpitfireEFI.com gtx?
Hopefully I'll get the brakes going next week. It's been more Miatas this week.
And yes, this is the old Spitfire EFI car, after an owner in between.
So I pulled the plugs and did an oil change to Rotella T6 5w-40 at approx. 1500 miles. Did a leak down at the same time. Everything is perfect, every cylinder has less than a needle's width of leak down when warm. So less than 2% at 100psi. Plugs look decent. Prompted by a little bit of a misfire on warmup. Couldn't replicate it...
Noticed when datalogging that on long 3rd and 4th gear pulls the duty cycle would start to climb on the injectors, and figured I should check the pump. After all, given the injectors and boost, I figured I might be outrunning the pump, at double the factory power.
Yet again the silly remarks about safe AFR on stock injectors and 20psi make me shake my head. Stock fuel pump and sock. Replaced with DW200 and rewrapped my fuel level sending unit. It works better.
Procrastinated by making shroud/blanking plates for the front and underside out of UHMWPE. I got a little carried away.
Then I spent time screwing with the Miata. Replaced every bushing, new tires, clearanced fenders, new suspension, swaybars, end links, rack shims, ELBJs, etc... It's very very good. Maybe I should do a thread on that turd...
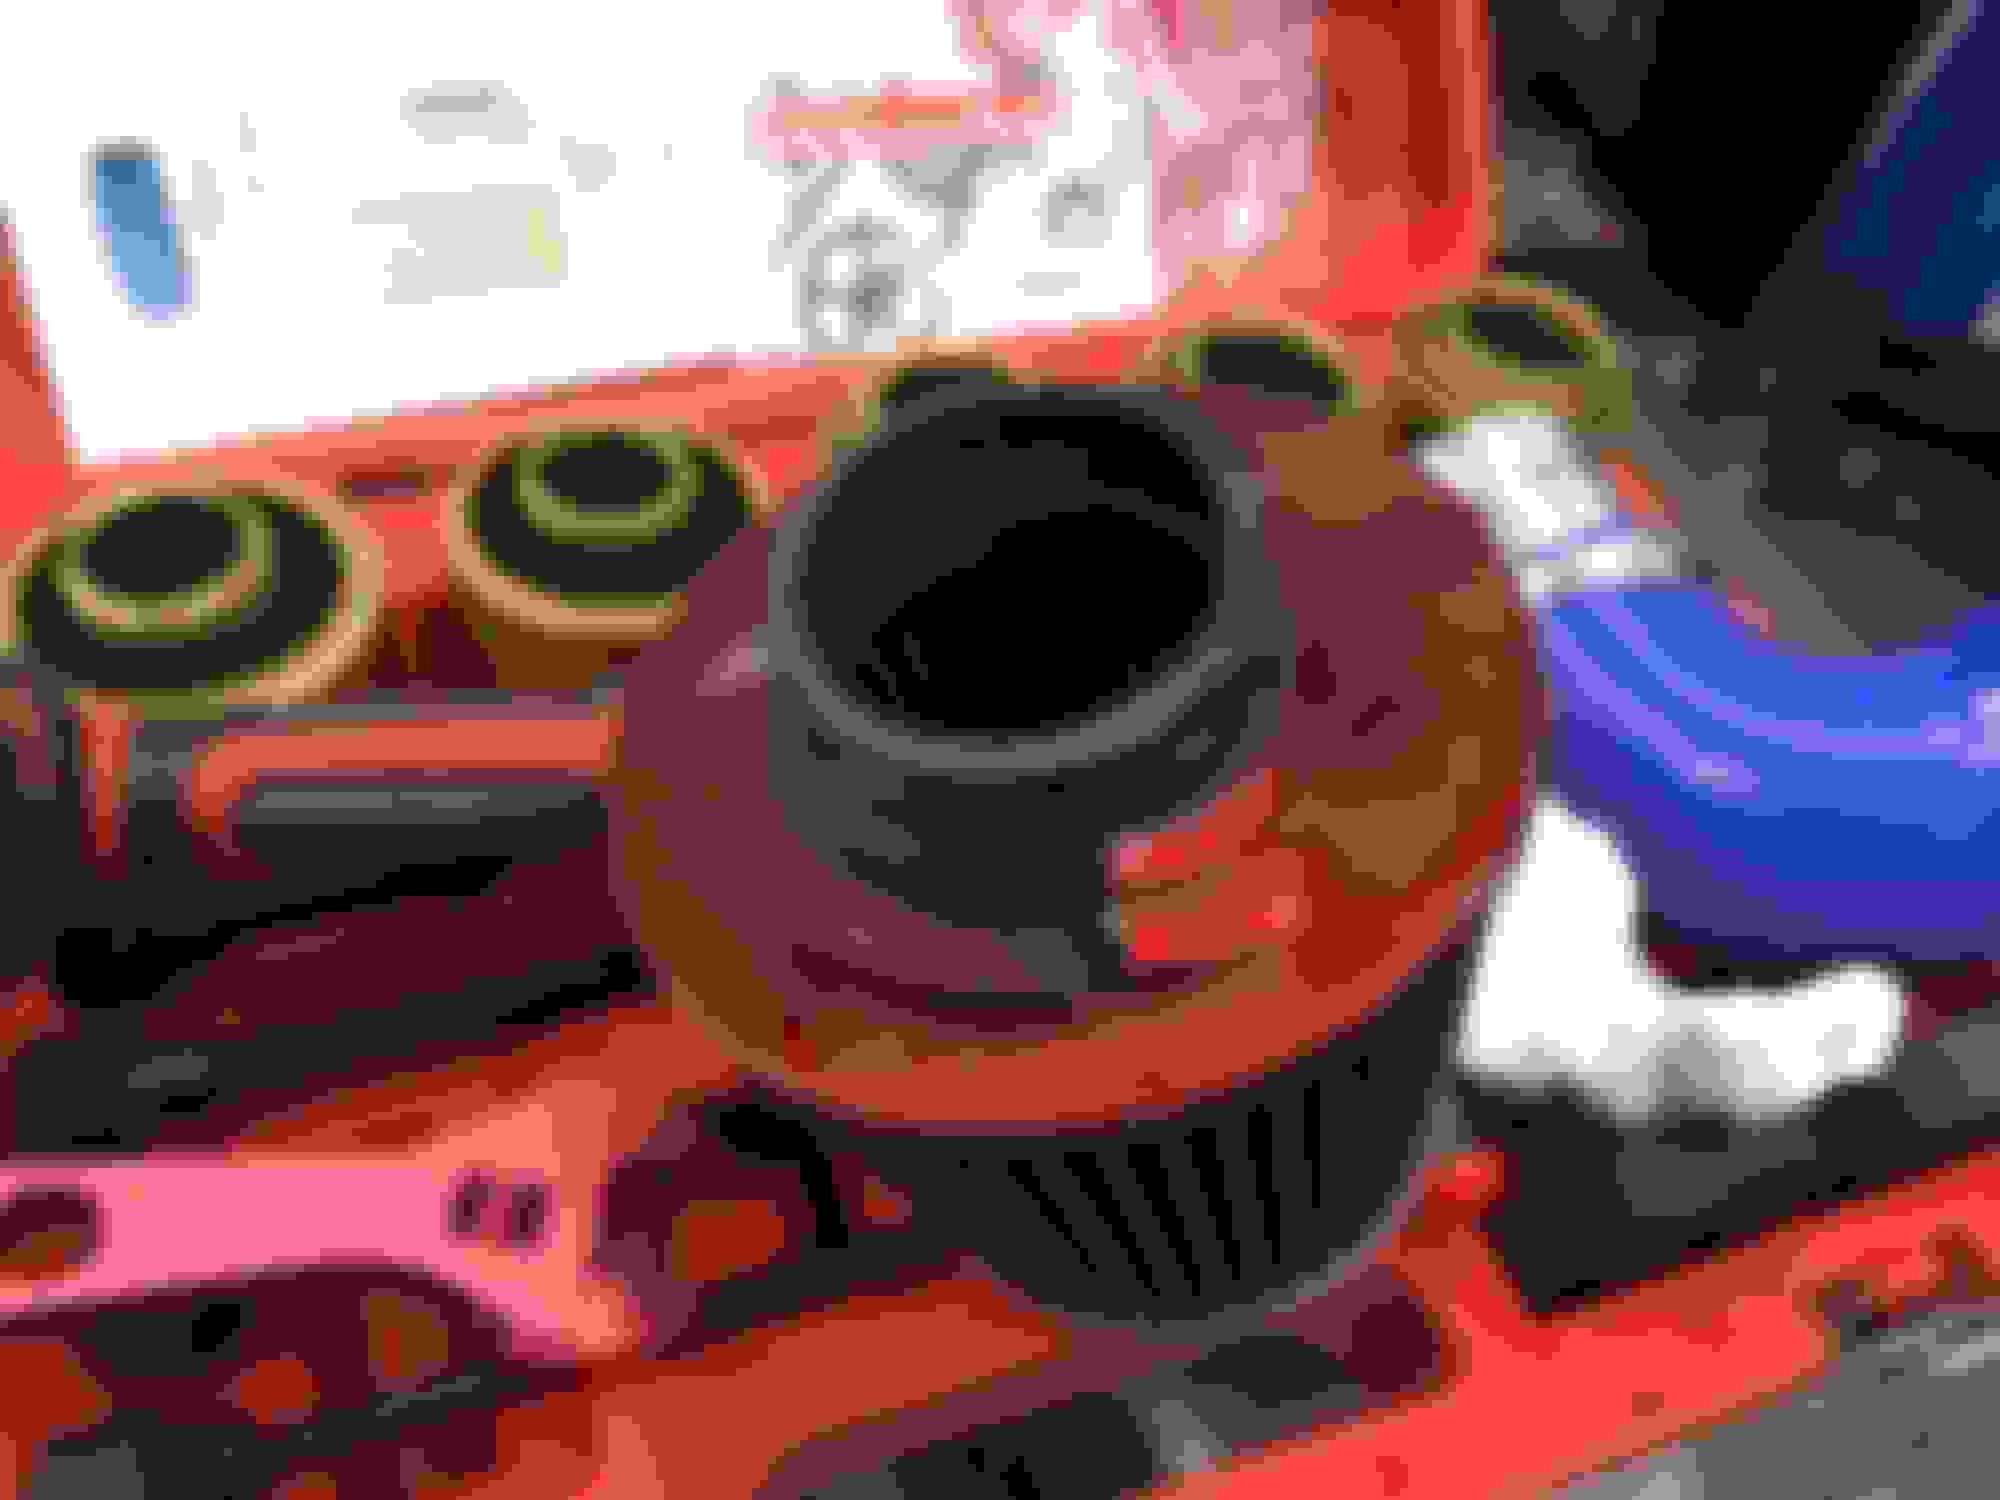
So I got the brackets and did the brakes today. Mildly nerve wracking, very messy.
Hey Toiyable,
Can you hold my hand and help me ??
Would you be willing to open source the bracket and roughly how much did it cost you to get made? Last was what specs of the dynopros you are using? *note I will admit I haven't done the research on what would be the correct bore size or rotor thickness needed for this setup, and was hoping to piggyback from your research and hard work
Would you be willing to open source the bracket and roughly how much did it cost you to get made? Last was what specs of the dynopros you are using? *note I will admit I haven't done the research on what would be the correct bore size or rotor thickness needed for this setup, and was hoping to piggyback from your research and hard work
After much thinking, I ended up contacting these guys:
Did some suspension clean up work prepping for the new spring/shock combo.
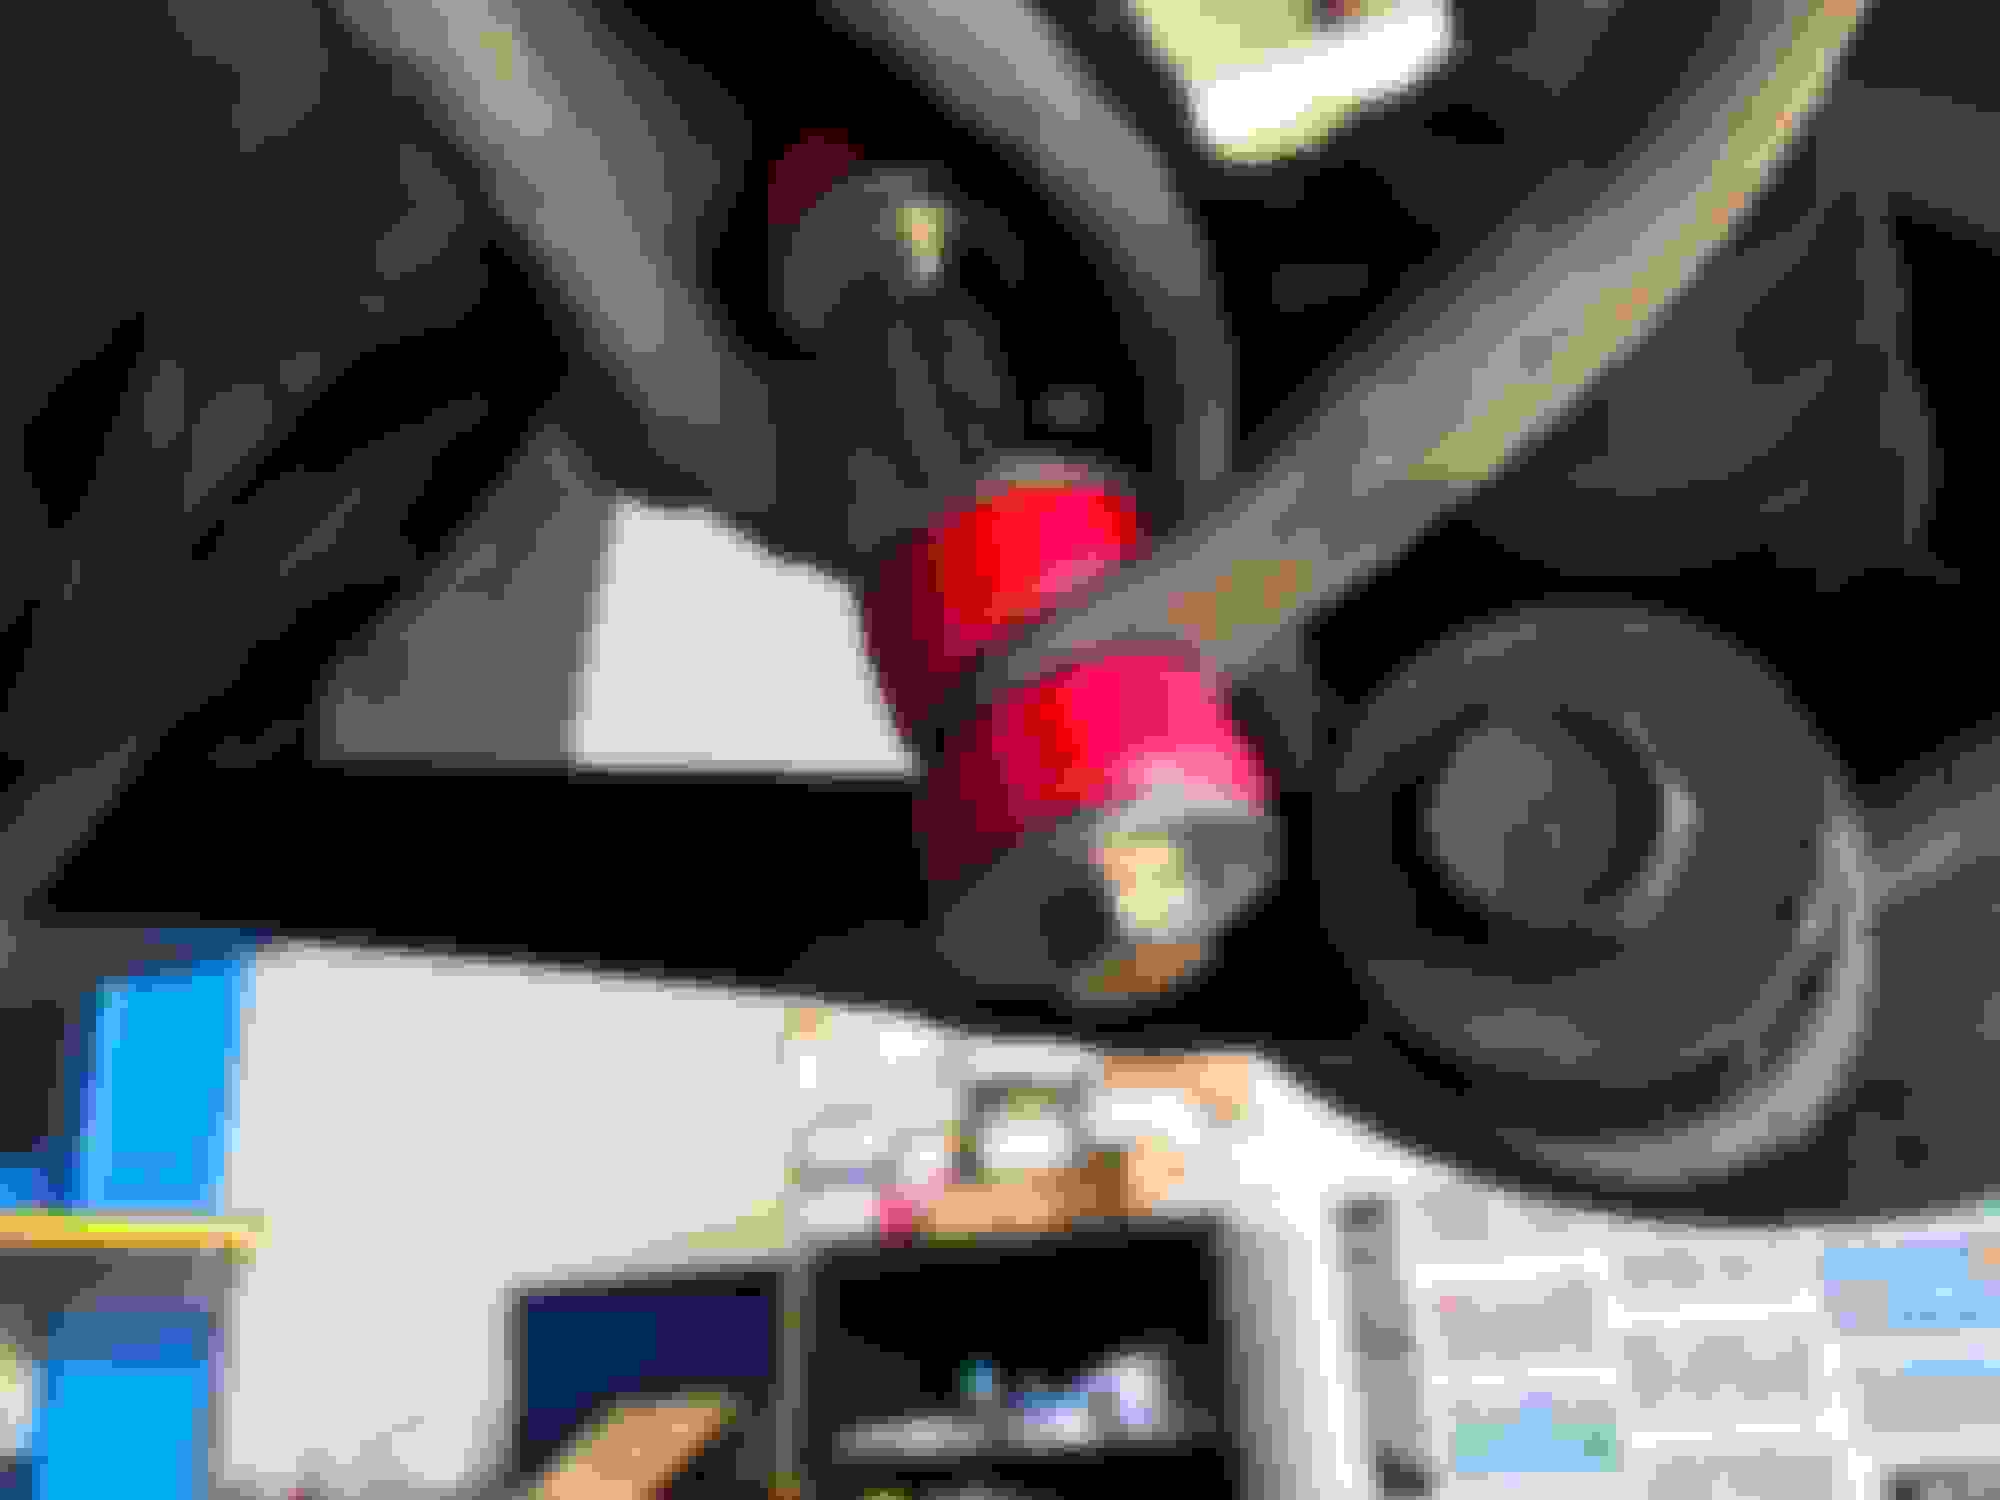
Installed MX3 trailing arms. Drilled out a 12x8 bushing I had to 10mm, cut to length and installed in factory forward bushings. Bolts in upright were long enough with split washer removed to have 2.5x diameter threaded in. Installed with short side of rear bushing against upright. The measurements were within .5mm of the factory pieces when installed this way, and are fully boxed as opposed to the c-channel originals. Mine were very very done. Getting the driver's side arm off was easy; the rear bushing twisted out. Getting that bushing off the upright was an odyssey involving an air hammer, die grinder, torch, and general swearing.
I made new rear sway bar end links with grade 8 3/8x6" bolts, spacers, and the Energy Suspension bushing kit.
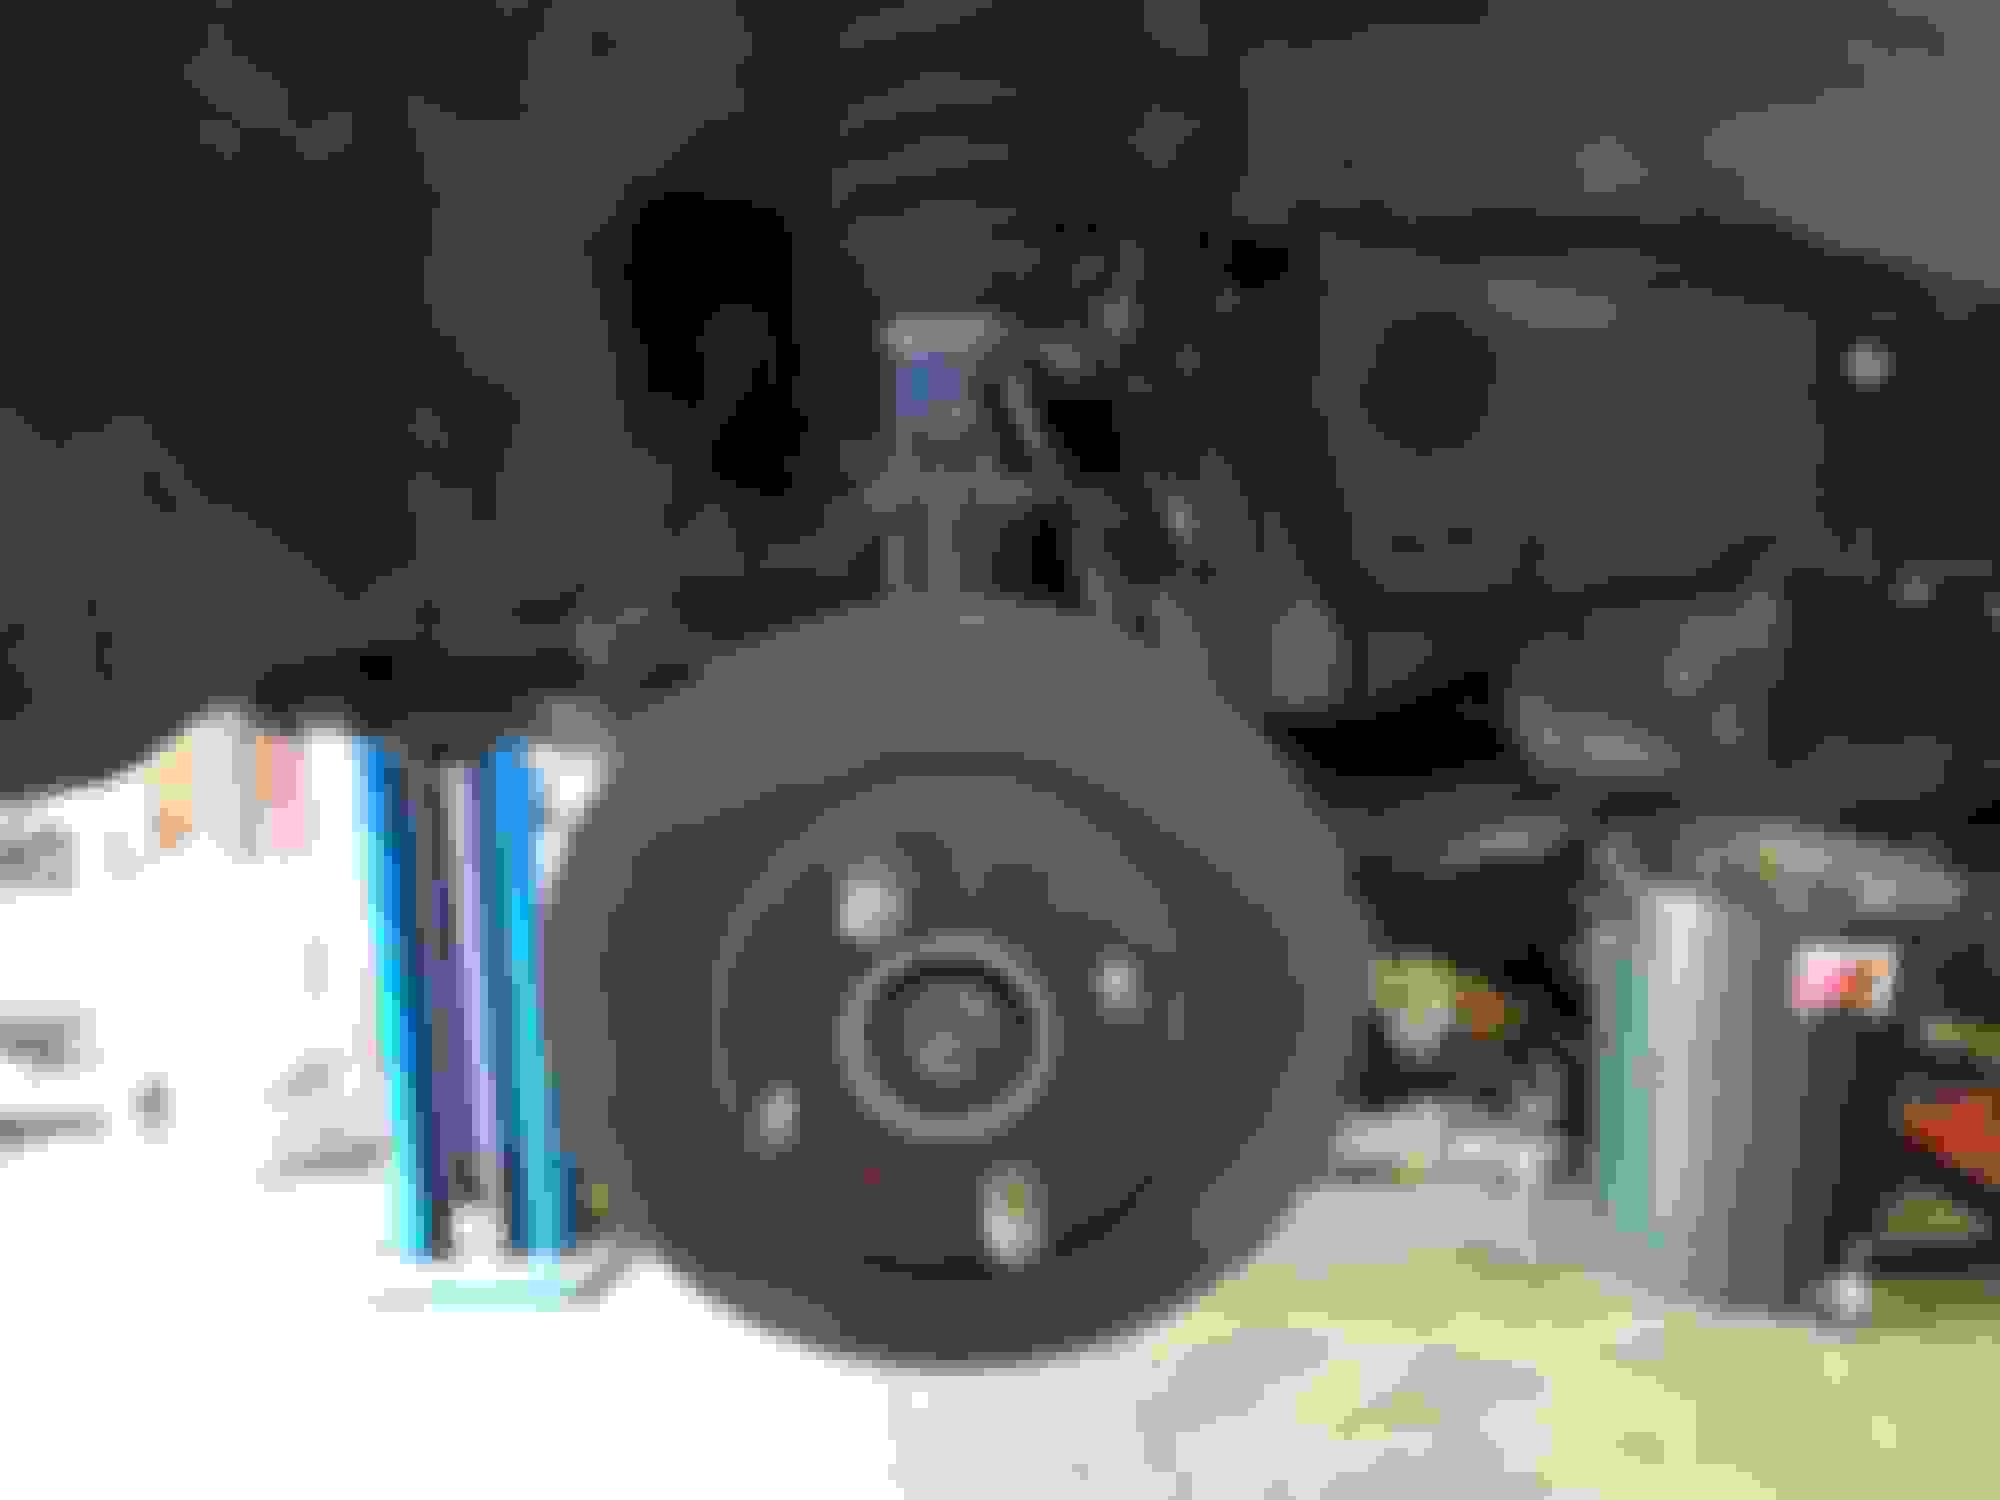
Also, the Wilwoods are fantastic.
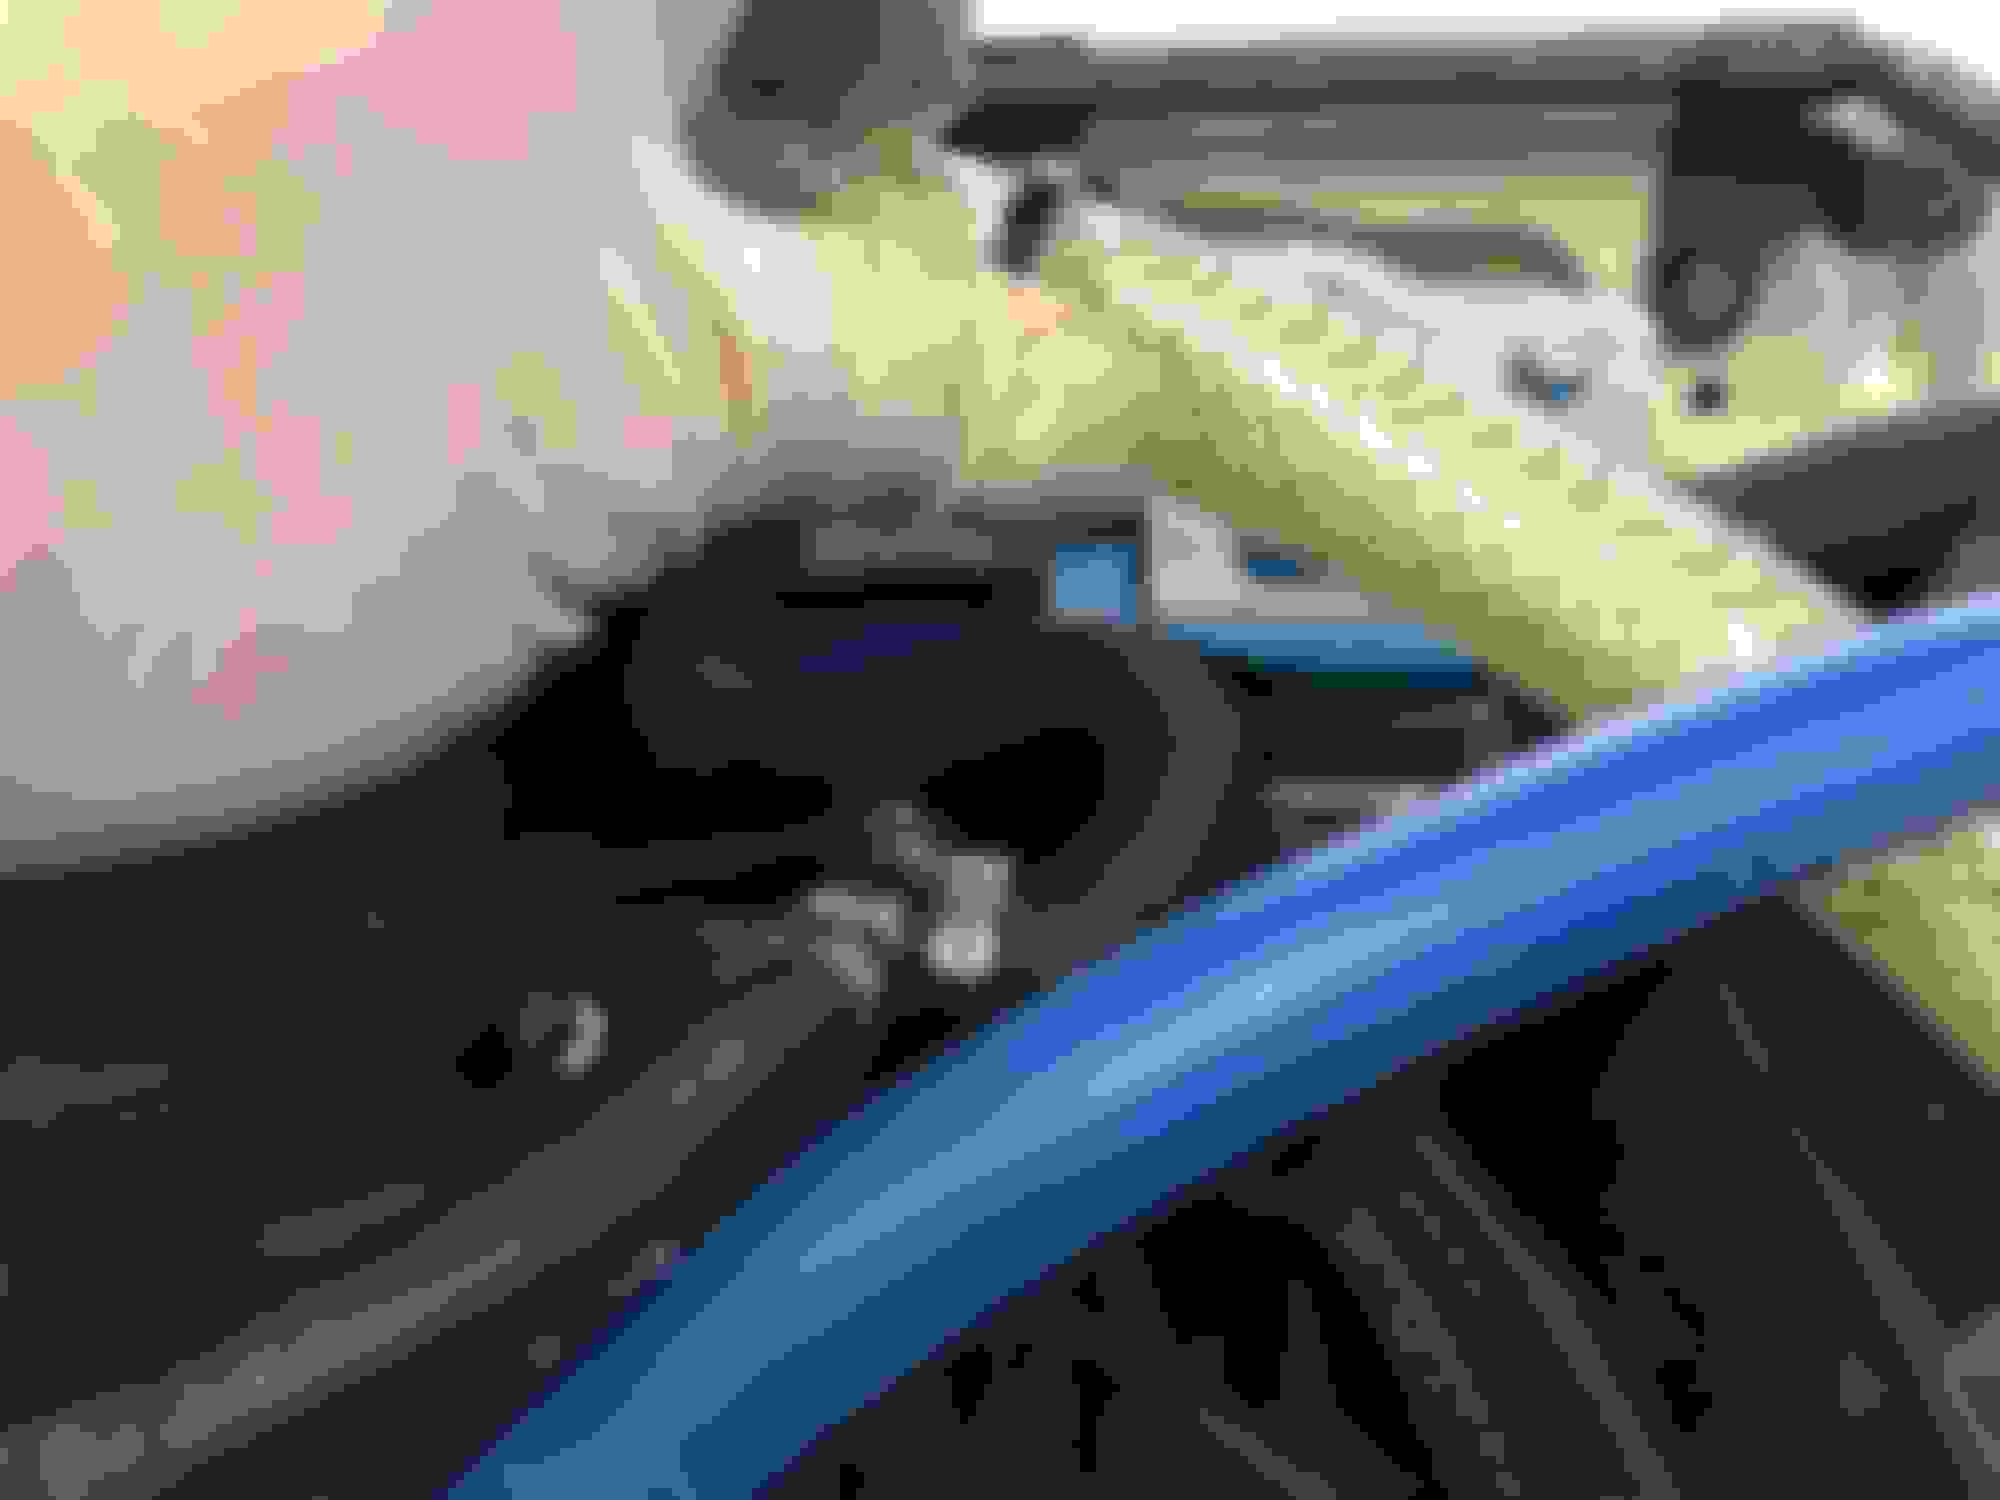
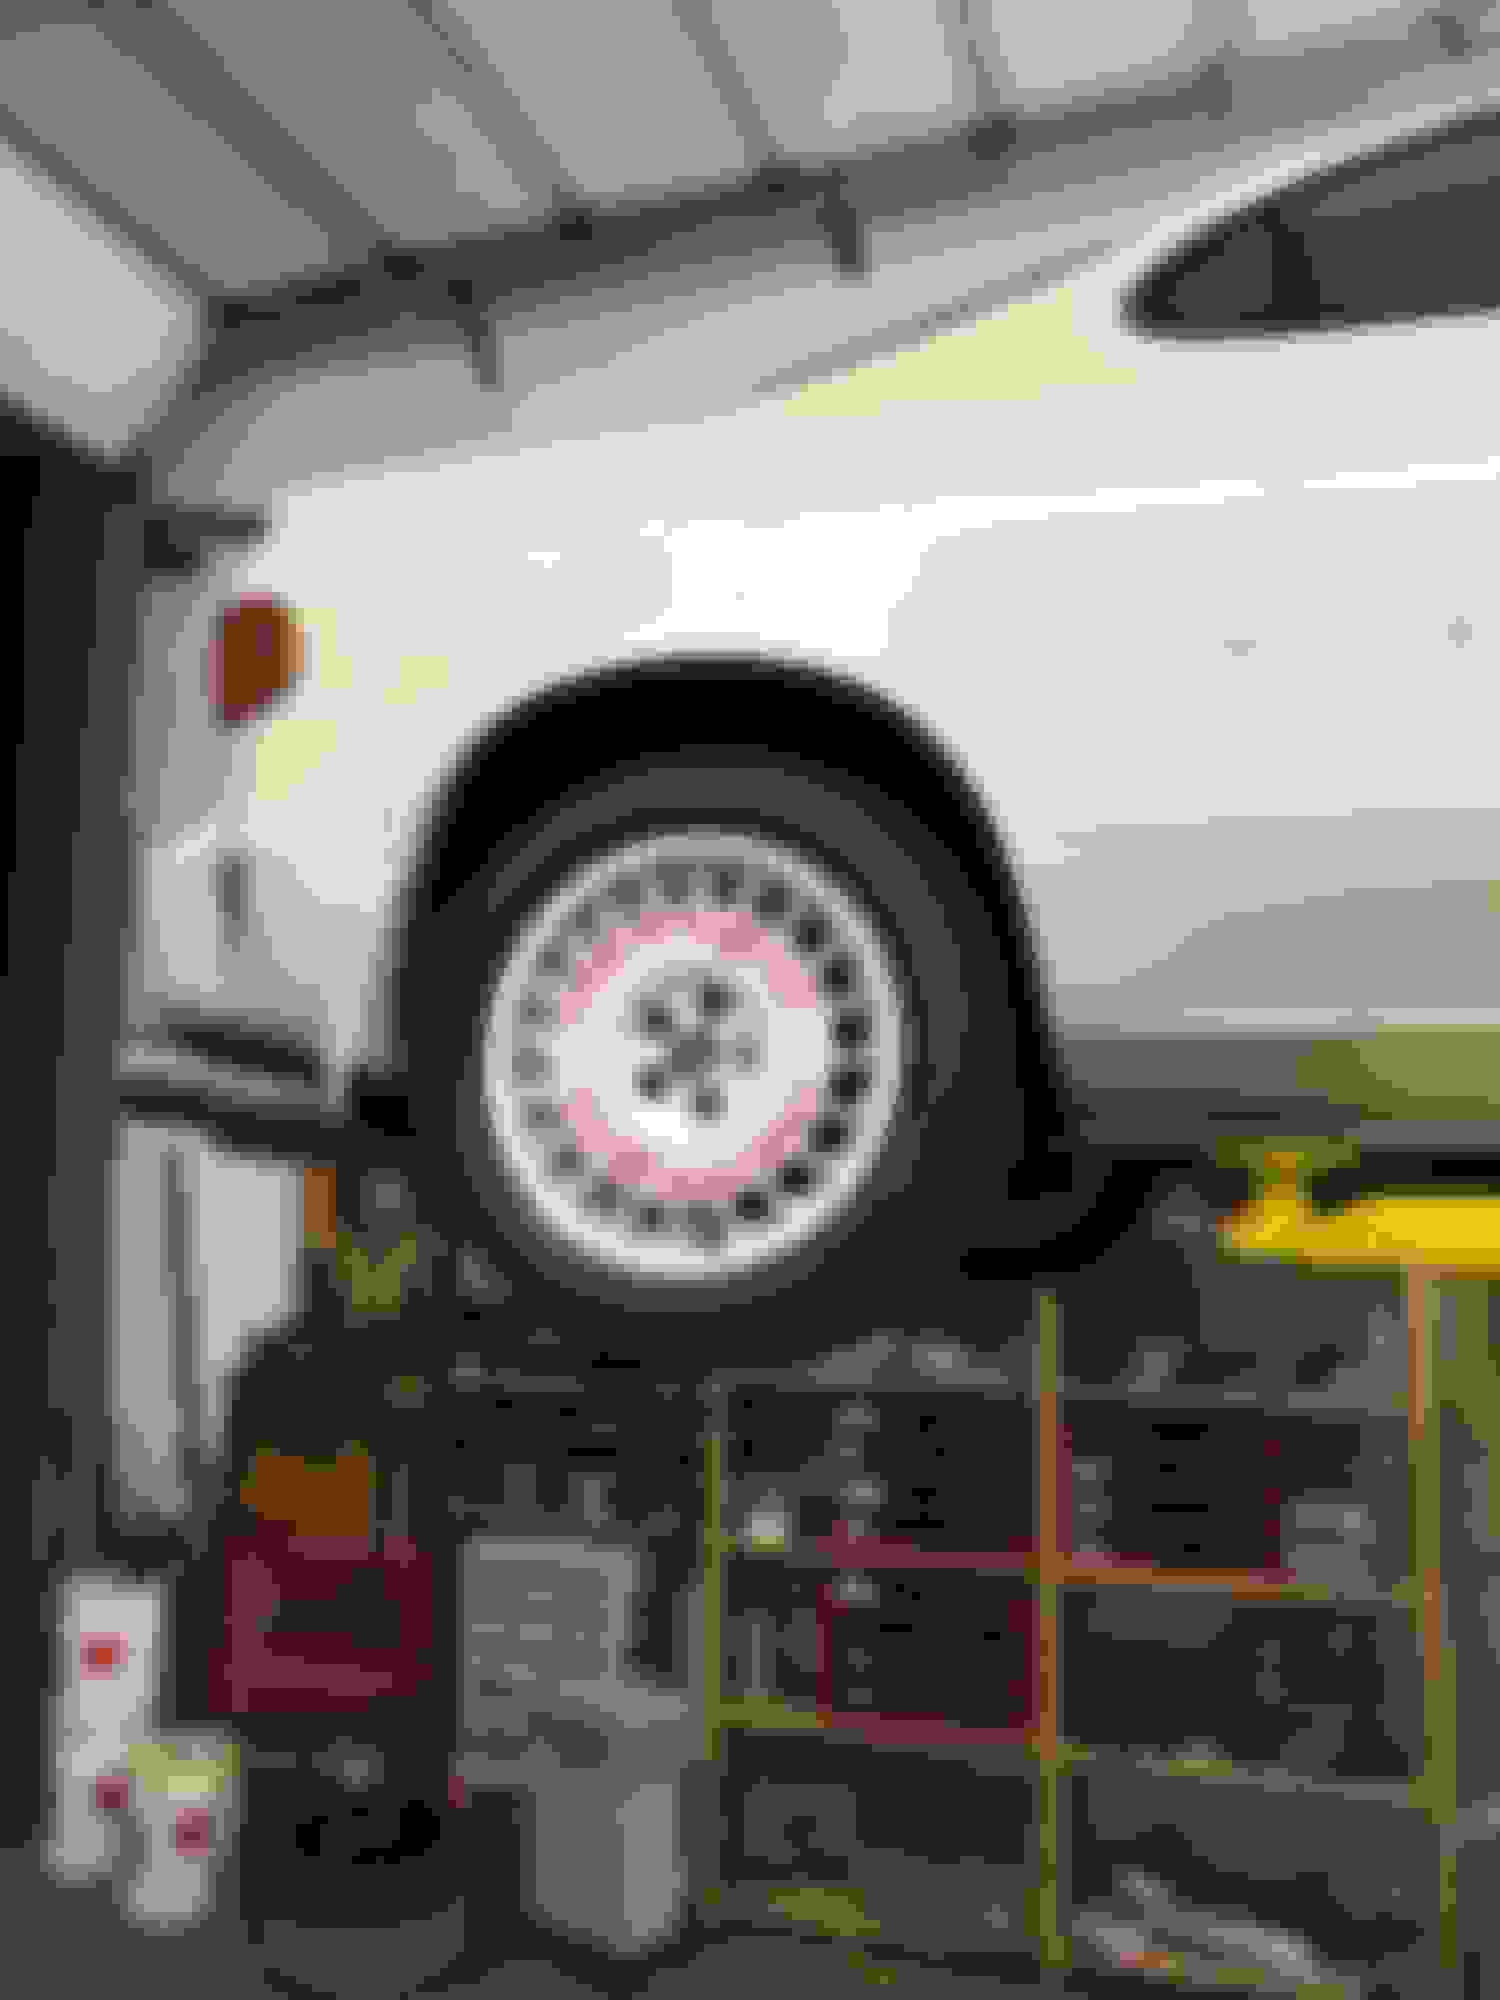
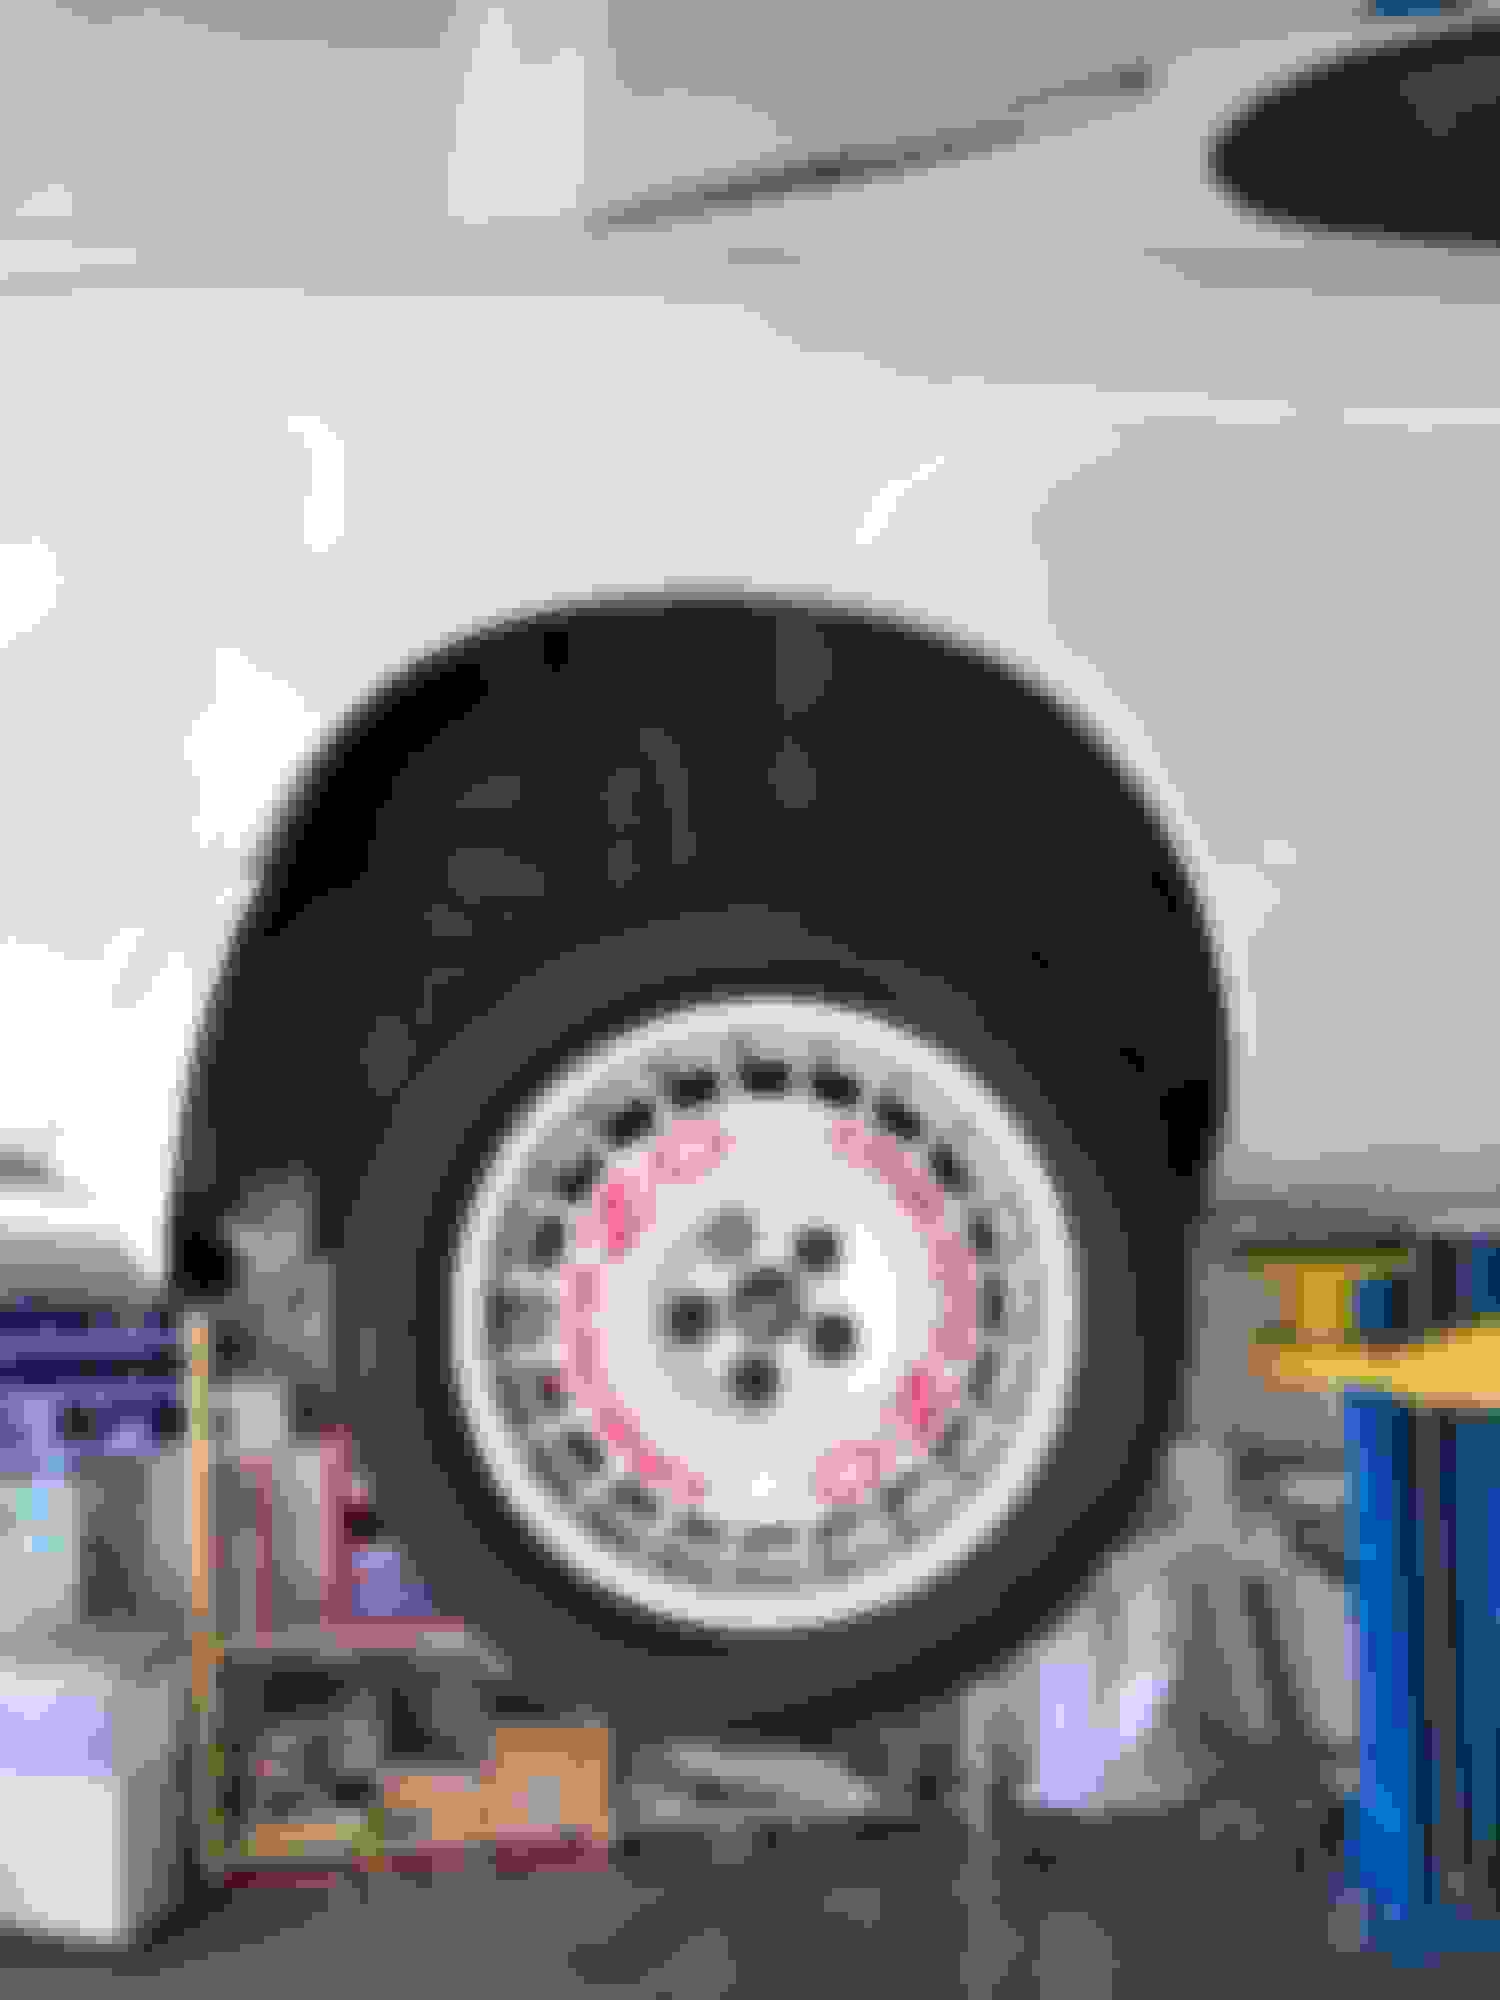
Trailing arms and swaybar end links:
Brakes after about 50 miles:
I'm just gonna leave this on the passenger seat when I park...
Again, super awesome update here. Is the MX3 trailing arm an upgrade, or just a good OE replacement?
Those brakes are insanely sexy.
It's both, honestly. The arms are absolutely stiffer, and the bushings are available aftermarket as poly or rubber, but they also flex less than the GTX ones. Which changes the passive rear steer of the SSS rear suspension, but in a good way. And they are available and cheap. They even come with factory rubber coating around the rear bushing, which I pretend is to protect against rock damage.
Don't want to muddy up your thread, but I figure everyone that's here on MT.net and loves these is looking at this thread...
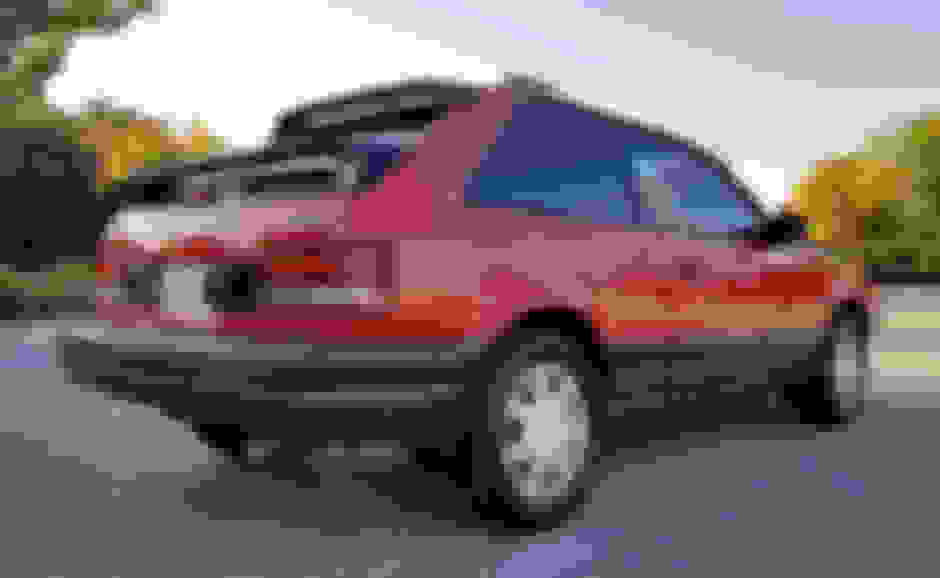
This is the cleanest one I've seen for sale in a while... wish I was in a position to jump on it! $3323 with 4 days left. Bet it'll bring a bit more than that...
As I wait for things to show up and to get some free time, I've done some small things.
First, I got sick of the closed loop boost control and set it to open loop; now it is much more consistent.
I finally got all the interior lights to work. Before the HVAC and center diff lock lights didn't work, so they were very dark. Now I can actually use the heater controls at night!
I removed and cleaned the headlight switch which would occasionally turn the headlights off when you flicked the high beams on.
I built some block off plates for the air dam and underside, with the added effect of funneling air into the filter.
I greased the window tracks, cleaned and oiled the air filter, cleaned a turn signal socket, and have been refining the tune.
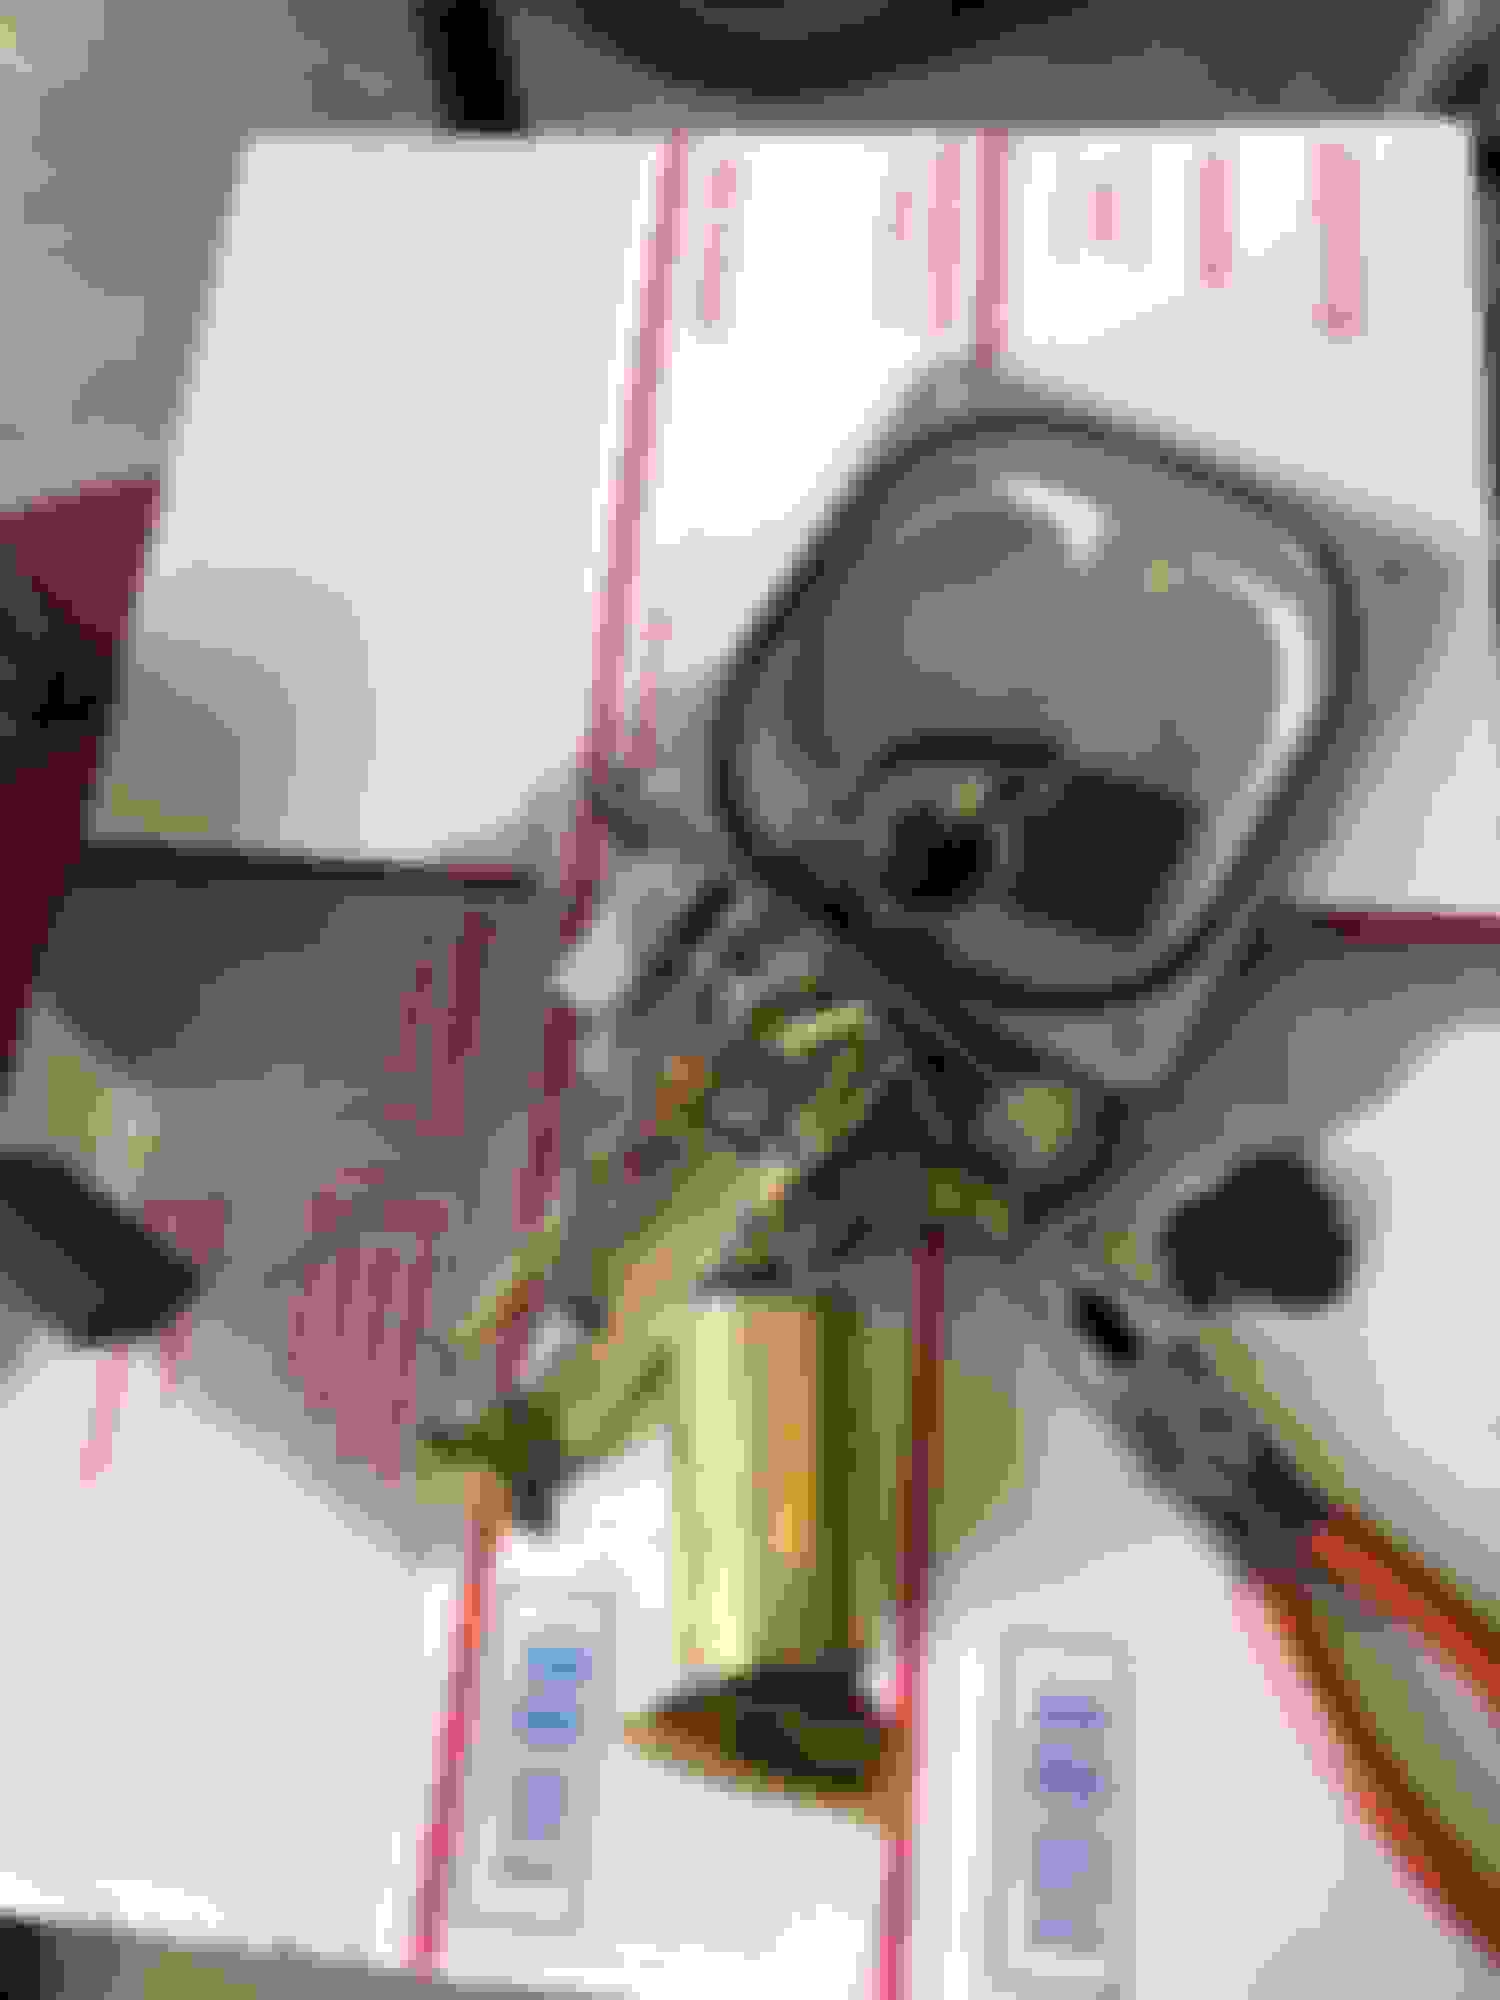
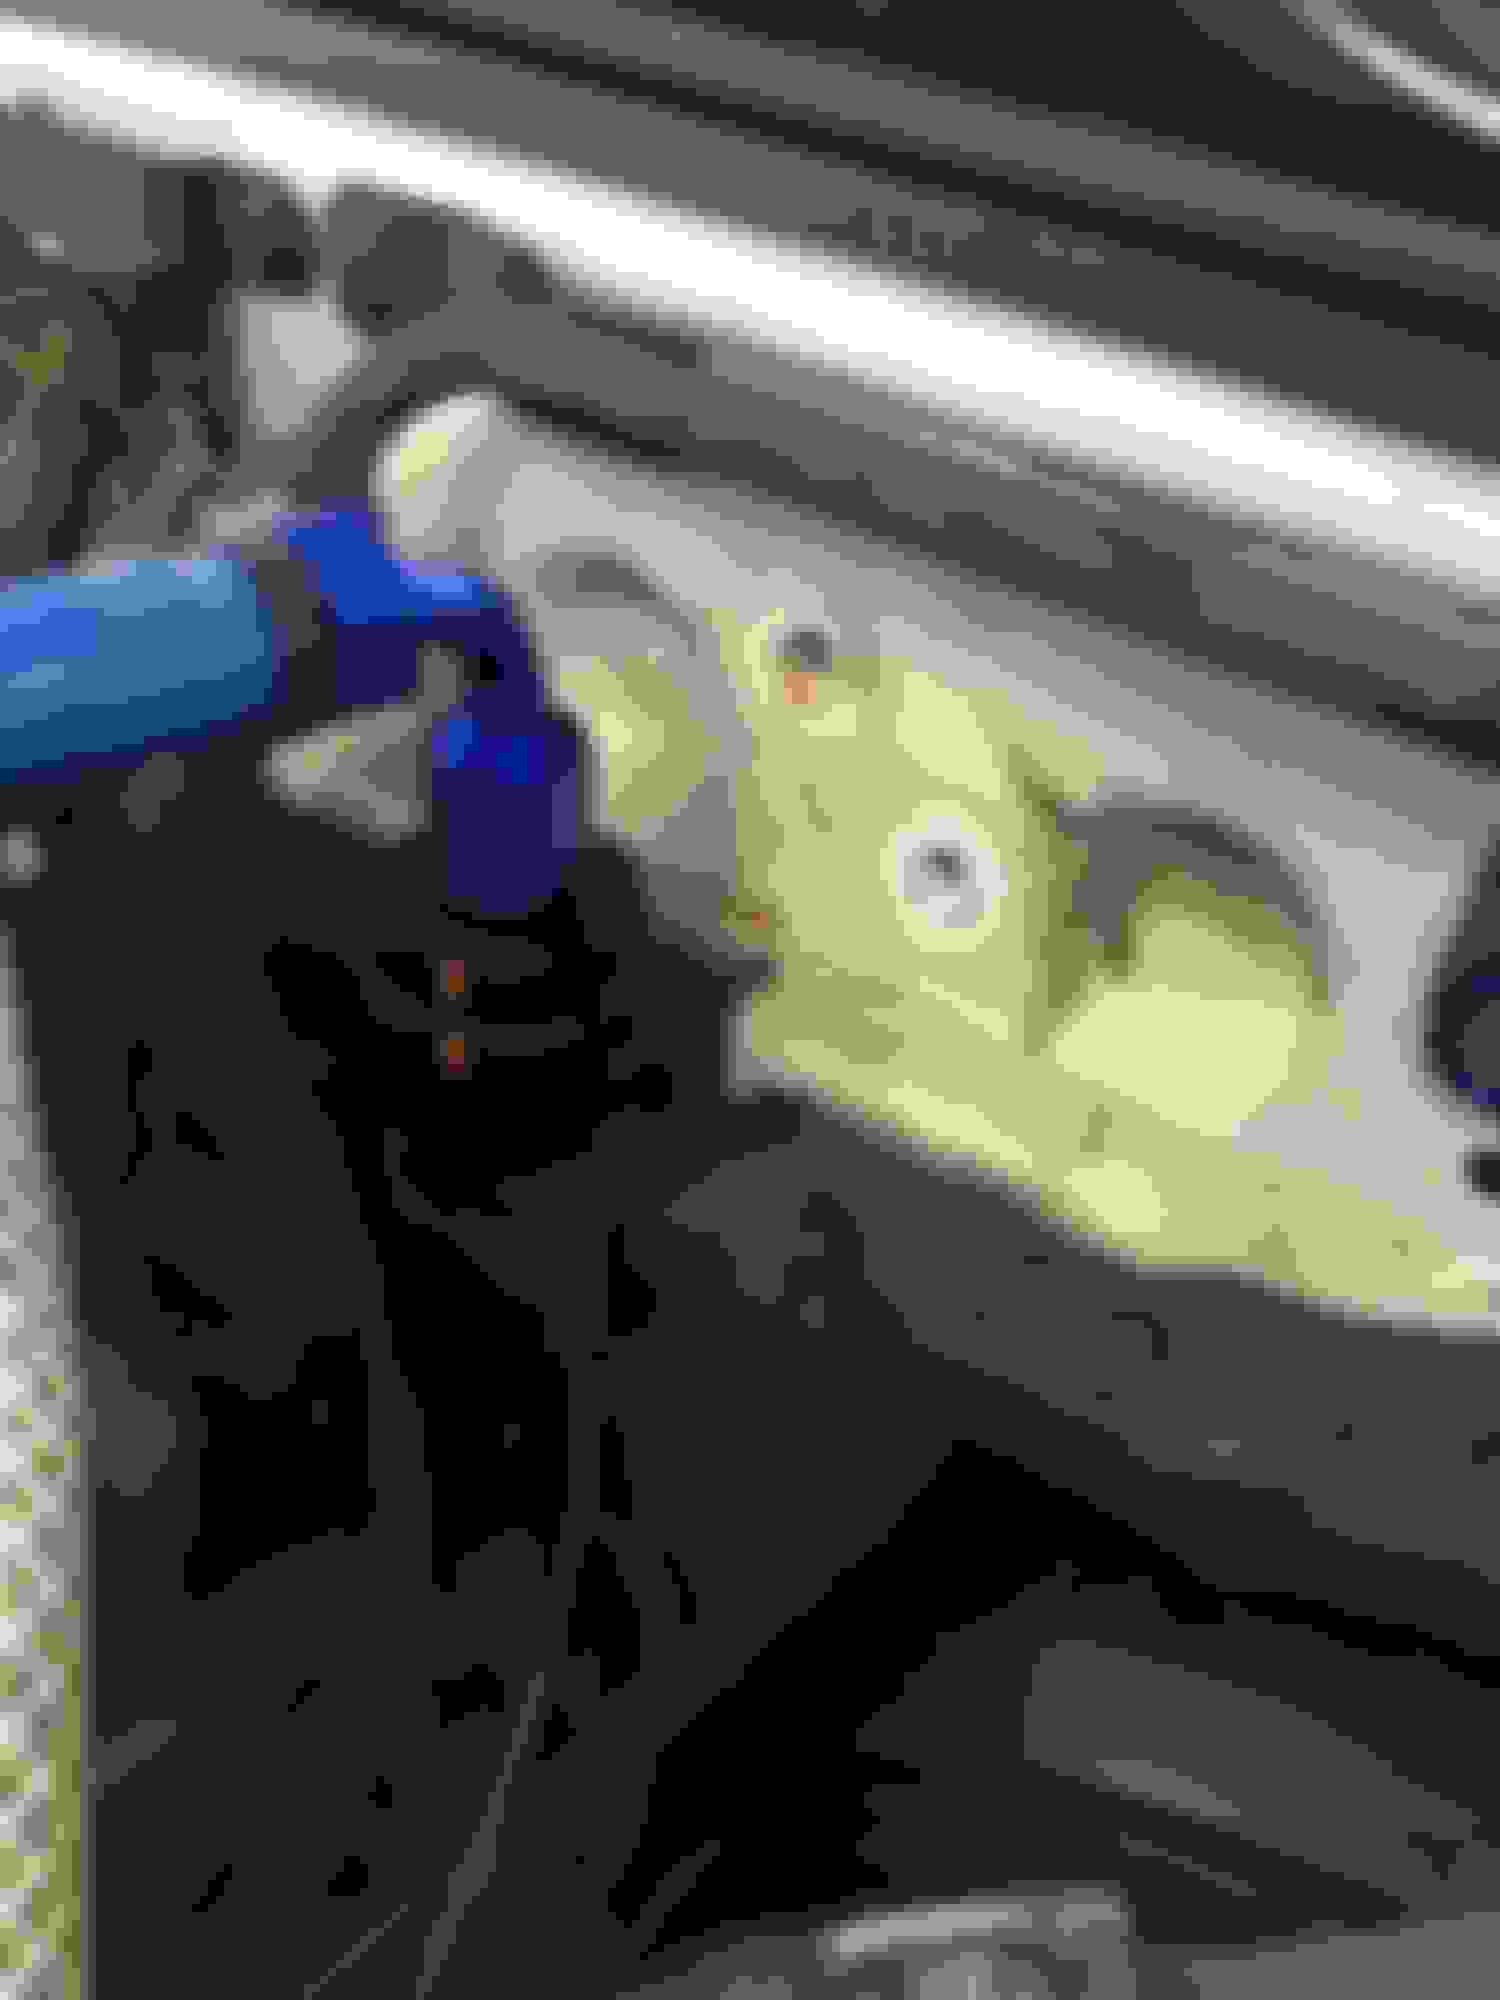
And then I added a new fuel filter to replace the "doesn't quite fit right" aftermarket filters. I used twist-Lok hose and an XRP 10 micron filter assembly.
Also practicing TIG welding a lot before I build a skid plate out of aluminum to replace the factory steel pieces.
Here's the filter, installed:
Suspension is supposed to have been shipped today. We will see when I get back form a trip. I'll also get some pictures of the all the blanking/shroud plates I've been making out of 1/4 UHMWPE.
Last edited by Toiyabe; 10-03-2018 at 01:47 AM.
Reason: Numbers are hard.
So I got a lot done here, and the car will go into the body shop Thursday to get a few small patches of rust sorted and a few dents. At that point, other than minor tuning it is done. And it is FANTASTIC.
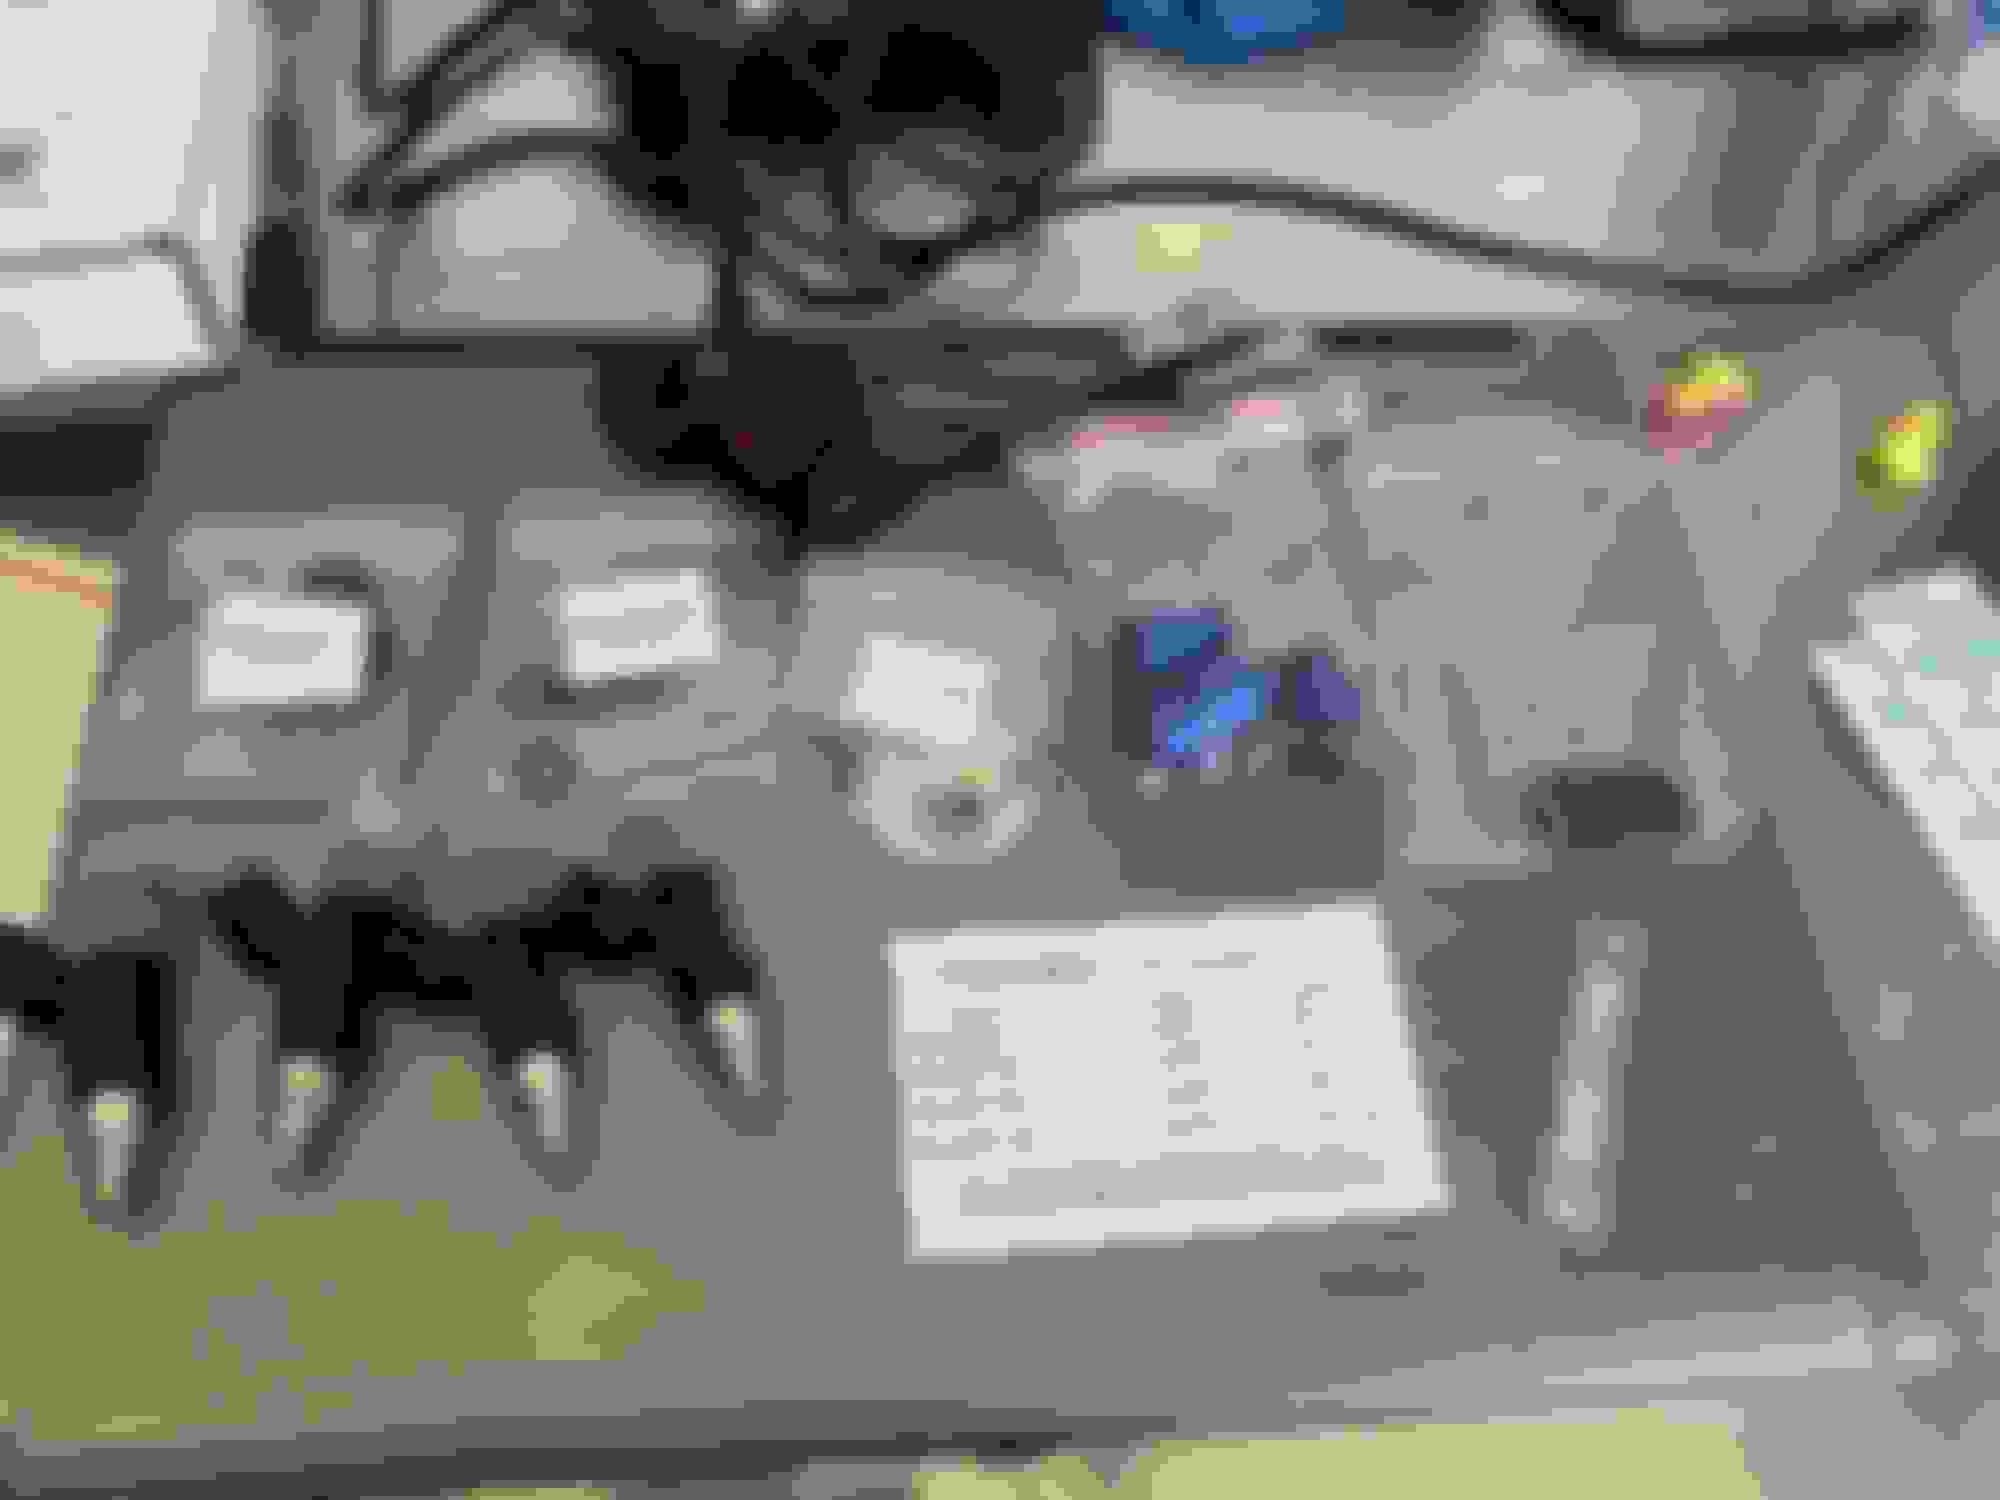
First, and this part is great, I listened to the smart people on here and purchased a set of Flowforce 630cc injectors to replace my eBay "Guaranteed Genuine!!!!" RX8 450cc yellows. I had some reasons to believe they weren't genuine (like the price) and the fact that I was getting subtly different spark plug colors, a rich misfire on one cylinder occasionally when cold, and a nasty lumpy power band. I figured it was worth a try, but didn't expect much.
I was totally wrong.
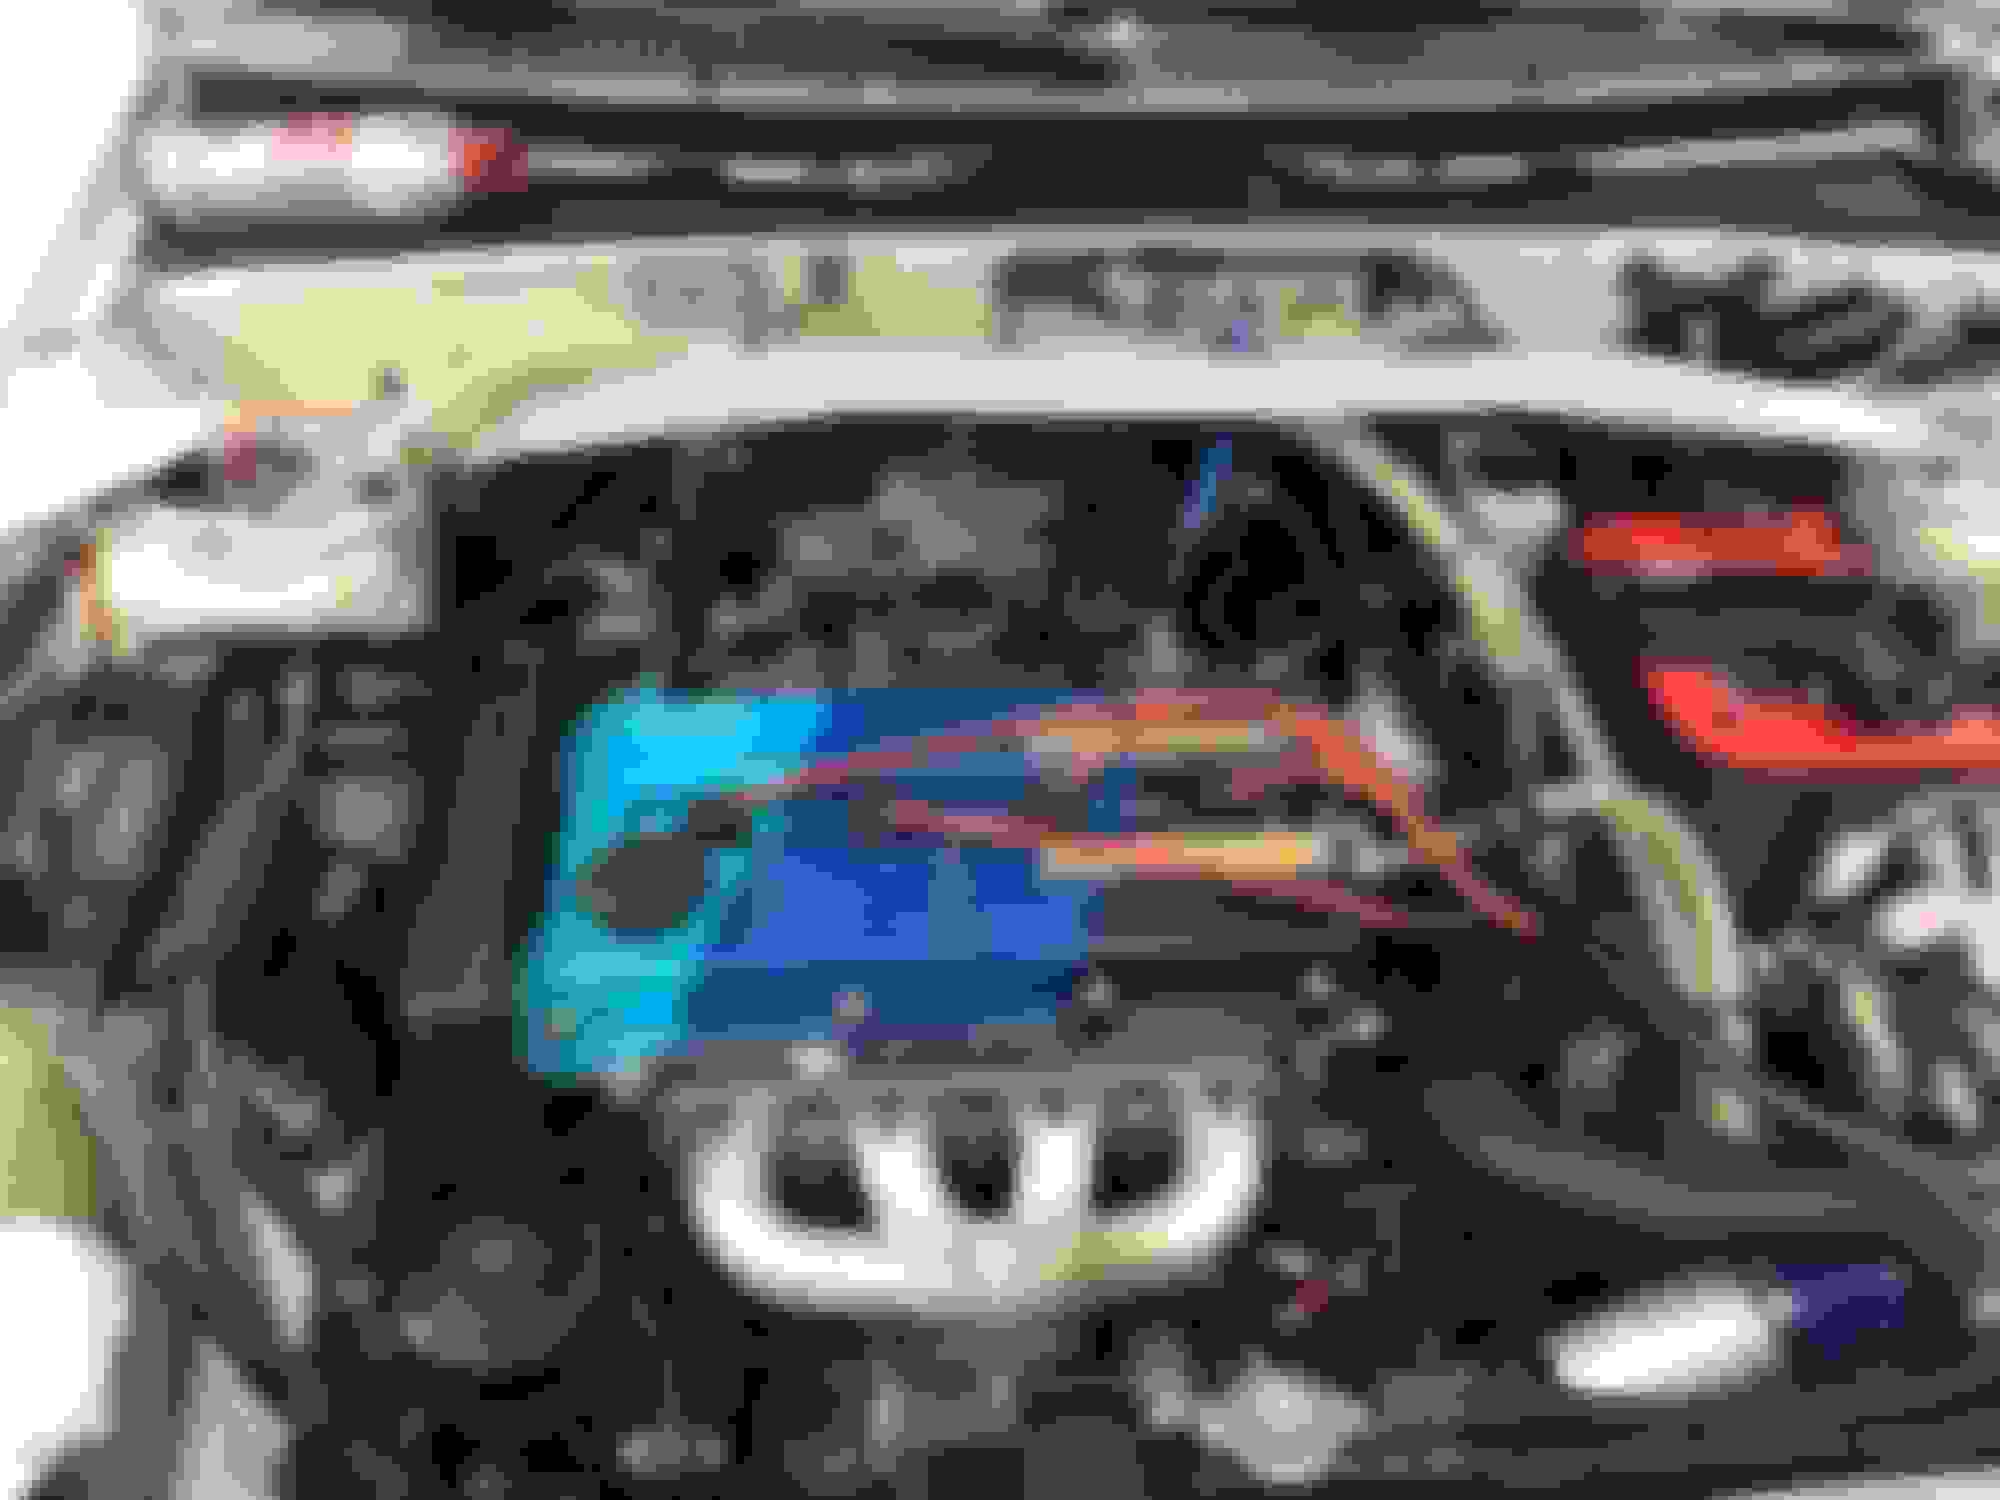
I installed the injectors and wired in the new plugs, and started trying to get the car to run with a new required fuel of 5.0. I had to increase all my VE cells by 20, and set the proper dead time and voltage offset, but it started to work ok. Then I took it out and attuned for about 4 hours... and it is absolutely amazing. Way smoother power, way faster throttle response, no lumps or peaks, more consistent AFRs especially at full boost (1.15bar), more stable idle, everything. Looking at my DC I am exactly where I wanted to be for power. The only downside is they are noisy, especially at idle. Much win.
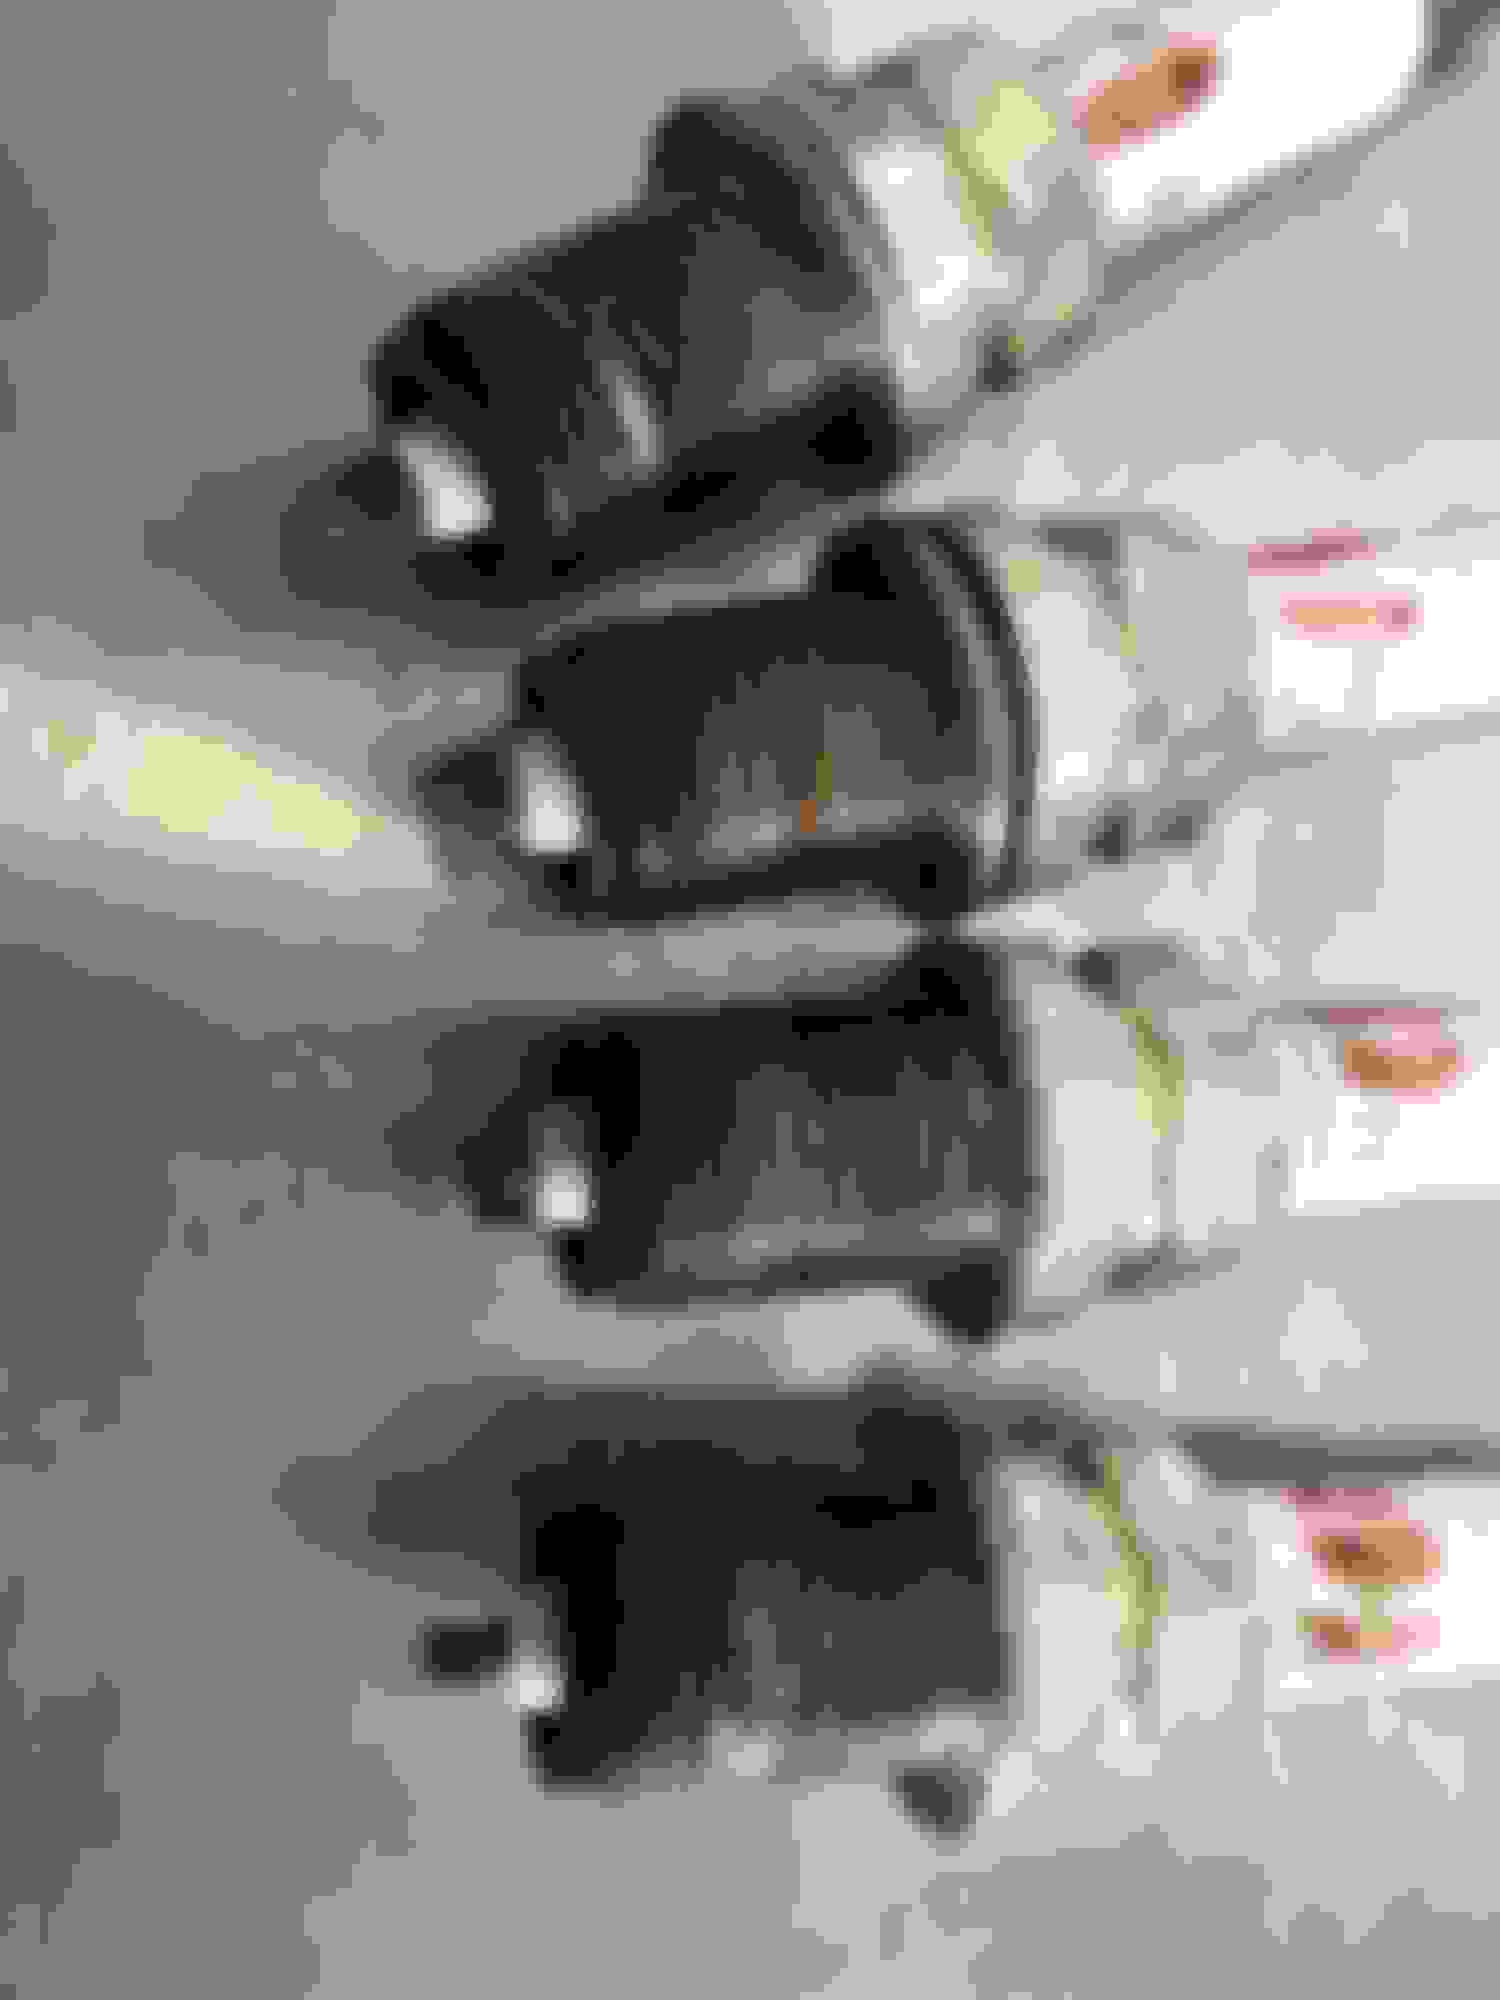
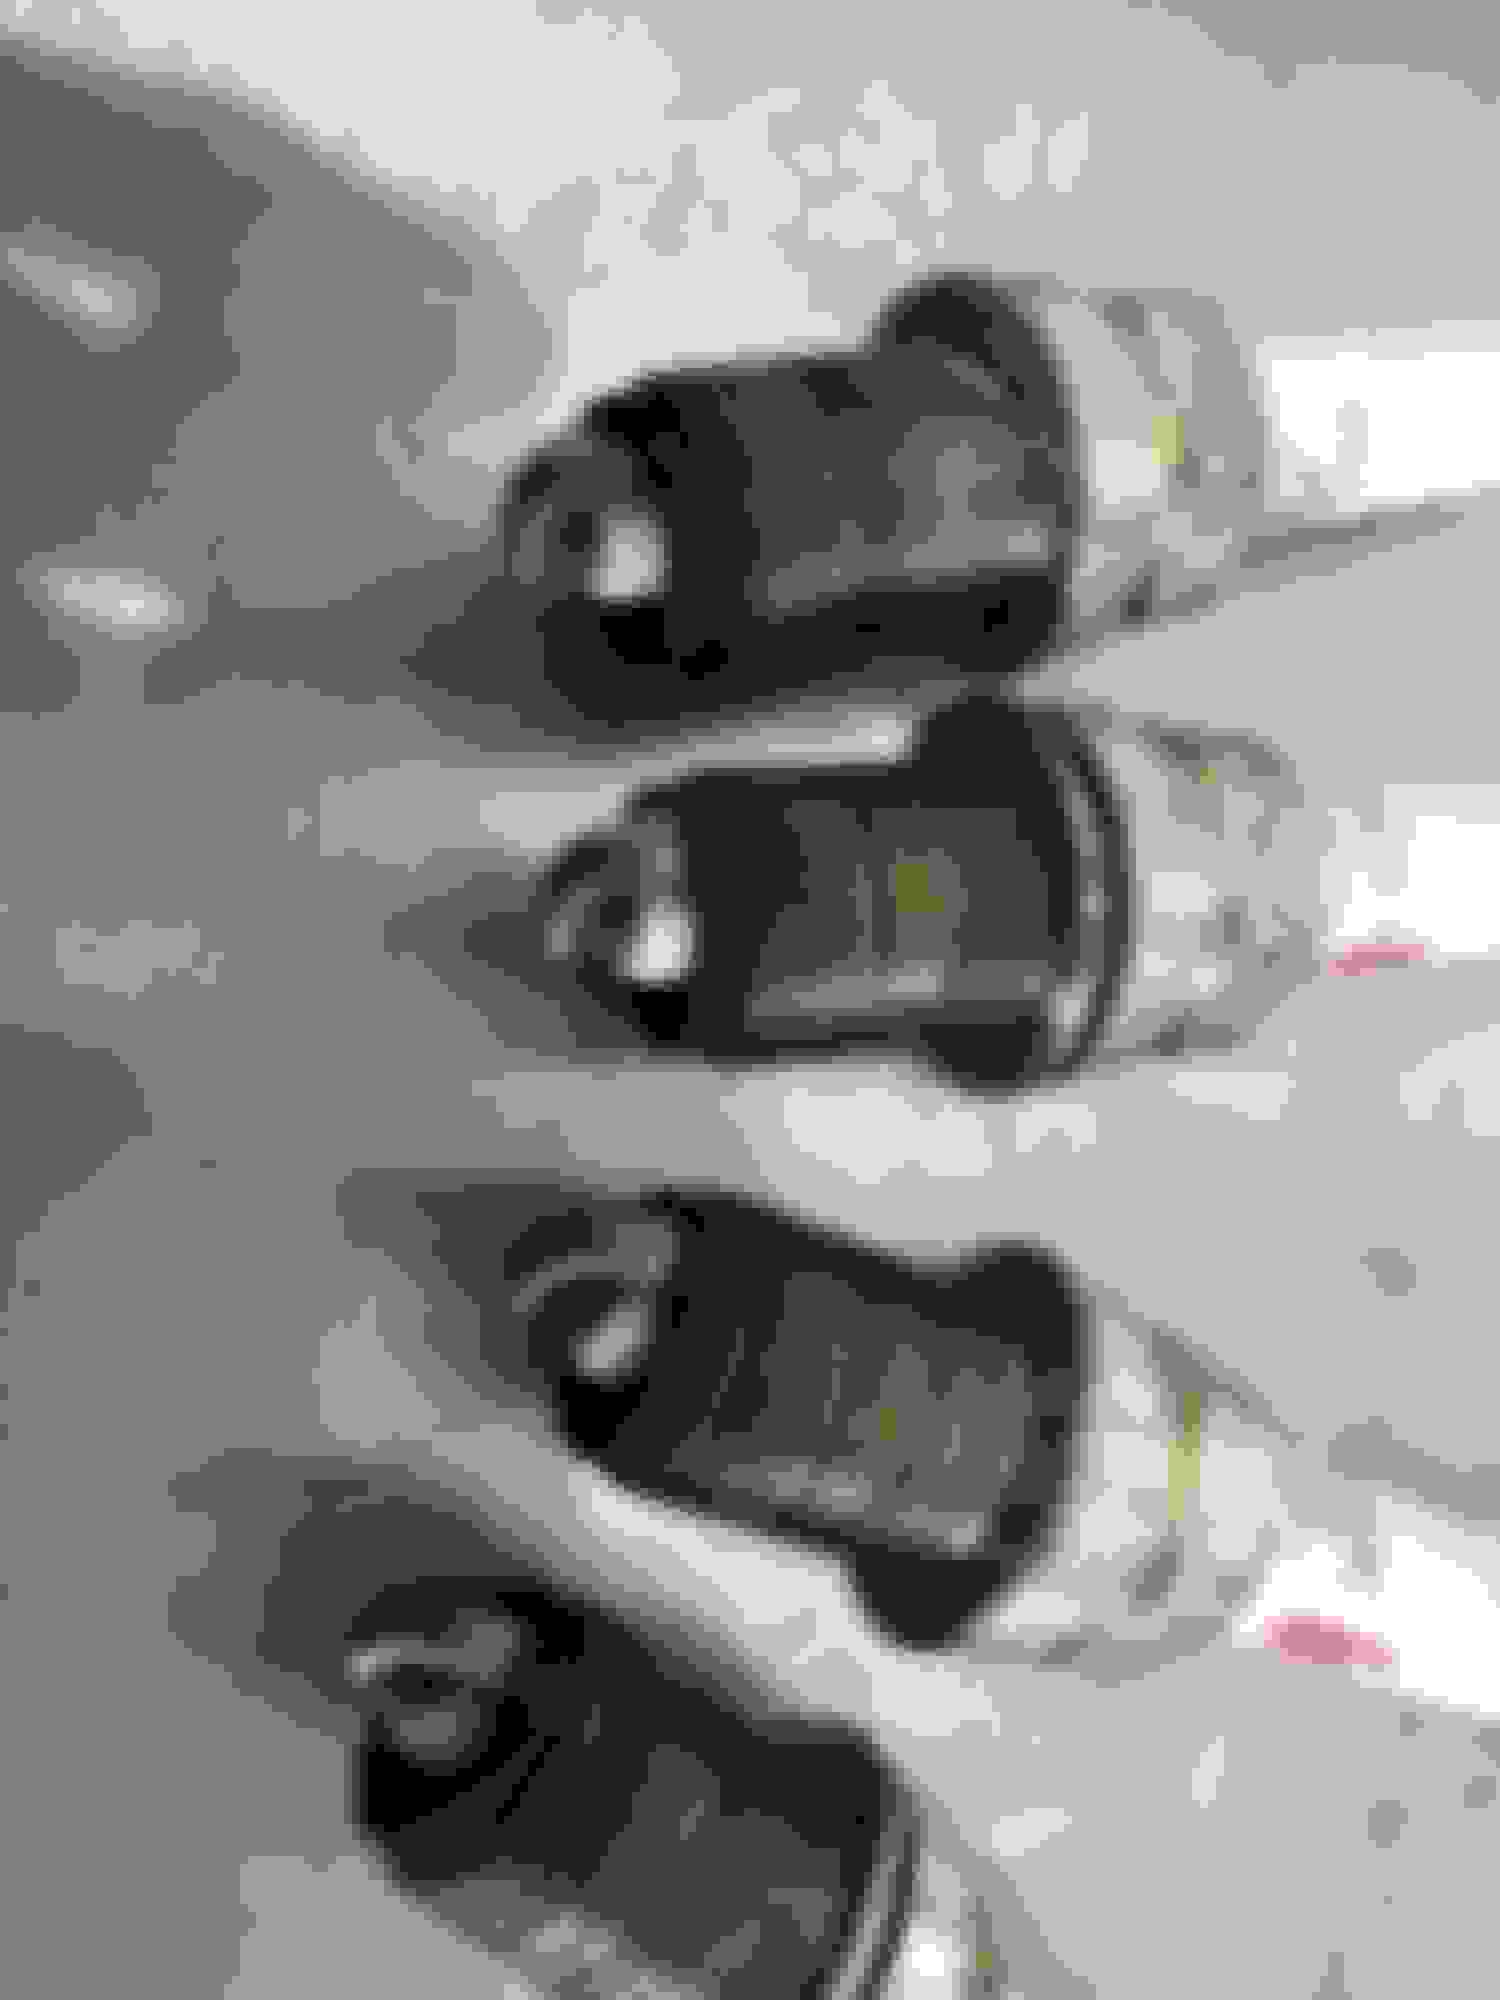
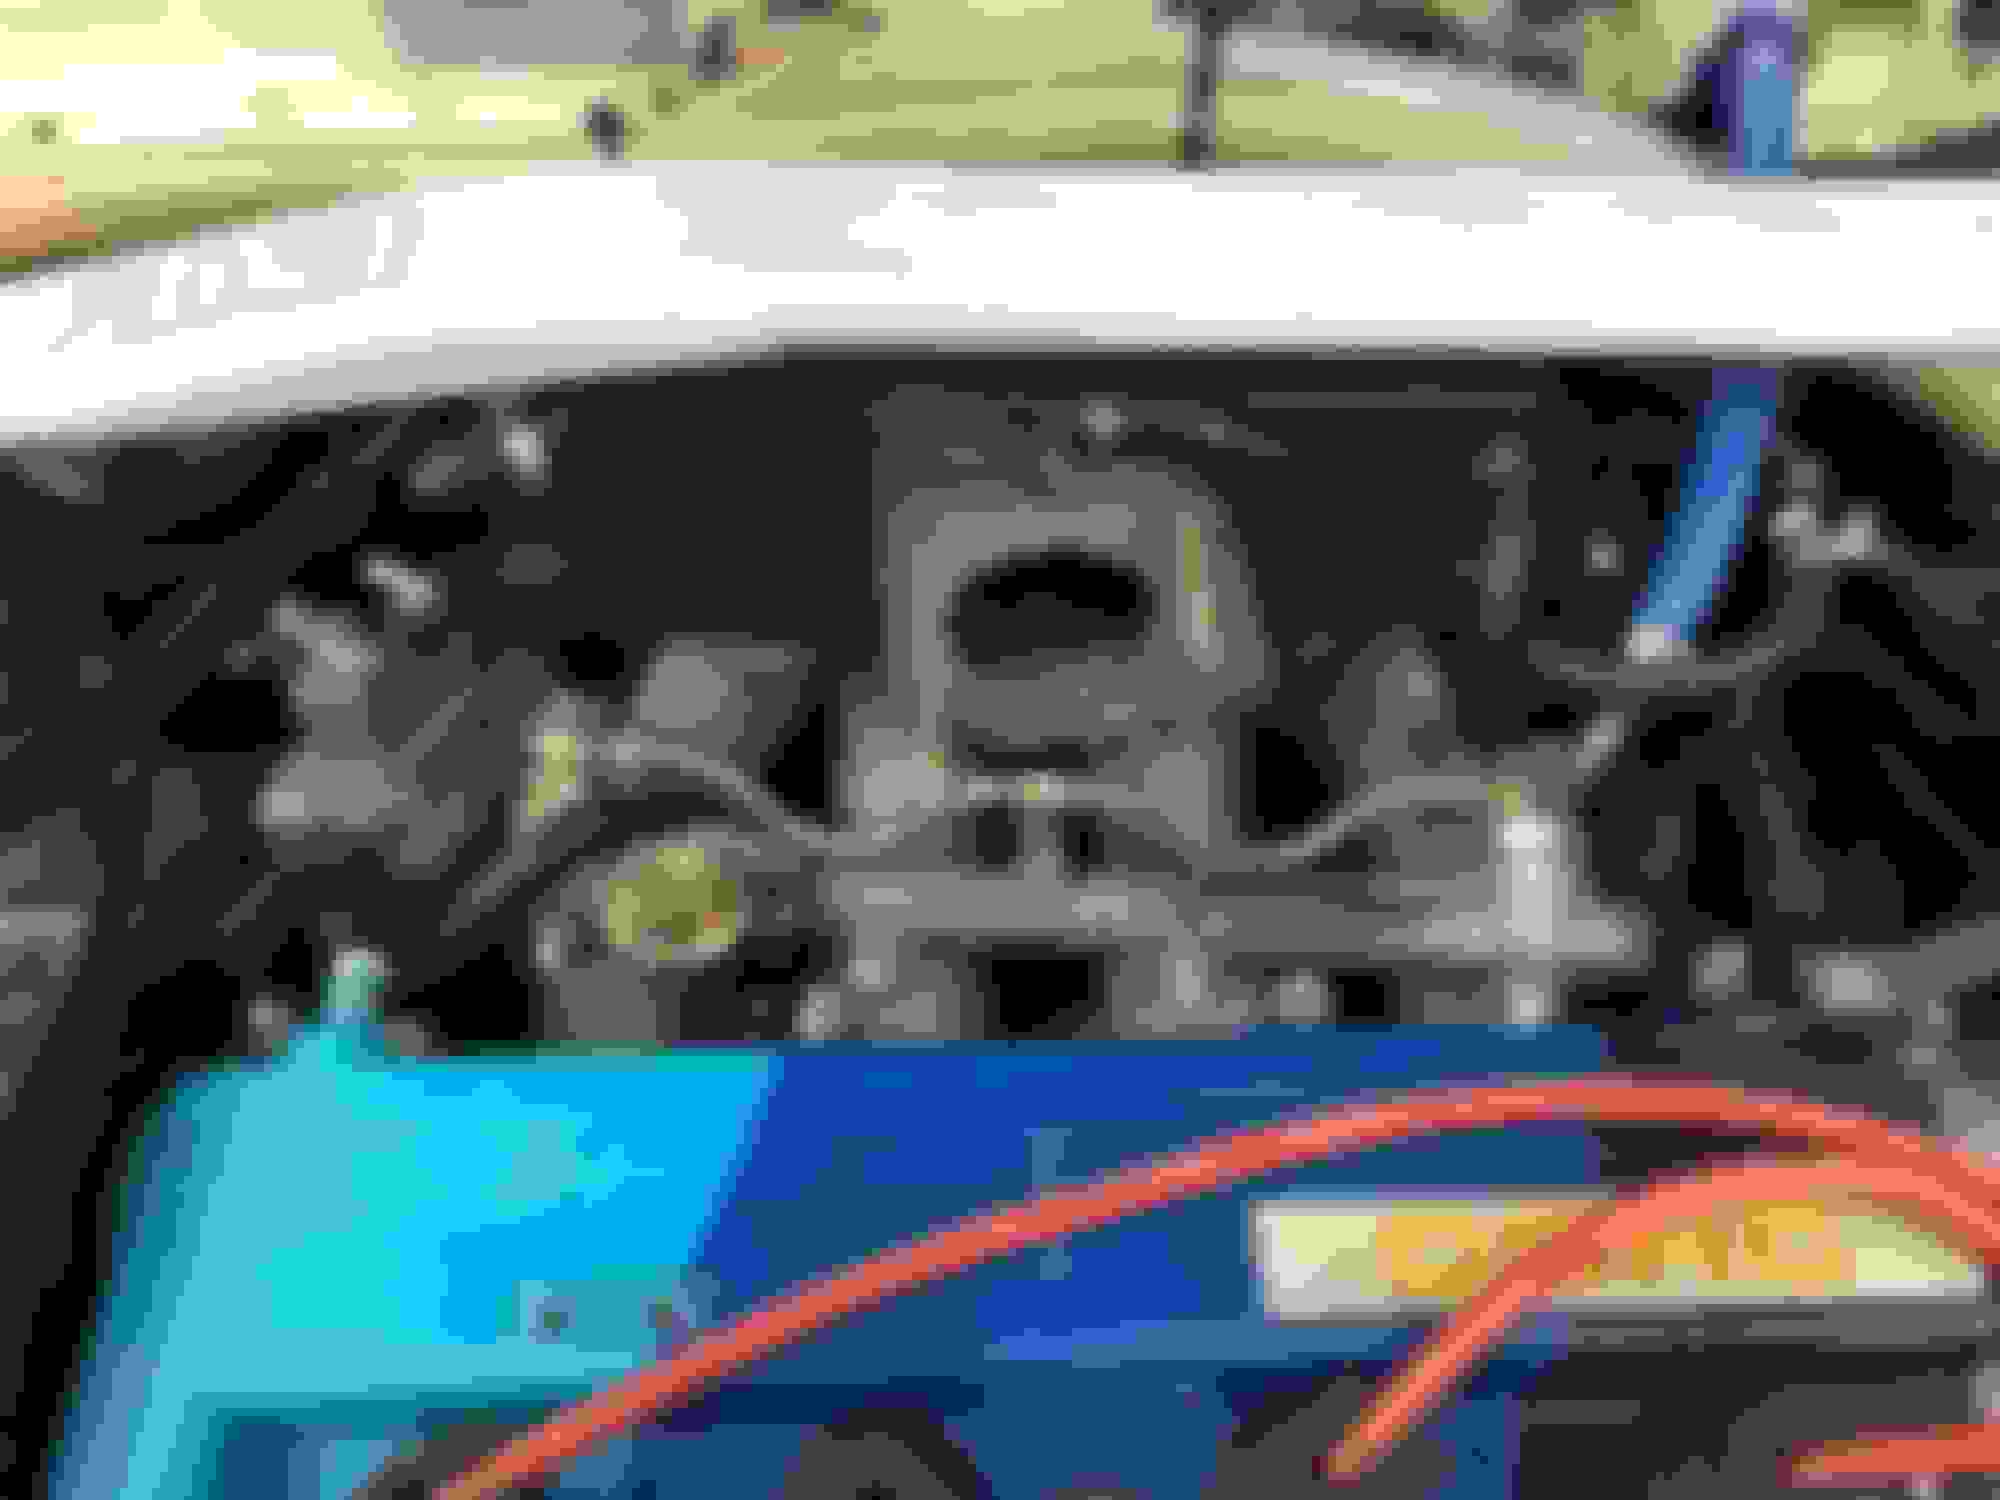
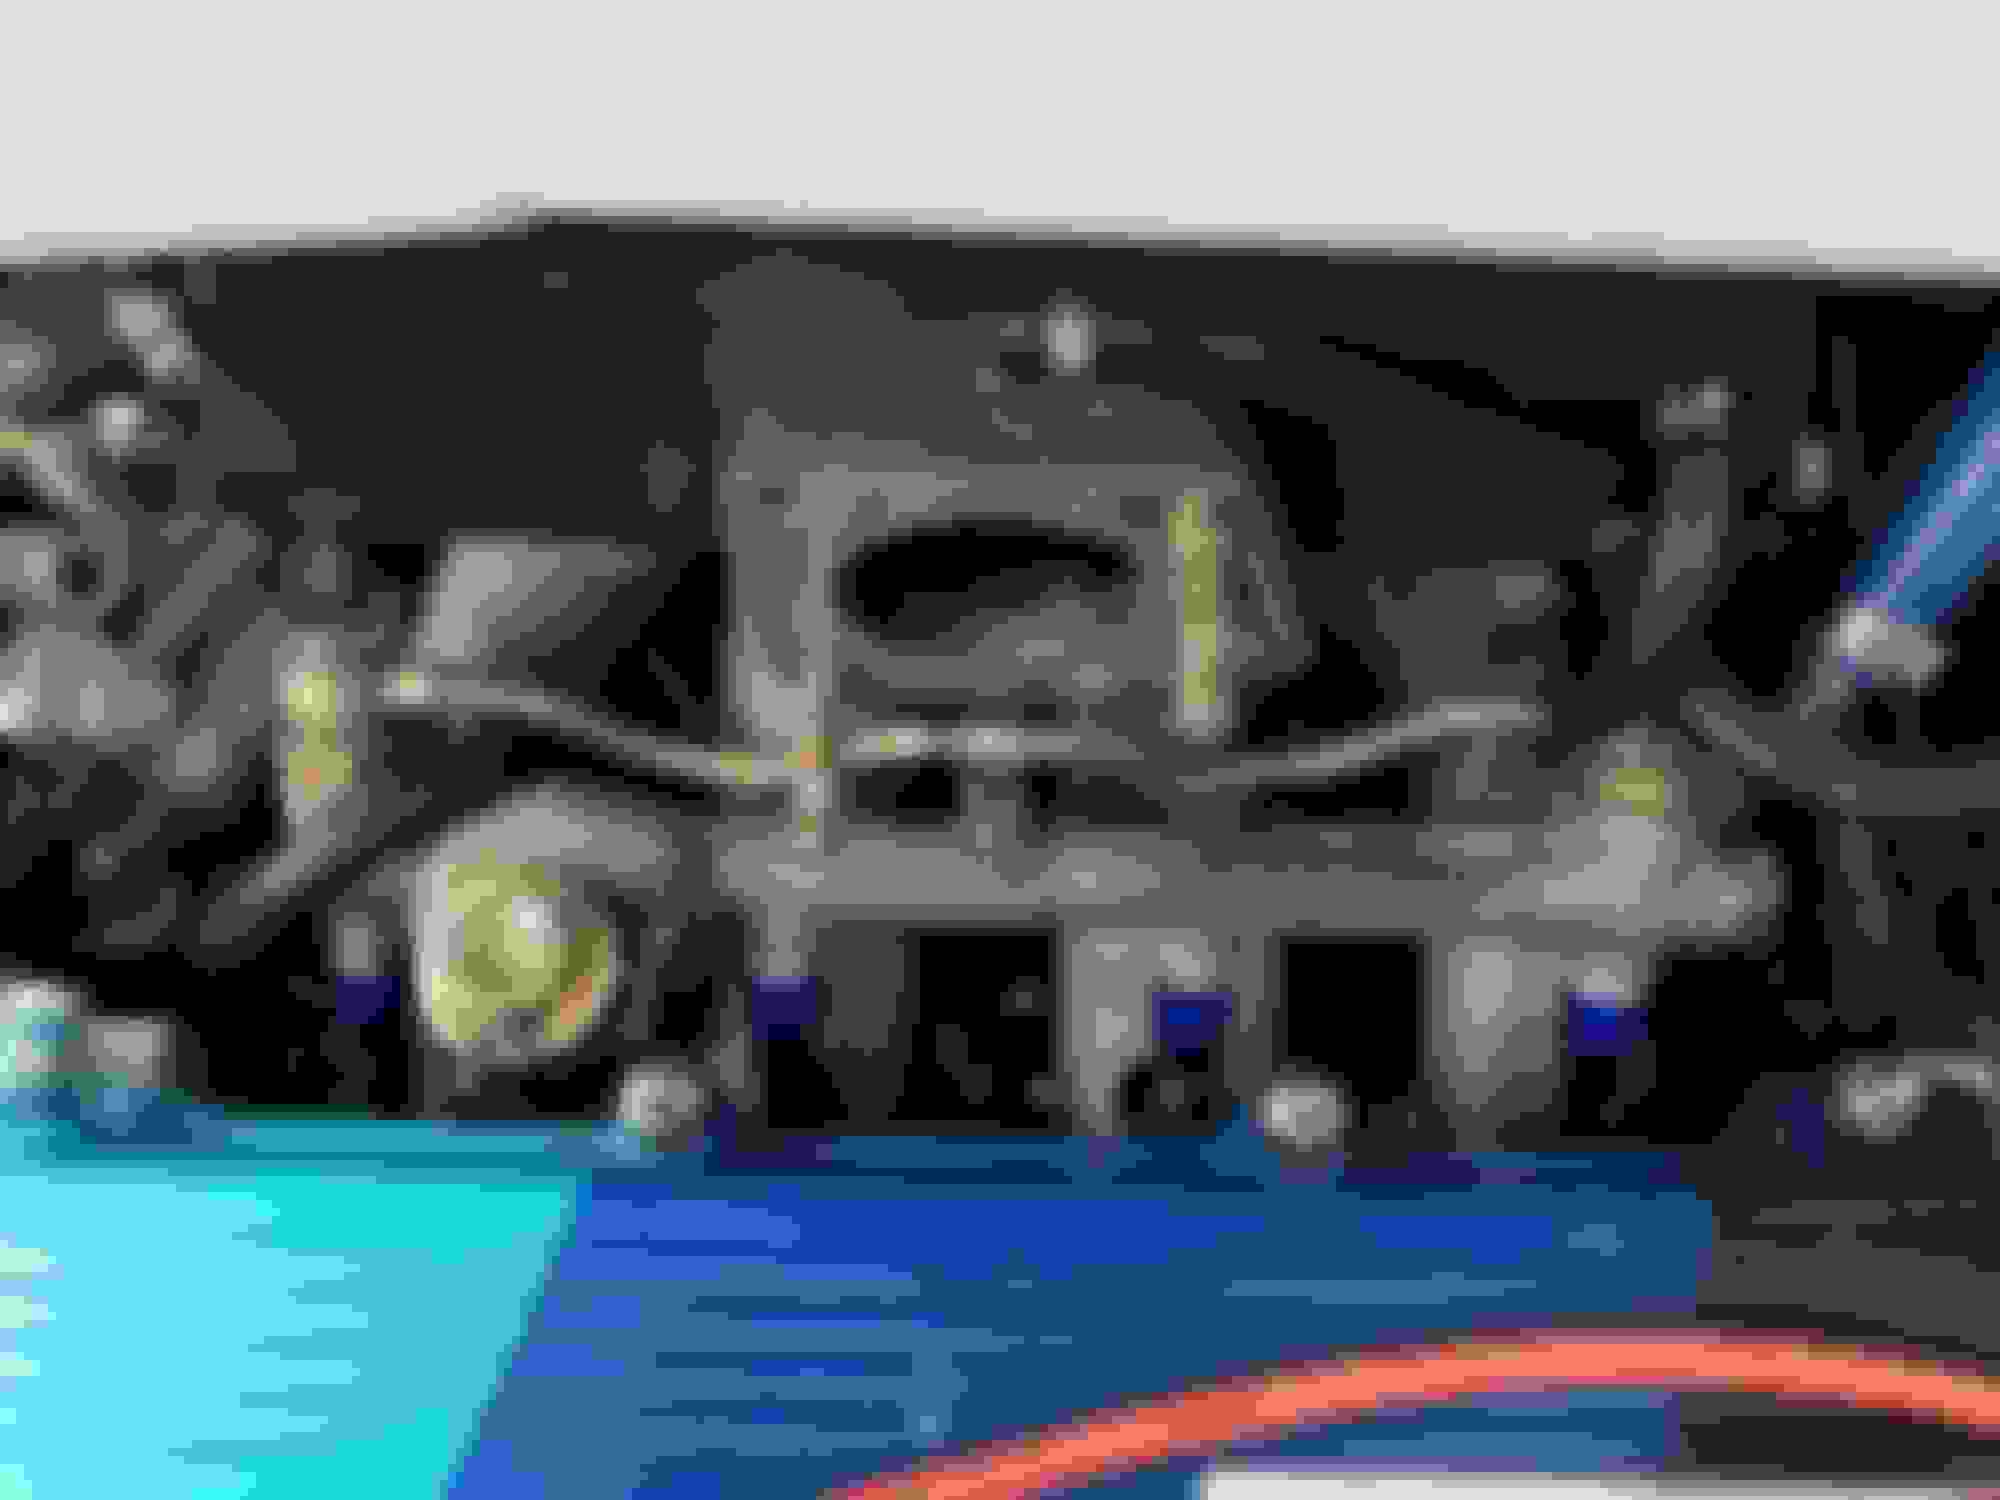
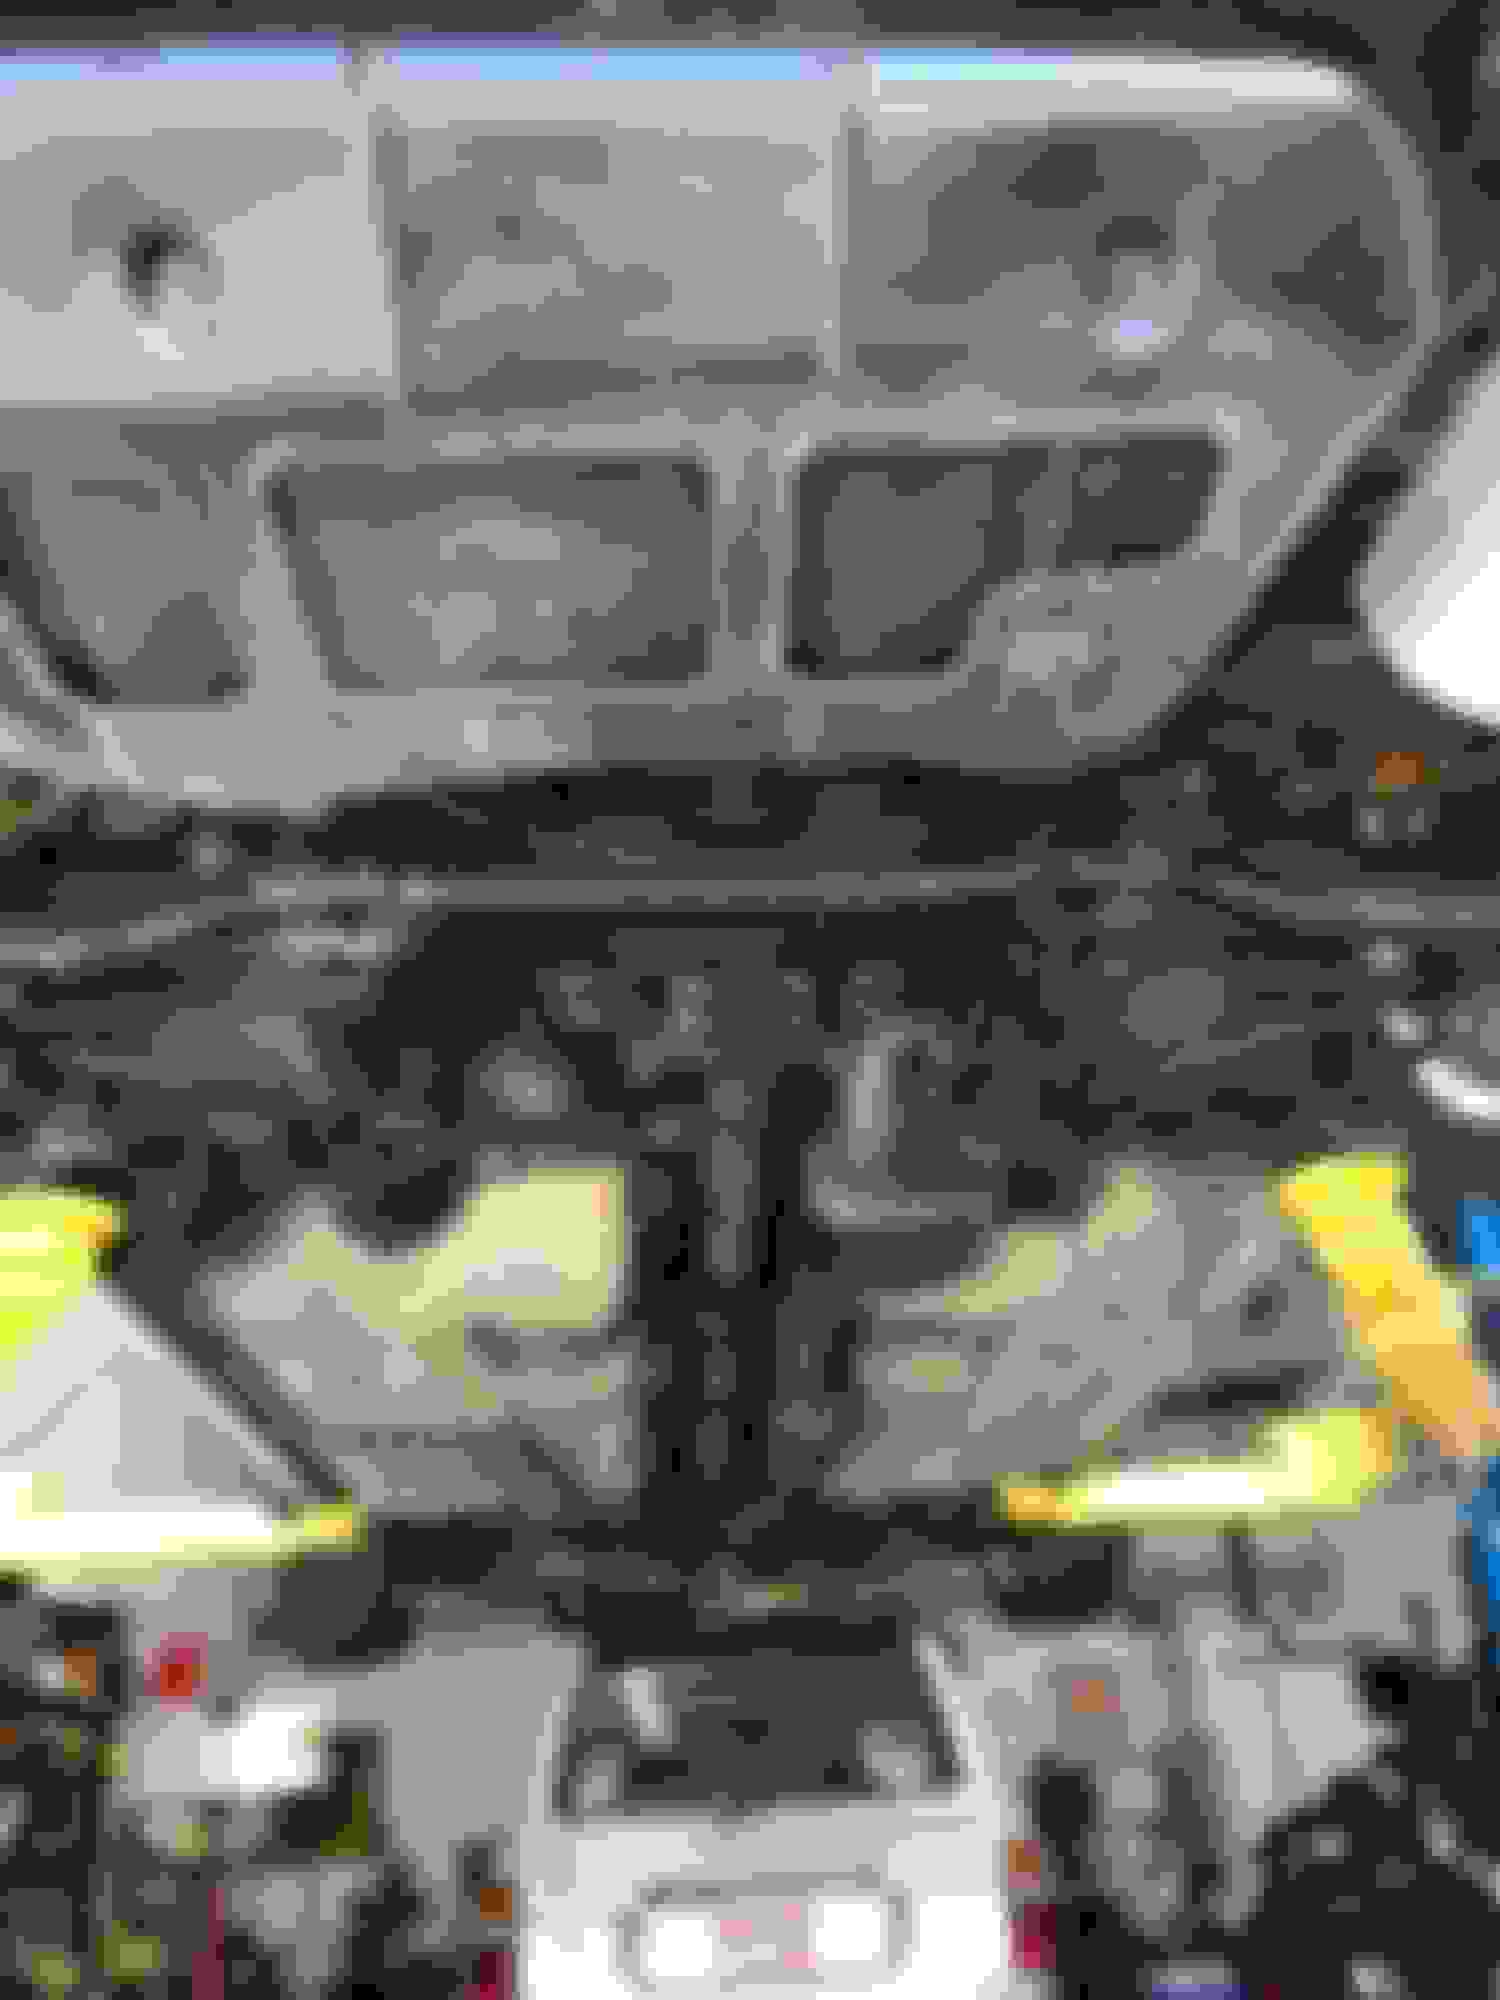
How the injectors came:
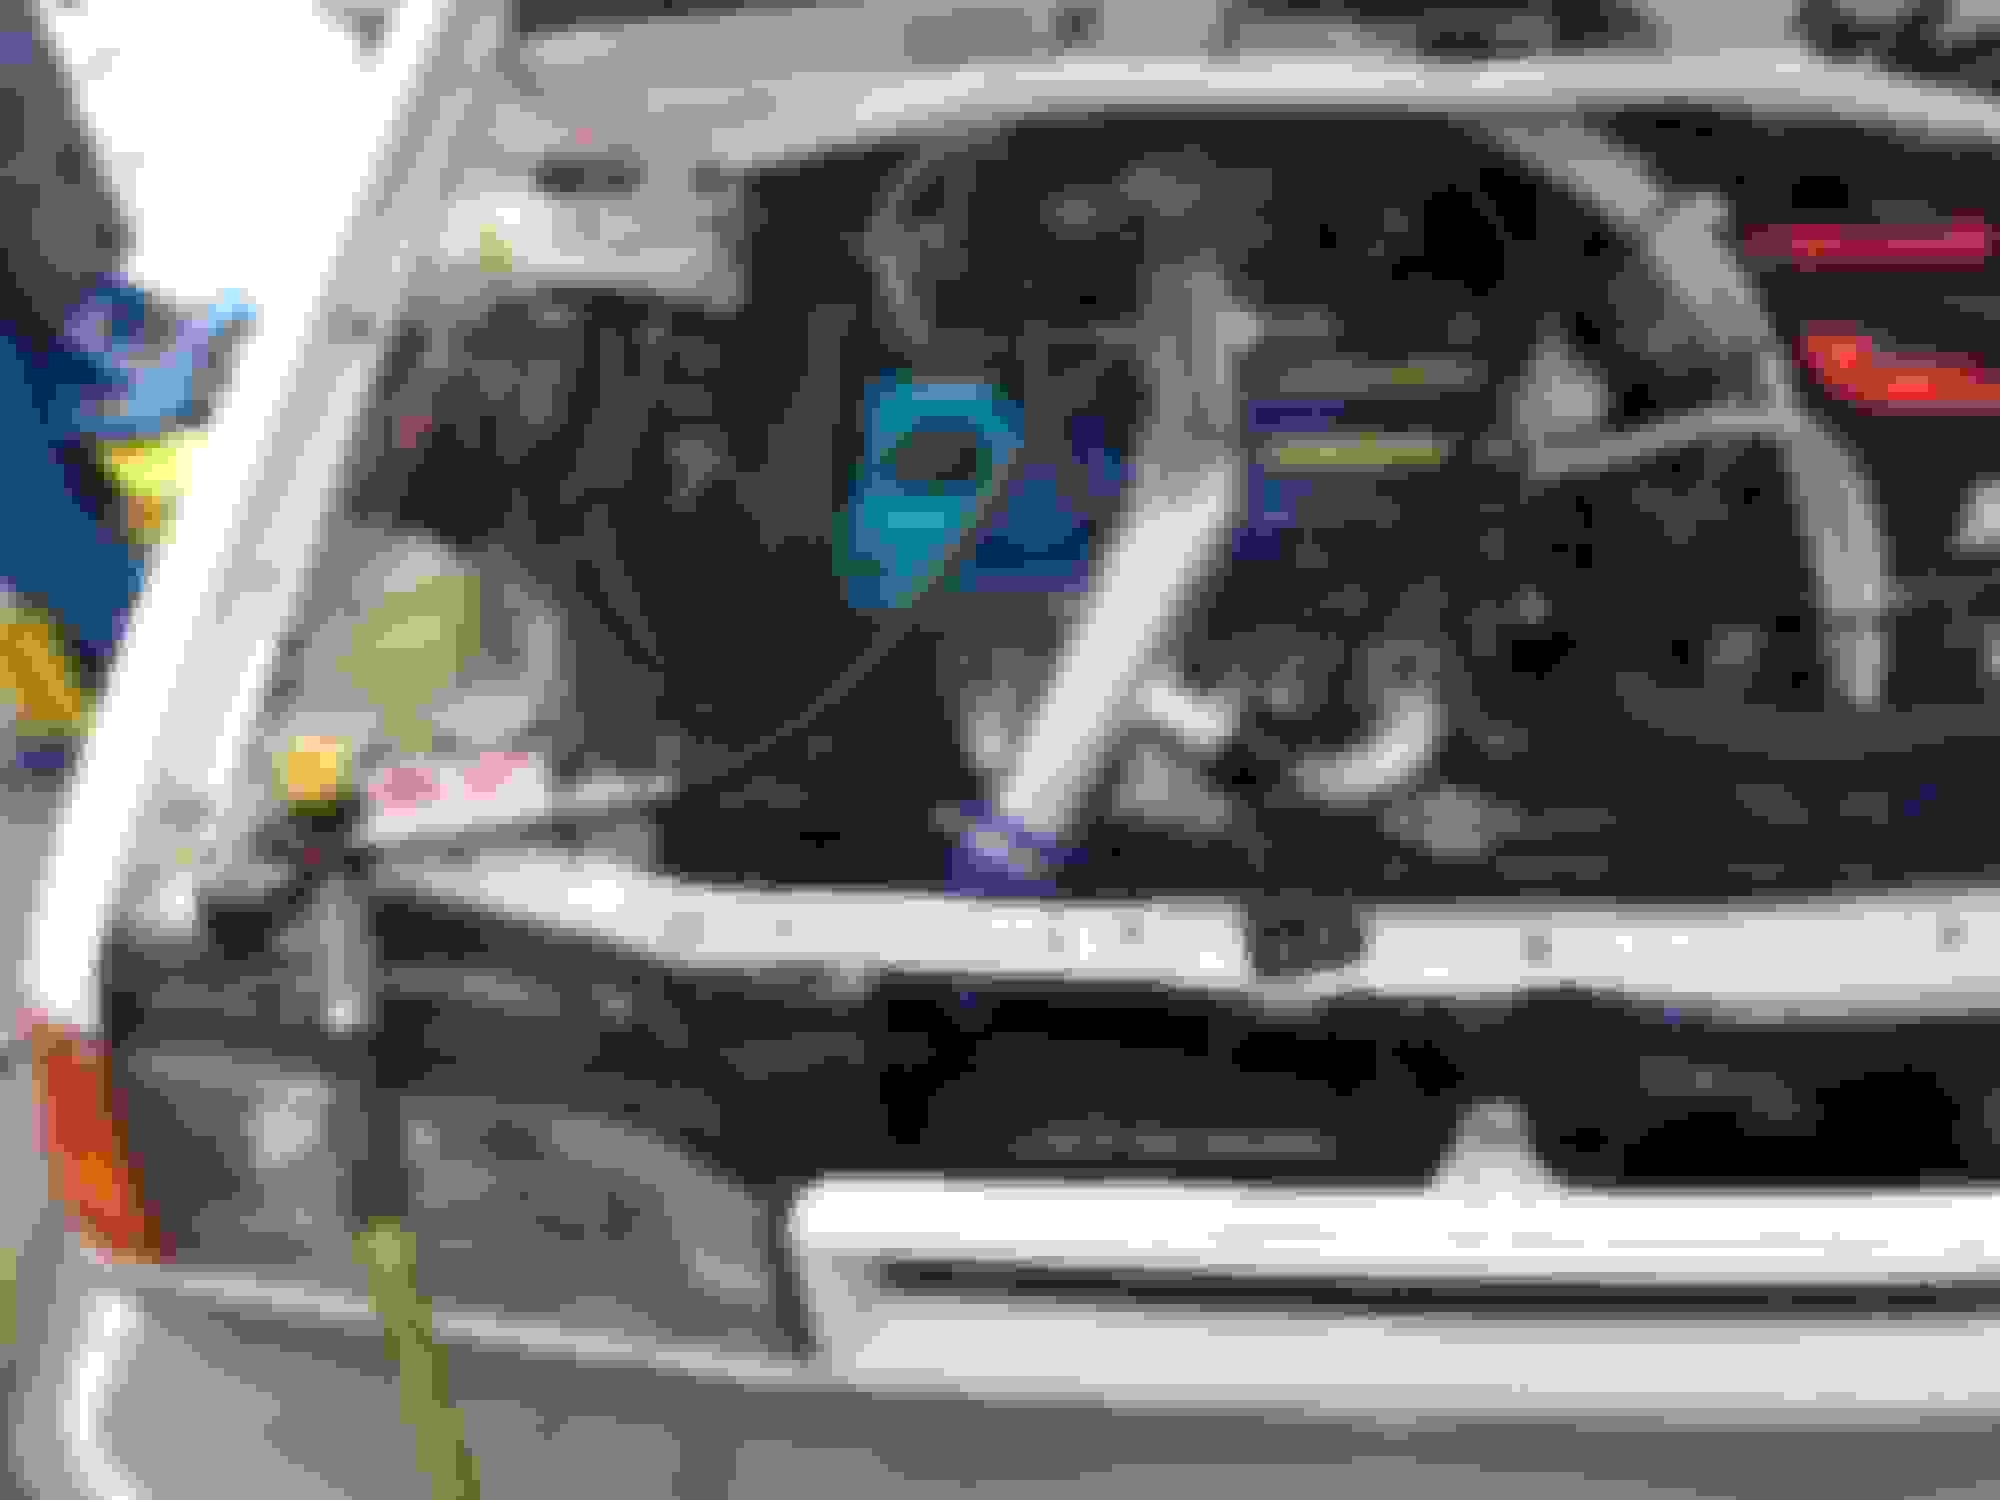
Install process, check out that sexy dual feed fuel rail the JDM cars had:
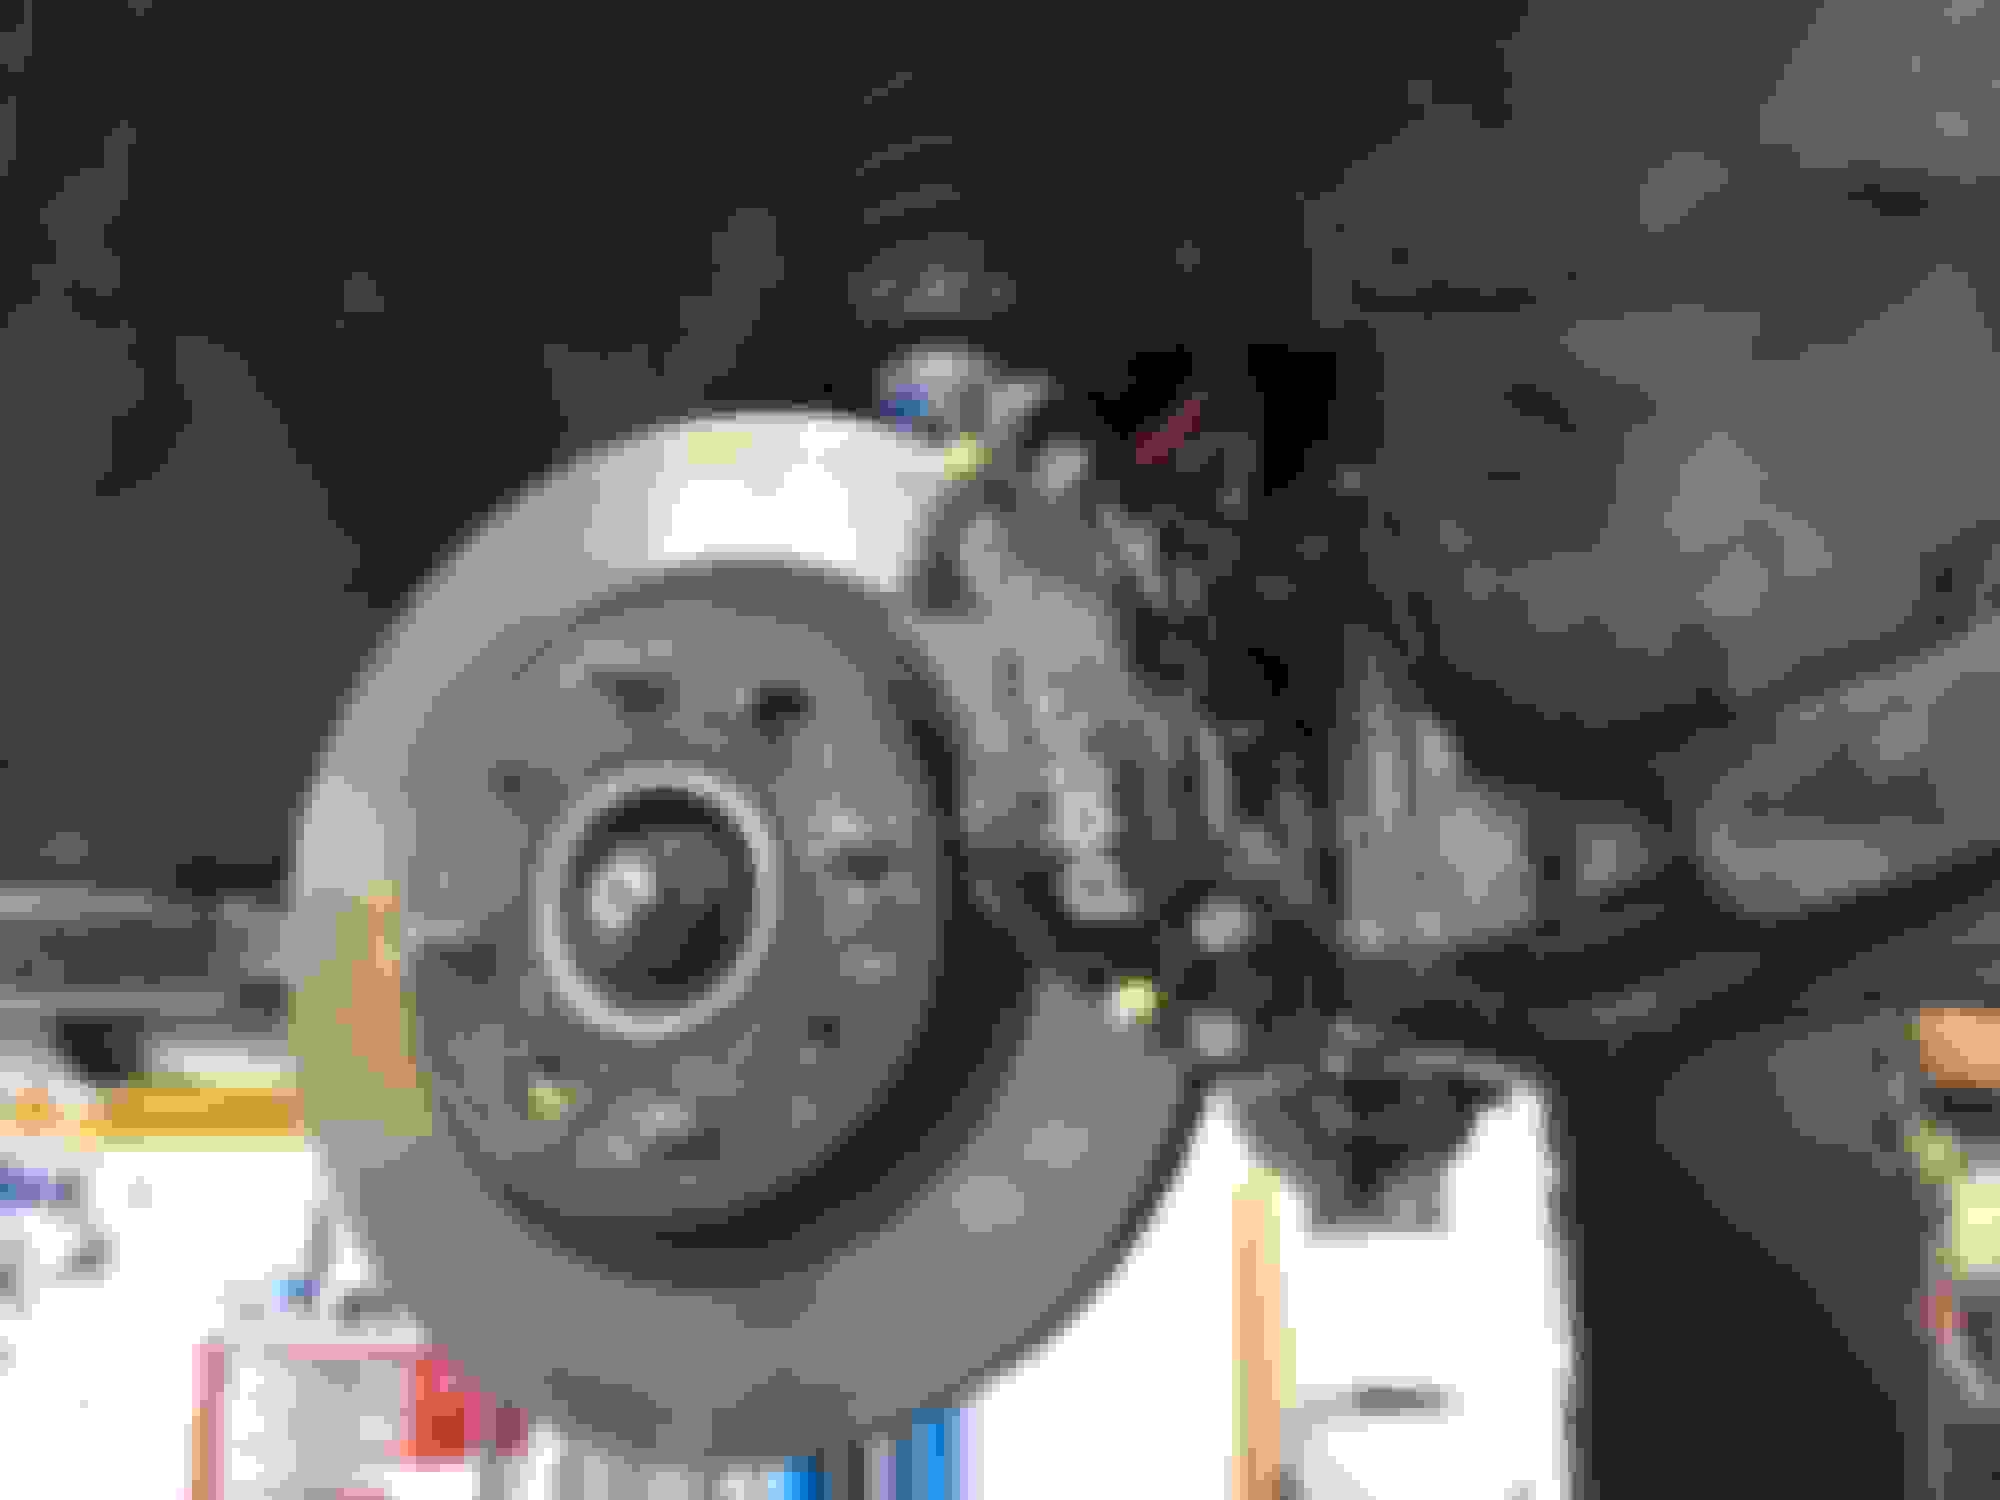
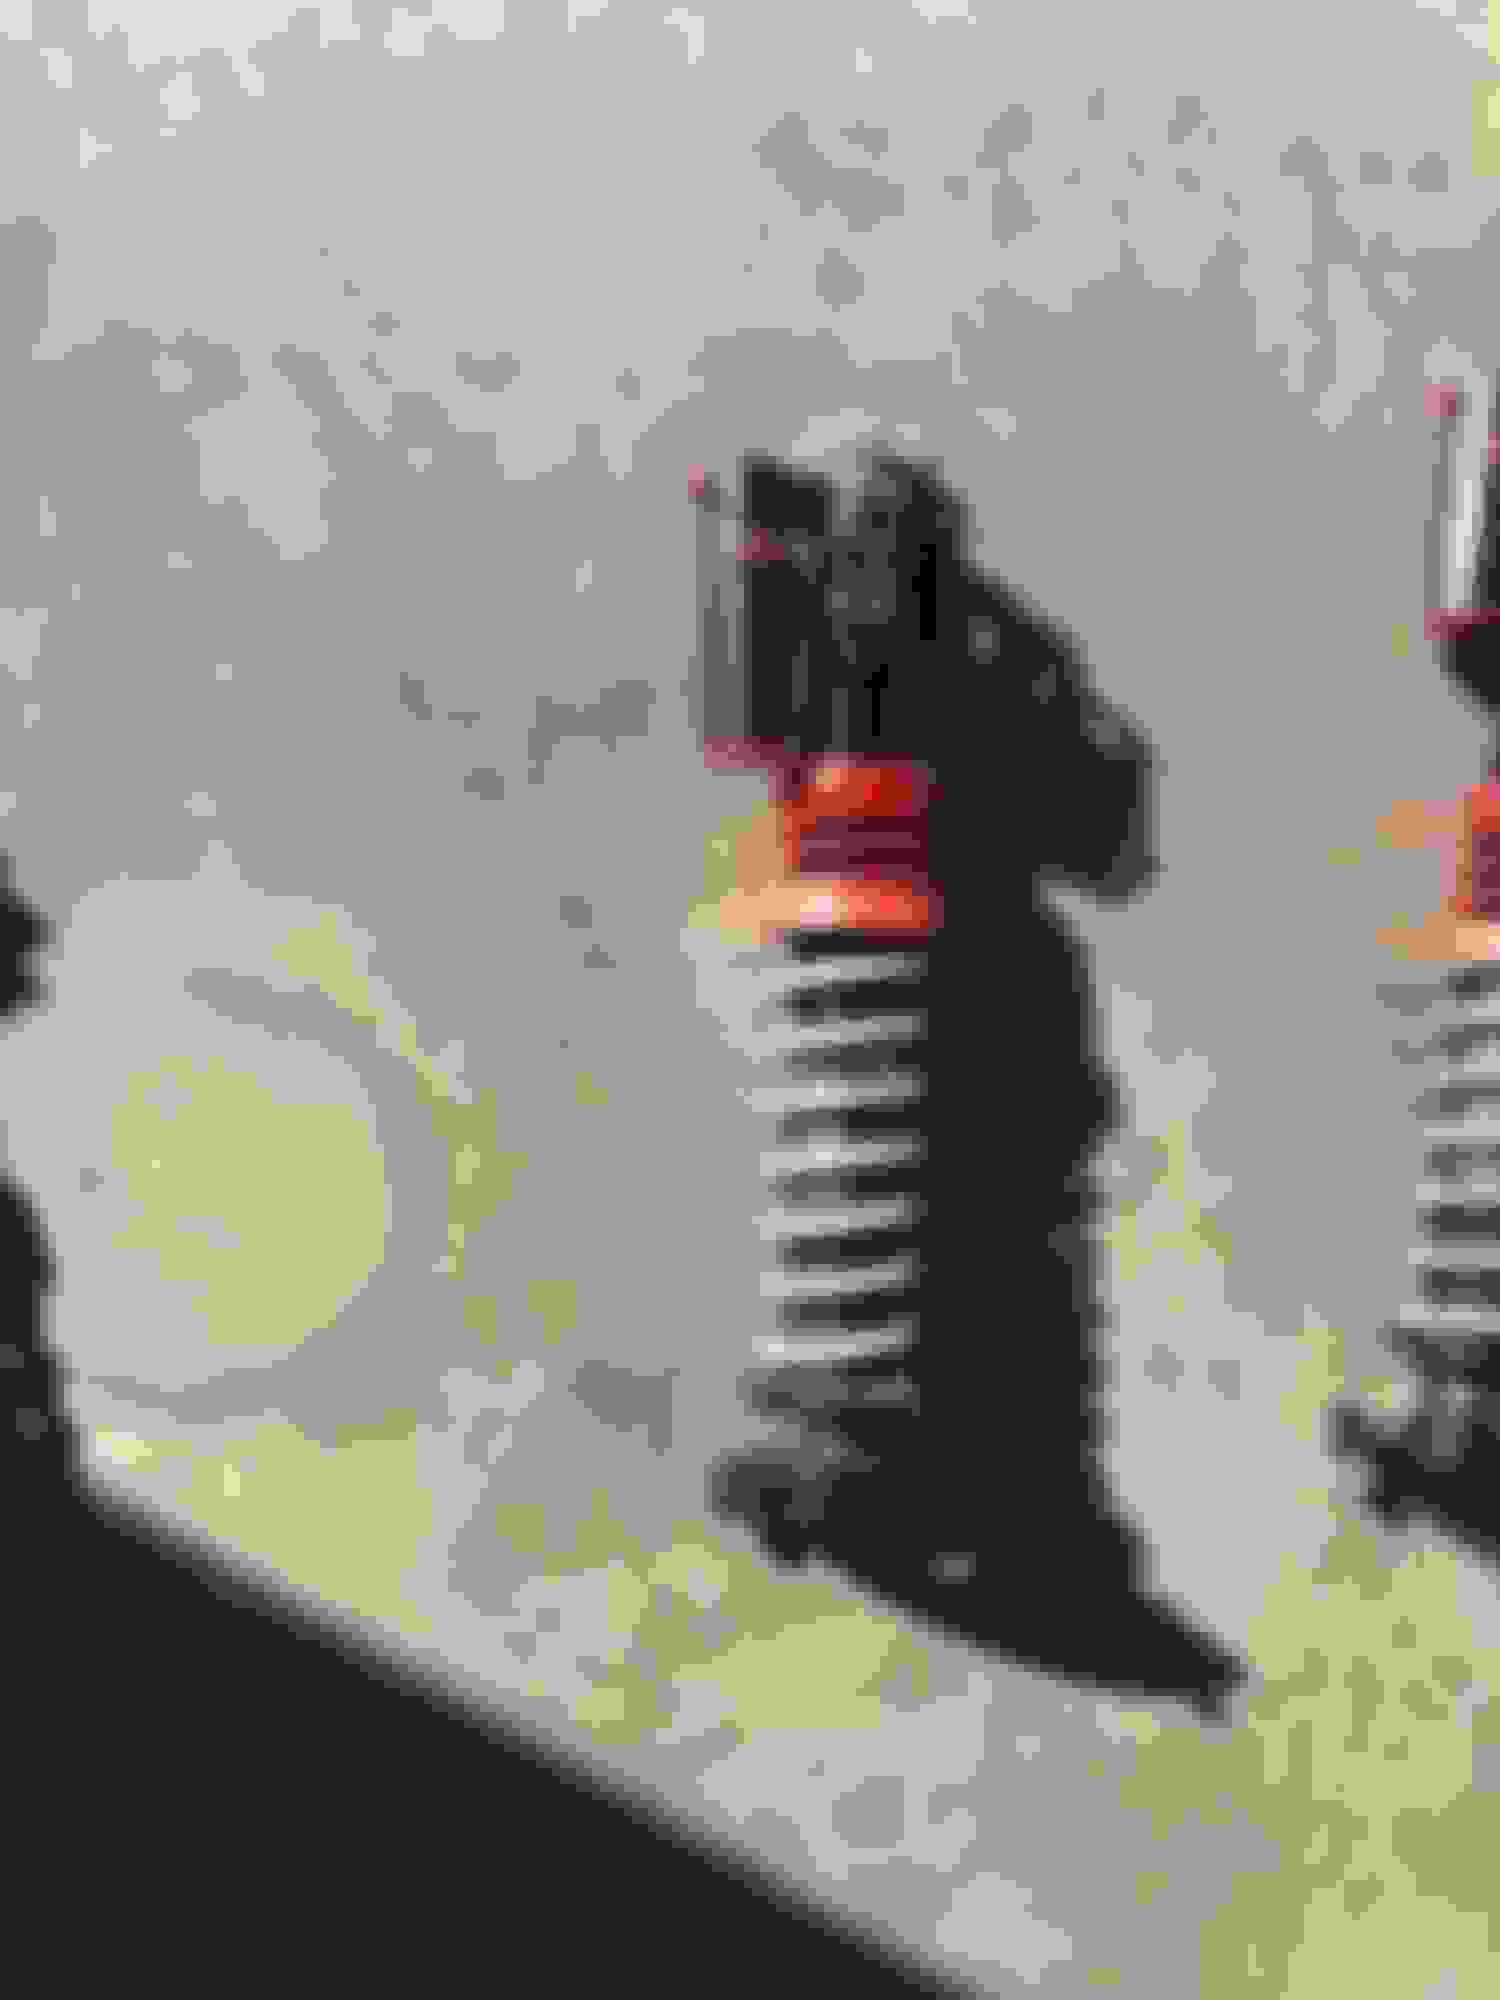
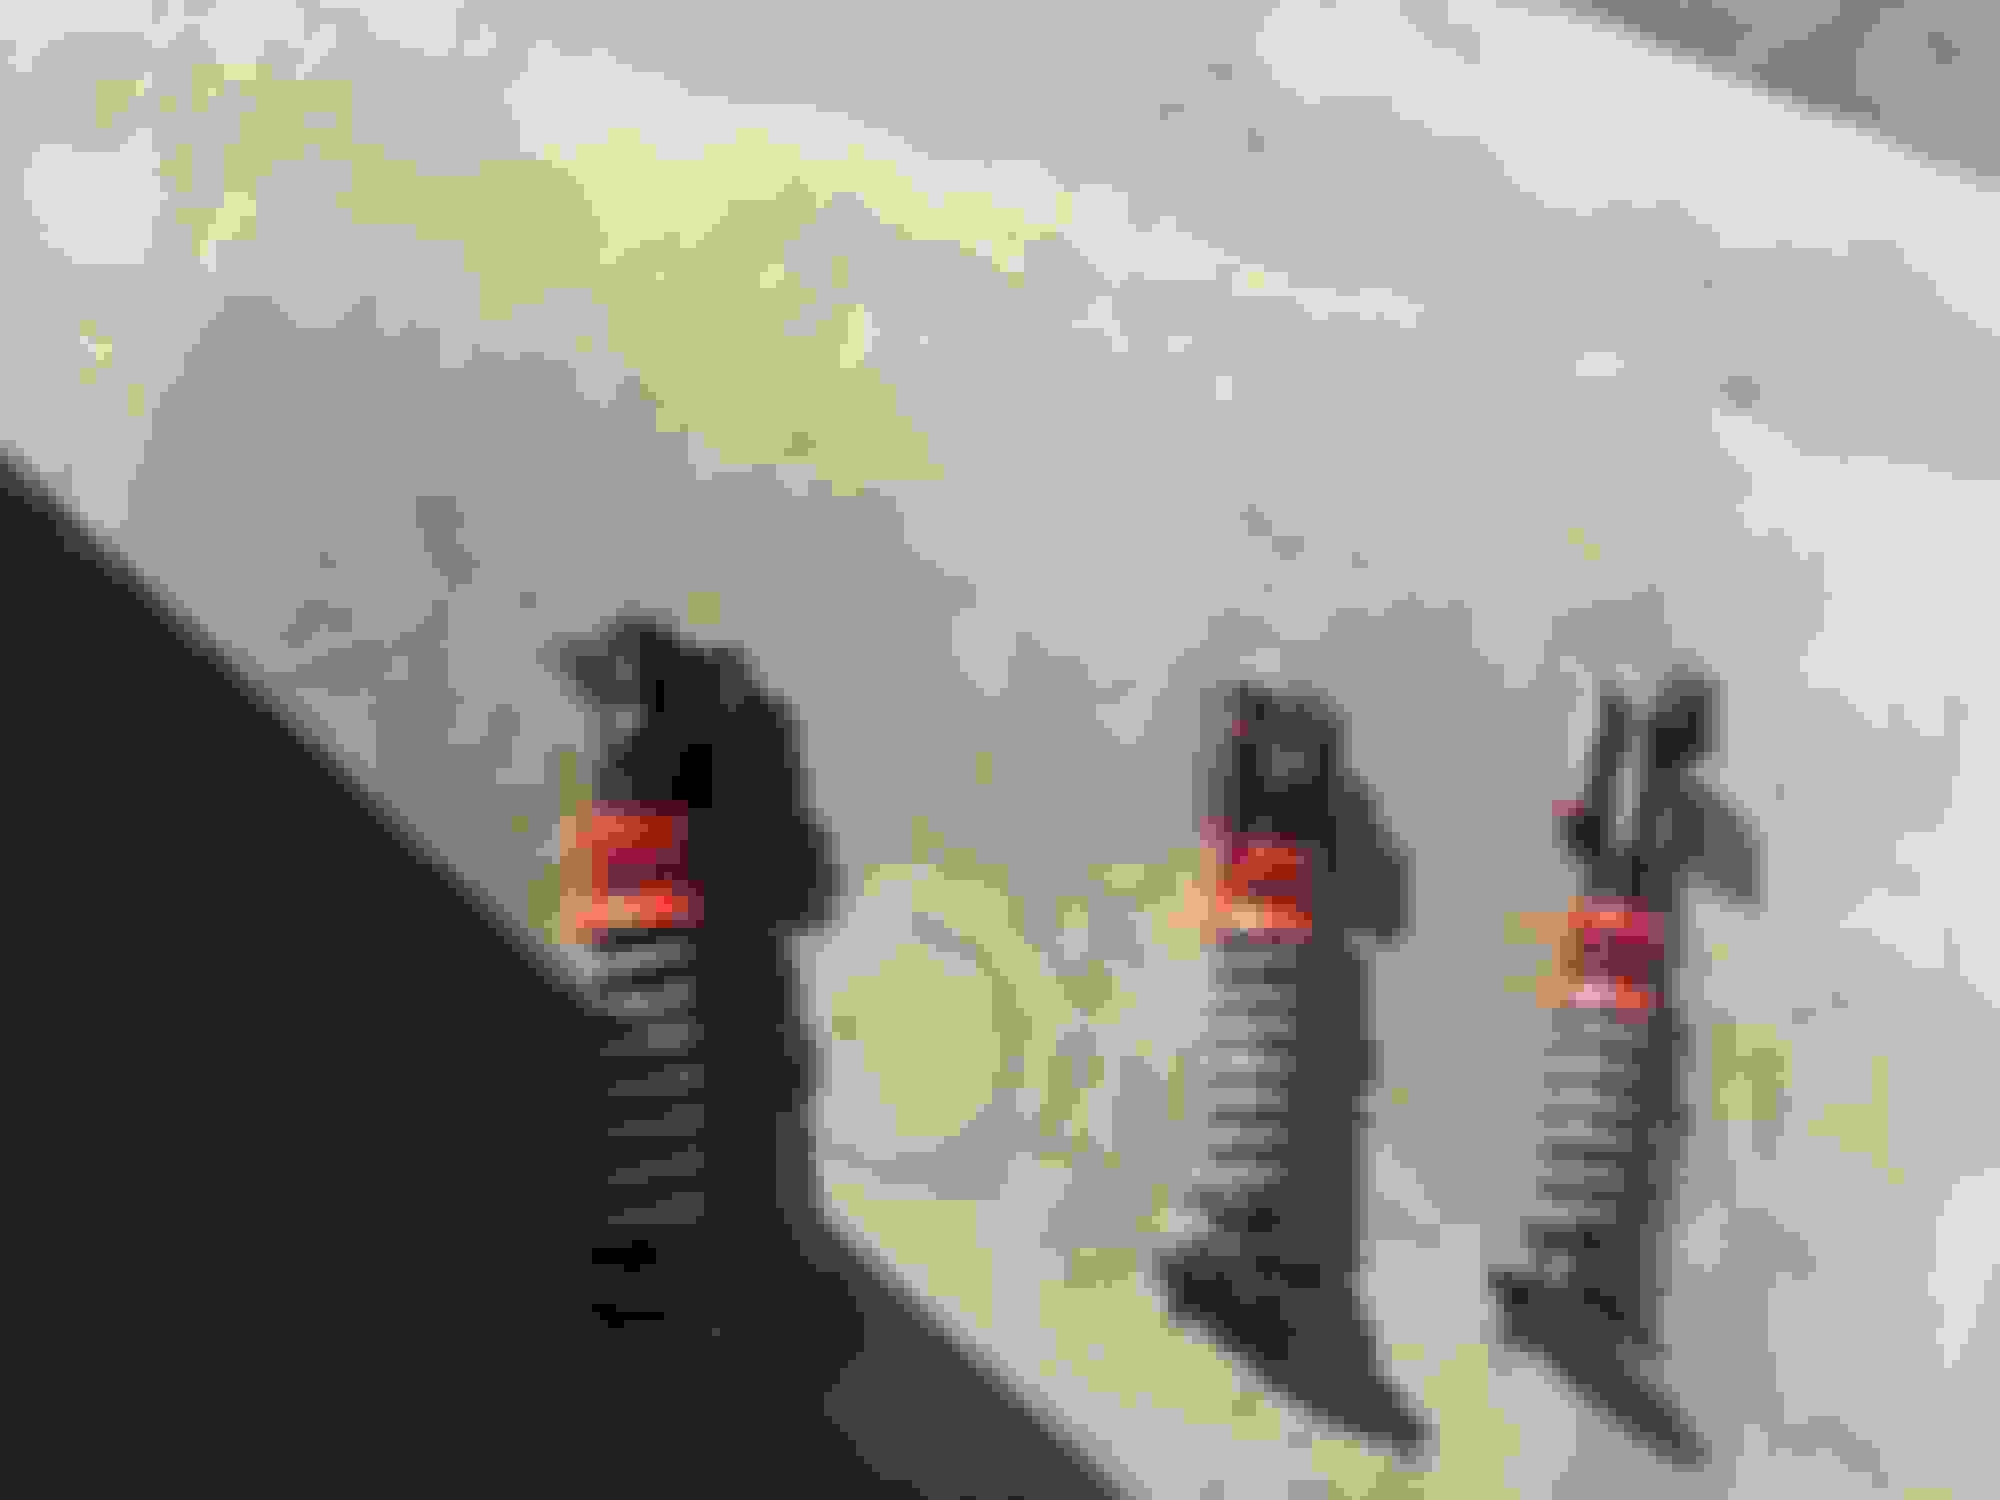
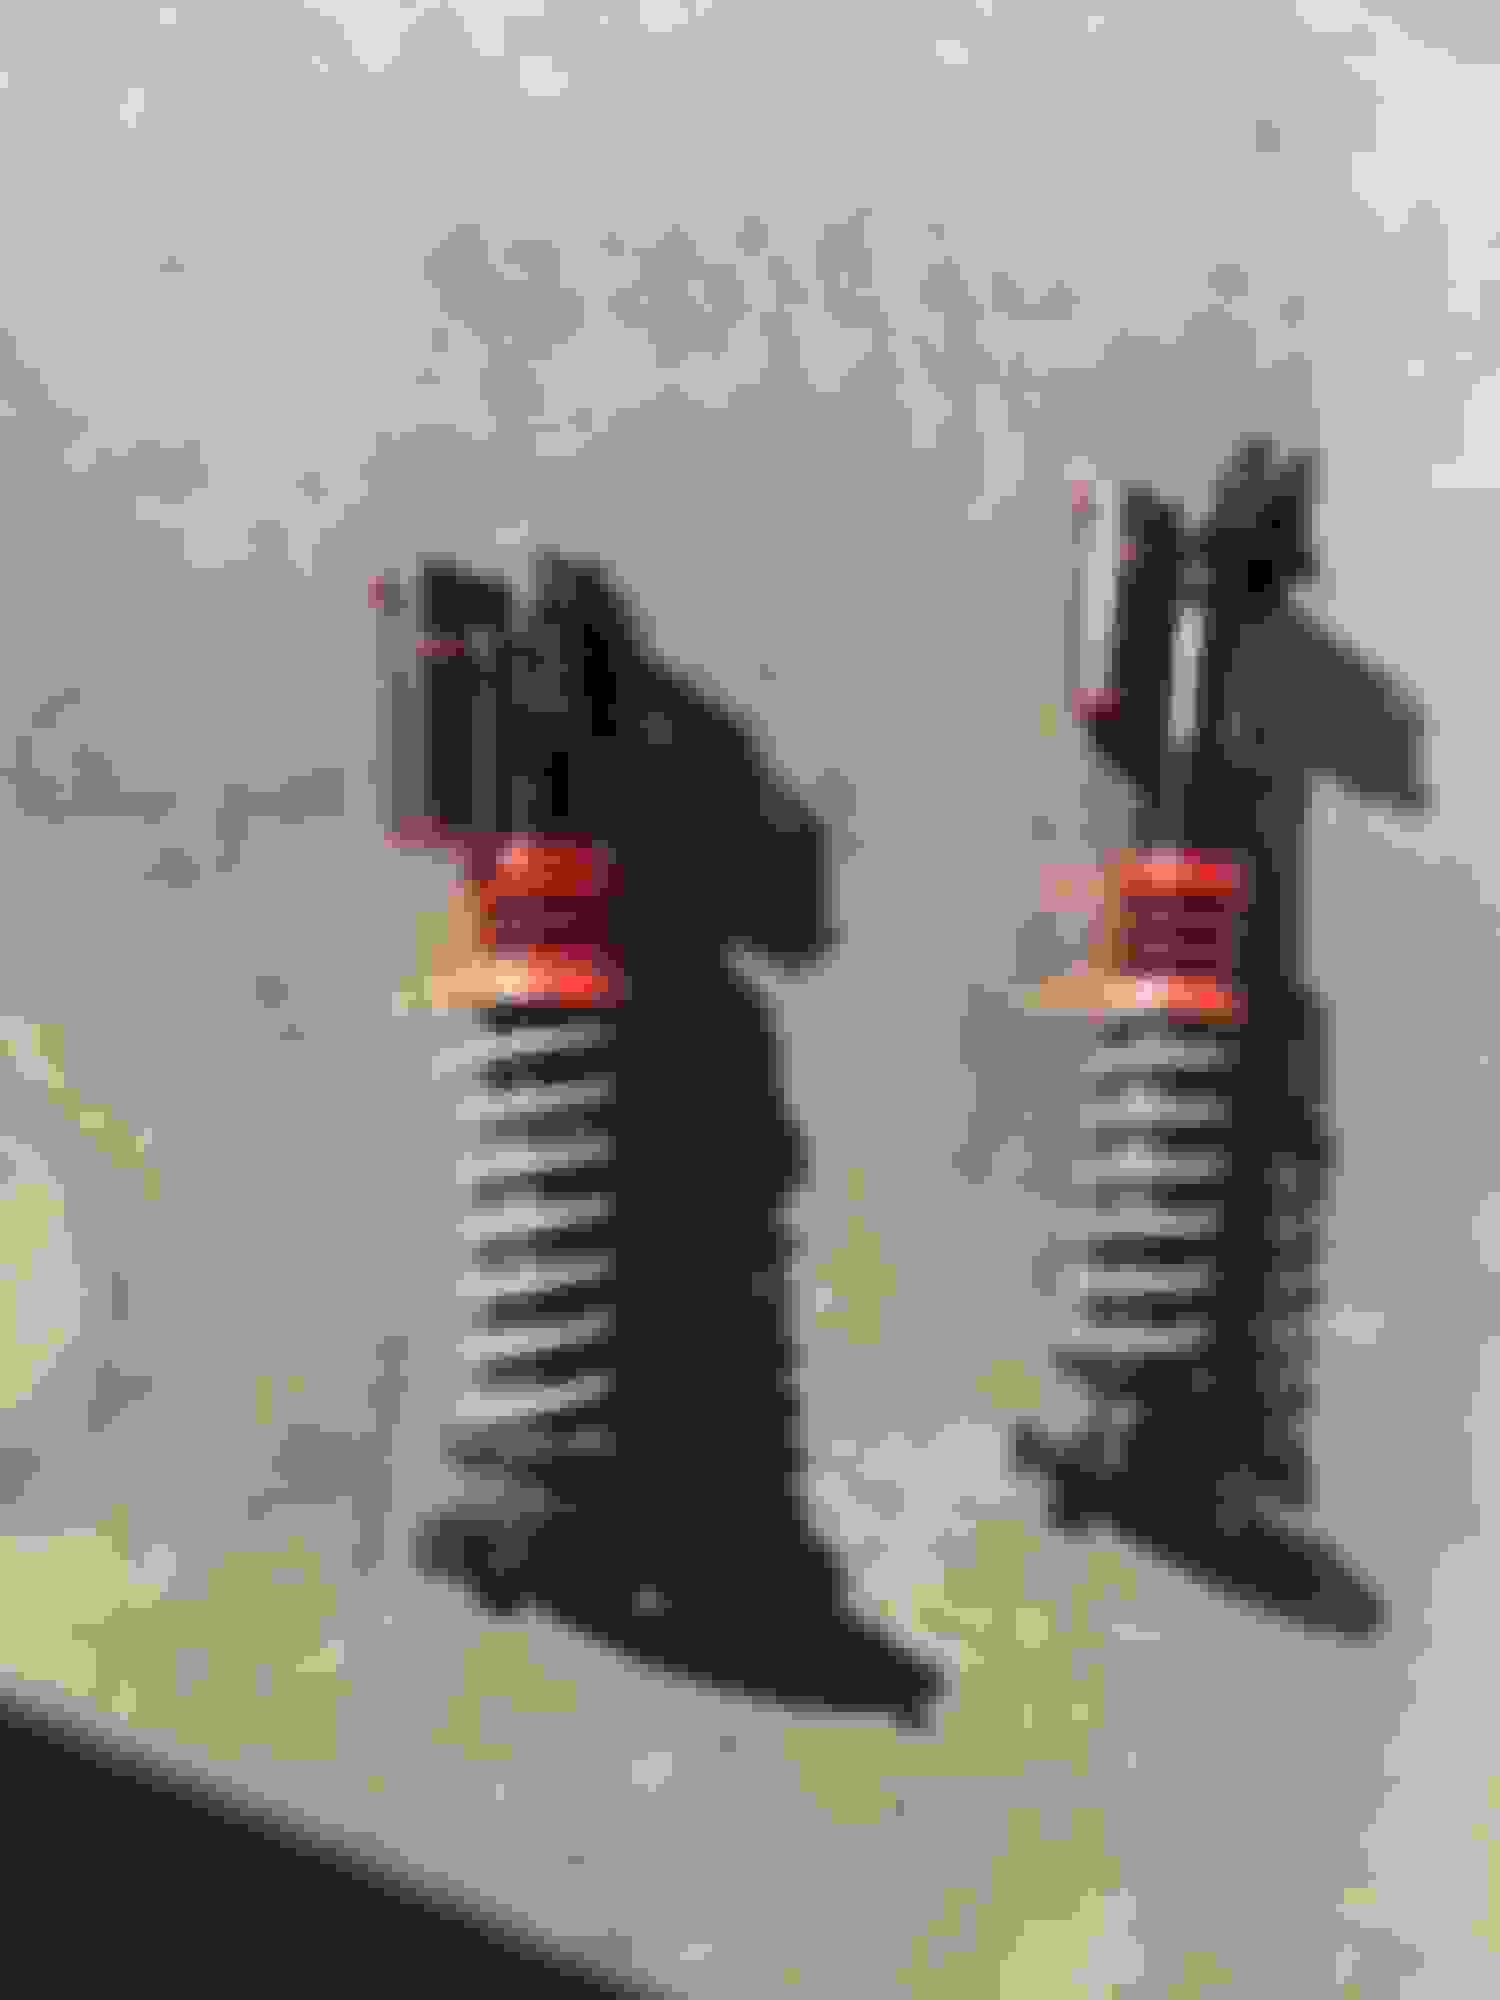
Then it was time too install the HotBits DT2 suspension. I am quite pleased with it, as it has a very good range of damping adjustment and very well matched spring/valving rates. Good travel, strong construction, and you see where the cost was lower in things like coating quality, machining on the top hats, dust boots, and some funny things with the adjuster clicks. I didn't even bother using the top mounts, the rears won't fit any BFMR (possibly BG?) and the fronts are beefy as heel, but I figured I'd match the camber plates front and rear. Anyhow, they are installed, ride height set, and aligned. I spent some time playing with damping adjustments and it's a good baseline now.
Here they are:
Failed top mount:
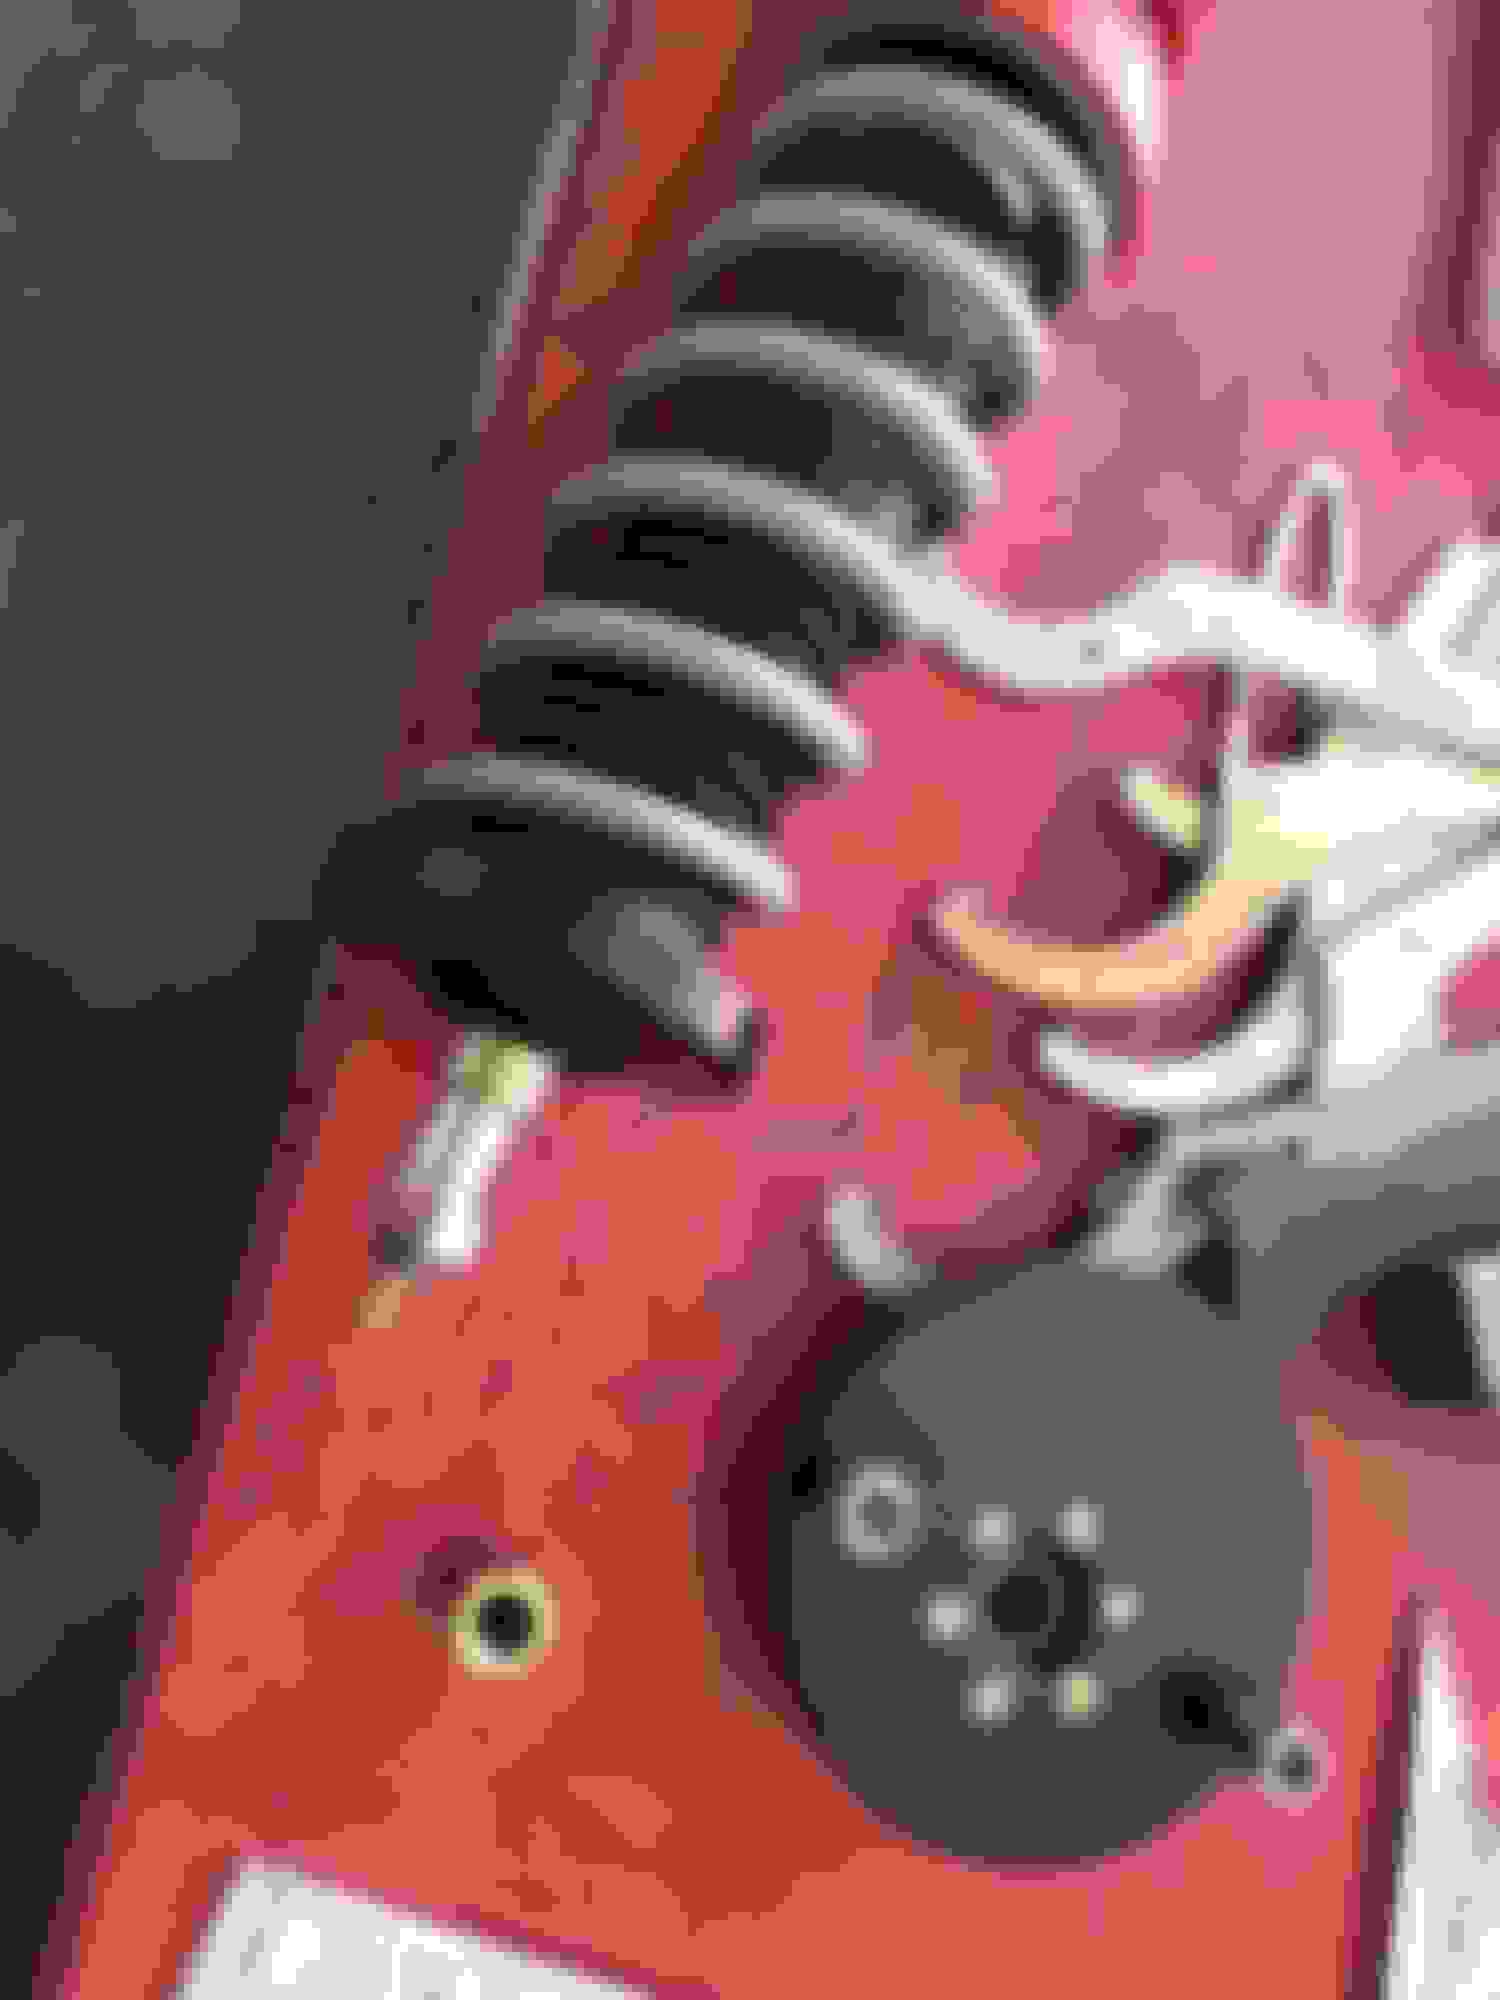
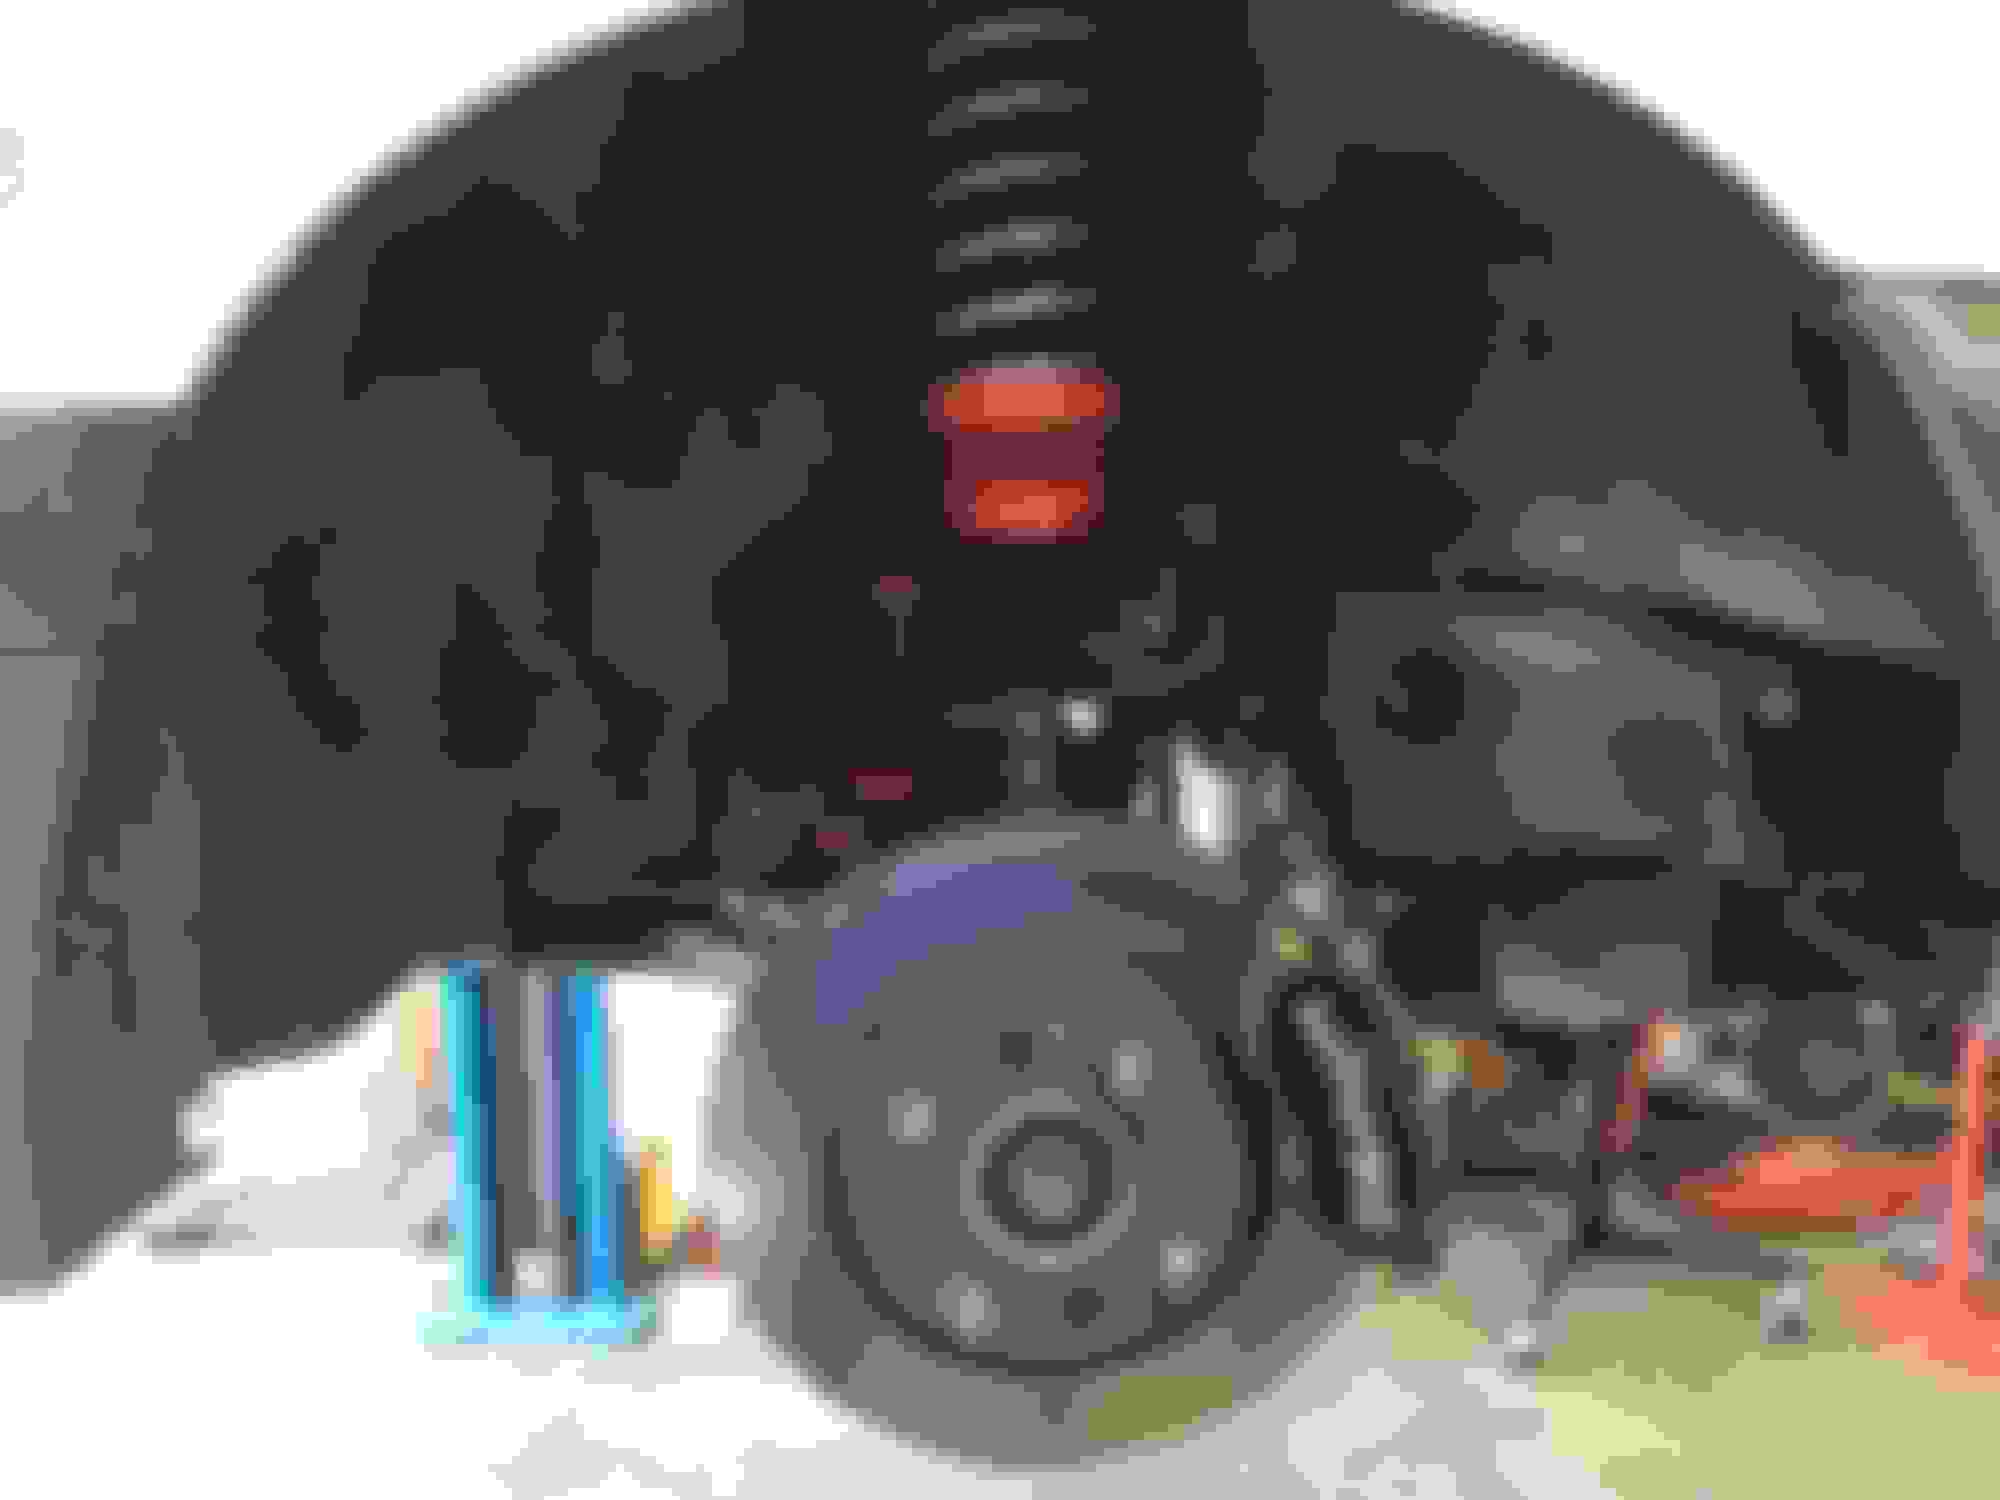
And installed, with the new brakes:
To celebrate, the wife got me a signed Hannu Mikkola print:
And then, because the car is basically done, I bought a new project. I am probably going to sell my expo Tacoma or my Miata to pay it off, but cars come and go.
Love the ST185 gt-four! Always wanted one of those, you must let us know how it is.
The new suspension looks amazing. Are they producing this for BF GTX's now?
Also curious about your PCV setup. Is it run to a catch can? Do you run a PCV and vacuum on it?
They will happily make another, takes about 5 weeks. This is the TX3/323 rally suspension with a few tweaks, but pretty close to their normal technical specs. It isn't the cheapest, but for the performance and features it is quite reasonable. I had good luck with them years ago.
I am running all three breather ports (two VC one block) to a can I made out of a spare radiator overflow bottle down on the left frame rail. I added two VC breathers on the top. It seems to work really well. No vacuum. In the 2200 miles since the rebuild�even with the NPR low-tension rings and squirters�I have gotten a completely reasonable amount in it. I just suction it out at an oil change.
So I decided to change the inline fuel filter to the new ID750 piece. The GTX fuel filter is an odd piece and most of the aftermarket ones are meh. This seems much more in line with the car.
Did a bunch more tuning, and had the body shop rescheduled for next month when I'm in NZ. Perfect!
The ST185 is an odd car. Both better and worse than expected, like everything. Needs heater core. Lots of small issues that most people wouldn't care about, and I'm slowly working my way through them. Fixed a bunch of things so far.
Car came on awful JIC SF-1 suspension, riding on the bumpstops, and blown. Fabricated up some quick struts using Bilstein 36mm Motorsport insert and universal tubes. Works great, if a little soft in the back. Using the spring from the GD DMS suspension I had on the GTX, as when I took them apart to grease before selling they from inserts were destroyed.
Change the rear muffler to a bullet, and chopped up a nice 70mm exhaust. Changed the Koito headlights to HElla H4 E-code. Replaced shifter bushings. Got rid of the oddball sized A048s for some Cooper rally tires, removed the front and rear swaybars, fixed the tilt steering wheel and start adjustments, registered and insured, etc... LOTS more to do.
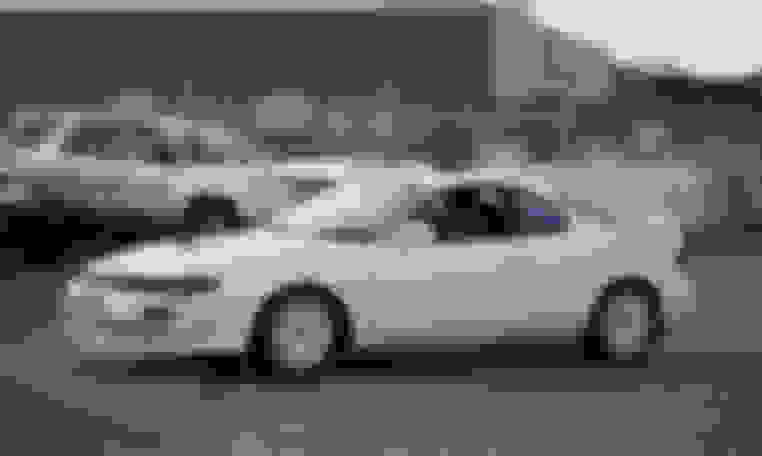
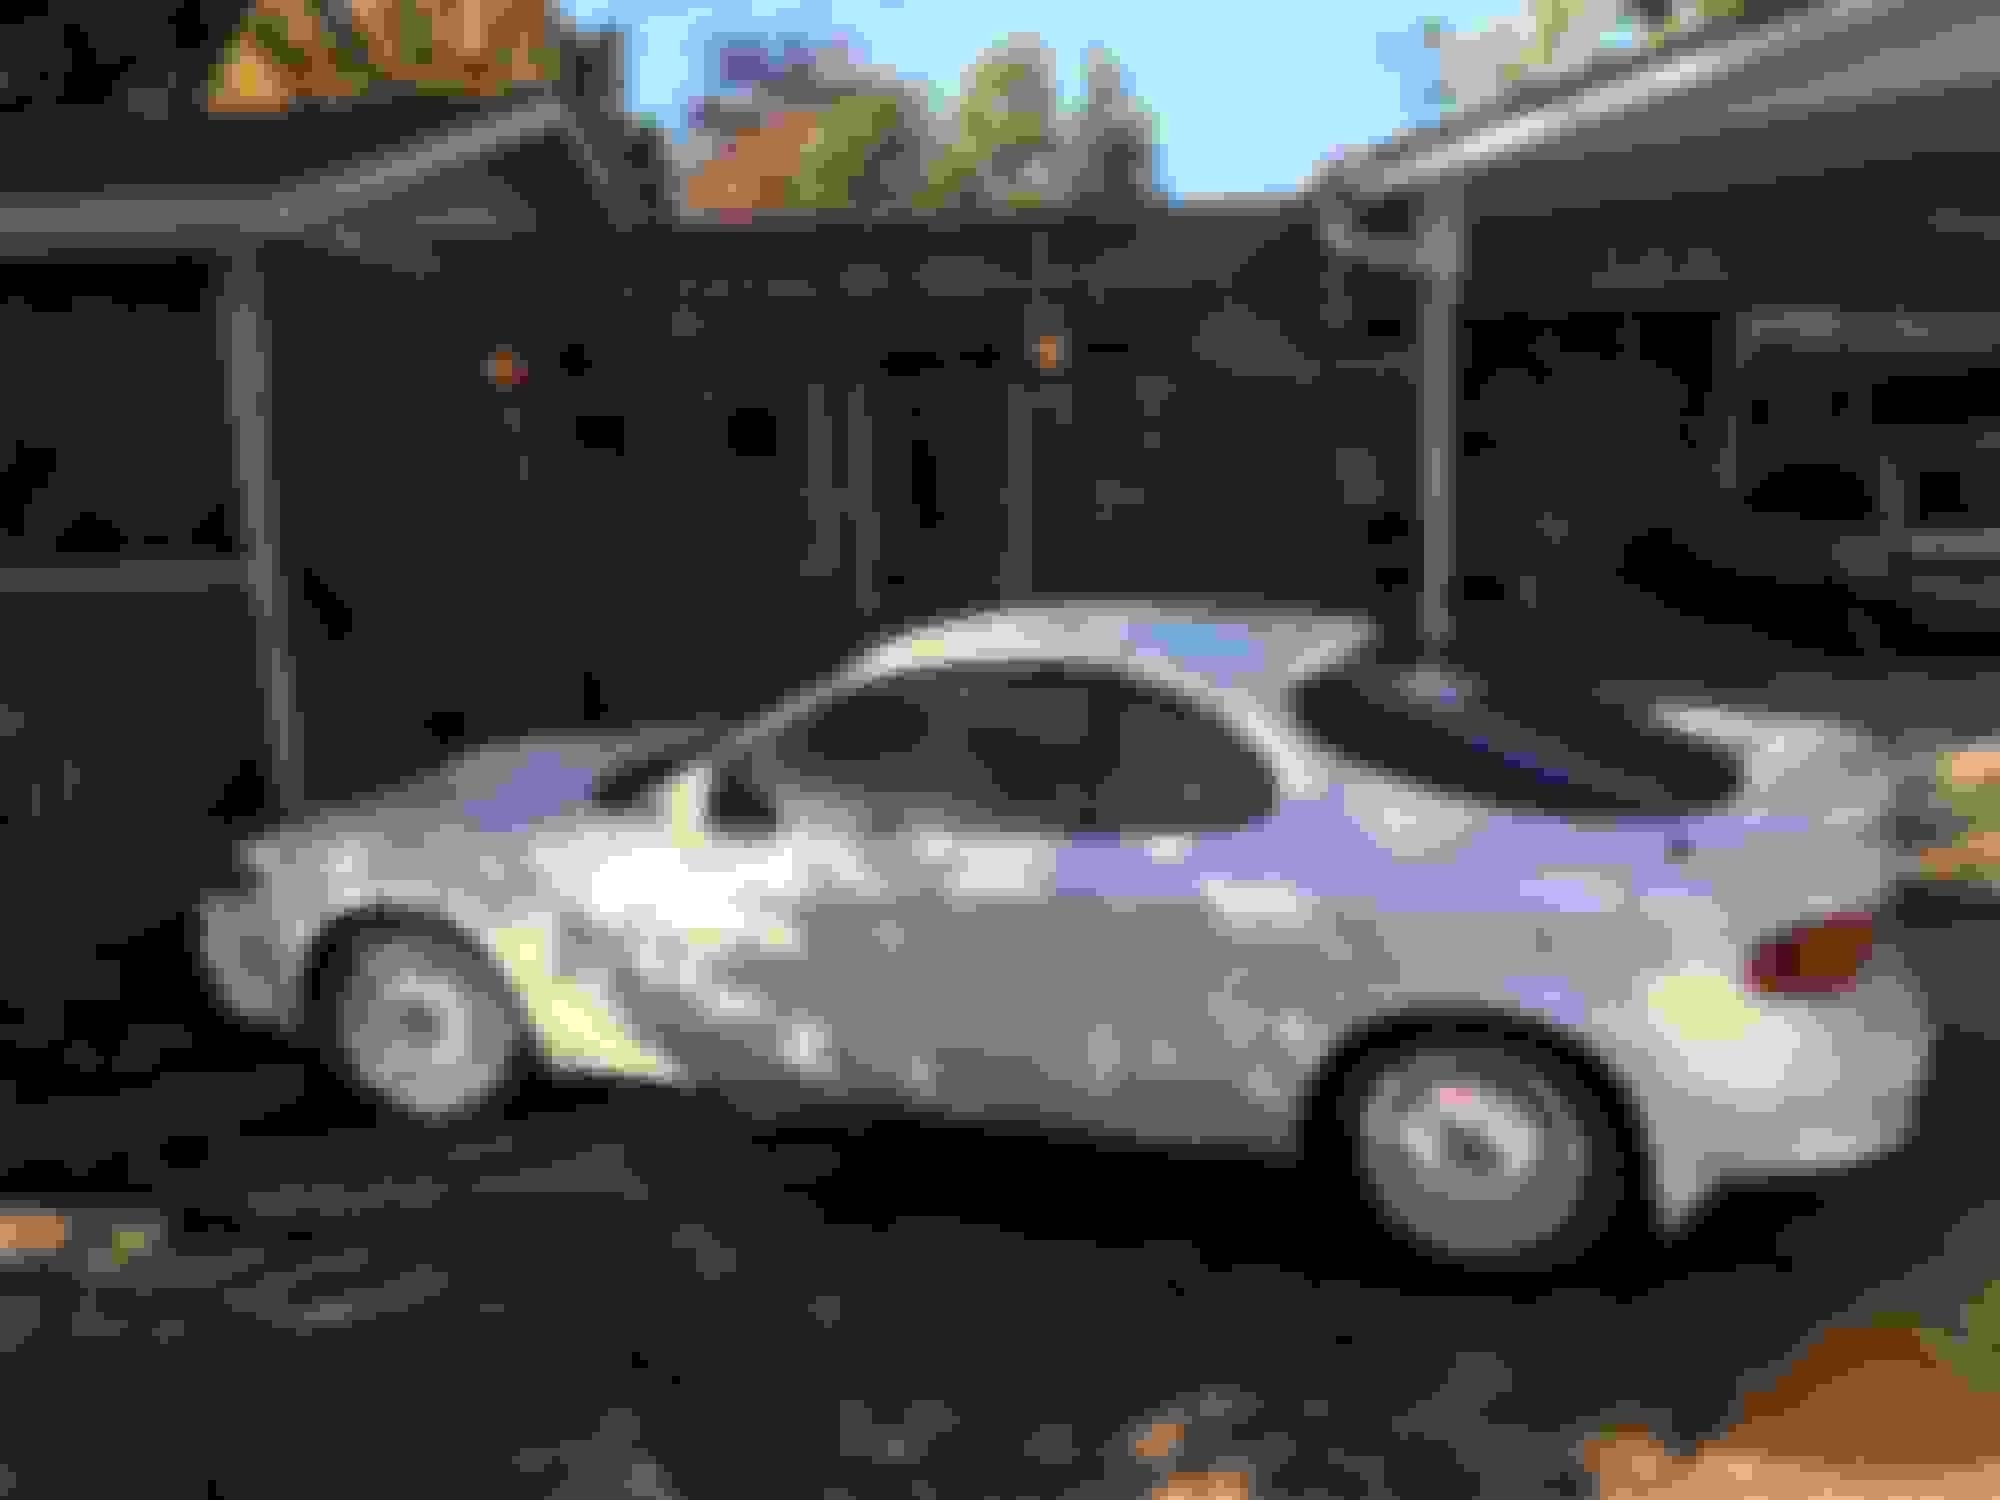
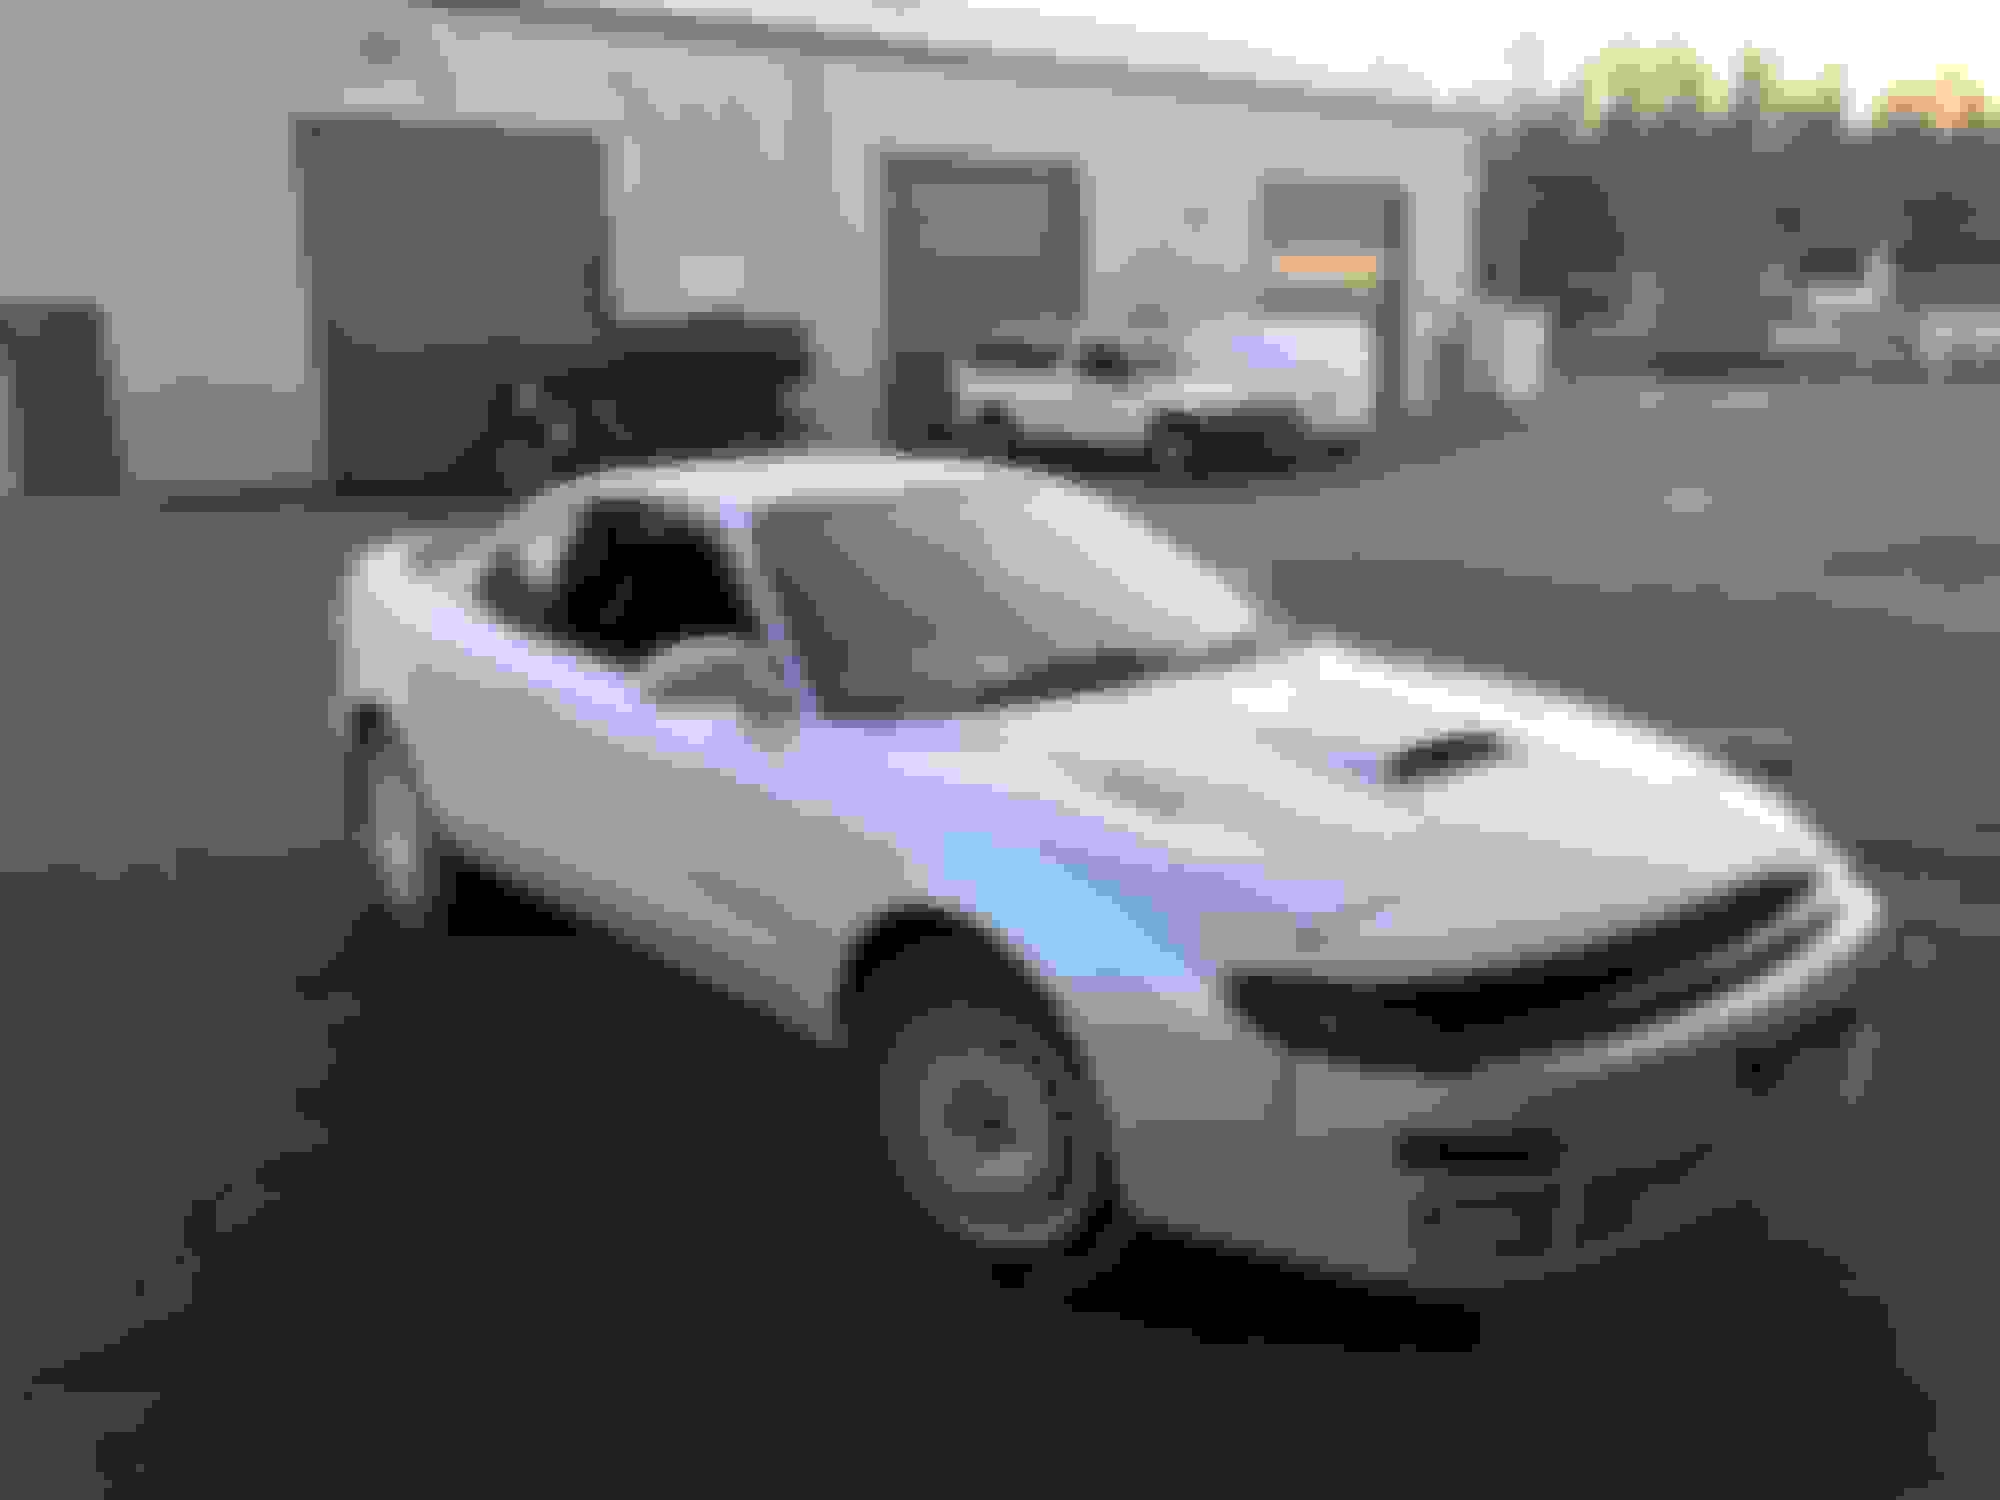
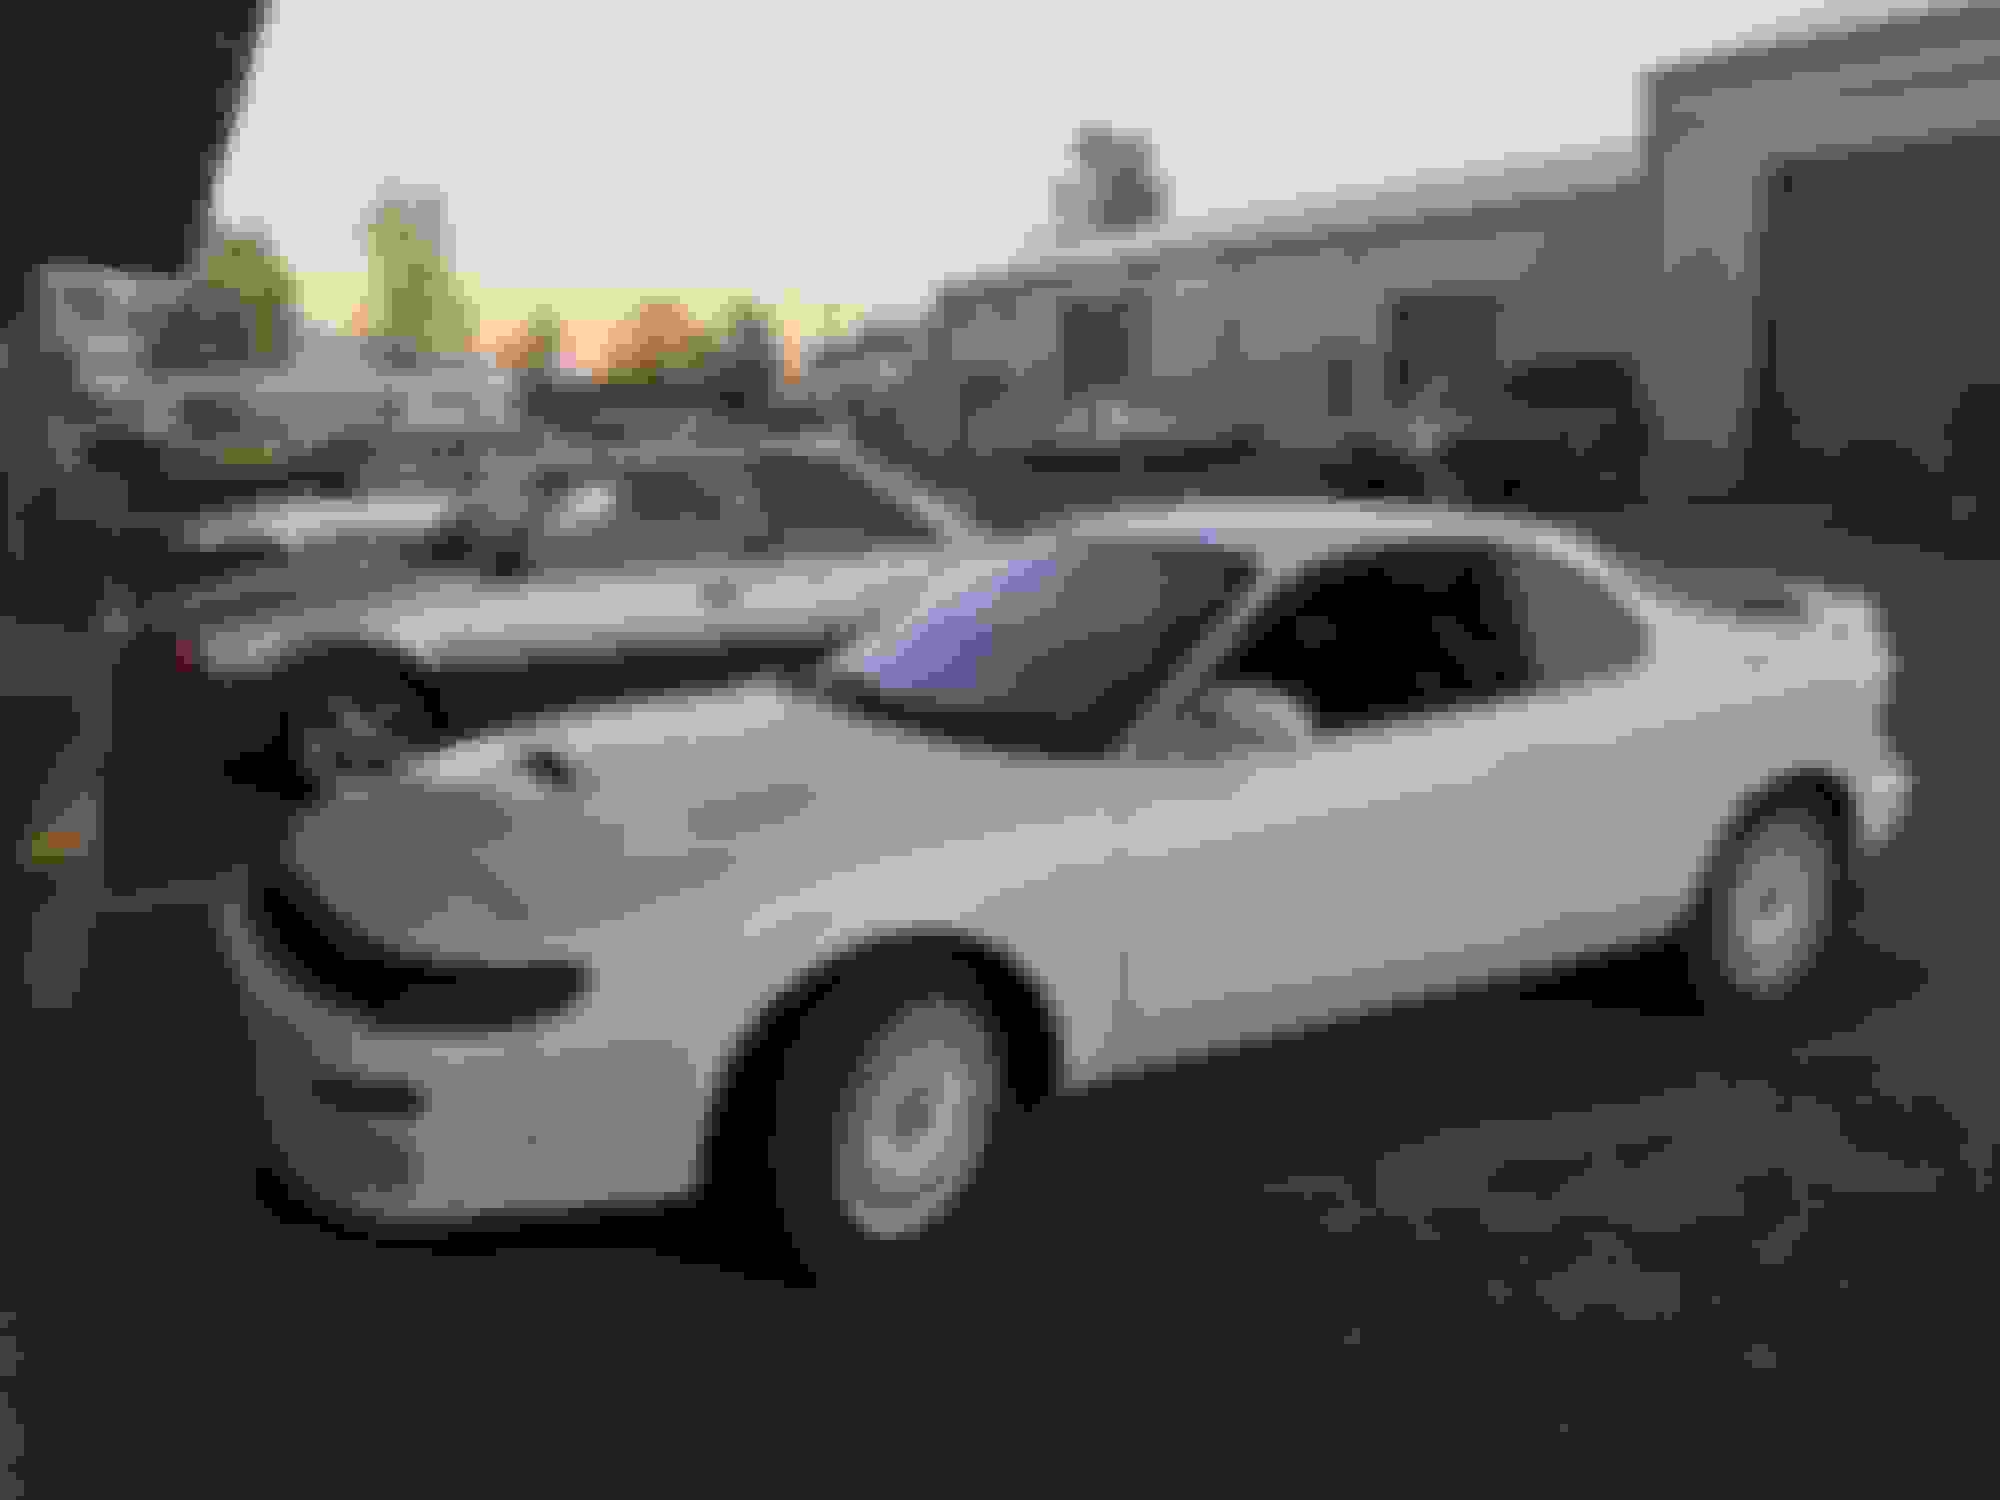
The car the day I got it home:
It's weird having an AWD car with a profoundly strong gearbox. Note the factory oil cooler.
Car has factory rear Torsen.
Crap suspension; droop travel with it; droop travel with new stuff.
 09-14-2018, 01:00 PM


 0
0