When you click on links to various merchants on this site and make a purchase, this can result in this site earning a commission. Affiliate programs and affiliations include, but are not limited to, the eBay Partner Network.
My stock undertray is kind of mangled from the previous owner, and it doesn't fit well with the intercooler piping anyway, so I think I'm going to make a new one. From what I've seen, it appears that the sidewalls on the undertray section are not necessary, but I can't find anything explicitly stating "sidewall are not necessary for the undertray to work effectively." Anyone care to confirm?
Yeah, thanks; I was a little confused because I had found several examples of people just putting a flat sheet under it, but the more I thought about it, it didn't seem like that would be sufficient. I think I'm just going to try to make the stock tray work with trimming for now/
After several years of not having time to do much of anything on my Miata, I've got a few projects I'm going to work on this spring/summer. My sons are finally old enough to be interested in "helping," so that should make it interesting :-)
First up is to replace the engine mounts; the current ones have been shot for years. @concealer404 can attest to how much we were able to rock the engine around when we did the clutch, and that was years ago! I don't need anything fancy, so I got the Roadstersport competition 70 durometer mounts.
Next, replace my wideband. I currently have an MTX-L, but it's going out. Bought a 14point7 Spartan 2 to replace it. Still debating whether to get a gauge or not...leaning toward not. My tune is currently ****, so having a reliable O2 sensor is the first step toward rectifying that. I've never had much luck tuning it myself, so I may break down and take it somewhere or do a remote tuning.
Then, new coilovers. I don't need anything crazy, and anything will be an improvement over the current springs/dampers, which I think are original. My current plan is to get the V-MAXX classic set from FM.
I may also de-butterfly my intake manifold...we'll see how the first few projects go.
Replaced engine mounts, engine much more solid now. Spartan 2 wired up, need to route cables in engine bay and reinstall downpipe.
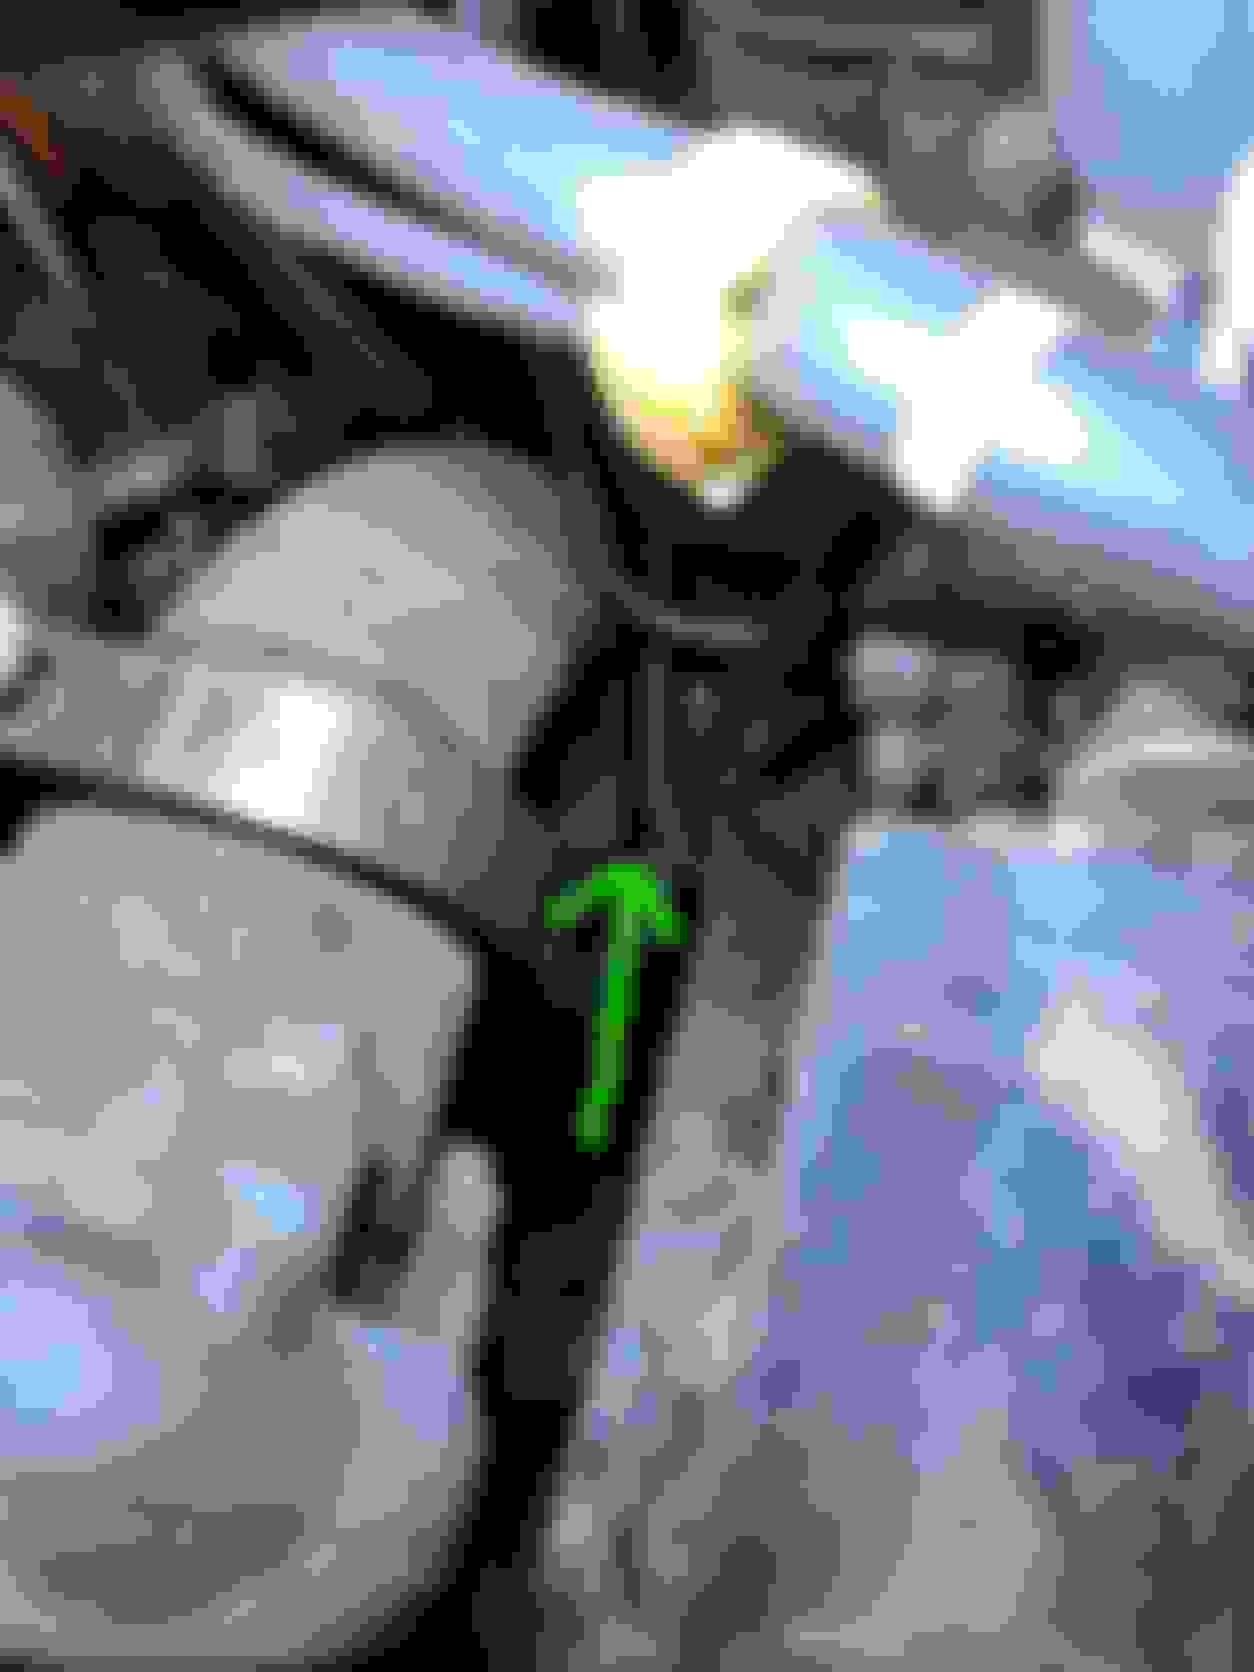
Engine mounts definitely worn, engine sits noticeably higher in the bay. Steering column had almost worn a hole in the downpipe. I knew it contacted sometimes, but didn't realize it was this bad. Preliminary fitment with new engine mounts looks like the DP has proper clearance now.
So...hit a couple of snags. The downpipe now has clearance with the steering column, but it's contacting the frame. My plan at this point is to cut some material away on the frame...but if anyone else has any suggestions, I'm open to it. I also haven't fully tightened the v-bands down yet, and it's possible that doing so would pull the pipe away from the frame. I'm going see what happens before I start cutting anything, but I think it's actually going to push it more into the frame, not away. We'll see.
Also, the harness on the LSU from 14Point7 is super short! It's nowhere near getting into the engine bay from where the O2 sensor is in the exhaust pipe. I do have an old LSU from my MTX-L that broke when I removed it from the pipe (note to self: don't use an impact wrench to remove oxygen sensors), and I have the cable from the MTX-L itself, which died anyway, so I'm going to splice them together to make a jumper.
Downpipe touching frame now... But it's not touching the steering column anymore! LSU cable way too short The controller has no extension from the plug, and I don't want to try to hang it in the transmission well... So these 2 guys are going to have a whole new type of relationship
Jumper harness complete, overall I'm pretty happy with it. I checked continuity at the end and everything checks out
To make sure I spliced the right wires, I inserted the connectors and used an ohmmeter to check continuity. I was surprised, none on the colors matched. Not even red and black!
Twisted the wires together
Soldered
Oops! I let the wires heat up too much and activated the heat shrink...had to cut the ends to slide them over the splices.
Individually heat-shrinked
Overall heat-shrink, connecting the original sheathing.
So I decided to depower the steering rack. Got the pump out and the rack off, though I may or may not have screwed the splines on the steering shaft in the process....
Bye bye power steering pump
So much room!
Tiny mechanics
I got a little over-enthusiastic while encouraging the steering rack to "get the **** off the ****ing steering ****ing shaft!!!!" I'm really hoping I won't have to replace the steering shaft as a result...
Making slow progress on the steering depower. When I pulled the universal joint off, the splines on the pinion were super rusty, to the point where they're losing some shape in places. Has anyone seen this before? Should I consider replacing it? If I can re-use it, would it make sense to put anti-seize on this joint to help mitigate further rust?
Also, the tension adjuster came off with the locknut...which explains why it was so hard to get off. It didn't help that the only thing I had large enough to get a grip on the lock nut was a pair of channel locks. The locknut and adjuster were seized together and the top few threads on the adjust were pretty rusty. I'm soaking them in POR15 rust remover to try to clean it up, we'll see how it turns out. I think I may try to soak the pinion splines too to clean them up a bit too.
Had to order some Torx wrenches from the ol' Amazonians to get the pinion assembly off. They'll be here tomorrow.
Rack out
Super funky...mildly concerned about the integrity of the splines
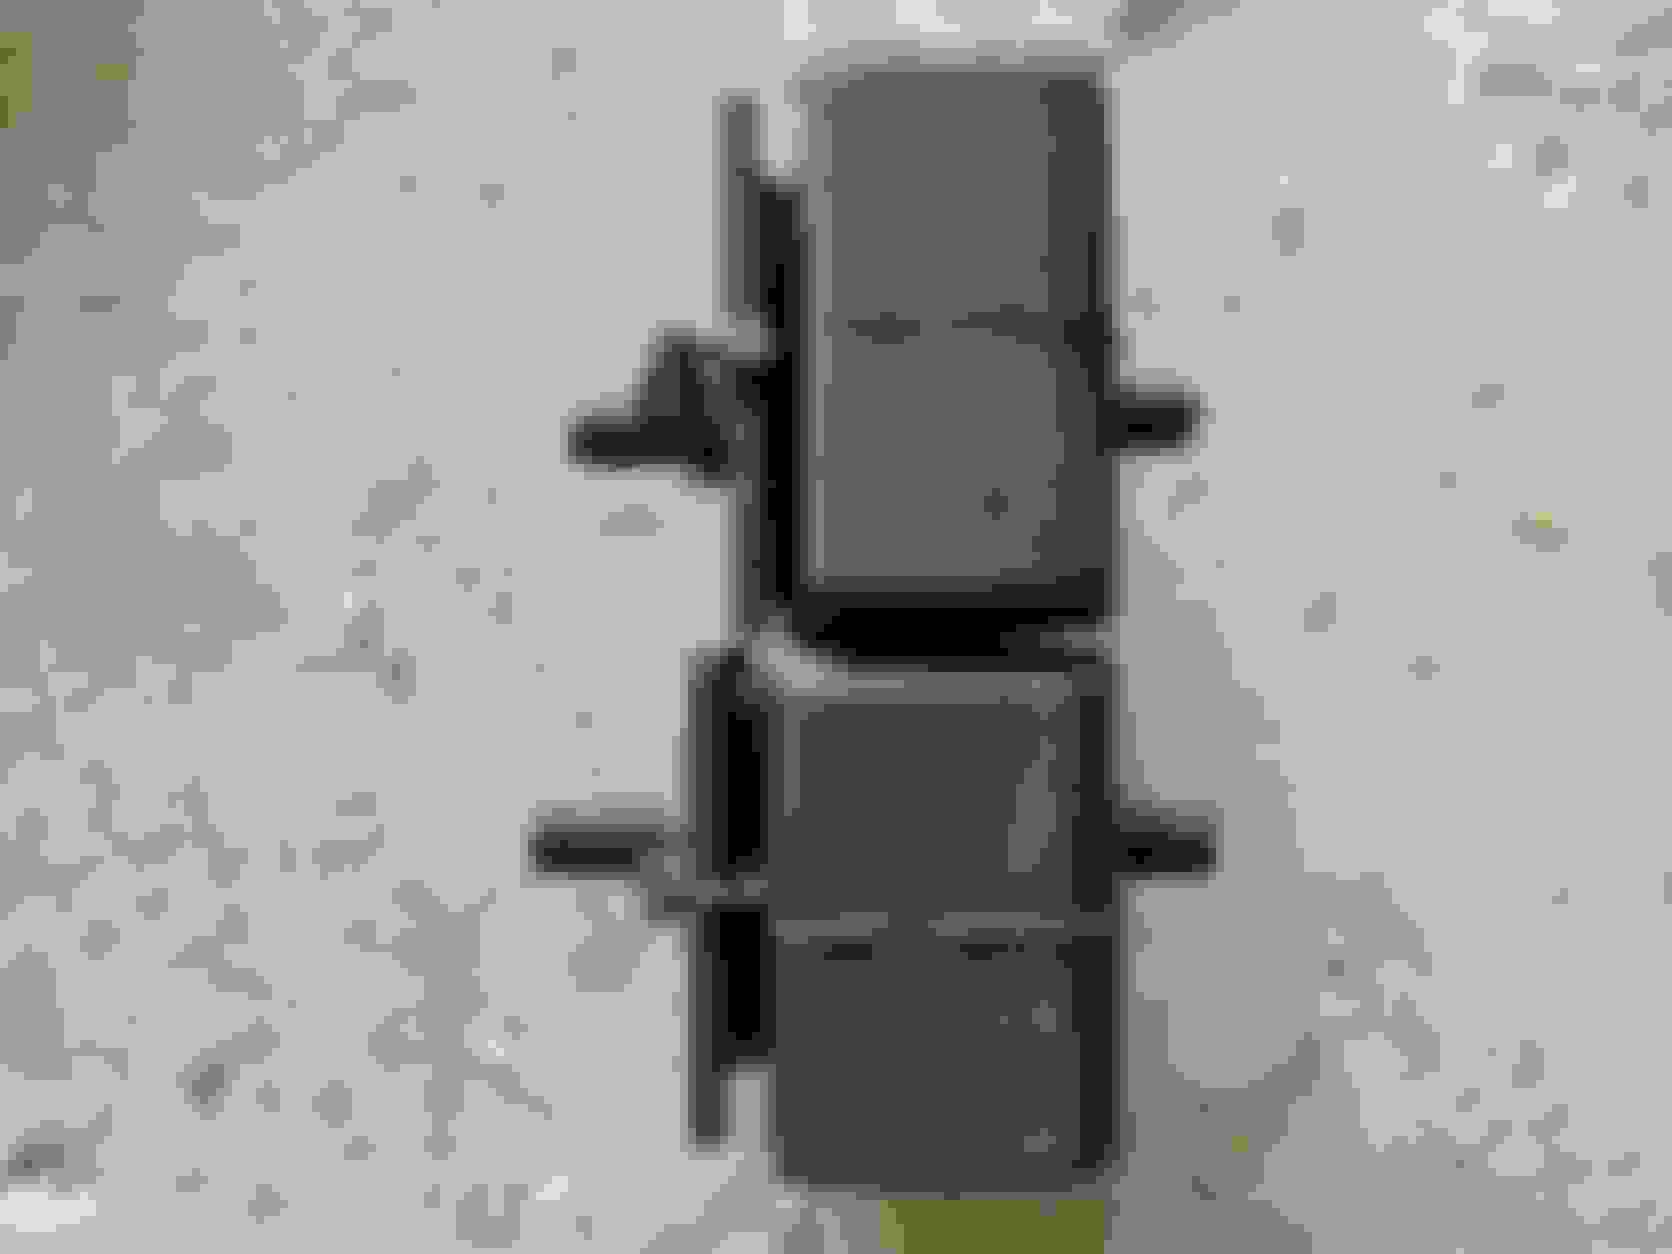
These 2 came off as one piece
Had to put it into a vice and use an impact wrench to get them apart
So, I'm not sure anyone's actually reading this thread, but I have a question about the PS depower. I've read just about every thread I can find about welding the pinion, and it appears to me that welding the pinion is important mostly to avoid wearing out the spline joint, which was designed to function in the context of pressurized hydraulic fluid, and will experience rapidly accelerated wear without that fluid.
Also, I've seen it mentioned several places that you could theoretically fill the splines with gap filler loctite, but I've not been able to find anyone having actually done this if it worked.
So my questions are:
1. Would the loctite method help support the joint and prevent accelerated wear? Or would it only take out the slop? If I'm thinking about it correctly, the accelerated wear comes from the relative motion between the splined components, so if you stop that by filling the gaps with loctite, it would address the wear concern...thoughts?
2. Does anyone from Indiana have any local welding shops they can recommend?
I can't answer your specific question, but MiataSource is where I bought my depowered rack. The following quote gives their reasoning for welding the pinion shaft. https://miata-source.com/blogs/tech-...-steering-rack
Another problem with the looped line method is leaving the pinion shaft unwelded. Before welding, the pinion shaft has a very slight movement which is used to direct the rack where the fluid is pressured to the rack. If left as-is you will notice some slop or dead play in the steering system. The MiataSource racks pinions are fully TIG welded:
Edit: looks like they offer a TIG welding service for this pinion too
Thanks, I appreciate the response! It's interesting, from what I've seen, a lot of people say welding makes a significant difference in the responsiveness, but a lot of other people who didn't weld theirs say they notice no "slop" at all. I think this apparently discrepancy comes from the behavior of the torsion bar that connects the two components. People expect "slop" to be a binary effect, but in the torsion bar effectively smooths it to the point that you don't really notice when the splines come in contact.
Given this, I'm not as concerned about the initial "slop" factor, since it's a street car and I'm not going to be doing anything extreme in it. However, I've seen the wear related concern in a couple of places, and that seems concerning enough to warrant welding. I believe @hustler 's experience was that the "slop" got worse over time, and eventually had to be welded anyway.
I don’t think I’d use the loctite. I could be wrong, but I don’t think it would be strong enough. Can’t help with a shop in Indiana, but I just drove down the street to a welding shop I found online that was close to me. They spent maybe 5 minutes to TIG it and charged me $40 cash, which I’m fairly sure the guy just stuck in his own pocket for beer money later that night.
I can't answer your specific question, but MiataSource is where I bought my depowered rack. The following quote gives their reasoning for welding the pinion shaft. https://miata-source.com/blogs/tech-...-steering-rack
Edit: looks like they offer a TIG welding service for this pinion too
Thank you for the link, I'll probably just use these guys if I can't find anyone local.
Originally Posted by rdb138
I don�t think I�d use the loctite. I could be wrong, but I don�t think it would be strong enough. Can�t help with a shop in Indiana, but I just drove down the street to a welding shop I found online that was close to me. They spent maybe 5 minutes to TIG it and charged me $40 cash, which I�m fairly sure the guy just stuck in his own pocket for beer money later that night.
You're probably right...I'm always tempted to try things I can do myself, but in this case, it probably doesn't make sense. I worry about taking it to a random shop; it seems like it's a 50/50 chance that it'll get ruined...I'll probably end up sending it somewhere with a proven track record.
Originally Posted by shuiend
I haven't welded either of the 2 manual steering swaps that I have done. Never has any issues.
I am now installing EPS so take my opinion with a grain of salt.
Thanks for chiming in Lars! I'm glad to see the business is still going well. What's motivating you to get EPS?
Very small update. Slow progress due to only having 30 minutes or so here and there to work on things. I got some of the rust cleaned up with a combination of POR15 rust remover and a brass wire brush on a power drill. I stopped at this point because I was starting to see marks on the clean metal, and I didn't want to damage the splines or threads.
Thanks for chiming in Lars! I'm glad to see the business is still going well. What's motivating you to get EPS?
I got old and lazy. Really the manual steering is a bit tougher then I liked when driving in parking lots and such. I drove a friends car with the EPS and was happy with it. So while I am in swapping over to DBW and a new ECU, I decided to go with the EPS on top of it all.
I got old and lazy. Really the manual steering is a bit tougher then I liked when driving in parking lots and such. I drove a friends car with the EPS and was happy with it. So while I am in swapping over to DBW and a new ECU, I decided to go with the EPS on top of it all.
 08-14-2018, 11:06 AM


 0
0