Build Threads Building a motor? Post the progress here.

Finally my 1st (water cooled) turbo build

Thread Tools
 
Search this Thread
 
Old 10-24-2015, 10:19 PM
  #361  
Elite Member
iTrader: (16)
 
patsmx5's Avatar
 
Join Date: Aug 2007
Location: Houston, TX
Posts: 9,297
Total Cats: 477
Default

No hate here, that thing looks awesome. I love builds that focus on reliability.
patsmx5 is offline  
Old 10-24-2015, 10:22 PM
  #362  
Elite Member
Thread Starter
iTrader: (6)
 
ryansmoneypit's Avatar
 
Join Date: Feb 2013
Location: A cave in Va
Posts: 3,395
Total Cats: 456
Default

Haha, it sll good any way. I just hope I can get this ms3 turd polished up. Then I give this wobbly turbo a few months at best.
ryansmoneypit is offline  
Old 10-25-2015, 06:03 AM
  #363  
Elite Member
 
Jeffbucc's Avatar
 
Join Date: Oct 2013
Location: Cedar City, UT
Posts: 2,764
Total Cats: 951
Default

Part of the learning experience man, I think you are slowly but surely getting there(the right way). Keep it up, I'm sure there was many a face-palm moment in my build thread.
Jeffbucc is offline  
Old 10-25-2015, 08:52 AM
  #364  
Elite Member
Thread Starter
iTrader: (6)
 
ryansmoneypit's Avatar
 
Join Date: Feb 2013
Location: A cave in Va
Posts: 3,395
Total Cats: 456
Default

Solved the ground issue on the reroute spacer, an 8-32 screw. Now has reliable coolant temp.

Attached Thumbnails Finally my 1st (water cooled) turbo build-80-20151024_161020_740d966e8576ea538db9b4547dca4e1f0976a42e.jpg  
ryansmoneypit is offline  
Old 10-25-2015, 09:03 AM
  #365  
Moderator
iTrader: (1)
 
Girz0r's Avatar
 
Join Date: Jun 2014
Location: Austin, TX
Posts: 3,033
Total Cats: 324
Default

I'm stupid.

How does it ground to the screw in that location?
Girz0r is offline  
Old 10-25-2015, 09:20 AM
  #366  
Elite Member
Thread Starter
iTrader: (6)
 
ryansmoneypit's Avatar
 
Join Date: Feb 2013
Location: A cave in Va
Posts: 3,395
Total Cats: 456
Default

I guess that picture was a crappy story. The screw just provides me a place to attach a ground wire to. So, chassis ground》wire》screw.
ryansmoneypit is offline  
Old 10-26-2015, 03:07 PM
  #367  
Senior Member
iTrader: (1)
 
huesmann's Avatar
 
Join Date: Jul 2014
Location: Silver Spring, MD
Posts: 659
Total Cats: -16
Default

Seemed pretty clear to me...ground wire to screw, spacer to block.
huesmann is offline  
Old 10-29-2015, 07:39 PM
  #368  
Elite Member
Thread Starter
iTrader: (6)
 
ryansmoneypit's Avatar
 
Join Date: Feb 2013
Location: A cave in Va
Posts: 3,395
Total Cats: 456
Default

Worked on the heat shield a bit, although I'm not totally convinced that this is the best or even a good solution.


Attached Thumbnails Finally my 1st (water cooled) turbo build-80-20151029_192718_98681e7ff7ecb2e07e7b9df47814f7246992fe17.jpg   Finally my 1st (water cooled) turbo build-80-20151029_192633_4eeaea2da552502724aa91f99085d091f6dc31fa.jpg  
ryansmoneypit is offline  
Old 10-29-2015, 07:40 PM
  #369  
SADFab Destructive Testing Engineer
iTrader: (5)
 
aidandj's Avatar
 
Join Date: Apr 2014
Location: Beaverton, USA
Posts: 18,642
Total Cats: 1,866
Default

god damn man. You can fabricate. Is that welded aluminum?
aidandj is offline  
Old 10-29-2015, 07:43 PM
  #370  
Elite Member
Thread Starter
iTrader: (6)
 
ryansmoneypit's Avatar
 
Join Date: Feb 2013
Location: A cave in Va
Posts: 3,395
Total Cats: 456
Default

Originally Posted by aidandj
god damn man. You can fabricate. Is that welded aluminum?
Haha! Thanks. Yes it is. Weld the outside, then a giant bead on the inside, then grind it how you like it.
ryansmoneypit is offline  
Old 10-29-2015, 07:48 PM
  #371  
Elite Member
Thread Starter
iTrader: (6)
 
ryansmoneypit's Avatar
 
Join Date: Feb 2013
Location: A cave in Va
Posts: 3,395
Total Cats: 456
Default

This is why I just want someone else to handle my electrical bull ****. It's not my strong point. I'm better with metal stuff.
ryansmoneypit is offline  
Old 10-29-2015, 07:51 PM
  #372  
SADFab Destructive Testing Engineer
iTrader: (5)
 
aidandj's Avatar
 
Join Date: Apr 2014
Location: Beaverton, USA
Posts: 18,642
Total Cats: 1,866
Default

Thats awesome. I'm going to try that next time I need to.
aidandj is offline  
Old 10-29-2015, 07:53 PM
  #373  
Elite Member
iTrader: (37)
 
EO2K's Avatar
 
Join Date: Apr 2010
Location: Very NorCal
Posts: 10,441
Total Cats: 1,899
Default

Originally Posted by ryansmoneypit
Worked on the heat shield a bit, although I'm not totally convinced that this is the best or even a good solution.
It's garbage. Send it to me and I'll throw it in the trash for you.

No seriously, I wish I could make things like that Good show sir.
EO2K is offline  
Old 10-30-2015, 12:01 PM
  #374  
Senior Member
 
rwyatt365's Avatar
 
Join Date: Dec 2007
Location: ATL
Posts: 1,350
Total Cats: 128
Default

It's beeeyoutifull
rwyatt365 is offline  
Old 10-30-2015, 03:30 PM
  #375  
Elite Member
iTrader: (16)
 
patsmx5's Avatar
 
Join Date: Aug 2007
Location: Houston, TX
Posts: 9,297
Total Cats: 477
Default

Originally Posted by ryansmoneypit
Worked on the heat shield a bit, although I'm not totally convinced that this is the best or even a good solution.
Fab skills are impressive, it looks like 1 piece. Damn.

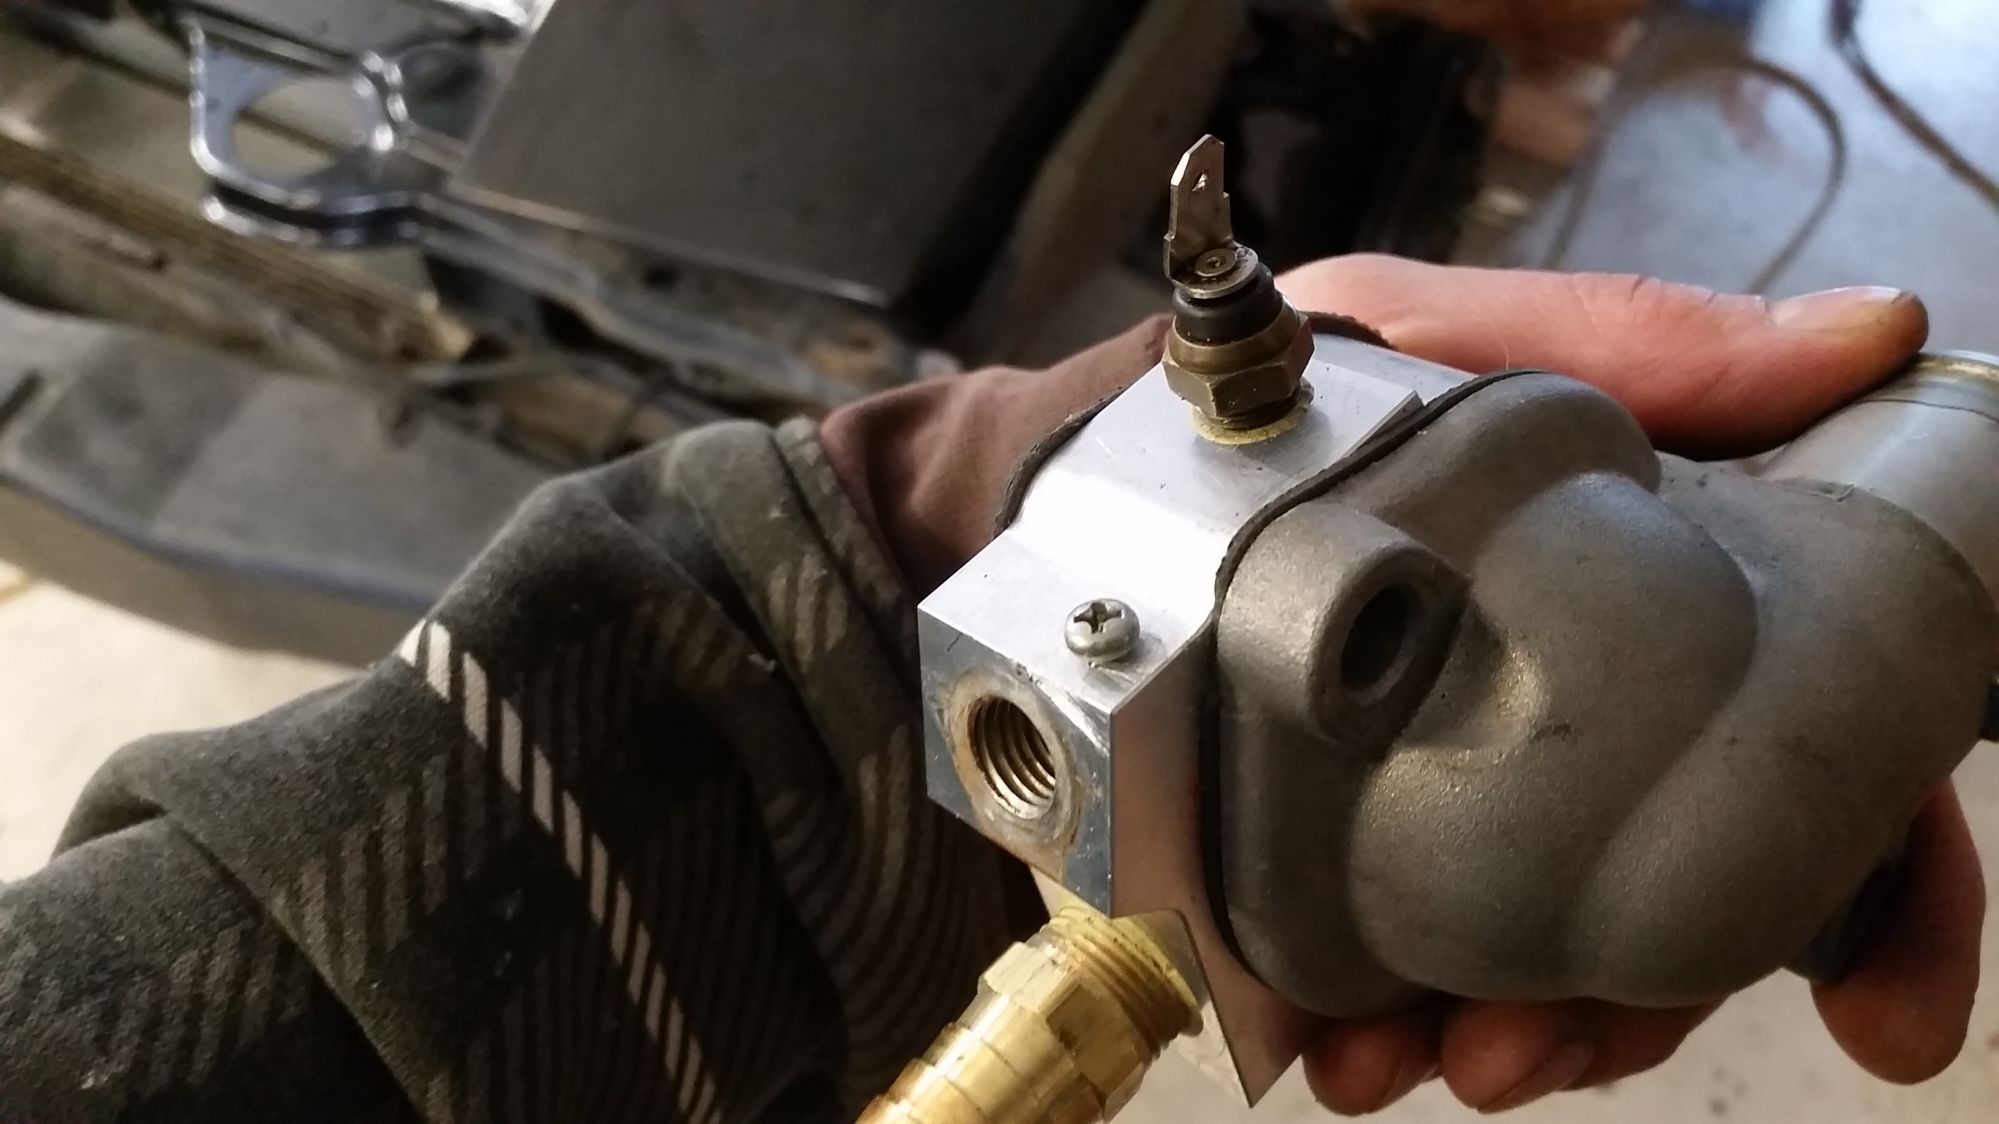
On the functionality part, I think that's going to do fine to protect the coolant hoses and brake master, things in that area. If that's your goal, you're done.

The only way I can see improving what you have now is if you built another shield for the exhaust manifold. But it looks like yours is coated anyway, so that's probably not needed since it appears you have a low emissivity coating on the turbo manifold already.

patsmx5 is offline  
Old 10-30-2015, 03:41 PM
  #376  
Elite Member
Thread Starter
iTrader: (6)
 
ryansmoneypit's Avatar
 
Join Date: Feb 2013
Location: A cave in Va
Posts: 3,395
Total Cats: 456
Default

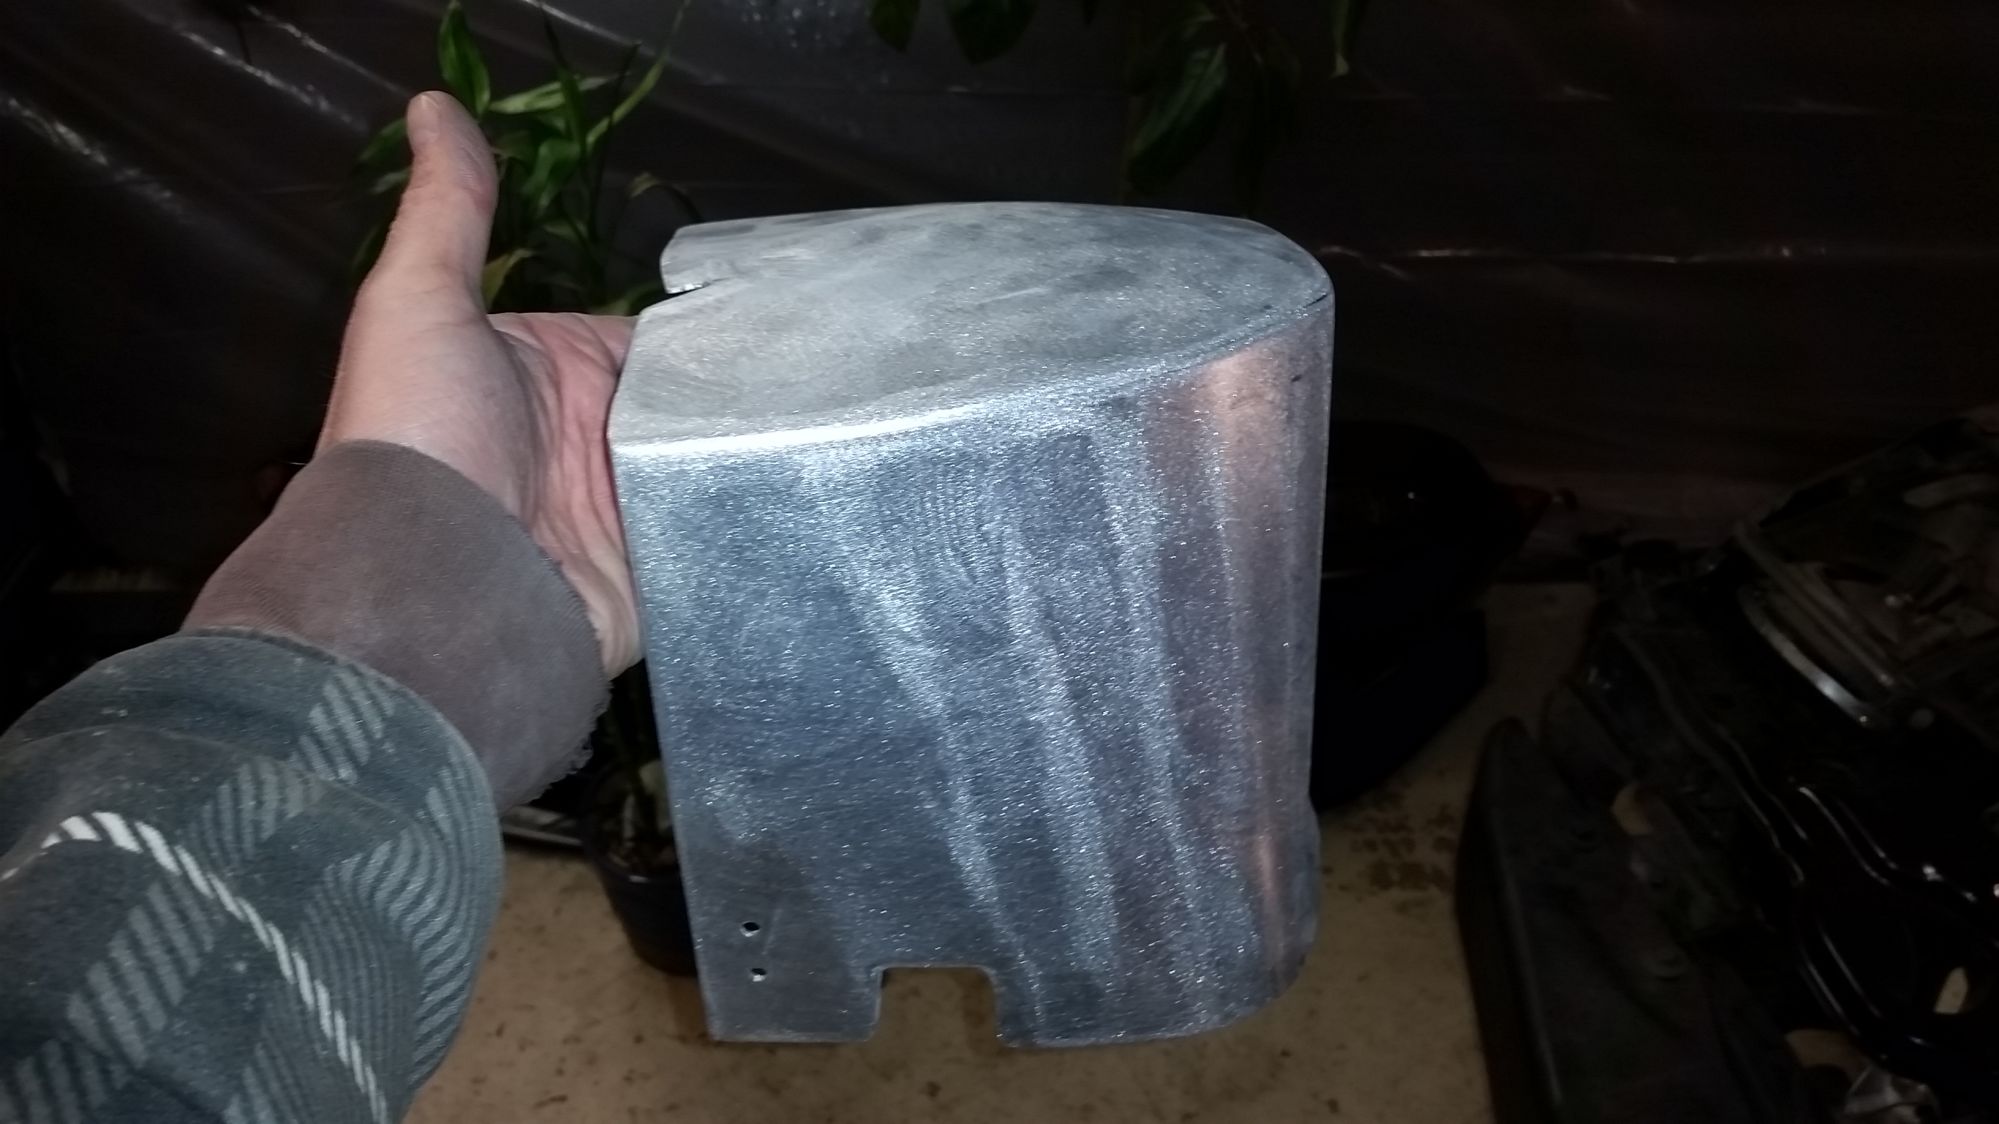
It was wierd to make. The wall has this helix type bend to fit around everything, then the lid had to be dished. A hammer, a torch and a pile of sand as an anvil helped me with that one.
ryansmoneypit is offline  
Old 11-09-2015, 06:10 PM
  #377  
Elite Member
Thread Starter
iTrader: (6)
 
ryansmoneypit's Avatar
 
Join Date: Feb 2013
Location: A cave in Va
Posts: 3,395
Total Cats: 456
Default

New parts started...my catch can is under way. Waiting on bungs and chore boys. Because a simple catch can that I can buy for like 100 bucks, isn't mine.


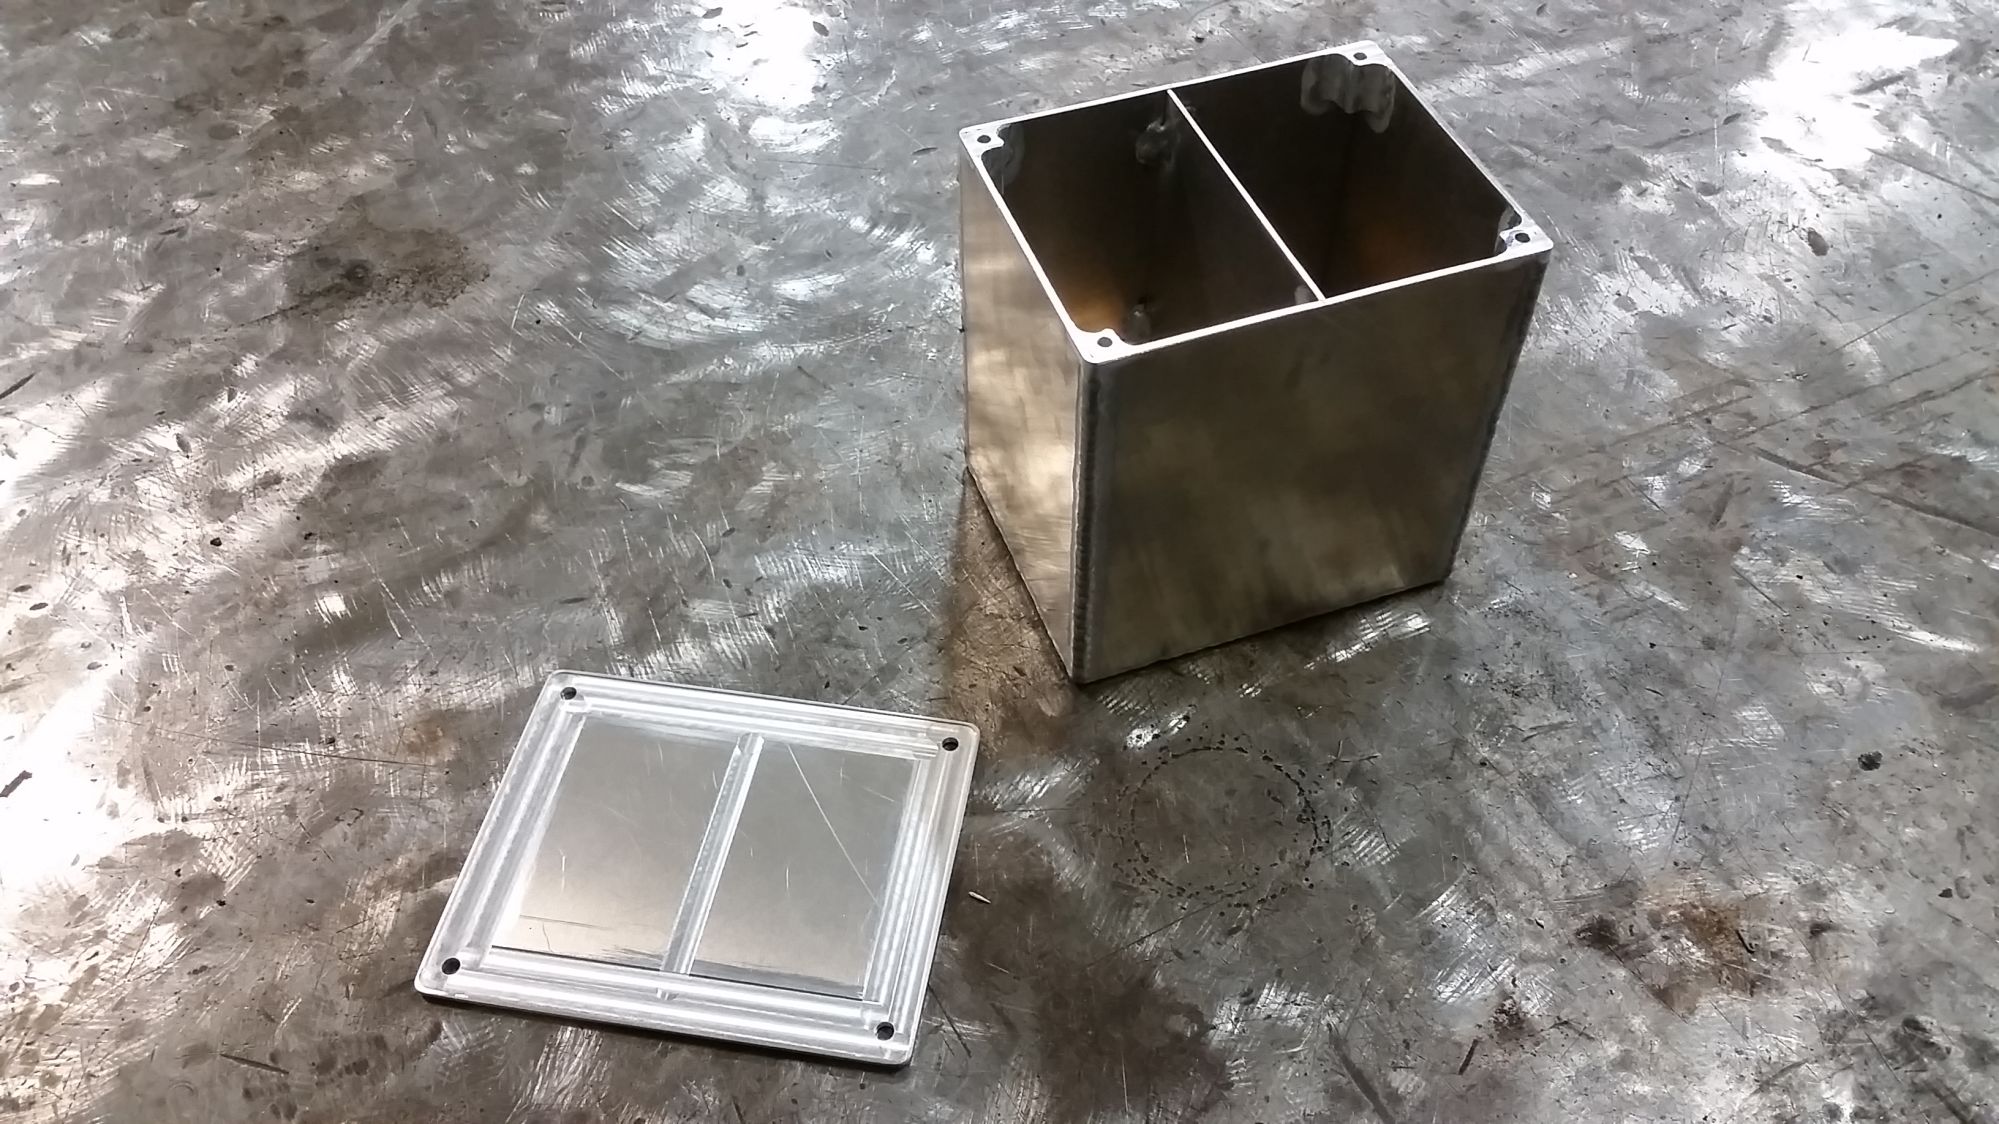
Now with real cool machined area to hold a gasket in the lid.
Attached Thumbnails Finally my 1st (water cooled) turbo build-80-20151109_180625_feefbe71c9bc3c083909e1bf5174784ba8b51133.jpg  
ryansmoneypit is offline  
Old 11-13-2015, 03:18 AM
  #378  
Newb
 
Villyum's Avatar
 
Join Date: Nov 2015
Posts: 3
Total Cats: 0
Default

You have some wicked craftsman skills sir. I admire your work.

Where do you source most of your threaded fittings and such from?

I can only hope I can bless my 1.6 with custom tidbits like yours.
Villyum is offline  
Old 11-13-2015, 08:07 AM
  #379  
Elite Member
Thread Starter
iTrader: (6)
 
ryansmoneypit's Avatar
 
Join Date: Feb 2013
Location: A cave in Va
Posts: 3,395
Total Cats: 456
Default

Originally Posted by Villyum
You have some wicked craftsman skills sir. I admire your work.

Where do you source most of your threaded fittings and such from?

I can only hope I can bless my 1.6 with custom tidbits like yours.
Which fittings? Most of the steel ones just come from McMaster-Carr, aluminum bungs I just get from the Internet. Ebay usually. Just use a name brand hose end, or else they leak.
ryansmoneypit is offline  
Old 11-14-2015, 11:49 AM
  #380  
Elite Member
Thread Starter
iTrader: (6)
 
ryansmoneypit's Avatar
 
Join Date: Feb 2013
Location: A cave in Va
Posts: 3,395
Total Cats: 456
Default

Finished the separator. ..mostly. made a last second decision to put one of the bungs on the top, to avoid having to buy a $25.00 180 degree fitting. Instant regret after I realized how tall it was like this. May have to buy the stupid fitting.


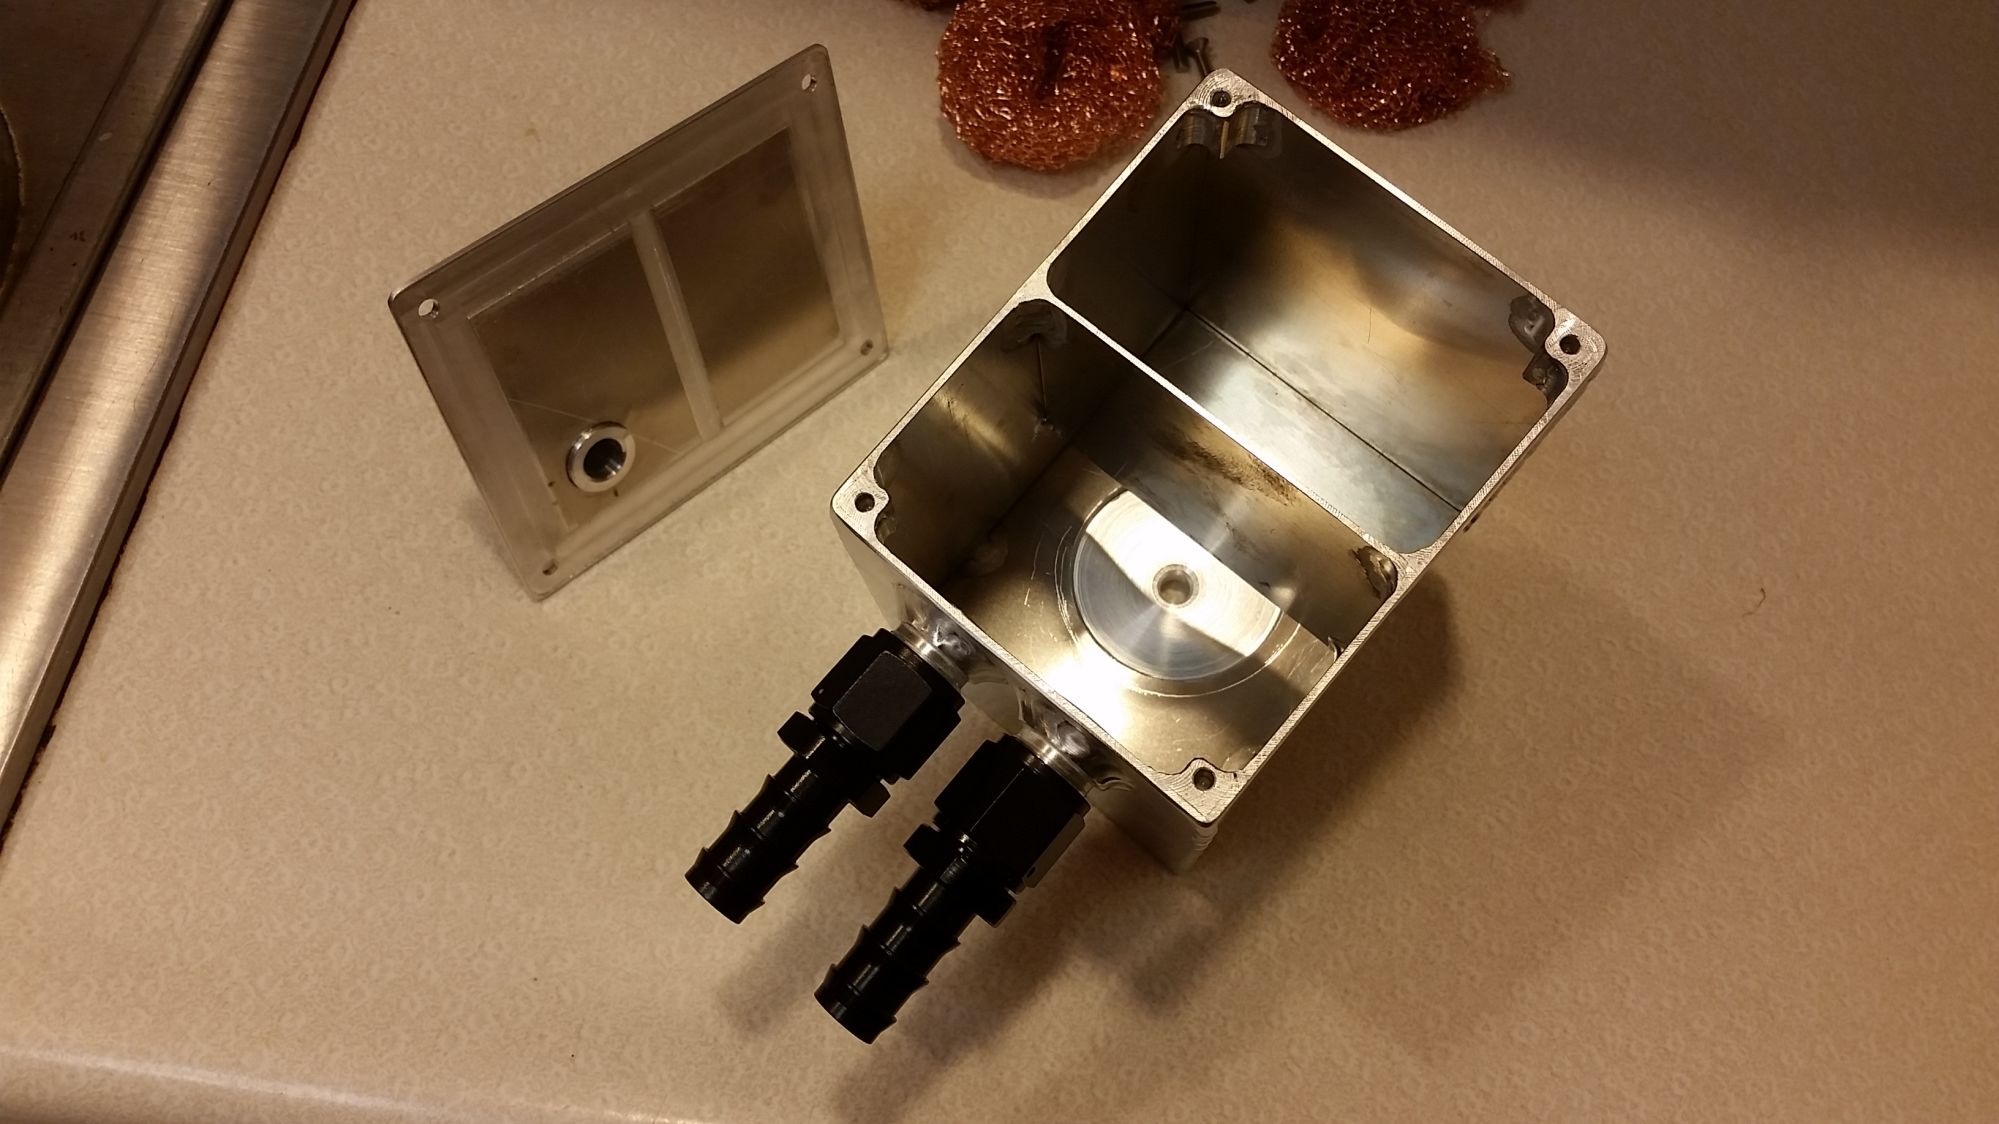
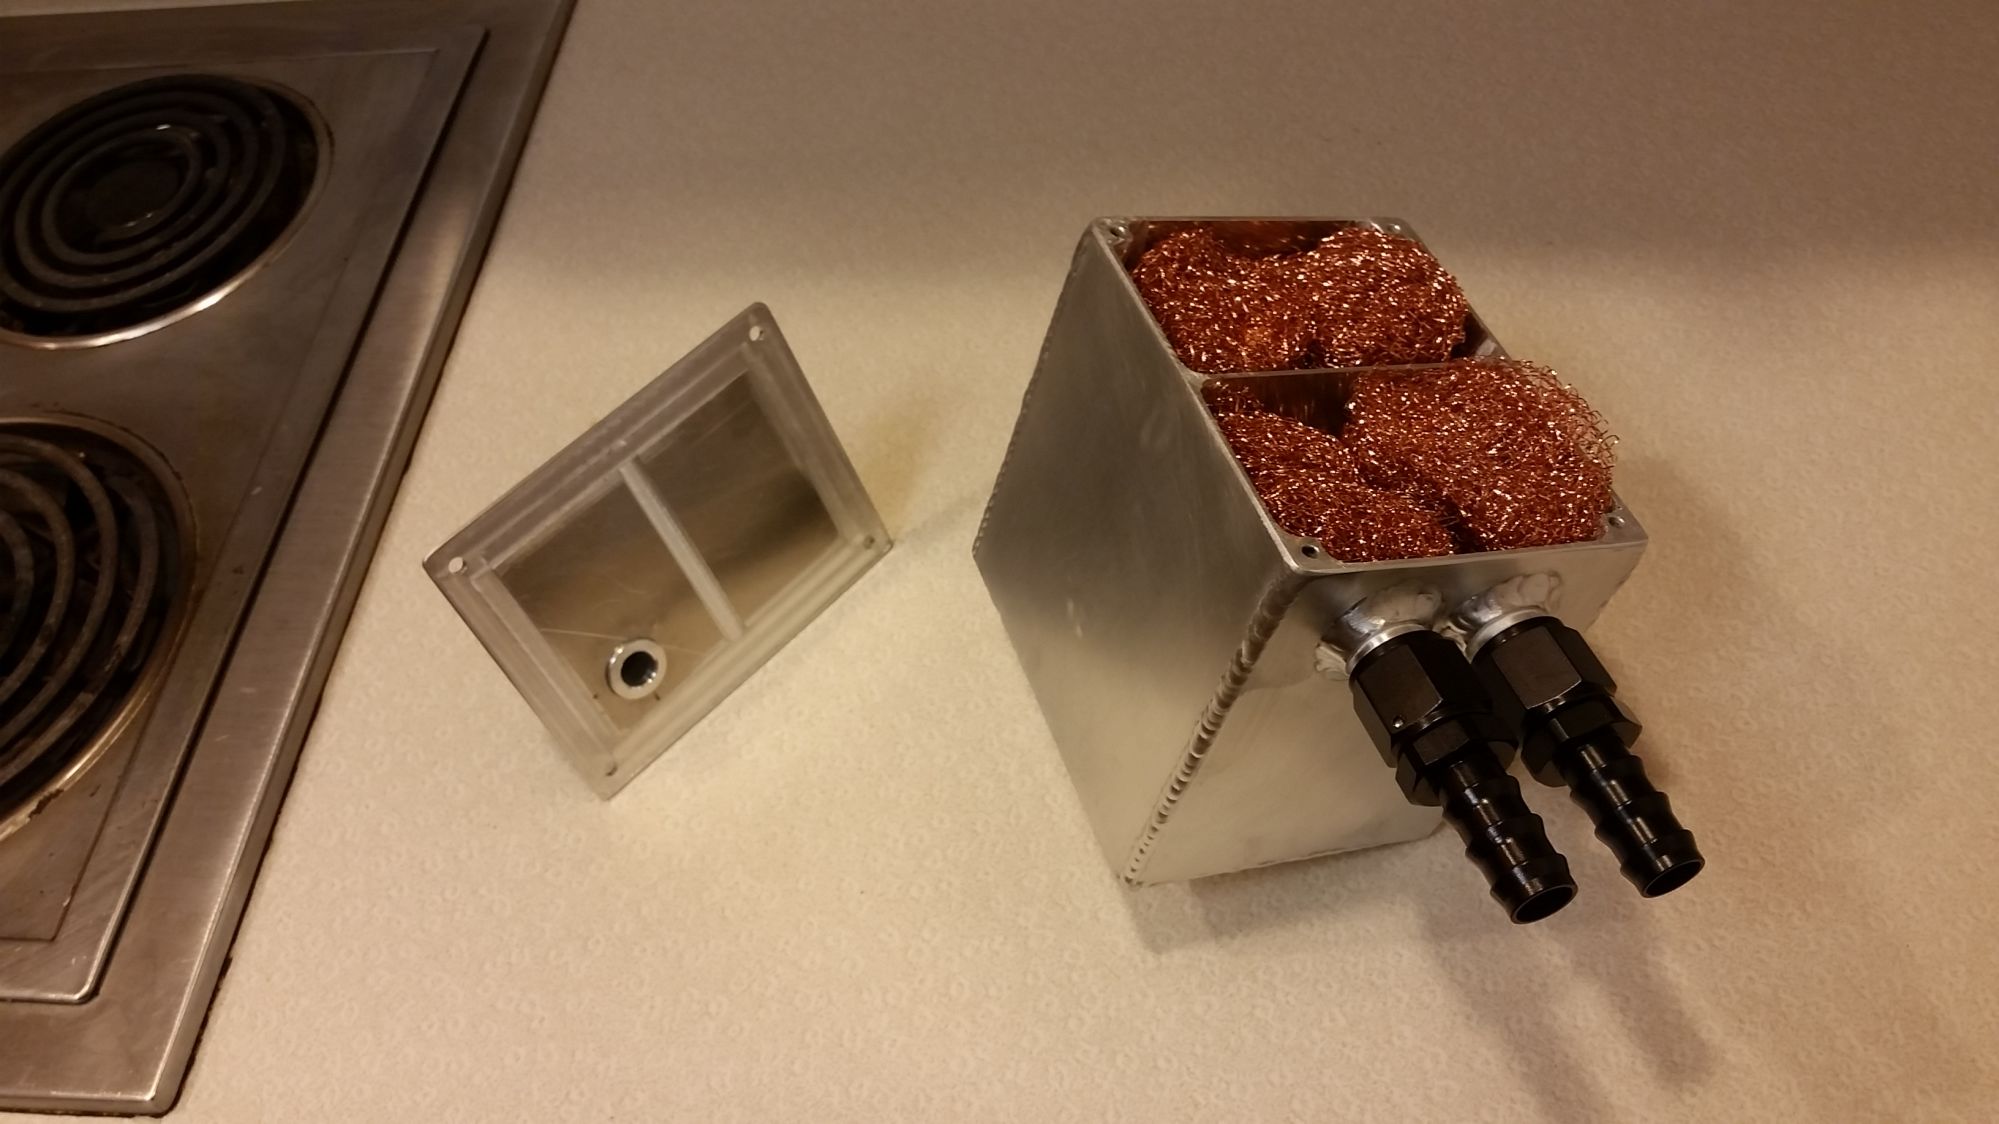
Stuffed full of ChorBoy.
Attached Thumbnails Finally my 1st (water cooled) turbo build-80-20151113_221153_b0675492647e1af5151e59bba3cfe882a71bc2f1.jpg   Finally my 1st (water cooled) turbo build-80-20151113_221012_2bfe578d395d8d069351d79845a3a348391b13a7.jpg   Finally my 1st (water cooled) turbo build-80-20151113_220933_094ba2e1dbdf6b7f4698e44976834ee7b4d06d63.jpg  
ryansmoneypit is offline  


Quick Reply: Finally my 1st (water cooled) turbo build


All times are GMT -4. The time now is 04:30 AM.