When you click on links to various merchants on this site and make a purchase, this can result in this site earning a commission. Affiliate programs and affiliations include, but are not limited to, the eBay Partner Network.
I'm doing a similar loom simplification for my na/mk1 Eunos car, it's amazing the 'extra' wire Mazda used to run relays & splices then cross back over the car
Rich.
I'm with ya Rich...Some of the ways Mazda ran the wiring makes no sense to me at all. That said, I have my wiring harness stripped down to the point that almost all of that sort of stuff has been removed! Good luck with your wiring!
Originally Posted by griff
Nice progress! KEEP PUSHING!!!!! ;-)
Thanks Griff...I also need the Keep Pushing! advice. I'm gonna try and get a few hours work in the car this weekend! So close to actually being able to start driving this thing!
I'm with ya Rich...Some of the ways Mazda ran the wiring makes no sense to me at all. That said, I have my wiring harness stripped down to the point that almost all of that sort of stuff has been removed!
I've stripped a spare front / enginebay loom only to find it's different to the one in my car so am starting again - but with some ideas about relays etc.
It's been a minute since I posted last. I've been super busy with life again. I really should have been working on the wiring more, but in the back of my head I knew I couldn't drive the car until I got my half-shafts and hubs back from V8R, so I kept thinking I had time. On Sunday I finally got all the parts to put her back together...
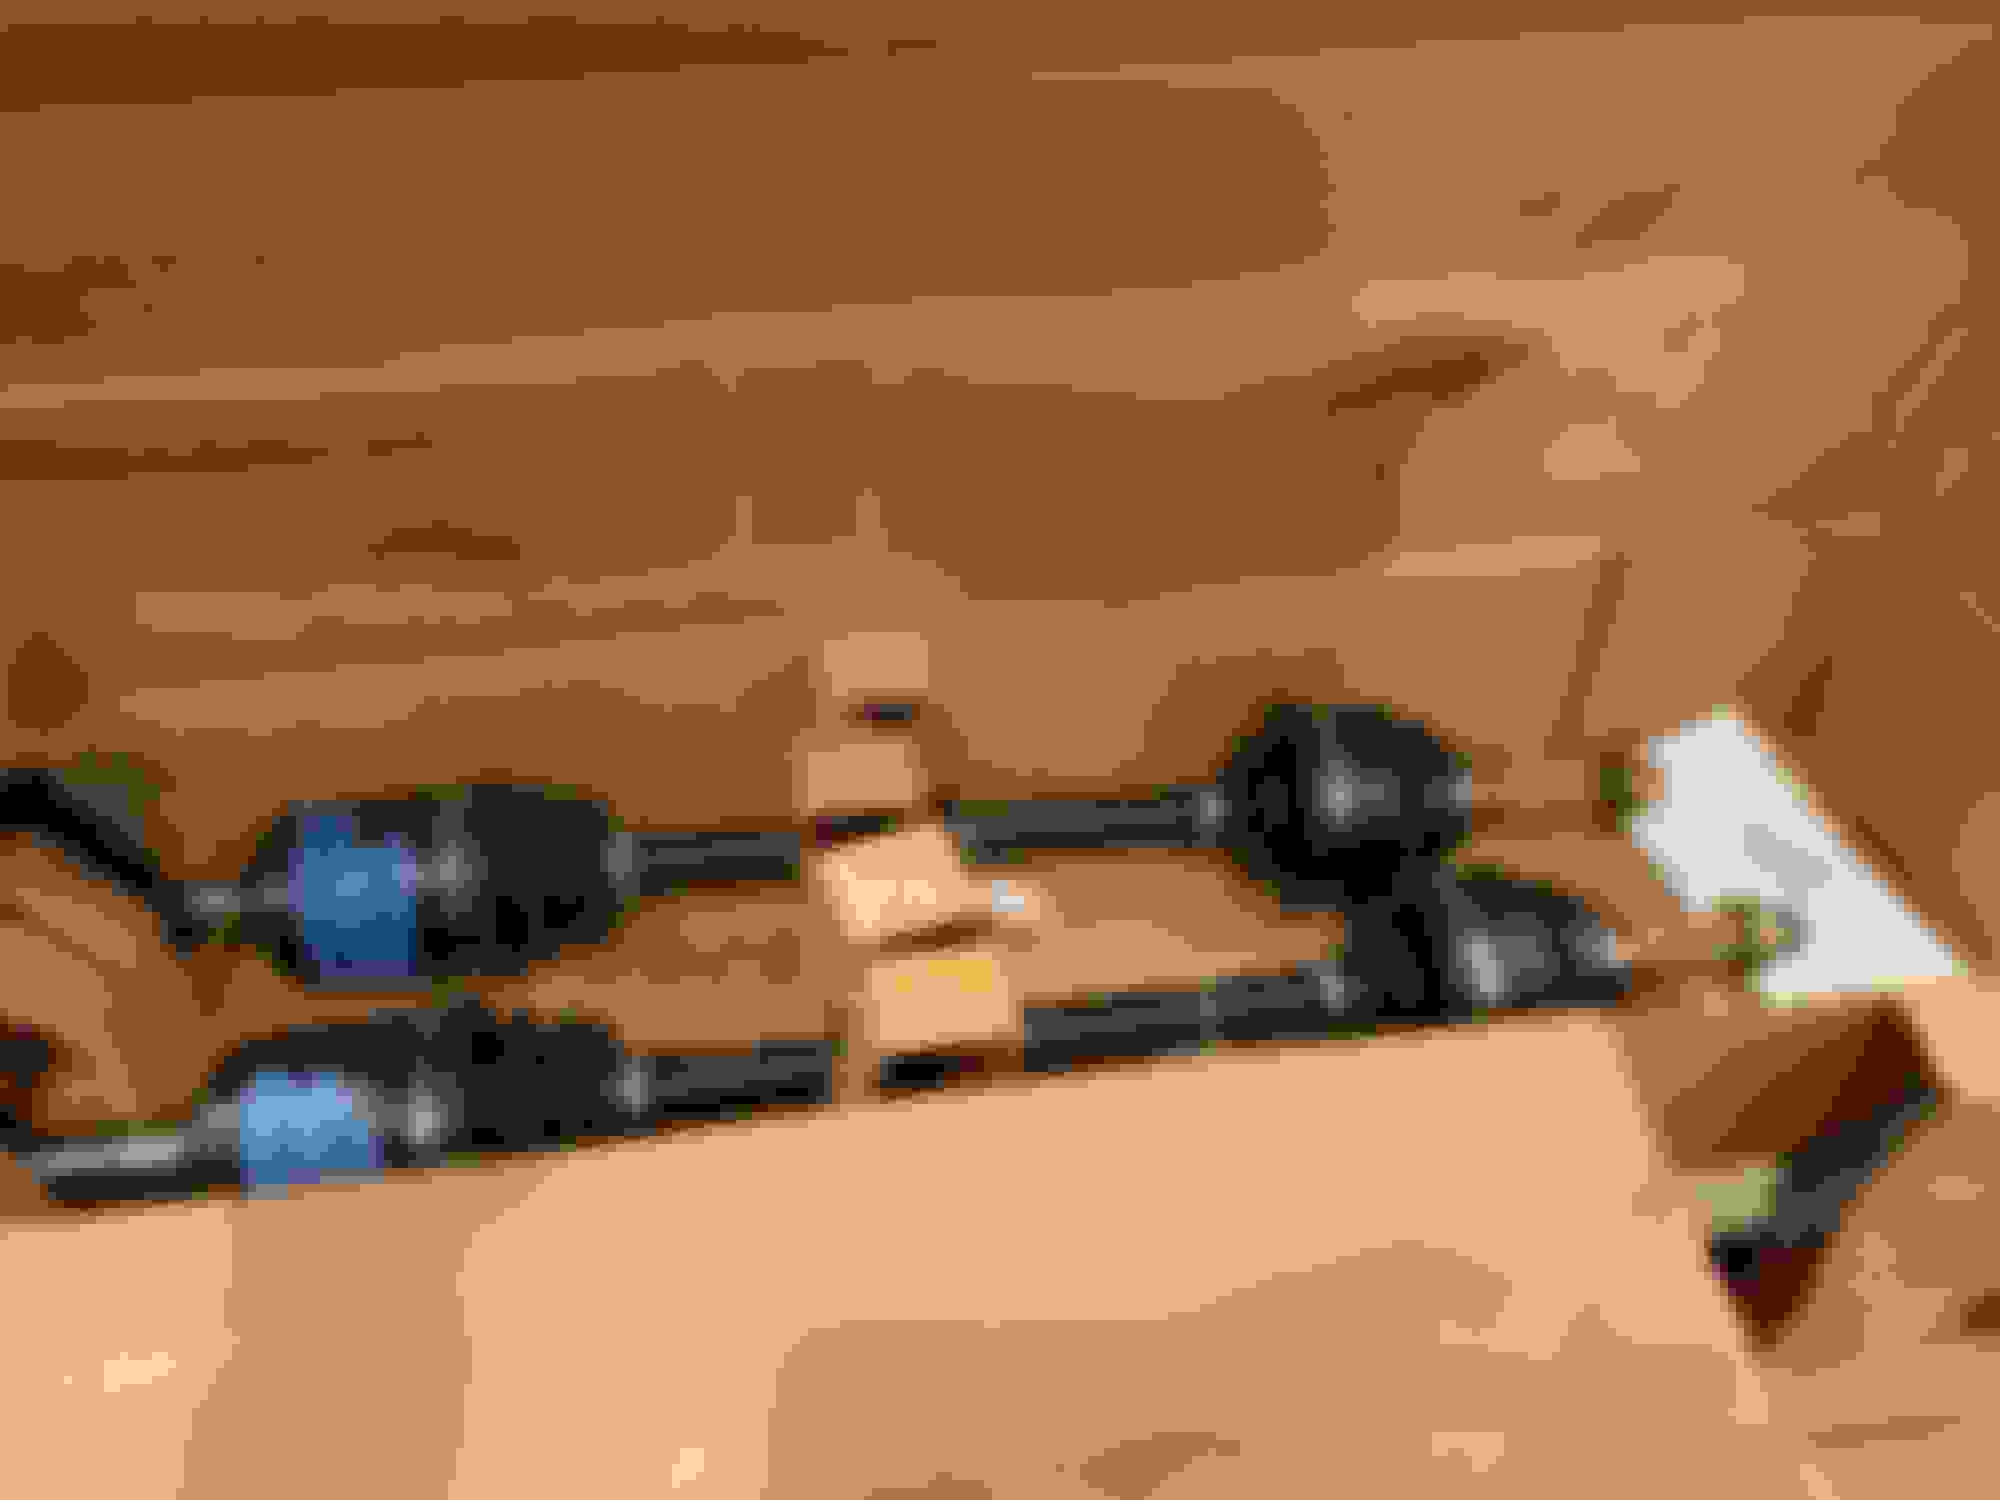
On Thursday the Half Shafts showed up...Threads all the way to the bitter end!
On Sunday the hubs showed up and I test fitted one! It looks great, although, the axle nut they sent was one that is supposed to be staked on & there is no spot to stake it too. (Honestly, not that upset, I can fix this myself. I just need to go and buy new axle nuts that will lock.)
Unfortunately I was half way into all the maintenance I was doing to my pickup, so the Miata had to wait until Tuesday night for me to start working on her. I got most of the "pressing" done...Old bearings out of the knuckles, New bearings in. The studs pressed into the hubs, and the hubs into the bearings. I was dragging doing all of this and tired, so I decided to call it once I got that far. Some pics...
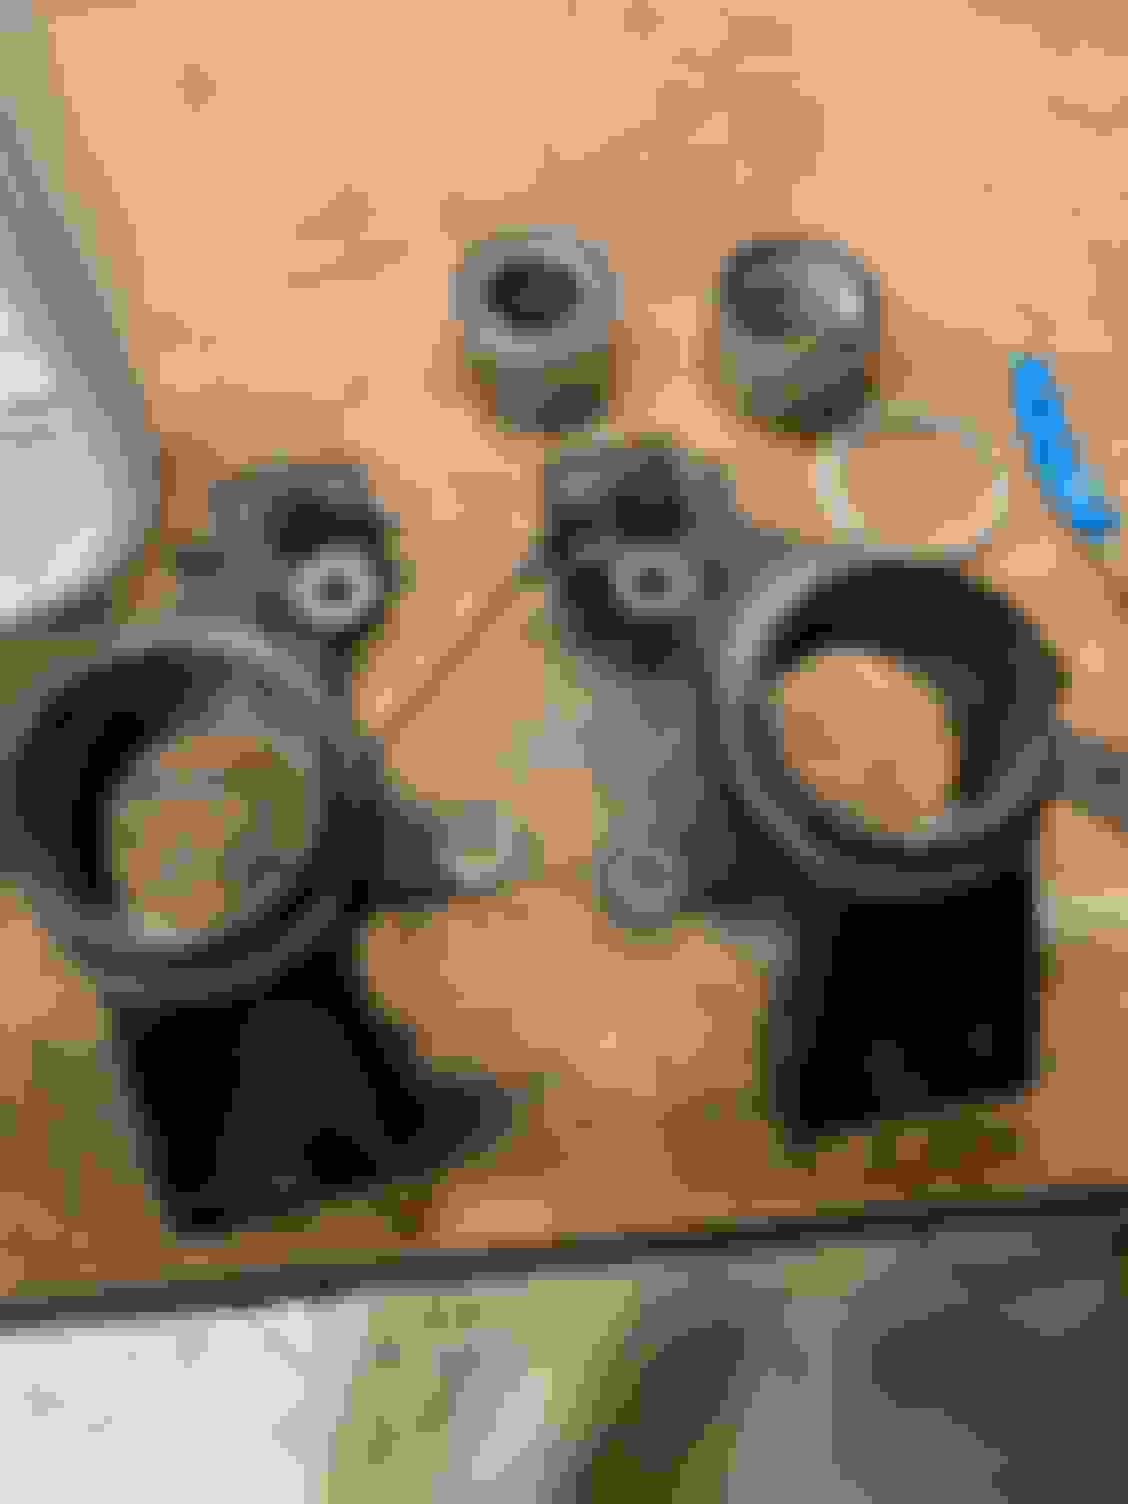
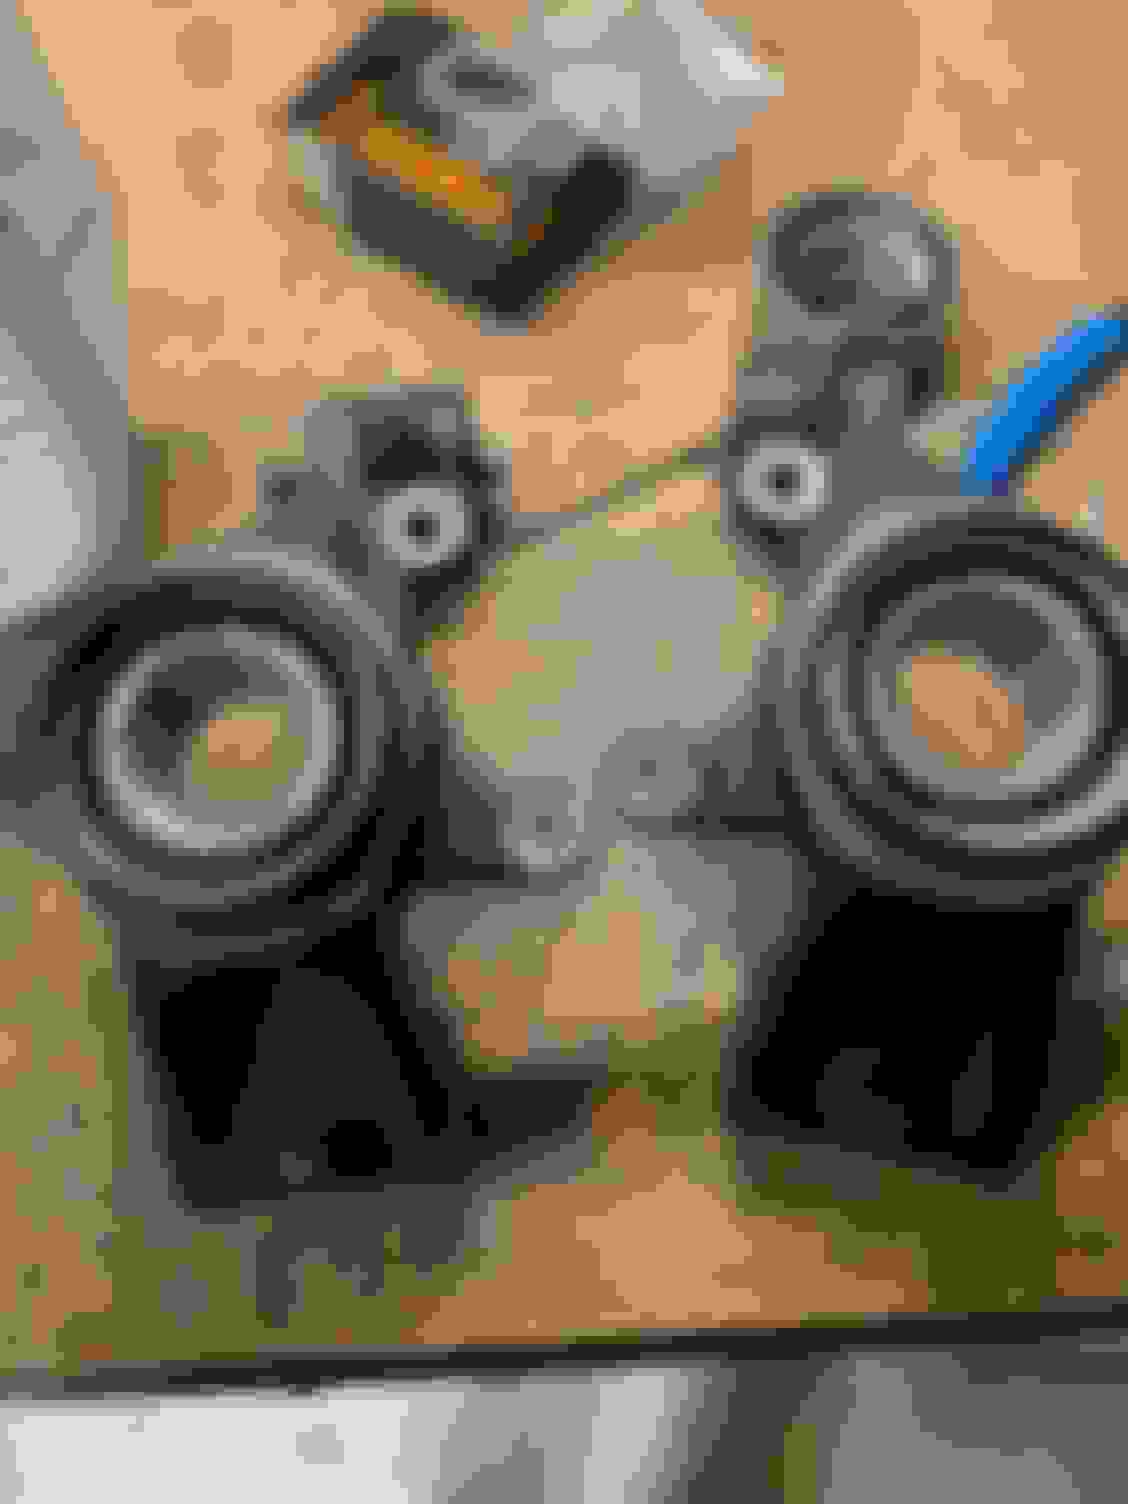
Old bearings out...ready for the new...
New bearings pressed in & installing the C - clip...I also installed new seals too (no pic)
Pressing the Studs into the hubs
My ARP studs that came with the hubs ended up being Moroso...Guessing Covid supply issues...
Hubs pressed back in & all ready to be reinstalled on the car
Yesterday was beautiful out. A great day to work out in the garage and I had the afternoon off, so I made the best of it. I reinstalled the half shafts, the knuckles, and the brakes on each side first.
That left the exhaust to be reinstalled, the subframe brace & wheels. I decided to finish up anything on my "punch list" that was either under or at the back of the car now while I had all of the big parts still off and out of the way. So I did the following:
Move the rear sway bar over so it was even on both sides. I realized while rolling the fenders that it was 1/4" further on one side then the other.
Tightened up the brake lines and move the flexible hoses over so they wouldn't hit the wheel
Tightened up the fuel lines...although they were not leaking (yet) I realized some of the fittings were only finger tight...also added a little bit of rubber hose over the lines from the pump to the fuel regulator/filter to keep them from chafing on each other.
Reinstalled the wheels
Locktite & torqued all of the driveshaft bolts
Reinstalled the exhaust & double nut the V-bands
Reinstalled & torqued the subframe brace
Adjusted the end links and tightened them for now. (I'll need to redo this most likely once the car is on the ground and I adjust ride height, but for now they are adjusted & torqued for the current height the coilovers are set at).
Some pics of the work above...
Driveshaft torqued & loctite...at the transmission
Driveshaft torqued & loctite at the diff
I noticed the U shapped nut was finger tight on every connection (there are 5 of these, 2 at pump, 2 at filter, 1 at fuel rail)...wasn't leaking at the moment, but glad I noticed this before a serious issue.
This has all of the rear & under the car completed and read for me to drive the car! (except the rear axle nuts still need to be torqued...I need to figure out the axle nuts & get a bigger torque wrench than what I currently own)
I decided to continue working on the "punch list" and moved to the front passenger side. Basically all of the suspension parts needed to be torqued to spec. They were all currently finger tight. So I pulled out the torque wrench and went to town on all of the suspension parts on the passenger side. I also noticed that the brake hose wasn't attached to the brake line (only looked like it was), so I attached that. Then I removed the brakes so I could torque down the spindle nut. (You can normally get to this without removing the brakes, but the brofab hubs have a spacer that covers this nut and you have to remove the brakes to access it.) From there I decided to call it a night, so I still have the drivers side to tighten all up.
Passenger side all torqued to spec with cotter pins installed..
My punch list looks pretty short now! So here is what is left to drive the car.
Electrical (I'm gonna leave this generic for now)
Torque the suspension on the drivers front side
Torque & lock the rear axle nuts
Harmonic Balancer - torque
Clutch - bench bleed & car bleed
Brakes - bench bleed & car bleed
Fill coolant
Rough Alignment
Insure car
Register car
Install seats & belts
Install steering wheel
I'm guessing it's 5-7 days of electrical + 2-3 days for the rest. I can definitely see the light at the end of the tunnel now. I'm ready to be driving!
Last edited by rdb138; Sep 3, 2021 at 12:01 AM.
Reason: Spelling
I've been a bit MIA with life recently. I started a new "real" job a couple months ago (which I like, but crazy hours), moonlighting on weekends trying to finish up the jobs I took while looking for a "real" job (those are finally mostly done) and helping a parent that's critically ill. Unfortunately, I haven't had a lot of "garage / car" time, but I got some time last weekend and hopefully I can work on the car some this weekend too.
So I believe last time I wrote about wiring, I was working on the stripped Mazda wiring harness. I had stripped a ton of wires I no longer needed out and was laying what wires I had left back in the car so I could figure out how they all needed to be routed. I spent a lot more time then I care to admit getting the rats nest of wires bunched back together again and organized.
Here is where I believe I was last time I wrote
Here I have the wires a bit more in order...
Along the way I stopped every so often and would "test" that all my circuits still worked by using some wires with alligator clips and a spare miata battery to connect everything up. I believe I've done this about 3 times now...and everything still works. (yes, I'm shocked too.) I don't have any good pictures of this...if you look at the picture above I was actually testing the blinkers when I took that.
While routing everything, I decided to put all the electrical "stuff" on the passenger side so it would all live together and be relatively easy to get too. This involved moving the two relays I still had left (that lived under the hood) to inside the car and move the Miata fuse box & flasher over to the passenger side. This sounds like a lot of work, but lucky enough for me, only one wire needed to be elongated to make that work. Otherwise, the fuse box & flasher moved over very easily. As far as the relays, those wires just needed to be shortened. I used a very thin wood board to mock up where I was gonna put things. I mounted the board using two studs that were already on the firewall with a nut on the backside to hold the board off the firewall and a nut on the front side to hold it all in place. This works pretty well. Once I have things laid out the way I want, I'll transfer everything over to a piece of thicker plastic. A thin piece of scrap wood was just easier to work with for now.
Here you can see the two relays, the Miata fuse box, the engine fuse box, and the power distribution block. I still needed to add the flasher & OBD2 in this picture
I kept cleaning up wires & getting everything connected properly. This is pretty much how all the wires will be bundled together. I have a couple ground wires to tend too, and all of the wires that go to the center switch board still need to be shortened, but everything is grouped together now.
I also stripped out the un-needed wires from the rear most harness. I got ahead of myself and started wrapping everything back up to only realize I haven't run my new (thicker) wire to the fuel pump yet. (I needed to purchase a new terminal so I could use a larger gauge wire, so I stopped here till that arrives.)
Additionally I had to clean up the wiring in the engine compartment. I'll use this to give a little more of an idea of all the work you never see that needs to be done when stripping all the wires out of the harness. If you look at the picture below you can see items I had to fix after pulling all the wires out.
1. I fixed the light plug where the previous owner used some vampire clips to wire in his fancy (read ugly) lights. On this side I used brush on liquid tape. On the passenger side, I had to use butt connectors because the wires were too weak.
Drivers Side
Passenger Side
2. I had a bunch of areas where multiple wires had previously been spliced together and Mazda used electrical tape to seal them. After stripping all the unneeded wires out, most of these were down to just 2 or 3 wires in total needing to be spliced together, so I used water proof heat shrink butt connectors to clean these up.
Here they are before pulling the tape off and using butt connectors
All cleaned up
3. Under the headlights is a ground connector. If you pull this apart / de pin it. You can get the metal bus bar out and clean it up. (You can see the ground connector properly in place in the picture above)
Once I had everything fixed up, I tapped up the wires every few inches with some Tesa tape to hold everything together. I then pulled out some split loom and loomed up the wires and finished off with some harness clamps / zip ties to hold everything in place.
Tesa tape wrapped around the wires every few inches Installing the split loom. There is about 20' of loom on the side of the car. Was getting the hot knife ready to cut it.
Loom done & zip tied so it all stays in place.
That's about where I am today with the Mazda harness. It's probably 80% done right now. Most of the work left is just putting loom all over the wire that's left and cutting the switch panel wire to the proper length / installing connectors on the ends. I've left the loom off most of it for now, since I know I'll have some additional wires that are connected to the "engine harness" that I'll want to run with the Miata wires. (example...the fuel pump wire)
I've also been working on other parts of the wiring. I'll put those in separate write ups. But here is a little info about each one for now...
LFX Engine harness...It's about 60% done right now. This is basically the harness you can buy from V8Roadsters or Keisler Automation.
Power Distribution Harness...This is basically battery, kill switch, starter, alternator wiring. I'm only about 30% done with this right now. Most of the work has been figuring out how I'm going to run items and ordering parts.
Switch Panel...75% done. I've been adding pigtails and connectors on the ends of each switch. I still have a couple left to do.
A TON of work has been done on the car since I last wrote. I keep thinking I only have 4 days worth of work left to drive the car...LOL...4 days of work has come and gone a handful of times now and I still have work that is on that "4 days of work left" list. That said (and before I bury the lead) not only is she up and running! (Yay!) I've also driven her on the road about 10 miles now!
I still owe write ups on wiring & other stuff (and I am committed to doing that) but figured I'd do a quick highlights on the past 6 weeks and impressions of the car...
So Highlights for the last 6 weeks:
Wiring is like going to jail for 10 life sentences...your never gonna get out / done. (Spoiler...I'm still not done with wiring the damn car.)
Relays...If you can't see anymore...write the damn numbers on the side of the relay...I wasted some serious time trying to get the electrical relays to work and it was because I had the numbers mixed up / I couldn't see.
Still don't have the fan relay working properly...for now I bypassed the relay and it's just running non-stop.
Grounds -- you need good grounds to start the car (and a good battery!)
Jumper cables on the engine barely would work sometimes (when I was testing.)
Once I put in the proper "big" wires & grounds everything starts easily
Alternator -- You want to disconnect the control wires on the LFX so you get 13.5 volts from the alternator (I read it was supposed to be 13.7, but I get 13.5) otherwise you get even less if you leave plugged in.
There is no body control module to control the volts from the alternator, thus why you don't get the 14.4 volts you really want.
Your inner child comes out once you can start the motor. You'll start it just because you can.
Note to self...Remember to put it in neutral!!! With no parking brake, the starter can and will jump the car forward on you!
I broke her! The steam port was bent when I purchased the engine (I think from the crash) & I bent it back thinking nothing of it. The first time I pressurized the system the steam port popped off and hot coolant sprayed everywhere.
The part got held up in all those tornados in the midwest. Took 10 days to get here. I think the truck must have been blown over. UPS just said extreme weather delay.
Brake Fluid leaks all over! I bench bleed the Brake & Clutch masters on the car (this was easier then trying to remove them) but even with the bleed screws open on the masters...make certain you have the rest of your lines tight, otherwise it will push & leak fluid in those while you are bench bleeding causing a hell of a mess.
I can't get one of the bleed screws to stop weeping brake fluid. (and I'm getting afraid to try and tighten any further.)
Hood Lifts -- Had to replace "new" parts on the car before I even drove the damn thing. The hood lifts (which were weak to begin with) wouldn't hold the hood any longer and she came crashing down on me. New lifts that are 30lbs instead of the 24lbs are perfect for the car.
Coolant Leaks - I had a couple small coolant leaks, and fixed both of those. One was a hose clamp, the other was using teflon tape verse pipe dope on the fitting for the expansion tank.
Knock Sensor -- Another questionable part (it was removed to take the starter off the motor and they cross threaded it trying to put it back on...I had to tap the hole) from when I bought the motor was broke. The knock sensor next to the starter went bad / was bad. Ended up stalling the engine & not wanting to run properly until replaced.
Torque -- This car has it. Damn thing jumped when I went released the clutch the first time (with no gas added). I almost hit my tool box. LOL
Ride Height -- My first drive ended the moment the rear tires dropped that one inch from the garage to the driveway & the car bottomed out! I never adjusted the coilovers, figured I would do that later. I was 3.5" off the ground at the pinch welds.
First Drive -- I went maybe 1 block. The noises and the thunking...I thought it was going to fall apart.
Front Upper Control Arms -- These need to be more than finger tight...they actually need to be 95 ft lbs.
Second Drive -- Down the street in the neighborhood and back. Lots of clunking still and REALLY bad noise when you turn. Accidentally spun the tires from the stop sign. Lots of torque!
Noise -- I had gone to bed after the 2nd drive & was thinking about what could cause the noise. A buddy mentioned the diff (needing friction modifier). I wasn't sure, but it was a good idea. So took her for another spin and listened / tested it.
Third Drive -- Down the street in the neighborhood and back again. Noise is coming from the front right tire / side. (funny how a nights sleep makes it so much easier to figure this problem out.)
Bad wheel bearing -- This guy was dead on arrival since it was a brand new bearing / hub. (These are the e30 bearings, and I bought the cheap ones...)
Red Loctite is a Mother F*&#@#KER -- It took me a couple hours to unscrew the studs out of the bearing so I could transfer them over to the new one. Lots of heat was the only way to get them out.
Fourth & Fifth Drive -- There was still some clunking and noises, but nothing like before. I even ventured out of my neighborhood & onto a real street or two. Backroad-ish streets if there is such a thing where I live, going about 1.5 mile trips each time. (I got on her a few times...She breaks those tires free so easily! I spun them in 3rd gear at about 25 mph getting on the throttle, but not floored (and this wasn't shifting, it was with the car already in 3rd.) Loving the engine sounds, needs an alignment something fierce...I've driven tractors with better steering. I think I got her to about 40 mph during these drives and ran her up to 4500 RPMs
Alignment -- Decided to do a rough alignment, since I couldn't get into the shop I use this week.
Caster -- Since the steering is horribly heavy (you have to use hand over hand even at 15 mph) to turn the wheel, I gave her all the caster she had. Thinking this would fix the problem.
Camber -- Went with about 2.5 in front, and the rear was at 2 so didn't mess with it.
Toe -- Zero in front and didn't mess with the rear (I had set the bolts to be exactly the same on each side previously, so they should be close)
Front Sway Bar -- It was hitting one of the coilovers. I had to move the sway bar forward, which required drilling new holes because the sway bar mounts V8R sells has holes that don't fit Miata sway bars.
End links -- I adjusted these front and back as well.
Sixth Drive -- I took her out on main streets, first filling her up to get gas, then for a cruise. The steering still sucks...I don't think it got any better, but I think I have all (most) of the clunking noises fixed. The roads were half wet / half dry from rain earlier and the car was downright scary and trying to kill me the entire time. Pulling out from a right turn on red (not fast, just normal) the back end broke loose. With the steering as crappy tractor heavy as it is, its hard to catch the car when she gets loose. I drove her about 5 miles and got up to 80 mph and 6500 RPM. The steering was darty once I got up to 60ish and the back end felt super loose the entire time.
Coolant Leak -- Noticed a pretty significant leak after my last drive. It's coming from the drain plug or drain plug area of the radiator. I'm hoping I just need a new washer for the plug, but I haven't inspected yet.
Driving Impressions:
The Good:
Power -- this car will get up and go. I still haven't floored it all the way or brought her up to redline (I did get close the one time) but this isn't your grandma's Miata...thats for certain
Brakes -- The brake feel is a ton better than stock miata brakes. The pedal doesn't have a ten foot stroke any more. I always hate that about the Miata's brakes. It makes it hard to heel / toe having to push the pedal so far down. These feel a lot more like my e92 M3 brakes, which are some of the best brake "feel" I've ever used.
Sound -- I thought I may have made the car too quiet, but when you get on her, she definitely makes some noise. The intake noise is great!
Suspension -- I think this still needs setup work, but on my last drive I hit a bump or two and it was smooth and didn't upset the car. My other Miata would have hit a lot harder / it would have been more jarring. (I'm hitting the bump stops in that car.)
Seating Position -- So using the stock seat, and sitting super high right now, but with the hard-dog rollbar I can get the seat back further than I can get in my other Miata, which has a rollbar that is welded in at the floor behind the seat.
Goofy Grin -- Yesterday in the dry, the car just made me grin from ear to ear...lots of fun.
Weight -- Car itself feels very light.
Torque -- I know I haven't mentioned this yet. HA! You would think I put a V8 in this car. There won't be a need to downshift nearly as much on the track, she pulls hard from low RPM.
The Bad:
The Shifter -- The throws are short (which is very nice) but it's super notchy. I had a few miss-shifts / grinding. I also grab the shifter and can't tell where I need to go for the next gear (because neutral isn't straight up and down...the bottom gears are straight up and down) I'm hoping this becomes more natural once I've driven the car some more.
She Stinks -- I'm starting to seriously think that I need to put some cats on her. I know cars smell when they don't run a cat, but I guess I was expecting less smell than my old 60's Mustang with a 4 barrel carb that wasn't tuned very well half the time. You have the smell even when you are driving down the road, which seems odd to me. I'm hoping that it will get better with the top on, and maybe once the car has had time to reset the ECU tune. (right now it's starting from the base tune every time I start the car.)
Loose Rear -- Let me start with, I have owned multiple Mustangs in my life. So I know all about how they handle when you leave a cars and coffee & have no talent. (Did I mention 25 years ago I was driving a Mustang when a tree jumped out in the middle of the road and hit the back of the car?) I've only ever owned rear wheel drive vehicles, so I get rear wheel drive vehicles. That said, I've spun the tires too many times already when I didn't even see it coming. The car was downright scary with the half wet / half dry road. This car was trying to kill me and it's a very opposite how predictable and easily catchable the Miata normally is. I think the following will help fix this...1. Fixing the steering, so you can catch her, 2. New wider shoes, I currently have 225/45 two year old NT01's on her. I'm going to get new shoes and go 245/40. 3. A proper alignment. 4. Suspension tweaks...I may need to go down a size in sway bars.
The Ugly:
Steering -- Its a tractor. I don't know if it's my alignment or if it's something to do with the steering rack, but it's horrible and way too hard to turn when the wheels are rolling. I've owned a few cars with manual steering and none of them felt like this at all. I'm gonna start buying all the parts I need to make it power steering and I'm certain a professional alignment will help too.
Trying to Kill me -- I think this is more of the growing pains of getting the suspension & steering fixed and tuned (and some new tires) than anything else. She also has me seriously thinking I need a roll cage sooner rather than later with this setup.
Congratulations man! This has been a long time coming for sure. Your issues all just sound like normal brand new build teething issues... Once she runs and moves you can work out those bugs.
Nice - I'll throw in a recommendation for an alignment shop, Gran Tourismo East. $140 iirc for an alignment and balance, and absolutely worth it. https://www.granturismoeast.com/
But that is a bit concerning how snappy it is - ours isn't that bad. You can kick it out if you want to, but it's only on 205 s.drive's. Wonder if you're rubbing on a fender liner from being too low or a brake dragging..
Oh and clunk-wise - we had some trouble hunting ours down, we did the IL motorsports bushings, but torqued the control arms while they were at full droop. Once there was enough "twist" in the bushing, they would "snap" over and clunk, finally figured it out and re-tightened all the arms with weight on the wheels.
Congratulations man! This has been a long time coming for sure. Your issues all just sound like normal brand new build teething issues... Once she runs and moves you can work out those bugs.
Thanks! I agree, I think these are teething issues. I feel like there is a lot more teething issues on this car then the last one I restored, but that said, everything on this car is an "upgrade performance part" and a lot of fabrication and my last car went all back as stock, so a bit more of a change. Good Luck with your K build. I read you were waiting on parts. I definitely understand the wait game, it sucks. Holler if you need an extra hand once they come in.
Originally Posted by gooflophaze
Nice - I'll throw in a recommendation for an alignment shop, Gran Tourismo East. $140 iirc for an alignment and balance, and absolutely worth it. https://www.granturismoeast.com/
But that is a bit concerning how snappy it is - ours isn't that bad. You can kick it out if you want to, but it's only on 205 s.drive's. Wonder if you're rubbing on a fender liner from being too low or a brake dragging..
Oh and clunk-wise - we had some trouble hunting ours down, we did the IL motorsports bushings, but torqued the control arms while they were at full droop. Once there was enough "twist" in the bushing, they would "snap" over and clunk, finally figured it out and re-tightened all the arms with weight on the wheels.
Thanks for the GTE recommendation. I'm a big fan of all the guys there. Been using them for many years now. I already tried scheduling an appointment a week ago, and they were super busy / booked for a week out. Unfortunately, I can't go this week, but it's high on the list. I'm also going to get new tires at the same time...so hoping this all helps tremendously.
I still need to figure out why the car feels so unstable / sketchy in the backend (I'm fairly positive the front end is all steering related.) I'm pretty certain it's not a fender liner (those are all removed). I don't think it's rubbing anything, but I'll give that a closer look. (The car is now 4.75" off ground at pinch welds). I don't think it's a dragging brake either (all 4 rotors still haven't had all of the surface scale / rust scrapped off yet.) and it doesn't really pull to one side like you would think a dragging brake would give you. It feels just like when I'm braking very hard on a front straight and the back end gets all light / squirmy feeling because all of the weight is on the front wheels (but this is happening while just normal straight line driving forward, with the weight shifted to the rear). I'm really thinking (hoping) that an alignment will be fixing this. (Add a little Toe in on the rear maybe?) I'm pretty new to setting up cars still.
I believe I have most if not all of the clunking out now. I think most of that was the front sway bar hitting the coil over. I was a dumb *** and set that up spacing wise at full droop trying too hard to be perfectly perpendicular with the end links. I've adjusted that now and set the end links. That said, thanks for the advice! I've definitely made the mistake of tightening a subframe brace without the weight on the tires properly and getting a clunk and couldn't for the life of me figure out. (Actually GTE found that problem for me!)
How accurate was your alignment? Sounds similar to when I installed new suspension and the car would try to kill you as soon as you touched the brakes or went over a bump on the way to alignment shop.
When you say you gave it all the caster you could, did you mean reducing the caster or increasing? And do you know what it's set at now?
I'm sure my alignment isn't that accurate. I pulled out a string and the angle finder, and a tape measure and did my best, but I wouldn't call it accurate.
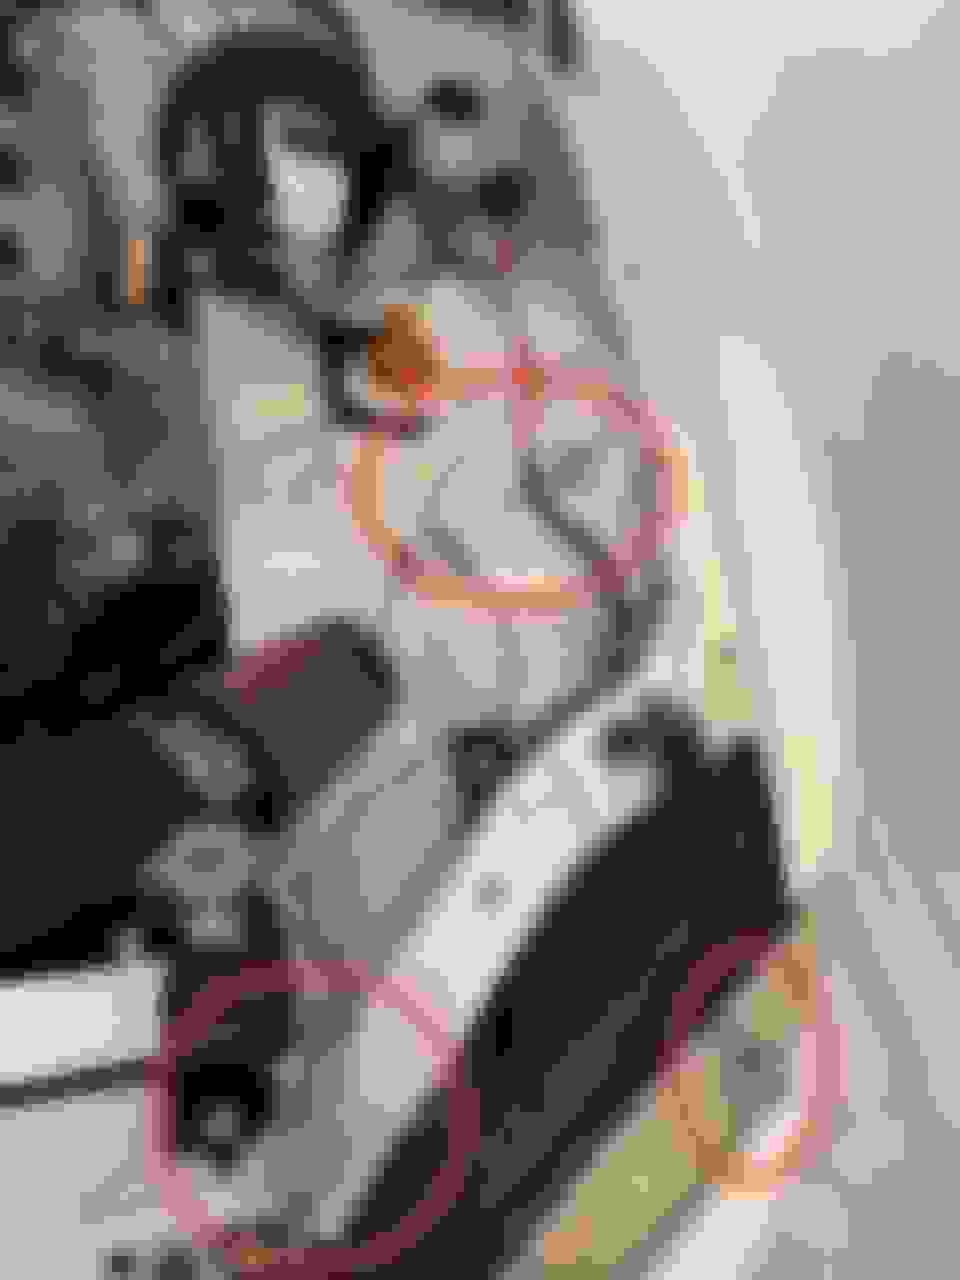
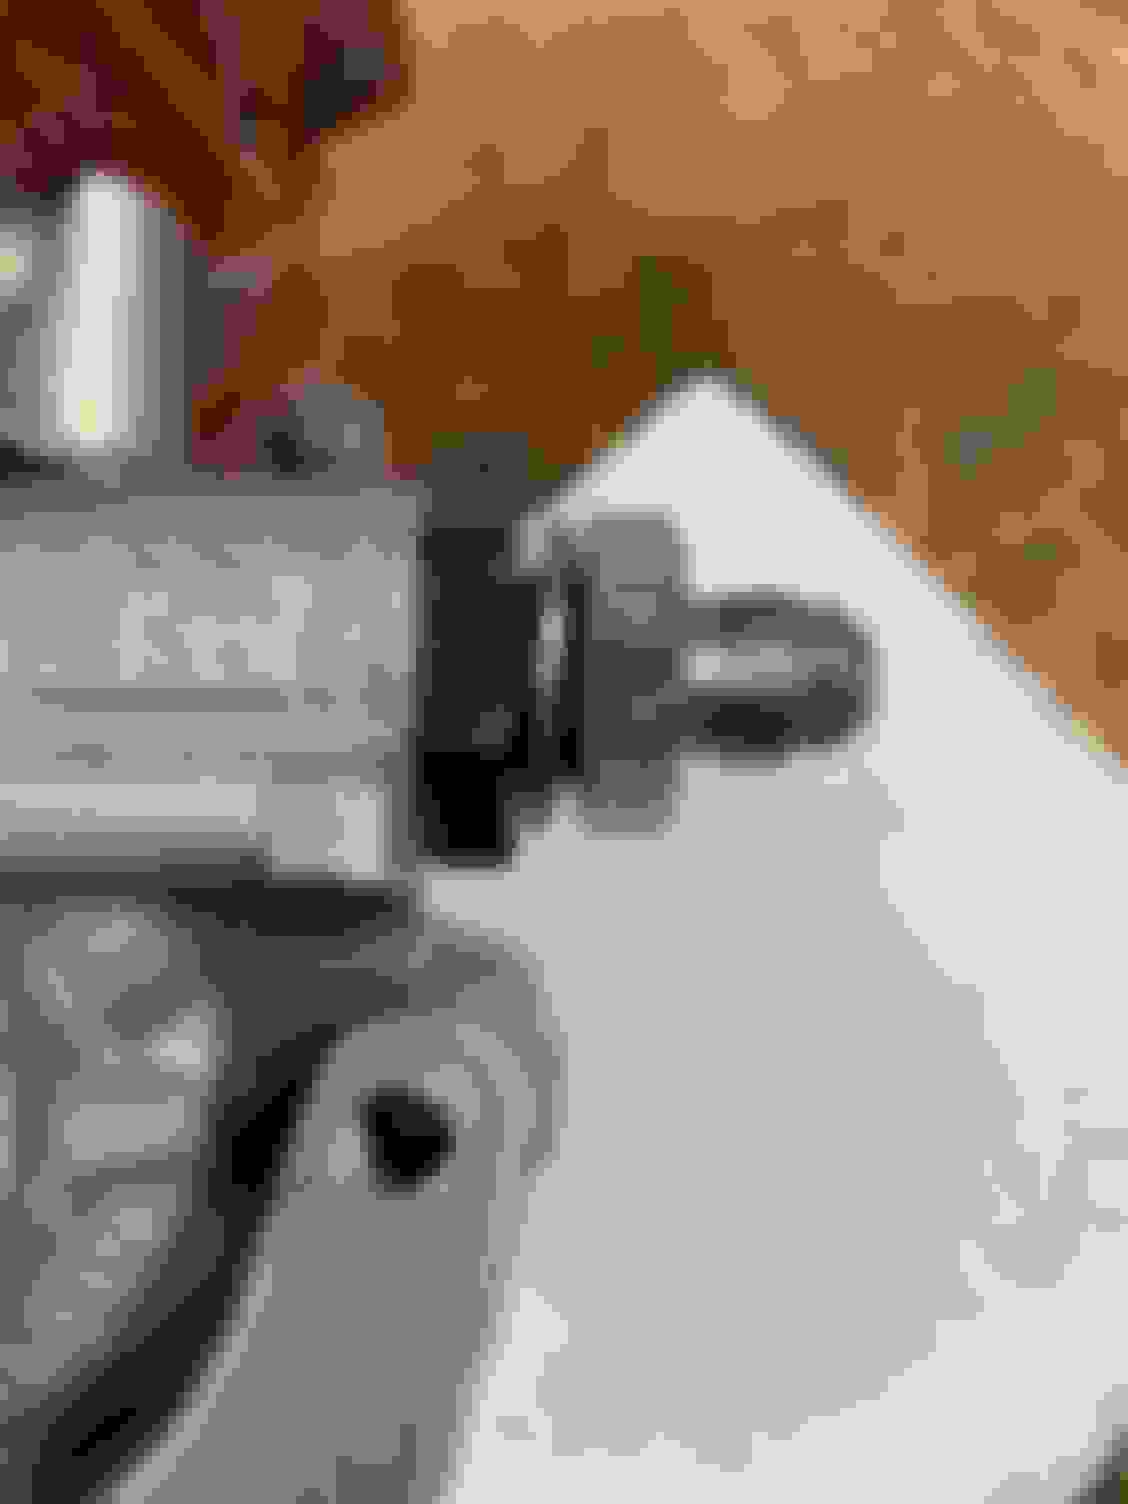
I meant all the negative caster that I could. I just spun the eccentric bolt around till it was maxed out as far as it would go toward "negative". I have no idea what the actual numbers are for caster. I didn't bother to try to figure that out. Here is a (crummy) pic of the rear eccentric bolt on the front passenger side if that helps explain what I was trying to say.
Funny enough, Emilio (Supermiata/949) put out a video on Vegas about a week ago that I watched and he actually discussed his depowered rack and adding power steering back. Pretty much he stated that when you have a depowered rack with ELBJ and wide tires the steering is really heavy below about 40mph and semi heavy past that. What he said sums up my car in a nutshell (except I also have a crappy alignment making it worse I'm sure.) So....
This week I sourced a "new to me" power steering rack & LFX power steering pump. I also ordered up a smaller Setrab oil cooler to use with power steering (waiting to be delivered) and some other parts. So good chance we know what I'll be installing next weekend! (maybe if the weather is good, I can also schedule an alignment for the week after.)
Funny enough, Emilio (Supermiata/949) put out a video on Vegas about a week ago that I watched and he actually discussed his depowered rack and adding power steering back. Pretty much he stated that when you have a depowered rack with ELBJ and wide tires the steering is really heavy below about 40mph and semi heavy past that. What he said sums up my car in a nutshell (except I also have a crappy alignment making it worse I'm sure.) So....
Ah that makes sense. I've been having the same worries with mine, was on 225s and 5 degrees caster with ELBJ last year on a depowered rack and it was far too heavy. Still fun on track but with stock seats it was more a case of try and hold on.
Was planning on going to 4 degrees but I'm also going to 245s this year so it might not even make it that much better.
But if you still need 2 hands at 15mph that sounds much heavier than mine, I only need 2 hands when trying to do parking maneuvers. Is the steering still heavy with front of the car lifted off the ground?
I'm at 5.5 inches for ride height though so it definitely needs the ELBJ. Looks like I may have to go a similar route to you and get power steering back in the car, but I'll have to use an electric kit. (K24)
I've never done an alignment myself but wouldn't that setting on the passenger side push the control arm further out, rotating the spindle forwards and increase the caster?
Is the steering still heavy with front of the car lifted off the ground? ... Looks like I may have to go a similar route to you and get power steering back in the car, but I'll have to use an electric kit. (K24)
I just went & double checked...(since the wheels are off the ground right now) and it's super easy to turn the wheel.
You may want to check out Emilio's Vegas post. He's posted a video in it showing off Vegas. Towards the end of the video, he talks the electric power steering kit he put in. Although it sounds like you may already have one picked out.
Originally Posted by Bopop
I've never done an alignment myself but wouldn't that setting on the passenger side push the control arm further out, rotating the spindle forwards and increase the caster?
I'm not sure we can say I've done an alignment myself yet either. LOL The bolt is turned so that the control arm is as far in as it can go (rotating the spindle back). The bolt head is closest to the engine vs out towards the wheel. That picture doesn't have any reference. It was hard to take with the wheels still on the car and the jack stand being right there on the subframe.
I just went & double checked...(since the wheels are off the ground right now) and it's super easy to turn the wheel.
You may want to check out Emilio's Vegas post. He's posted a video in it showing off Vegas. Towards the end of the video, he talks the electric power steering kit he put in. Although it sounds like you may already have one picked out.
I'm not sure we can say I've done an alignment myself yet either. LOL The bolt is turned so that the control arm is as far in as it can go (rotating the spindle back). The bolt head is closest to the engine vs out towards the wheel. That picture doesn't have any reference. It was hard to take with the wheels still on the car and the jack stand being right there on the subframe.
The kit in that car is the same one that Kpower sells. May just get rid if the ELBJ, go lower and not need them while running a lower caster.
Ah ok, from the pic it looked like you had turned the caster to the maximum.
Alright...I promised to write up how I did the wiring and although I'm still not done, I'm done enough to write up what I did with the Power Distribution Harness.
The Power Distribution Harness is basically all the big wires connecting the batter, starter, alternator, and fuse box. I also added a kill switch to the mix to make it more interesting.
Battery Wires
So let's start at the battery and work our way around since that makes the most logical sense. First, I needed a new battery. The LFX needs a strong battery otherwise the starter will crank, but the car wouldn�t start. The reason for this is that the car needs 48 volts to run the high pressure fuel pump for the injectors. The ECU won�t turn on the converter that makes the 48 volts unless it has enough power from the battery. Luckily, the LFX will use a Miata battery, which at 25lbs & 350 CCA is about as small and light weight as you can get for a car battery. I almost just bought a Miata battery, but for $50 bucks more the siren call of super light weight won the day and I bought this LifePo4 battery. It weighs 3lbs & has 480 CCA. I figured $50 dollars saves me 20lbs in weight which may just be one of the cheapest weight reductions you can buy for the car. (once you get past just pulling items off the car)
Can't believe how light this battery is...
I decided to install the battery in the stock location (trunk) so I could easily retro fit a Miata battery if this one dies at the track or something. I still need to figure out how I'm going to tie it down, but I know where it's going to live for now.
Ground Wire has been installed here too.
So the first cable I had to make was from the battery to the Kill Switch. I used 2 gauge welding wire and bought 15' of red for the power (and I think I have maybe 1' left over). Making these cables wasn't hard, just time consuming like everything else with wiring. To cut this wire, I just used a hack saw. Then I would take a razor blade and cut off the sheath. From there I would crimp on a cooper ring terminal lug using this guy.
This worked very well, and wasn't crazy expensive either.
You bash it with a small sledge hammer and it comes out like so.
After that I used some marine heat shrink to seal the cable & lug up.
Then I installed some wire loom (almost everything I uses was split loom except for this big wires, I used the expandable type of loom for these. I used Tesa tape to seal up the wire loom ends, although you probably should use heat shrink for that too. Then I installed these silicon boots & used Tesa tape again to hold them in place. To install the wire, I used adel clamps and self taping metal screws to hold things in place running it through the cabin along the transmission tunnel to the Kill Switch.
You can see the starter wire with loom & a boot installed here & the ground wire too.
You can see the wire running along the transmission tunnel.
For the ground wire. I used 2 gauge wire again and made this wire that connected from the battery to the body of the car. Making certain I had enough slack to put a bigger lead acid battery in if needs be. (You can see this in one of the above pictures)
The Kill switch is a 4 post switch. 2 of those posts are supposed to be fed to the battery (one is starter to battery, the other is alternator to battery) I didn�t see the need to run two big wires from the switch to the battery, so to connect the alternator to battery I just jumped the two posts using 4 gauge wire.
Jumper wire seen here. Also, I realized these wires aren't going to fit well with where I put the kill switch. I'll probably need to move it to closer to the center so everything fits when put back together.
Wiring Diagram that Longacre provides...I thought the pick up power could be on either A or B since the star sits in the middle there, but if you use A like I did, it won't shut down the car when it's running already. I need to move that wire over to B
Starter Wires
The next wire is from the kill switch to the Starter. Since I had to run that wire through the fire wall, I installed a battery terminal bulkhead connector through the fire wall and actually made this two wires. One from the kill switch to the bulkhead terminal, and the other from the bulkhead terminal to the Starter.
I installed this bulkhead connector right between the brake booster & the valve cover on the firewall. (This was right above the gas pedal on the other side.) I drilled a pilot hole from the engine side and then used a step bit for the rest of the hole from inside the car.
I found it funny how quickly I just drilled a hole in the firewall like it was no big deal. Prior to building this car, it would be a big deal to drill holes in the firewall. Finished Drilling Hole...I touched up the paint here to keep it from rusting before installing the terminal Through Hull Terminal Installed.
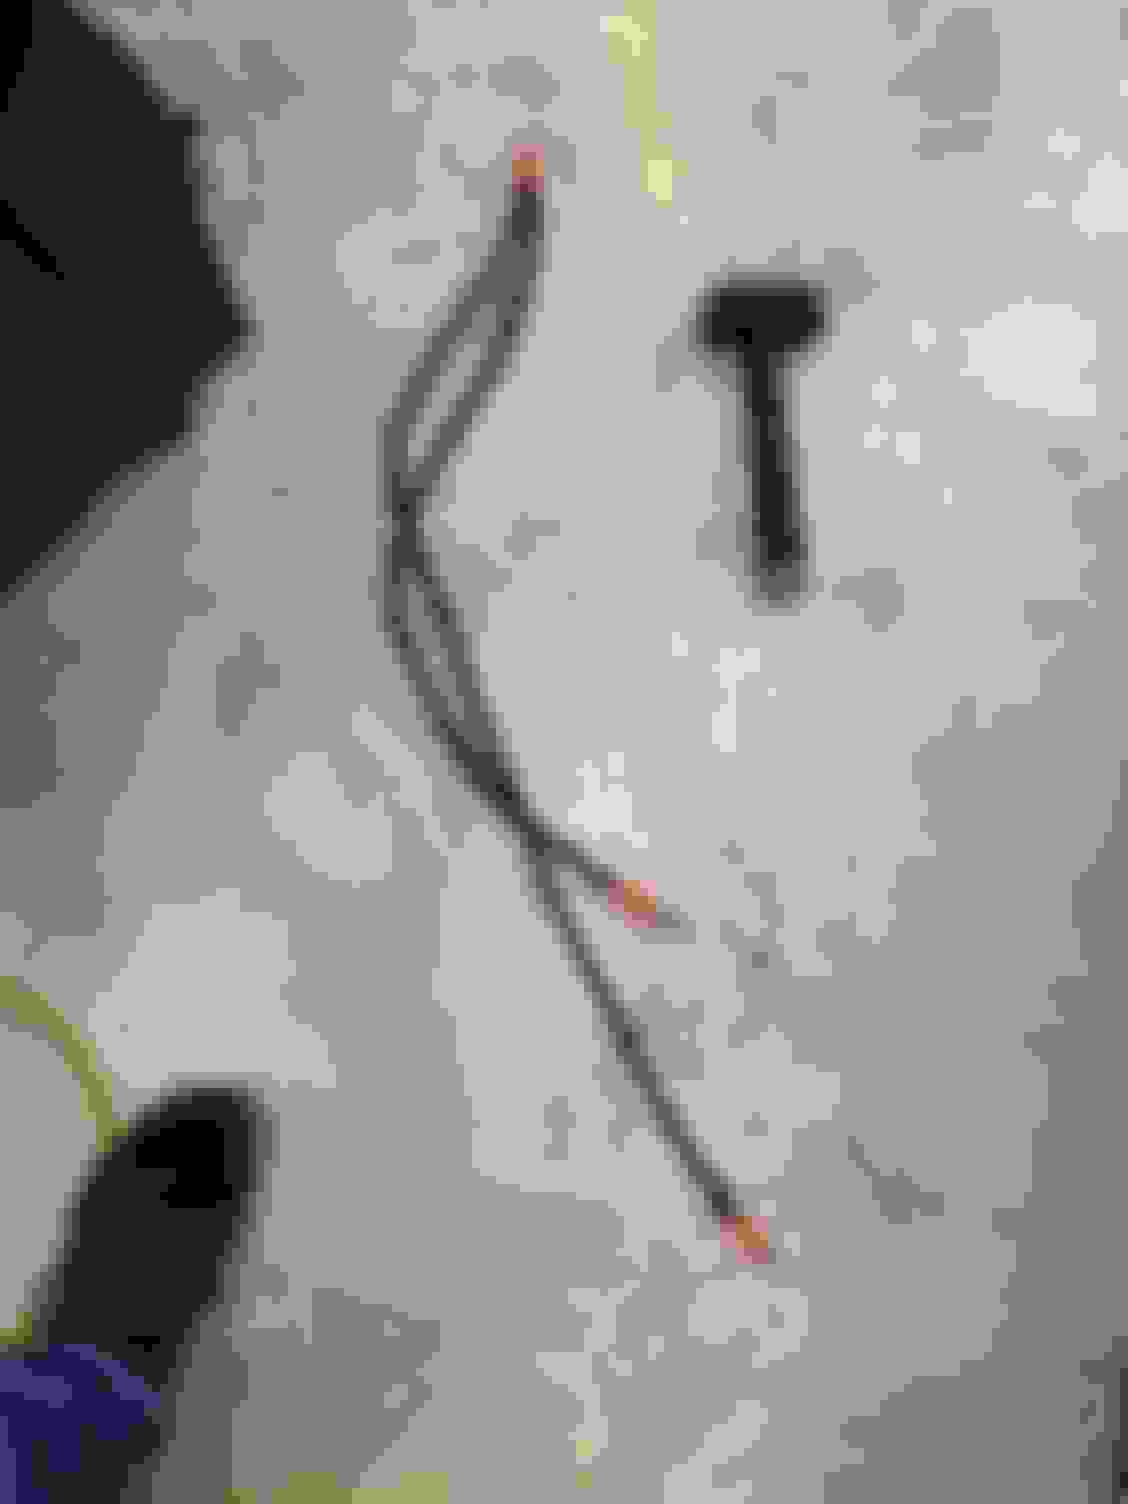
Here is the wire I made from the kill switch to the Firewall terminal
The wire for the Starter to the Firewall terminal has a few other little changes to it.
1. I needed a 90� fitting on the end that connects to the starter. I just placed the ring connector (after attached to the wire) into a vise and bent it 90 degrees.
2. I used some blue stripped plastic wire loom. It�s fire retardant and good up to 275 degrees. I also used an adel clamp to hold the cable in place so it wouldn�t touch the exhaust pipe. This is probably all I need to do, but I�m going to remove this wire and also wrap it in some DEI heat reflective tape / or some other sort of heat barrier / reflector.
Test fitting the wire before I put the cover on it. You can still see it in red here. (crappy picture...hard to take one here.)
Test fitting wire here too. You can see (with green on it) where I used an adel clip to hold the wire closer to the block / away from the downpipe.
Here's the wire in loom & clamped. I'm thinking this probably needs to be protected from the downpipe heat a little better before it goes on the track.
Alternator Wires
For the Alternator, I had to install another bulkhead terminal/connector. I put this one in one of the old heater hose holes. The hole size is just one size larger than what you need, so I just drilled out the backing plate that I had previously installed to cover the hole and touched up the paint so it wouldn�t rust.
I was trying to figure out the best way to run this wire, and decided to go up and over the exhaust verses under it was the best idea.
I cut up the original Alternator wire and reused it. I kept the fusible link and needed a new ring terminal, which also had to be modified to fit. There are plastic sides around the post on the alternator to hold the wire in a certain direction, and they wouldn�t allow my ring terminal to fit until I cut it down a little bit.
The one on the left, I had to file the sides a little to make it fit.
Test fit on alternator...you can see the shoulders here. (Crappy picture, but you get the idea from it.)
And here is this part done. The wire is just run under the main harness wire and I used a couple zip ties to hold it there.
I also used what I had left of the original Alternator wire to make the wire that goes from the firewall terminal on the inside of the car to the kill switch. I also included the wire that goes from the kill switch / alternator to my power distribution / fuse block that feeds all the electricity to everything else in the car. Using the original ring that connected both wires made this easy.
Sorry, didn't take a picture of this wire attached to the firewall inside the car. It actually sits behind the board with all the electrical relays and fuses on it.
FYI...Just recently I realized this is wired wrong. I went to test the kill switch with the car running and this setup doesn�t work. I was going by the picture from Longacre and didn�t take the time to think about how the wires were running. (In my defense that one star looks like you can pick up from either the alternator or starter) On to do list...I need to separate these two wires and move the wire that feeds the power distribution block over to the same post as the starter wire is connect too. This way the alternator can�t keep running the car when the switch is flipped.
Here is the wire going from the kill switch to the Fuse boxes. (Actually, this is the power distribution that has a relay and fuses...If you look at the two posts on the other side...one post is the switched power, the other is the constant power) This is how the wiring all looks as of this week. I still have a ton of clean up / wiring still left to do, but all engine harness wiring is now completed & tested too.
Engine Ground Wire
I also needed an engine ground wire. I decided to put this closer to the starter, since thats where the most juice will flow. I ran this to a threaded hole in the engine bay tucking it with the clutch fluid like, keeping things out of the way as best as I could.
That�s it for the big wires. This setup seems to be working pretty well so far. The car starts easily and fast every time I go to start it. I still have the couple of little fixes I wrote about above, and I may go back and shorten the wires that all connect to the kill switch by a little bit. (I left them a little longer so I could disconnect everything easily, but I think they are just a little too long still, but this can be done at a later time�)
Lots of Miata stuff has been going on the past month...A quick blurb about some items going on, but not what I'm really posting about right now:
Wiring -- I have everything wired up and working. YAY! Unfortunately, that doesn't mean I have the wiring done. I still need to clean up and loom a bunch of wires inside the car, mount the battery, etc. but there is light at the end of the tunnel. I'll write this stuff up in a later post.
License Plate! -- She is now 100% legal to drive on the road.
Miles -- I have now driven the car almost 100 miles. 40 of them today, when I drove her to get new shoes & an alignment. I've had a lot of small issues to fix along the way, but the last 50 miles or so, have been issue free!
Sold my other Miata -- The plan was always to sell her once I had this one running, but things happened a bit faster than expecting on that front. I spent some time cleaning her up and putting the stock interior back in. I have a buddy who has a friend looking for one and we made a deal. (Even after I sent him down the road on a test drive with the front lug nuts only hand tightened!!) Anyway, very happy to have the extra garage space back.
Enjoy your new home!
Seats -- Wasn't really looking to buy new seats yet, was going to reuse the aluminum Kirkey's I had in my other Miata for a little bit first, but ultimately, I did want to buy safer seats / a halo seat. I found these for sale 1.5 hours away for about half the cost of new and decided I had to have them.
Hopefully these install semi easily.
Power Steering...(I'm writing this like it all took place in one day, when in reality I worked on the power steering on and off while waiting for a part over 3 weeks)
I started to acquire all the parts to put power steering back in the car. This was a little harder than you would have thought. Chevy has discontinued some of the power steering parts (on a motor that's only 7 years old!) and it's impossible to find a power steering pulley. I was an idiot and bent the one I originally had with the car when I went to remove it with a puller. On the Chevy power steering pump (and probably all others for that matter) you pull the pulley off the pump at the center of the pulley and not the edges like you do with a traditionally puller. Otherwise you bend the pulley.
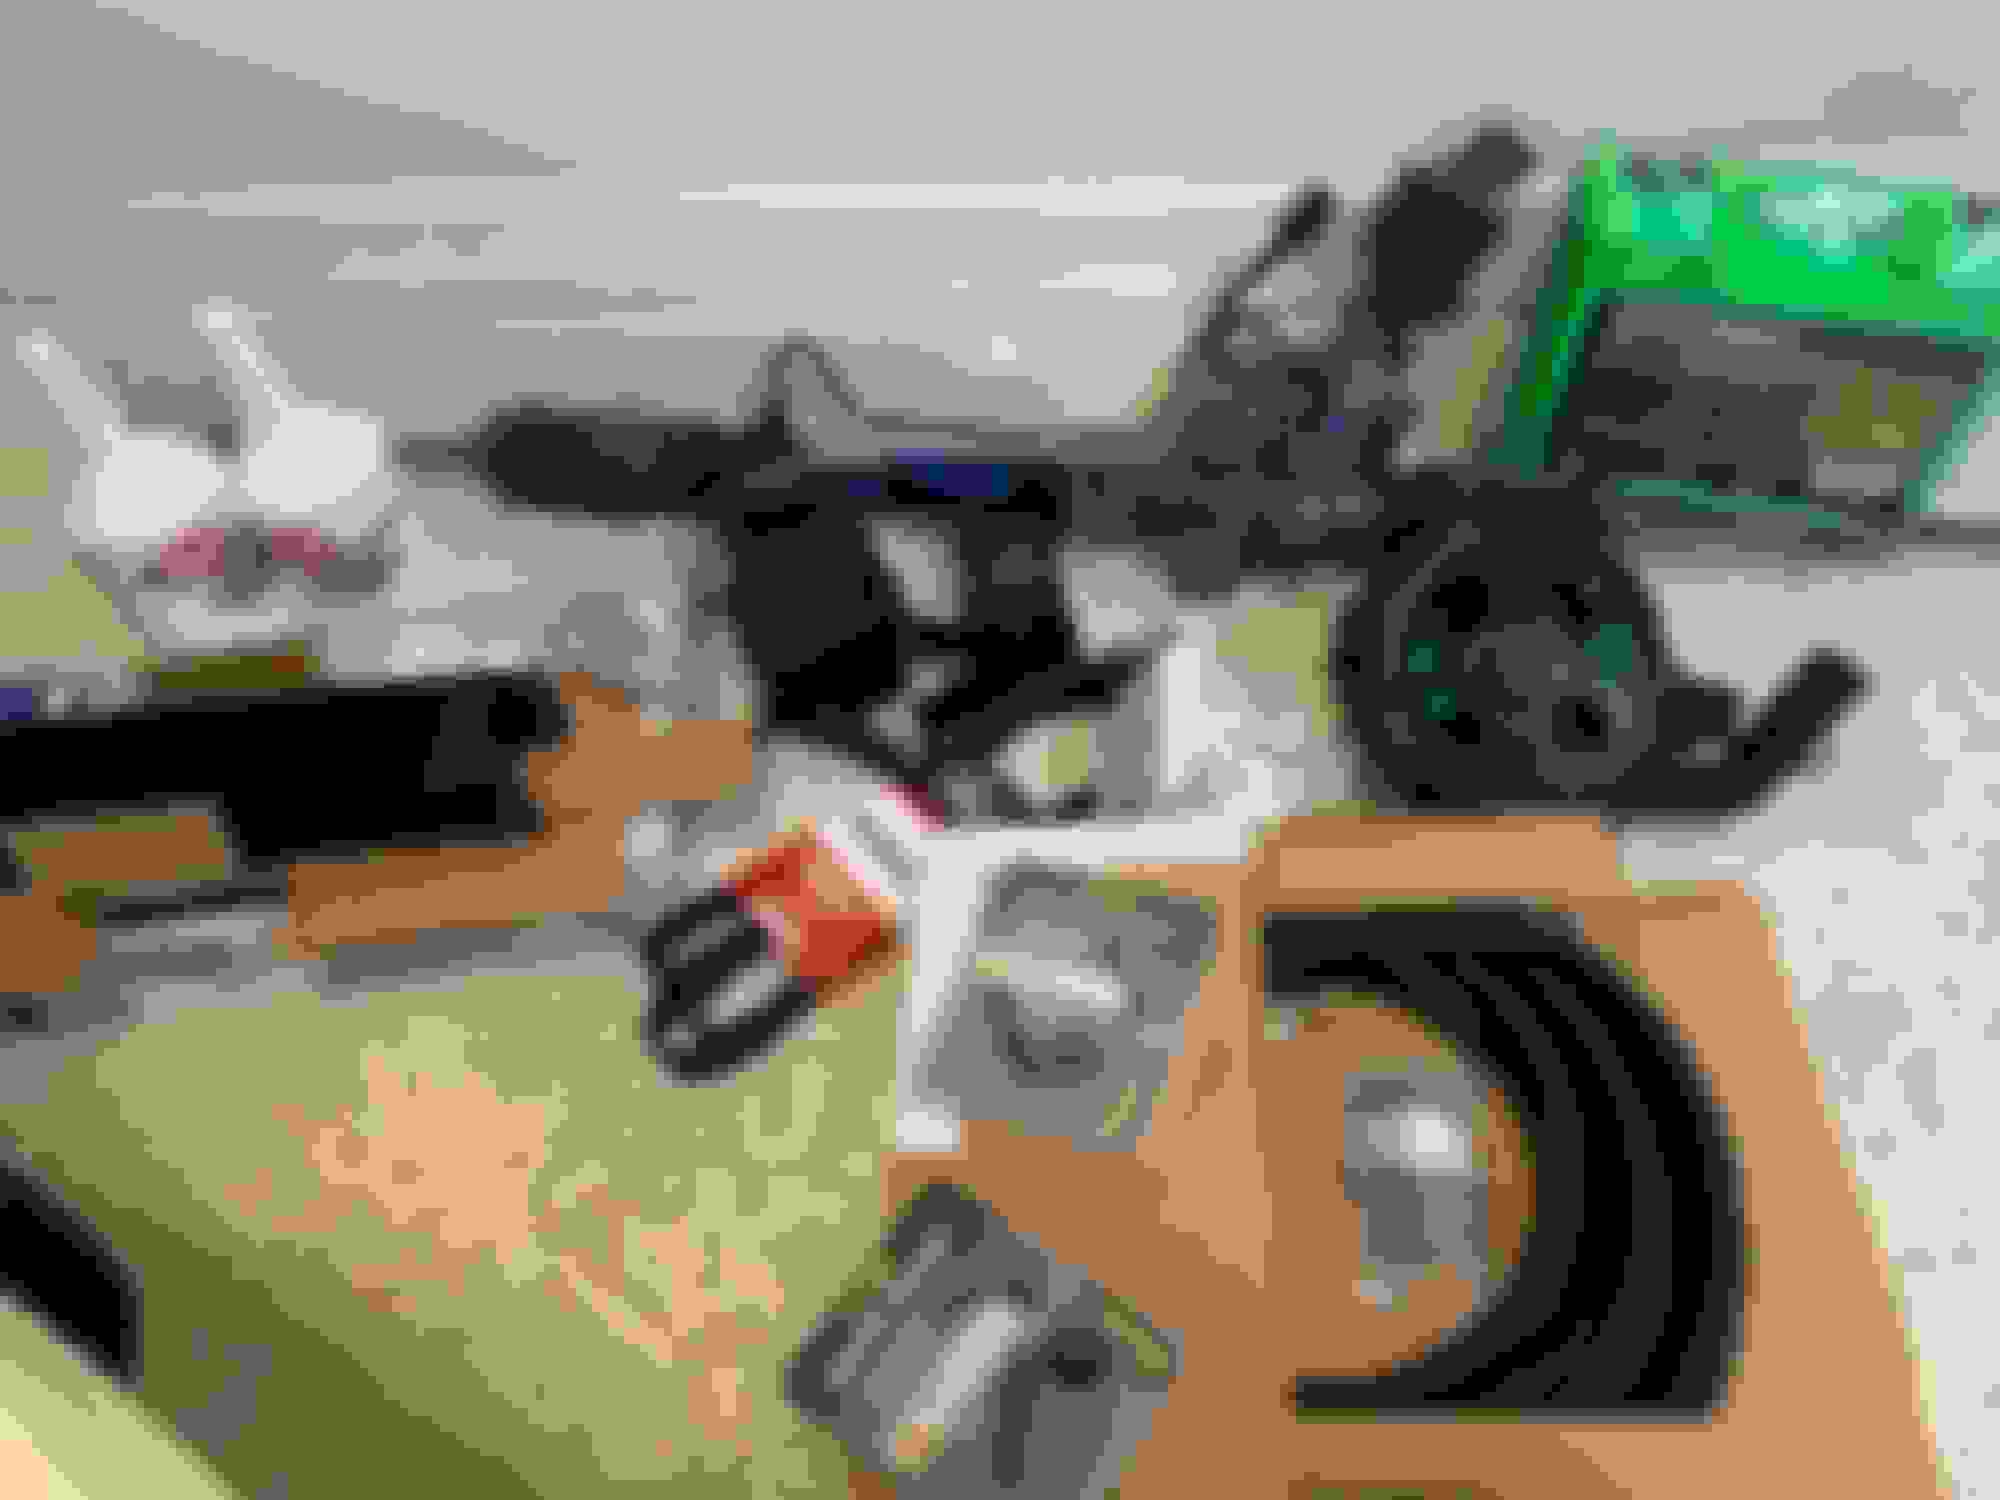
I found a pump (w/ pulley) and a steering rack at a local junk yard & went and purchased all the other parts...
With all of the parts, I started to put items on the car that I could do while still driving the car with the manual steering. Funny enough, I wanted to be able to drive the car, so taking it apart (even to make it much better) was hard for me to do. First thing was to mount the pump to the car.
Actually first was to clean the pump of all the gunk. Brake cleaner for the win!
I was a bit worried about if the pump was going to fit (and if I had test fitted it before) or if I was going to need to modify the engine bay to get it to fit. Happily it fit without needing to pull out the grinder.
Next up was to install the reservoir...easy enough. I just installed the stock reservoir on the stock bracket, but this presented a problem. The reservoir return line and the air intake want to occupy the same space.
It doesn't help that the radiator fill neck is in the way of moving the air intake too.
I spent a little more time then I should admit trying to figure out the best solution to this problem. I won't bore you with the 10 different things I seriously considered. Problem with all of them was they would take a lot of work to make happen, and I just want to drive the damn car. So...In the end, I cut down the little overflow condom so it wasn't as long. (Don't know why I didn't do this before, I never liked how long it was before) This gave a little more room for the intake pipe, and I just ended up putting the air intake on top of the power steering return line. I'm sure all of this will rub and be an issue eventually, but this allows me to punt for now and get the car up and running. (This can be next "winters" fix.)
Next up was the new to me steering rack. I cleaned this one up, pressed out the bushings and put some new poly bushings in. I would have preferred metal like in my manual rack or delrin, but settled on the poly since it was easy to find and purchase.
New Poly Bushings Installed
Next I swapped the racks. The hardest part of all of this was accessing one of the bolts with the engine semi in the way, but that really wasn't too bad to deal with (even under the car). Sorry no picture of this
Now it was time to run all of the lines. I started with the high pressure line "kit" that I had purchased. I was a bit upset when I purchased this since the website picture has a bunch of lines and fittings for the rack, but what you end up with is just this single -6 AN hose with fittings for the pump & the rack. When I inquired about this, I was told to just reuse/bend my metal lines on the rack. (I actually preferred to use the metal lines, but wouldn't have purchased the kit if I knew it was only 1 hose.) The website still shows the same picture, but there is now a blurb about the picture not being what you get.
-6 AN hose with the 2 fittings screwed into the ends.
Anyway, I got to be disappointed in my purchase twice, when I realized the fitting for the pump was the wrong one.
Fitting that is supplied when you tighten it to the pump, notice the washer isn't touching anything and the bolt has bottomed out.
The top fitting is what's supplied, the middle is the Chevy line that was cut at the junkyard, and the bottom is the correct fitting that you want.
This is the fitting that works (part number in case you need it.)
I purchased a small Setrab oil cooler to cool the power steering fluid. My intention is to fab up some brackets and install / use this, but I really didn't want to take the front bumper off and deal with all the work of installing a cooler at the moment (because that opens up a huge can of worms with wanting to remove the radiator support that blocks all the air flow, installing a support bar, building an airbox / shroud for the radiator and brake ducts etc. etc.) <--All things I plan on doing, but aren't needed for initial driving. It occurred to me that my stock miata running on big sticky tires on the track seems to be fine with the stock power steering "cooler". I put "cooler" in quotes, because it's just a metal U shaped line that hangs out behind that huge piece of metal I want to cut out, I'm very suspect at how much cooling it really can do. Anyway, reinstalling the original power steering "cooler" was the Easy Button, and I pushed it. Once that was installed in place, I cut some 3/8 rubber power steering hose to use as the return lines.
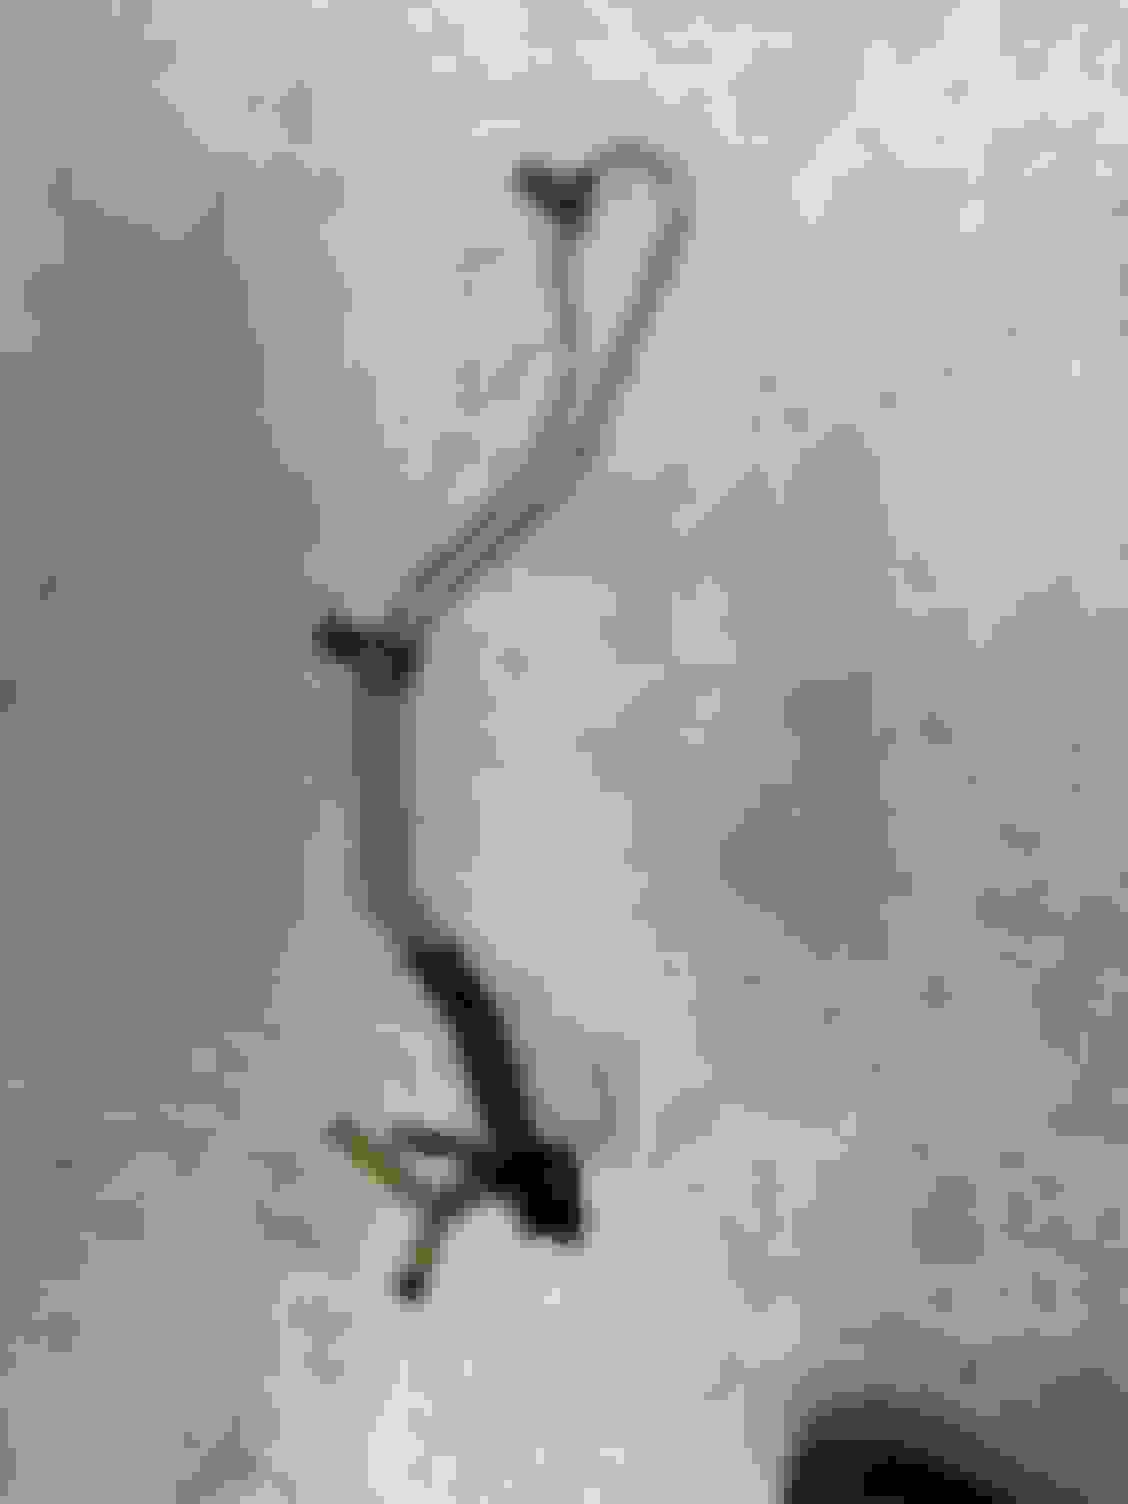
Stock power steering cooler
Here's the cooler line attached between radiator and the support beam (looking up from under the car)
Rubber hoses installed on cooler...I fixed the kink in the high pressure line already too.
All that was left at this point, was installing the pulley & belt. Both were easy enough to do. I filled / bleed the system and she was ready for a test drive! Unfortunately, I didn't get further than 3 houses down (I live in a townhouse mind you, so 100 feet?) and knew something was very wrong, so I pulled the car back into the garage. Even though things were very wrong, I can tell you power steering is what the car needed. Already could tell much better.
A quick diagnosis, and I realized the studs in my right front hub where backing out. (Mind you, earlier in the day, my other Miata went for a test drive and the front wheels almost came off because some idiot forgot to torque the lug nuts. SMH At least I'm consistent.) I was puzzled why this would happen at first and then realized, this was the hub / bearing that was bad and I replaced after my first couple laps in the neighborhood. When I replaced it, I pulled out the studs (which were installed with red loctite) and put them into my new hub/bearing using blue loctite (since I didn't have any red). I took the lug nuts off with my impact and it must have broken the blue loctite free. Huge rookie mistake on my part using the blue. FYI...these are the Brofab e30 bearing / hubs, (which are great & beefy) thus why the studs are screwed in verses pressed like the miata hubs. So needless to say the hub had to come off again and this time I used red loctite like I should have to begin with. I also did a quick eyeball alignment (which I skipped the first time I tried test driving w/ power steering since it was getting dark.) reseting the caster & the toe.
Unscrewing a stud from the original hub with the red loctite...sorry, I didn't take any pictures of putting them back in with the red loctite
Even with my crude alignment, the car was much better to drive. You felt like you could actually catch the car now if it got away from you in some way. I installed one of my Kirkey's and harness so I could test drive her. (I need to buy mounts for the new seats) Previously I was using a stock seat, but those went away when I sold the other Miata. I drove her around maybe 20 miles and even on the highway a little bit and decided that I could make the 40 mile round trip to and from the alignment shop.
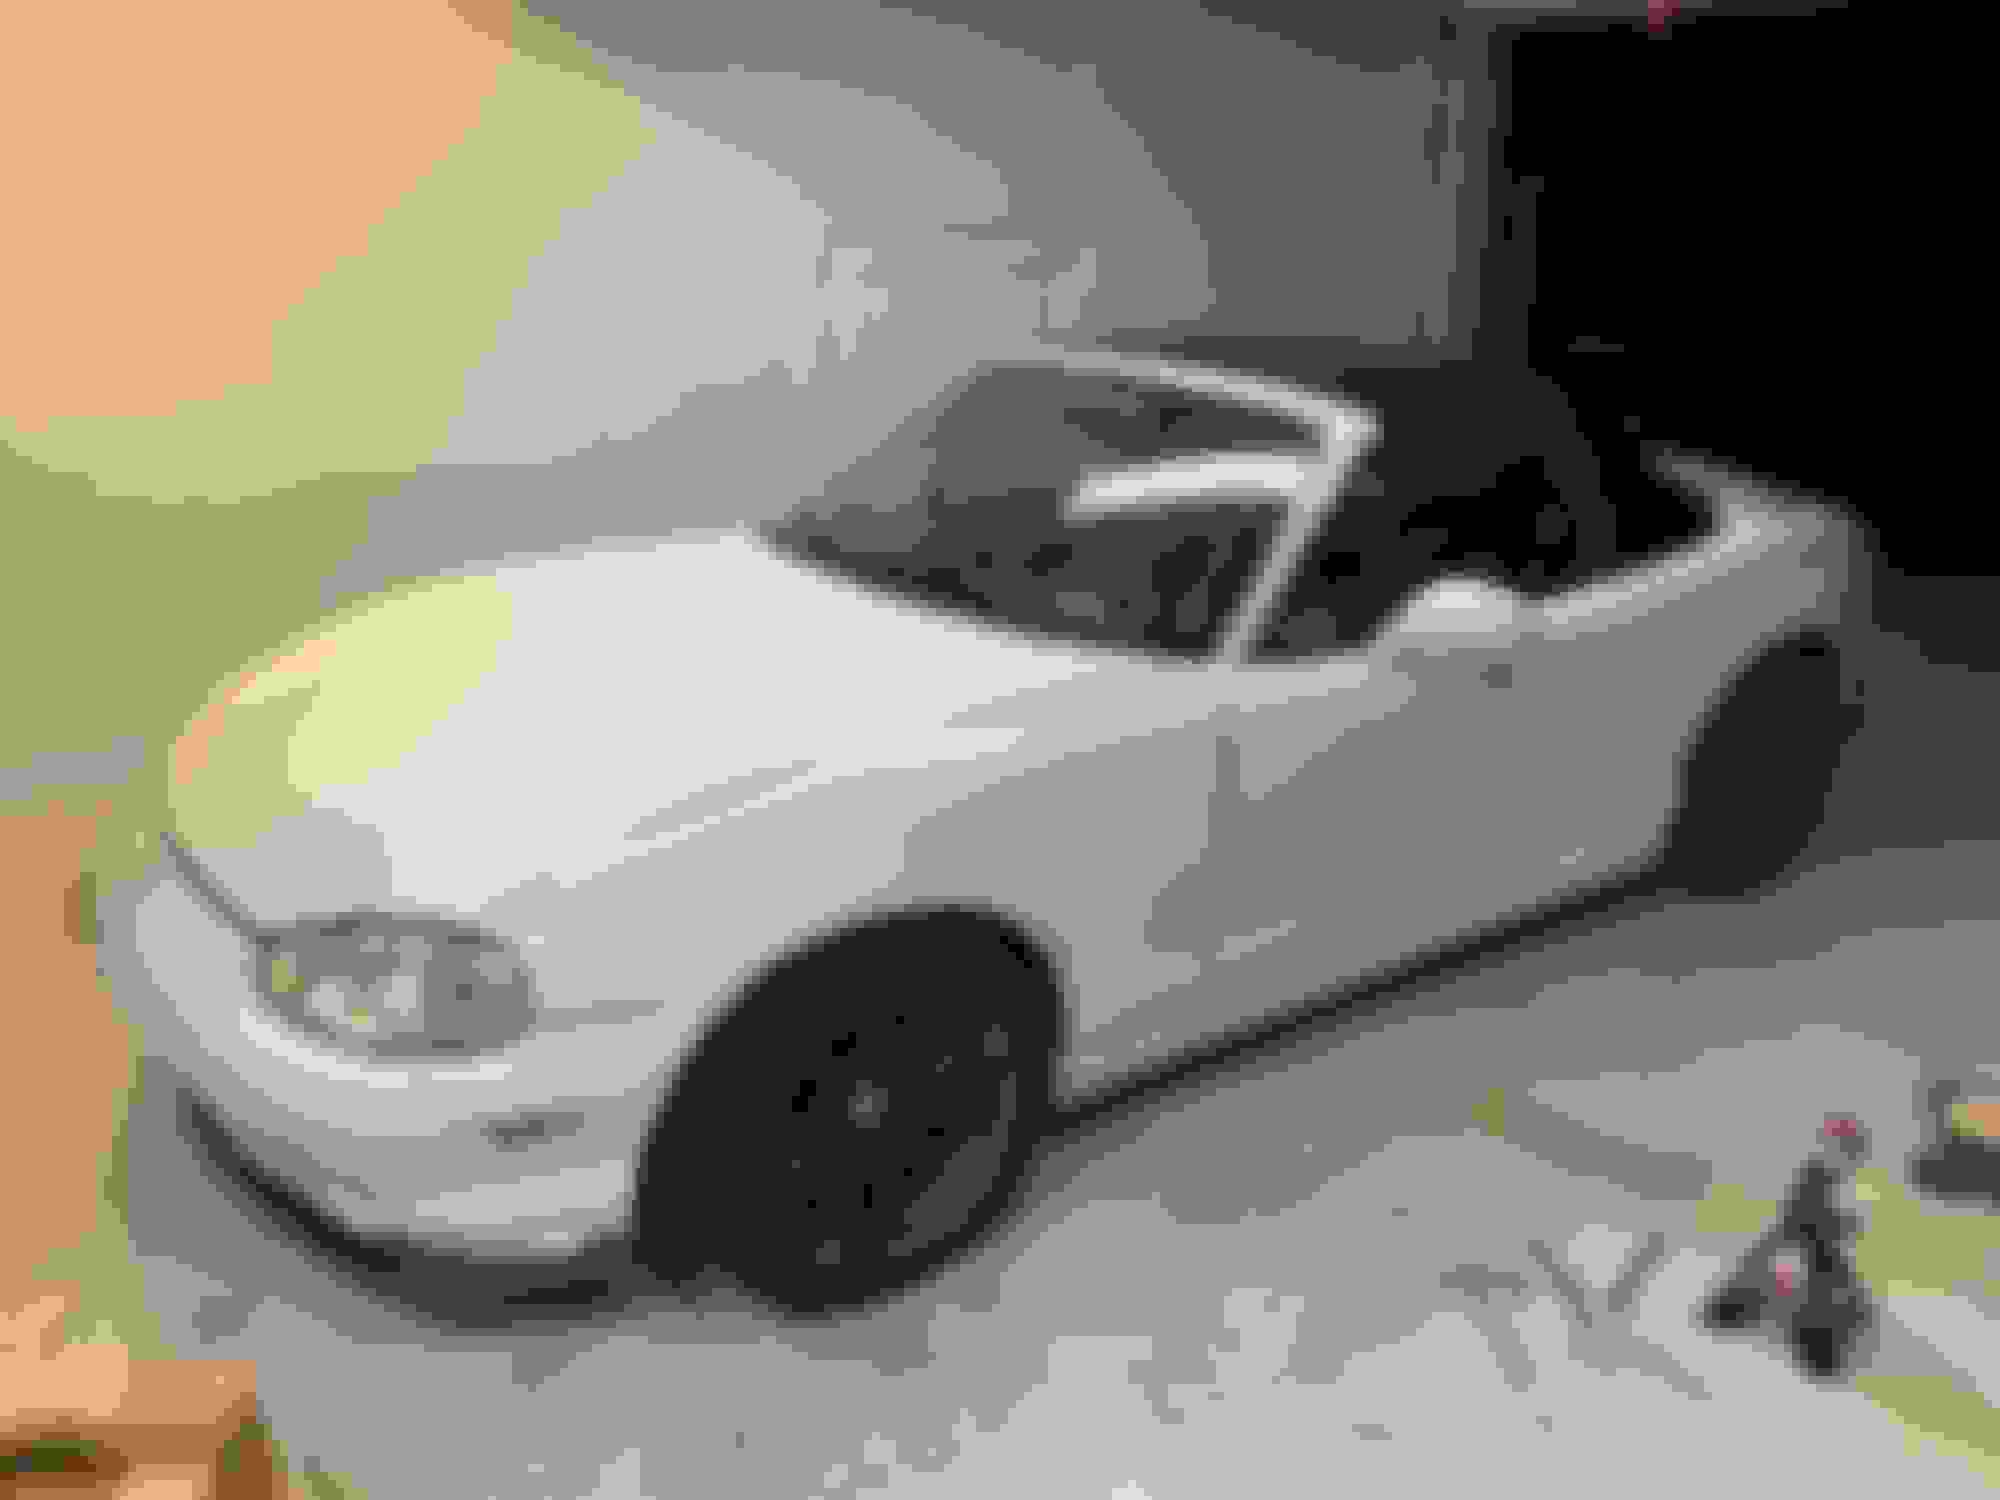
Ready for her drive to the alignment shop...hard top on so I don't freeze to death.
This morning, we drove out to Gran Turismo East where she got a once over on the suspension (all looked good), an aggressive track alignment, and some new shoes for dancing (245/40 RT660's). Now she actually feels and drives like you would expect her too! She's fun and eggs you on bringing out that inner child. Which is awesome!
First time to your thread. I appreciate all your hard work. Finshed my LFX-NC swap several years ago. You will enjoy driving your car once everything is completed.
The only malfunctions I have had since completing my swap was with the hydraulic power steering. I had used a braided hose between the pump and rack. Everything worked great until I bumped the steering against the hard stop in a parking lot. The pressure surge from bumping off the limit ruptured the braided hose. Replaced the line and everything was fine until the line failed for a second time in a similar incident. Turns out braided lines come in different pressure rating and I apparently had a weaker line. With a hose shop near me, I replaced the braided line with a rubber line with the appropriate rating. Back on the road enjoying the car everyday.
Hey DJ, thanks for the info. I'm still watching the power steering like a hawk (well, actually, watching everything since I basically took the whole car apart & put back together again.) You can tell that the hose I have was professionally made / crimped fittings and not your normal AN line hose where you tighten the fittings together, so I believe it's a higher pressure hose. That said, I could easily be disappointed a third time with this power steering kit I purchased.
Fingers crossed it does the job. If not, I really like the idea of visiting a proper hydraulic hose shop for the new line. Thanks for that suggestion.
Also really enjoying the car already, and I know it still has a good bit of refinement to go. I have a big grin on my face every time I'm out driving it, especially now with the power steering & alignment.


 1
1