Harvey's not so epic Greddy rebuild thread.

 11-07-2013, 11:58 AM
#42
Senior Member
Thread Starter
iTrader: (4)

Join Date: Jul 2006
Location: Shelton, CT
Posts: 675
Total Cats: 2
Maybe the turbo will just eat whatever flakes come off and smile?
I'm getting to the point where I will probably just say **** it and run the thing. If it blows up due to residue then I can always source a cheap turbo or just throw everything away and buy a Corvette. I'm almost 40 as it is.
Also, this stuff is really tough. I was test fitting and banged it against a few things in there and it didn't leave a mark.
Last edited by Harv; 11-07-2013 at 12:10 PM.

Reply
 0
0

0
11-07-2013, 01:33 PM
#43
Elite Member
iTrader: (13)

Join Date: Dec 2006
Location: Taos, New mexico
Posts: 6,612
Total Cats: 567
Good point, i mean it is just a greddy turbo. If it were my gt2860rs i would be scared of scrapping the turbo though.
Just chip at it with a wire brush/tools and see if you can remove it. If you cant easily remove it, and it doesn't seem to flake easily, run it.
Just chip at it with a wire brush/tools and see if you can remove it. If you cant easily remove it, and it doesn't seem to flake easily, run it.
Reply
0
0
11-07-2013, 02:18 PM
#44
Senior Member
Thread Starter
iTrader: (4)
Join Date: Jul 2006
Location: Shelton, CT
Posts: 675
Total Cats: 2
The guy reiterated to me that he has never had an issue with the material coming off, which is why he would have done the interior of the manifold if I had asked. My admittedly unscientific test of banging it on the engine block by accident seems to show that it's pretty durable.
Reply
0
0
 11-07-2013, 03:29 PM
#46
Senior Member
Thread Starter
iTrader: (4)
Join Date: Jul 2006
Location: Shelton, CT
Posts: 675
Total Cats: 2

Reply
0
0


 11-08-2013, 06:43 PM
#49
Senior Member
Thread Starter
iTrader: (4)
Join Date: Jul 2006
Location: Shelton, CT
Posts: 675
Total Cats: 2
Nothing is ever easy.
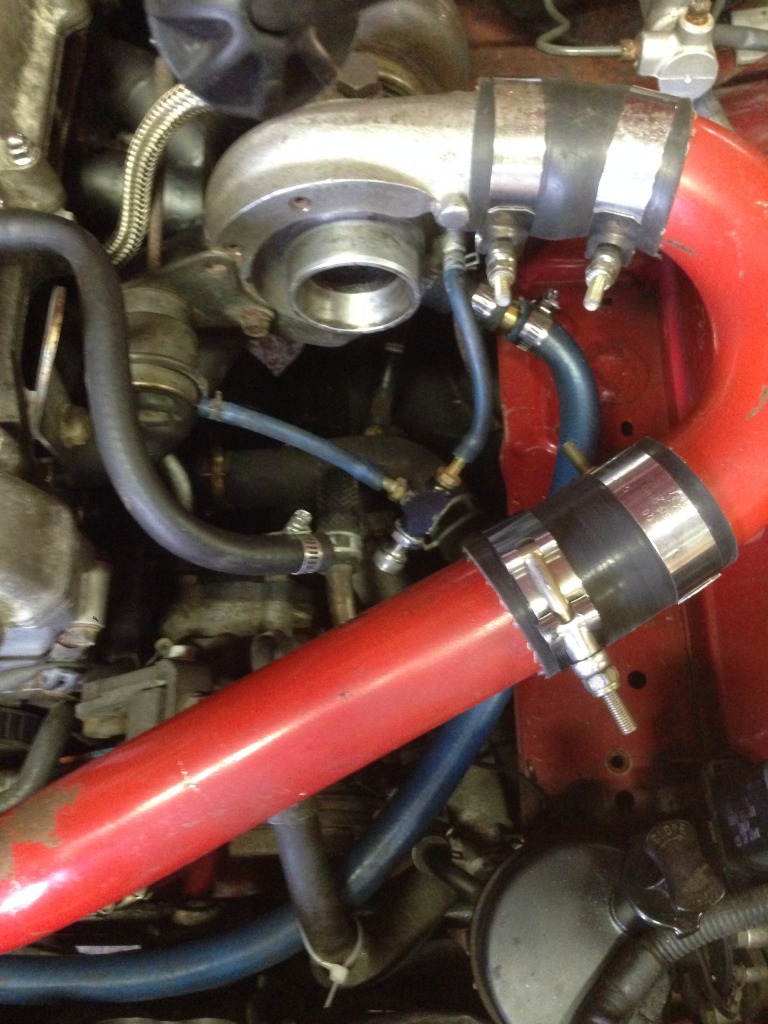
Got the manifold installed, still need to figure out an intake piping setup now that the airbox is gone, but while I was thinking about that I decided to swap in the new injectors. Mind you I have had this fuel rail off before so I wasn't expecting problems, but it turns out one of the bolts seized up and broke off. Sooo, once the small amount of fuel that leaked out dries up I'll drill that out and hopefully the threads will be okay and I can just get another bolt.
Also managed to break a clip off one of the fuel injector connectors.
Reply
0
0
11-10-2013, 06:55 PM
#53
I see noobs abusing torque wrenches all the time out at the track. They literally jump on them with everything they have when they retorque their lugs. Did it click? Hell yeah, it clicked -- but you have no idea how much torque you just applied.
Please, use them correctly, gradually increasing pressure until you get the click. Finesse, like the throttle on track out or a third date.
Please, use them correctly, gradually increasing pressure until you get the click. Finesse, like the throttle on track out or a third date.
Reply
0
0
11-10-2013, 07:02 PM
#54
Senior Member
Thread Starter
iTrader: (4)
Join Date: Jul 2006
Location: Shelton, CT
Posts: 675
Total Cats: 2
Yeah, pretty sure when I tightened up the injector rail last time I just blew it on the amount of torque needed as the specs are 14-19lbs for those and that's not a lot and I didn't use a torque wrench. BTW, having the full service manual for the Miata is very useful. I got a used one for $50.
Oh and I hooked up the MS3 and it actually connected and is reading my VTPS. Gonna wait to start until I hook up the WBO2. Just need to verify with Scott that the middle connector is where he put the O2 wire and I'll wire it in.
I've got the LC1 connected to the gauge in the interior right now, I'm assuming that splicing off the wiring going into that and running it over to the MS isn't going to present a problem.
I'd take some pics of the car back together, but other than the manifold it looks as horrible as it ever has and my wiring for the AIT sensor is terrible as well since the amount of wire they give you isn't that much for running from the intercooler. Where do people run the wiring for the AIT? I just ran it up from the IC in back of the radiator and over to the AFM connector.
Reply
0
0
11-11-2013, 12:10 PM
#57
The wire that comes with the kit is high-quality though.

Reply
0
0

 11-11-2013, 02:32 PM
#60
Senior Member
Thread Starter
iTrader: (4)
Join Date: Jul 2006
Location: Shelton, CT
Posts: 675
Total Cats: 2
I'm trying to puzzle out the intake situation. My problem is that there are obstacles in the way, not the least of which is that intercooler piping that goes up and over the PS/AC stuff. The other annoying thing is that the adjustment screw for the shock sticks up out of the tower about two or three or so inches so going up and over it and into the corner is a pain.
I decided I would try ordering this and see if I can just fit the thing right in front with a slight bend downward to clear the IC pipe. Now I just need a cone filter with a 2.5 inch opening.
cxracing.com: 2.5" OD Intercooler Aluminum 45 Degree Pipe Kit + Hose + 2 Clamps
Reply
0
0


