
Love It Or Hate It - Another Exocet Build in Tampa


Thanks. That's a good call. I was just going to clean everything up really good and go. I didn't even know about a ridge reamer. I'm pretty new to engine building so it's these tips that really help.
How do you like your Exocet? I'm getting nervous because I've seen a bunch for sale lately. I don't get it.
How do you like your Exocet? I'm getting nervous because I've seen a bunch for sale lately. I don't get it.
Reply
 0
0

0

Thread Starter
Junior Member

Joined: Jan 2018
Posts: 228
Total Cats: 25
From: Tampa, Fl
I like it it's fun, has been a great project. I think a lot of people like doing the big build, and then get bored with it. Also, there are several things that become a PITA if you want to run with some organizations (NASA requires fenders, and the fender mounts pretty much all suck, for example). Wheel fitment also sucks since you can't use wheels sized for a miata since the Exocet requires a less positive offset to fit the same width wheel.
Reply
0
0

I'd like to go on the record to state how envious I am.
This would be an impossible project in Turkey unless I built the chassis from scratch.
Even then, I would have to find a donor car, and that's practically impossible.
I do have an important question to ask...
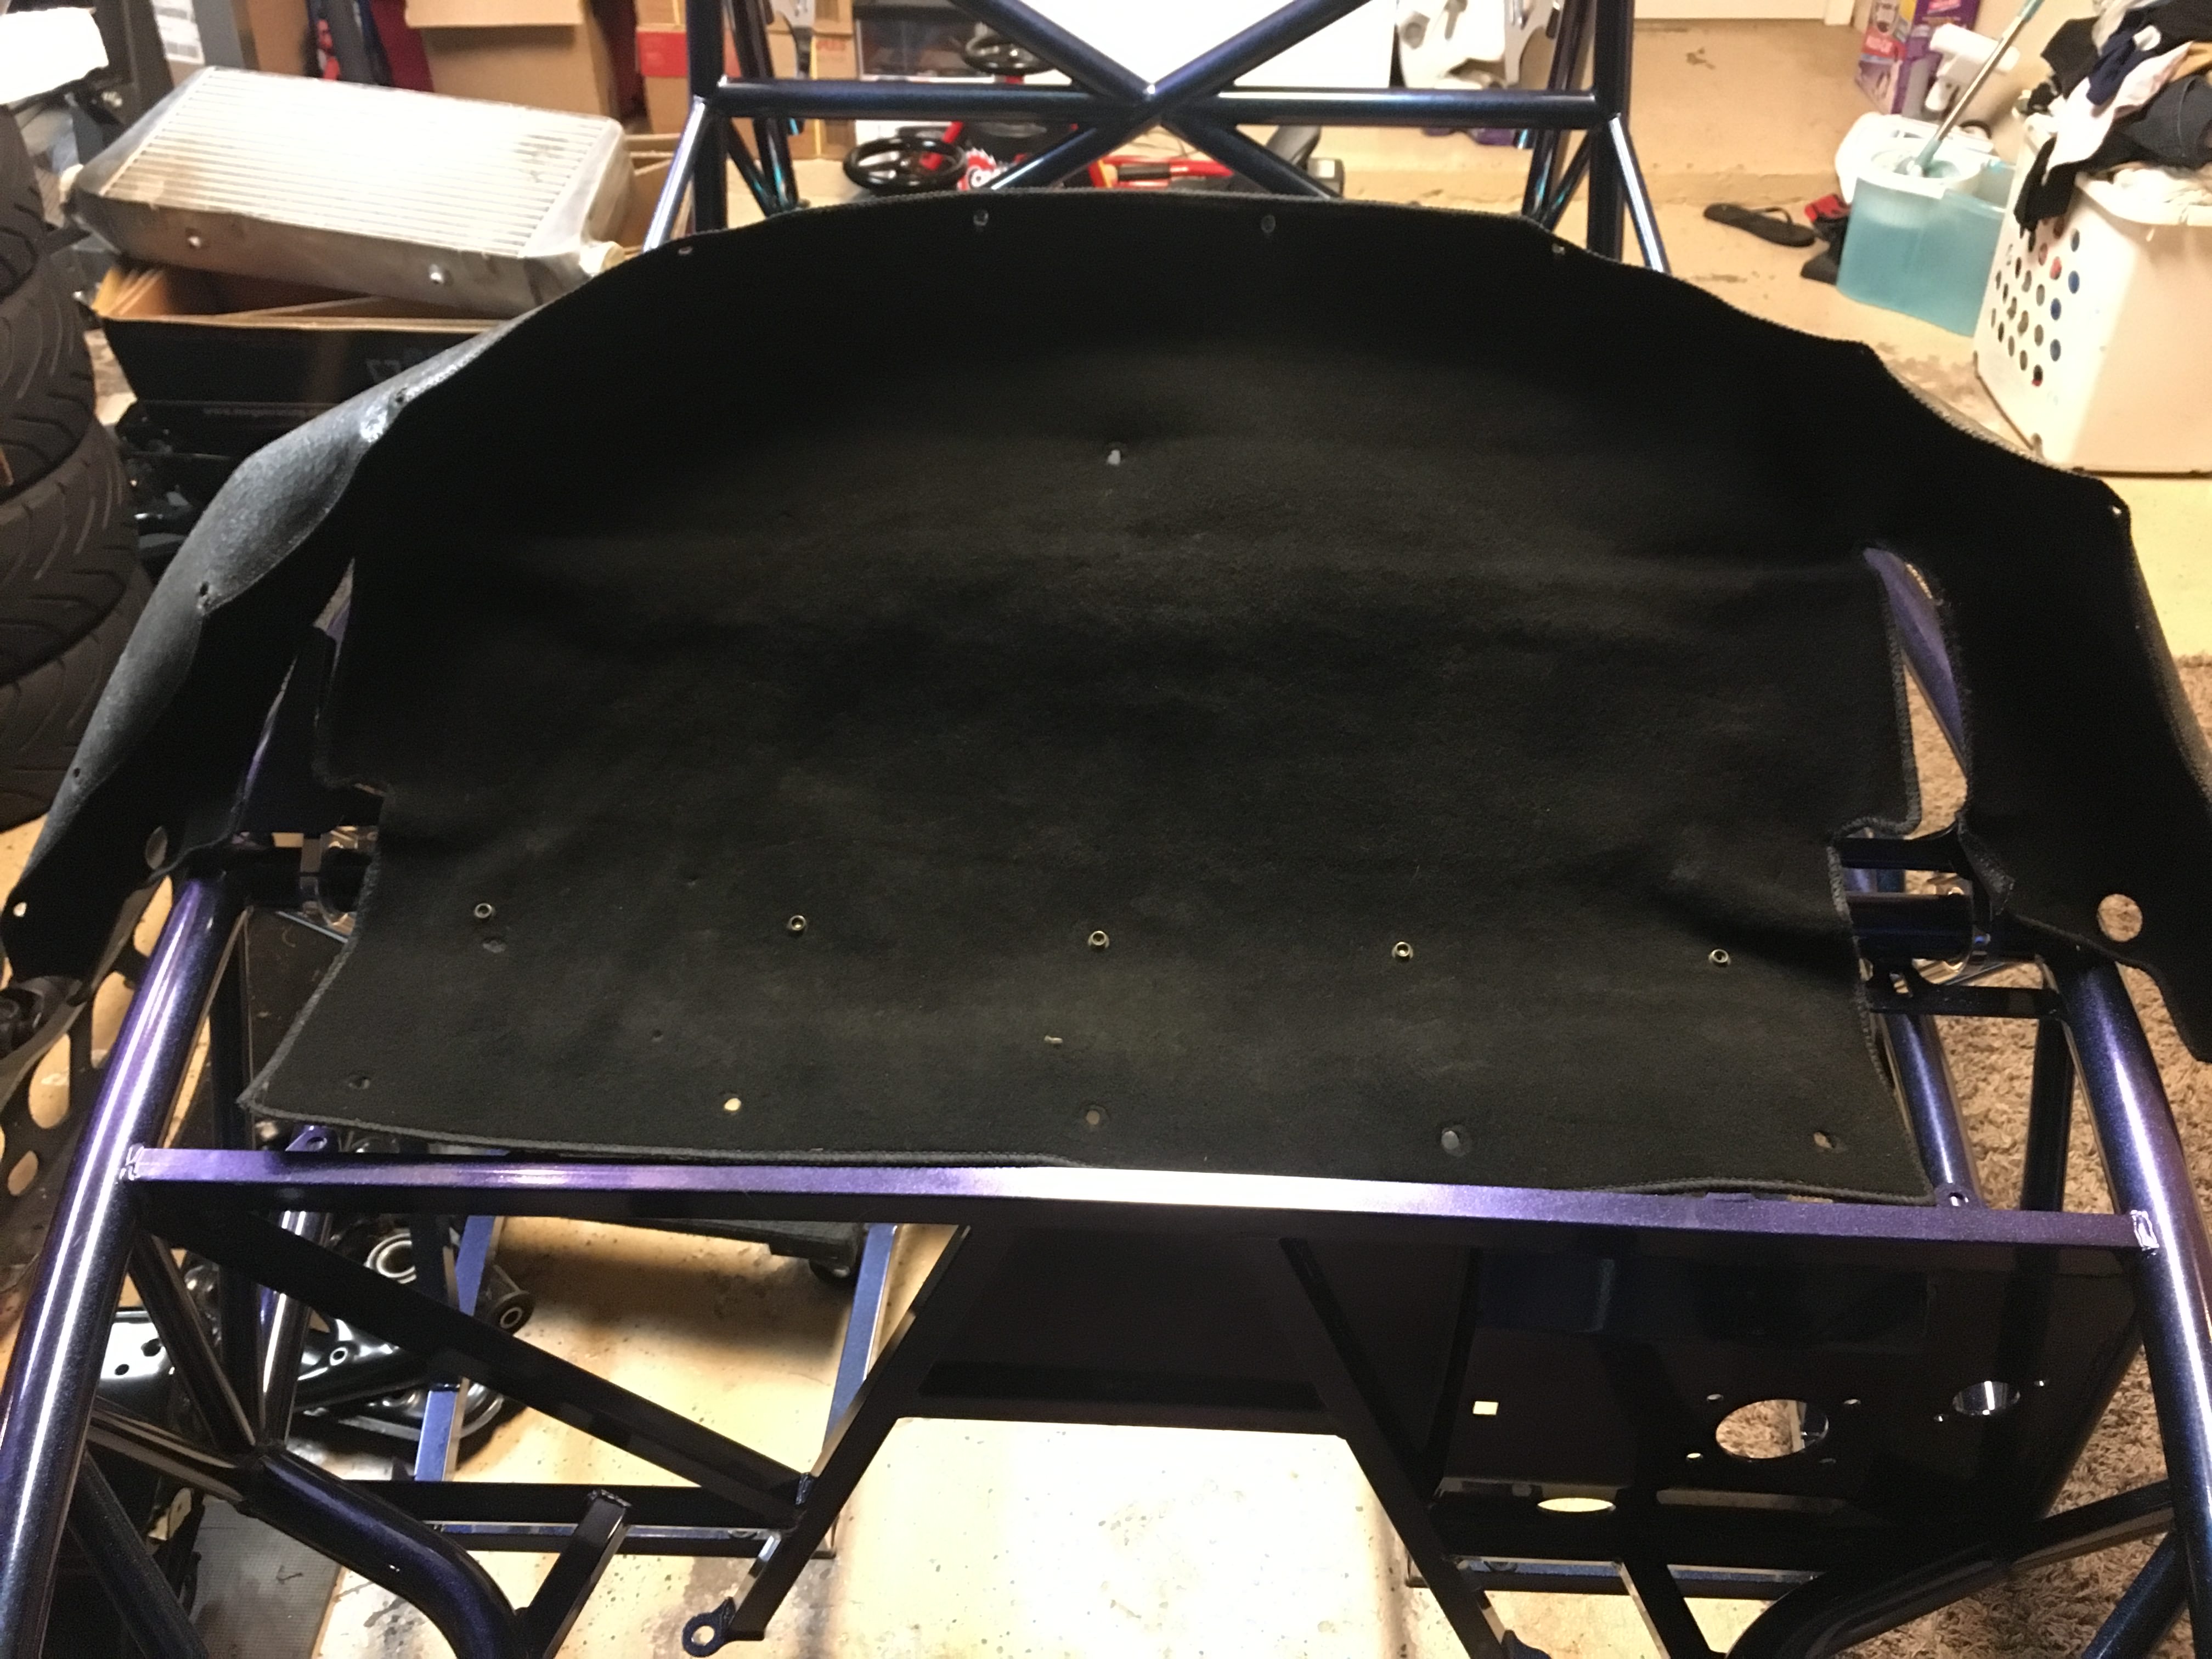
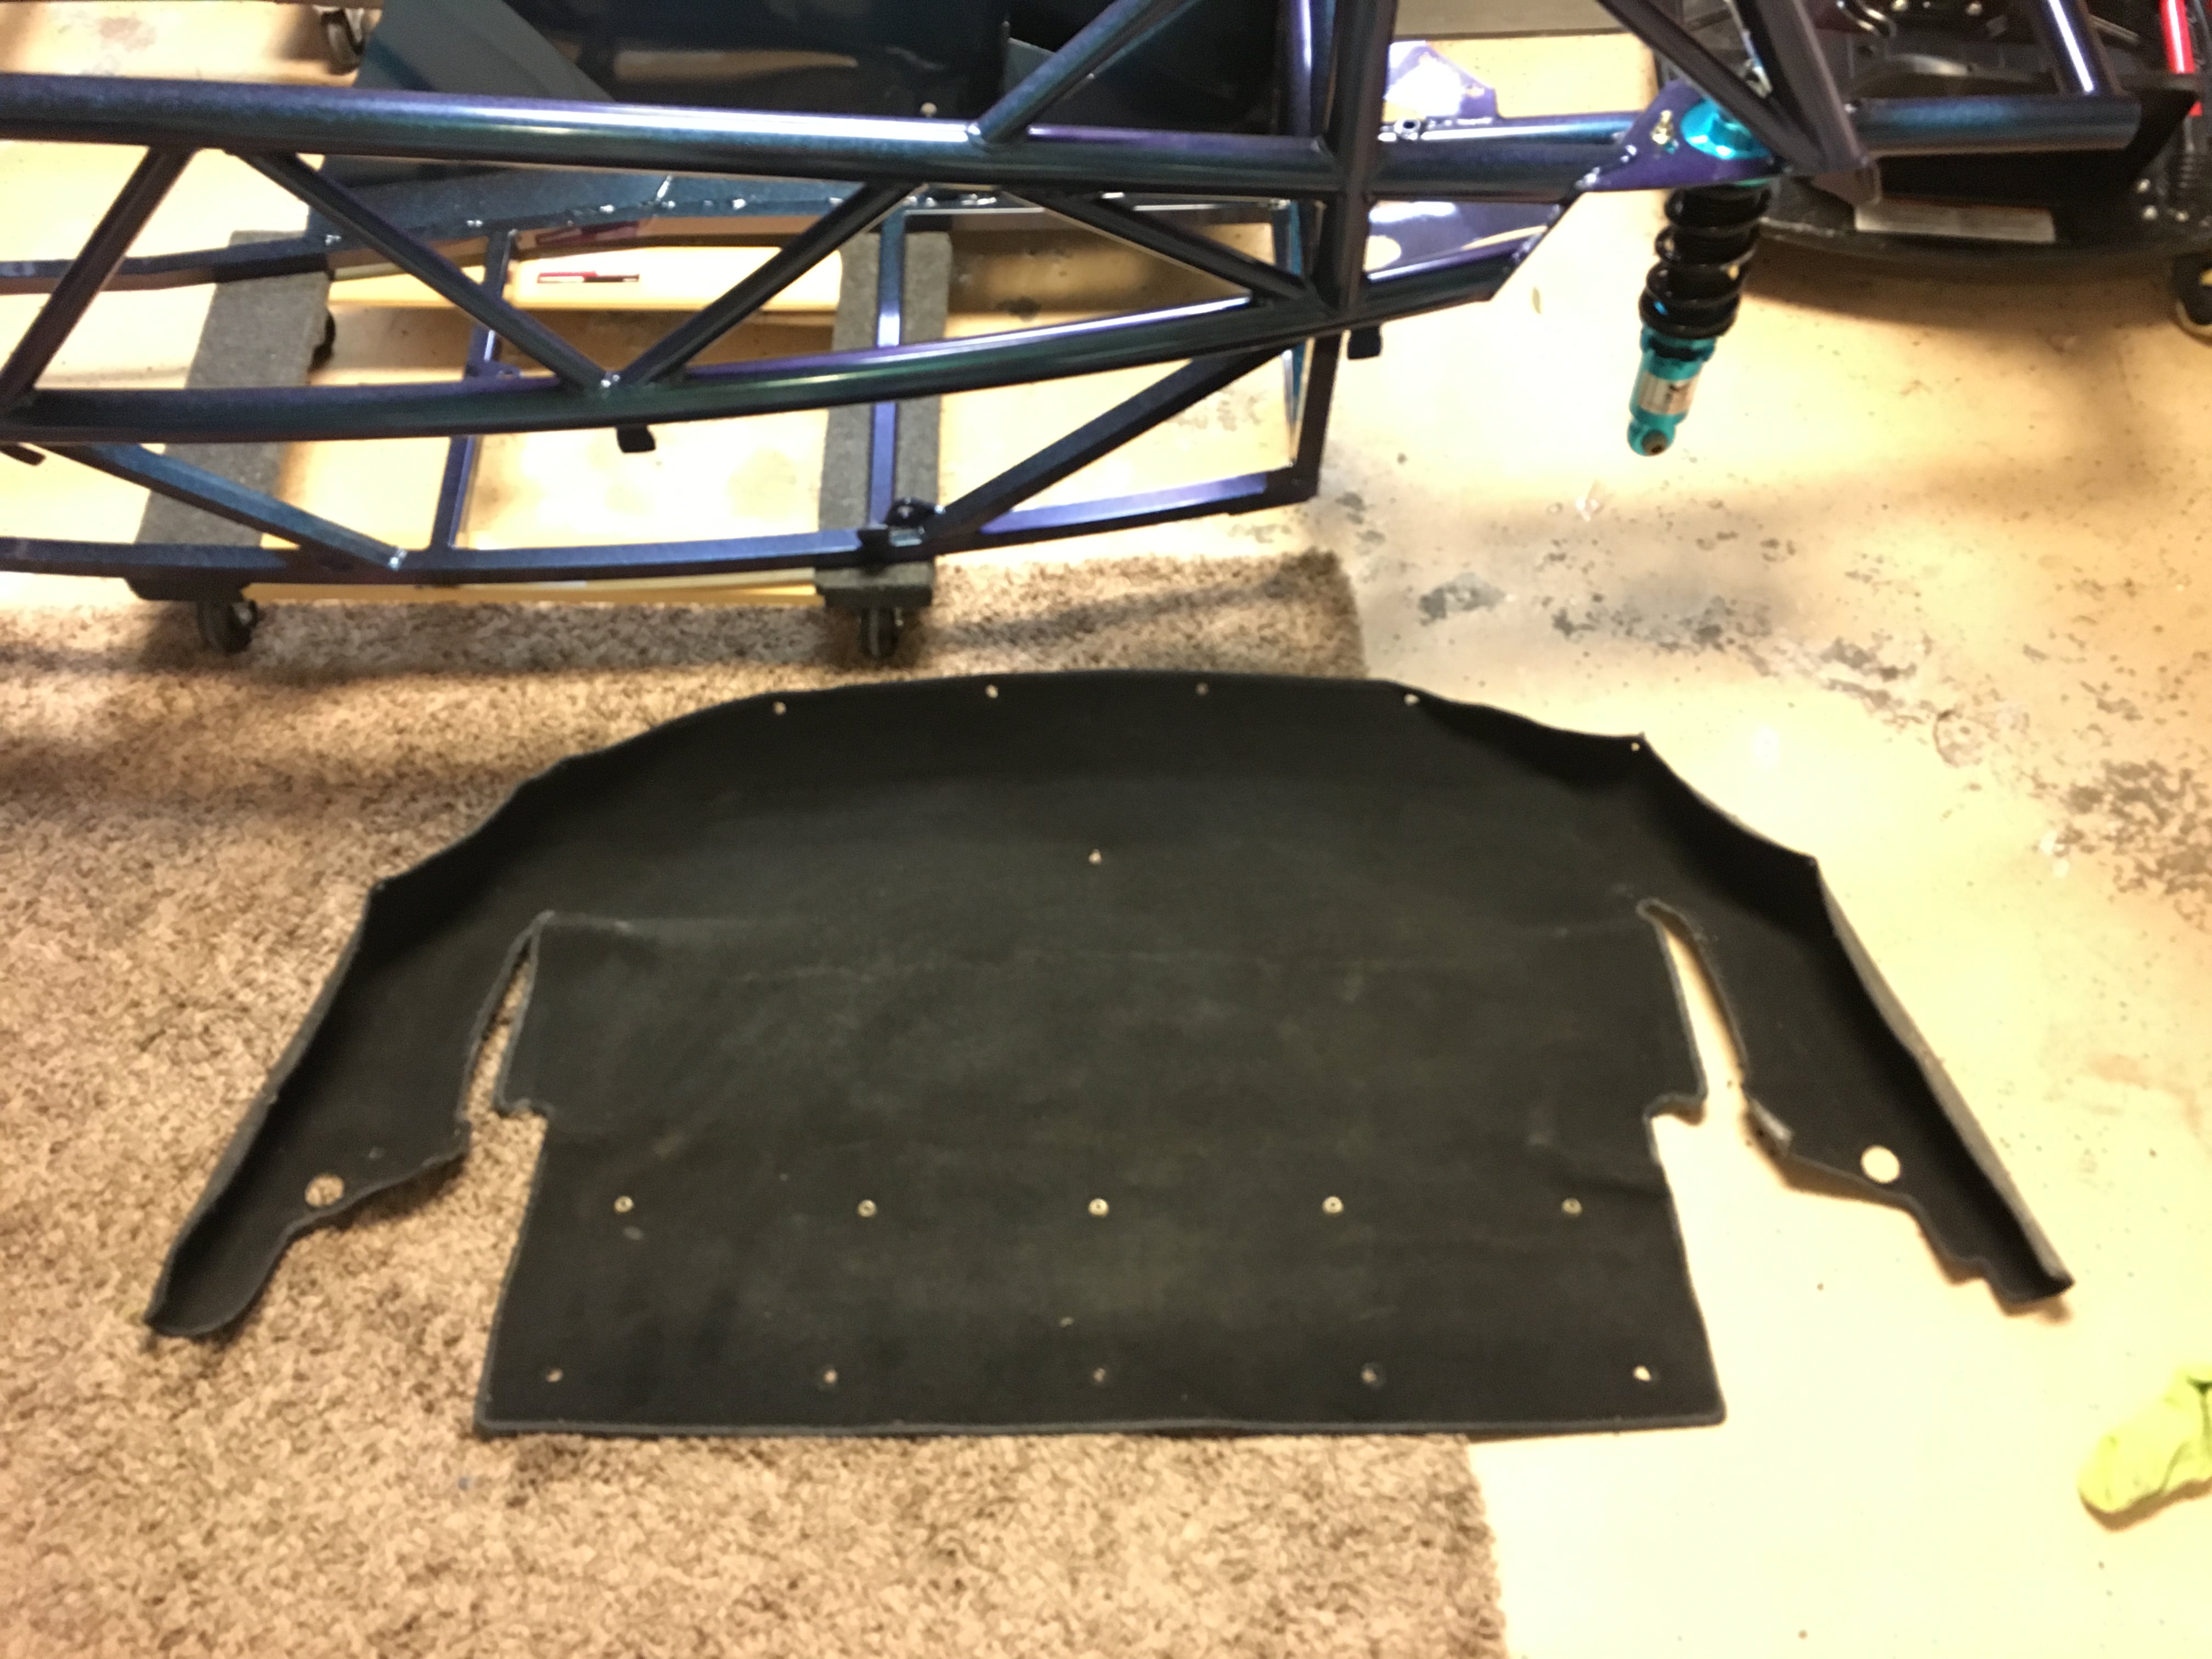
Did you keep the carpeting, specifically, the rear deck carpeting?
Please PM me if you have. I have a 99, and mine is worn through.
This would be an impossible project in Turkey unless I built the chassis from scratch.
Even then, I would have to find a donor car, and that's practically impossible.
I do have an important question to ask...
Did you keep the carpeting, specifically, the rear deck carpeting?
Please PM me if you have. I have a 99, and mine is worn through.
Reply
0
0
Thread Starter
Junior Member
Joined: Jan 2018
Posts: 228
Total Cats: 25
From: Tampa, Fl
I'd like to go on the record to state how envious I am.
This would be an impossible project in Turkey unless I built the chassis from scratch.
Even then, I would have to find a donor car, and that's practically impossible.
I do have an important question to ask...
Did you keep the carpeting, specifically, the rear deck carpeting?
Please PM me if you have. I have a 99, and mine is worn through.
Reply
0
0
I bought some cheap JNC 003s off ebay for $400 shipped, have to run a spacer in the front to clear calipers, and a spacer in the rear to clear my 275 Hoosiers from the frame. I have a set of 15mm spacers, could get away with smaller, probably 5-10mm. I am leaning towards getting either a set of Volk TE37V 15x9 -15, or a set of custom Bogart wheels. I also am running 15x7 +41 RPF1s w/ 205 Rivals currently for keeping it off the ground.
Reply
0
0
Thread Starter
Junior Member
Joined: Jan 2018
Posts: 228
Total Cats: 25
From: Tampa, Fl
I'm not sure I still have the carpeting from the rear deck. I'll be sure to check later tonight. I tried to get rid of a lot of the stuff left over from my tear down and I ended up just throwing away a lot of the interior stuff. I may still have it though. I'll let you know.
Reply
0
0
Reply
0
0
Thread Starter
Junior Member
Joined: Jan 2018
Posts: 228
Total Cats: 25
From: Tampa, Fl
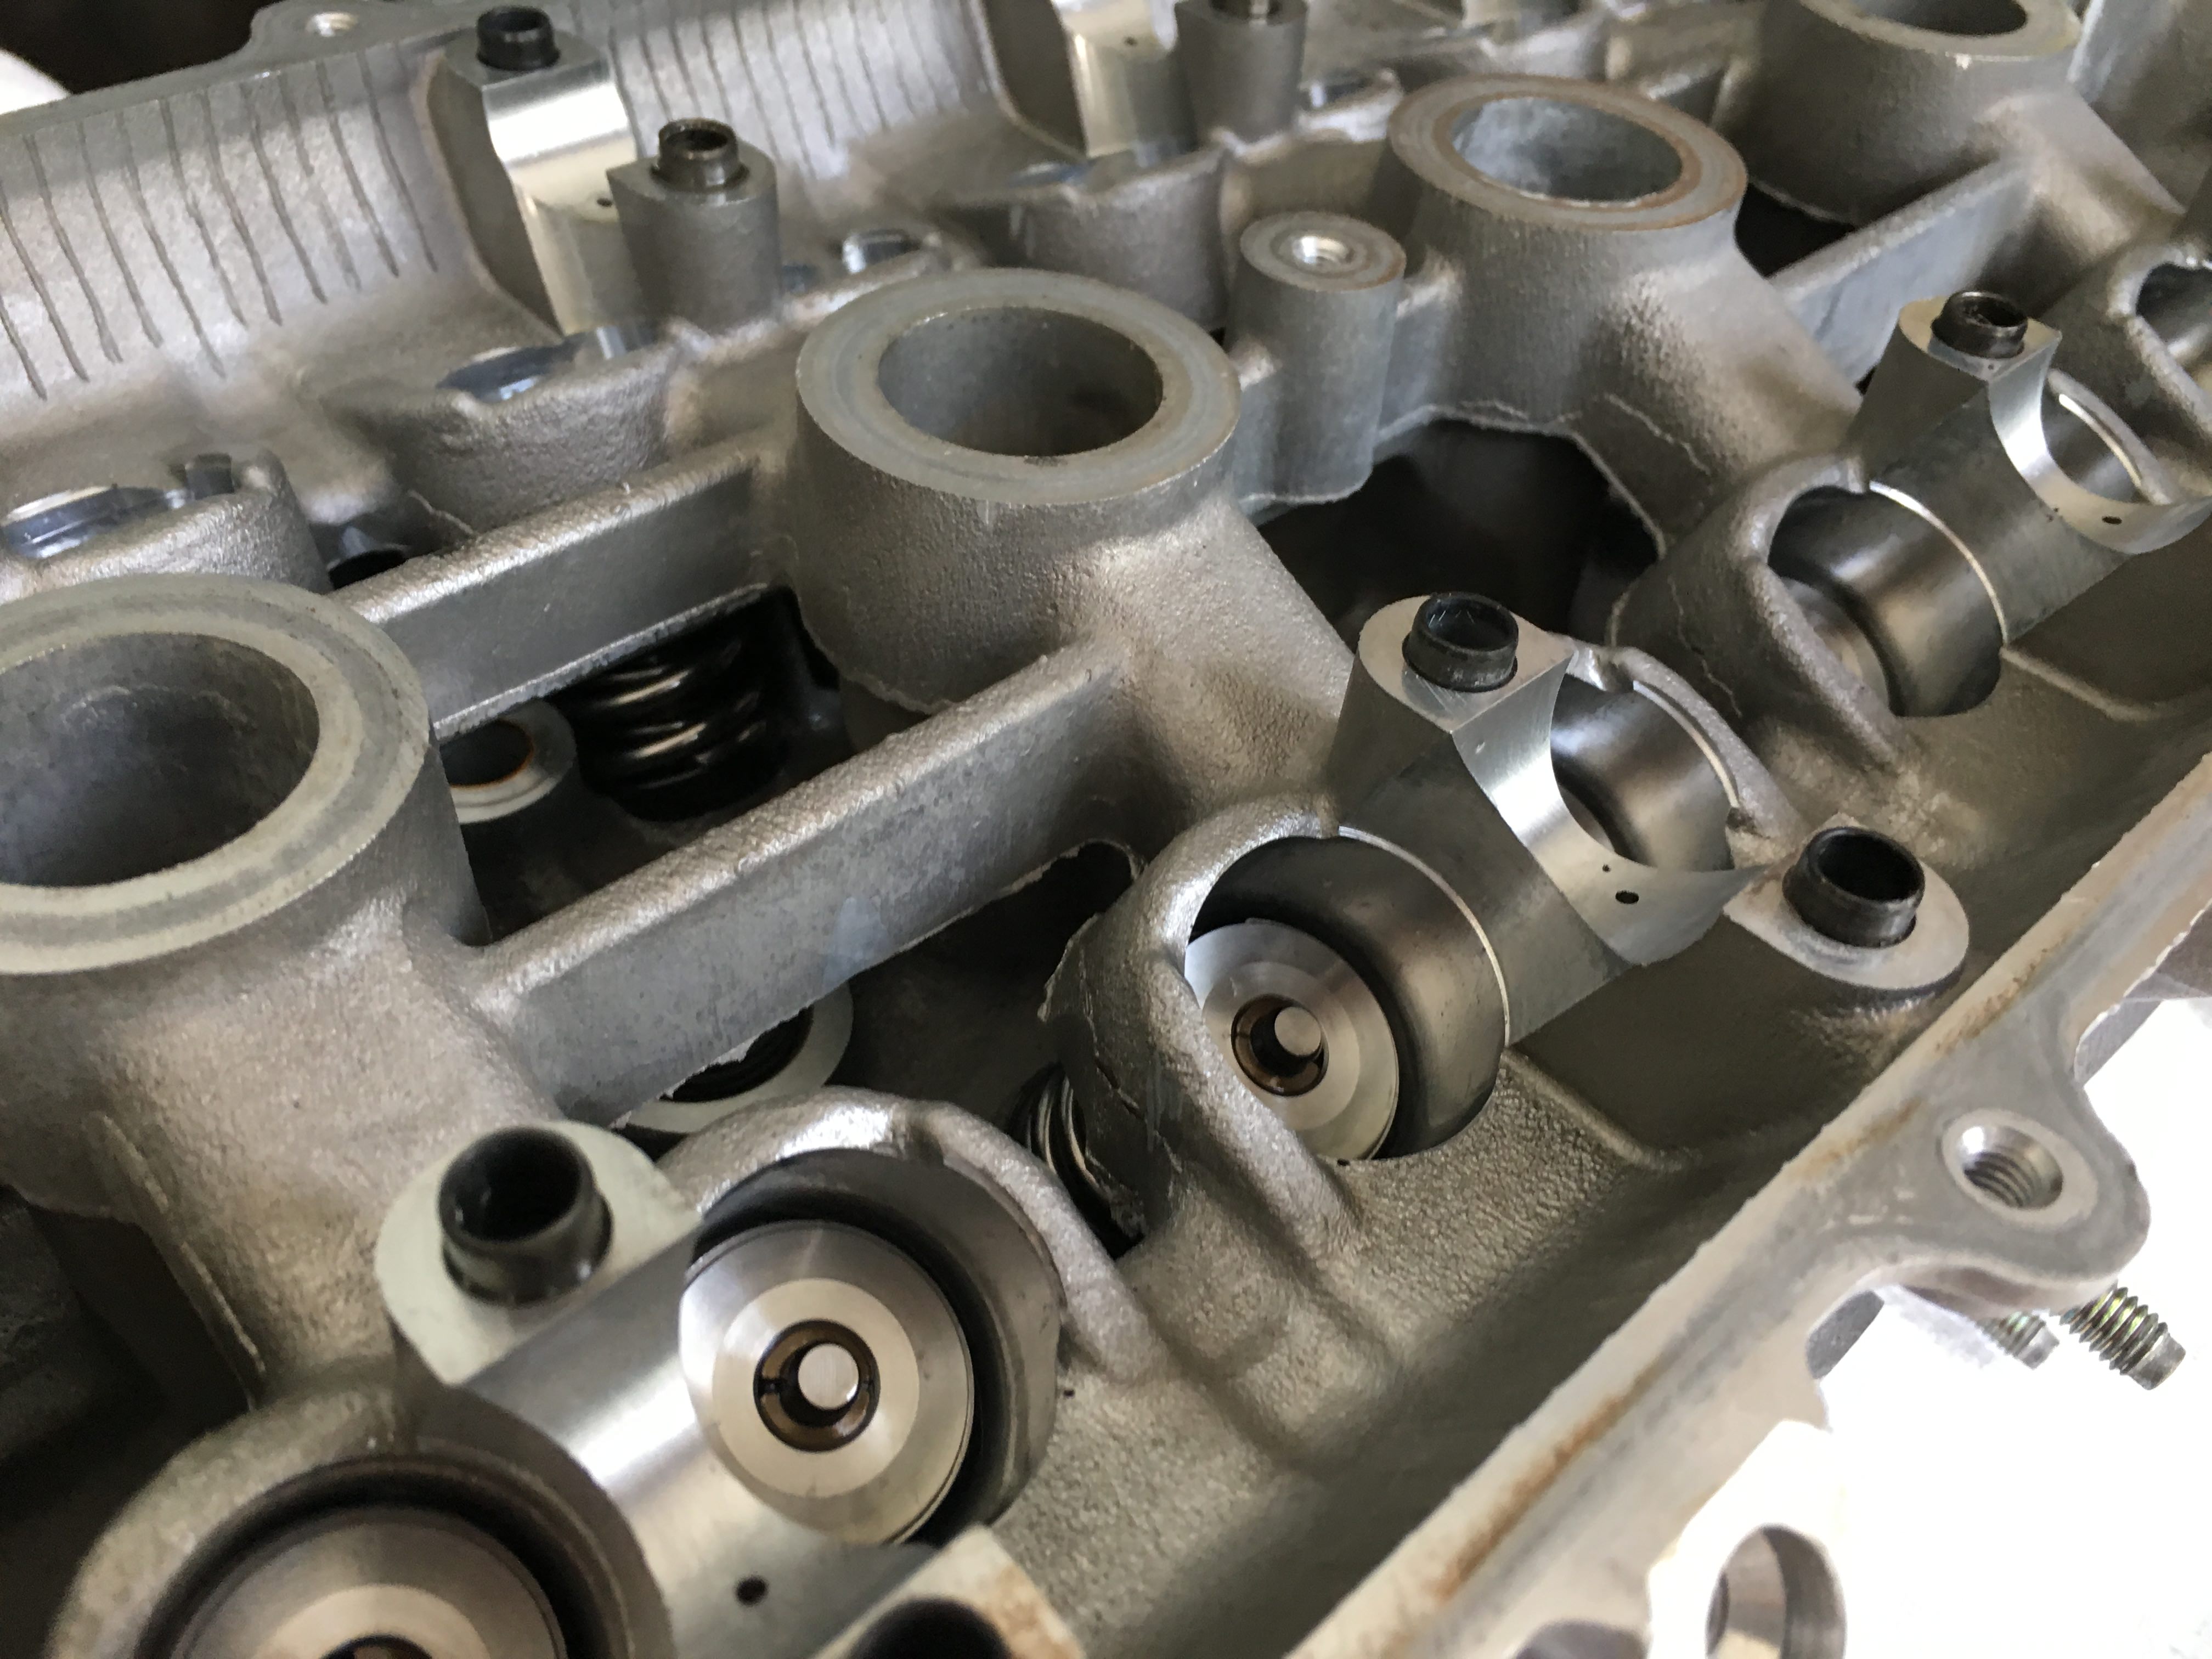
Back at it over the holiday weekend. Finished grinding down the ports and also lapped the valves.
Ground the flash out of the ports.
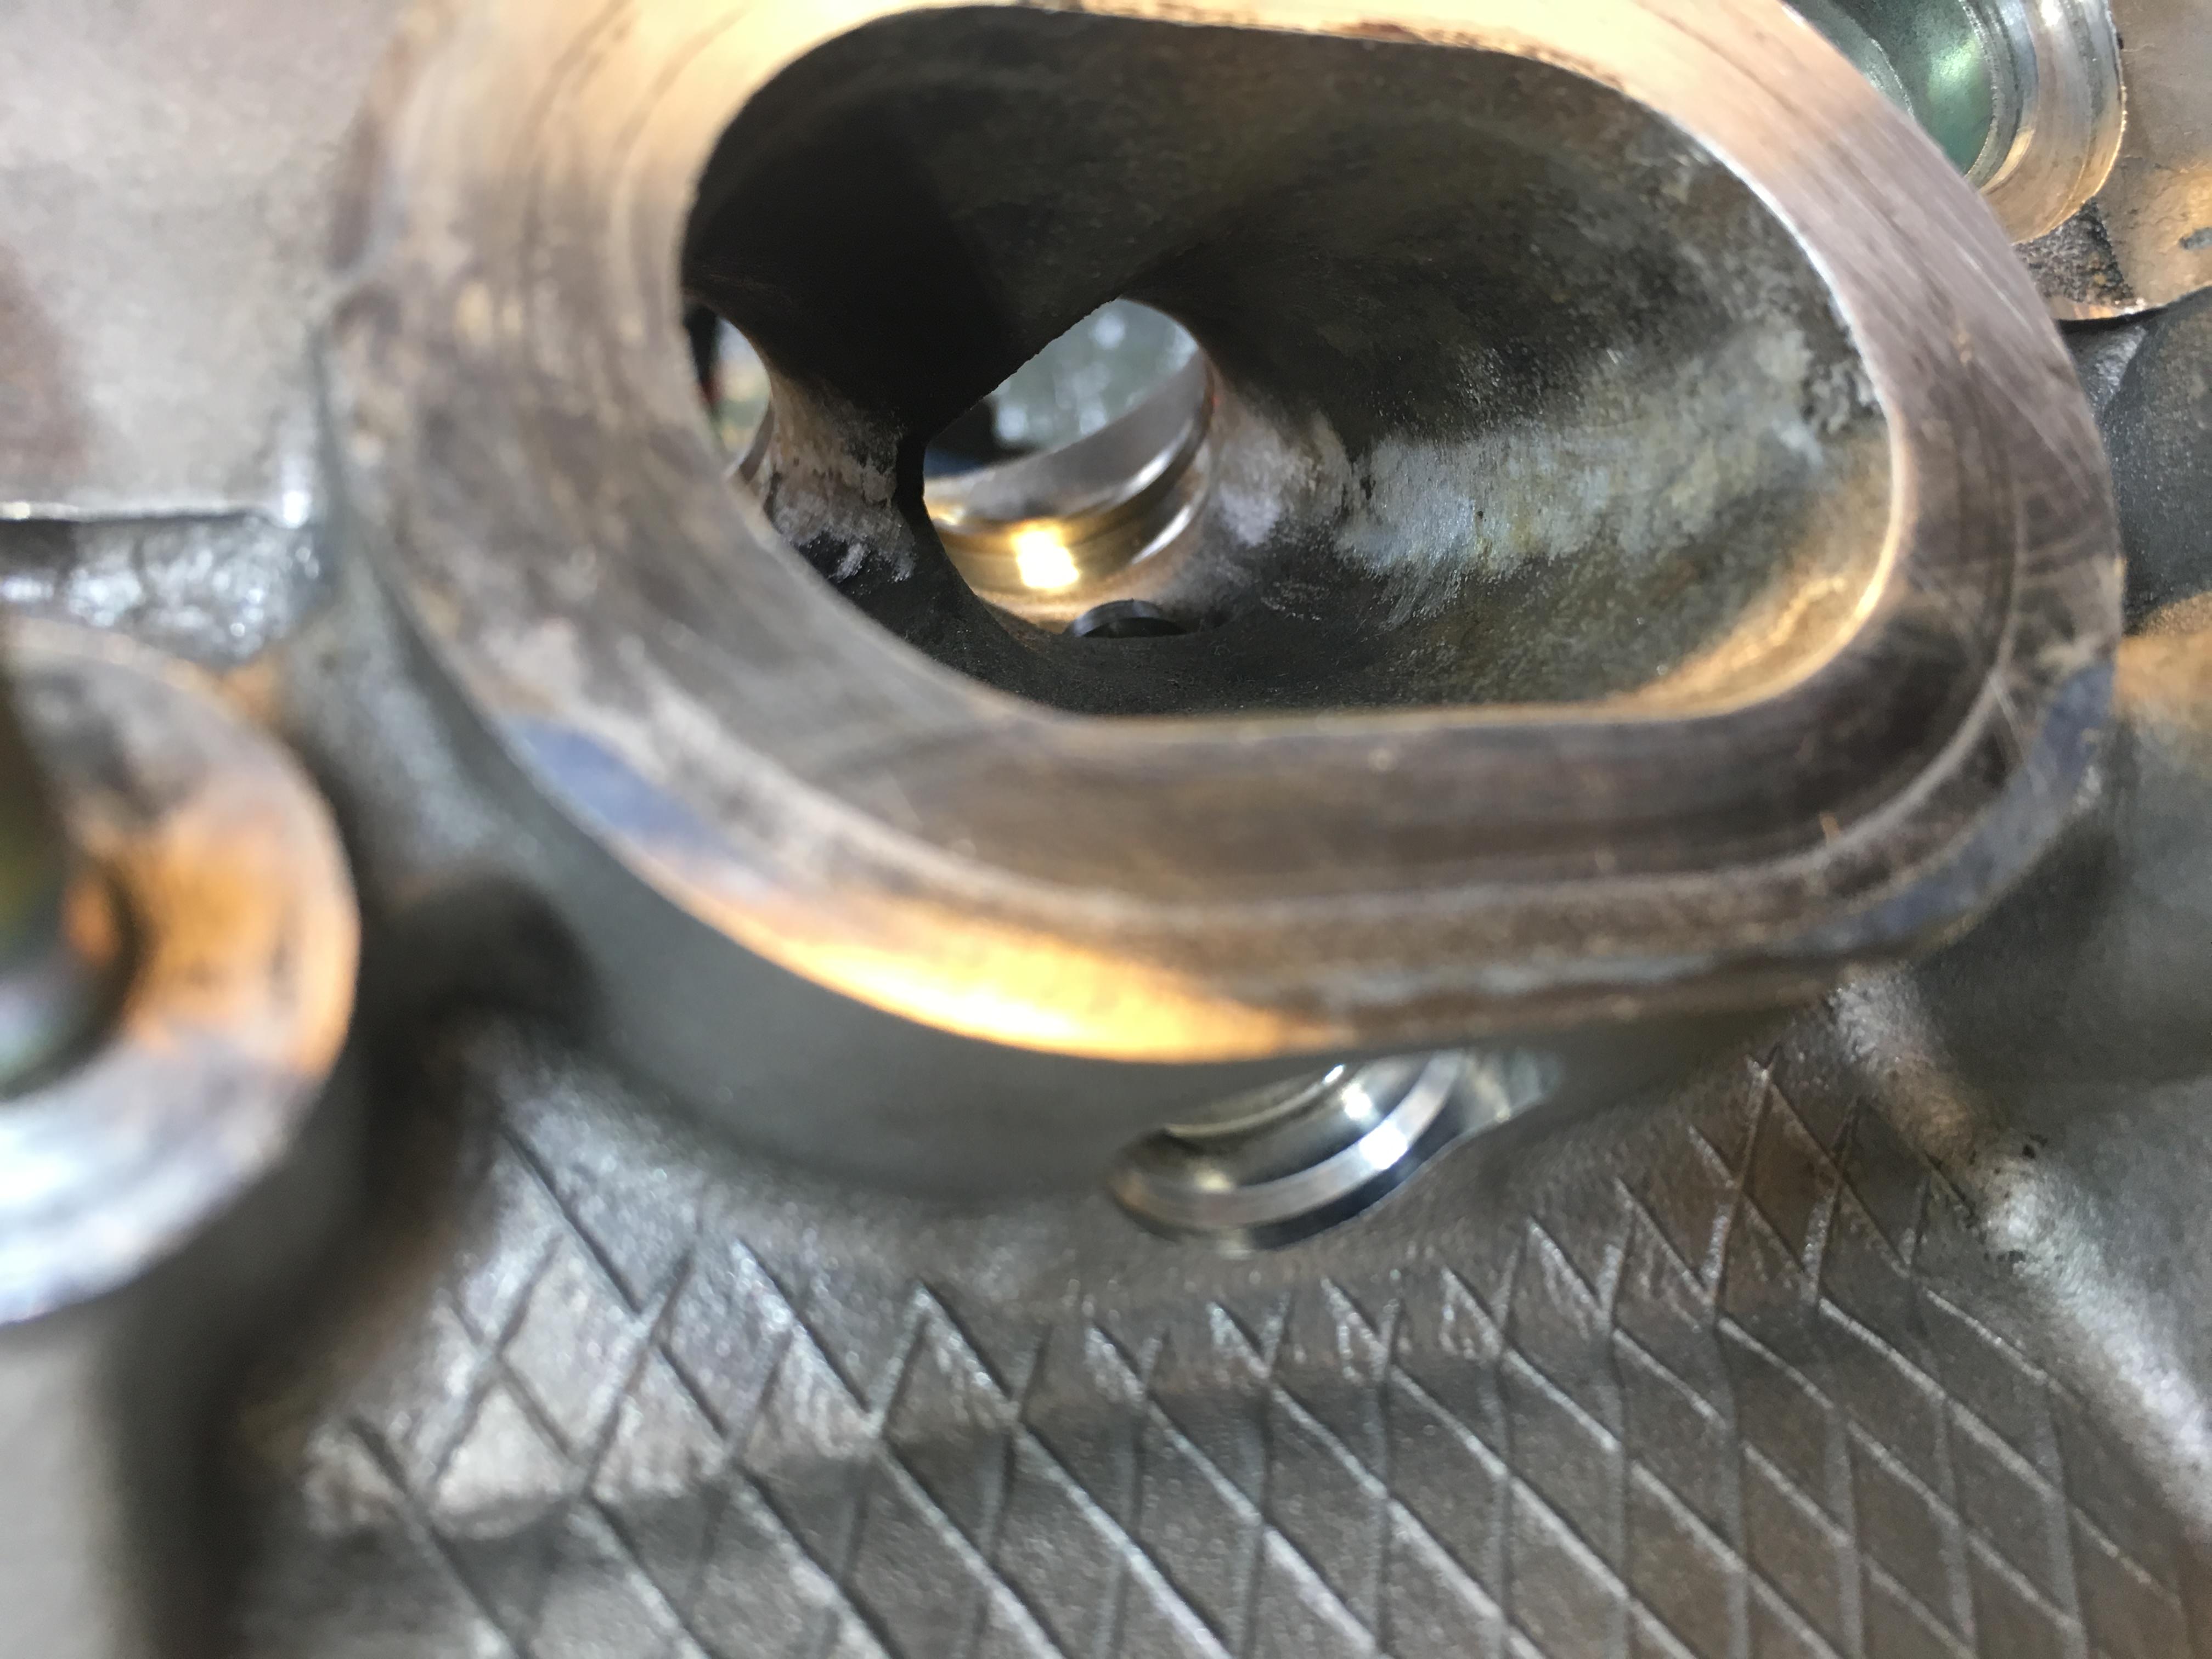
Try not to laugh too hard at my porting job.
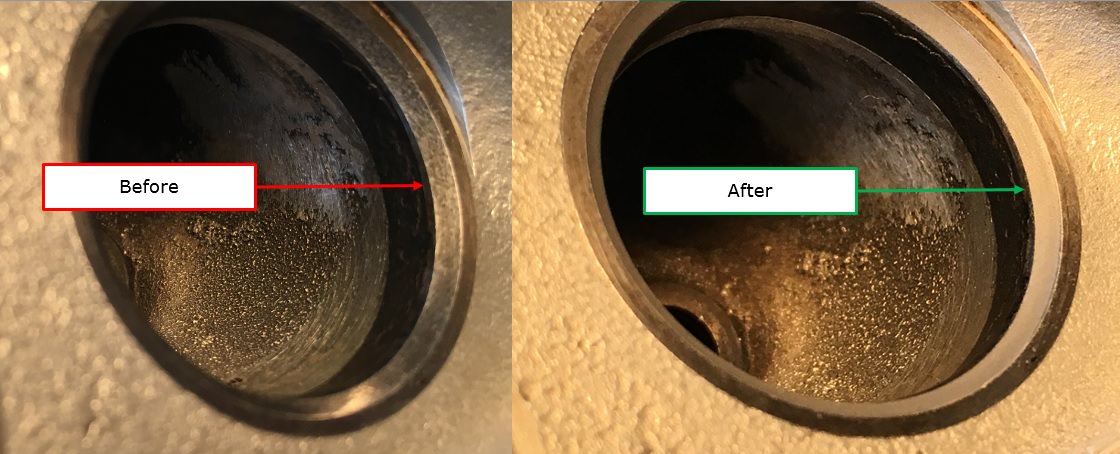
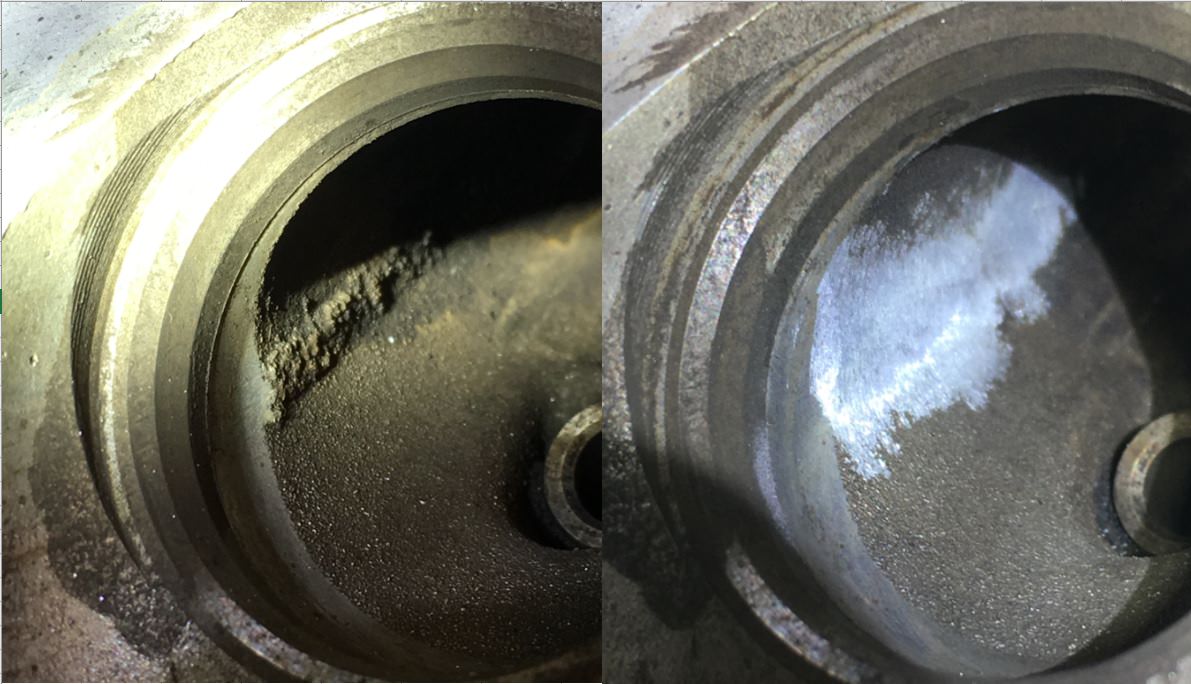
Before and after of the valve lapping.
Lapping the valves was new for me. Like anything, experience makes you better. By the time I got to the last valve I felt like an expert.
Ground the flash out of the ports.
Try not to laugh too hard at my porting job.
Before and after of the valve lapping.
Lapping the valves was new for me. Like anything, experience makes you better. By the time I got to the last valve I felt like an expert.
Reply
0
0
Thread Starter
Junior Member
Joined: Jan 2018
Posts: 228
Total Cats: 25
From: Tampa, Fl
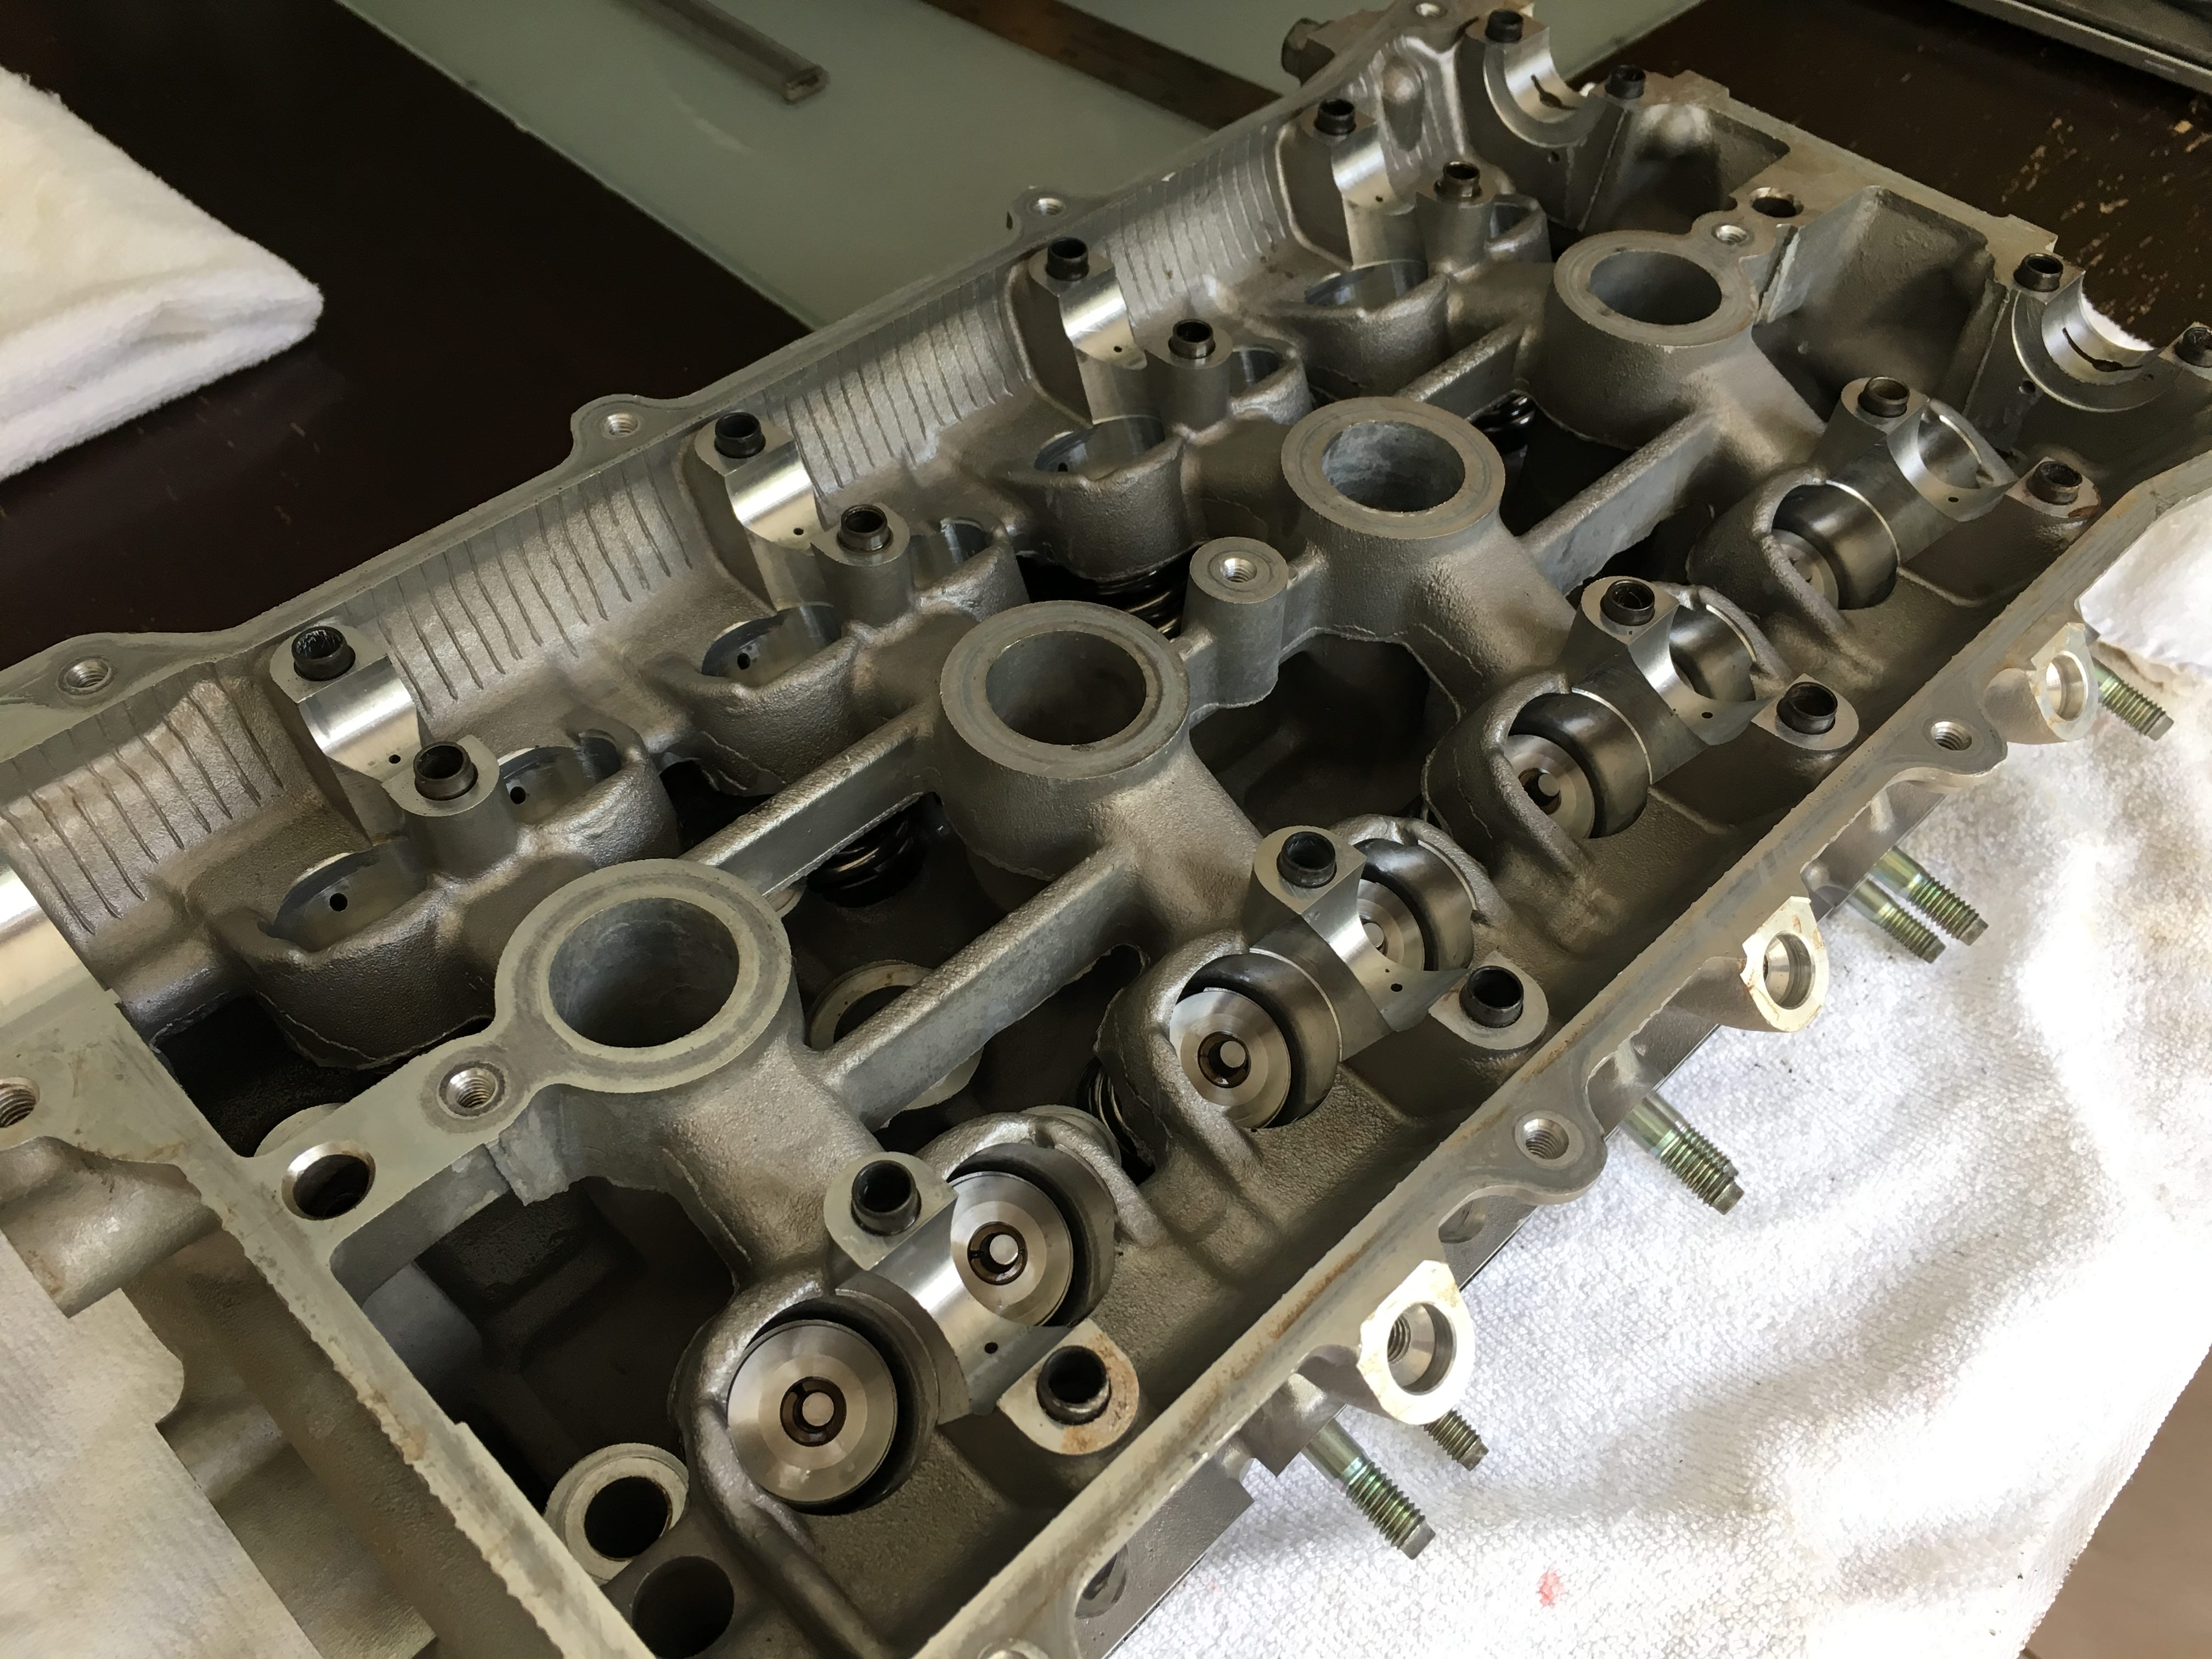
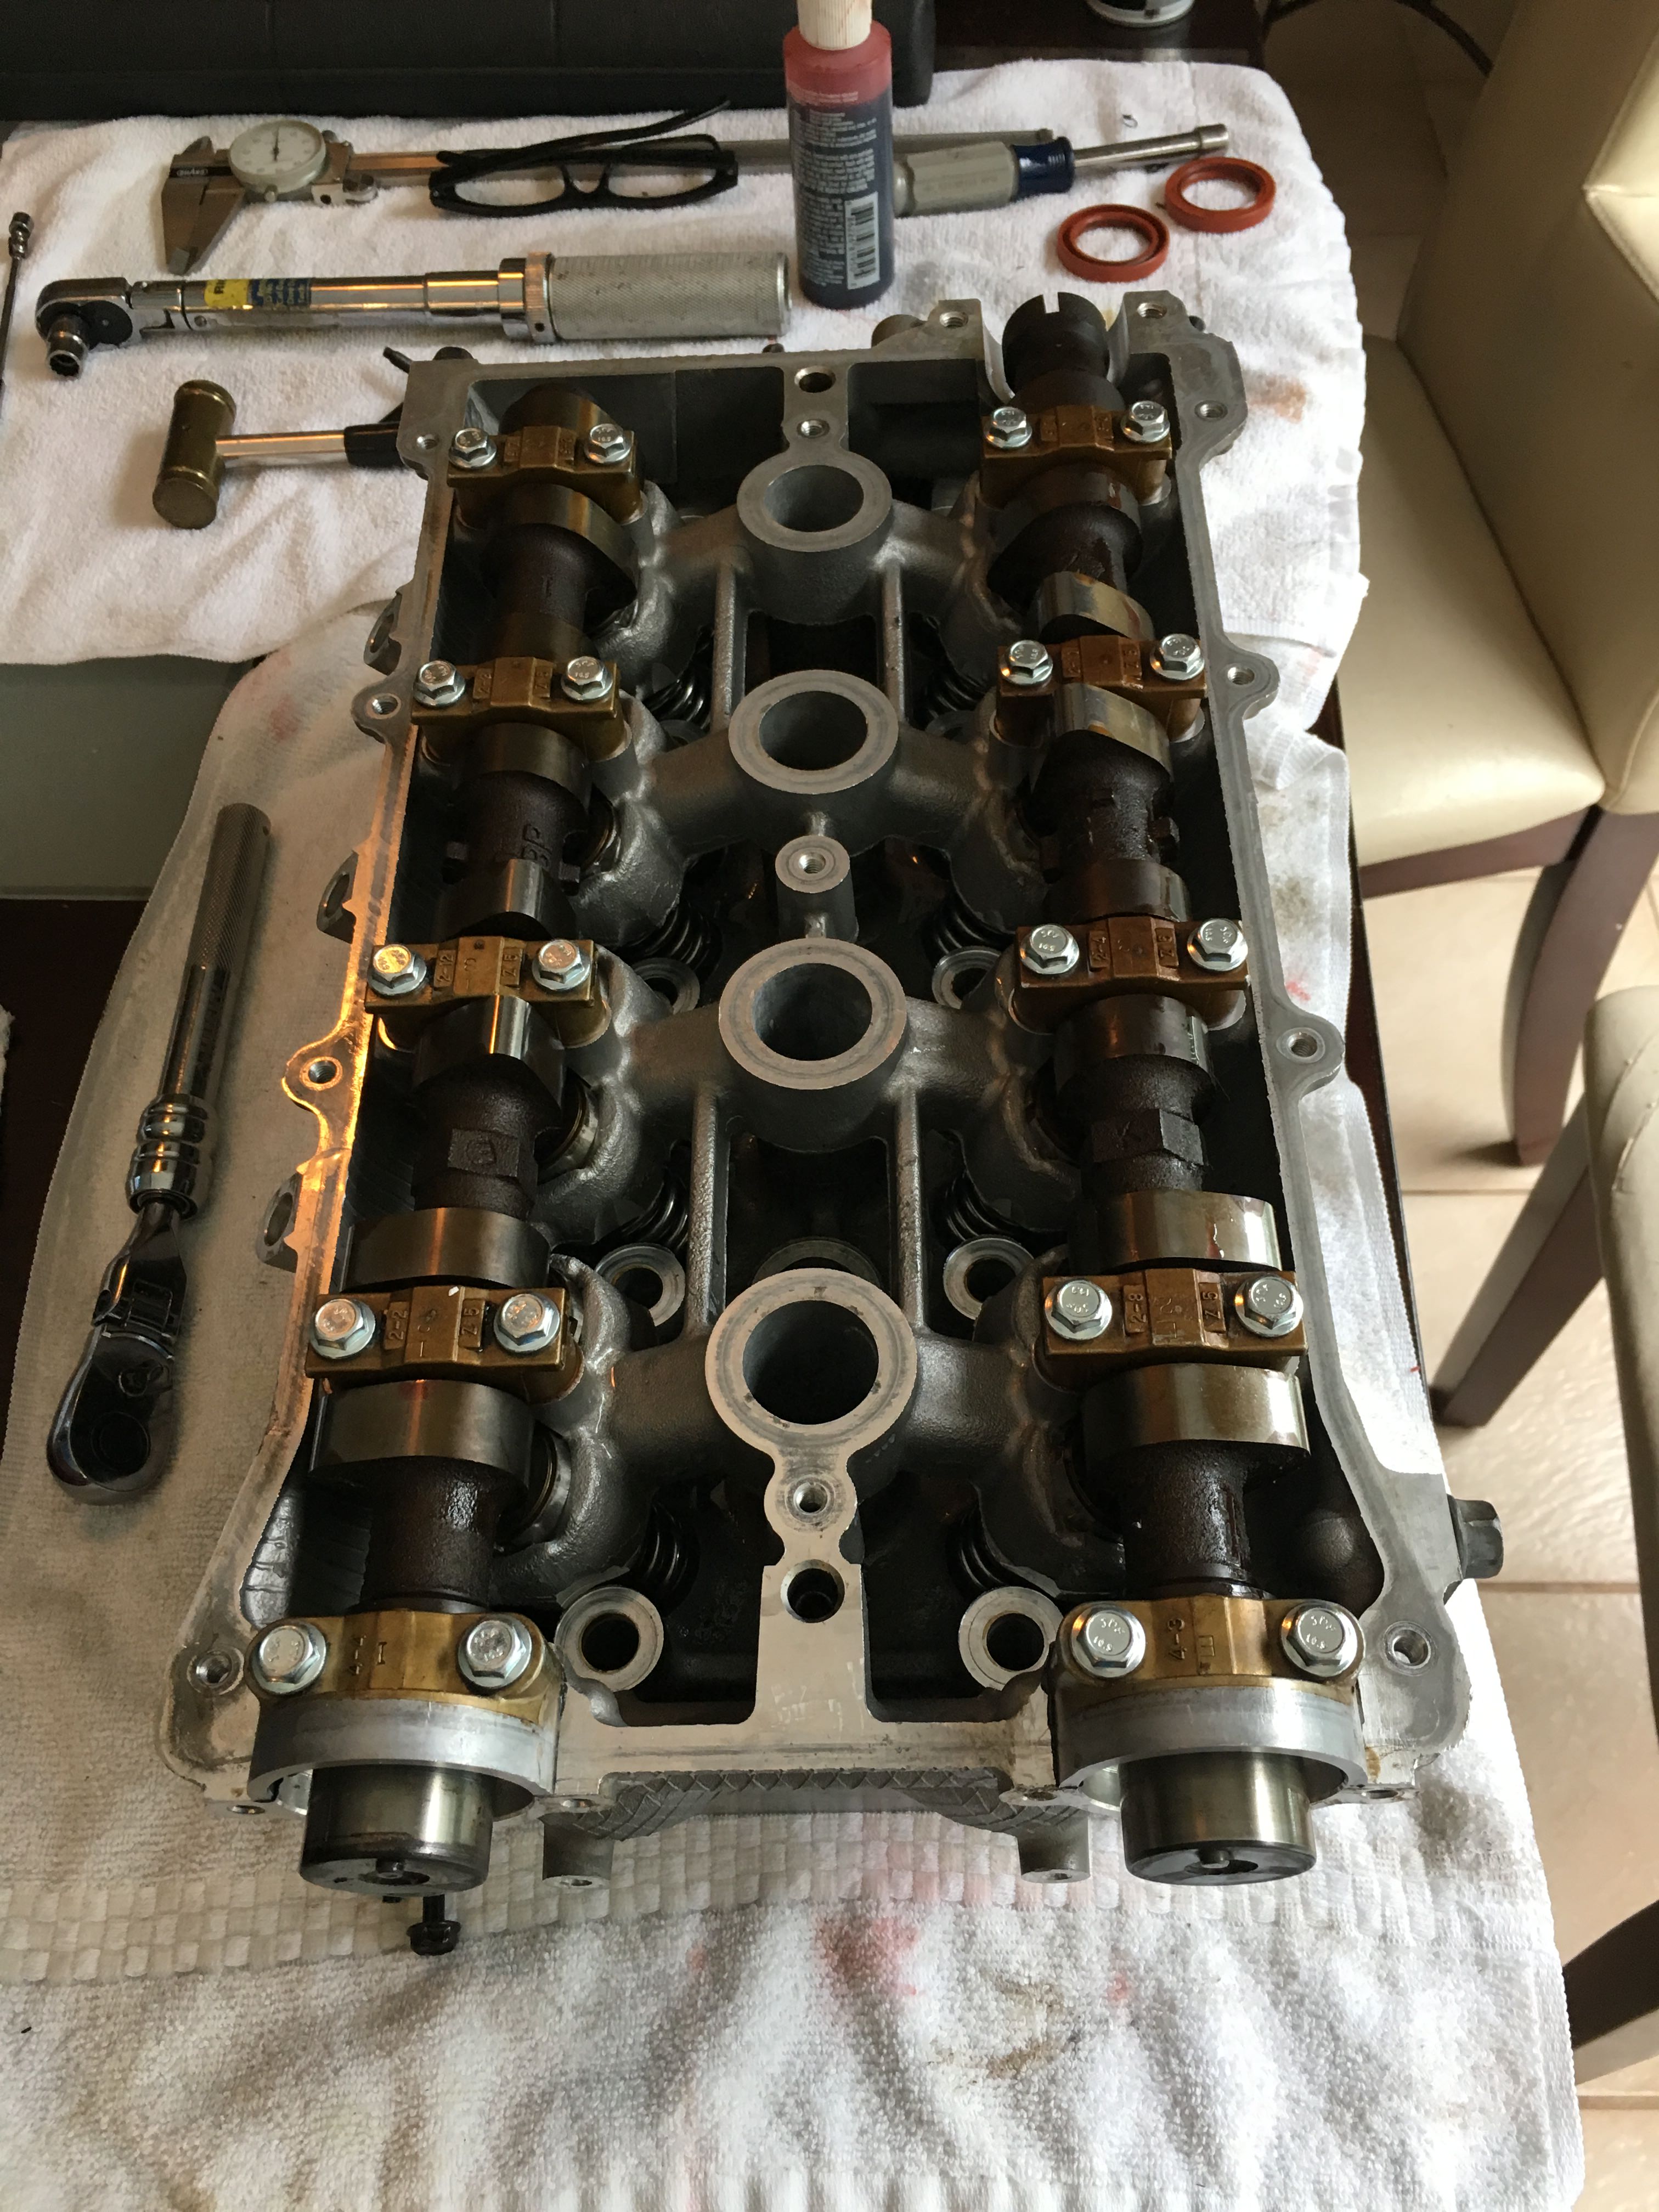
It's been a while but I finally assembled my cylinder head this weekend. Installed SuperTech dual springs with SuperMiata seals. I have a set of SuperTech seals if anybody wants them. I bought them before I read all of the cases of leaking ST seals. I plan on plugging the oil squirters this week then assembling the bottom end this weekend. I'm doing my best to scrounge up money for a torsen before I mate up the PPF with the chassis. Summer is here and my weekends are filling up quick.
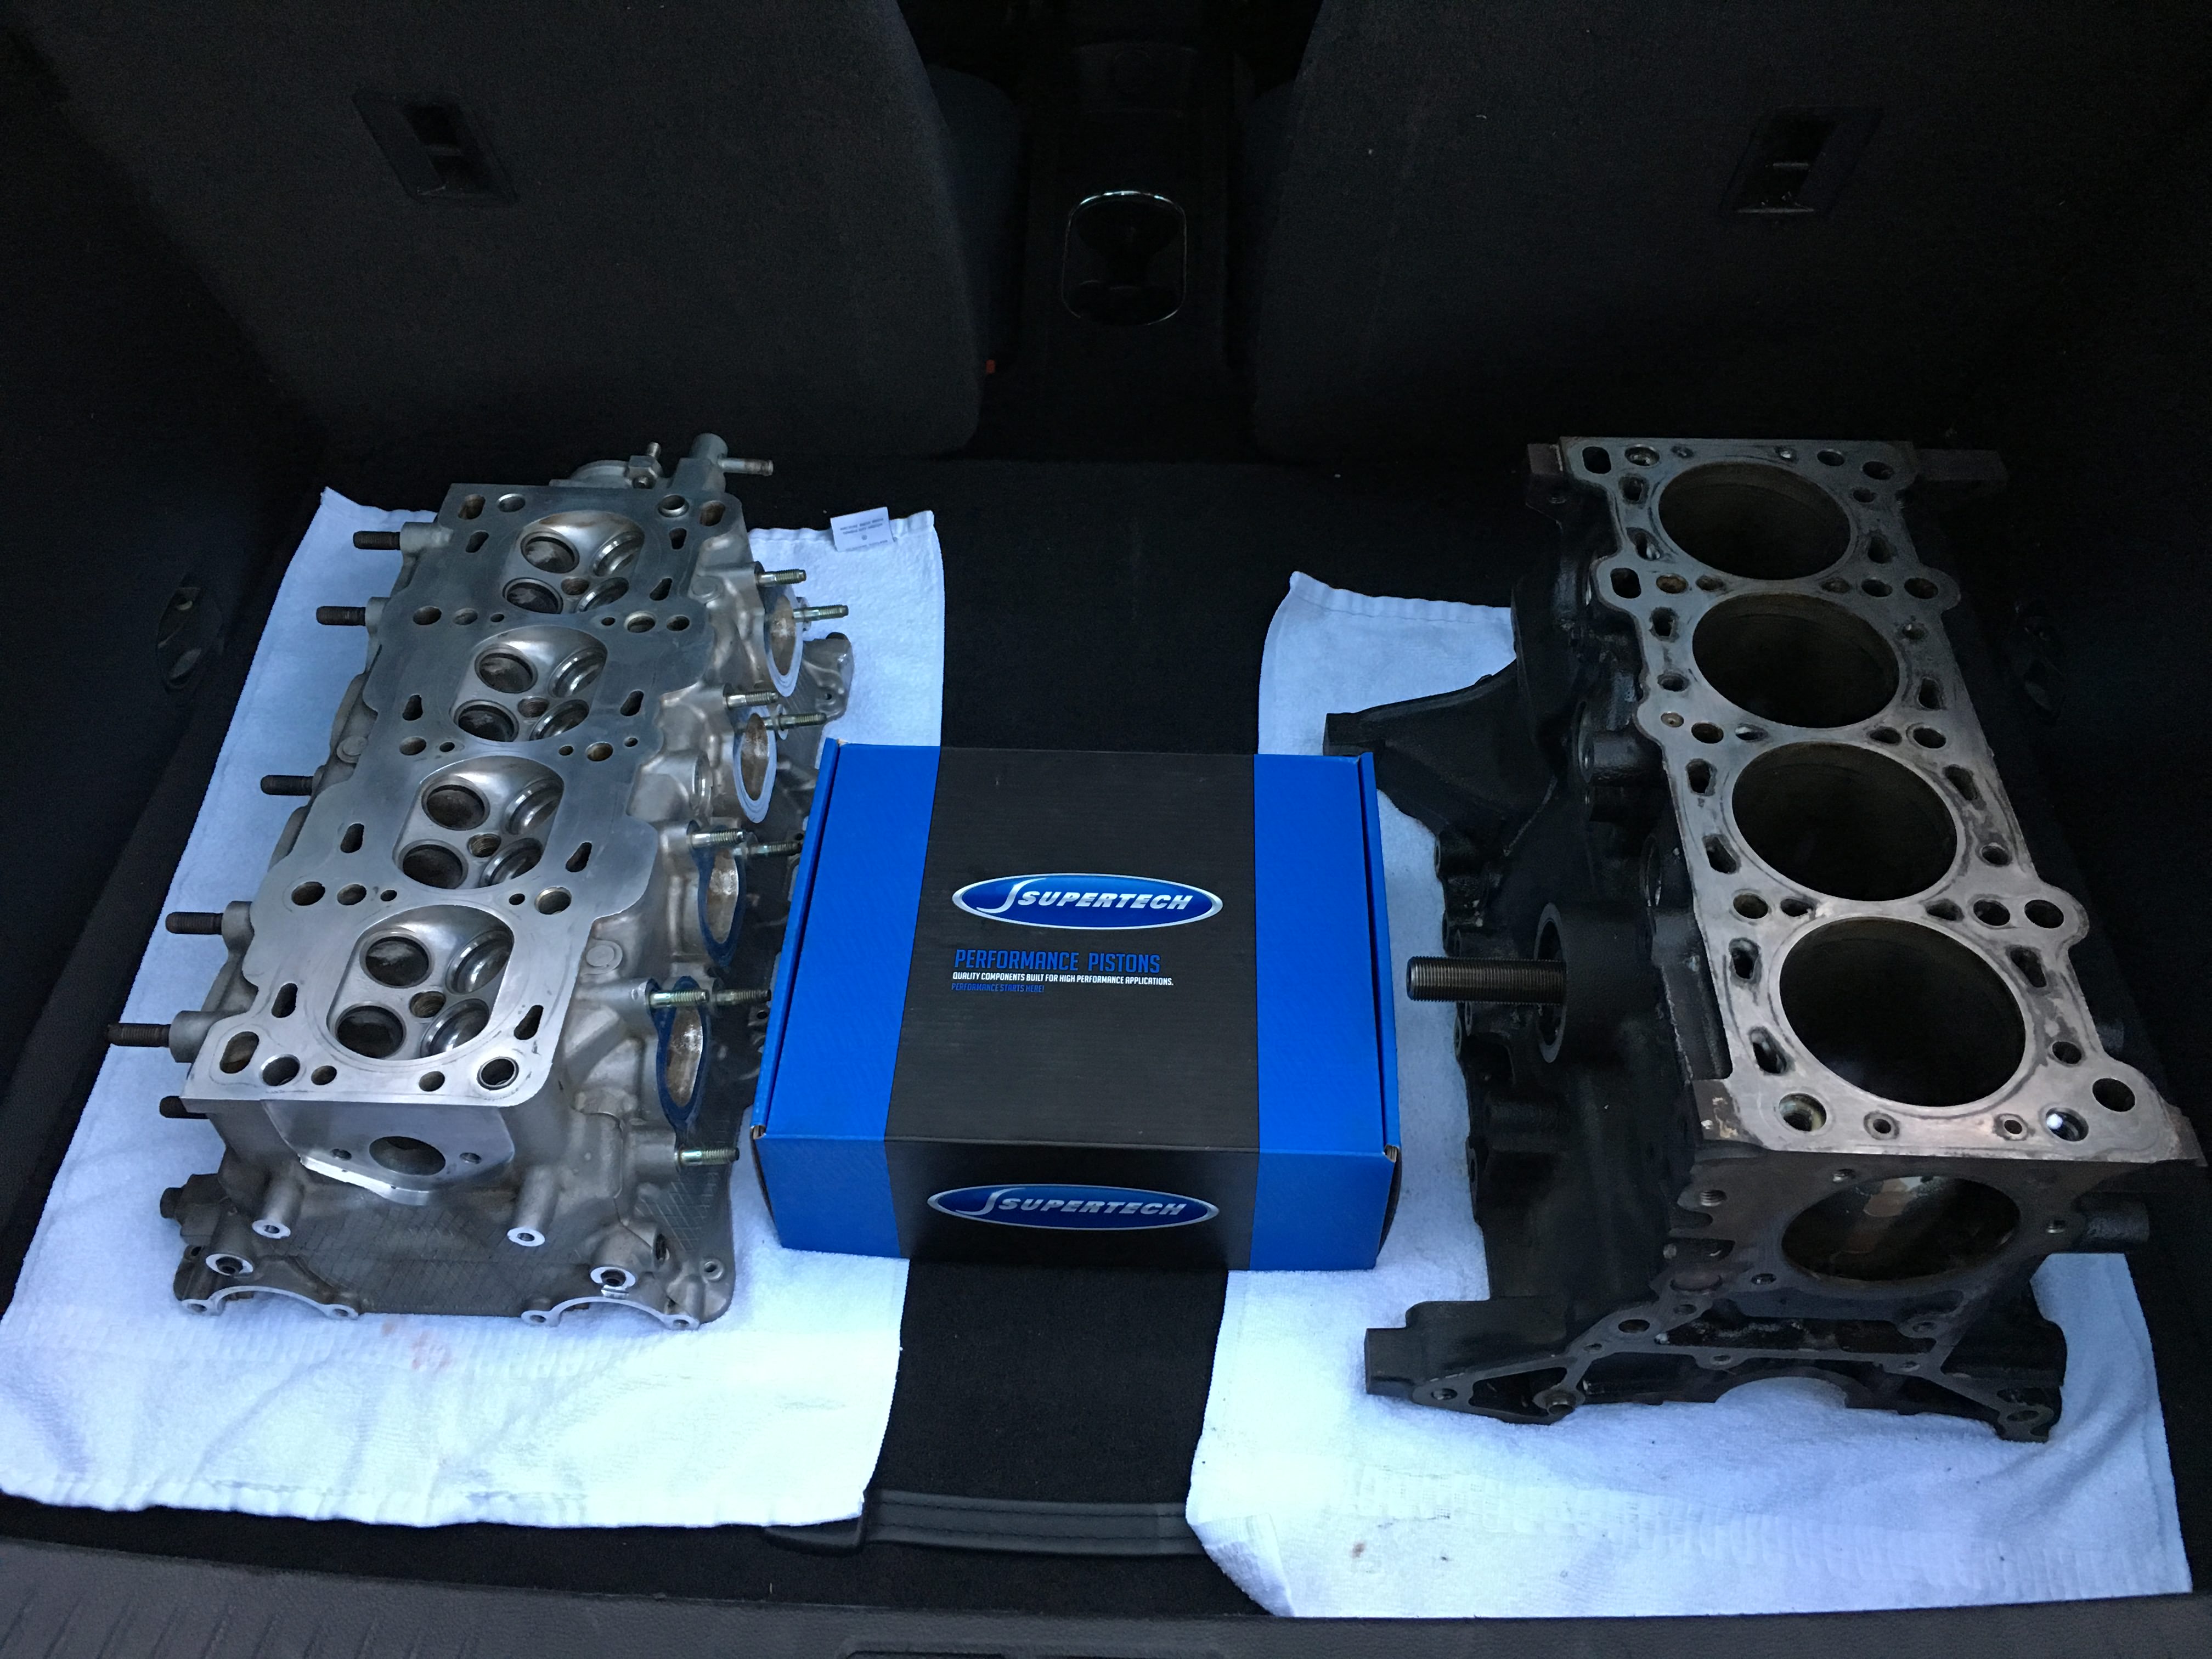
Here's some shots of the assembled head:
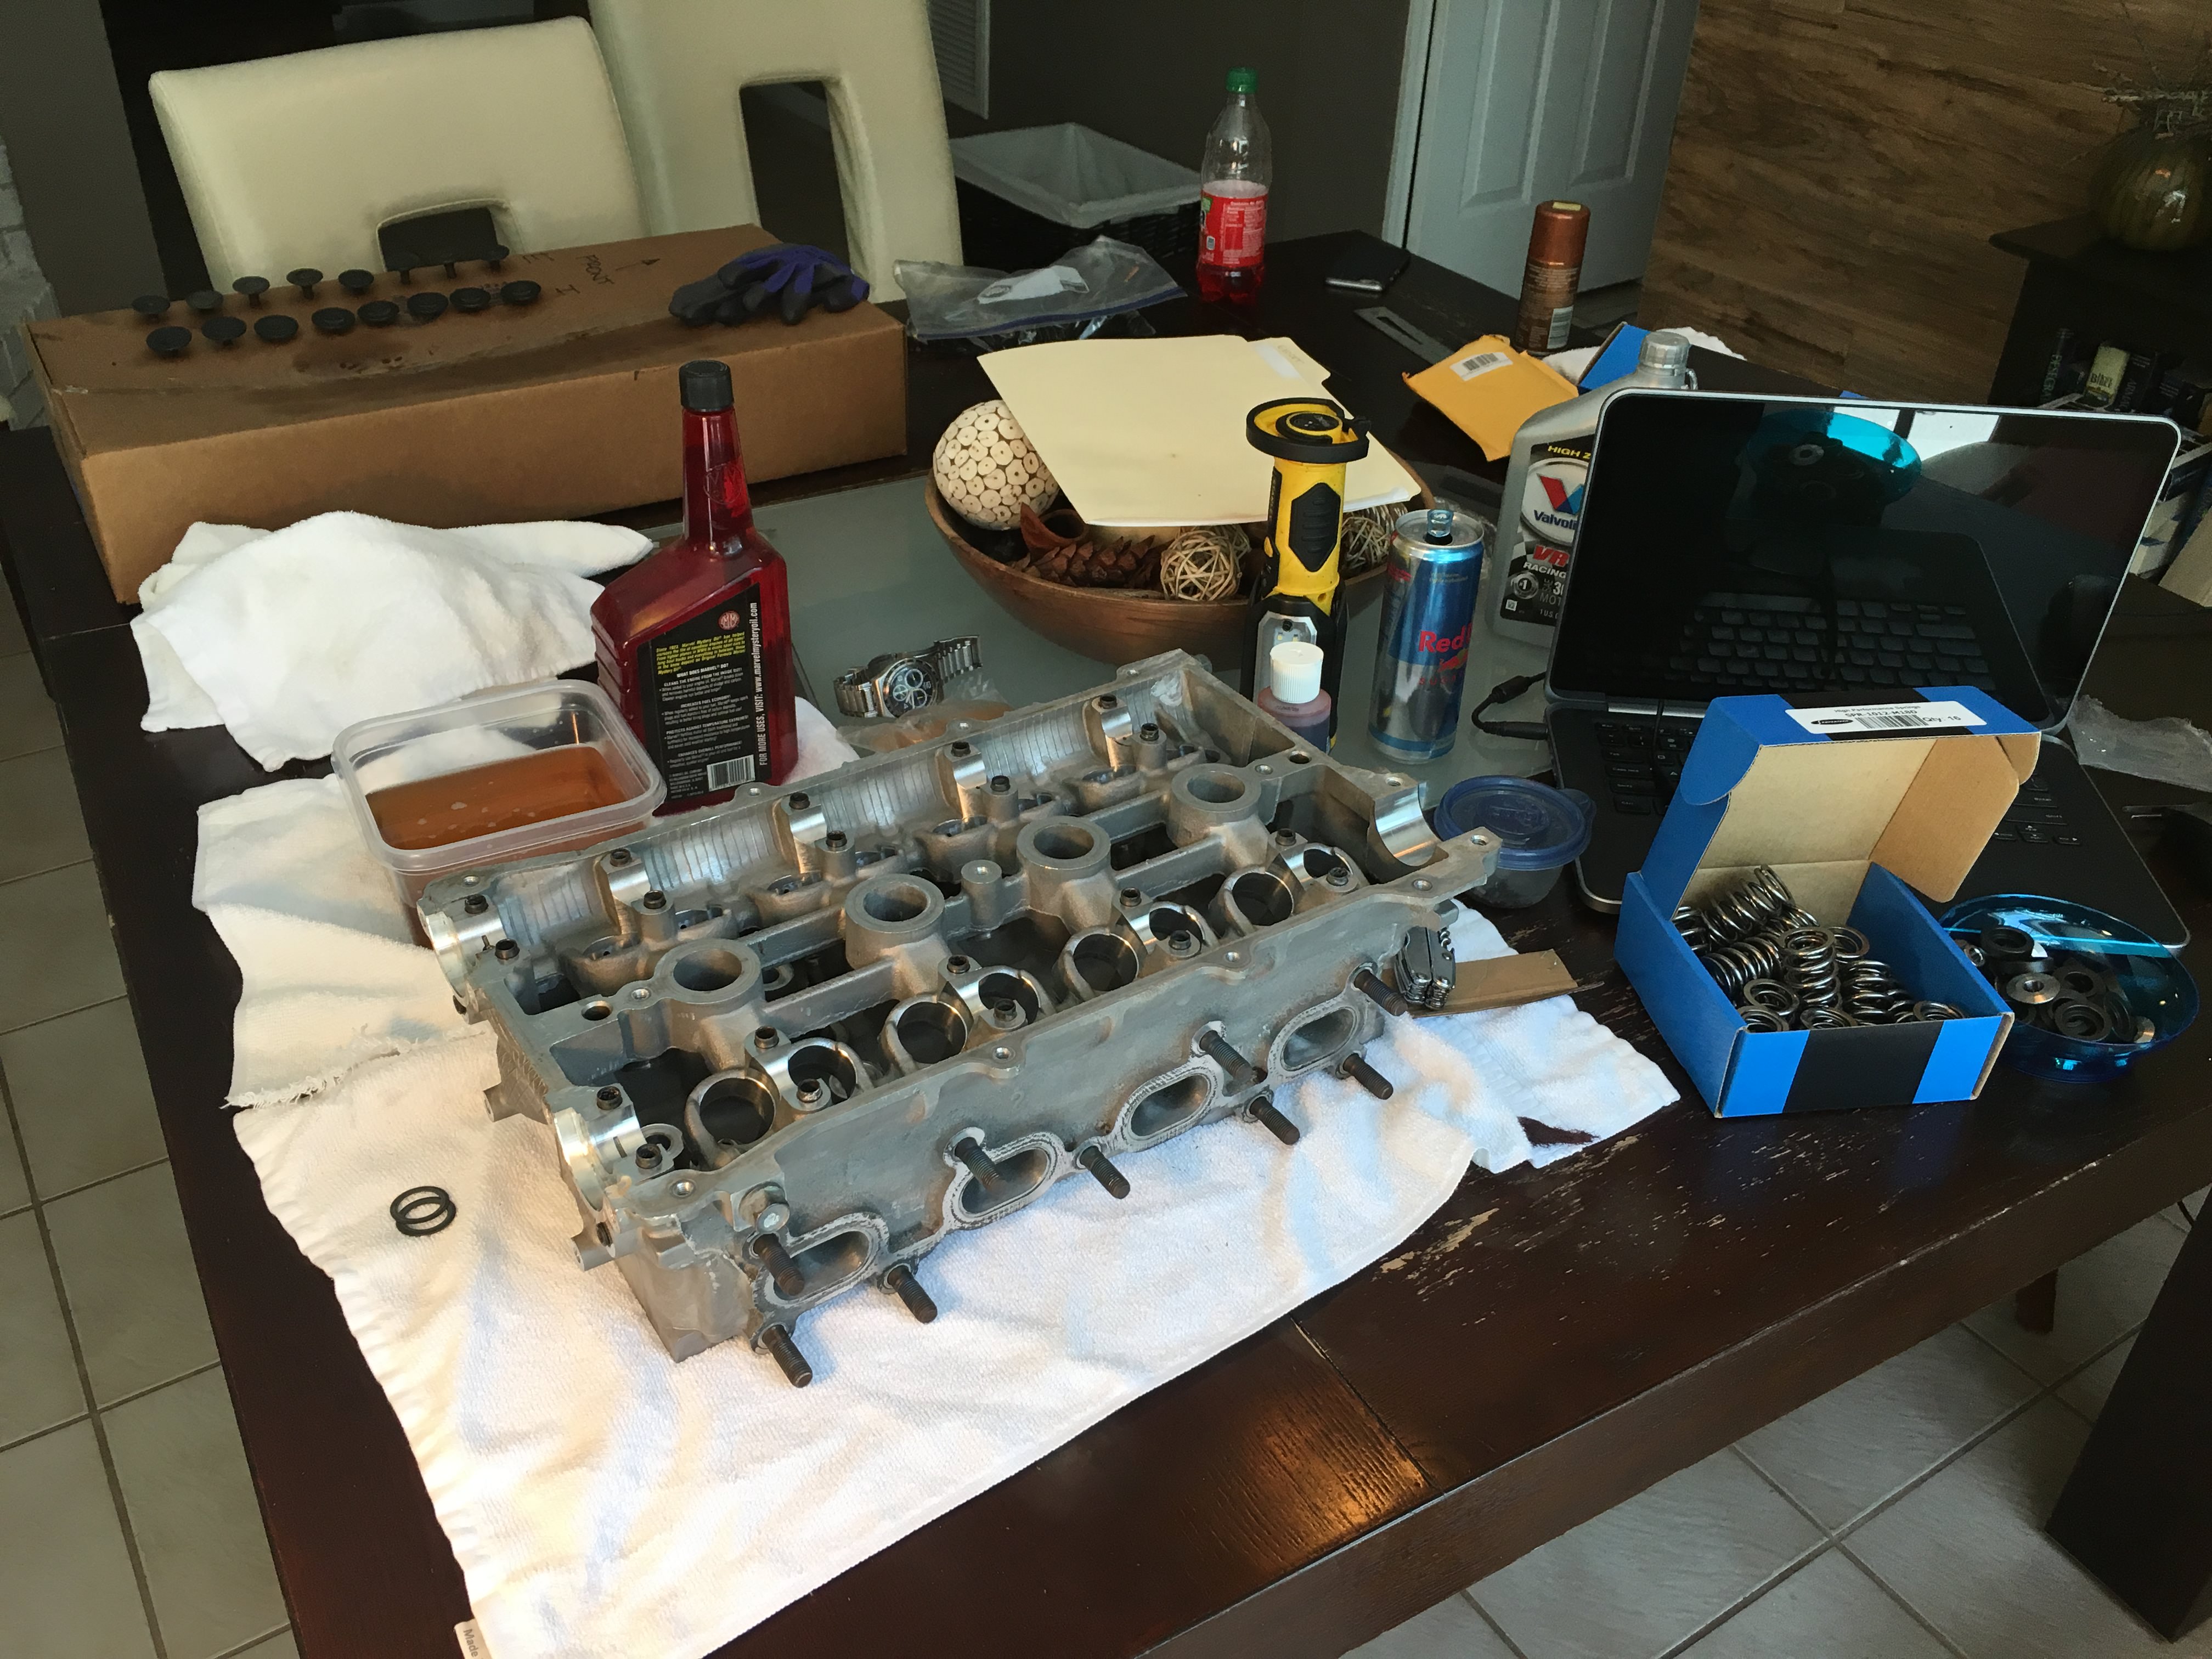
Shout out to my wife that didn't give me any **** for assembling this thing on the kitchen table instead of my filthy workbench.
Here's some shots of the assembled head:
Shout out to my wife that didn't give me any **** for assembling this thing on the kitchen table instead of my filthy workbench.
Reply
0
0

Thread Starter
Junior Member
Joined: Jan 2018
Posts: 228
Total Cats: 25
From: Tampa, Fl
It's been a rough couple of weeks getting any progress done on my engine rebuild due to some stupid mistakes that I've made. I'm a little embarrassed to share this story but it may brighten someone's day to read about my misery.
I got the new SuperTech dual valve springs installed with no problems and was feeling pretty good with myself so I dove right into putting the cams back in. Checked the service manual on the torque pattern and torque setting and started putting everything back together. Here's where my comedy of errors begin. The service manual changes to inch/lbs. for the cam bolts instead of foot/lbs. I know everyone must be saying are you stupid? Well, the answer is yes. Once I started to torque everything down I started to get worried about the massive amount of pressure I was exerting on my puny cam bolts. I then felt one start to give so I backed it out and found that I had stretched it. Instead of rechecking the service manual I decided it must be my torque wrench that is the problem. So, in my infinite wisdom I look around for a bolt to wrench on to see when my torque wrench would click to get a feel for how much torque I'm applying. The first thing I see is my new coilovers attached to my chassis for show at the moment. Perfect! I'll wrench on it to see if my torque wrench is working right.
Snap.
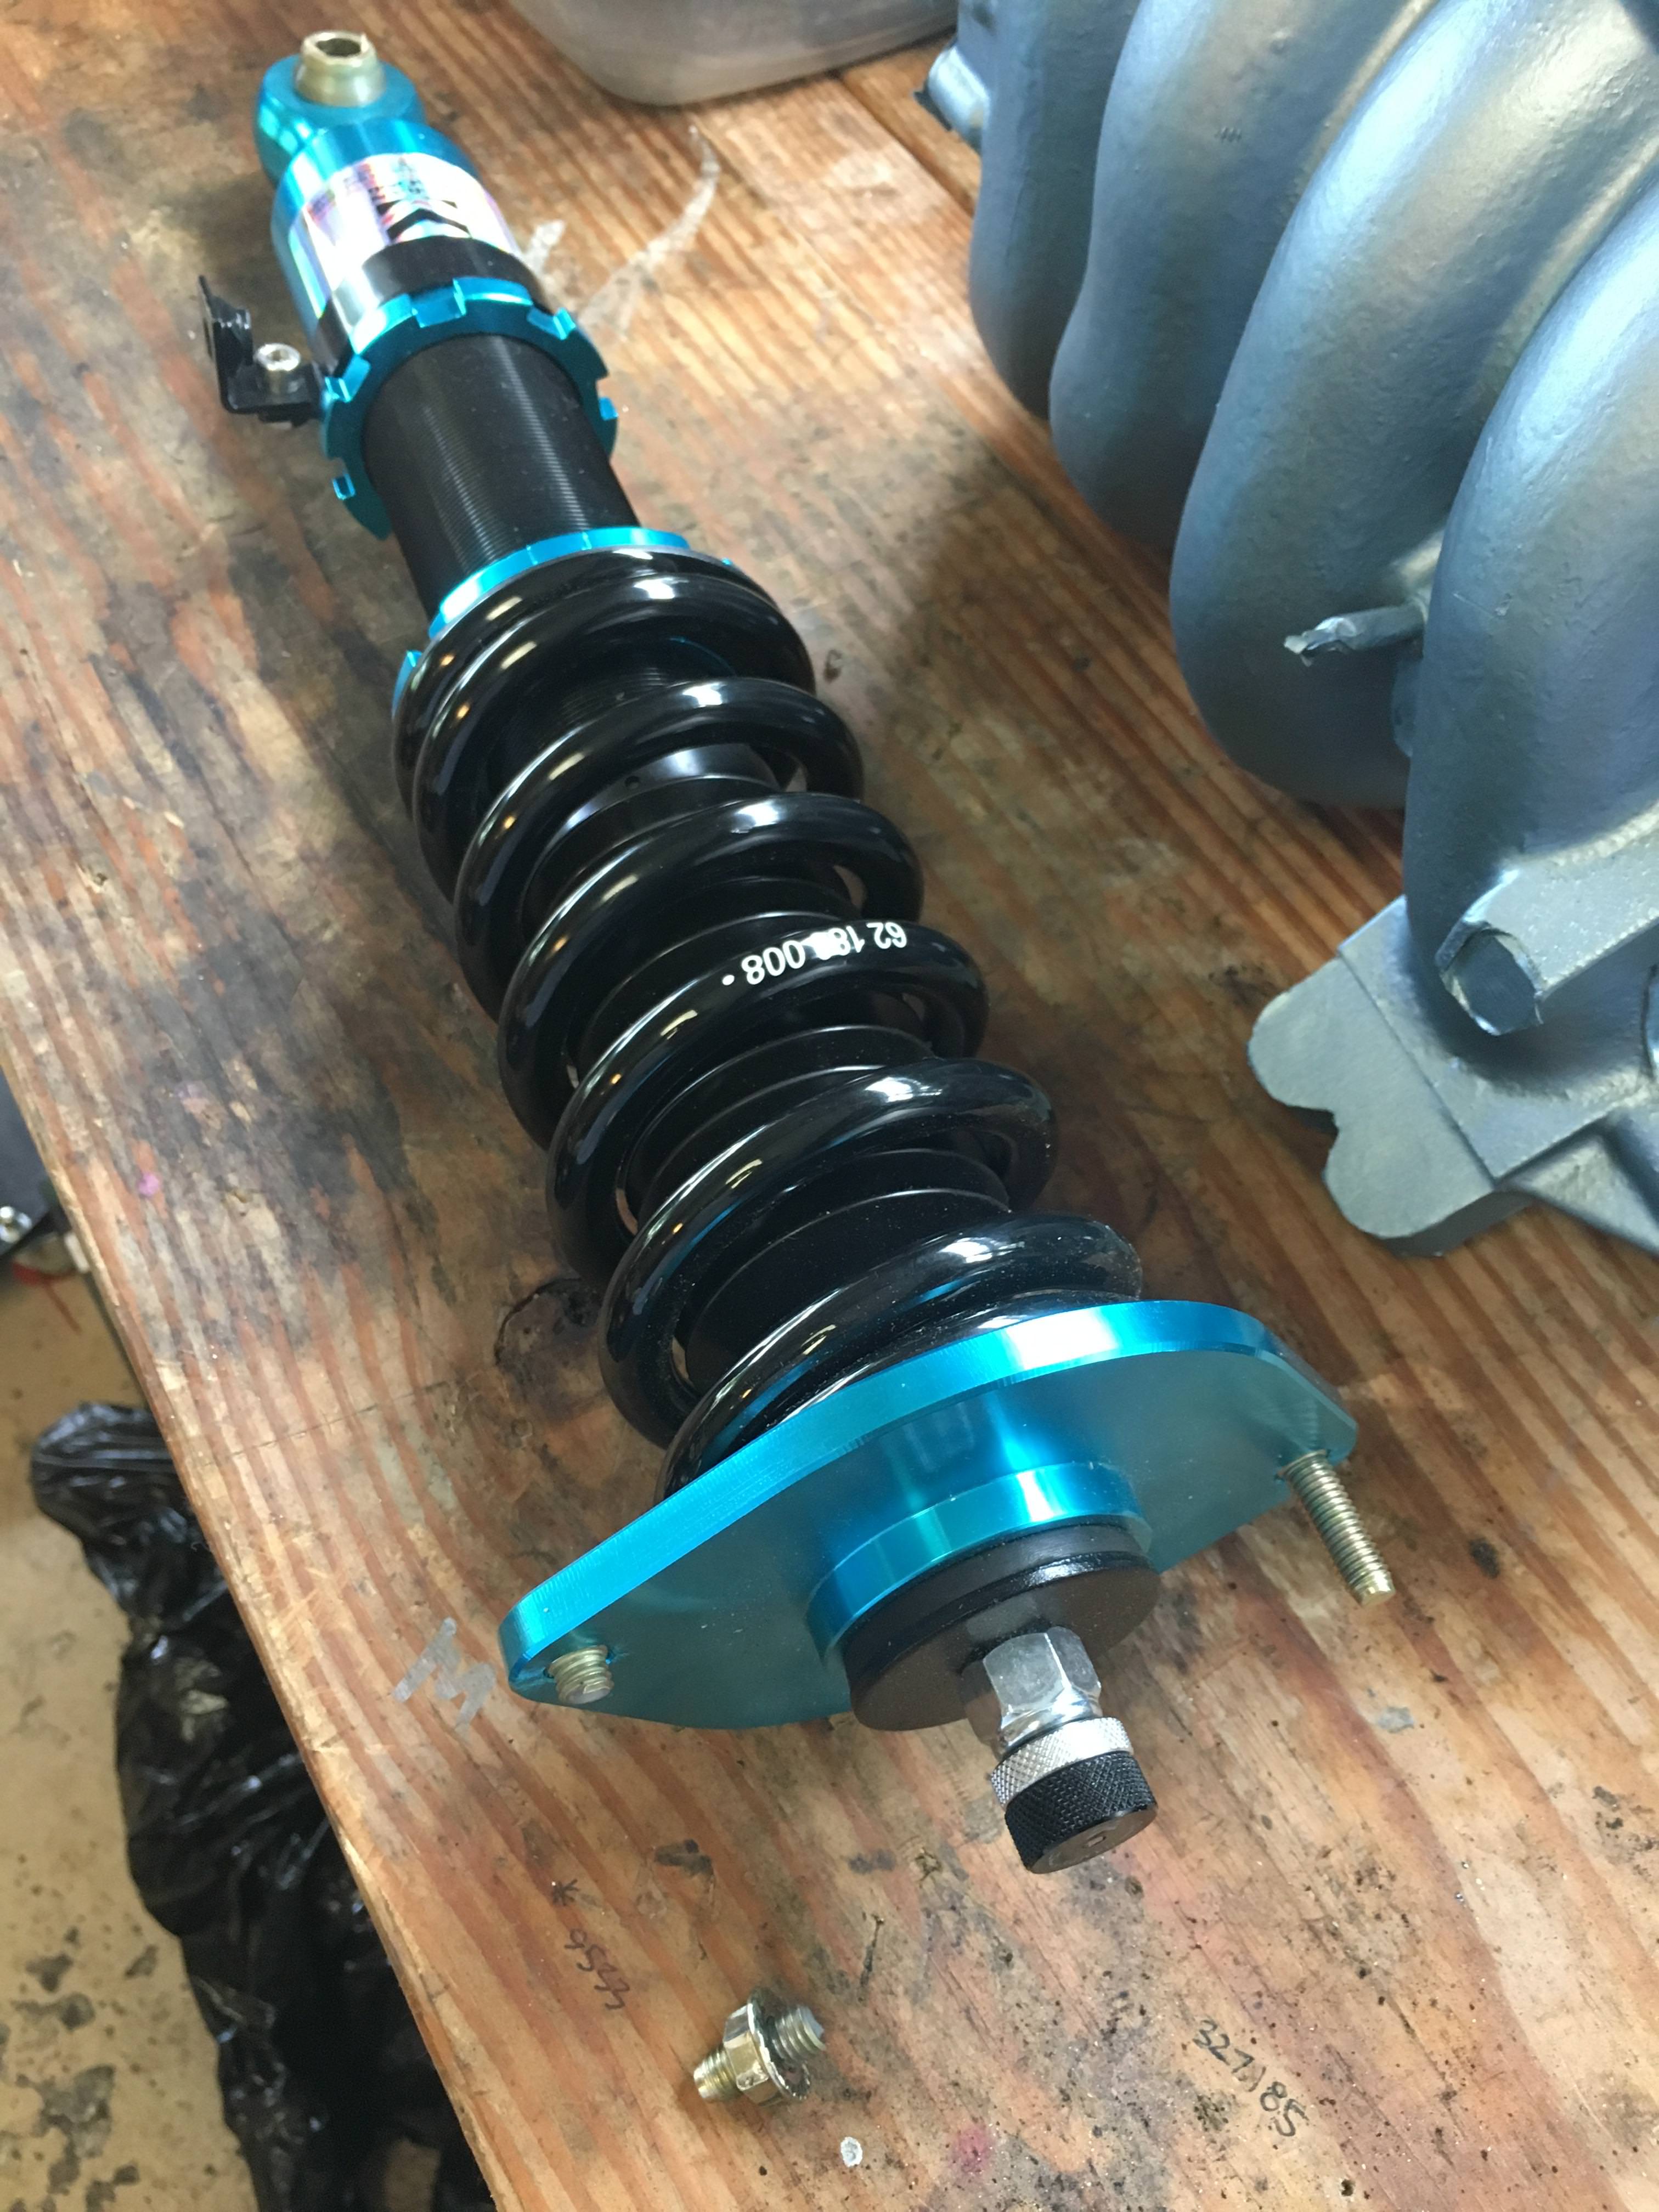
So now I have broken cam bolts and a broken coilover. I now feel like a neanderthal roaming my garage in search of ever bigger bolts to break. I settled on my engine stand which finally withstood my insane 100 ft./lbs of torque. As I'm slowly coming out of my rage filled stupor I start to think a little clearer and go back to the service manual and see the error of my ways. I like to think I have a fair amount of common sense but I keep reminding myself otherwise. But, I got brand new shiny cam bolts out of the deal!
Fast forward to this weekend and I was ready to work on the bottom end of my engine. Got the oil squirters plugged.
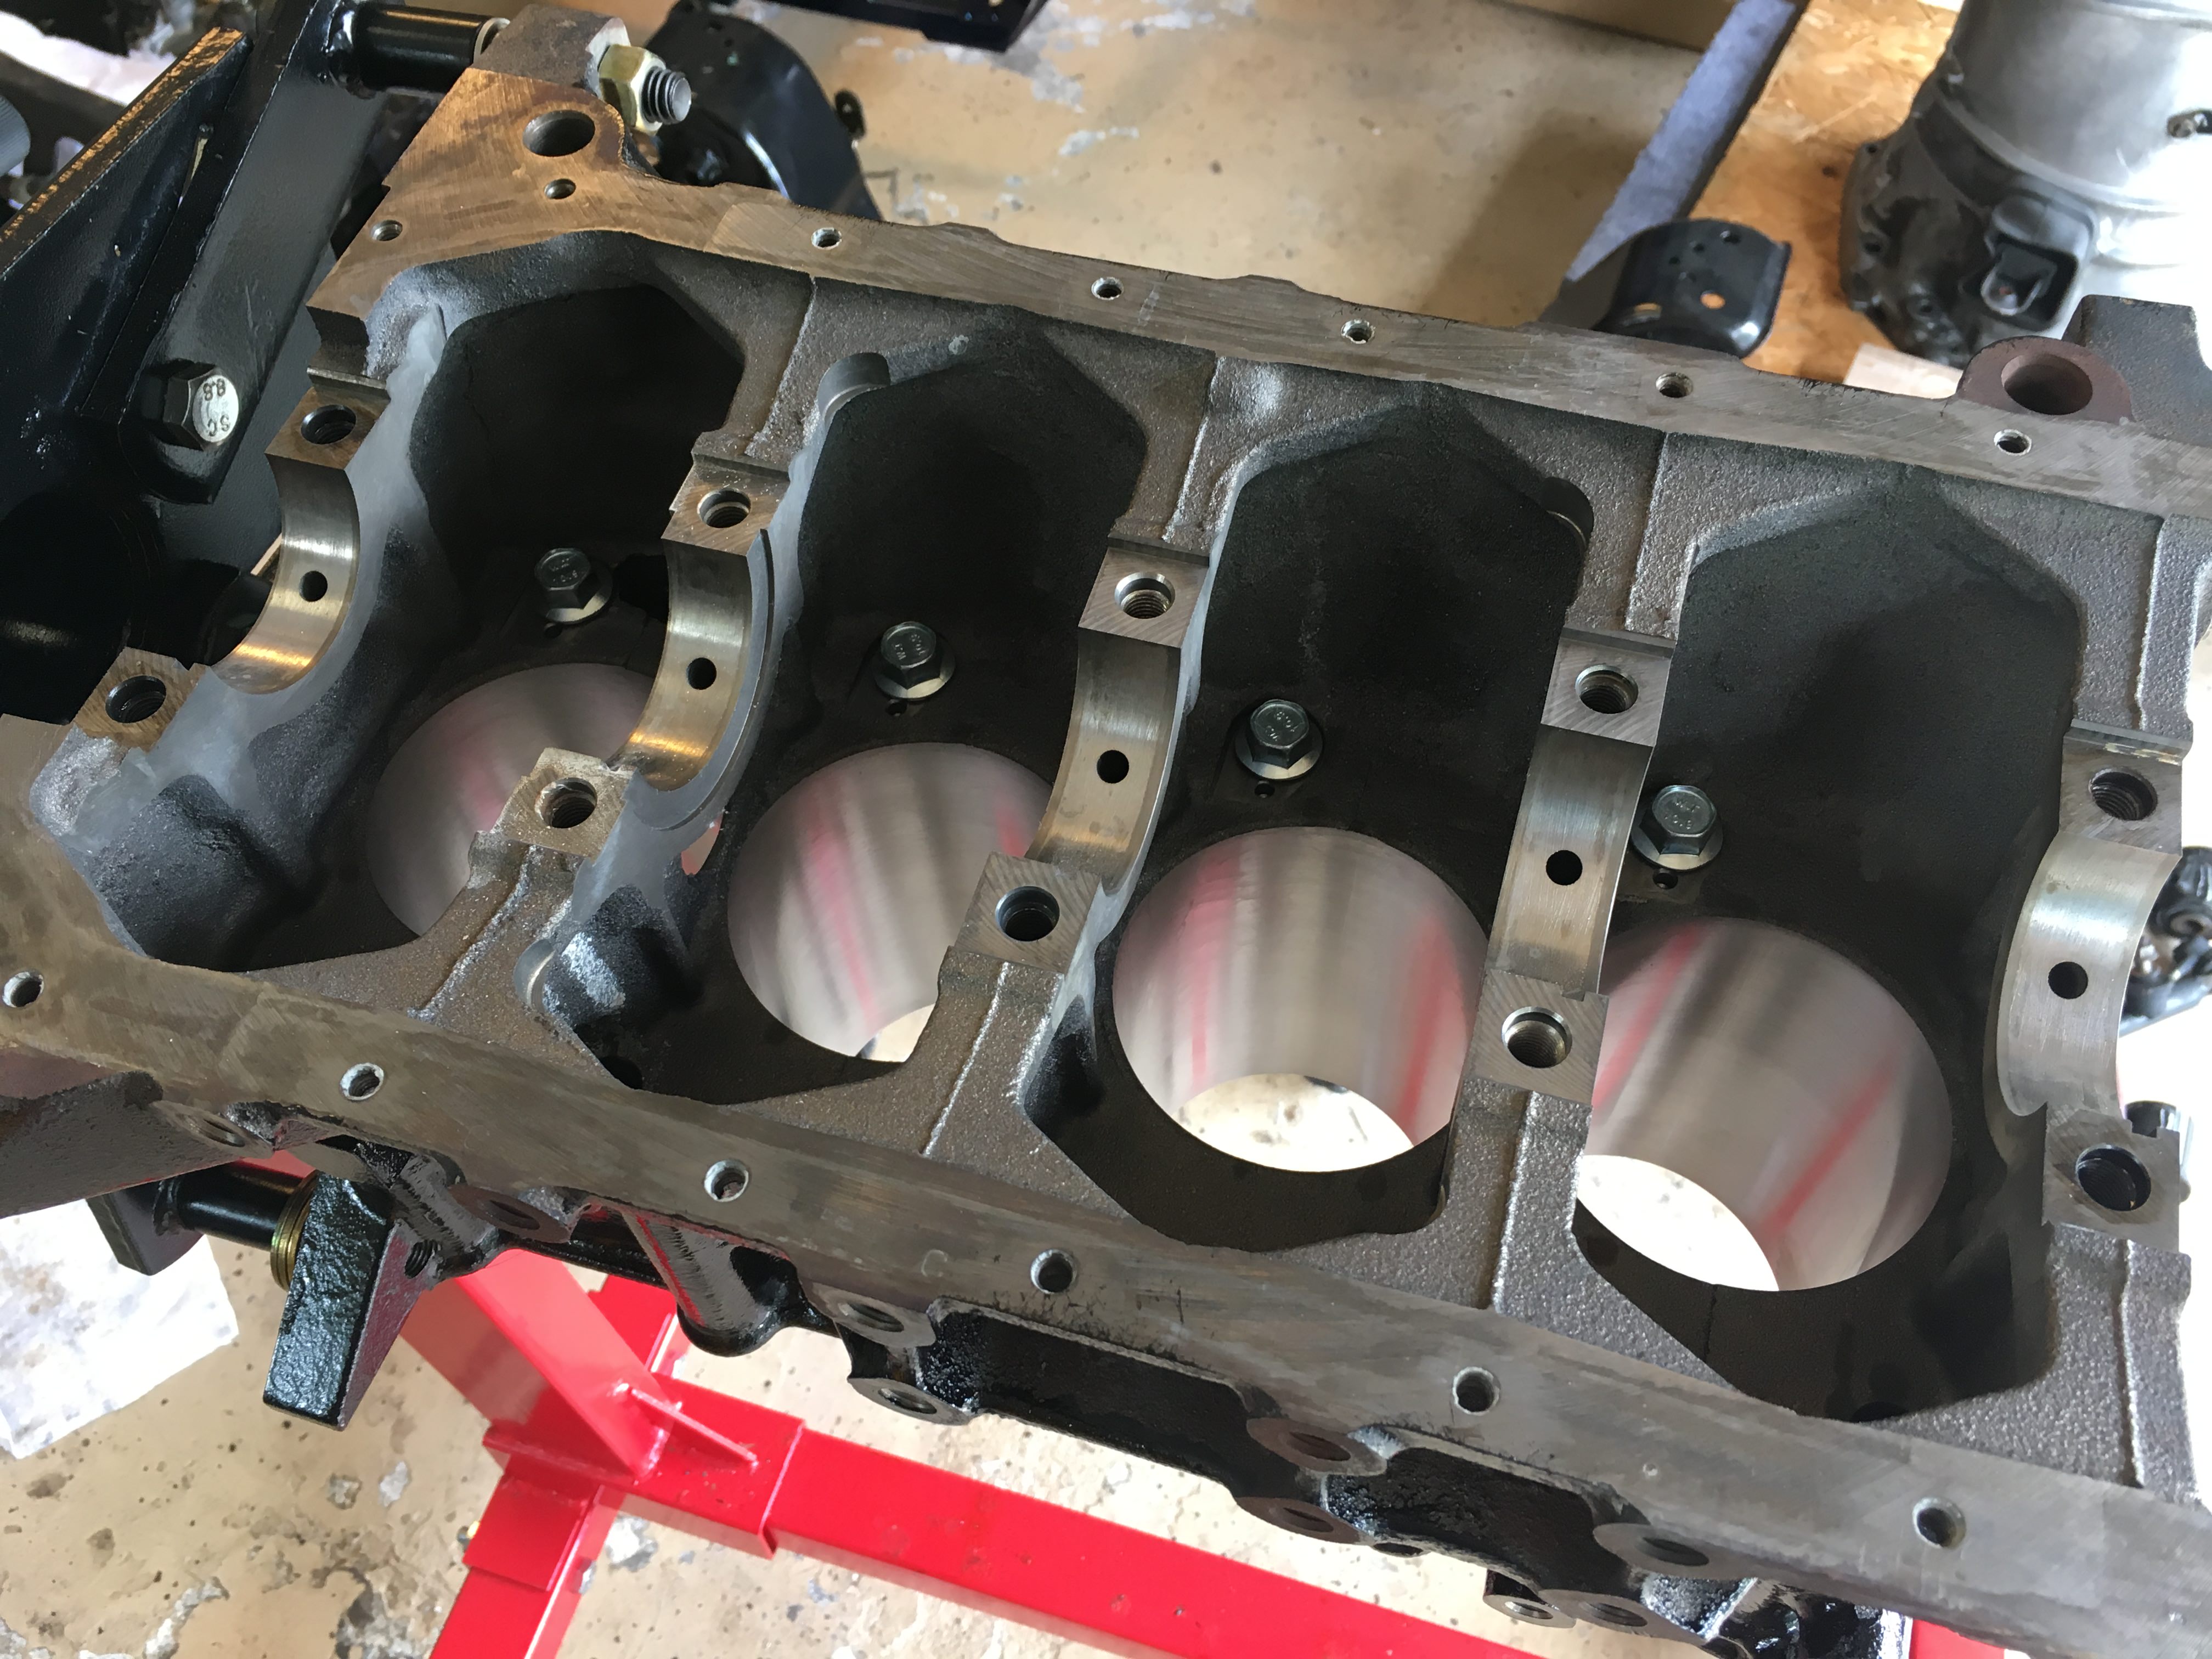
I then moved on to putting the crank back in with new ACL bearings. I installed the bearings and set the crank in ever so gently. But the crank wouldn't turn freely at all. I knew right away something wasn't right. I put the old bearings in and everything was fine. So, I shoot off a text to SixShooter and start measuring things. Apparently, I ordered the wrong bearings because they are .010" thicker than the ones that came out. I checked the package and my suspicions are confirmed. +.25mm. bearings not the STD that I thought I ordered. So, now I'm waiting on new bearings to be delivered.
So, there you go. Everything has gone without a problem up till this point so I'm taking it in stride. I'm pretty frustrated though because I wanted to be so much further along by now. Once the engine is back together I think things will go much quicker.
I got the new SuperTech dual valve springs installed with no problems and was feeling pretty good with myself so I dove right into putting the cams back in. Checked the service manual on the torque pattern and torque setting and started putting everything back together. Here's where my comedy of errors begin. The service manual changes to inch/lbs. for the cam bolts instead of foot/lbs. I know everyone must be saying are you stupid? Well, the answer is yes. Once I started to torque everything down I started to get worried about the massive amount of pressure I was exerting on my puny cam bolts. I then felt one start to give so I backed it out and found that I had stretched it. Instead of rechecking the service manual I decided it must be my torque wrench that is the problem. So, in my infinite wisdom I look around for a bolt to wrench on to see when my torque wrench would click to get a feel for how much torque I'm applying. The first thing I see is my new coilovers attached to my chassis for show at the moment. Perfect! I'll wrench on it to see if my torque wrench is working right.
Snap.
So now I have broken cam bolts and a broken coilover. I now feel like a neanderthal roaming my garage in search of ever bigger bolts to break. I settled on my engine stand which finally withstood my insane 100 ft./lbs of torque. As I'm slowly coming out of my rage filled stupor I start to think a little clearer and go back to the service manual and see the error of my ways. I like to think I have a fair amount of common sense but I keep reminding myself otherwise. But, I got brand new shiny cam bolts out of the deal!
Fast forward to this weekend and I was ready to work on the bottom end of my engine. Got the oil squirters plugged.
I then moved on to putting the crank back in with new ACL bearings. I installed the bearings and set the crank in ever so gently. But the crank wouldn't turn freely at all. I knew right away something wasn't right. I put the old bearings in and everything was fine. So, I shoot off a text to SixShooter and start measuring things. Apparently, I ordered the wrong bearings because they are .010" thicker than the ones that came out. I checked the package and my suspicions are confirmed. +.25mm. bearings not the STD that I thought I ordered. So, now I'm waiting on new bearings to be delivered.
So, there you go. Everything has gone without a problem up till this point so I'm taking it in stride. I'm pretty frustrated though because I wanted to be so much further along by now. Once the engine is back together I think things will go much quicker.
Last edited by Garman; Jul 9, 2018 at 04:43 PM. Reason: Wrong part
Reply
0
0
There are many pitfalls on this path but you are wiser for having experienced this. One day you will be advising new guys in engine assembly and it will all come together because of this. I read what others have done wrong here all the time and it has saved me thousands.
Reply
1
1
Thread Starter
Junior Member
Joined: Jan 2018
Posts: 228
Total Cats: 25
From: Tampa, Fl
Overdue update:
FINALLY got the engine together. The cheap adjustable timing gears are totally jacked up. The cam position triggers didn't come close to matching the OEM gears. I measured everything on a CMM at work and made the adjustments to make them work.
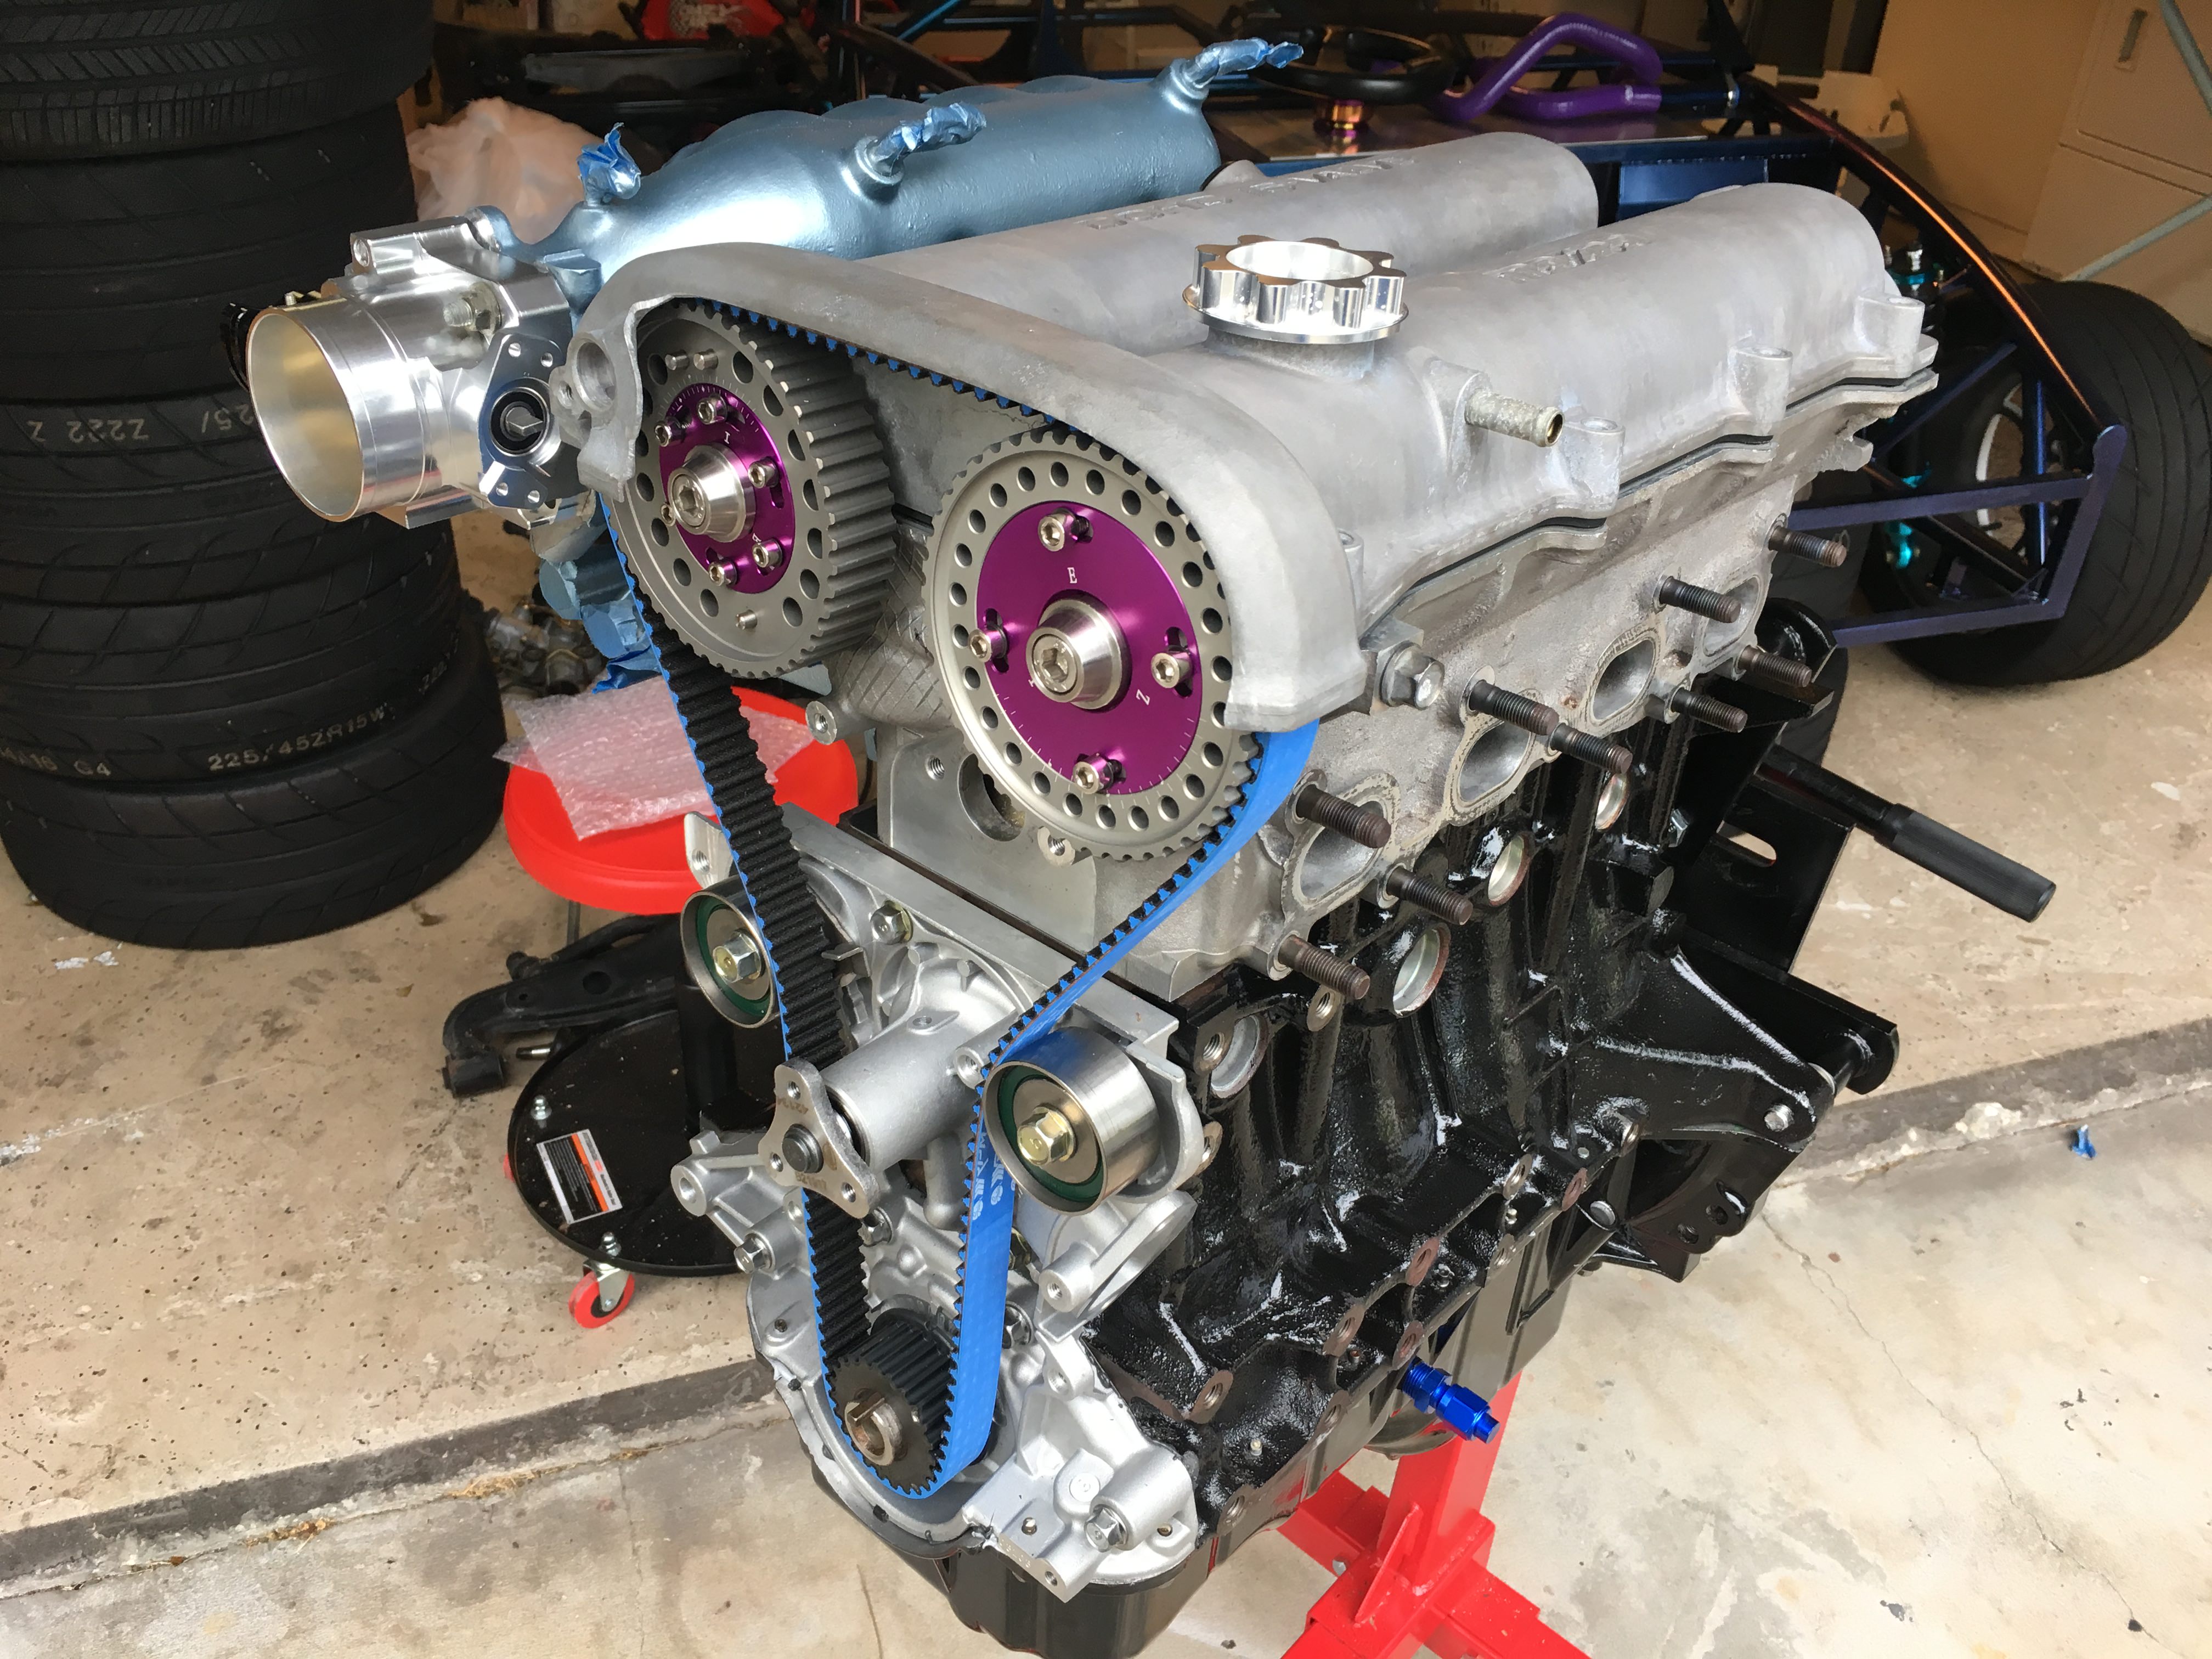
This picture was taken without any timing done so I know the cams are in the wrong position. I just wanted to see what everything would look like assembled.
Also, the valve cover is getting powder coated but I'm waiting to send everything out at once, calipers, brackets, etc.
FINALLY got the engine together. The cheap adjustable timing gears are totally jacked up. The cam position triggers didn't come close to matching the OEM gears. I measured everything on a CMM at work and made the adjustments to make them work.
This picture was taken without any timing done so I know the cams are in the wrong position. I just wanted to see what everything would look like assembled.
Also, the valve cover is getting powder coated but I'm waiting to send everything out at once, calipers, brackets, etc.
Last edited by Garman; Aug 13, 2018 at 08:55 AM. Reason: add
Reply
0
0
Thread Starter
Junior Member
Joined: Jan 2018
Posts: 228
Total Cats: 25
From: Tampa, Fl
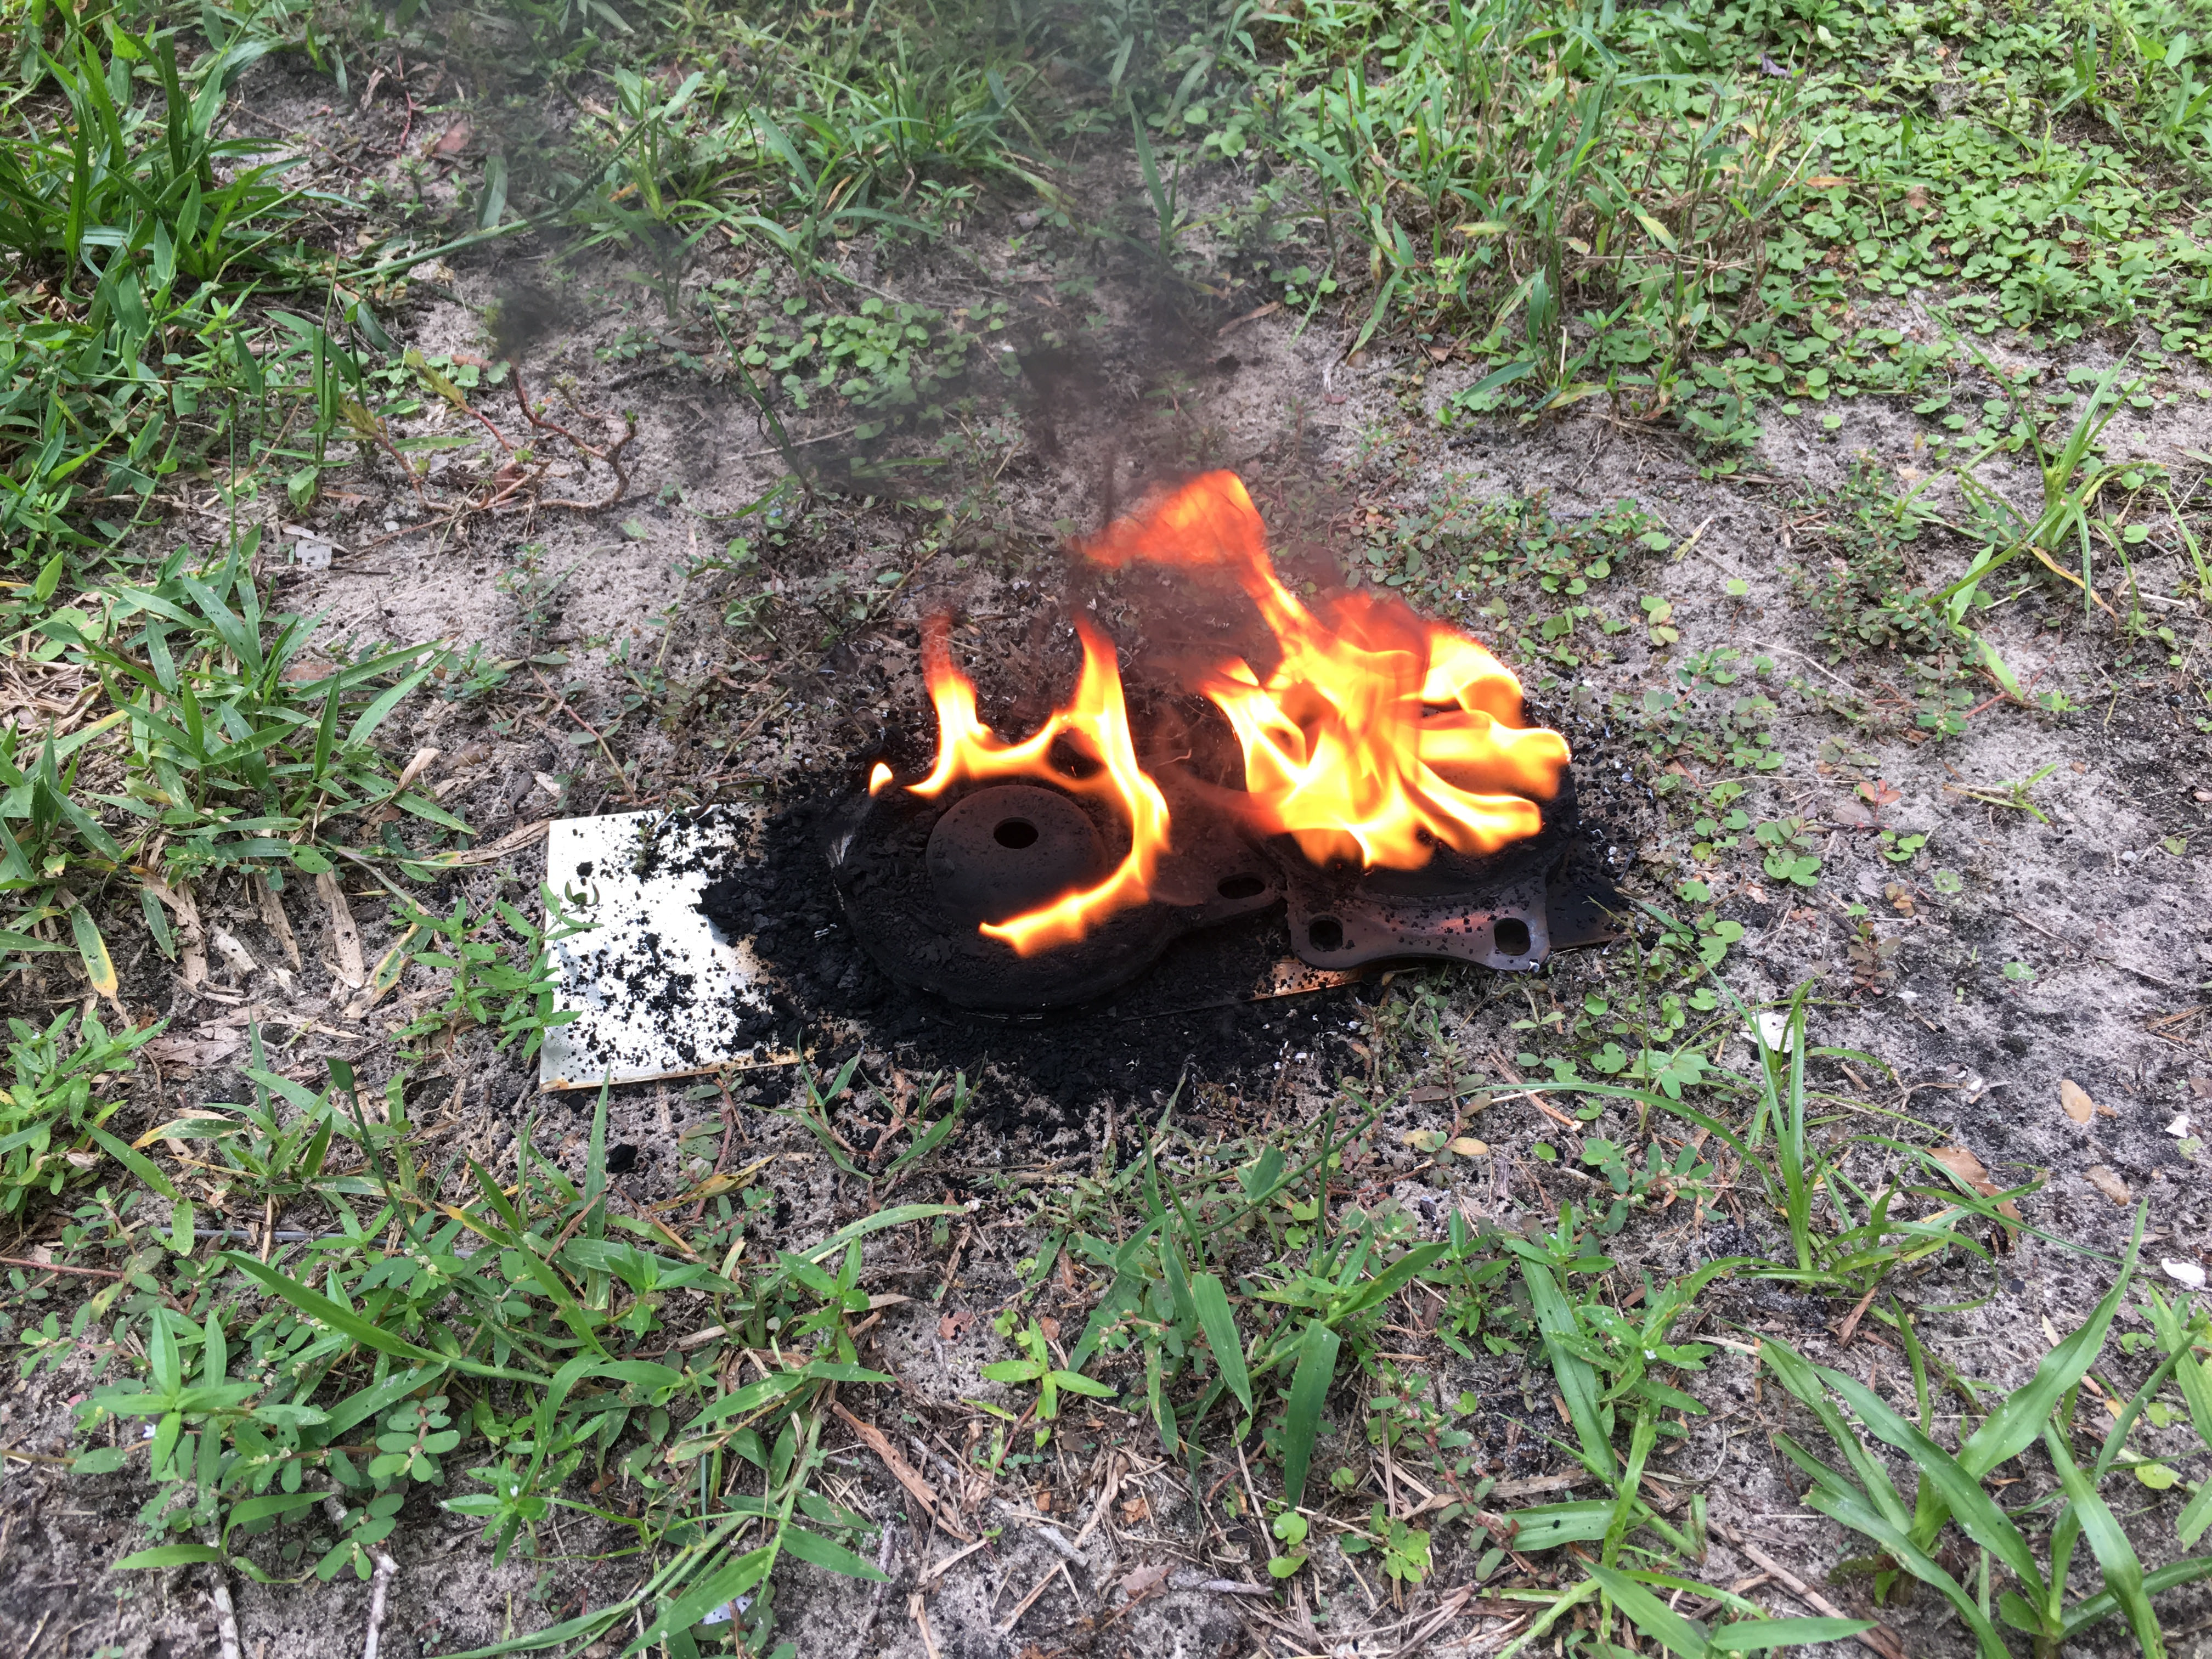
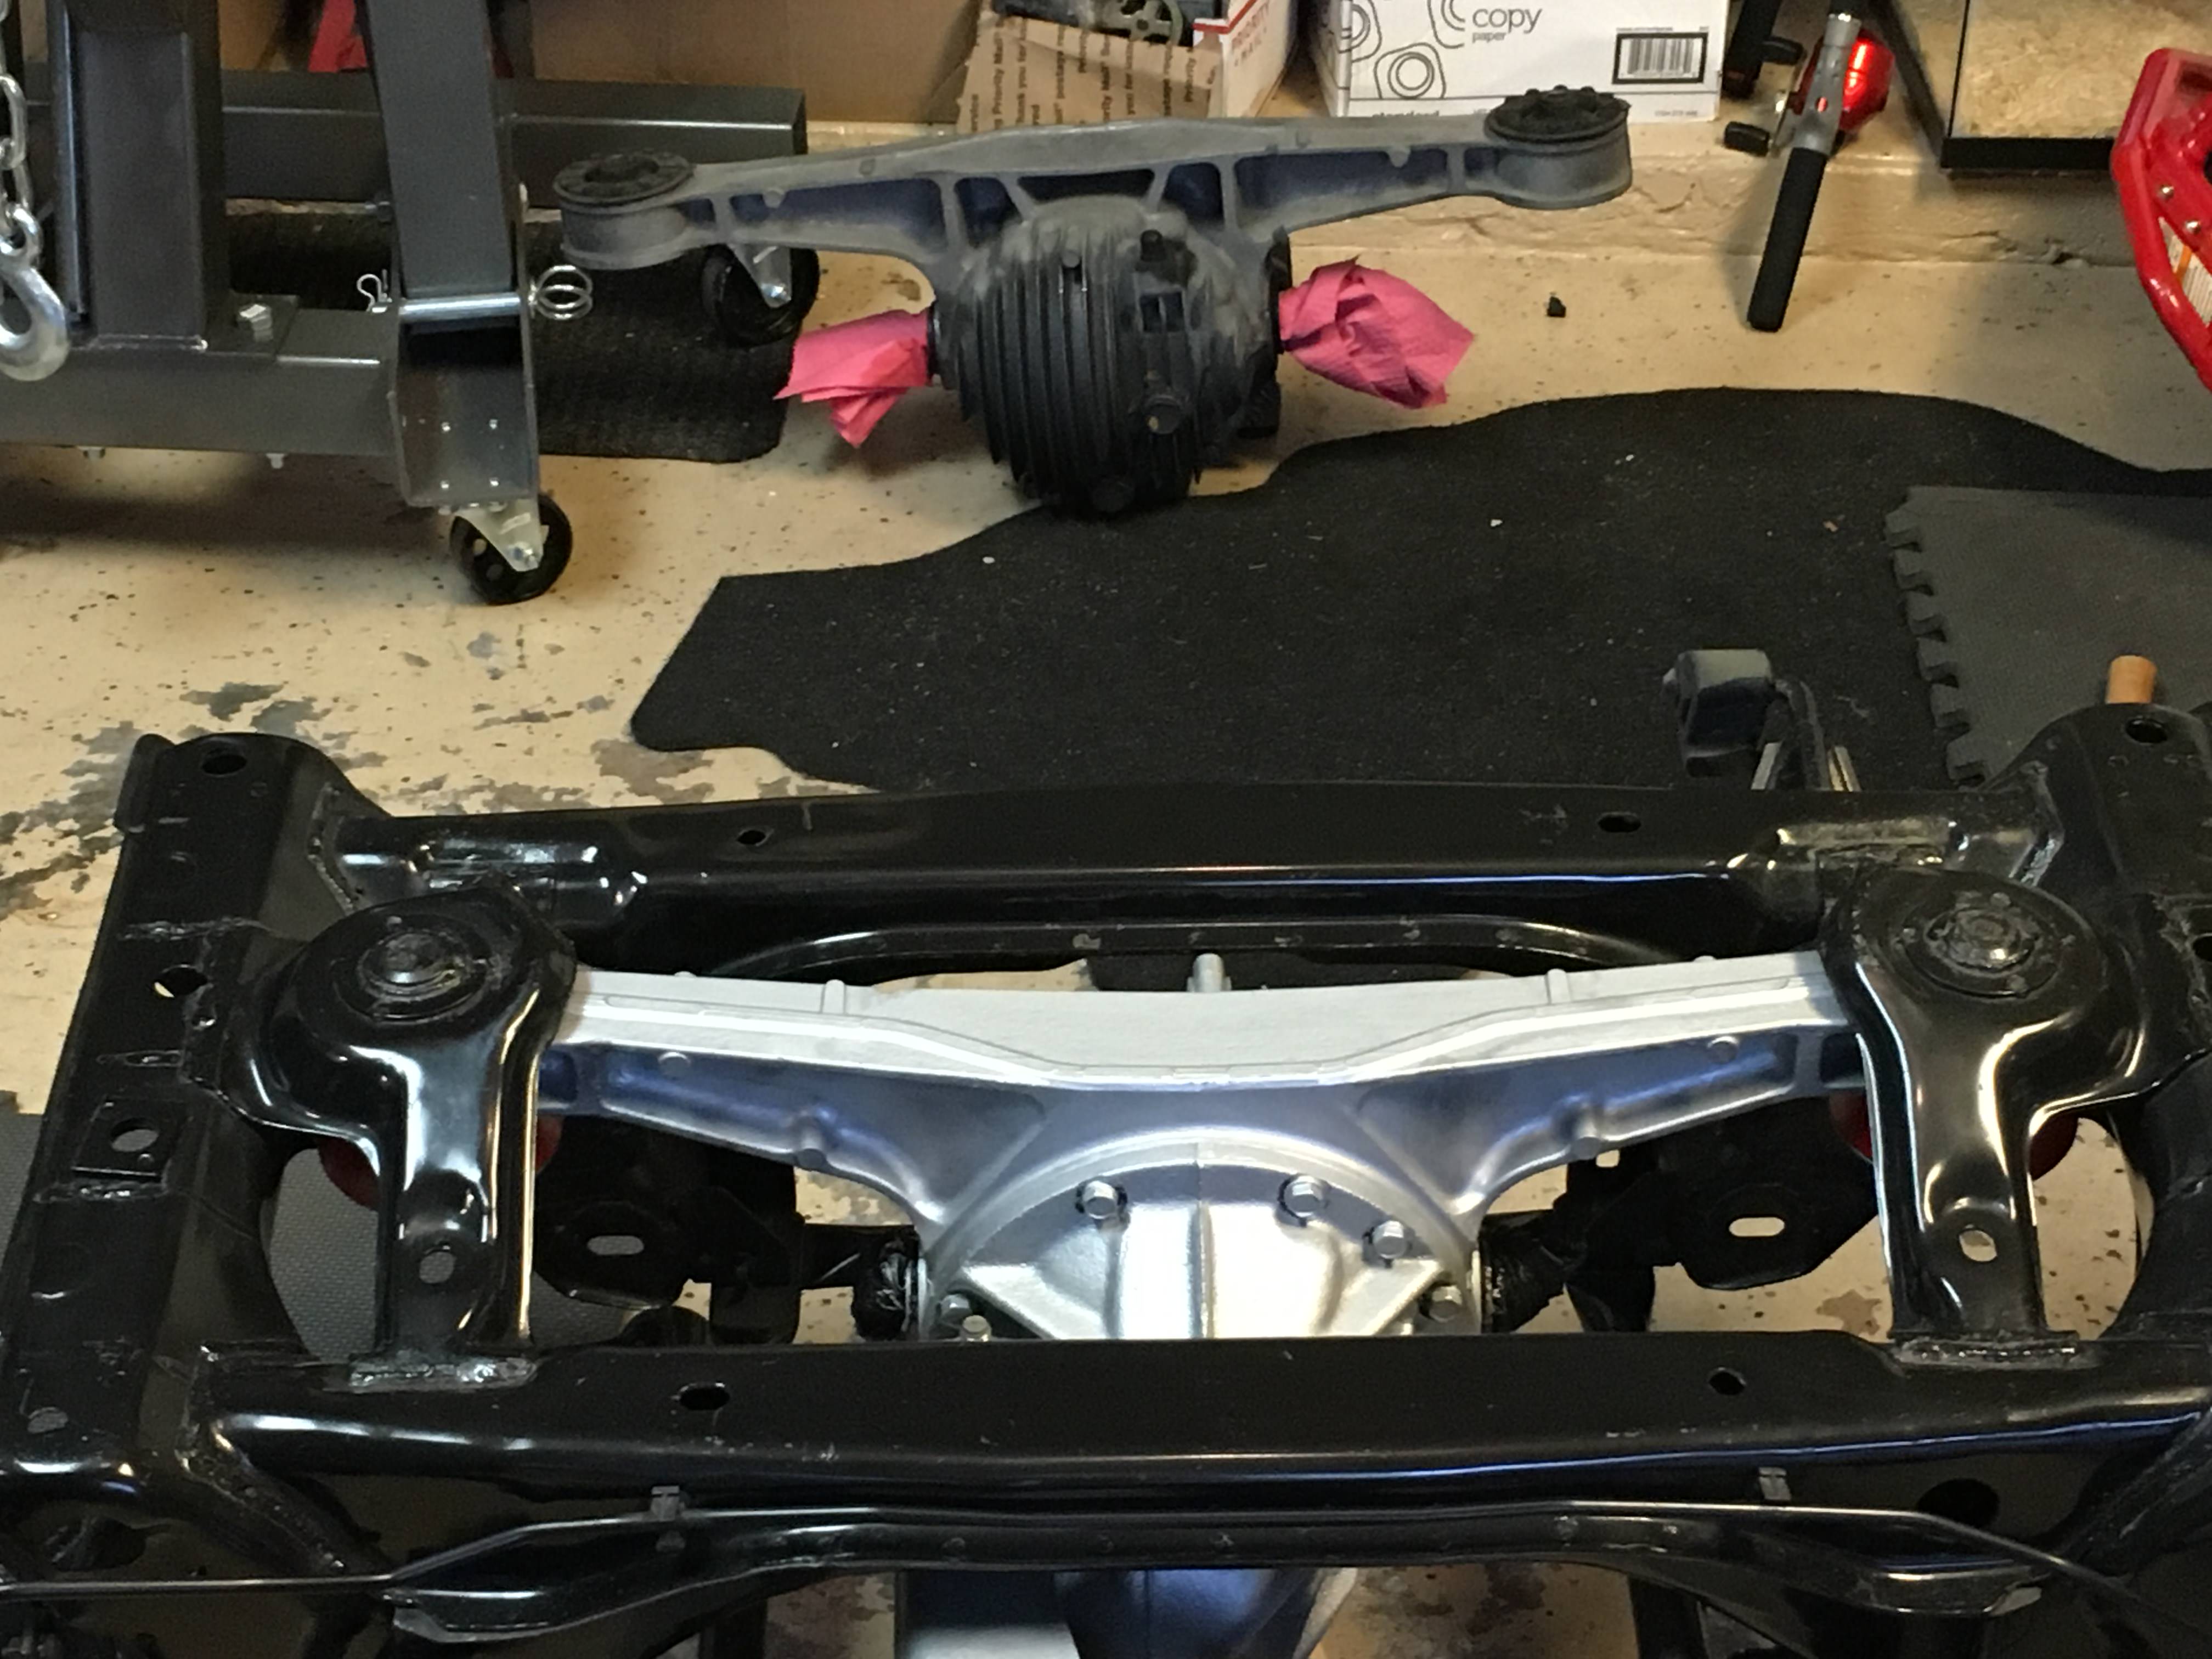
This weekend I tackled the differential and PPF. I picked up a Torsen locally so I needed to get it cleaned up and painted. Also replaced the bushings with some new poly bushings.
Bushing barbecue
Painted diff

Back together with the painted PPF
The old, sad open diff in the background.
Next weekend I'll be putting in the FM stage II clutch and flywheel and mating to the transmission. Things should pick up speed after that until I get to the wiring.
Bushing barbecue
Painted diff
Back together with the painted PPF
The old, sad open diff in the background.
Next weekend I'll be putting in the FM stage II clutch and flywheel and mating to the transmission. Things should pick up speed after that until I get to the wiring.
Reply
0
0
Thread Starter
Junior Member
Joined: Jan 2018
Posts: 228
Total Cats: 25
From: Tampa, Fl
Yeah, this build is taking way longer than expected because I'm sweating the details. Hopefully, it will be worth it in the end. I want it on the road as soon as possible but I also want something I can be proud of. I'll probably never get a chance to do something like this again so why not go all out. Well, I guess dropping an LS in the engine bay would be all out. Hmmm.
Reply
0
0
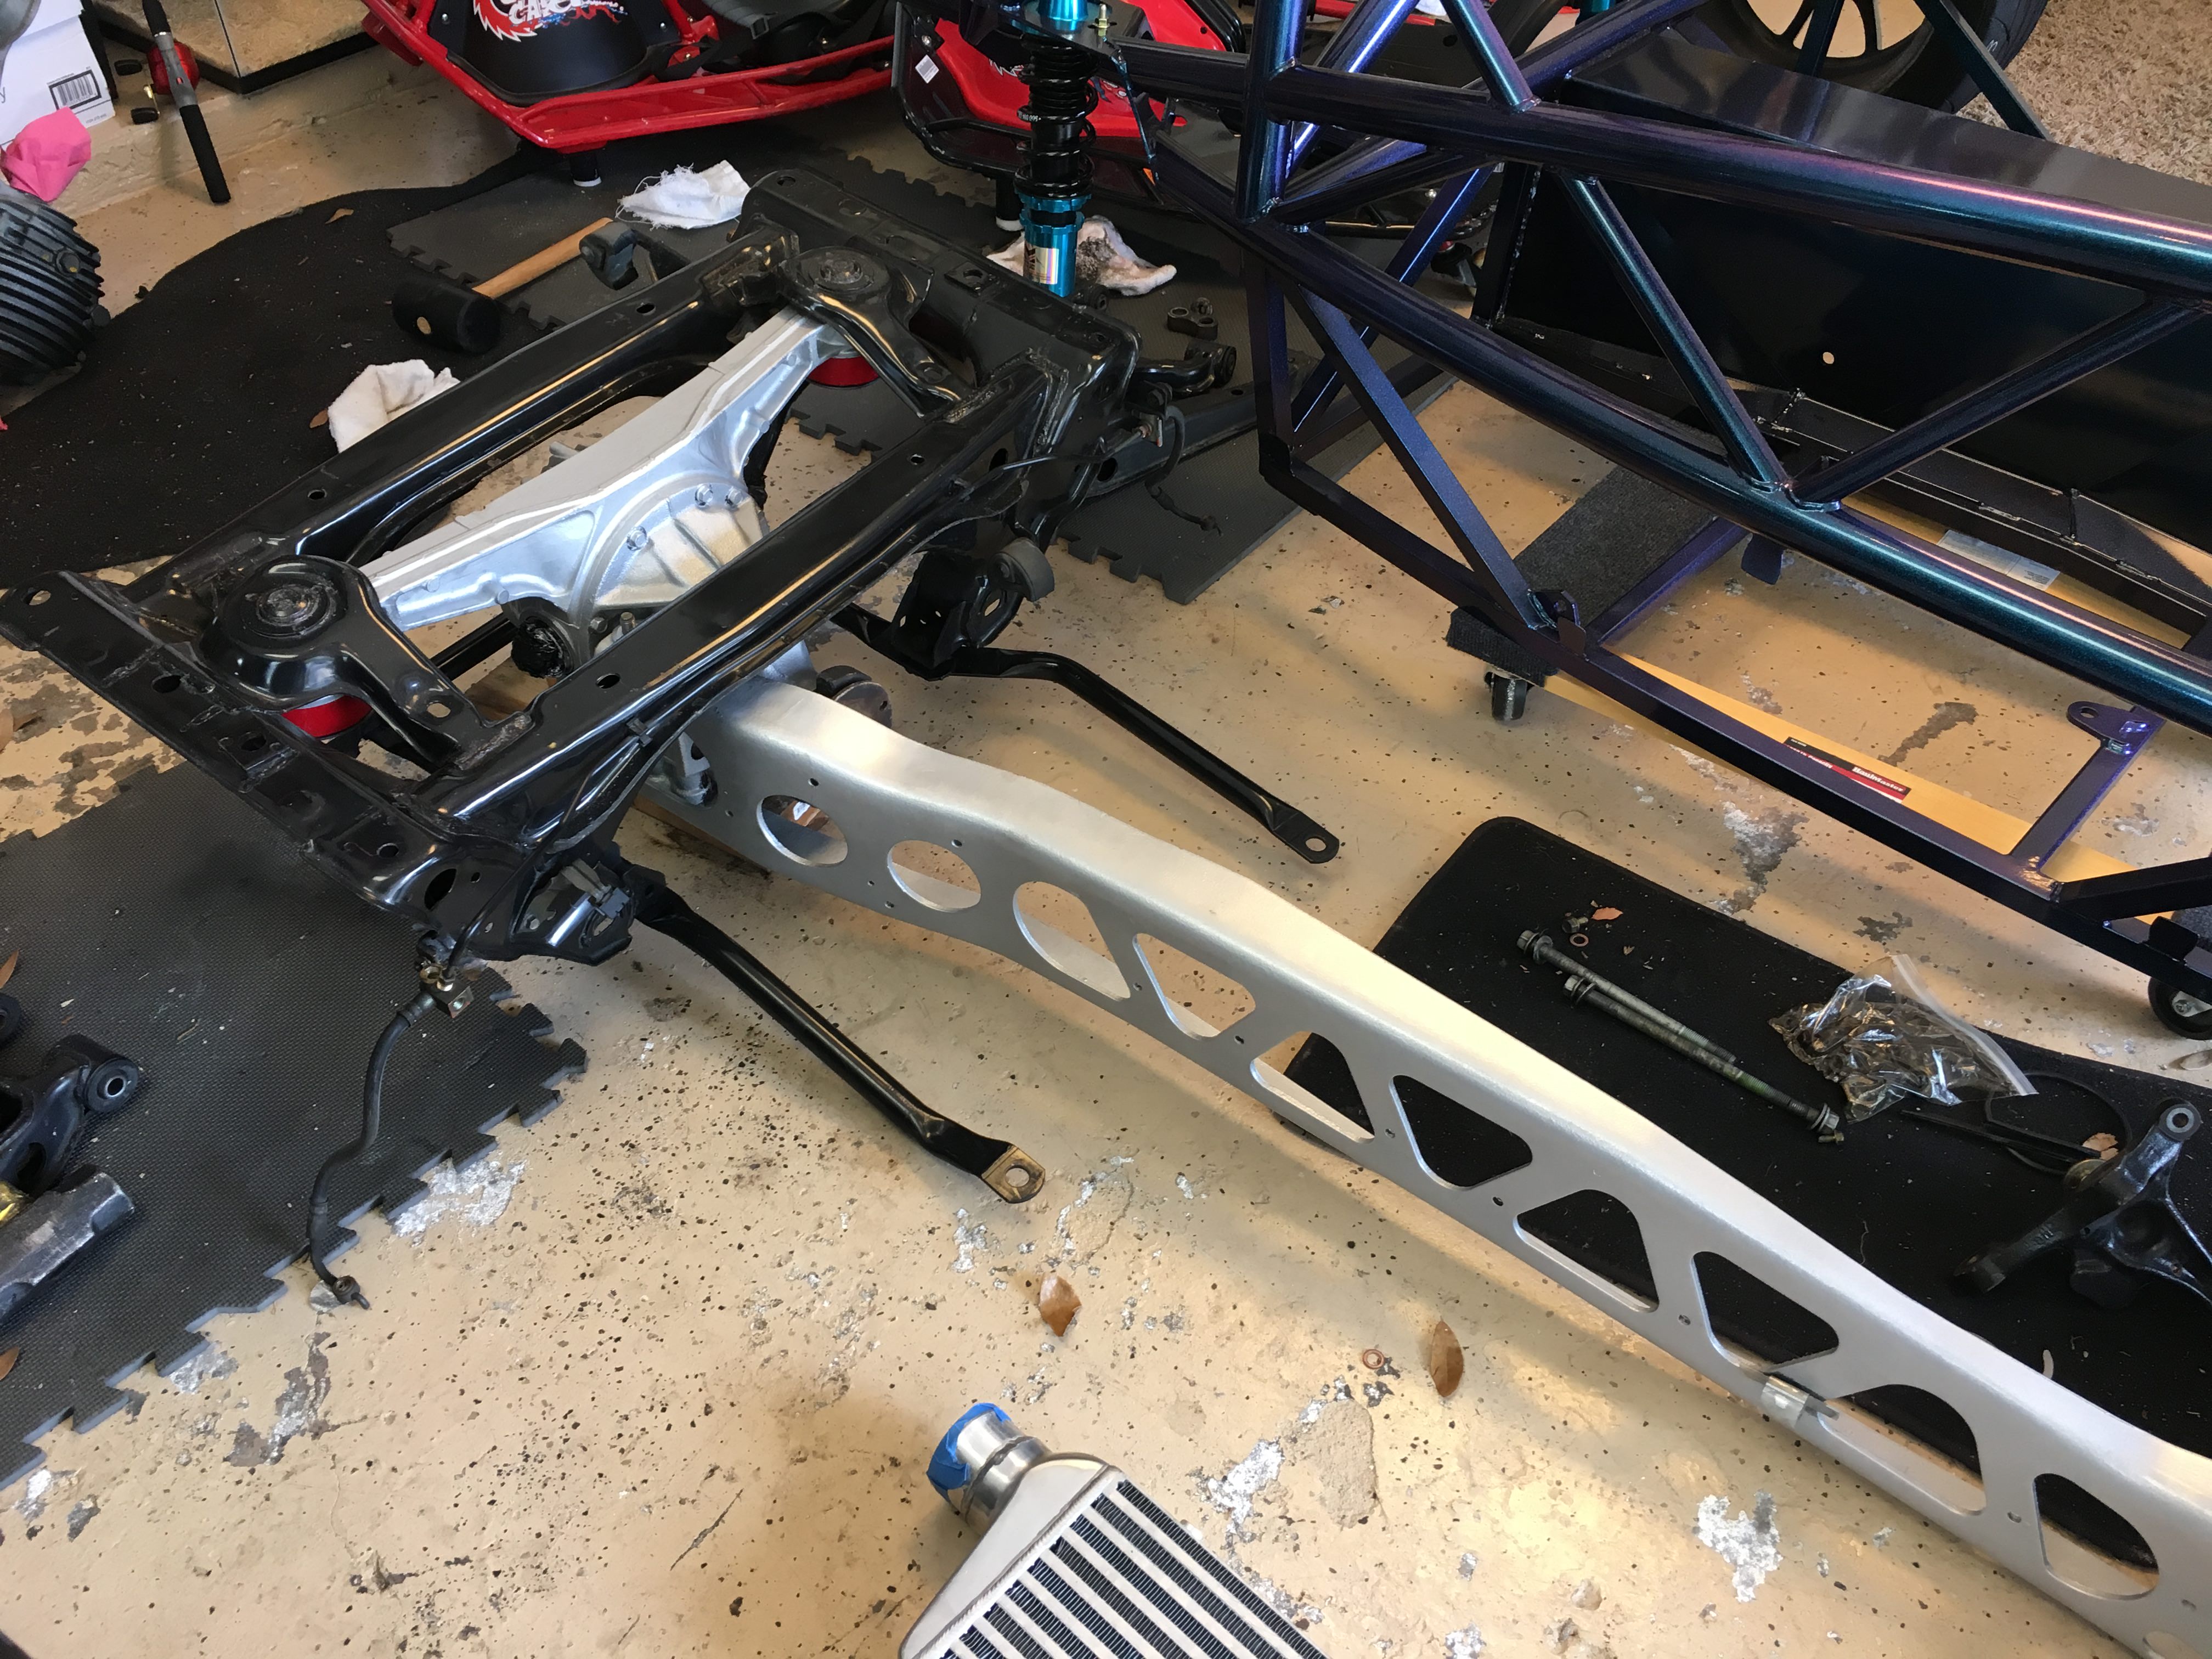
FYI, you may as well disconnect the rear factory subframe brace, you have to chop it down to make it work. I added a piece of 1/8" flat sock to the rear side of mine (or rather my buddy who can weld did). You can always upgrade the drivetrain later. I do wish I had taken the time to clean up my subframes better, but really the control arms are the only visible bits when the car is on the ground.
Reply
0
0


