
Love It Or Hate It - Another Exocet Build in Tampa


Thread Starter
Junior Member

Joined: Jan 2018
Posts: 228
Total Cats: 25
From: Tampa, Fl
Reply
 0
0

0

Senior Member
Joined: Jul 2016
Posts: 557
Total Cats: 54
From: San Diego
Don't get me wrong, I'm not bashing them, just was surprised to see them. Figured anyone with $ to do Exoset would have money for something fancy. I bought a 94 miata last year with almost new Megan's on it and the car drove surprisingly well considering the rep. they have. It even was on track and did OK.
Reply
0
0
Thread Starter
Junior Member
Joined: Jan 2018
Posts: 228
Total Cats: 25
From: Tampa, Fl
I can't really say this is a budget build considering the money I've sunk into it at this point but I'm pushing the limits of what I can spend vs. being homeless. I'm picking up stuff here and there. I can honestly say almost everything I've bought has been used either off of Craigslist or this forum. I've been pretty lucky on finding some really good deals as they show up.
As far as the Megan's go, I'm going to see how they perform once I get everything on the road. I hope they are better than their customer service. I've been waiting two months to get a replacement top hat stud that I broke in a moment of stupidity. Somehow they were back ordered for a month and a half and now I'm waiting for the Sales Manager to call me back to take my money. $8 for the stud and $10 shipping.
As far as the Megan's go, I'm going to see how they perform once I get everything on the road. I hope they are better than their customer service. I've been waiting two months to get a replacement top hat stud that I broke in a moment of stupidity. Somehow they were back ordered for a month and a half and now I'm waiting for the Sales Manager to call me back to take my money. $8 for the stud and $10 shipping.
Reply
0
0
Thread Starter
Junior Member
Joined: Jan 2018
Posts: 228
Total Cats: 25
From: Tampa, Fl
FYI, you may as well disconnect the rear factory subframe brace, you have to chop it down to make it work. I added a piece of 1/8" flat sock to the rear side of mine (or rather my buddy who can weld did). You can always upgrade the drivetrain later. I do wish I had taken the time to clean up my subframes better, but really the control arms are the only visible bits when the car is on the ground.
Reply
0
0

Clean build! The frame paint turned out incredibly well.
Are these keepers fully seated on the valve? https://i.imgur.com/mpu3JgT.jpg
Are these keepers fully seated on the valve? https://i.imgur.com/mpu3JgT.jpg
Reply
0
0
Thread Starter
Junior Member
Joined: Jan 2018
Posts: 228
Total Cats: 25
From: Tampa, Fl
Thanks! We took a chance on the color and we like it.
I thought the same thing on the keepers when I first started the assembly. I actually redid the first two because I wasn't sure it was right. The keepers have a ridge just below the top that engages the valve. It makes it appear that the keeper isn't fully seated but it's in there. Once I got going they all ended up looking like that.
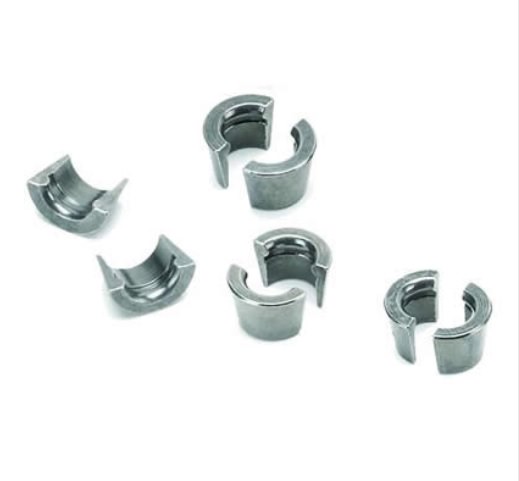
The ends also don't butt up against each other so there's gaps on the ends depending on how they slide into the groove.
I thought the same thing on the keepers when I first started the assembly. I actually redid the first two because I wasn't sure it was right. The keepers have a ridge just below the top that engages the valve. It makes it appear that the keeper isn't fully seated but it's in there. Once I got going they all ended up looking like that.
The ends also don't butt up against each other so there's gaps on the ends depending on how they slide into the groove.
Reply
0
0

Best angle I have of it, can take more when I am in garage later - https://www.facebook.com/photo.php?f...3162045&type=3
and my memory failed, it was the front part that we put the flat stock on to box it in.
and my memory failed, it was the front part that we put the flat stock on to box it in.
Reply
0
0
Thread Starter
Junior Member
Joined: Jan 2018
Posts: 228
Total Cats: 25
From: Tampa, Fl
Back at it this weekend.
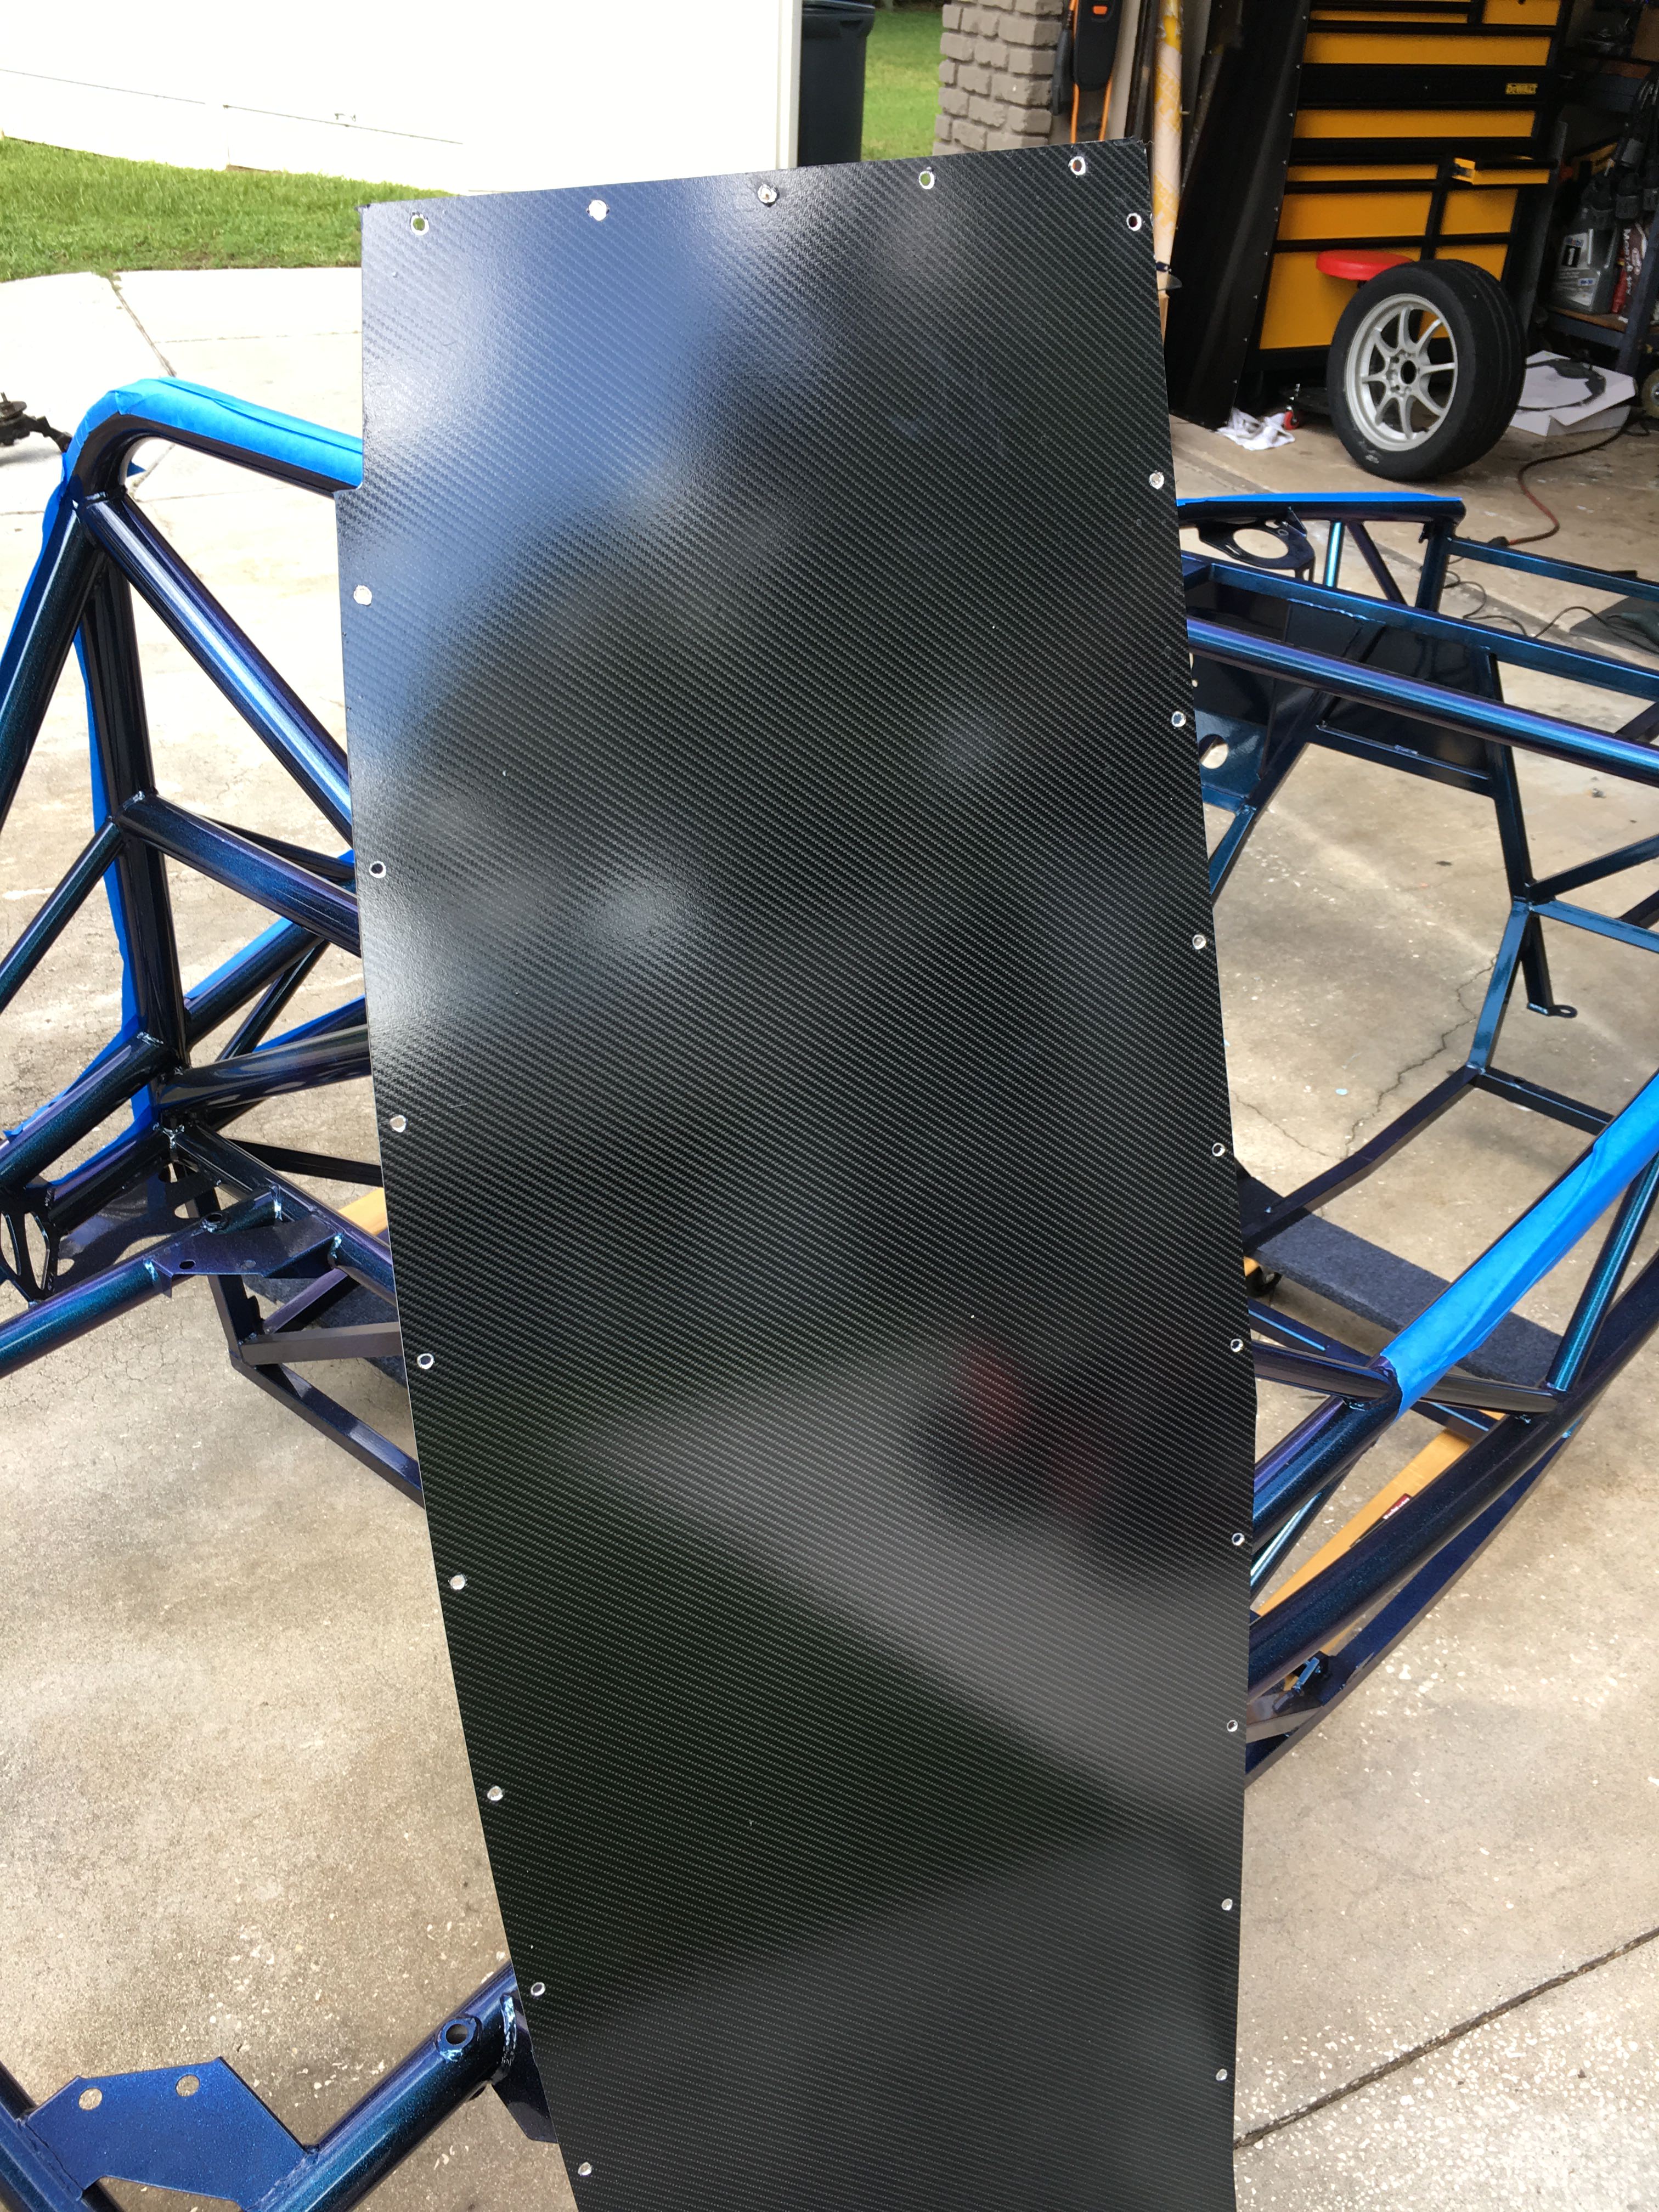
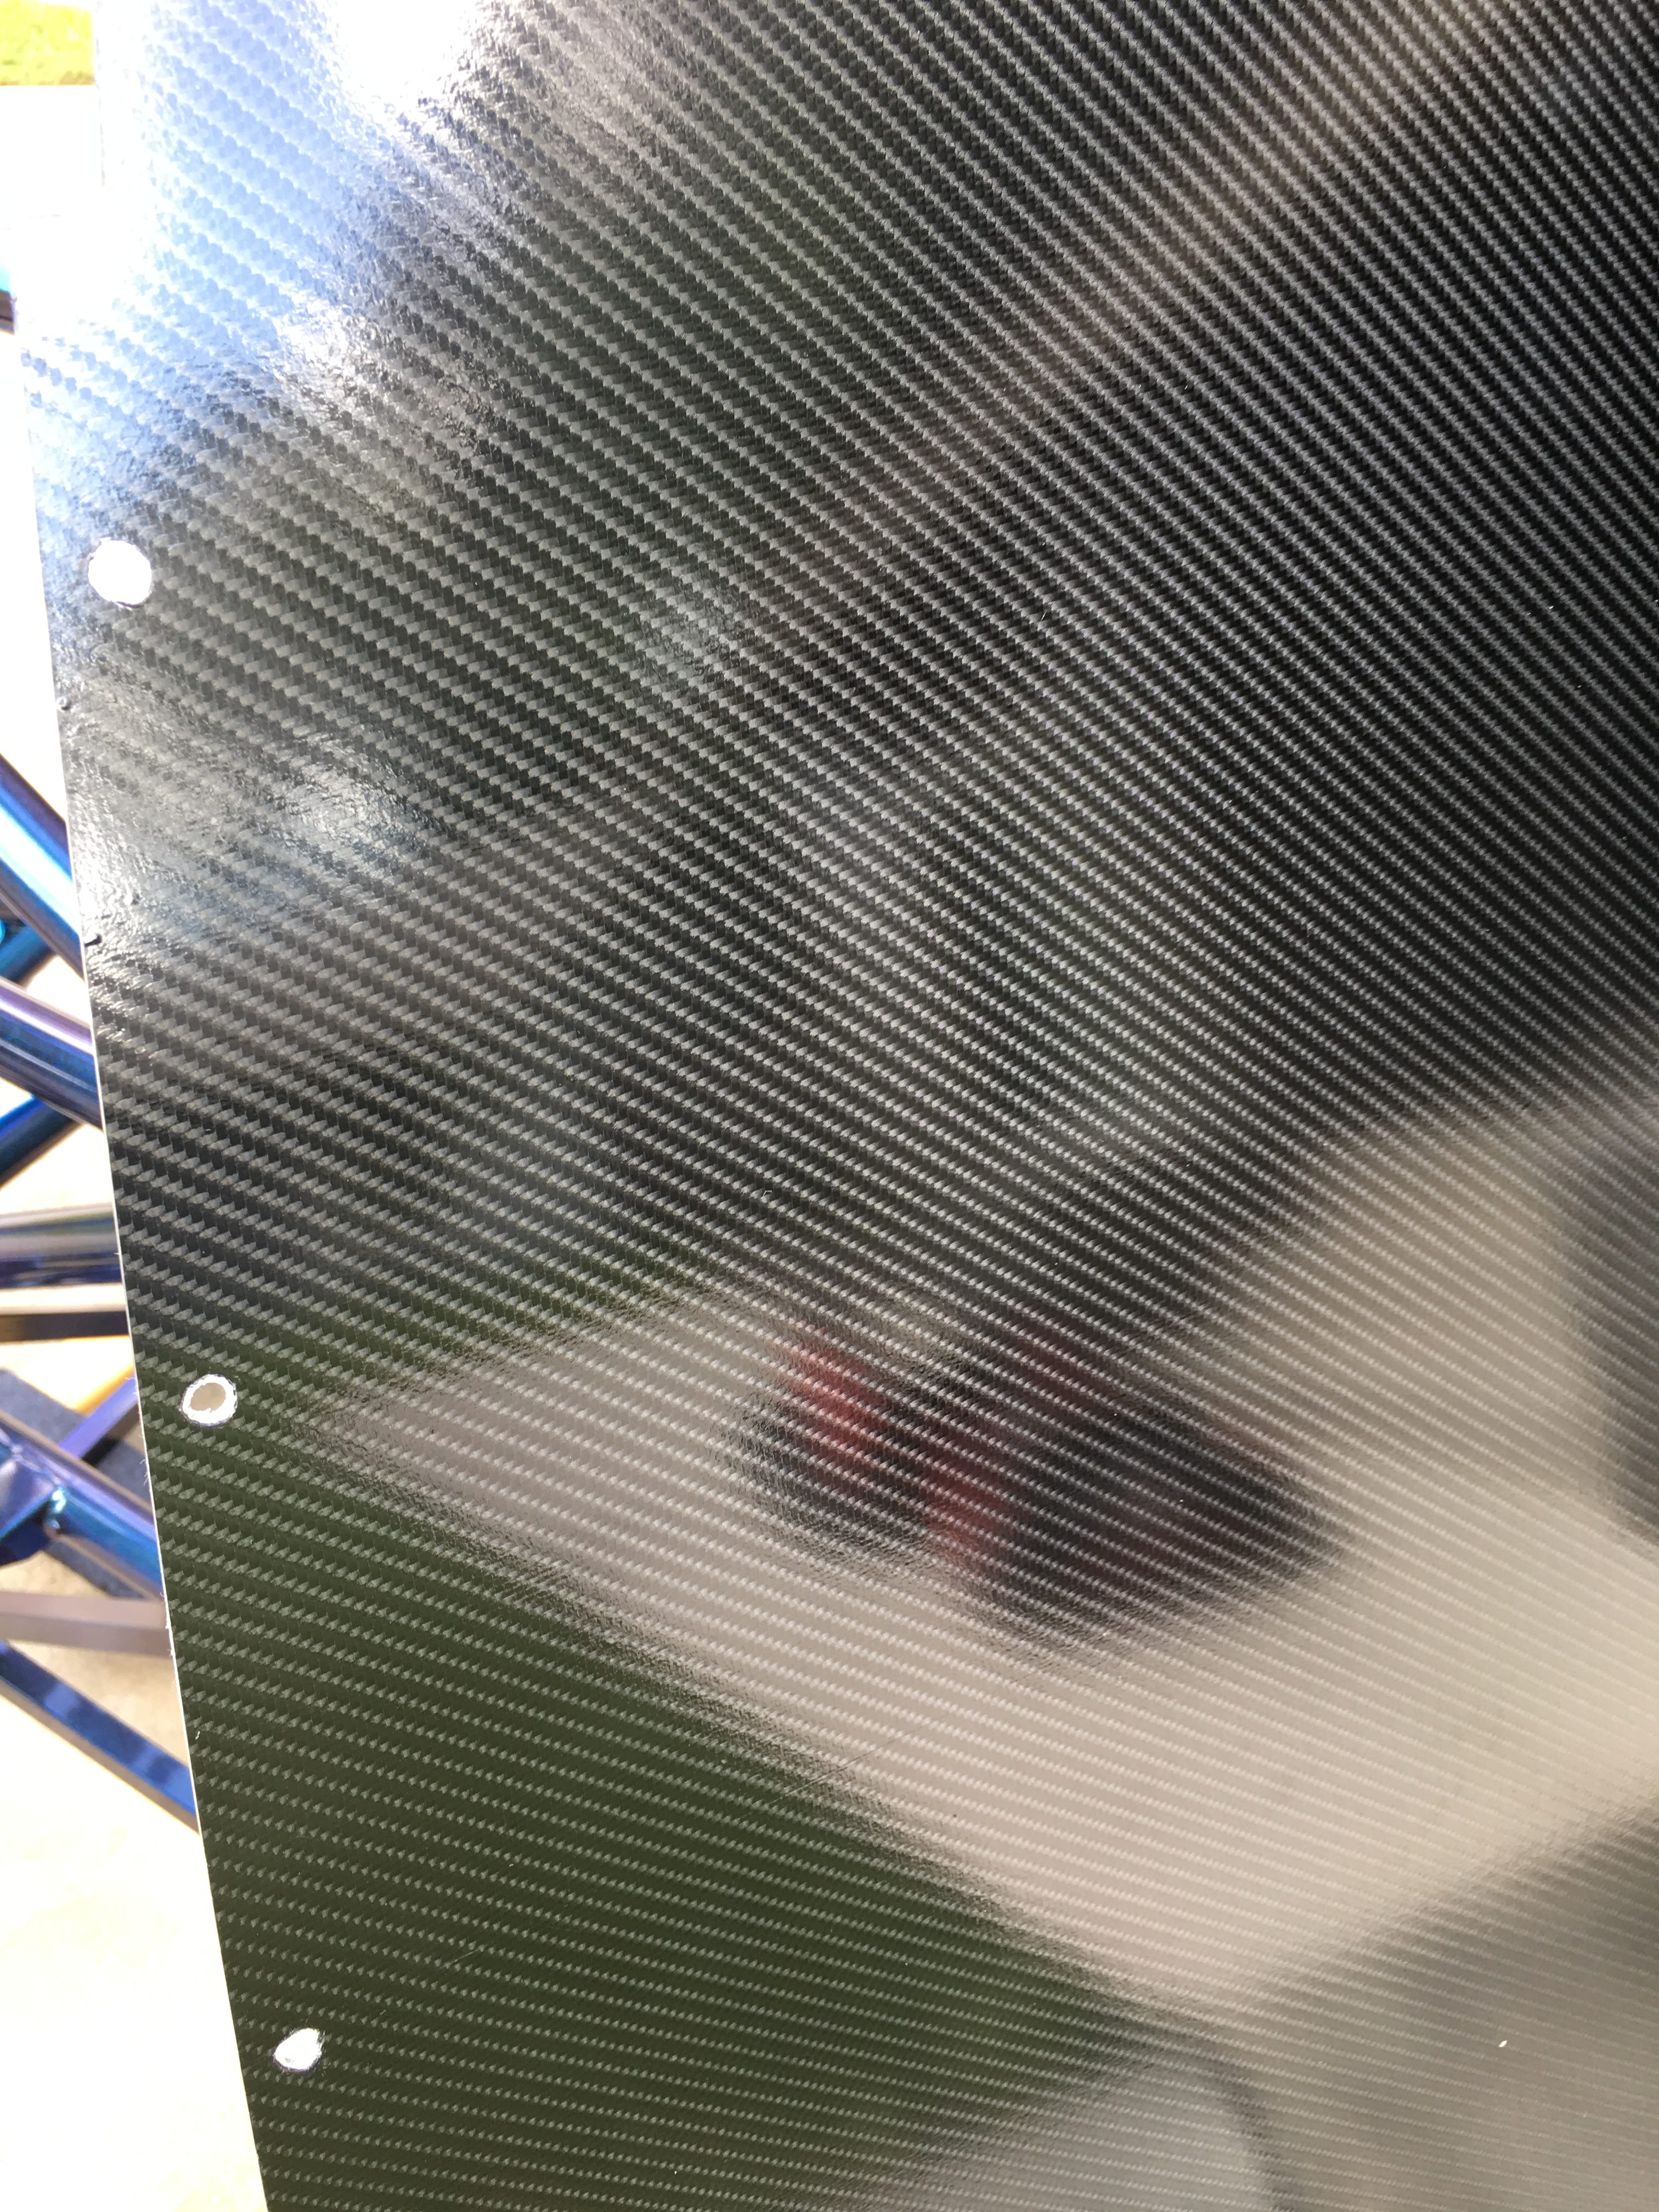
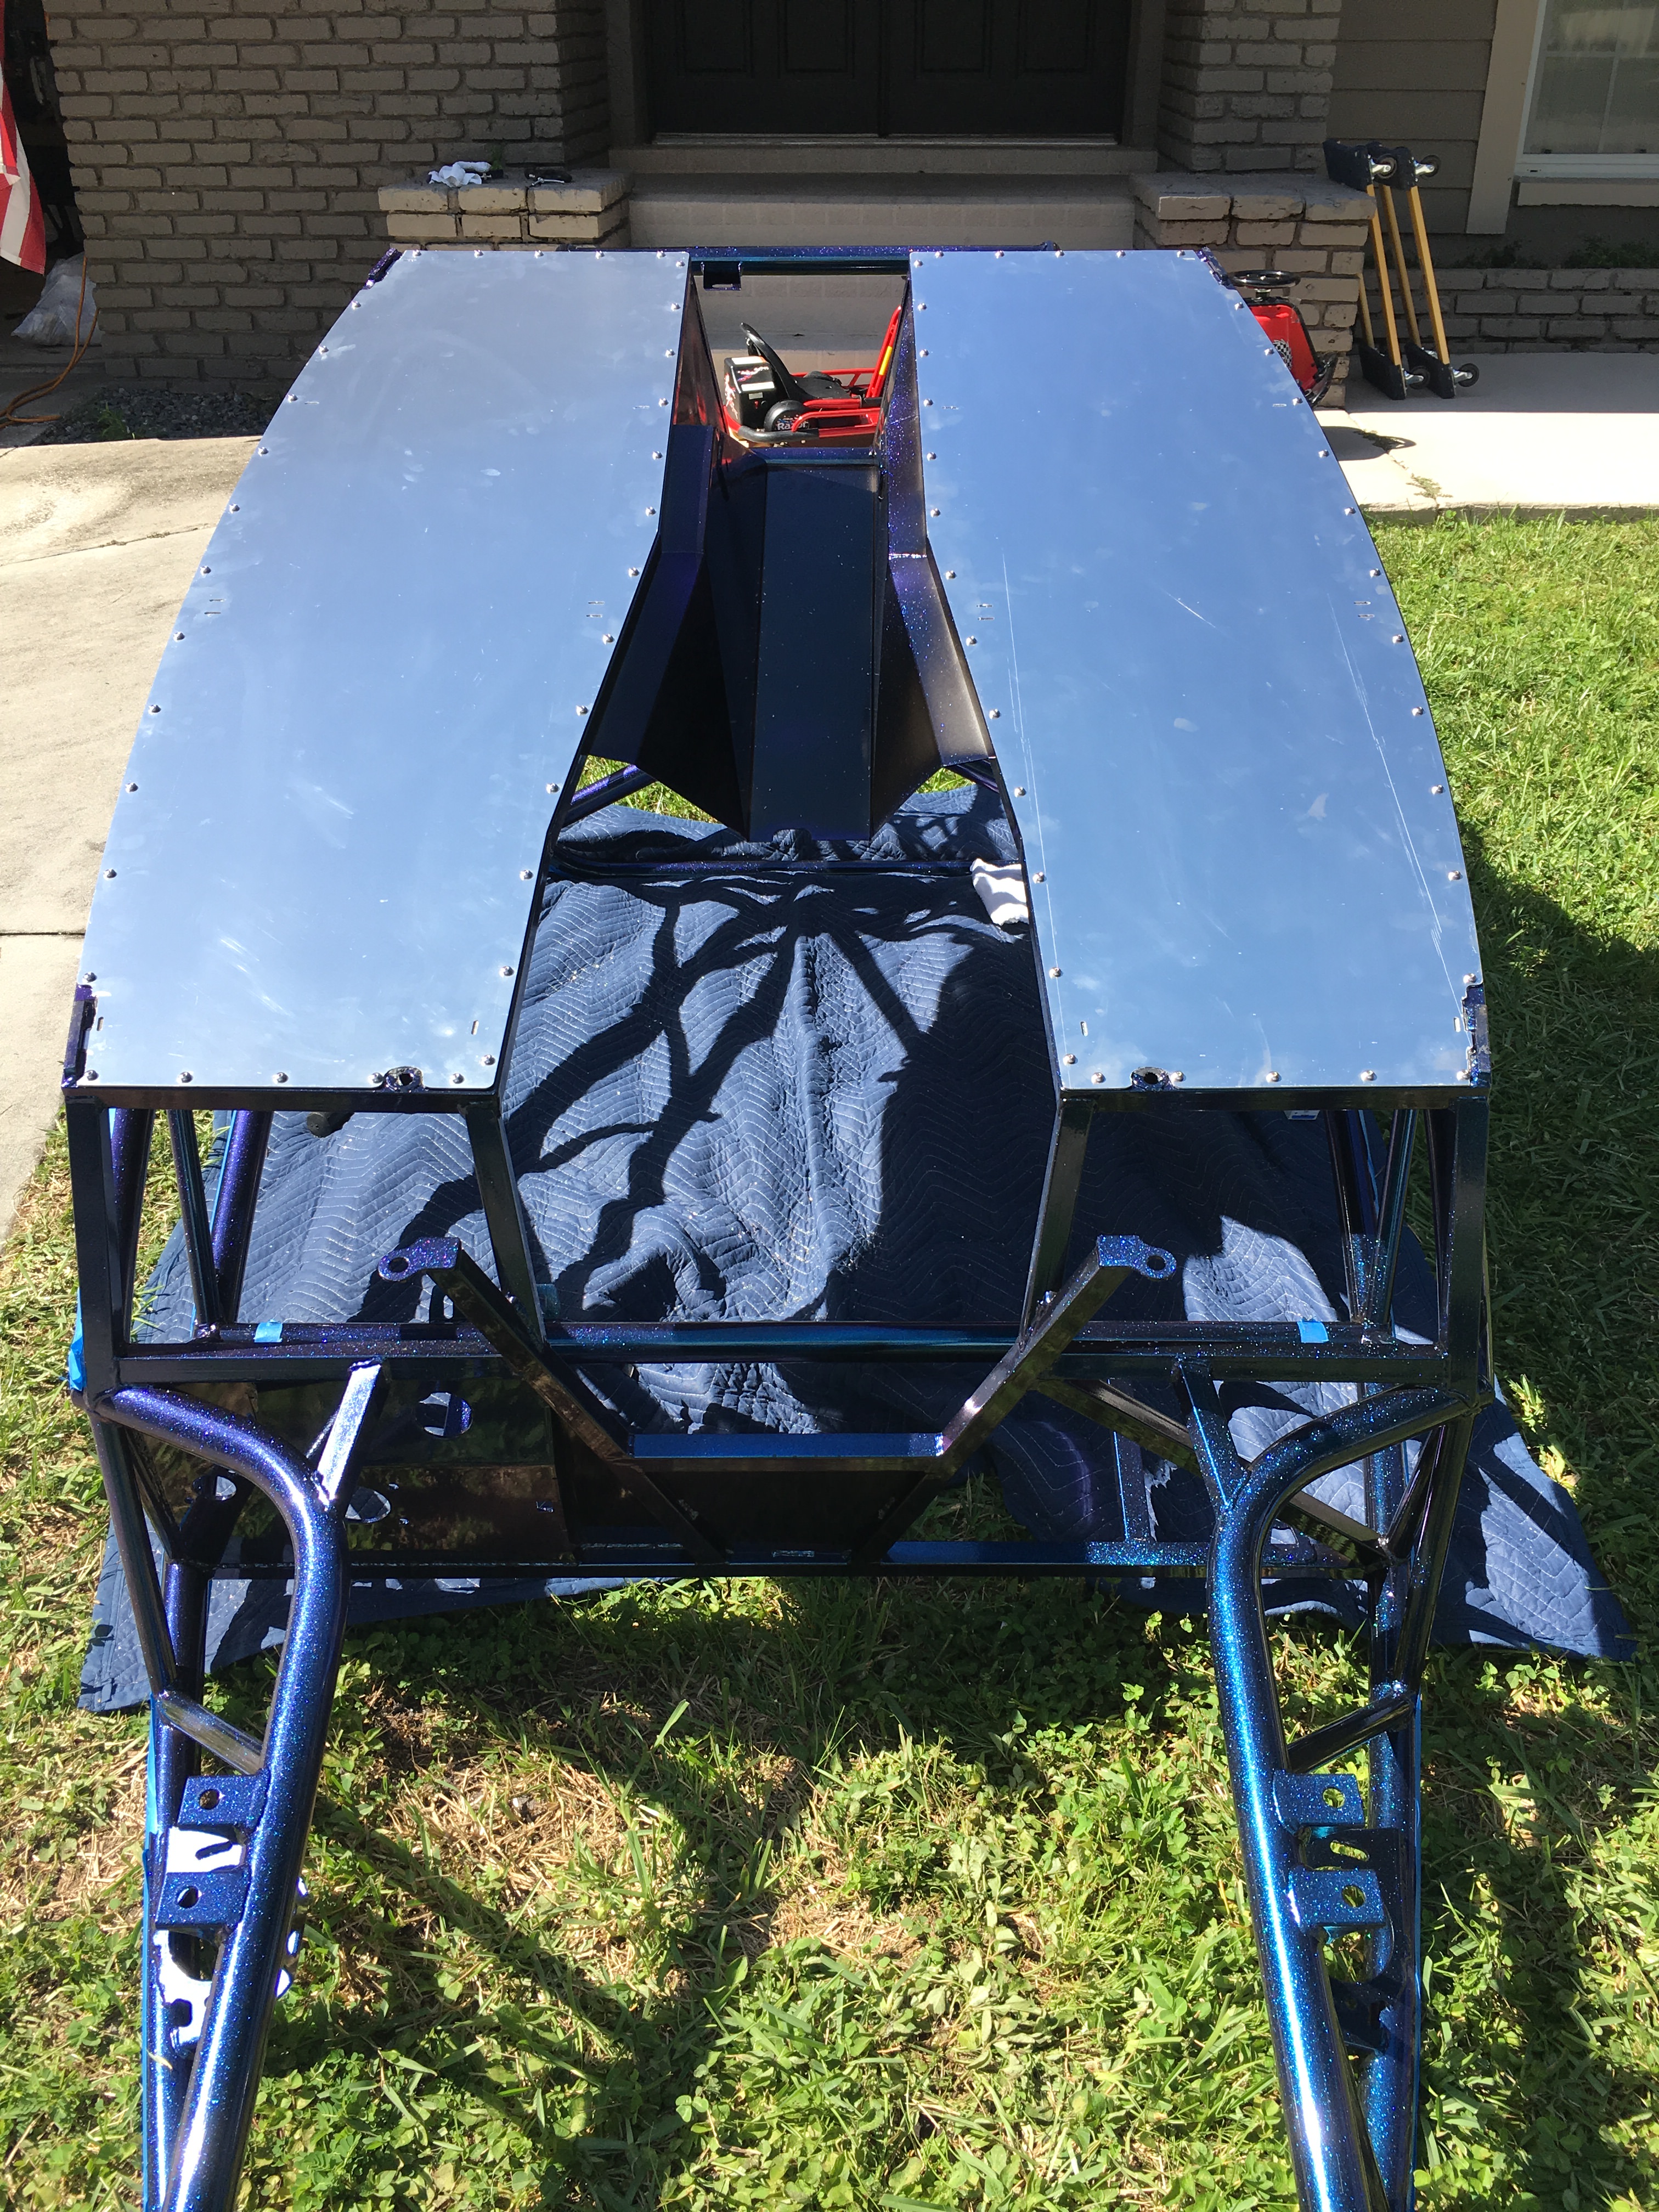
I need to install the floor panels on the Exocet before I can drop it on the PPF. That took way longer than anticipated. 136 holes drilled. 68 Rivnuts installed. 68 button head screws installed. In 95� Florida heat, in my front lawn. I decided to wrap the panels in carbon fiber wrap. It matches the CoT wing which is real carbon fiber. We'll see how it holds up. I might go real carbon fiber later.

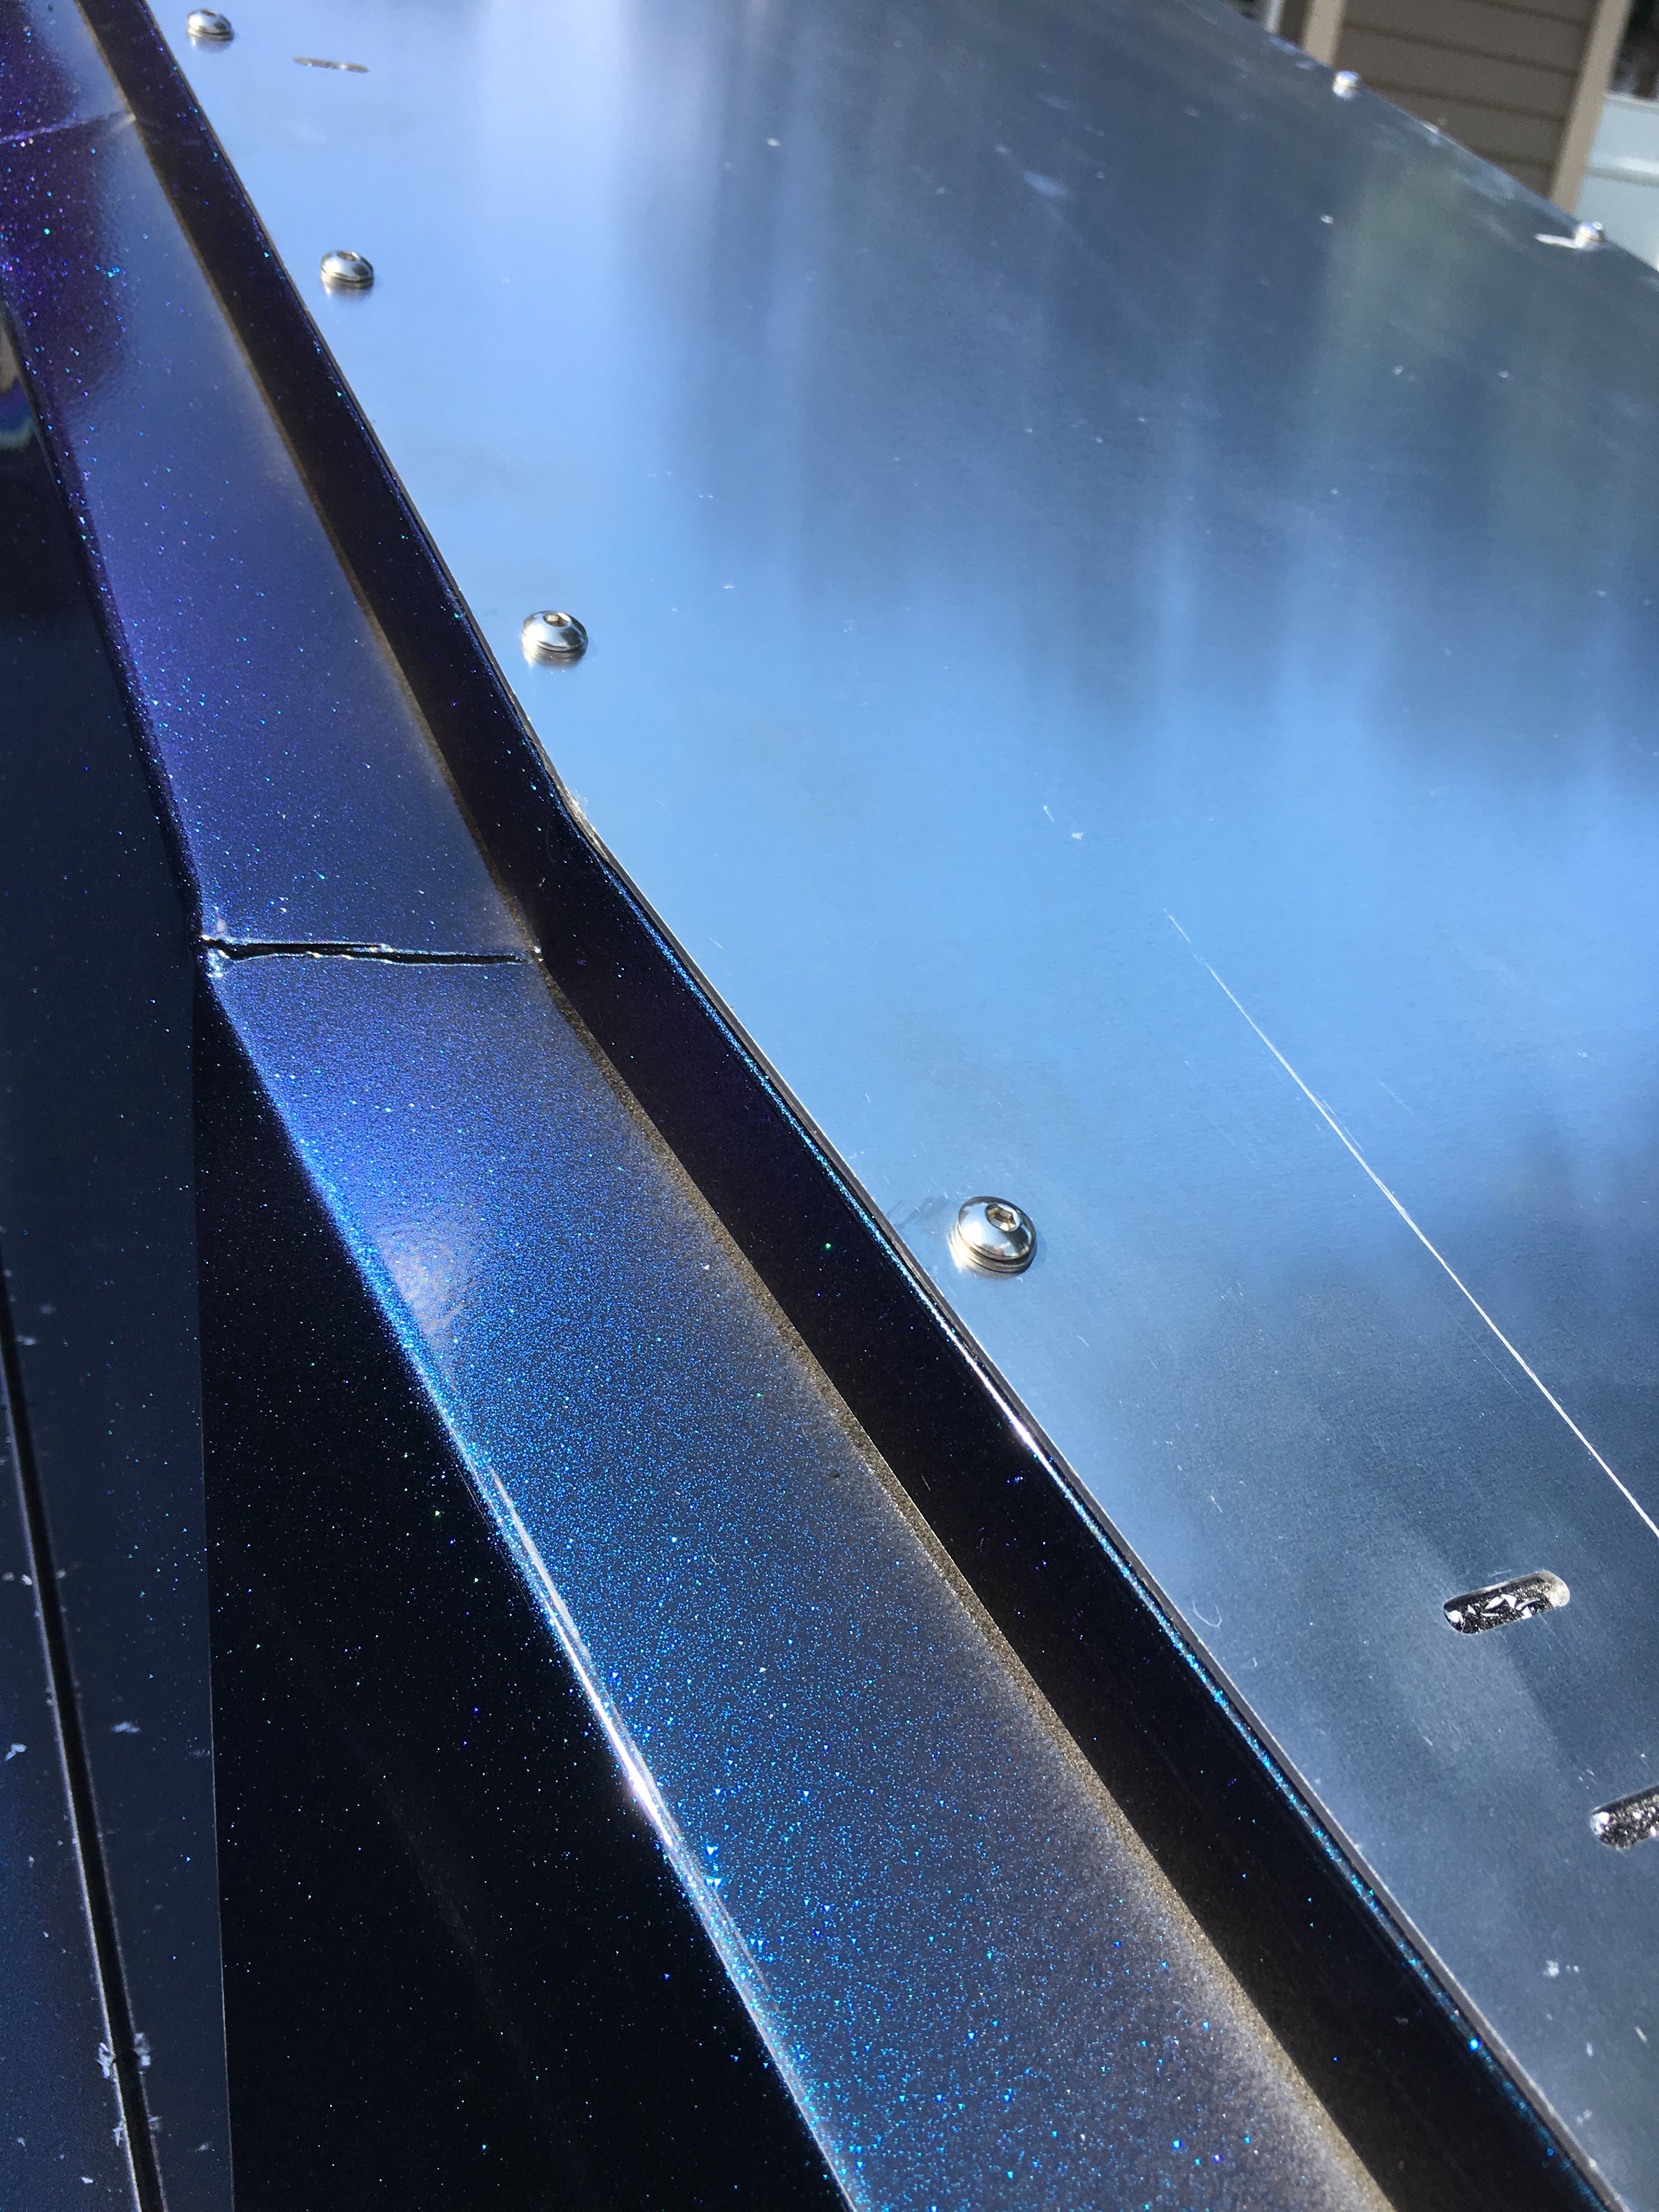
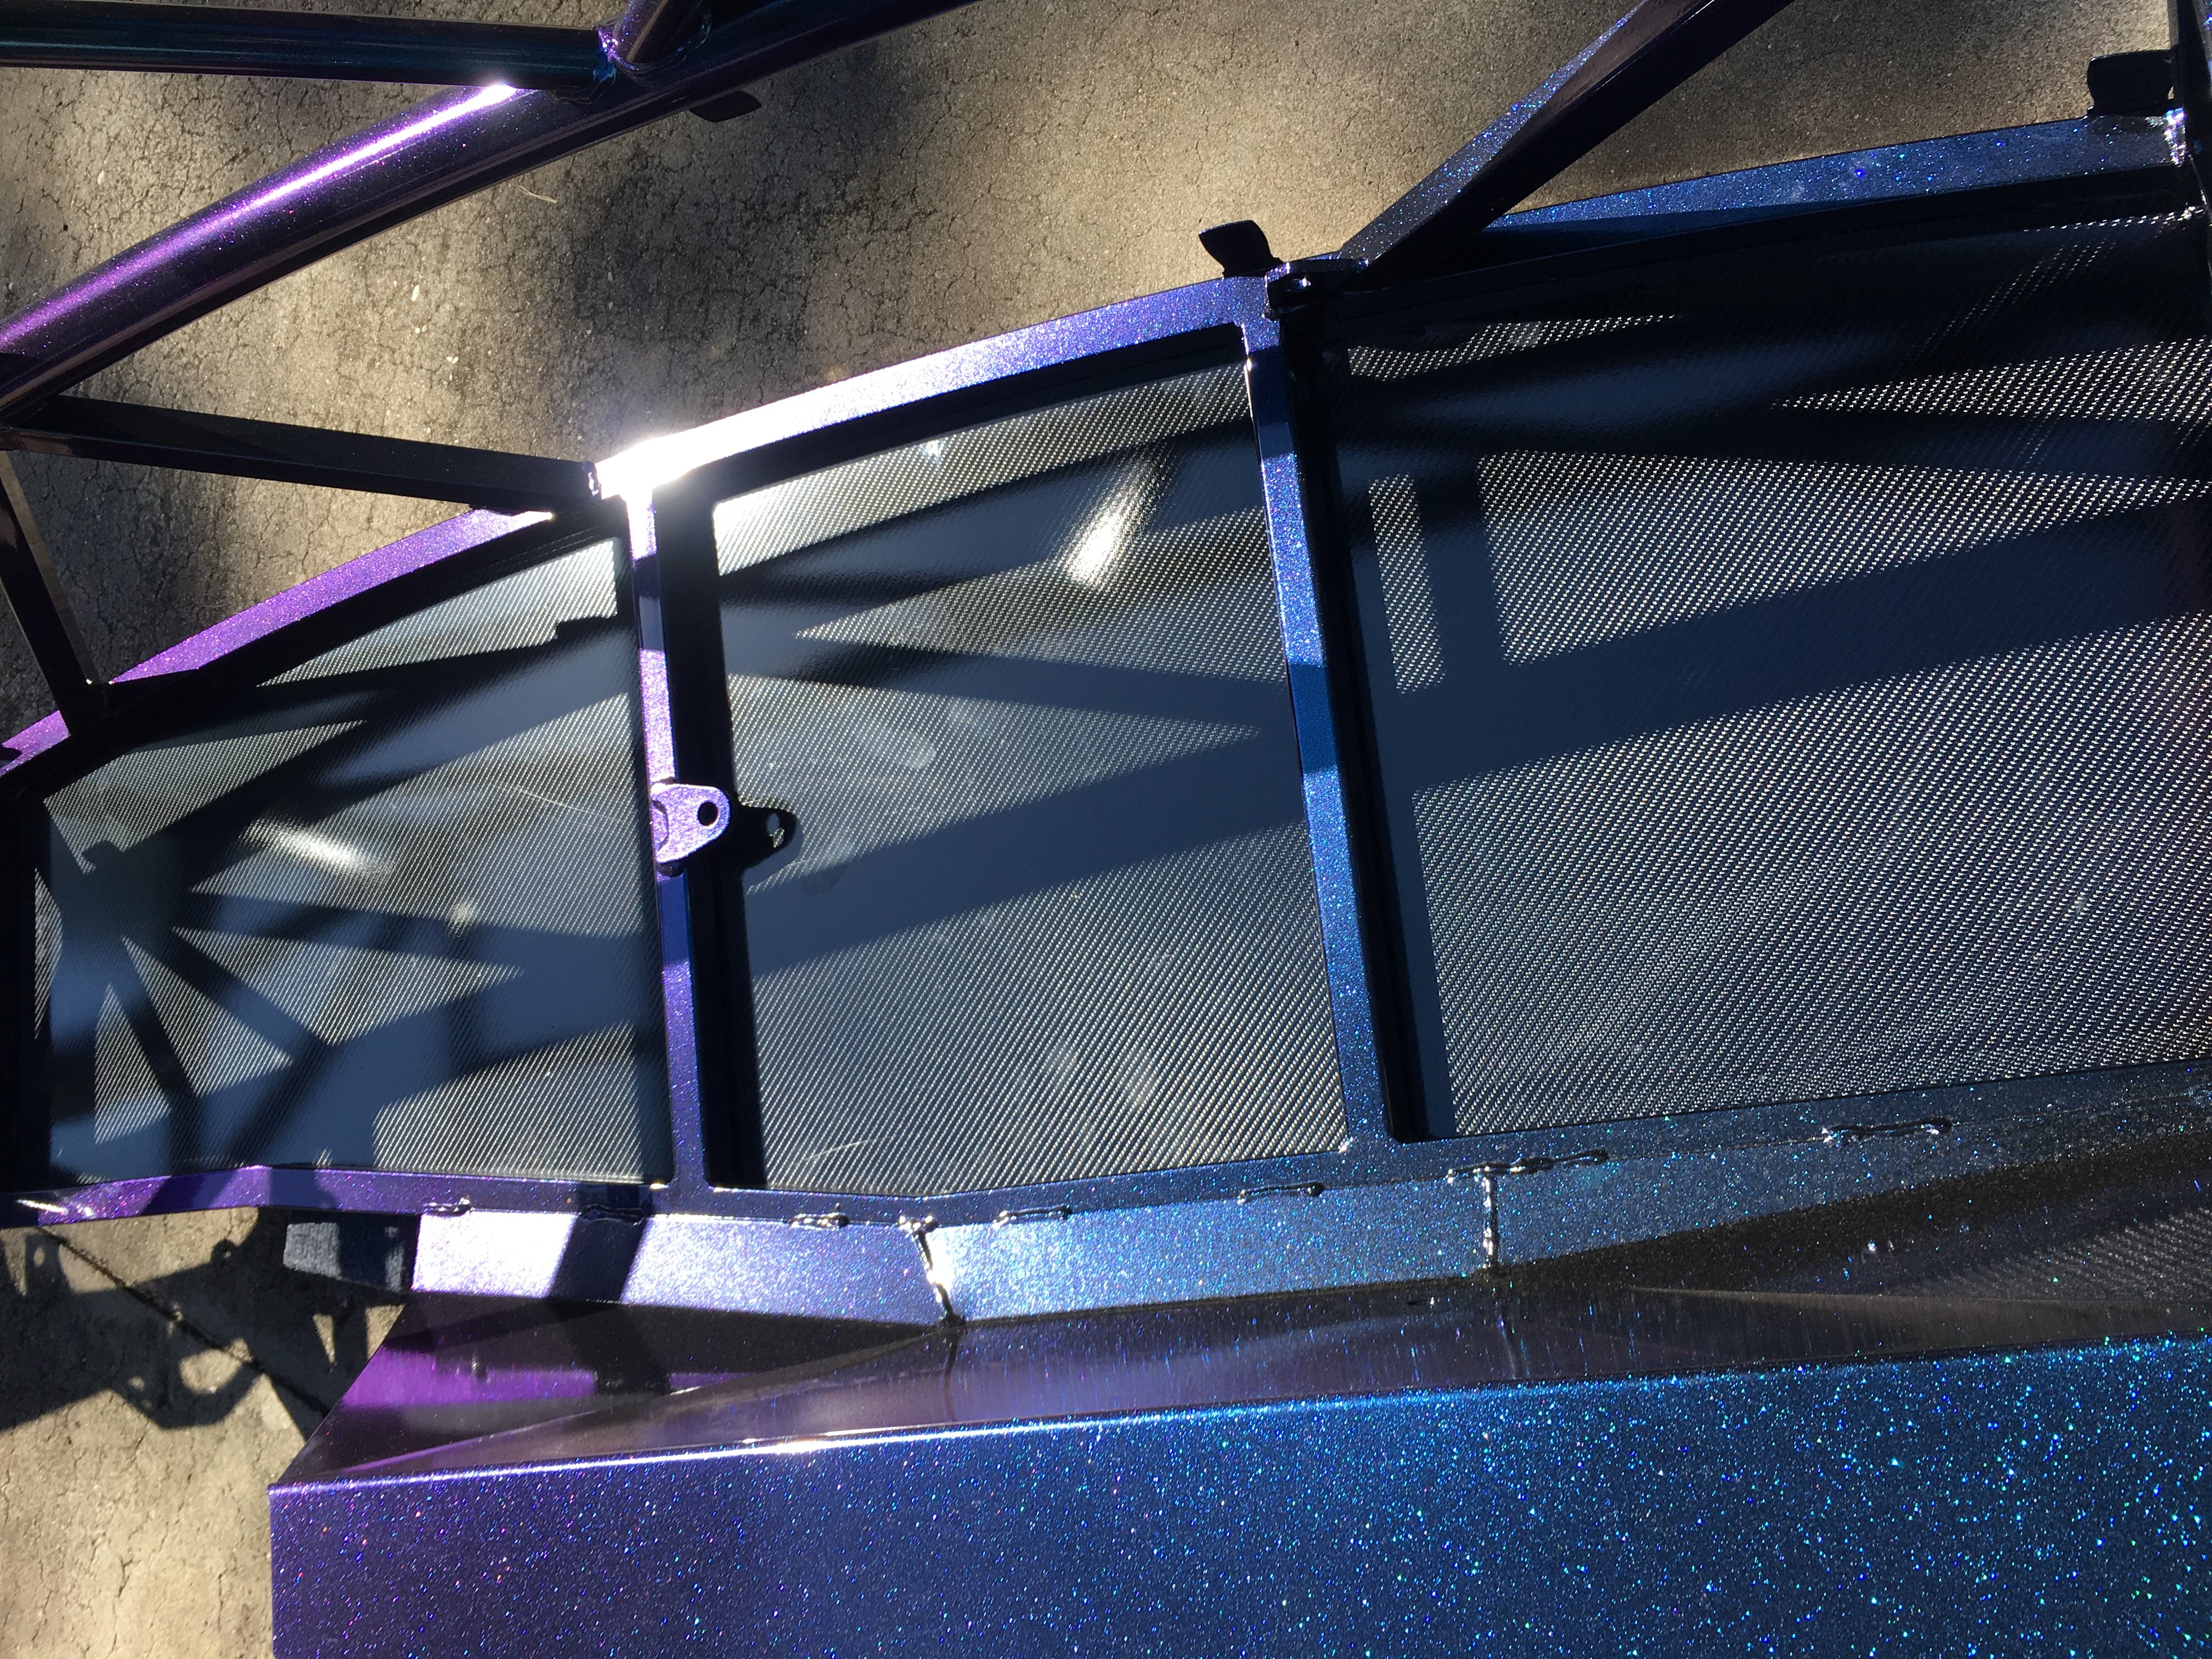
I need to install the floor panels on the Exocet before I can drop it on the PPF. That took way longer than anticipated. 136 holes drilled. 68 Rivnuts installed. 68 button head screws installed. In 95� Florida heat, in my front lawn. I decided to wrap the panels in carbon fiber wrap. It matches the CoT wing which is real carbon fiber. We'll see how it holds up. I might go real carbon fiber later.
Reply
0
0
Thread Starter
Junior Member
Joined: Jan 2018
Posts: 228
Total Cats: 25
From: Tampa, Fl
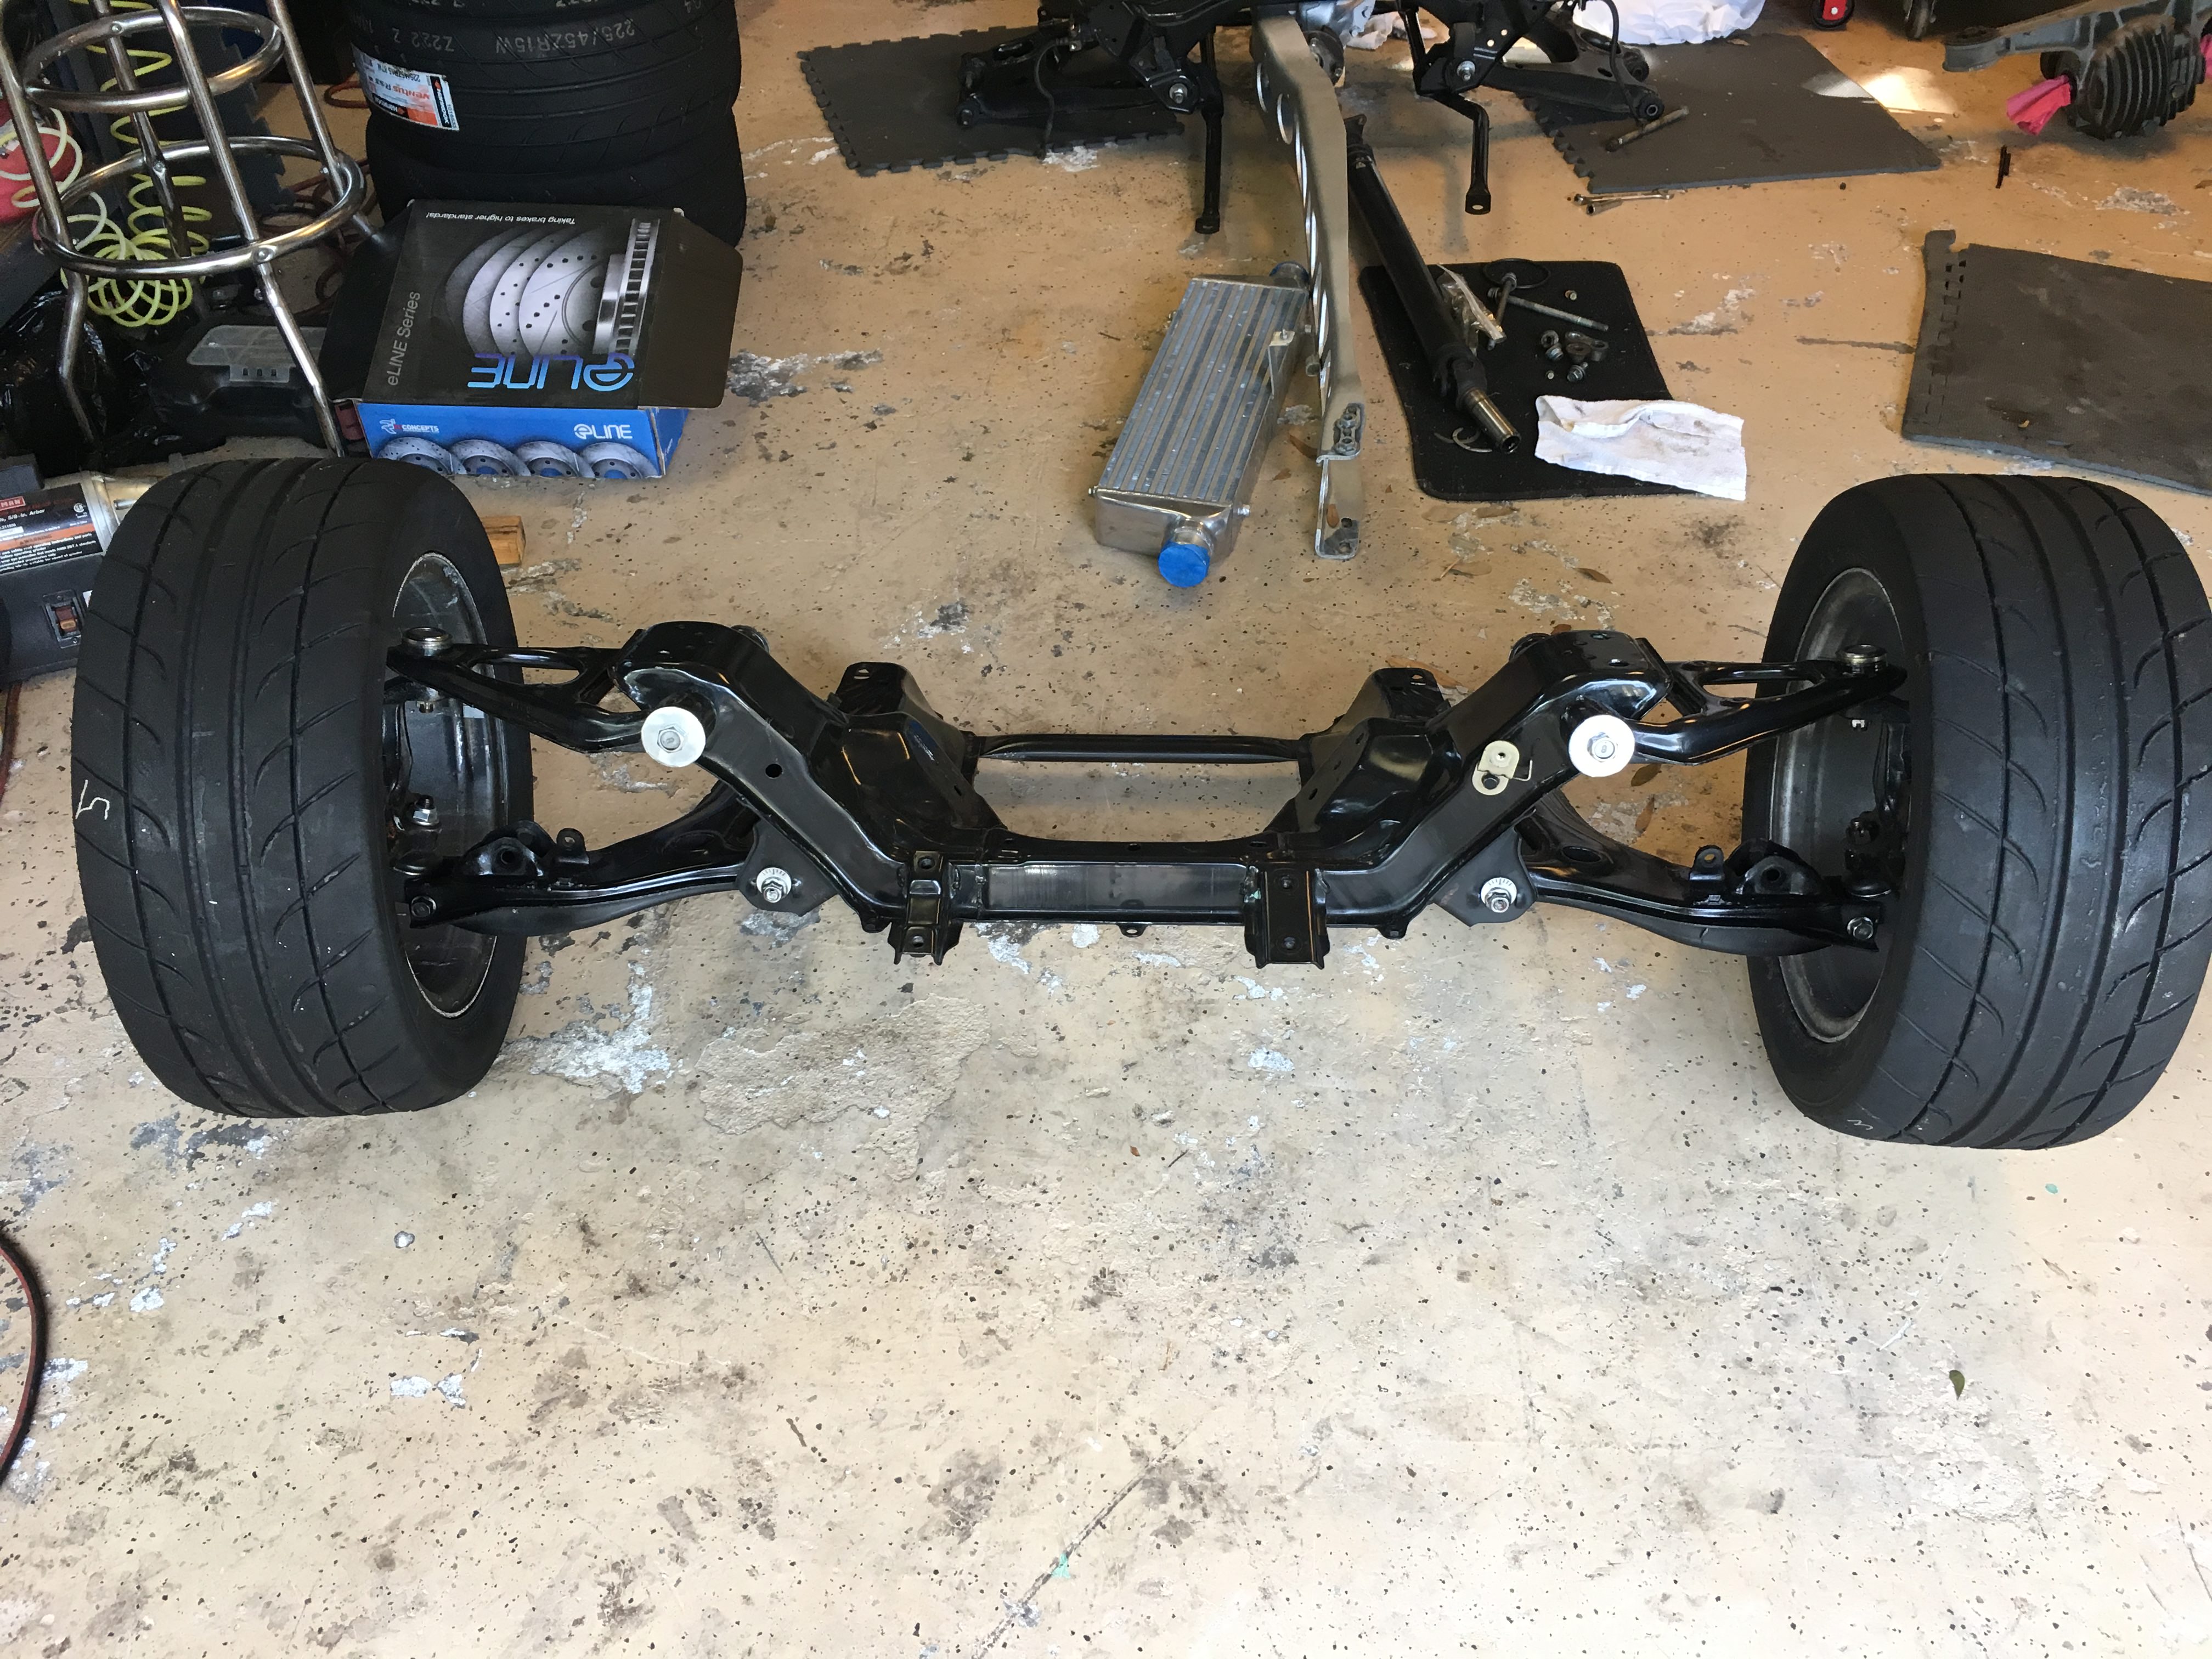
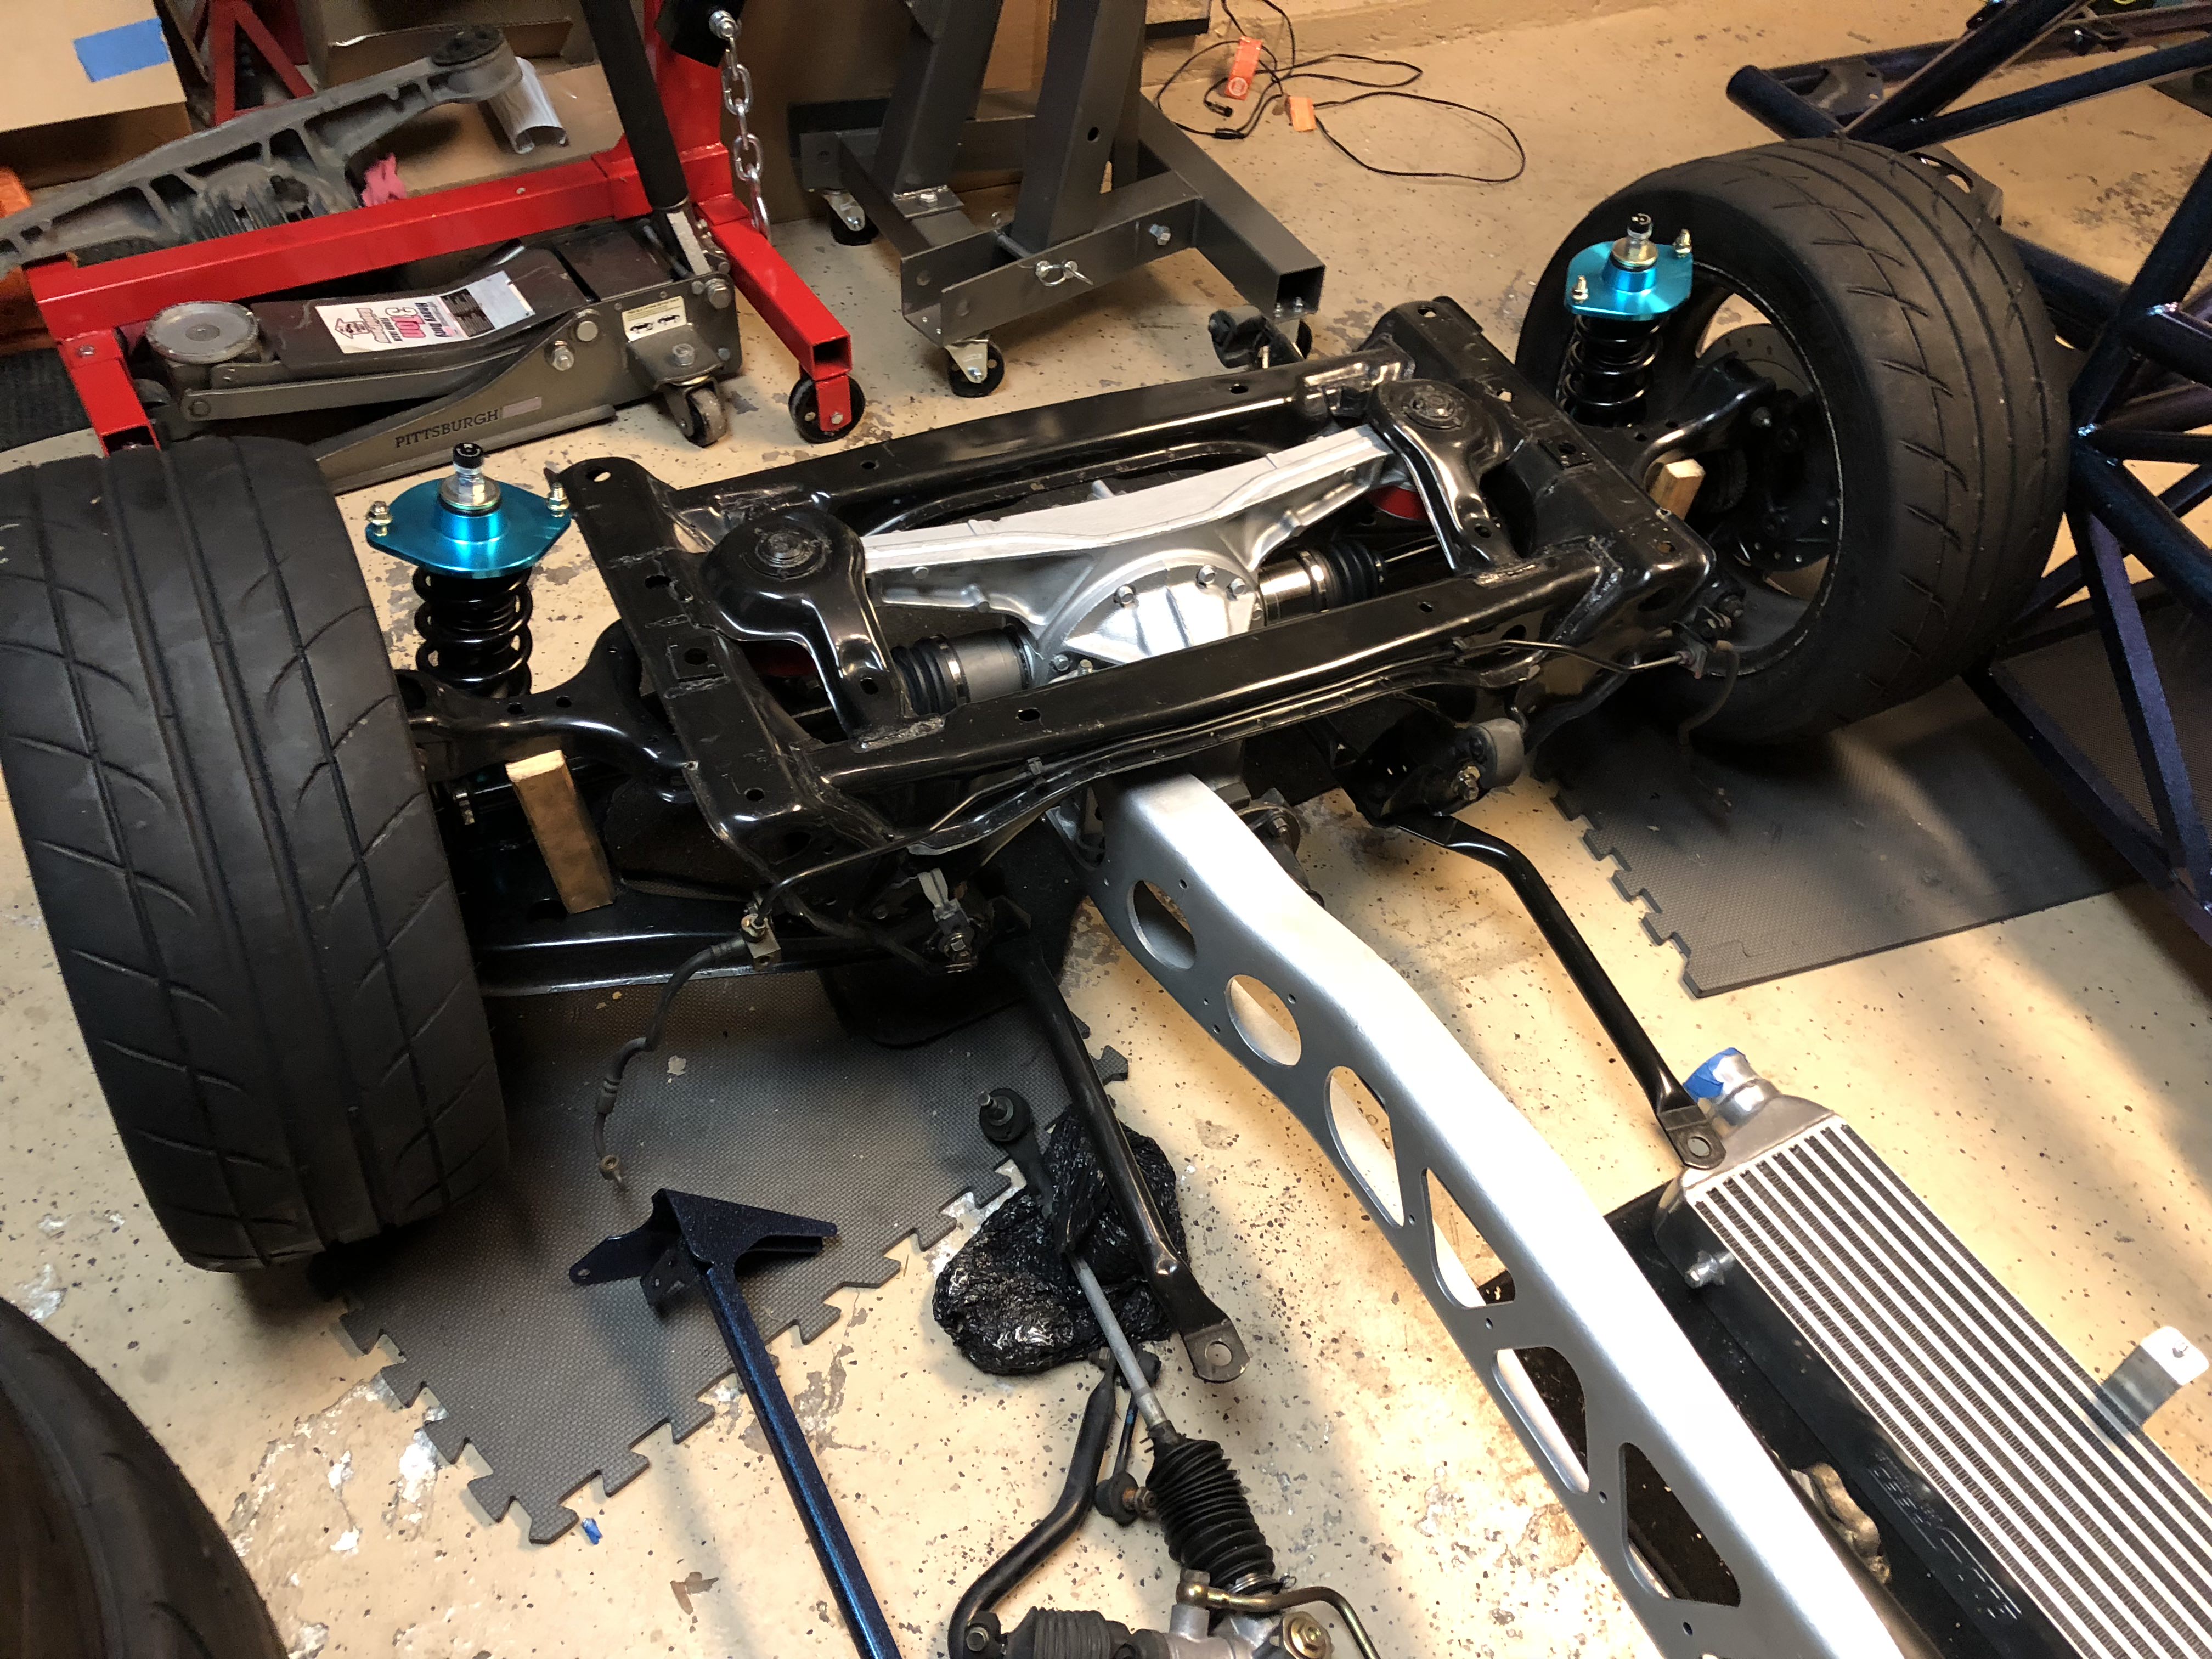
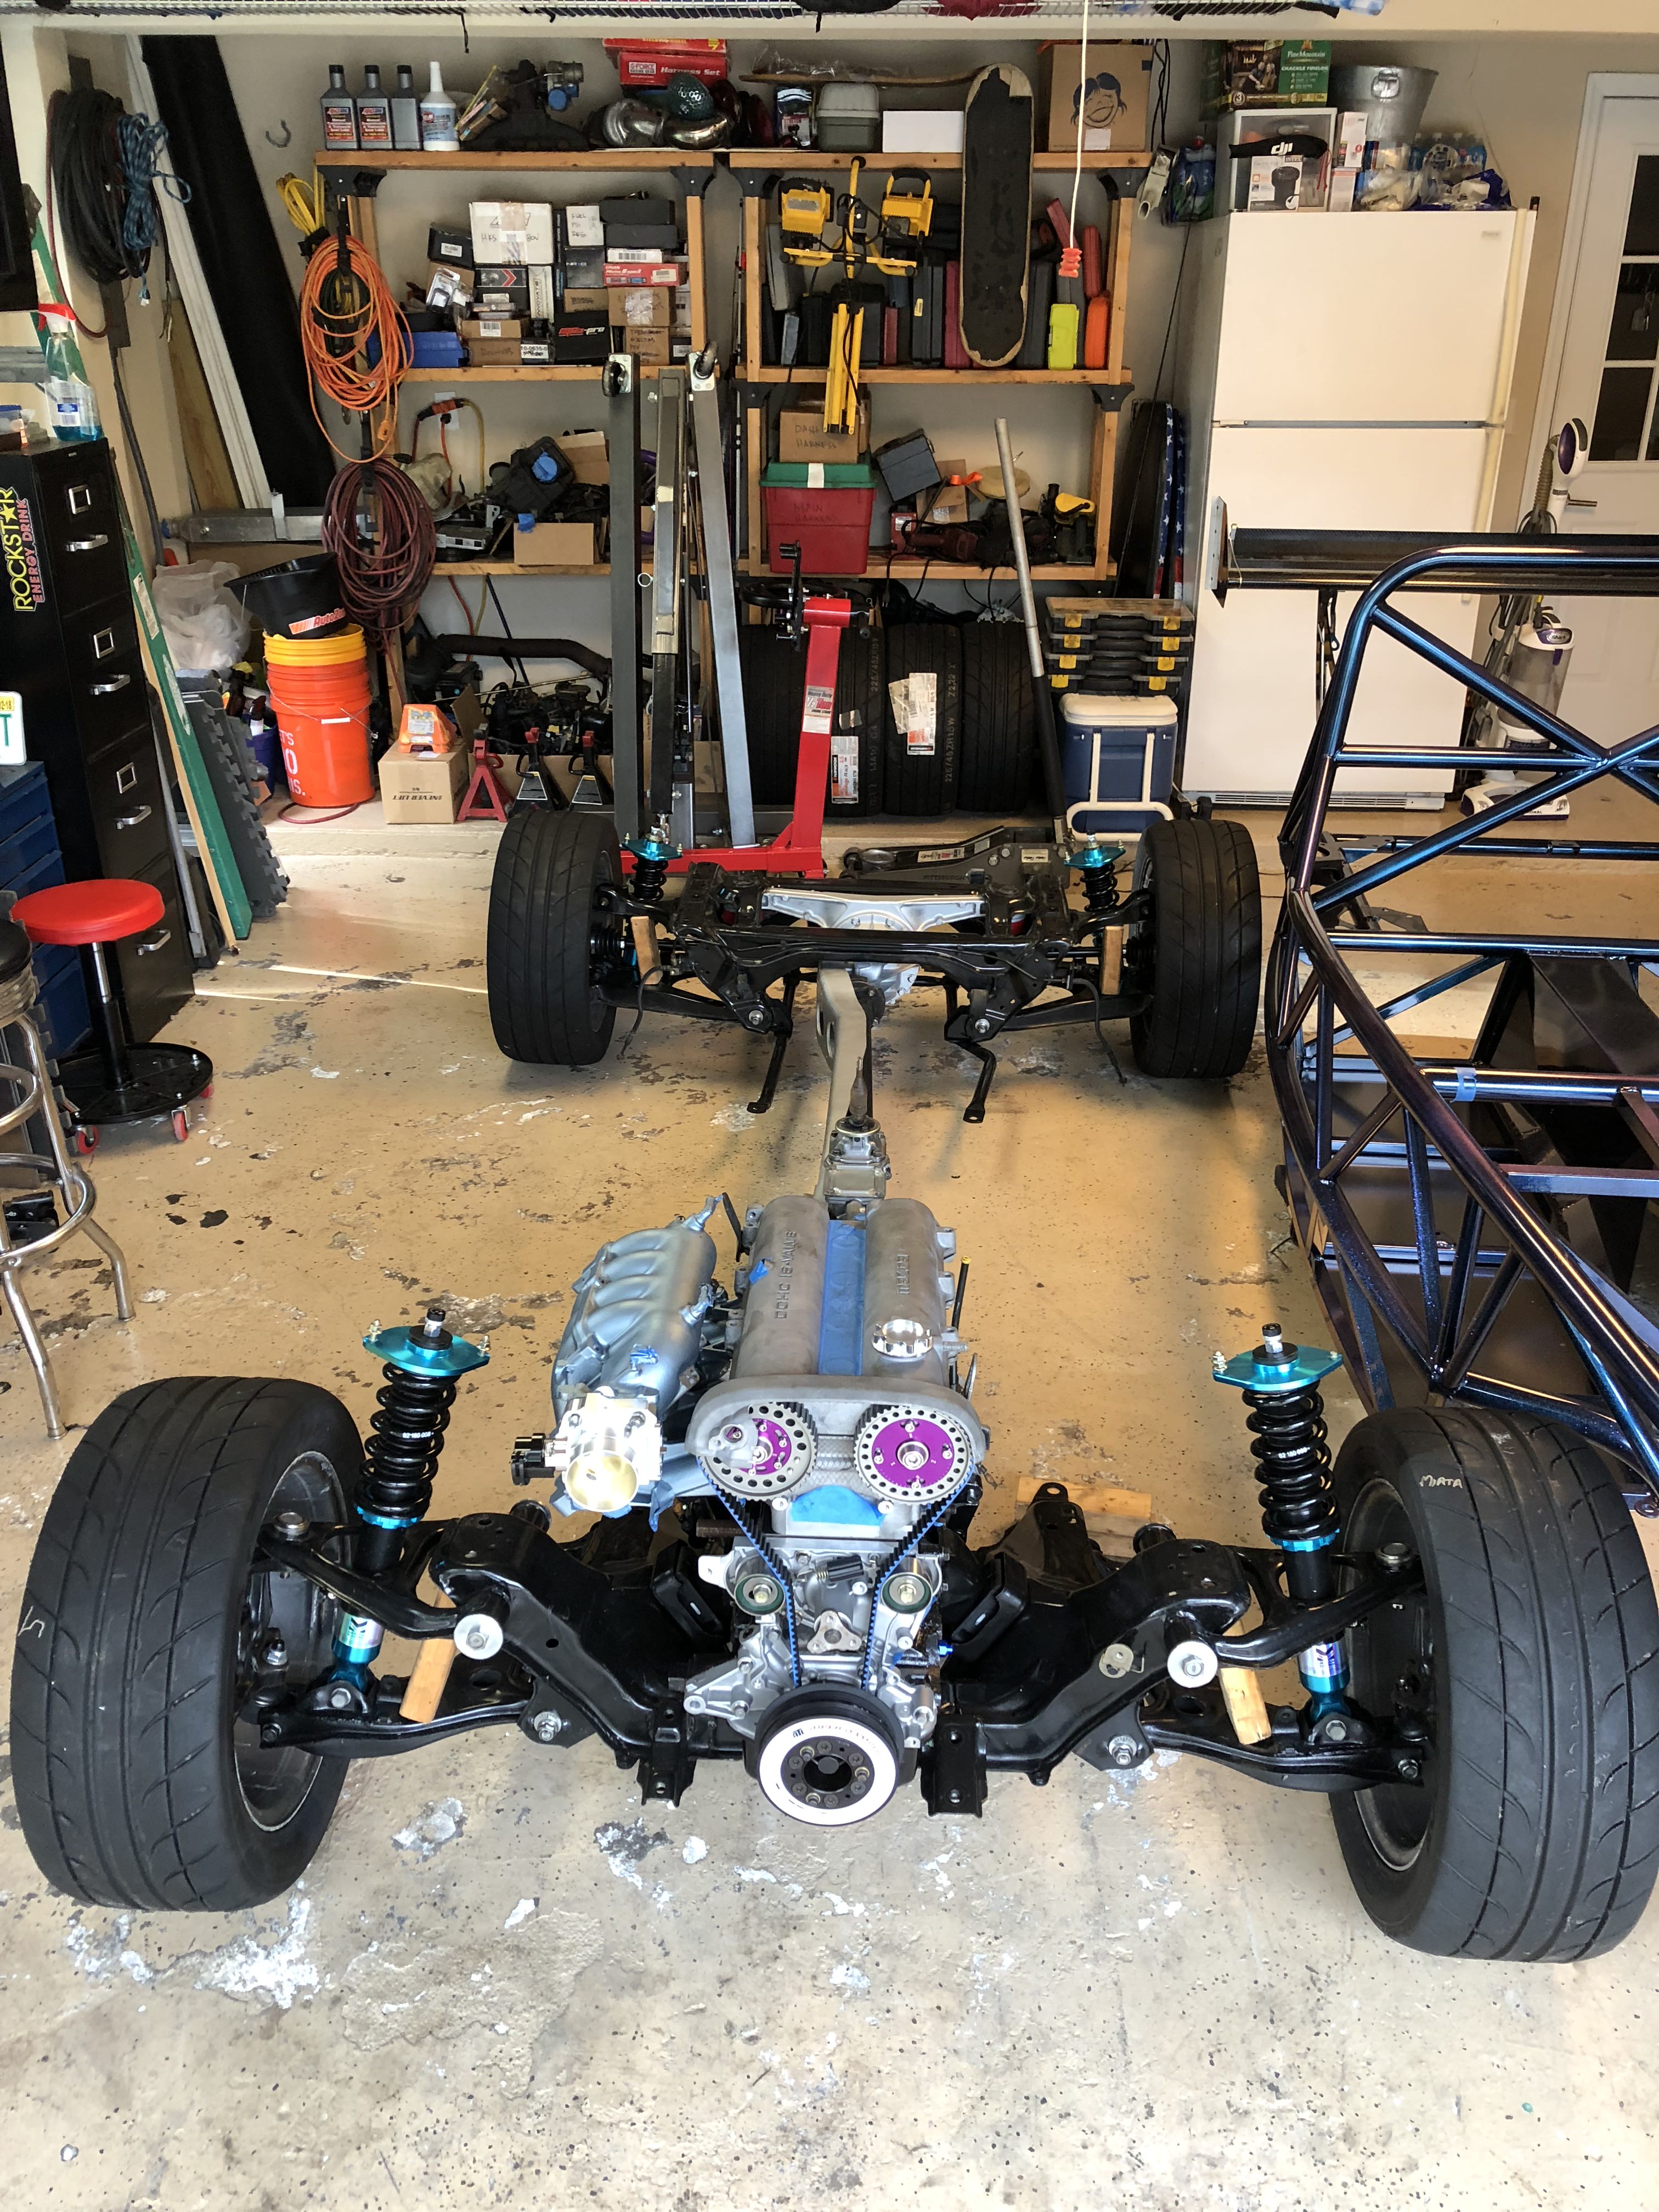
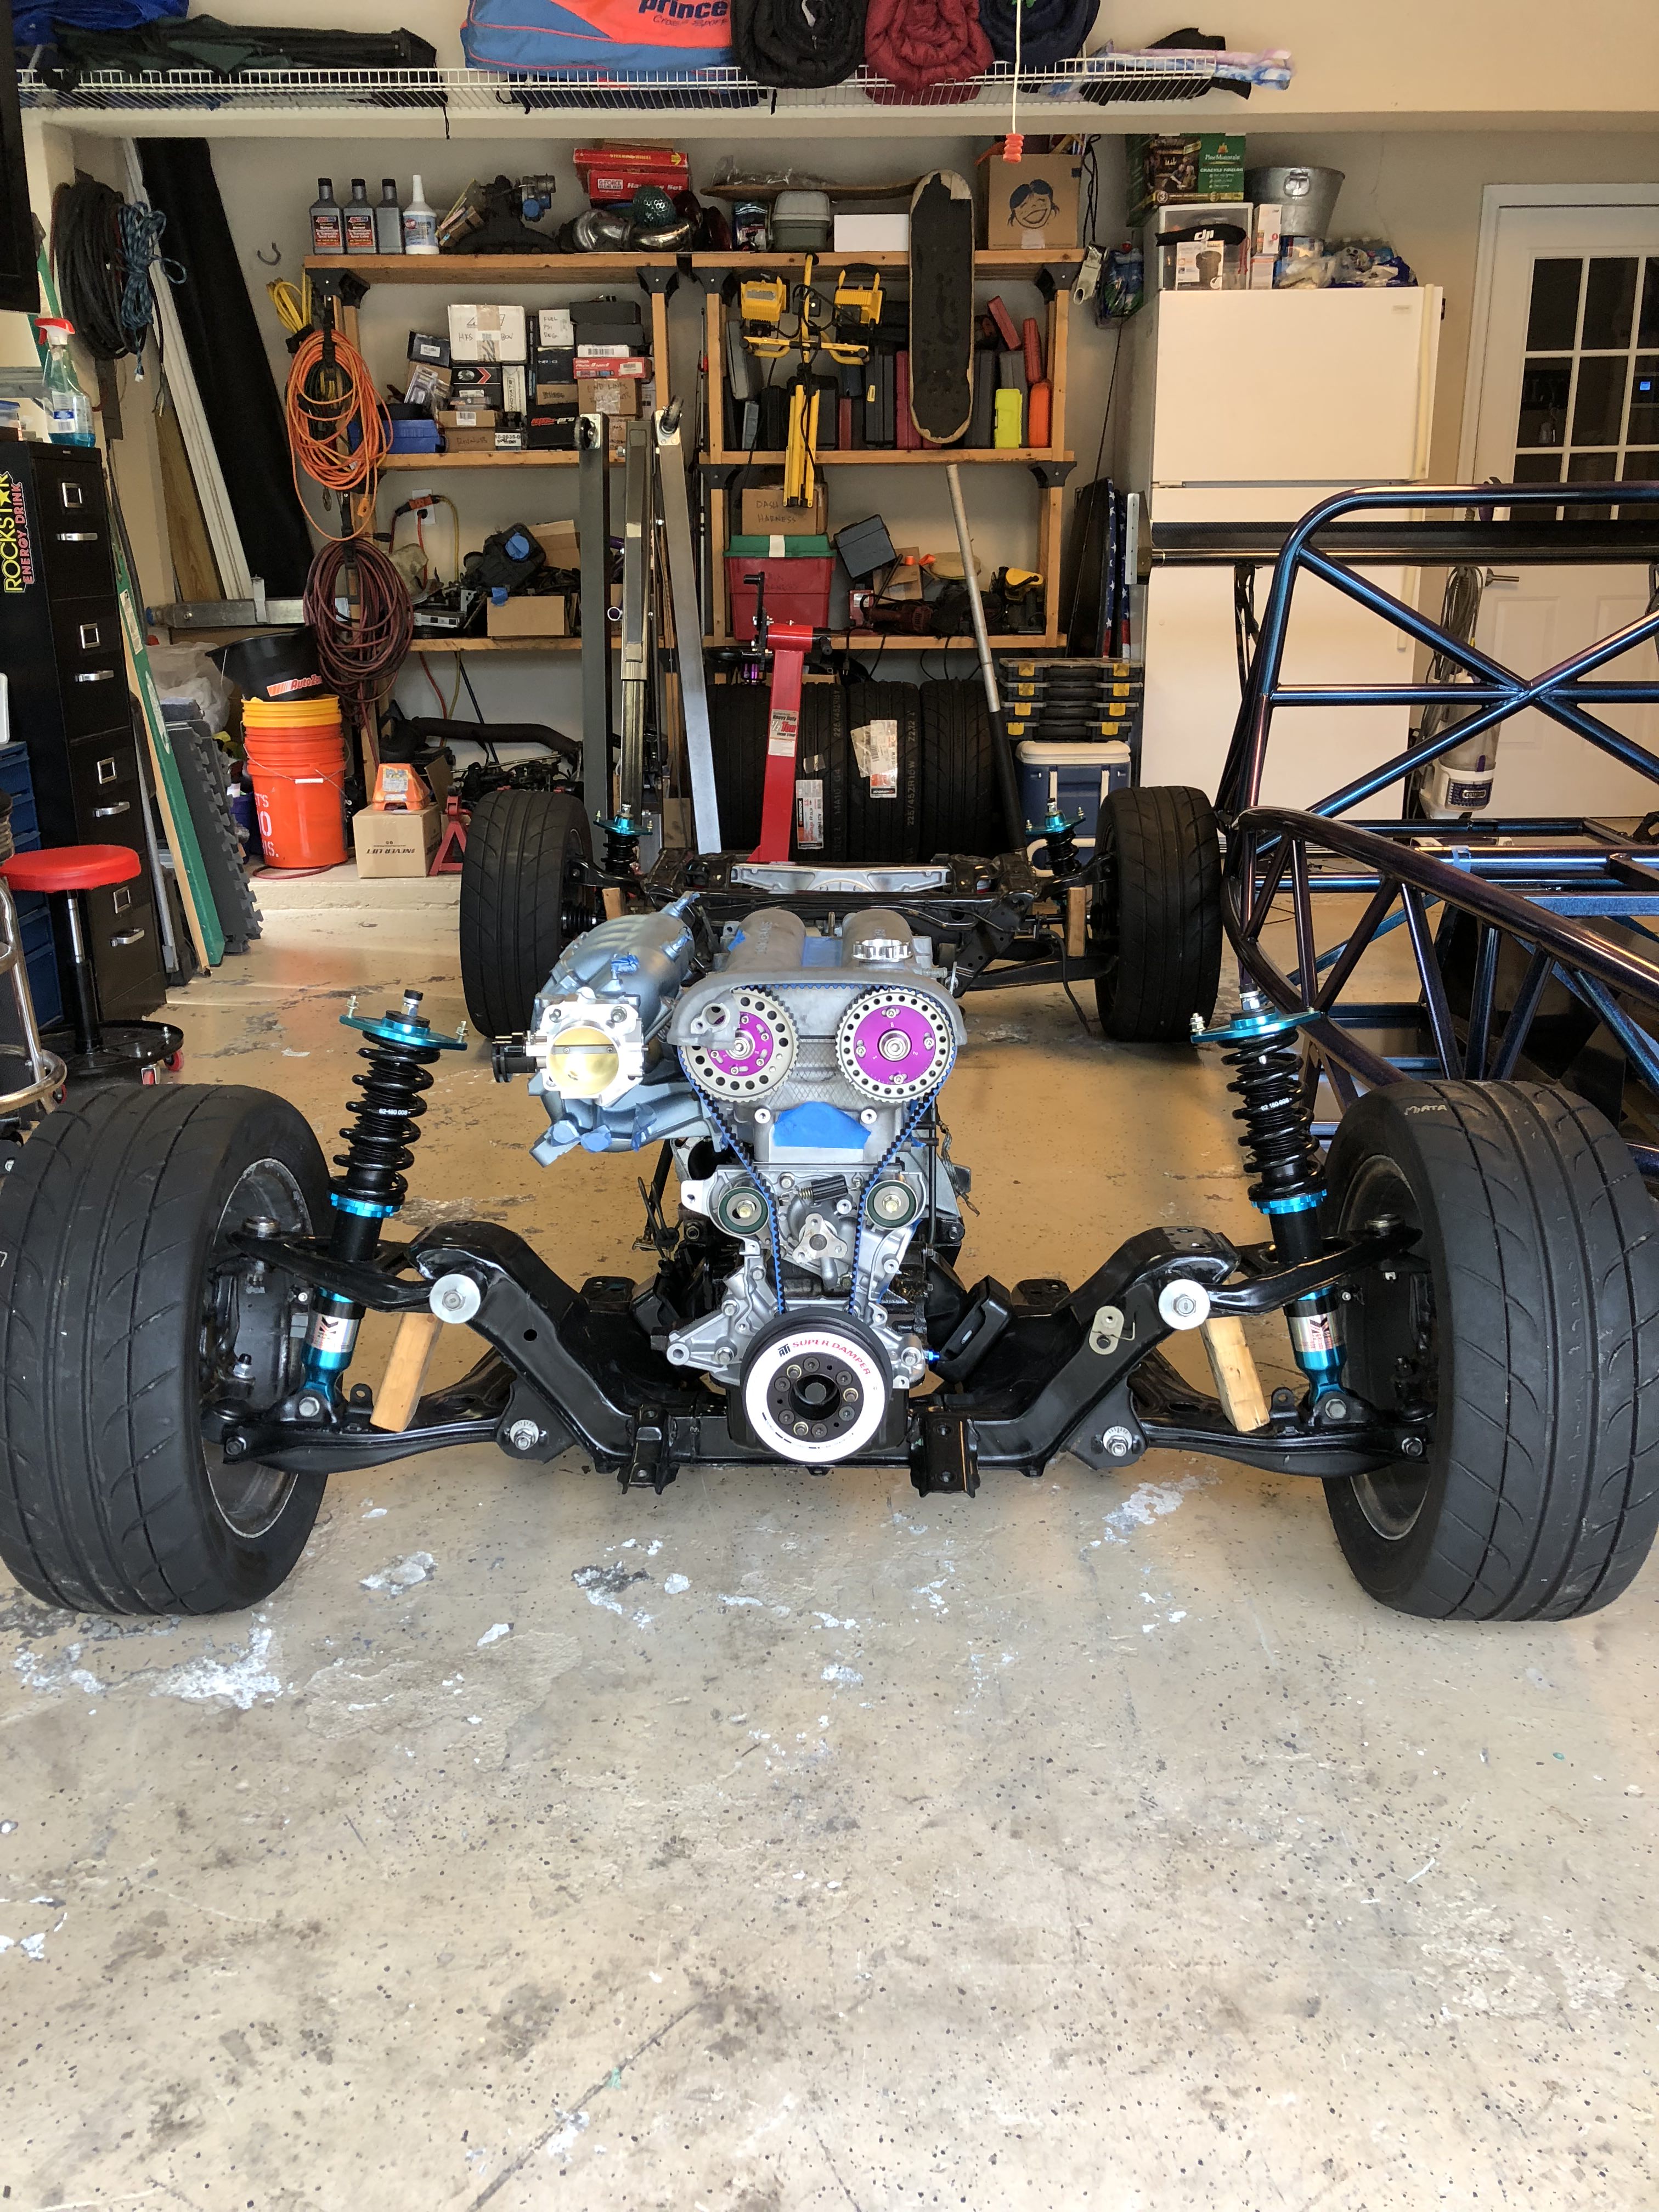
Also worked on getting the front suspension together so I can drop the motor back in. That went pretty quick.
I know about the drilled and slotted rotor issues. I picked these up before I heard about failures and cracking, etc. These are just for show around town. I've got solid rotors and hawk pads for any auto-x and racing stuff.
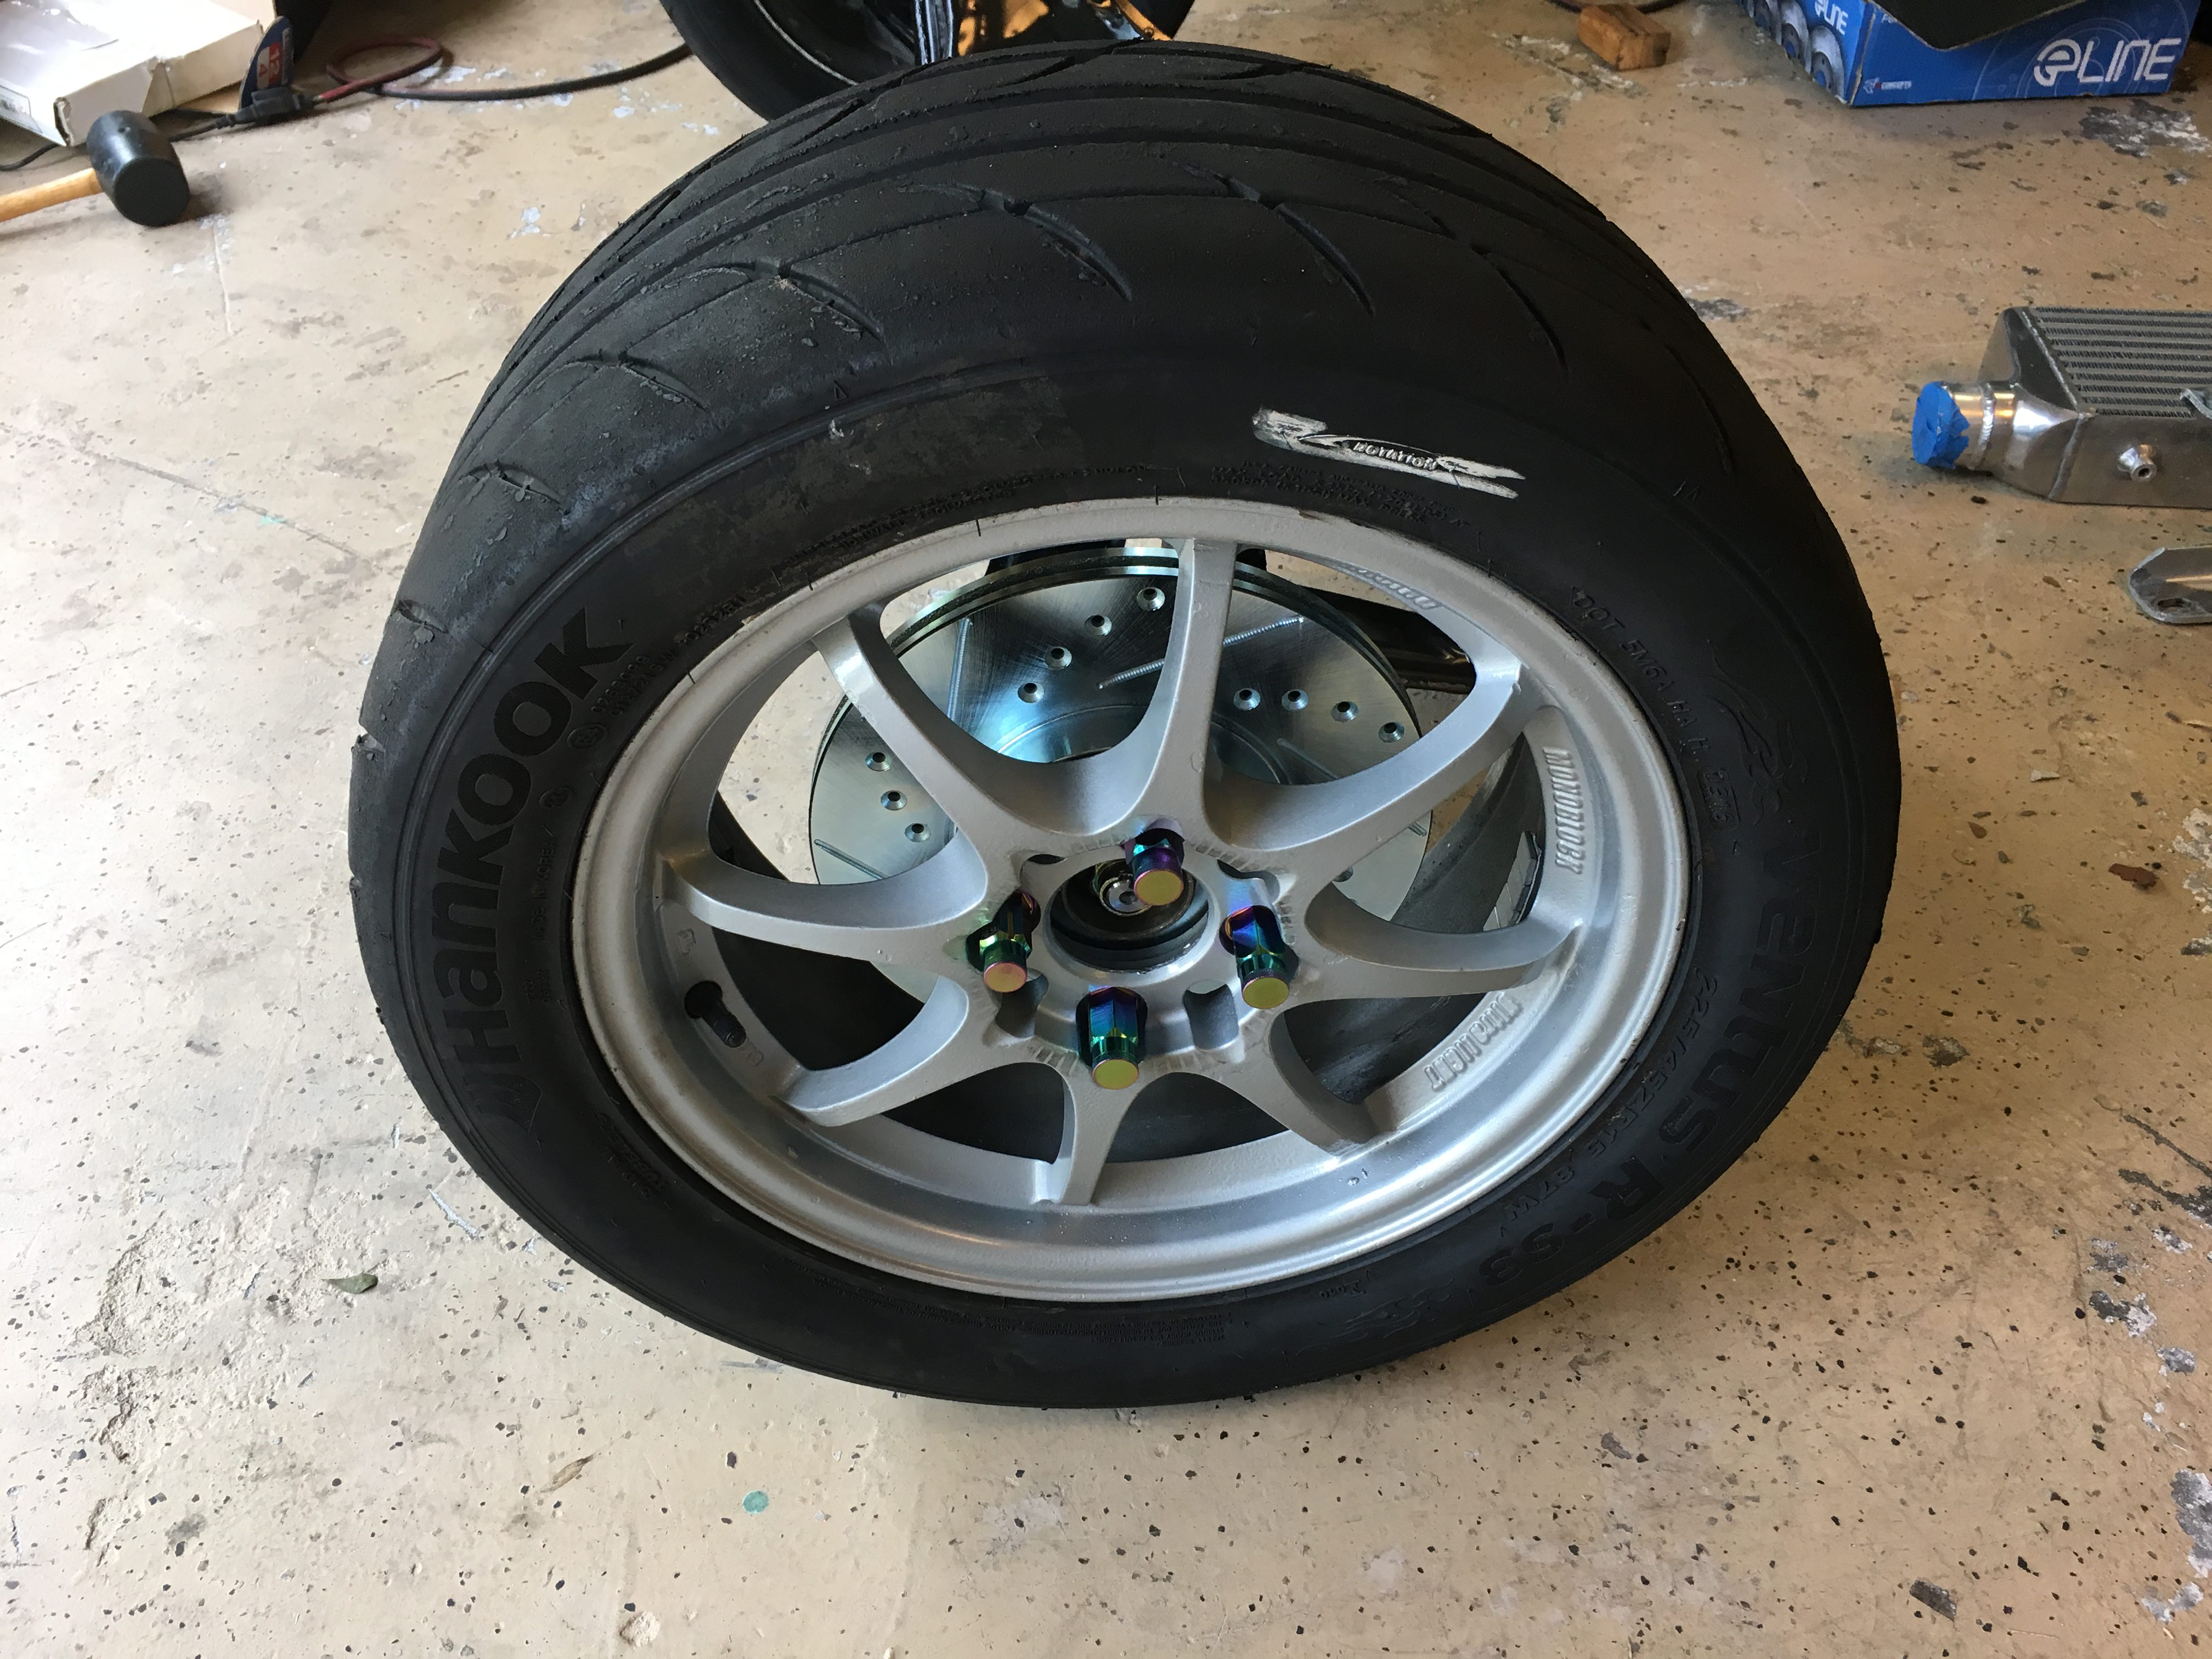
Thanks to SixShooter for an awesome deal on those Konig Heliums.
I know about the drilled and slotted rotor issues. I picked these up before I heard about failures and cracking, etc. These are just for show around town. I've got solid rotors and hawk pads for any auto-x and racing stuff.
Thanks to SixShooter for an awesome deal on those Konig Heliums.
Reply
0
0

Thread Starter
Junior Member
Joined: Jan 2018
Posts: 228
Total Cats: 25
From: Tampa, Fl
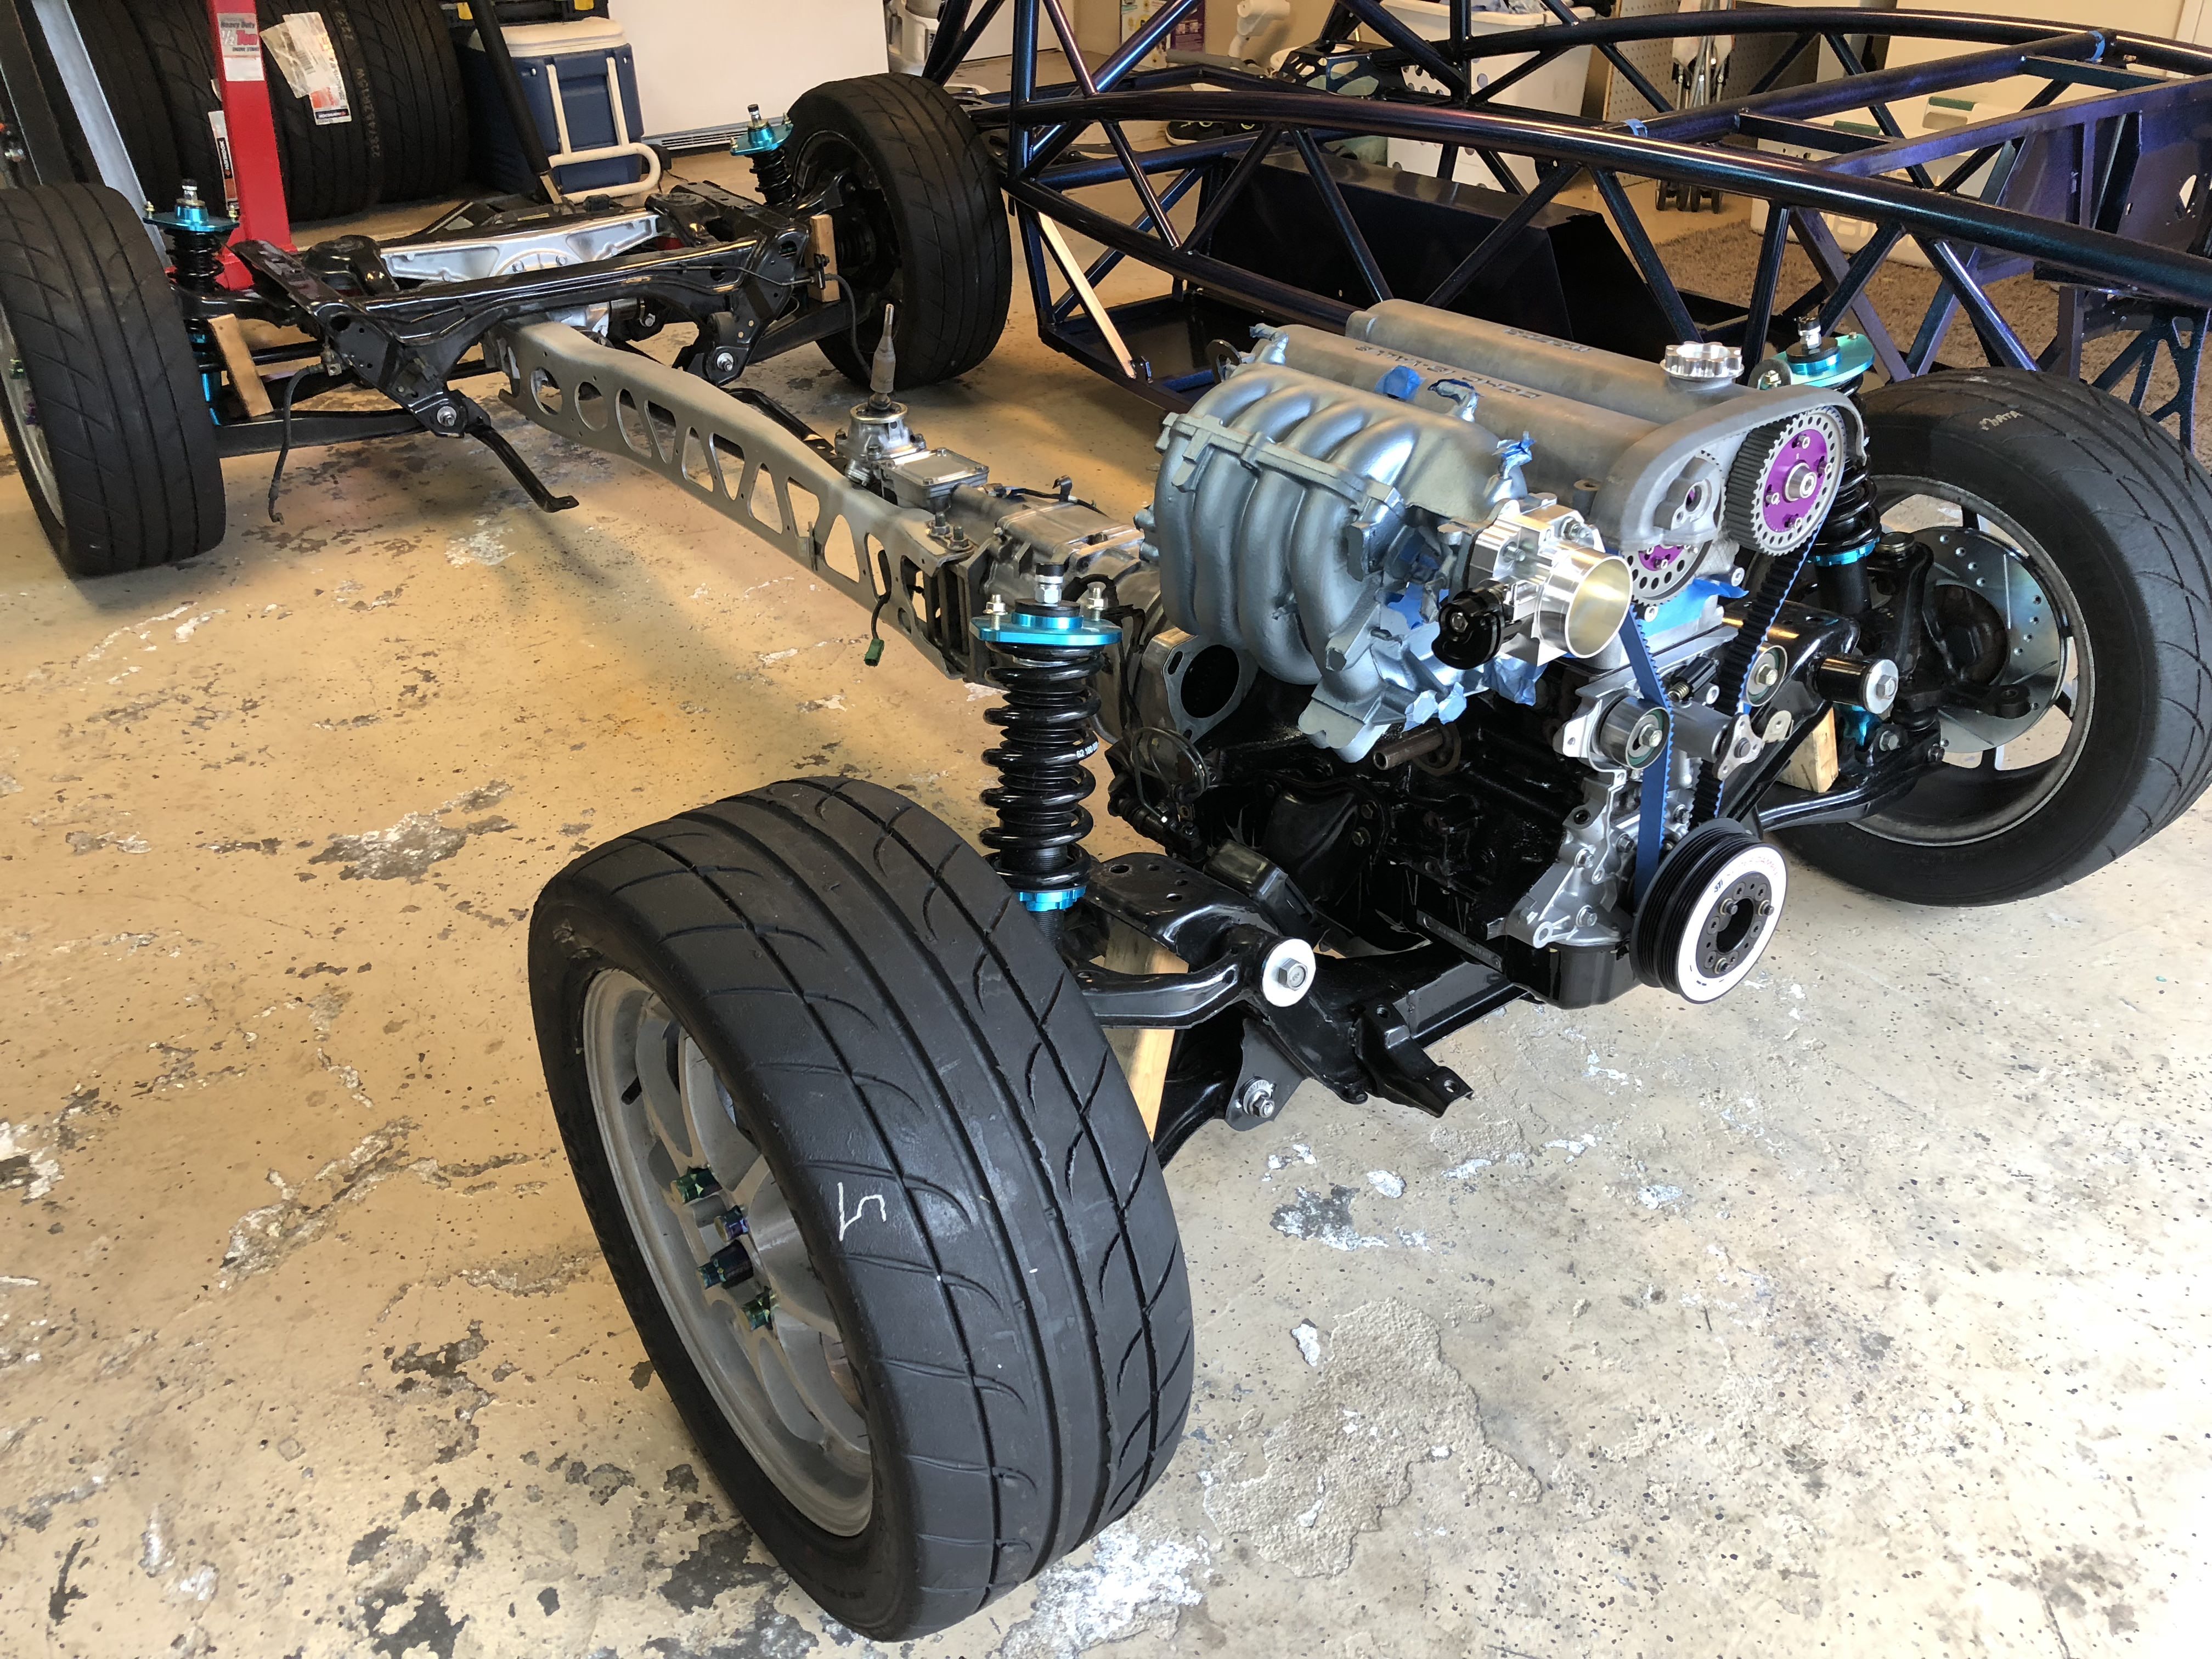
I'm saving up for some 15x10's with 245's. I've read that the 225's (what I've got) are faster on track but I like the look of the wider wheels and tires. I might have to settle for 15x9 though.
Reply
0
0
Thread Starter
Junior Member
Joined: Jan 2018
Posts: 228
Total Cats: 25
From: Tampa, Fl
Helpful tip if you are ever doing rivnut installation:
I had the rivnuts and the installation tool stored inside the house where it's nice and cool. When I started installing the rivnuts they took quite a bit of force to get them to set completely. I took a break and went inside to cool off because it was 95� out. When I came back out the rivnuts had been left out in the sun and were too hot to handle with my bare hands. This was a fortunate accident. When I installed the hot rivnuts they went in like butter. Hardly any force to get them to set. So, rivnuts that are heated are waaaaaay easier to install than cold ones. Makes sense but I would have never thought to do it. Probably works with rivets too.
I had the rivnuts and the installation tool stored inside the house where it's nice and cool. When I started installing the rivnuts they took quite a bit of force to get them to set completely. I took a break and went inside to cool off because it was 95� out. When I came back out the rivnuts had been left out in the sun and were too hot to handle with my bare hands. This was a fortunate accident. When I installed the hot rivnuts they went in like butter. Hardly any force to get them to set. So, rivnuts that are heated are waaaaaay easier to install than cold ones. Makes sense but I would have never thought to do it. Probably works with rivets too.
Reply
1
1
Thread Starter
Junior Member
Joined: Jan 2018
Posts: 228
Total Cats: 25
From: Tampa, Fl
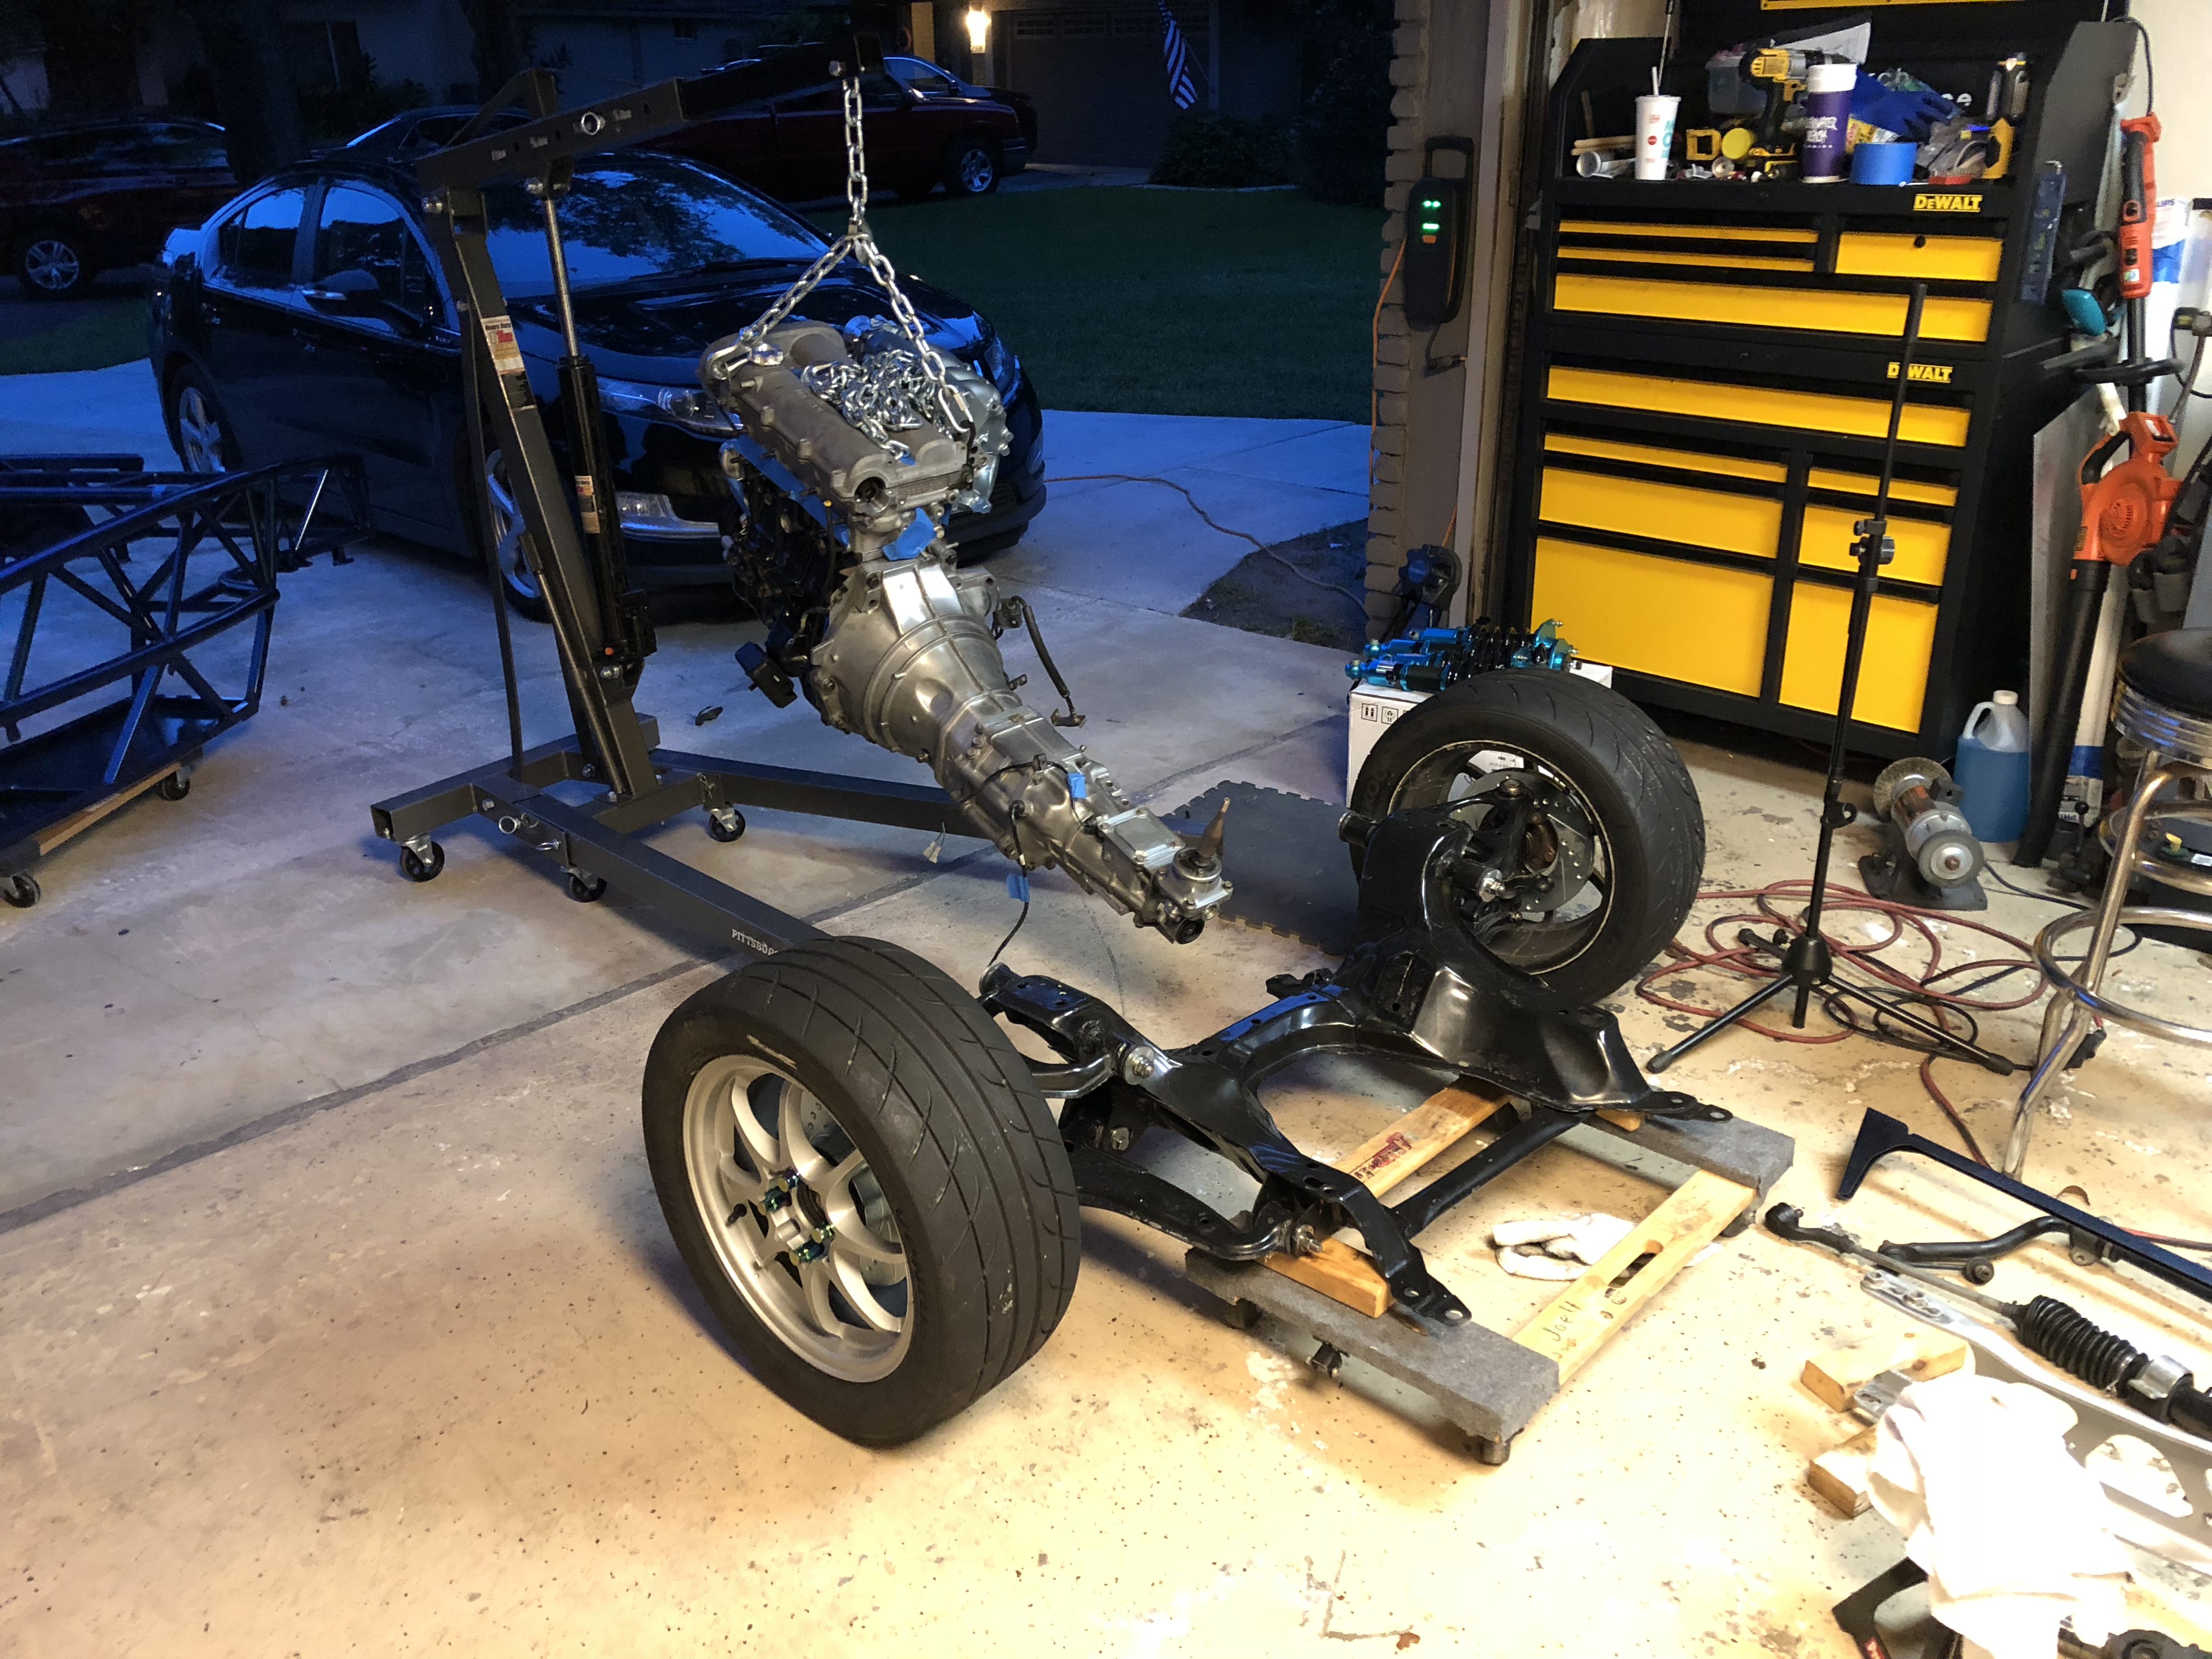
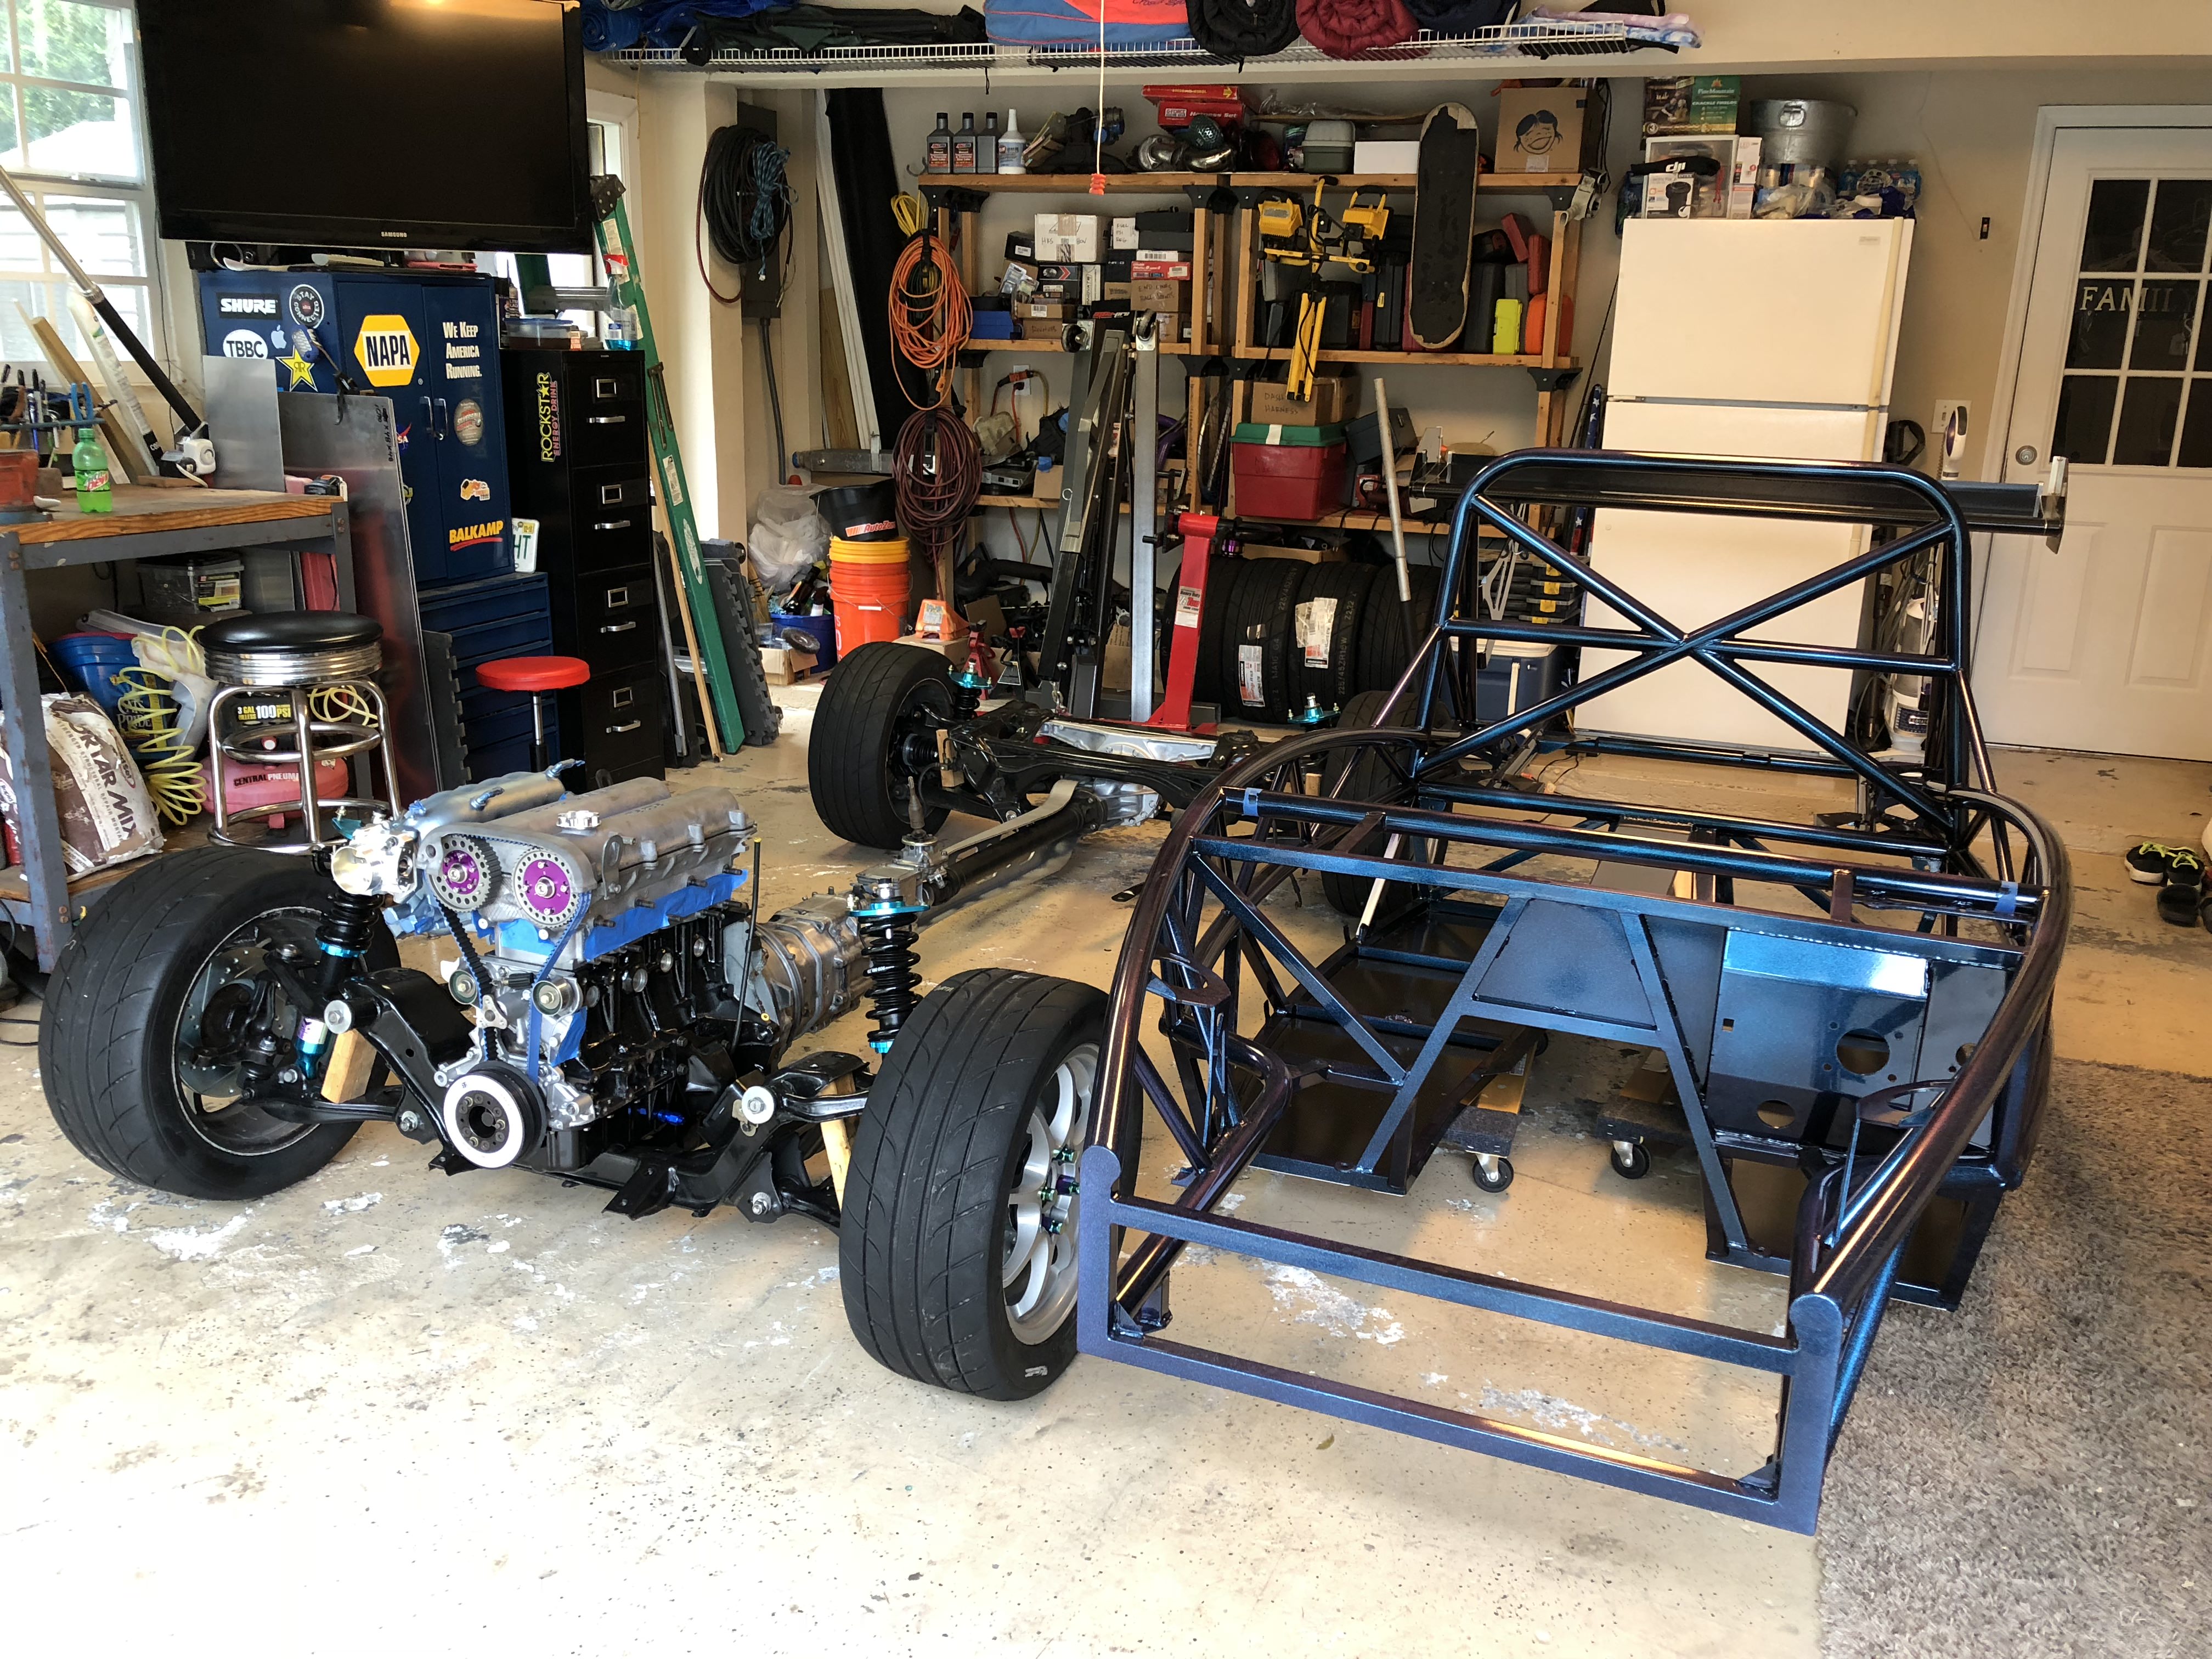
Everything actually went together relatively smoothly. I didn't have to make any adjustments to the PPF mounts so I'm hoping I have the alignment right.
I'm pretty stoked to get this far. I'm waiting to get my bulkhead panels back from powdercoating. Once I get those I can put the frame onto the PPF.
The brakes, valve cover, water pump pulley and coolant lines are going to powdercoat this week. I'm going to be in China for a week starting on Friday so everything is on hold for a while.
Reply
0
0
Thread Starter
Junior Member
Joined: Jan 2018
Posts: 228
Total Cats: 25
From: Tampa, Fl
Best angle I have of it, can take more when I am in garage later - https://www.facebook.com/photo.php?f...3162045&type=3
and my memory failed, it was the front part that we put the flat stock on to box it in.
and my memory failed, it was the front part that we put the flat stock on to box it in.
Reply
0
0


