When you click on links to various merchants on this site and make a purchase, this can result in this site earning a commission. Affiliate programs and affiliations include, but are not limited to, the eBay Partner Network.
Nothing special ’91 fun street build – 1.8 GT2554r
Got a lot of free time due to the Coronavirus going around. Figured I would share my build I’ve been working on for the last 2 years. Nothing special about this build, just putting together a fun and reliable street car that I can take to the track a few times a year. I plan on keeping the car looking as stock as possible except for the wheels.
Mods as purchased
The PO didn’t know much about this car, I think the previous PO did most of the mods. These are the ones I found so far.
1994 1.8 swap (75k miles supposedly)
1.6 4.3 VSLD
NA8 10" brakes
~35mm copper radiator, unknown brand
FM front and rear sway bars
NA8 C-pillar bar, wasn’t installed
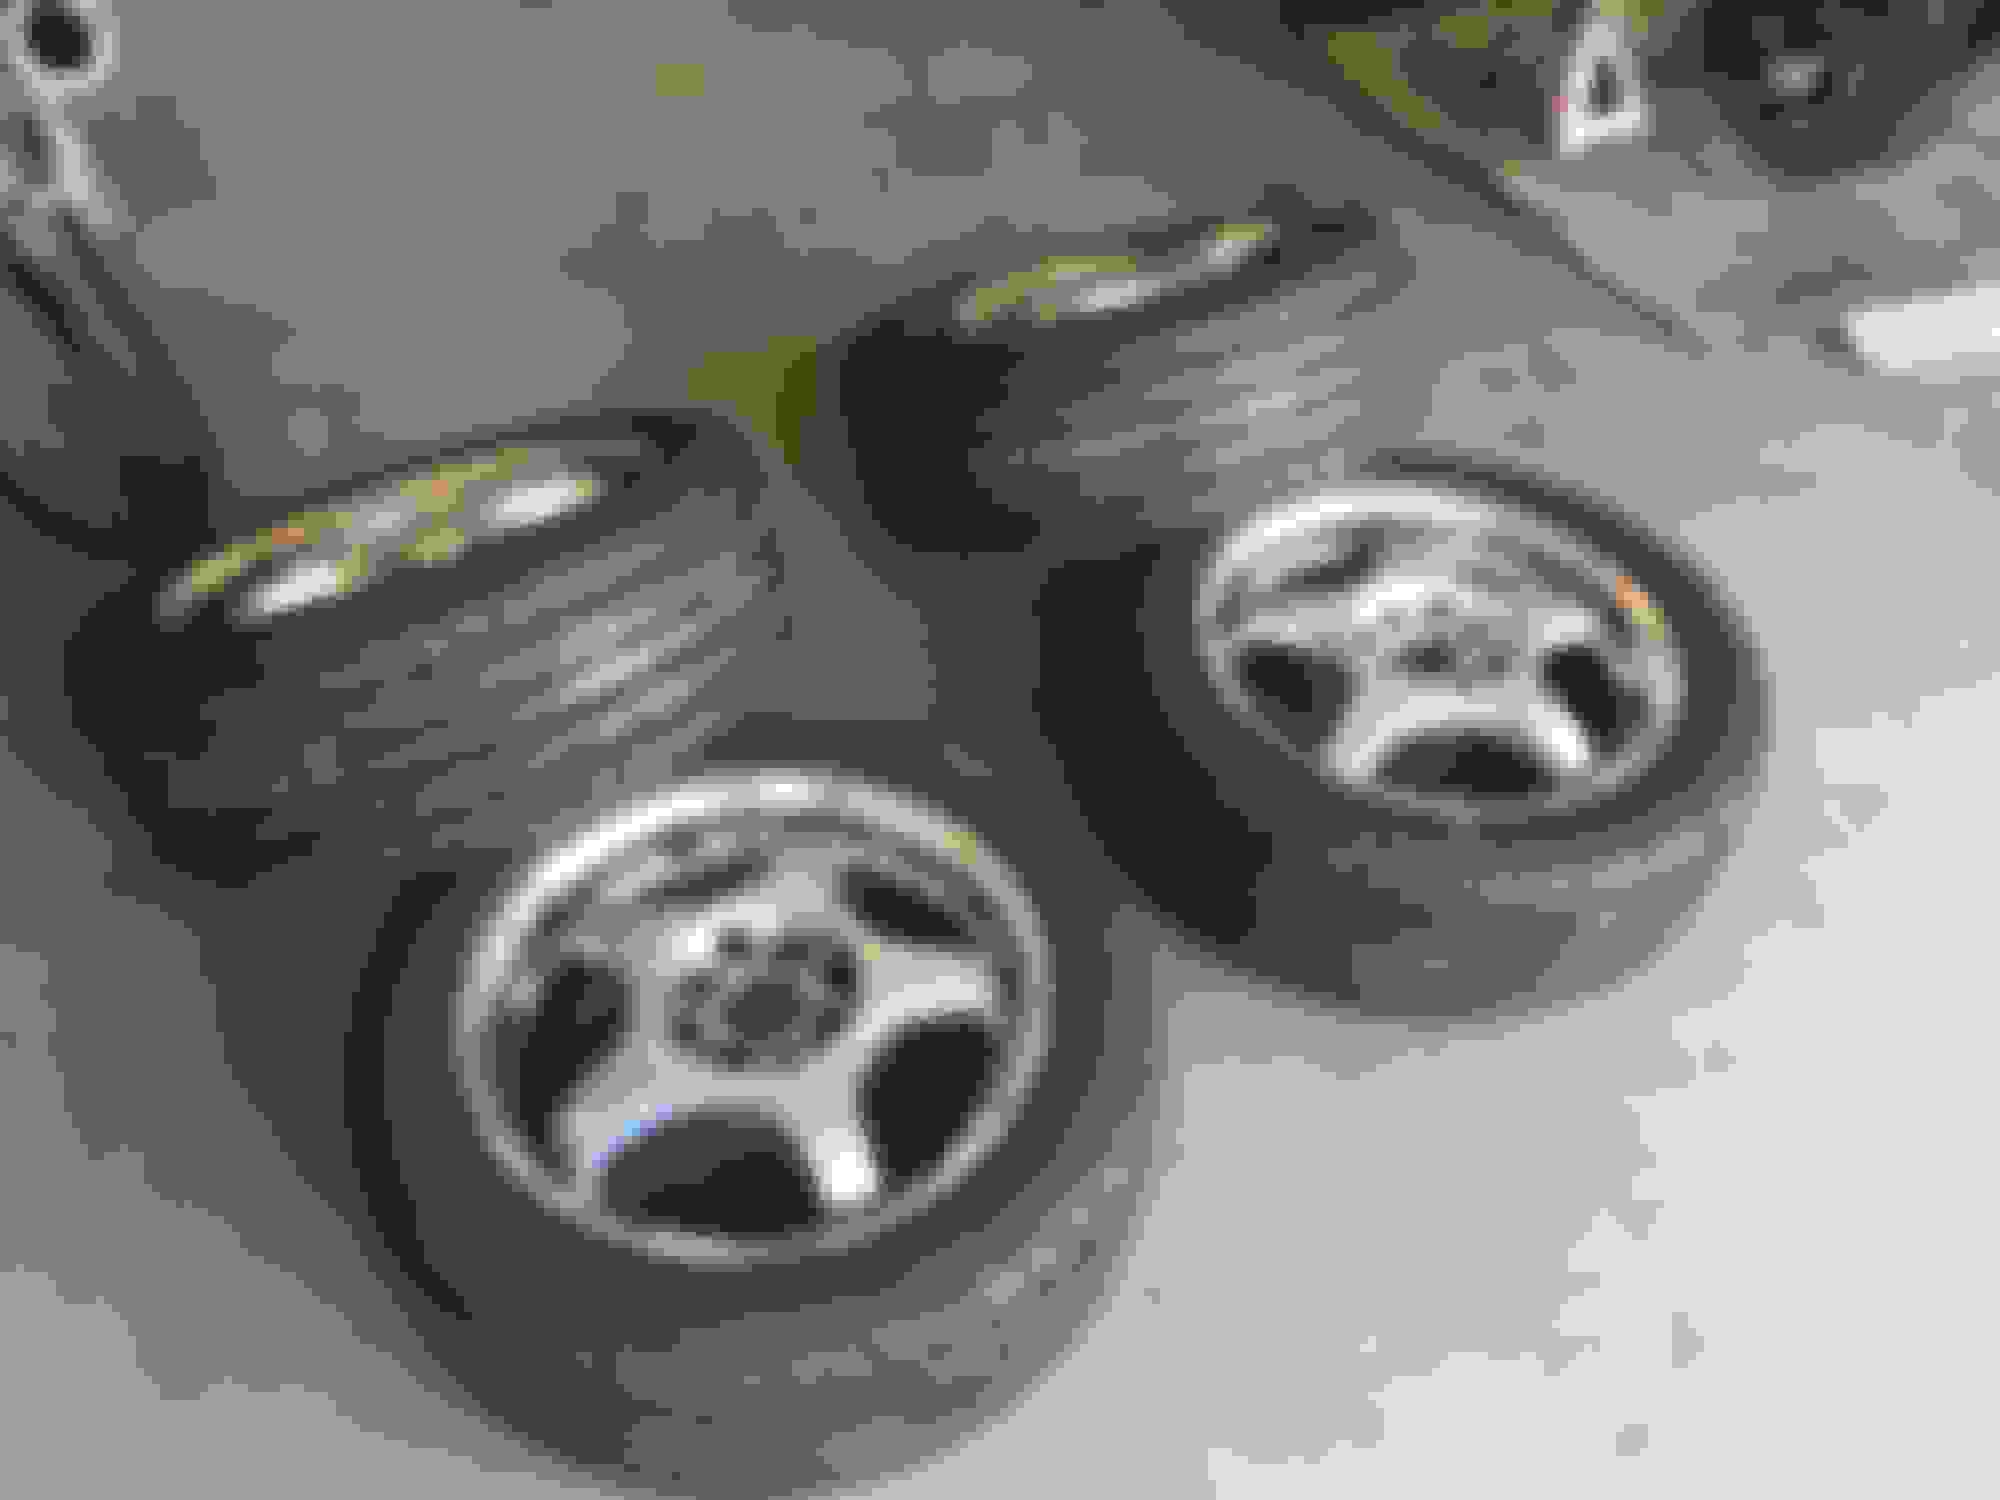
Some cheap 15” wheels
Nardi steering wheel
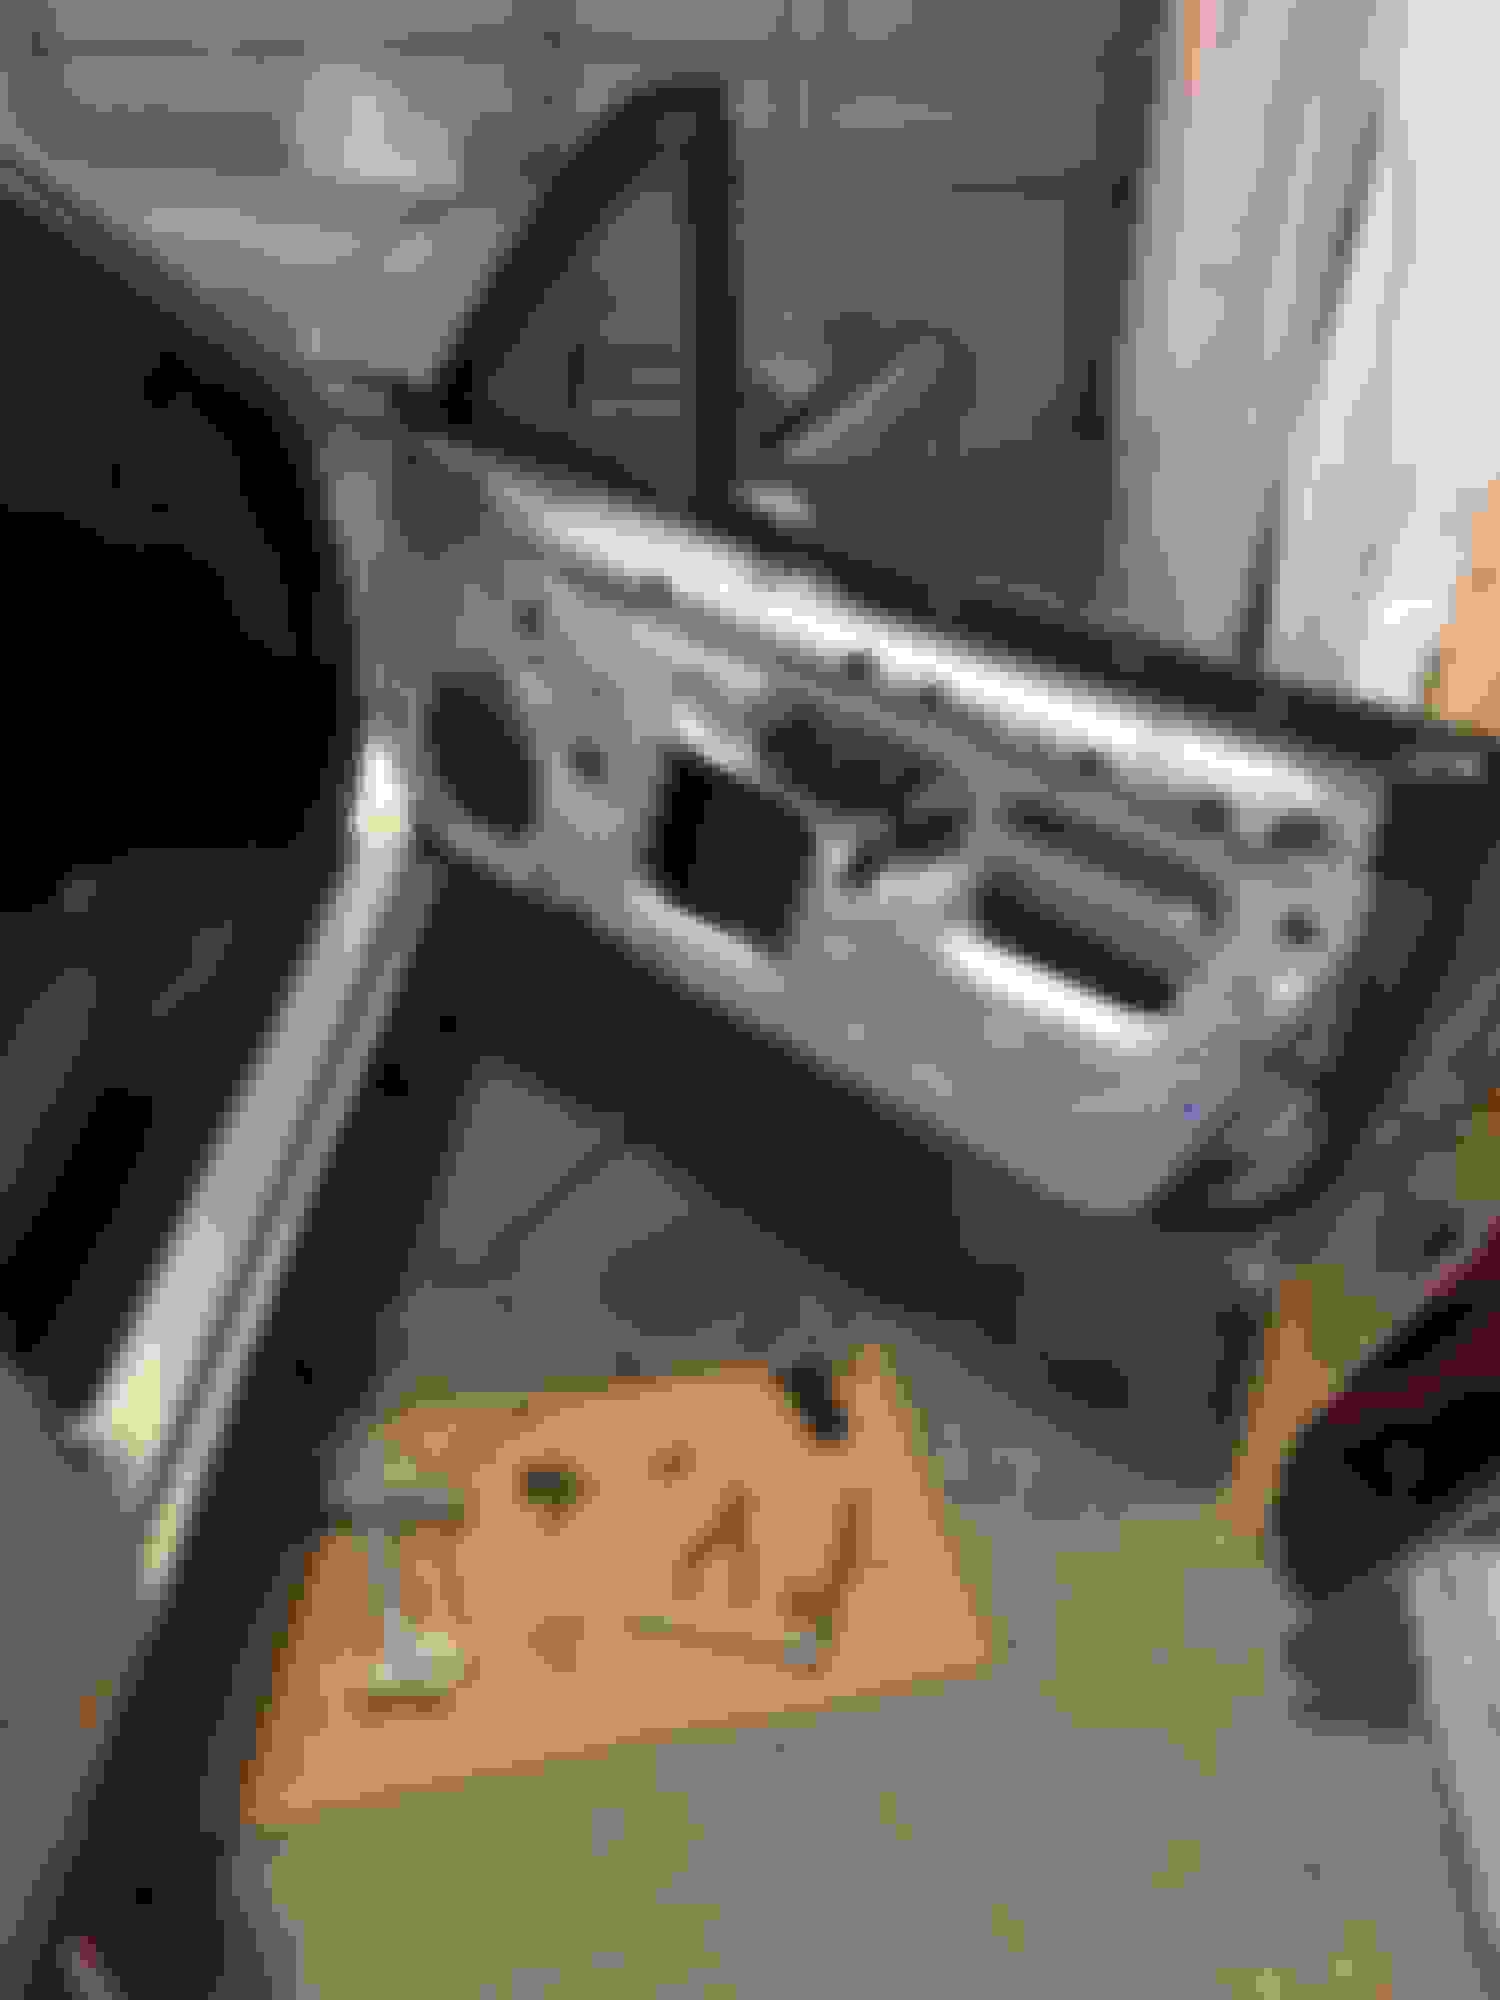
Stitch welded door frames
Mods I added
Lots of cleanup fixes
All ball joints and tie rod ends
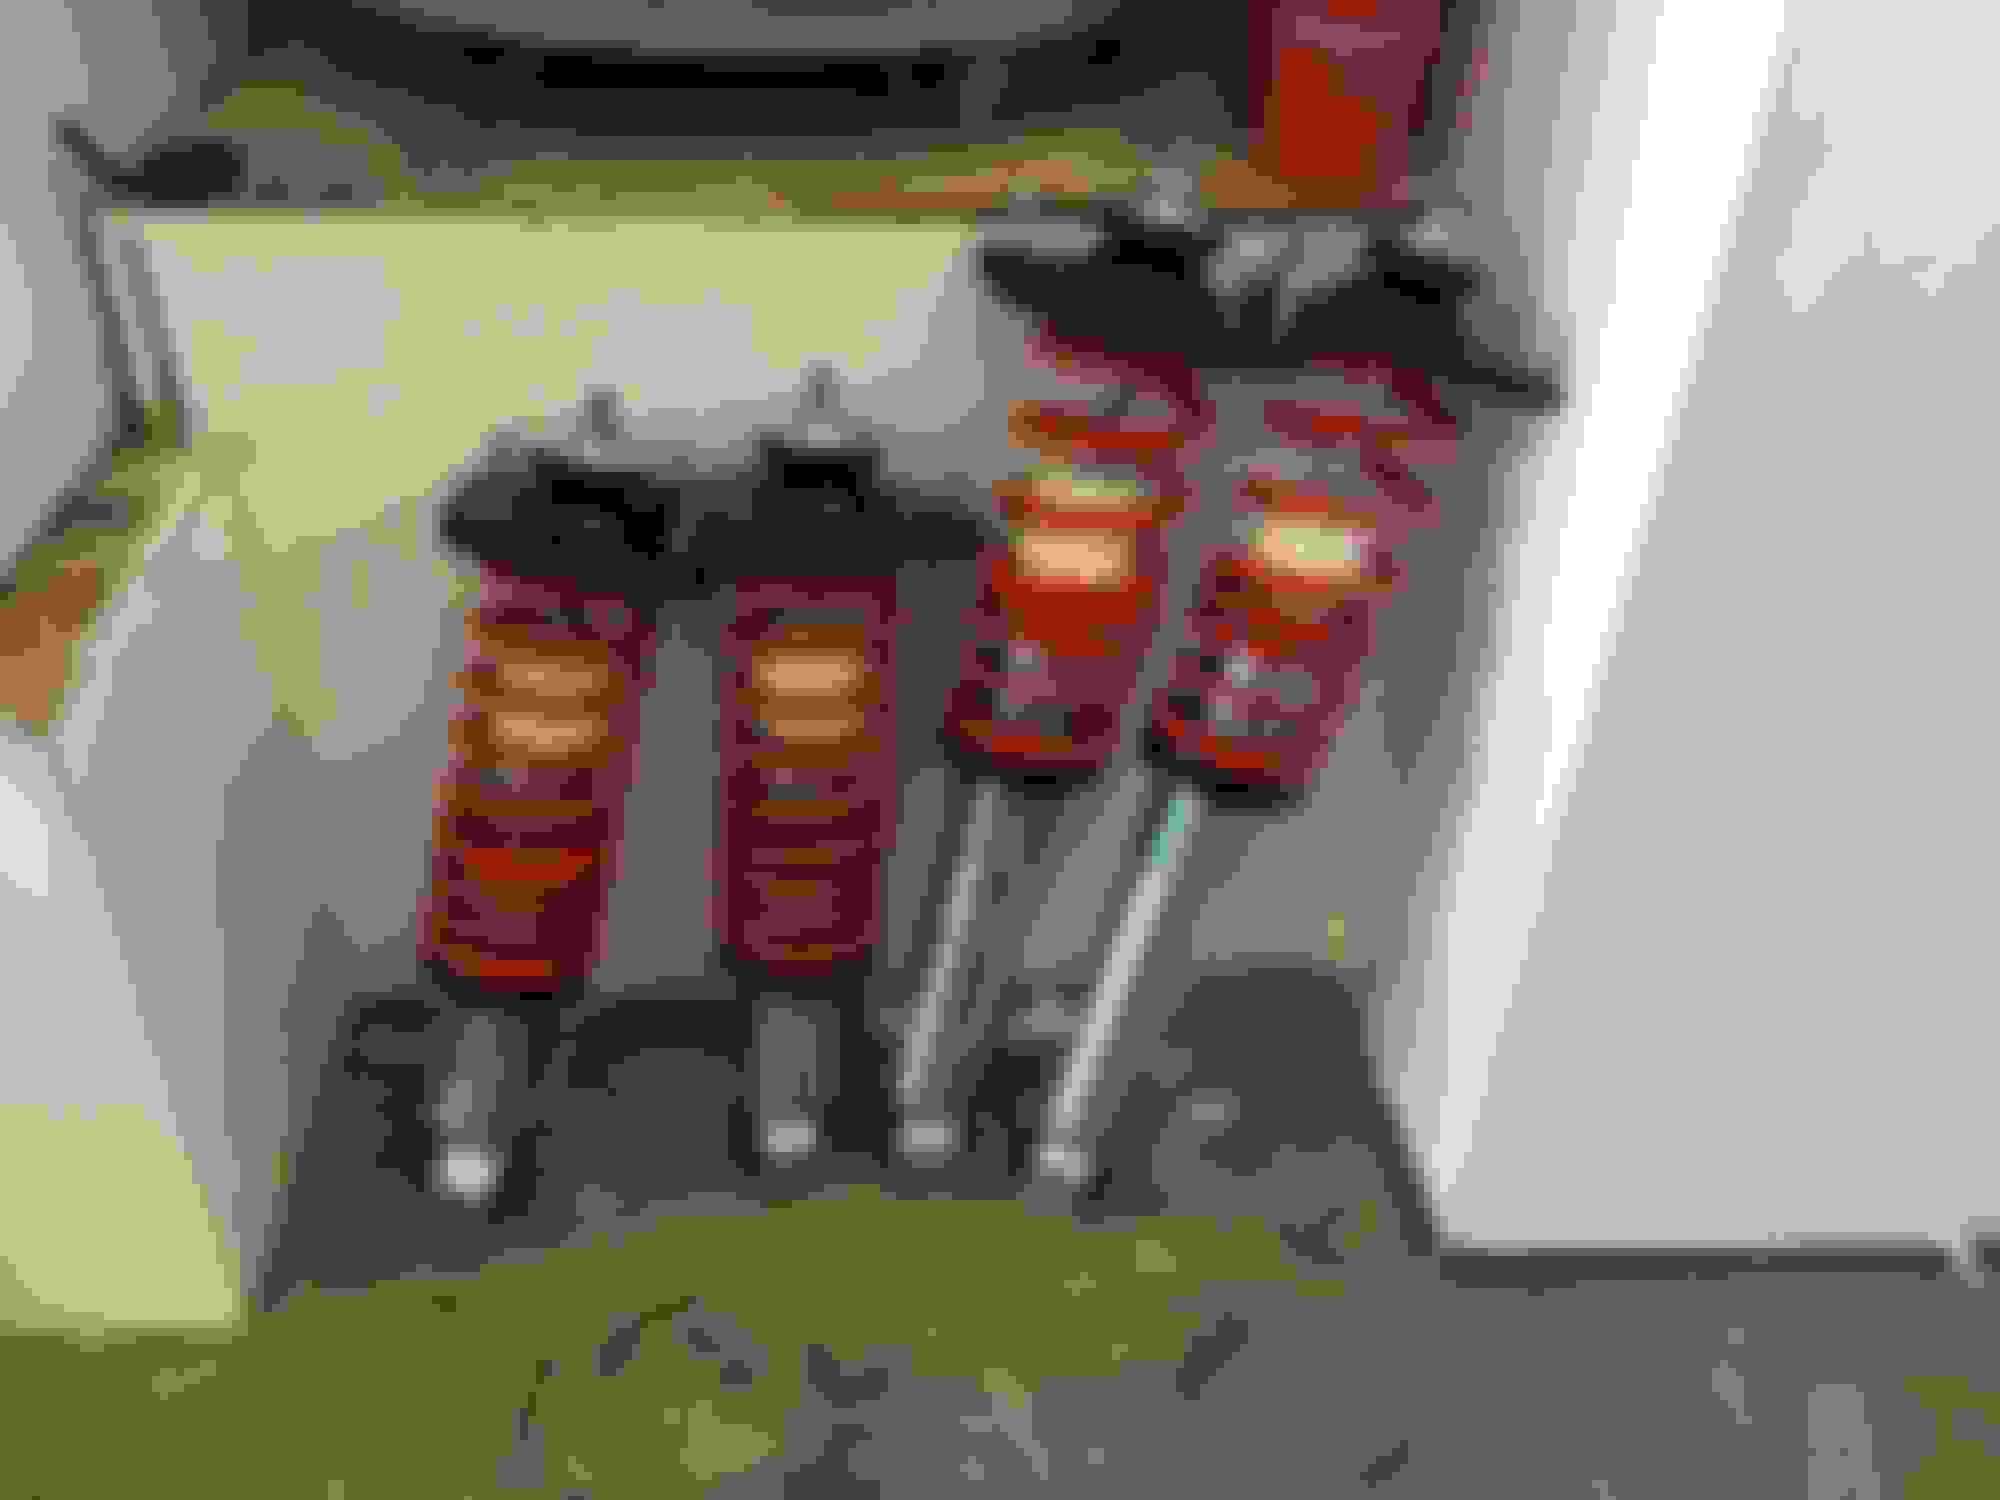
FM Vmaxx classic coilovers
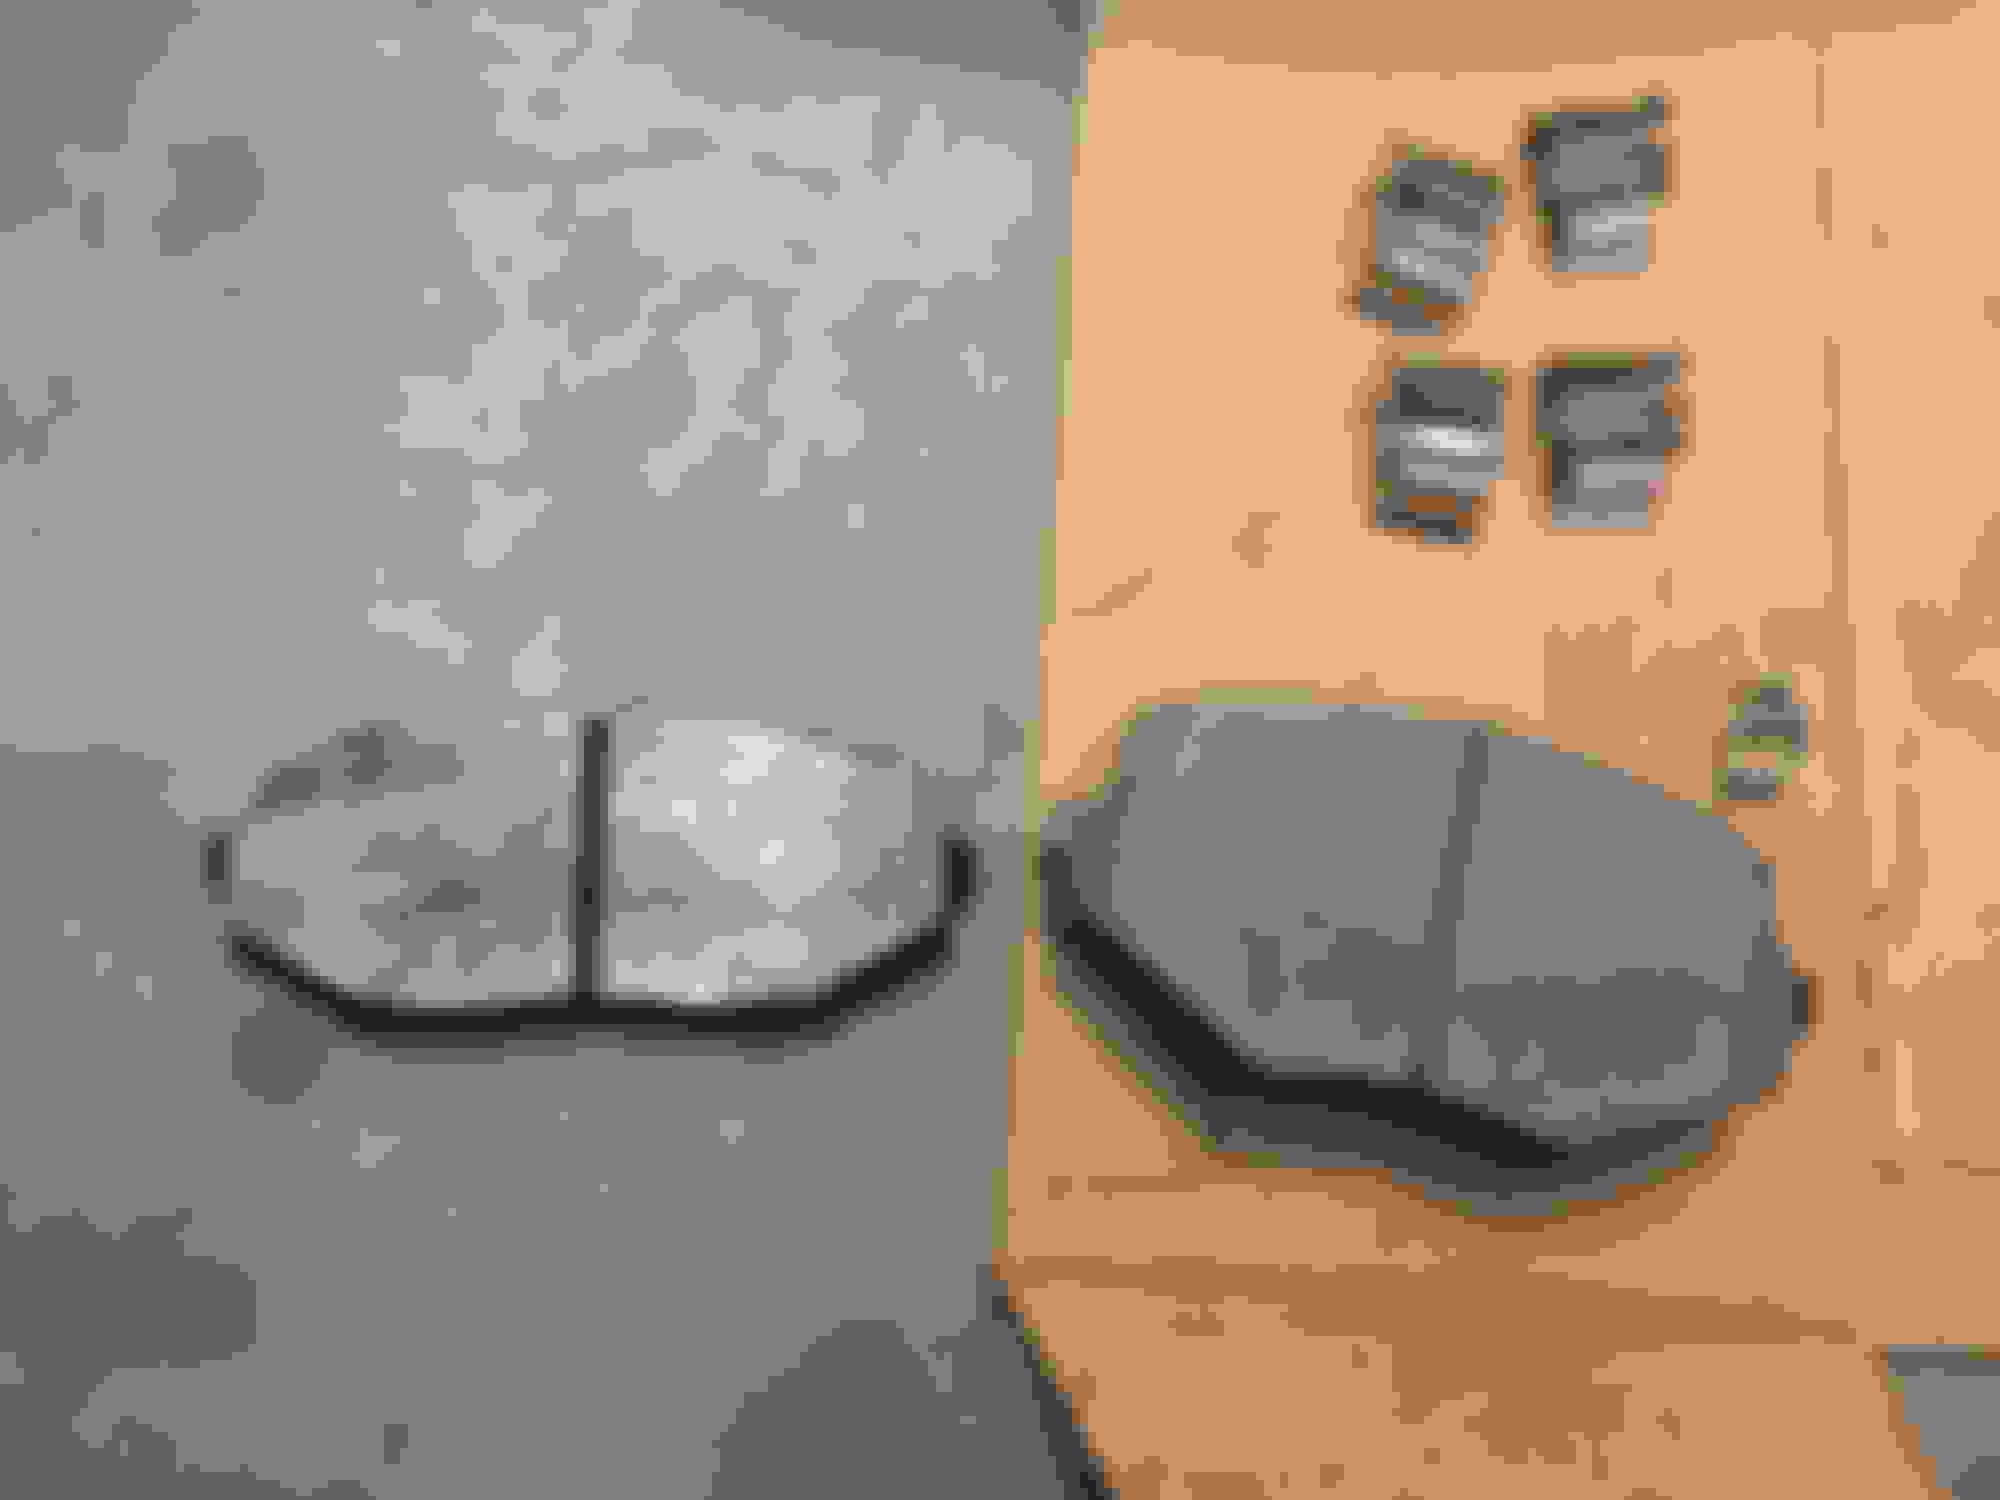
Centric blank rotors with Stoptech 309 sports
Rear cannon brace
Yokohama S-drives 195/50/R15
A/C delete
DIYPNP MS2
VTPS and sequential fueling
FF 640s
DIY Ductwork for radiator
GT2554r turbo @ 14psi
Kraken 2.5” full exhaust
FM piping with ebay intercooler
Self tuned on 91 octane (live at 5,000ft)
Linearized oem water temp gauge
Timing belt and crank keyway rebuild
NB starter
1994 4.1 torsen type 1
Shifter rebuild
Mazda comp engine mounts
52mm aluminum ebay radiator
SM clutch and 10.3lb flywheel
Hard dog door bars
Short throw shifter
Rear bumber cut
IL control arm bushings
15x8 wheels with 205 tires
Rev limiter gauges
Prop valve and master cylinder brace
Poly diff bushing inserts
E-Code H4 headlights
Future plans
Set up launch control and flat shifting
Tune timing map
As purchased
First ting was to clean up the ignition. It was stumbling like crazy
Got this for a couple bucks at the junkyard to turn the airbag light off
Found a broken stud for the rear sway bar. replaced it with a bolt and nut
Installed
At some point I replaced the passenger window motor and cable assembly. The original had a snapped cable (left one)
And re-lubed the rails with lithium grease. The windows used to move super slow
One of the roller guides was broken. It made the window hit the soft top every time is closed. I think I used some off the shelf nylon spacer to fix it
Found some newer weather stripping for the windows. The original ones were split and scrapping the window
I removed the gross door panel pockets. I had to add some edge guard trim thing to hide the exposed edges. Still pretty wrinkly
New tires, the old ones were 11 years old
195/50-R15 Yokohama S drives
The wheels are 6.5" wide I believe
Wheel, tire, and lug nut weight
Installed
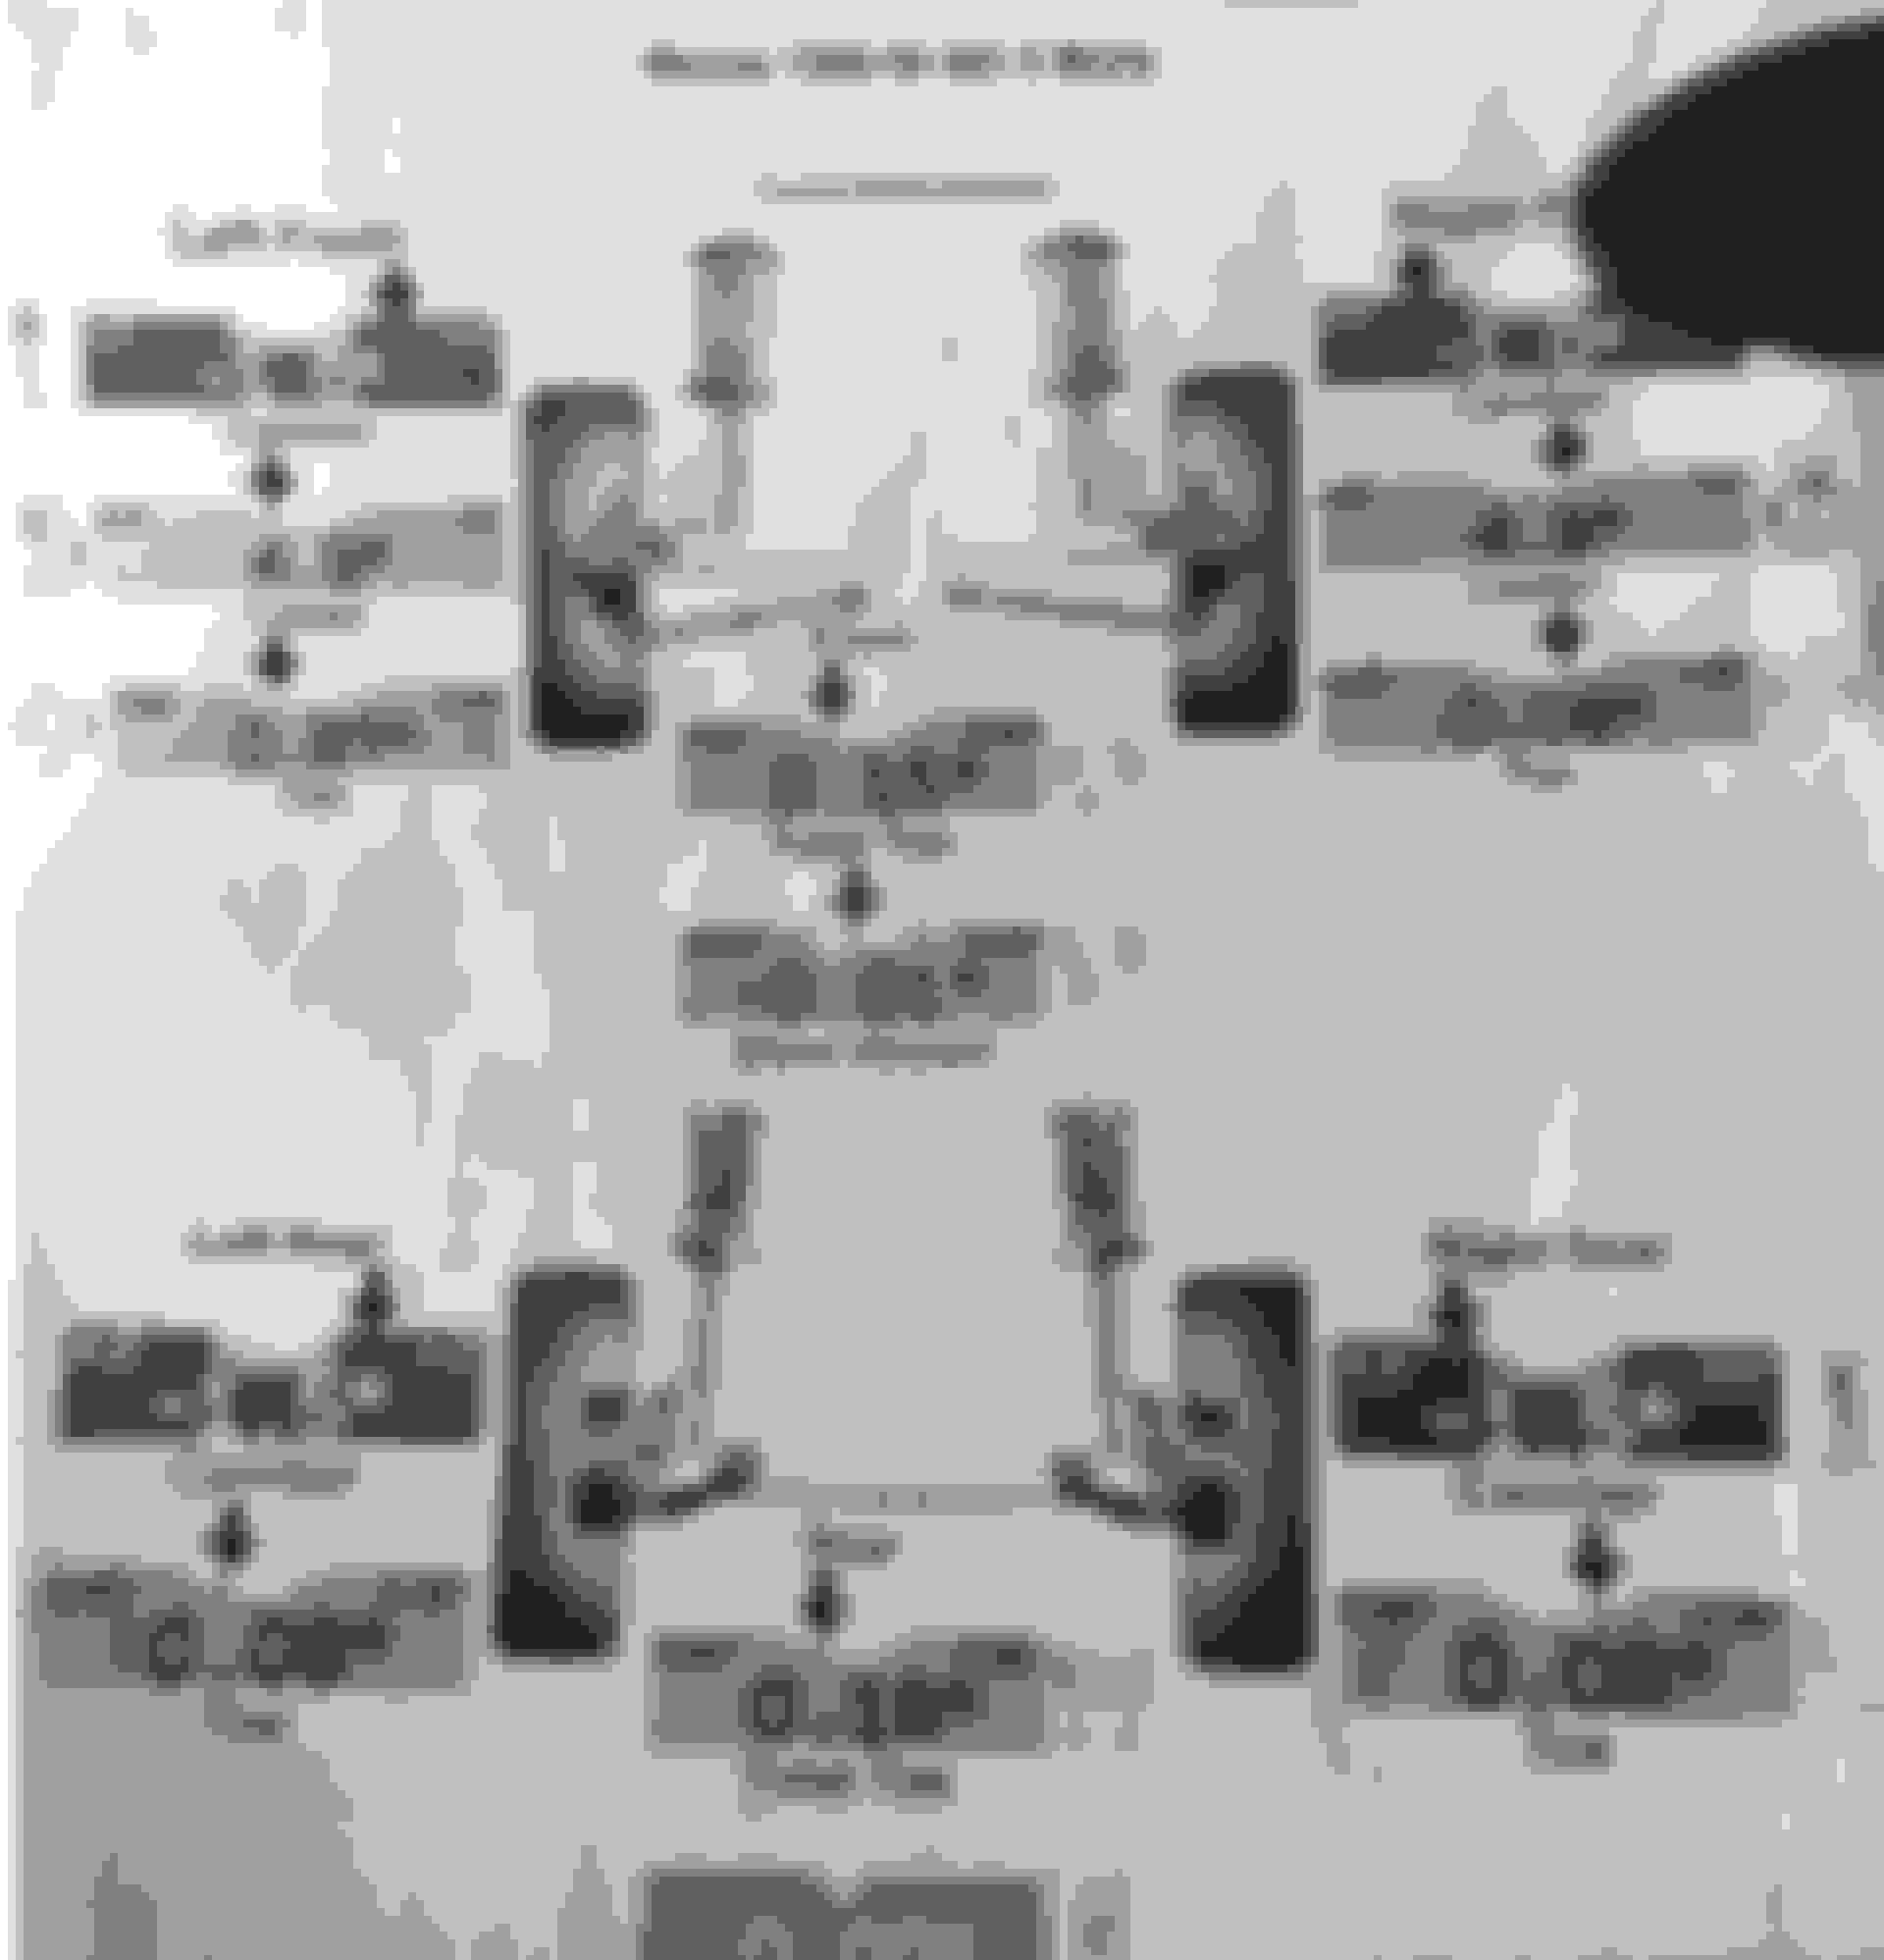
Got an alignment done to FM's specs
Extracted the entire A/C system, it was leaking and didnt work very well anyways
And wanted one less heat exchanger up front
New ducting under the dash
I went to Sandia raceway for a few time attacks. This was all after I did the suspension and brakes to just after the tires and a/c removal
The course is 1.7 miles with 13 turns I think
Had zero track experience before this. Cool to see my lap times drop, started at 2:06 and got down to 1:47. I think the spec miata guys do around 1:36-1:38, but I could be wrong
I stopped in early 2019 since I started working on installing the turbo and MS. Hoping to go back soon!
Found this out when digging the old ecu out, turns out the door seams were stitch welded previously
Checking the base timing with a stick in cylinder 1 for TDC
Up and running!
My fuel pump was always running when the key was in ignition position. Turns out someone bent this support on the main relay to short it so it always runs. I bent it back
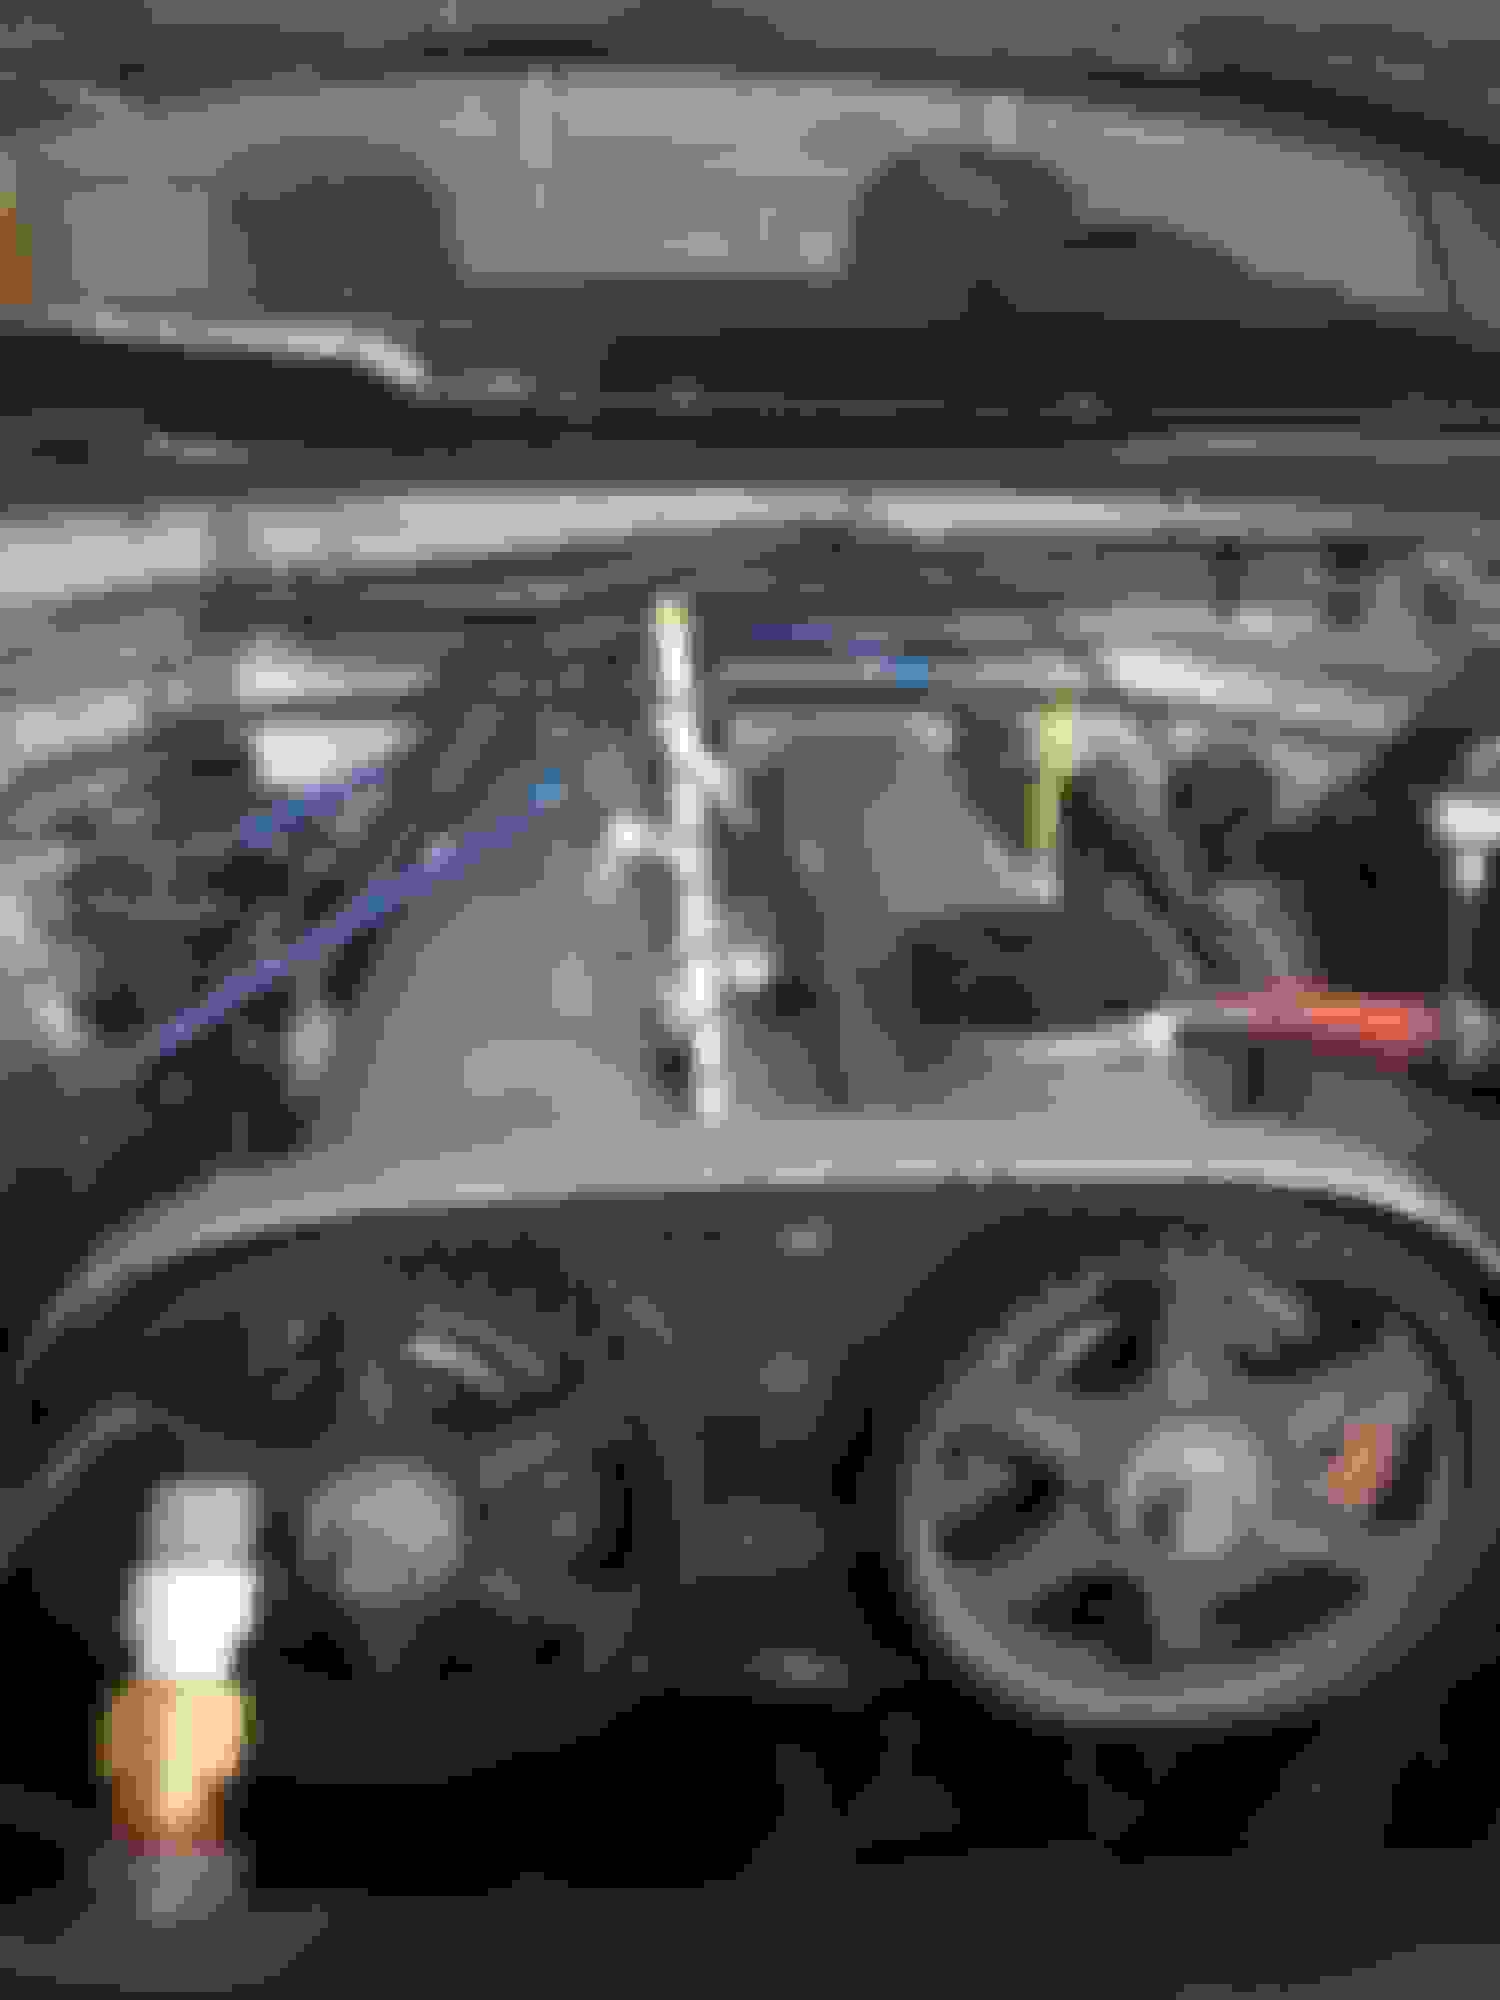
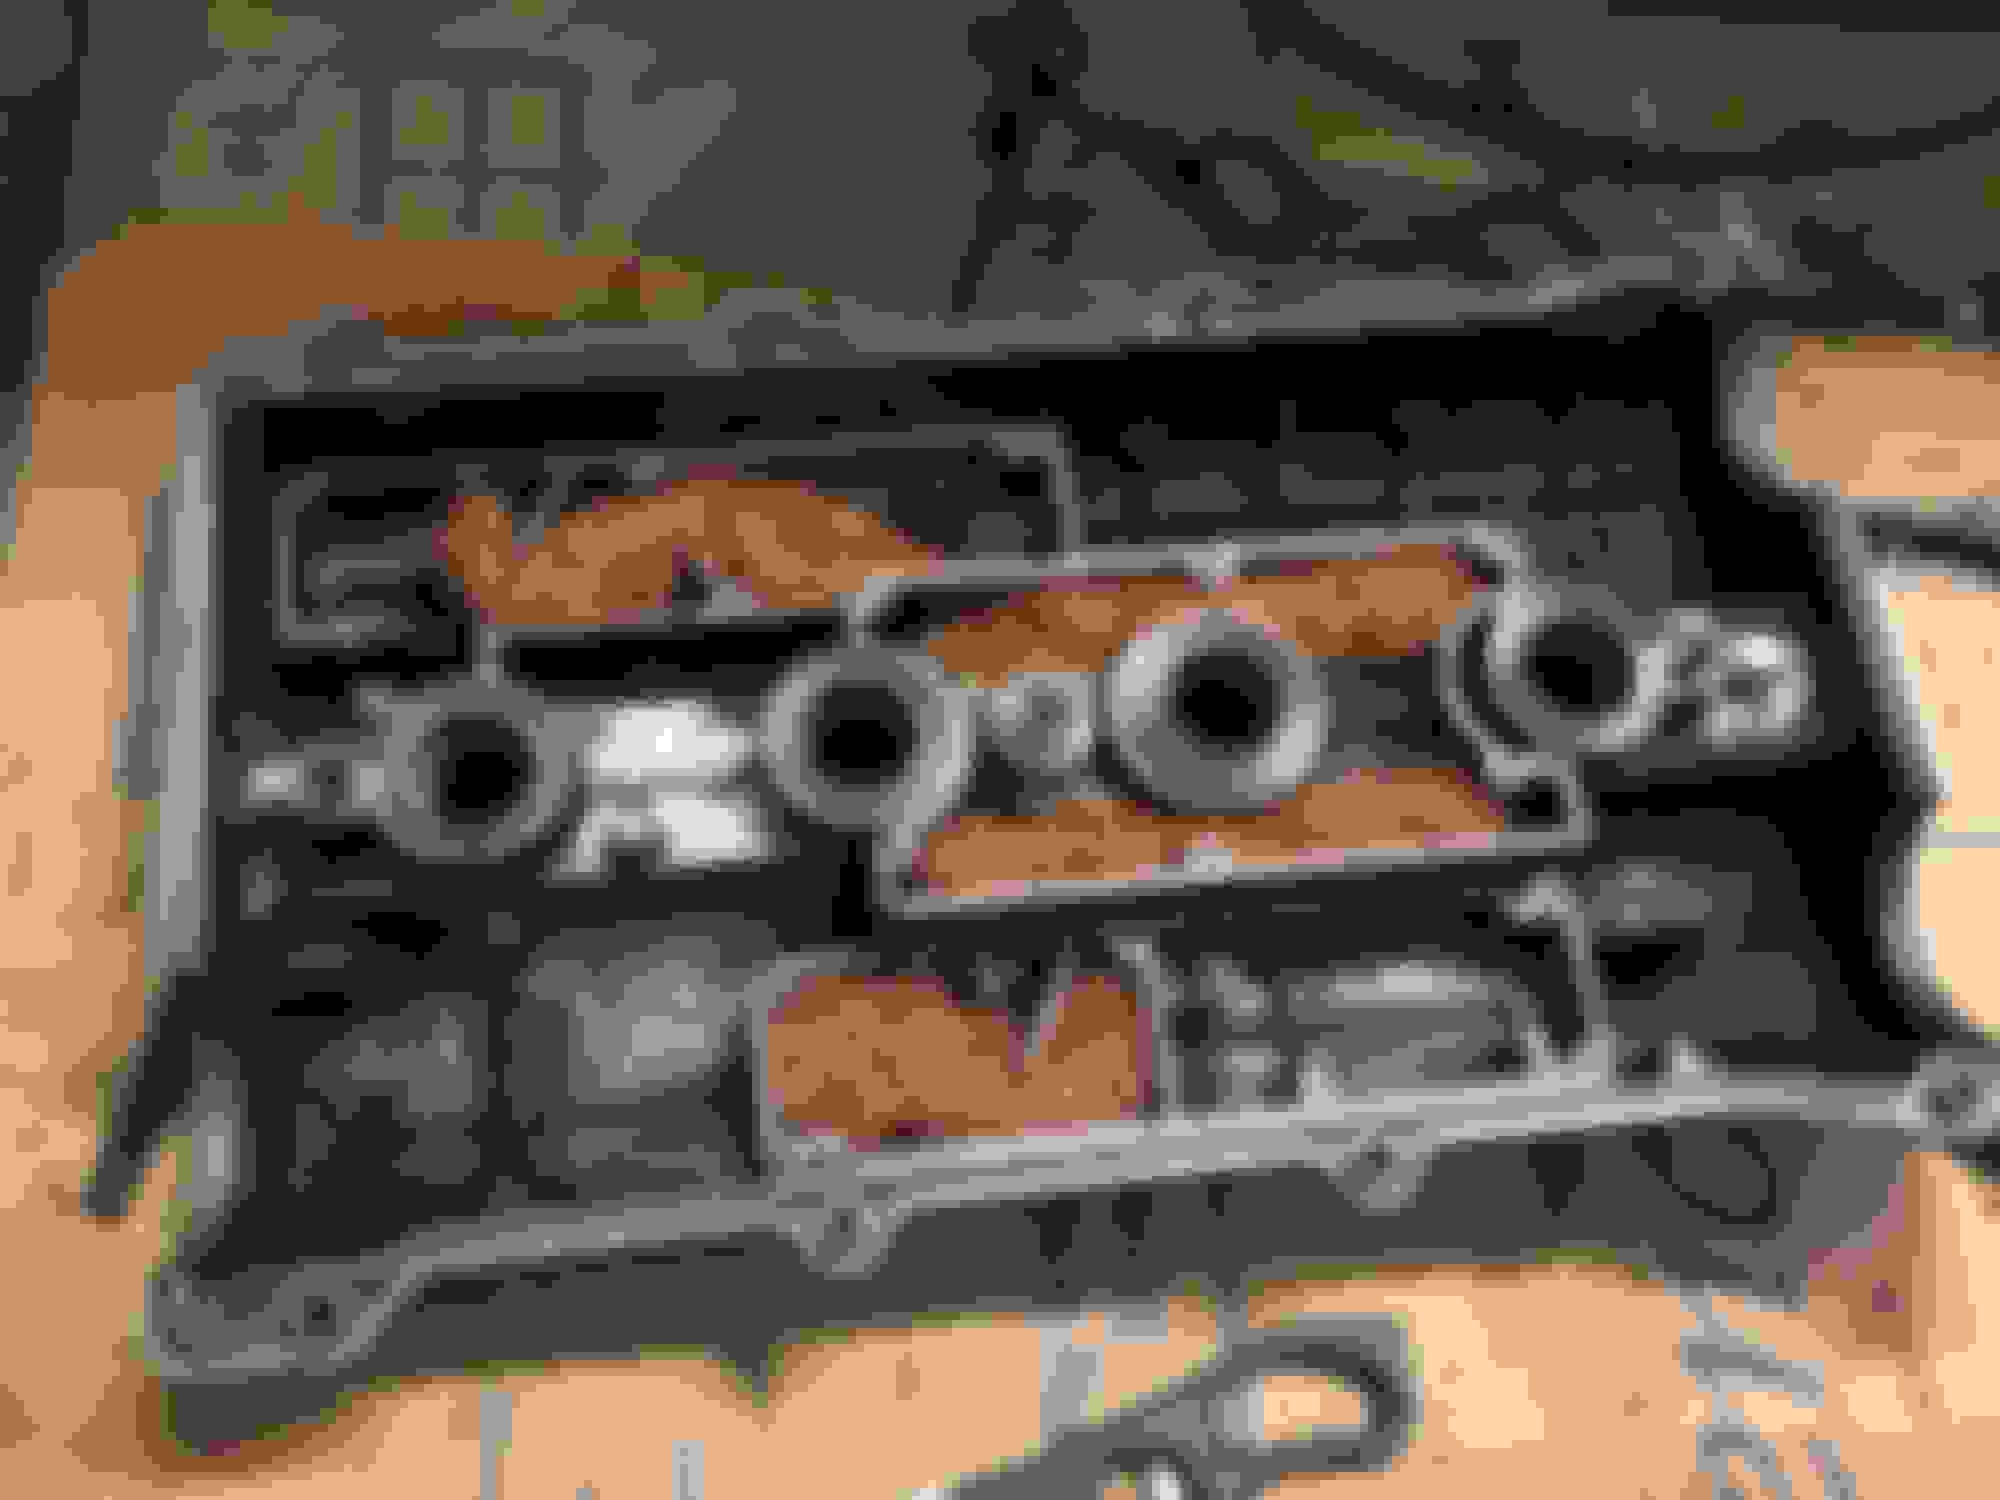
The last of the turbo prep, I got the crank case ventialation stuff ready and cleaned up some cooling stuff.
For the crank case venting:
-Breather on exhaust side
-Drilled the 2 ports under the valve cover to ~8.5mm
-Copper scrubbers in baffling
-GTX PCV
-Check valve on PCV line
I made some cheap ducting out of corrugated plastic for the radiator.
Changed out the thermostat from 190F to a 180F one
The radiator cap failed, replaced it with a 16psi cap
And replaced the lower coolant hose with the FM one
I linearized the oem water temp gauge. I thought it was intermittently shorting out or something at first but then I realized the fluctuations were the thermostat opening.
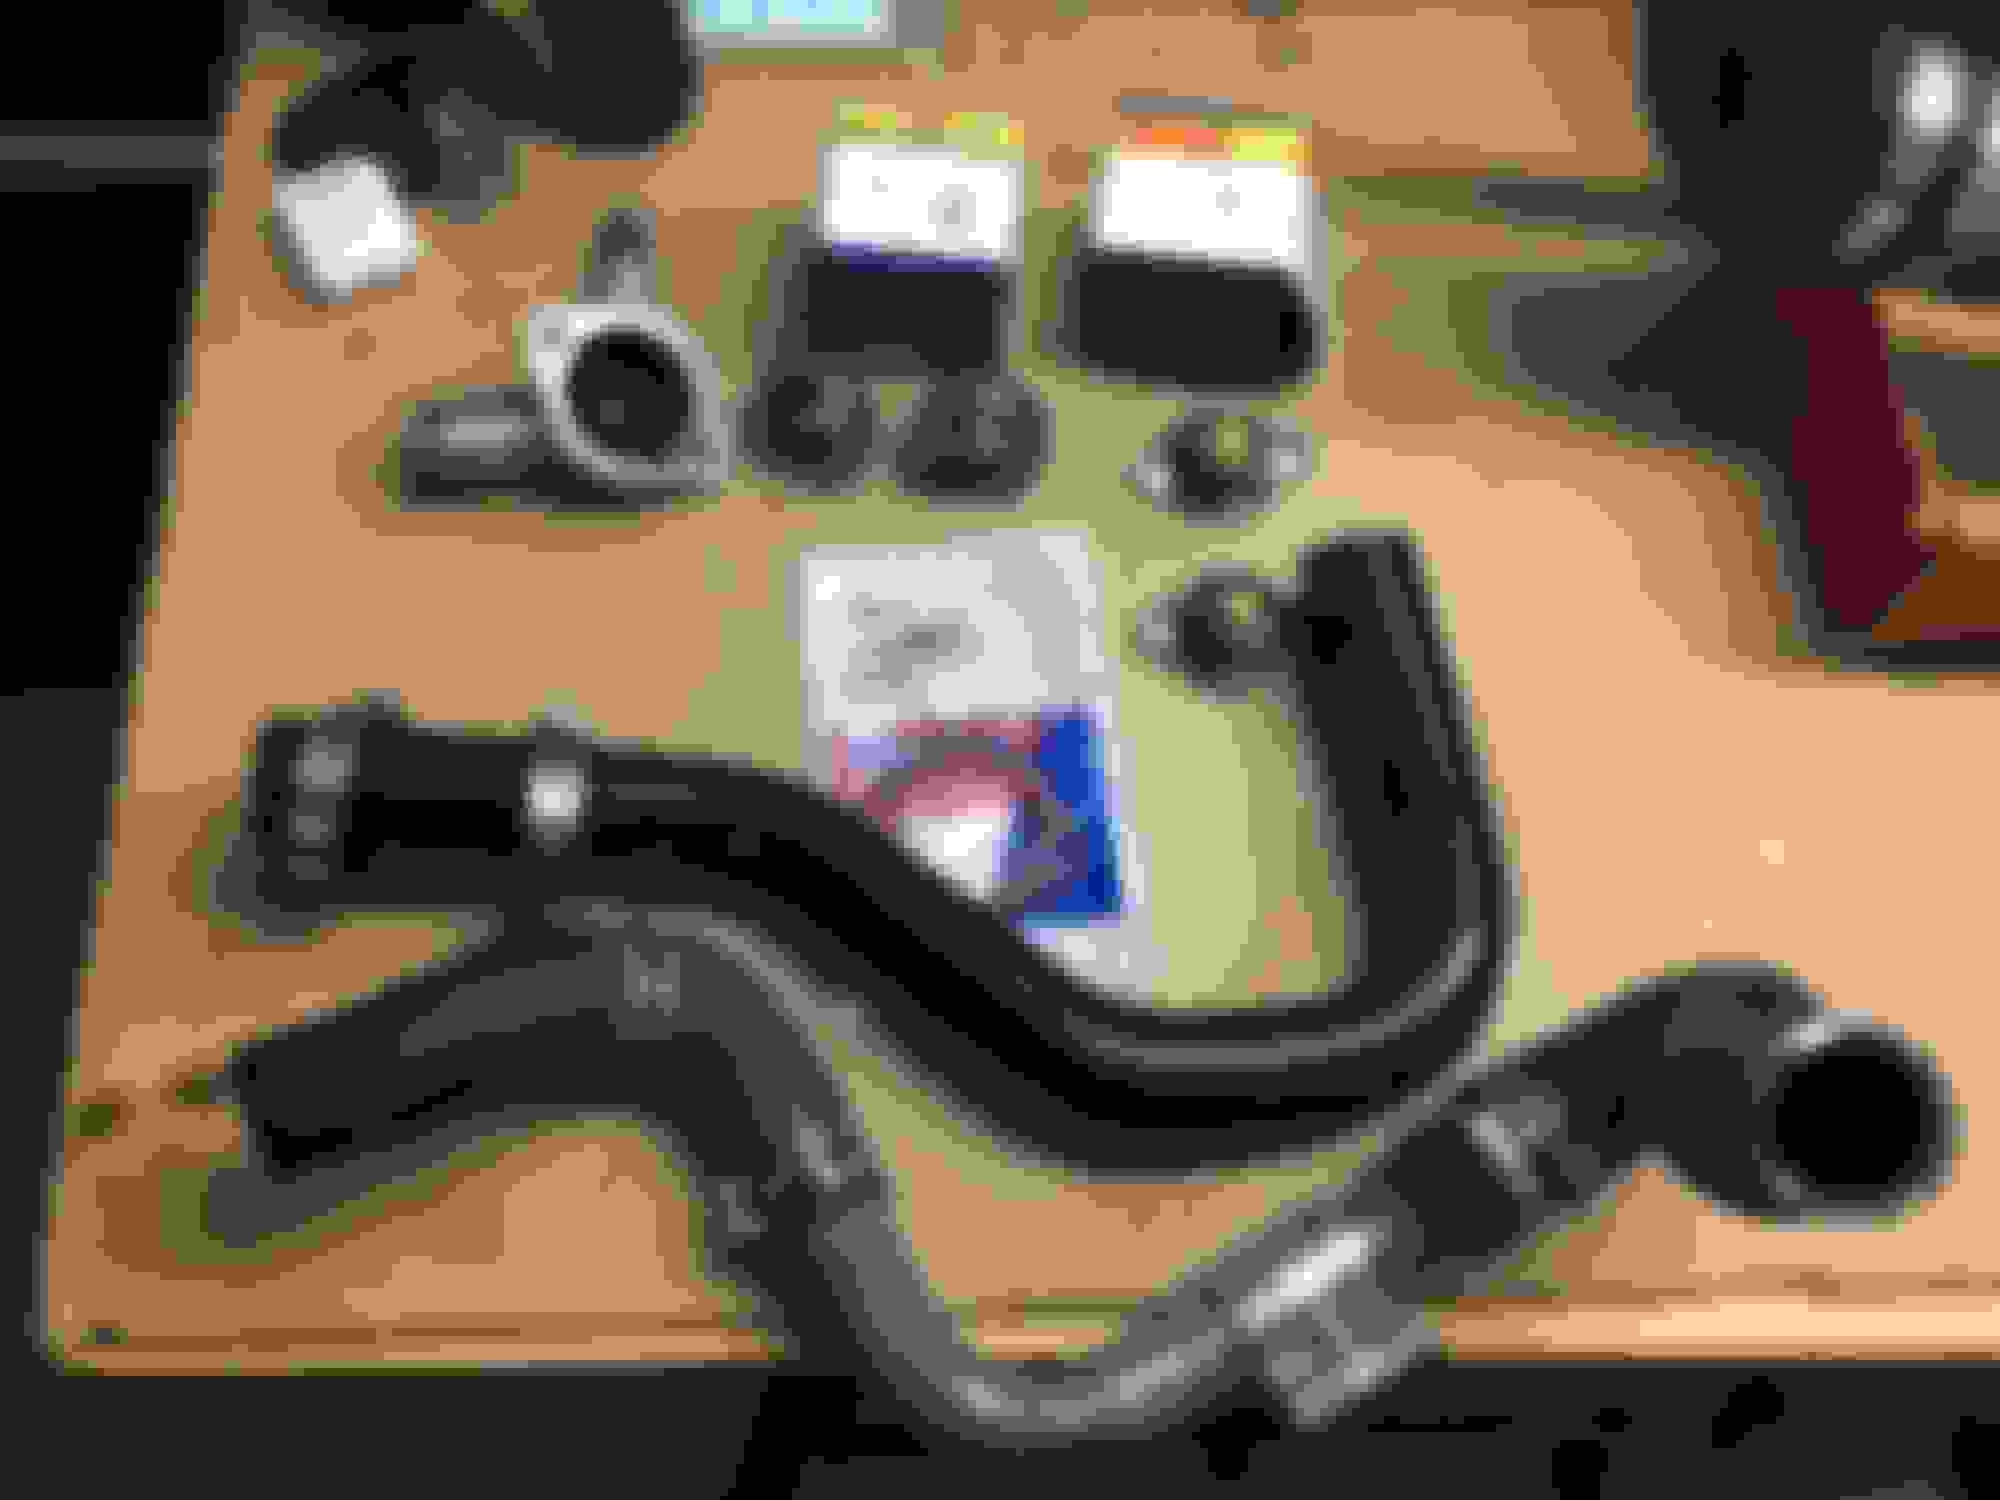
Turbo time! Started the install around september last year.
-GT2554r turbo
-Kraken 2.5" kit with full exhaust
-FM silicone charge piping with ebay intercooler (27"x7"x2.5")
The kraken kit quality is really nice. It did take a few months to get it in but still glad I went with them. Kind of wish I went with the 3" exhaust though.
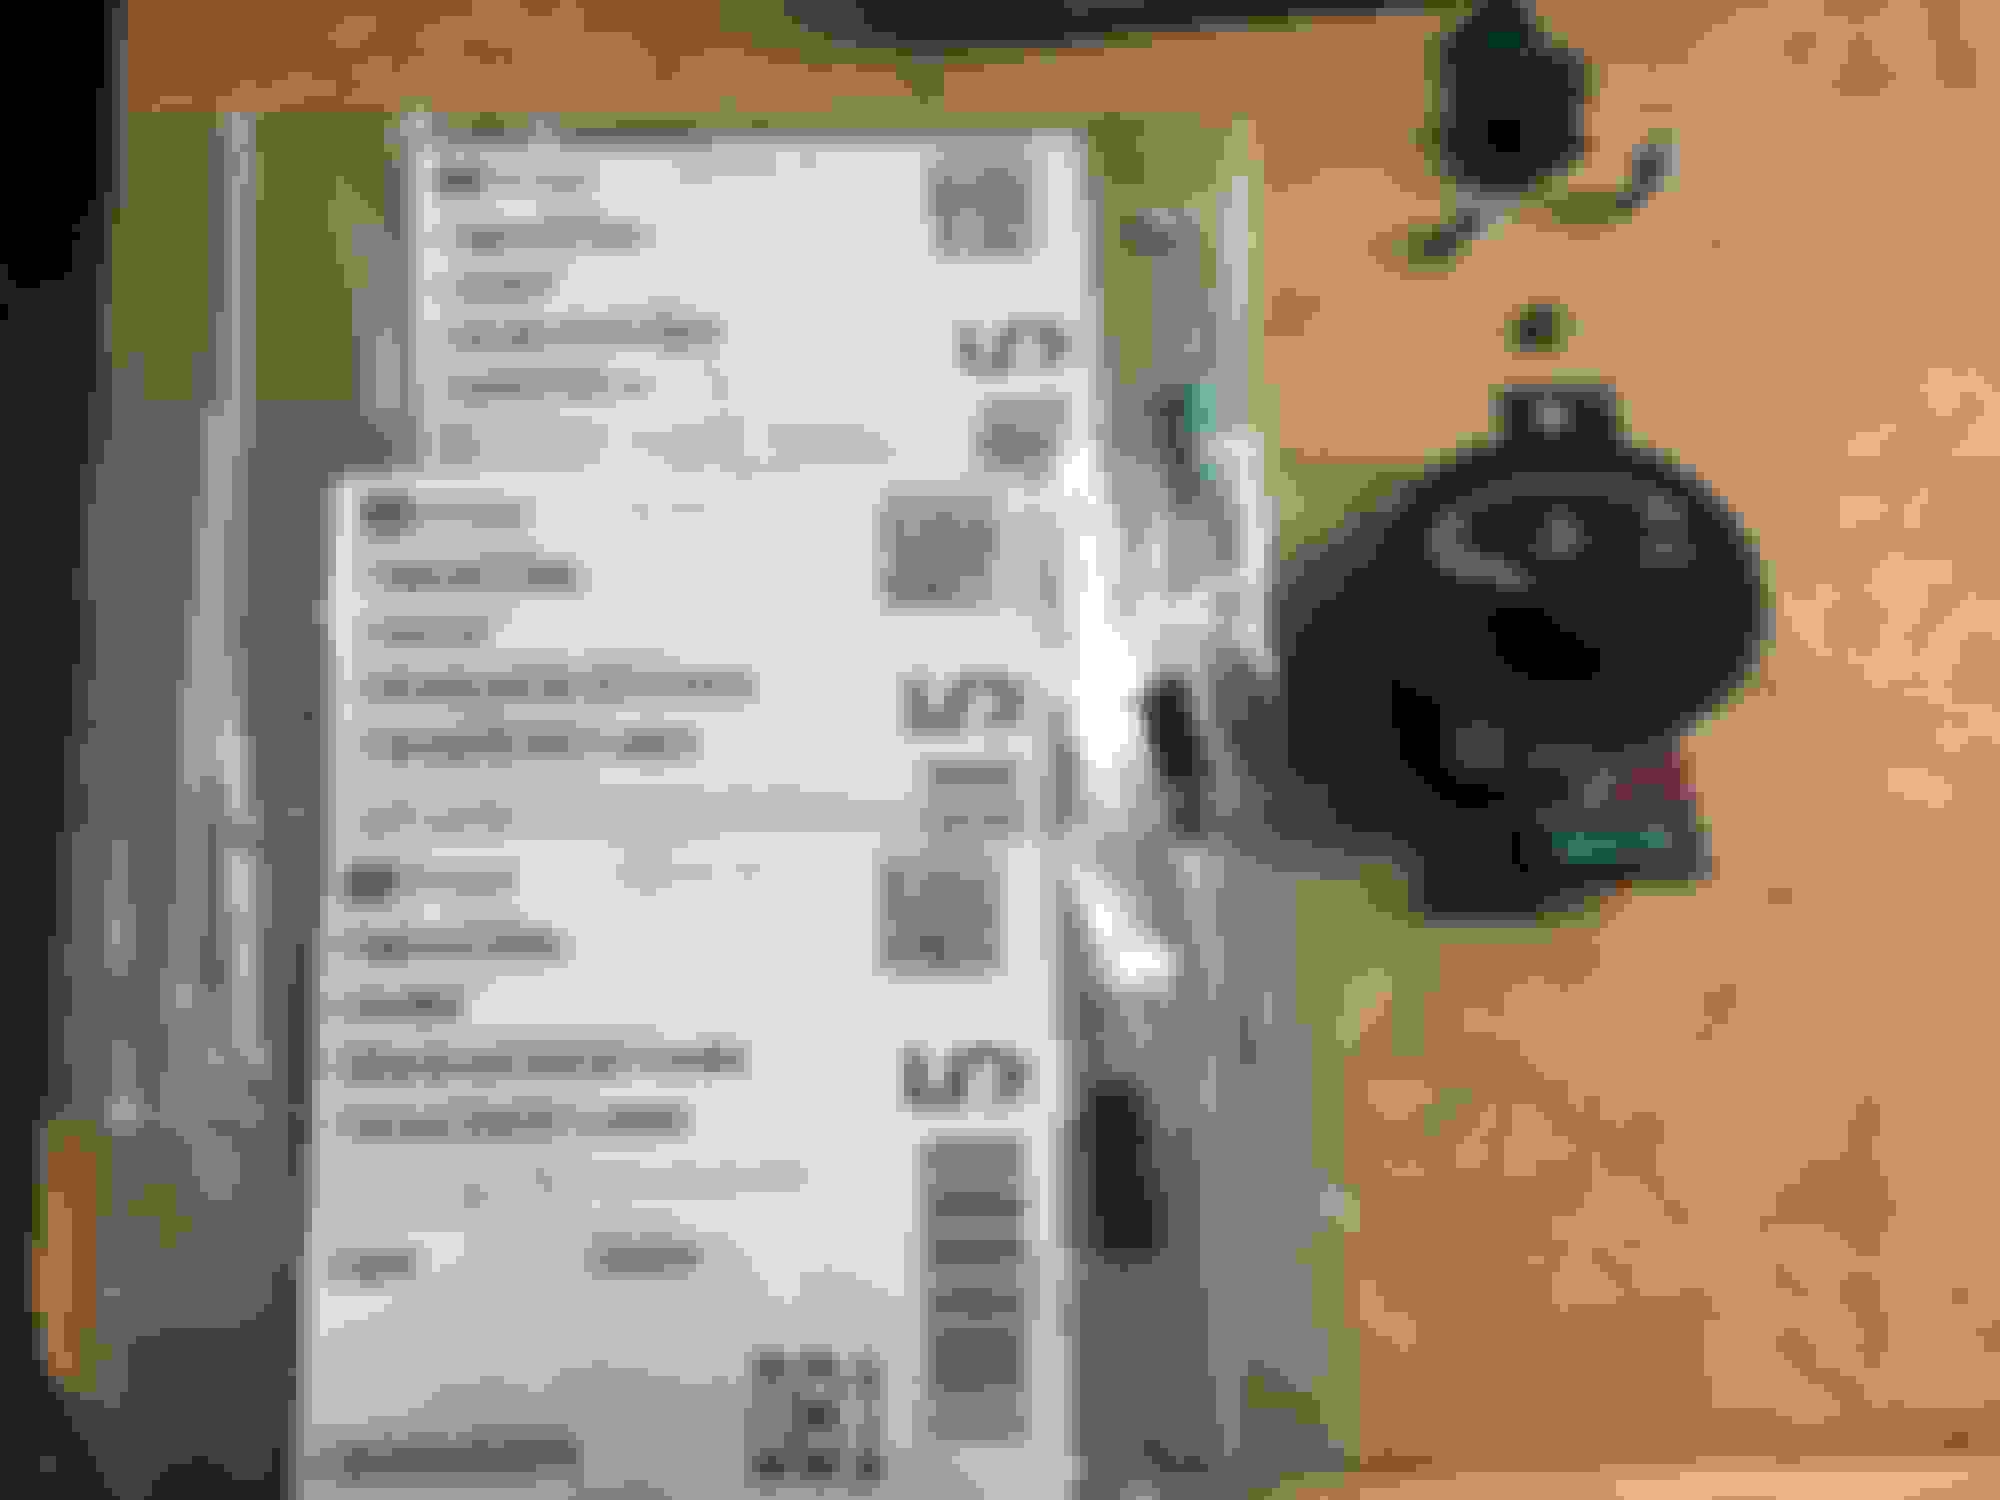
Some comparison shots with the oem exhaust. I weighed everything in these pics as is.
Oem exhaust = 42.4 lbs
Kraken with WITH turbo = 62.0 lbs
Drilled an tapped the intercooler for the IAT sensor so its less likely to heatsoak.
Intercooler in
I bent and twisted a 1" wide x 1/8" thick aluminum strip to mount the intercooler. Mounted using the A/C condenser bolt holes.
The IAT port on the throttle bottle elbow was converted to a signal line for the wastegate.
Drilling and tapping the oil pan. The stepper bit cut thru the pan like butter.
JB welded in
Drilling and tapping the compressor cover to relocate the wastegate bracket.
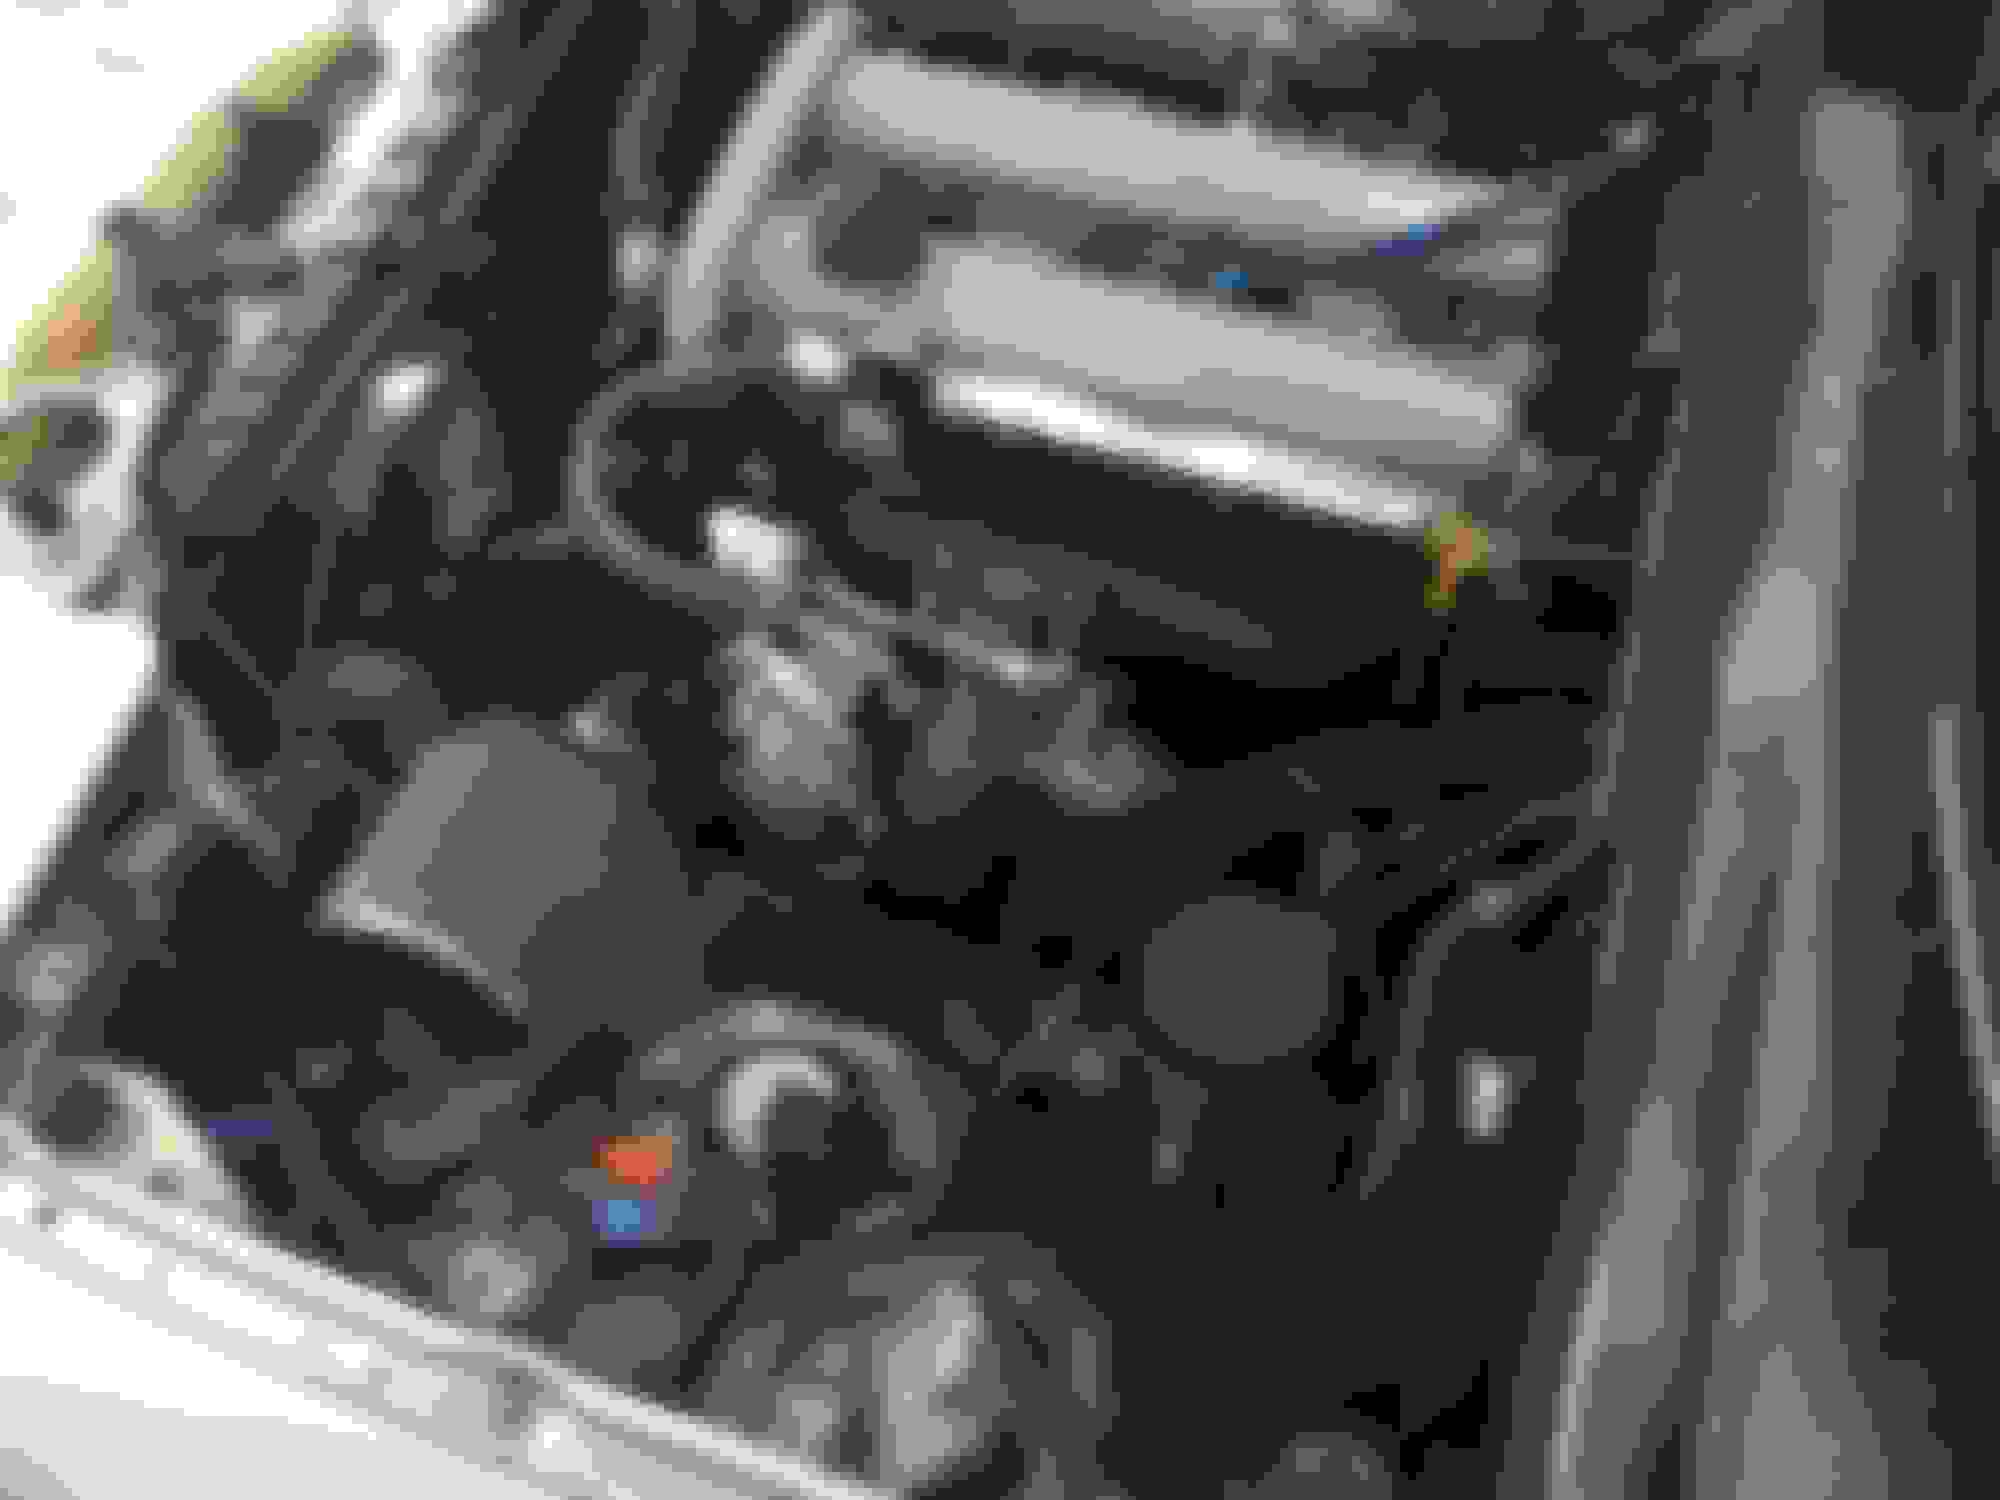
Turbo clocked and ready to be installed. I put some heat reflective wrap on the rubber lines near the center housing.
Installed.
More heat reflective wrap on the heater hose coolant line. I made a heat shield for the brake master cylinder out of galvanized steel sheet I had laying around.
Exhaust fitment on rear end
I recirculated the BOV in an attempt to make it quieter. I found a stainless marine "thru-hull fitting" online that worked pretty well, very smooth on the inside.
Recirculating it didnt drop the sound too much though.
EBC installed. The closer fitting is wrong in this pic. It should be on middle port.That was fun hitting boost cut.
AFM connector for EBC, fuel pump, and intake temp sensor
Thanks! Yea I eventually got a torsen diff, it just took a while to find one on CL. Got installed last month.
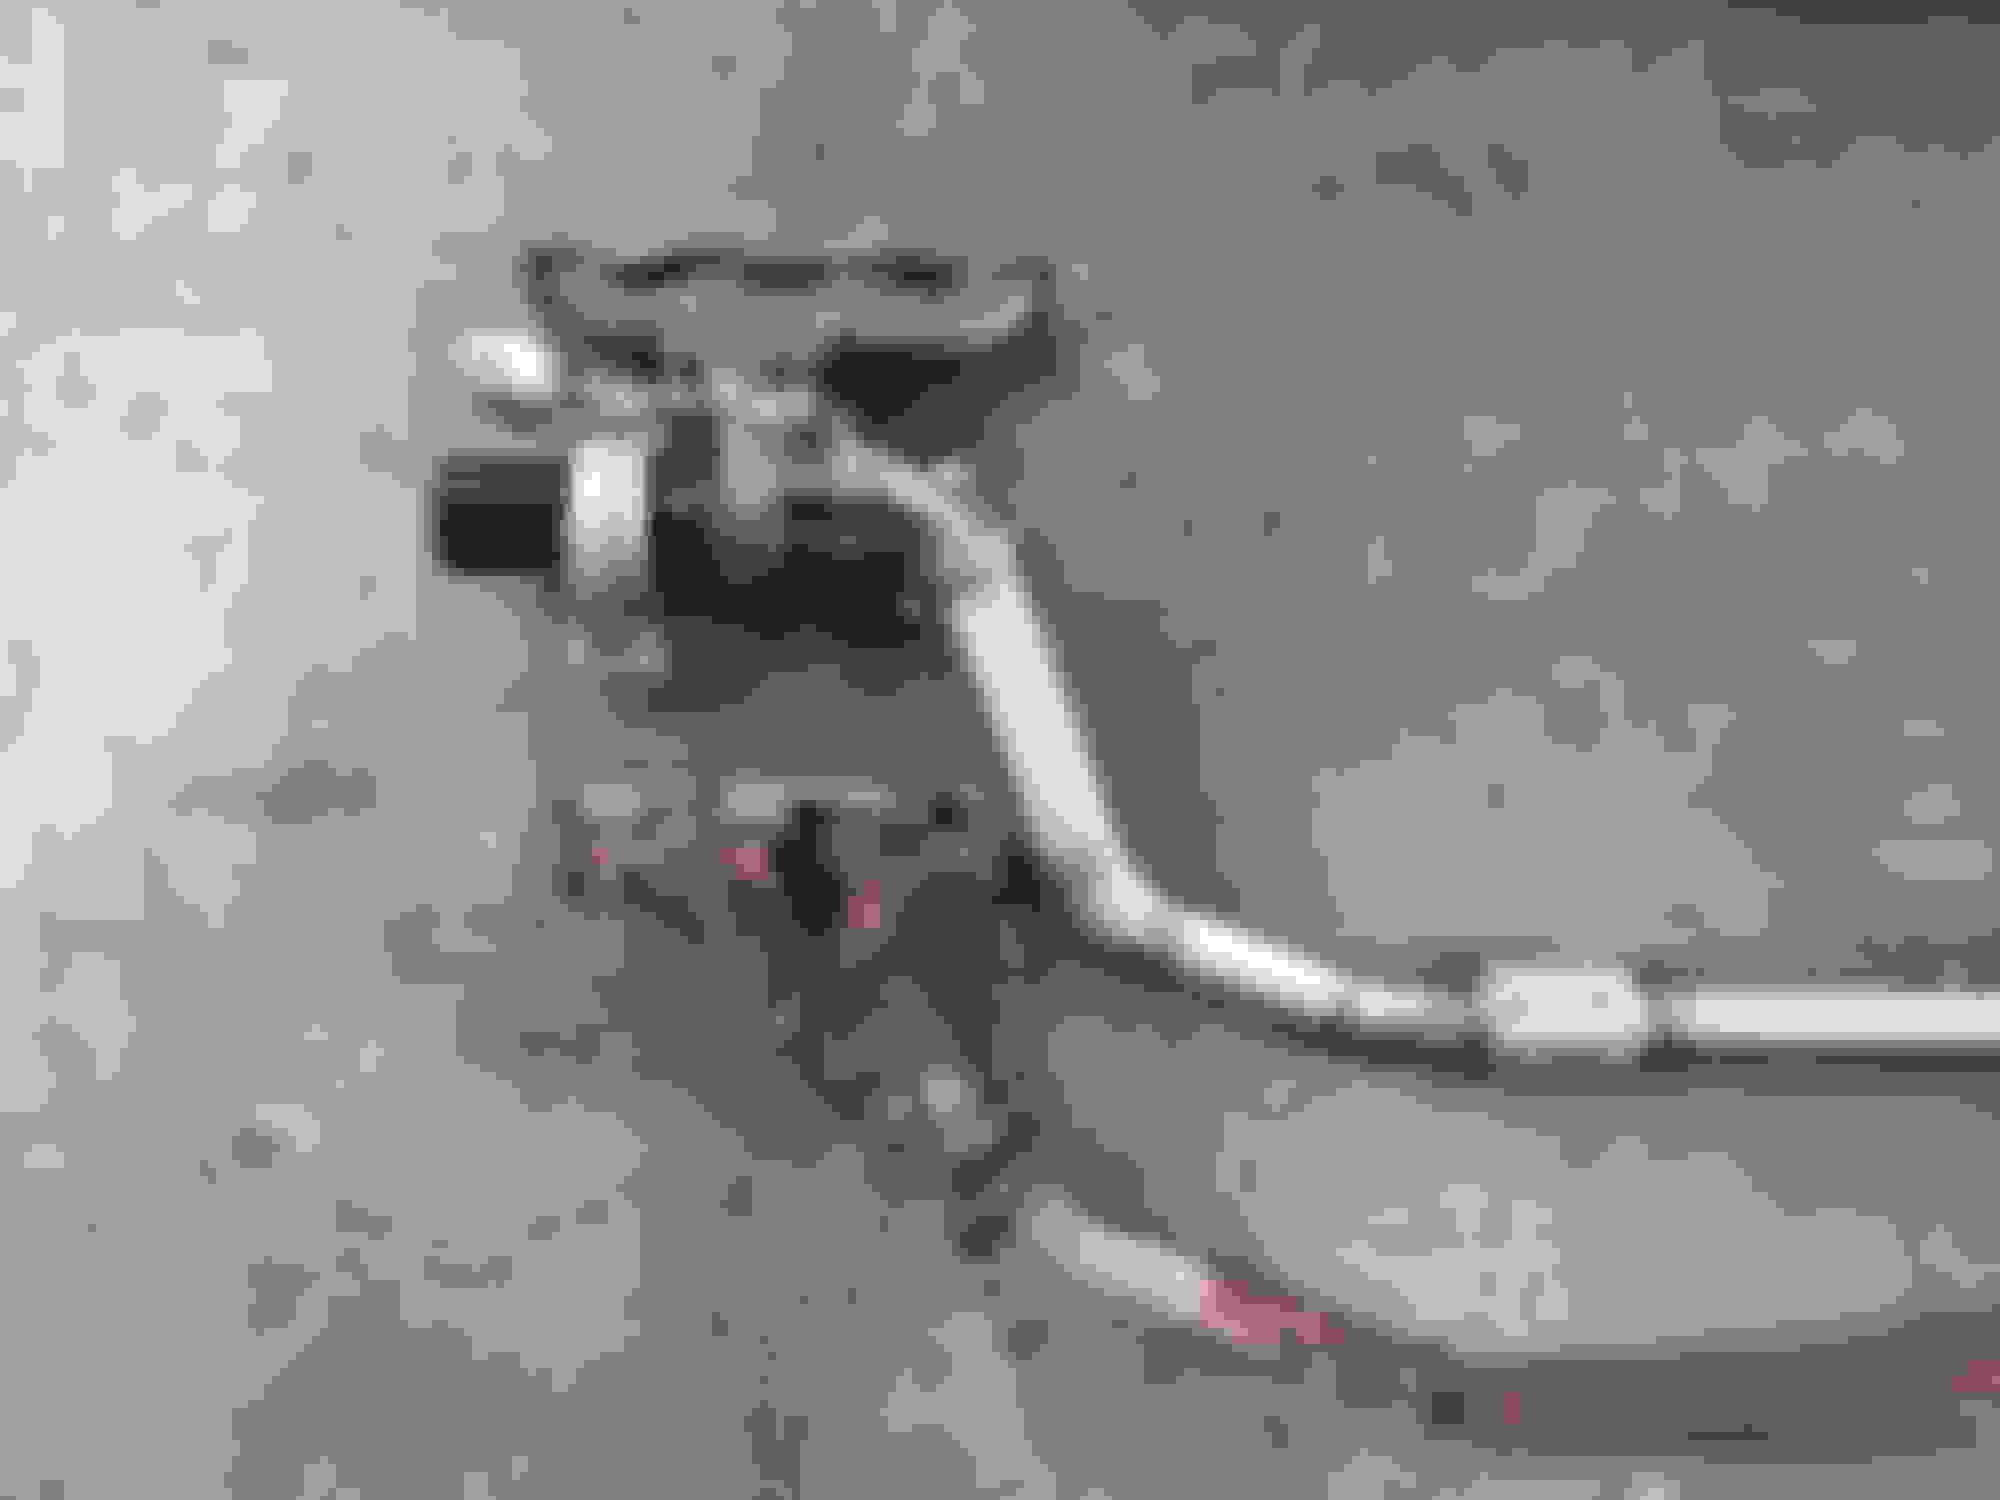
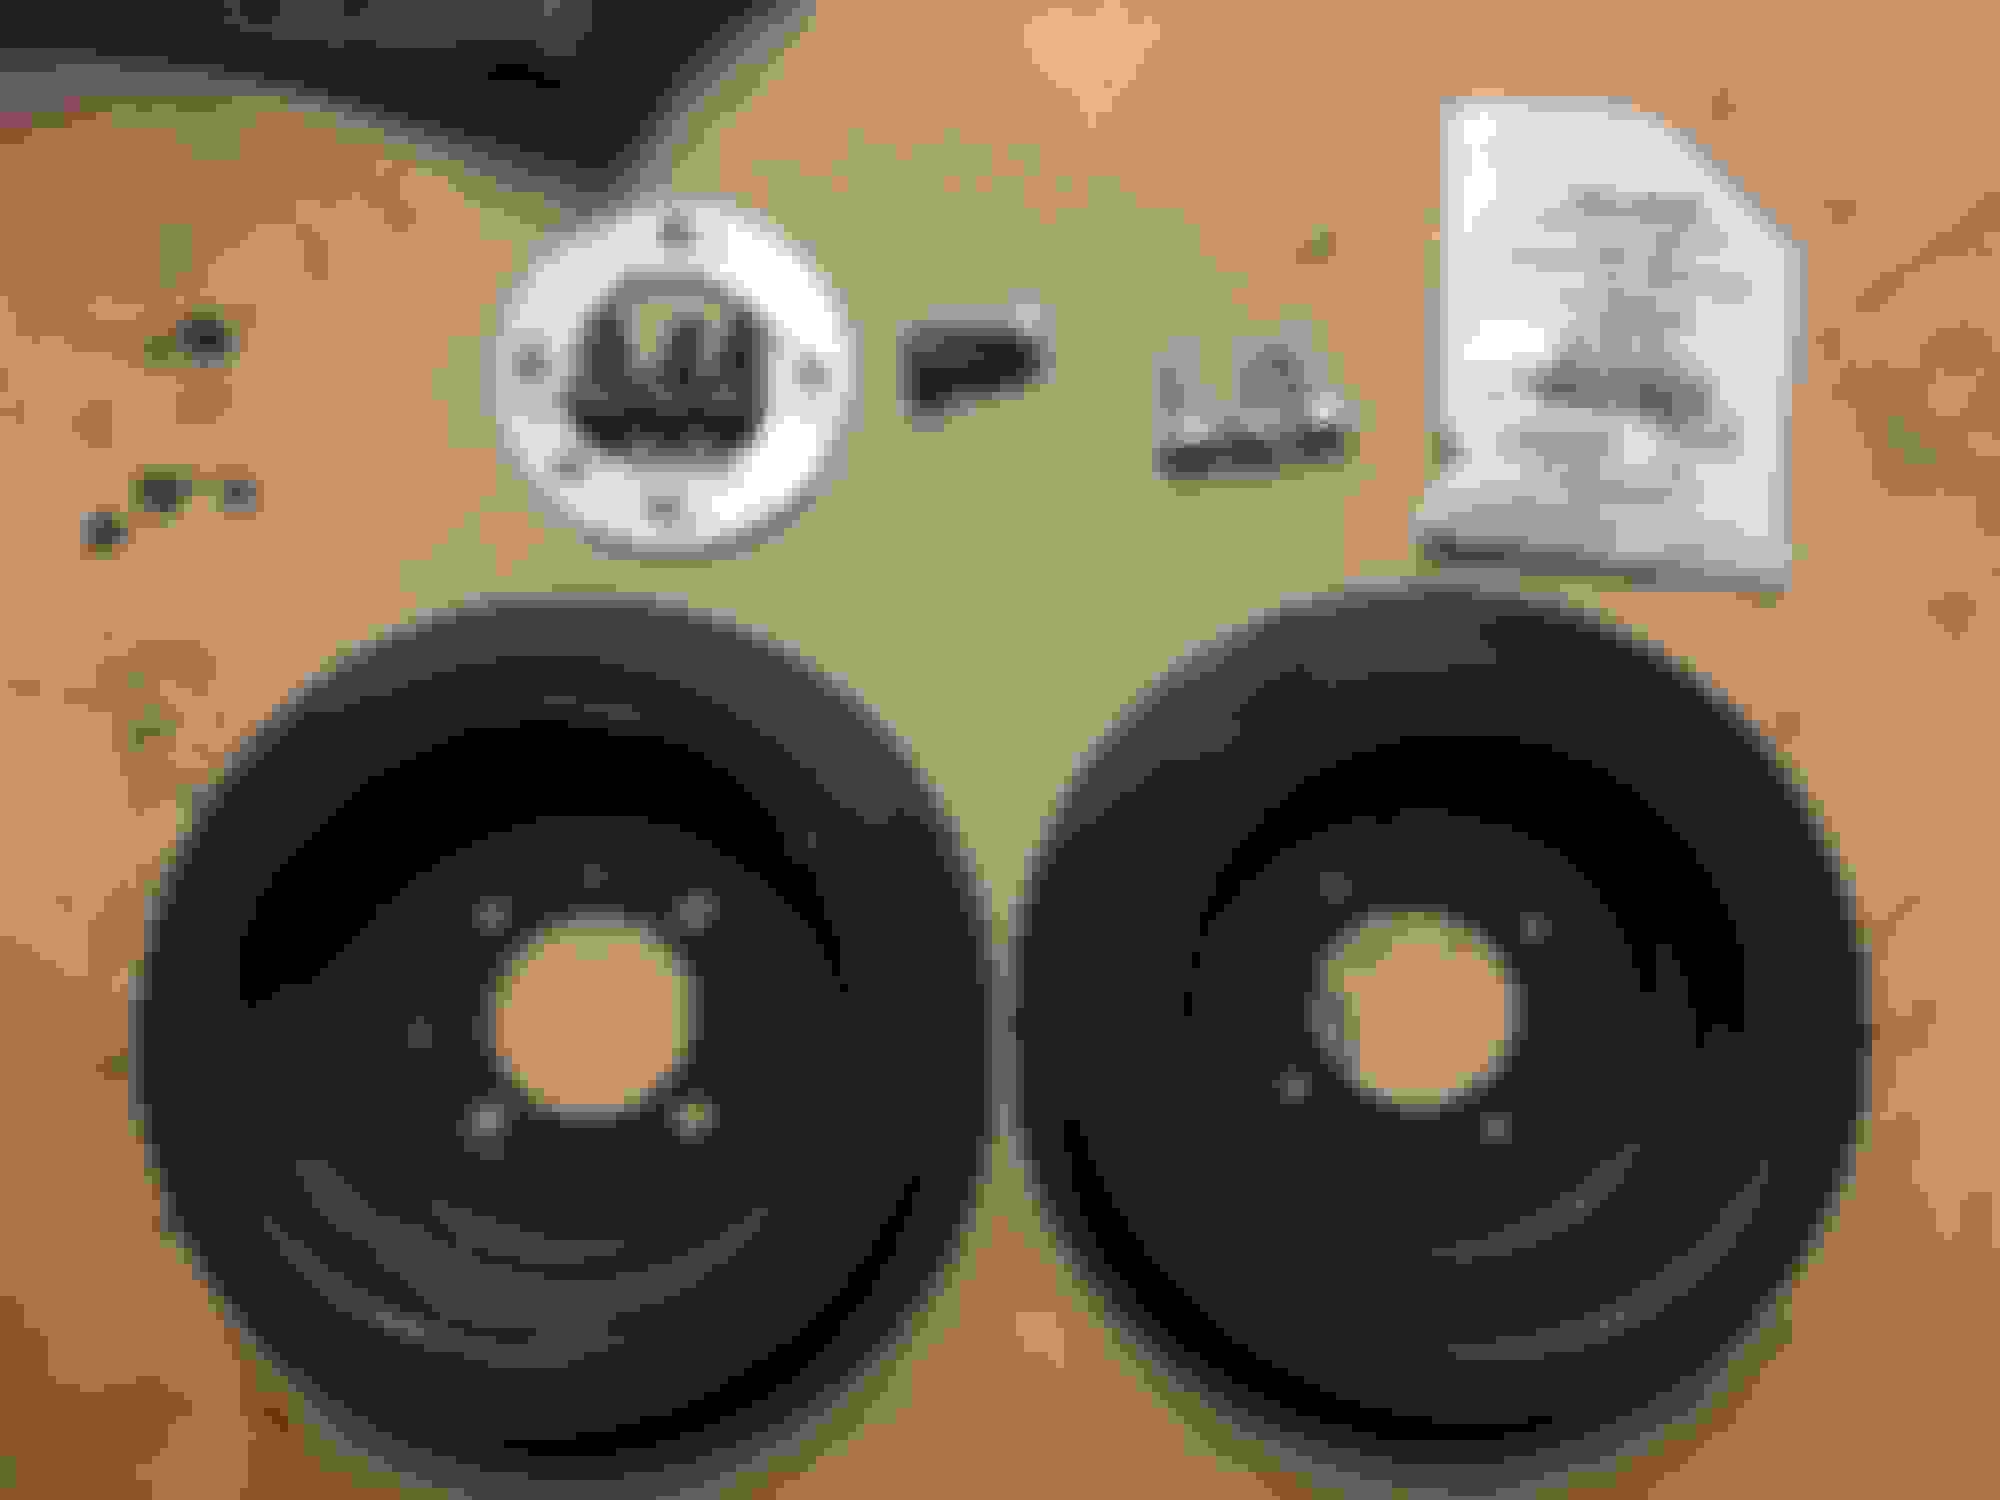
So this was Feb of this year. I noticed my timing marks were starting to slip. Picked up a new harmonic balancer and class 10.9 bolts to replace it.
Timing marks were still off. Turns out the crank bolt was way to loose and snapped the key. I removed the crank bolt with a ratchet and without bracing the engine... I dont know how long it was like this.
Damage
The key slot wasnt too bad at least. I think I got lucky that the key broke. All the damage was at the end where the pulley boss mounts. The new key fit tightly where the timing cog sits.
Cleaned up and ready for loctite fix.
Ended up replacing the timing belt too. Found some missing teeth and a crack forming.
I've been having an issue with slow cranking speed since I bought the car. Not really an an issue in warmer weather but its exceptionally bad in the cold. Tunerstudios is showing 80-120 rpm cranking speed in the cold. Its getting worse every year.
So far I already tried:
-Replaced battery and got new one tested
-Replaced battery terminals and cut back corroded wire
-Replaced neg battery wire
-Cleaned up all grounds (trunk, PPF, back of intake, braided one near oil dip stick, under brake booster)
-Cleaned starter grounds
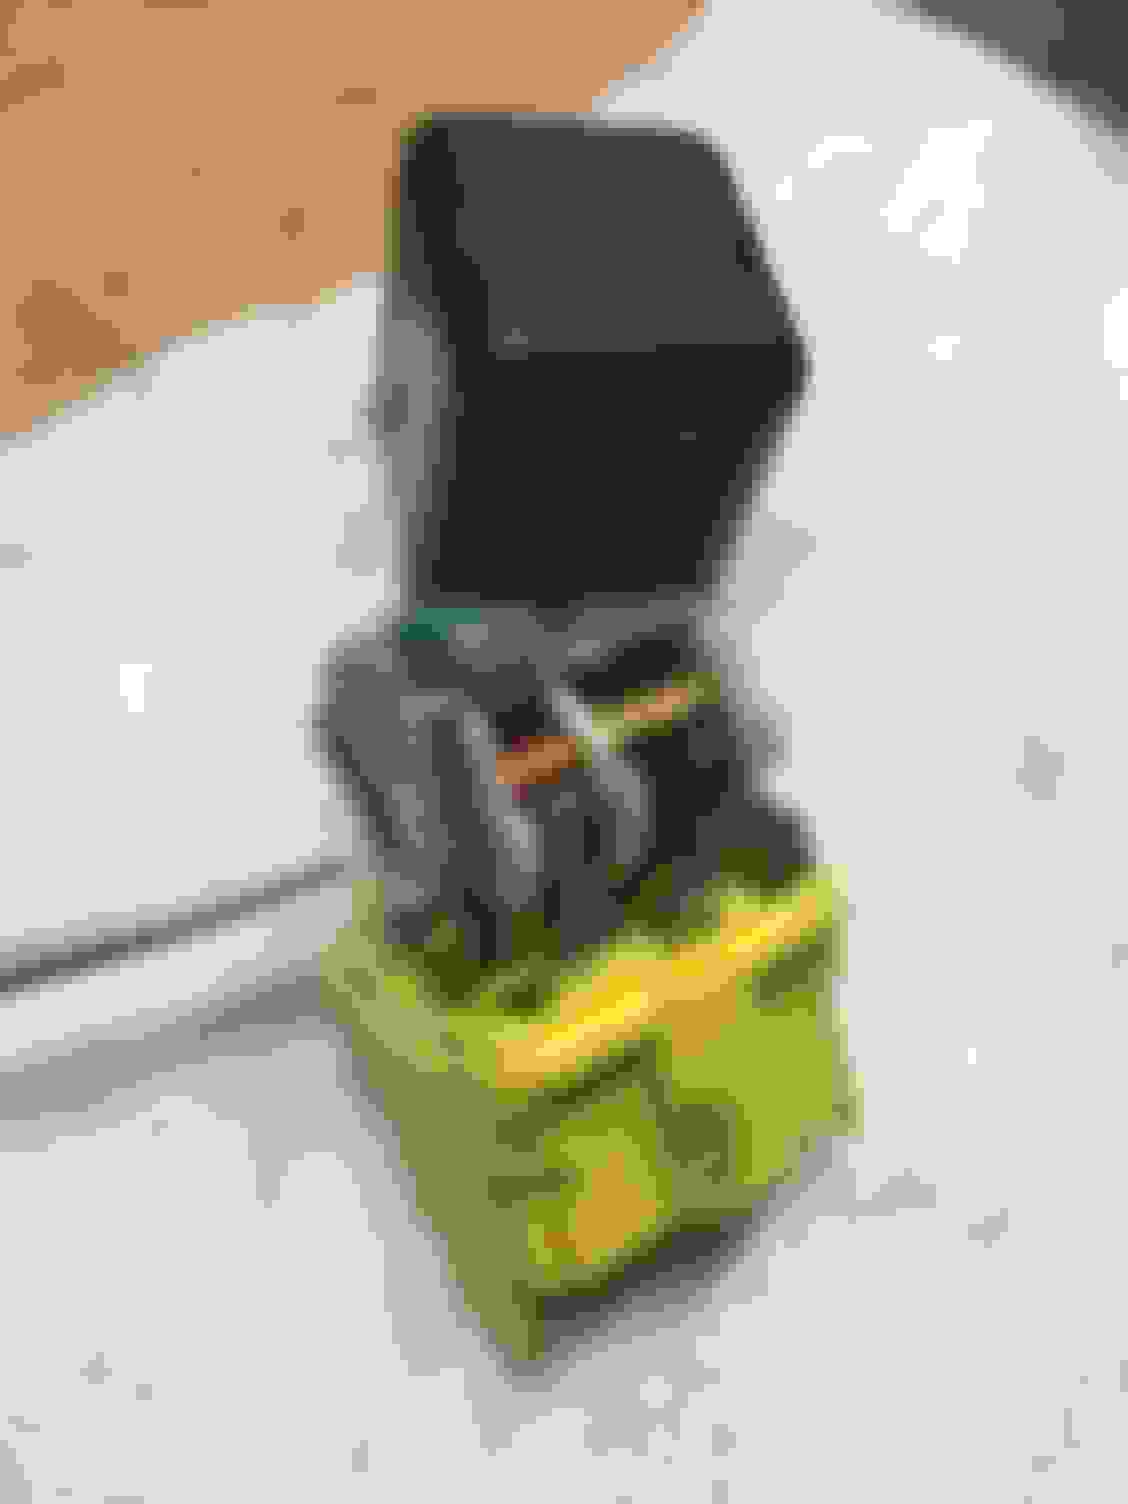
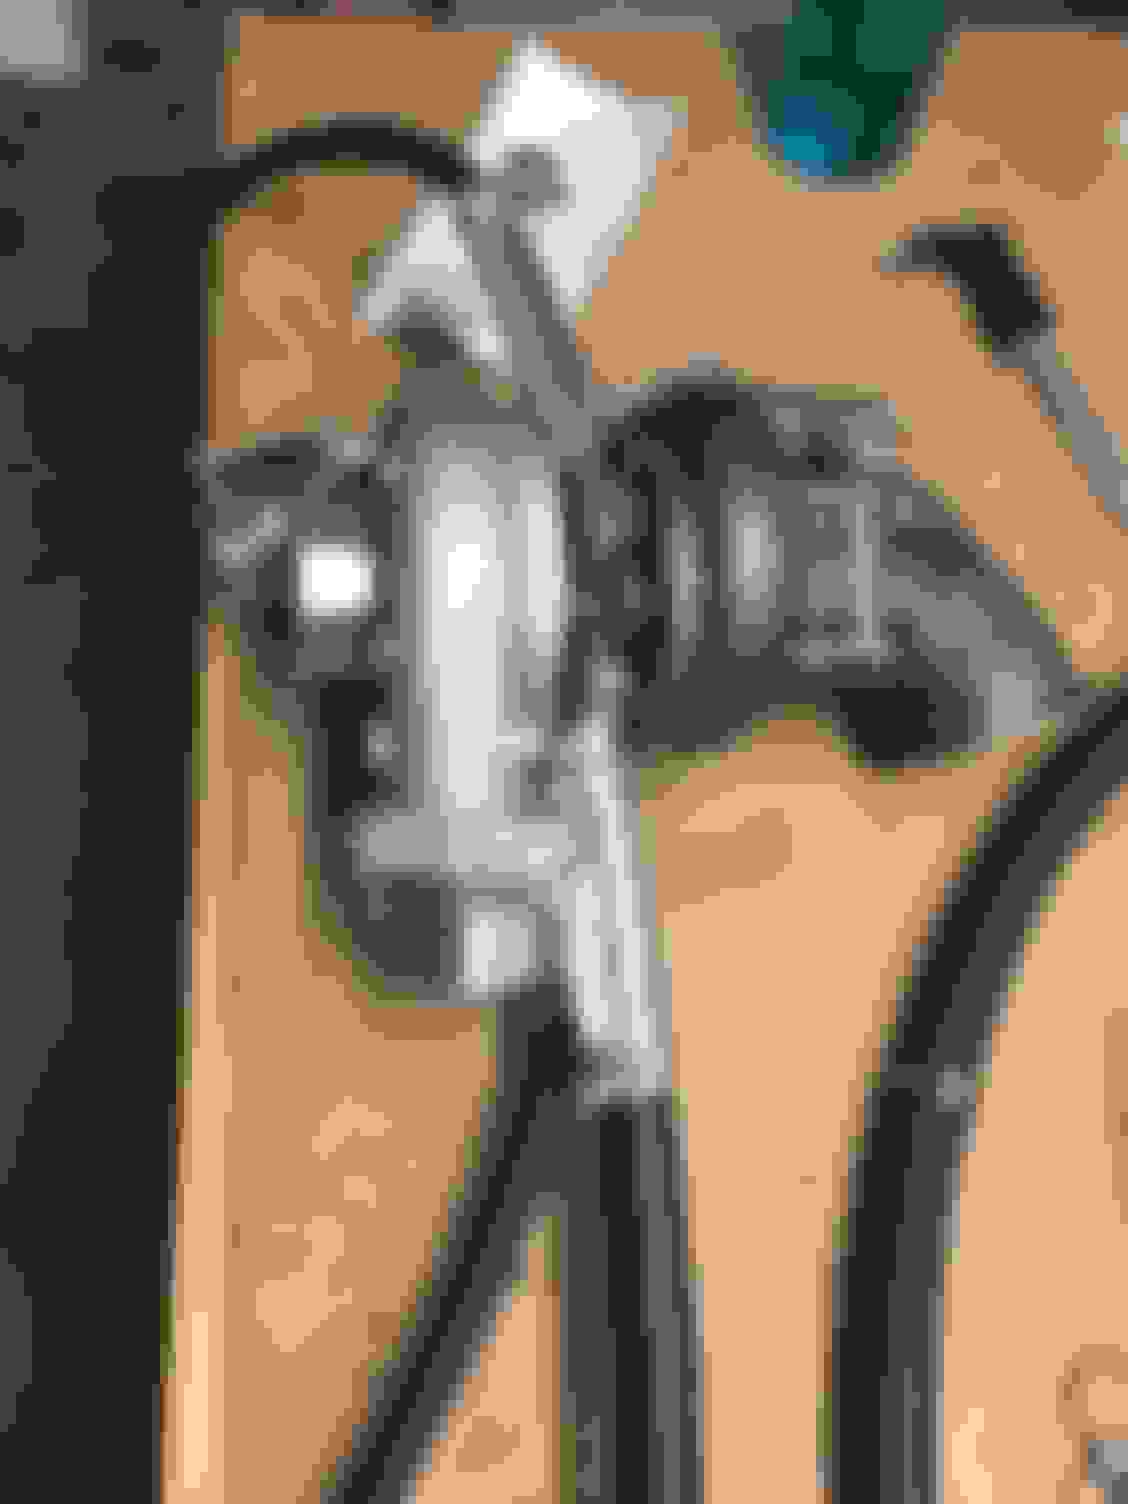
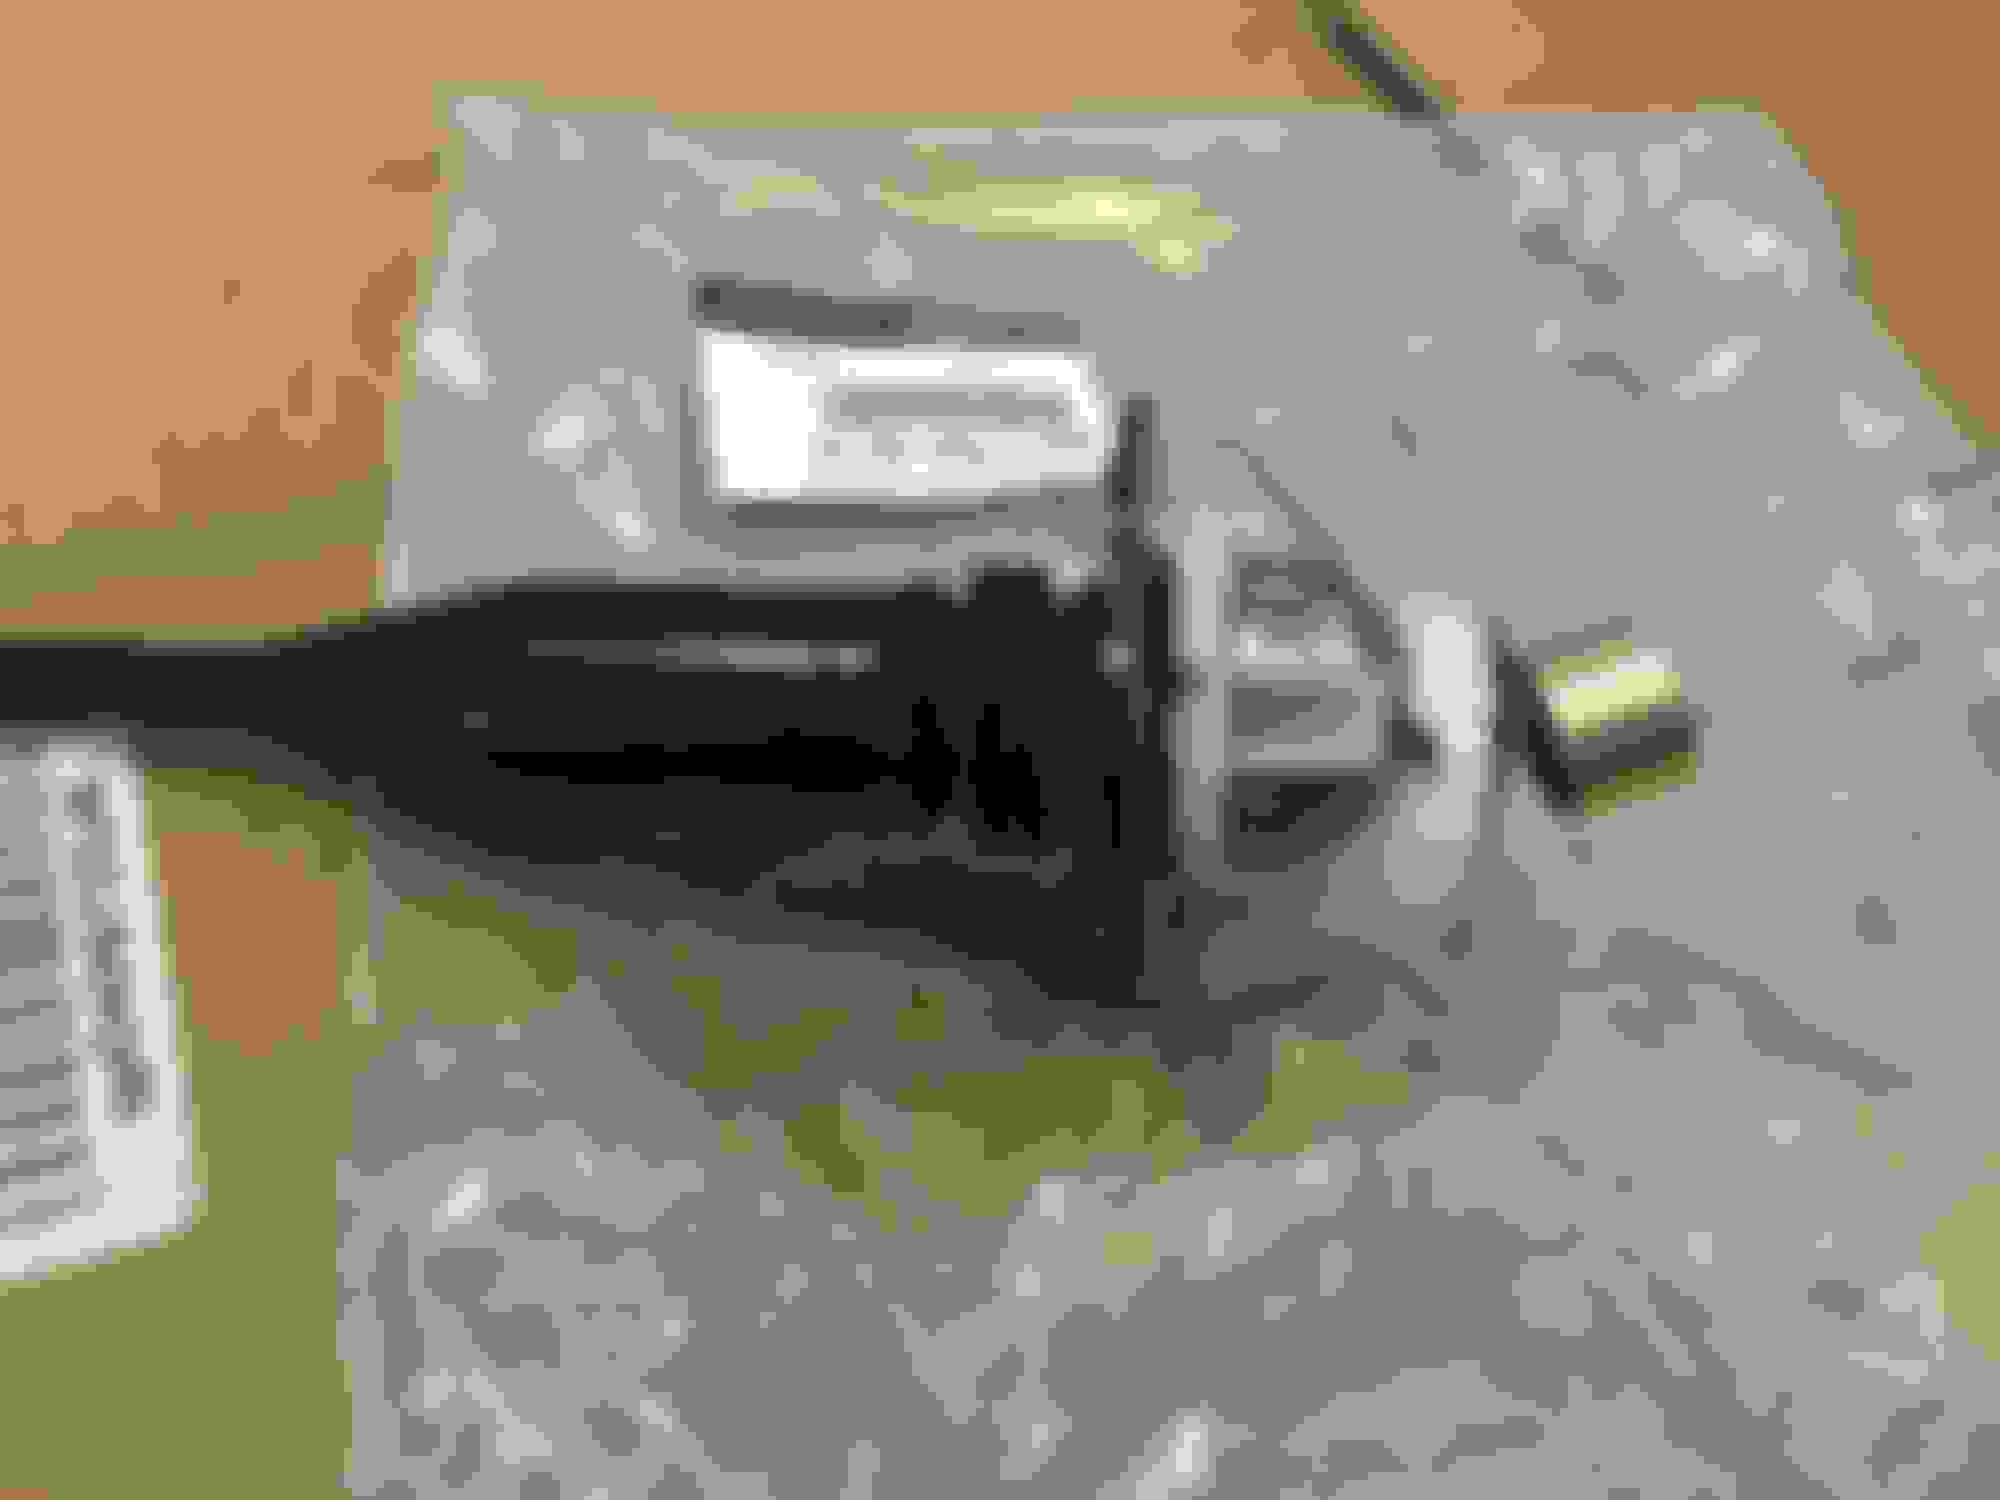
I replaced the starter with a new NB starter. My old starter had a loose plastic cap on the solenoid where the positive lead connects. This helped but didnt fix the issue.
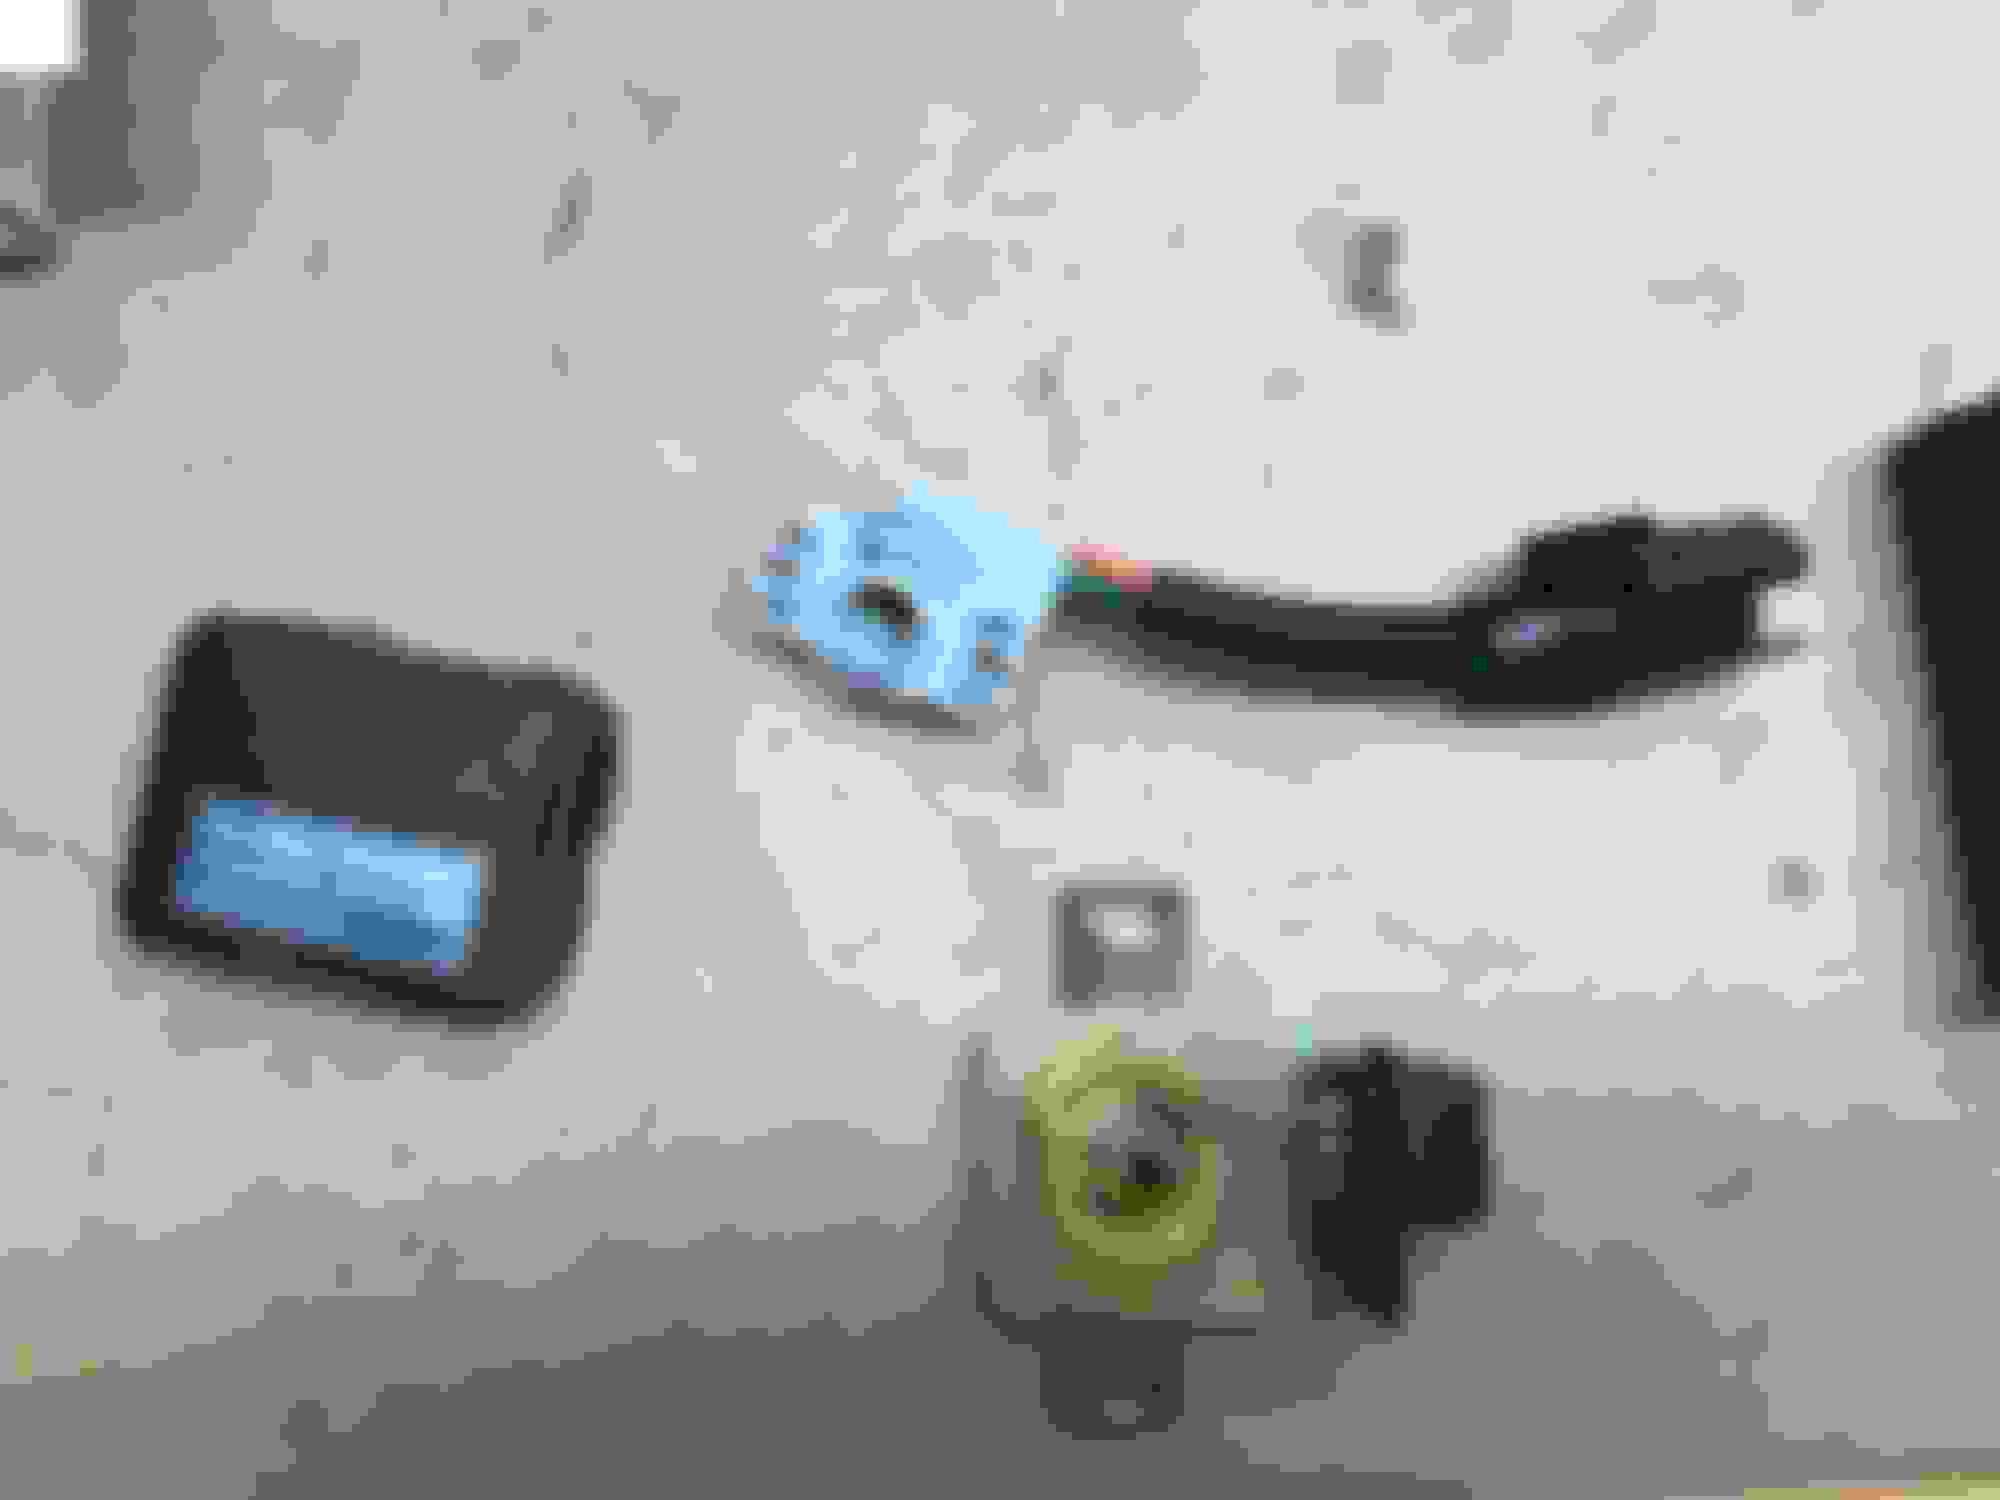
I also tried cleaning the ignition switch.
Much better but starter still doesnt crank fast enough
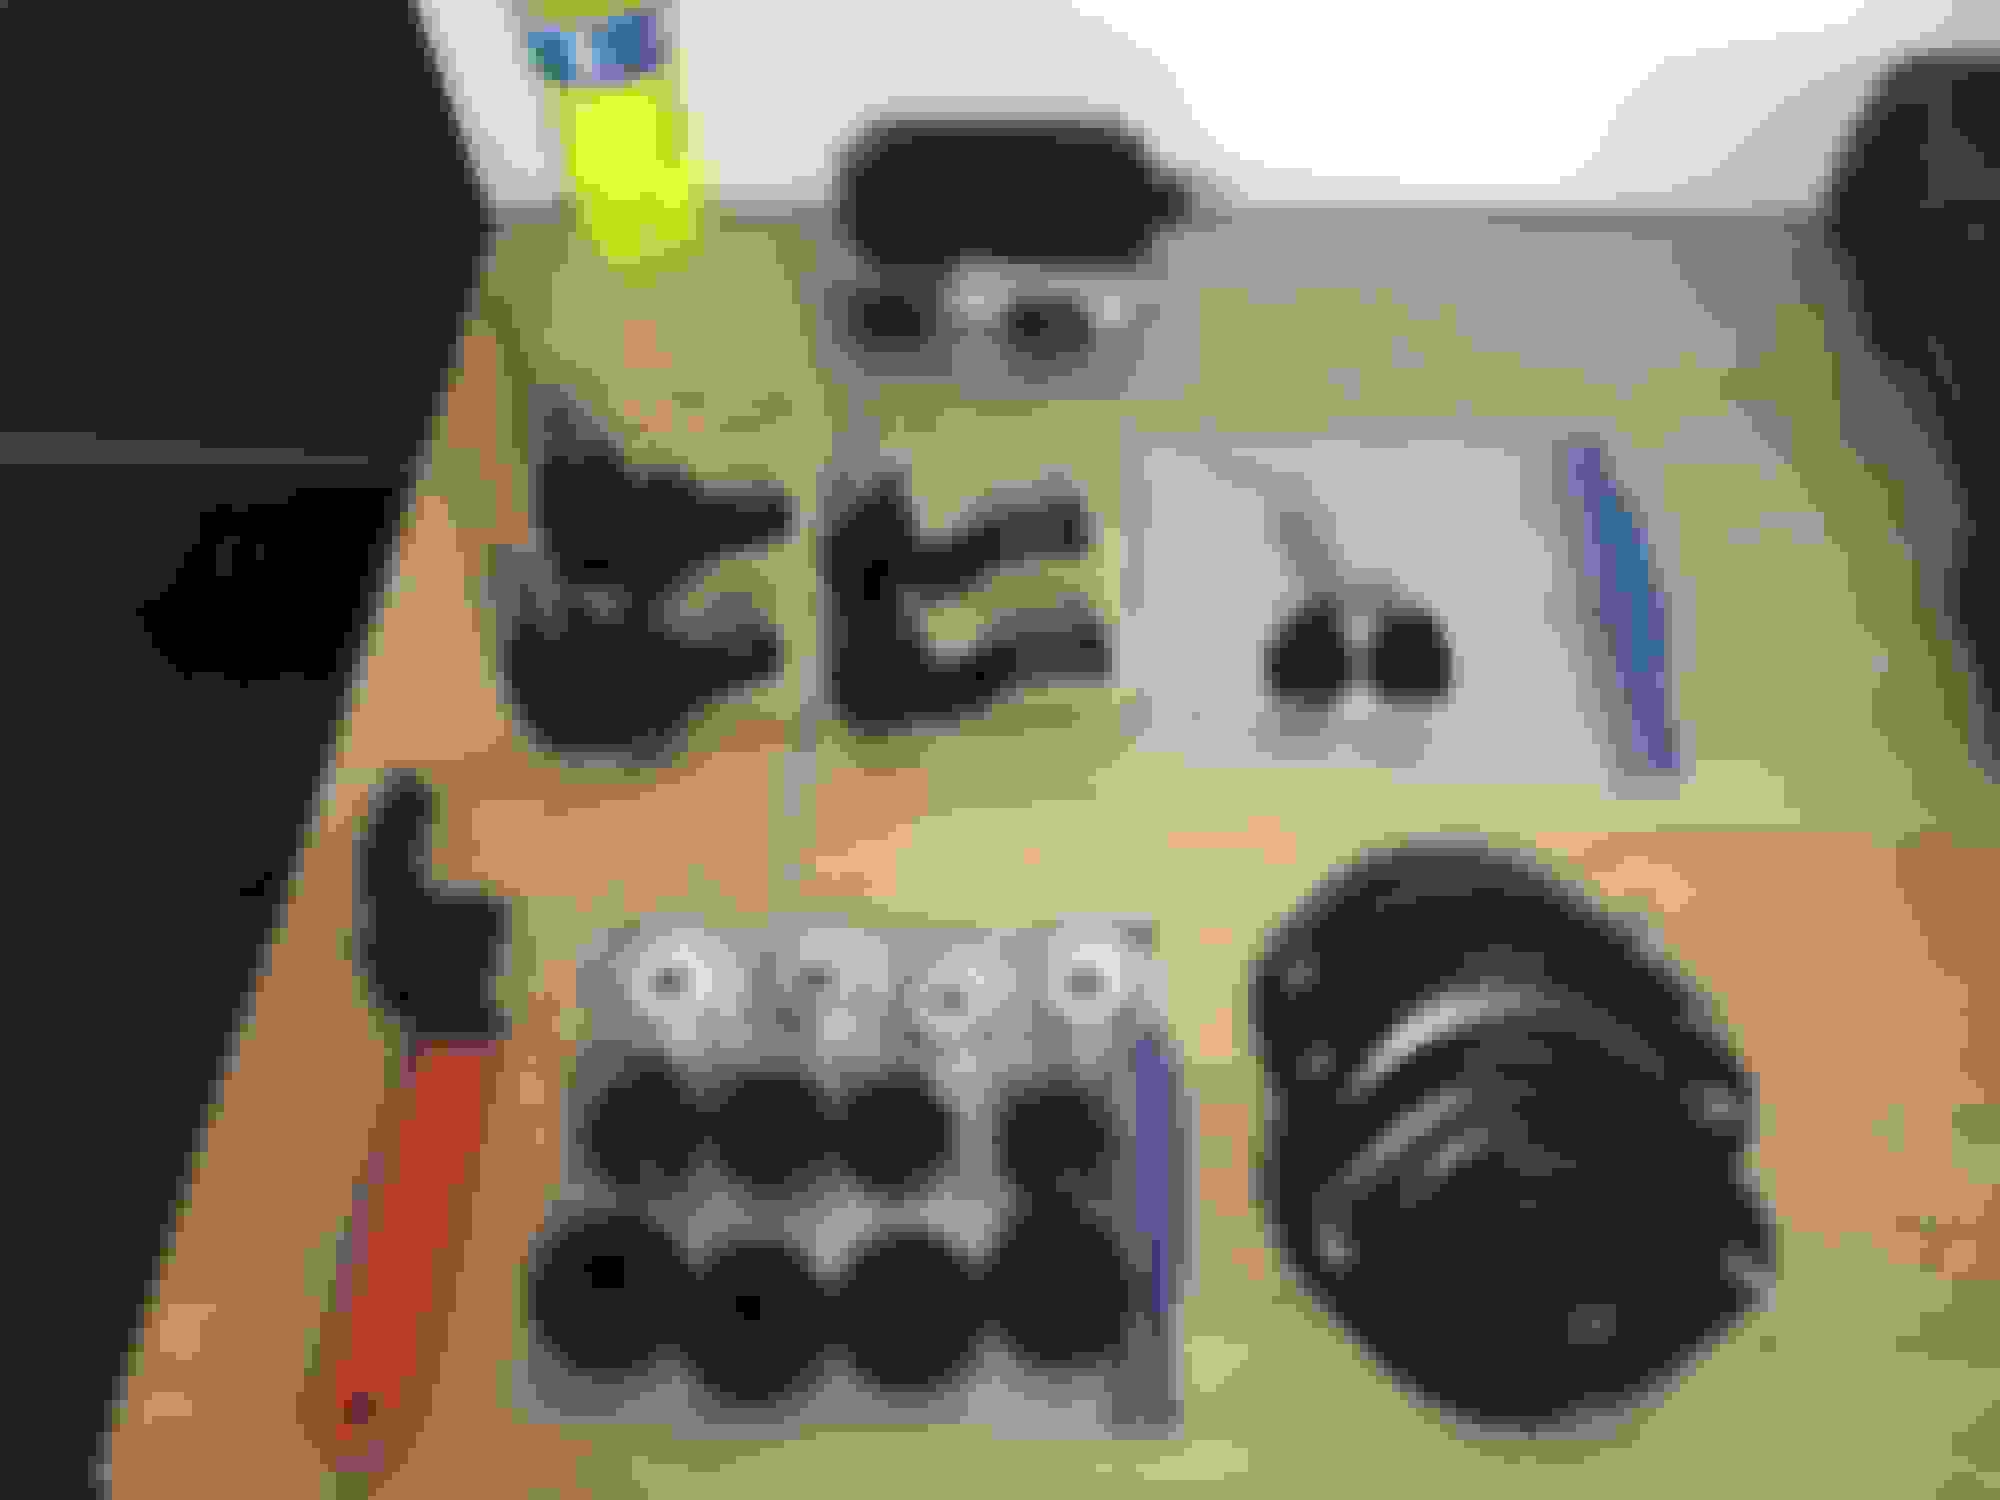
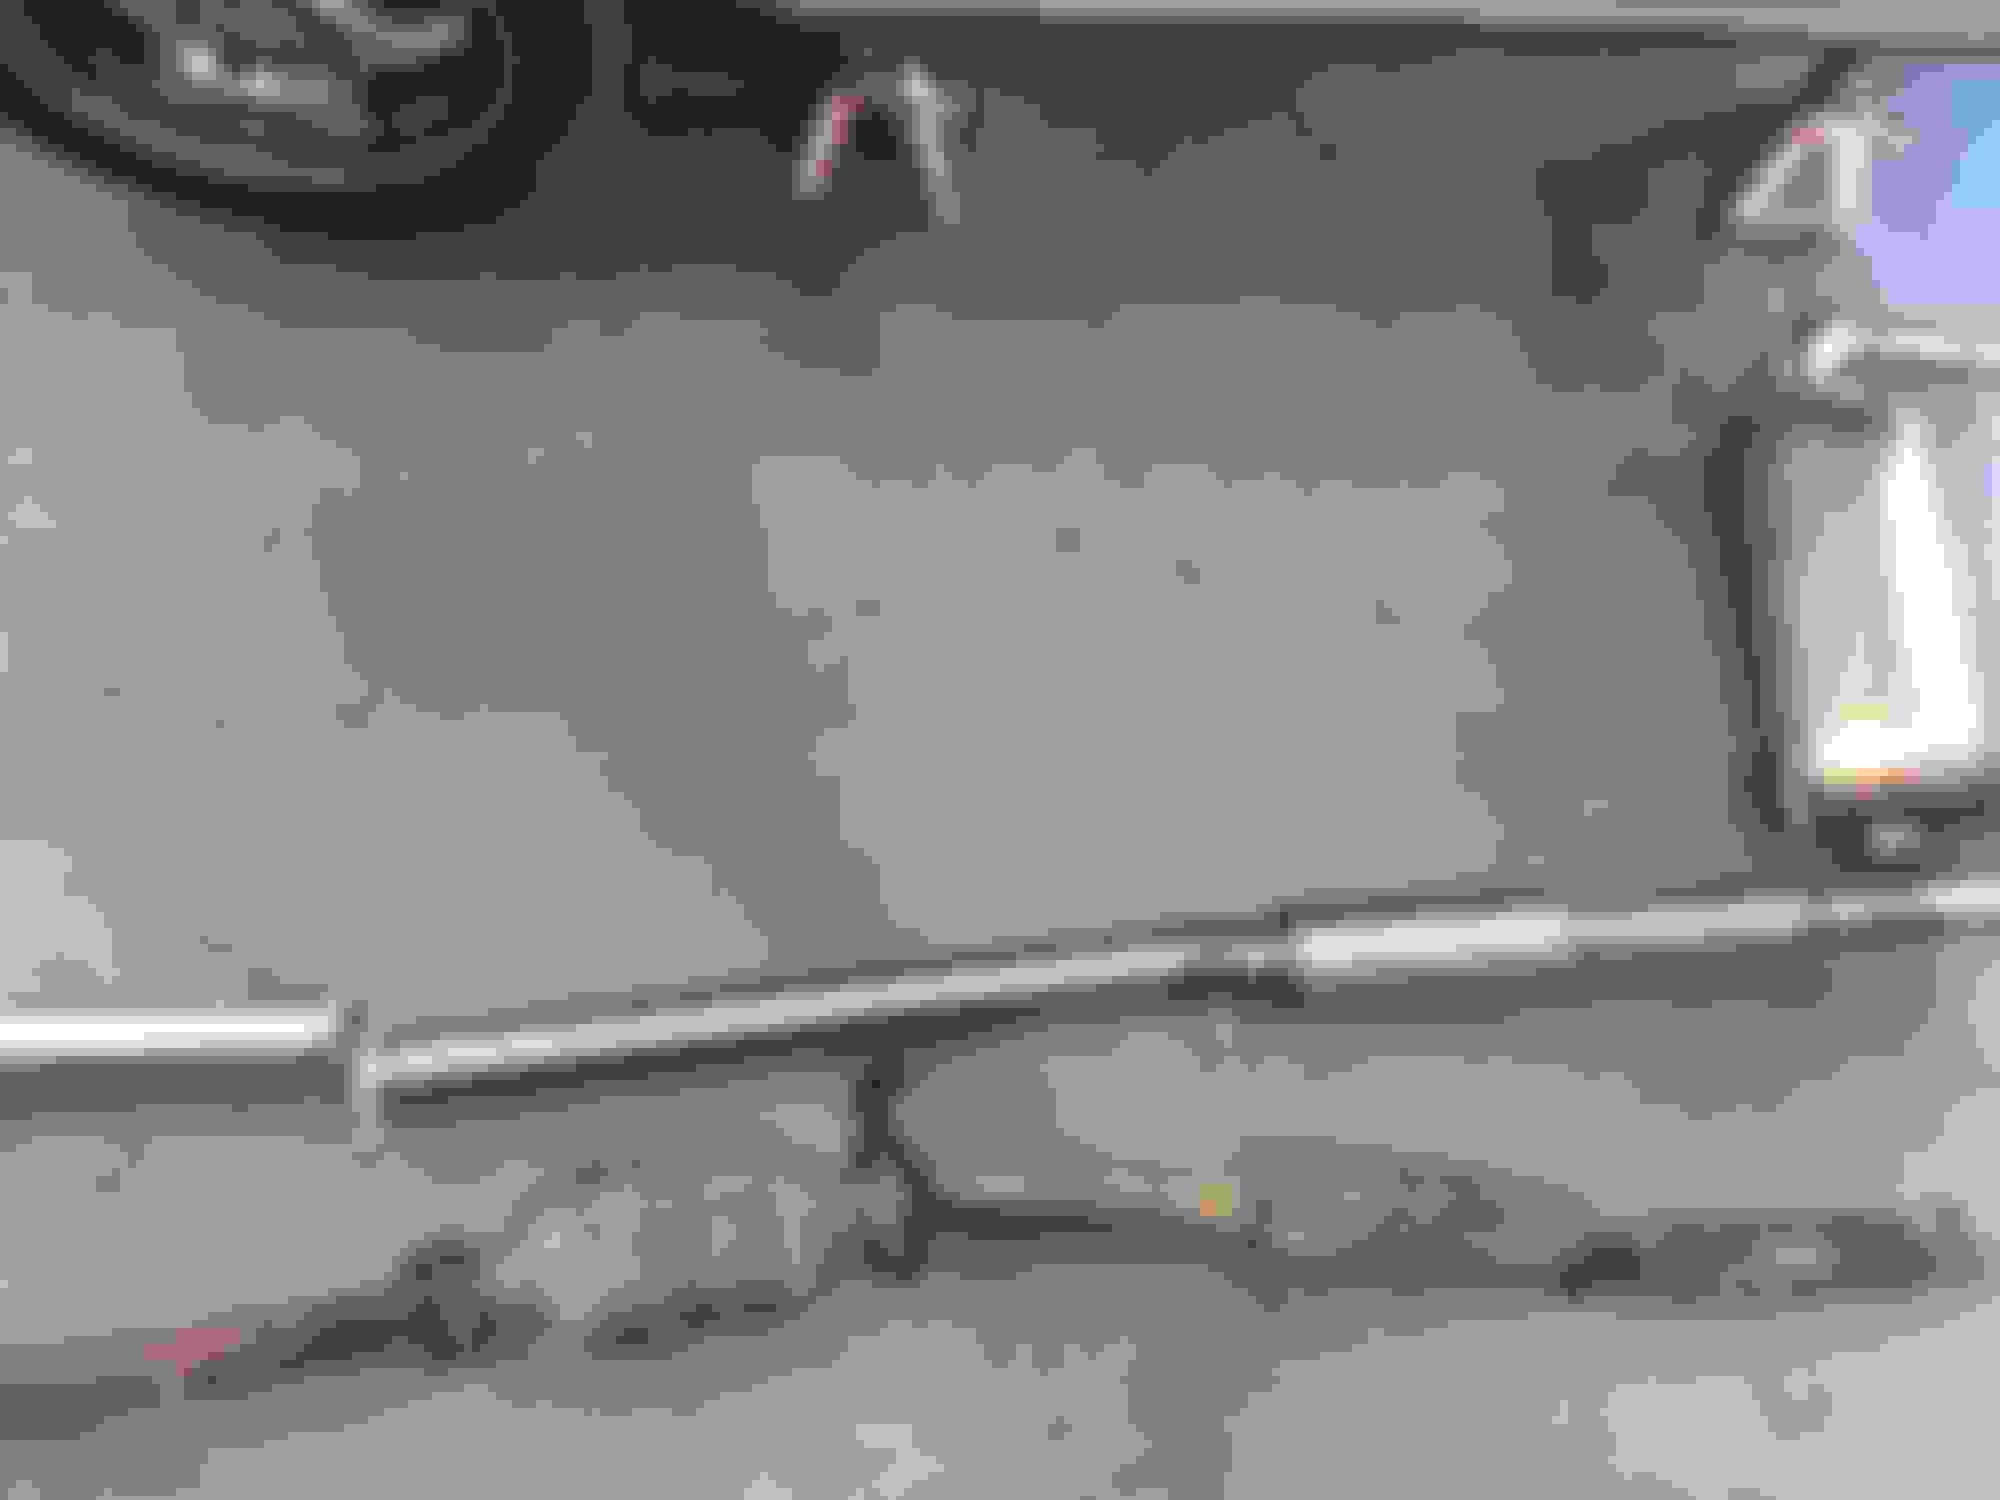
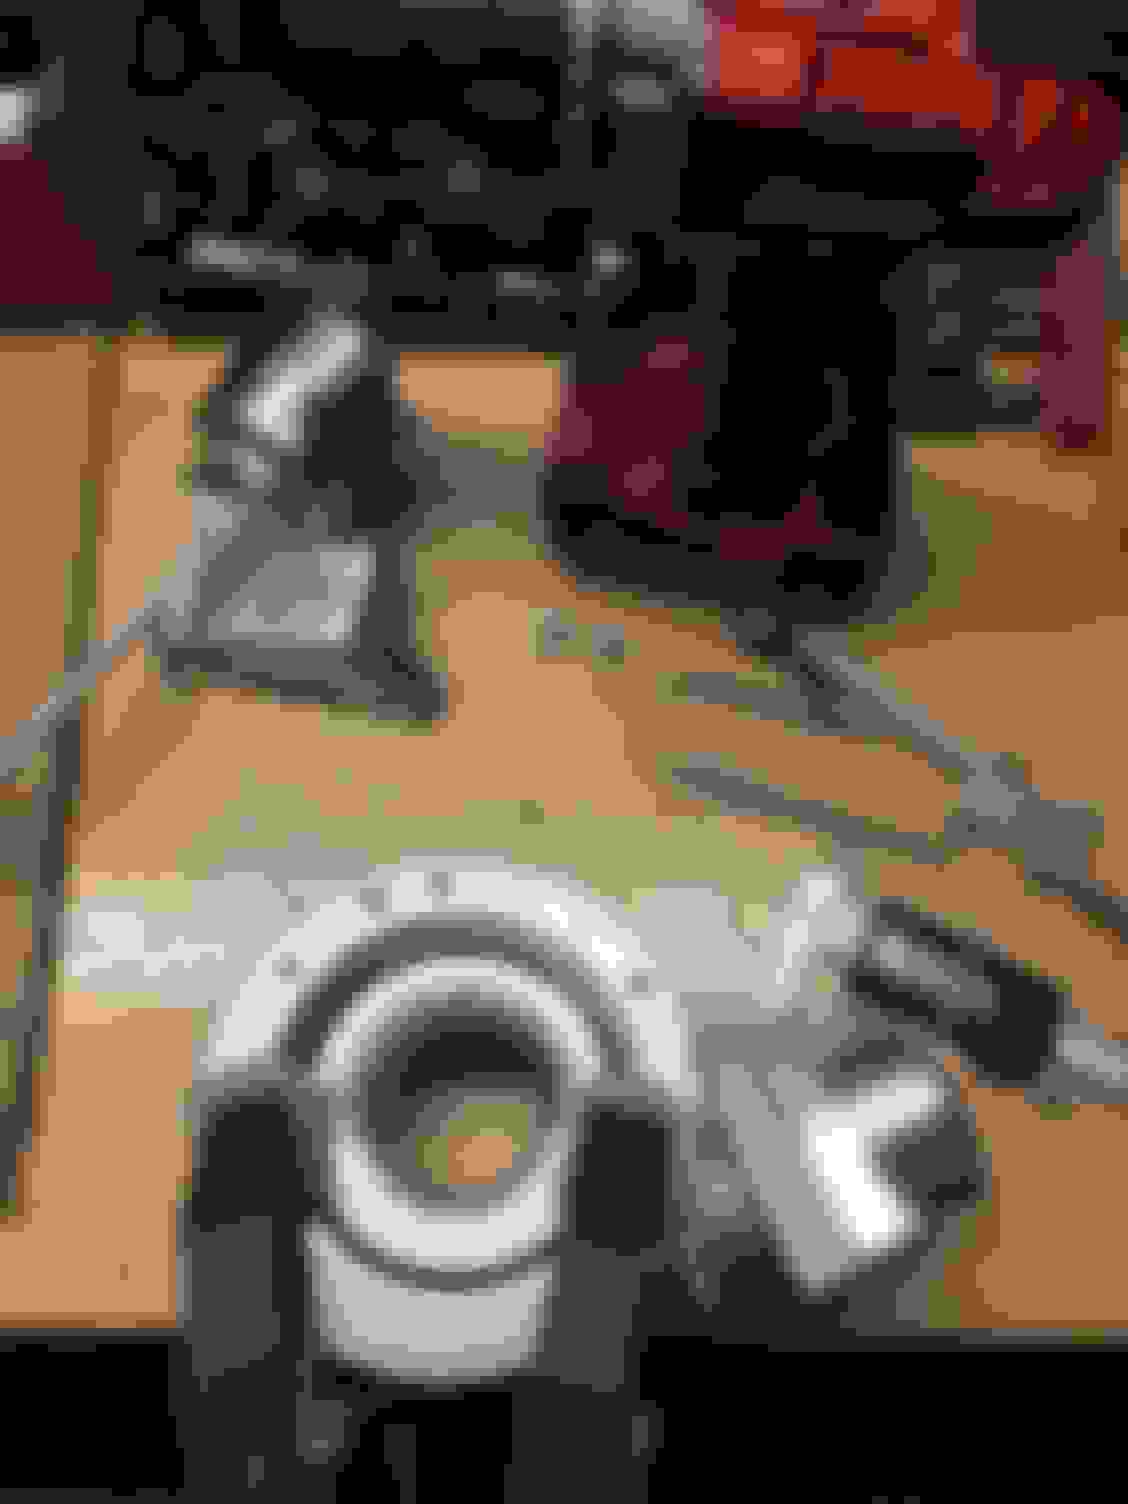
I picked up and installed a '94 torsen type 1 diff with axles and drive shaft. My old VSLD is the one on the top.
The shifter bushings got rebuilt.
The plastic cup one on the bottom was missing. I replaced it with a brass bushing. Feels way better!
I also extracted everything for the windshield wipers and sprayer. I honestly dont think I've used them once in 2.5 years.
So this is as the car sits. Still have a few plans left:
Tune eae and clean up throttle response
Fix slow cranking issue
I have a SM clutch and flywheel ready to go in
Up boost and tune closed loop boost control
Attempt to tune ignition timing
Probably should get a roll bar too
Current interior
Current fueling and ignition tables. Running about 140-150Kpa so everything above that isnt tuned yet.
The ignition table is from trubokittys basemap but with a few extra degrees pulled in boost region since Im running 91 octane.
Well my starter mount broke, lasted a good 900 miles. Since its an NB, you can only use 2 of the bolts to mount it. My bottom bolt worked its way out somehow and disappeared leaving just the top bolt. Had a hicup when cranking that cracked the remaining bolt and the starter fell off the block.
I put my NA starter back in. Replacing it originally didnt resolve the issue so it should still be fine still
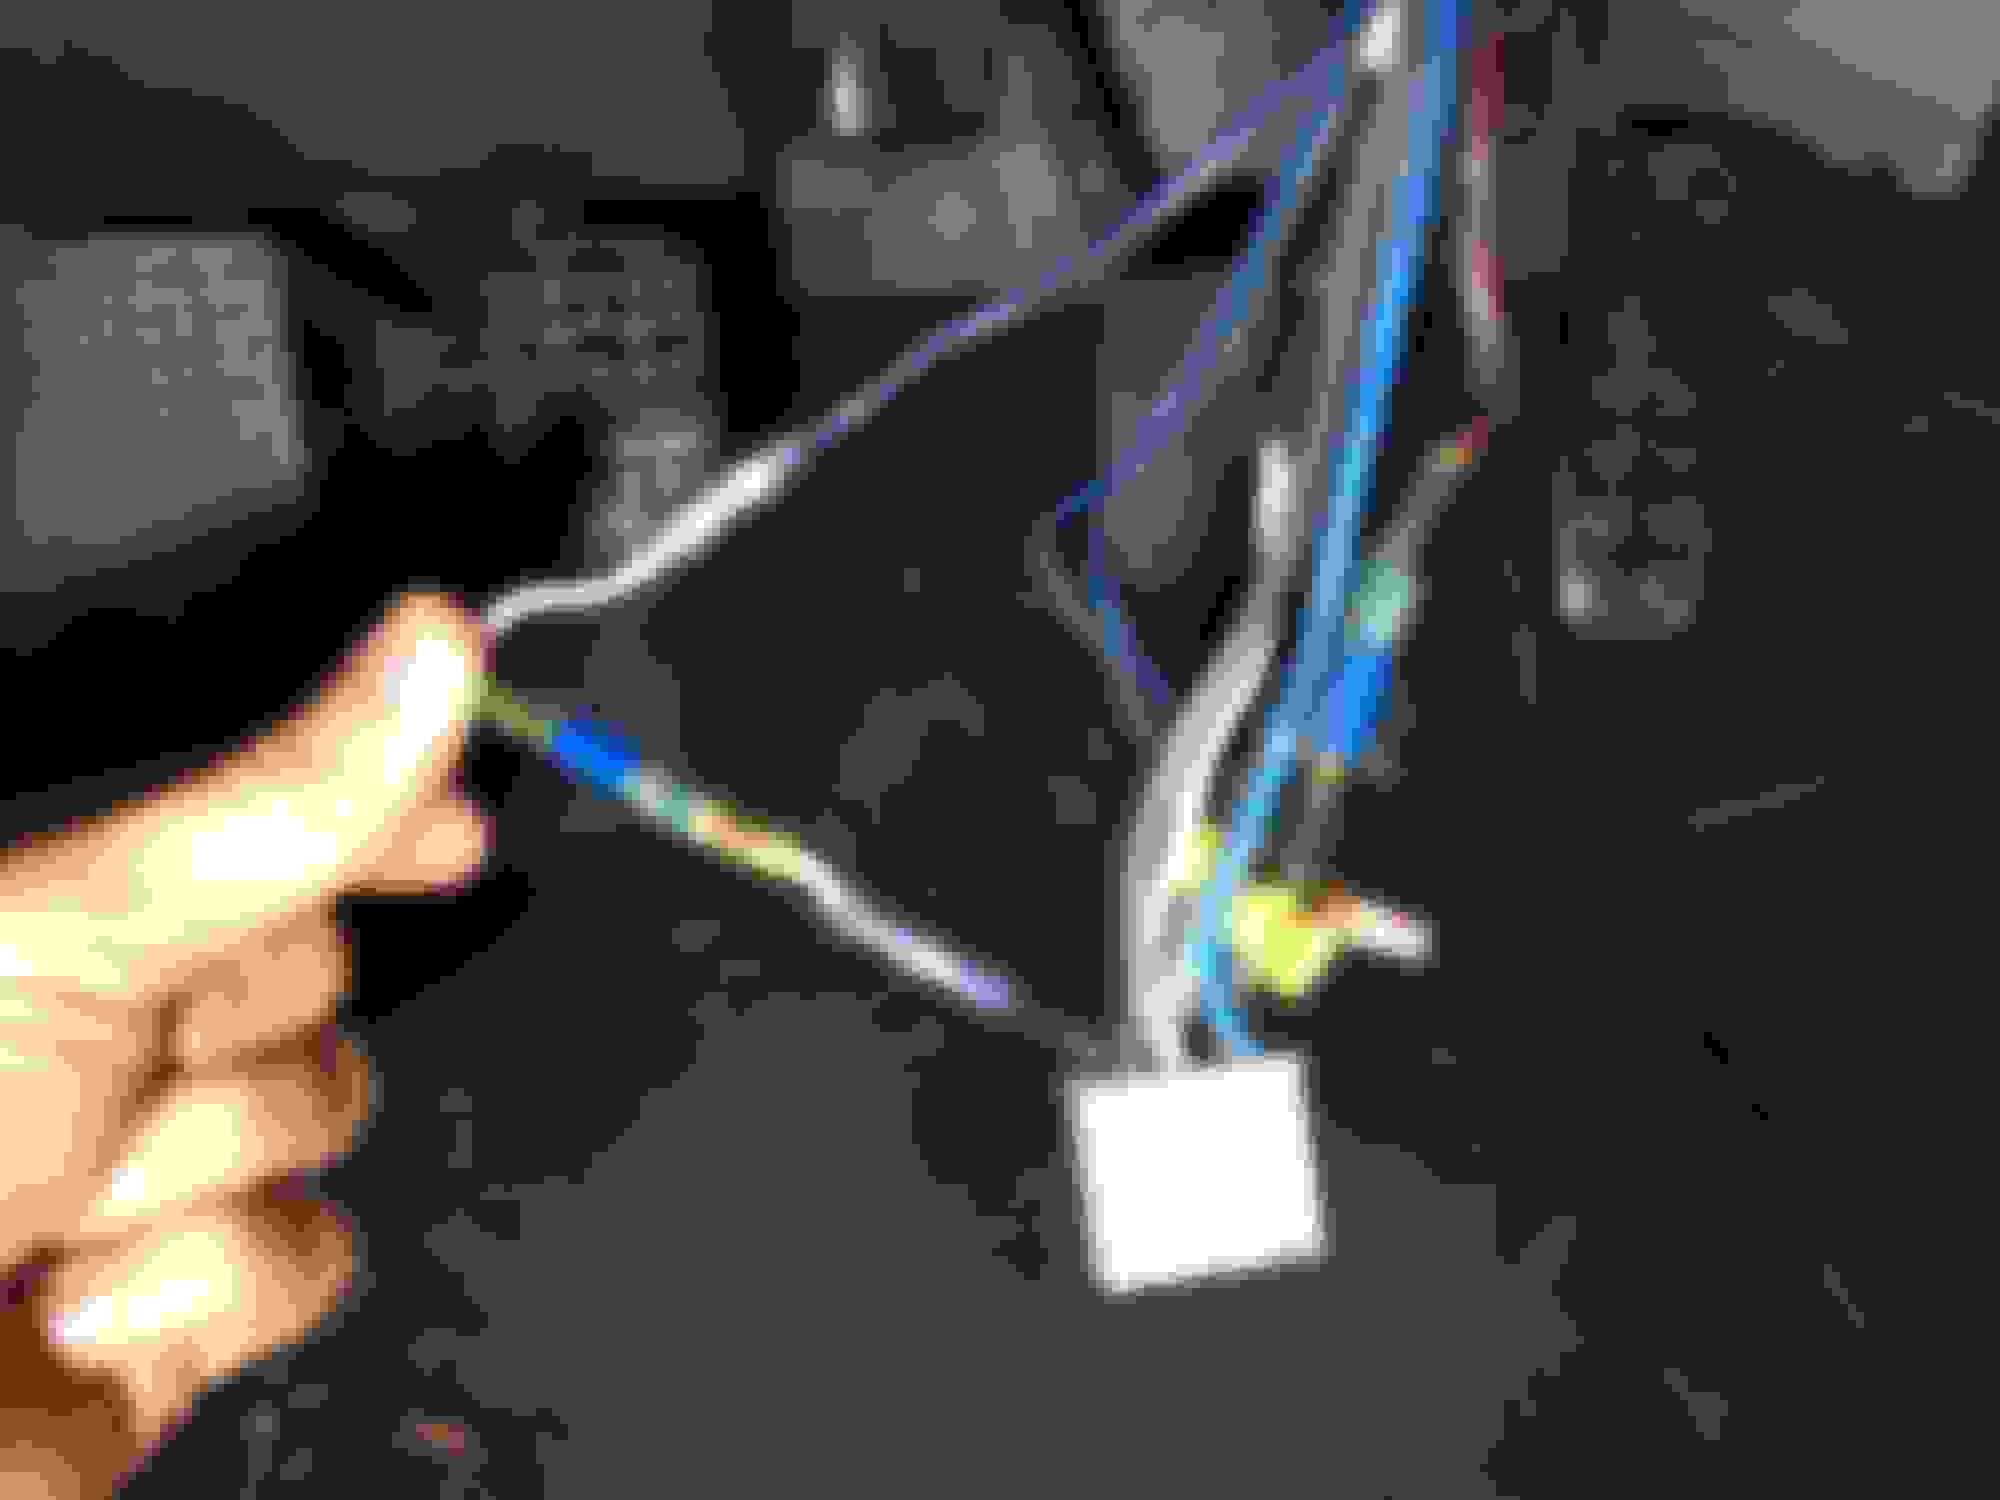
I think I fixed the slow cranking issue though. I found this mess on the back of the ignition switch.
- A couple wire tap connectors that werent hooked up to anything. These severed some of the strands on the harness wires, limiting current.
- The black/blue wire has some crappy butt splices that dropped it down to 14 awg wire for a bullet connector. I think this is the wire to energize the starter solenoid
All cleaned up with high current sealed butt splices
It works! Tunerstudios shows it cranking over around 250 rpms
The clock on my radio would reset every single time I started my car. Doesnt seem to be happening anymore
Great thread! Looks like a budget build gone right. I too have the kraken kit, and live in NM (Taos), would love to check out your car sometime. Maybe at the next time attack once they re-open the track. I was just at Sandia for the time attack in March, my 2nd time at that track. I ran some 1:36's, and can't wait to go back as I know the car has more time in it.
I would definitely recommend a coolant re-route for track duty on a turbo miata though, it's just cheap insurance. Can't go wrong. Everything else looks pretty good to me!
The last few weeks Ive been working on cleaning up the throttle response. Got tired of the afr swinging all over the place on throttle changes and the car would usually buck if I was too heavy on the throttle. I got EAE up and running and cleaned up my regular AE.
It took some extra time because I was getting inconsistent responses for a couple tuning sessions. Turns out I needed to wait for the injectors to fully warm up and heat soak, usually after 30-40 mins of driving. I originally started tuning EAE after the thermostat opened up a couple times and oil pressure stopped dropping (oil warmed up).
The first thing I did was to clean up the vacuum portion VE table under 4000 and added some fuel above the idle cells. This helped get rid of the lean spike when taking off from a stop and its smoother when revving in neutral. If i drive steady state in these cells, the afr is around 12.3:1
I also disable ego under 1200 rpms. It idles smoother with ego off. I can deal with the afr being slightly off target
Heres my EAE plots. Definitely not perfect, but the car feels WAY smoother on throttle manipulations. I think I spent around 15 hours tuning these but it was 100% worth it.
My atw and sfw curves seem strangely low compared to other peoples plots
AFR tracks target pretty well
Then I tuned regular AE. This took like 20 minutes, it was pretty easy
Very happy with results
Still get a small lean spike sometimes on tip in, but I cant feel it
This was a moderate ~50% tps pull in gears 2-4, running 7psi waste gate pressure (130kpa map). The clutched started slipping going into 3rd so I had to back off
Still some rich dips when closing throttle but I dont think I will be able to tune those out
I was still getting some bucking when smashing the throttle. Both of my engine mounts were completely torn. Replaced them with the mazda comp mounts
This was another huge improvement. Its awesome, when I hit the throttle, the car just goes, theres no hesitation or anything. Feels like driving an oem tuned car
Great thread! Looks like a budget build gone right. I too have the kraken kit, and live in NM (Taos), would love to check out your car sometime. Maybe at the next time attack once they re-open the track. I was just at Sandia for the time attack in March, my 2nd time at that track. I ran some 1:36's, and can't wait to go back as I know the car has more time in it.
I would definitely recommend a coolant re-route for track duty on a turbo miata though, it's just cheap insurance. Can't go wrong. Everything else looks pretty good to me!
Thanks man! I wont lie I already read thru most of your thread, Taos is beautiful. I definitely plan on going back to Sandia this year if they open up, would be cool to see your car too
I took a long drive today into the mountains. Coolant temps broke 210F when it was like 85F ambient, though it was a long up hill. I think a coolant reroute and maybe a thicker alum radiator may be needed soon. I have a ~35mm thick old copper radiator currently
Cool dude!
I flipped through some pictures and thought I recognized the area.
I've met Fireindc in person once upon a time and would love to make a track day again with a truboMiata crew.
I found an old time slip from Sandia and it looks like I consistently hit 1:33's and dipped into 1:32's once. This was on 225 RS3-V2's and something around 220whp.
Now I have 3 kids and would be happy to just drive over there and turn a lap.
 04-07-2020, 10:44 PM


 2
2