When you click on links to various merchants on this site and make a purchase, this can result in this site earning a commission. Affiliate programs and affiliations include, but are not limited to, the eBay Partner Network.
Havent been able to work on the car at all this summer. But my afrs are all over the place after the dyno tune. I was seeing 13.8 afr at 170kpa and 6000 rpm and even 12.8 afr at like 60kpa and 2500rpm.
I ended up just reverting back to my old tune and transferring over all the ignition timing map and couple other settings that were changed. A lot faster than tuning the whole VE table again.
I also richened it up a couple tenths in the 80-100kpa rows.
AFRs are spot on again. Put new plugs and, did a pull and shut engine off and coasted to a stop. Couldnt see any detonation sparkles on any of the plugs as far as I could tell
I think Im finally finished with tuning!! Attached tune here as backup
I’ll get around to putting the reroute in really soon. Theres a time attack event on 10/01 I can actually go to. Couldnt make it to any of them this year so far.
Having issues with coolant temp spiking in boost and want a little more headroom in the cooling system.
Shame about your issues, surprised by the heat spikes you see as well, have you got any other cooling features? I'm a couple days away from getting mine tuned, wondering if I've enough heat management or not.
That's a pretty high coolant temp you are showing there.
From the graph, it looks like the temp is rising quite a bit during full throttle, and then dropping a whole lot just after you lift.
How many degrees does the temp drop when you lift? Is it just a couple of degrees or a lot?
Havent done much to the cooling system yet. Just a 52mm aluminum radiator and oem radiator ducting.
Think it might be a hardware issue though, I loaded an old tune I know didnt have this problem and it didnt go away. Maybe air in the system or the sensor has a poor connection or something.
The baseline temp in that plot was 210F, long drive uphill on 95F day so not abnormal. Spiked to 255F during the like 5 second pull, then dropped all the way back to 210F about 1 second after I let off.
yah, I would agree that a 45F rise and drop over that little a time sounds impossible.
Besides air in the system and bad sensor, I would check the engine ground. Your CLT plot is quite noisy (jittery). This could be caused by
the connection to the sensor, or the engine ground.
Unlikely causes but perhaps also worth checking are an extremely loose belt on the water pump and a sticking thermostat.
Looking at my logs, I only see about a 1-2degree rise in temp after a 5 second hard pull.
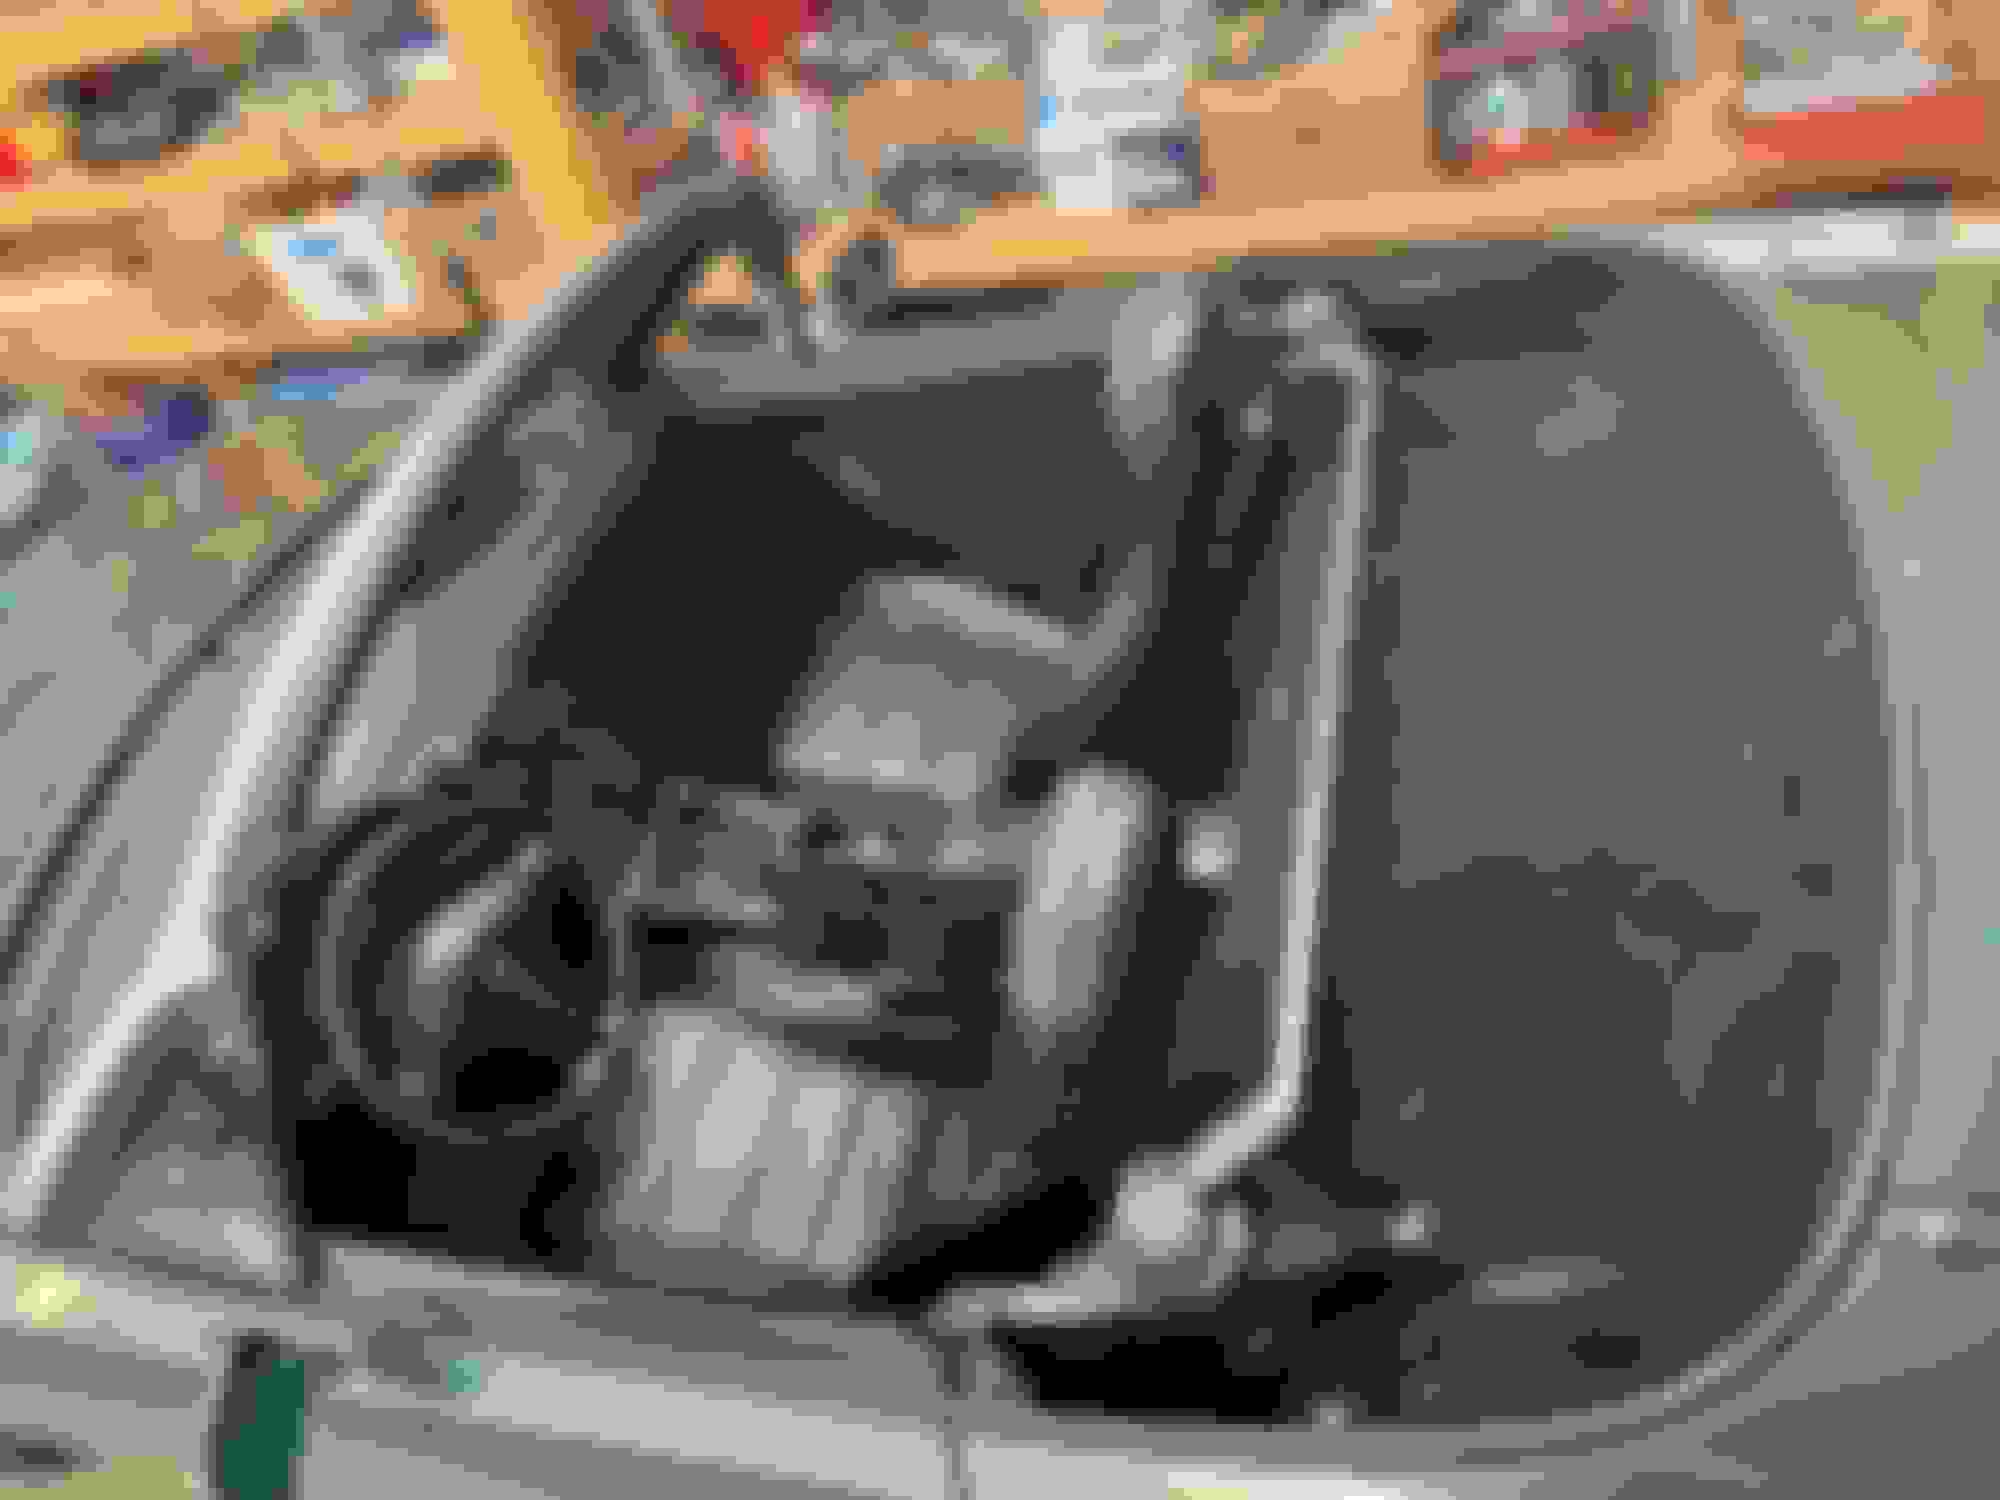
I got around to installing the Qmax reroute finally, been sitting on the shelf for a year. I also deleted the heater core since since its still leaking and my windows fog up when its cool outside. Would prefer to keep it, but I cant find a new one in stock anywhere.
Really want to try tracking the miata again this year at the Sandia. Didnt have time to get to any of the events last year.
Also got a new phone so the pics going forward should be better quality.
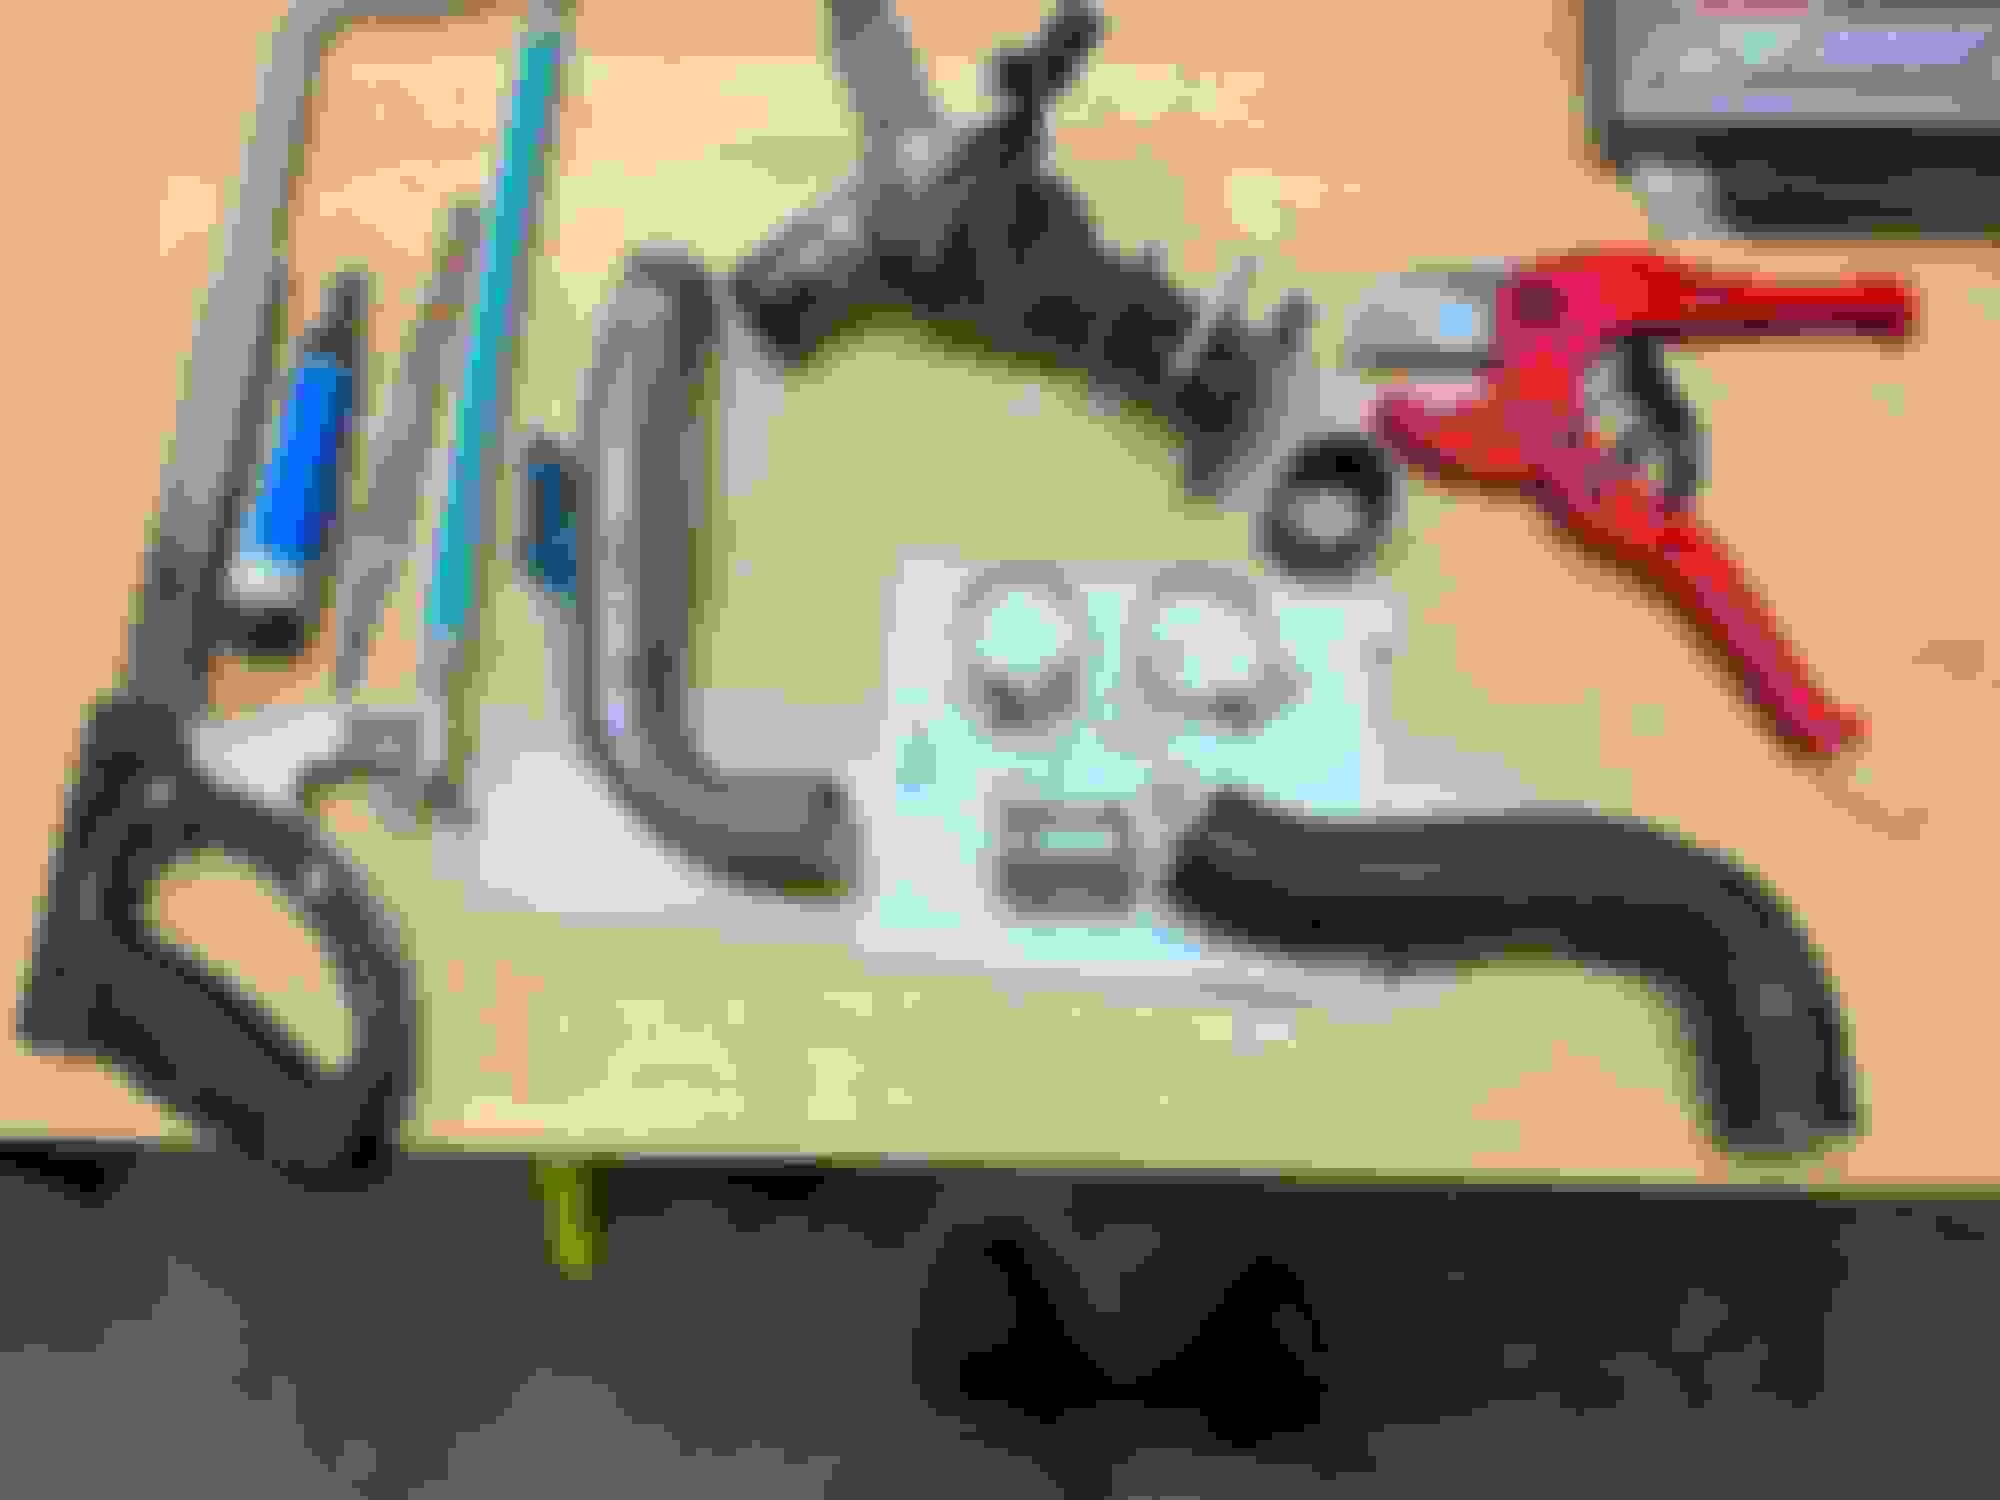
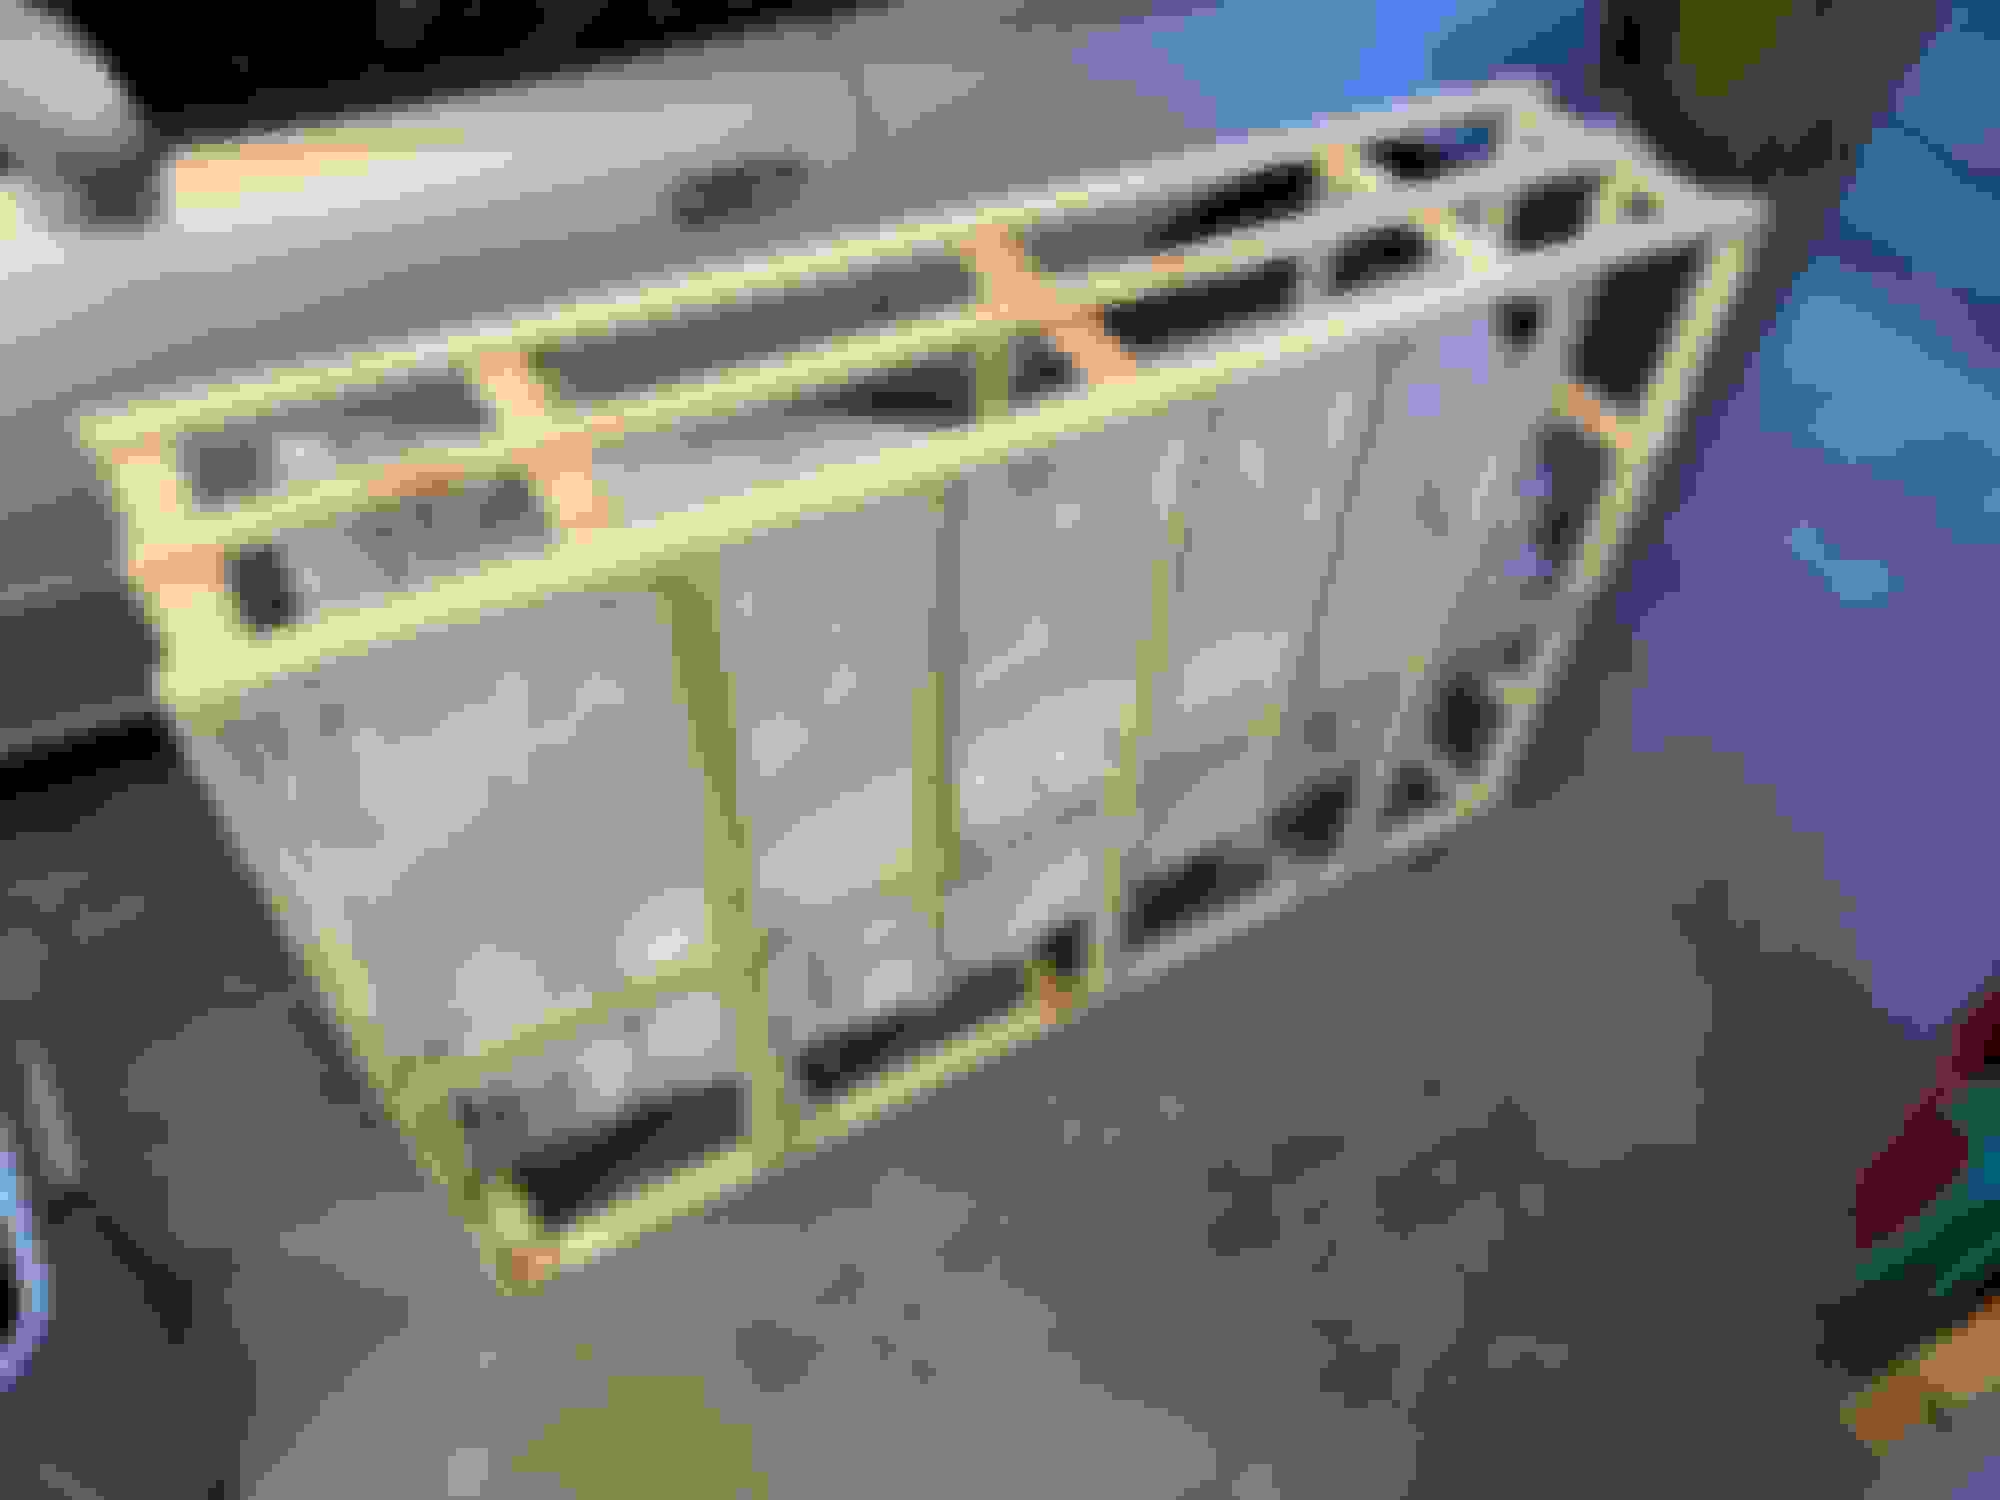
Rear waterneck off, heater core lines disconnected and mangled
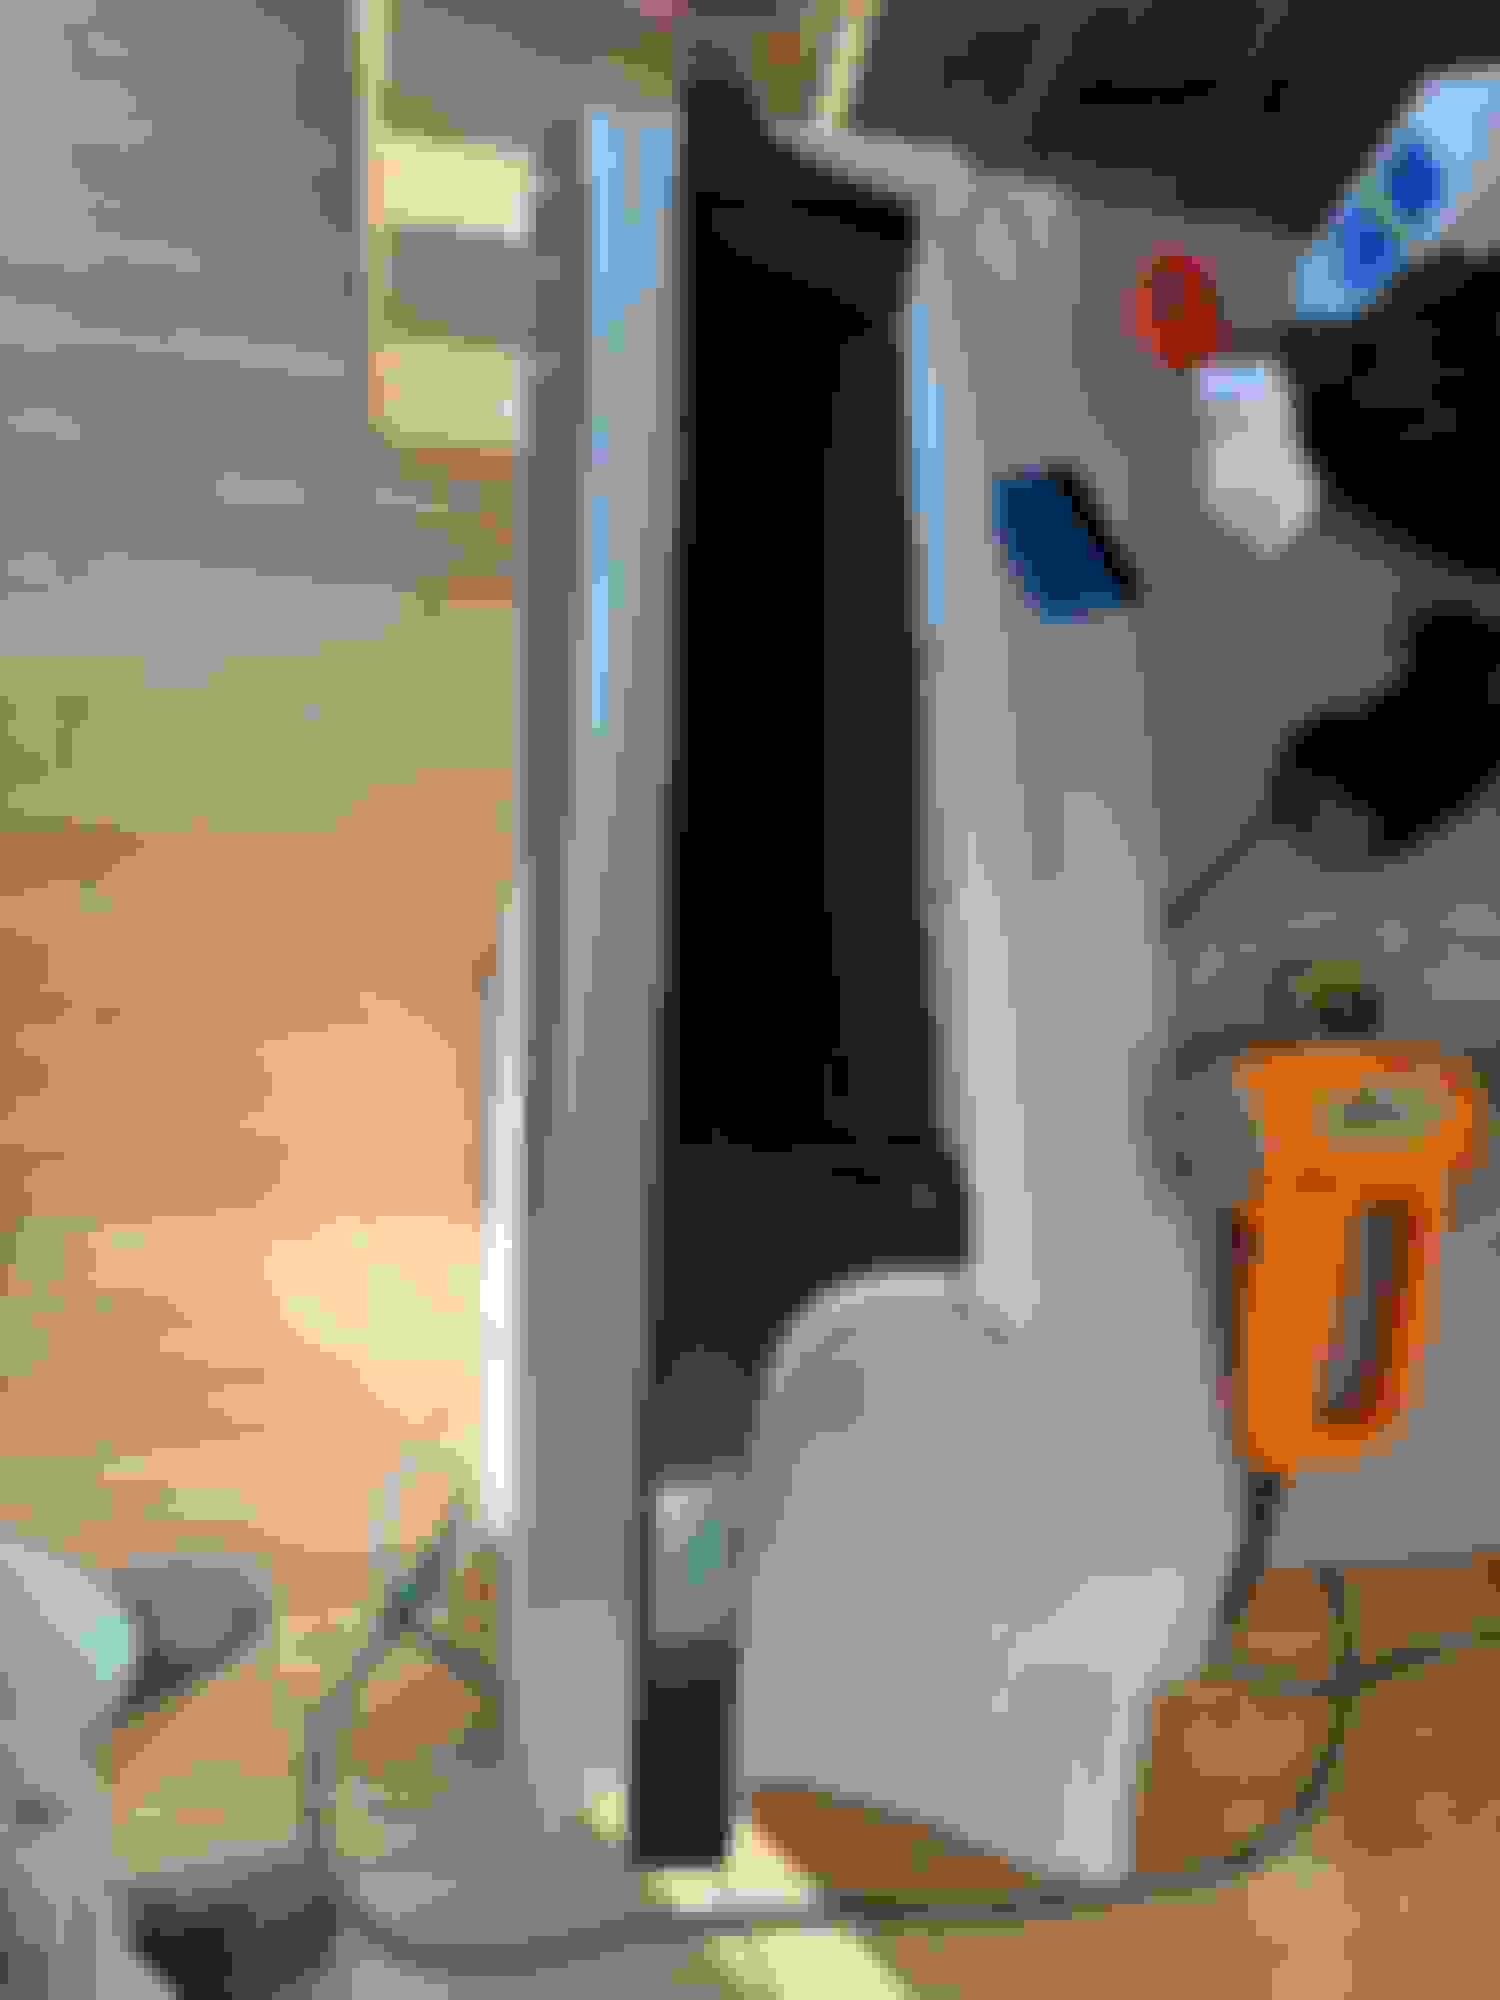
I removed the PPF and drive shaft so I could tilt the engine and trans forward and get a little more room on the back of the head. Spent almost an hour cleaning the gasket surface on the head up, PITA.
I used a 180F thermostat (Stant 45848), not the 195F one that came with the kit.
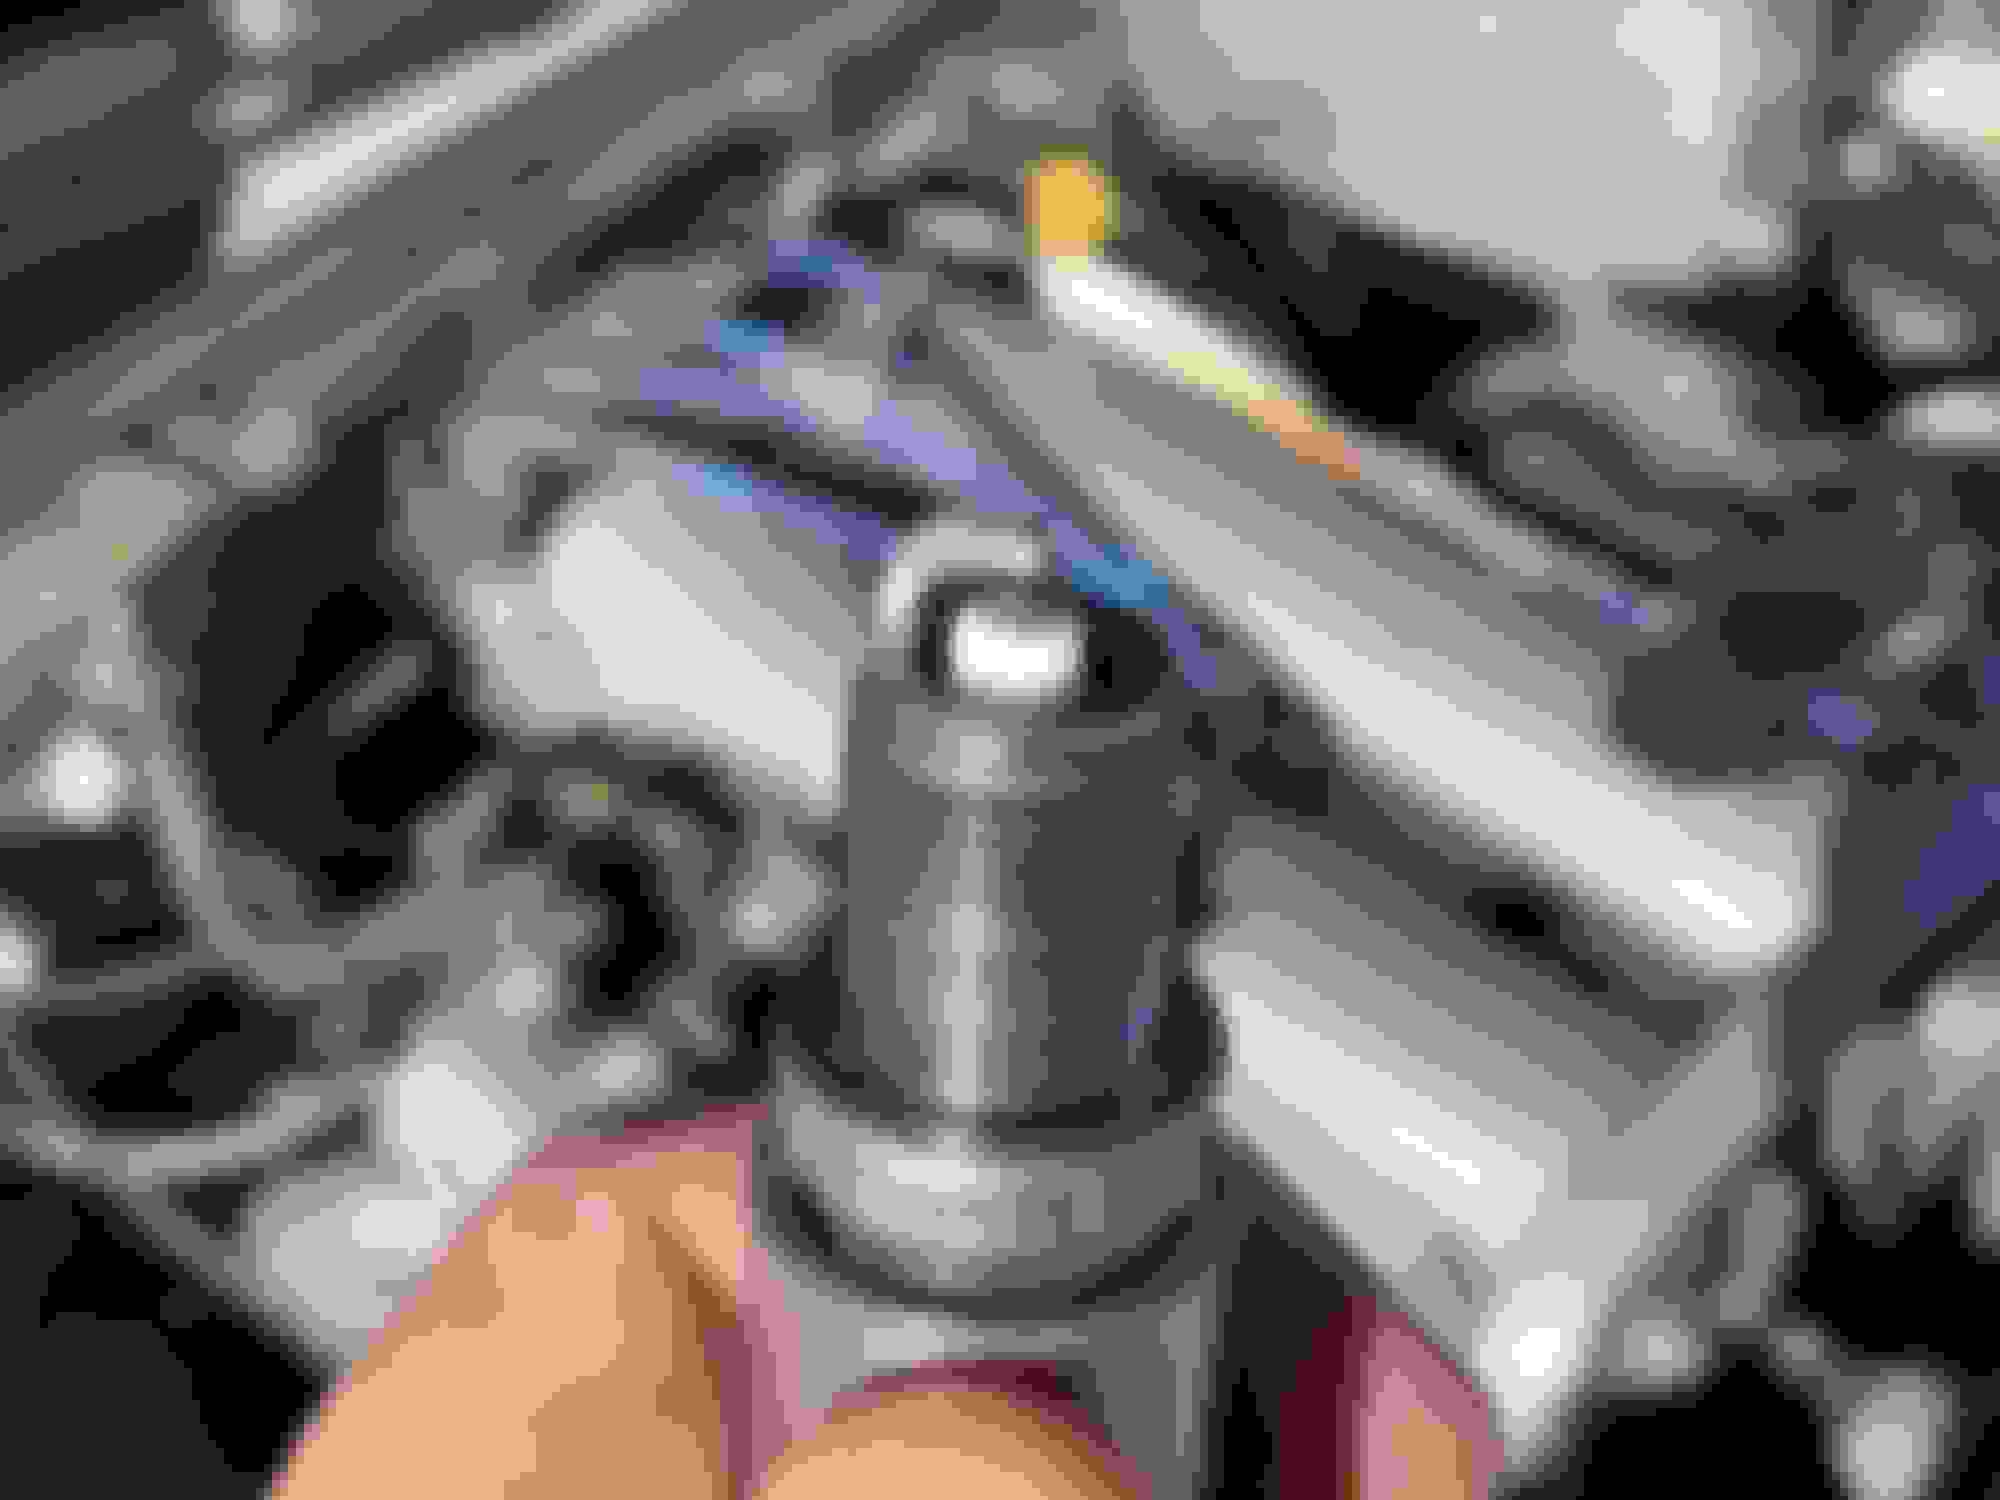
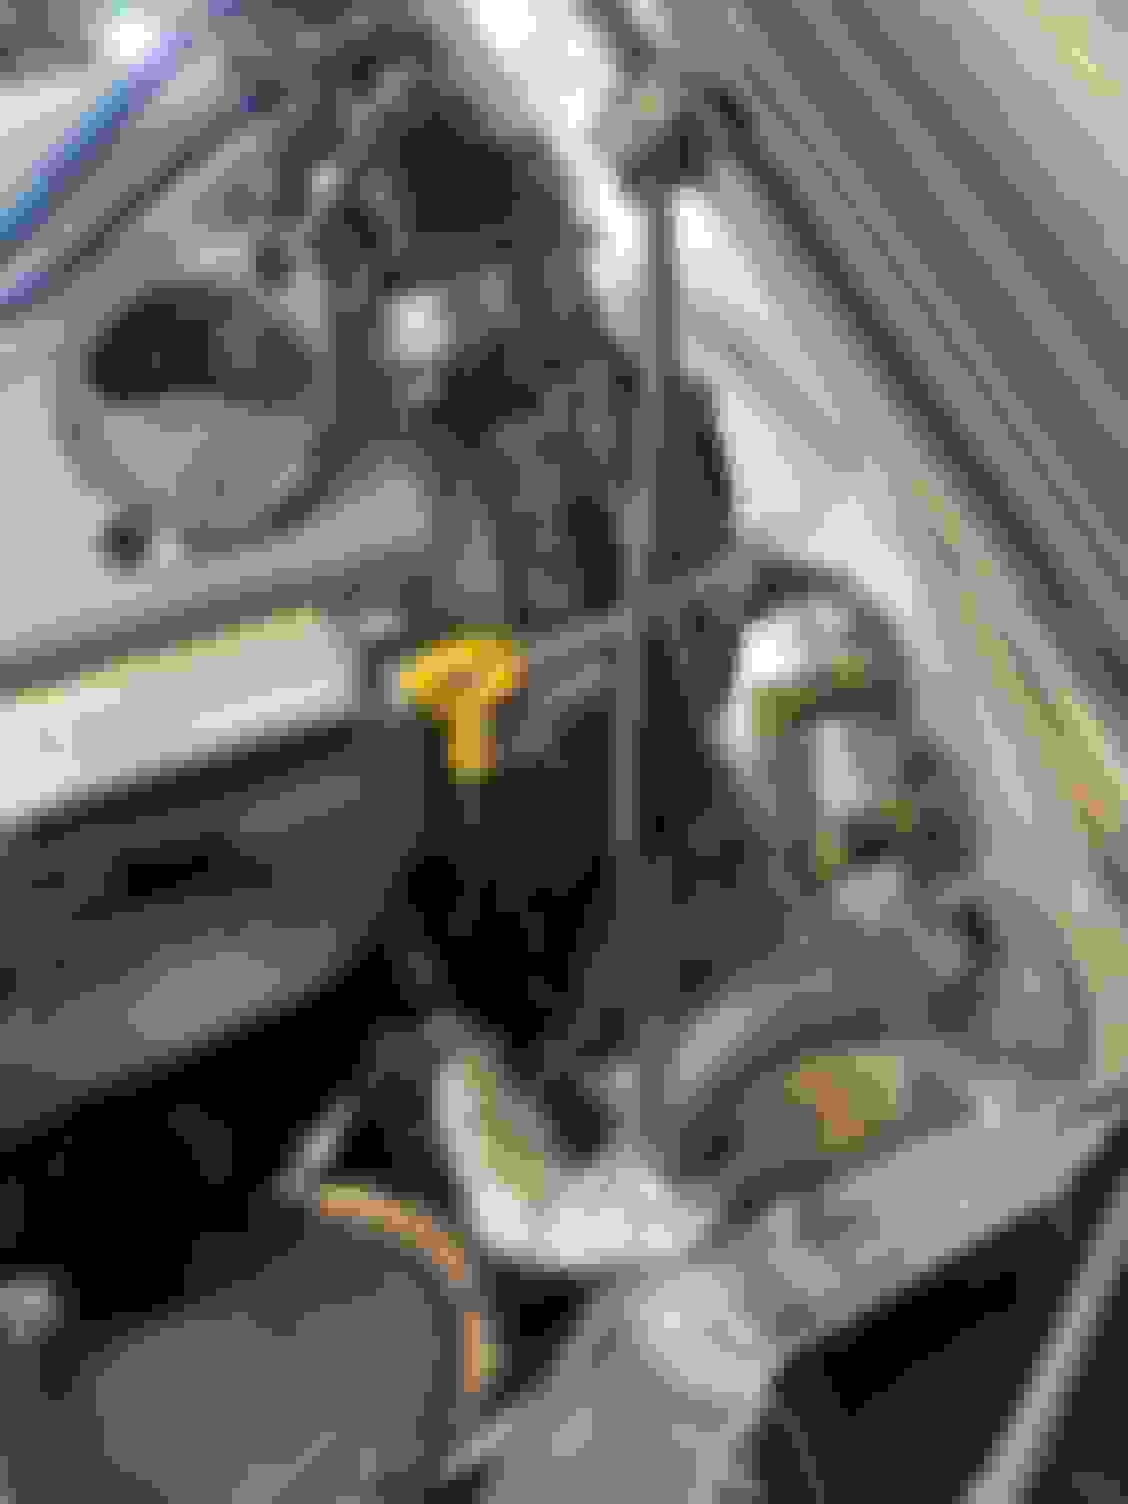
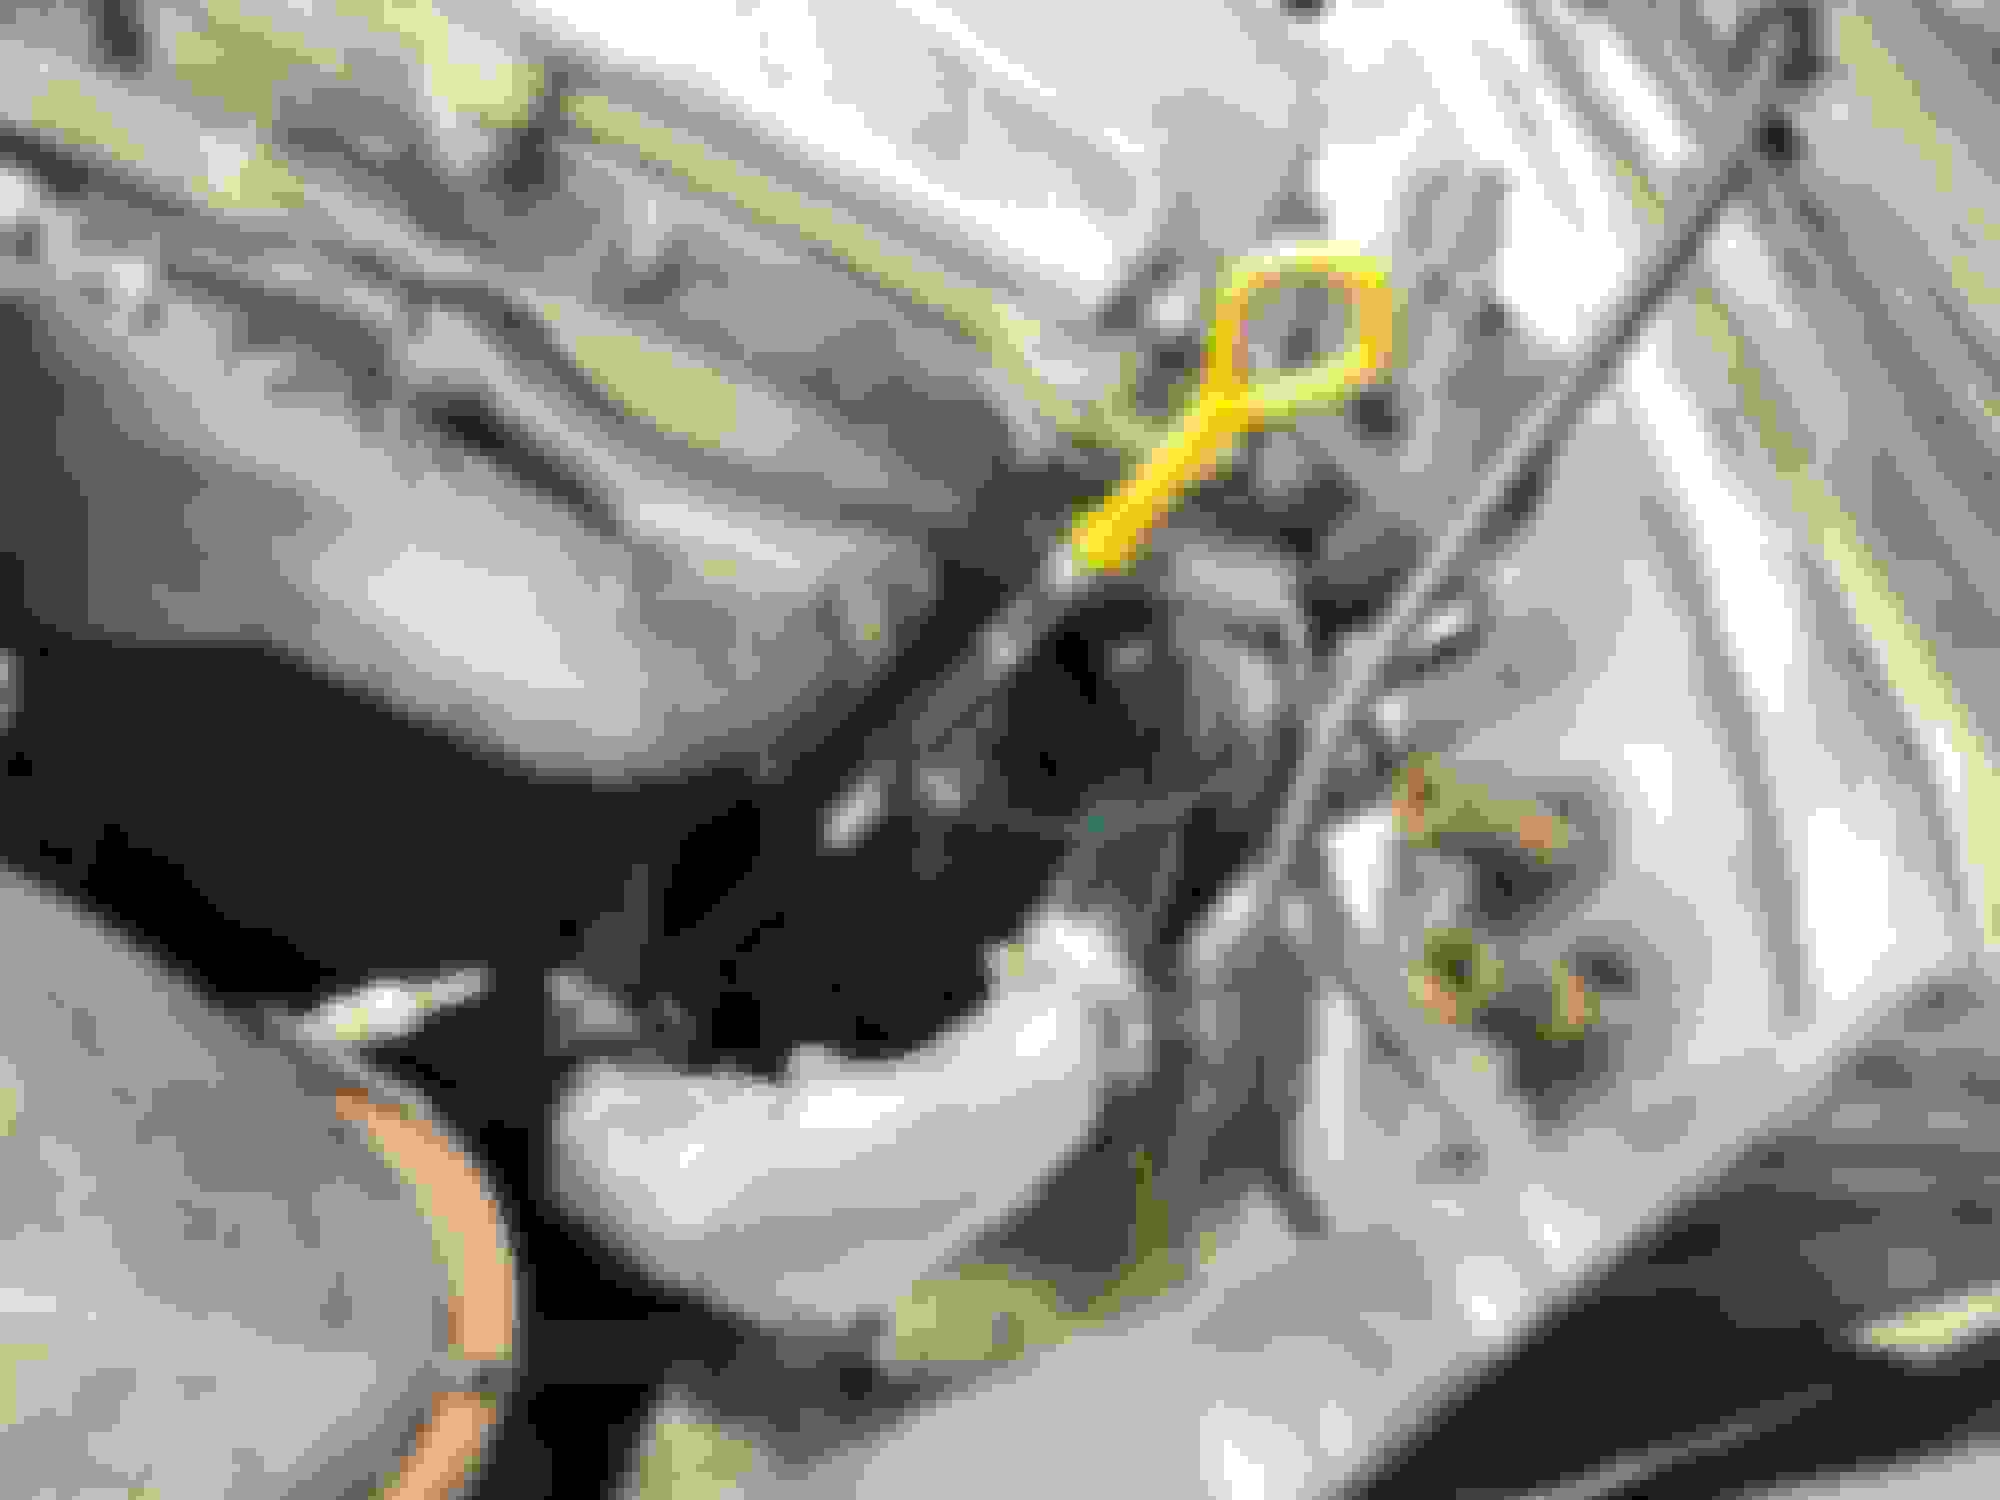
Also found why the coolant temps might be spiking in tunerstudios. Only a few strands were holding the wire together for one of the temp sensors on the back of the head.
Heater core hose bypass and new wiring for temp sensor installed.
The large silicone hose from the back of the head to the top of the radiator was interfering with the throttle body elbow coupler. I re-used the 90deg section of the original hose and spliced it to the new silicone hose by using a section of the old lower radiator hose metal part.
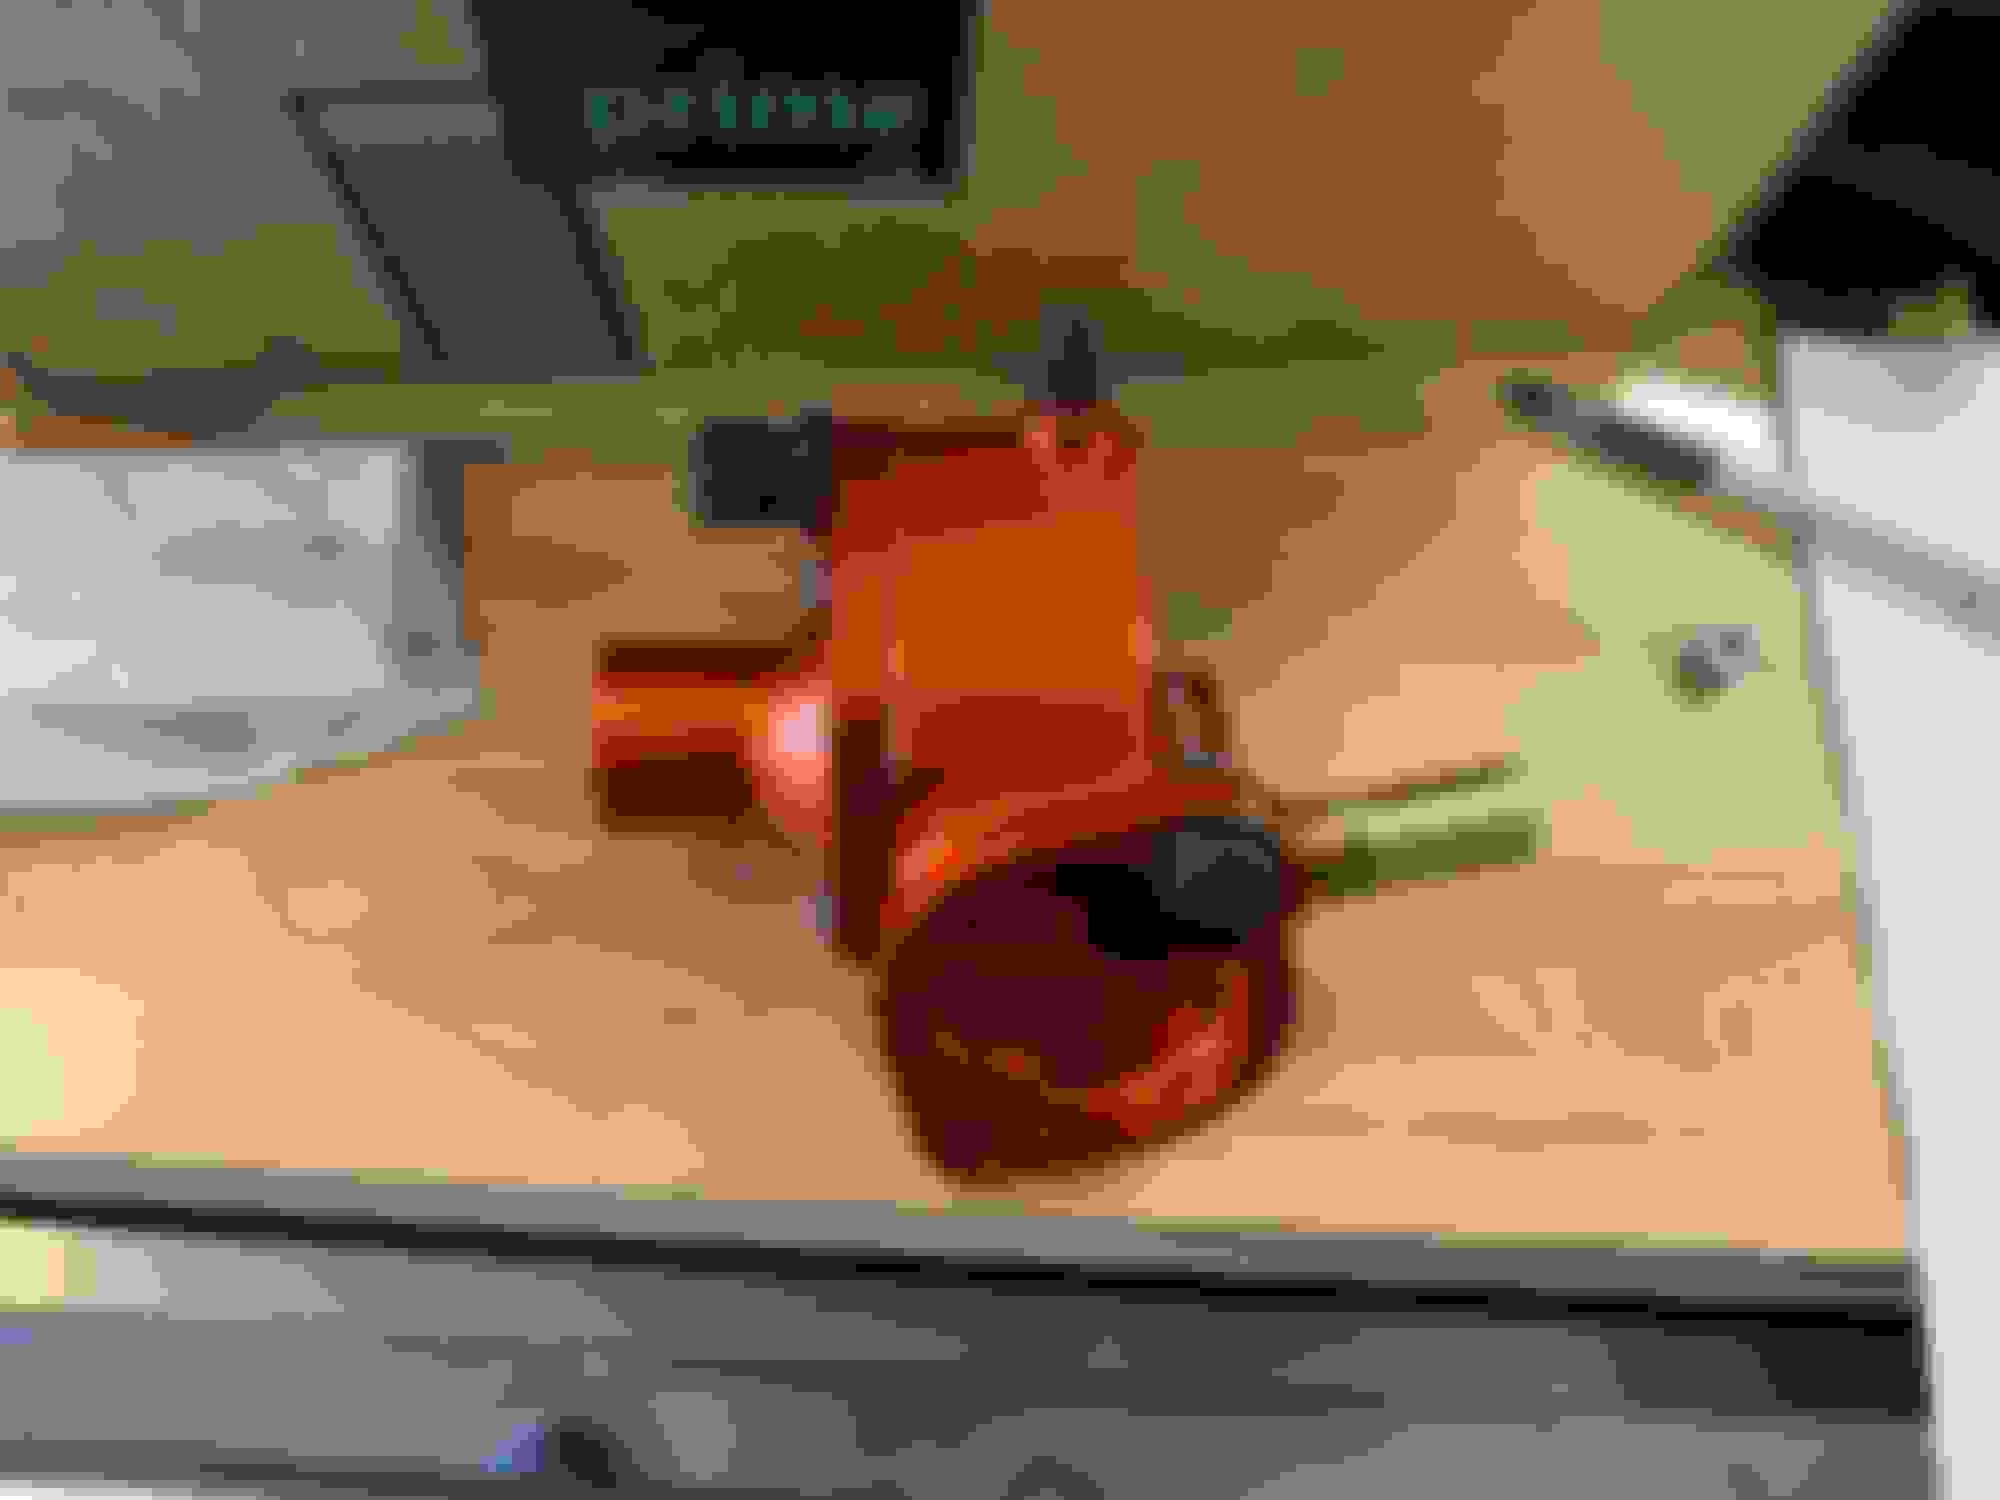
Deleted the front water neck too. I just connected the two coolant lines that used to connect to the water neck.
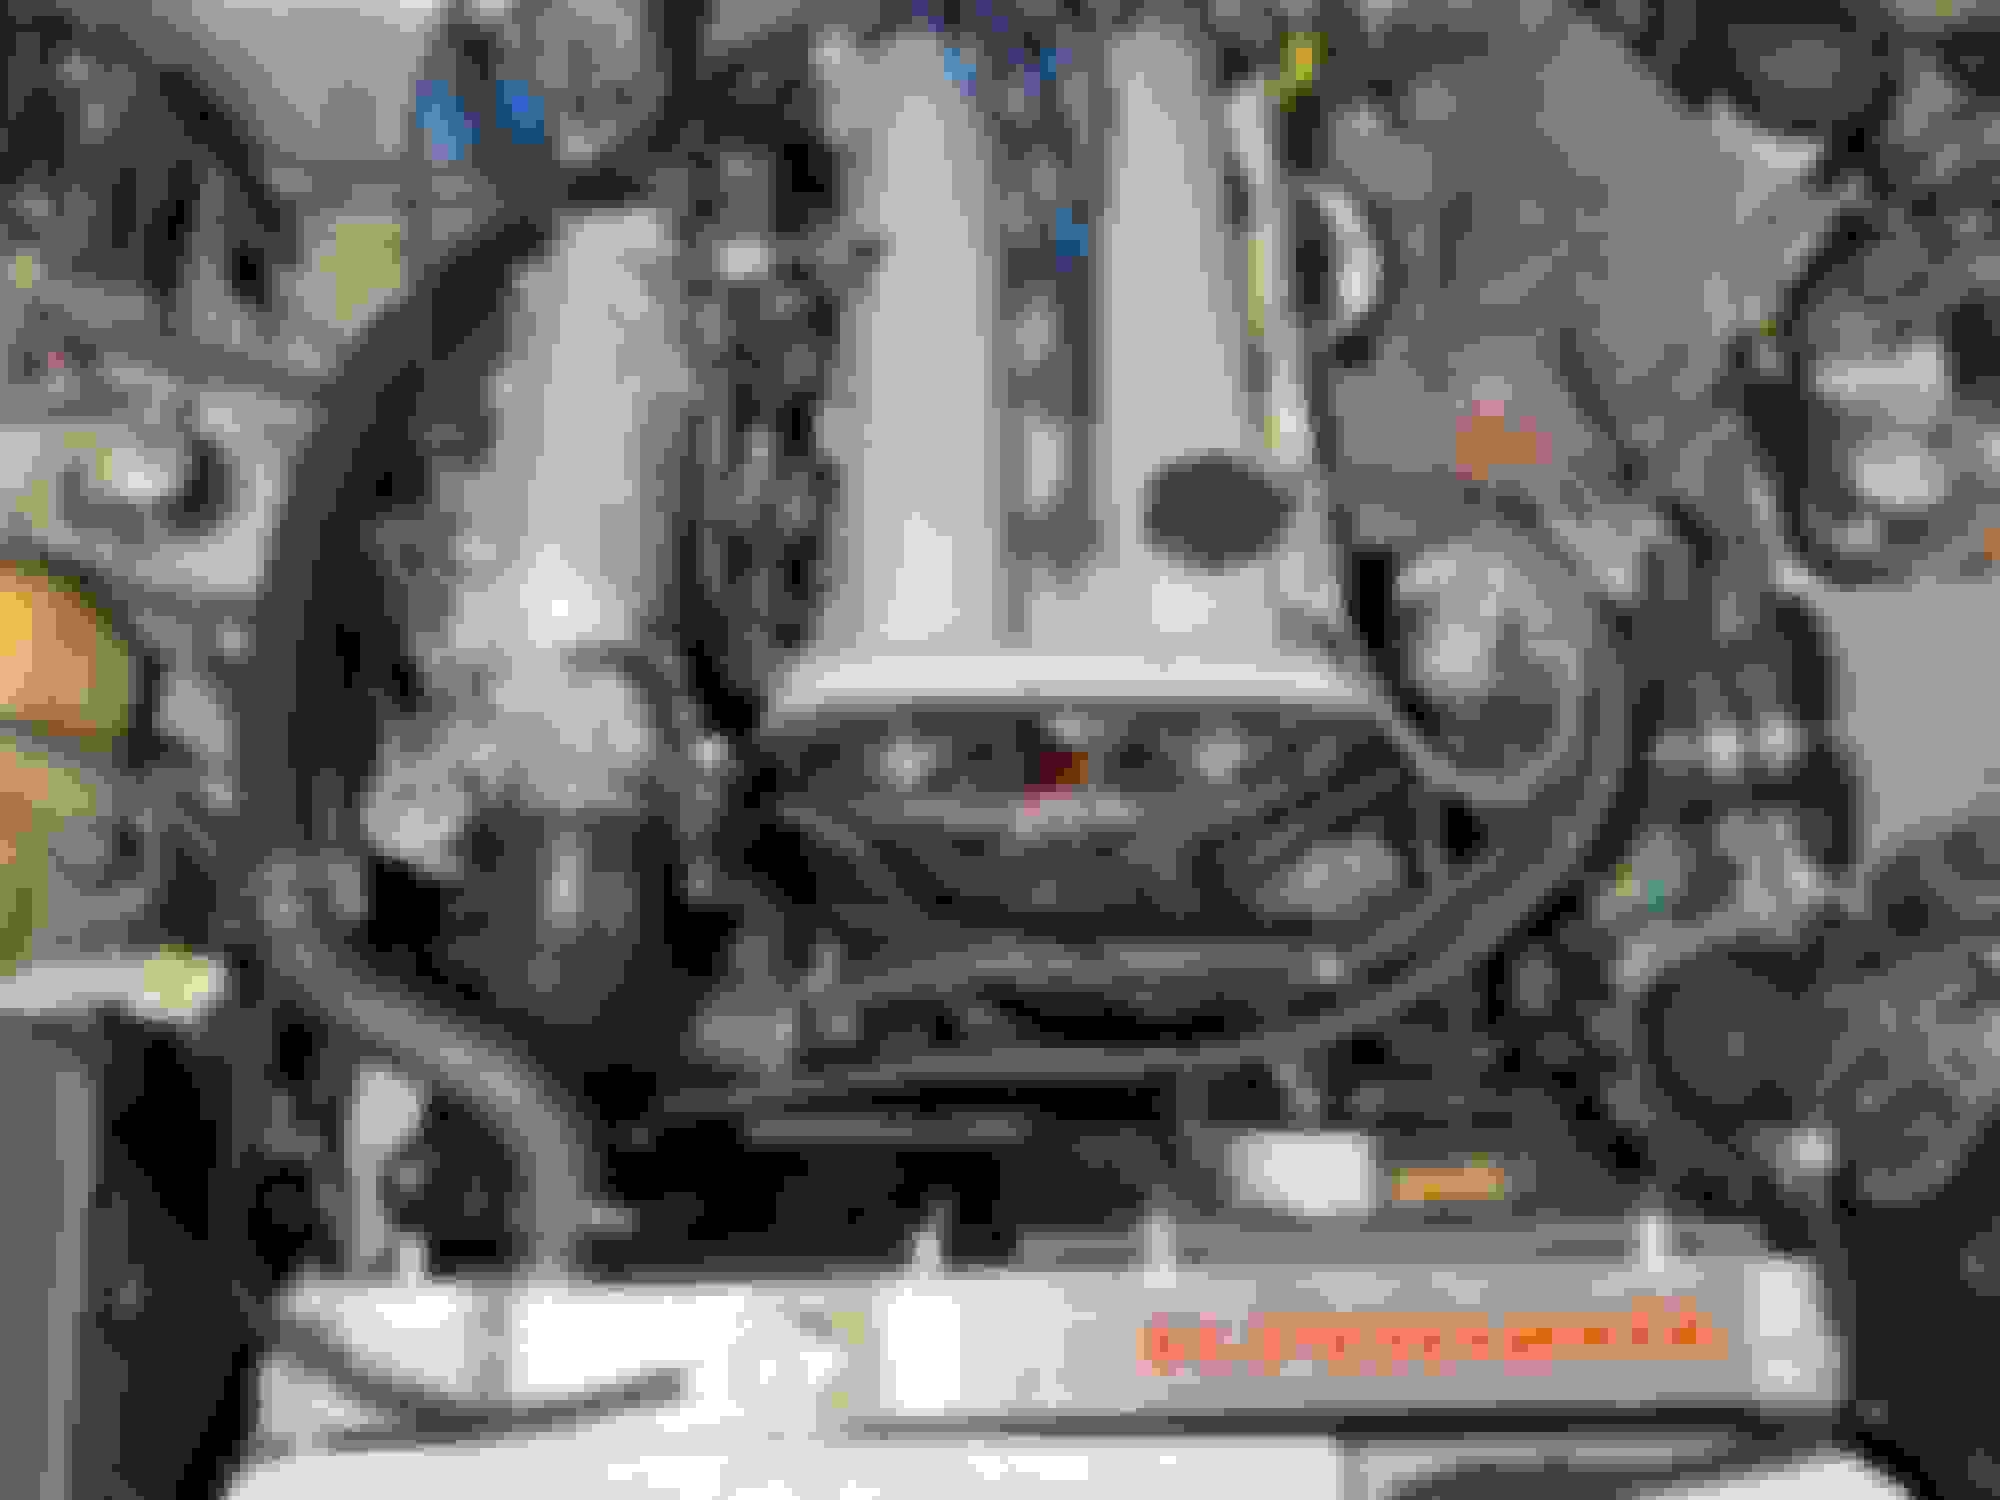
The coolant path for this line now goes: (Back of head -> oil cooler -> throttle body -> Turbo -> mixing manifold)
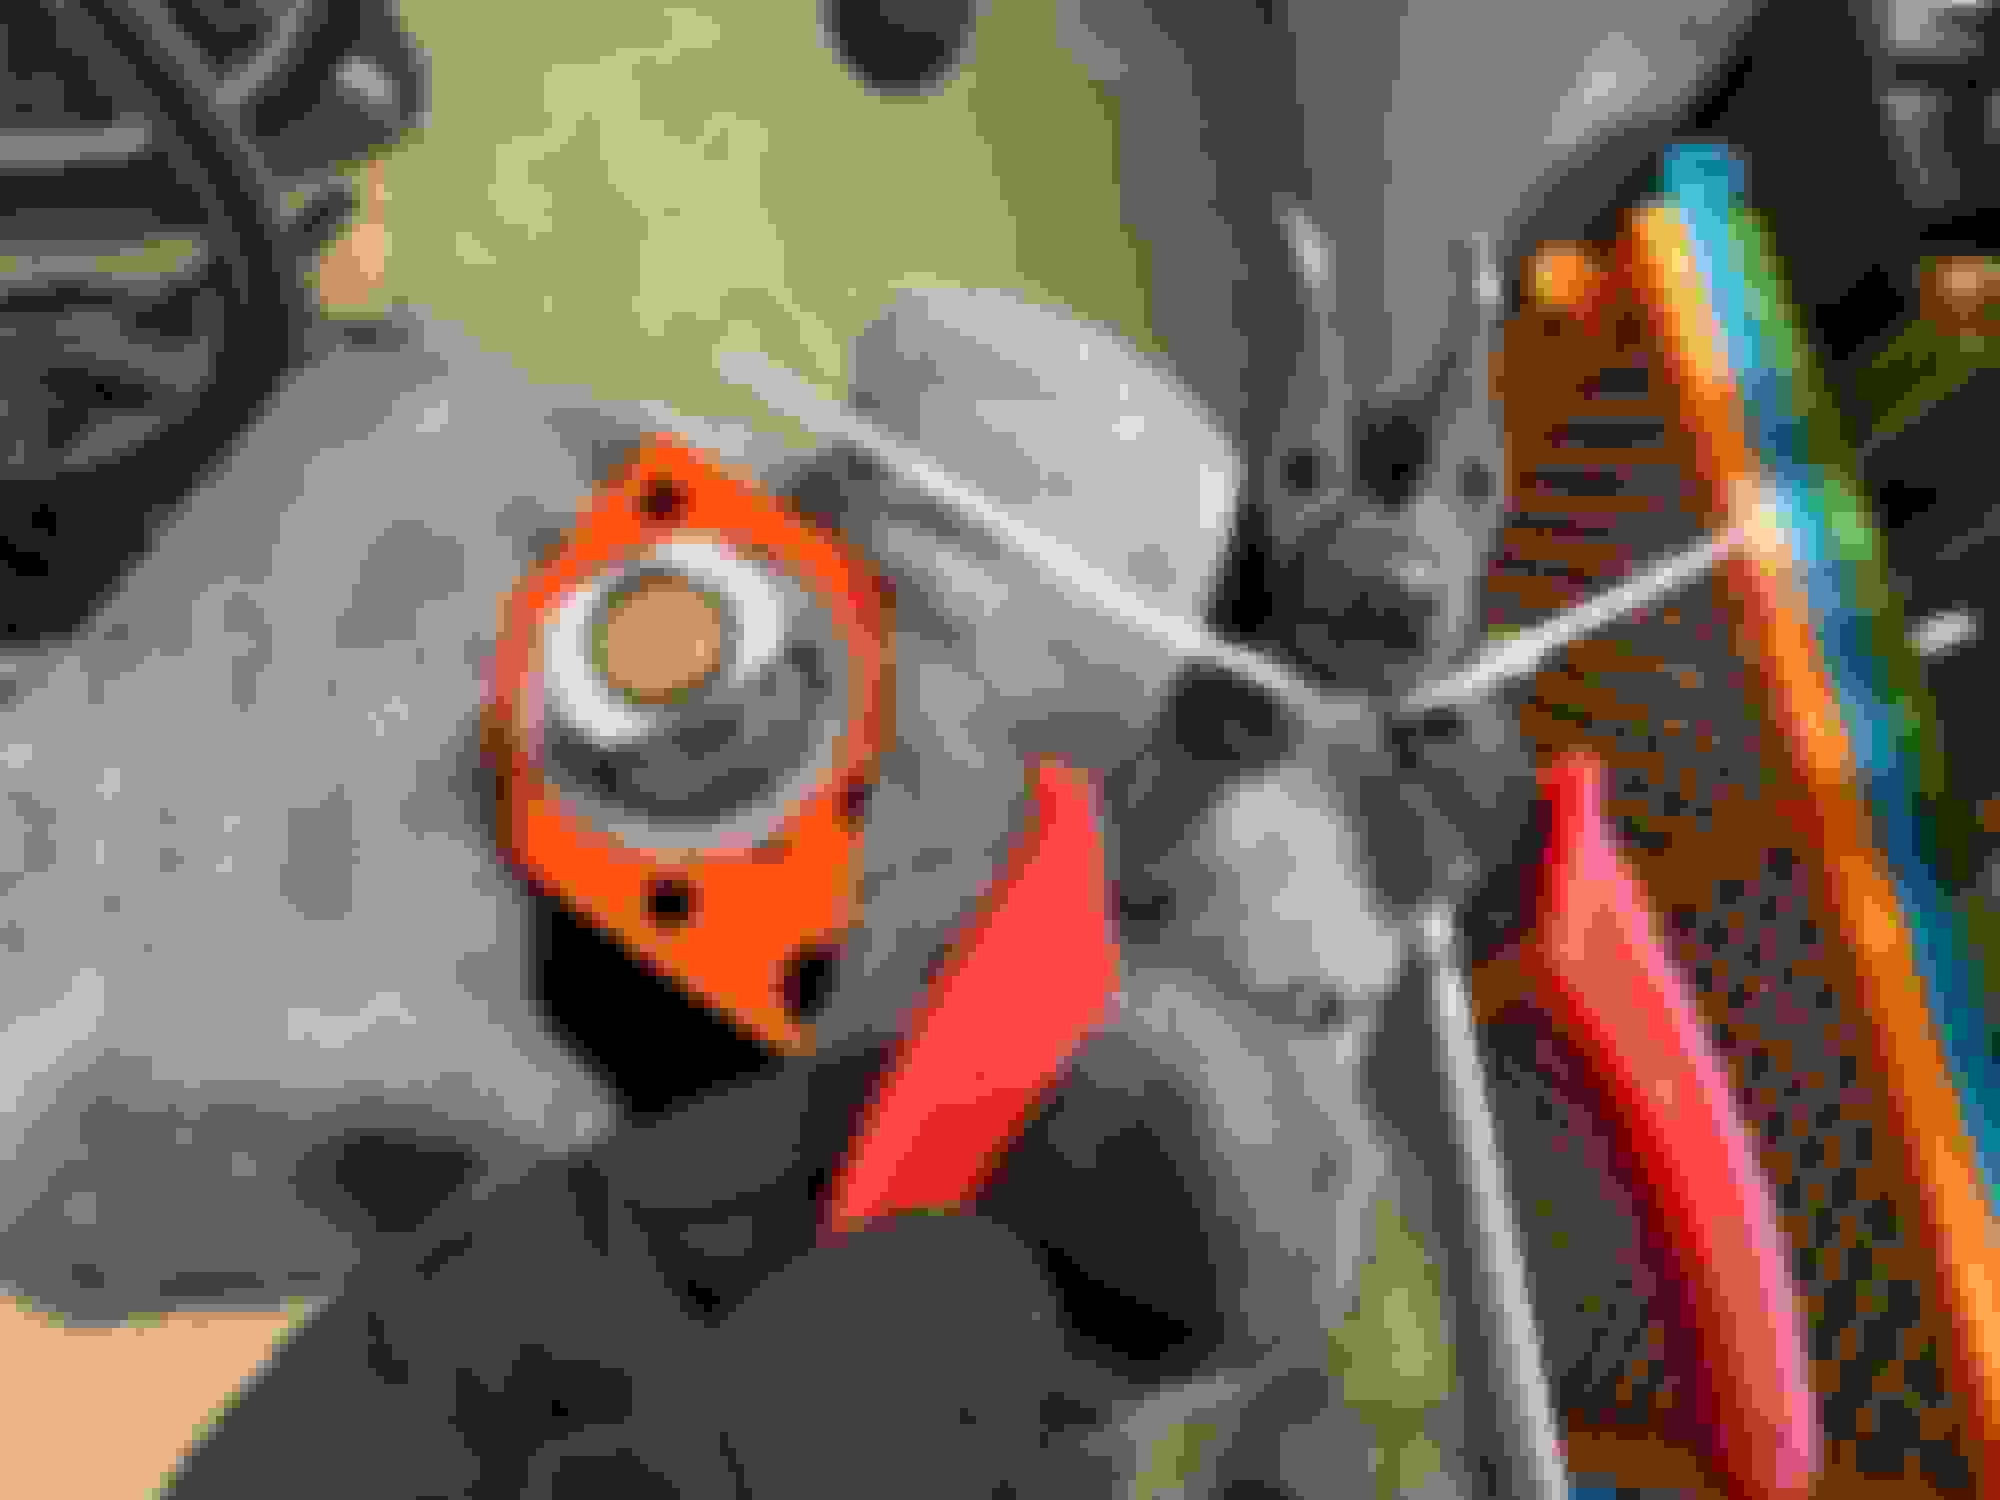
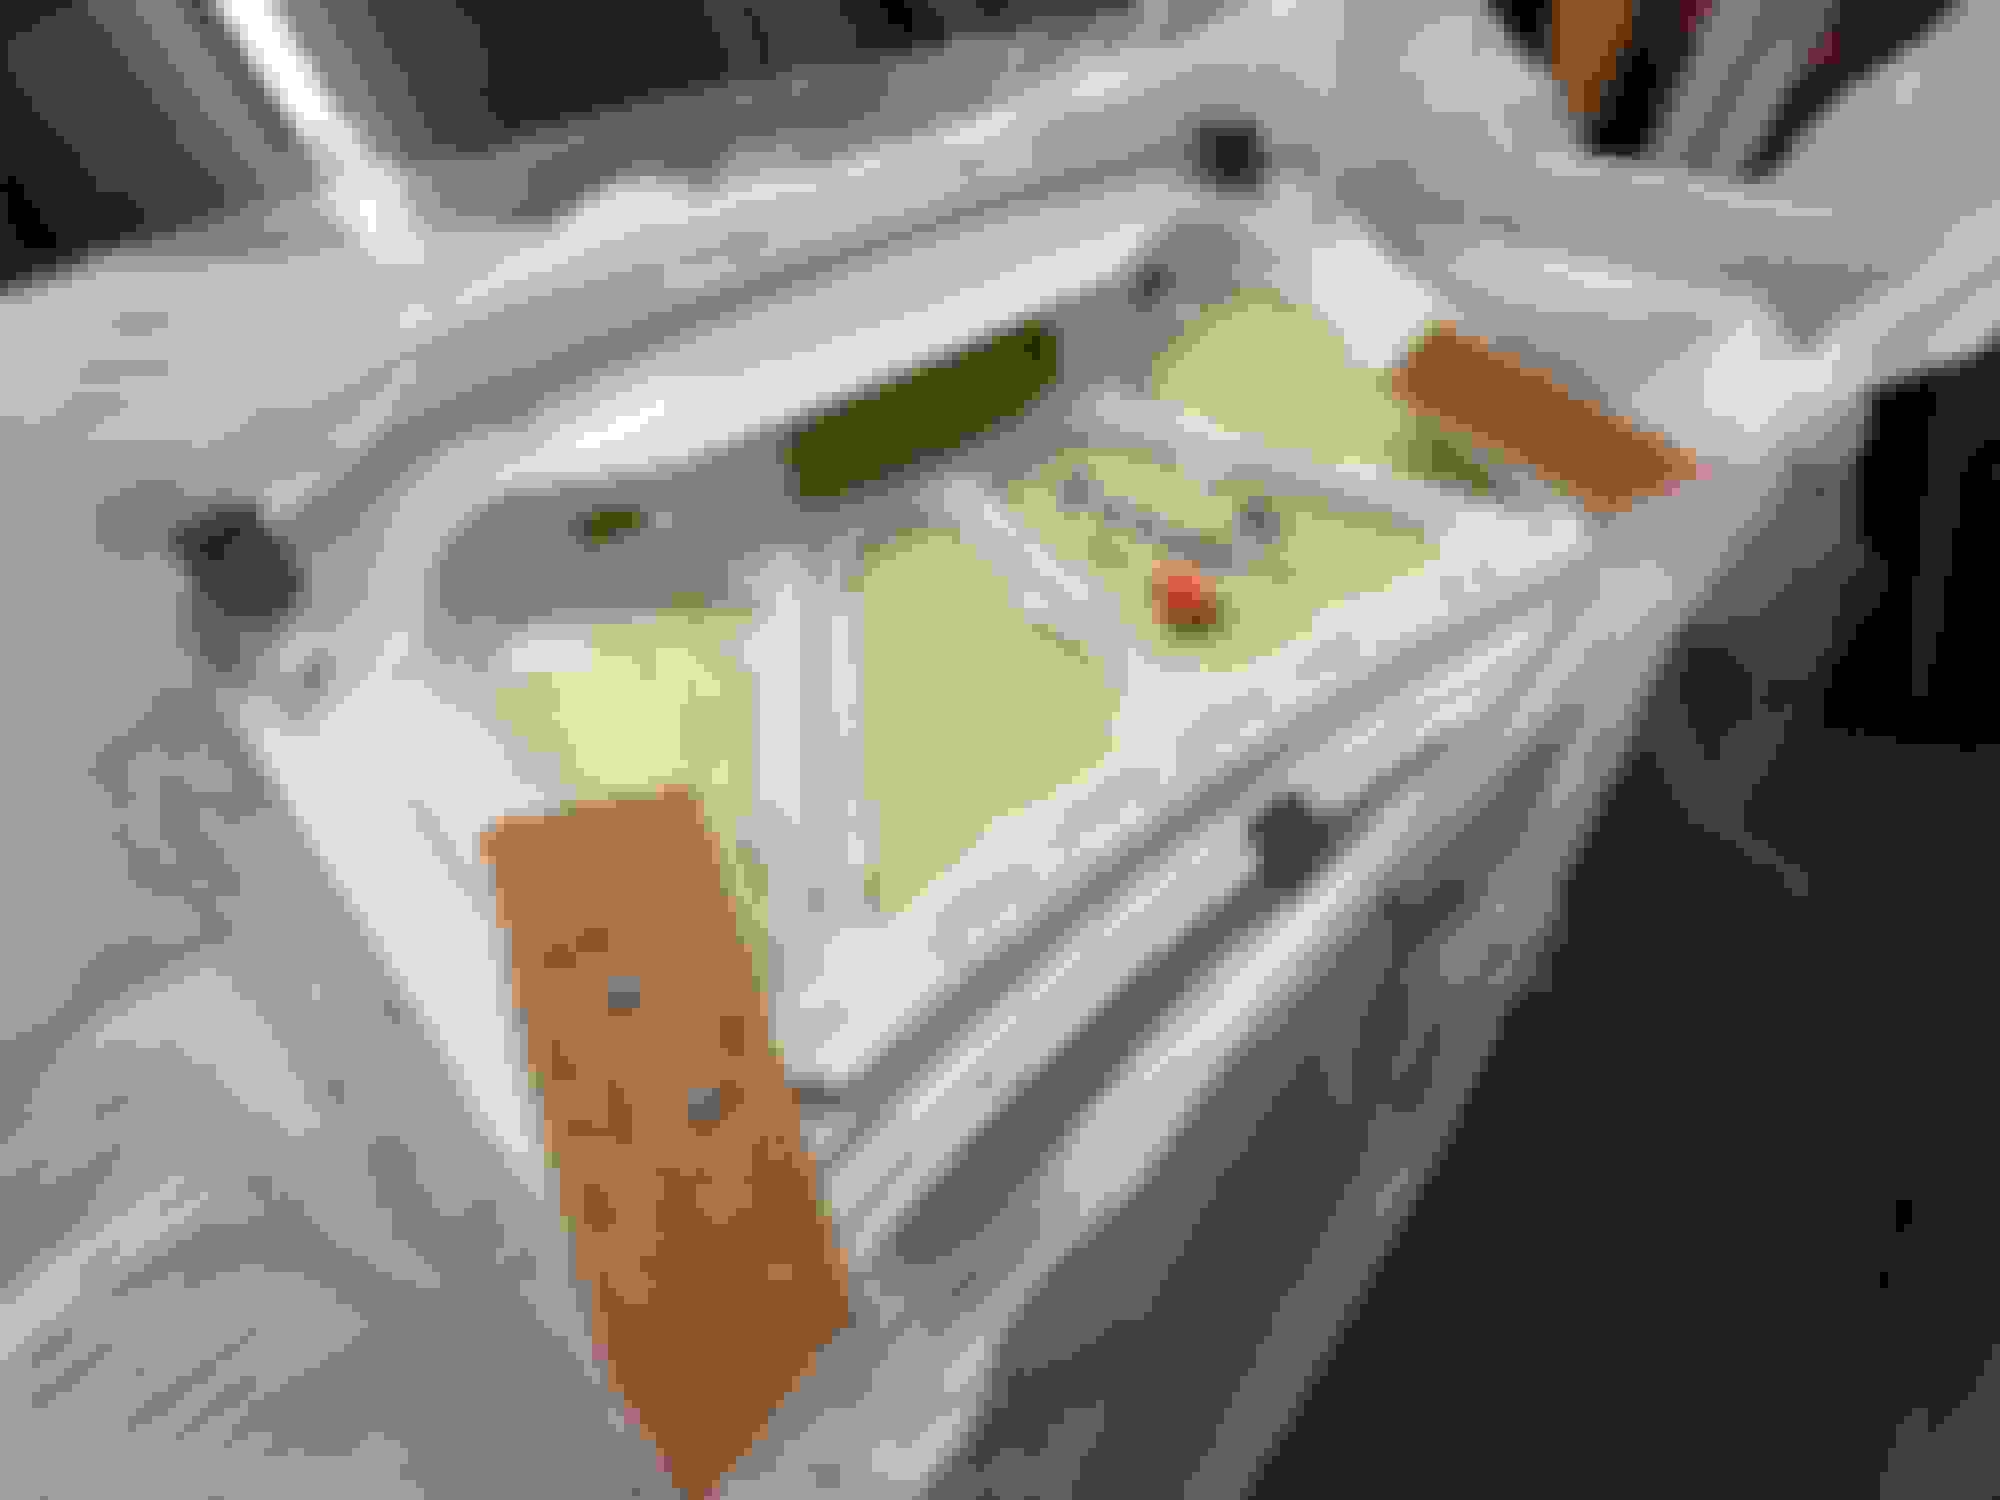
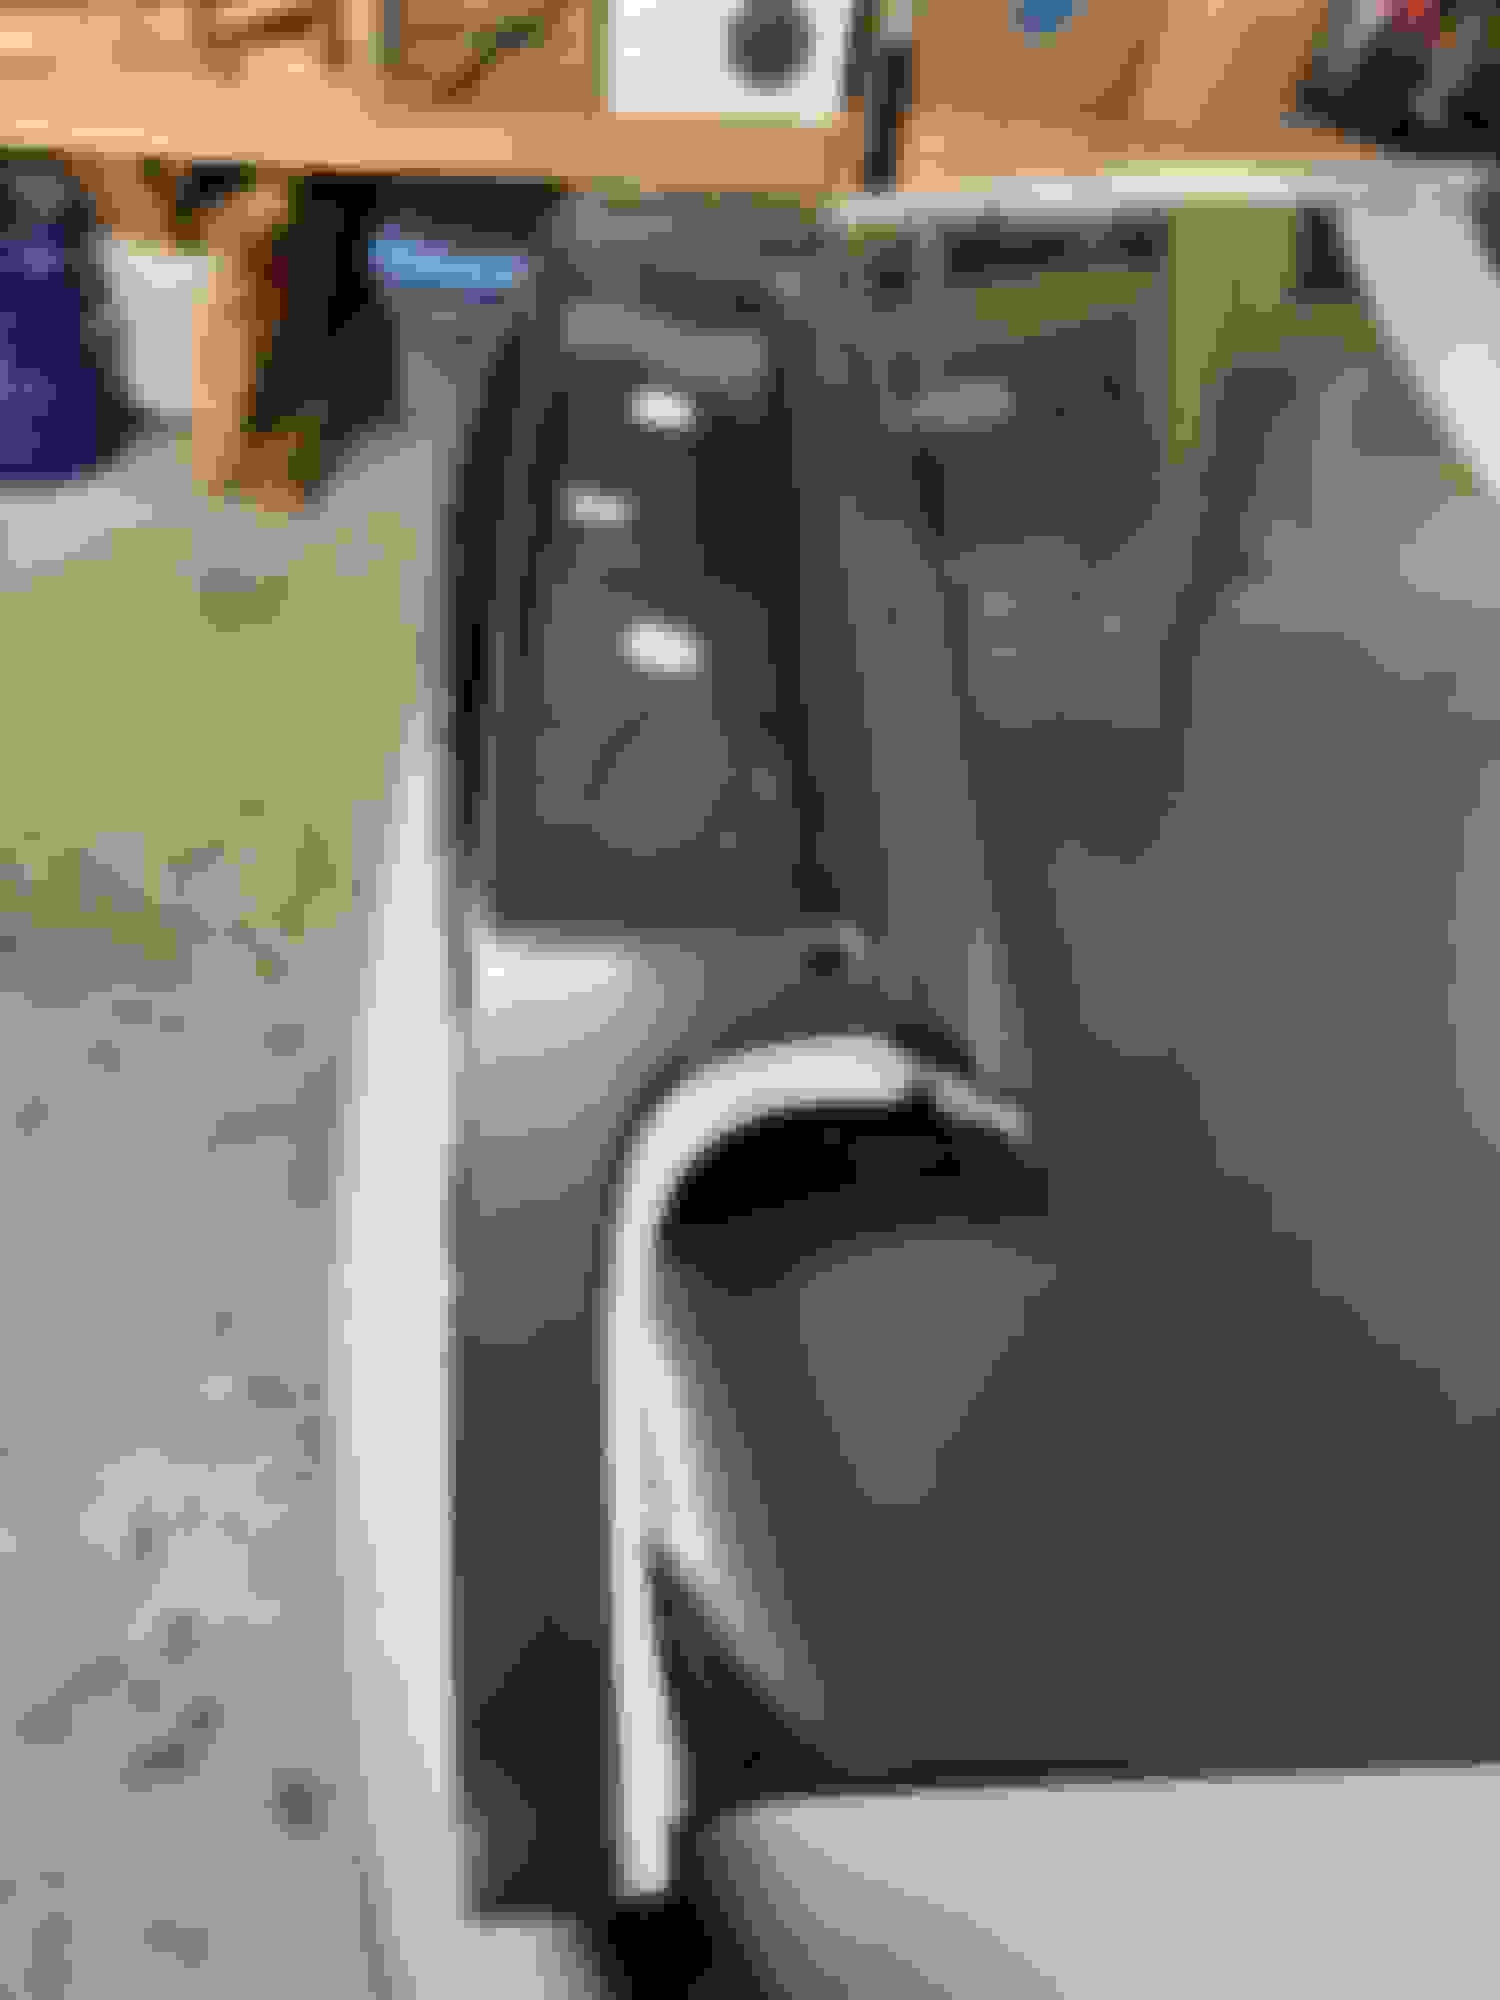
Waterneck deleted and orange bling installed. The upper rad hose is almost touching the throttle body elbow, theyre probably too close still.
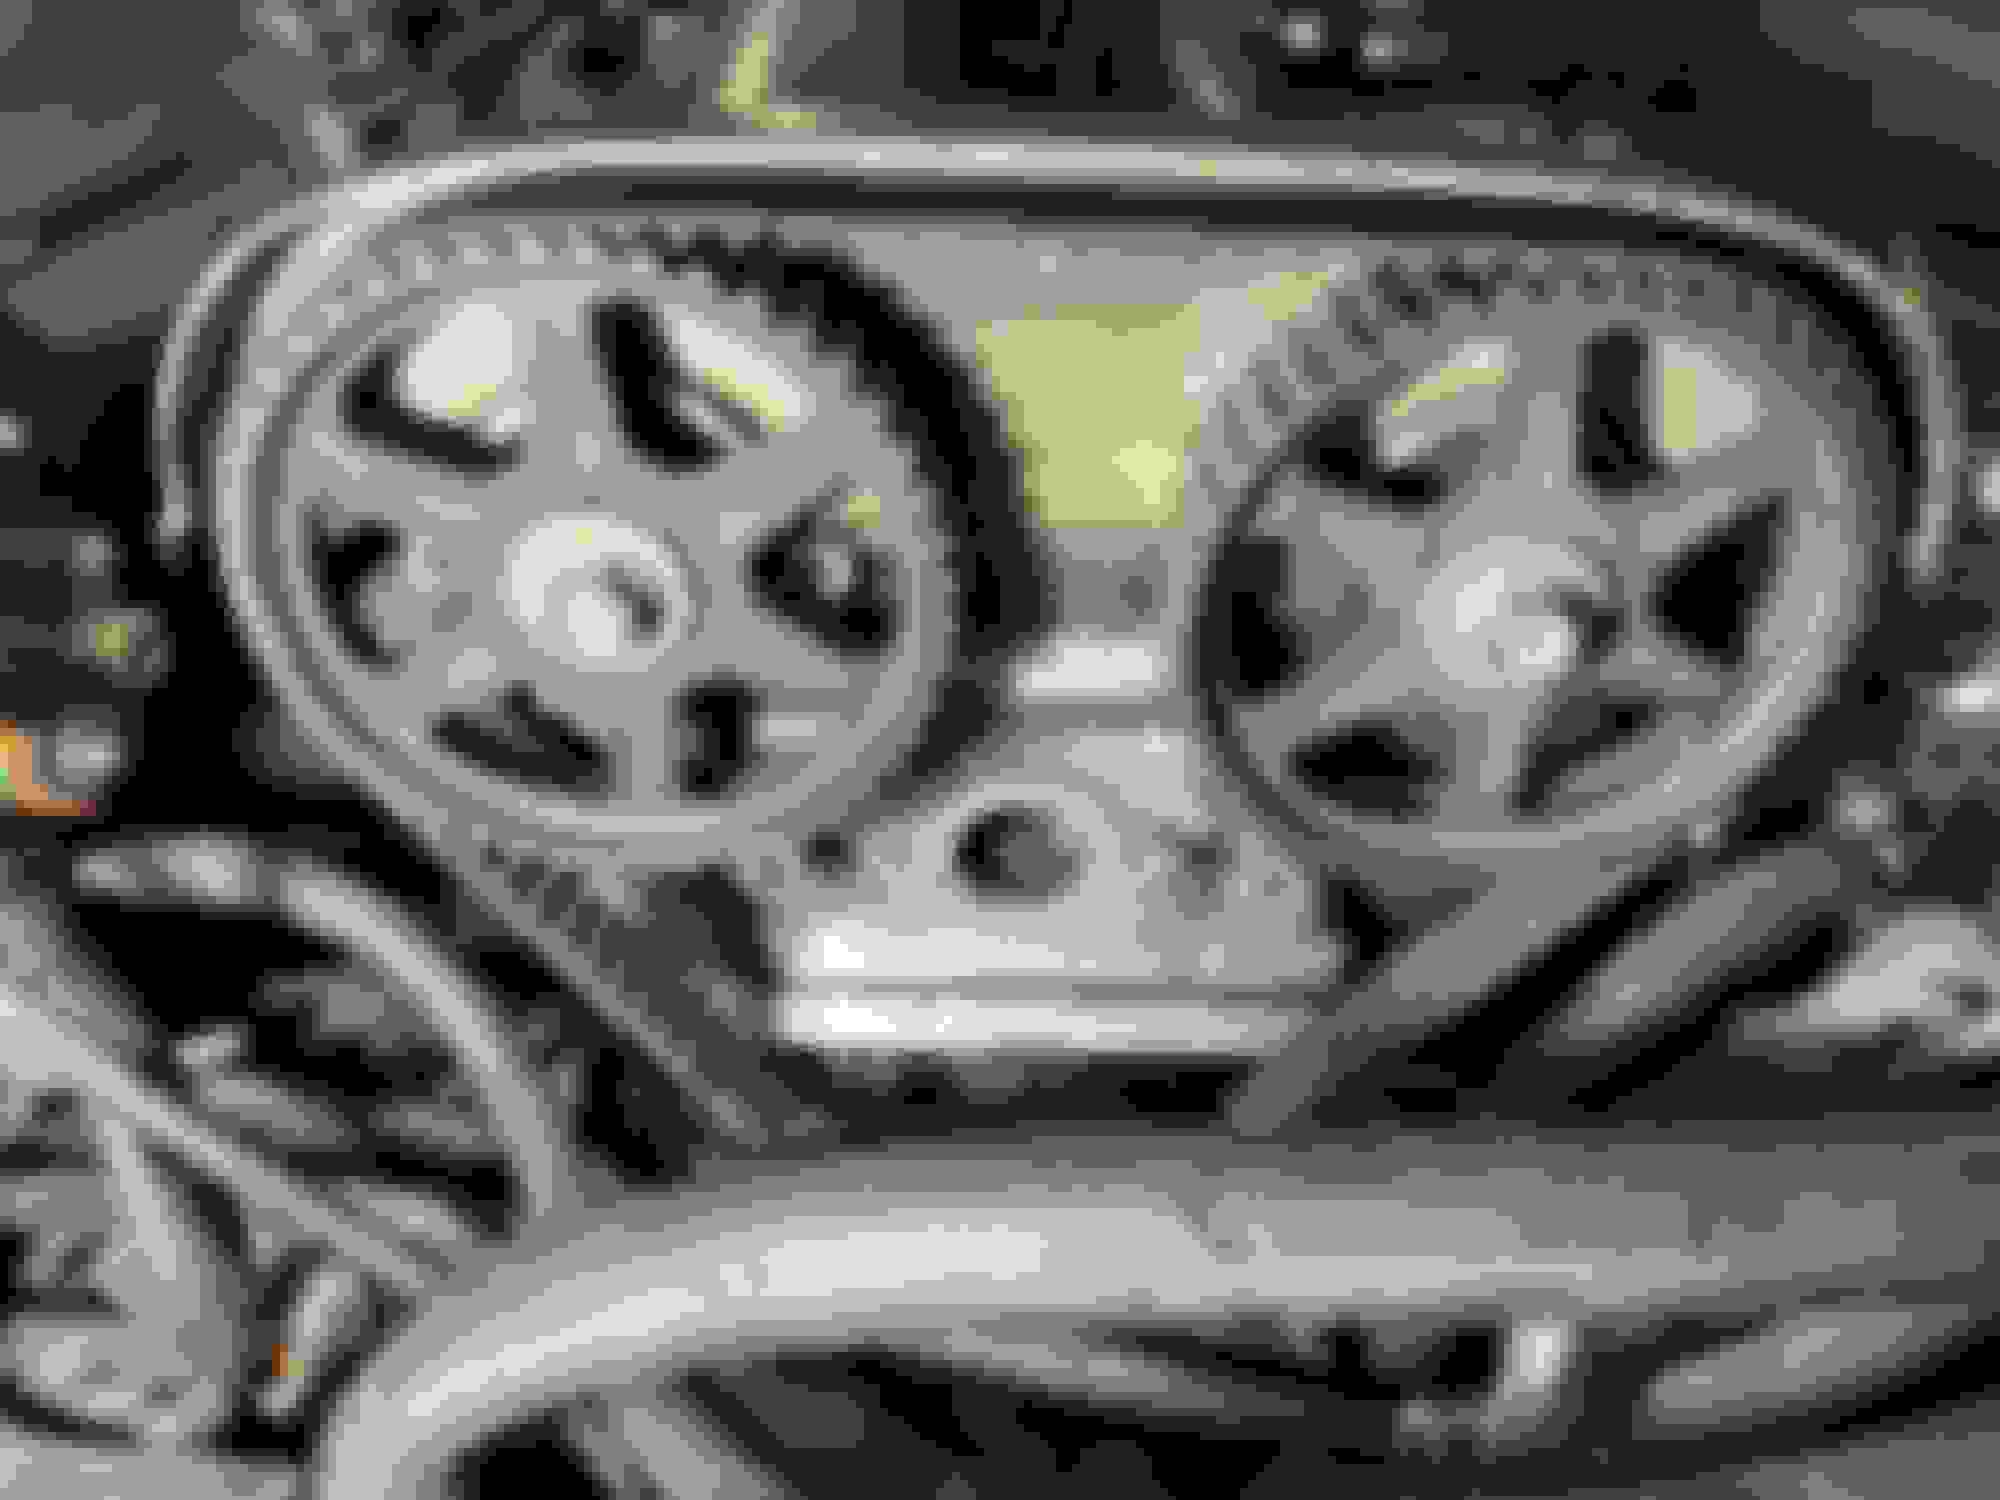
Used some left over silicone hose to bundle all the tubing on the front of the engine and to keep them away from the belts.
Filled the coolant, 70% water, 30% antifreeze, and 1/2 bottle of water wetter.
I measured and marked the straight section of a bottle to get the ratio right.
Bleeding coolant, surprisingly no leaks!
The upper rad hose got hot before the thermostat opened, I think too much coolant is going through the bypass in the new thermostat housing.
Not the best pull, but the coolant isnt spiking like it used to. I think the new wire fixed it.
Still need to check how the reroute works in the summer, but on my first drive after installing it, the coolant temps are always around 180-190F. The temps do rise further if it idles for a while, but they come back down quickly when I start driving again.
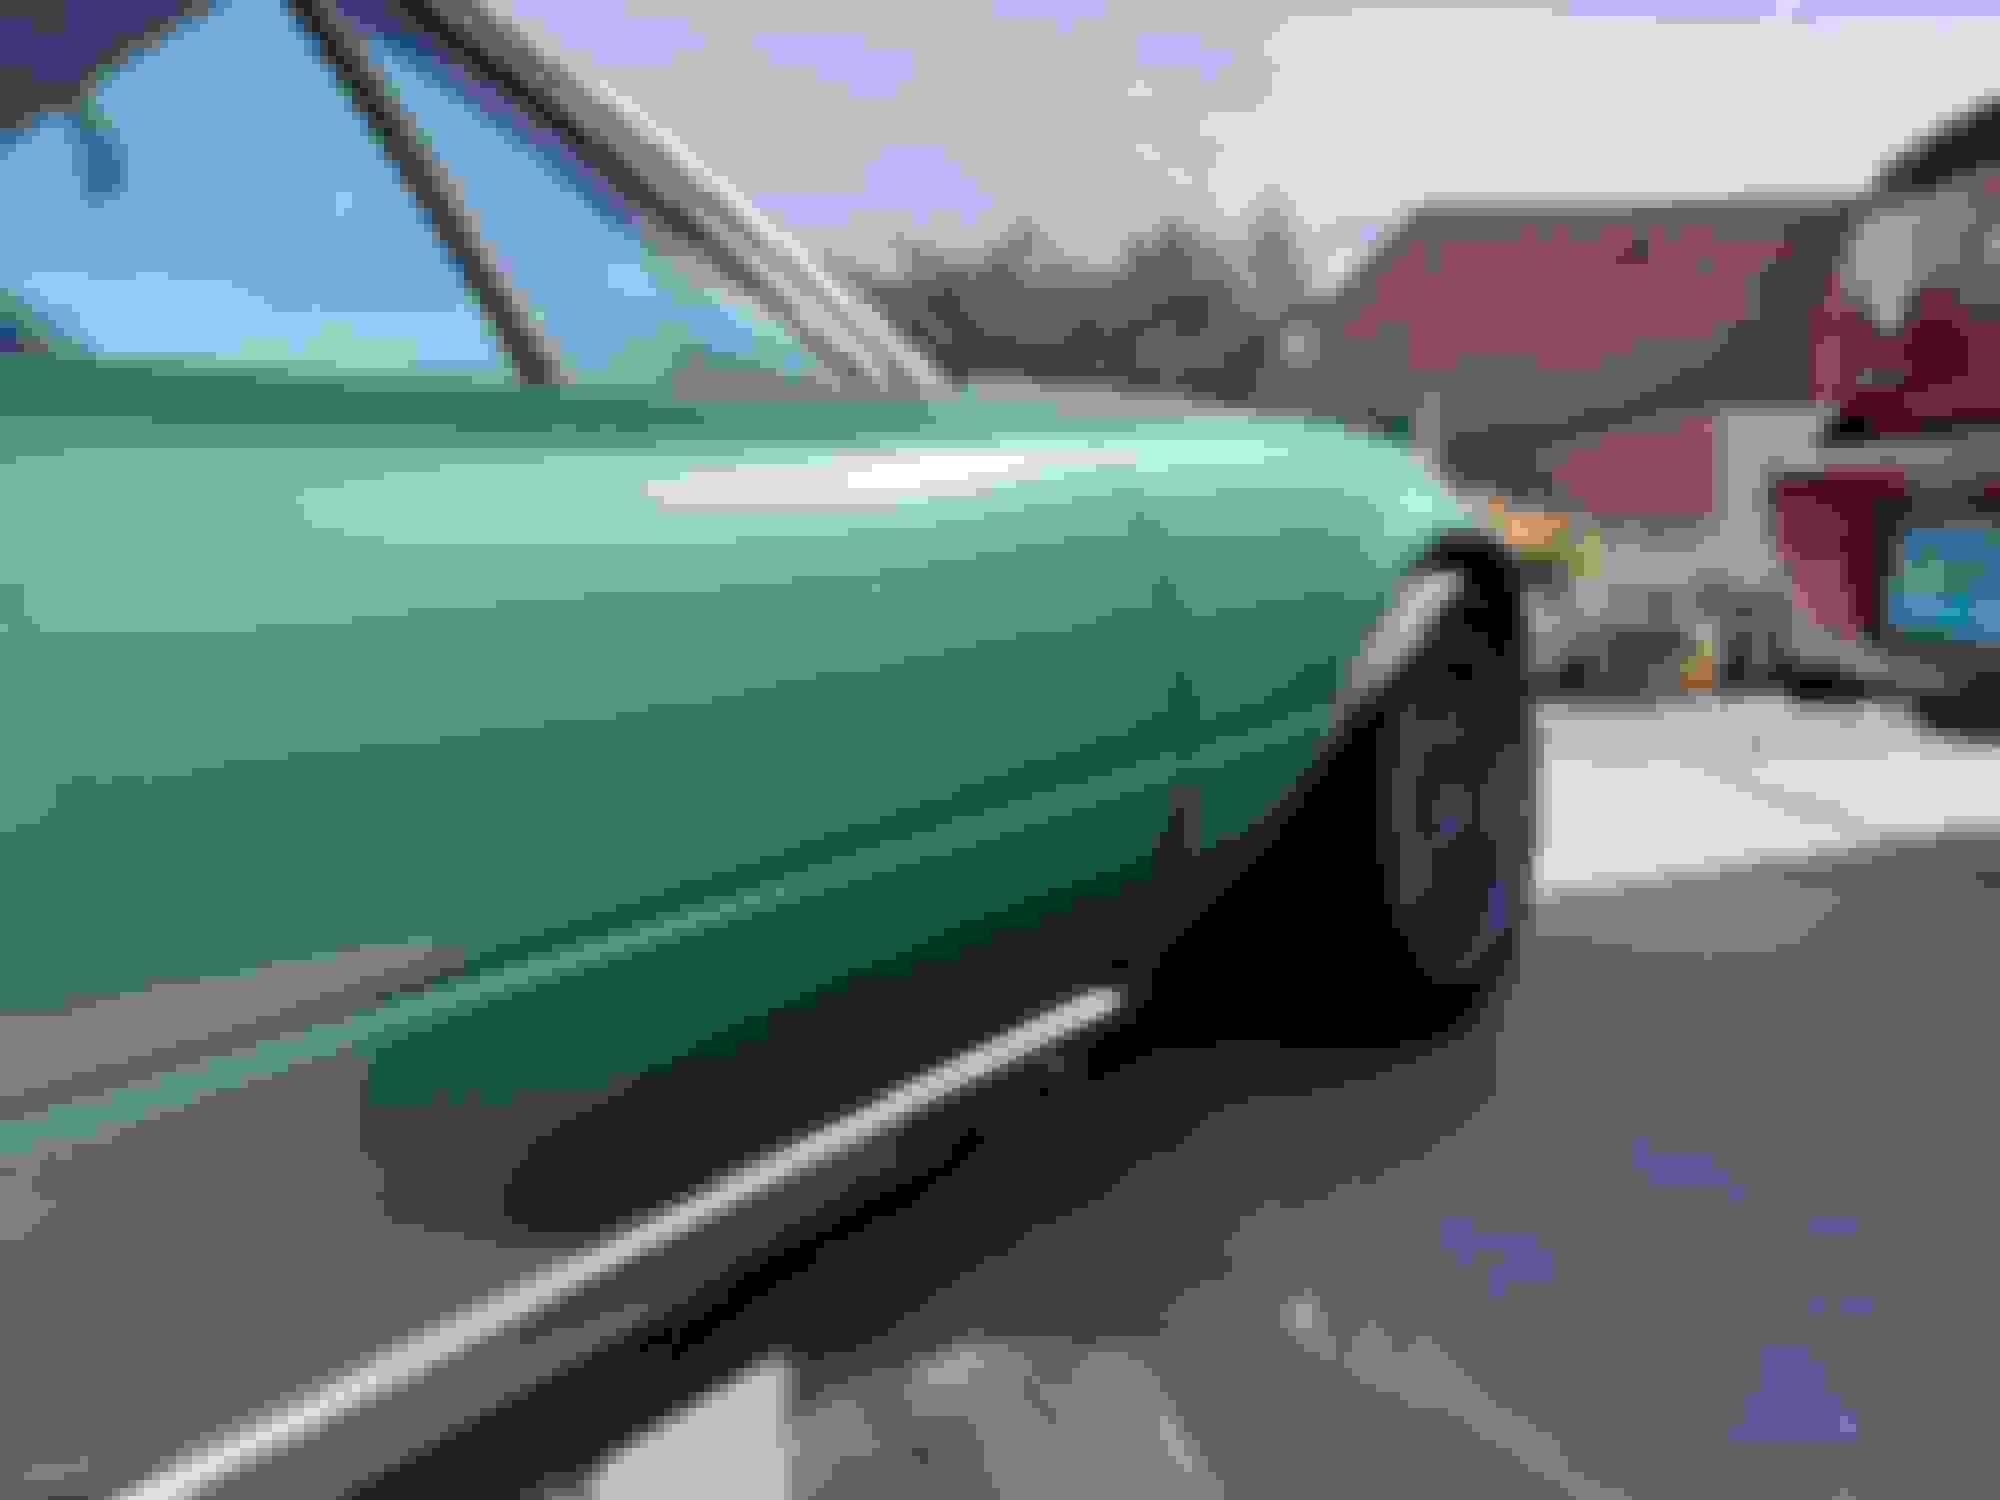
I have also been wanting to clean the the car cosmetically. I decided Im going to try wrapping it.
This is what my paint looks like now. The clear coat is burnt off by the sun and the painted is pretty faded. The clear coat is really rough where its peeling away.
Also been rocking a matte black trunk lid for 5 years.
I ordered a bunch of vinyl wrap samples and attached my favorites to the car to get a better idea.
The ones here, from left to right are:
- Avery bright blue metallic gloss
- KPMF gloss green black iridescent
- Orafol gloss fir tree green metallic
Im going with the fir tree green
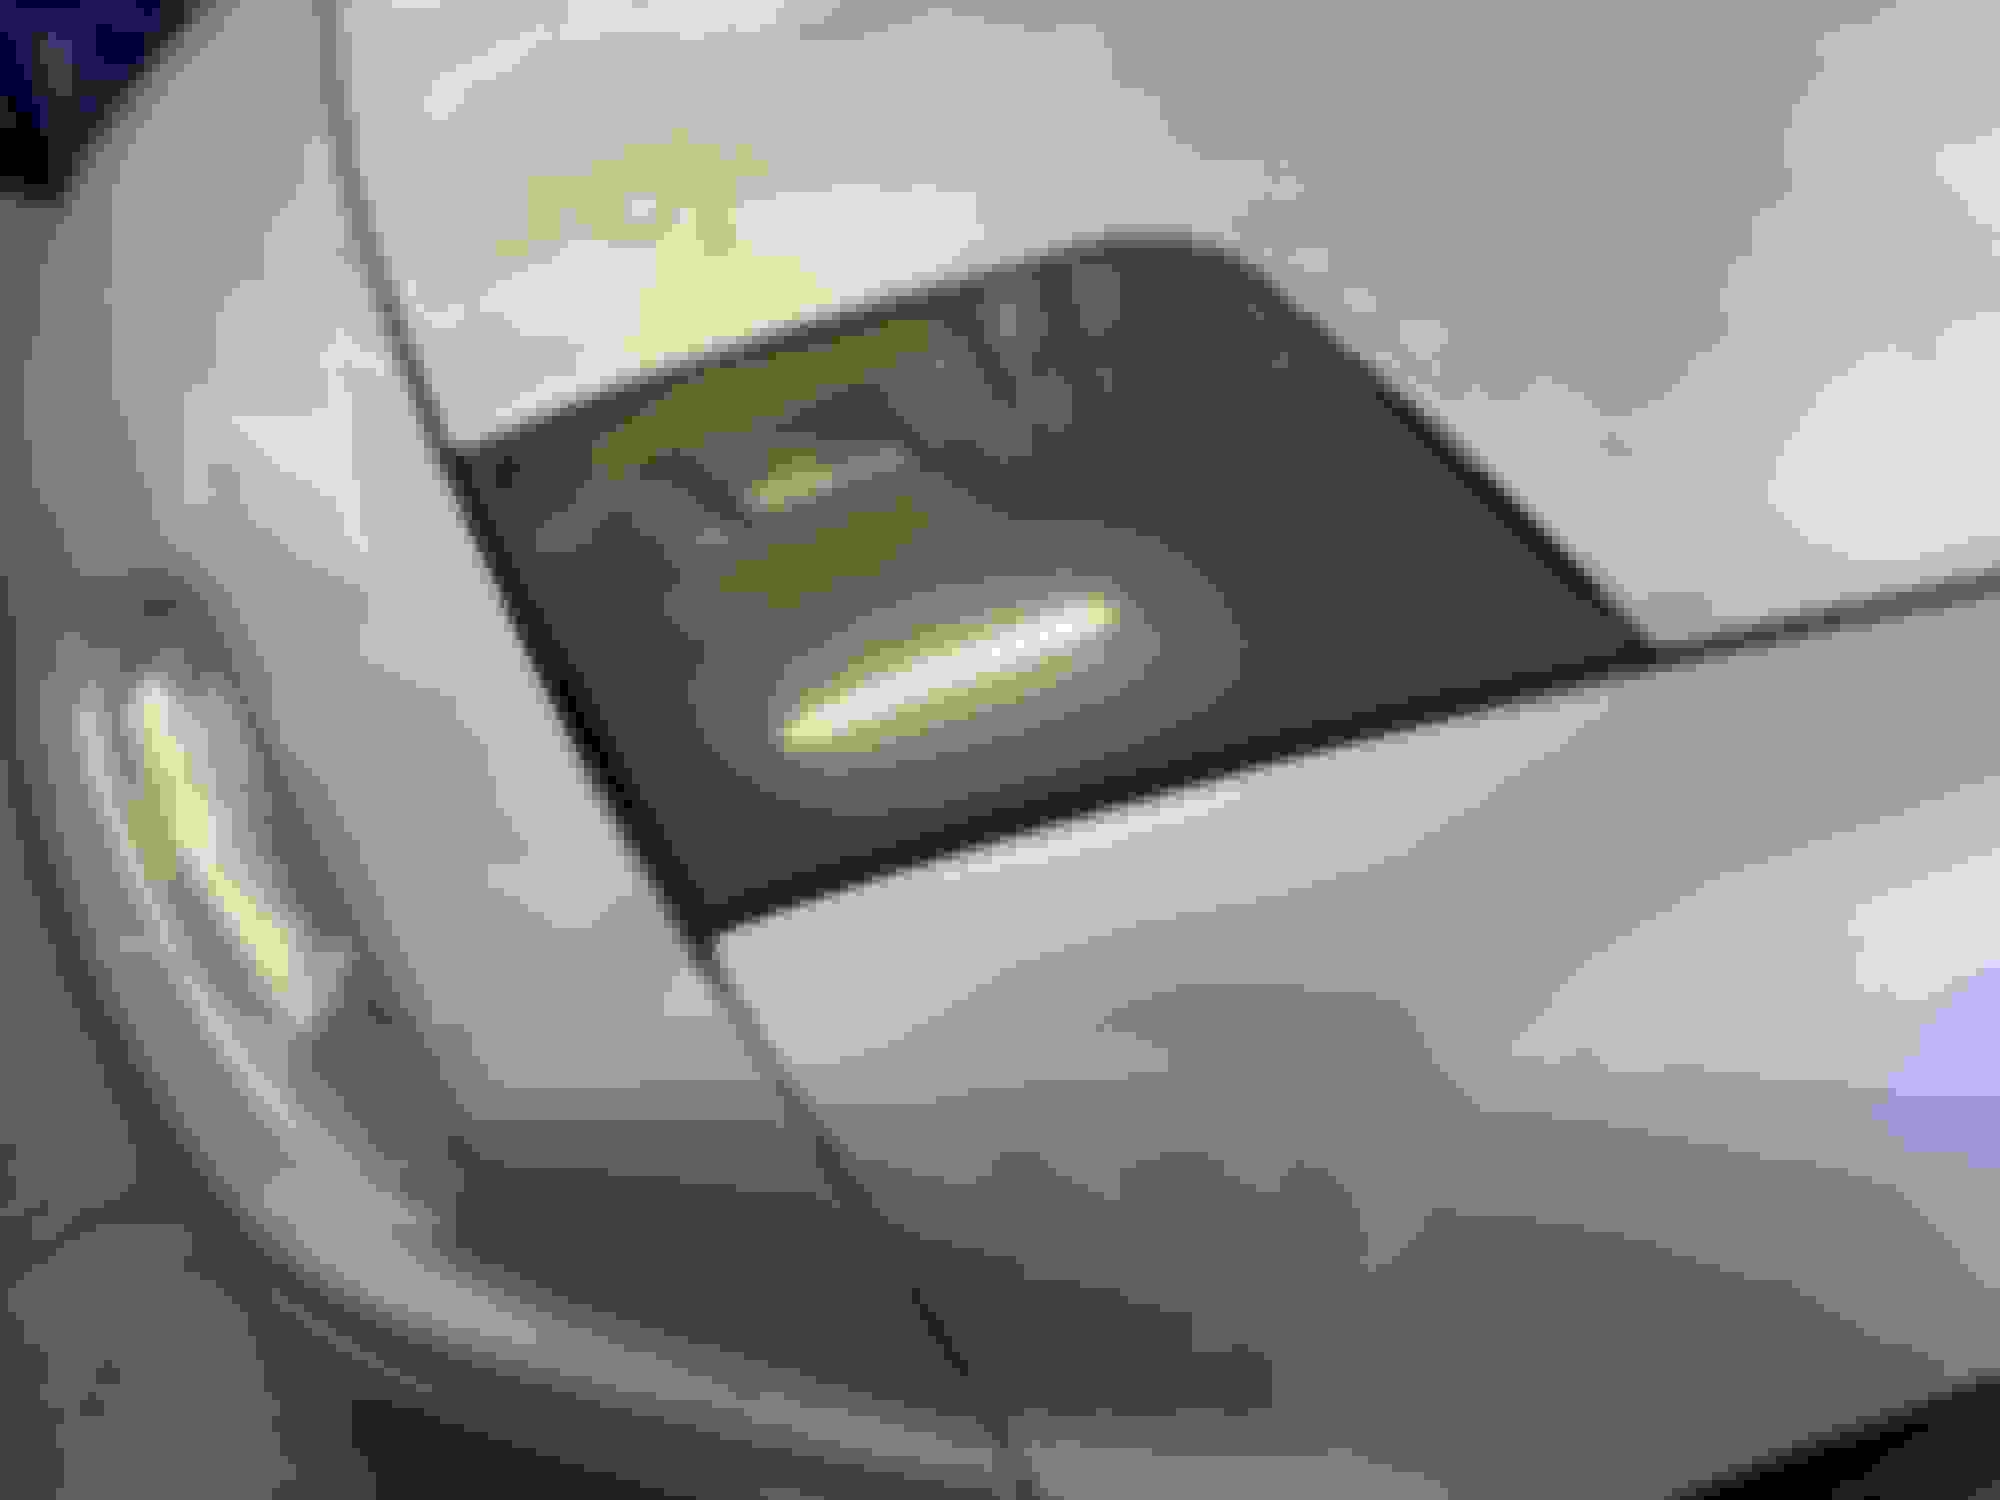
Started small with the headlight covers. Feathered the clear coat edges with a sander and a 220 grit pad, until I couldnt feel the transition and roughness anymore.
Then wet sanded with 320, 400, 600, 800, 1000, 1500.
Wrapped but not trimmed. Looks really cool in sunlight.
Installed
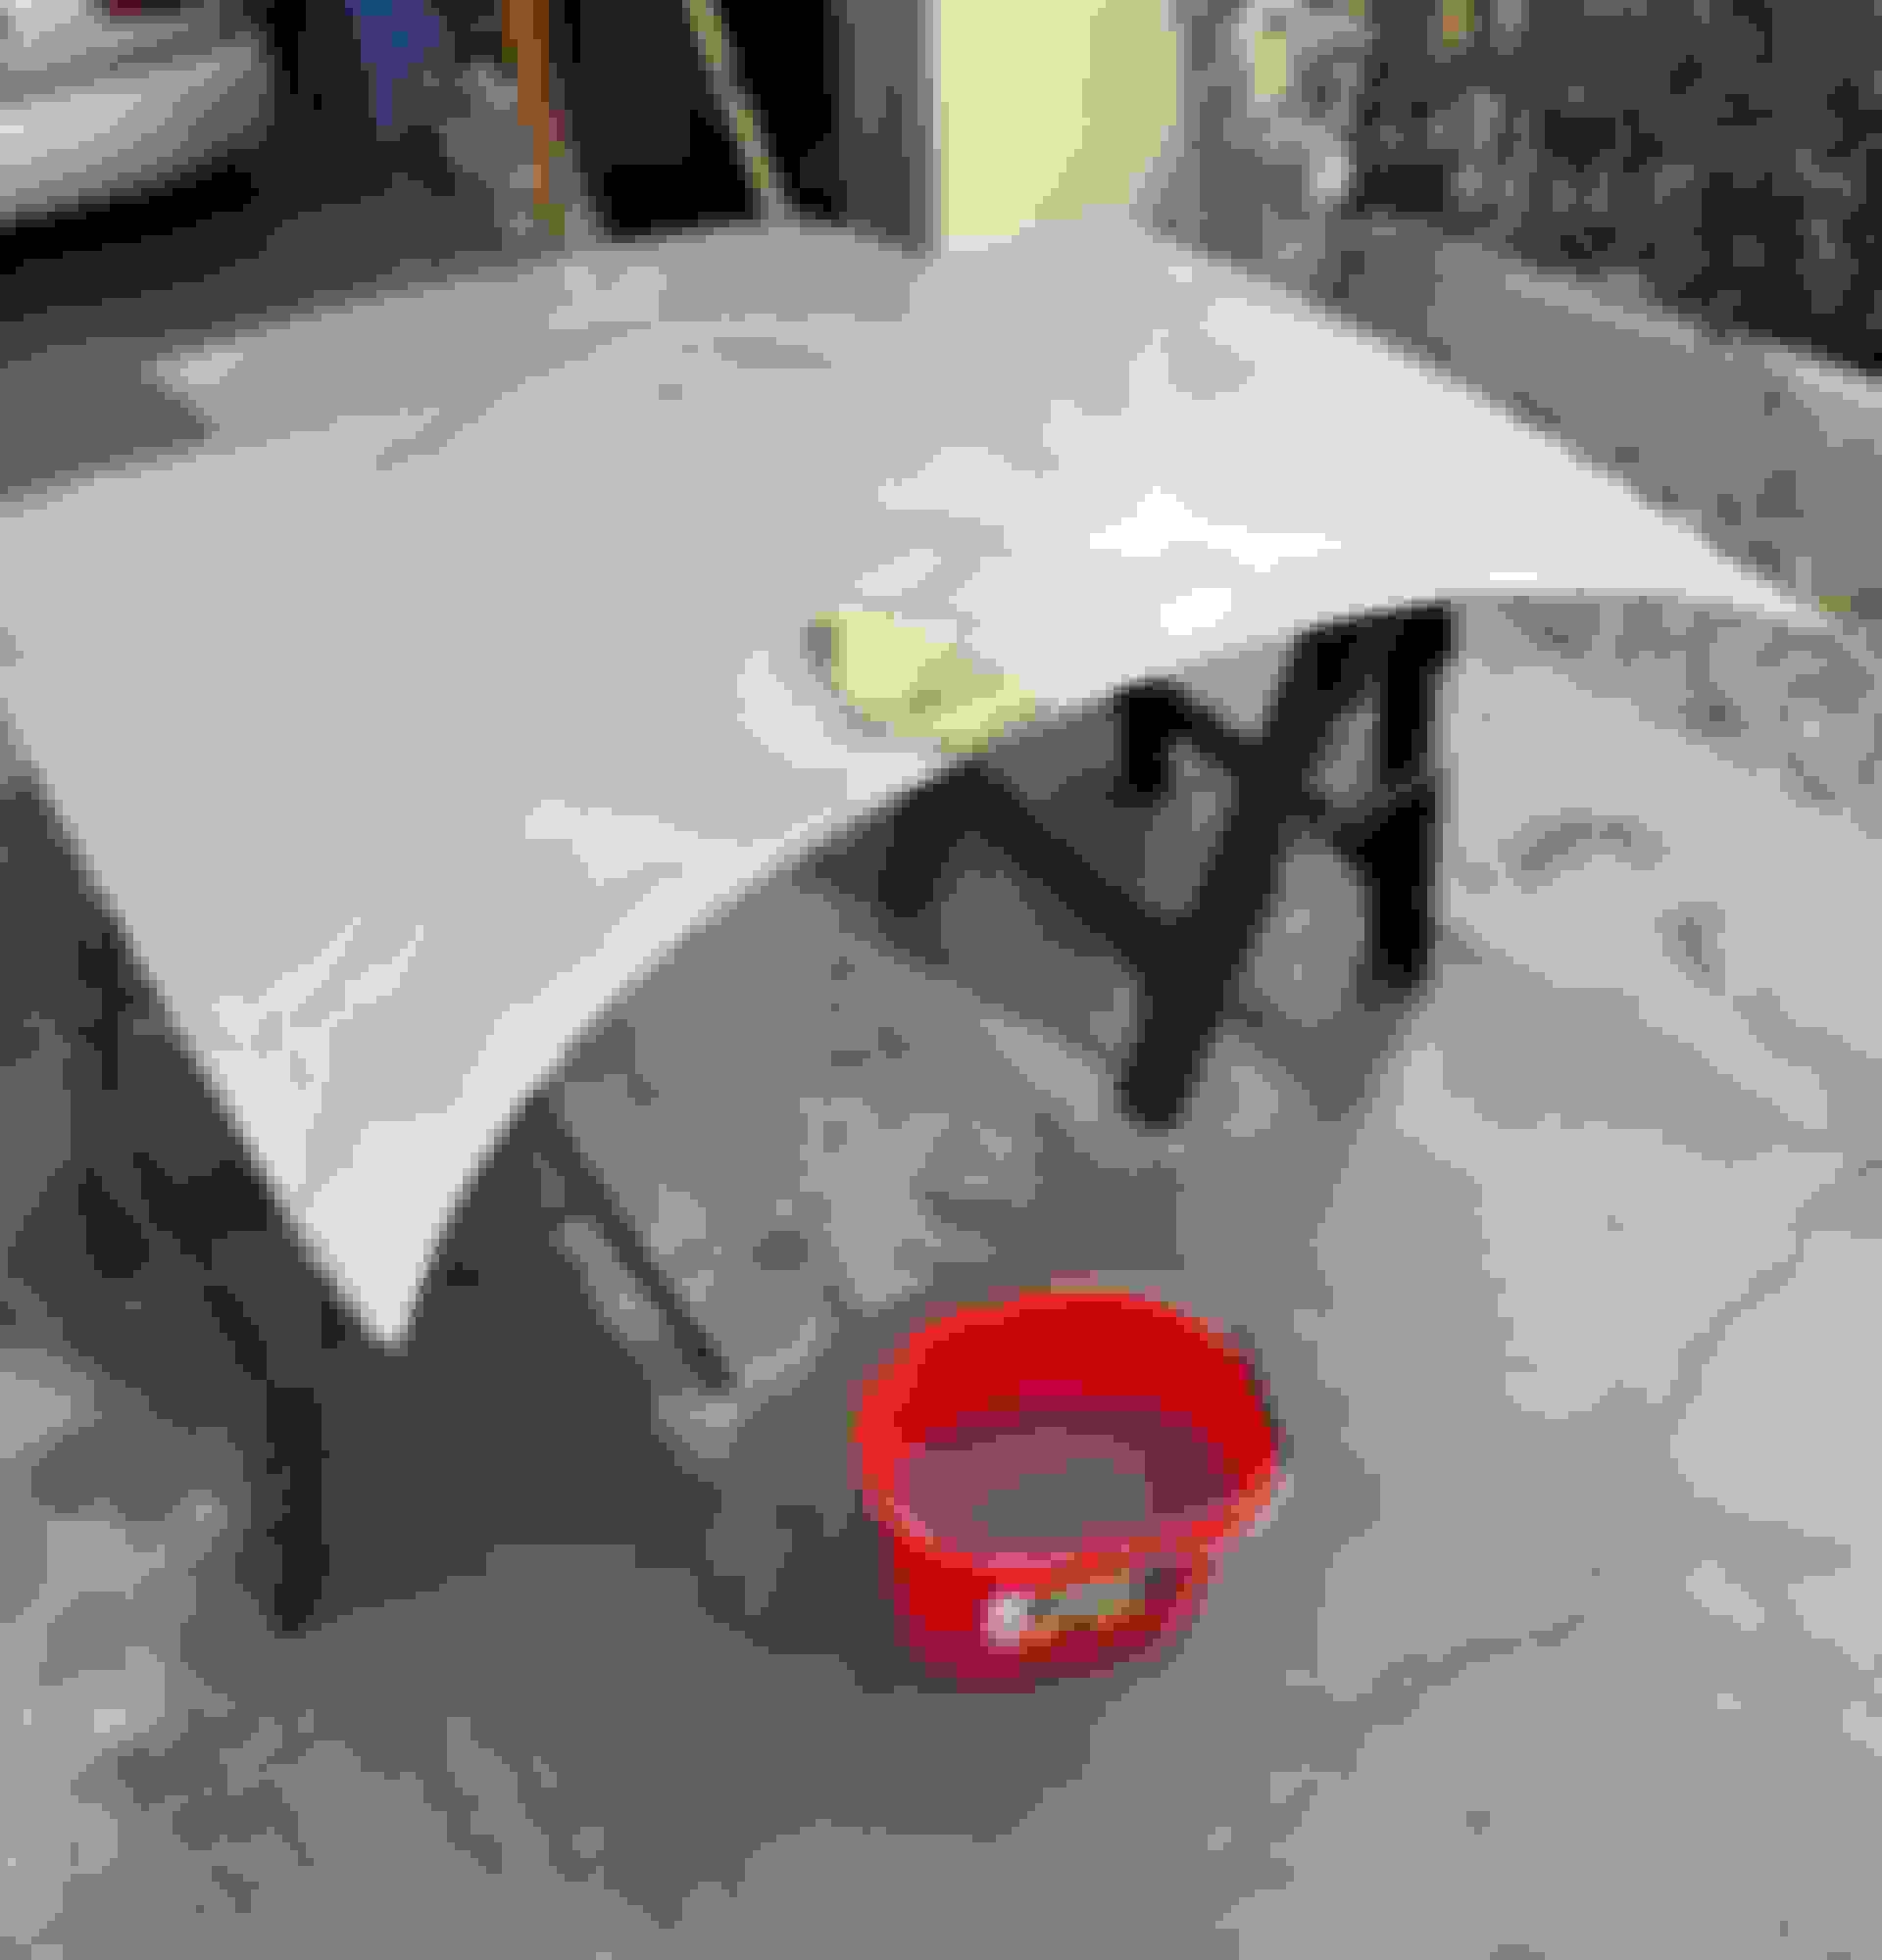
Then tried the hood, used the same 220-1500 grit sequence. A lot of the paint came off and left just the primer. The hood was by far the panel with the most faded clear coat.
Sanding finished
Wrap cut
I tried wrapping it in my garage when it was 44F inside it. It was a huge pain since the vinyl had no stretch to it and the adhesive didnt work at all at this temp.
I got about halfway done with the hood and the vinyl cracked when I lifted it... wasting the whole sheet.
The part I didnt ruin looks really good though. Ill just have to wait until its at least above 60F outside.
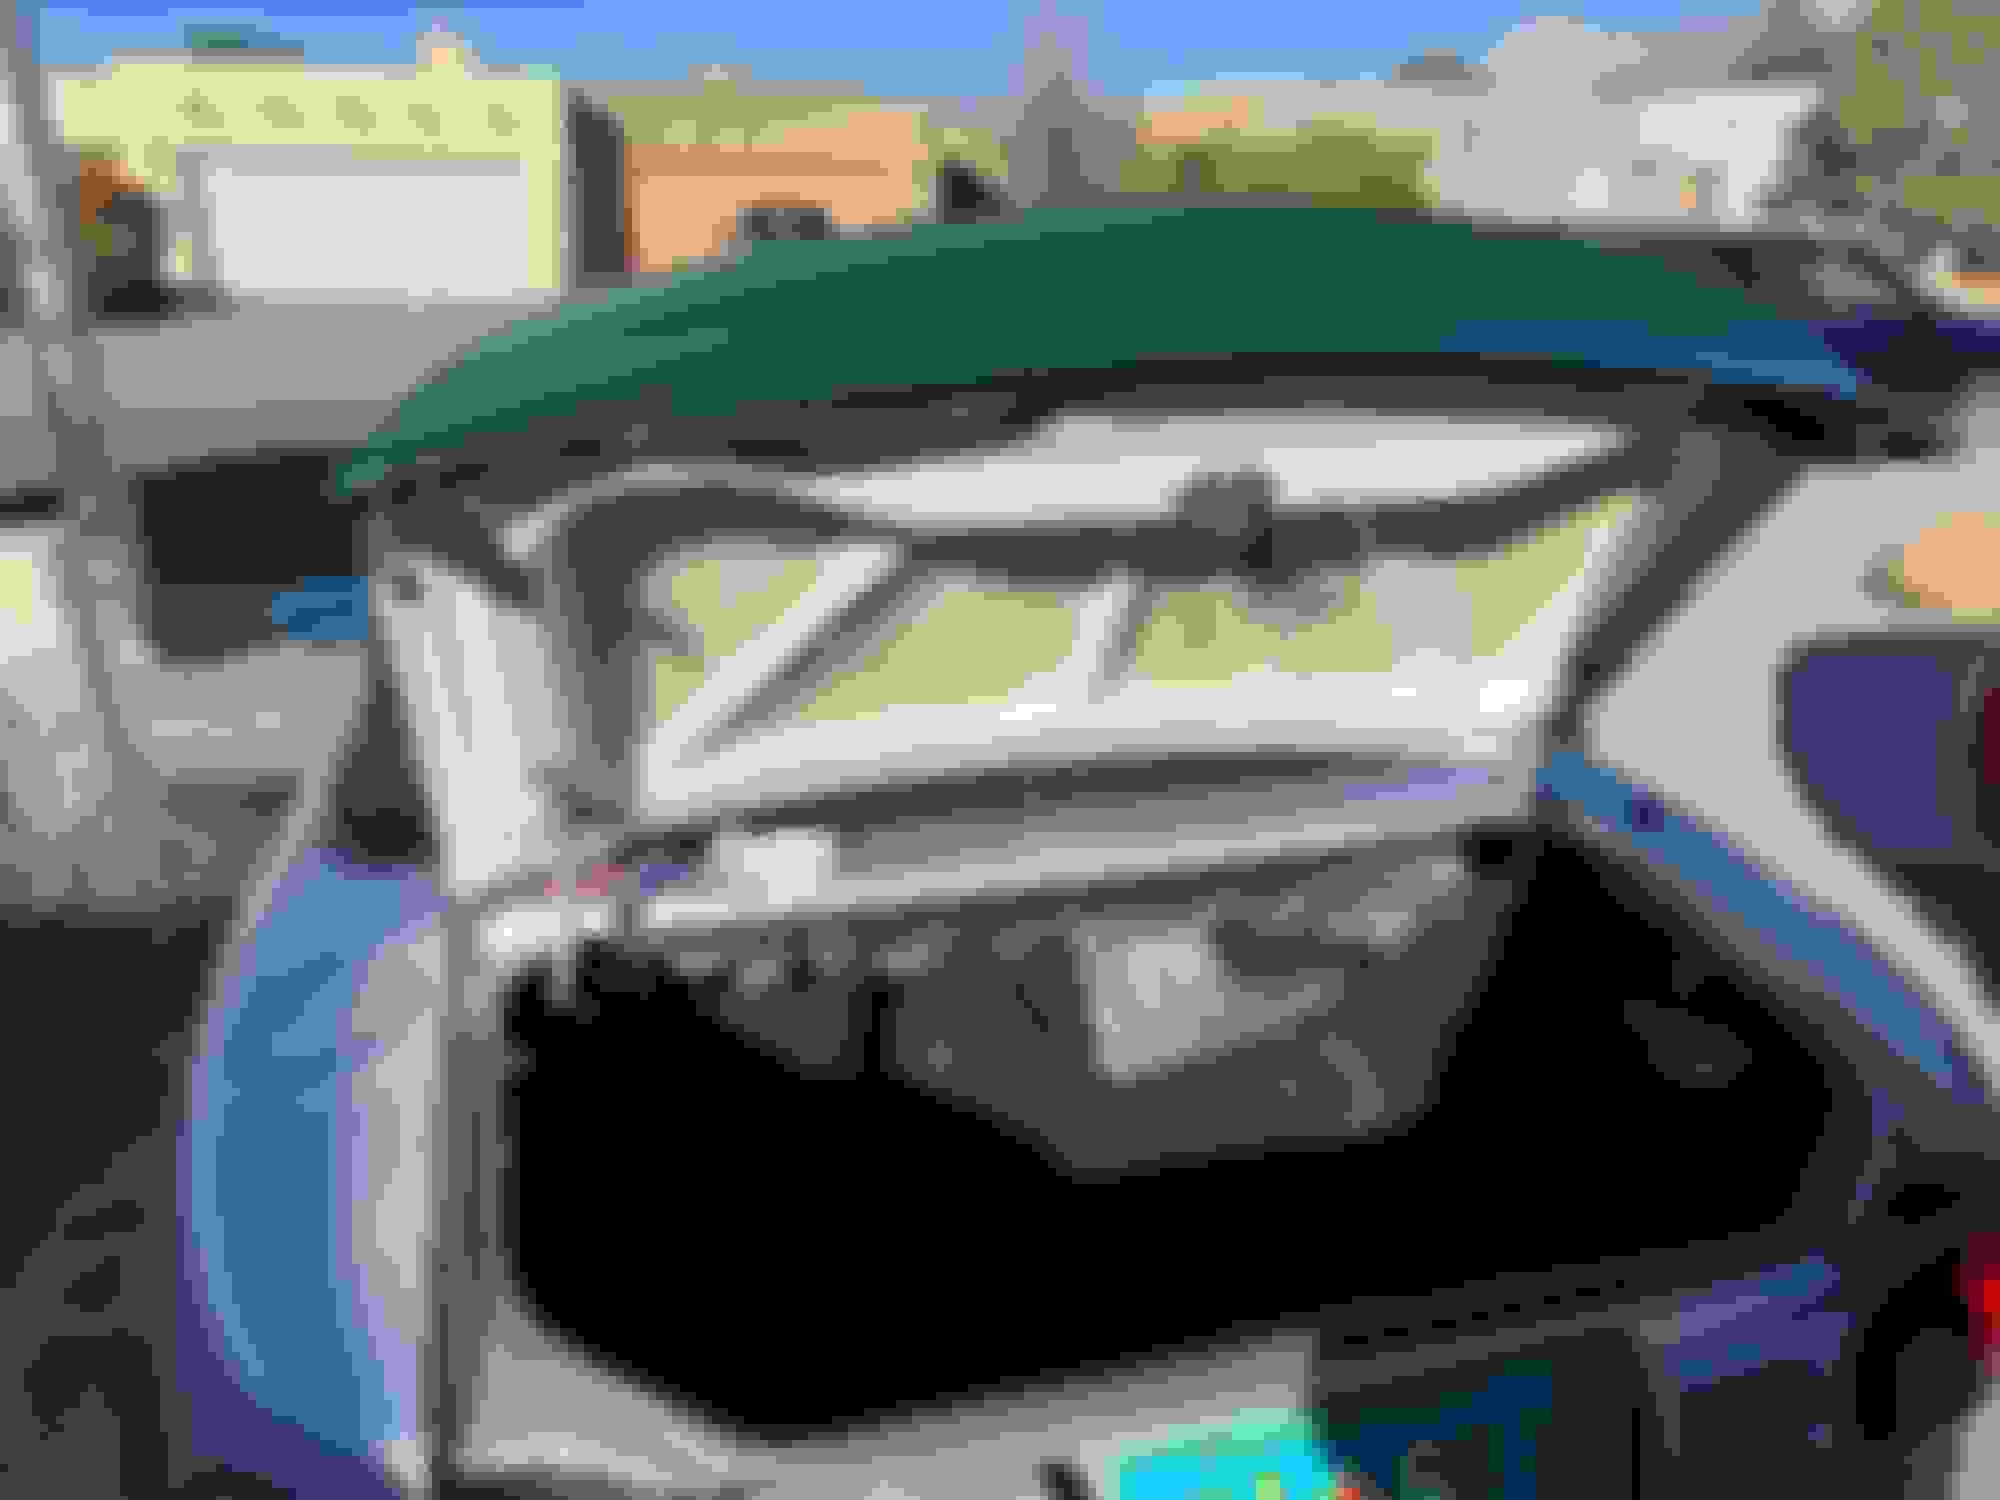
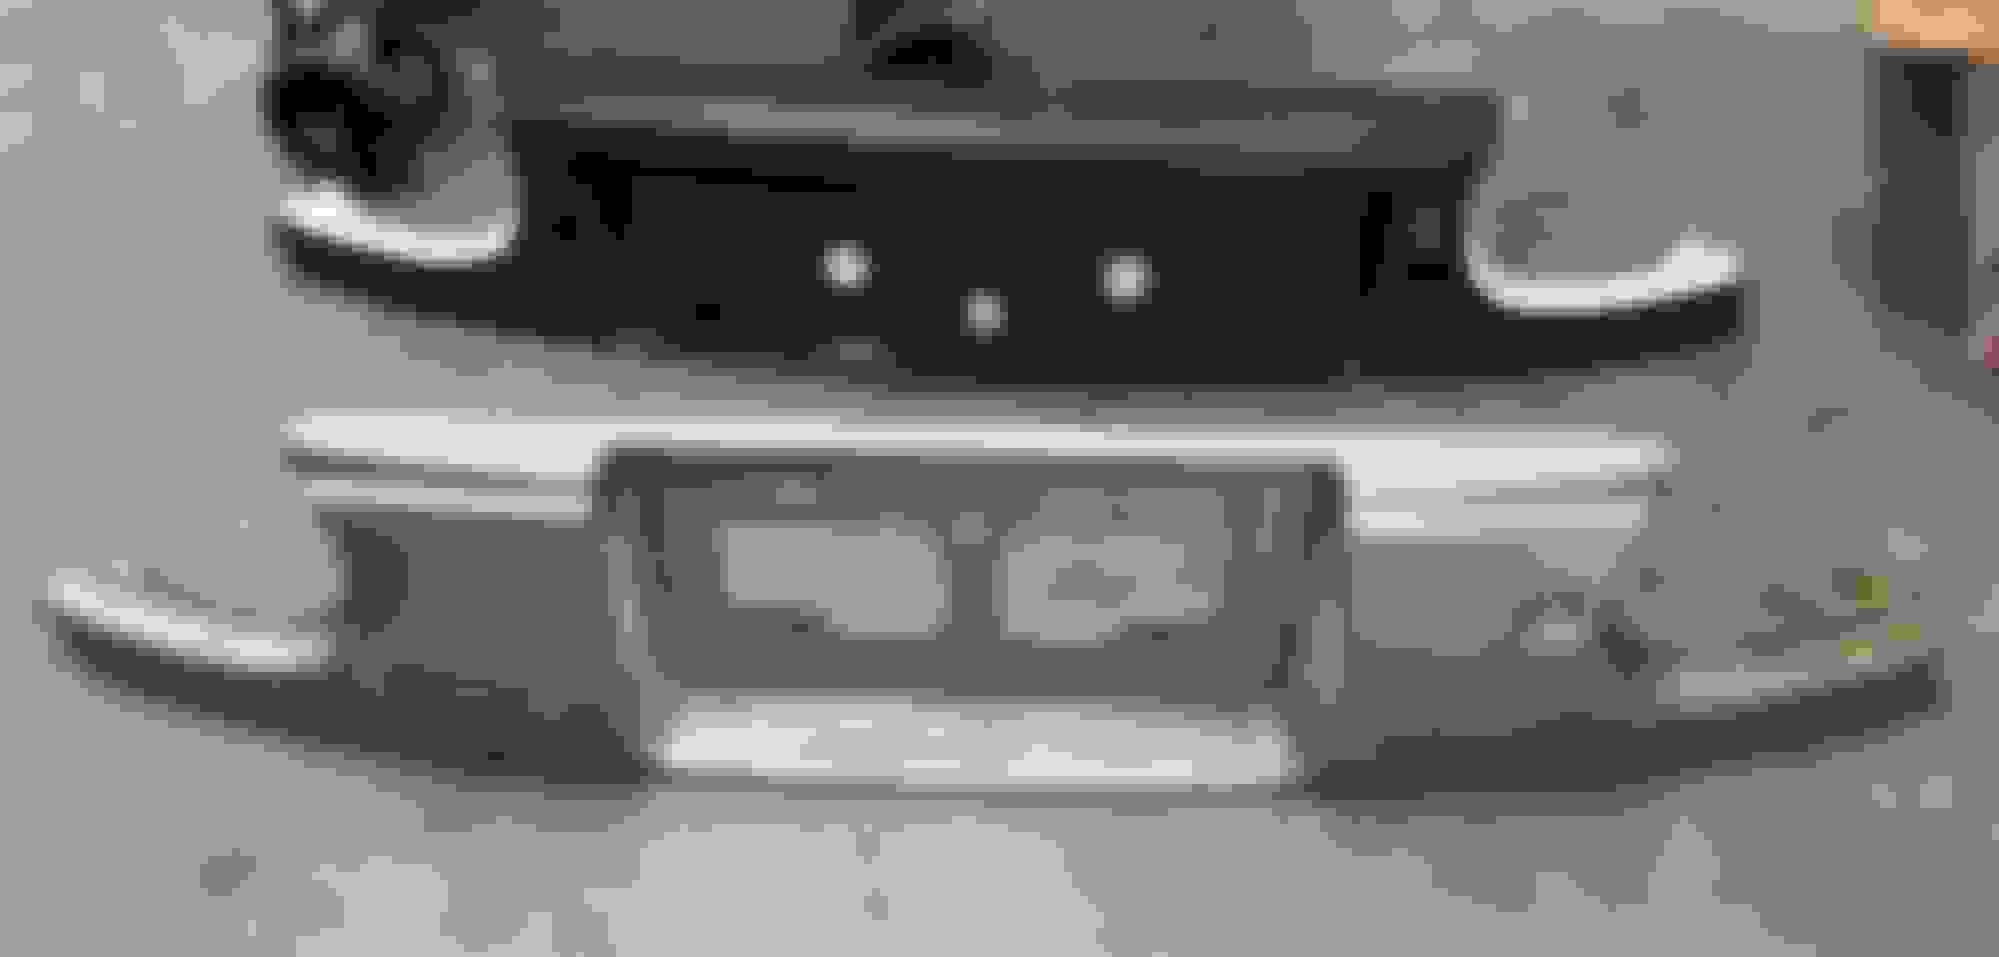
Did some more cosmetic cleanup. I got a new trunk lid with a small lip on it and rear garnish panel from CarbonMiata. Then chipped away at wrapping the car.
Pretty happy with how its turning out so far. My trunk lid had a bunch of holes in it from a luggage rack or something and the rear panel was disintegrating. Went with fiberglass versions since Ill just be wrapping over it.
I had to do some sanding with a 220 grit sanding sponge to smooth a lot of the fiberglass edges out, or else they would have show through the wrap. Then sanded all the surfaces upto 15,00 grit where the vinyl needed to stick.
How the parts arrived, packaged really well
I went with the Euro rear panel for something a little different.
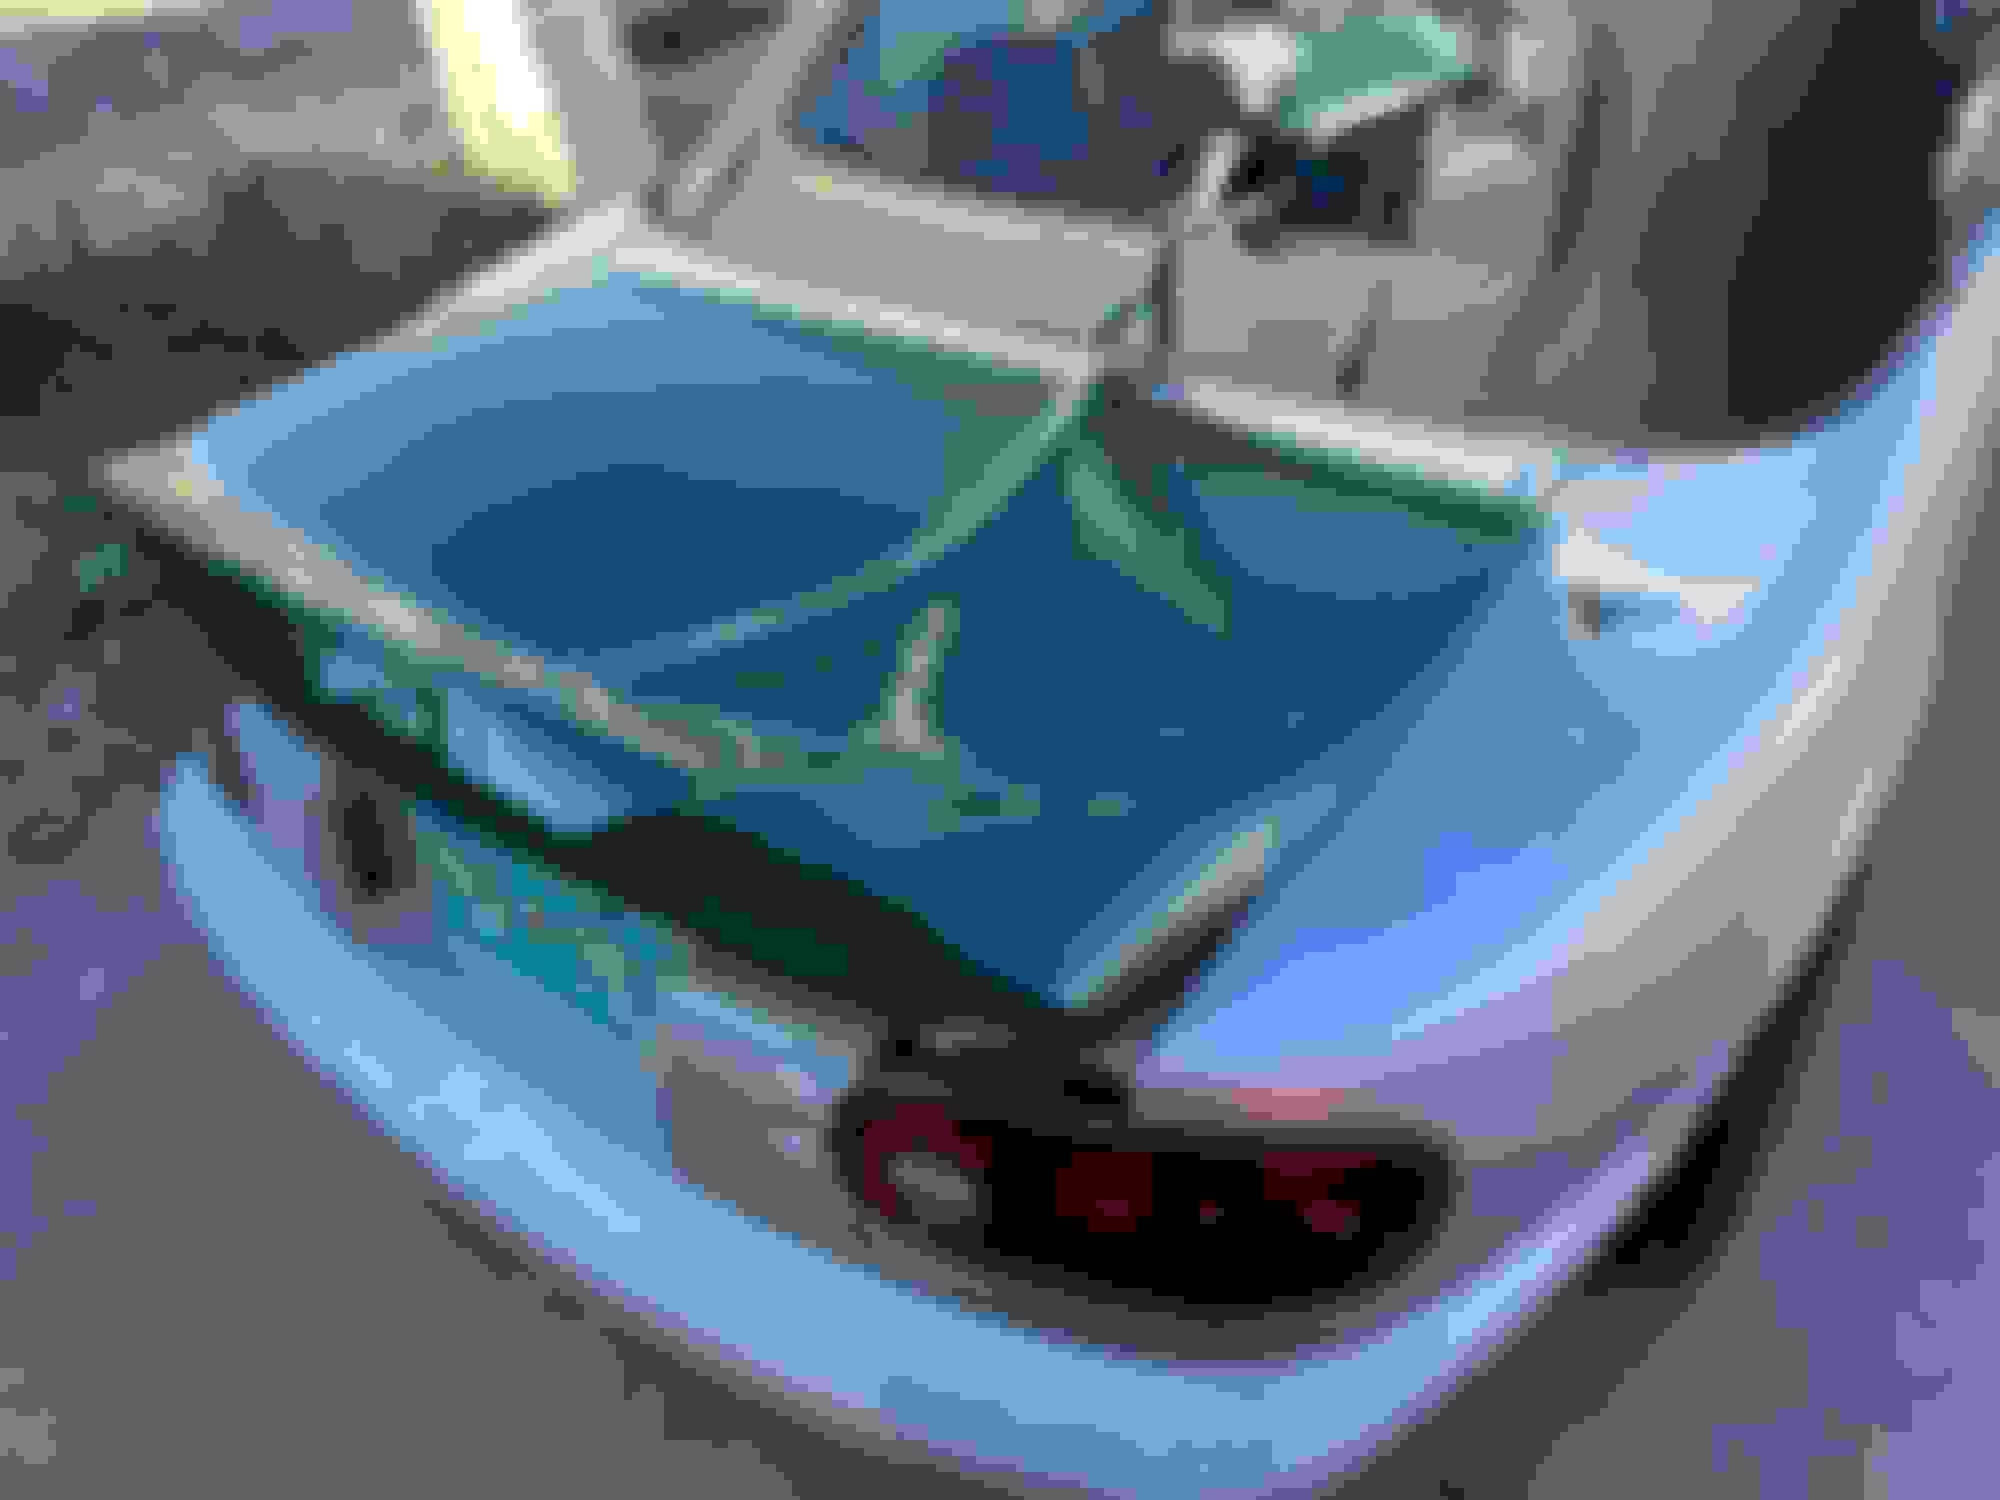
Removed one of the trunk lid springs.
The fiberglass trunk lid weighed 8.5 lbs on my bathroom scale.
The (OEM?) steel trunk lid weighed 15.1 lbs
Installed
The sun made it warm enough so I tried wrapping it
Did it in two parts. Wrapped the rear face first, then wrapped the top face. Used knifeless tape to cut the seam along the edge of the ducktail. The two pieces of vinyl overlap about 1-2mm
mid-wrap
Finished, really happy with how it came out. Its so much easier to work with when warm.
Wrapped the rear garnish panel in two pieces also. Heres the first section halfway done.
First section finished and trimmed.
Then finished. The overlap is just above the keyhole, not super obviouse.
Next to the oem panel.
Had to remove the US license plate lights. The Euro panels have the lights built in, but the carbonmiata replicas dont, so I had to fashion my own.
Drilling holes to mount the lights and the license plate. The stepper bit worked really well for cutting the fiberglass, I didnt get any cracking.
Finished. This photo makes the lights look a lot brighter than they are.
I did have to cut my license plate a little to install it, should have realised it would fit.. I tried hemming the edge of the plate but my brake handle it.
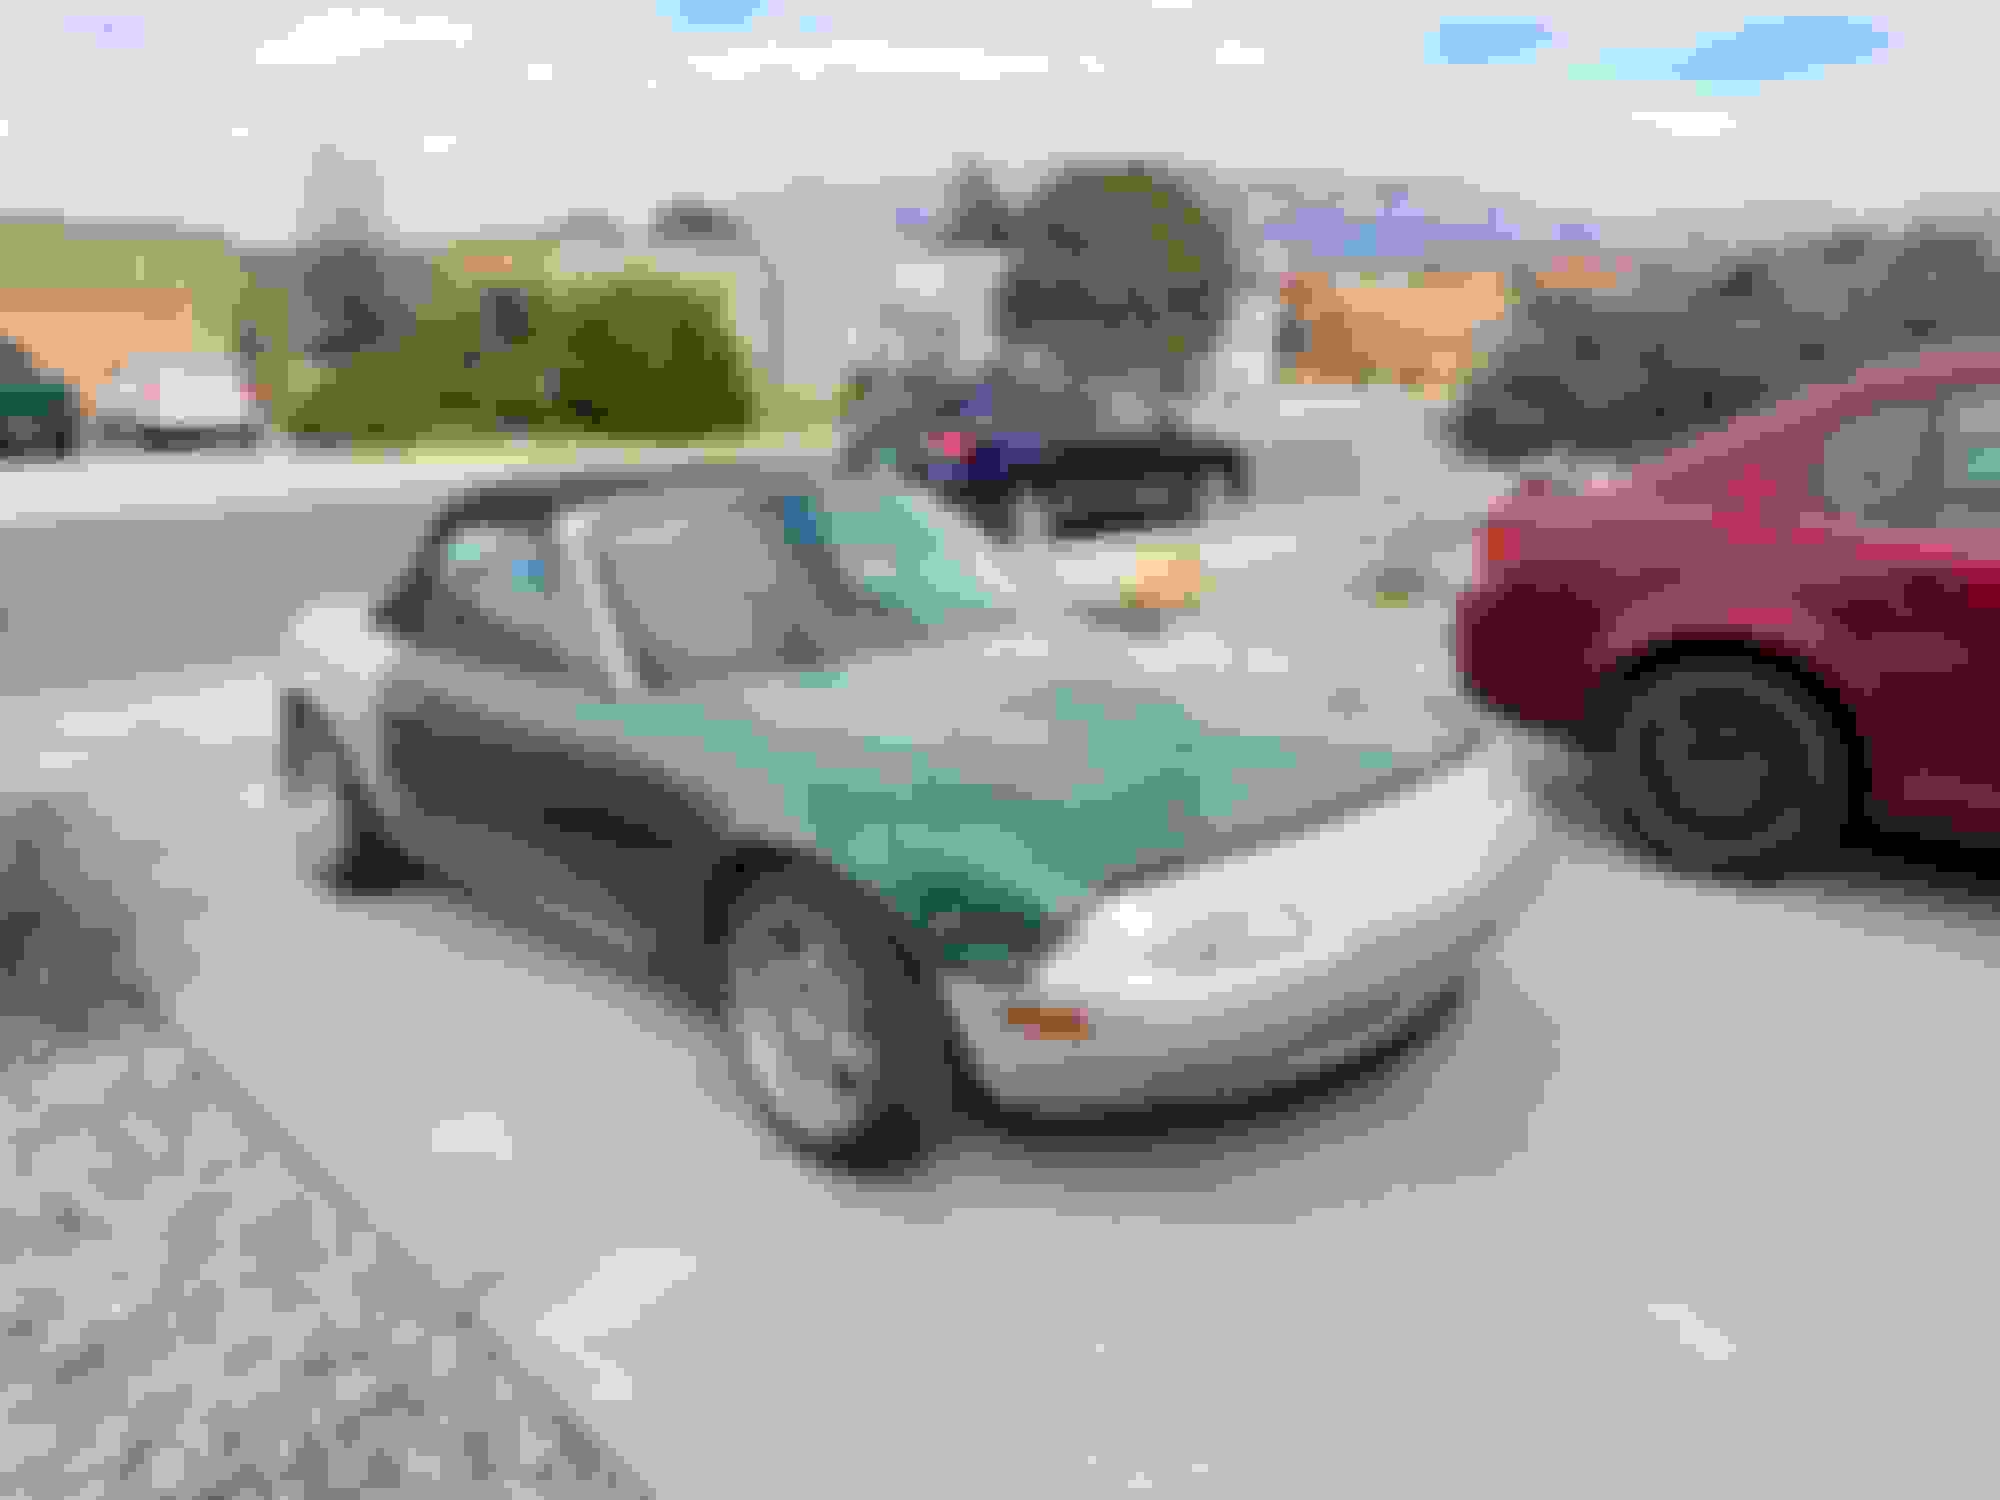
In daylight on a cloudy day.
Never paid the cat tax. This is my 12 year old kitty Lemon . We took her in as a stray about a decade ago.
Made more progress on wrapping it. Got the front fenders, doors, and hood done. Think Im about halfway done with the car, its pretty time consuming.
Fenders had a few large dents that got knocked out then smoothed out with a little bondo and primer.
Wrapped the fenders in two pieces, split along the body line. Had a little help from my daughter
Top part of fender wrapped, not trimmed yet.
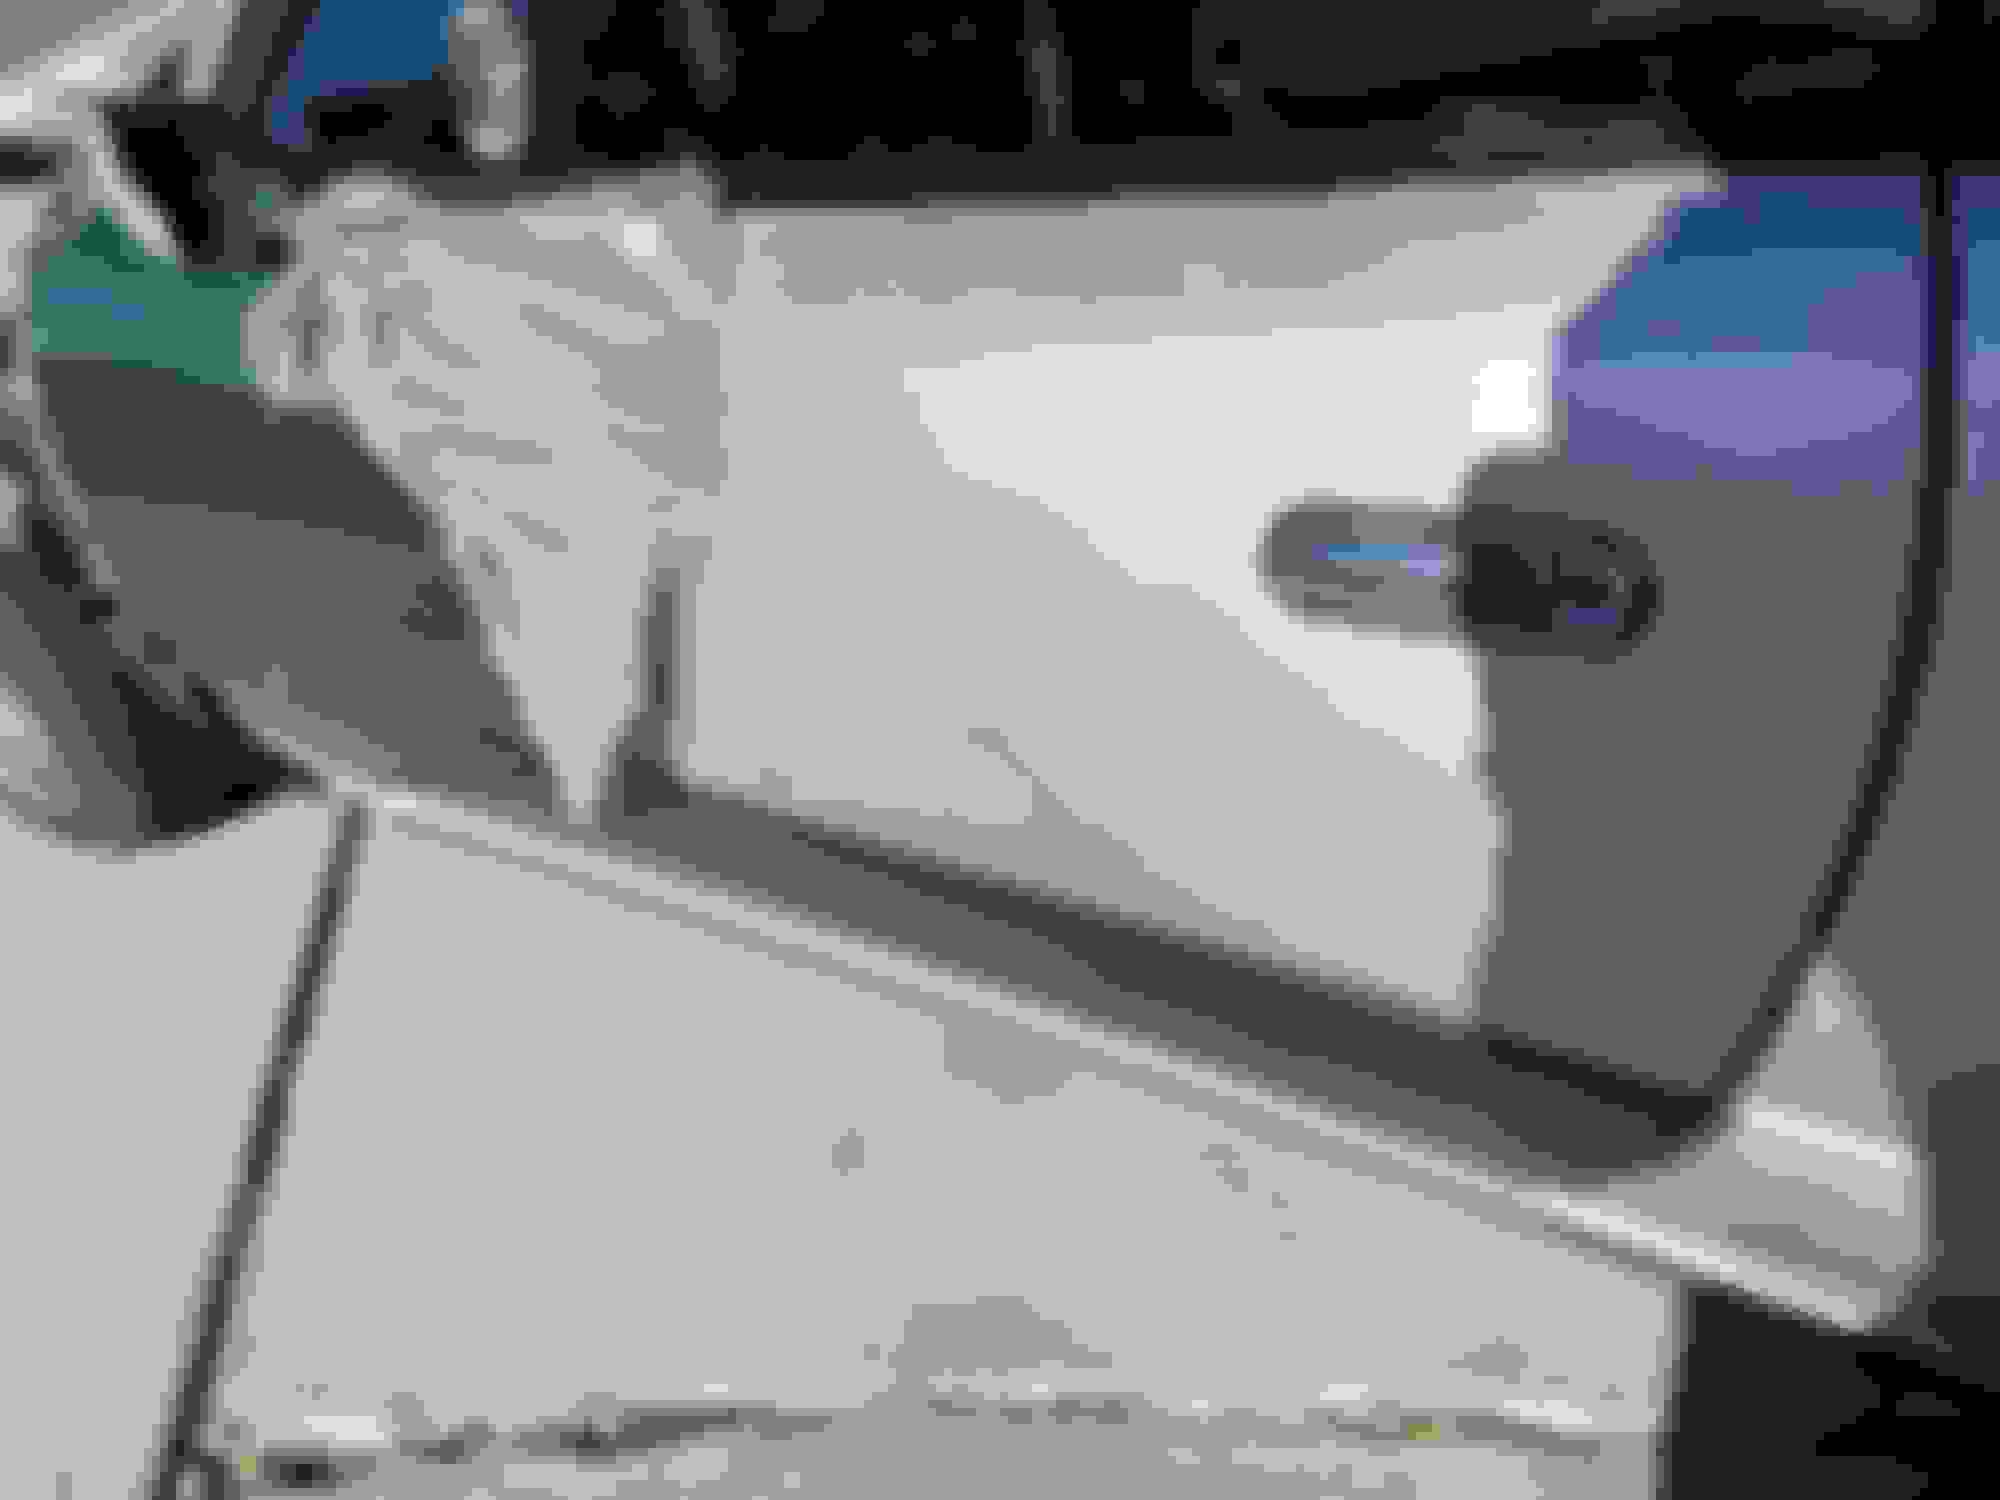
Moved onto the doors. The driver door was repainted at some point. A lot of paint was ripped up by the vinyl while trying to reposition it. Ruined the vinyl section.
Had to sand the peeling paint off down to the primer and try again.
Passenger door wrapped, it came out perfect.
Also installed some V8 roadster fender braces while the fenders were off. Havent tested them out yet.
Love it.
Ignore the panel gap, fender isnt installed all the way yet.
The surface finish is pretty good, really highlights all the door dings.
Then gave the hood a 2nd try... cracked the vinyl again in the same spot even though its a lot warmer in the house. Another $50 sheet of vinyl wasted.
Third attempt on the hood. This time I attached it to the car so I could pull and stretch the vinyl, then lay it down like you're supposed to. Had to wait for a warm enough day so the vinyl had some stretch to it.
I also only exposed half of the adhesive at a time to try to make it easier.
Done!
Kinda regret not going with the blue color, I think it would have matched the silver wheels a lot better. But oh well, it still looks way better than the damaged original paint.
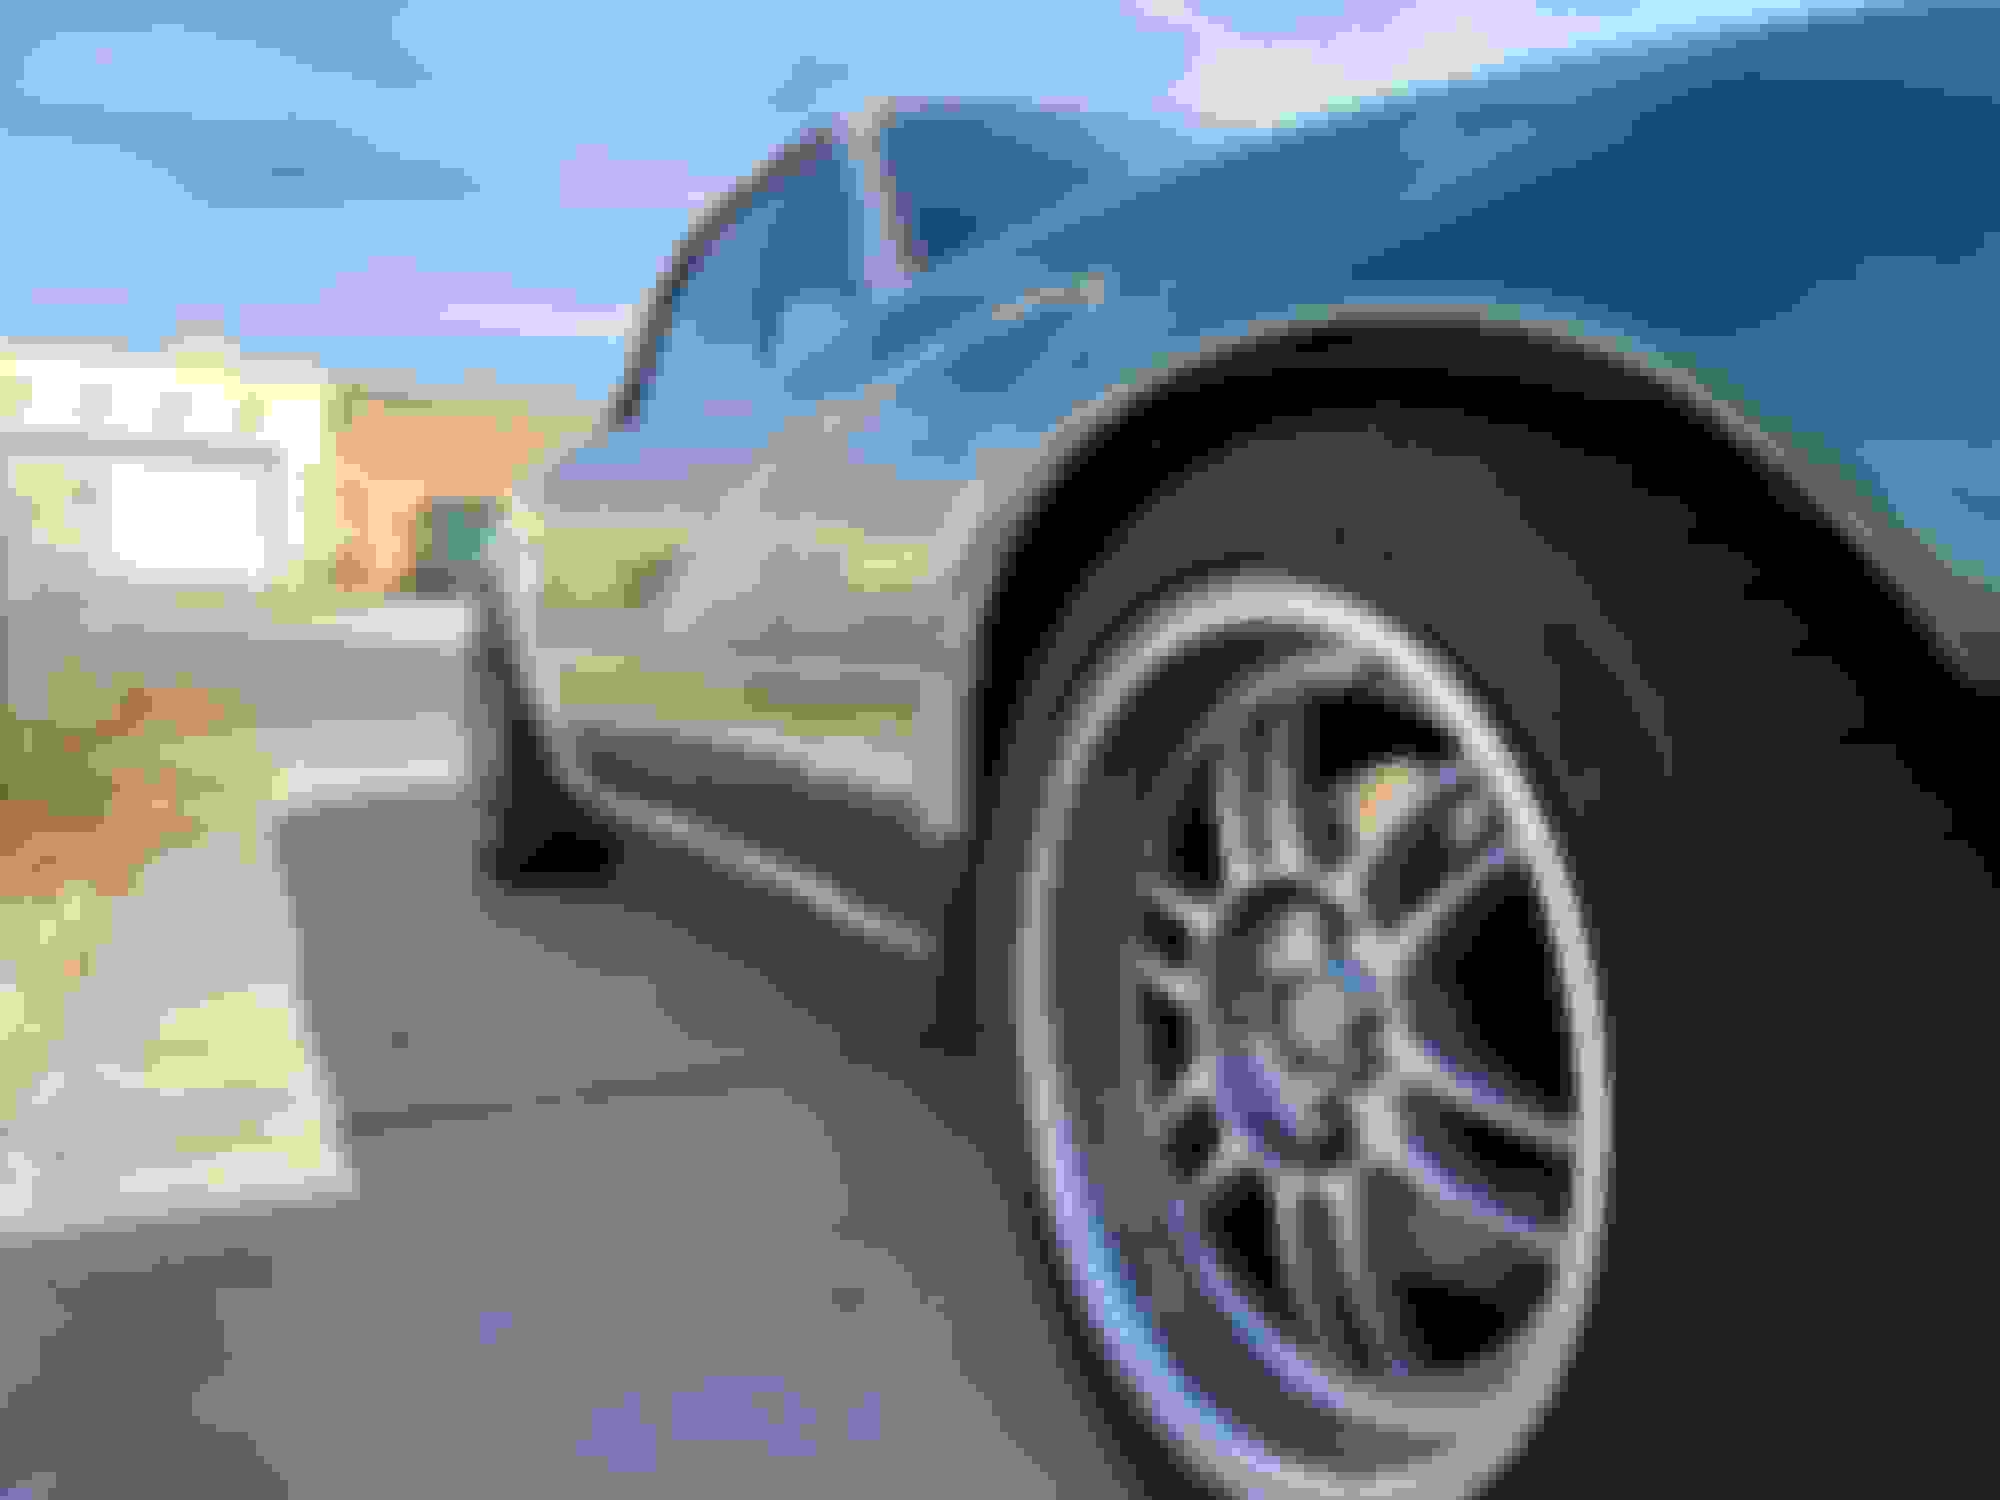
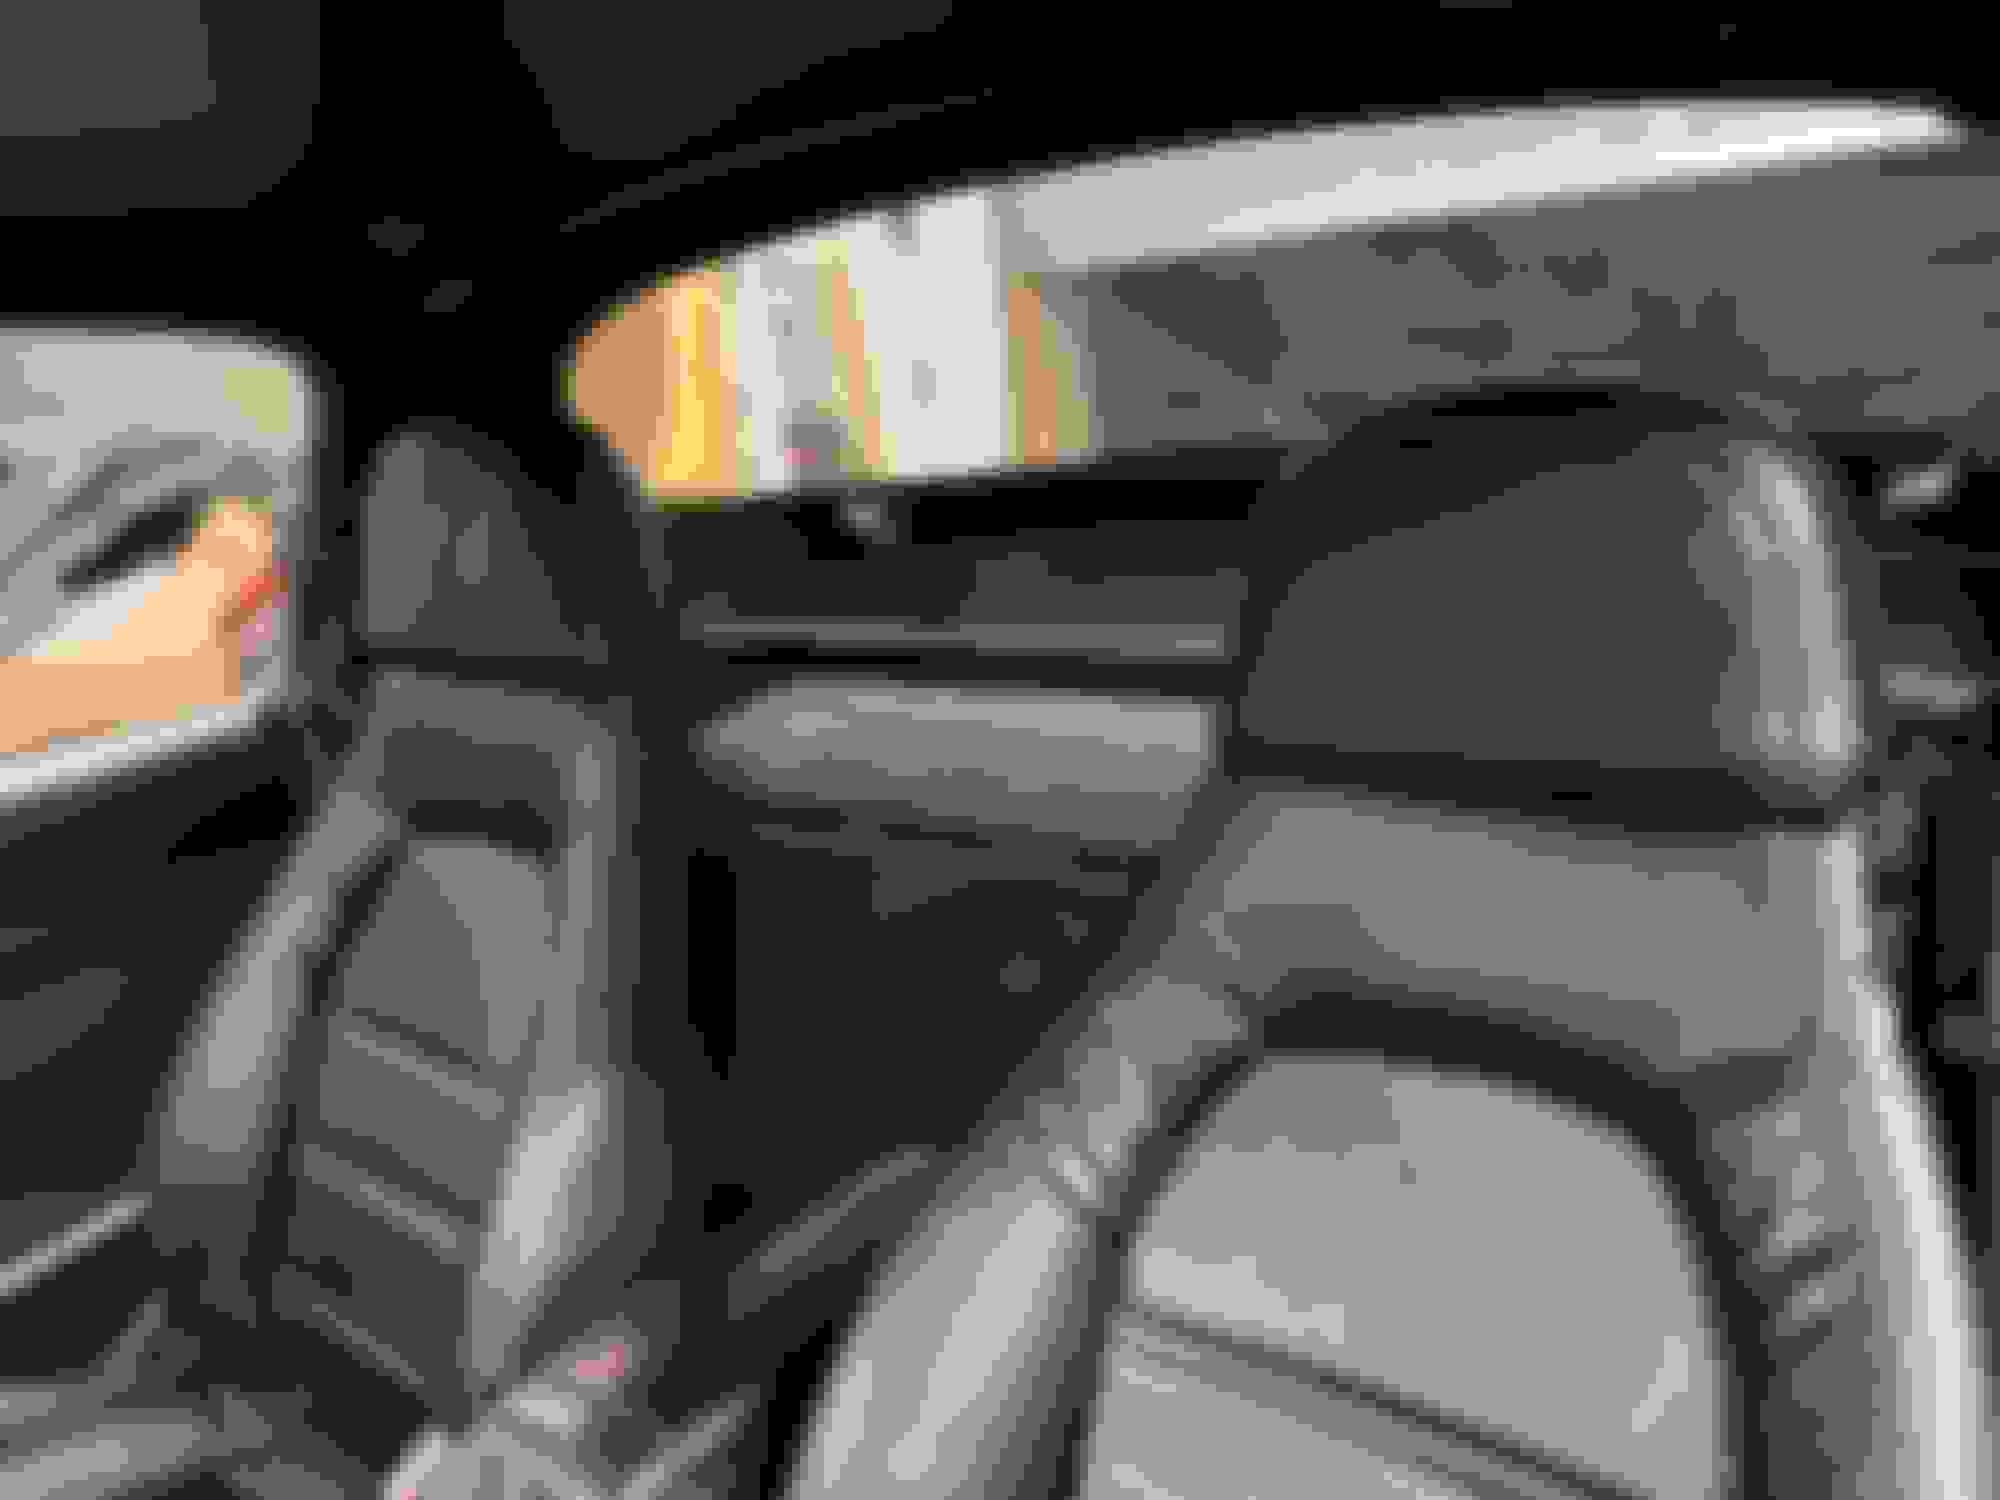
Just have the bumpers, rear quarter panels, and window trim pieces left.
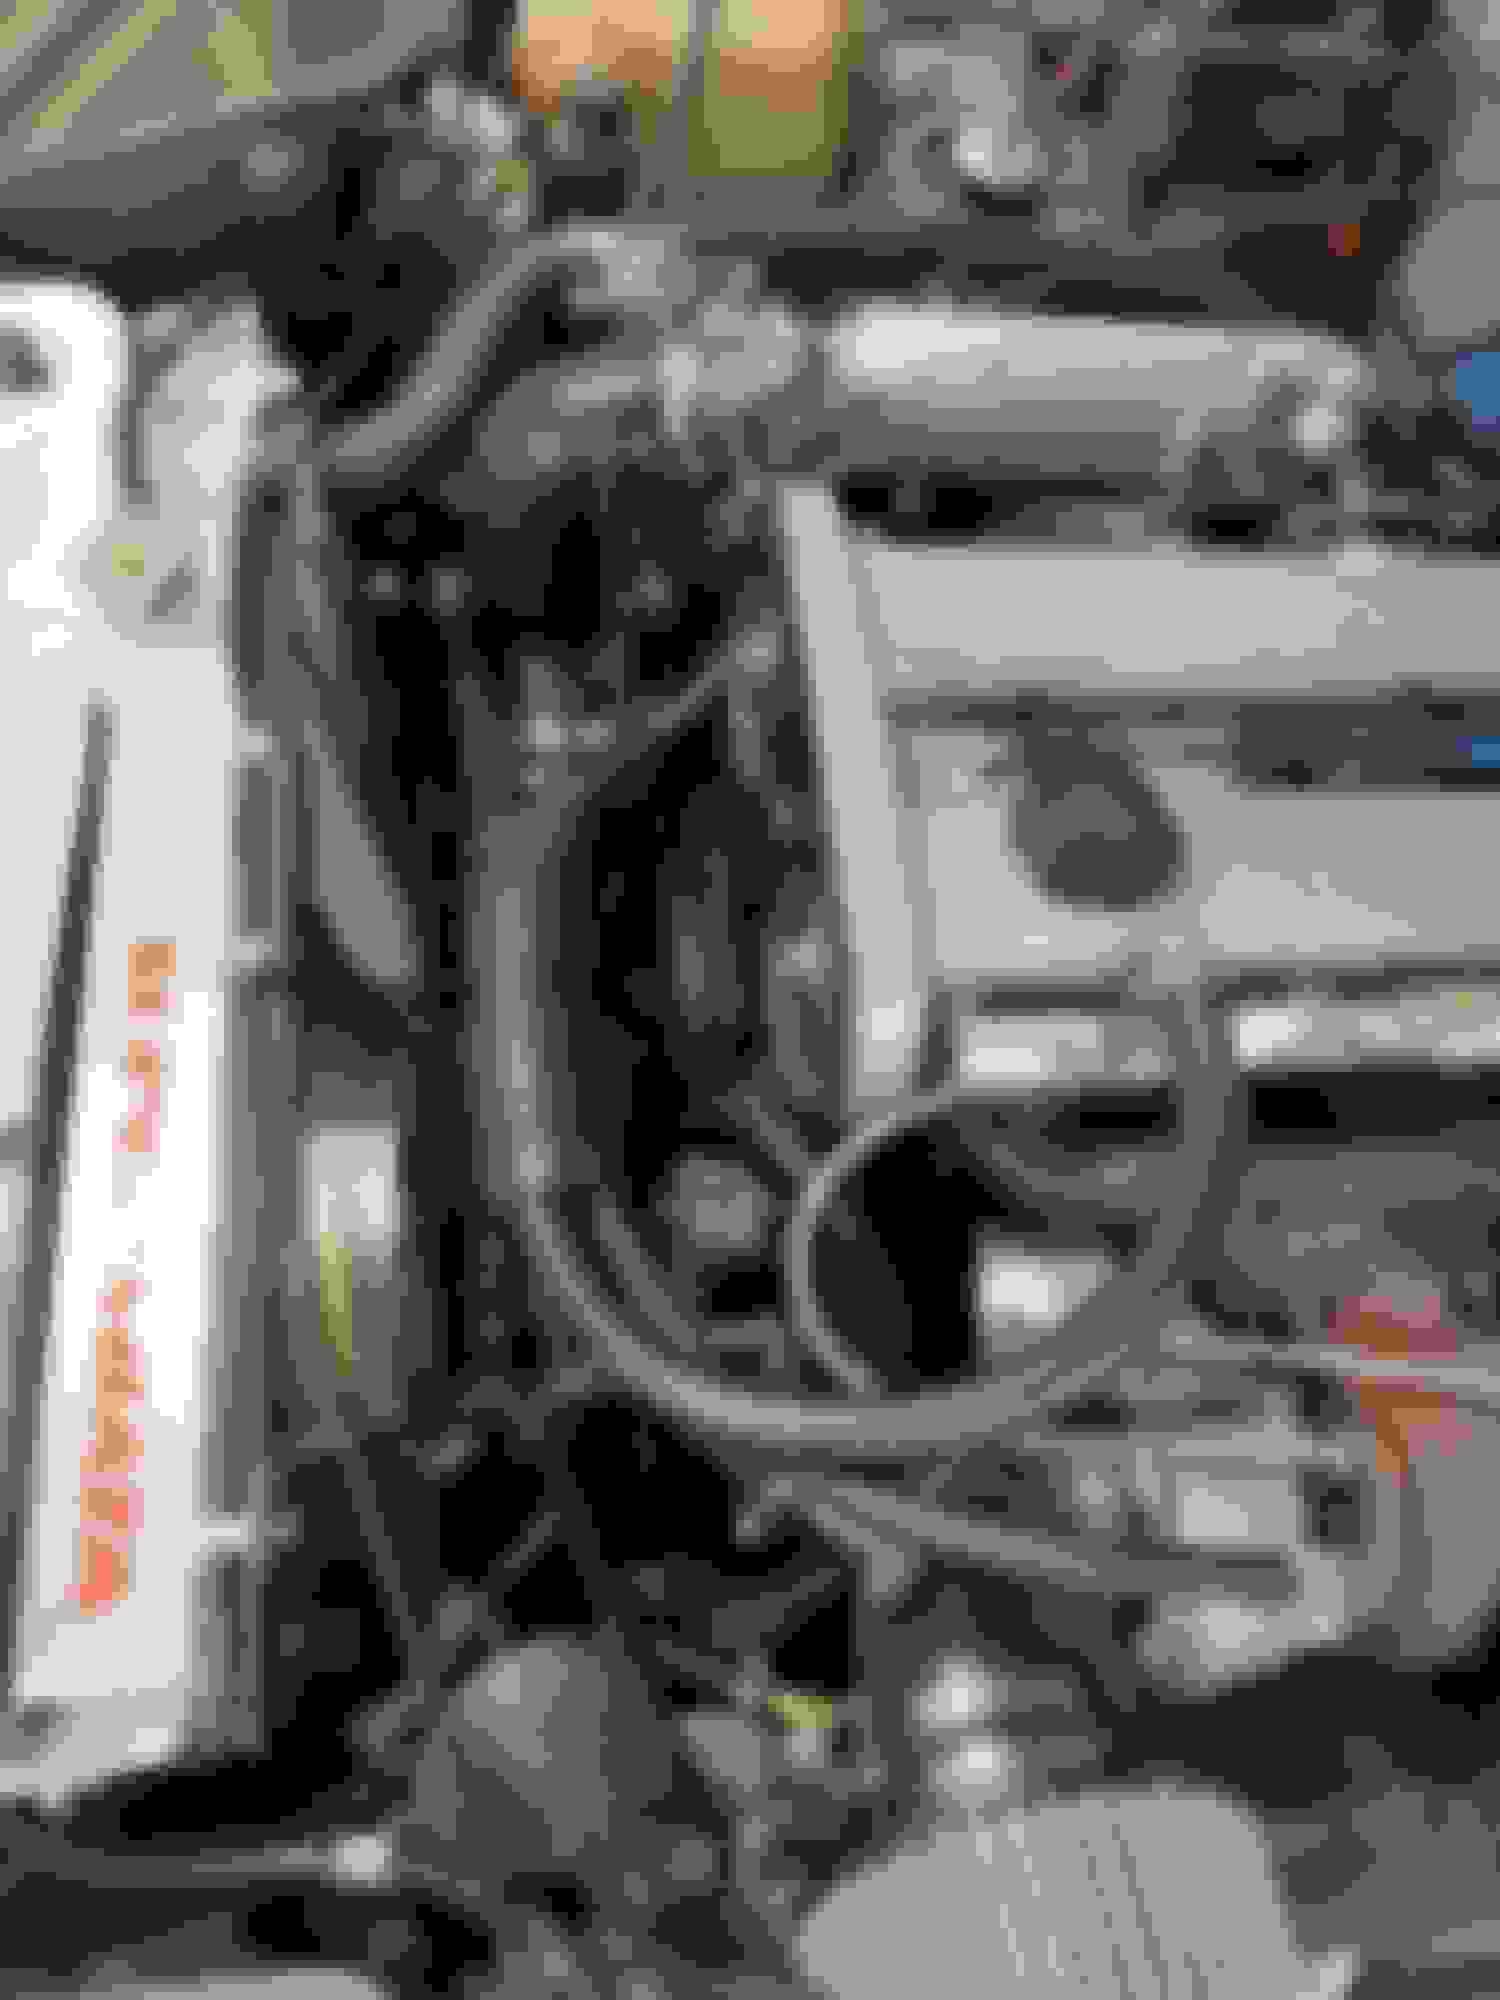
Small update. Progress has been slow, only managed to wrap a couple panels over the last few months. But I also redid the catch can set up to change from 3/8" to 1/2" ID tubing and drilled out the holes under the exhaust side of the valve cover to about 0.4". Couldnt drill them out any larger. I have been having issues with gaskets repeatedly failing and leaking oil (CAS, valve cover, cam seals, and rear main seal). It would occasionally burn oil after a hard vacuum pull and switching to WOT, like the valve stems seals were bad. Threw in a new valve cover gasket and a Viton version of the CAS o-ring and everything is not leaking or burning oil after the catch can upgrades.
Also did some minor cosmetic changes:
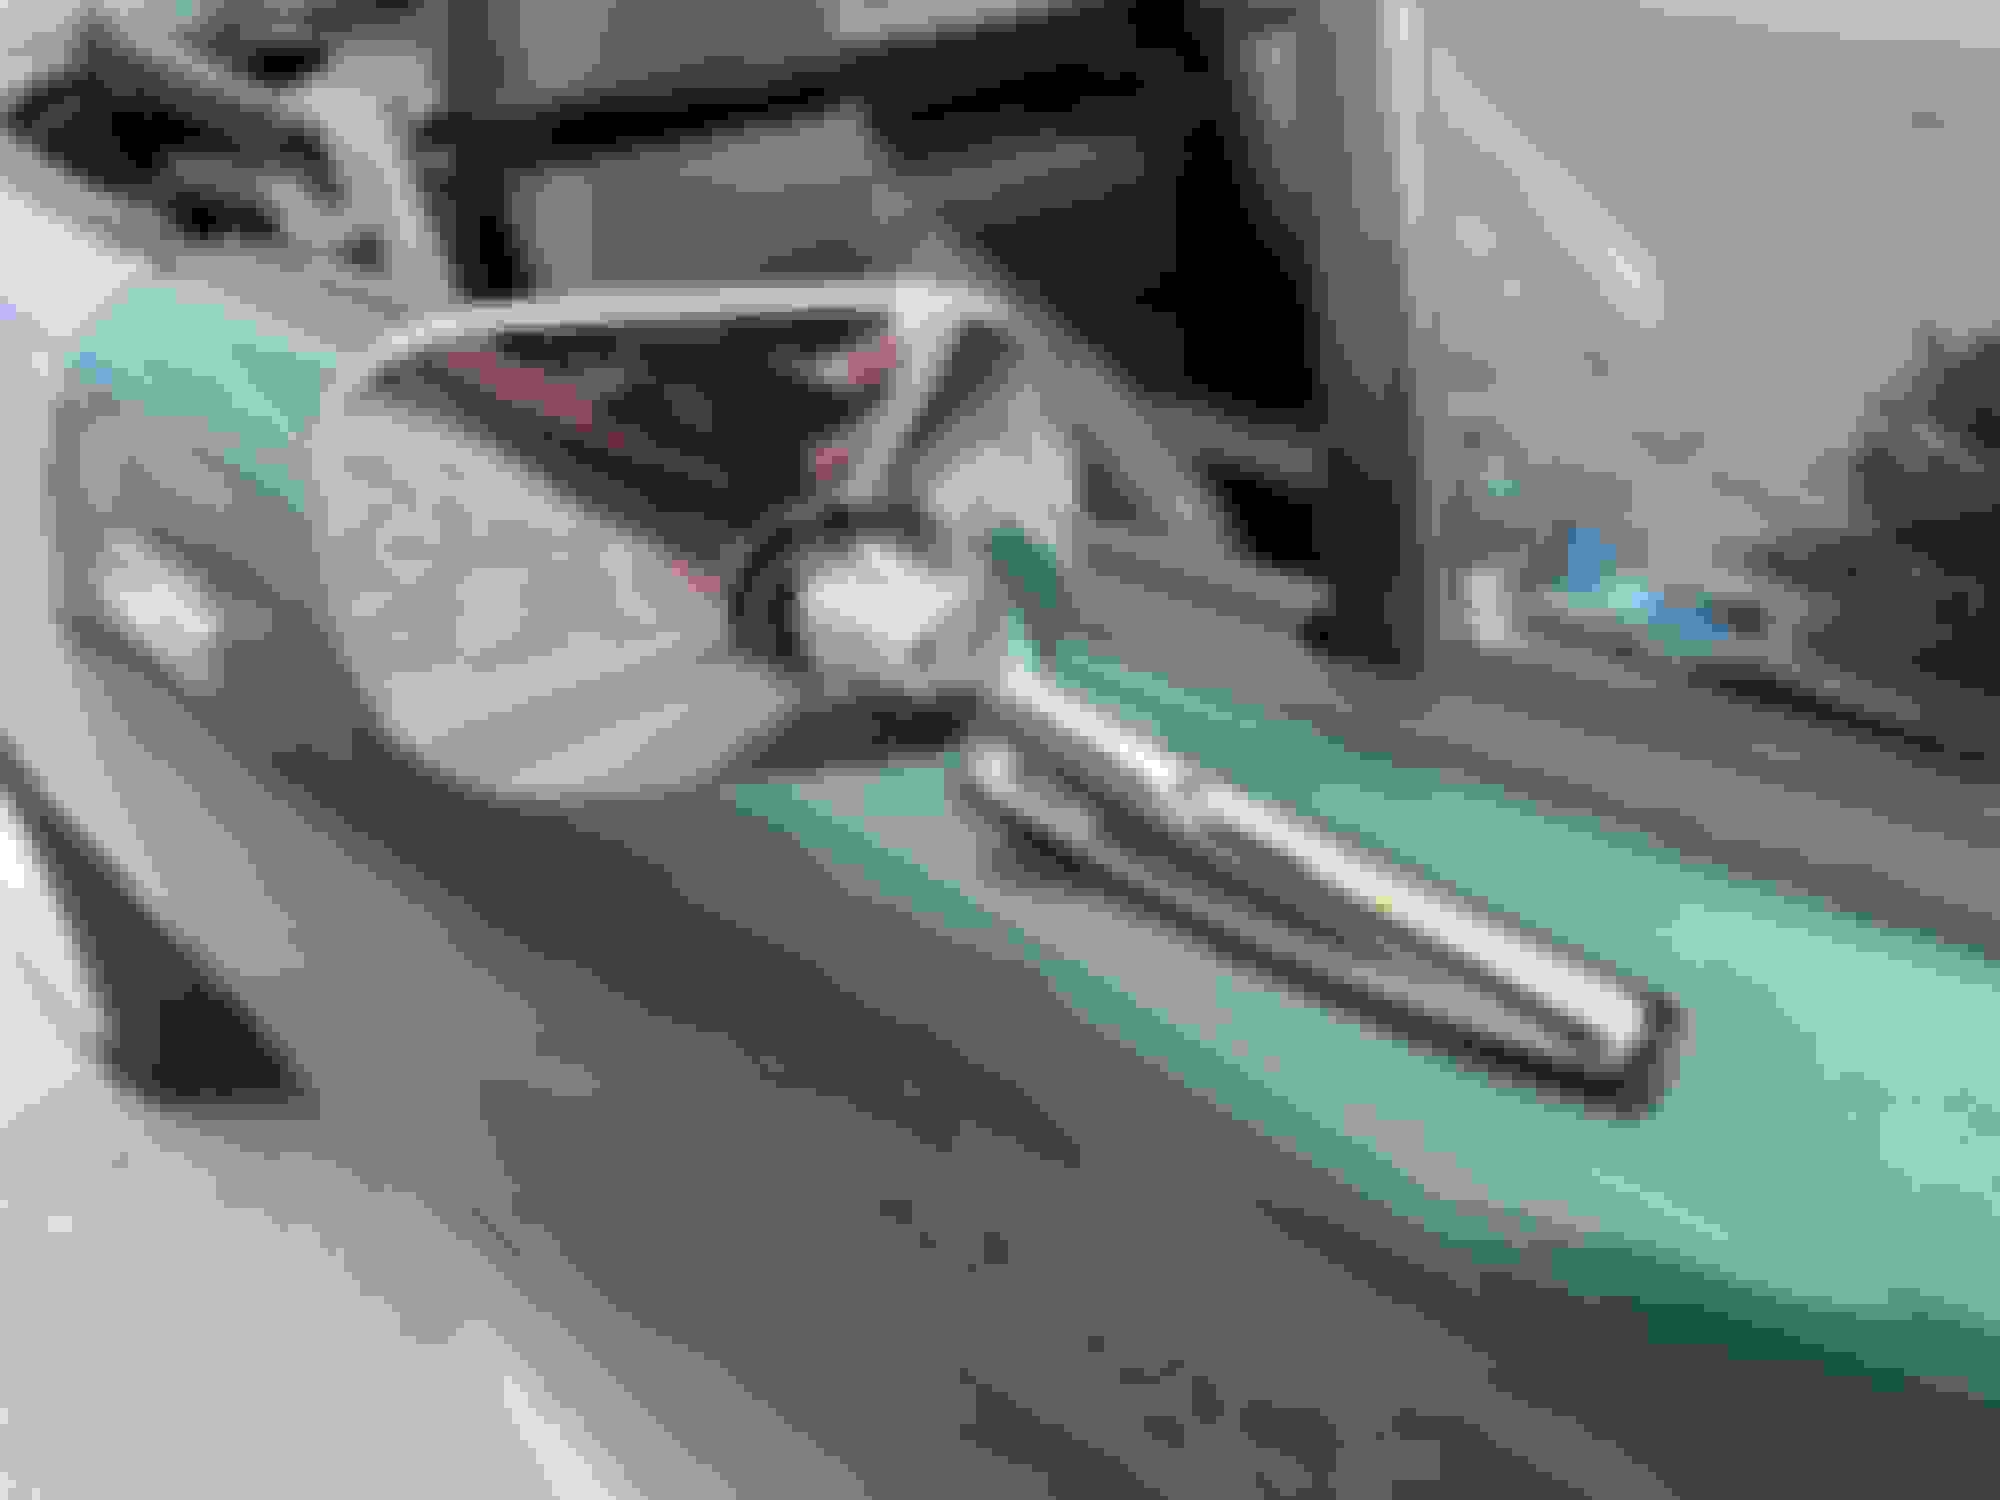
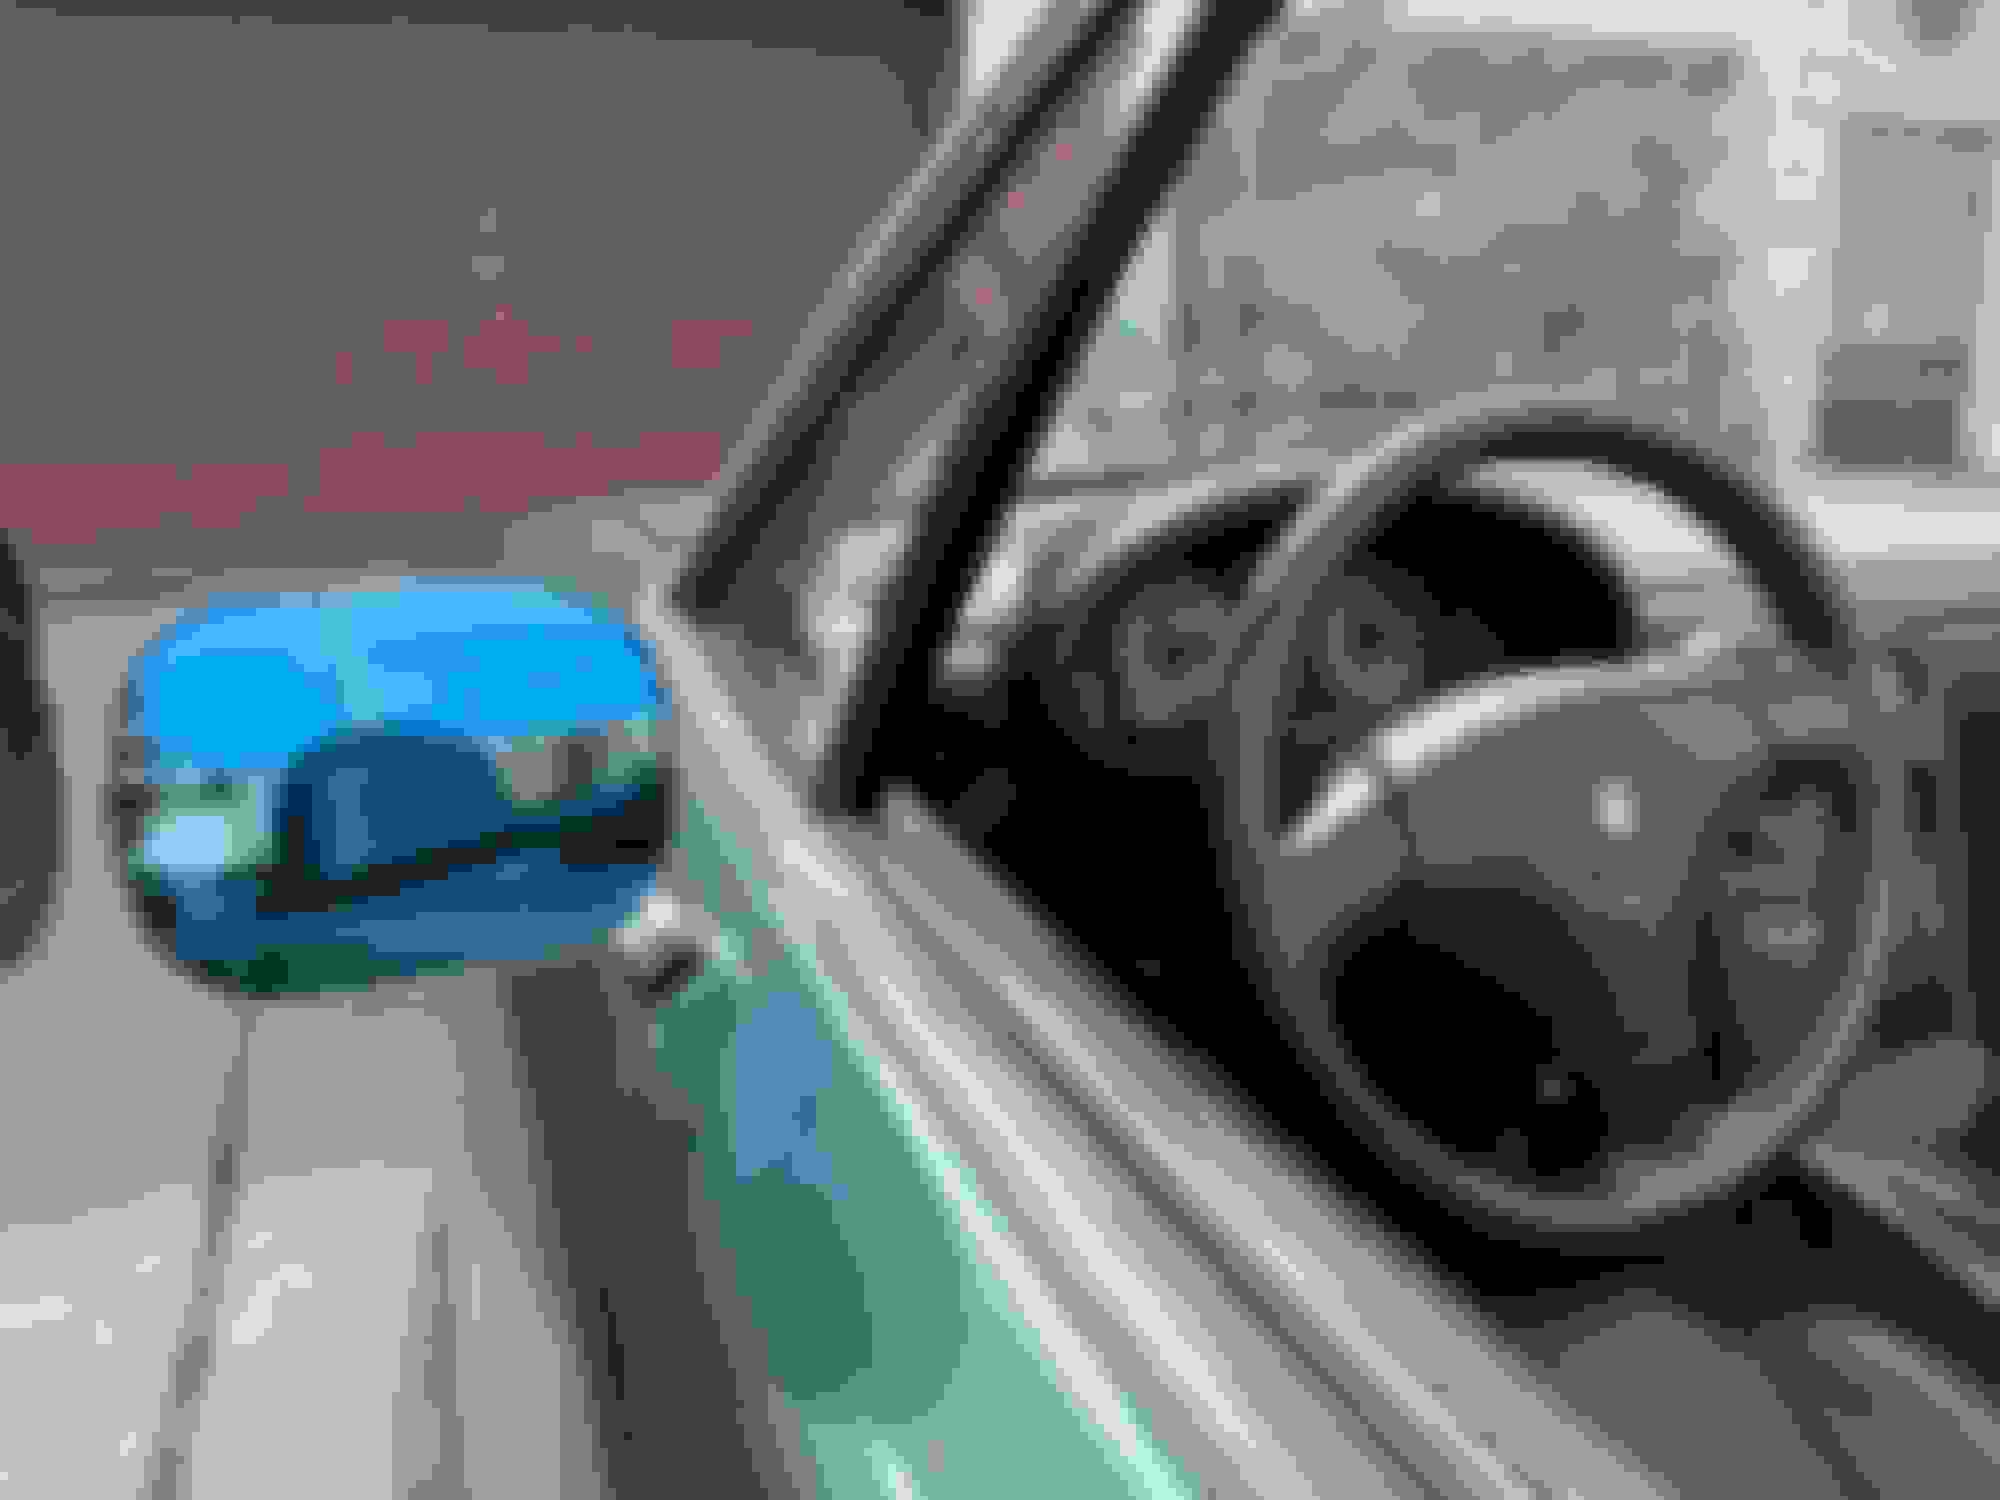
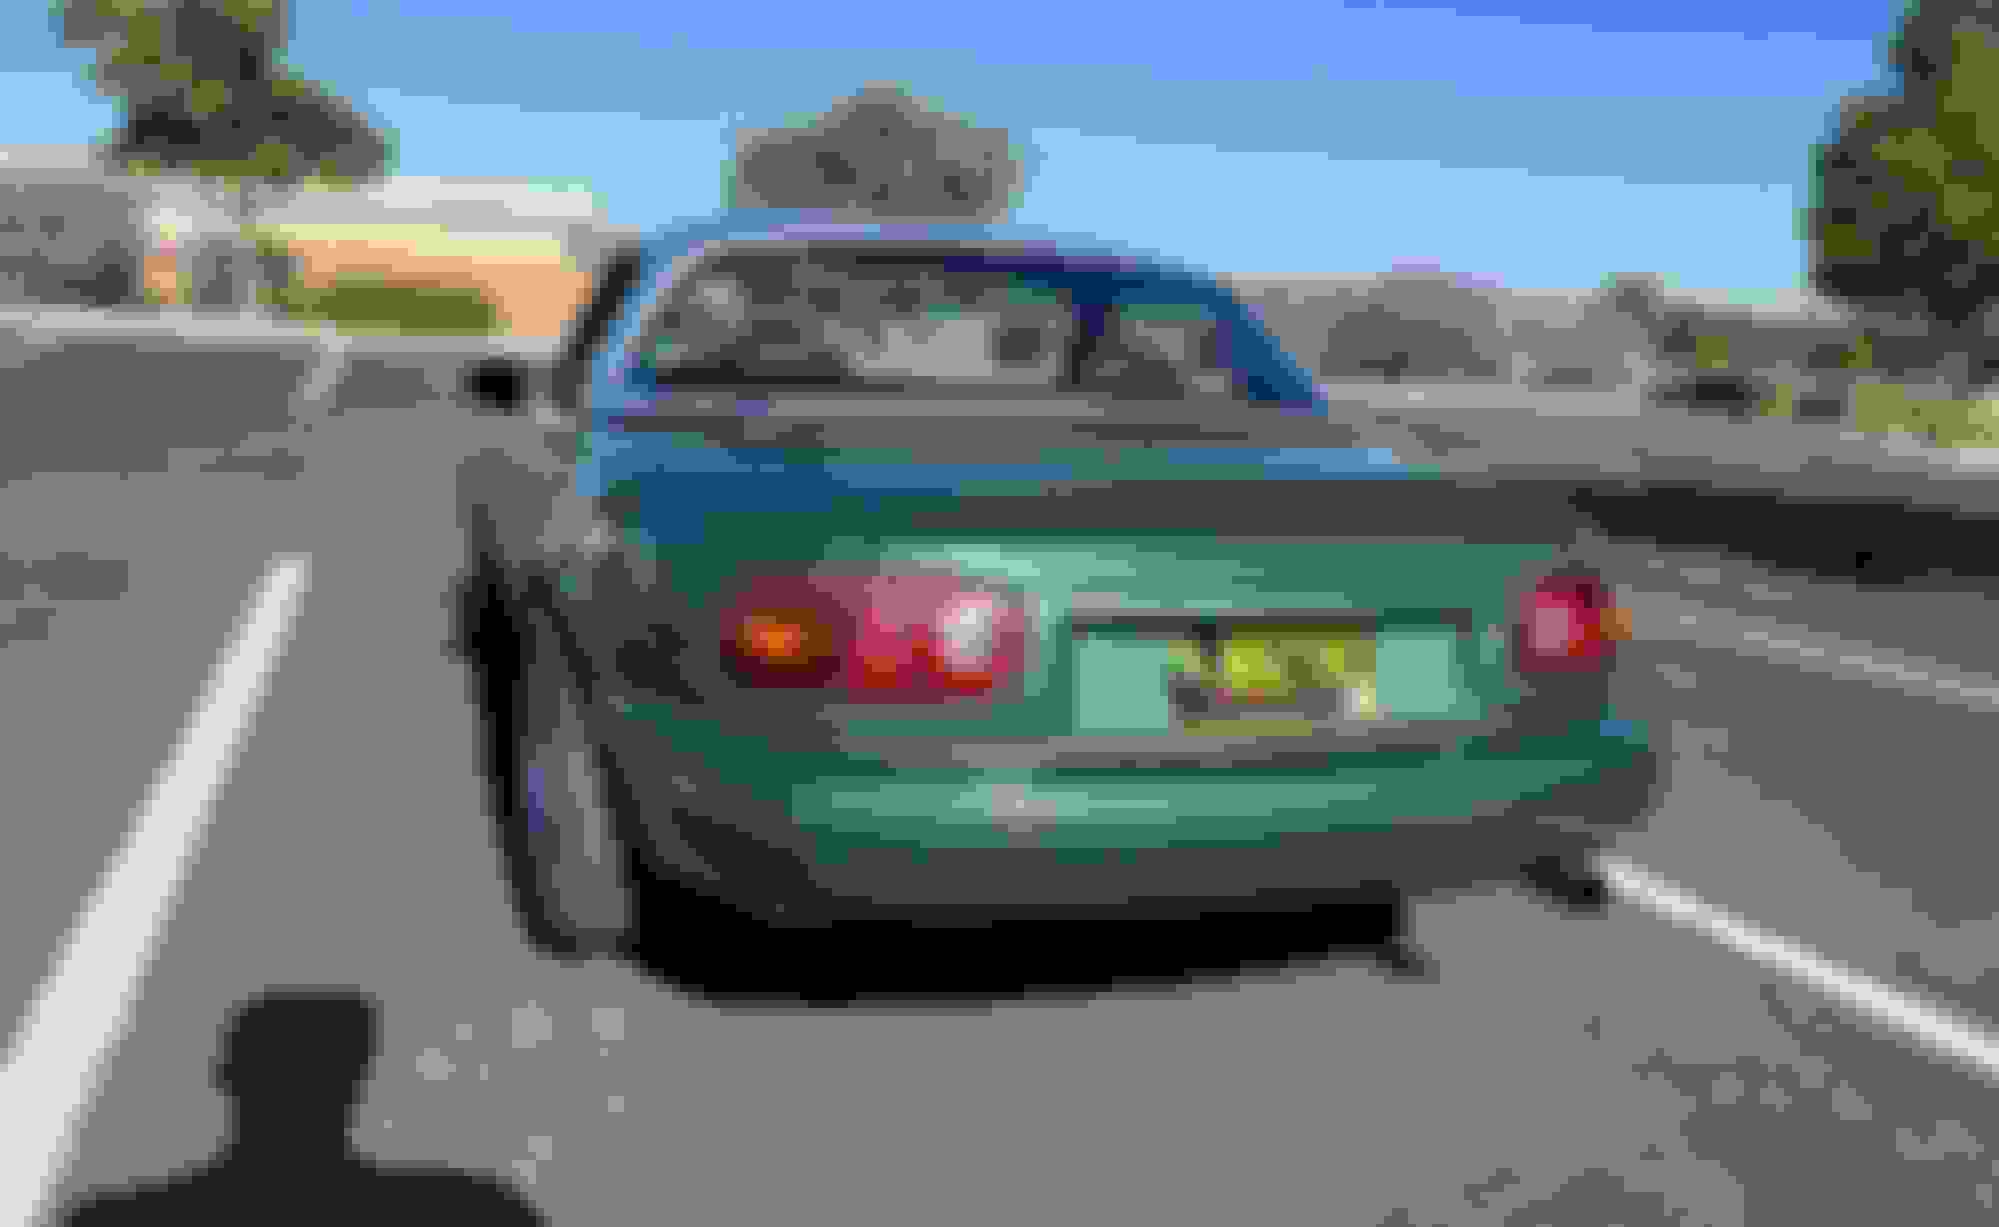
Put on Car Makes Corn chrome side mirrors
Changed to the black and yellow Chile plate to match the green wrap better
Put a mazdaspeed badge on the back, hopefully not too ricey
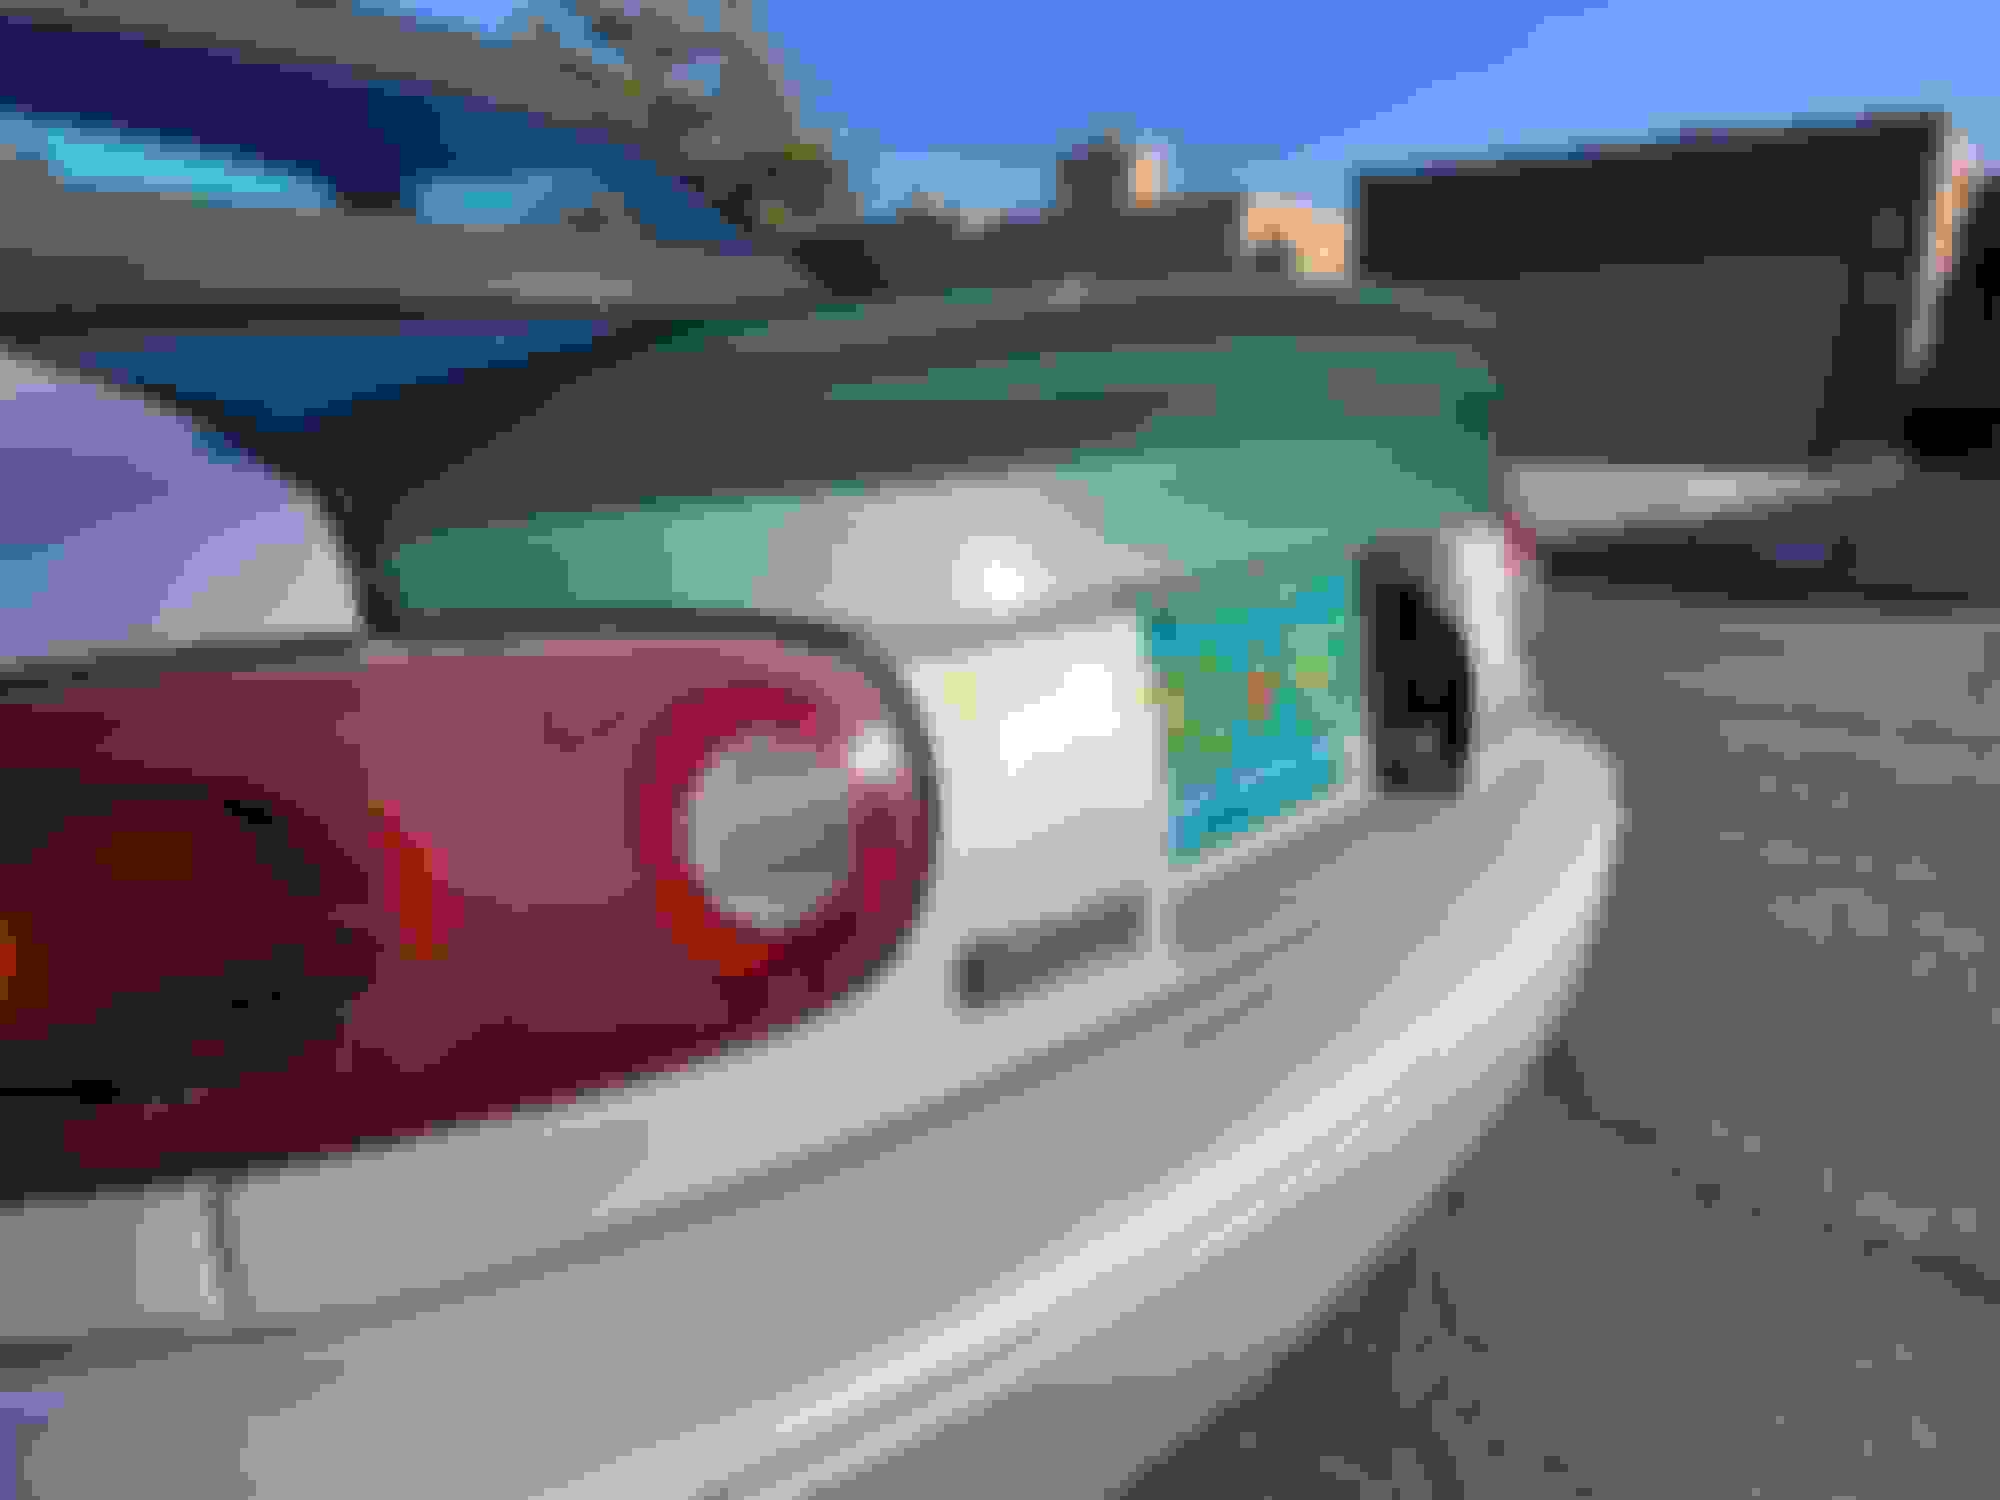
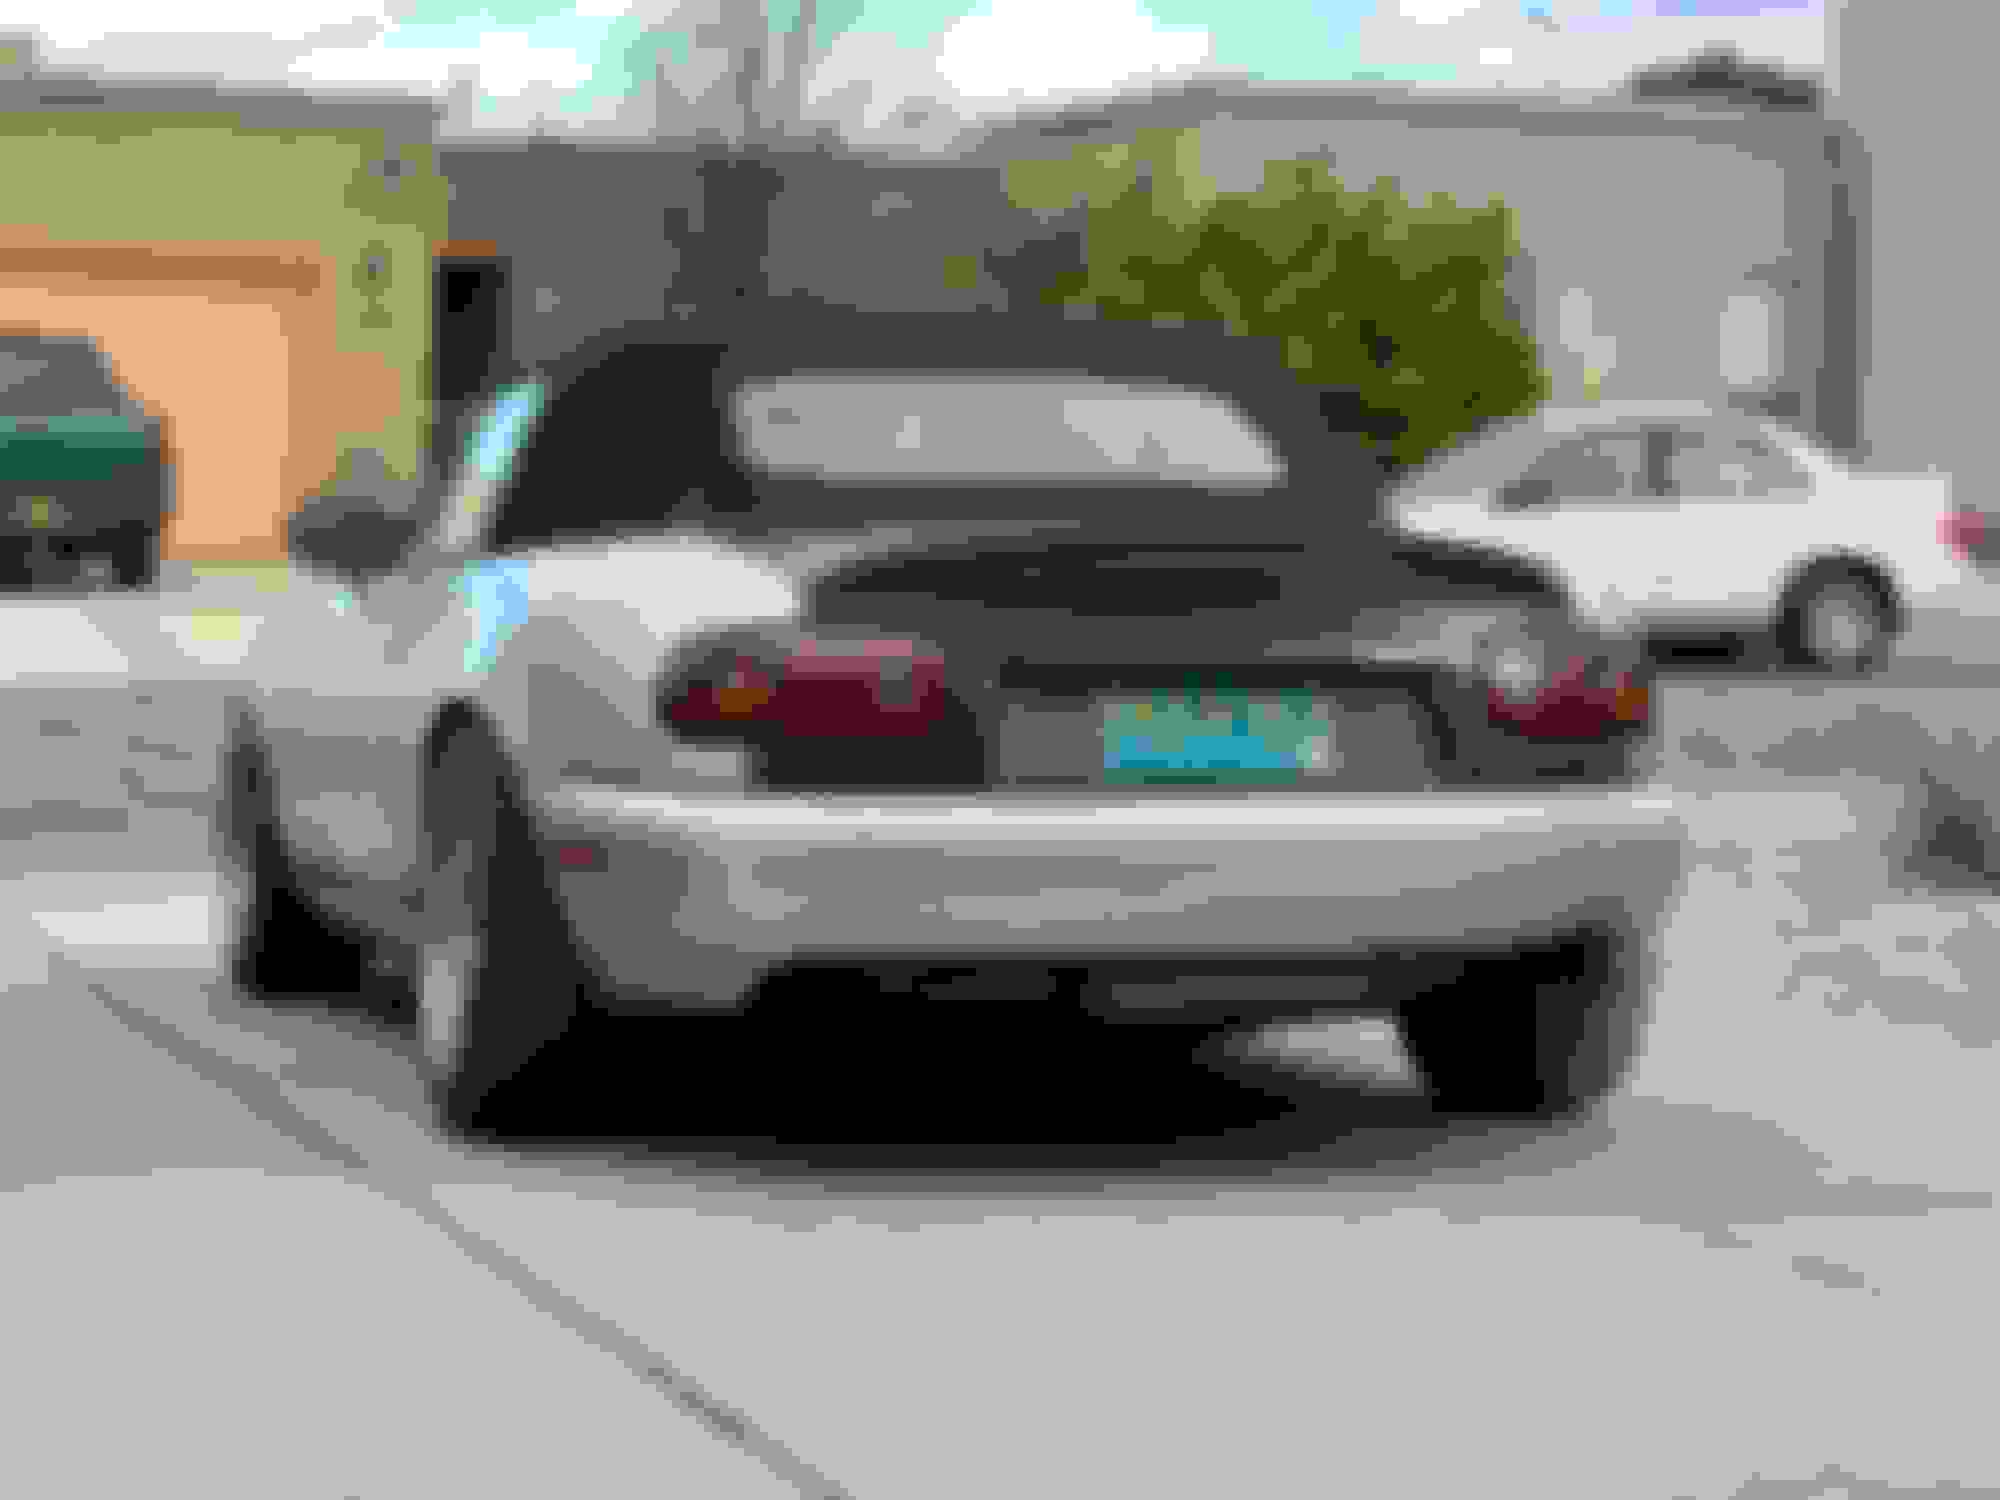
Cleaned up the rear bumper cut so it flows with the body lines better
Had a little rain
Side mirrors vs oem
Main reason for the upgrade is the oem mirrors are a pain to wrap, for me at least.
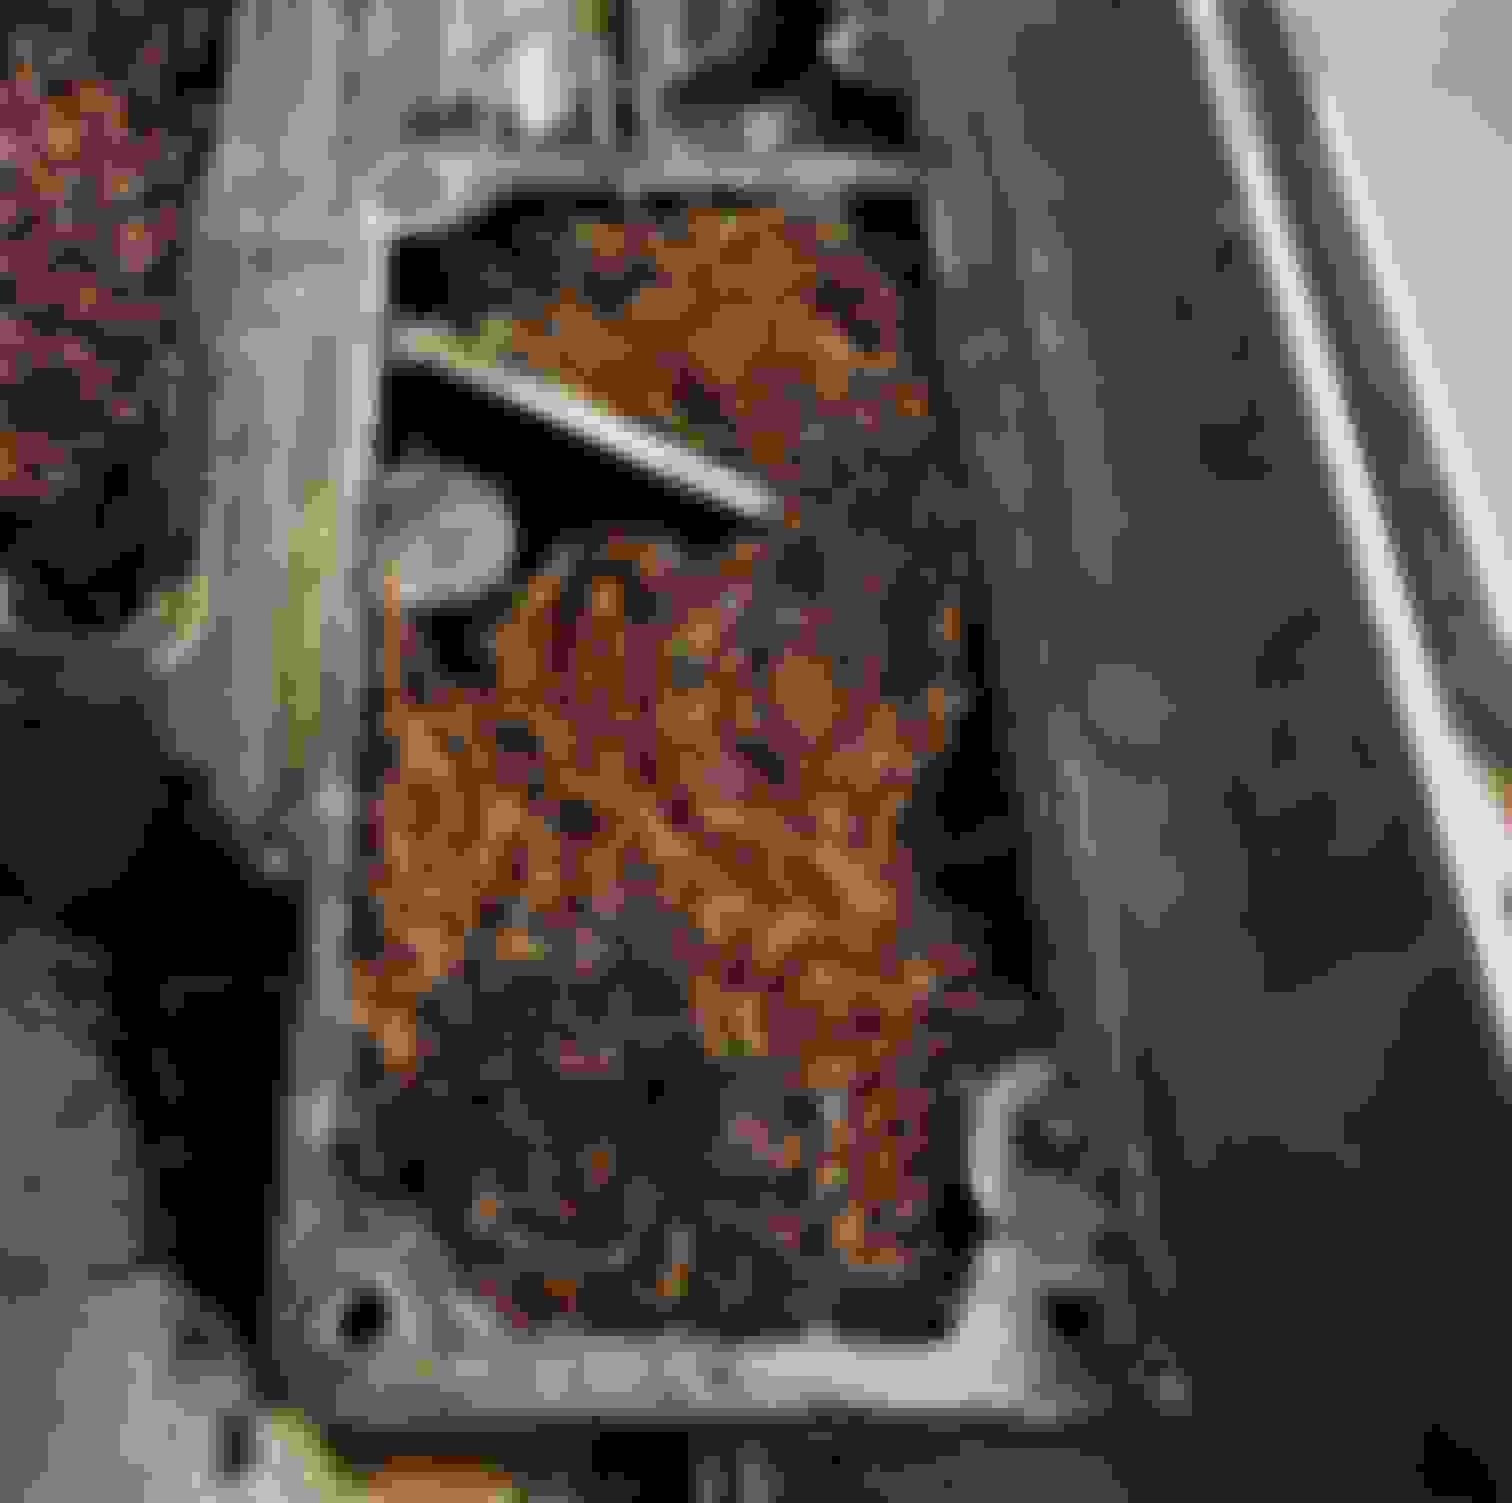
Original set up, I think I packed the copper scrubbers too tightly around the exhaust side baffling.
Drilled out these 2x holes to 0.4"
Couldnt go any bigger because it started eating into the "lip" thats used to suck the oil back out of the baffling when in vacuum.
Ripped out the port on the exhaust side and made an adaptor to press in place of it. Worked out to 0.46" ID.
Pressed in
This is ALL the oil my catch can caught after 11,000 miles with the original setup. I never had to empty it.
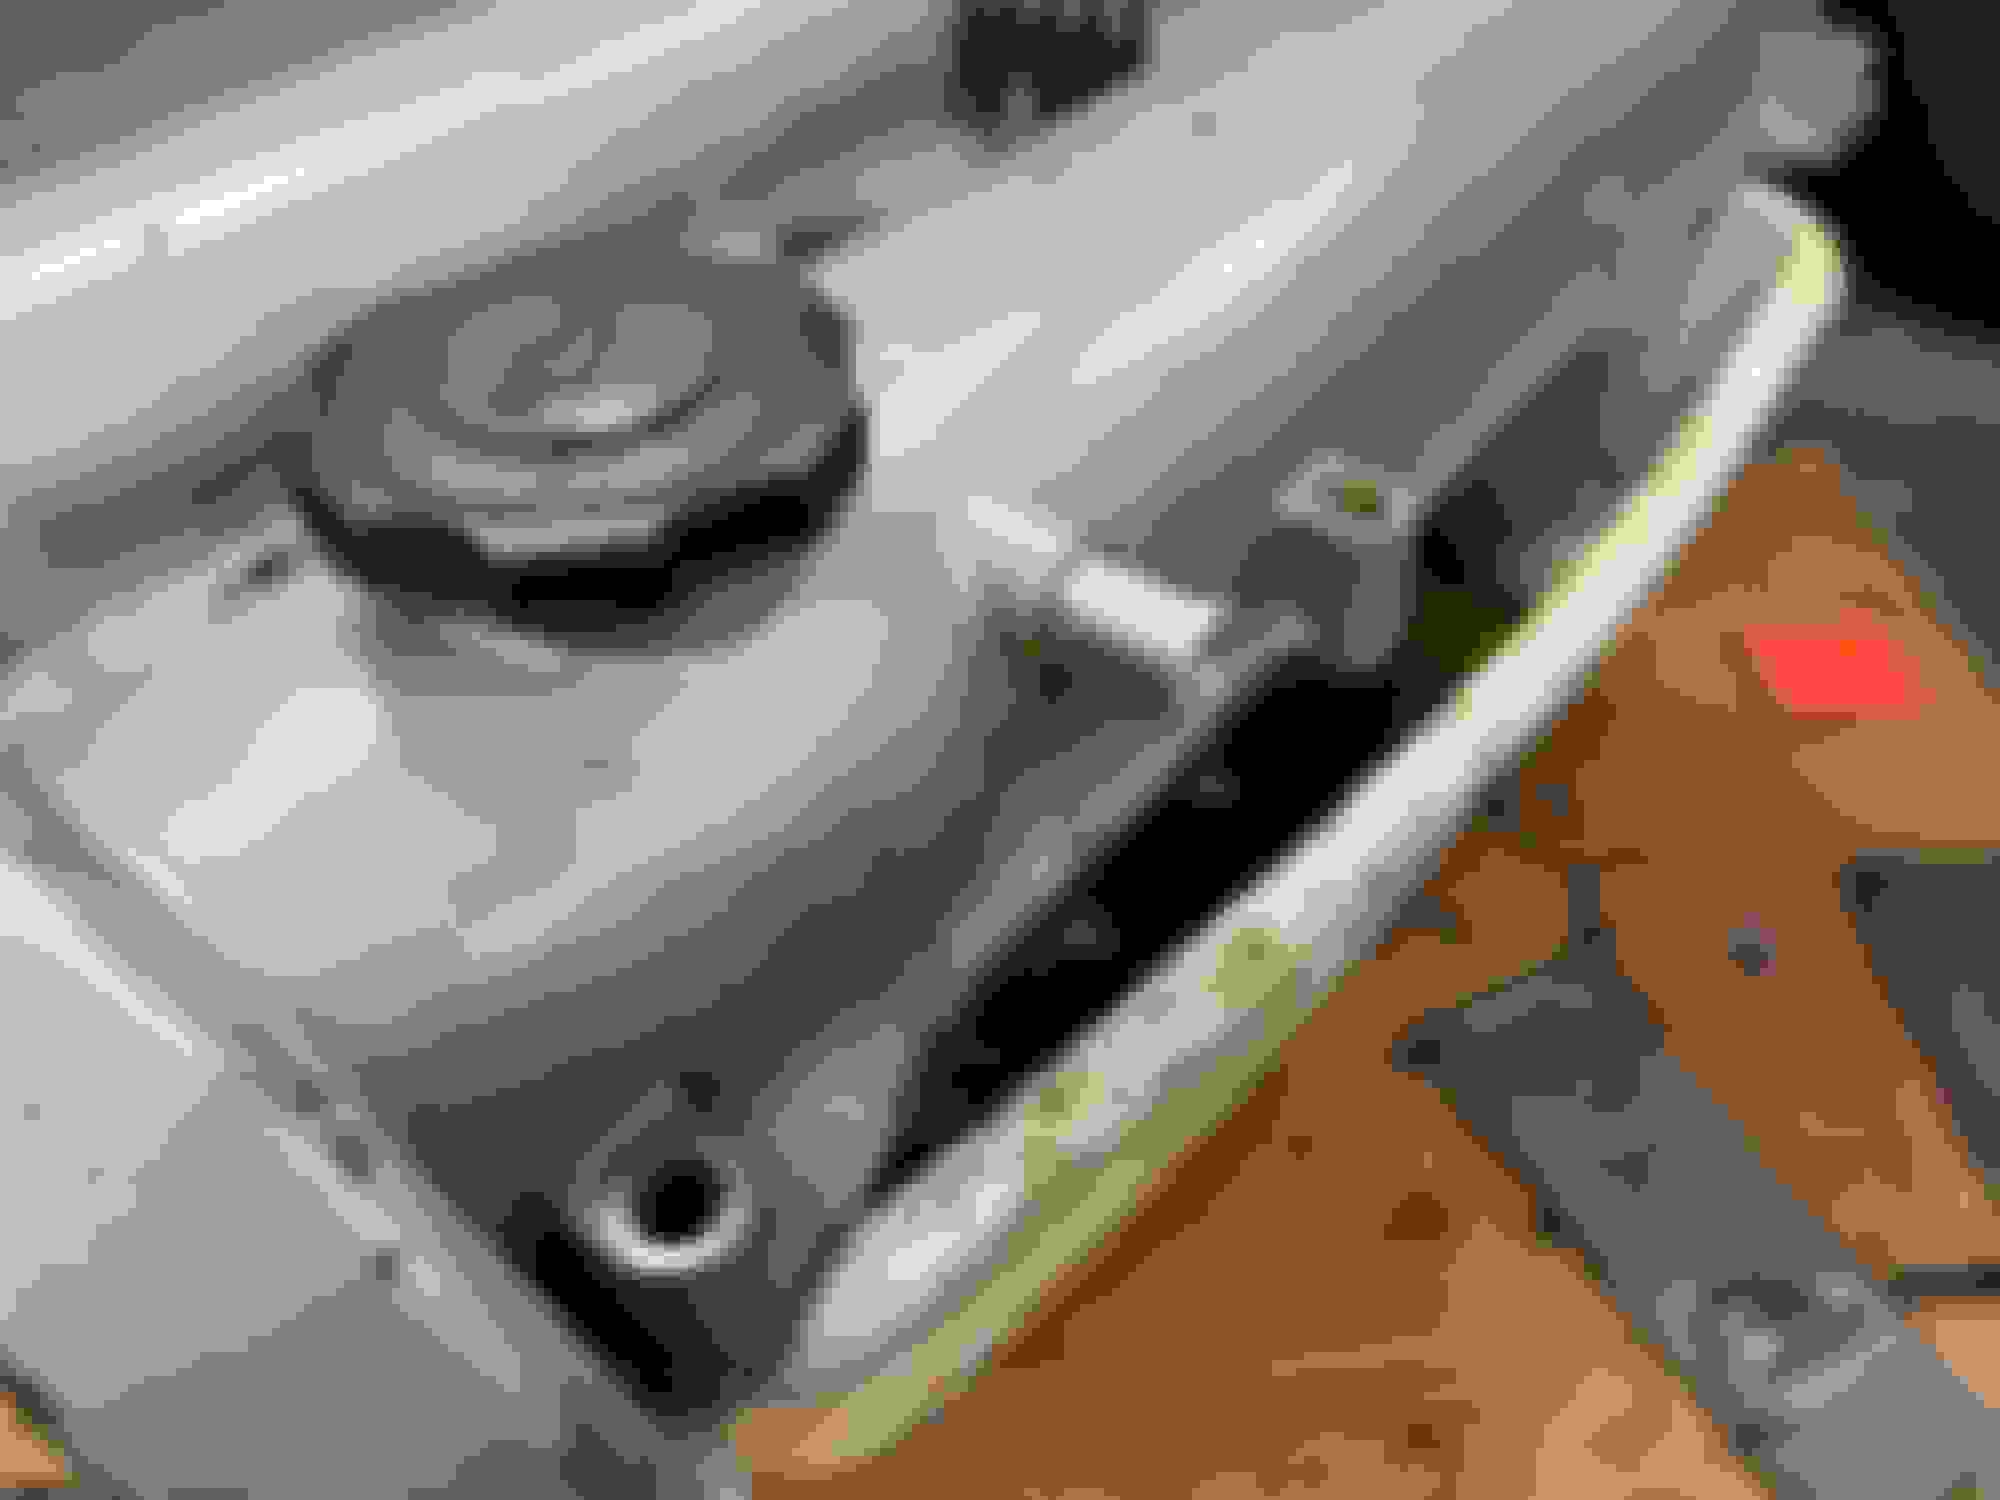
0.5" ID fuel hose installed from exhaust side to catch can
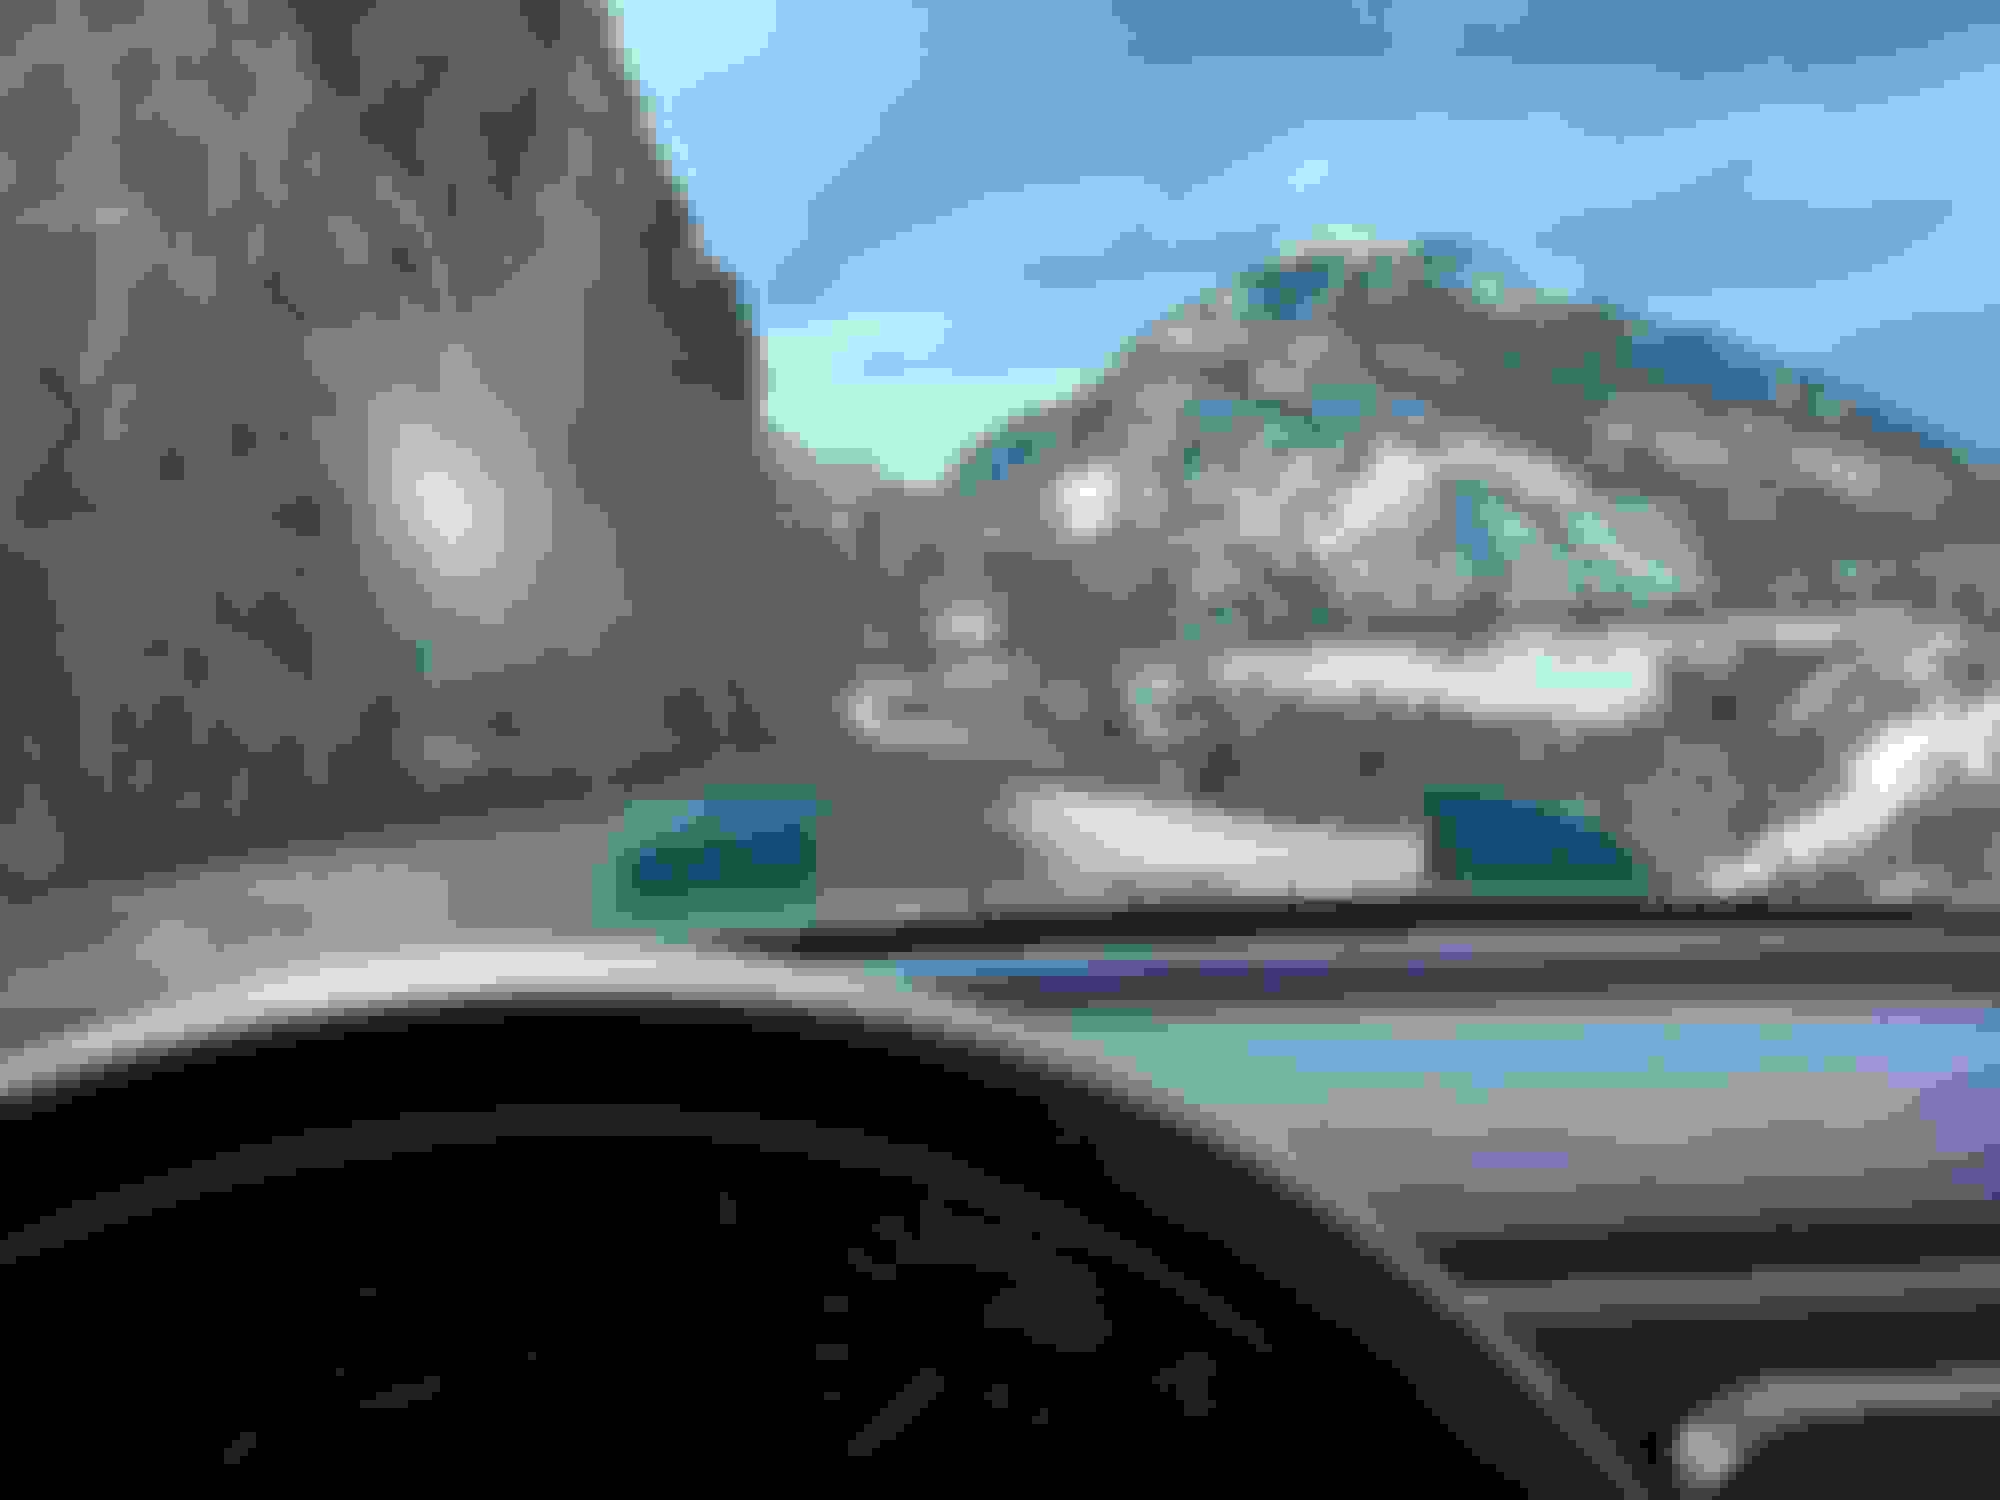
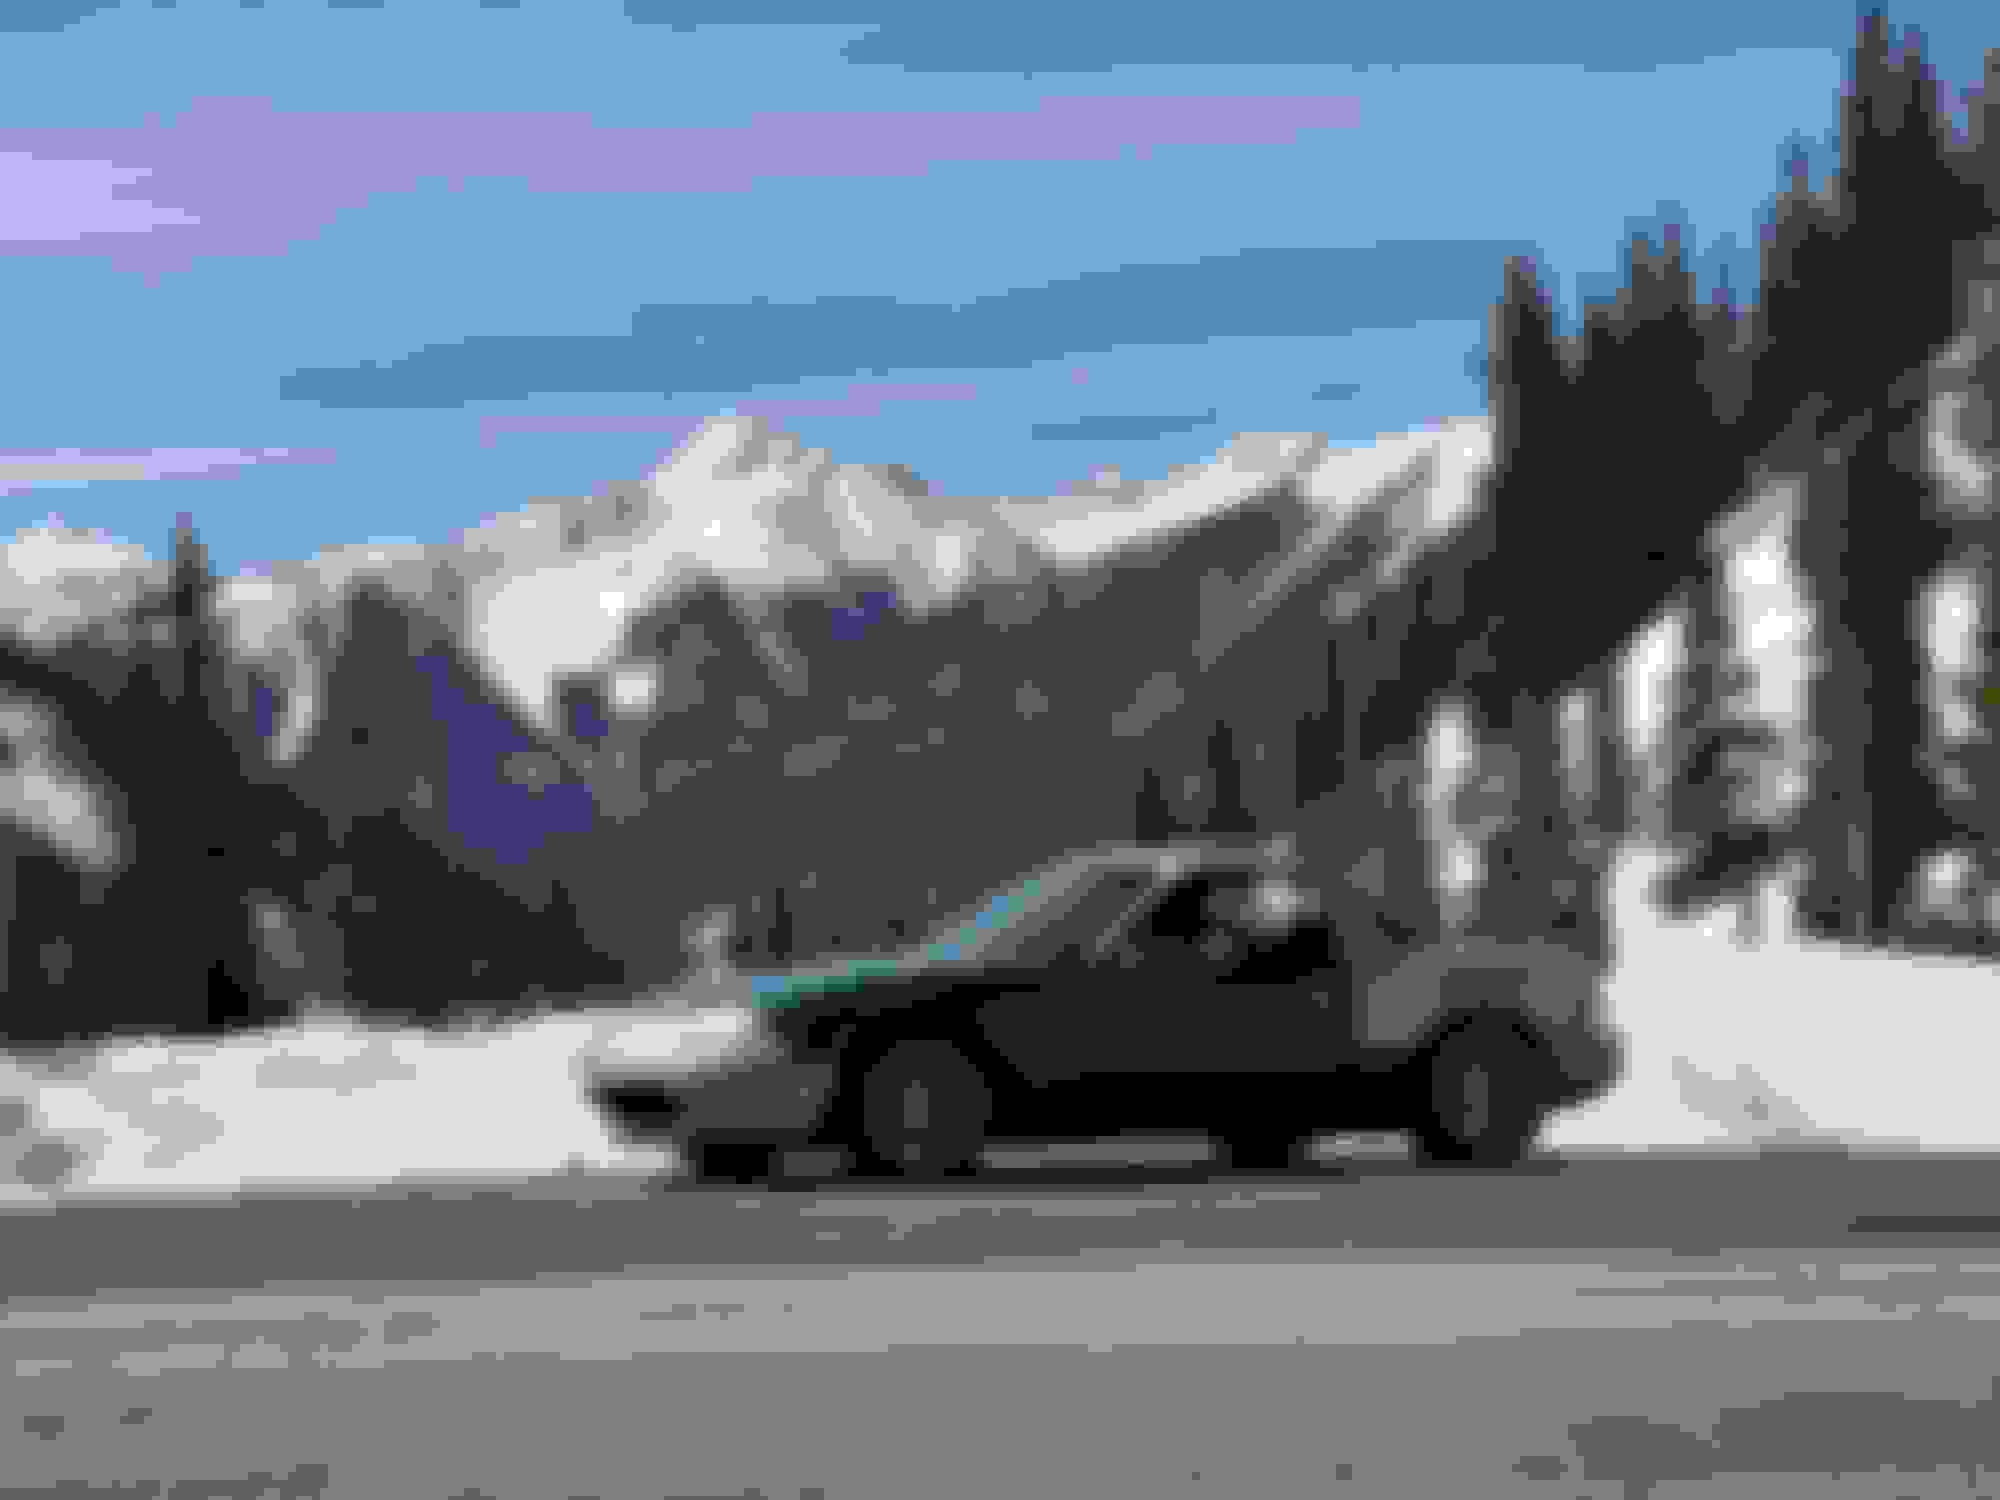
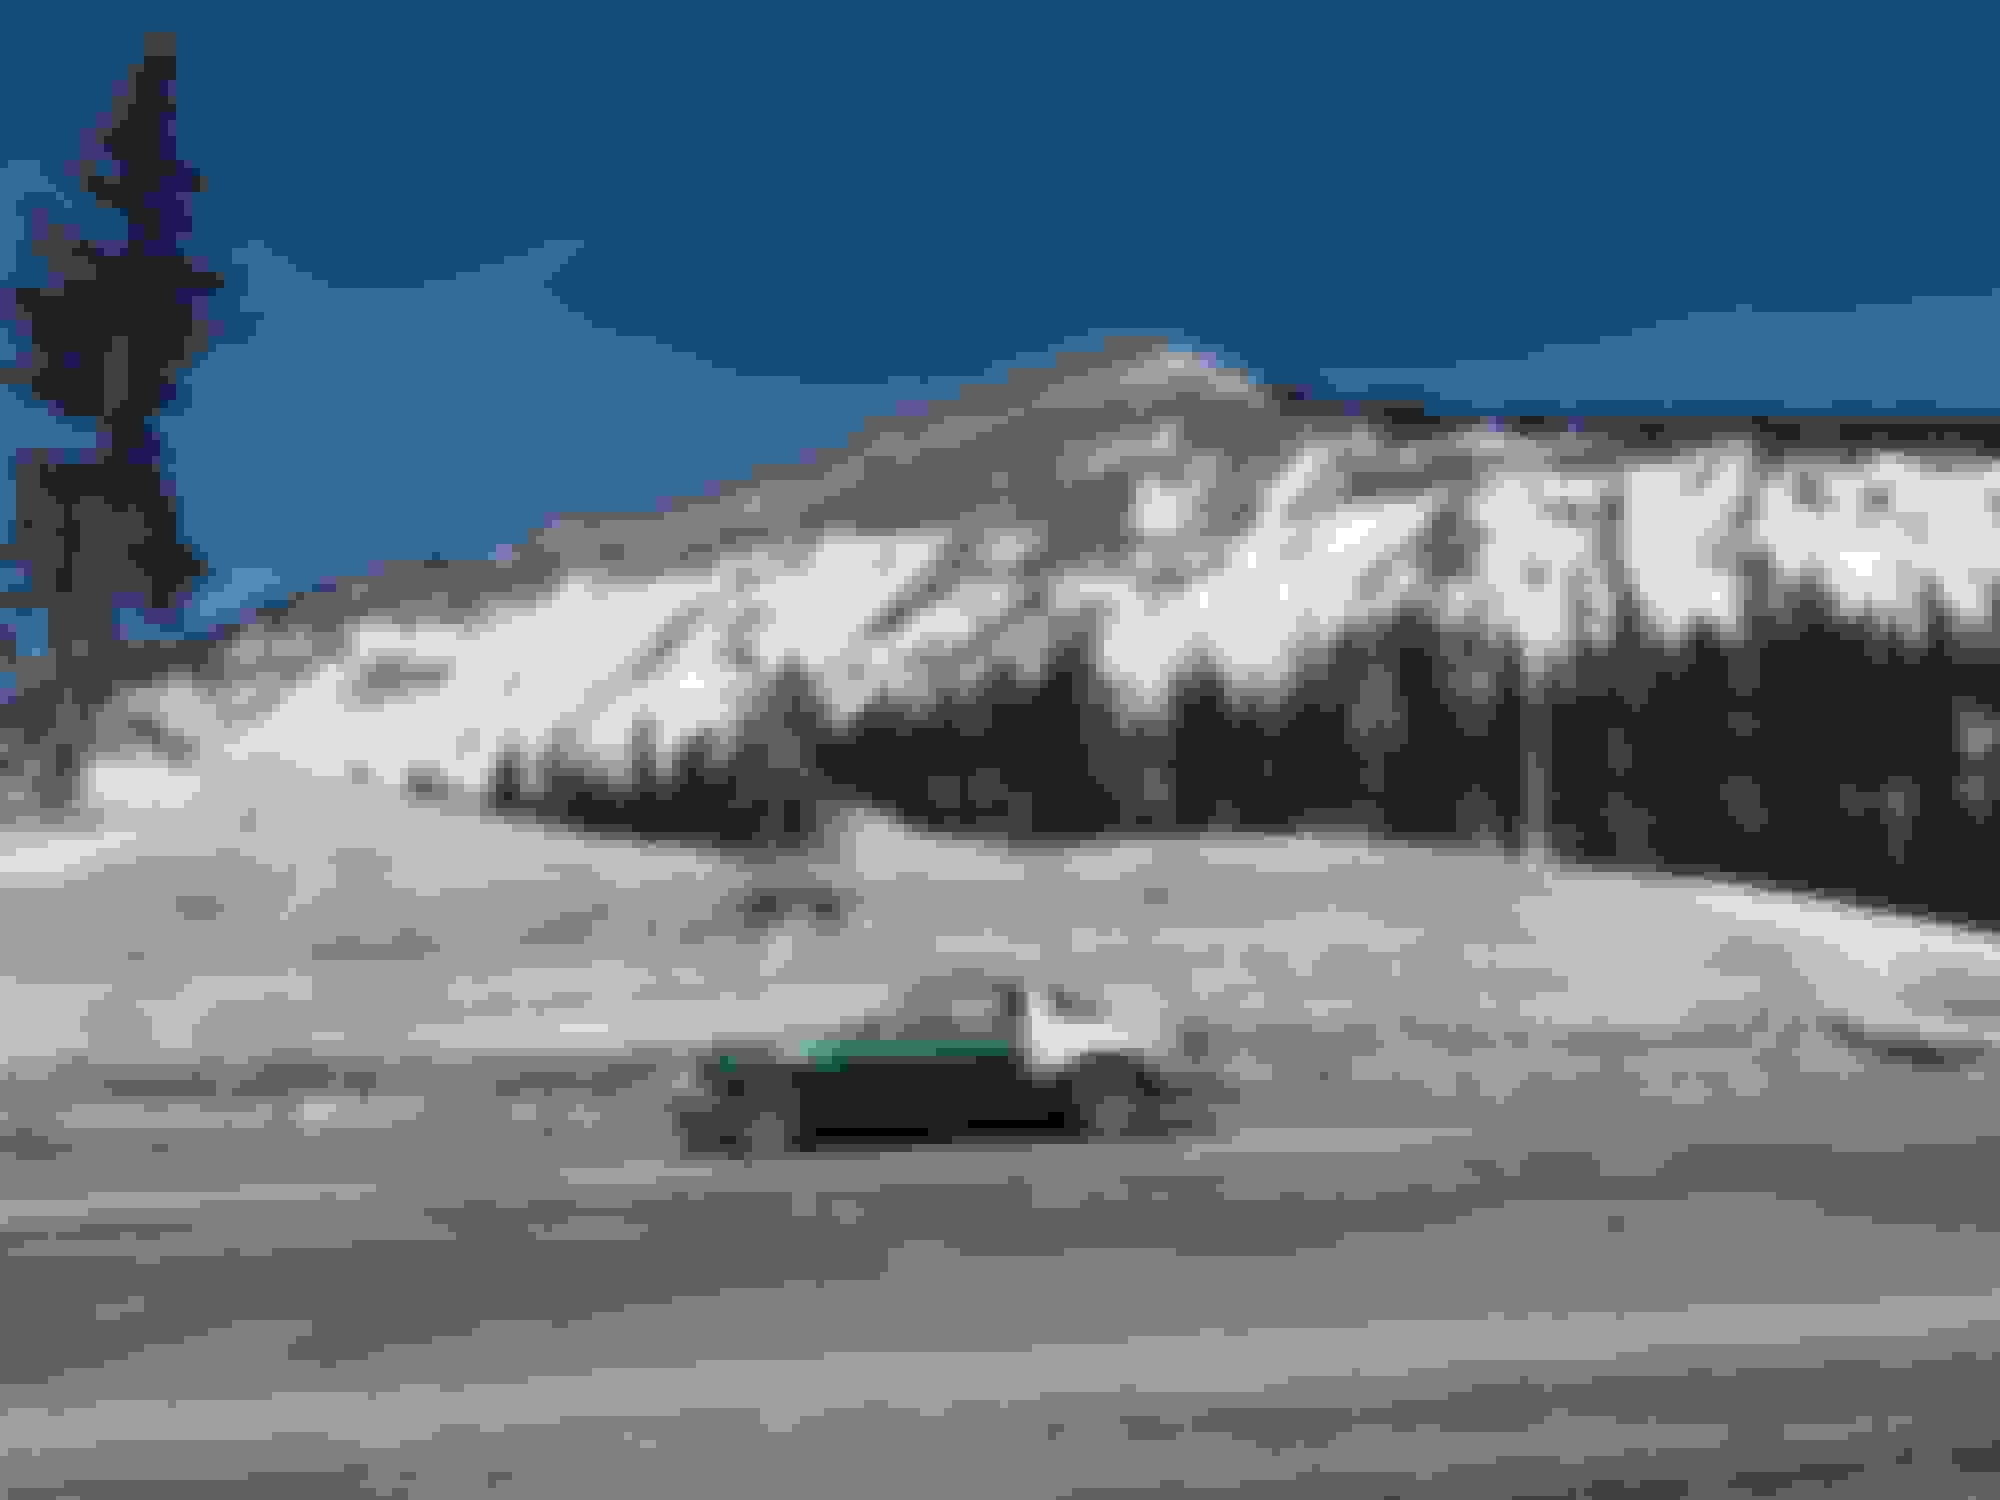
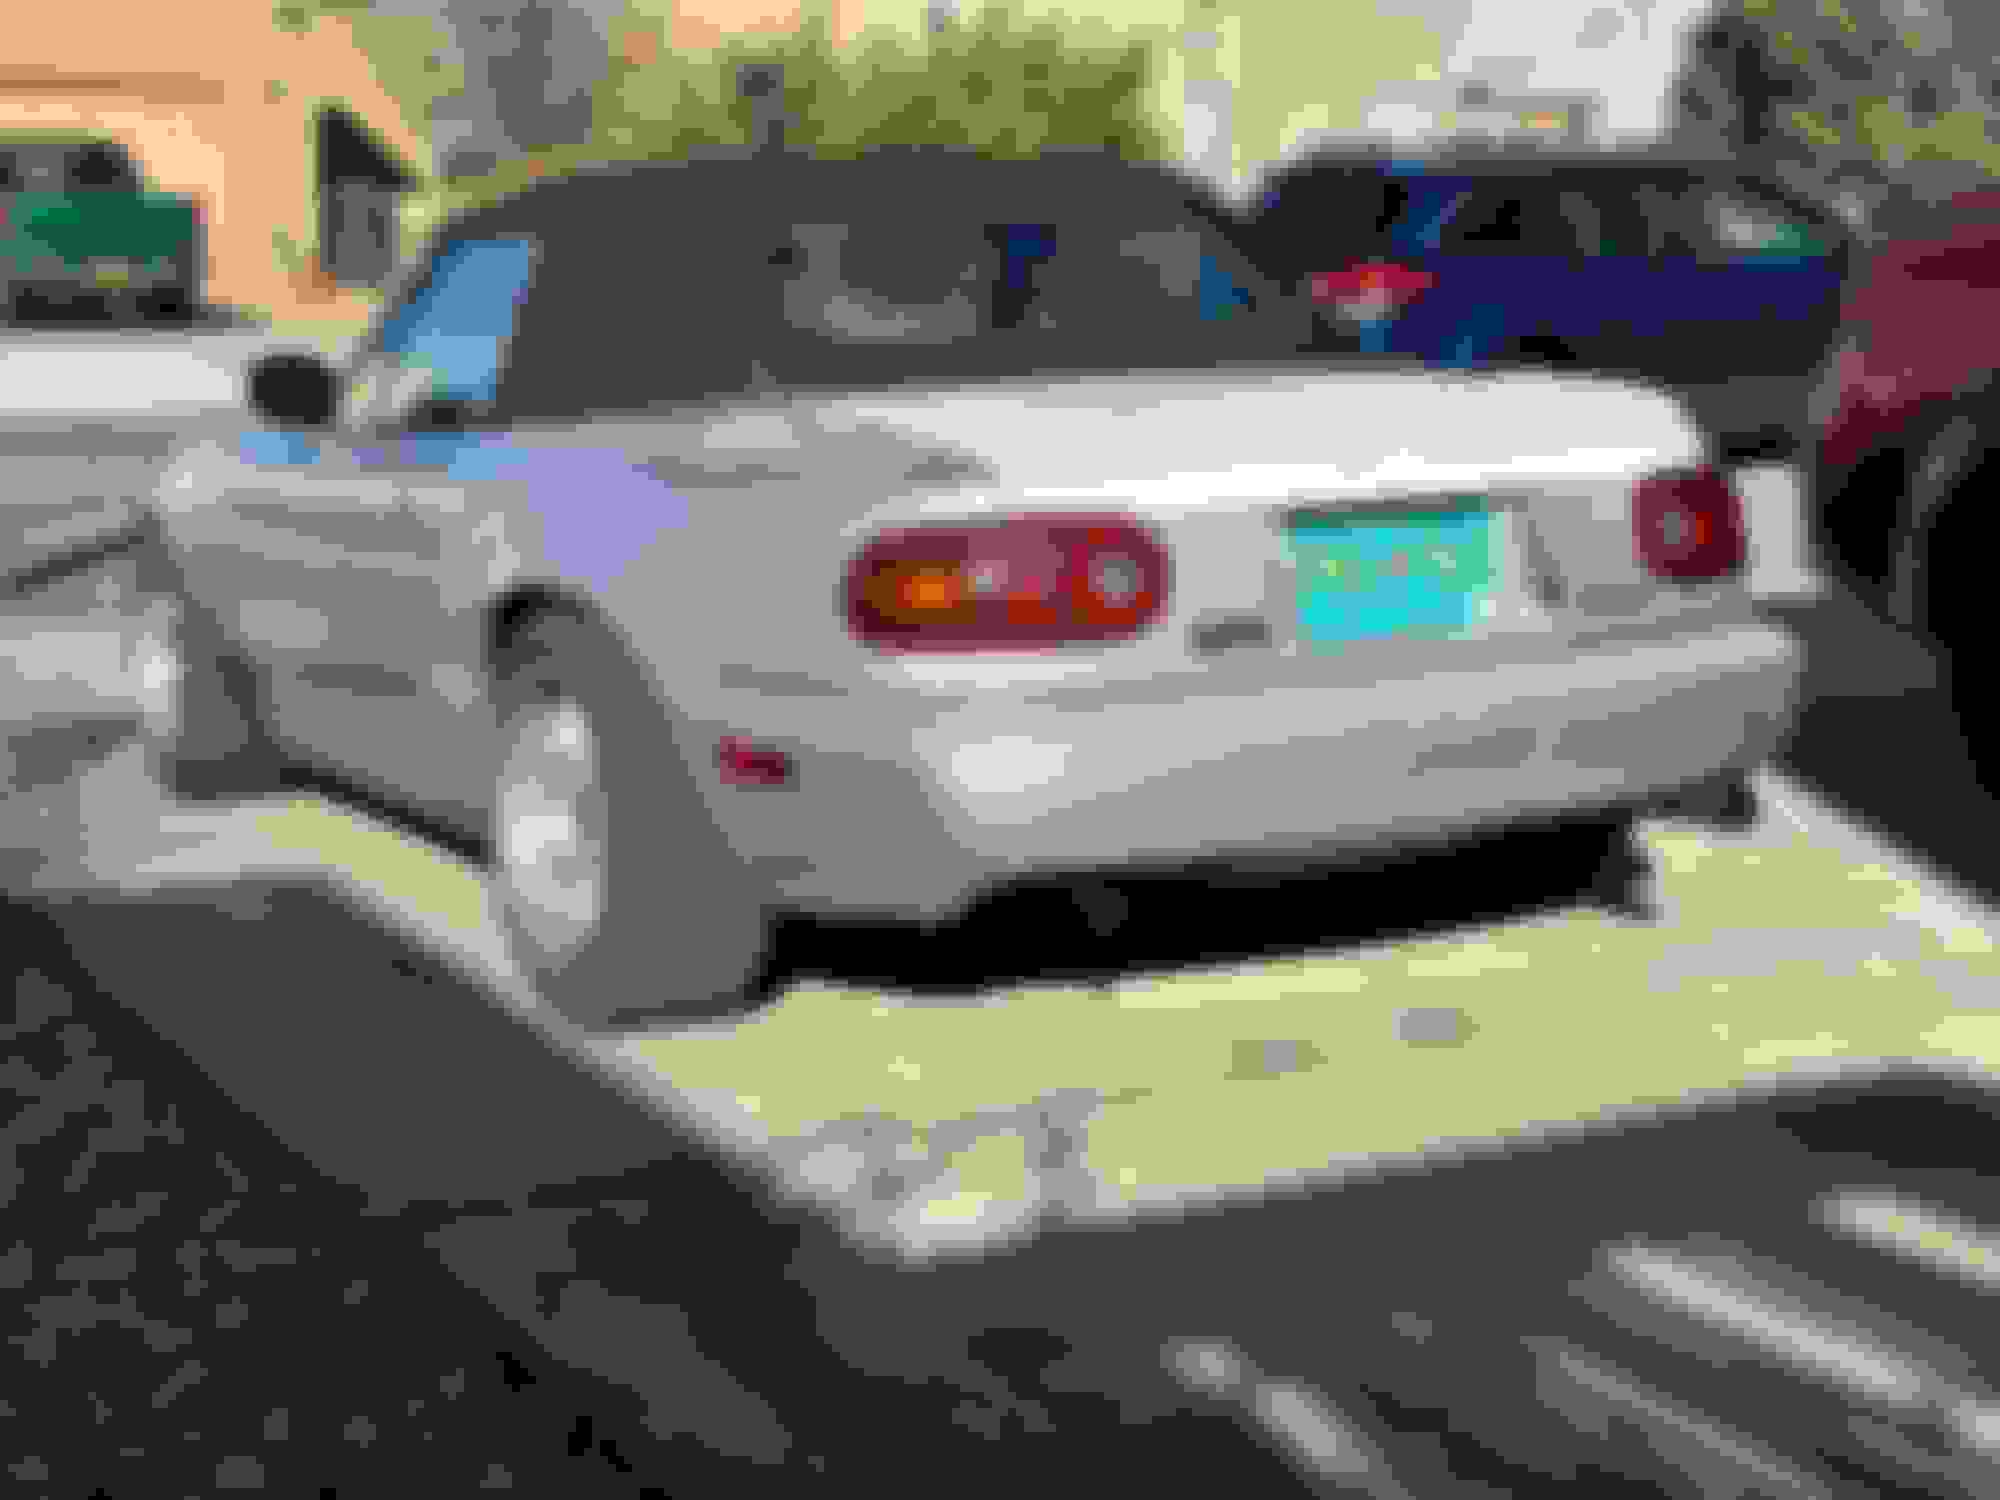
I picked up hardtop finally, been casually looking for one for almost 5 years now. They dont seem to exist here in New Mexico. Had to drive 14 hours round trip to Colorado to pick it up. Got to drive the Million Dollar Highway between Durango and Ouray, it was a lot of fun. The weather was perfect.
Was worried about the miata breaking down but it ran great, Got 32mpg with the soft top and driving ~70mph average. Havent calc'd it yet with the hard top, but it seems better because I drove 315 miles back and still have a 1/4 tank left. Cooling system worked prefect too, coolant temps were super steady 185-195F even on the long uphill passes.
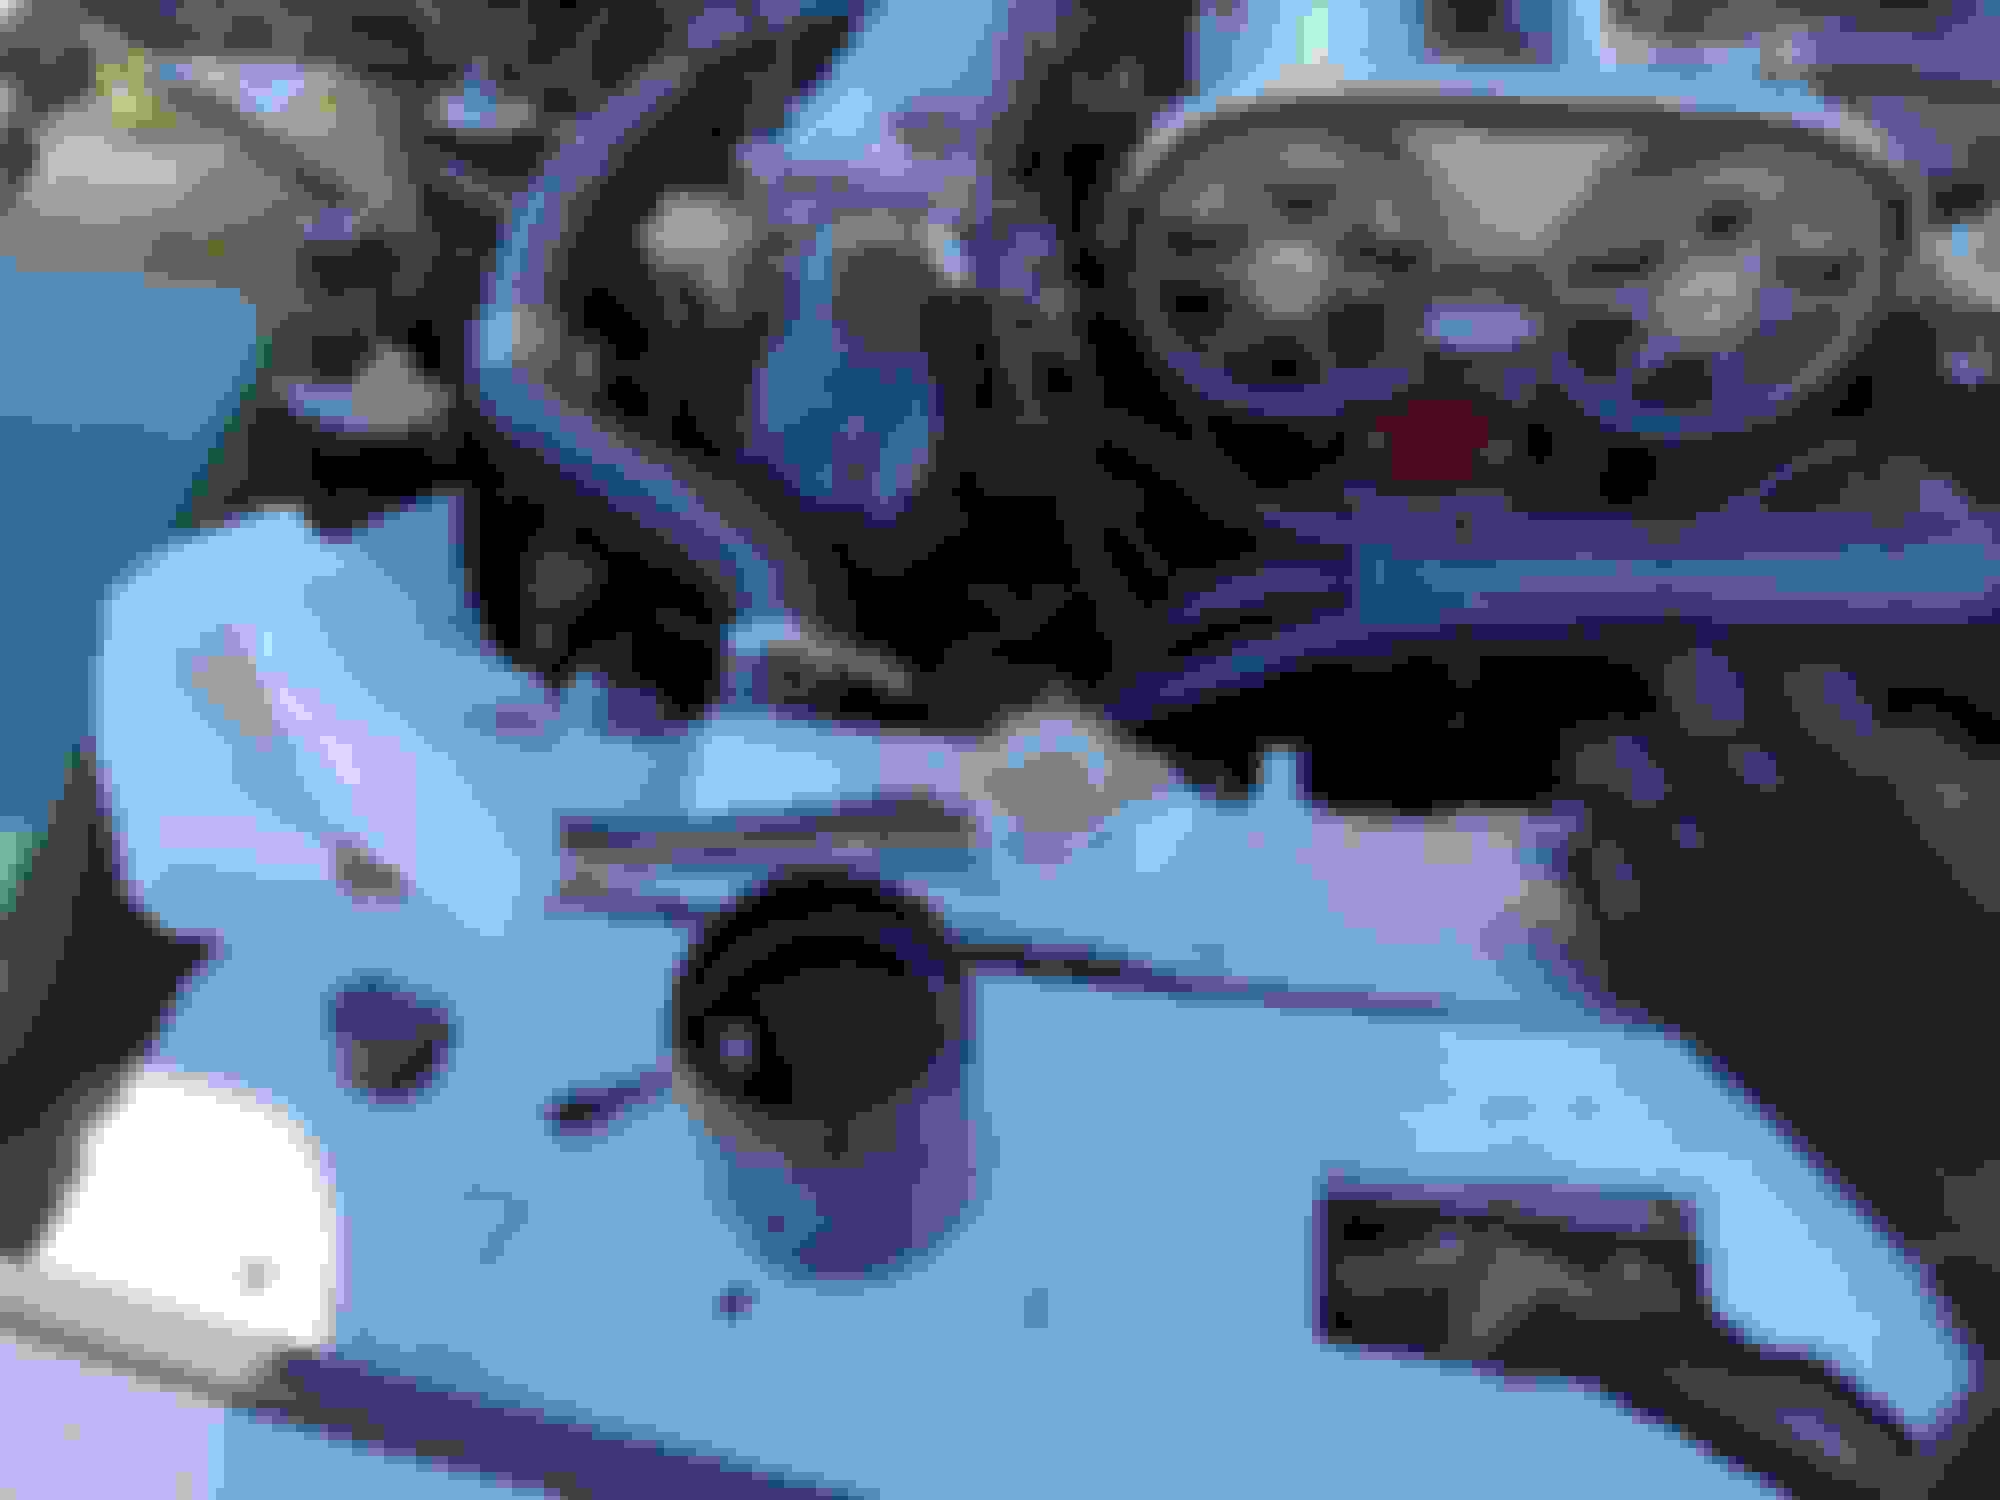
I did run into two issues though due to the rushed catch can upgrade I did earlier in the week. The wastegate tubing line had a couple holes rubbed into it on the alternator belt and developed a boost leak. And I overfilled the catch can a very long uphill part of the drive with la lot of WOT pulls. Blew oil all over the engine bay... I think I messed up by drilling the holes too big on the exhaust side of the valve cover and oil wasnt being sucked back into the crank case in vacuum. Think I just have to open it back up and add a small 1/16" hole to the baffle to the the oil drain out.
Pic dump:
Ouray in the background
Bear Creek Falls
Just south of Ouray
Red Mountain Pass
Coal Bank Pass
Overfilled catch can. This was going north up Coal Bank and Molas Pass.
Holes in wastegate tubing. Temp fixed it with a pipe clamp to hold it away from the belt.
What thermostat have you got in the car? I run around 199-203F consistently, peaked at 204F, that's with only a standard thermostat in the standard position.
What thermostat have you got in the car? I run around 199-203F consistently, peaked at 204F, that's with only a standard thermostat in the standard position.
Pictures look great also.
I went with a 180F thermostat. Wanted a little more head room since I'm not at sea level. When I first left in the morning the ambient temp were in the 40s F, coolant temps stayed right on the 180F mark.
Made some progress on wrapping it. Just have the front bumper, hardtop, and windshield trim left. All the sanding that has to be done is taking longer than the actual wrapping part.
The catch can hasn't collected any appreciable amount of oil in the last few hundred miles. Not sure why it overfilled when I picked up the hardtop, maybe had something to do with the vacuum leak from rubbing a hole in the EBC tubing. Glad I dont have to take the valve cover off again. Also the rear main seal leak seems to leak a lot less with the new catch can set up.
I removed the soft top and perm installed the hardtop using brackets from Hall Roadster. Happy with how tight it feels, nice reduction in NVH.
Some maintenance, replaced both rear wheel bearings. The back right one was clunking when hitting bumps and had some play in it, There's a time attack event on July 8th I want to try to make it to, so wanted to clean it up before then.
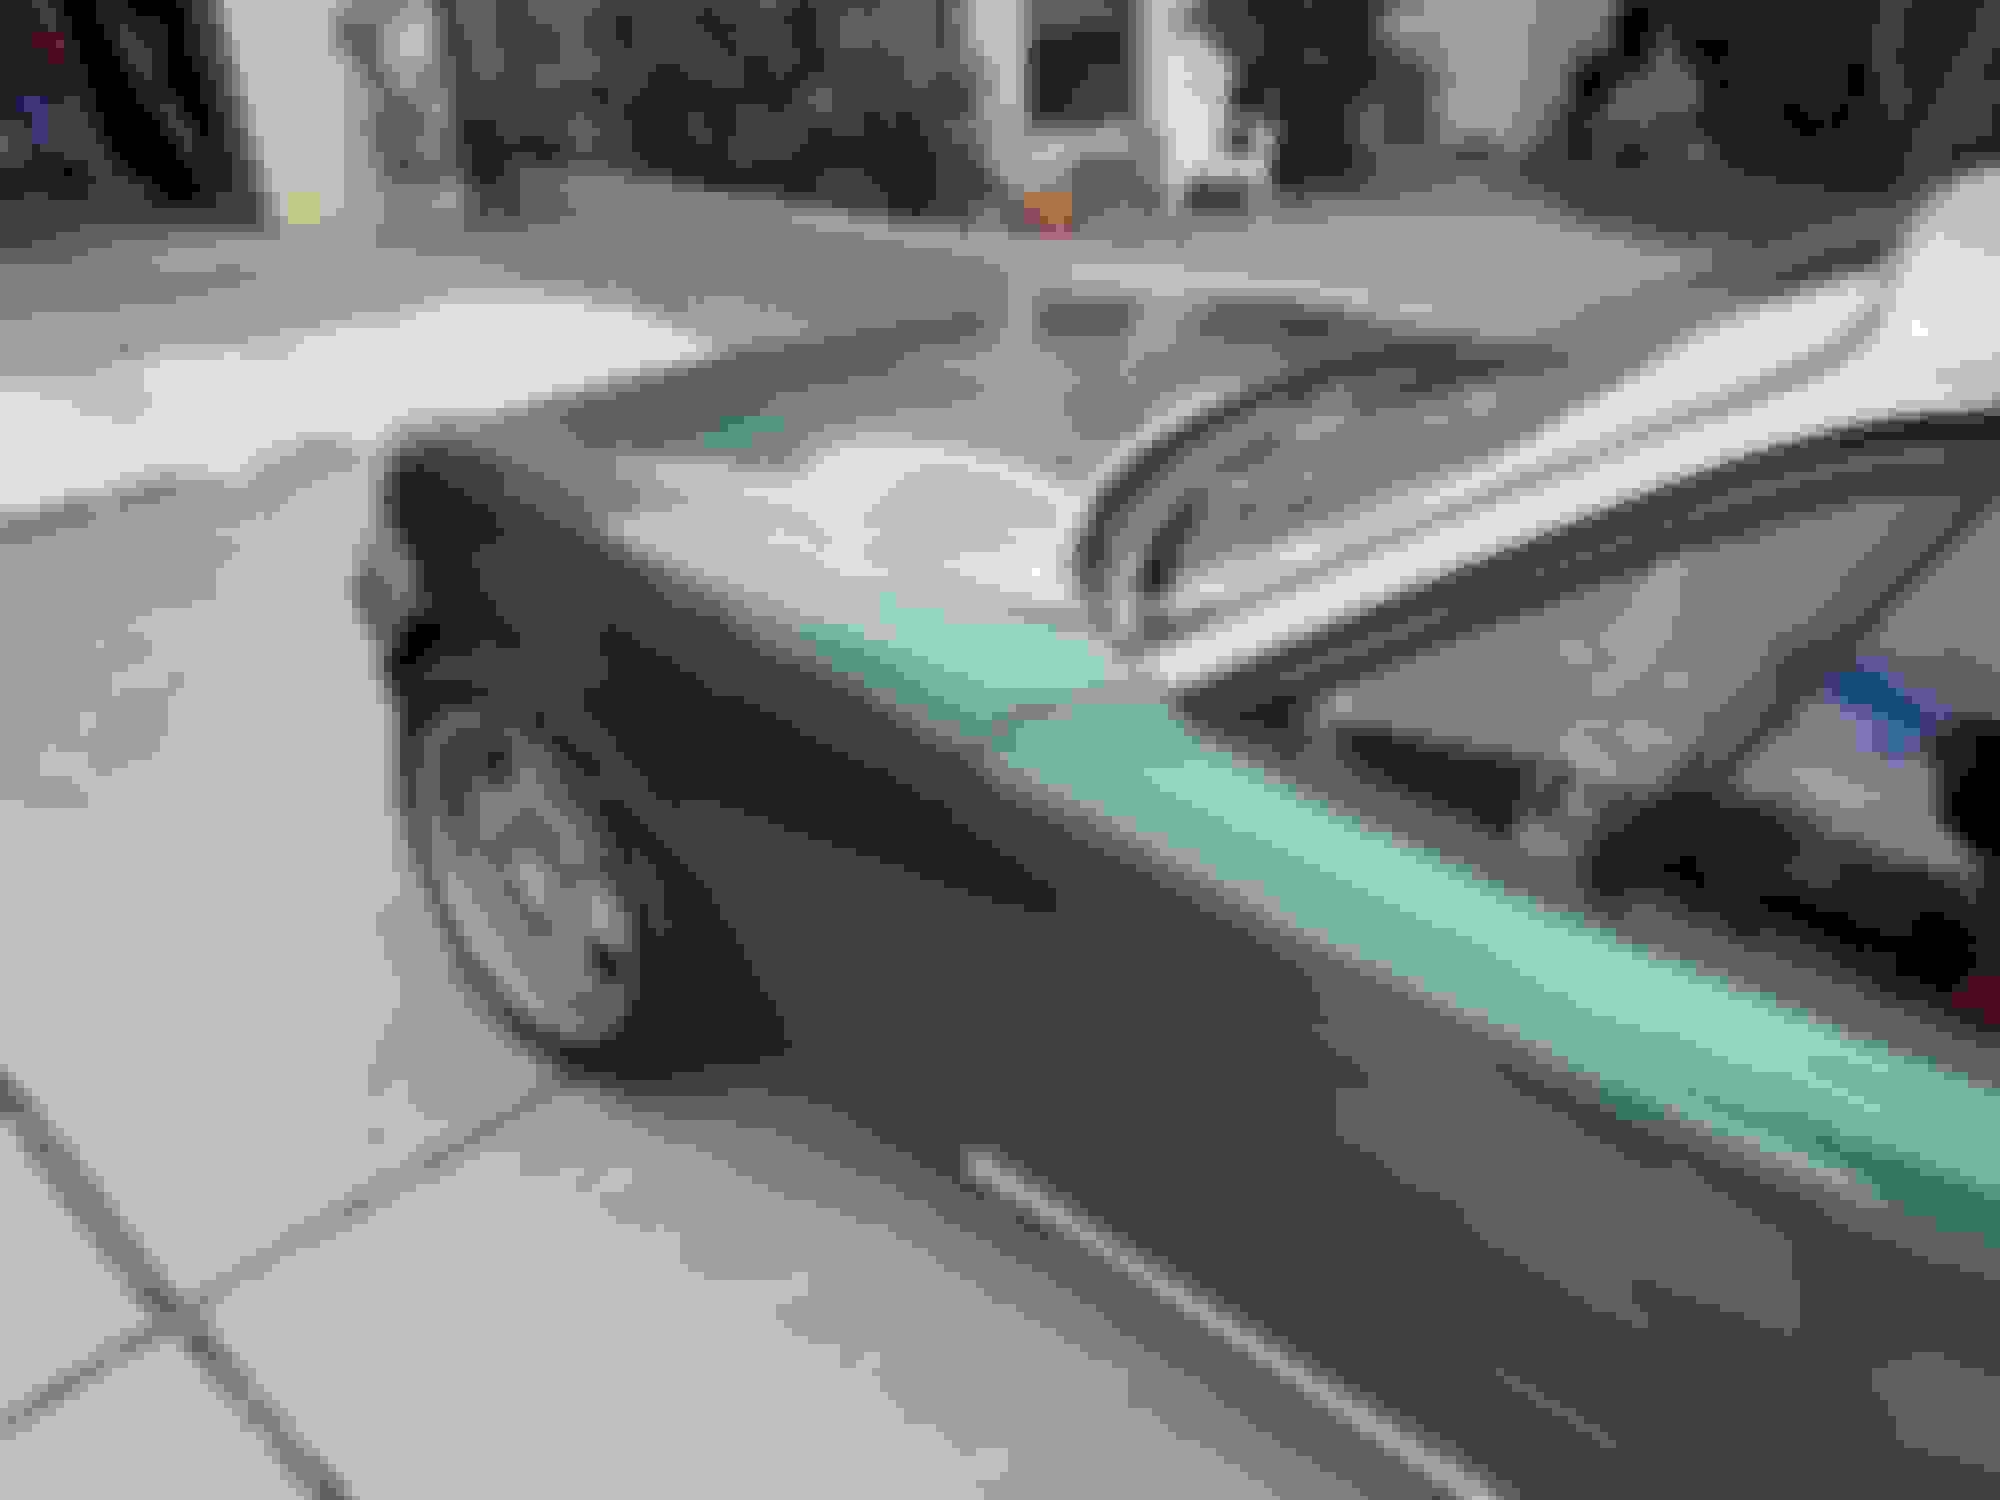
Wrapped both rear quarter panels and lower rockers. So much sanding to get rid of the flaking clear coat.
Started with the main body line along the center of the panel.
Wrapped but not trimmed.
Finished
Moved on to the rear bumper, more sanding...
Wrapped the lower section first. Cut it along the horizontal indent thing to overlap each vinyl piece.
Wrapped but not trimmed.
Soft top removed.
Frankenstein bolts deleted.
Back end done!
Sun light shot. Its a lot lighter in color in direct sunlight.
 09-17-2022, 12:14 PM


 0
0


 Love it.