When you click on links to various merchants on this site and make a purchase, this can result in this site earning a commission. Affiliate programs and affiliations include, but are not limited to, the eBay Partner Network.
nice build! Seems a lot like what I'm hoping to do. You should do a virtual dyno!
Are you running boost by TPS? How much boost are you running and when do you hit full boost?
No boost by TPS yet, have to upgrade clutch then plan on turning boost up. I think it would be pretty useful for this tiny turbo though.
Currently running about 9psi, just over wastegate pressure to see if EBC is working ok.
Originally Posted by leboeuf
Cool dude!
I flipped through some pictures and thought I recognized the area.
I've met Fireindc in person once upon a time and would love to make a track day again with a truboMiata crew.
I found an old time slip from Sandia and it looks like I consistently hit 1:33's and dipped into 1:32's once. This was on 225 RS3-V2's and something around 220whp.
Now I have 3 kids and would be happy to just drive over there and turn a lap.
Nice! 1:32 is pretty fast, I think the course record is like 1:27 or something.
Looks like a new radiator is sooner than expected. Coolant temps were a little high on a drive this weekend. I found the expansion was empty and then I found this:
I already replaced the radiator cap, so it must be the sealing surface on the radiator.
I got a cxracing 52mm aluminum radiator on order
Small update, installed a vented catch can on the exhaust side port. The breather filter I put on the valve cover saturated with oil and started dripping onto the exhaust manifold. Took around 3,500 miles. I noticed it after a fairly long low boost pull going uphill.
Just a generic $20 ebay catch can with 3/8" fuel hose. Mounted in the bottom left near the throttle body elbow.
I got the aluminum radiator installed and tested it out.
The quality isnt bad but it needed some adjustment to get it installed right.
One of the mounting brackets arrived bent
The mounting hardware from the original radiator has to be transferred over
I had to redrill the driver side bracket mounting holes to adjust it better, it sat crooked in the car at first
I filed some of the sharp edges down
Its beefy
Installed with stock rad fan
Both the upper and lower hoses had to be trimmed back a little so they didnt kink when installed.
I had to notch the fan shroud to fit the front FM sway bar
To test it, I drove the same section of road before and after. These plots are about 24 hours apart with similar ambient temps.
Its a slow 15-30mph windy road going uphill then turning around and going back down, around 8 mins total.
Old rad on left, coolant temps peaked around 222F (old radiator wasnt holding pressure)
New rad on right, coolant temps peaked around 200F
I also updated my ASE taper to help heat soaked restarts.
Previously the 700+ cycle taper wall was above 180F. I moved the peak down and returned it to a normal value above 180F
Every time I stopped to get gas the car would run pig rich for a while since the engine wasnt off long enough to heat soak. Hopefully this helps out
At least your radiator came with left and right side brackets. Mine can with two of the same, ha. They work but the quality is meh. At least it doesn't leak...
Got a chance to install the Supermiata clutch and flywheel.
Still have to finish breaking the clutch in but it feels real nice so far. I dont hear any new drivetrain sounds from going with a lighter flywheel
Trans pulled
New throw out bearing and cleaned out
Inside was pretty dirty
I wasnt sure which flywheel was in the car and I didnt want to pull the trans to check before ordering
I got the 10.3lb flywheel, hoping for crisper throttle response too
1.8 Super miata vs 1.6 oem set up on the bottom
Oil was leaking out of the trans weep hole so a new crank main seal went in
The oil leak was actually from the CAS o-ring and the oil got into the transmission. The heater hose under the CAS was super soft
Flywheel on
Clutch and pressure plate on
Filled the transmission with this stuff
Ford Motorcraft XT-M5-QS
So like always, the heater hose under the CAS blew out on the first drive after getting everything back together. The CAS was probably leaking for like a year and a half
Had to remove the valve cover to pull the CAS
I also bypassed the clutch interlock
12 AWG wire with 1/4" spades (I think)
I installed a set of Hard Dog door bars I've had sitting in my garage for the last few weeks. The install is pretty straight forward, it took about 3 hours to get them in. I havent installed the plastic trim pieces in back yet though, they still need to be cut up to fit.
But WOW these make a huge difference, it feels way stiffer! I didnt realize how much the front and back halfs were flopping around until I got these in.
The car doesnt feel like its going to fall apart when going over bumps anymore. The springs are actual doing work instead of the frame twisting instead.
Its a little harder to get in the car but its not bad at all. I think these are one of my favorites mods I've done.
Install:
Thats pretty much all the hardware mods I have on my list for now. Eventually want to get wider wheels and tires when that time comes and a coolant reroute if needed.
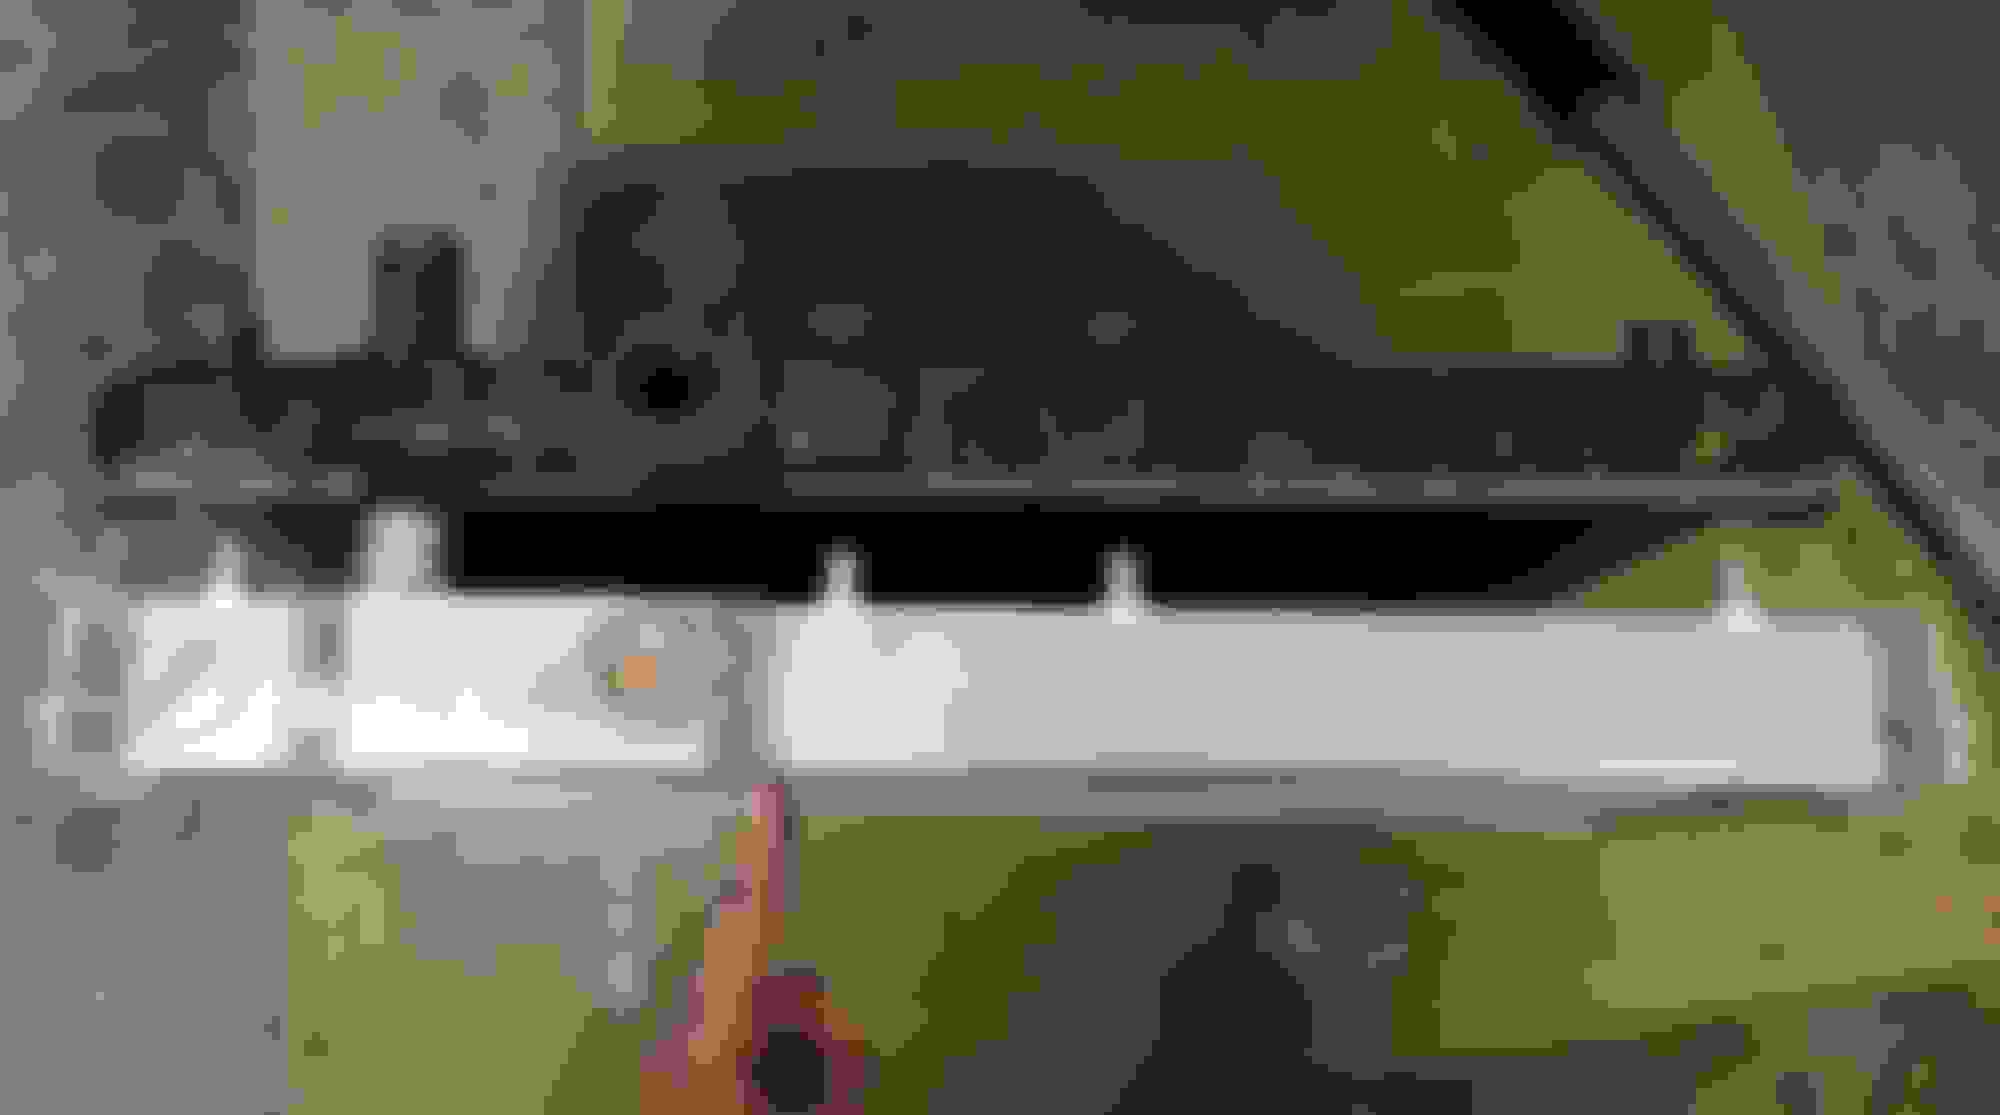
I installed an oem plastic undertray. It covers much more than the cheap plastic one I made earlier.
Hopefully it helps, its been over 100F here lately. I think my MAT correction needs some attention too. AFRs are dipping into the upper 10s at wastegate pressure at these temps.
The rear intercooler piping holes were a pain to cut. You kinda have to guess on the hole placement.
I also sold my Impreza and bought a new semi project car.
2009 Forester
Finally finished breaking the clutch in and had a chance to increase the boost. I settled on 180kpa which is about 14psi over ambient at this elevation. This car is a blast to drive
Heres my latest VE table.
It still needs a little more fuel above 4700 rpms in the 180/200 kpa rows
A couple 4th gear pulls:
Half throttle -still hitting about 14psi, boost by tps seems it would be useful
Full throttle - it leans out like 0.5 afr, I still need to clean this up
Current open loop EBC table
Some spool rates from the data log above:
3rd gear at 3800 rpms, 100% throttle, 65-180kpa in 1.04 seconds
3rd gear at 3900 rpms, 40% throttle, 56-170kpa in 1.32 seconds
4th gear at 3000 rpms, 100% throttle, 56-180kpa in 2.35 seconds
4th gear at 2900 rpms, 45% throttle, 64-180kpa in 3.36 seconds
Next Im gonna work on getting closed loop EBC running and try out boost by tps.
Im thinking of running the EBC power through a switch in the dash so I could easily turn it off and switch to wastegate pressure. This would be useful fore the track whenever they open back up
I gave closed loop EBC a try and its kind of a pain on MS2. Open loop EBC is working well enough that Im just going to stick with it for a while. I can deal with boost press varying with outside temp.
New open loop duty table.
I hit 14psi at about 3500 rpms in 4th gear, so I have the EBC clamped 100% shut until about 3300 rpms
Im usually under 16% TPS when cruising so I have the EBC open below that.
Above that I attempted to put a gradient in to limit partial throttle boost. This will probably need a little more fine tuning but it does feel more linear so far.
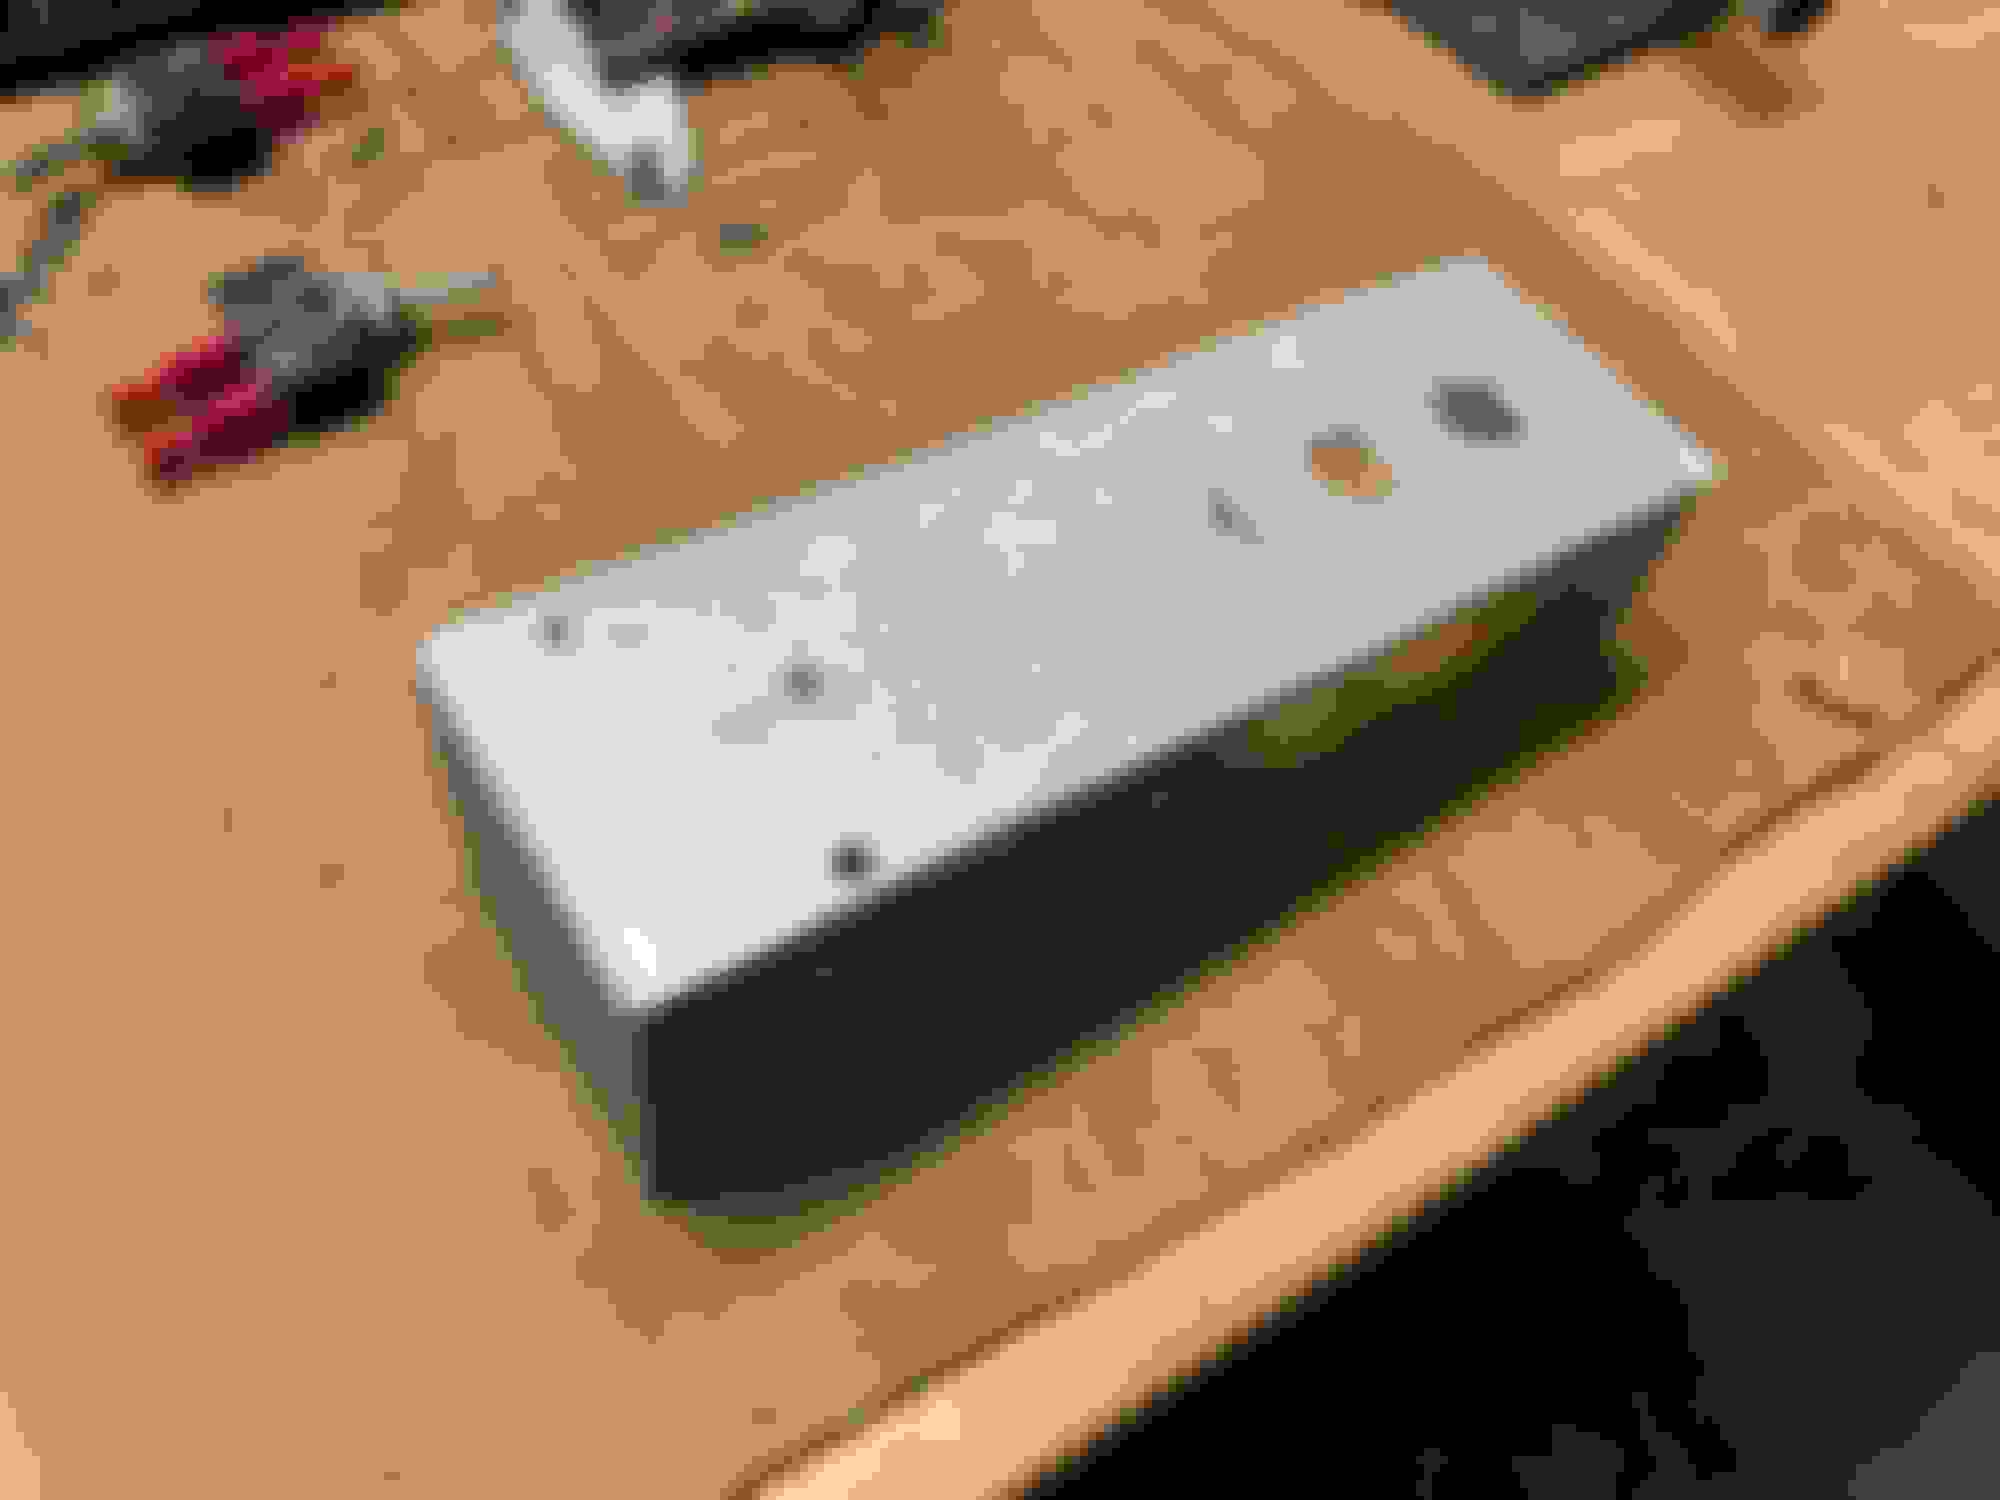
I made a panel to mount some switches for disabling the EBC and clutch switch for LC/FFS. Threw in a magnetic phone mount too
I have a wiring issue or something with the clutch switch. Launch control works but the MS thinks the clutch is pressed in all the time, I havent wire it to the disable switch yet. I have pull the MS and figure out why.
I had this carbon fiber sticker thing left over from another project. Didnt want to paint it since it would just flake off
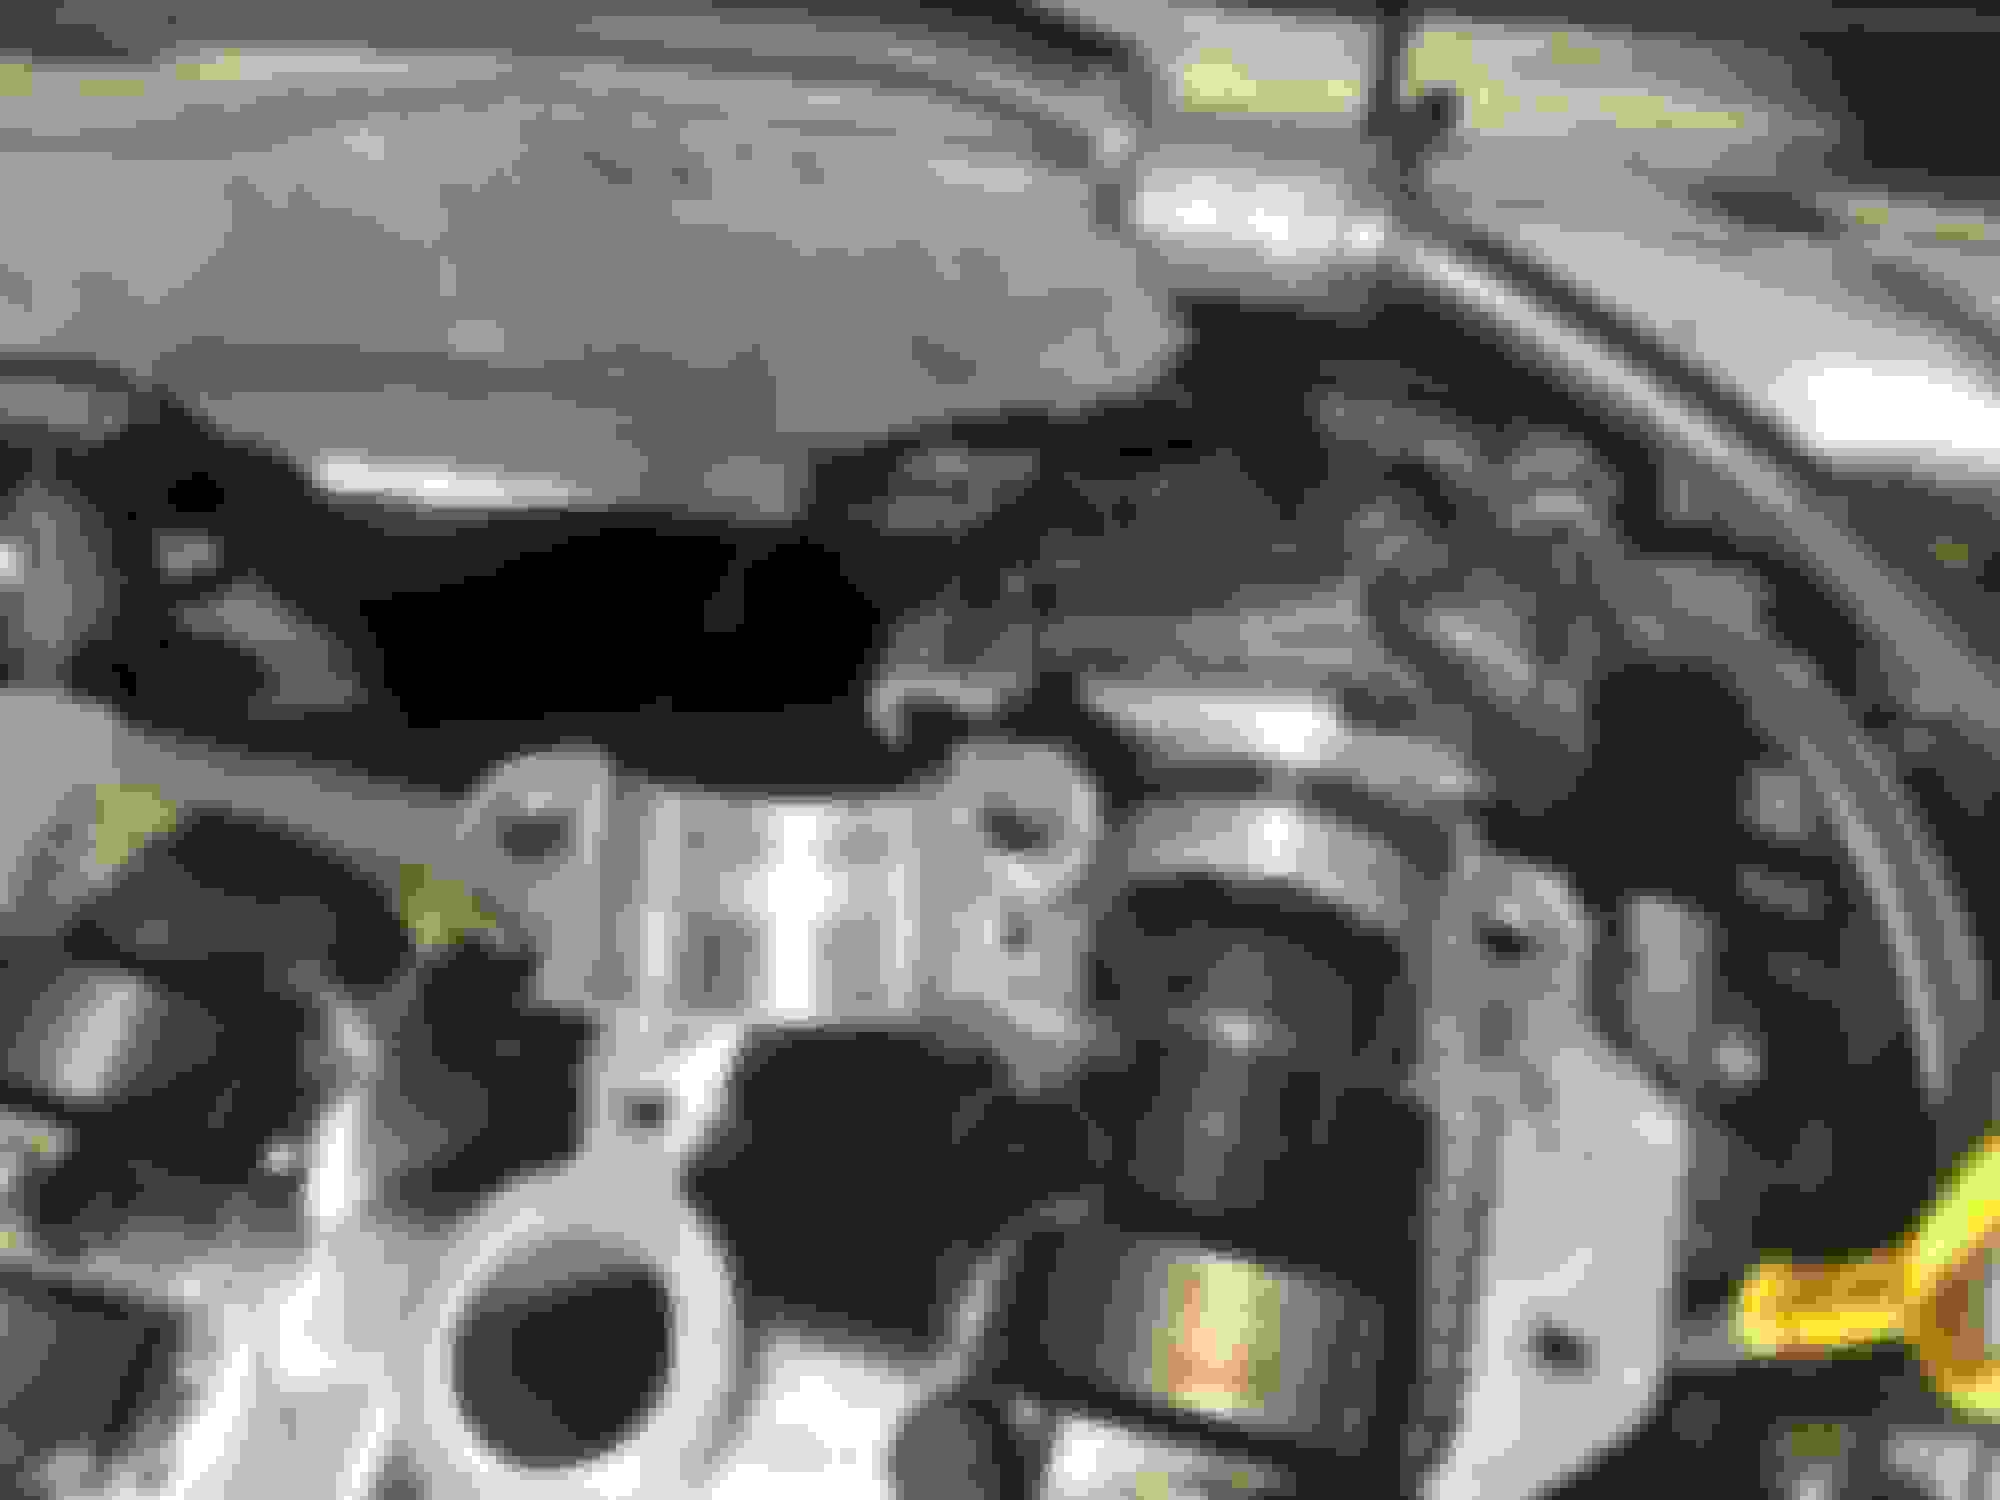
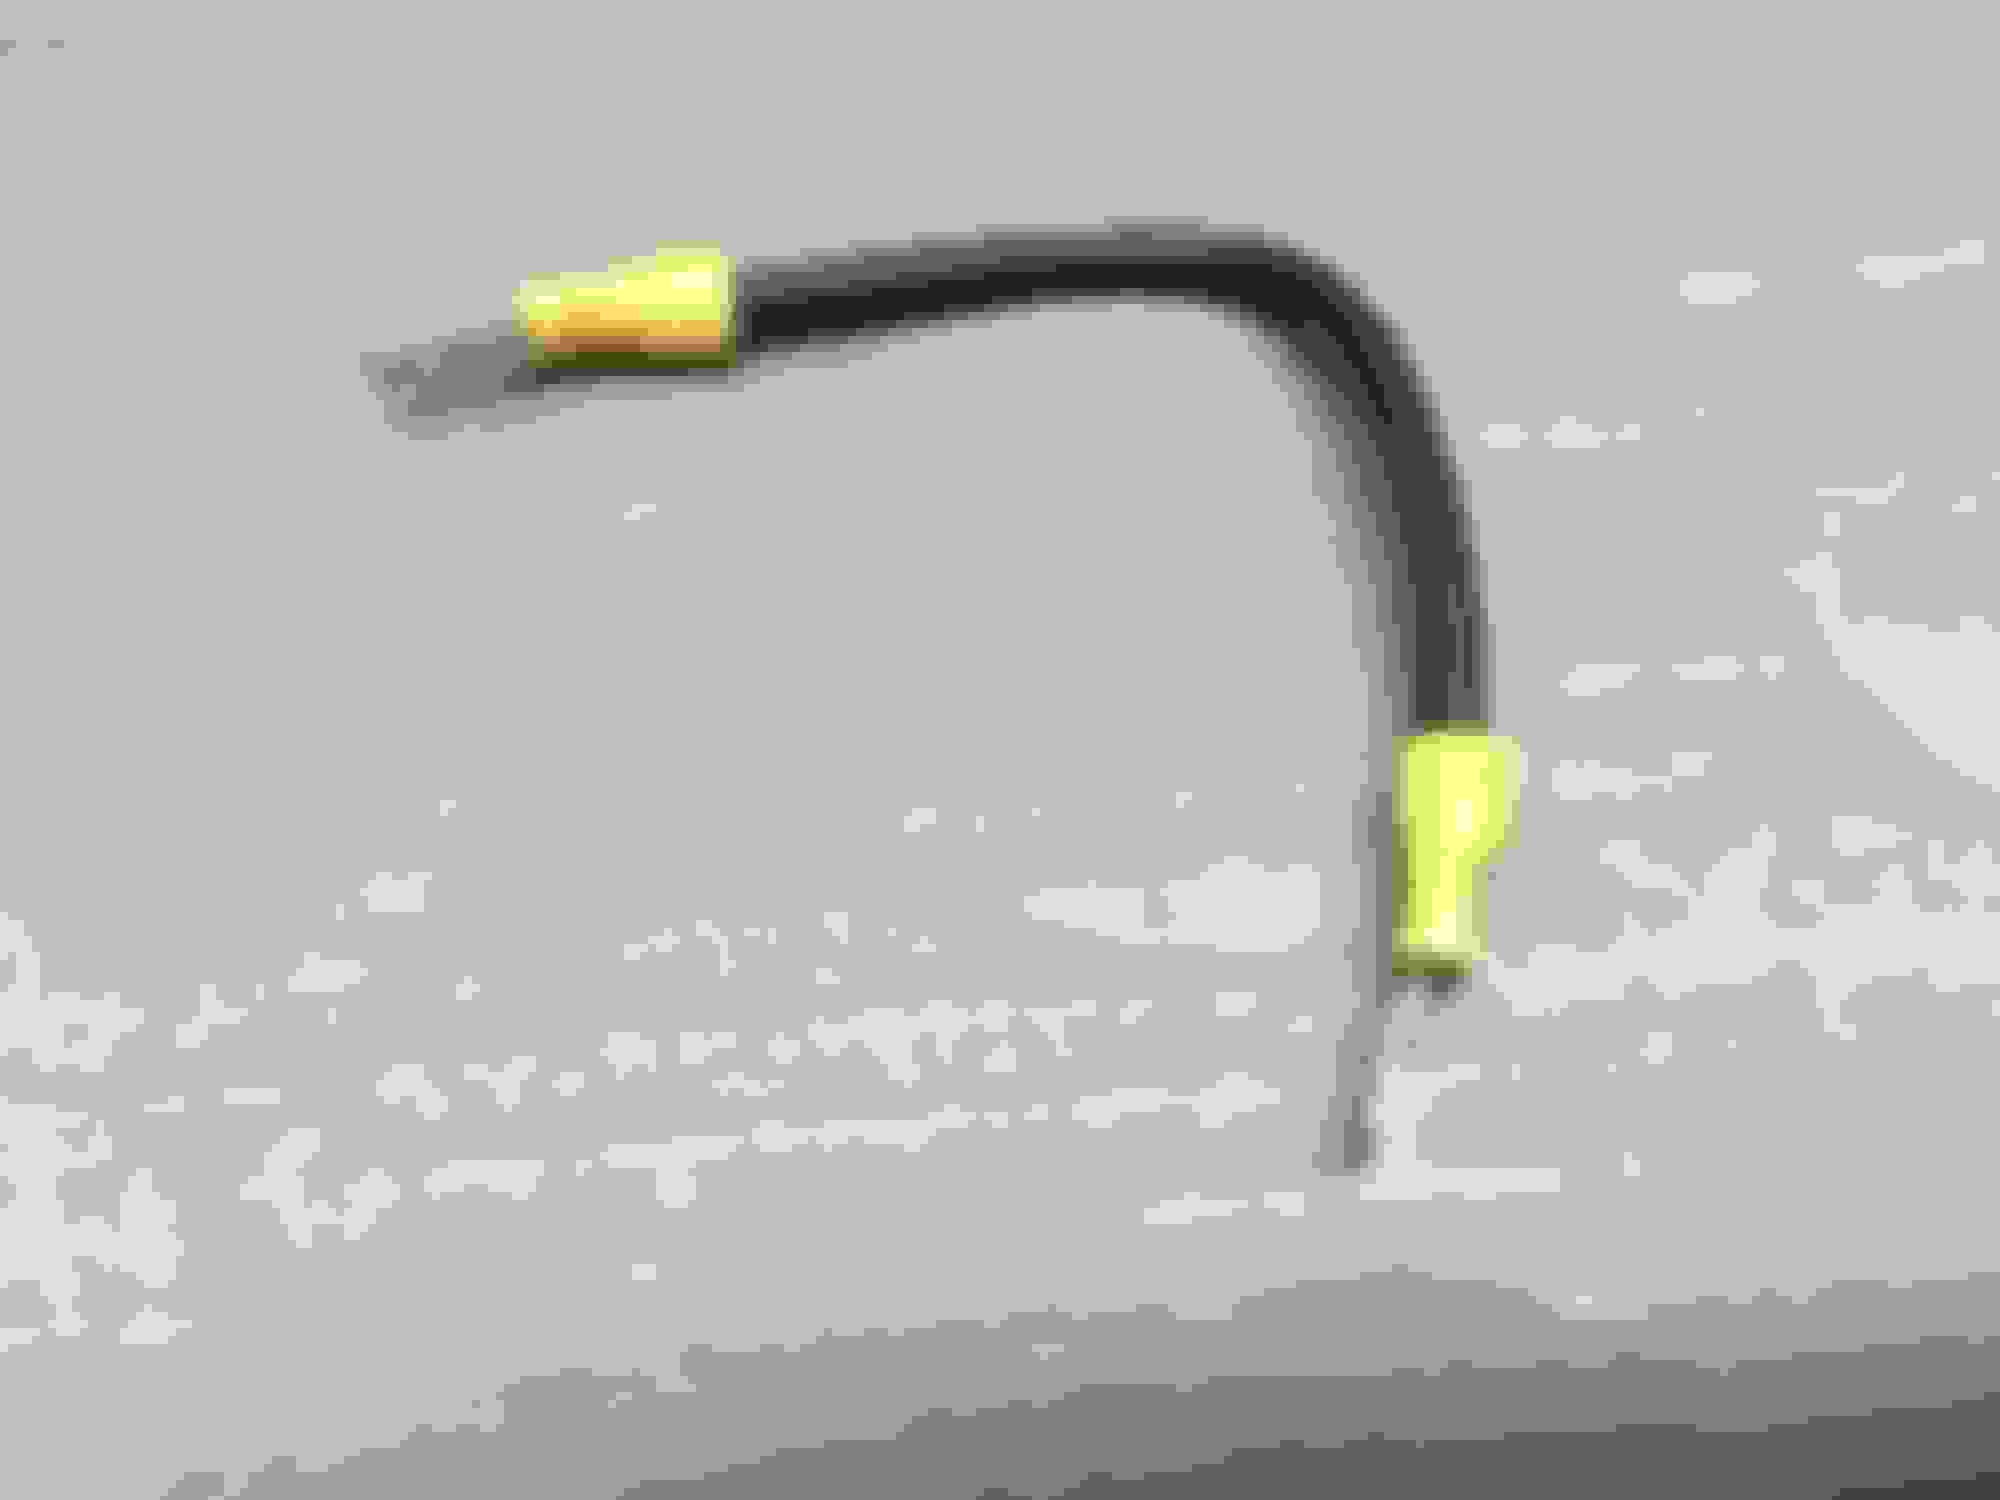
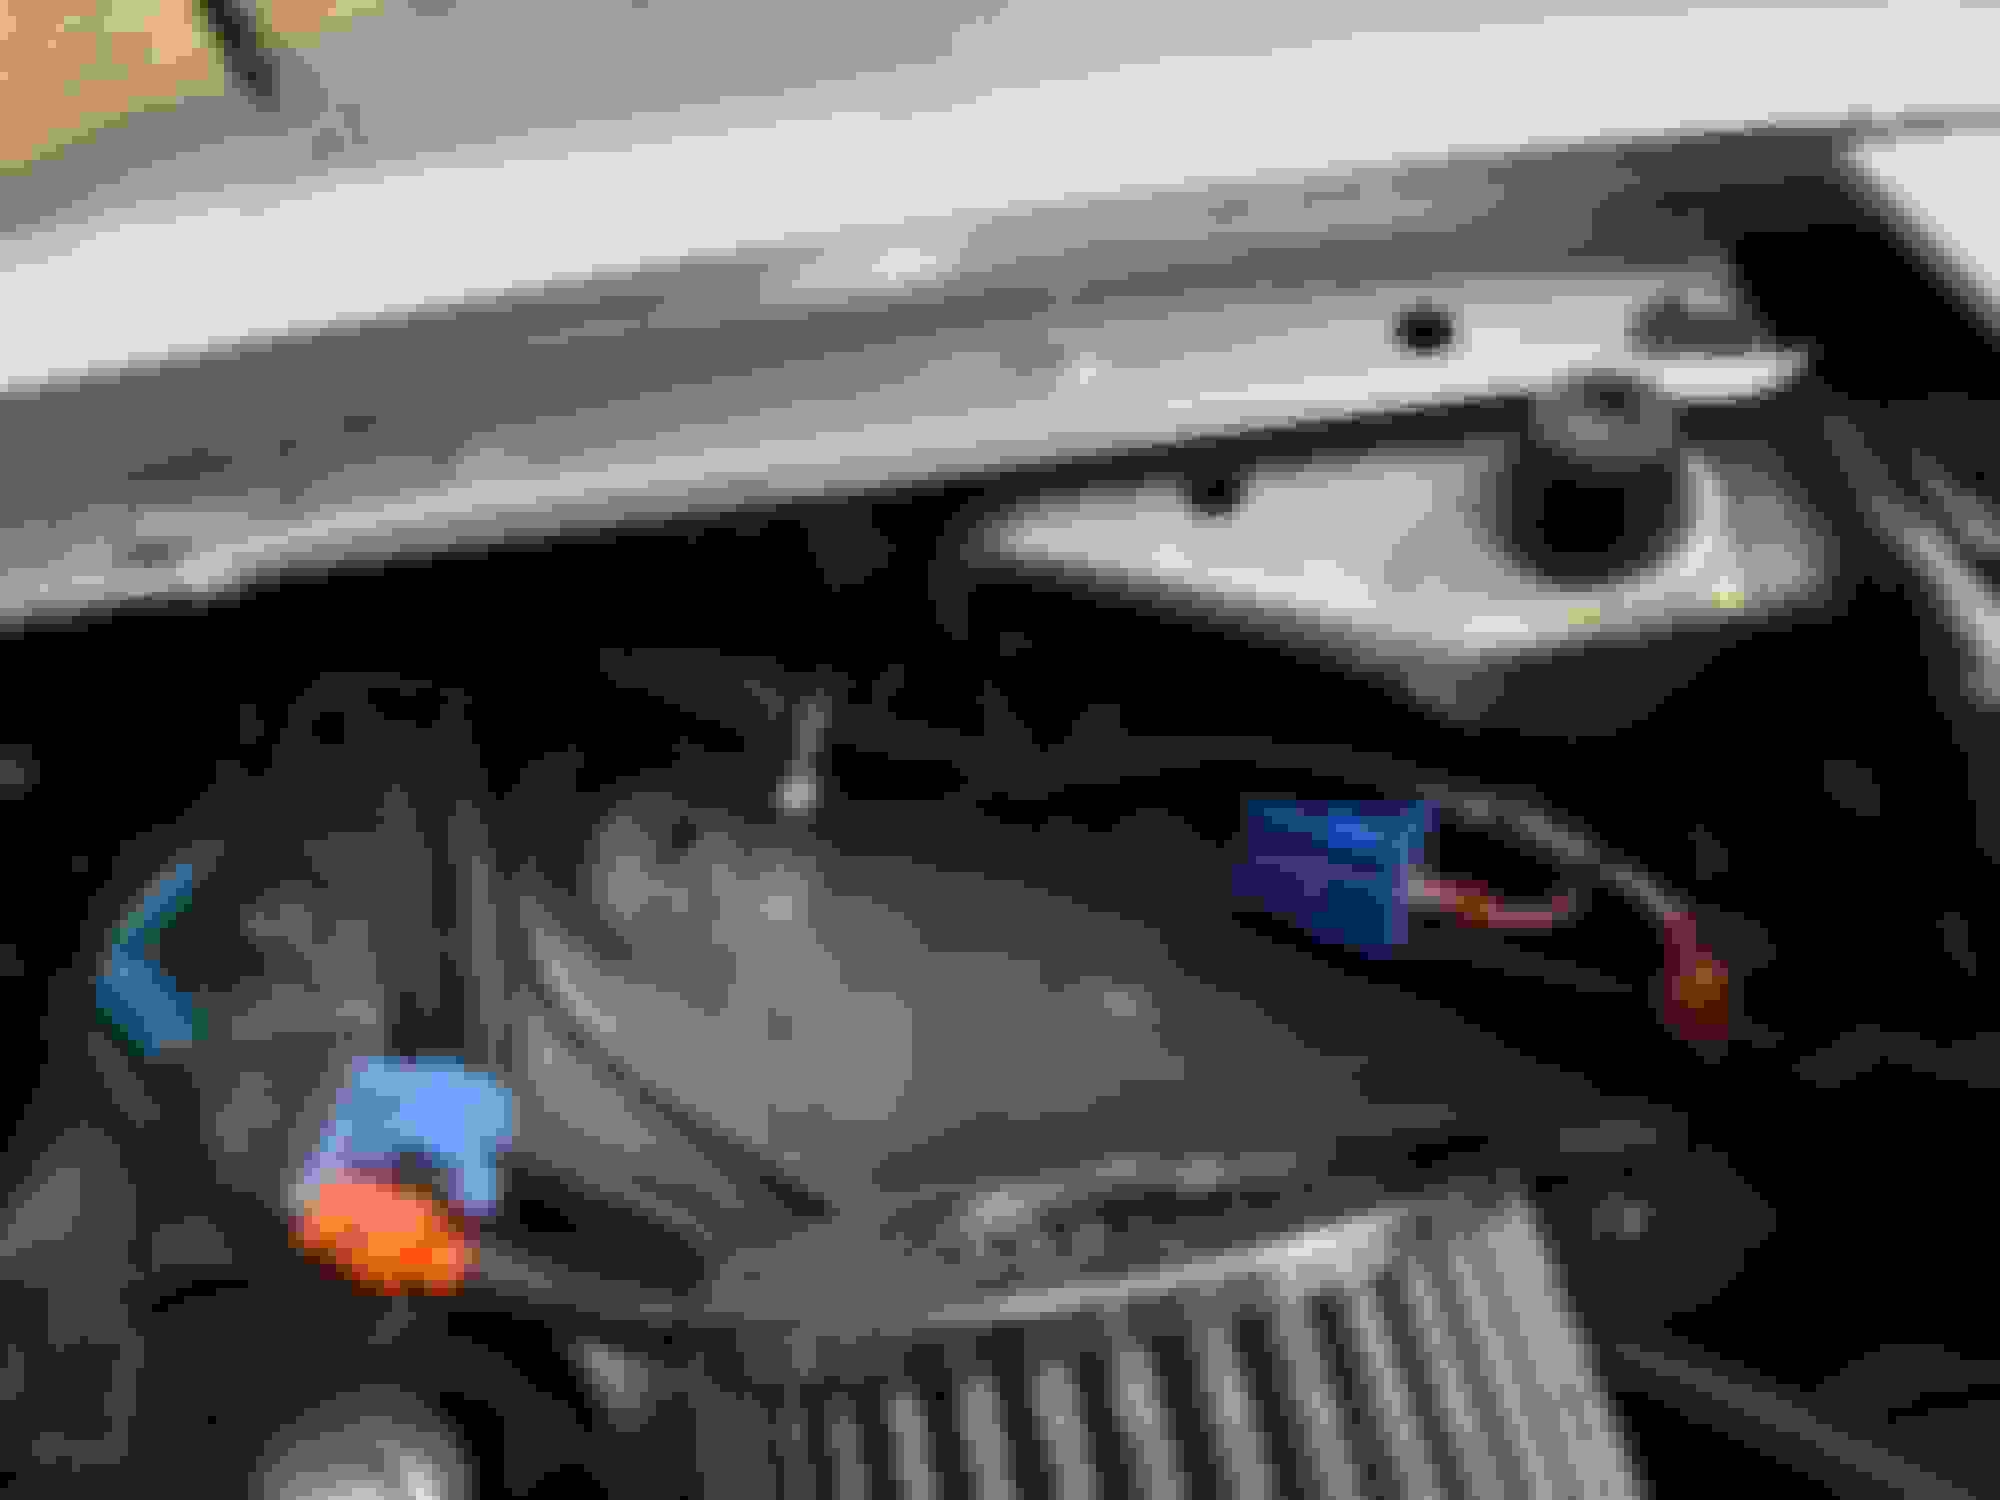
Power is fed from this blue connector under the hood, routed to the switch in the dash, and back to the EBC
Installed
The EBC switch works great
Went to cars and coffee yesterday, good turn out. There were about 150 cars, but no other miatas
I did some brake maintenance. Flushed all the fluid, relubed the slide pins, and retensioned the ebrake.
My ebrake looses all its tension every couple months. I think the auto tensioner in the back right caliper keeps slipping, not feeling up to fixing that yet.
I also installed a $40 ebay special short throw shifter. All the oem bushing were transferred over.
Im really digging it. Its harder to change gears since you have to push harder on the lever. But it feels crisper and way more mechanically. Its really satisfying when it clicks into gear.
Stock throw 3.25"
Ebay short throw on top, its about an inch longer below the fulcrum
Oem shifter on bottom
First thing was to throw the new shifter in a drill to sand down the ball on the end between two sanding sponges
Then transferred the brass bushing over. Think its was 0.080mm too large
Then I enlarged this hole a decent bit to fit the oem slotted bushing
Drilled and tapped the spacer for a larger M6 screw I found. The original set screw they sent it with was a joke, it had a ton of slop and barely reached the bushing.
I wanted a smooth stud so the threads dont chew up the bushing but this is all I had
Installed, moved the oem top and bottom bushing over with the spring washers. They never sent the bottom bushing anyways
I put a thin smear of RTV sealing on the top and bottom surfaces of the spacer to help it seal
New throw, 2.50"
About 25% less
I also managed to snap off the zipper pull on the rear window so its stuck opened. Guess im looking for a hardtop now
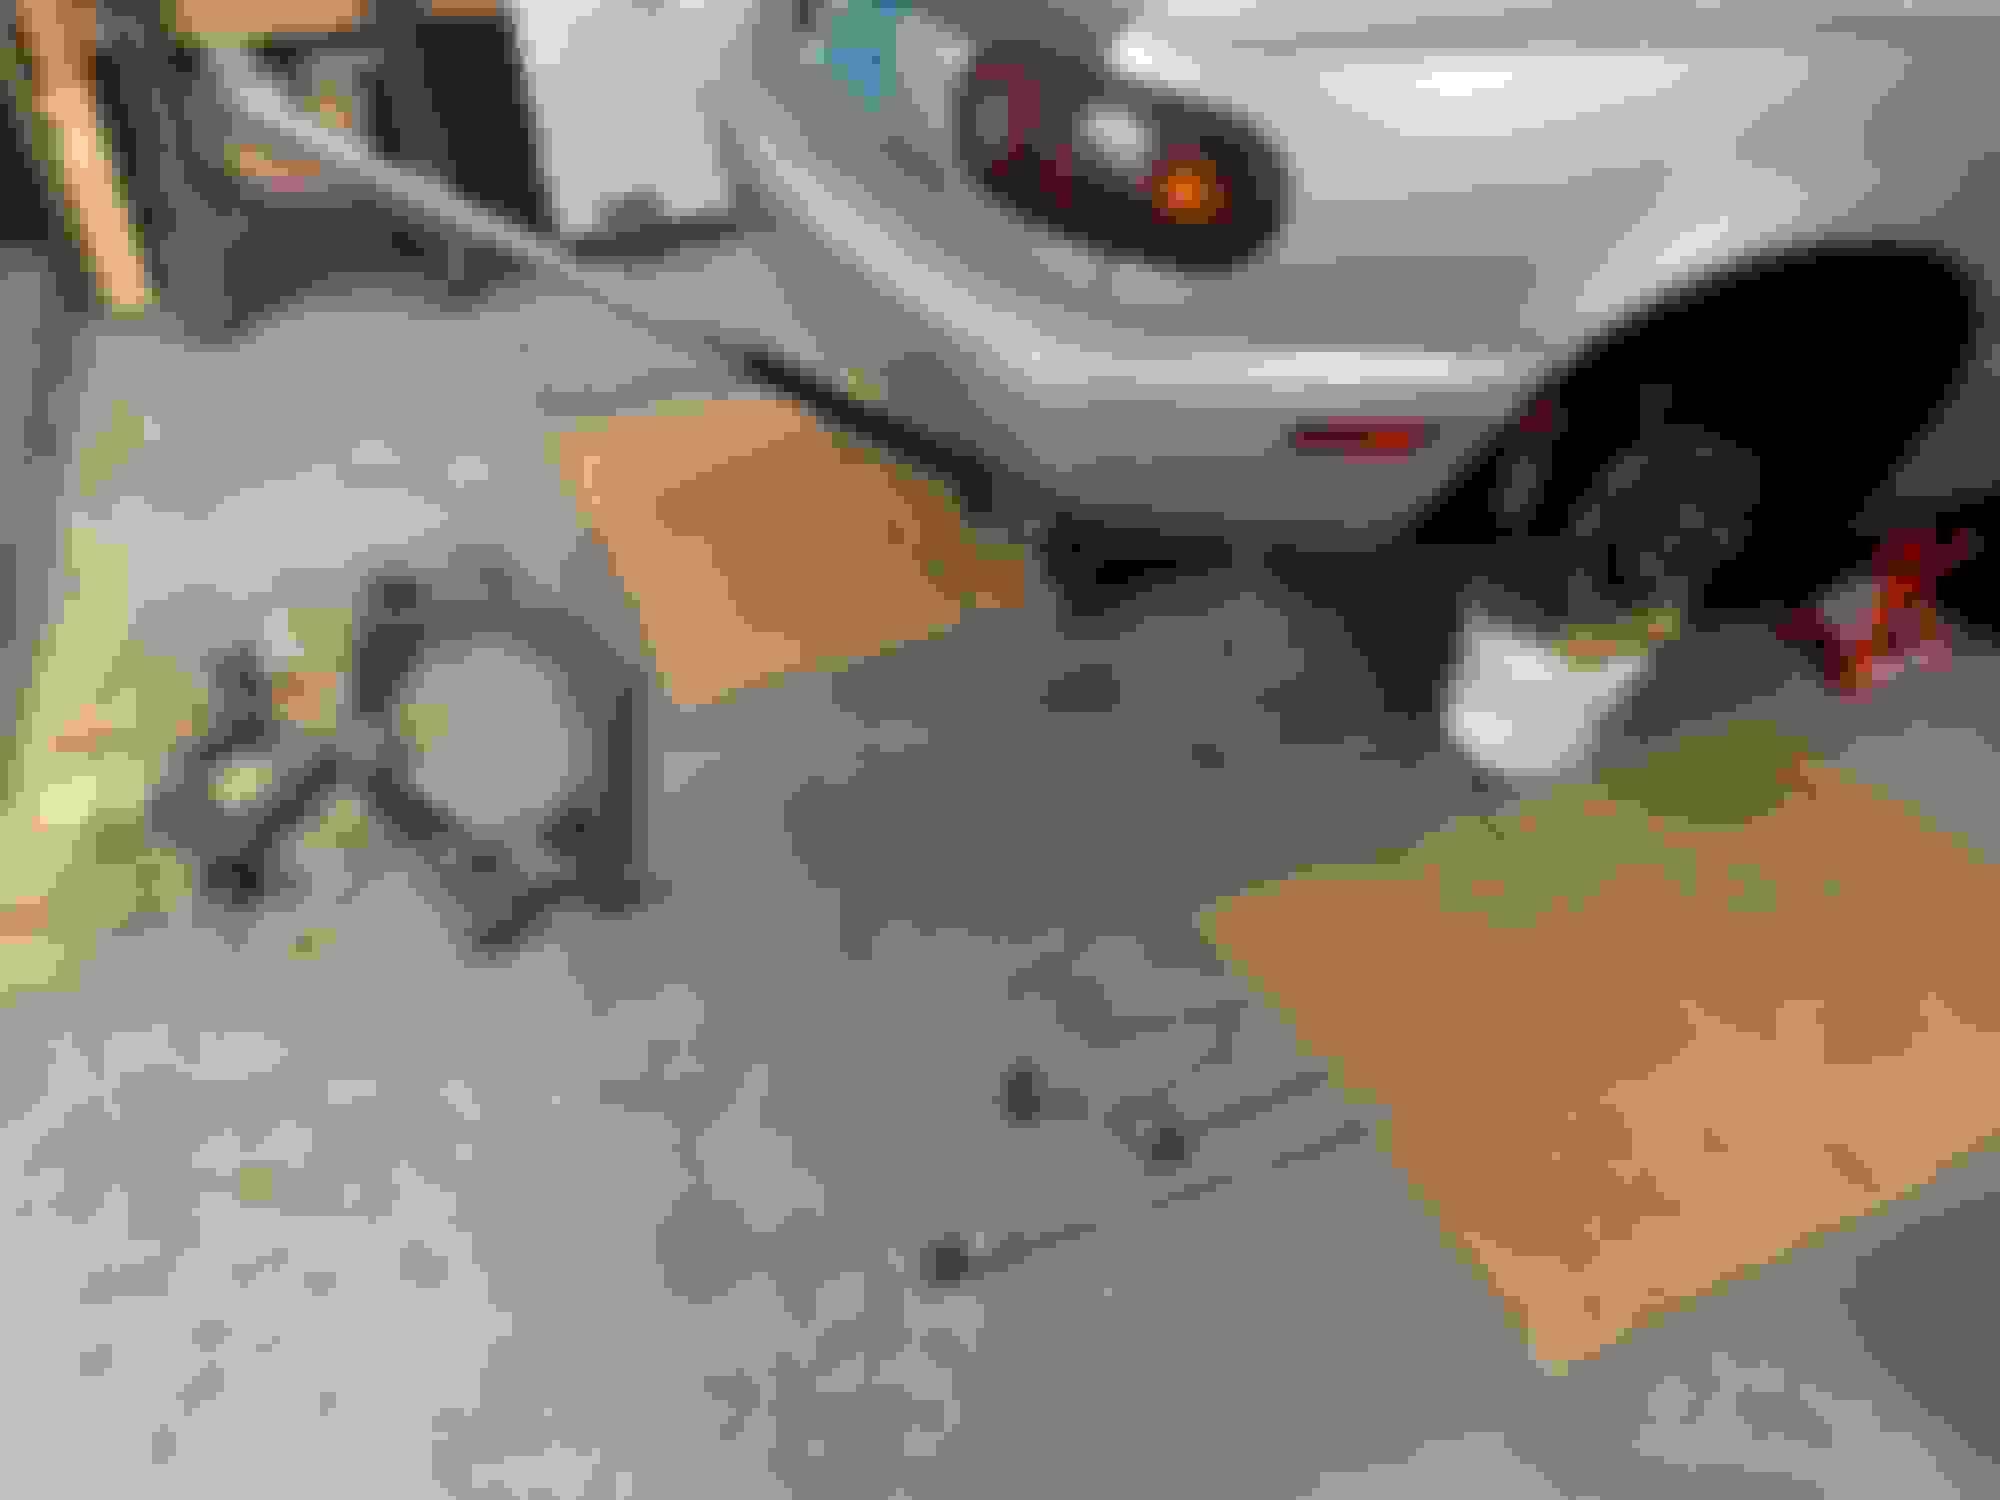
Finally did my first cosmetic mod. Did a slight cut on the rear bumper and support.
Supposedly it will act less like a parachute too but I doubt Ill feel a difference.
Taped off. Removing 5" from the bottom and rounding the corners so theyre concentric with the exhaust tip
Tried a dremel but gave up when the cut off disk shattered in the first inch of the cut.
Hacked it out with an angle grinder
Then used what ever these flush cutters are called for a clean cut
Hardest part was cutting the bumper support. Angle grinder FTW. The plastic would melt if I tried cutting too fast.
I left the 2x bottom tabs on
Bottom view when all back together
Nice
Was going for just a subtle cut
Now I just have to replace the shattered rear garnish panel.
I checked at least a dozen miatas in junkyards but theyre always missing this panel. And I dont want to pay $200 for used on ebay because it will just break right after
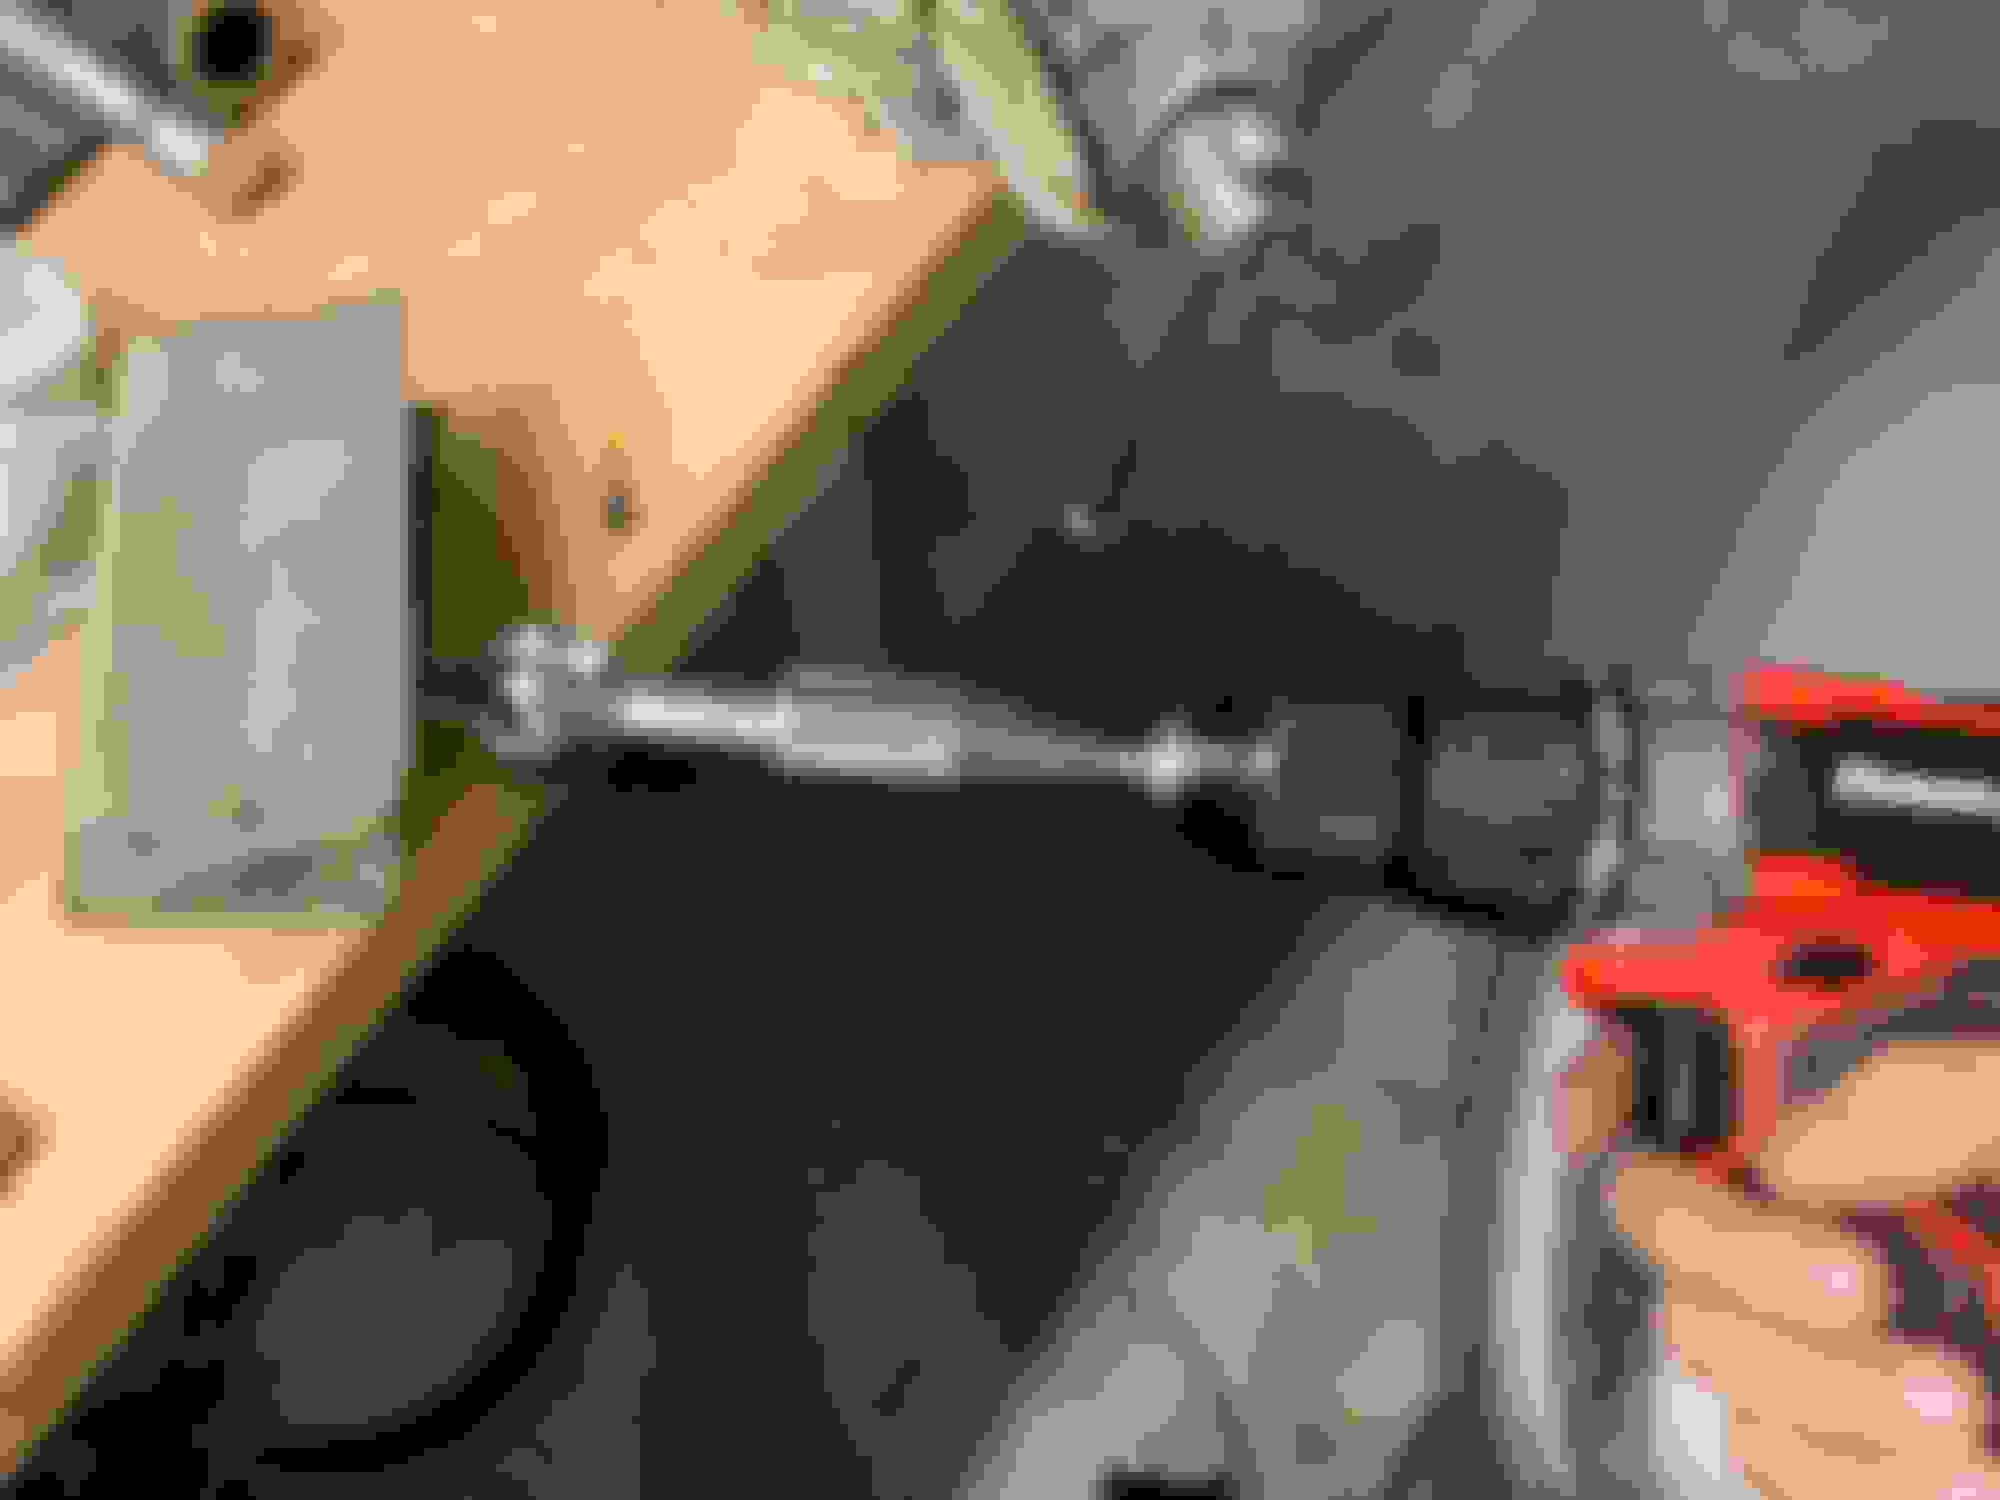
Decided to replace all the control arm bushings. I think mine are still the 29 year old, 225k mile originals. I know the RUCA-outer bushings are both shot. One has noticeable radial play and the other pushed out of the knuckle and is sanding itself away on the control arm.
Ordered a set of IL motorsports bushings. Cant deal with having to lube the polys
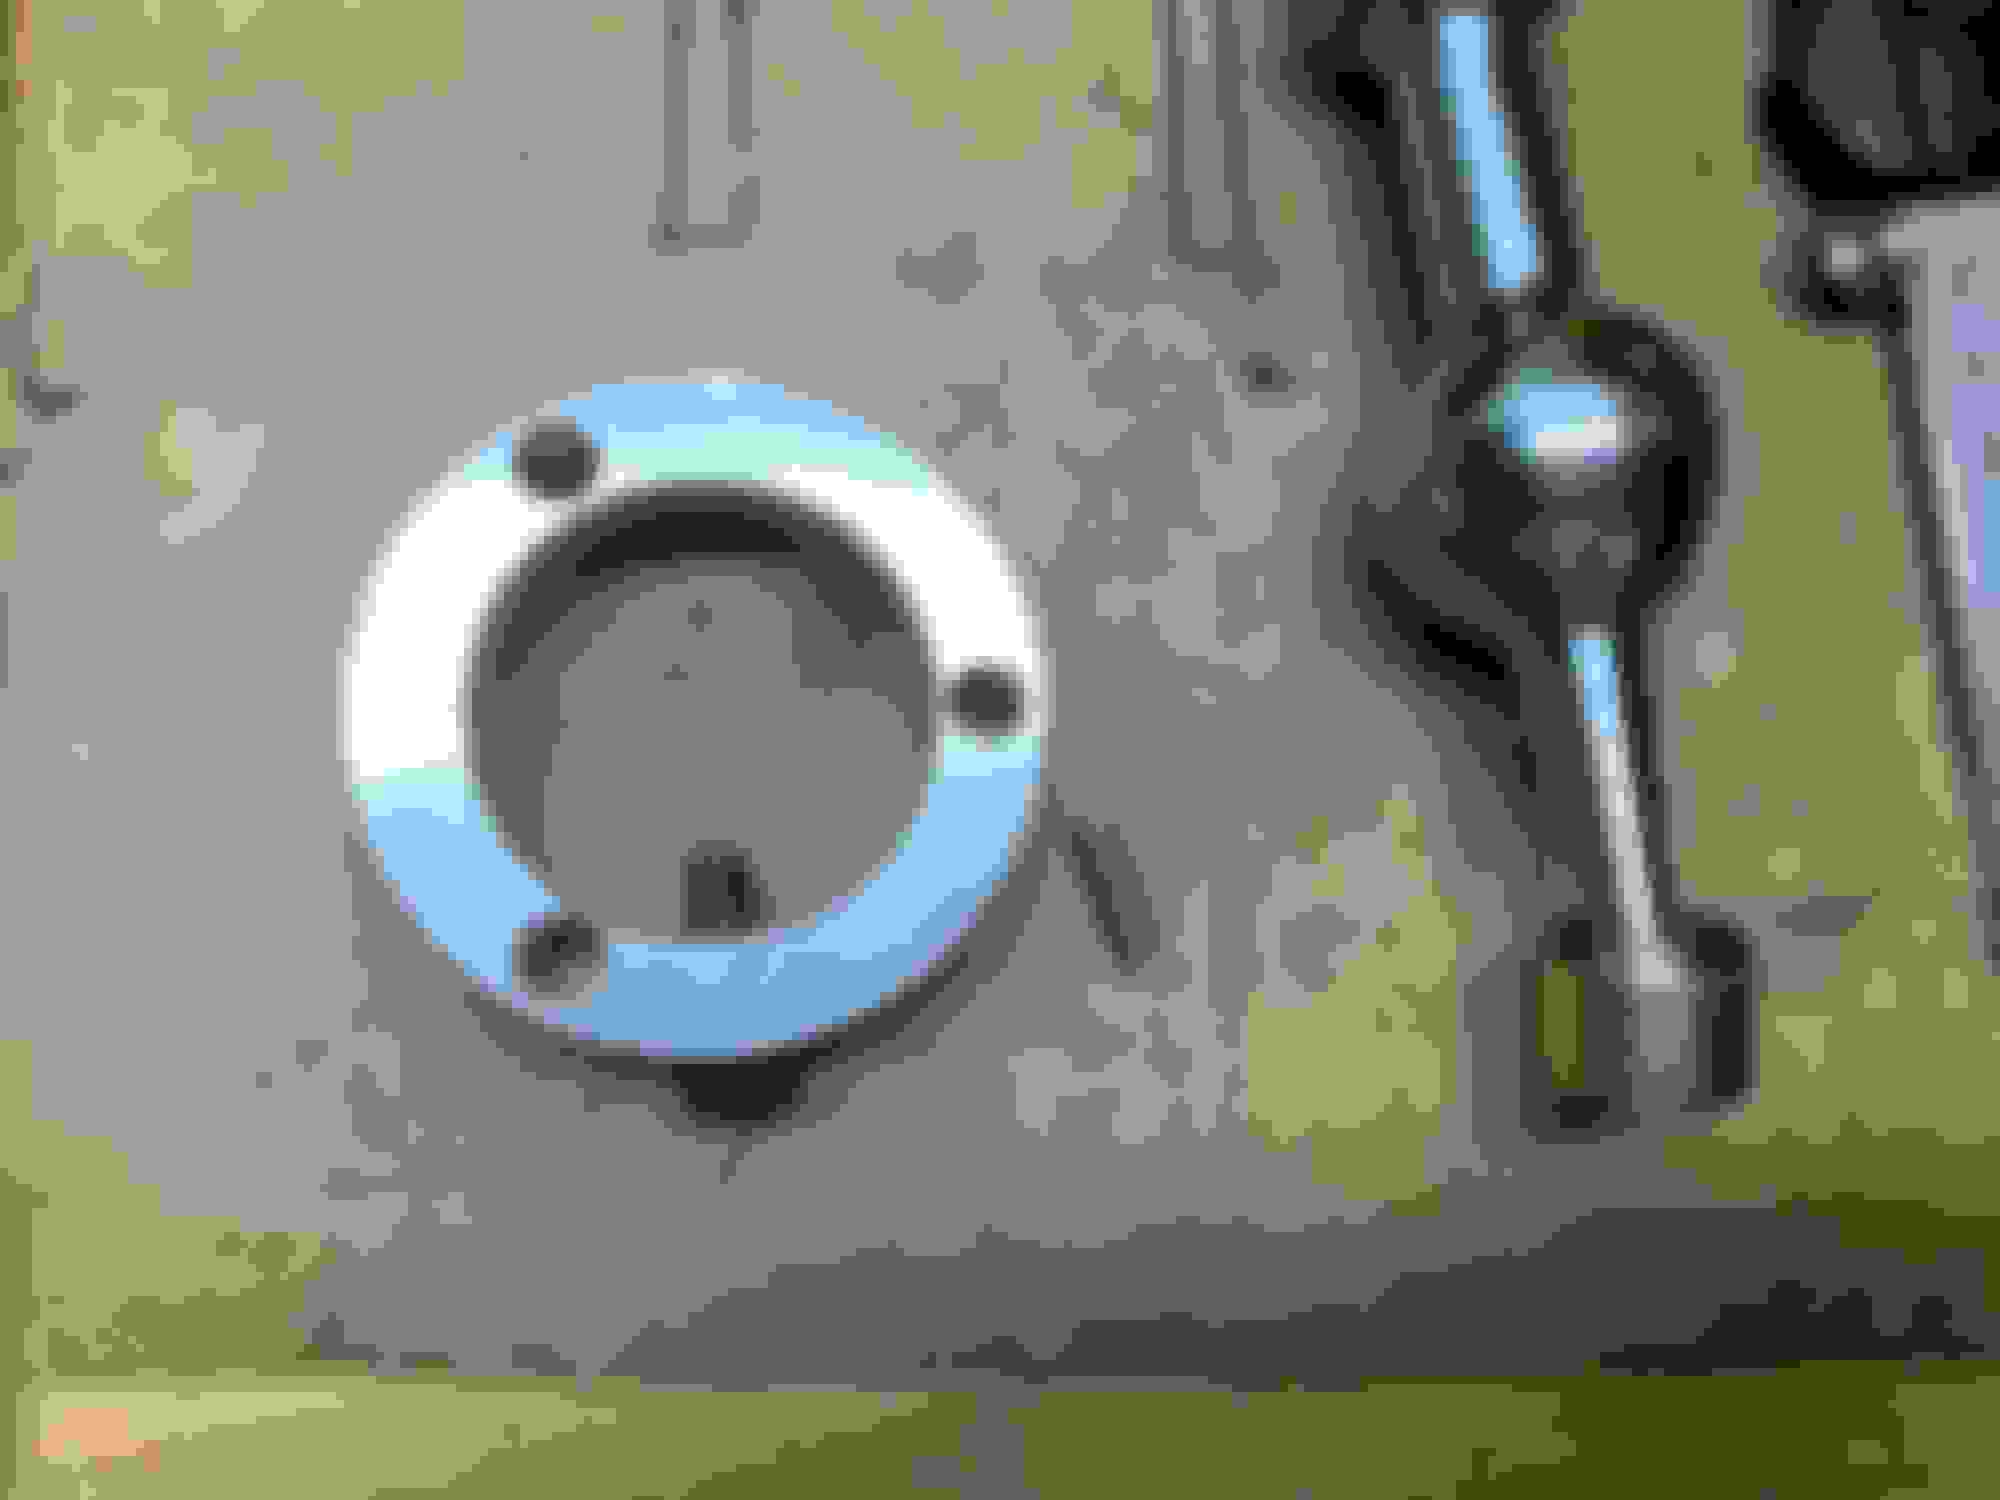
One corner removed
Harbor freight puller.
It works but its a huge pain to keep the hooks on the lip of the sleeve without them slipping off
New on the left, old cracked bushings on the right
In better shape than I thought they would be in
The HF puller sucked for pushing the bushings in
Ran to lowes and got a 7/16-14 threaded rod with some grade 8 nuts and washer. I had a 32mm socket that worked well to help pull the bushing in. Sprayed them with simple green for lube
6 hour later... got the front left corner done. Just 18 more bushings to go
Front bushings done, went a lot faster with some practice. Front right set took about 3 hours
Rear control arms are so much easier to get to. Put the car on jack stands, wheels off, and all 4 control arms removed in 45 mins. Takes a lot fewer tools too
Hit the jackpot too. PO didnt tell me they installed spherical bushings.
Finished installing all the control arms bushings, pretty happy with them. Still need to get an alignment but I marked the eccentric bolts so they should be close to where they were before.
The car doesnt feel as twitchy with the new bushings and the steering feels a little less precise. However it feels way more planted in turns and the NVH is significantly reduced. Worth it
Also did a compression test
Hot engine, open throttle, no oil in cylinders
1 - 144 psi
2 - 147 psi
3 - 145 psi
4 - 149 psi
Seems low but theyre pretty much the same as before I turboed it. And its on a HF compression tester. Think the engine has about 90k miles on it
Had some issues with my cranking settings. The engine was kicking back pretty often, especially in the cold.
After messing with the setting for a while, found out it wasnt getting enough air. Went from 60% to 90% duty cycle at 30F.
Also setting the priming pulse delay from 0 to like 1.2seconds seemed to help too. Starts so much better now. What a PITA to tune, you only get like one or two tests per day.
Also touched up the EAE rpm curves around 2000-3000 rpms. It was leaning out a little on tip in and would buck ever so slightly sometimes. Mostly when going from engine braking to back on the throttle.
I made changes on feel instead of looking at the gauges. Small changes made a noticeable difference. Shifting and taking off from a stop are a lot smoother too, ill take it.
And found out the heater core is leaking... Think its been leaking for a long time, its turning into coolant goop
They've been out of stock at rockauto for like 2 months
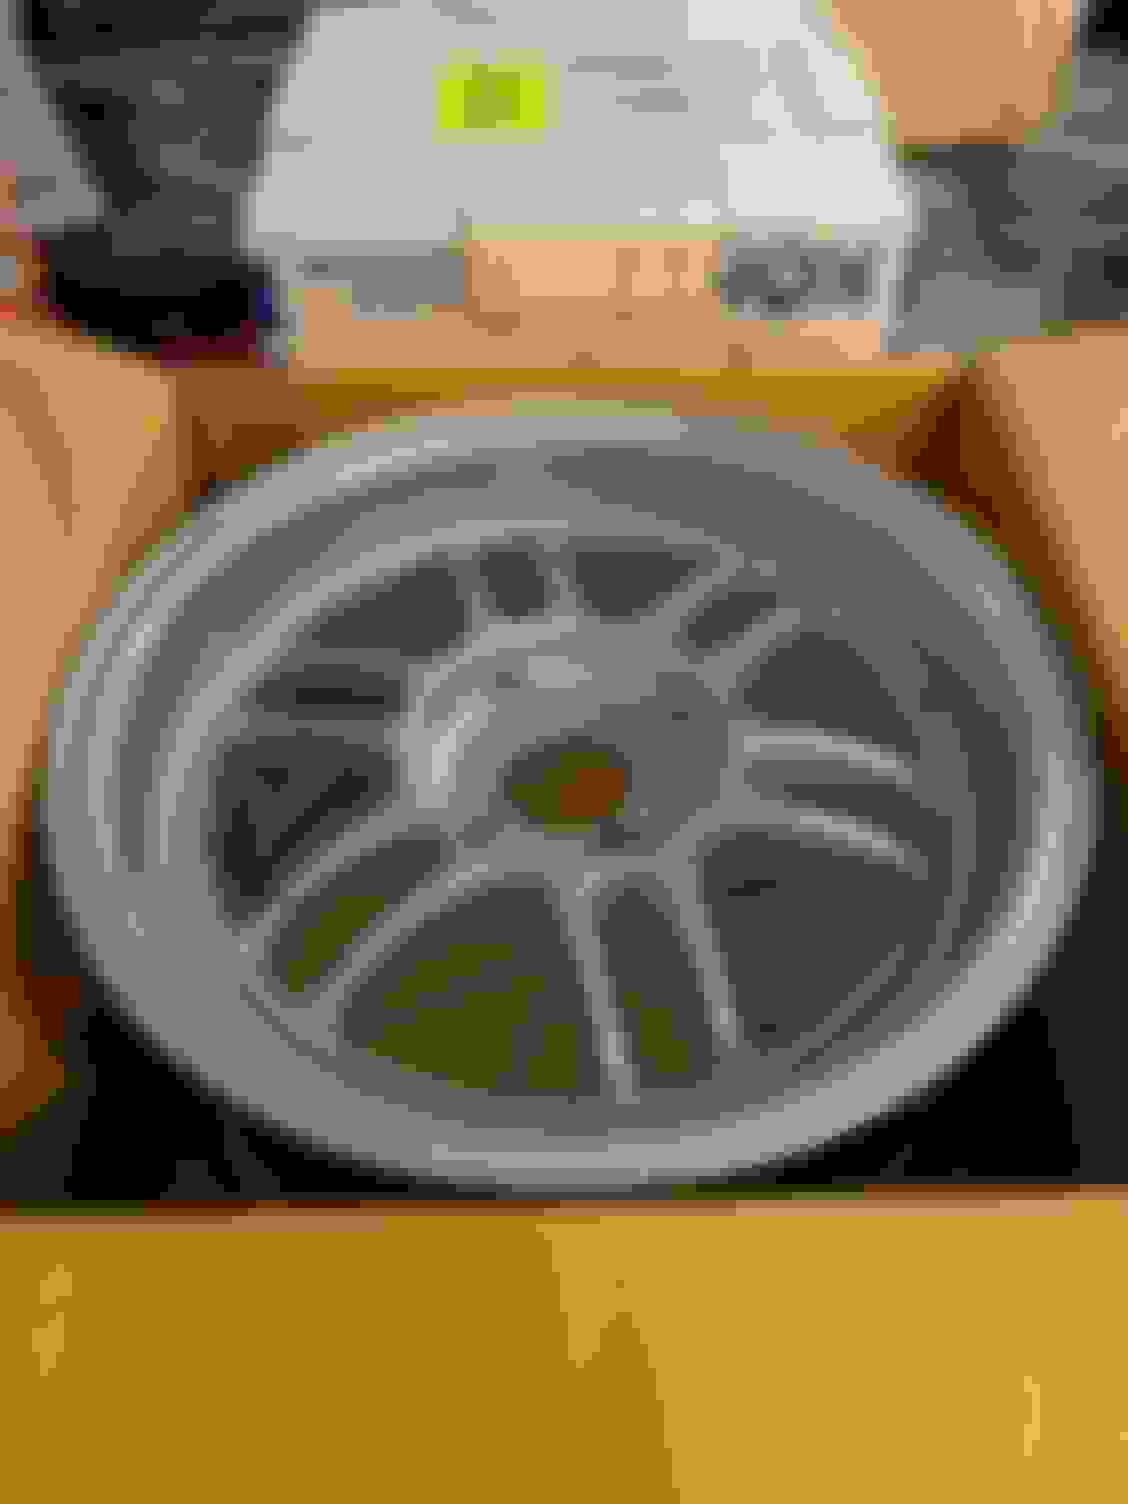
And got some new wheels in
15x8 konig wideopens, will be getting 205 conti ECS most likely
I think Sandia Speedway is restarting their open track days and time attacks soon. They werent running them all last year due to covid
Shiny new wheels will look great with my peeling paint
 05-06-2020, 07:59 PM


 0
0