When you click on links to various merchants on this site and make a purchase, this can result in this site earning a commission. Affiliate programs and affiliations include, but are not limited to, the eBay Partner Network.
Got the tires mounted, still need to roll the fenders before running them. And planning on lowering the car a little more, aiming for 12" front and 12.25" rear, as long as nothing scraps or rubs. At 12.5" front and 12.75" rear right now.
New tires:
205/50R15 Continental extreme contact sport on 15x8 +25 wheels
Old tires:
195/50R15 Yokohama S drives on 15x6.5(?) wheels, idk the offset
Old tires were 35.2 lbs per corner
I think the weight went up? They used to be lighter
Anyways, about 1.4lbs lighter per corner than the old set up
Finished with the wheels. Tires feels great, the steering response feels lights and faster. Cushiness over bumps is about the same maybe little better, though tires are at 36psi right now.
I tried taking a 2nd gear turn and planted my foot and didnt lose traction
Oh yea and Firestone was the only big box store I could find that would put 205s on 8" wheels. 7.5" is the lawyer approved limit.
Rolled the fenders with a $5 1.25" dowel rod from lowes and some scrap 2x4"
The rear fenders didnt need much, the flanges were rolled until about 45degrees above horizontal, not all the way flat.
For the front fenders, all I had to do was bend the 2-3 splash guard mount tabs in. Didnt have to cut anything
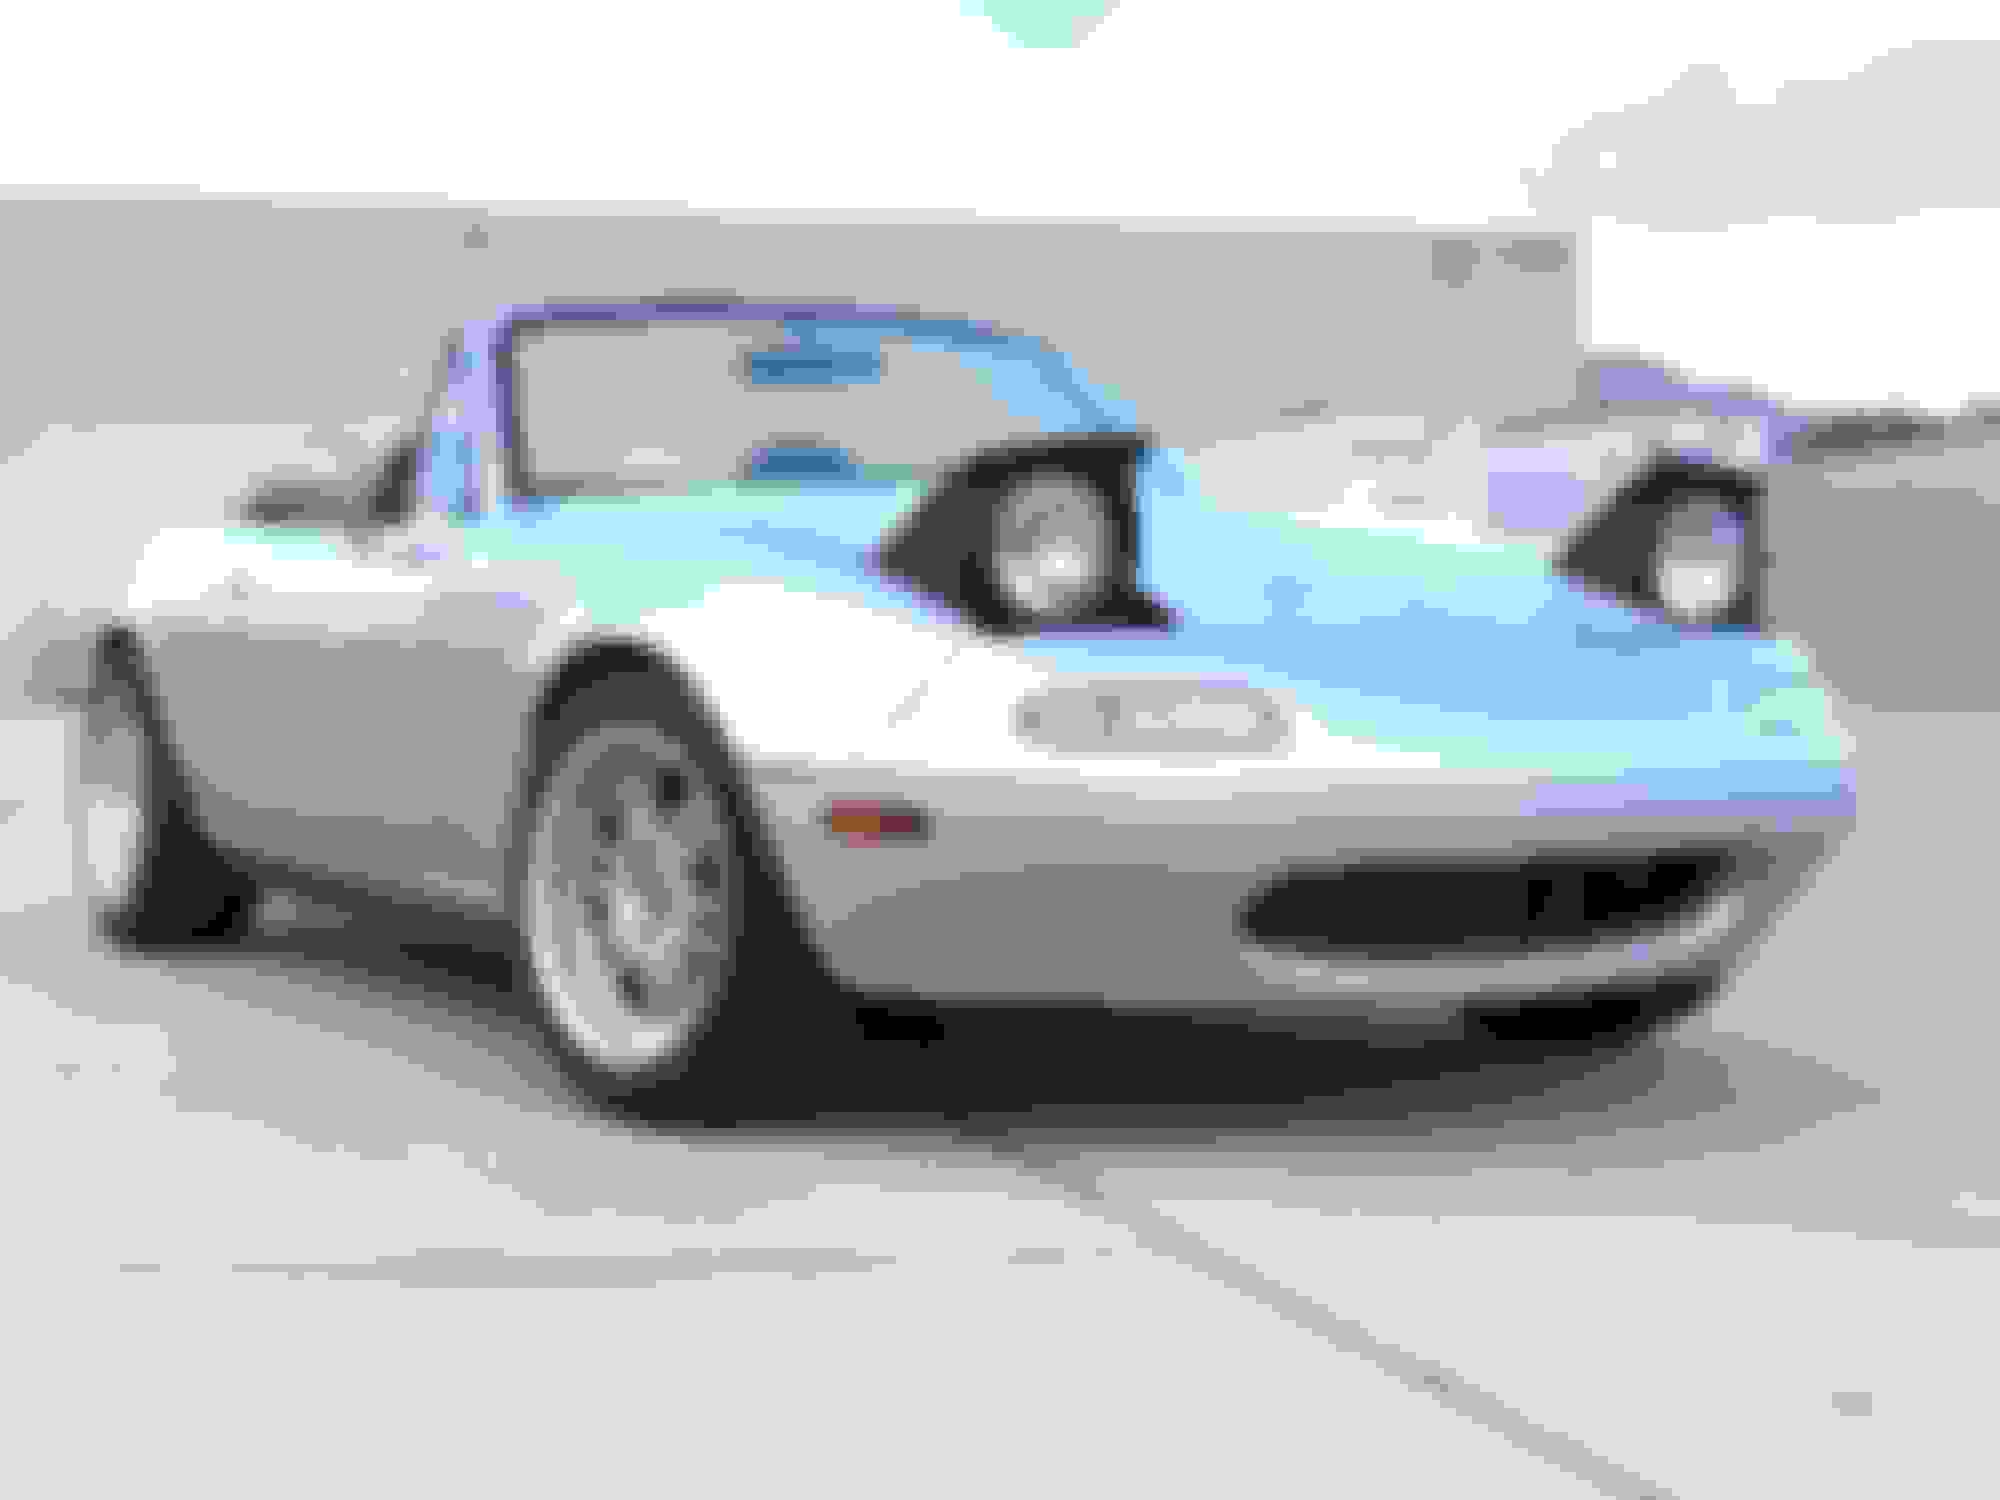
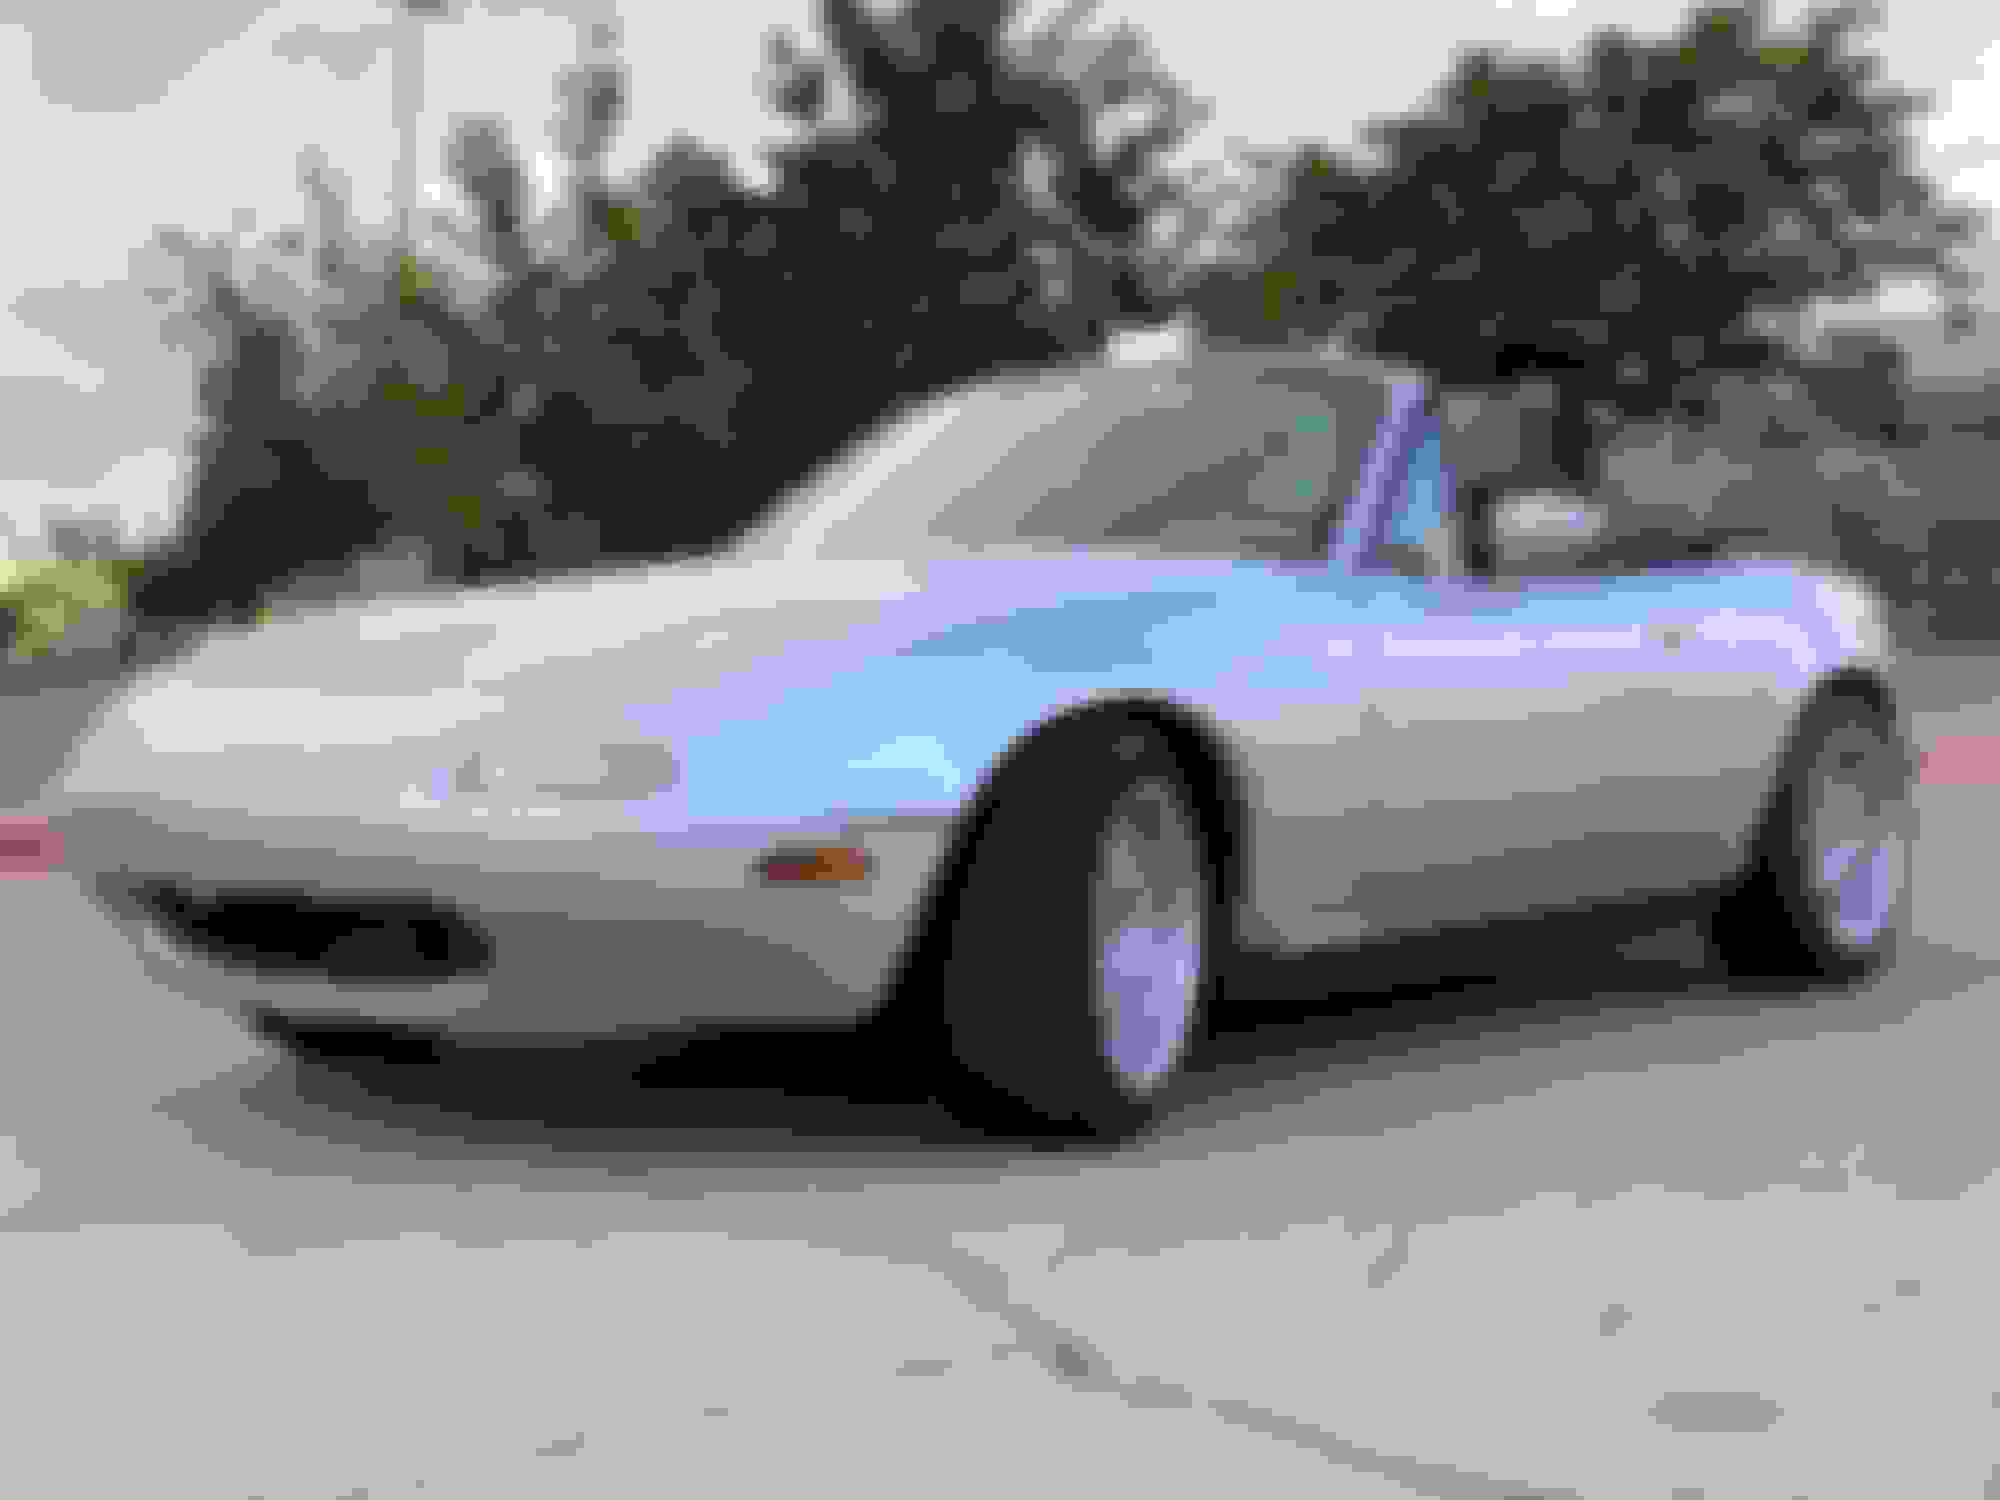
Installed a RS lip replica from carbon miata
Have to attach the duct thing
Pretty straight forward install.. underneath shot
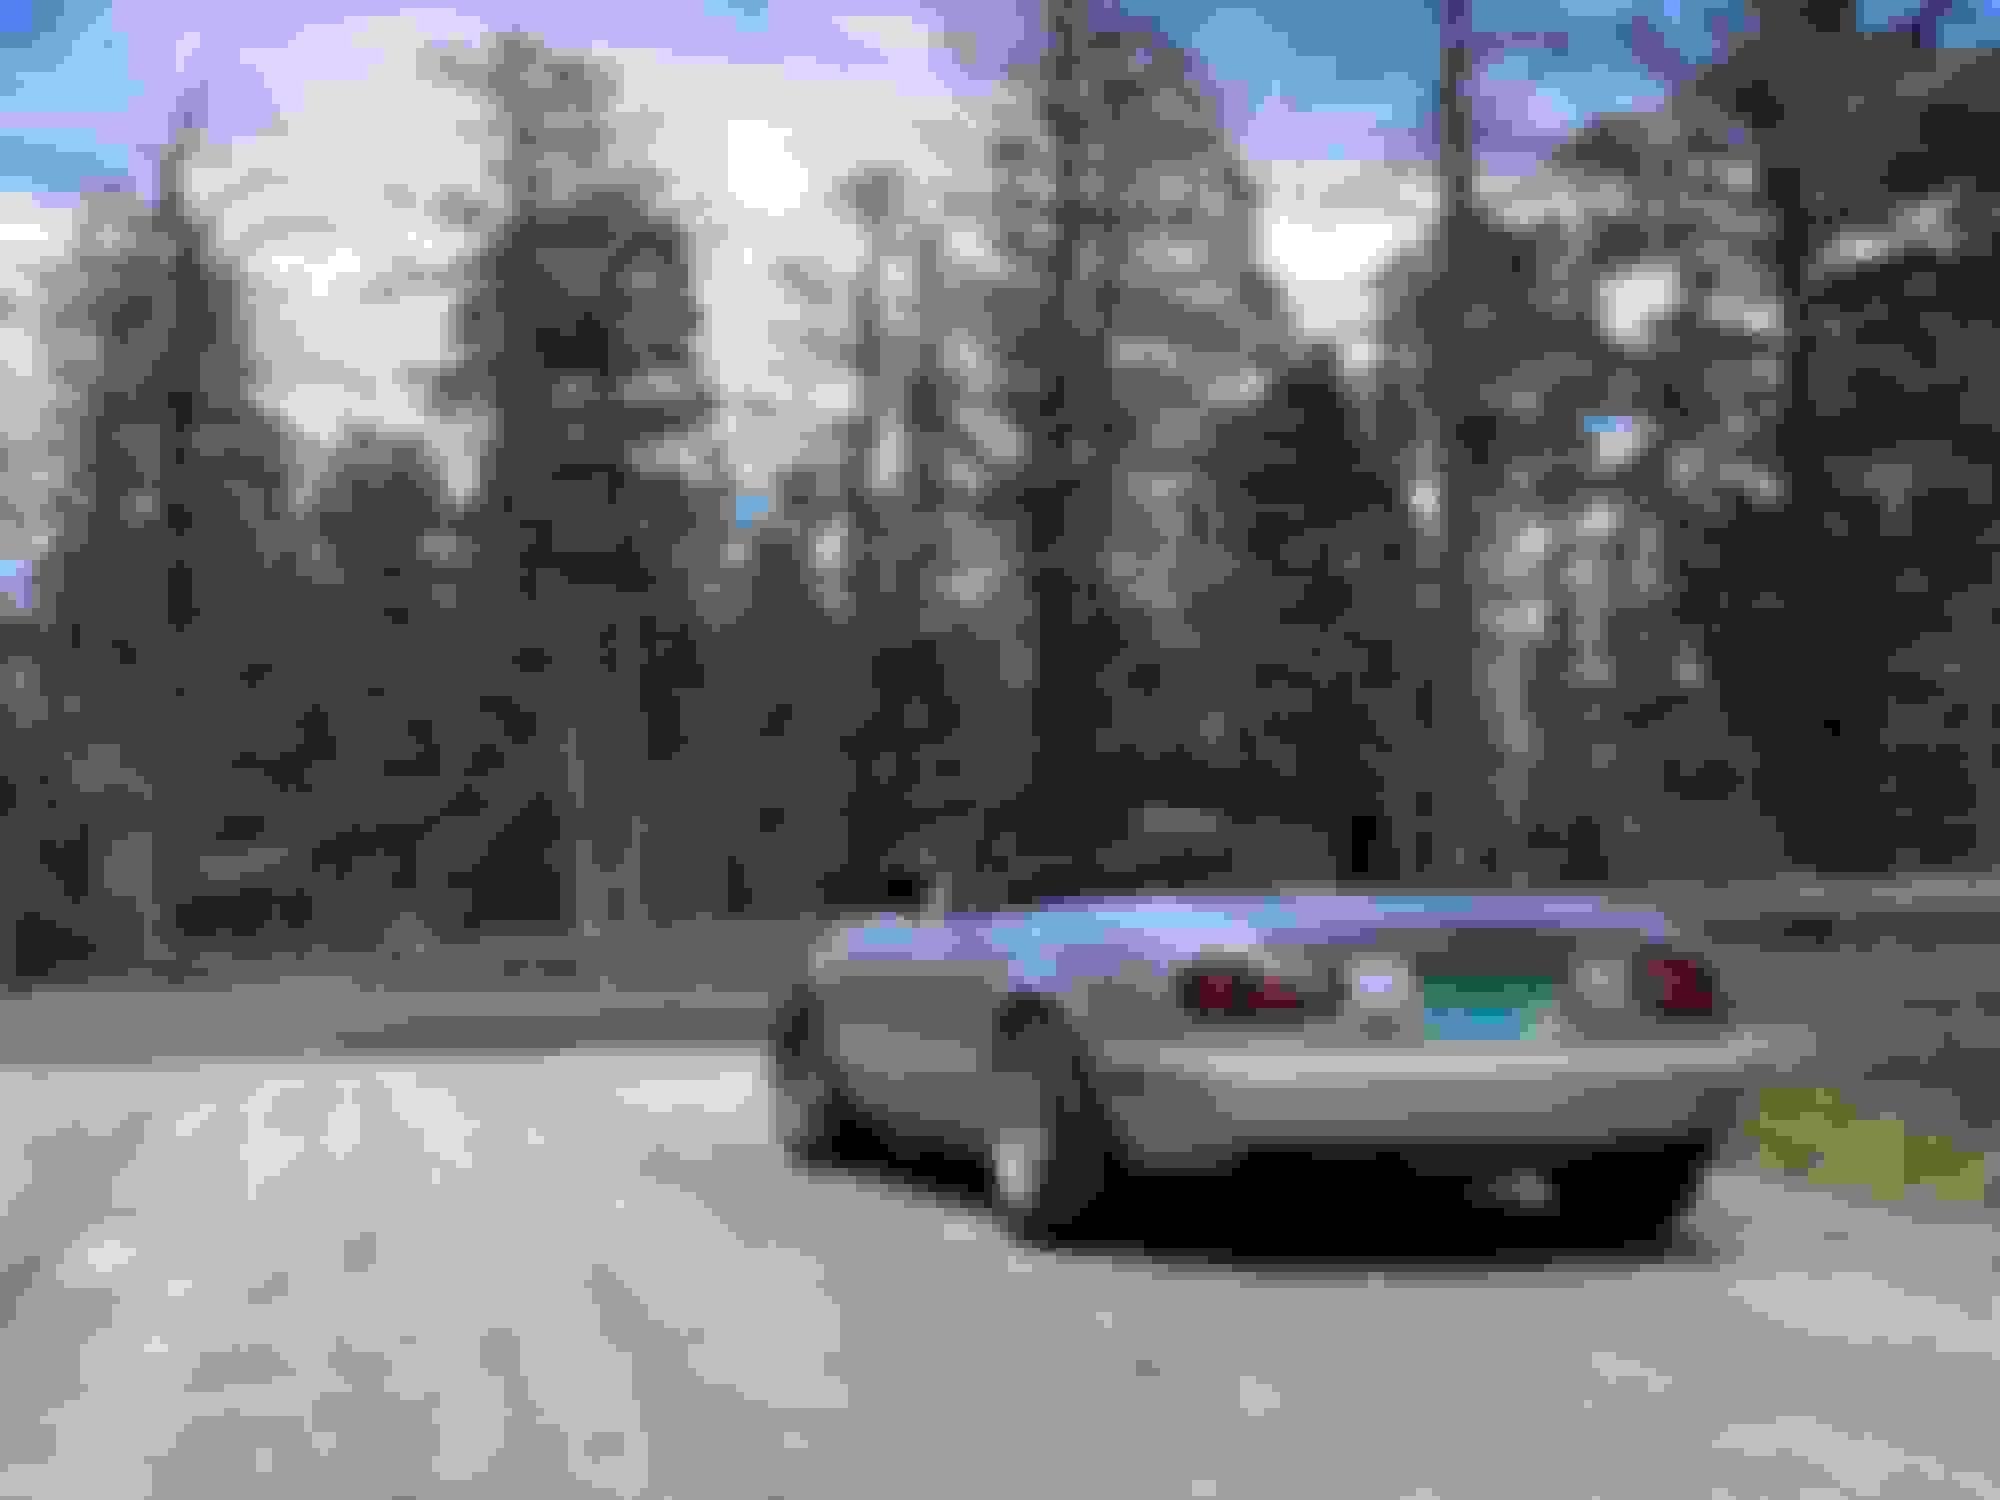
Digging it
Thats probably the last cosmetic mod I have planned
Also replaced a torn, paper thin, shift boot
much better
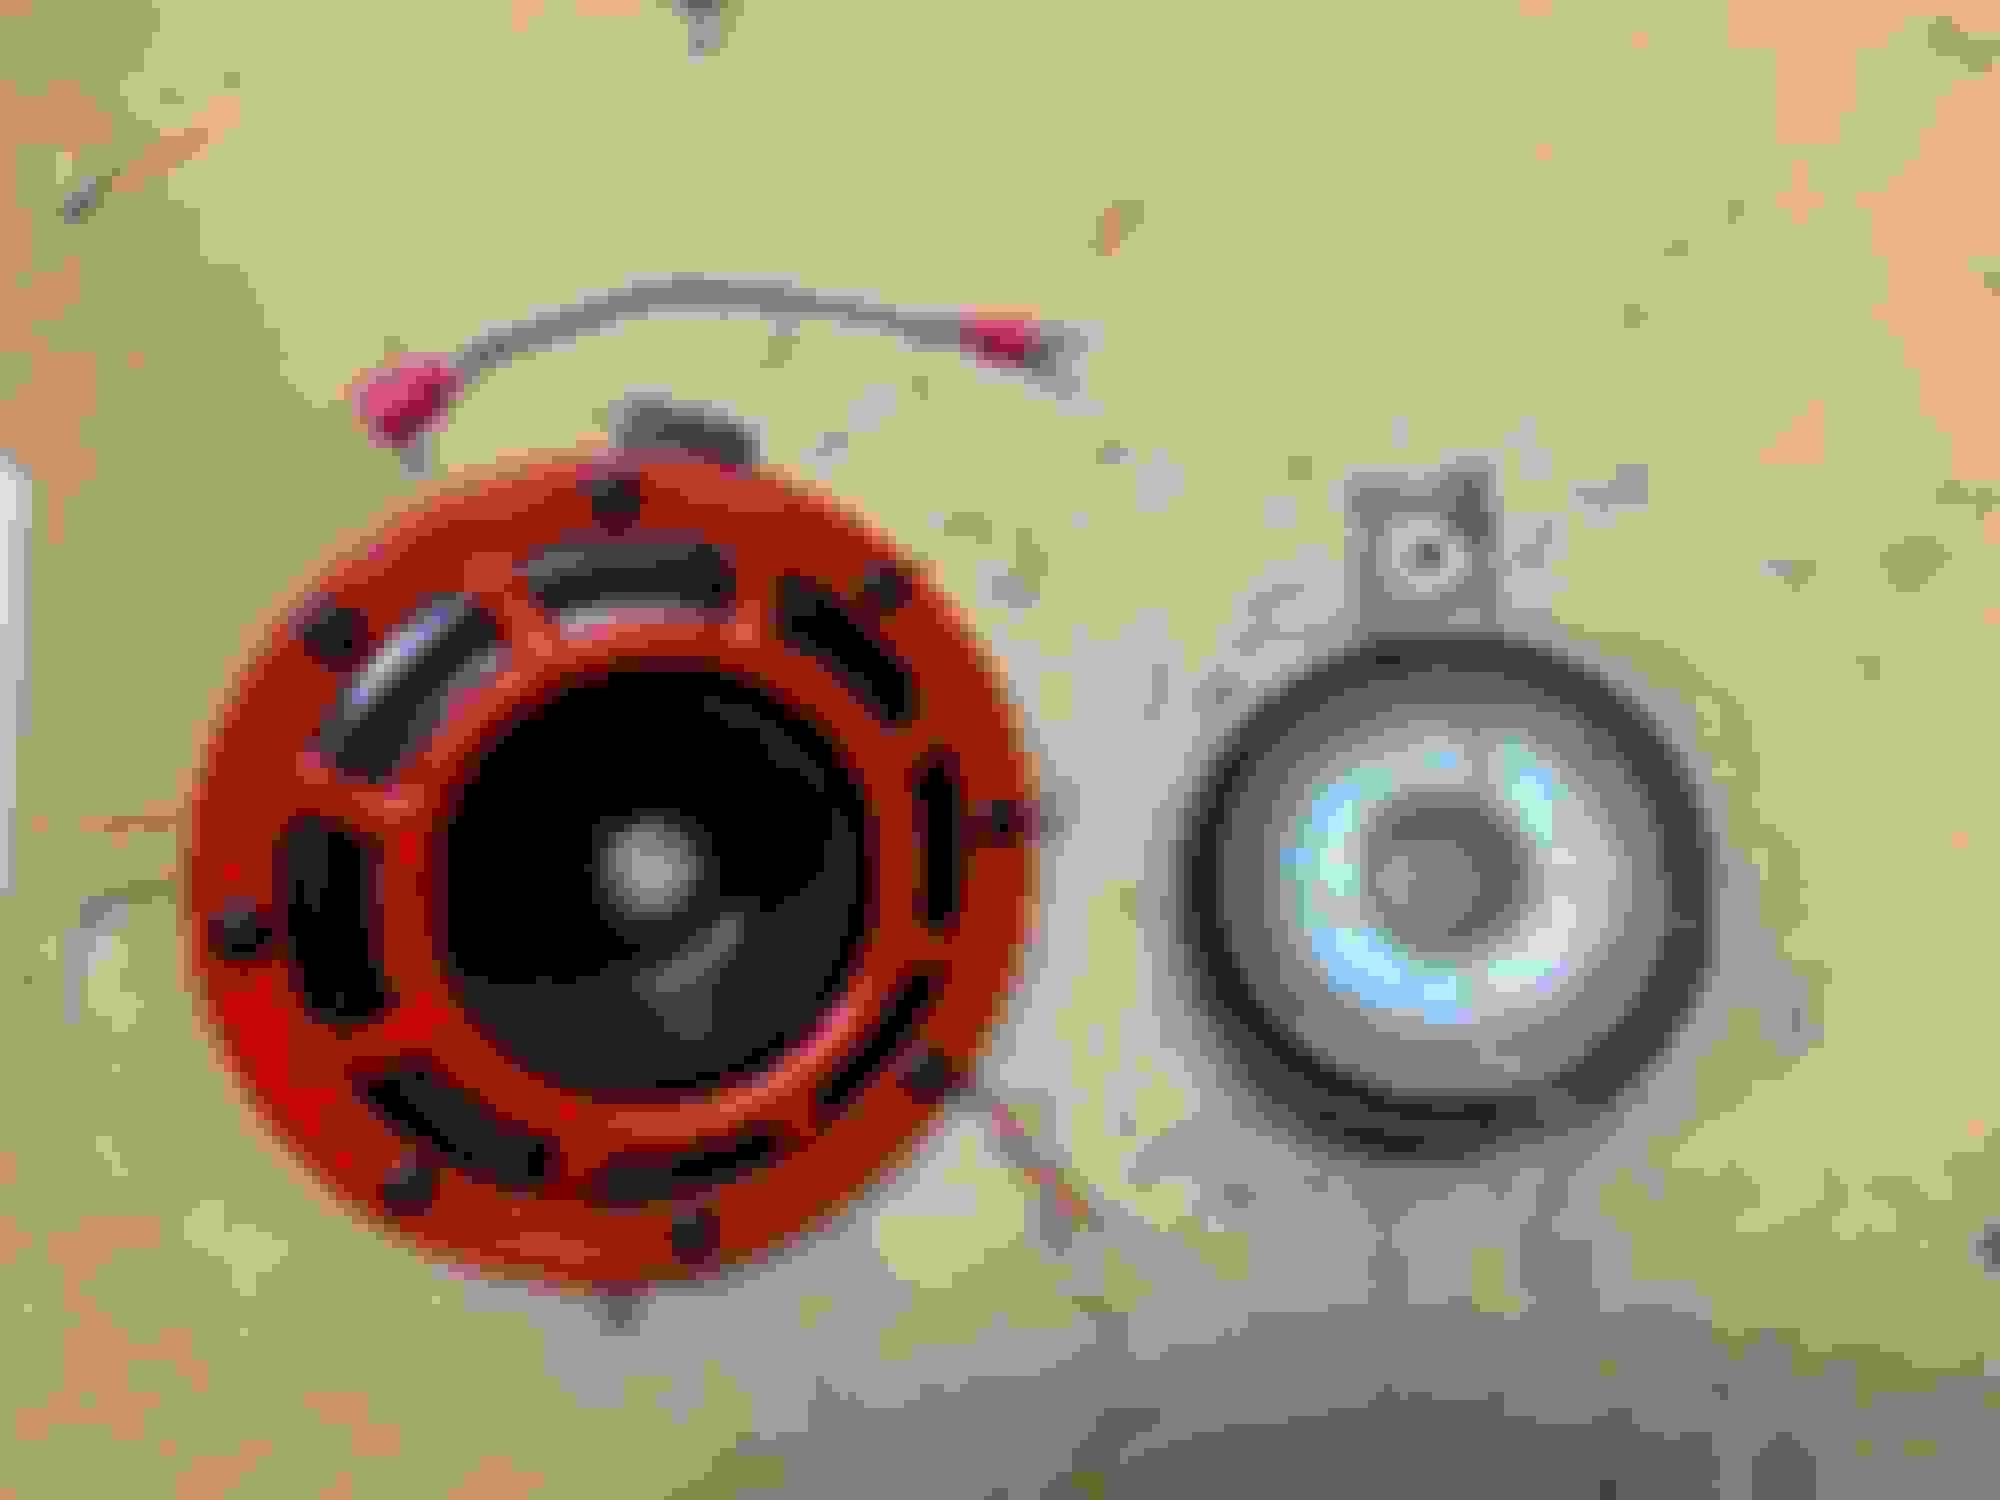
I bought a set of (knockoff) red hella horns for my foresters sport grill. Ended up not liking them, so I installed one of them in the miata
Its definitely a little louder even though its huge compared to the oem one
Had to connect one of the spade terminals to a grounding screw
Crammed in, it gets covered by the plastic radiator ducting thing I made
Fixed a typo in the boost duty table x-axis. It was causing it to basically fully open from 3-4k rpm and not getting the faster spool of clamping it shut
Wise decision with the exterior mods. Doesn't need anything more to look very good! The lip is something I need to install, too!
Do you overshoot in OL mode with that setup? I had it as aggressive as you and it was overshooting a good bit (2560) backed it down a little bit at ~3k to smooth it out.
Need to play with CL boost control when my new turbo is in, although OL works pretty good for what it is and how easy it is to setup.
Im going for 180kpa with a 2554 turbo and boost cut set at 190kpa. I tried it this morning, hit 181kpa at 3500rpm then sagged to 165kpa by 5500rpm. I need to actually finish tuning the table but it didnt over shoot.
I live at 5,000ft elevation so the turbo spools slower and cant reach as high MAP. If I lived at sea level, Im pretty sure it would hit boost cut with these settings.
Thanks! Yea Im torn, I kinda like the sun burnt paint and broken in look. And Im too cheap for a respray if I replaced it.
Where are you at in Rochester? I grew up in churchville.
I am out in Rush/Henrietta, went to college out churchville way! You were smart enough to get out, huh...
Also -- with open loop, you are going to run into a lot of boost changes related to temp changes. Colder = more boost on the same duty cycle, hotter you'll undershoot. I just moved to closed loop and have been dialing it in... its close, still not "perfect"
Yea it def made more boost in the cold, never hit the boost cut though with my previous settings. Probably will have to check again in the winter now that the x-axis scaling is fixed
Been working on fixing the fueling with temperature changes. I thought it was my MAT correction but I think its heat soaking issues.
I tuned the VE table when the coolant/oil/injectors were fully warmed up. I noticed when the coolant/oil are at operating temp and the injectors are not, it will hit 10.8ish afr at wot while it should be at 11.9 afr. If I idle a bunch to heatsoak the injectors, Ive seen it hit 12.4 afr at wot, same intake temps.
I decided to fix it by running EGO correction in boost. I have MS2 so I can only choose one authority % for the entire map. Normal driving, the vacuum side never really goes above 5%, so I just set it at 6% max. Its risky running EGo in boost incase the o2 sensor fails, but Ill take that risk
Old EGO vs new settings on right
Also re-enabled it at idle. The only time its not running is in over run and in warmup enrichment
Changed up the PID settings too
Plot showing afrs near target while EGO is removing about 3% fuel at wot. (injectors werent warmed up, so it should be removing fuel)
I also changed by lamba smoothing factor from 60 -> 40, to try to reduce the noise in the signal
Megasquirt gauge layout
The afr history plot is super useful. It just two plots overlaying each other, one is afr, the other is afr target
Kinda of given up on getting a hardtop for now. Been casually looking for 3 years and hardcore for the past year. Seen two for sale locally in that time.
Only way ill get one is to buy a miata with one already
Ill try to fix the zipper instead, running a 2x4 prop in the meantime
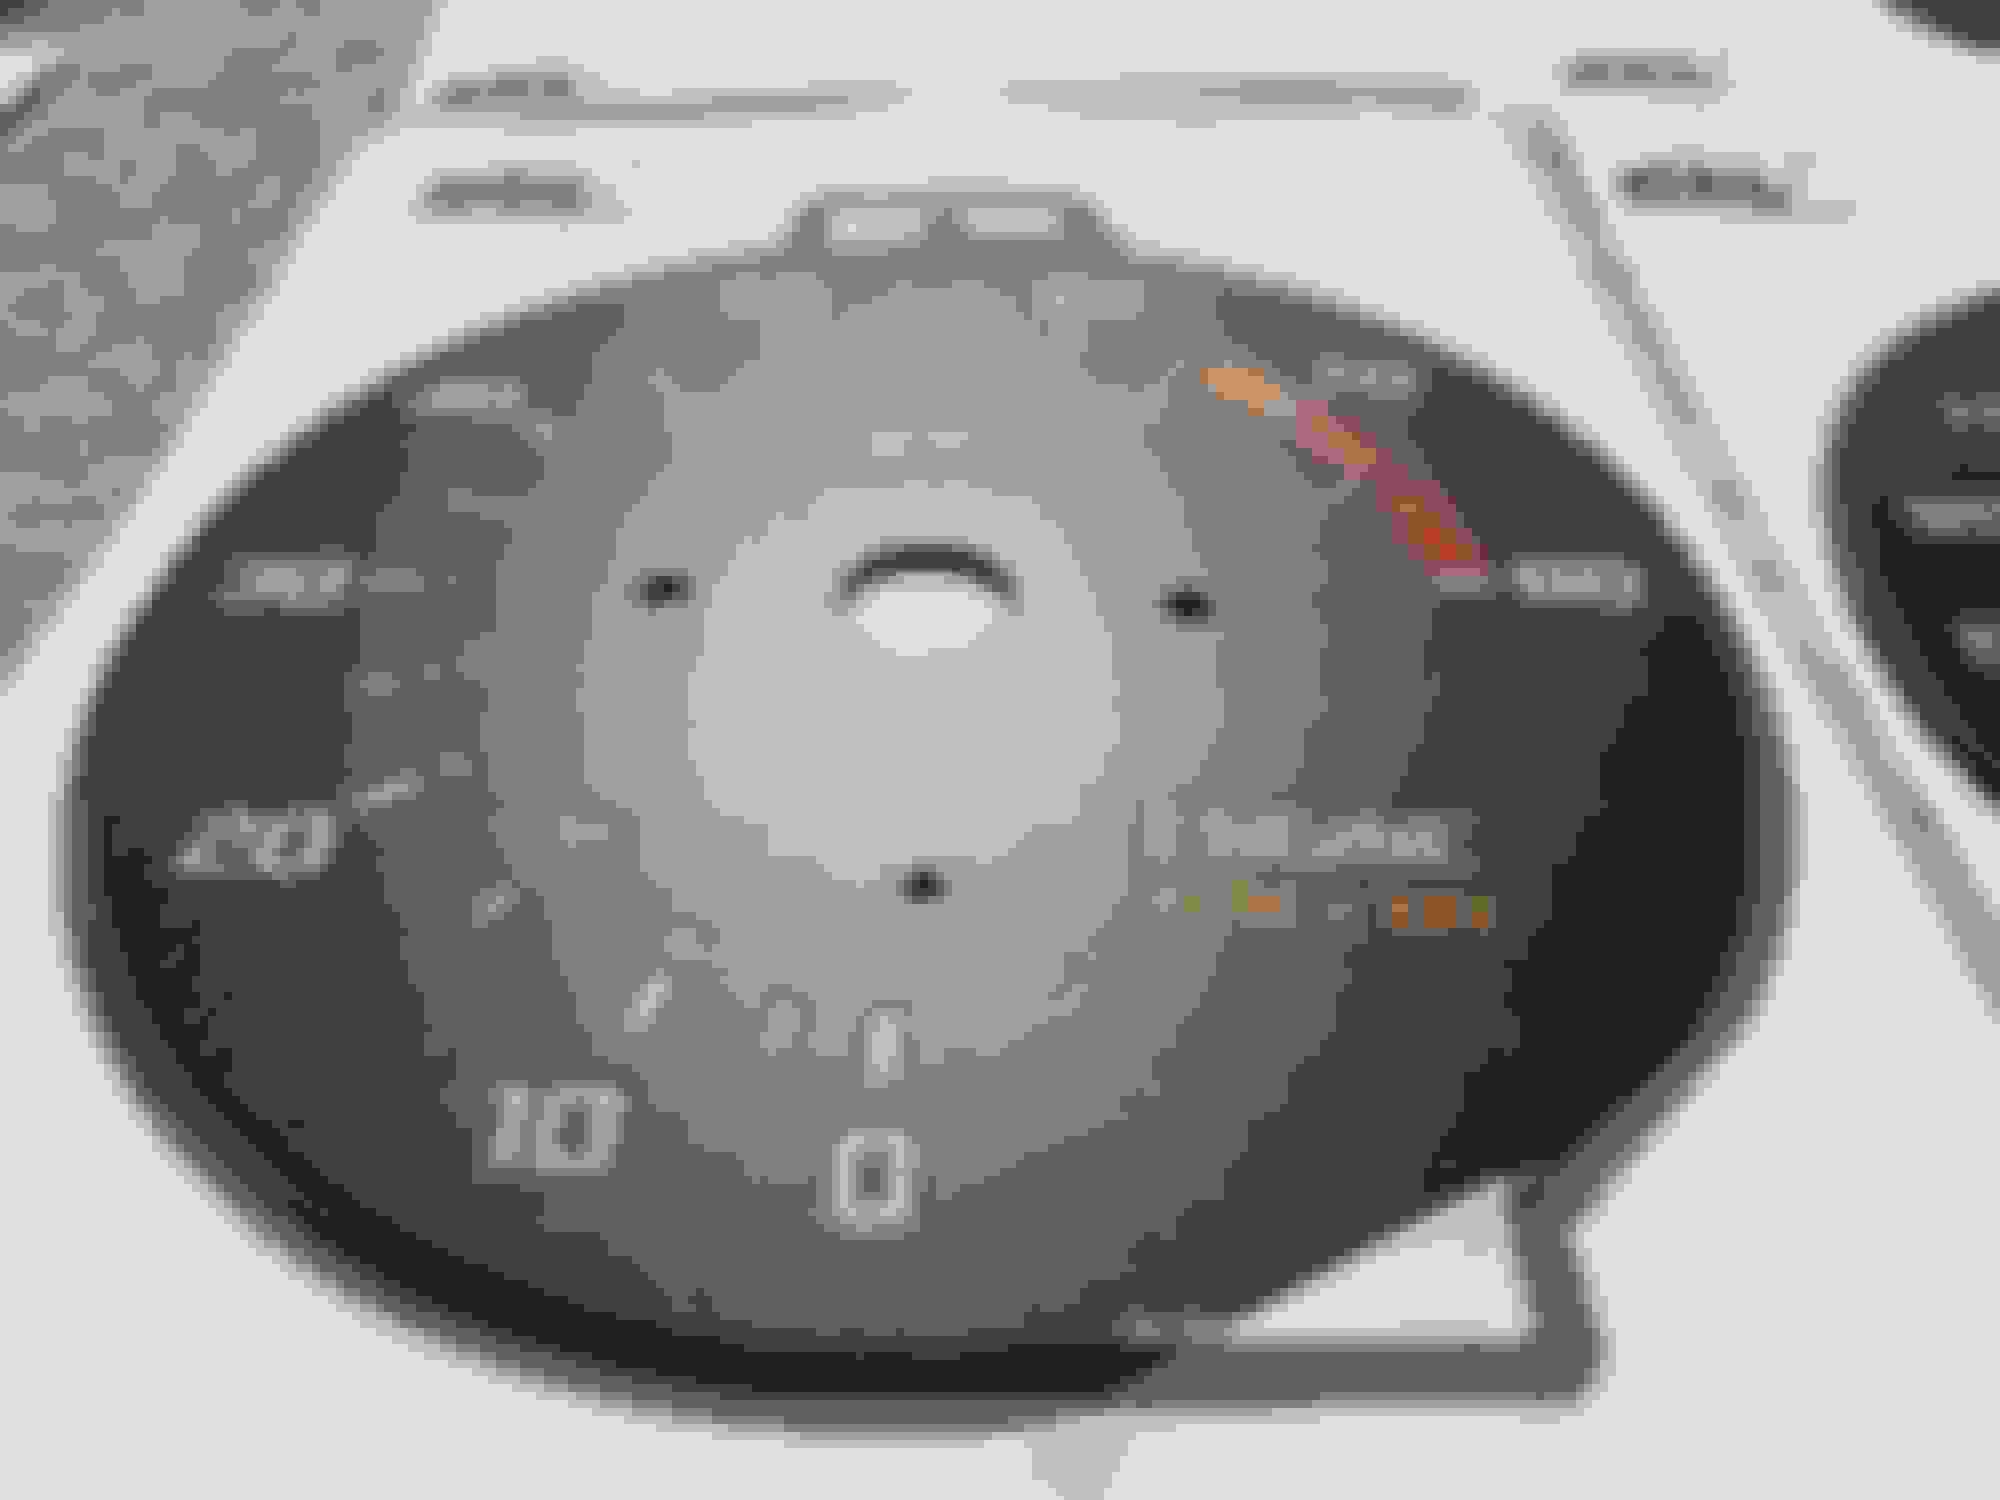
And no hardtop frees up some money for other things. Always wanted some gauge decals. Went with the JNC gauges from Rev Limiter
Got the mph/kph for the speedo
Had the water temp gauge customized for my linearized oem gauge (new numbers and added the yellow tickmarks)
Got the rev limiter gauges installed. It was pretty easy, hardest part was setting the needles. Took maybe 1.5hours total
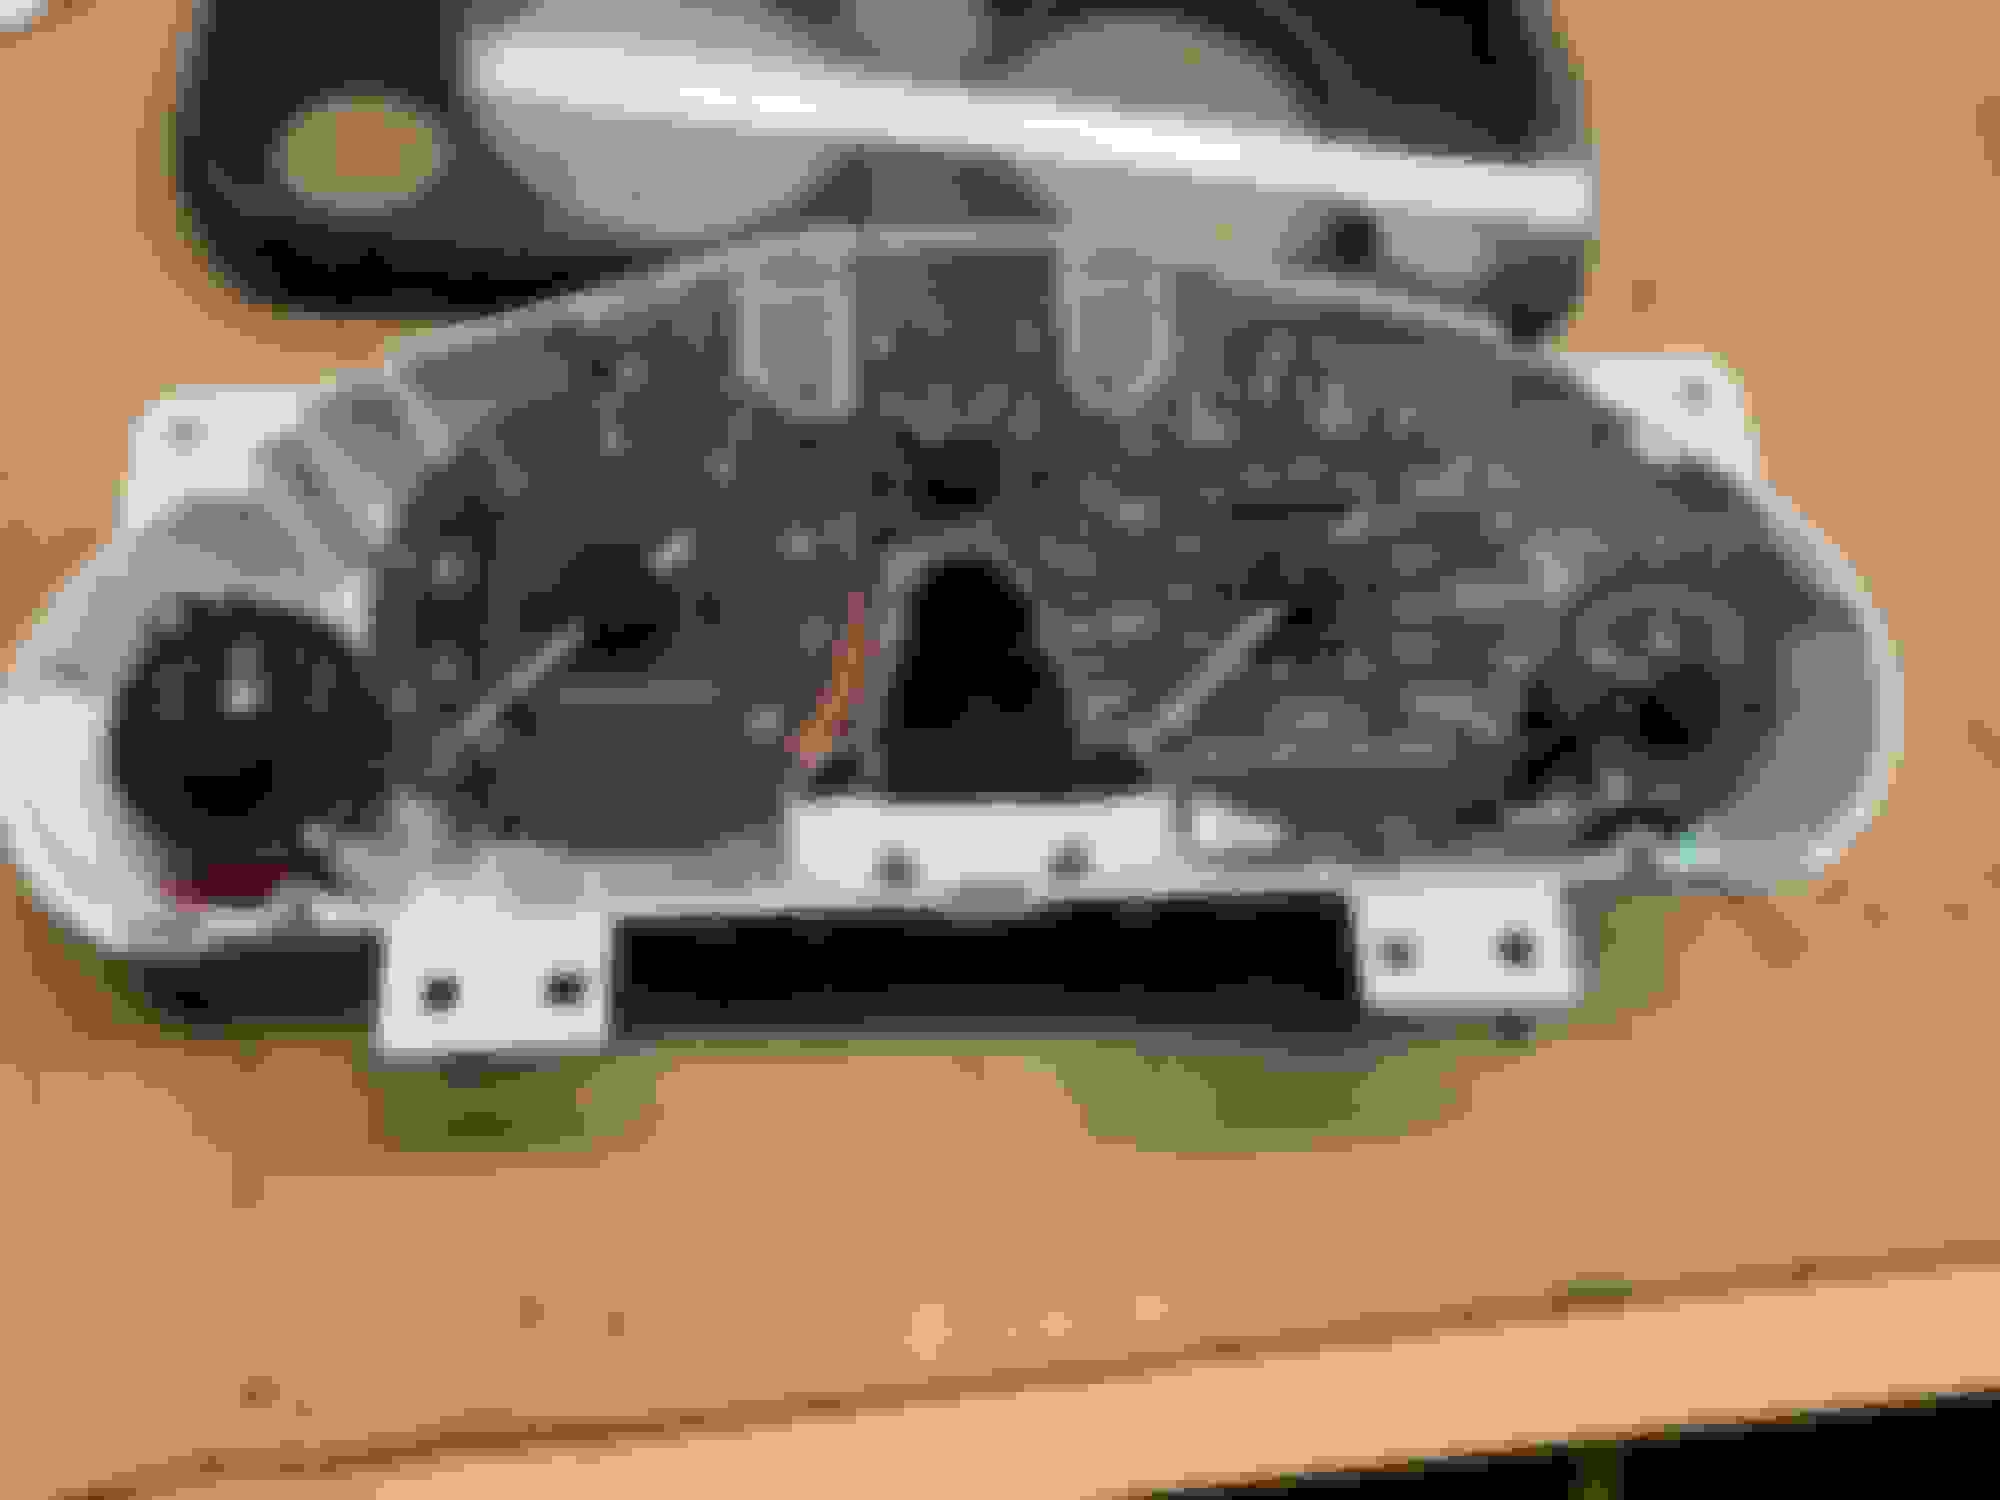
Gauge cluster out, cover off
oem faces and needles off
Removed the headlight and airbag light cover
removed the oem green bulb covers
shattered some plastic to light up the bottom of the tach
going back together
new faces on
took a pic of the fuel needle so I knew where to put it
the speedo self corrects to zero if you put in a little above zero
Dont think I ever post pics of the linearized water temp gauge
back side of gauge
Driving around to set the coolant, tach, and oil pressure needles
Deciding if I wanted to remove the chrome rings on the tach and speedo
Ended up doing it. The rings pop off pretty easy but you have to squeeze them to pull out of the cover. It kinda of permanently ruins them since they warp.
Theres some dark red glue under the rings that needs to be cleaned off. I used a scrap piece of soft wood to rub it off, took maybed 10 mins. You can see the glue on the bottom of the tach
All back together
Set the tach and water temp needles based on tunerstudios readout
Oil pressure I kind of just put it where it used to be when fully warmed up
The water temp matches really well with tuner studios!
incandescent bulbs in gauge cluster. Makes it look pretty vintage
might try out some white LEDs to match the boost/vac gauge. Will have to get some for hvac unit too
I think I mostly tuned the EBC open loop table so it doesnt sag as much any more. Used to drop about 15kpa at wot, now its around a 5kpa drop.
Also reduced the initial ramp up so it didnt overshoot as much. I just copied the pattern to the partial throttle area of the ebc table since it doesnt matter as much.
It definitely doesnt feel like the power is dropping off as much as it did before.
I also fixed a this weird rich then lean hump I've always had when getting onto the throttle as the boost build and afr drops.
I think its a combo of too much AE and too little fuel on certain parts of the VE table.
When hitting the throttle, it doesnt feel as sluggish anymore when its spooling. Makes it feel more responsive.
I hope Im finally done with the fueling and tuning. Im guessing it will need more tweaking when the air temp drops in winter lol
Old pull showing both issues
old EBC table on the, new on right
old VE table on left, new on right
For some reason I needed a decent amount of fuel up top. I think its since the boost isnt sagging anymore an Im actually hitting the 180kpa+ rows above 4500 rpm now
3D shot to show shape of VE table
old AE on left, new on right
also changed the "full accel below" value
new wot pull showing flatter boost curve
The rich/lean hump is significantly reduced
I also put about 1/4 bottle of water wetter in the radiator to see if it had any affect on coolant temps. It was over 100F and my coolant temps were up to 210F just cruising at highway speeds.
Everything installed
Both of the NPT fittings on the valve ended up leaking. I tried tightening them a little more...
.. and cracked one of them. Had to order a replacement
I had this stuff laying around that ended up working and sealing the NPT fittings. I think I used it on my turbos oil feed line too
Back together
Made a little bracket to mount the prop valve to the oem mount.
Half-assed attempt and sealing up the undertray a little better. Just covered the gaps in the butchered intercooler piping holes with HVAC tape. I still want to clean it up a little more.
Took it for a drive up the back of the Sandias. Im liking the way the brakes feel now.
I still need to tune the valve setting but I want to make sure the fittings dont leak yet.
Im expecting to end up having the valve fully opened so the front and rear pressures and the same.
Loving the build man! Bring this thing out to the ABQ super lap battle next month! We've been having a blast out there and there are a few turbo miatas already.
Loving the build man! Bring this thing out to the ABQ super lap battle next month! We've been having a blast out there and there are a few turbo miatas already.
Yea Ive been thinking of going to that but it sounded like it was a closed competition. Are they letting anyone show up and drive?
Yea Ive been thinking of going to that but it sounded like it was a closed competition. Are they letting anyone show up and drive?
Most definitely man. No track experience required. It's super friendly and we try to support newcomers as much as possible. Cheap, easy, fun track time! You'd be behind in "points" for the season, but no reason you can't just jump in and come race. I'd recommend running the car at ~200whp to slot into the "Y" class.
If you've never lapped the track get with me (blue NA miata) and I'll take you for some hotlaps to learn the layout.
Awesome! Ill definitely try to go to the august 1st event. I went a few years ago before they renamed it to Super Lap, but that was before I put the turbo set up on. I think my fastest lap was 1:48s. Would love to see some more miatas!
Awesome! Ill definitely try to go to the august 1st event. I went a few years ago before they renamed it to Super Lap, but that was before I put the turbo set up on. I think my fastest lap was 1:48s. Would love to see some more miatas!
NIce! 1:48's isn't bad for a non-turbo NA. I think that's around what some of the x class guys are running currently. My best so far is a 1:35.5 but I'm chasing 34's. Definitely come out!
The front tires lock up first with the valve fully open on my set up (1.8 brakes, stoptech 309s, centric blanks, and 205 tires)
I have to push the pedal pretty hard to get the tires to lock up on dry pavement
Hard braking slows the car down noticeably faster now
Fast enough to send all loose items in the cabin flying and the oil press gauge drops to zero momentarily (starving engine?)
The NPT fittings are not leaking the the permatex #59214
I also had to add more fuel to the top right of the VE table, again..
I hope some thing is not wrong like a failing fuel pump. Though Im not having to change the rest of the map
3200 to 6300 rpm WOT 3rd gear pull
Power feels like it drops off after 6500 so I dont rev it higher than that usually
Boost did not change 3200-6000 then dropped about 5kpa after 6000. I added a little more PWM to the EBC table after 6k
And EGO wasnt changing more than a half a percent in boost
 05-09-2021, 07:01 PM


 0
0


 then dropped about 5kpa after 6000. I added a little more PWM to the EBC table after 6k