When you click on links to various merchants on this site and make a purchase, this can result in this site earning a commission. Affiliate programs and affiliations include, but are not limited to, the eBay Partner Network.
Since the last fix on the manifold, I have noticed (2) things:
1) Seemingly more turbine whine (or a squealy leak??)
2) The boost creep is gone. Earlier I had some bad boost creep so I ported the waste gate, but there was still a little bit. Now, with no EBC, boost is rock solid all the way up to redline.
So, out of curiosity, I pulled the downpipe and checked the turbine, the divider we put into the outlet, the downpipe, and even ran a cheap camera to the CAT. Nothing seems amiss, which is good news.
On other news, I'm going to go to street Hawks and the 195mm Dunlops for the winter. Saving the PFC's and G-Force for summer and hopefully some track time.
Next week I should have some pictures of the heat shield install along with oil temp and pressure gauges.
The Request:
I pulled my BKR6ES plugs and replaced them with BKR7E, gapped to 0.035". Not sure I really needed to go cooler, but I must have thought so when I bought them. Maybe because I'm running the EBC now?
So, on the old plugs (20k miles), there are some deposits on one side but not so much on the other. And on the cleaner side, some sparkly stuff, that I don't think is Al from detonation, but I'm ignorant.
Would someone be willing to look at my old plugs and analyze them, if I were to send them to you? That's the question.
Report on plugs. First of all, I know I should have taken pictures with a macro, but I didn't. Pat sent me report that was quite informative, and shows that he really can tell fortunes:
From Pat (edited for brevity):
The center electrode on all of them was pretty worn, just from the miles. They all had a lot of ash deposits on them, that's all the buildup you were seeing. I would guess you have your PCV valve on the car still? That is the most likely thing dumping oil in the motor, which is causing the ash deposits. If so I would put a good catchcan on it to stop most of that oil from going into the motor and getting burned. If you don't have the PCV putting oil in the motor, it could be valve stem seals on the intake side doing it or possibly rings, but PCV is my guess.
Plug 4 had a few specs of shiny aluminum showing, but they all showed to have detonated a bit at some point in the past. Not super severe mind you, but all the ash deposits made it hard to tell. I would check your tune, probably too much timing for your compression/octane. The oil getting in hurts the octane too.
Looks like it runs too rich, all the plugs were black near the threads. I'd check your target AFR tables for that.
See how the heatrange 7's do. If they foul the center porcelain go back to 6's, but given you are turbo I'm betting 7's will be correct for your setup. In my experience 7's are good to about 20 PSI.
End of quote.
My comments.
1) Knock sensor does at times pull timing. I thought what I was seeing was Al specs. I really need to spend some dyno time and $$.
2) I didn't know the deposits were ash. That was good info, and makes sense that some plugs had it thicker on one side (surely intake side). Intake track up to throttle body is clean, so I agree that PCV is the culprit.
3) I already have the parts to tie both VC to a VTA catch can. Now more impetus.
4) I've been pulling fuel past peak torque for some time now. Not sure where else I'm running rich (11.6 target at 180 - 200 kPa).
Got my Blackstone report. Seems good. I plan to get another with the PCV gone and the VTA in its place. Has lots of Boron as an EP to augment the P and Zn.
After putting on the 195 Dunlops for the winter (along with Hawk HPS pads with rotors), car was breaking loose in first and second so bad I thought I was a Cars and Coffee Mustang owner.
I set up the boost tables by gear and switched at 3rd. 2nd table is my original. First table is basically waste gate settings. Works very well, and now I only spin in first gear.
Have to confess. Last year I had the car starting perfectly at all temps. This year it is giving issues. I haven't sorted it all out yet. Seems to need more Priming and Cranking fuel.
Also, the EAE coming off start messes with after-start. The issue there is that the wall fuel is summed during cranking, but the formulas are not being applied (EAE=-100%). So, with high CP (low temps) the wall fuel builds, and then after cranking ends, EAE plummets and pulls fuel like crazy. Conversely, at high CLT, CP is a low percentage, wall fuel does not build, then when cranking ends, EAE jumps the fuel for about one injection worth. Not insurmountable, but not ideal either. I think with judicious balancing of PP and CP, this can be tamed (PP is not counted by EAE wall fuel summing).
Start-up problems are persisting. Usually, after a non-start, the second attempt (with full cycling of the key) results in a good start.
This morning, at 45*F, I got kick-back. Haven't seen that in 2-3 years.
I'm beginning to think leaking injector(s). At lunch I will Flood Clear before I run the start sequence.
May be time to go Flow Force and "fix" the power limit at the high end?
Just for fun next time it won't start: try pushing the pedal down for flood clear while continuing to crank, hold it for just a second or two, and release.
I had my cranking/priming pulse-widths to high for a while, and the car would often start on the second crank but not the first. Going in to flood clear and then releasing it in the first crank started every time. Eventually I corrected the pulse-widths and life was much better. (Mind you, this was winter cold starts on E85).
I think you were right. Too much fuel, not too little. Now getting good, consistent starts from 60* up. Cold front coming in.
For reference, I am matching my priming to the actual (measured) value of the starting pulse.
Cold Air. Realized I did not have enough MAT correction at either end. So, from summer runs that ended in the 120* MAT range, to these days at 30*, I need 10% more fuel, or more. Now I have to turn boost down to not run out of fuel and go lean, with maxed out duty cycles.
Flow Force Injectors ordered. Next week I should have pics of all the stuffs going in / on the car.
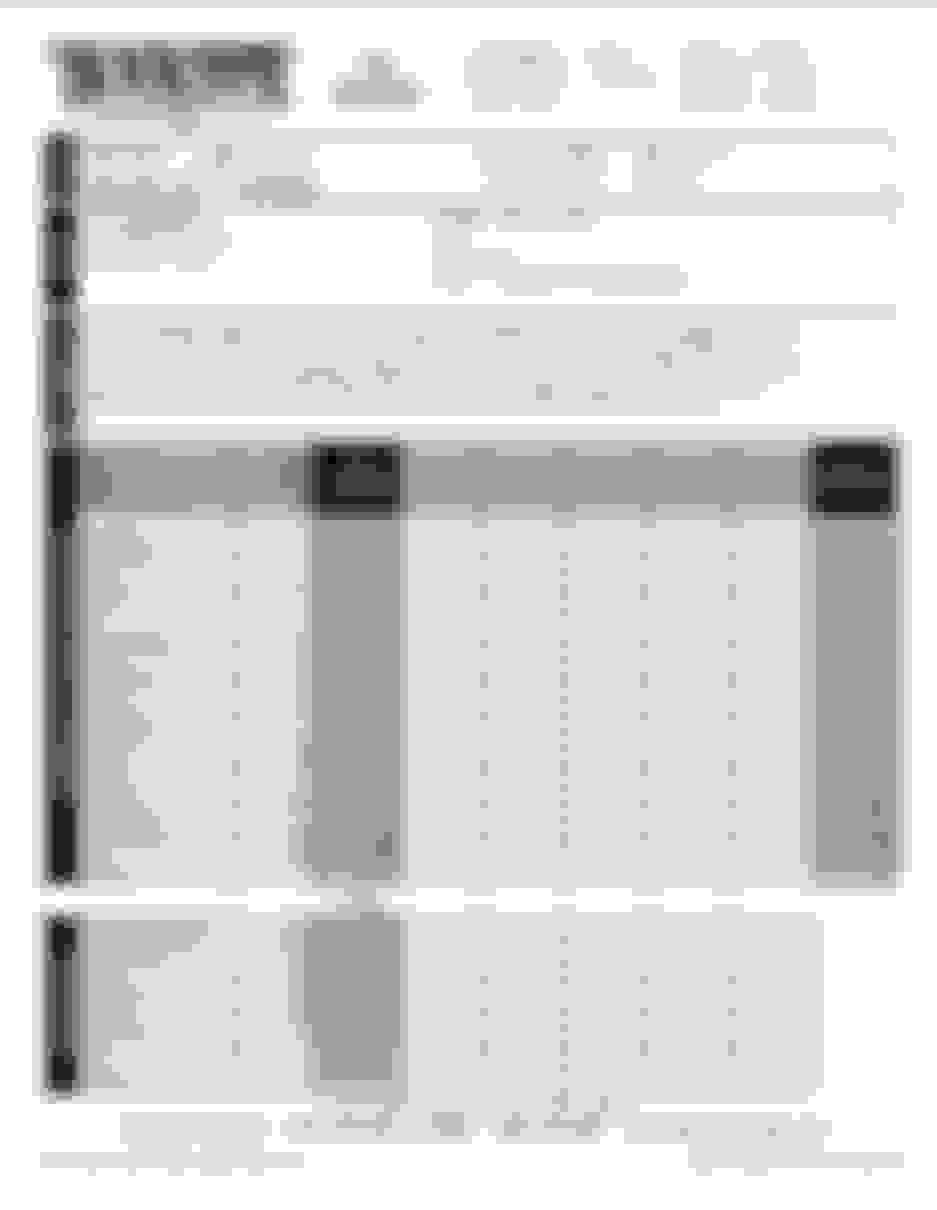
2nd graph white line = duty cycle
I don't think, on a 3 bar referenced fuel system, that the Yellow Tops (420cc/min) will support more than 200WHP with 11.6 AFR. Lots of different opinions on what they will support, and this is mine.
I finally found my starting issue. Problem is the DW100 pump. With the stock pump, I needed only 0.3 seconds to build pressure for the priming pulse. I would just slam the key to "START" and by the time Sync occurred, priming was complete.
The DW needs more time to build pressure before the priming pulse. So, for now, I'm playing it safe. I have 1.5 seconds delay from when ignition goes to "ON" position. I wait 2 seconds, or until the pump shuts back down (about 3 seconds) before going to "START".
Now car starts well in all temps. I just have to polish it back to perfect.
In other news, the FF are in, and 100% Duty Cycle with the Yellow Tops is now 72%.
Either I am too retarded on timing, or Virtual Dyno is not playing well with me. I say that because 15 psi is only giving me just over 200WHP at that 72% at 6500. I admit that I have not weighed the car after roll bar and sound deadening was installed. I added 100 pounds to the previous weight.
As this little turbo should never go beyond 250WHP, I may just keep turning up the boost above 4500 RPM until I stop making more Power, using more fuel. I would think 72% is higher than it should be, even with the return style fueling. I would think that at 15 psi, the pressure across the injectors should be nearly the same with either system.
Or should I just stop procrastinating and go to a real dyno?
Condenser and Receiver here. New FMIC coming, along with new AIT bung. I should be able to source a wrong color Bumper Cover, and lower radiator mounts and upper condenser mounts. Also new under-tray.
Got it basically back together. I picked up a bumper cover, but it is just enough to get me by until I can find a good one.
I did end up having to get a new radiator. I picked up the newer KoyoRad Hyper. It was $30 less than the previous 37mm one I purchased in 2013; both from TunerSports. Yes, more fins.
Also, the new CXRacing IC0049 now has turbulators on the outside fins. I am not hoping for any measurable improvement, however. Just stating a finding.
And, I finally modified and mounted the heat shield.
Glad to be back on the road again. Next week, I will help a friend re-charge the A/C.
Still to do: repair and re-mount ducting and undertray, and the bumper cover.
Wire up the Oil Pressure and Temperature gauges.
Complete sound deadening on the passenger side.
Thinking about going ahead and removing the rear seat mount humps. Any reason not to just cut them off, rather than drilling out the spot welds?
Realized this week I did not post any pics of the building of the ducting. Here is afterthought shots of the repaired ducting:
First picture is the bottom, and the main event. The lip to the left is at the bottom of the opening of the bumper cover. Then the part goes down, under the FMIC and on back. What is obscured by the under-tray is that there is a 90 bend up such that a flange goes between the A/C condenser and the radiator. It is about 3" tall. It guides the air to the bottom of the Radiator. It does not block any flow, as it does not extend past the bottom tank. It helps position, and also yields rigidity.
Then I cut the front most flange off the under-tray as the main body of the tray is not at the same level as the duct. 3 holes and push fasteners can be seen, tying the front of the under-tray roughly as it used to be to the stock air director.
You can also see the pop rivets that hold the sides onto the main ducting body.
Another shot of the pop rivets. The sides are mirror images of each other. They have flanges bent 90 to be able to mount to the main body. At the rear mounting location, they also have built in flanges (where the stud is that also mounts the under-tray).
(from the other side) The front mount was made with a simple angle piece riveted to each side. I could not find a way to integrate those.I made a little square piece to add thickness for the shoulder bolt that goes in that location (stock bolt).
I don't have anything on the top, other than some foam strip to seal the top of the radiator to the cross member. I also stuffed foam along the sides where needed to stop the air from going around the radiator.
In other news, I put new rear hubs with new SKF bearings and ARP studs. To press the bearings into the knuckle, and the hubs into the bearings, I used a 3" long piece of exhaust tubing. Fit well.
Before I replaced the front bumper cover, I added these M.net features:
Mounted below the headlights, in front of the fender liners.
I also... Finally.... got the Eclipse vent pieces in. Turned the outside diameter of the faces in a lathe, then just used a cut-off wheel and grinder on the tubular parts.
First HPDE last weekend. Road Atlanta with Chin's. Thanks to everyone on the forum that helped me prep the car so it ran without mechanical issue. Only negative thing was I went into limp mode on early runs. I think due to AFR, but not sure. Logs showed 11.9 to 12.1AFR (target is 12.0) during all full throttle, but transients got kind of crazy. They only lasted a few seconds. I turned off all limp modes and was fine thereafter.
I finally got some SD logs and found Max MAT at 130 and Max CLT at 208. I did not have Oil Temp gauge wired in yet. Ran at waste gate of 7.5 psi (150kPa). Next time I will add some other parameters, such as Status 5 and CEL to try to find why I had some limp modes.
Lots to concentrate on. Lots of fun. Car was neutral, good feedback. Saved it a couple of times from too jerky input changes, but also spun twice... had to have a debriefing. Next (2) sessions I slowed a bit and concentrated lines and consistency.
No pics.
Fairly mild suspension so turn and brake could upset it.
Running the 225 Rivals.
Nice build!
Q: what rollbar is that? Seems to be split in the middle and thought most HPDE events require continuous tubing (at least how I read VIR/NASA)?


 1
1