When you click on links to various merchants on this site and make a purchase, this can result in this site earning a commission. Affiliate programs and affiliations include, but are not limited to, the eBay Partner Network.
Concealer has been a strong source of motivation to get on the Haltech Choo Choo train. I was --> <-- this close to buying his PS1000, but I was a little worried I'd blow something up repinning it for a 94-95 from NB1 not so hotness. That, and current platform, considering what i invest in I'm gonna be stuck with for a decade.
I blew my wad a bit with the Haltech, I had budgeted only for a Bracku Friday MSPNP Pro at ~1080, so need to sell off the PNP2 and recharge the Miatafund account, so I'll be sitting tight for a little while on the intercooler. I have read the great debates of egay vs the vibrant/treadstone stuff. If I am DIYing a kit, and piecing it together I think I'd be going the Fab9 vibrant with the mounting tabs on it, otherwise kit would be FM, I think the Mishi stuff is the same as ebay but with a big M painted on it and another hundred bucks - see: Ebay mystery meat radiators.
Unless this project takes another jump to the left and I see a shiny object and do something different.
Haltech is here, had it a while. Looks nice, been playing with the software.
Haltech and my (based on the way megasquirt does it) idea of PNP differs somewhat.
Whereas you buy an MSPNP Pro and you have a full pinout of the expansion ports
Haltech's doco just shows the pinout of the wiring harness that goes to the breakout box.
So, the 3 tyco plugs that go to the board. Nowhere does it say where to connect the IAT sensor for instance. I had to work out the pin distribution with a multimeter to determine it uses the same points on teh harness as a TruboKitty setup MS3X, from the MAF plug.
So, of the 60 wires coming from the Haltech harness, we have 25 wires for essential functions going to pins for the factory harness.
These functions have wires that go nowhere.
A2 - AVI 4
A5-A8 (all for 2500 only, so N/A)
A12 - 8v
A13 - IGN output
A16 - AVI 2
A17 - AVI 3
These wires go nowhere. The 12 and 16 pin plugs in the middle of the 76 pin header are not conncted. there is no copper trace from where it is soldered to the board. 28 pins from where you could attach a nice patch harness, unused
Haltech's solution is to clip the wires going into the 3 plugs that connect to the BOB and crimp on your own connector. Not PnP, but cut n splice.
For a 750 where you are using every available output this would be fine, but in my humble opinion, for a fully functioned ecu (and a harness with an RRP of 550 bucks) this is ******* lazily engineered. Had I known this going in I'd have sourced a 76 pin ECU plug and the pair of AMP superseal plugs and built my own harness. I bought the PNP so I wouldn't have to **** with it, so here we are.
Buyer beware, If you are planning a haltech elite, don't buy the PNP harness, roll your own.
So, I will address that mess when I get to it, my plan is to solder directly to the pins and run wires to the unpopulated 12 and 16 pins in the same manner as the MS and i can use the 96.97 miata and rxy 12 and 16 pin plugs for my own patch harness for extra stuff, eg VVT down the line and I'd like to add **** like Fuel pressure, oil pressure, knock and a baro sensor for correction down the track.
As of right now i have the wiring run for the WB02 (was using options port on the MS, now using the engine bay NBo2 socket and an extension run into cabin.
Connected the ECU, and played with laptop. Set timing to 10* and no spark so the timing light wasn't working. Getting a 'home error', so packed it up and went to bed. More to come when i get to it, but need to investigate, so right now in the rabbit hole about reading about CAS outputs. https://speeduino.com/wiki/index.php/4G63 has some info and a plot
I did try to capture a log but laptop would not connect to wifi back in the house and I got the ***** and walked away.
Last edited by msmola2002; Jan 14, 2020 at 03:20 PM.
Finally made it back out and pulled a log. Home angle is a flat line. getting a trigger tho. Spitting the same home error, and it also threw a P1300 code. For the same error.
It's cold out there @18F and dropping and 11pm, so will get back out there and check continuity to the pin on the haltech plug vs the plug connected to the CAS. Beyond that, I can swap to my spare CAS I guess in case this one is funky, but it ran on the MS until I unplugged it, which I am sure is worth exactly nothing.
Well overdue for an update. Will come soon. But for now here is a BP4W valve cover I bought from @nigelt which I stripped and hit with some VHT cast iron coloured engine paint, curing on the grill. One burner on low with the lid propped open with a bolt gets me about 110c which is a little warm but I'd be murdered if I did this in the house.
Ok so where was I? Haltech wasn't working and in cracked the sads. I did some testing and I think the pnp box is wired incorrectly with the home and trigger wires are crossed over. They are both white wires. Found this out by using a multimeter and working out which pin on cas plug went to which pin in the ecu. About this time I found I had an intermittent problem on the cas plug. If I touched it while running the car died. So, about this time a week or two after the post above with the log I plugged the mspnp2 in to drive the car and forgot about the haltech for a while and worked on a kitchen renovation. Looks nice, got **** all done on the car. There were some brakes involved but those pics will go in another pair once I find them from Google images.
so. Cam sync issues. To troubleshoot the plug I bought an extension for the CAS. 12", would be a good addition for an na6 BeePee swap with the cas on the exhaust side. https://www.bmotorsports.com/shop/pr...oducts_id/4162 Plugged that in and jiggled stuff. When I jiggled the cas, stayed running. When I jiggled the plug on the harness, car shut down. Cool. So about this time I did several nights of reading then bought some Deutsch connectors and a crimpmset. Decided on SG tools kit https://www.jbtools.com/sg-tool-aid-...18-20-22-gage/ as I can use the open barrel crimper on pressed pins and the other one on the machined pins, and bought a bunch if plugs from Prowire. I bought a pigtail for the cas with the extension so had that ready to go, but didn't do the swap.
anyways somewhere in there I was browsing craigslist and a guy in Rochester was selling a supermiata damper for 75 bucks, hell yeah. Asked nicely and 2 days later I have a supermiata damper.
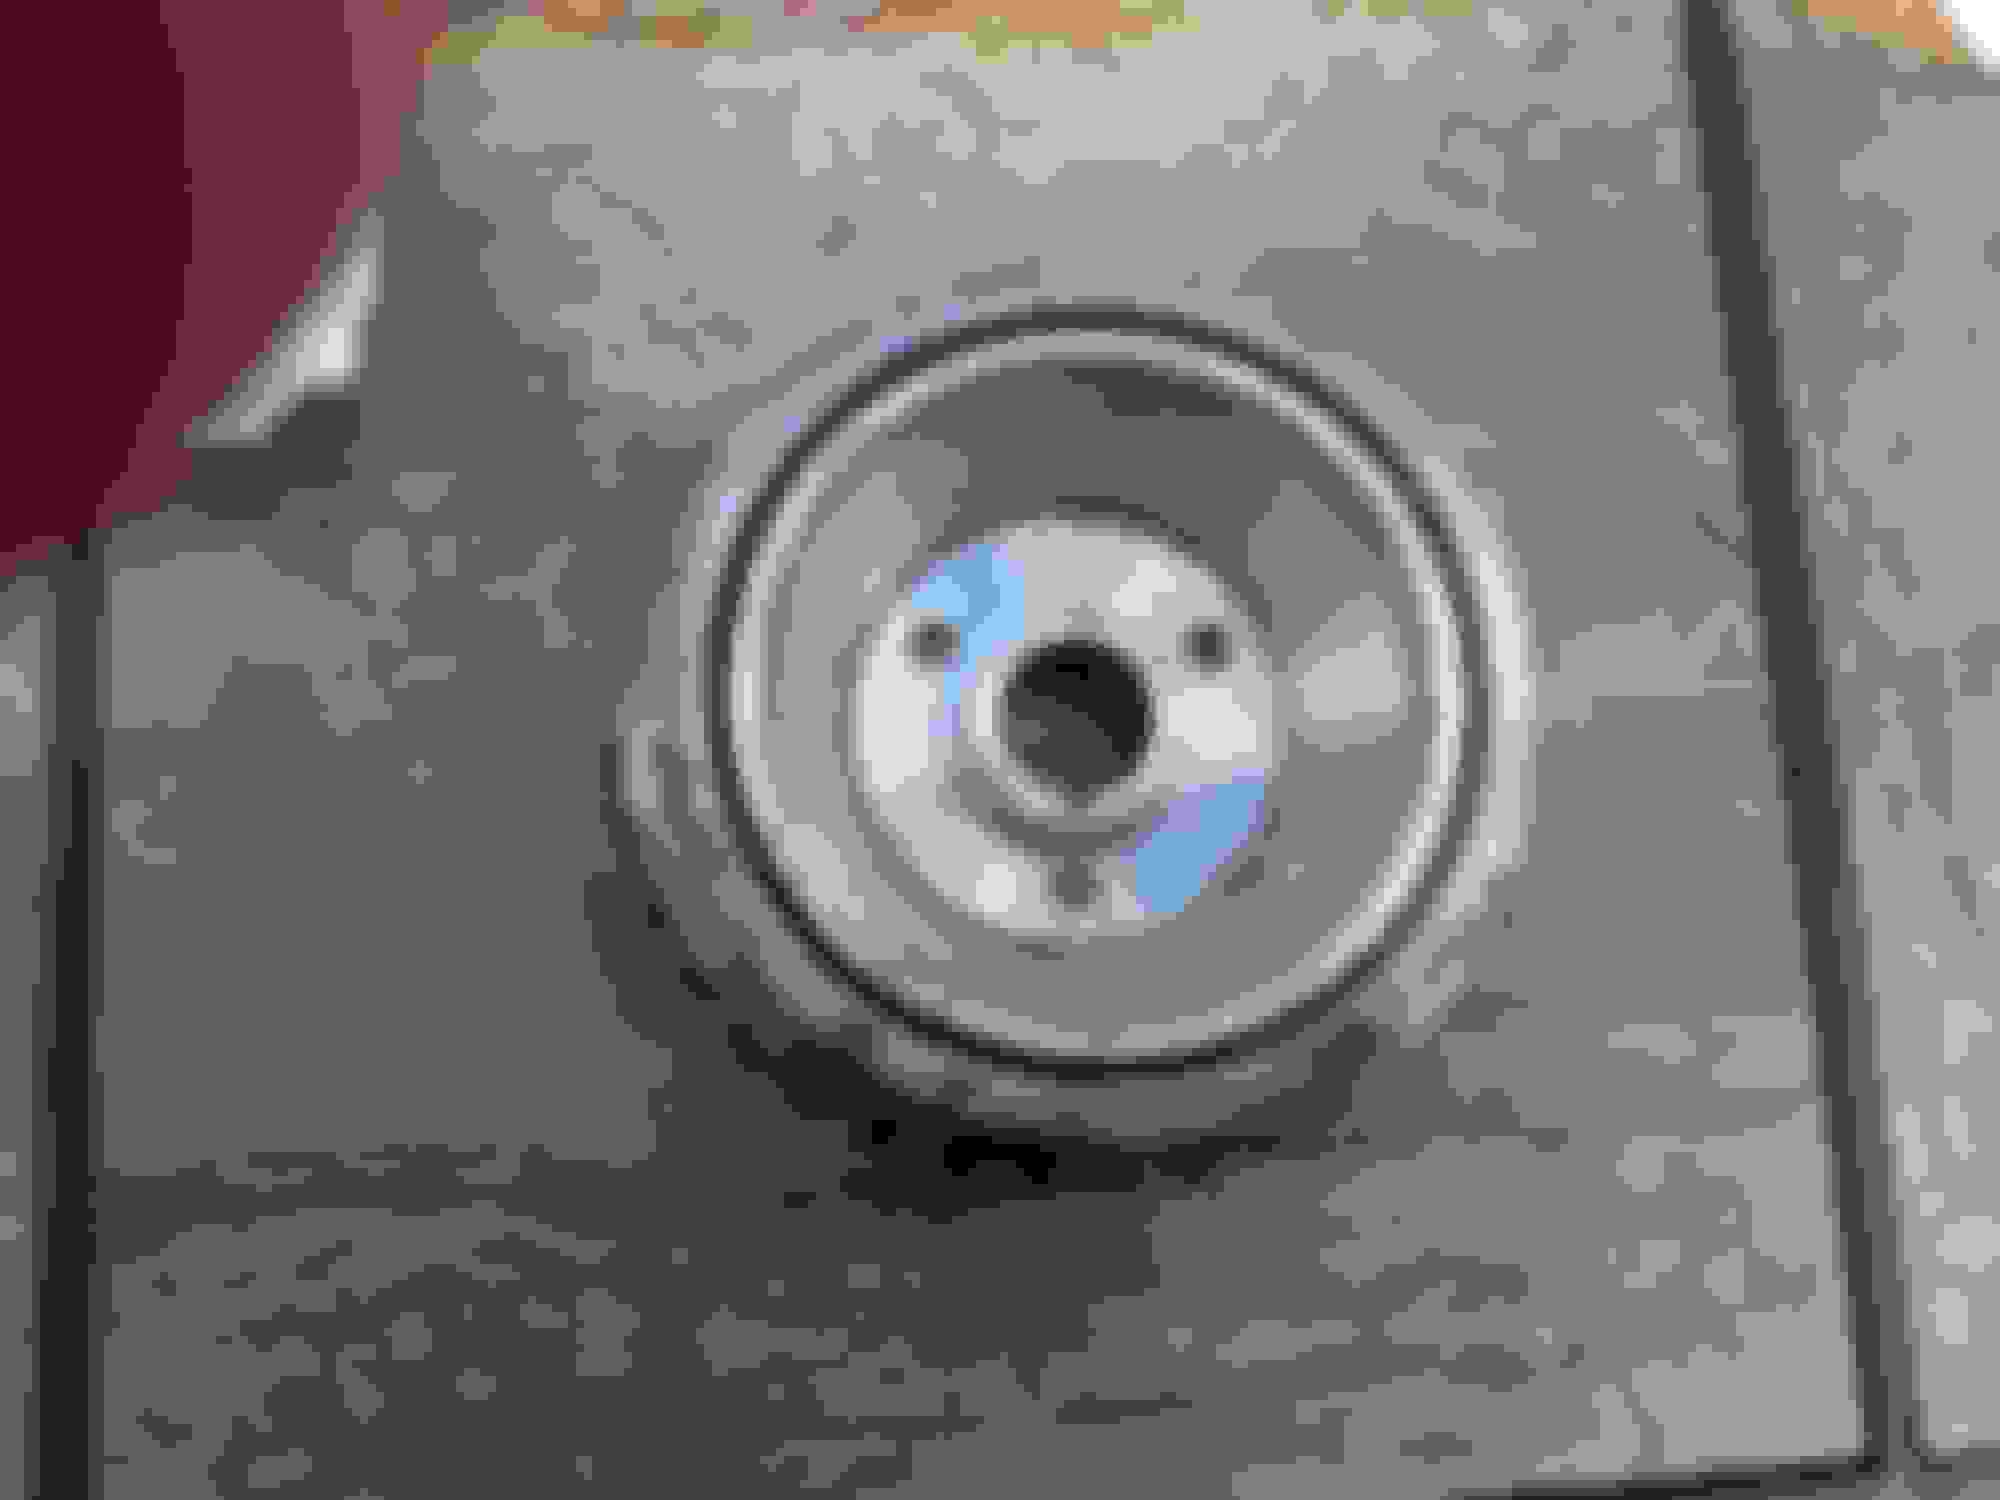
A week after that and I have a supermiata 36-2 trigger wheel. https://www.miataturbo.net/engine-pe...-pitch-103400/ my post here confirmed the thread size and a 20 pack of screws from a bolt supplier on Ebay and off I went. Can also confirm at 70 in.lb you will snap a head off. This led to the only time in my life I have had an ez- out work.
So now I have a slightly crusty SM damper with a 36-2. But crusty, but rubber looks ok.
So now since I have a 36-2 I need to run this. So that's when I bought nigel's bp4w valve cover. I plan to chase down a crank and cam sensor and make a harness that runs to the CAS plug wiring. Both the MS and the haltech can drive the 36-2 and an NB cam pulley with the 2-1 triggers.
So thinking further, since I need to pull the valve cover off and have to swap the cam gear, I am 80% of the way into an exhintake swap. Now, I also bought @sixshooter 's bp26 cams. When this thing sees boost I will swap those in or according to some protege website I read, the best option on the dyno there was using the miata exhaust cam and the bp26 exhaust as the intake. Since this thing is NA currently and I have a blowed-*** up bp05 on a stand, I yanked the exhaust cam the other day and cut the cas drive off, and while I was there I pulled the lifters, for science. They were quiet on that engine. The mnet recommendation was to pull the plunfpger out and soak in a gallon can of carb cleaner so I will do that when I pull this thing open.
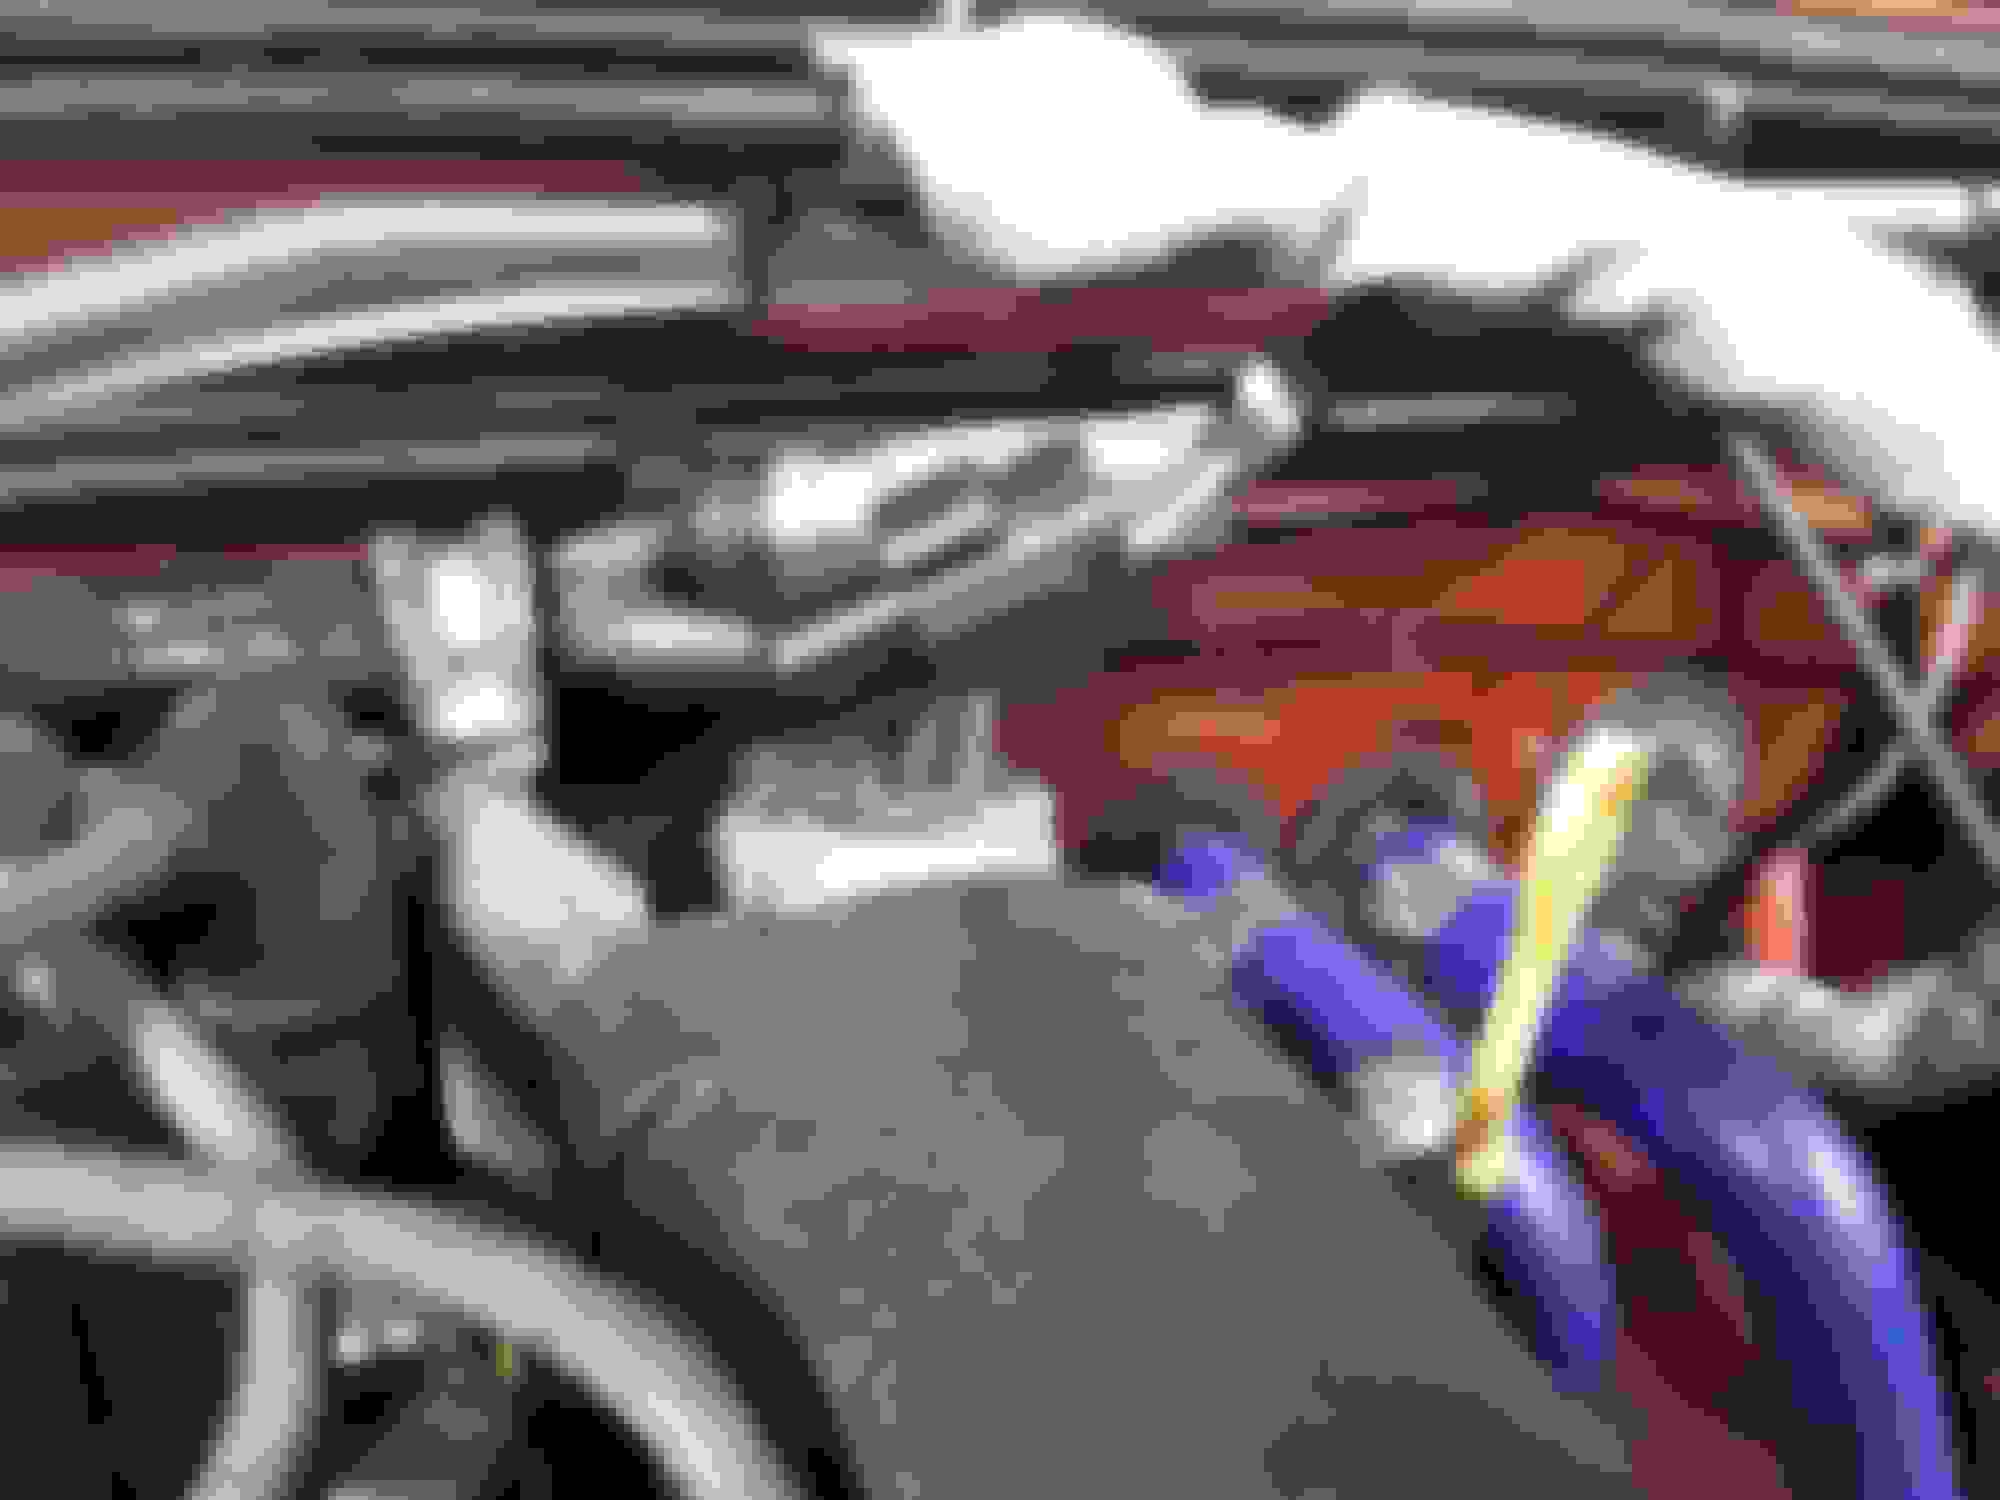
Another goal I identified was the throttle body. If I go to a 4w or 6d head at some stage, I will need to run an nb throttle body. Right now I have an across the front inlet which is a hot air intake and I am aware of this. I did it cos I couldn't get the u shaped inlet to work with the reroute hose located where it is. This also touches the iac valve on the throttle body. I check it every week or so for evidence of damage and so far so good. I have sourced a Yukon or Denali or whatever radiator hose and a 1,25" joiner.
Ugly routing.
somethingorothe like this.
and with the iac going to the nb style, should free up room for the 949 style intake on the coldside. Since this thing had a superdupercharger and 2 feet of extension so the tops wiring would reach the TB on the hot side, I needed to redo that and so I cam send the extended wiring to the as yet undisclosed MT member on the other side of the country who is taking my m45 off my hands.
Another point here is that I'd love to be able to return this thing to stock ecu should I need to sell, so I don't want to commit to the NB body permanently. So I wired the iac plug with a 2 way Deutsch and the tps in the same way.
Deutsch plug 3/4" from wherr plug was originally, mounted with a nutsert on the coil bracket. My tps and iac plugs
and while I was there I extended the amount for my crossover pipe as it was angled back toward the engine and triggered my OCD. It is now parallel.
so probably October or November when the driving season is dying will yank the rad, install the SM pulley, cam and valvecover so I don't have too many variables, and do the reroute hose. Once that is ok, swap the TB, of which I have one on the way. I did learn today that if you wire the tps wrong you will get 138% throttle and it won't run. So one more reason to stage it, and do one part at a time. Then hopefully the haltech gets its home signal and it is rock and roll time and post the mspnp2 for sale.
Also, gonna use the kainjection gear cos drilled for exhintake and I don't trust a paper template. Next on the list.
Woooo updates!
I like the color on that 4W valve cover, I used the same paint on my block. Quick note on paint and spray clear, specifically the VHT high temp clear coat: don't get brake or carb cleaner anywhere near it or you'll be a sad panda :(
Thanks for the heads up. Will avoid solvents in the engine bay. I have slipped all sorts of stuff on the vht crinkle black and it has lived, but not any aerosol solvent. I did get brake fluid on it but rinsed it off quickly.
How do the ESCO stands handle being used to only support one half of the car? Like if I only wanted to jack up the nose, or the left side of the car for example? Trying to replace my HF stands after all this recall nonsense.
Not OP but I <3 my ESCOs. No problem with front/rear/side only. They are plenty stable, just make sure you have a jack tall enough to get the car up to minimum height in order to get the ESCOs under there. I got the shorter ones and my blue Hazard Fraught Racing jack leaves me about 1" short (story of my life, that's what she said, etc)
The Big Red stands on Amazon also seem to be well liked if you are price sensitive to the ESCOs
I use my escos all the time to just raise the front. and yep, you do need a fair bit of lift. I have used them without a pin, and the shaft just resting in the frame, below the lowest setting. They worked well holding up my 4runner when I did my exhaust after it rotted off, too.
Can't speak personally for just the side as I have not done that. Buying the FM rails was worth it just to have a surface to sit the car onto those stands.
You know, I've never been super comfortable jacking on my FM rails. They seem to deflect an awful lot, almost to the point where I wonder why I installed them
Glad to hear such good reviews of the ESCO stands. I'm torn between them and the Torin double locking stands, not so much based on price but also versatility. I was going to pull the trigger on ESCOs after the jack stand fiasco began, but I read some mixed reviews on build quality and post to base fit on Amazon so I hesitated. I've got the HF 3 ton low profile jack, no concerns about lift height here! Maybe my best option would be to buy a set of each.
IMO the single greatest reason to get frame rails is to use them as jacking points, then for protection, and lastly for actual stiffening. They've deflected on my car as well after using them to jack the car up constantly, but only to the point that they contact the stock frame rail. I had the exact same set on my last car, I took them off, straightened them with a hammer and put them onto the new car.
Put the jack right behind the side mirrors and you can lift up the whole side of the car in one easy go.


 0
0