Nick's Build/Installation Thread
 08-11-2008, 12:03 AM
#21

I wish someone would do that to my engine bay for me.
__________________
Best Car Insurance | Auto Protection Today | FREE Trade-In Quote
__________________
Best Car Insurance | Auto Protection Today | FREE Trade-In Quote

Reply
 0
0

0

 engine bay is definitely nice, definitely something I'd pay somebody to do on my car
  08-17-2008, 09:22 PM
#26

I'll do engine bay cleanup/work for anyone!  just fly me away from charlotte.... haha!
Hopefully Nick and I will have this beast buttoned up next weekend. Stay tuned for a small update tonight from Nick. We worked rather slow yet hard today. Head is on the new motor, and almost ready to drop back into the car.
-Brad
just fly me away from charlotte.... haha!Hopefully Nick and I will have this beast buttoned up next weekend. Stay tuned for a small update tonight from Nick. We worked rather slow yet hard today. Head is on the new motor, and almost ready to drop back into the car.
-Brad
Reply
0
0
08-18-2008, 01:07 AM
#27
Junior Member
Thread Starter
iTrader: (1)

Join Date: Oct 2005
Location: Charlotte, NC
Posts: 466
Total Cats: 0
Like Brad said, not much done this week but should be completed in two weeks TOPS.
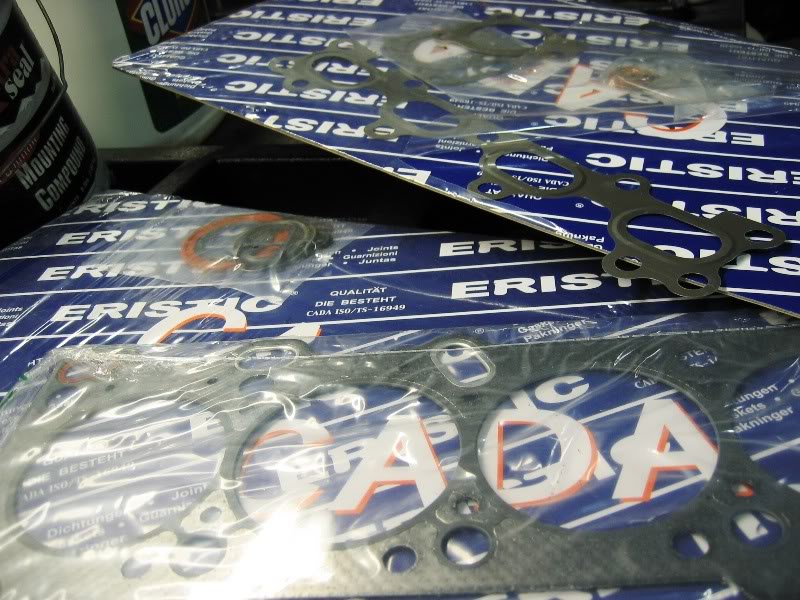
Gaskets:
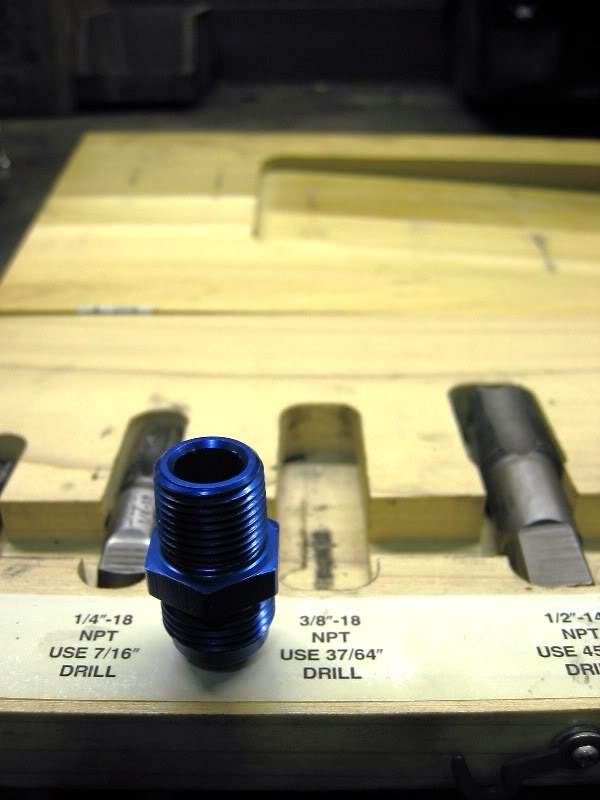
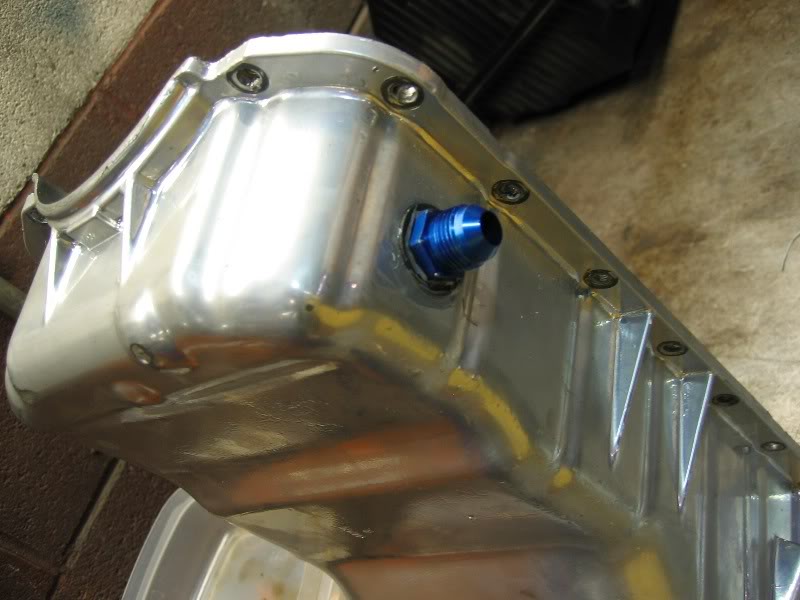
Drilling the oil pan with it off is cake compared to it in the car:
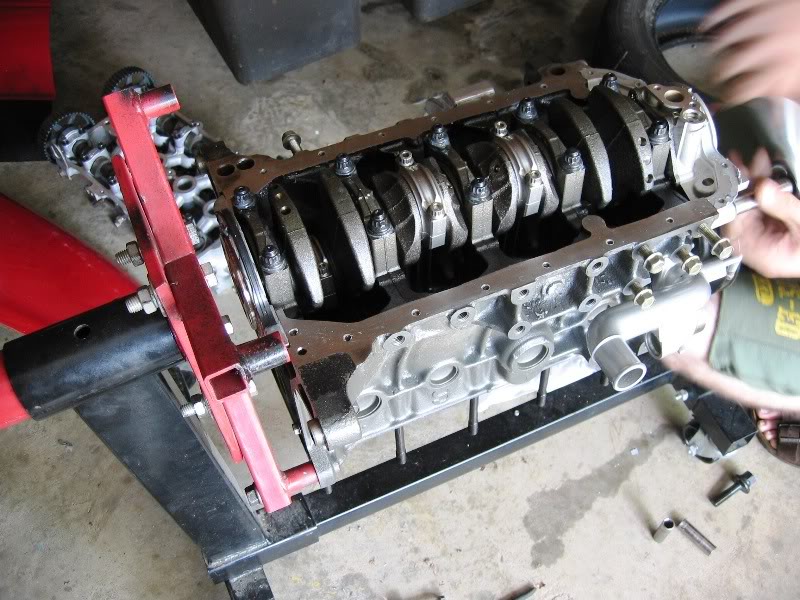
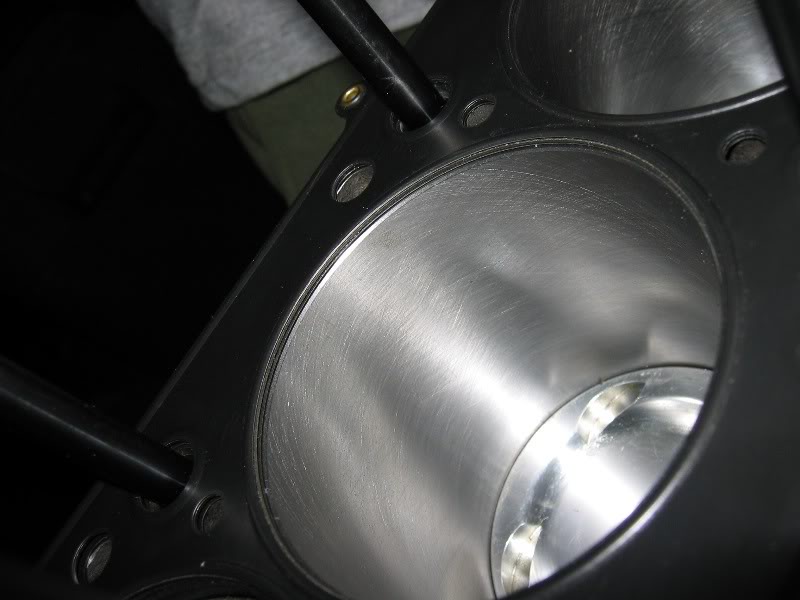
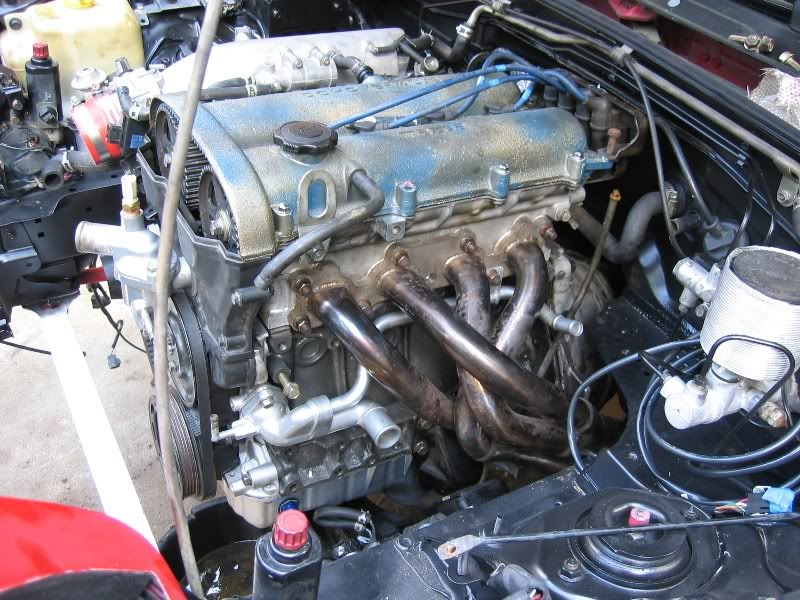
Finally have pictures of the block before putting on my original head:
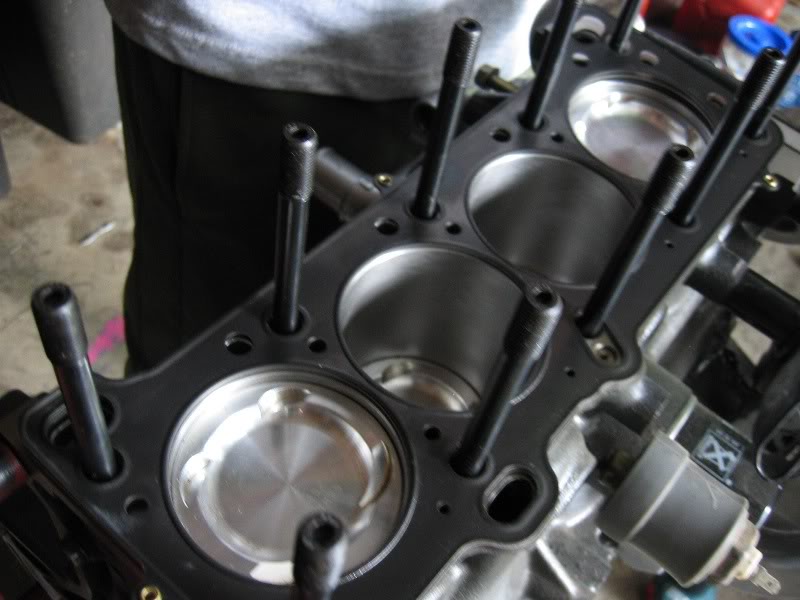
Assembled:
Gaskets:
Drilling the oil pan with it off is cake compared to it in the car:
Finally have pictures of the block before putting on my original head:
Assembled:
Reply
0
0
08-18-2008, 01:16 AM
#28
Junior Member
Thread Starter
iTrader: (1)
Join Date: Oct 2005
Location: Charlotte, NC
Posts: 466
Total Cats: 0
Wanted to double check on the correct ARP head stud torque measurements? We used 85 pounds since we used a 30 weight (no moly oil).
Wanted to ask how would you guys break in the motor, NA or FI? It would be warmed up fully and be given full accel/decel in the first 3 gears for roughly 20 miles. Dino oil would then be changed shortly after in favor for full synthetic.
Wanted to ask how would you guys break in the motor, NA or FI? It would be warmed up fully and be given full accel/decel in the first 3 gears for roughly 20 miles. Dino oil would then be changed shortly after in favor for full synthetic.
Last edited by JDMAflac; 08-18-2008 at 10:43 AM.
Reply
0
0
 08-19-2008, 01:01 PM
#30
Junior Member
Thread Starter
iTrader: (1)
Join Date: Oct 2005
Location: Charlotte, NC
Posts: 466
Total Cats: 0
NP, anyone have an insight on the previous question? If broken in FI, it will be the stock greddy configuration and boost settings. (vortec, retard timing, etc..)
Reply
0
0
08-19-2008, 01:24 PM
#31
Boost Czar


iTrader: (62)
Join Date: May 2005
Location: Chantilly, VA
Posts: 79,501
Total Cats: 4,080
get it up to speed slowly in gear, then let go of the gas (still in gear) and let it pull vacuum. do that a few times in 2nd and 3rd and it's broken in. all you need to do is make sure the rings are set well in their hone. honestly I believe, if you idle the engine it should go to go.
Reply
0
0
08-20-2008, 10:52 AM
#33
Tour de Franzia
iTrader: (6)
Join Date: Jun 2006
Location: Republic of Dallas
Posts: 29,085
Total Cats: 375
my machinist said the same as brain. However he said to use shitty dino oil for the first 100 miles or so to encourage a little bearing wear-in. He thinks the synth is too slick for bearings.
He also said to expect 10-20% gain in output on the dyno after a few thousand miles when the motor loosens up. I just picked up a G8 rental with 8 miles on it (this happens all the time so I make sure to do a proper break in because cars have a soul). It pulled significantly harder after 2 3-hour highway cruises in my butt-dyno 0-60. The motor didn't want to spin like it did after a few hundred miles.
He also said to expect 10-20% gain in output on the dyno after a few thousand miles when the motor loosens up. I just picked up a G8 rental with 8 miles on it (this happens all the time so I make sure to do a proper break in because cars have a soul). It pulled significantly harder after 2 3-hour highway cruises in my butt-dyno 0-60. The motor didn't want to spin like it did after a few hundred miles.
Reply
0
0
08-20-2008, 11:37 AM
#34
Junior Member
Thread Starter
iTrader: (1)
Join Date: Oct 2005
Location: Charlotte, NC
Posts: 466
Total Cats: 0
I previously got my information from one of the threads here and read more about it from this link:
http://www.mototuneusa.com/break_in_secrets.htm
Thanks for the advice everyone.
http://www.mototuneusa.com/break_in_secrets.htm
Thanks for the advice everyone.
Reply
0
0
09-08-2008, 05:25 PM
#35
Junior Member
Thread Starter
iTrader: (1)
Join Date: Oct 2005
Location: Charlotte, NC
Posts: 466
Total Cats: 0
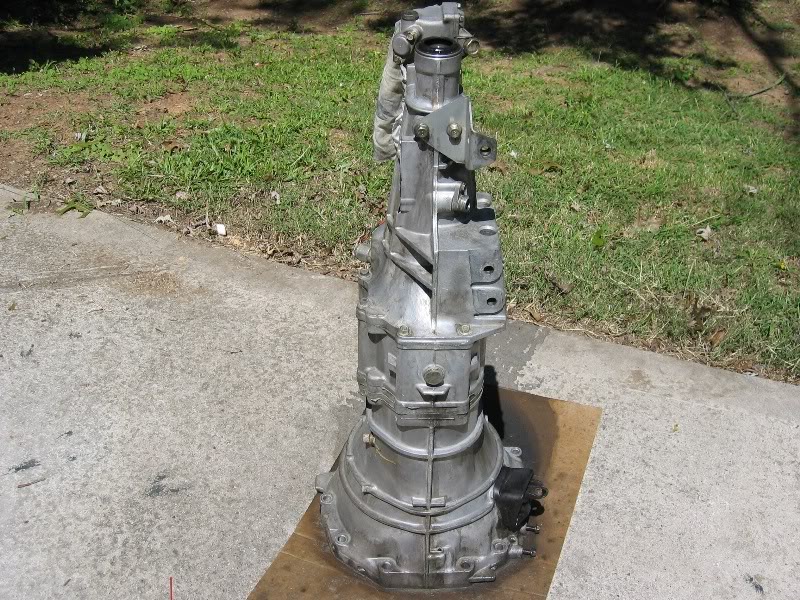
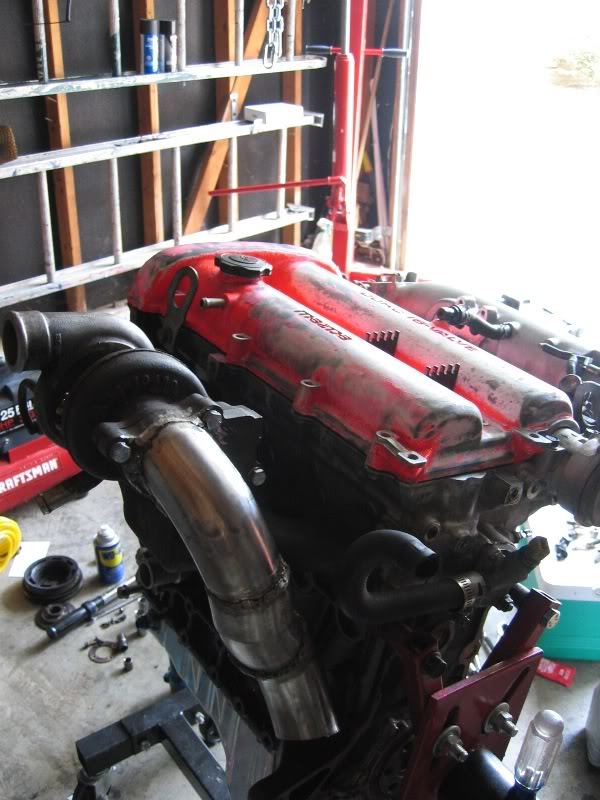
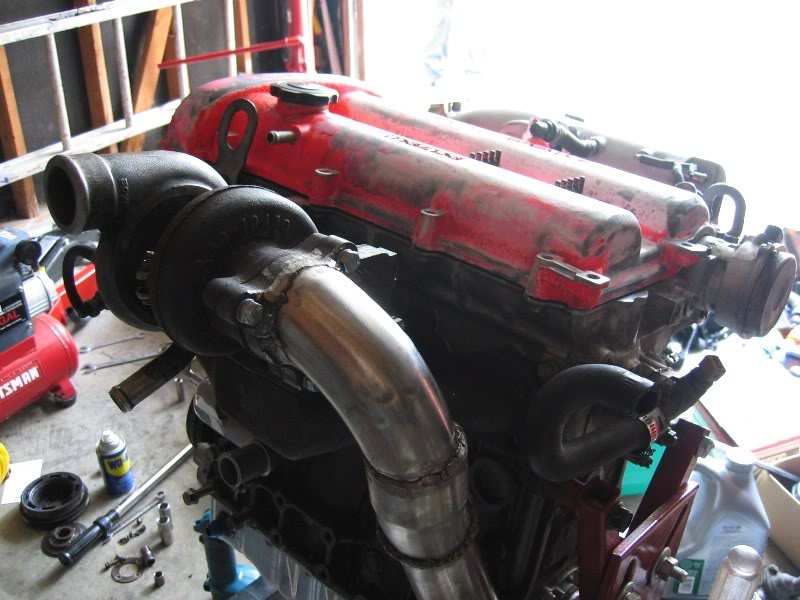
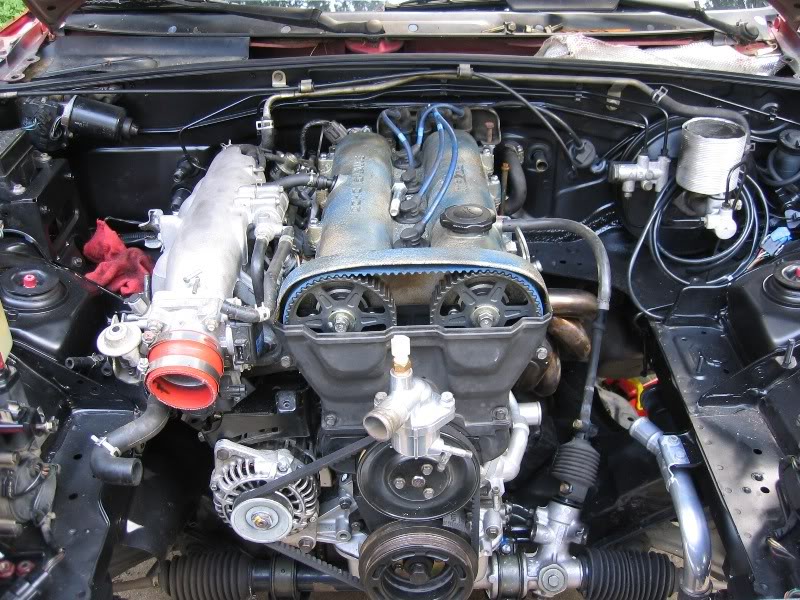
Two weeks flew by and we've been busy and caught up in our daily lives that this project was put on hold but it's back with a few important updates. I'll let the pictures do the work.
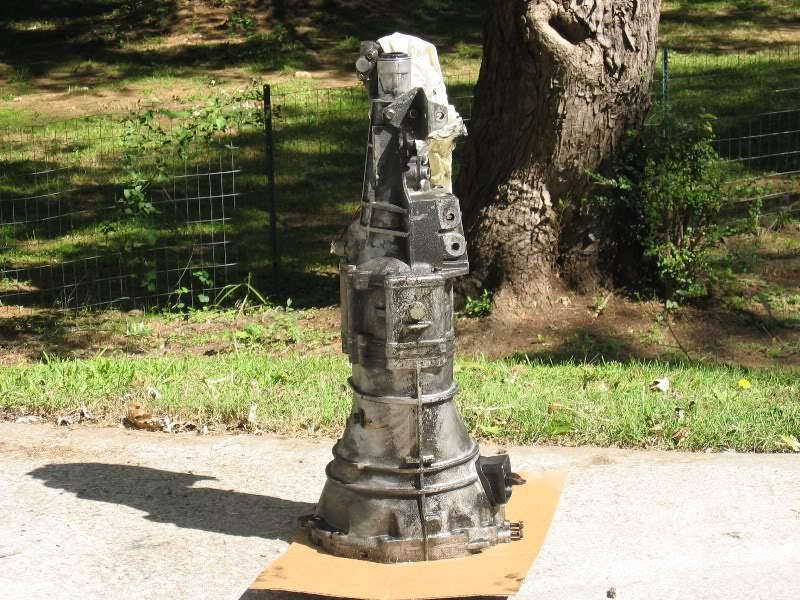
Transmission needed cleaning badly
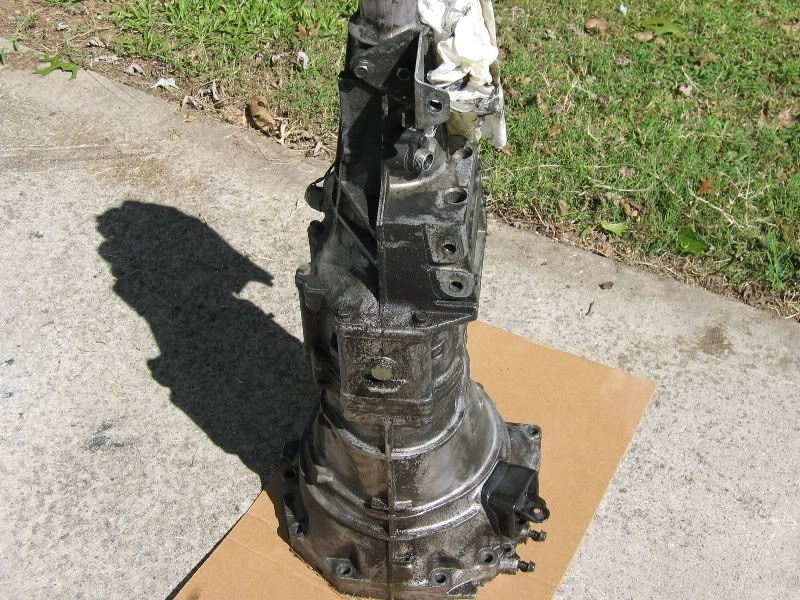
Brake/parts cleaner and wire brush
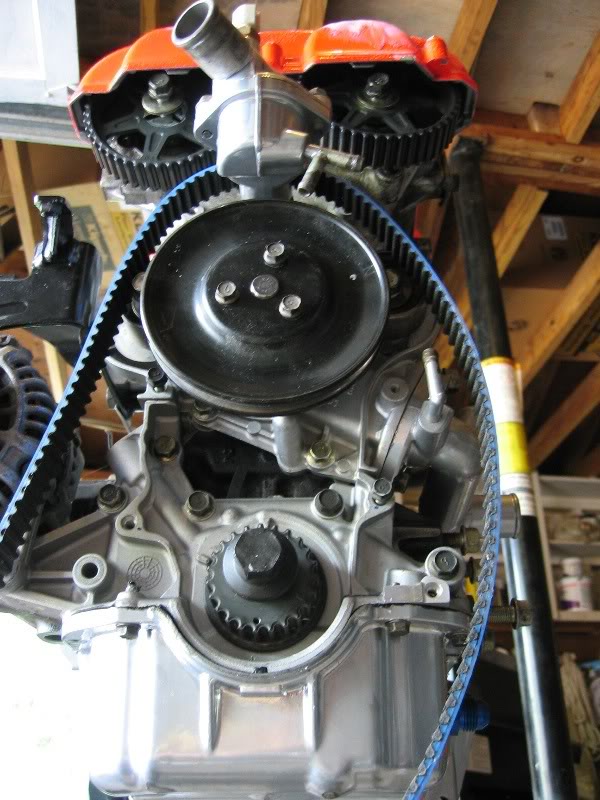
Engine on stand with turbo components and mocked up 2.5 downpipe thats getting redone thanks to Brad!

One of the most important accomplishments
The motor should be up and running ::crossfingers:: this weekend if weather permits. Motor will be broken in NA and then turboed after.
Check list of things left to do:
-driveshaft
-radiator/fans
-extend wiring
-fluids/plugs
-body panels
...and other knick knacks
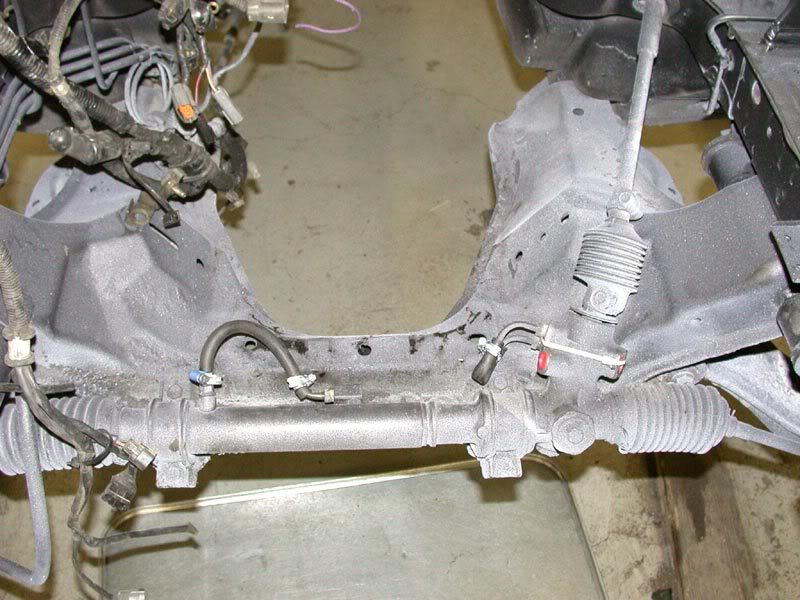
Question: I relooped my powersteering lines but could someone tell me where they sourced these red plugs(off steering rack) or another option to enclose both holes?
Transmission needed cleaning badly
Brake/parts cleaner and wire brush
Engine on stand with turbo components and mocked up 2.5 downpipe thats getting redone thanks to Brad!
One of the most important accomplishments
The motor should be up and running ::crossfingers:: this weekend if weather permits. Motor will be broken in NA and then turboed after.
Check list of things left to do:
-driveshaft
-radiator/fans
-extend wiring
-fluids/plugs
-body panels
...and other knick knacks
Question: I relooped my powersteering lines but could someone tell me where they sourced these red plugs(off steering rack) or another option to enclose both holes?
Reply
0
0
 09-08-2008, 07:02 PM
#37
Cpt. Slow
iTrader: (25)
Join Date: Oct 2005
Location: Oregon City, OR
Posts: 14,206
Total Cats: 1,139
just put a bolt in those holes with a washer. they don't need to keep any pressure or seal in any oil, you just lube the rack a little and the bolts are there to keep dust/dirt out.
P.S. don't loop the lines, take it apart while you have easy access and cut off the seal inside.
P.S. don't loop the lines, take it apart while you have easy access and cut off the seal inside.
Reply
0
0

 09-09-2008, 03:16 PM
#40
Junior Member

Join Date: Jul 2008
Location: San Antonio, TX
Posts: 65
Total Cats: 0
just put a bolt in those holes with a washer. they don't need to keep any pressure or seal in any oil, you just lube the rack a little and the bolts are there to keep dust/dirt out.
P.S. don't loop the lines, take it apart while you have easy access and cut off the seal inside.
P.S. don't loop the lines, take it apart while you have easy access and cut off the seal inside.
its pretty easy to take the rack apart and cut/beat out the inner seal, then if you look on my build thread i just cut the lines and crimped the small ones. for the biggers ones i but a rubber cap on with a zip tie
gl on the build
Reply
0
0


