When you click on links to various merchants on this site and make a purchase, this can result in this site earning a commission. Affiliate programs and affiliations include, but are not limited to, the eBay Partner Network.
I went back to verify all the inputs. Gear, drive ratio, tire size, weights were all correct. Weather was not. Last calculation assumed 29inHg and 77 degrees, which is not right. I changed it to 31inHg and 25 degrees, which made a surprisingly large difference.
Last edited by Schroedinger; 01-06-2018 at 08:53 PM.
I have a list of things I want to get done by spring for track season. I wanted to do some heat shielding to protect the brake stuff and the heater core hoses.
It works really well. Went for a drive this afternoon and got the turbo screaming hot, everything behind the shield was still cool to the touch. I don't like that crankcase vent hose so close to the turbo, need to figure something out there.
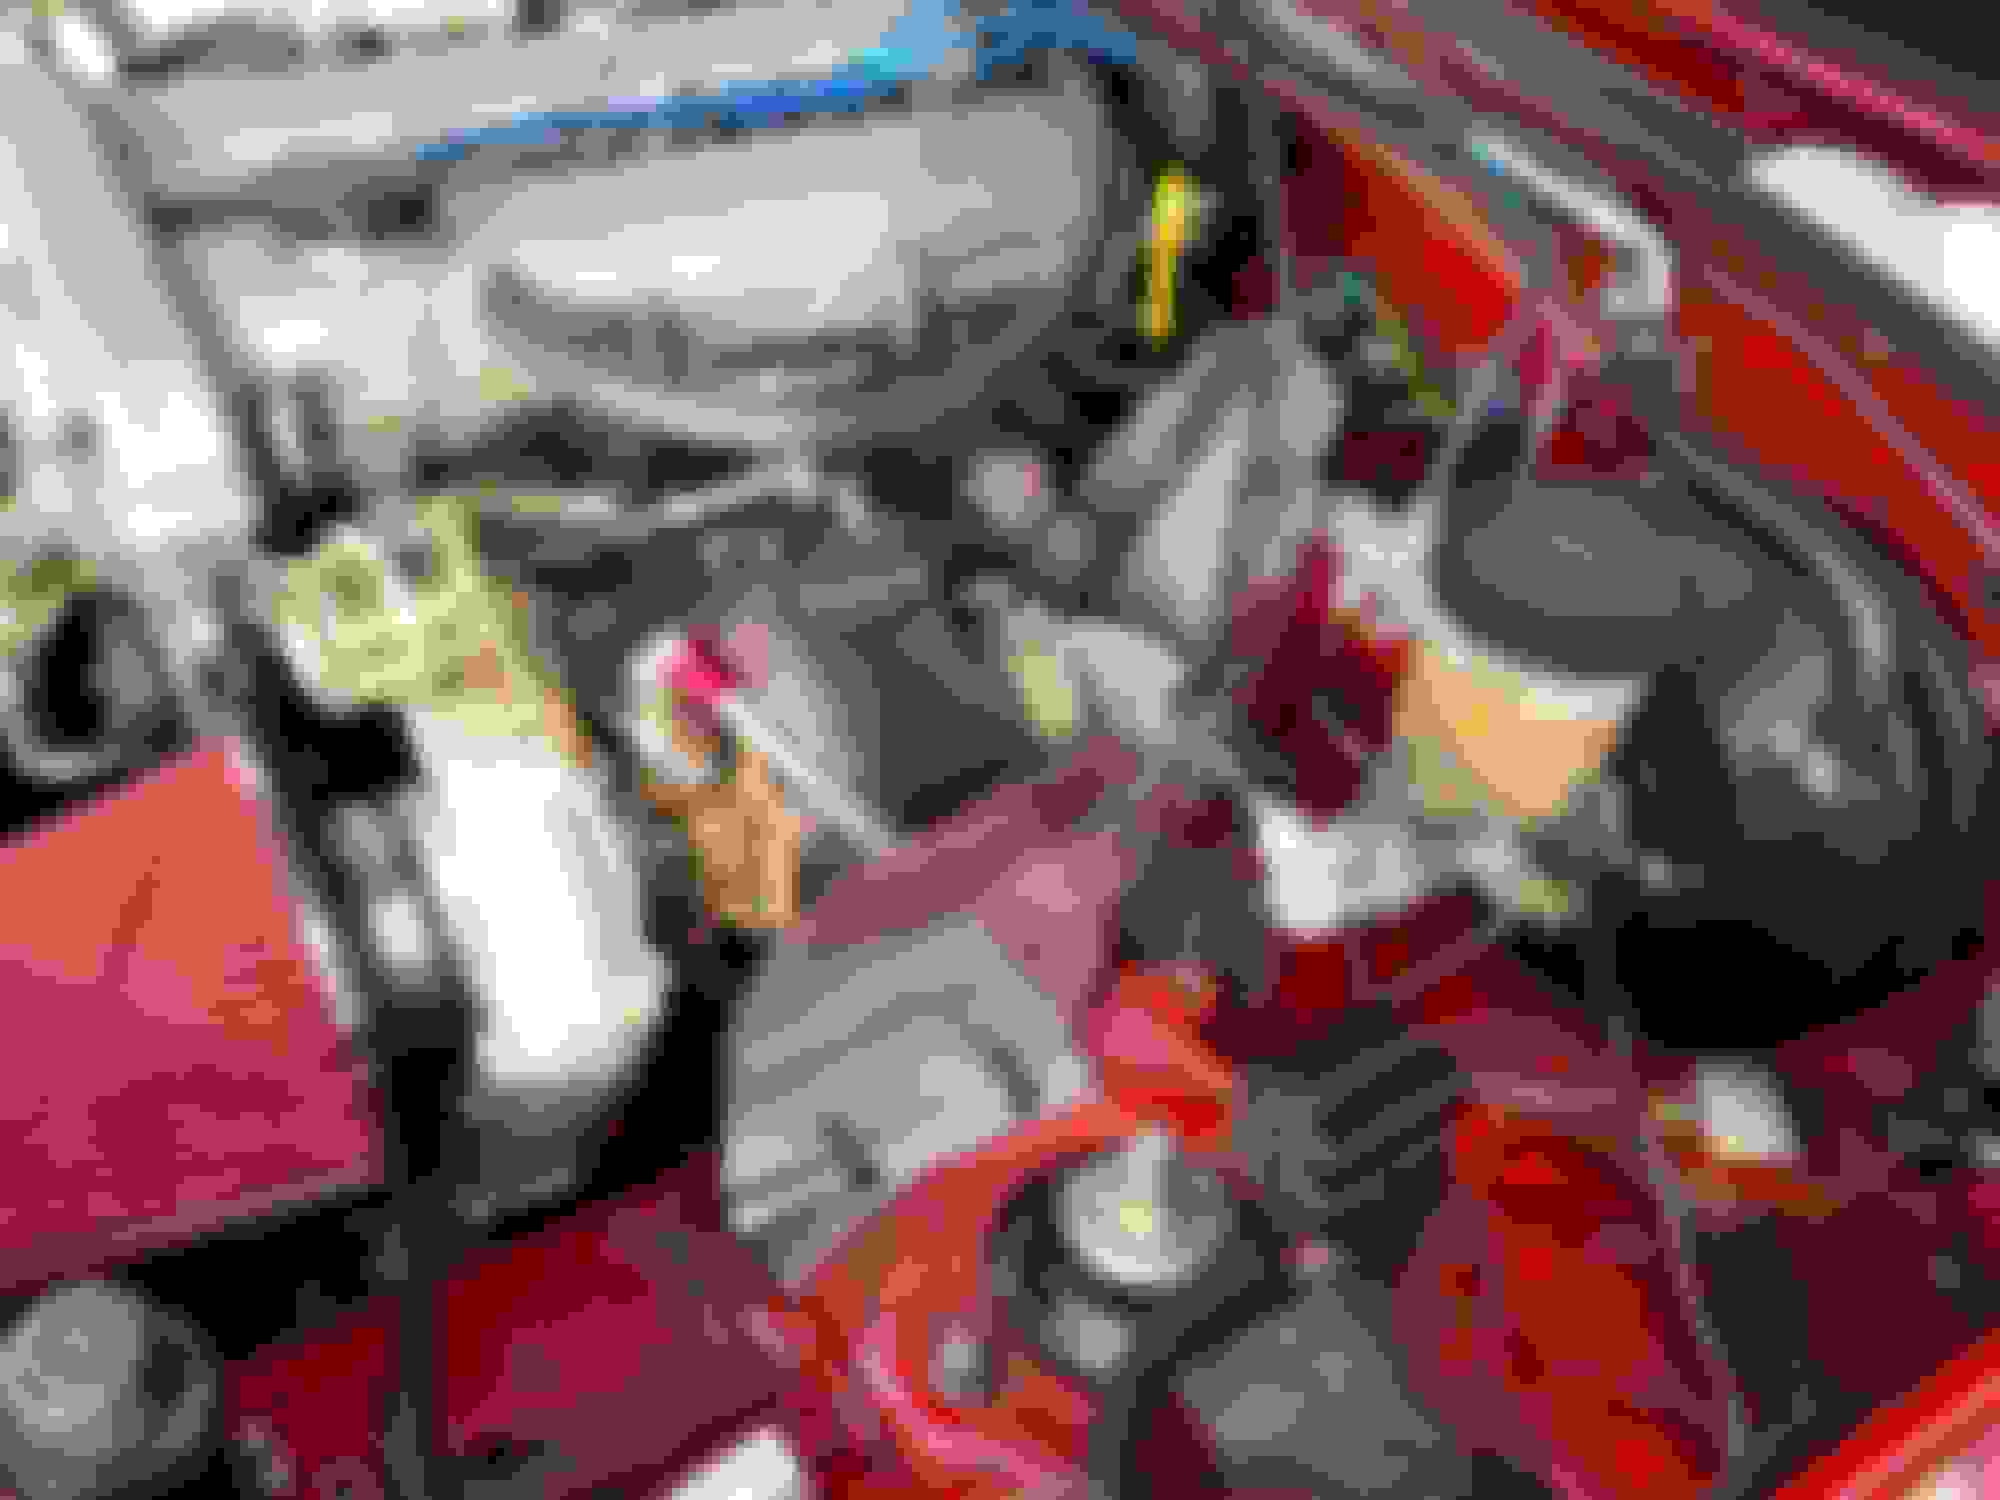
Continuing the engine bay cleanup. Many small improvements = more reliable car. I put a 90 degree elbow in the breather hose to get it away from the manifold/turbo.
Next I moved the MBC to a more secure spot, and fixed it with a 6mm bolt and one of the threaded bosses on the package tray.
And I finally got the right silicone elbow to move the air filter off the nose of the compressor, to get it away from radiator heat and so that weight/heat/vibration don't kill the thing.
We’ve had awful weather all winter. Today was sunny and 62 degrees; instead of doing a bunch of piddly little projects on the car, I took off for the mountains with two friends. One was in a 2015 Panamera Turbo, and the other was in a 2014 Boxster S.
It’s the first time I’ve really gotten to drive my car since I’ve gotten the turbo sorted out; I’m pretty psyched at how it’s running. Coming hard out of turns with the hammer down, neither of the Porsches could walk away from me. In fact, at the end of the day I traded cars with the guy in the Panamera, and there were times when he was pulling away from me in my Miata a bit when I had the pedal to the floor in the Panamera.
VD suggests that I have an honest 190-200hp at the wheels, and my car probably weighs around 2,000 lbs. That puts me at about 10 lb/hp, and from what I can tell both of the Porsches are right around there too so I guess it shouldn’t surprise me that my car can run with them. Still, it’s pretty cool that my 25 year old 1.6L crapcan can pull away from a car that costs $150k and is marketed as having 565 hp.
Damn that Boxster was fast in the corners though. It had a great driver, but still... fast car.
So busy. Trying to chip away at little things to get ready for track season. I have a Kirkey style 47 16” racing seat ready to install, but I’m still trying to figure out the best way to mount it to get low in the car. The PCI adjustable base that everyone raves about doesn’t work worth a **** with these seats. Will probably make something custom.
It’s a pain to get in and out of the racing seat because of the steering wheel. I traded for a flatter Momo wheel (my old one was a Nardi Deep Corn), and put an NRG quick release in. Better.
I built mounts for my Kirkeys and removed the rear seat humps. The rear of the seat is flat to the floor. The front used flat bars running fore/aft bent over the front hump and bolted through the stock mounting holes and a 1in box tube crossmember ties them together beneath the front of the seat. So the bolts holding the front of the seat to the flat bar also go through the 1 inch cross member. I said the rear of the seat is bolted flat to the floor, but it actually also goes through the aft end of the flat bar before going through the floor. I'm using backing plates beneath the floor.
I built mounts for my Kirkeys and removed the rear seat humps. The rear of the seat is flat to the floor. The front used flat bars running fore/aft bent over the front hump and bolted through the stock mounting holes and a 1in box tube crossmember ties them together beneath the front of the seat. So the bolts holding the front of the seat to the flat bar also go through the 1 inch cross member. I said the rear of the seat is bolted flat to the floor, but it actually also goes through the aft end of the flat bar before going through the floor. I'm using backing plates beneath the floor.
Any chance you have some pics of your setup? I was thinking of doing something exactly like this. Are you using the box crossmember as the attachment for your sub straps, or did you do a separate eyebolt through the floor with a backing plate? How did you remove the rear humps, did you hammer then down or grind them out? I�ve been trying to save them in case I ever want to bolt the stock seats back in, but I probably don�t have a choice but to remove them if I want to get low.
EDIT- disregard, your post gave me enough info to do some searches, I think I know what I need now. Thanks.
Last edited by Schroedinger; 02-12-2018 at 10:50 AM.
Submarine belt is bolted through the floor with a backing plate.
Stock seats can be bolted through the floor if the rear humps are gone. I used my stock seats this way before I got the Kirkeys. I used it to lower the stock seats slightly.
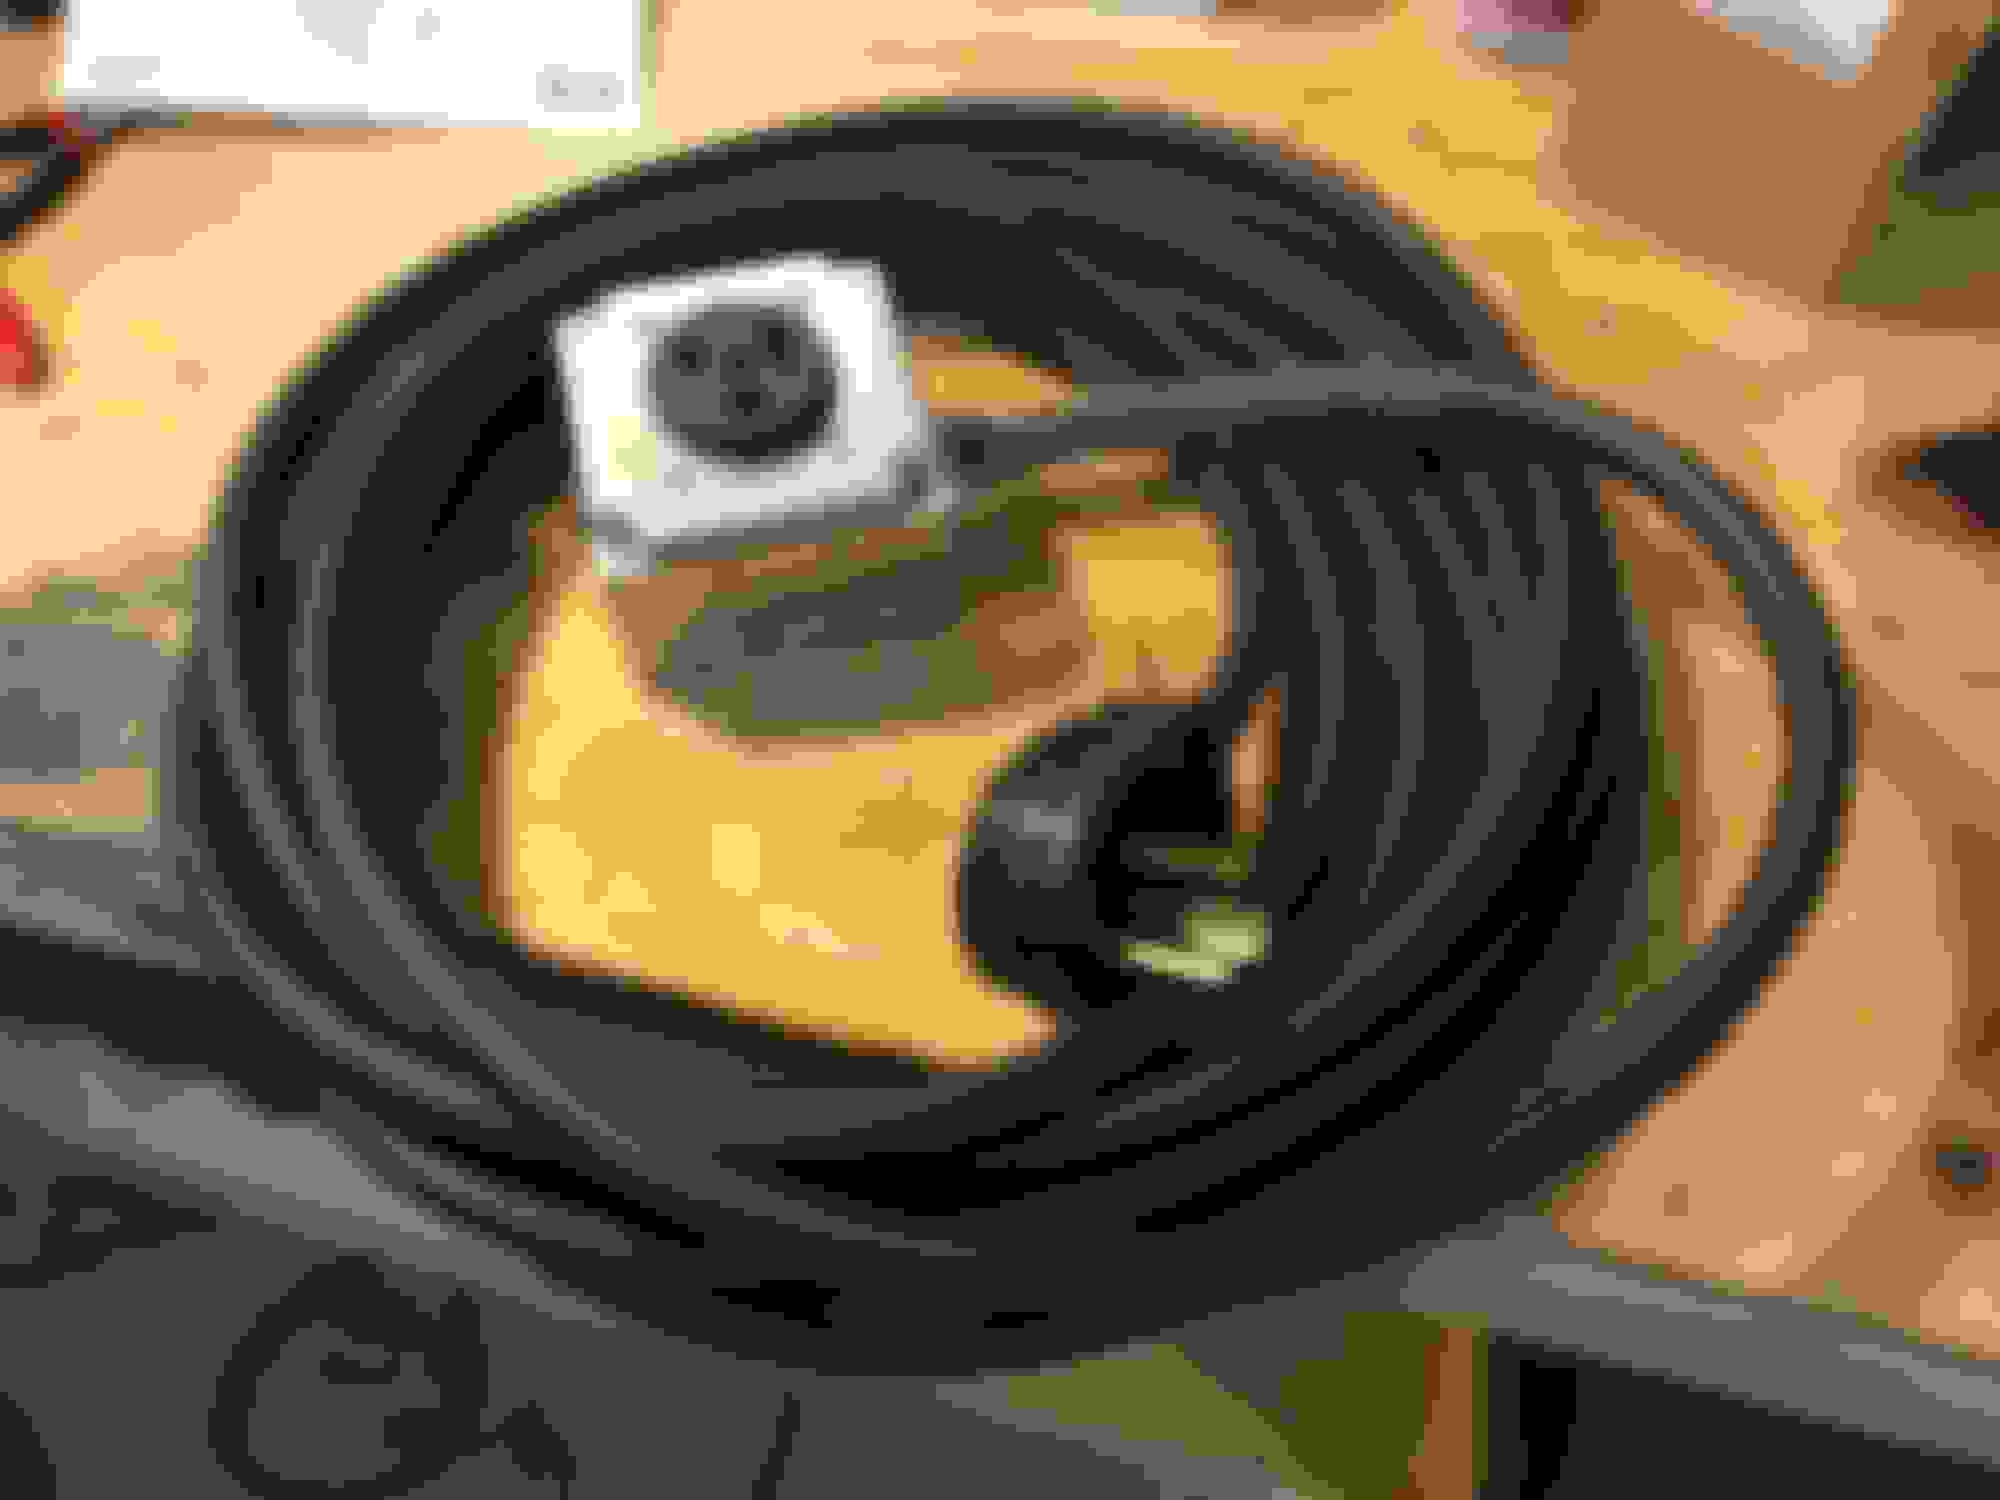
Project of the week was gathering up parts and building this:
Because I bought this:
It’s time to learn to weld. Fortunately my laundry room is right next to my garage, so I can run it off of the 220v dryer receptacle. I’ve been in welder analysis paralysis for months, finally I just broke down and bought the Harbor Freight welder. I know it’s not great, but it will get me started for not much $ and should be able to handle most car projects just fine. Plenty of mods are known to improve the performance above stock. f I want to upgrade to TIG later, it will still be handy to have a MIG/flux welder around depending on the job.
Chipping away at little things. Finally got the tow hooks installed. This would have taken about 10 minutes when I had the front bumper and exhaust off to do the turbo install; instead, it took me about 2 hours to do front and back. I painted them with a can of red Rustoleum I had around; not a perfect match to the car, but close enough.
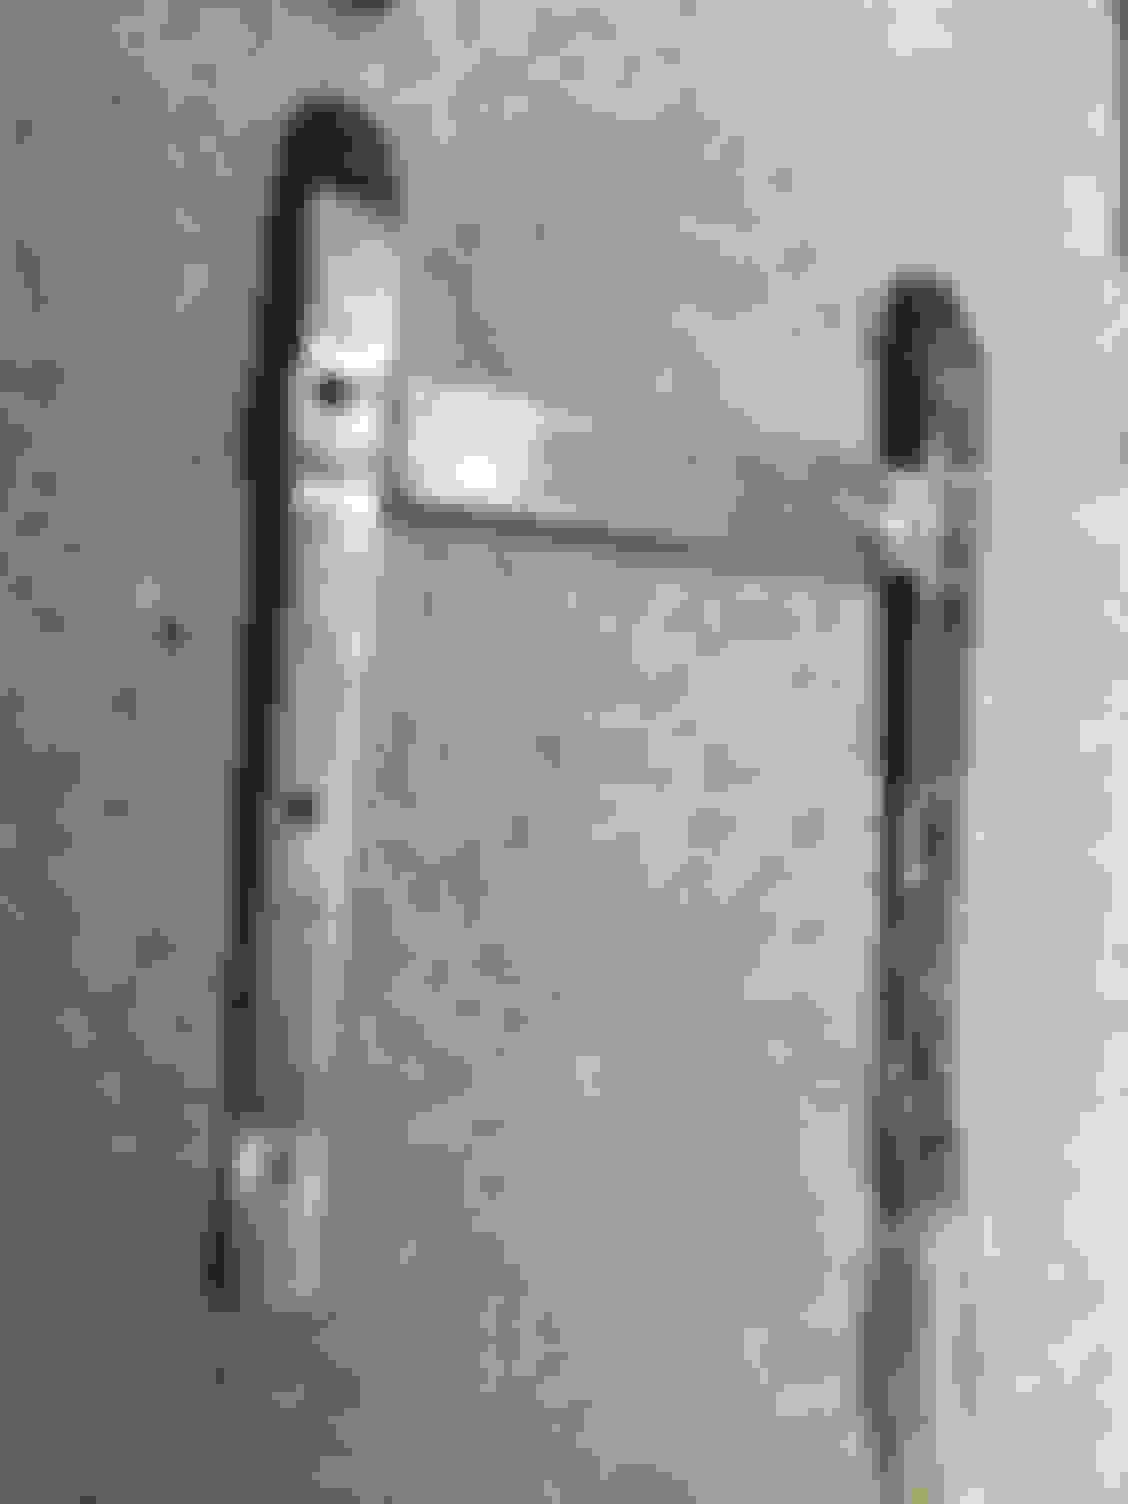
With the good info above from Sixshooter, I've decided to remove my rear seat humps. It looks like this will buy me another inch, even with stock seats.
This is a fussy job, but the $8 spot weld cutter from Amazon is making it a great deal easier. The needle tip is spring loaded and retracts into the shank.
It makes a pretty dramatic difference- race seat will probably sit another inch lower in the back.
I decided I'm going to stick to my stock seats for a while, since I'm in HPDE1 and don't want to have different safety gear from my instructor. The stock sliders are fairly easy to bend for the new geometry, except for one corner.
So I got busy with the angle grinder and my new welder.
Made some load spreaders for the underside of the floor pan. It's nice to be able to make things with captive nuts. This definitely tested the power limit of my welder. Interwebz say something about adding a capacitor to the board to give it more juice, I may have to look into that.
Stock seats are mounted. Also sitting roughly an inch lower in the back. Definitely will pass broomstick now, a very worthwhile project.
Put on my racing wheels, Motul RBF-600, new Napa rotors and the ubiquitous Carbotech XP-10/ XP-8 combo on my stock 1.6 brake setup. I have a sport brake setup in the shop, but I may sell it off and save for the baller Wildwood package.
Did HPDE 1 at Road Atlanta this weekend. About half the weekend was good weather, the other half was pouring rain. Per my other thread, I put my street wheels with BFG Sport Comp 2’s back on. Car ran magnificently all weekend. Things I learned:
- the tires were fine.
- the wheels were fine.
- the brakes were fine.
- the turbo and drivetrain were fine.
- the suspension was fine.
- the alignment was fine.
- the driving was far from fine, but improved dramatically through the weekend.
I’ve put two years of work into this car, and come to realize that none of it actually matters very much at all for my level of skill. One of my friends was there in group 3 in a stock Miata with blown AGX shocks and all-season tires, and was absolutely killing. I think I’m going to stop working on the car for a while and spend my hard earned money on turning laps with good instructors. The car needs nothing right now. I do want to get the racing seat and six point installed; it’s safer and will help my driving to not be sliding around all over the car.
This is me lined up in front of my buddy’s 911 that he’s put $$$ into. It’s a nice car, but he was slower than me all weekend. We’re both rookies but I’ve got a bit more experience than him. At our level the car is pretty much meaningless, it’s all about the driving.
I think I�m going to stop working on the car for a while and spend my hard earned money on turning laps with good instructors. The car needs nothing right now.
You sir seem to be heading down a path that many here at mt.net have followed.
Haven't done much work on the car lately. Still trying to figure out the situation with the racing seats. What a ball ache.
Kirkey intermediate layback, Style 47, 16 inch. With the rear humps cut out and the seat on the floor, there is still a lot of interference with roll bar and door panel. I cut out a fair amount of metal from the headrest and the left shoulder wing.
Fitting pretty well now. My head is still pretty far from the roll bar. The harness bar is higher than I would like relative to the seat, but I'll have to make it work.
Now to make the bracket for the floor. My welding still sucks, but as they say- a grinder and paint makes me the welder I ain't.
Been a while since I updated my thread. I finally got around to installing sequential injection; overall, a very simple project. Took me a while to gather up the facts for my particular setup, MS PNP2 90-93.
- I checked the jumper situation inside the box; had to remove a jumper for INJ C to fire only one cylinder rather than multiple.
- each injector has a pair of wires, white/green and either yellow or yellow/black. The white/green wires are ground, the yellow or yellow/black wires are signal wires from the ECU.
- injectors 1 and 3 are already connected to the InjA and InjB through the factory harness
- cut the yellow wire for cylinder 2, wire it to InjD through Pin 26 of the accessory harness
- cut the yellow wire for cylinder 4, wire it to InjC through pin 18.
- go into TunerStudio, change from untimed injection to sequential injection.
That's it, simple. Car started fine, idles much smoother. Some light re-tuning on fuel, and it's ready to go.
Finally got around to finishing the install of my 16 inch Kirkey Style 47 seat. This was a much bigger project than I anticipated.
After removing the rear humps, hammering out the transmission tunnel and welding up a custom bracket, I discovered two issues.
- The seat is so low to the floor that there's not much room for sub-strap mounting points, and installing the sub straps will require removal of the seat.
- If I bolt the seat onto the bracket first, I don't have access to the holes to mount the bracket to the floor. There's not enough room to get a wrench in there.
- Neither of these is an issue if I mount the bracket first, and bolt the seat onto the bracket last.
I got the welder back out and welded some captive nuts on the underside of the bracket.
Mounted to the floor.
Seat bolted down from the top. Easy.
Back brace installed.
Finished product. This is quite a big improvement over the factory seat. I'm really low in the cockpit, and really comfortable. I'm going to roll with factory seatbelt for a while.
I now have four full track days on the MKturbo setup, 18 total sessions, and everything is running flawlessly. Did the TNIA event @ RA before the Mitty. I ran in the Intermediate group for the first time, which may not have been a good decision. From what I can tell, there are some people in Intermediate who have Novice skills and Advanced cars- saw some pretty sketchy **** out there. Nonetheless, I learned a lot following the good drivers.
Last week I moved back to the Novice group with JustTrackIt, and did an event at AMP. My instructor was great, and for the first time I kept lap times with an Iphone app. Best lap of the day was 1:48, which isn't fast compared to "good" driving. However, I was running on 320tw 195 summer tires, and I dropped about 10 seconds from the first session to the last. My driving is improving a lot, I'm trying to do at least one event per month all summer. Next up is a JZilla event @ RA in June, then an HPDE weekend at Barber in July.
Since I don't have any pressing car projects, I put my new welding skills to other uses. We remodeled our kitchen last month, and my wife really wanted to replace the janky-*** wire shelf from Home Depot in our kitchen window. I welded up this steel frame, and ordered a custom piece of tempered glass to fit. It really came out nice.
 01-06-2018, 07:36 PM


 0
0