NOT A MIATA, FE3N+HOLSET+73 FORD COURIER BUILD
 01-15-2017, 11:51 AM
#61
Senior Member
Thread Starter

Join Date: Jan 2011
Location: sacramento ,ca
Posts: 563
Total Cats: 160
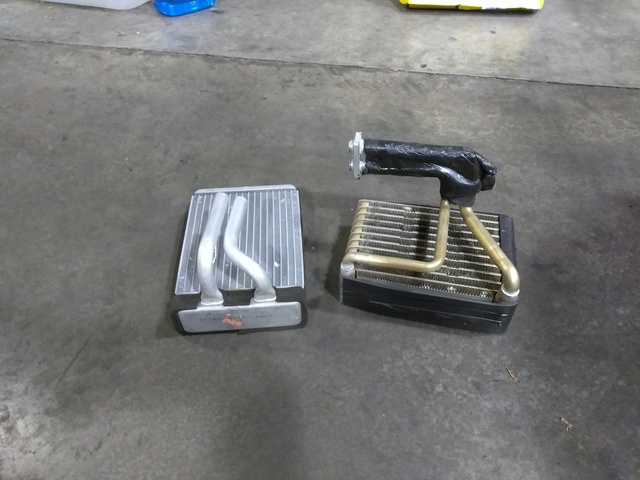
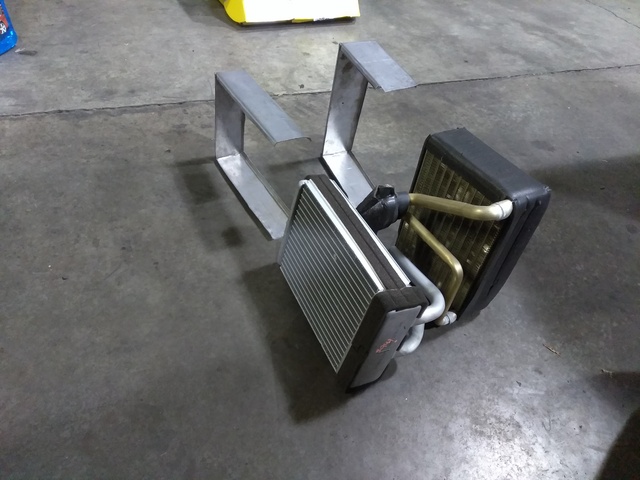
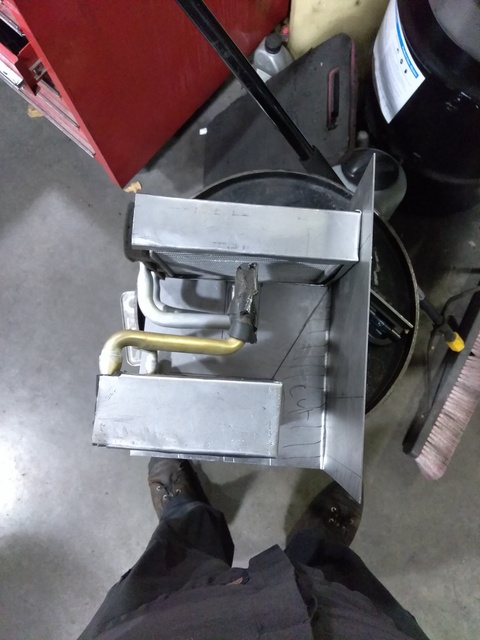
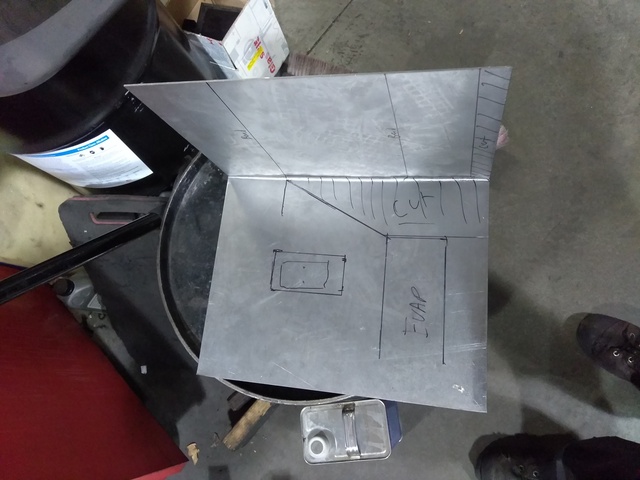
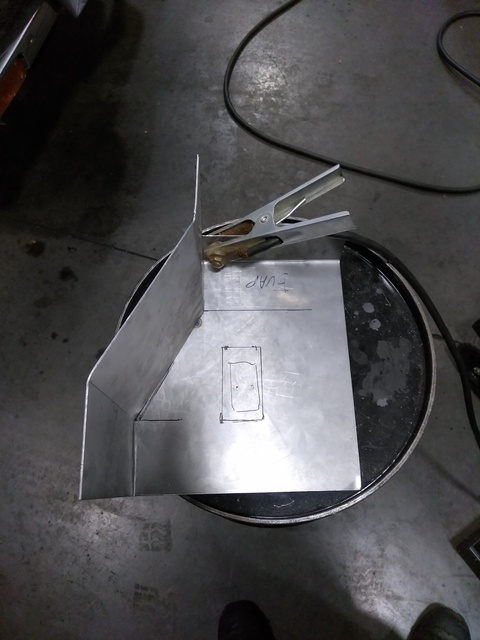
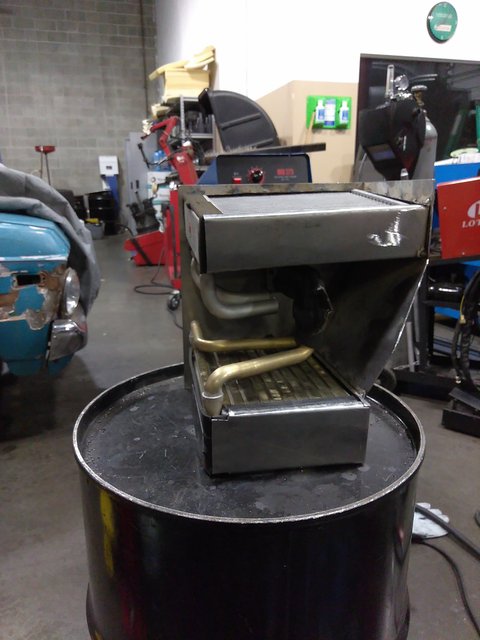
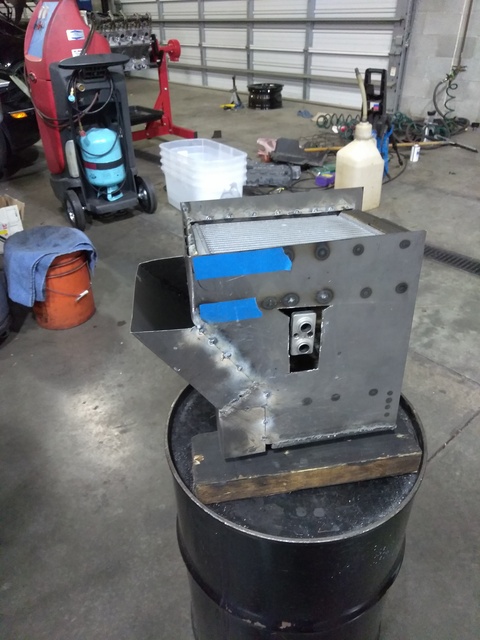
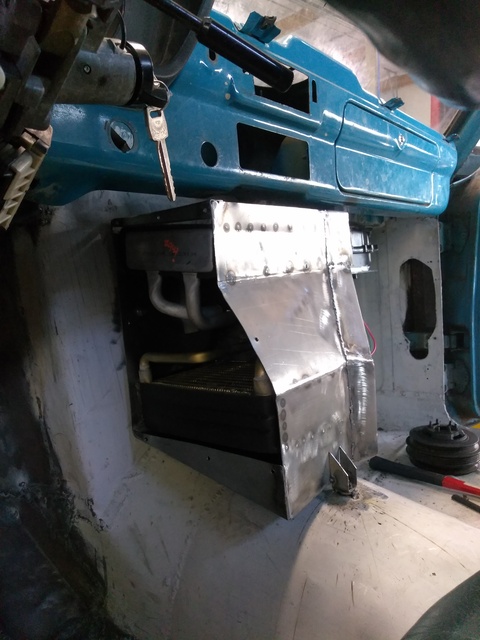
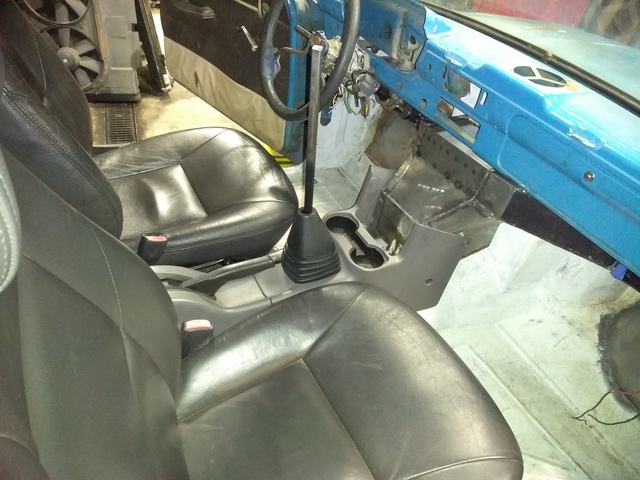
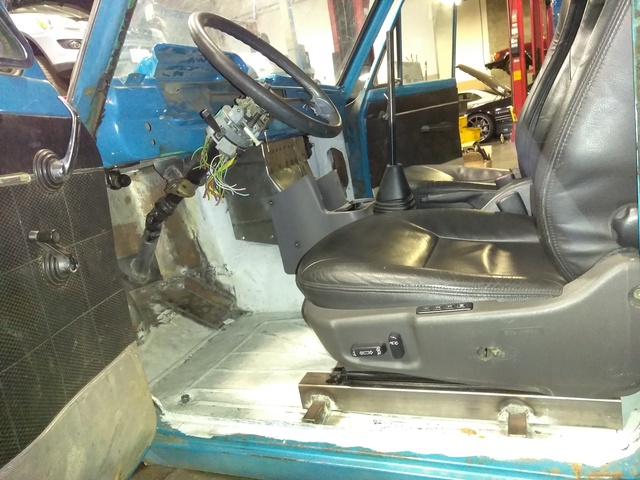
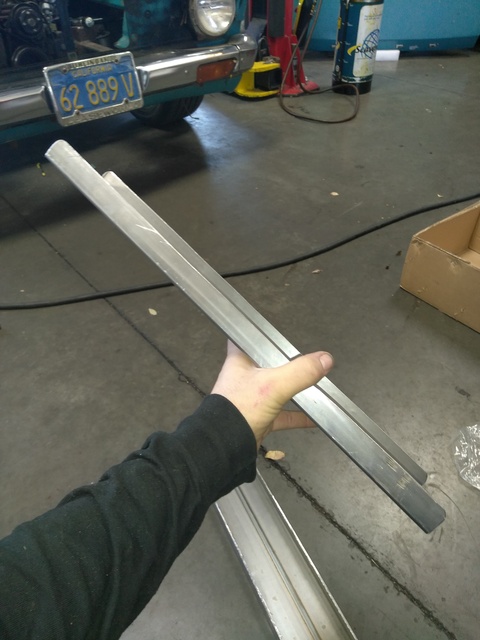
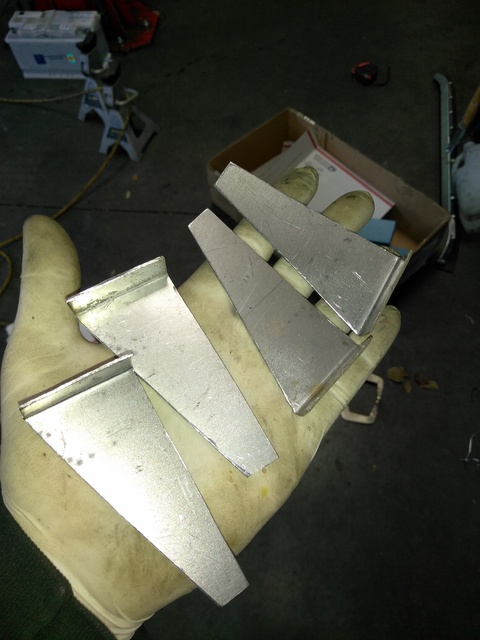
ok long time no post, had to stop spending money on the truck so i could afford a house but since ive been outbid 5 times in a row i decided to splurge on some stuff and get some work done. first of all i switched that massive evap for a smaller one out of the rear ac unit of a dodge durango which is almost the same size as the heater core. finished my evap/heater box and got my center console firmly bolted to the truck. now i can finish sorting out my limited interior space. i also bought a big expensive piece of delrin to make my body mounts.
a few hours of lathe time and i shout be able to turn this hunk of white gold into stiff as **** body mounts....
a few hours of lathe time and i shout be able to turn this hunk of white gold into stiff as **** body mounts....

Reply
 4
4

4
01-15-2017, 12:15 PM
#62
Senior Member
Thread Starter
Join Date: Jan 2011
Location: sacramento ,ca
Posts: 563
Total Cats: 160
Its half price at Pick n Pull so the truck is getting a little love this weekend. i picked up an a/c compressor. i decided to just use the stock Kia Sportage a/c compressor and modify the stock bracket to fit around my new engine mount brackets. it was pretty easy cause the there was only bolt that i couldnt use because it was directly behind the mount arm.
it definitely is a huge help to have an extra block on a stand to mock up and weld mounts.


i also made an internal flaring tool to put barbs into pipe from the inside. its just a ball bearing inside of a banjo bolt and there is a ramp cut into the bolt so when you tighten it it pushes the bearing out. im sure there are improvements to be made but this is what i have so far. it works the same so far in stainless, copper, and aluminum.
it definitely is a huge help to have an extra block on a stand to mock up and weld mounts.
i also made an internal flaring tool to put barbs into pipe from the inside. its just a ball bearing inside of a banjo bolt and there is a ramp cut into the bolt so when you tighten it it pushes the bearing out. im sure there are improvements to be made but this is what i have so far. it works the same so far in stainless, copper, and aluminum.
Reply
5
5

 01-16-2017, 12:56 AM
#65
Senior Member
Thread Starter
Join Date: Jan 2011
Location: sacramento ,ca
Posts: 563
Total Cats: 160
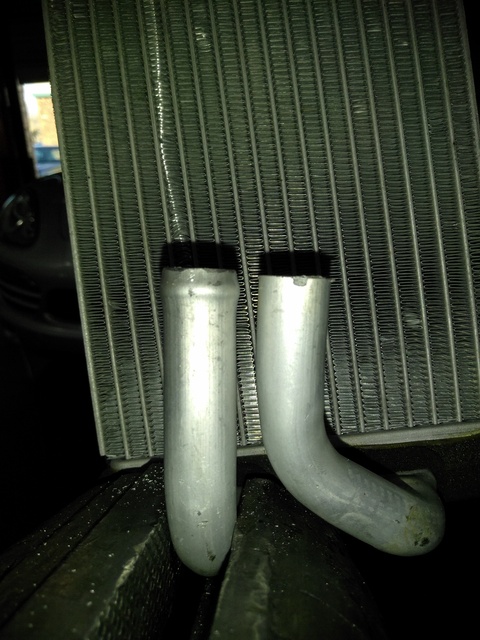
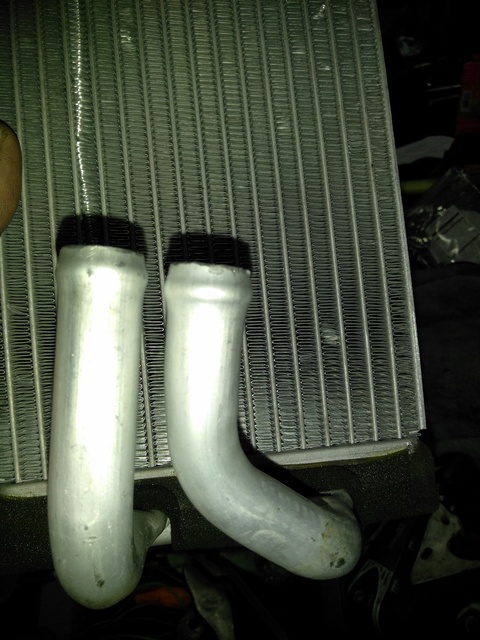
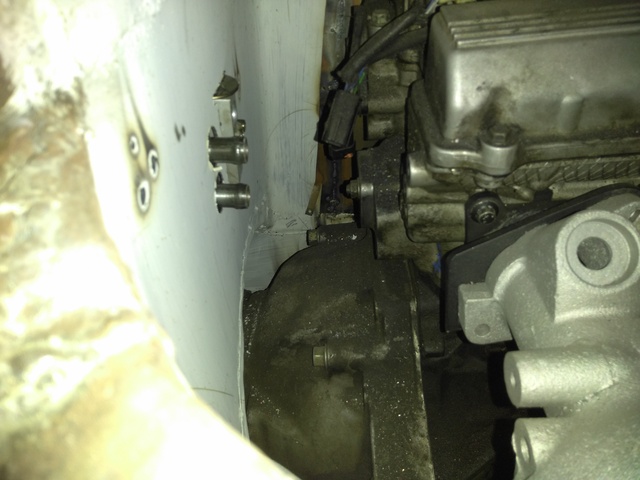
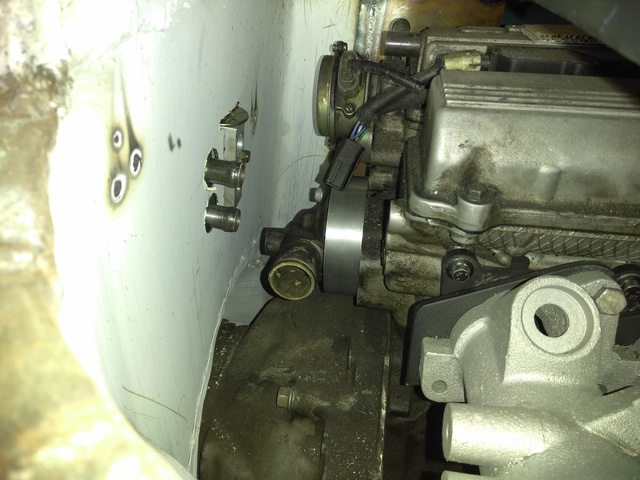
did more work today. after a lot of looking around the junk yard for pieces that fit properly i ended up with a thermostat housing off of a mercury capri XR2 turbo and a water pump outlet from a v6 hyundai sonota. im not using the stock thermostat cause it sticks out the front of the engine like the miata's so im doing a coolant reroute.
the water pump inlet bolts right up, i just need to drill, tap, and put a hose barb in it for the heater core. the thermostat housing needs to sit on top of a plate so i have some where to drill and tap for a barb for the other side of the heater core. that will get done after i have the heater core plumbed into the engine bay. i made the plate out of some 4" aluminum bar stock i have at my work for making misc tools. im still not great on the lathe but im slowly learning.
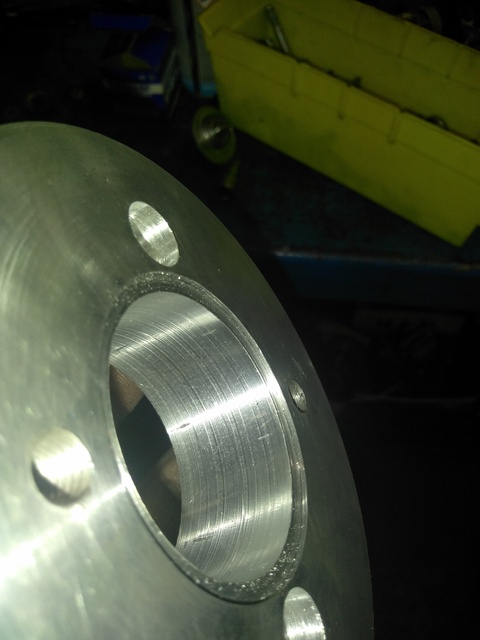
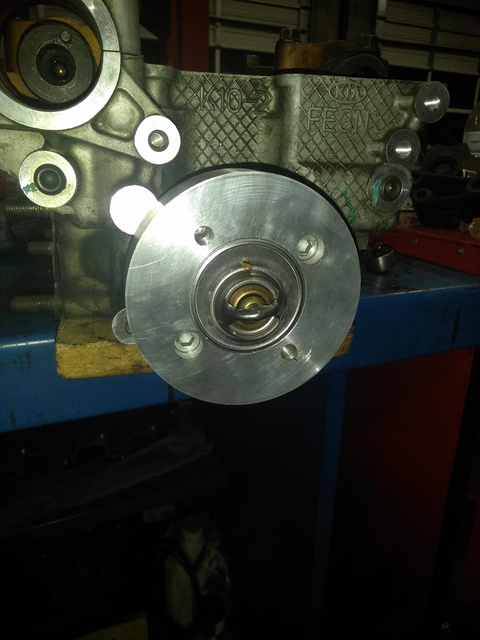
there is a block off plate in the rear of the head which is now getting the thermostat housing. i just swapped it to block off the front thermostat hole. it has thermostat holes front and rear of the head to work with fwd or rwd.
probably the smoothest surface ive made so far on a lathe

cut in a step for the thermostat to sit in. its super easy to fit everything when you have a spare head just laying around.
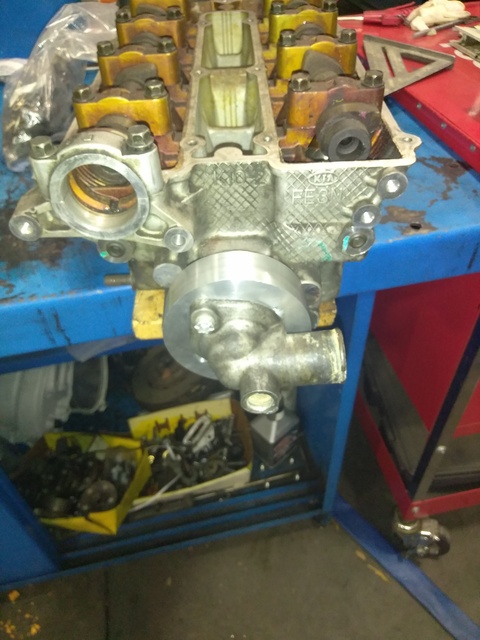
the water pump inlet
the water pump inlet bolts right up, i just need to drill, tap, and put a hose barb in it for the heater core. the thermostat housing needs to sit on top of a plate so i have some where to drill and tap for a barb for the other side of the heater core. that will get done after i have the heater core plumbed into the engine bay. i made the plate out of some 4" aluminum bar stock i have at my work for making misc tools. im still not great on the lathe but im slowly learning.
there is a block off plate in the rear of the head which is now getting the thermostat housing. i just swapped it to block off the front thermostat hole. it has thermostat holes front and rear of the head to work with fwd or rwd.
probably the smoothest surface ive made so far on a lathe
cut in a step for the thermostat to sit in. its super easy to fit everything when you have a spare head just laying around.
the water pump inlet
Reply
0
0
01-18-2017, 01:44 AM
#67
Senior Member
Thread Starter
Join Date: Jan 2011
Location: sacramento ,ca
Posts: 563
Total Cats: 160
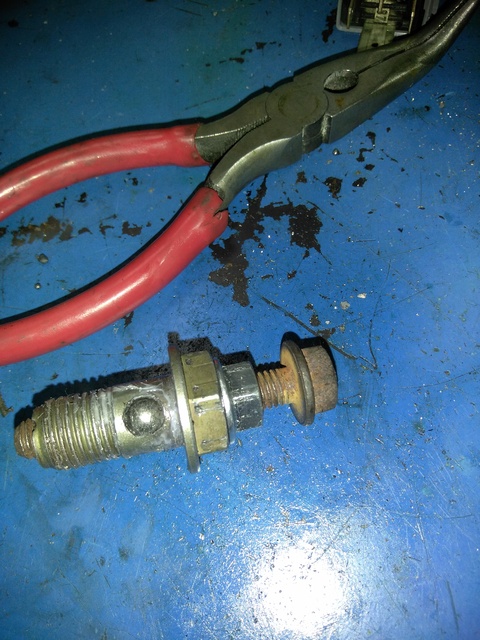
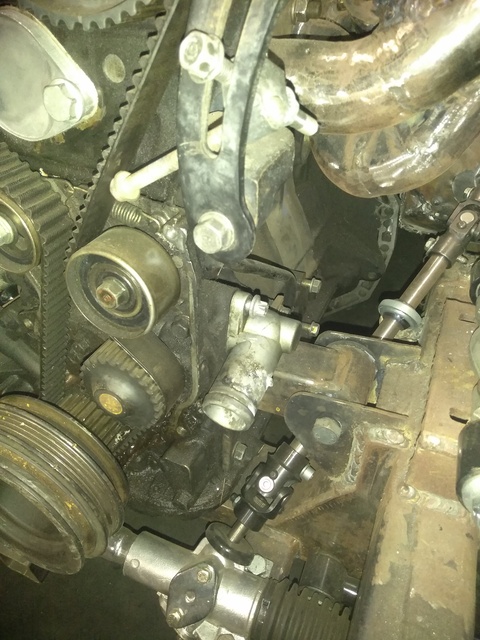
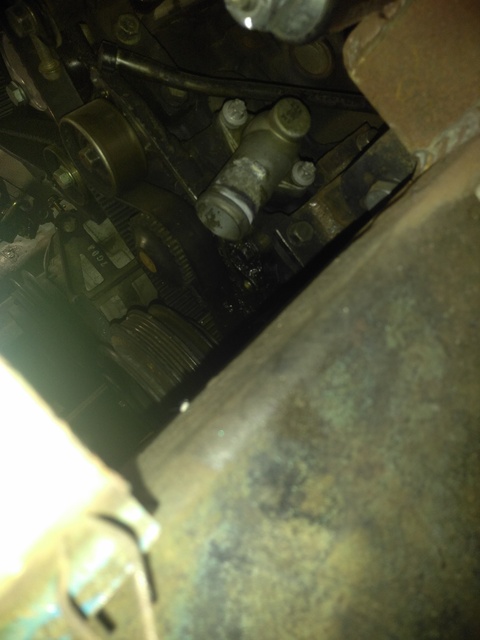
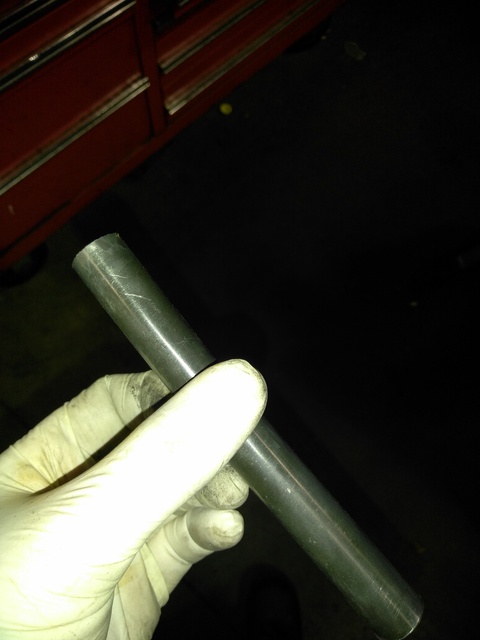
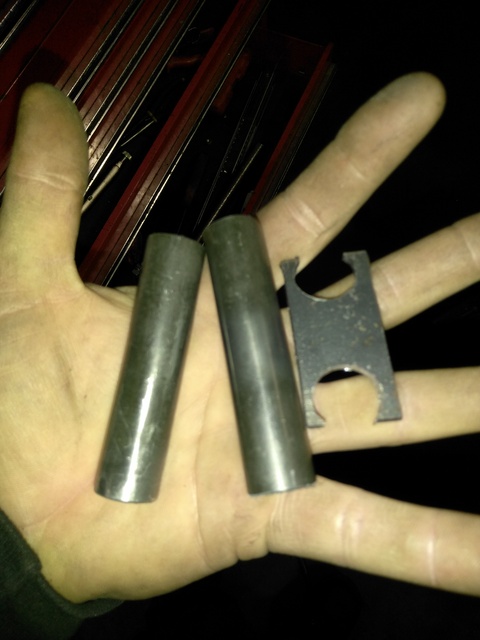
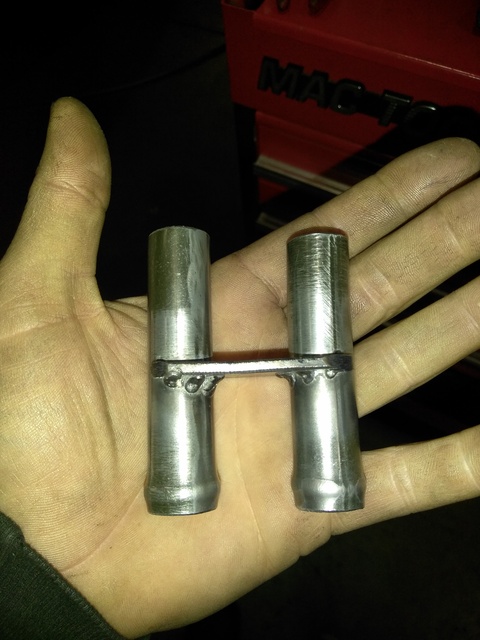
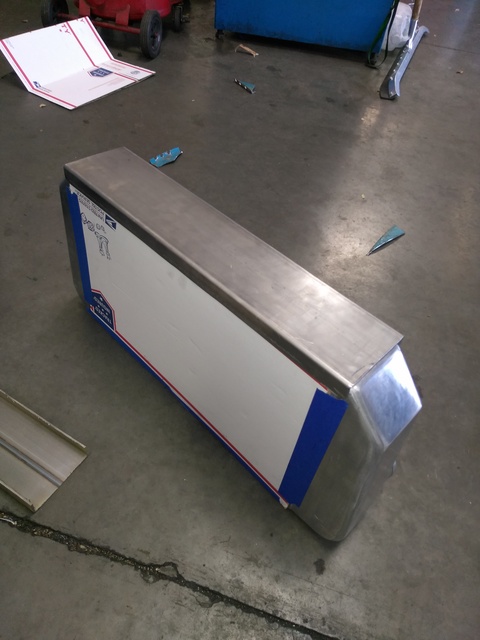
after looking all over for 5/8" heater hose bulk head connectors and not finding what i wanted i made one.
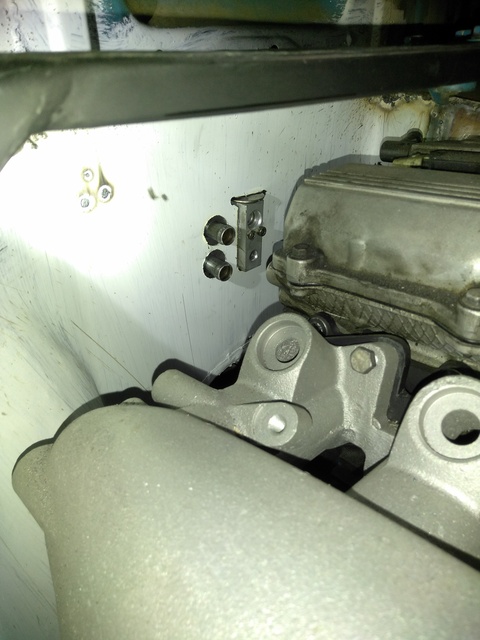
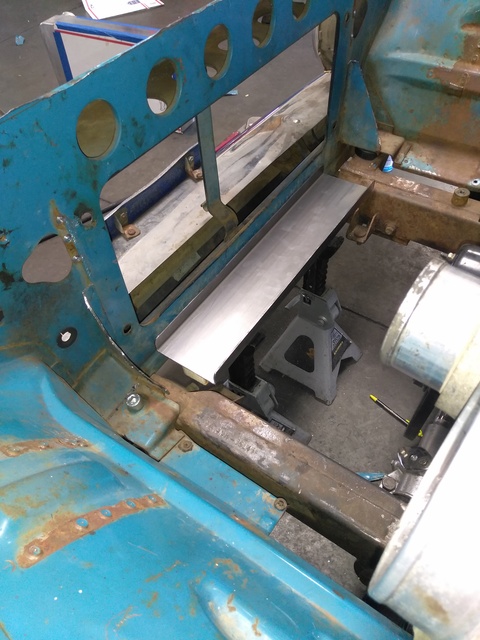
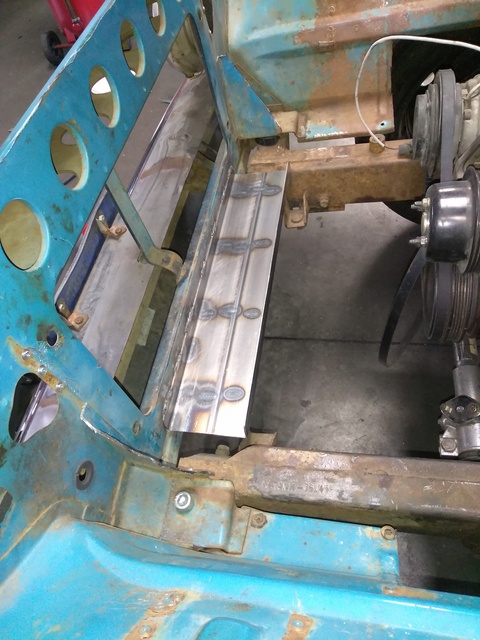
its getting crowded back there... should still be plenty of room though.
its getting crowded back there... should still be plenty of room though.
Reply
2
2
01-24-2017, 01:47 AM
#69
Senior Member
Thread Starter
Join Date: Jan 2011
Location: sacramento ,ca
Posts: 563
Total Cats: 160
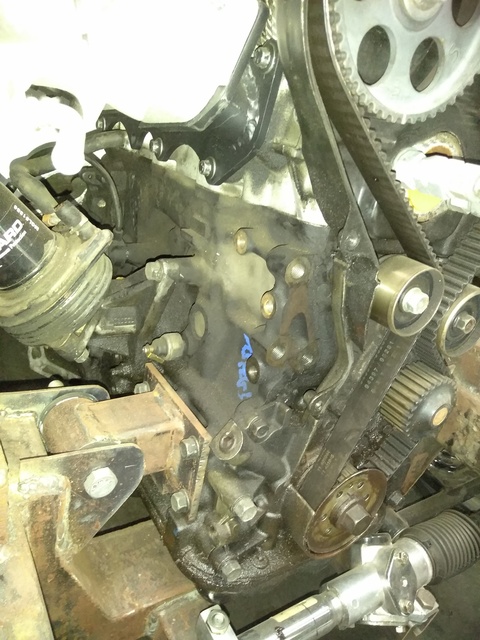
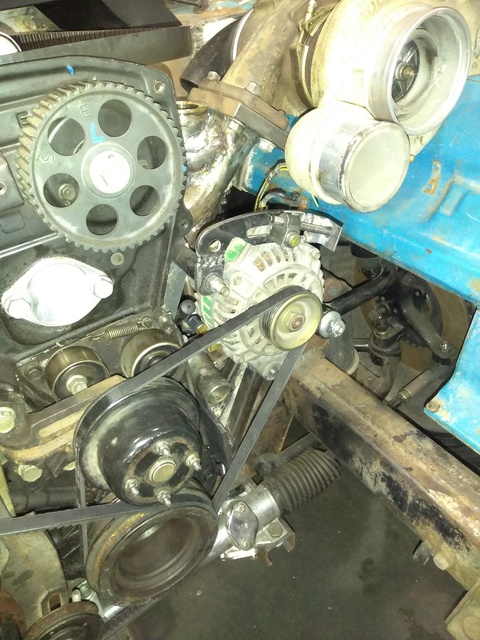
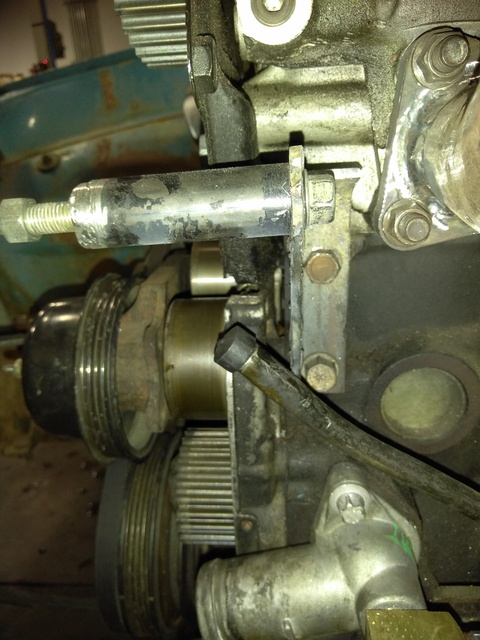
after starting at least 4 different alternator brackets i finally made one that cleared everything and sits strait. i have some heat shielding that im going to put between the alt and the manifold.

Reply
1
1
01-29-2017, 10:46 AM
#70
Senior Member
Thread Starter
Join Date: Jan 2011
Location: sacramento ,ca
Posts: 563
Total Cats: 160
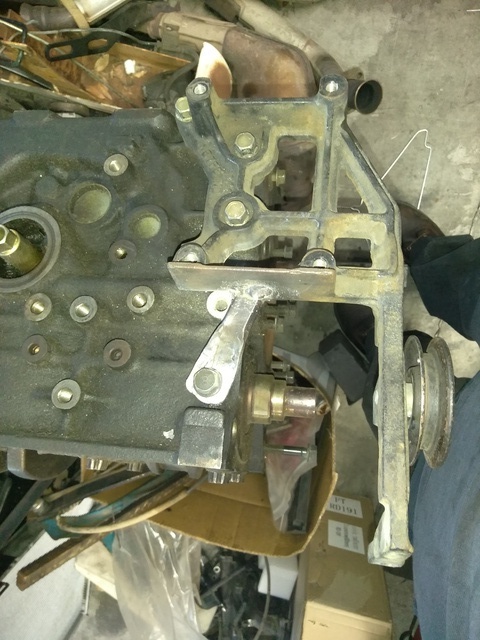
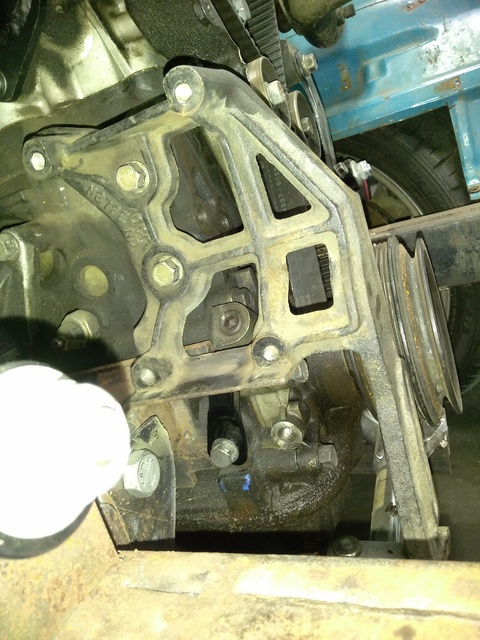
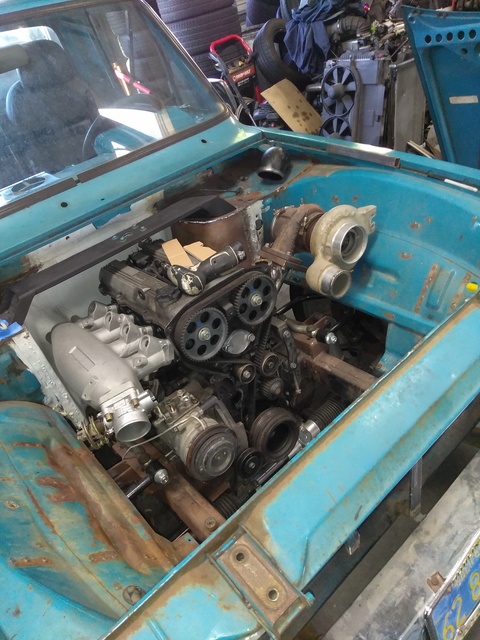
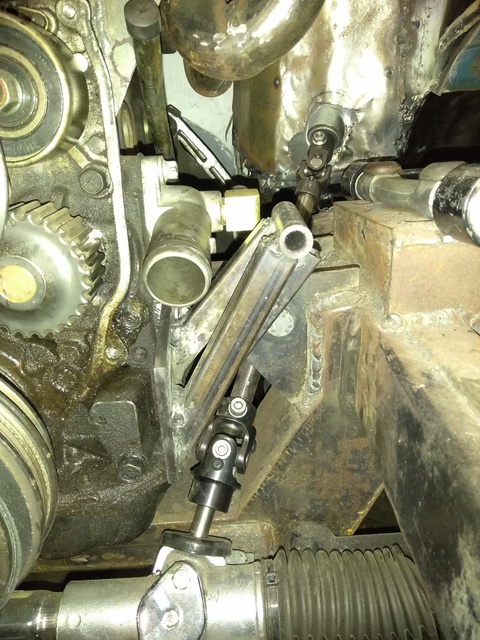
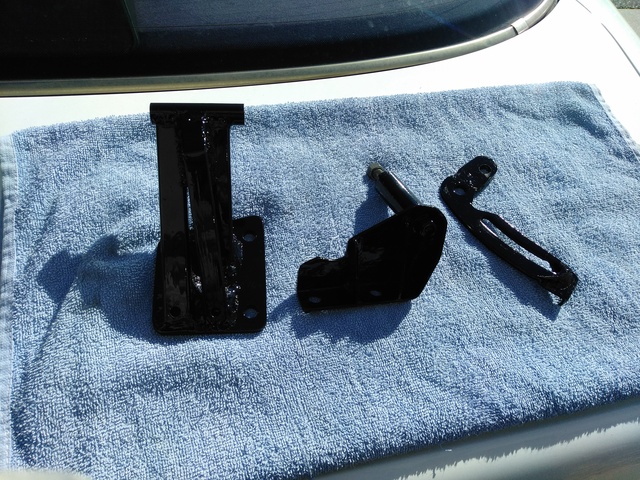
i got my alternator brackets all cleaned up and painted. did some final mock up of the intercooler and started mounting it. i had to trim the front cab mount support just a bit . i went a little overkill on the lower tray, i can pretty much stand on it. im going to wait until i have my ac condenser to mount the radiator to make sure all of my spacing is correct. for mock up purposes that piece of foam is the makeshift condenser.
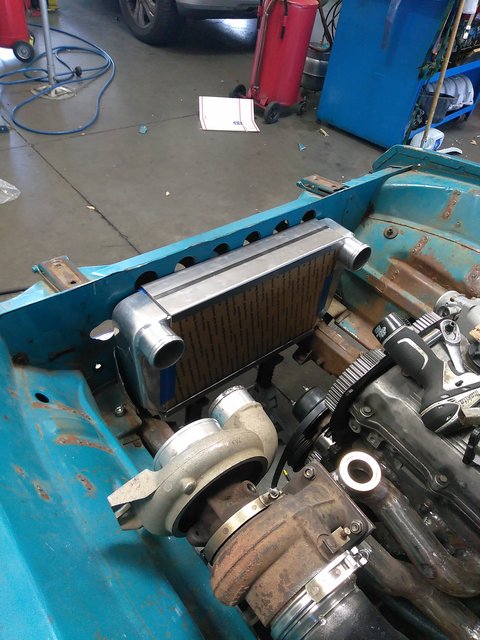
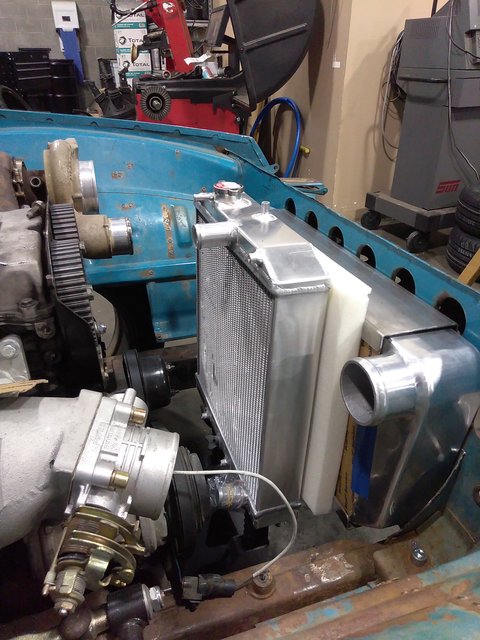
not sure what im going to be doing with the intercooler to throttle body connection yet but it needs to move alot for how close they are
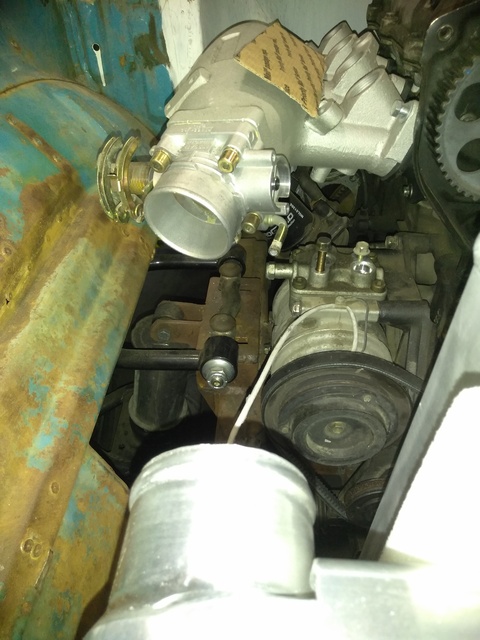
turbo outlet is perfect
not sure what im going to be doing with the intercooler to throttle body connection yet but it needs to move alot for how close they are
turbo outlet is perfect
Reply
2
2
01-29-2017, 11:00 AM
#71
Elite Member
iTrader: (37)

Join Date: Apr 2010
Location: Very NorCal
Posts: 10,441
Total Cats: 1,899
Nice progress! 
Maybe lop the throttle body flange off the intake manifold, add a wedge and weld it back together so it's straight? It looks like it would line up pretty well, if I'm looking at that pic correctly.
Maybe lop the throttle body flange off the intake manifold, add a wedge and weld it back together so it's straight? It looks like it would line up pretty well, if I'm looking at that pic correctly.
Reply
0
0
 01-30-2017, 12:55 AM
#75
Elite Member
iTrader: (37)
Join Date: Apr 2010
Location: Very NorCal
Posts: 10,441
Total Cats: 1,899
Is the flange twisted like that in the OEM application for clearance around other components? Is there another OEM application for that motor that does not have the twisted throttle body flange that you can source a manifold off of?
****. With your skills you could probably just fabricate a plenum with a set of velocity stacks inside. Becauseracecar, right?
****. With your skills you could probably just fabricate a plenum with a set of velocity stacks inside. Becauseracecar, right?
Reply
0
0
01-30-2017, 10:23 AM
#76
Senior Member
Thread Starter
Join Date: Jan 2011
Location: sacramento ,ca
Posts: 563
Total Cats: 160
the tb holes are square.
i dont want to cut the manifold cause i suck at welding aluminum and would like to use as many unmodified parts as possible so when **** breaks i can just replace it.
i was thinking a throttle body spacer to straighten it out but im not sure if it would mess up how the air flows into the manifold.
its a cheap chinese knock off of an s13 SR20 greddy manifold. as far as i can tell all the sr20 manifolds have that angled throttle body
Reply
0
0