The Project In My Garage...
 12-22-2010, 11:33 PM
#21

This is such a nice build. Seriously, it's top notch. Don't hold back on the pics!
EDIT: What did you use to coat the transmission tunnel? Also, when you installed the FM 19" IC, did you make a new bracket or just bend the lines until you had enough clearence?
EDIT: What did you use to coat the transmission tunnel? Also, when you installed the FM 19" IC, did you make a new bracket or just bend the lines until you had enough clearence?
Last edited by viperormiata; 12-22-2010 at 11:54 PM.

Reply
 0
0

0
01-06-2011, 10:35 AM
#22
Elite Member
Thread Starter
iTrader: (33)
Join Date: Jan 2007
Location: Newnan, GA
Posts: 2,518
Total Cats: 30
The coating on the transmission tunnel is a spray on rubberized coating. The FM intercooler is hanging from the FM bracketry and the a/c lines and dryer can were moved just slightly to make room for it. Holding the intercooler somewhat in place shows you exactly what you need to do to make it fit.
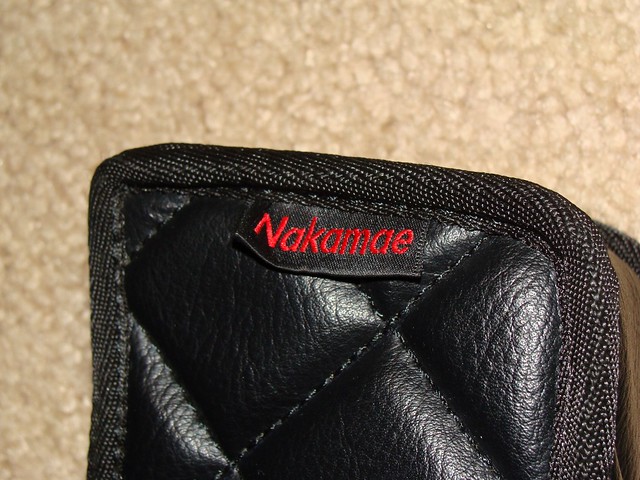
So he bought some interior bits, I know not everyone here will be excited over these parts, but they are high quality and will make for a nice interior he'll enjoy.
Nakamae interior set. Only thing not pictured here is the convertible boot as it's going to be professionally upholstered to fit around the roll bar.

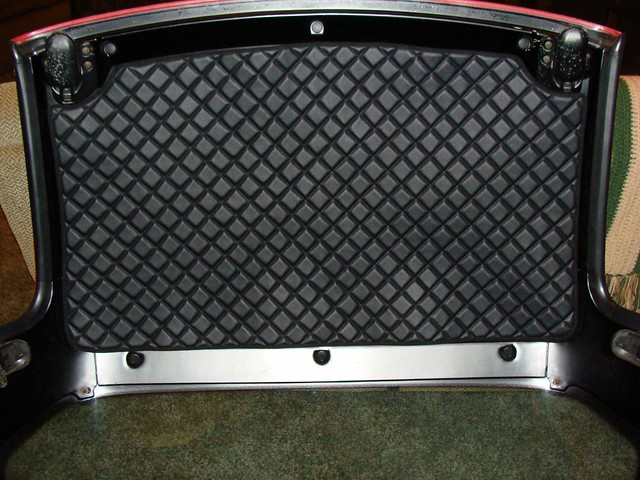
From what he was told, there are only 2 of these hardtop headliners in existence made by Nakamae:
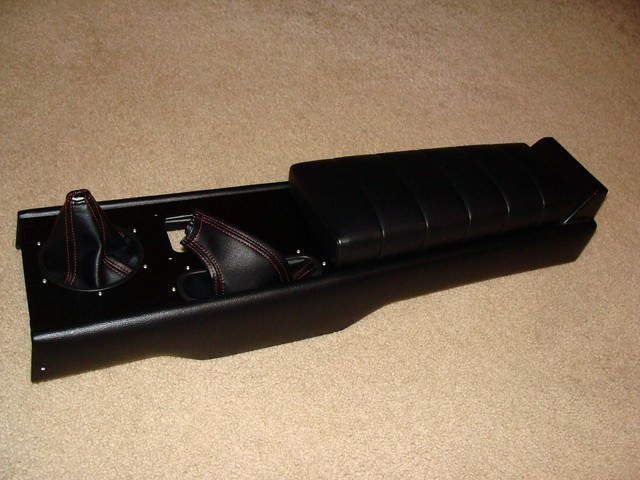
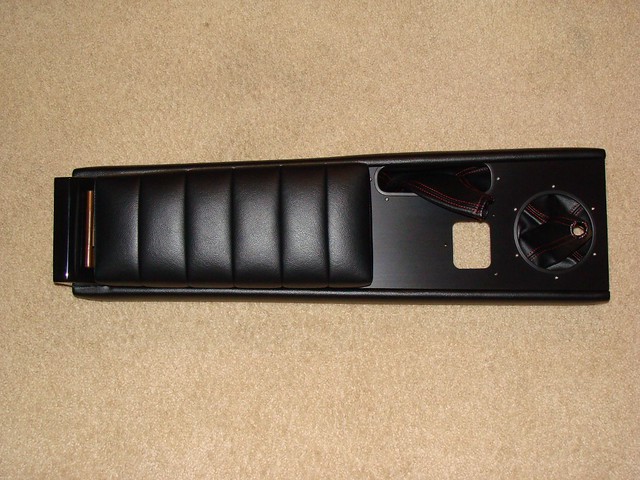
RS Products Center Console:
I think it will all look better if the tan Lotus Probax seats get dyed black.
So he bought some interior bits, I know not everyone here will be excited over these parts, but they are high quality and will make for a nice interior he'll enjoy.
Nakamae interior set. Only thing not pictured here is the convertible boot as it's going to be professionally upholstered to fit around the roll bar.
From what he was told, there are only 2 of these hardtop headliners in existence made by Nakamae:
RS Products Center Console:
I think it will all look better if the tan Lotus Probax seats get dyed black.
Reply
0
0

 01-09-2011, 03:16 PM
#27

I want your buddies check book ... there's some serious blang blang in this thread.
I noticed you painted the trans tunnel with undercoating - did you notice a considerable difference in heat transfer?
I prefer my carpet-less interior for a number of reasons, however, the tunnel gets brutally hot.
When I have the trans out this spring I want to doing something - whether it's undercoating or some stuck on shielding.
-Zach
Reply
0
0
01-09-2011, 05:10 PM
#28
Elite Member
Thread Starter
iTrader: (33)
Join Date: Jan 2007
Location: Newnan, GA
Posts: 2,518
Total Cats: 30
Thanks guys! I'm glad my old drive train will be put to good use again soon. And then I'll finally get to see some definitive numbers from it too since I was never able to get it on the dyno after it was completed.
Zach, when I did the tunnel coating on my NA, there was a little less heat, but it was still there. However it did help considerably with noise. Wasn't quite the results I wanted, but I expected it. I think probably only way to get the heat down is to add some good shielding.
Zach, when I did the tunnel coating on my NA, there was a little less heat, but it was still there. However it did help considerably with noise. Wasn't quite the results I wanted, but I expected it. I think probably only way to get the heat down is to add some good shielding.
Reply
0
0


 01-27-2011, 11:53 PM
#35
Elite Member
Thread Starter
iTrader: (33)
Join Date: Jan 2007
Location: Newnan, GA
Posts: 2,518
Total Cats: 30
A few nights ago I started trimming the panels to go around the roll bar:
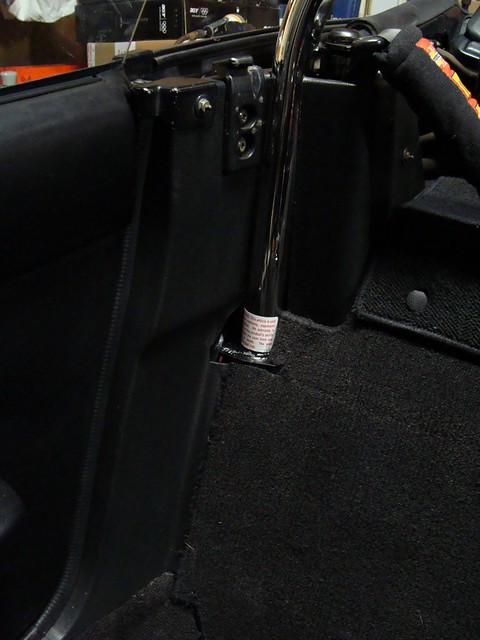
Just to show what the panels look like after I'm done trimming and finishing them to go around the roll bar. They're initially cut with a cutoff wheel and then when everything finally fits right I smooth the edges off with my Dremel. All done by eye.
Then tonight I sealed up the exhaust and installed the FM Cannon Brace, which arrived in the mail today:
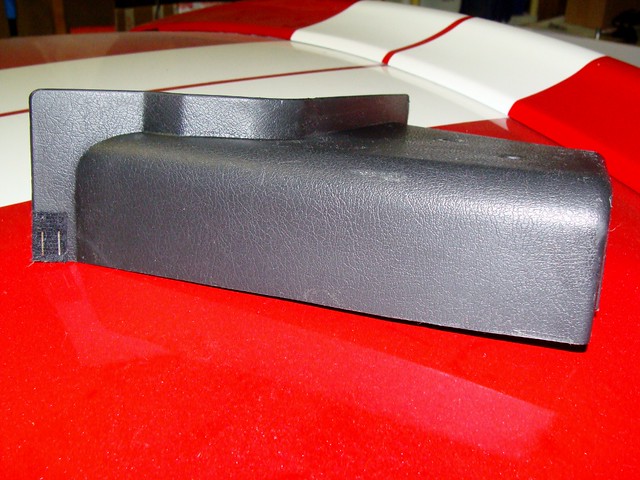
I replaced the broken gauge hood and now the interior is in the car again. A few Nakamae parts still have yet to be fitted, but the larger pieces are in.
Just to show what the panels look like after I'm done trimming and finishing them to go around the roll bar. They're initially cut with a cutoff wheel and then when everything finally fits right I smooth the edges off with my Dremel. All done by eye.
Then tonight I sealed up the exhaust and installed the FM Cannon Brace, which arrived in the mail today:
I replaced the broken gauge hood and now the interior is in the car again. A few Nakamae parts still have yet to be fitted, but the larger pieces are in.
Reply
1
1
04-11-2011, 10:38 PM
#36
Elite Member
Thread Starter
iTrader: (33)
Join Date: Jan 2007
Location: Newnan, GA
Posts: 2,518
Total Cats: 30
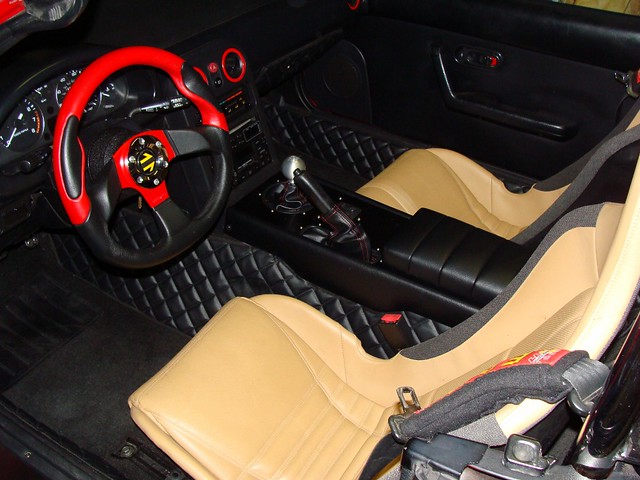
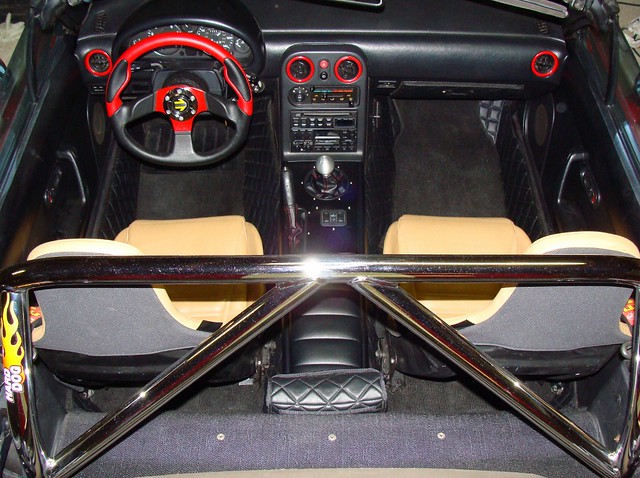
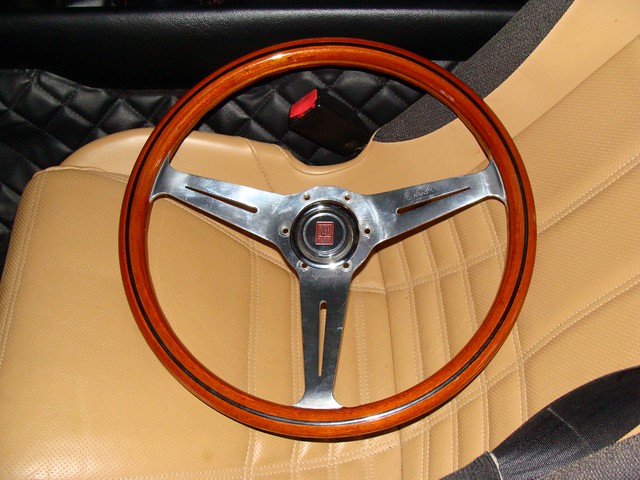
I've neglected to update this thread, so I'm going to patch a few updates together... Anyway, he decided to remove the red parts and gave me a Nardi wheel and RSpeed vent rings for the interior:
I used the Momo button and chrome outer ring from the old wheel because the Nardi button didn't fit in the sandwich trim ring (between the wheel and the hub, grounds the horn) and it's all easier to install with that ring. Regardless, it'll work for the time being.
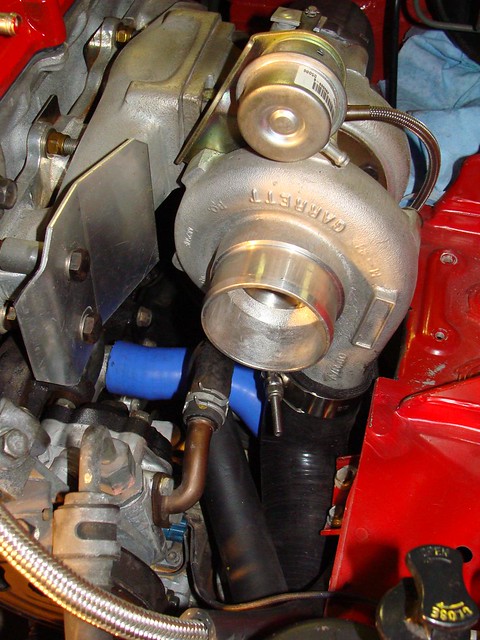
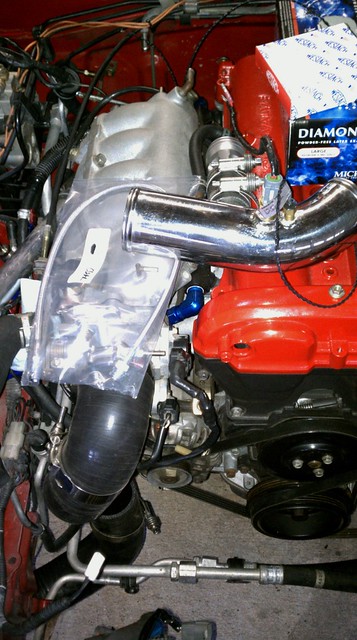
The FM silicone hotside pipe we had came out of my old '95 and was not compatible with the 1.6 a/c hardlines, so we got a new pipe and after some persuasion I got it into place. I also test fit the lower radiator hose. There are so many hoses and lines in this area now it's become a little cramped, but nothing is rubbing on any pulleys or sharp metal objects which is always a good thing.
I also got started on wiring up the '99 throttle body. The instructions for this job talk about cutting and reconnecting, that works, but I don't like hacking up the wiring if I don't have to. So I took the harness plugs apart and got to work:
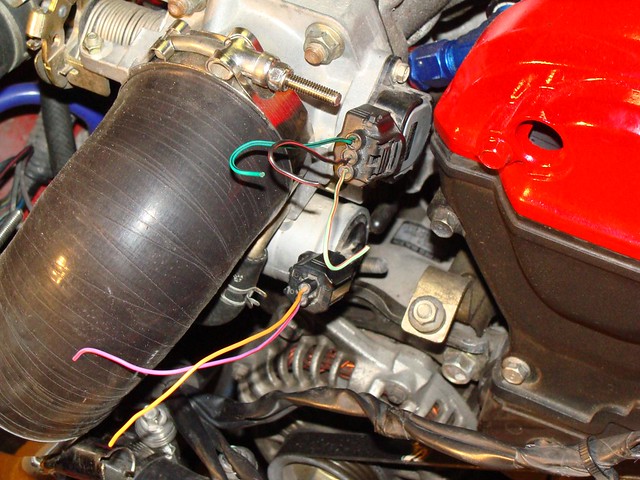
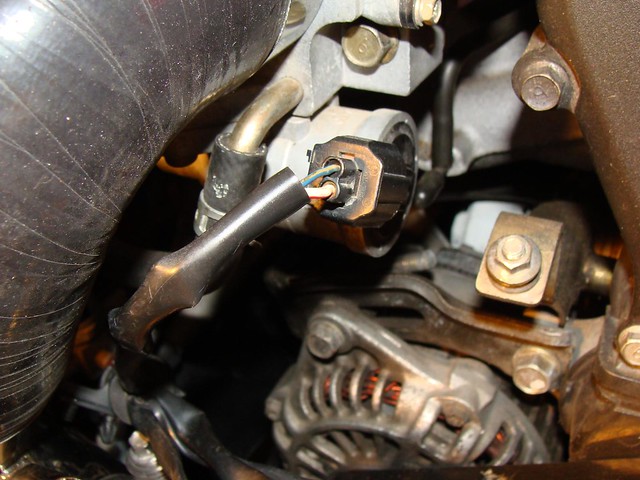
The TPS wiring isn't done though, Mazda used different pins in the harness plug between years so I have to make a Radio Shack run to get the correct pins.
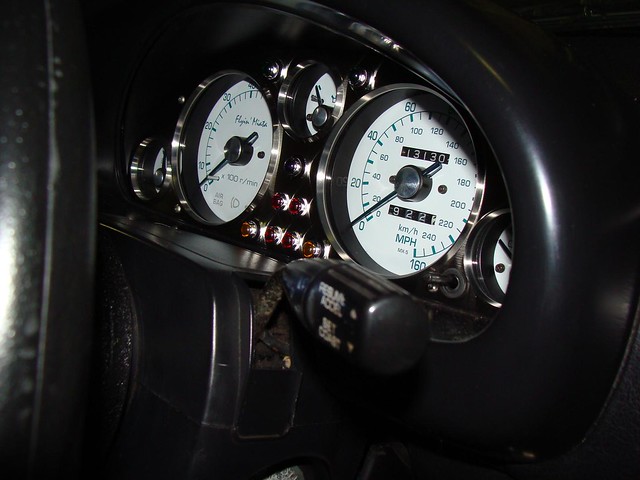
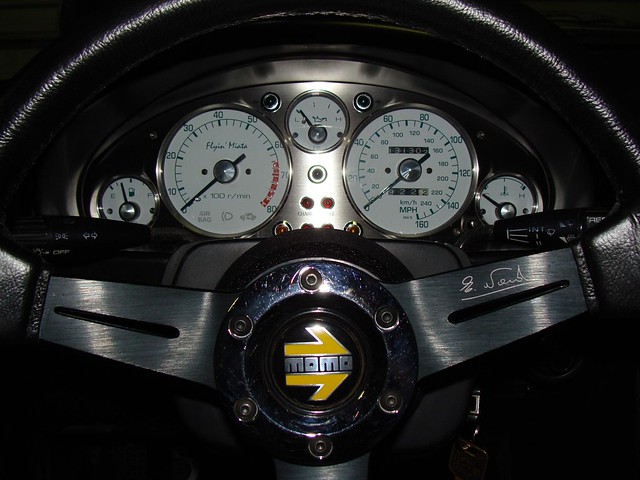
And finally he bought a new gauge cluster. It's pretty nice, each gauge has it's own individual glass and trim ring:
So now the big parts are in place and most everything is buttoned up or getting buttoned up. There are still a lot of little details left, but now I'm really in the midst of the wiring, which is not only for making the 1.8 engine and components work in the 1.6 chassis, but for the Hydra install itself, which is slightly more complex since the Hydra was originally for an Evo. lol
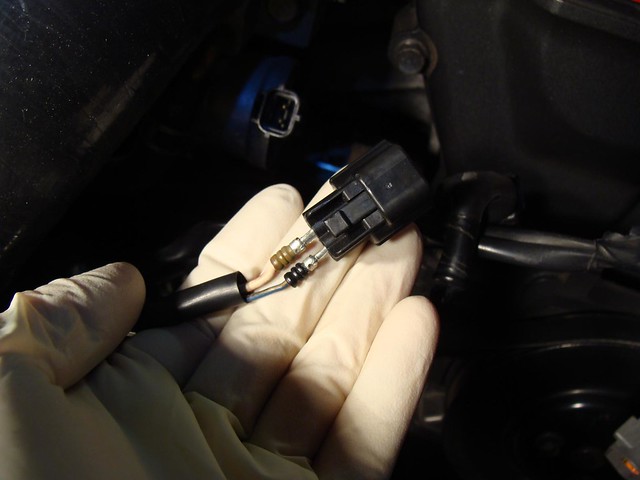
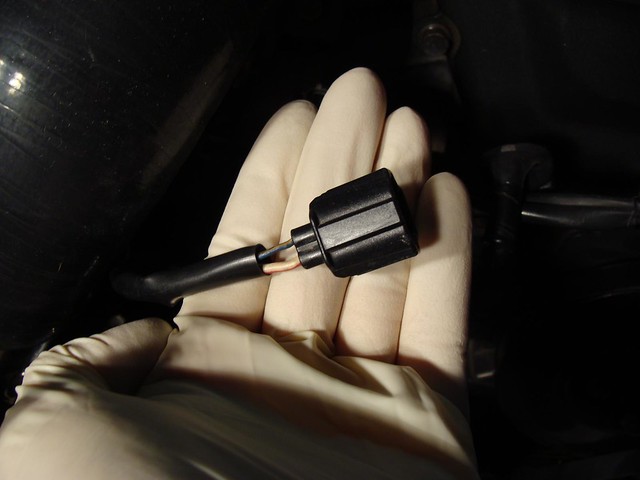
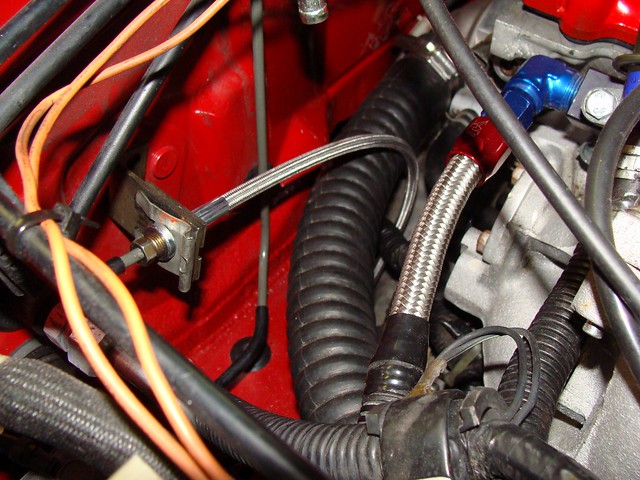
We ordered a 1-piece clutch line to make life easier for routing the main wiring harness and the coolant reroute. I "built" the Hydra's IAT sensor harness and finished wiring up the TPS harness for the '99 TB. I also installed the sensor probe for the Intercooler In/Out temp gauge.
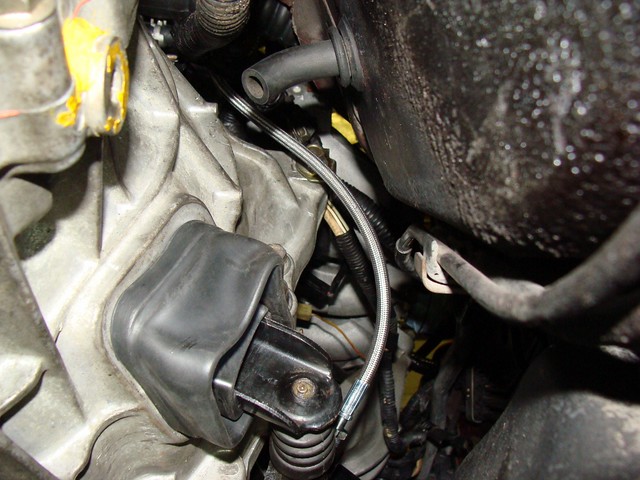
For those of you familiar with SS lines and their ability to eat through other metal and rubber hoses, fear not, the line has a thick, clear rubberized coating on it to prevent that.
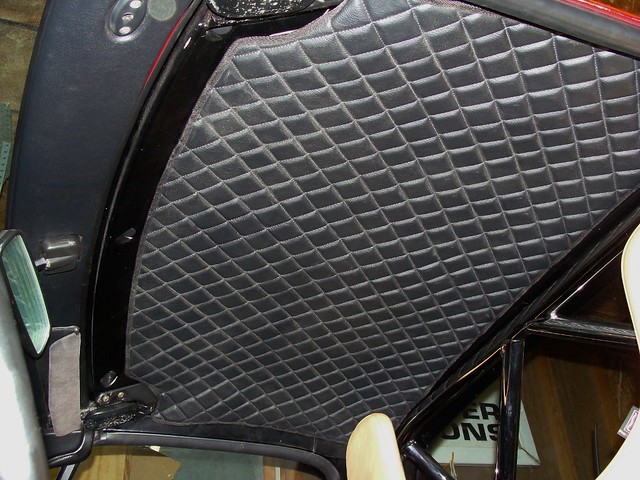
The owner came down last week to drop yet another delivery of parts off for the Miata and while I was replacing the headlight assemblies on his supercharged '95 M3 (fast as hell, fyi) he installed the Nakamae headliner and dash/gauge hood covers. Sorry, my pictures are not up to par today...
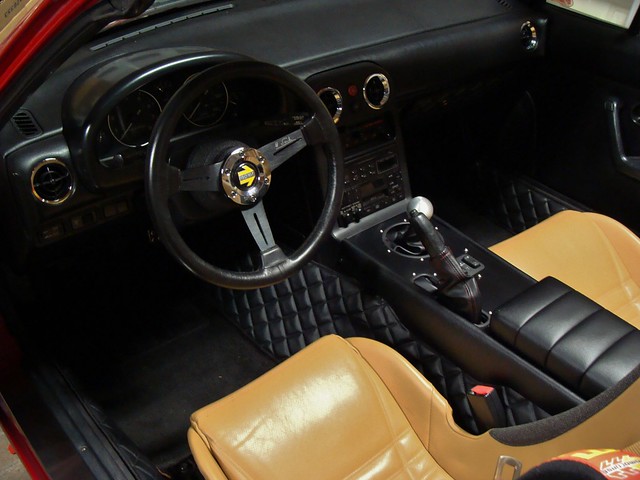
He also brought over another Nardi steering wheel he likes better, he's going for a classic roadster feel inside the car:
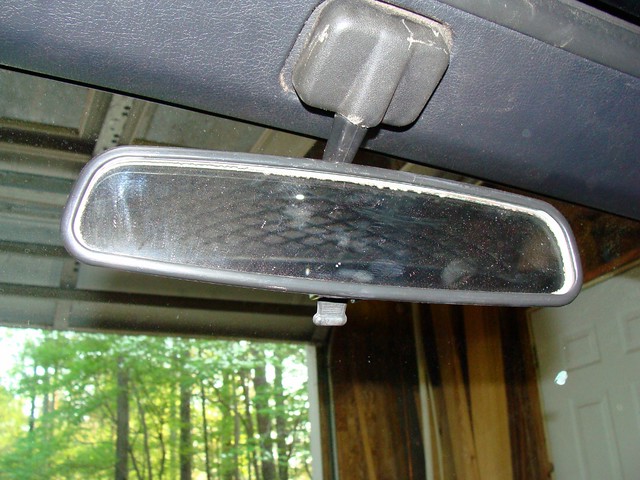
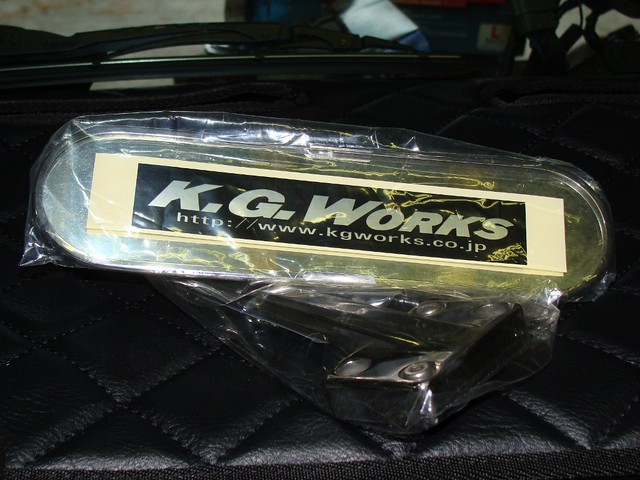
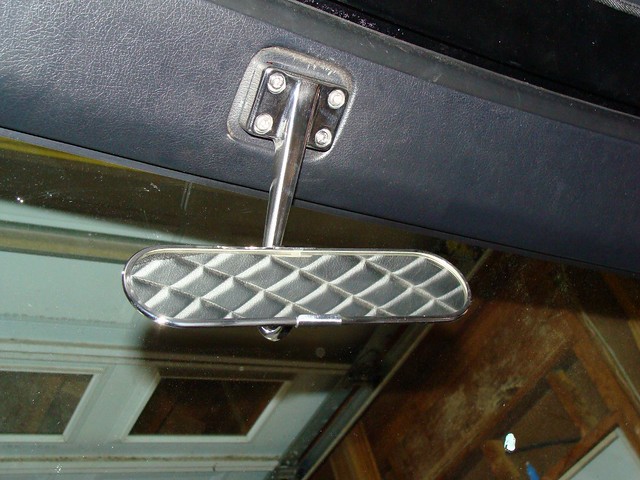
He also got a KG Works mirror to replace the OEM rearview mirror:
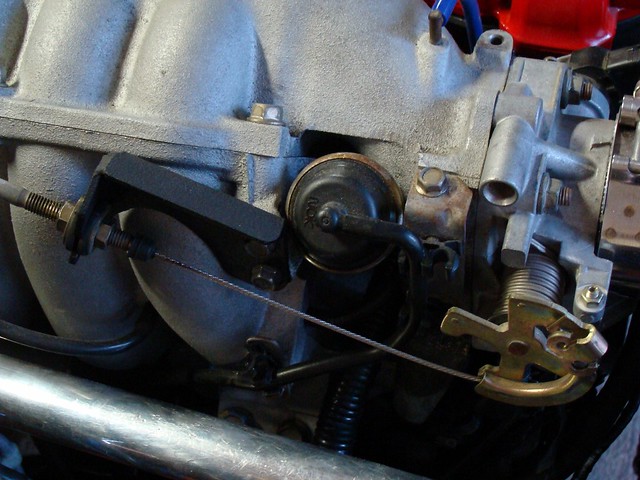
We got a throttle cable relocation bracket to use the 1.6L cable on the '99 head, FM sends it unfinished so I took care of that with some rubberized undercoating. Now the go pedal works.
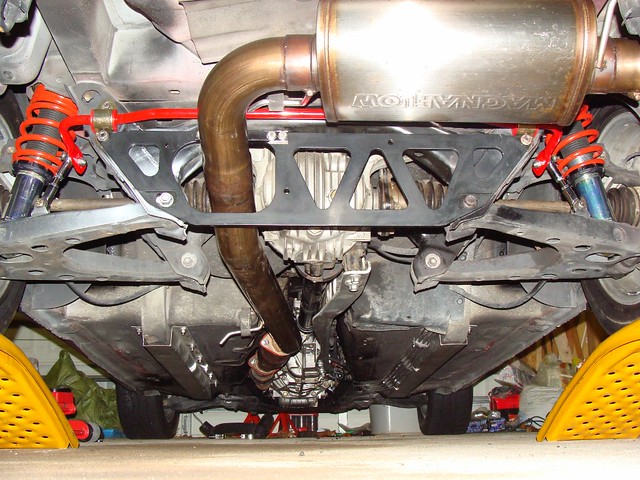
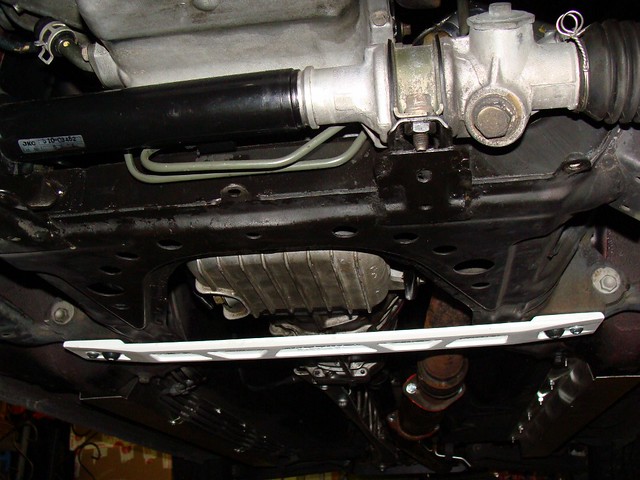
Also installed the Racing Beat Chassis Brace, very structural piece and now the underside of the car has extra bracing all the way around:
The front sway bar is also in place so I could check clearances between the radiator fans, pulleys, intercooler pipes, etc. After some more minor adjustments to the a/c lines (which I modified to install the larger core intercooler) the sway bar fits, so I'll have to go back in there and grease the bushings and install the adjustable endlinks.
I used the Momo button and chrome outer ring from the old wheel because the Nardi button didn't fit in the sandwich trim ring (between the wheel and the hub, grounds the horn) and it's all easier to install with that ring. Regardless, it'll work for the time being.
The FM silicone hotside pipe we had came out of my old '95 and was not compatible with the 1.6 a/c hardlines, so we got a new pipe and after some persuasion I got it into place. I also test fit the lower radiator hose. There are so many hoses and lines in this area now it's become a little cramped, but nothing is rubbing on any pulleys or sharp metal objects which is always a good thing.
I also got started on wiring up the '99 throttle body. The instructions for this job talk about cutting and reconnecting, that works, but I don't like hacking up the wiring if I don't have to. So I took the harness plugs apart and got to work:
The TPS wiring isn't done though, Mazda used different pins in the harness plug between years so I have to make a Radio Shack run to get the correct pins.
And finally he bought a new gauge cluster. It's pretty nice, each gauge has it's own individual glass and trim ring:
So now the big parts are in place and most everything is buttoned up or getting buttoned up. There are still a lot of little details left, but now I'm really in the midst of the wiring, which is not only for making the 1.8 engine and components work in the 1.6 chassis, but for the Hydra install itself, which is slightly more complex since the Hydra was originally for an Evo. lol
We ordered a 1-piece clutch line to make life easier for routing the main wiring harness and the coolant reroute. I "built" the Hydra's IAT sensor harness and finished wiring up the TPS harness for the '99 TB. I also installed the sensor probe for the Intercooler In/Out temp gauge.
For those of you familiar with SS lines and their ability to eat through other metal and rubber hoses, fear not, the line has a thick, clear rubberized coating on it to prevent that.
The owner came down last week to drop yet another delivery of parts off for the Miata and while I was replacing the headlight assemblies on his supercharged '95 M3 (fast as hell, fyi) he installed the Nakamae headliner and dash/gauge hood covers. Sorry, my pictures are not up to par today...
He also brought over another Nardi steering wheel he likes better, he's going for a classic roadster feel inside the car:
He also got a KG Works mirror to replace the OEM rearview mirror:
We got a throttle cable relocation bracket to use the 1.6L cable on the '99 head, FM sends it unfinished so I took care of that with some rubberized undercoating. Now the go pedal works.
Also installed the Racing Beat Chassis Brace, very structural piece and now the underside of the car has extra bracing all the way around:
The front sway bar is also in place so I could check clearances between the radiator fans, pulleys, intercooler pipes, etc. After some more minor adjustments to the a/c lines (which I modified to install the larger core intercooler) the sway bar fits, so I'll have to go back in there and grease the bushings and install the adjustable endlinks.
Reply
1
1


