When you click on links to various merchants on this site and make a purchase, this can result in this site earning a commission. Affiliate programs and affiliations include, but are not limited to, the eBay Partner Network.
Last track day the brakes performance was sub-optimal and as a result, less than confidence inspiring. Rather than replace the pads, I again chose the nuclear option and upgraded the entire front brake system.
While the Trackspeed 11.75'' kit was decent, there were small details that I did not like about the kit, namely the cotter-pin retention system, and that the lower portion of the inside pad annulus would overhang the rotor face. As the pad would wear, a lip would begin to develop, and make it all but impossible to remove the pad with the caliper still attached. The Dynalite caliper itself was inherently weak, and would deflect, resulting in less than ideal pedal feel. Picky, I know.
Naturally, I began researching other alternatives and found a kit that ticked all the boxes.
It was the JerfSpeed kit developed by @jpreston and it consisted of a directional rotor, NAS hardware, radial mount C43 caliper, with a 7420 pad shape. I can not say enough good things about the communication from Jeff. He answered all of my all-to-many questions extremely quickly, and provided outstanding support.
His experience is what truly sold me on this kit.
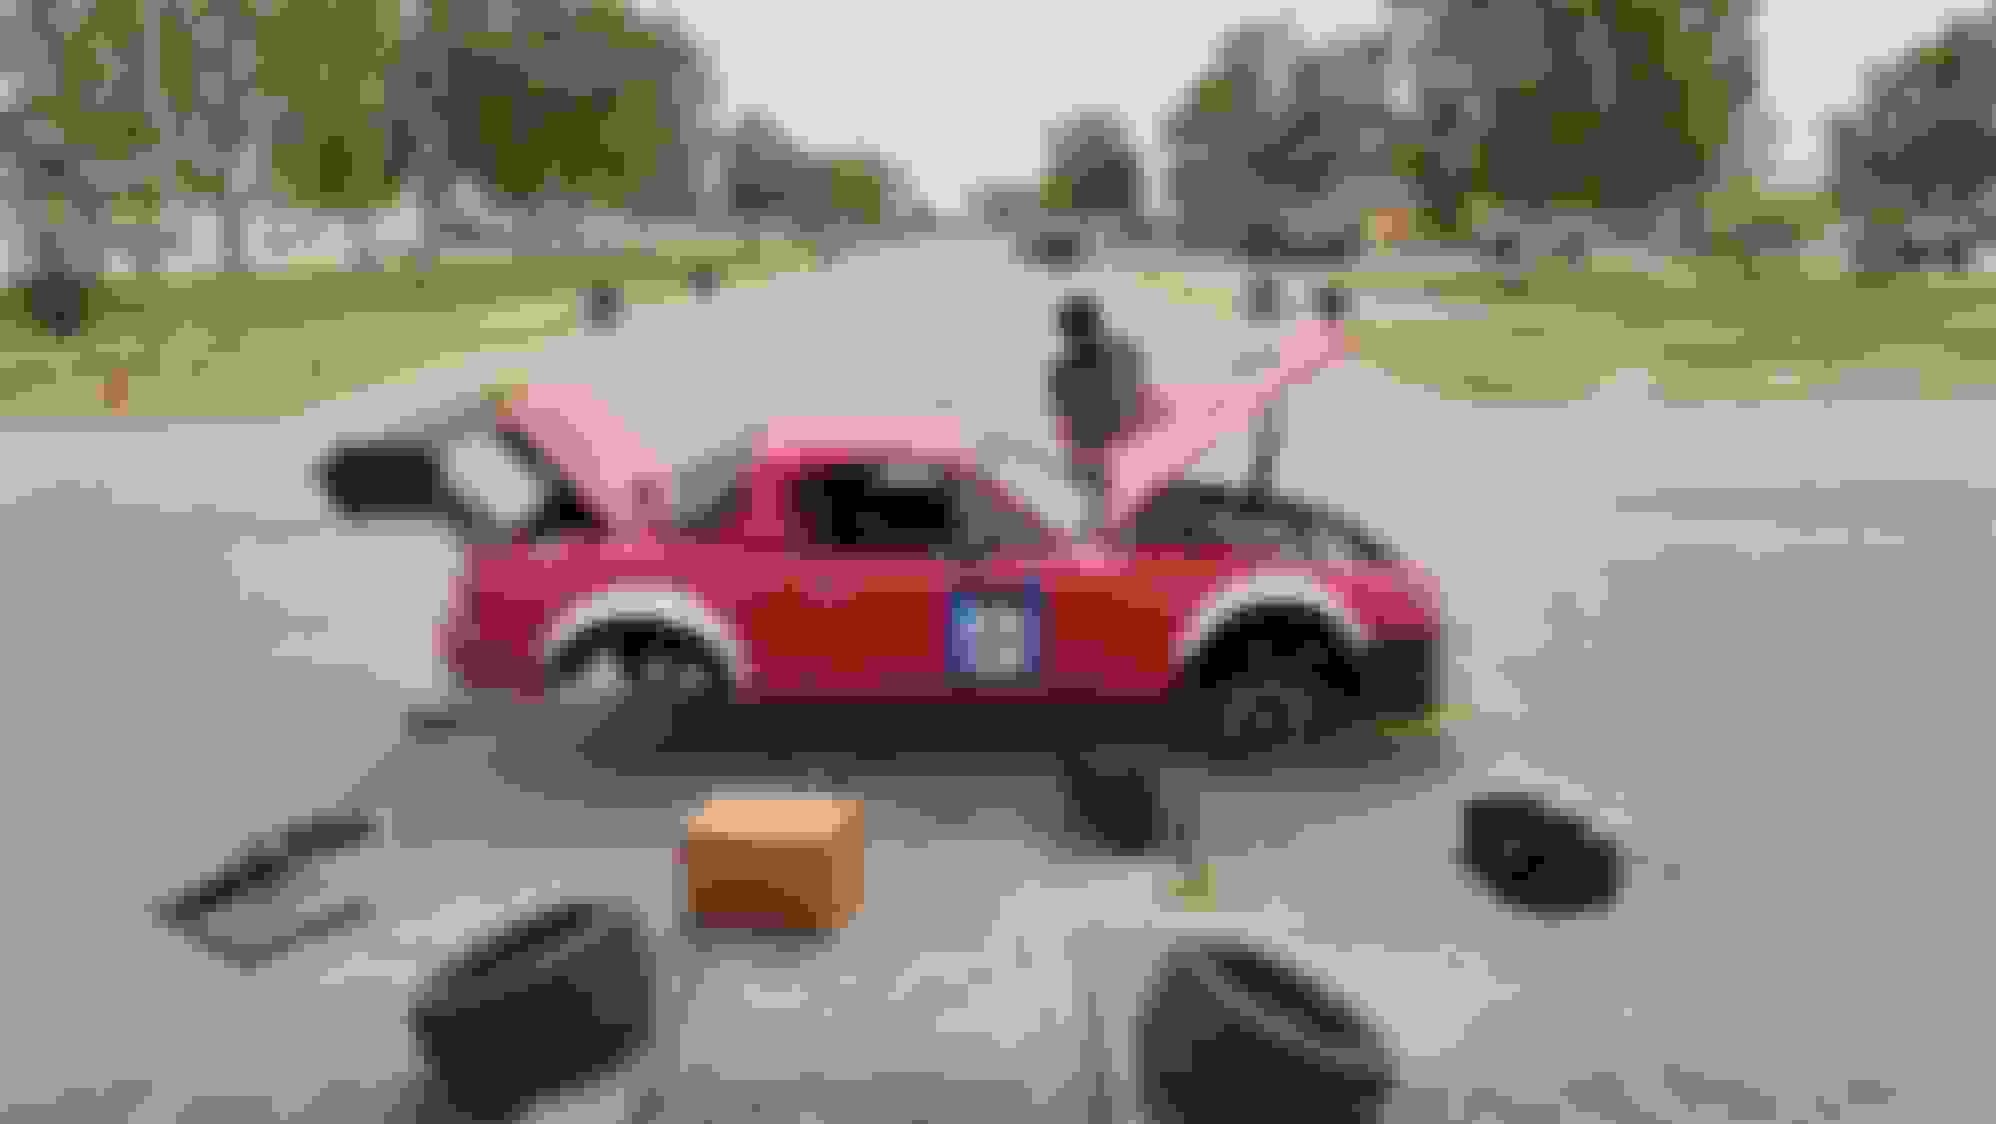
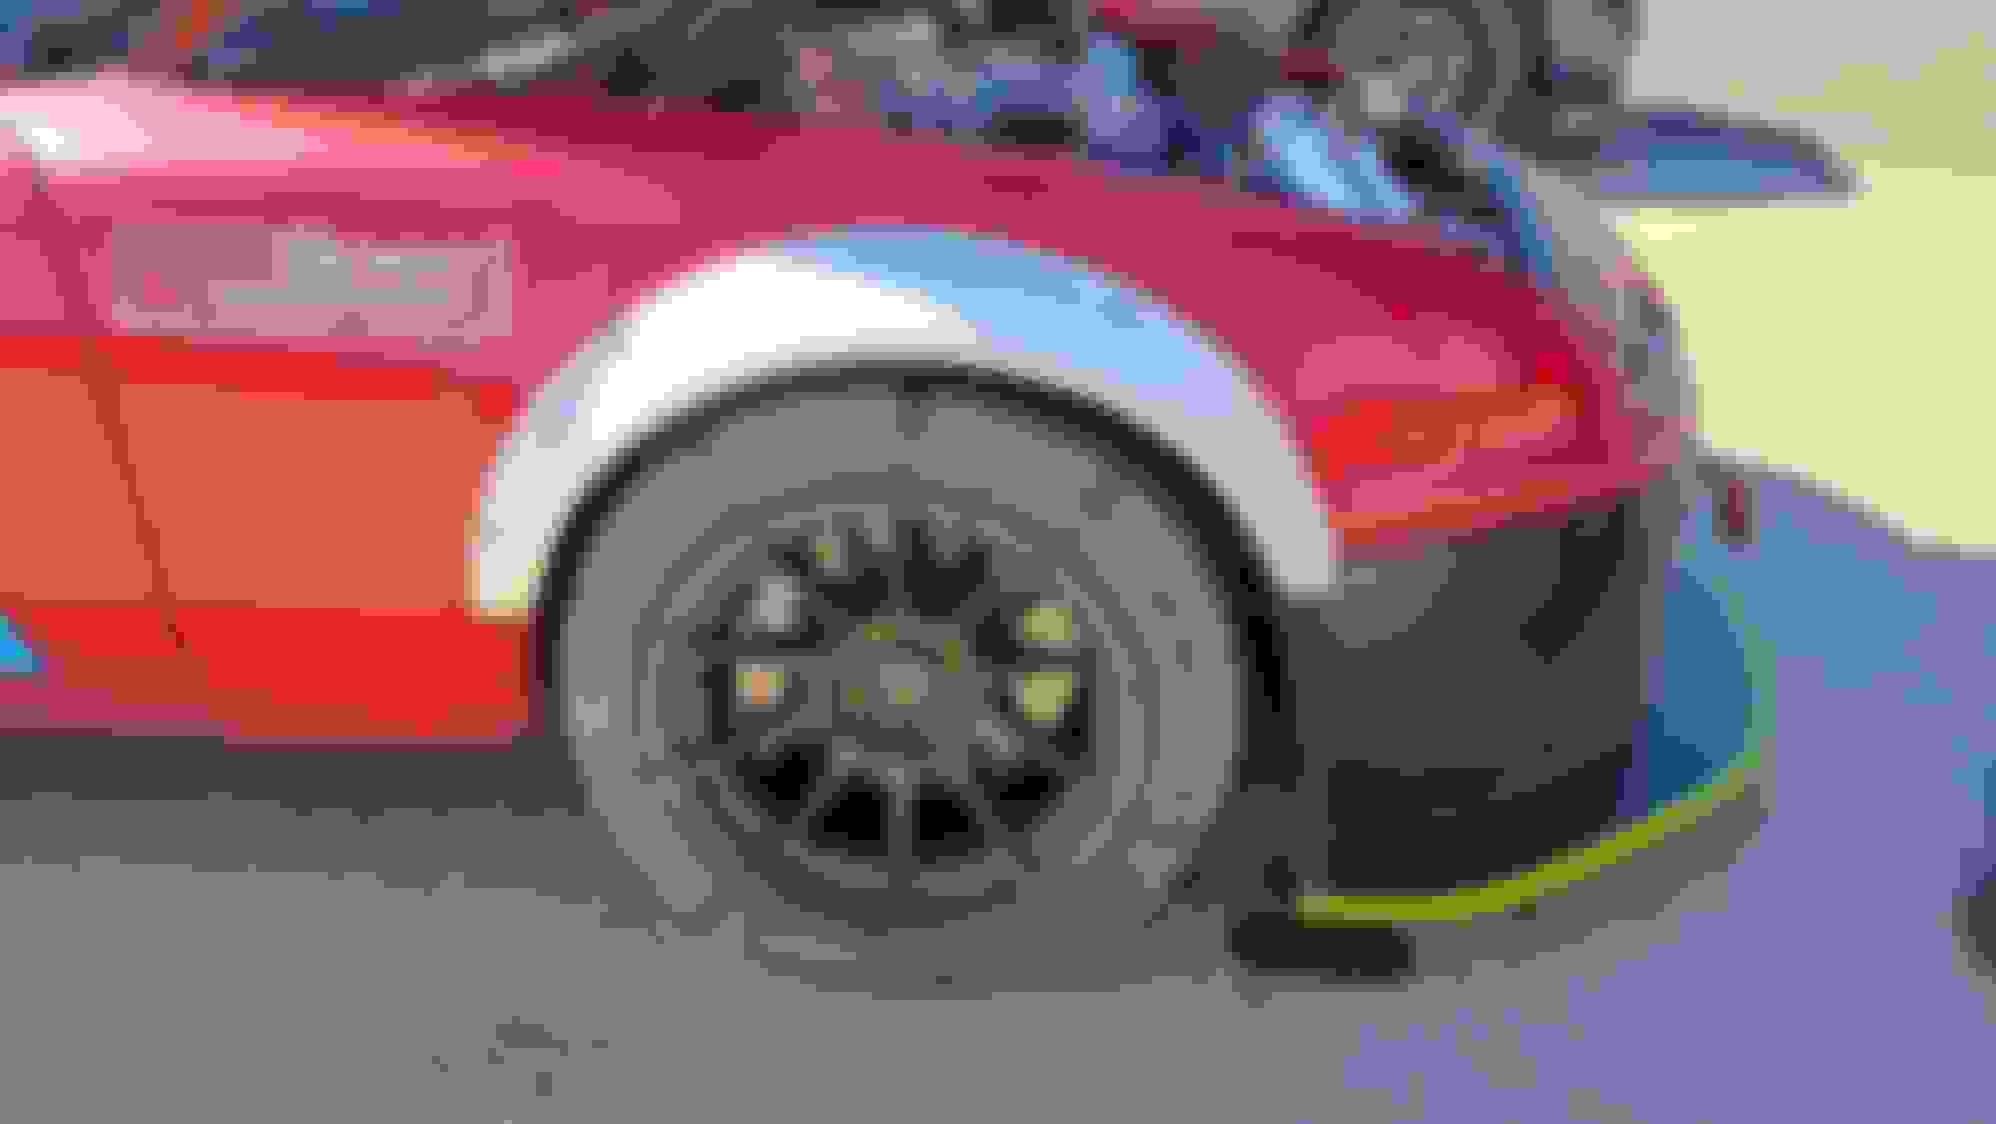
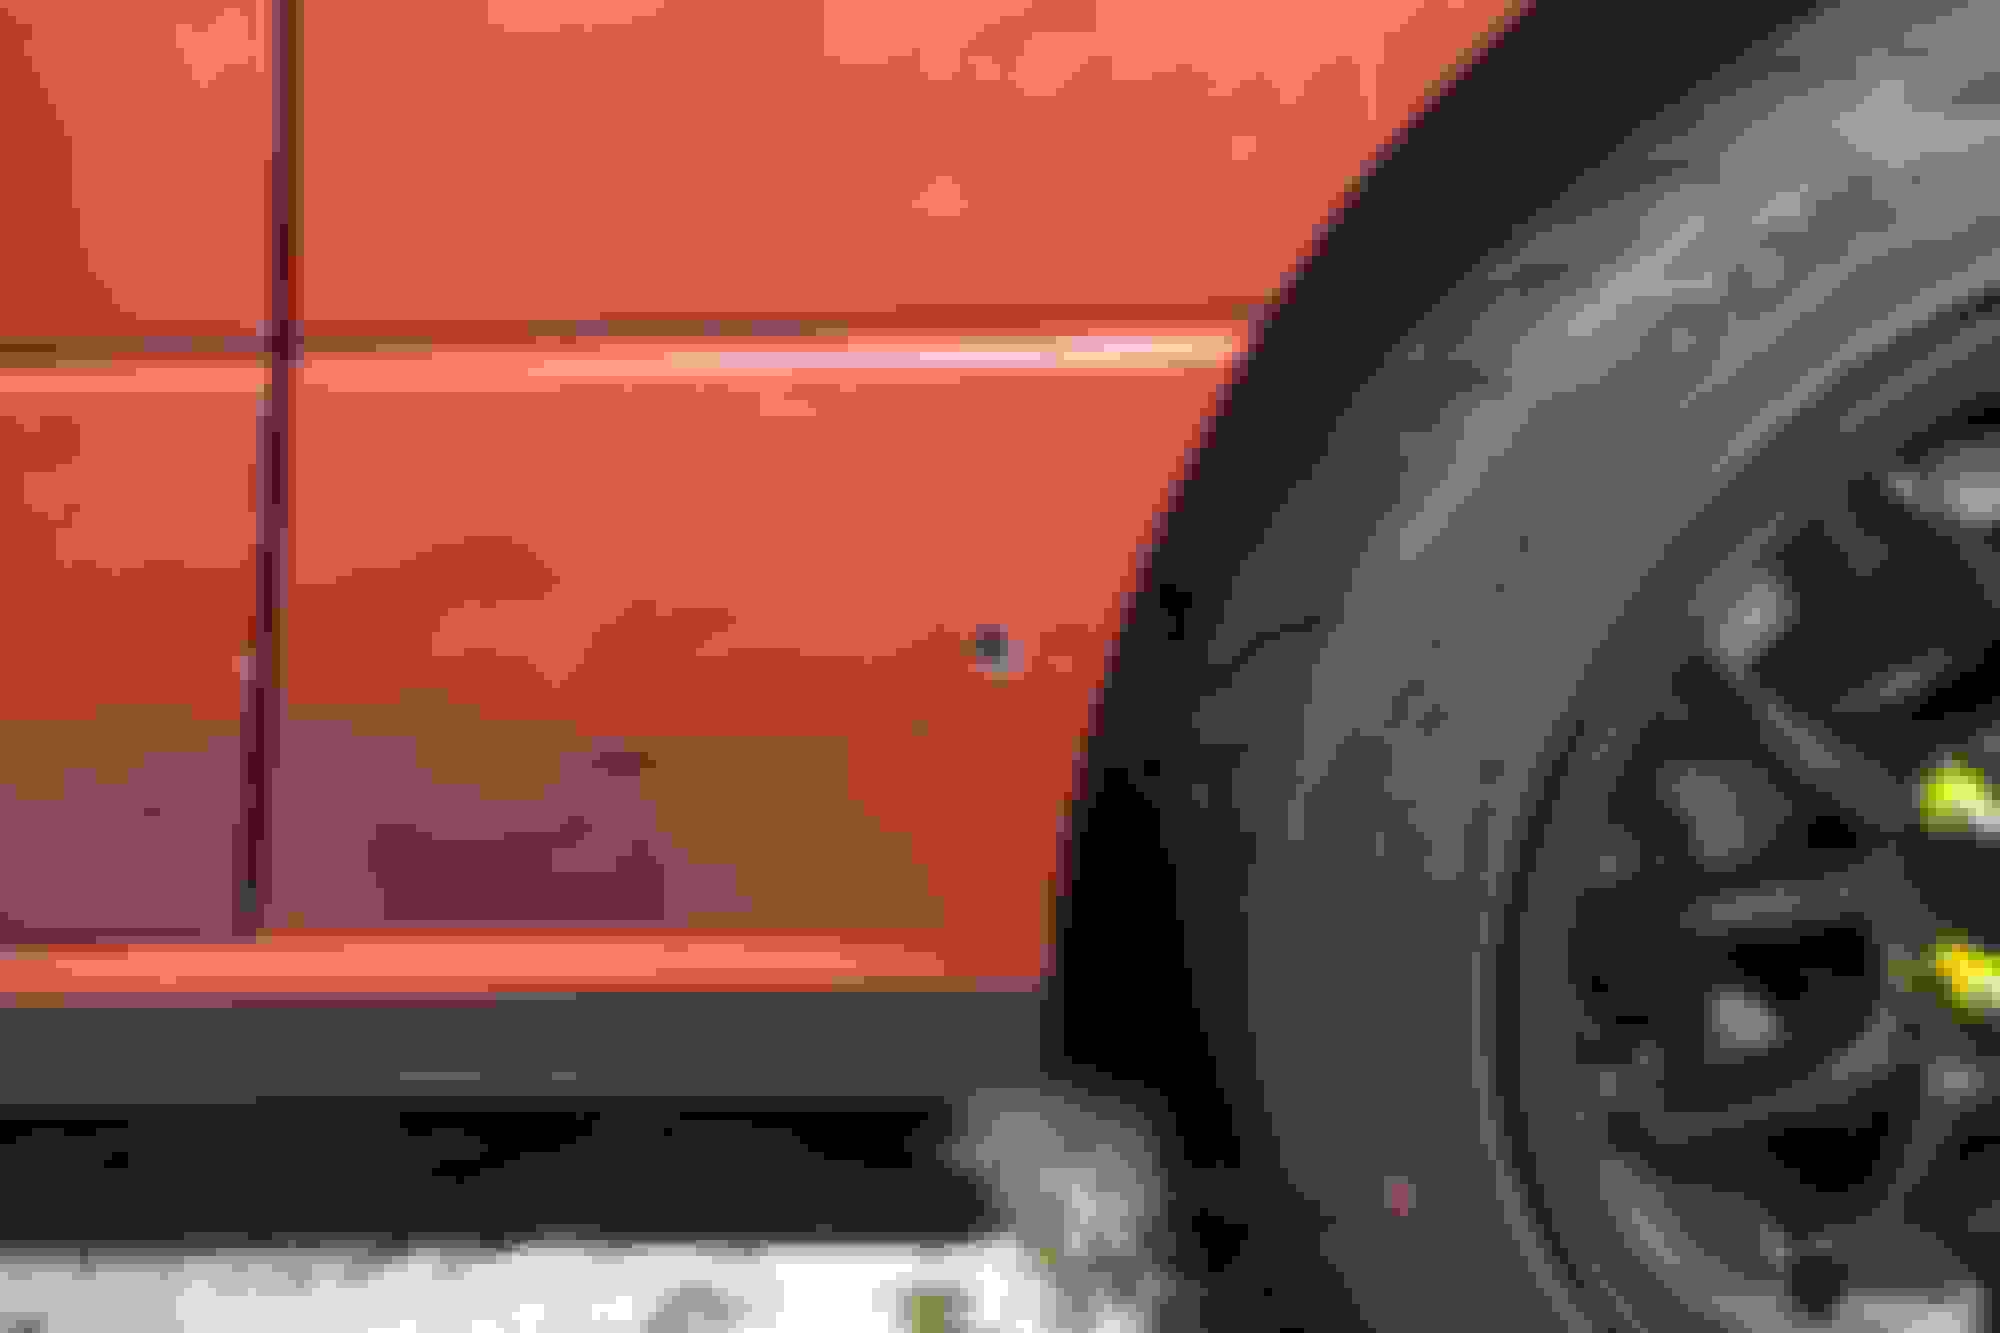
The next issue that my 15x9 6ULs would not clear the calipers and needed to purchase new wheels. And like with all poorly planned projects, scope creep definitely hit hard.
In order to fit the brakes, new wheels were required, and in order to fit the new wheels more clearance was needed inside the front and rear fenders.
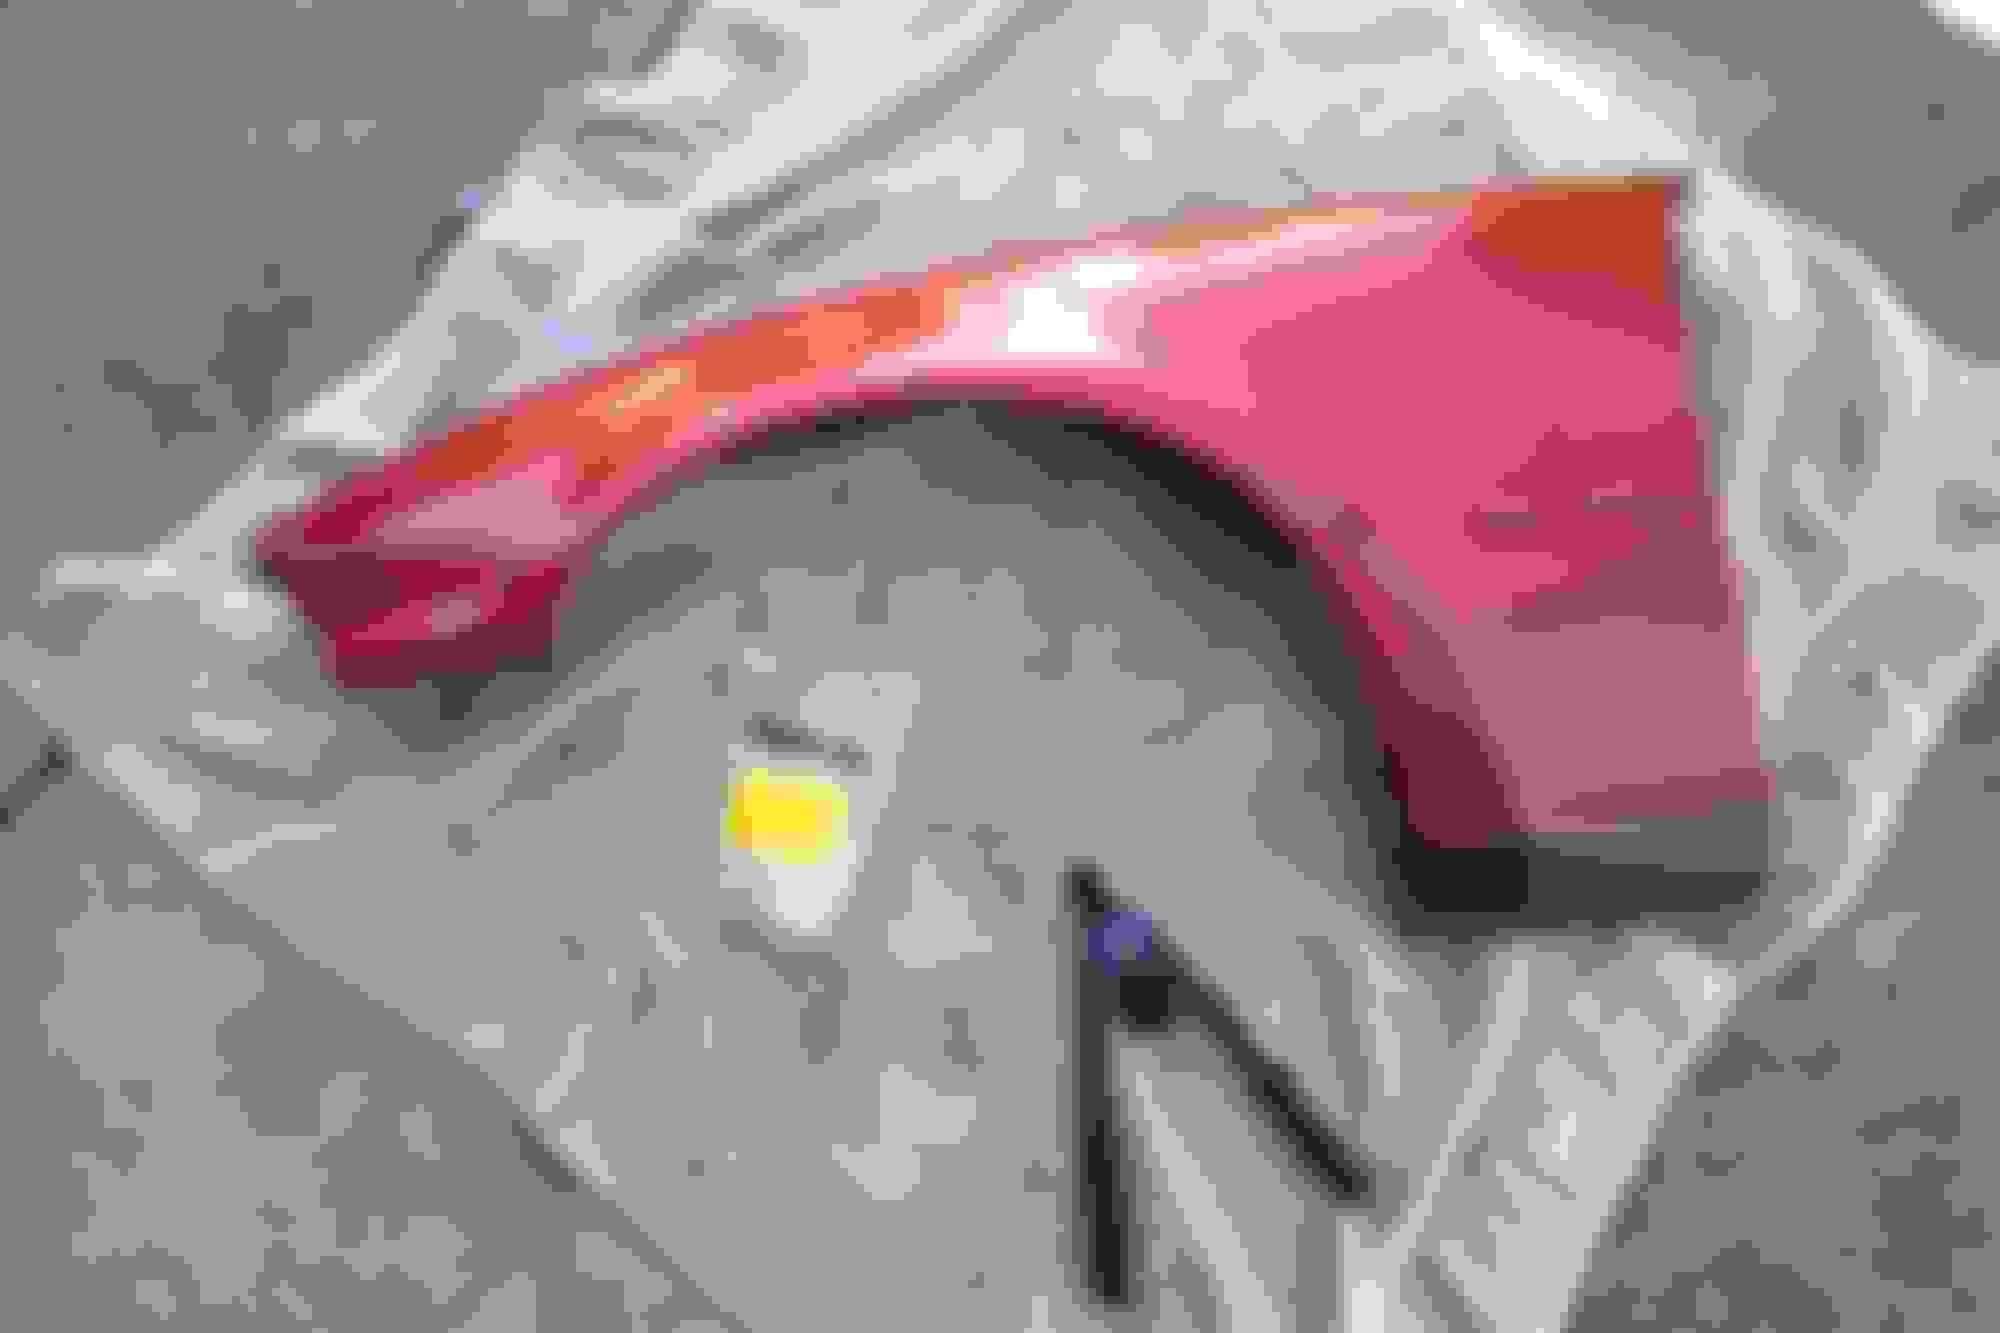
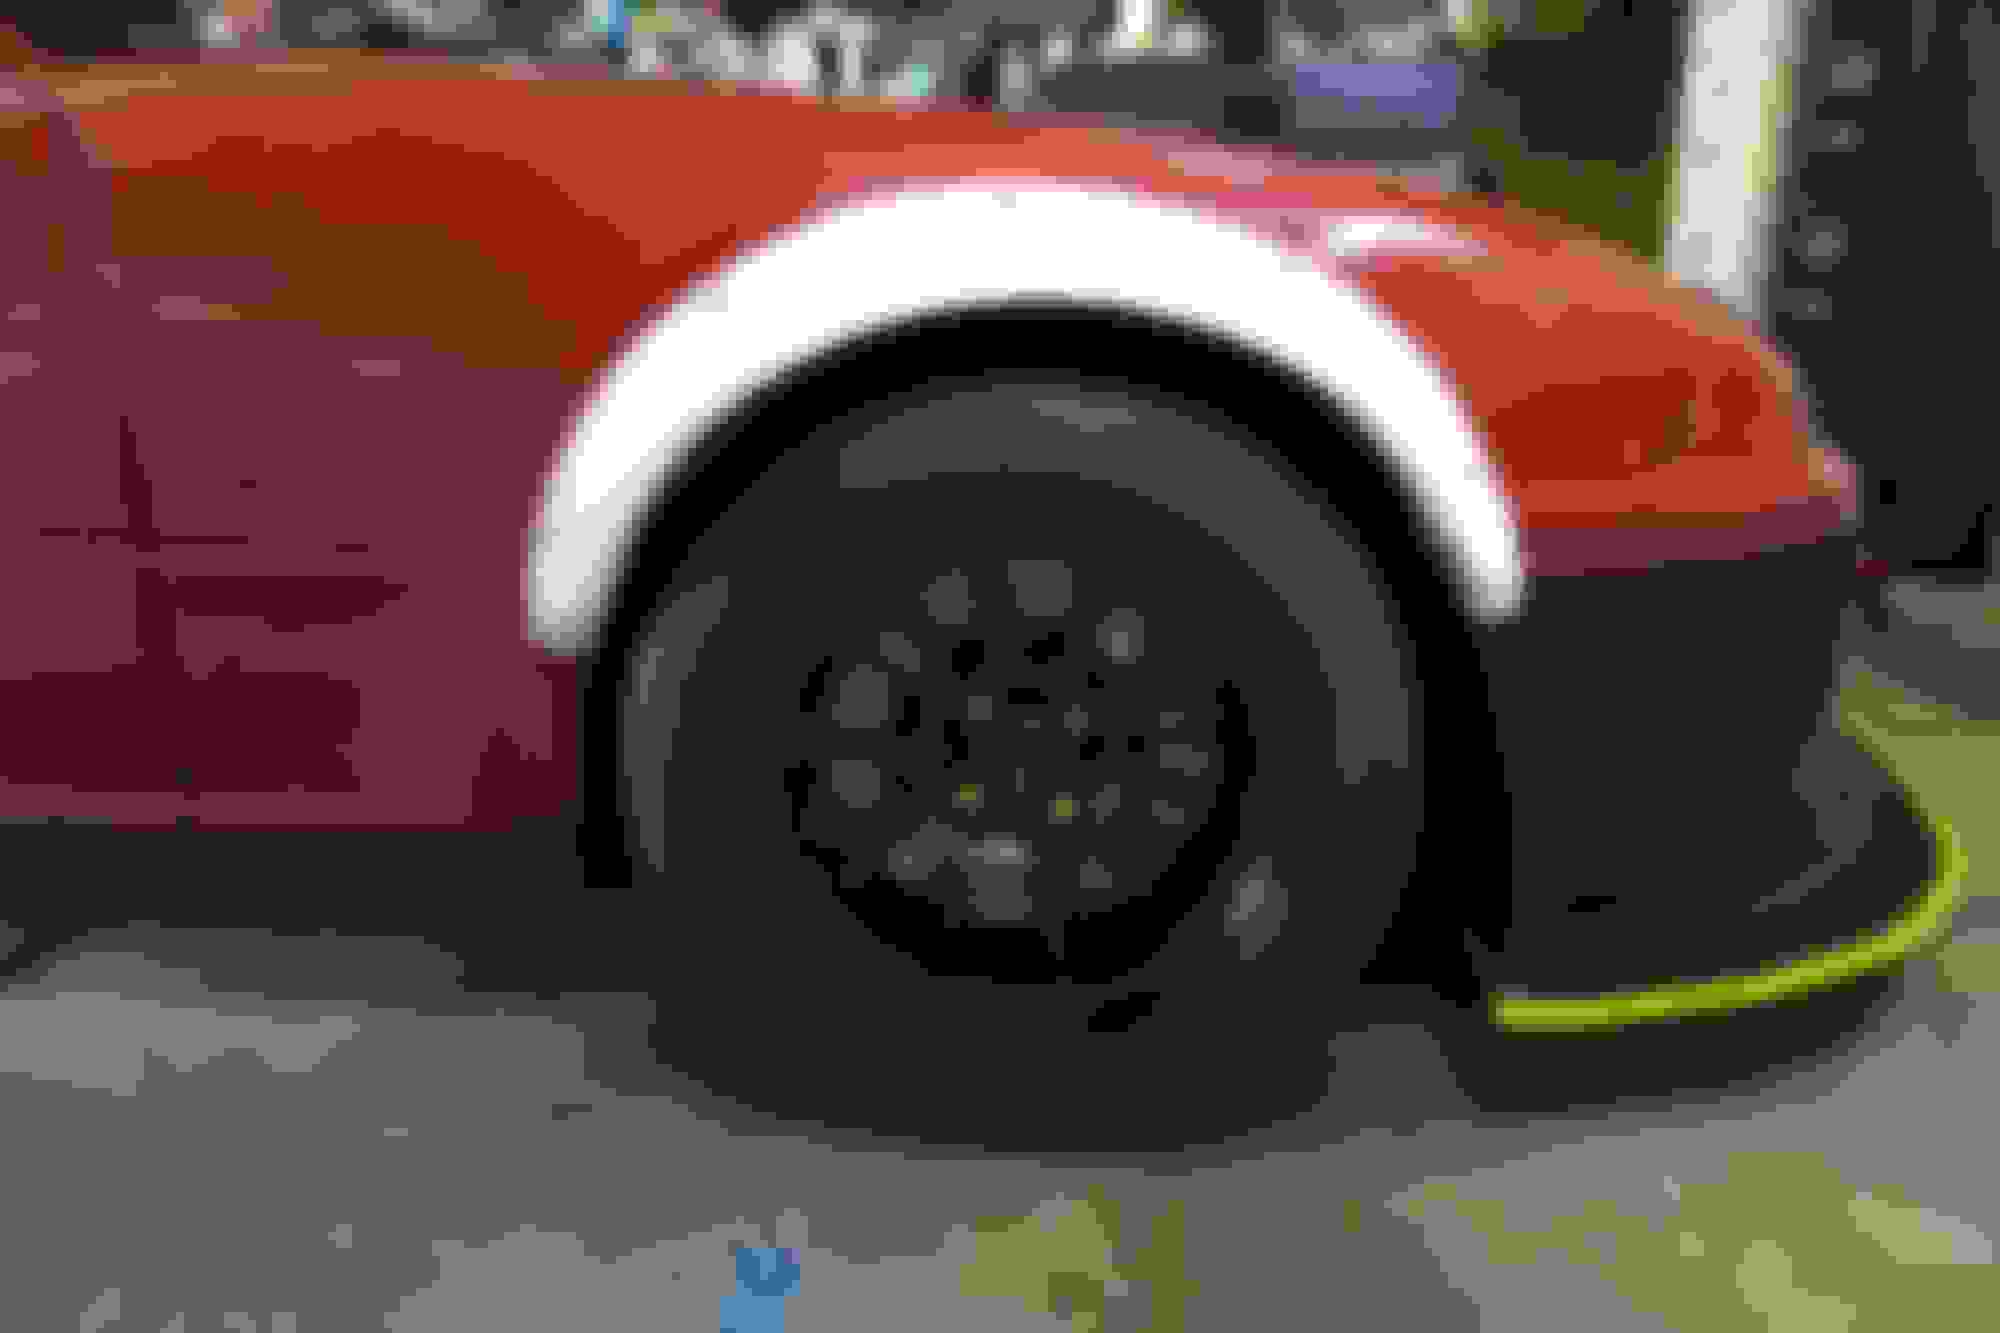
While I could have potentially rolled and pulled the fenders, flares seemed like the way to go. I have always had a soft spot for well executed flares and the Carbon Miata flares looked the business. In addition to the new bodywork, 15x10 Dekagrams along with 245 Maxxis RC1s were soon added to the shopping list. This would be another project in itself, but firstly the brakes.
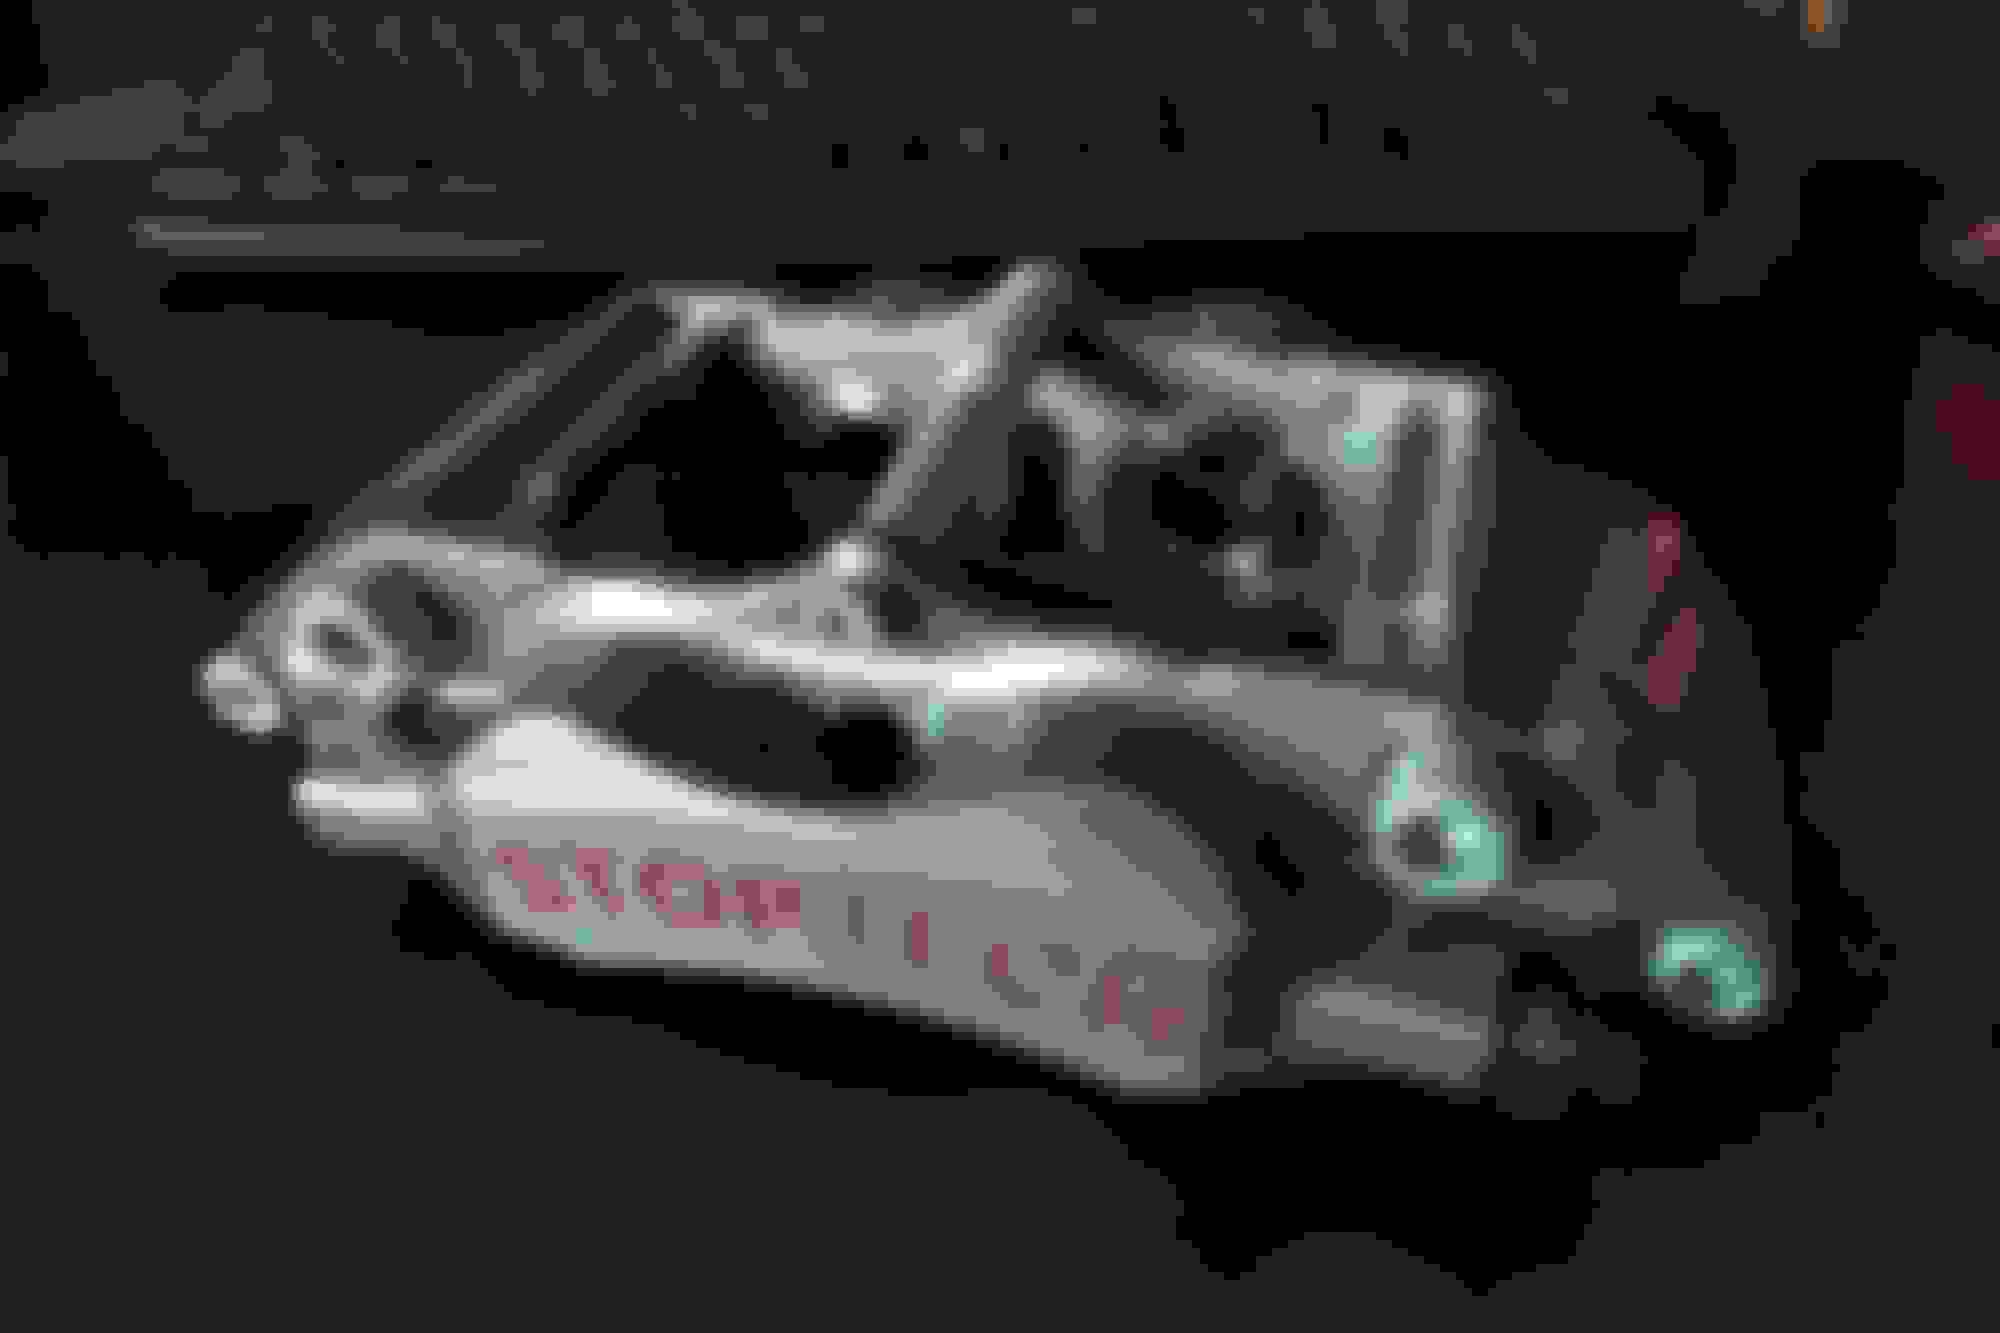
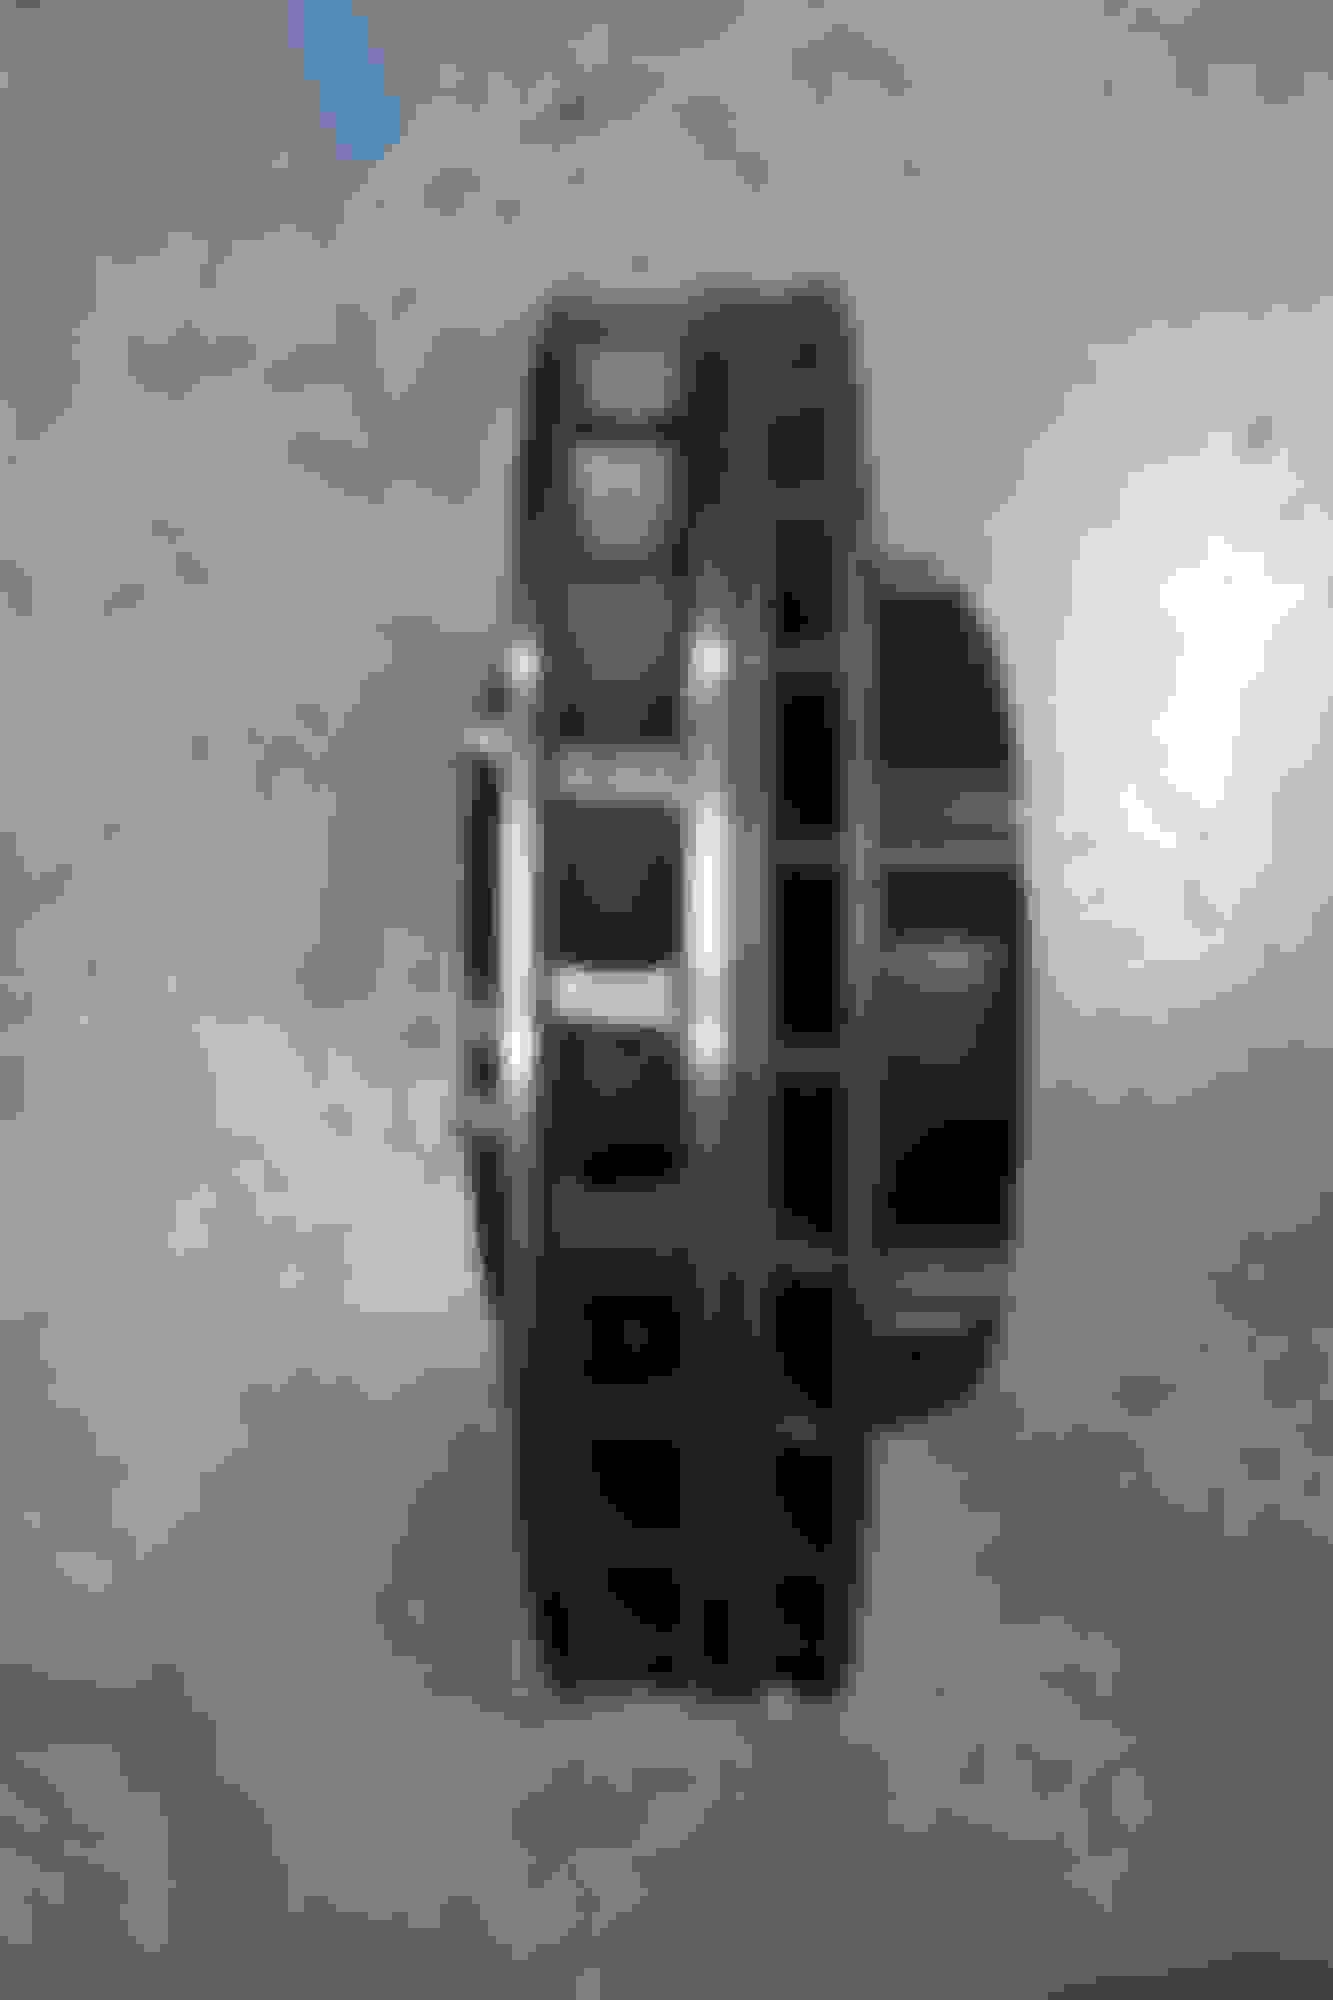
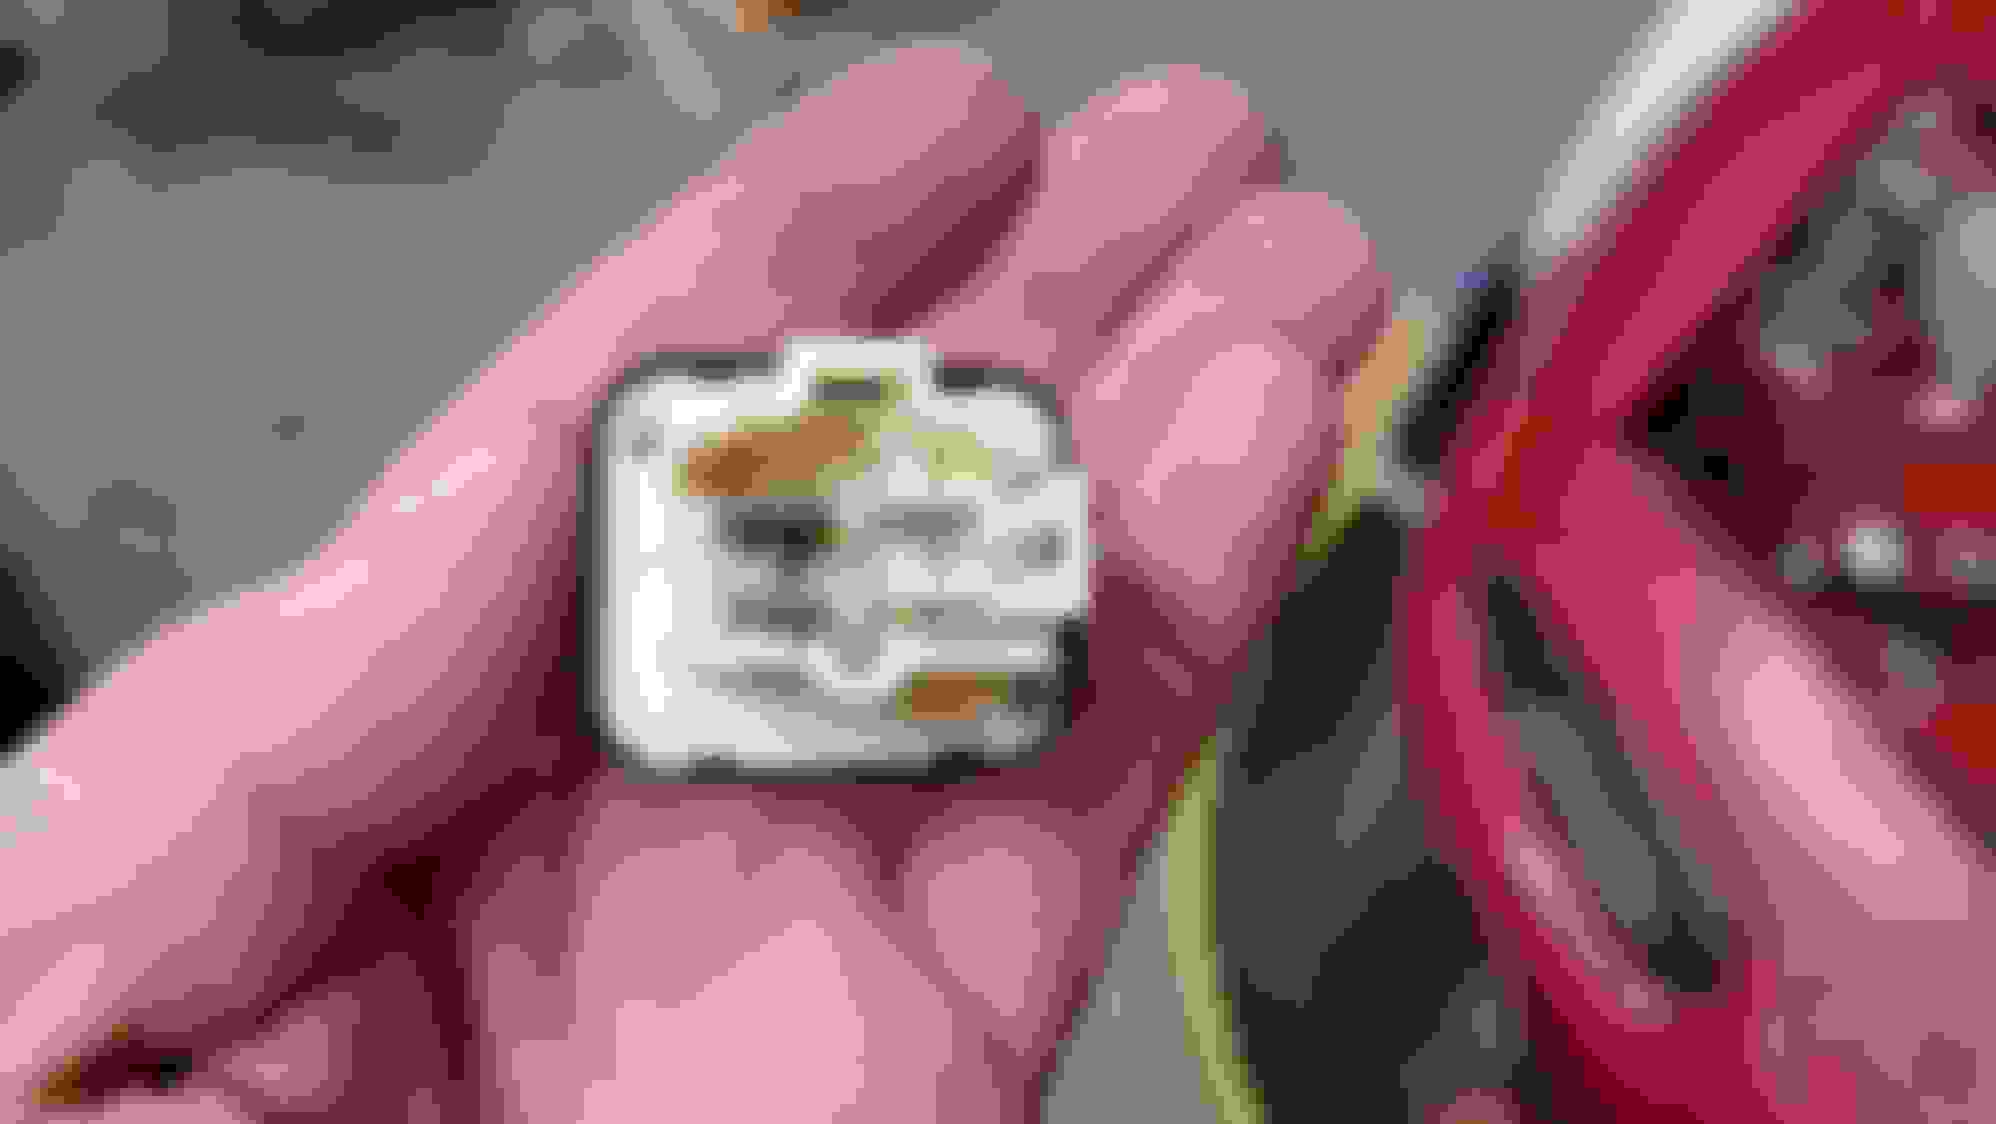
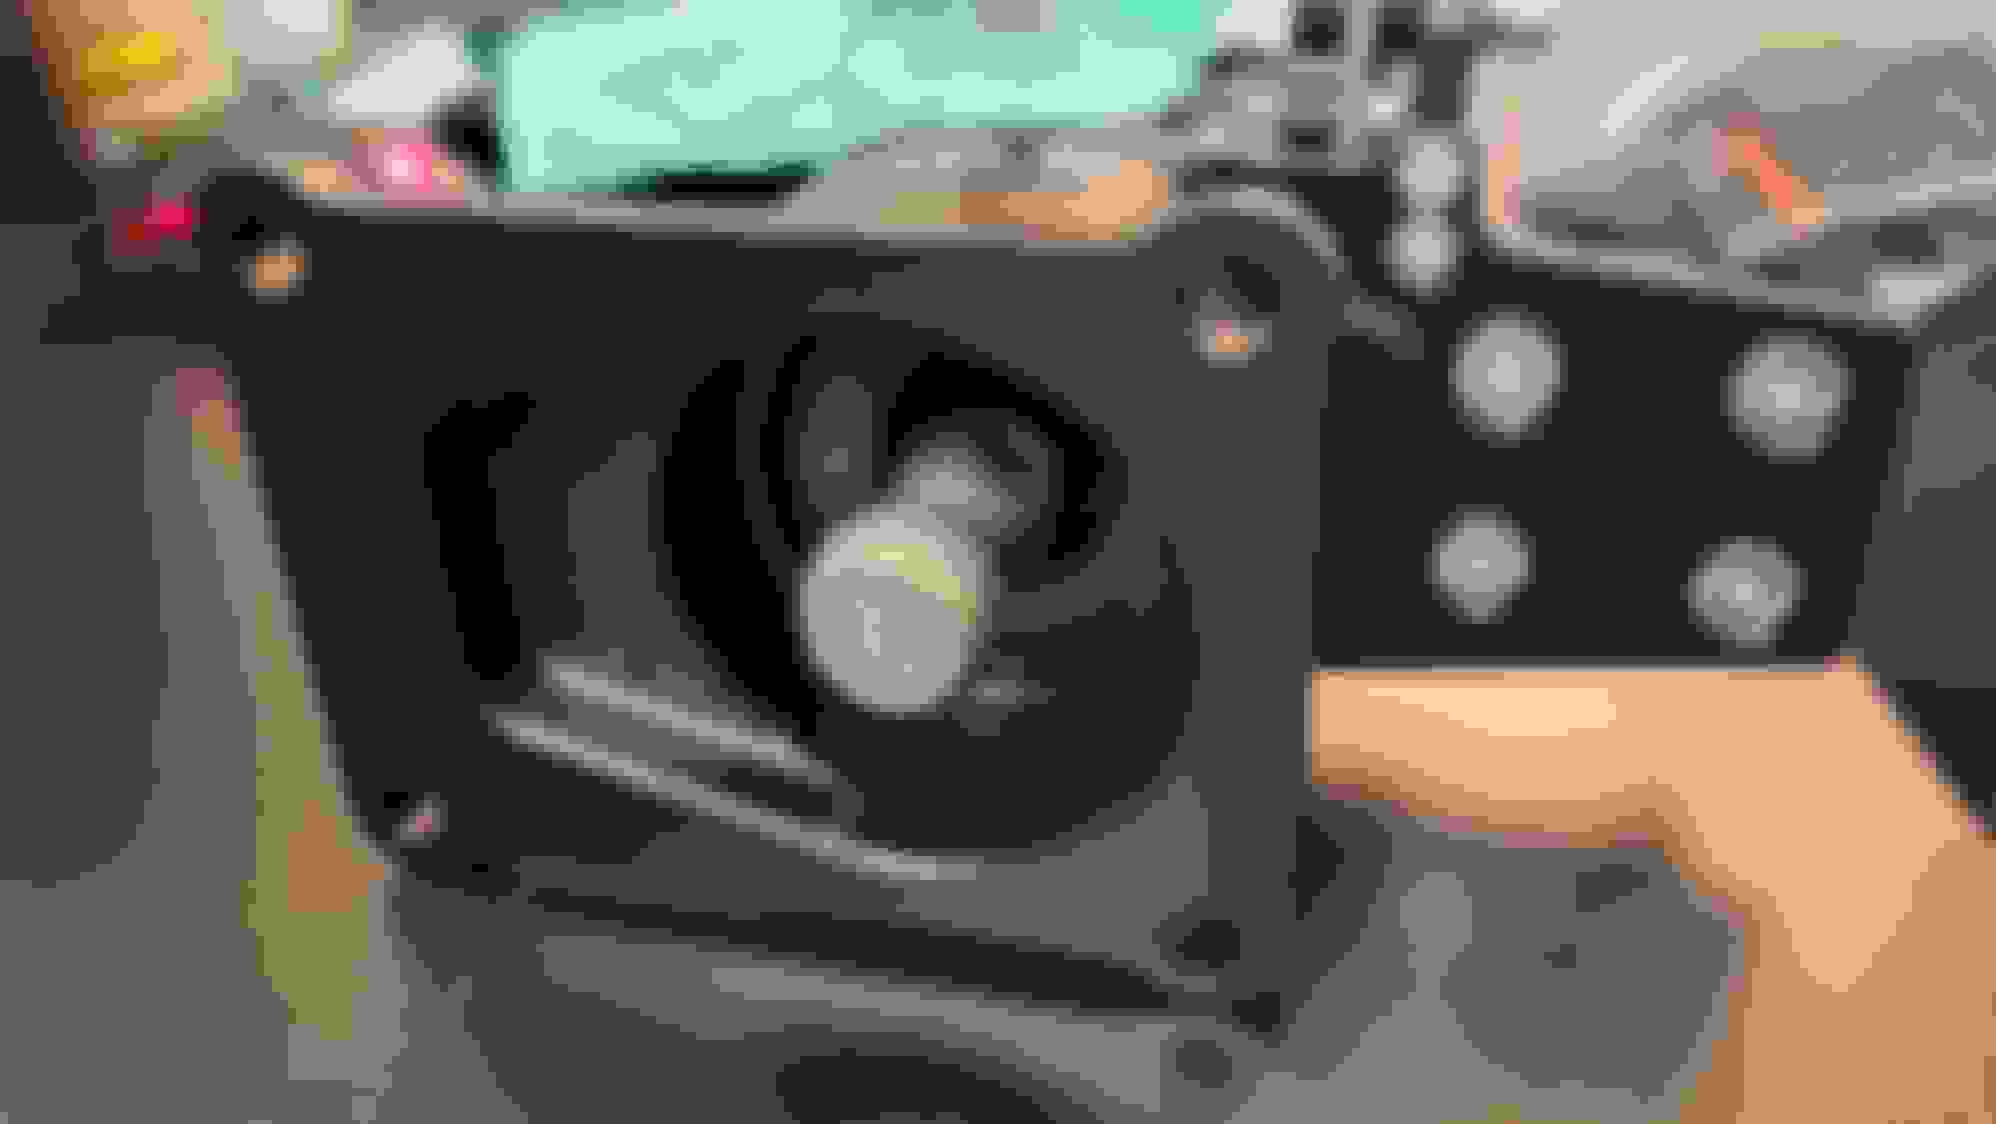
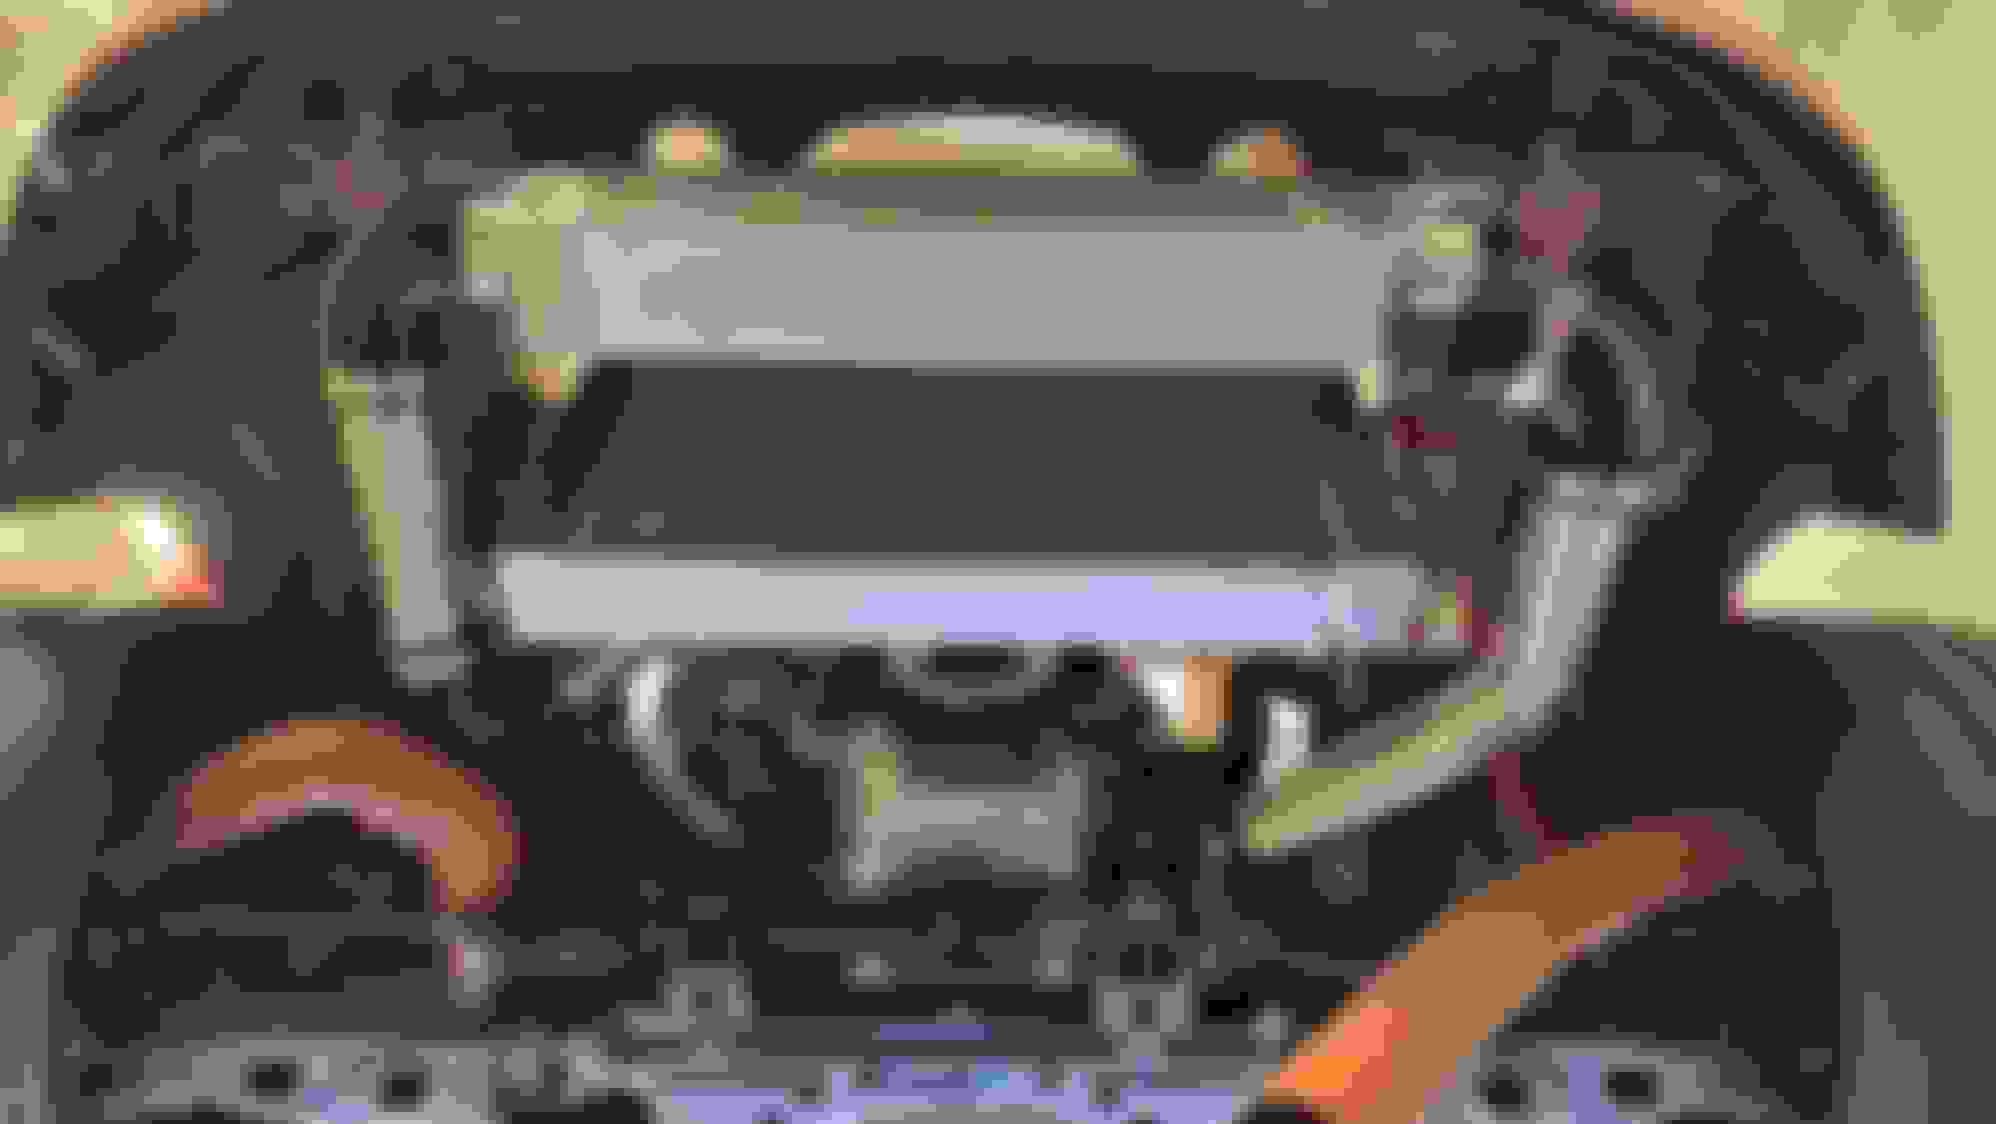
Beautiful C43 Caliper.
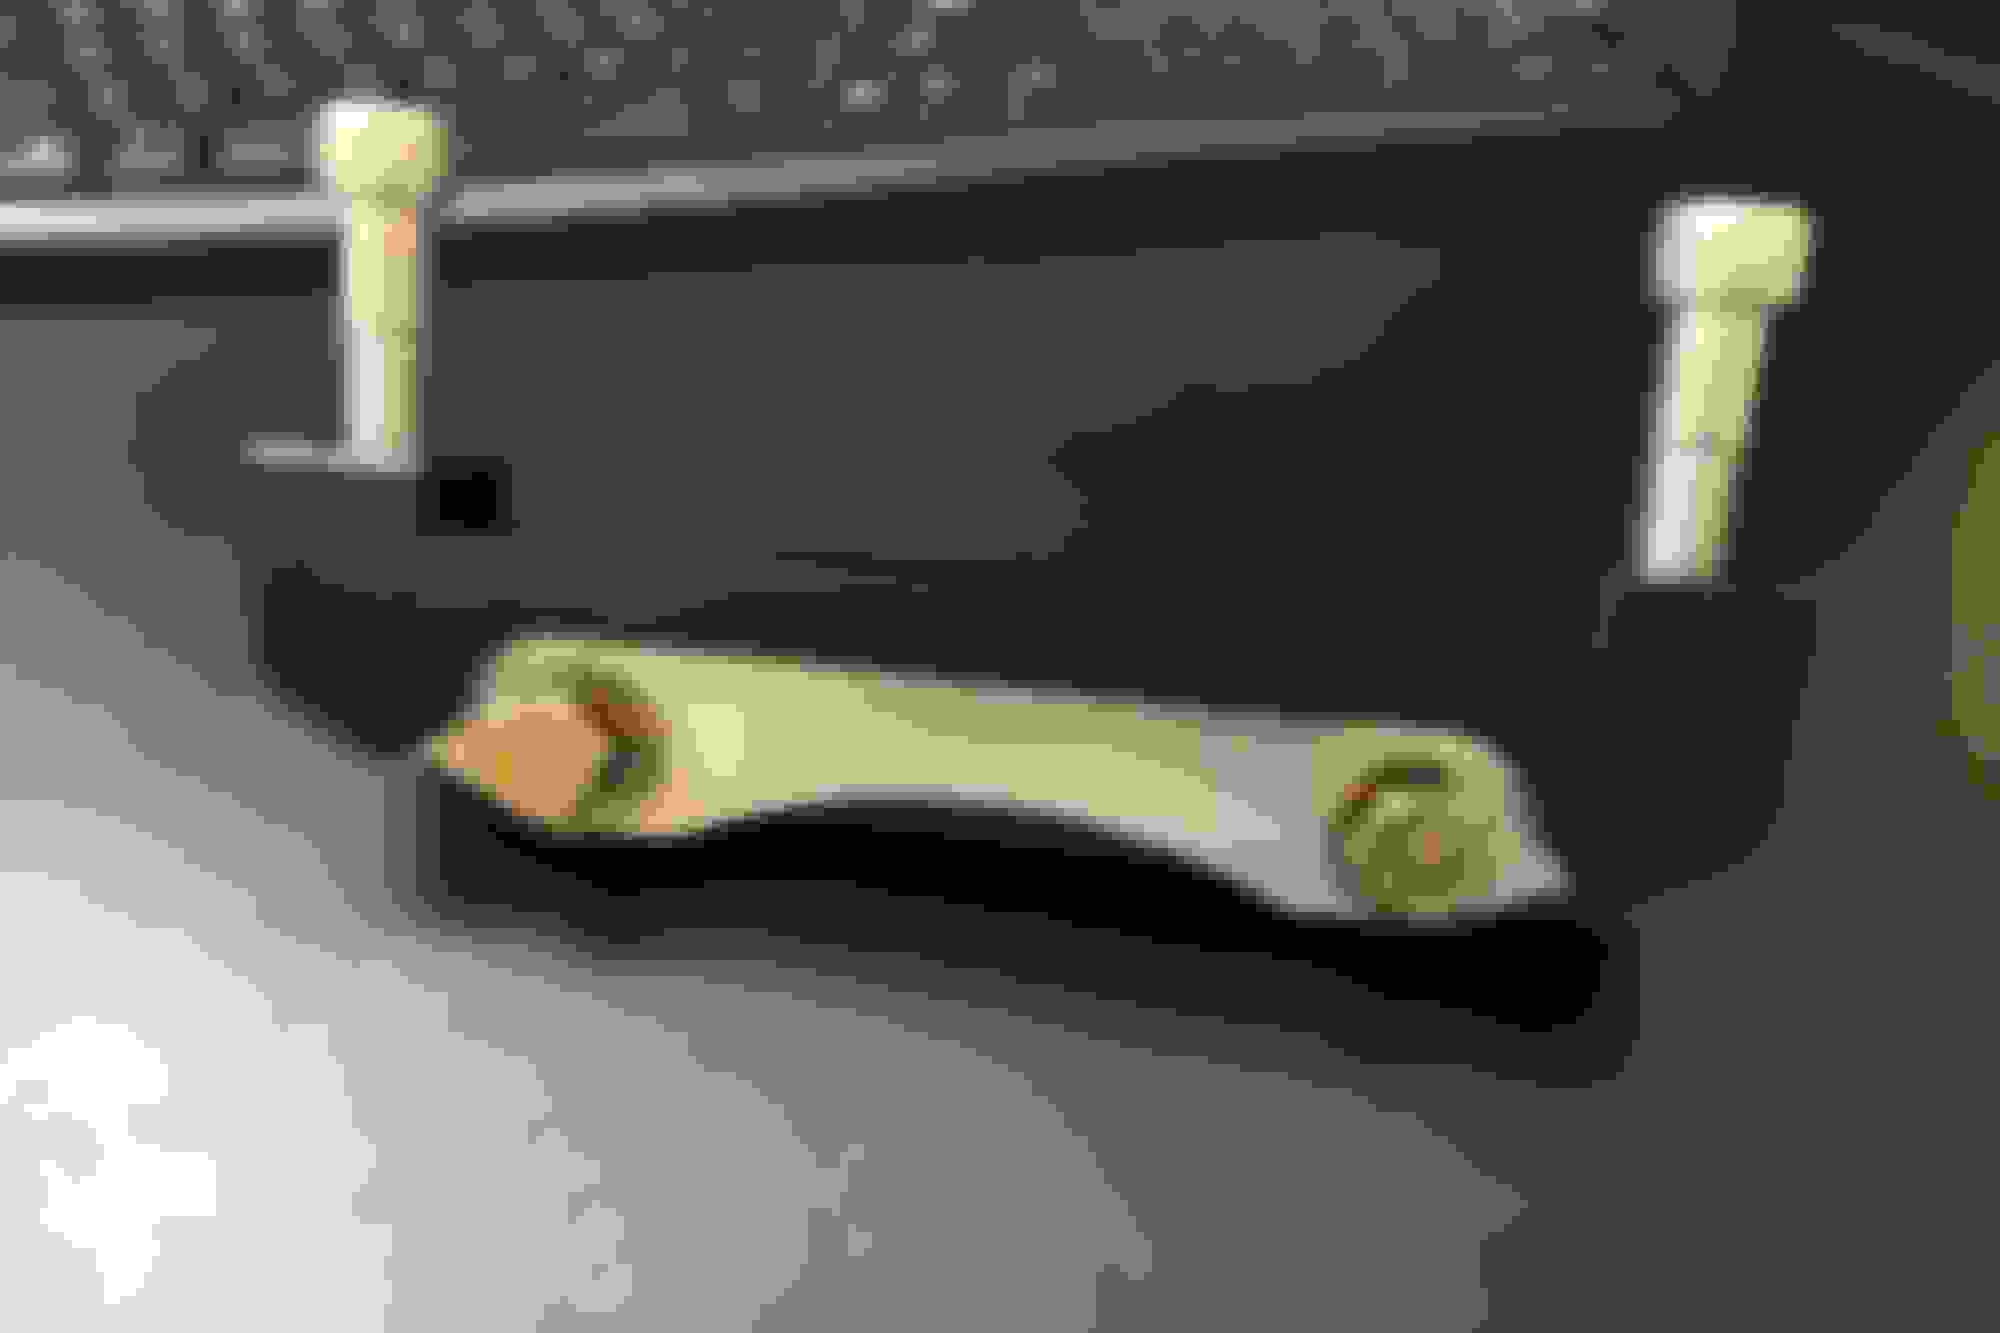
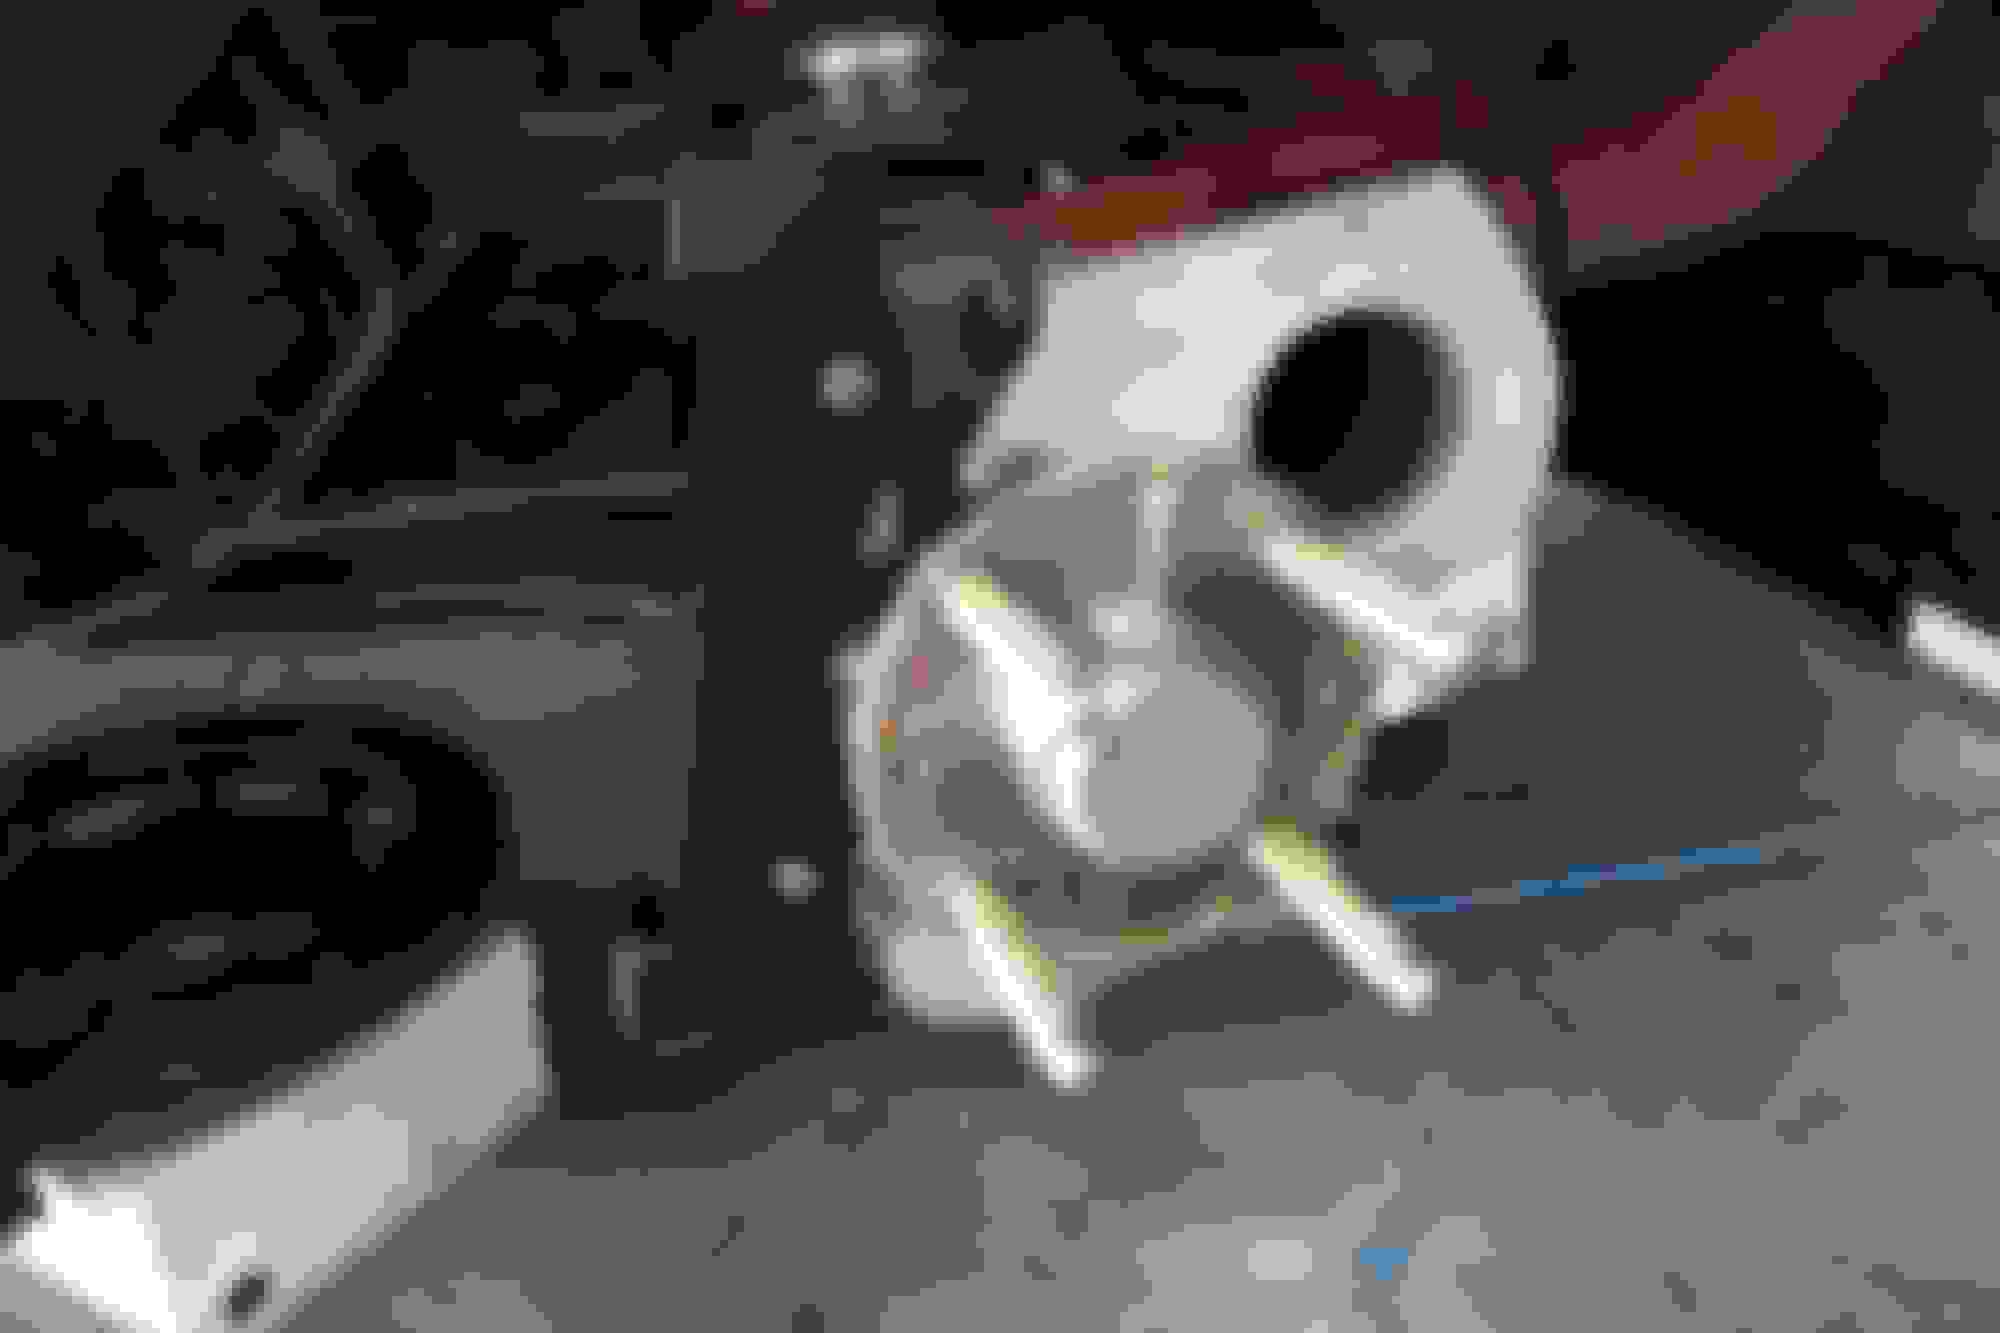
Radial Mounting Bracket.
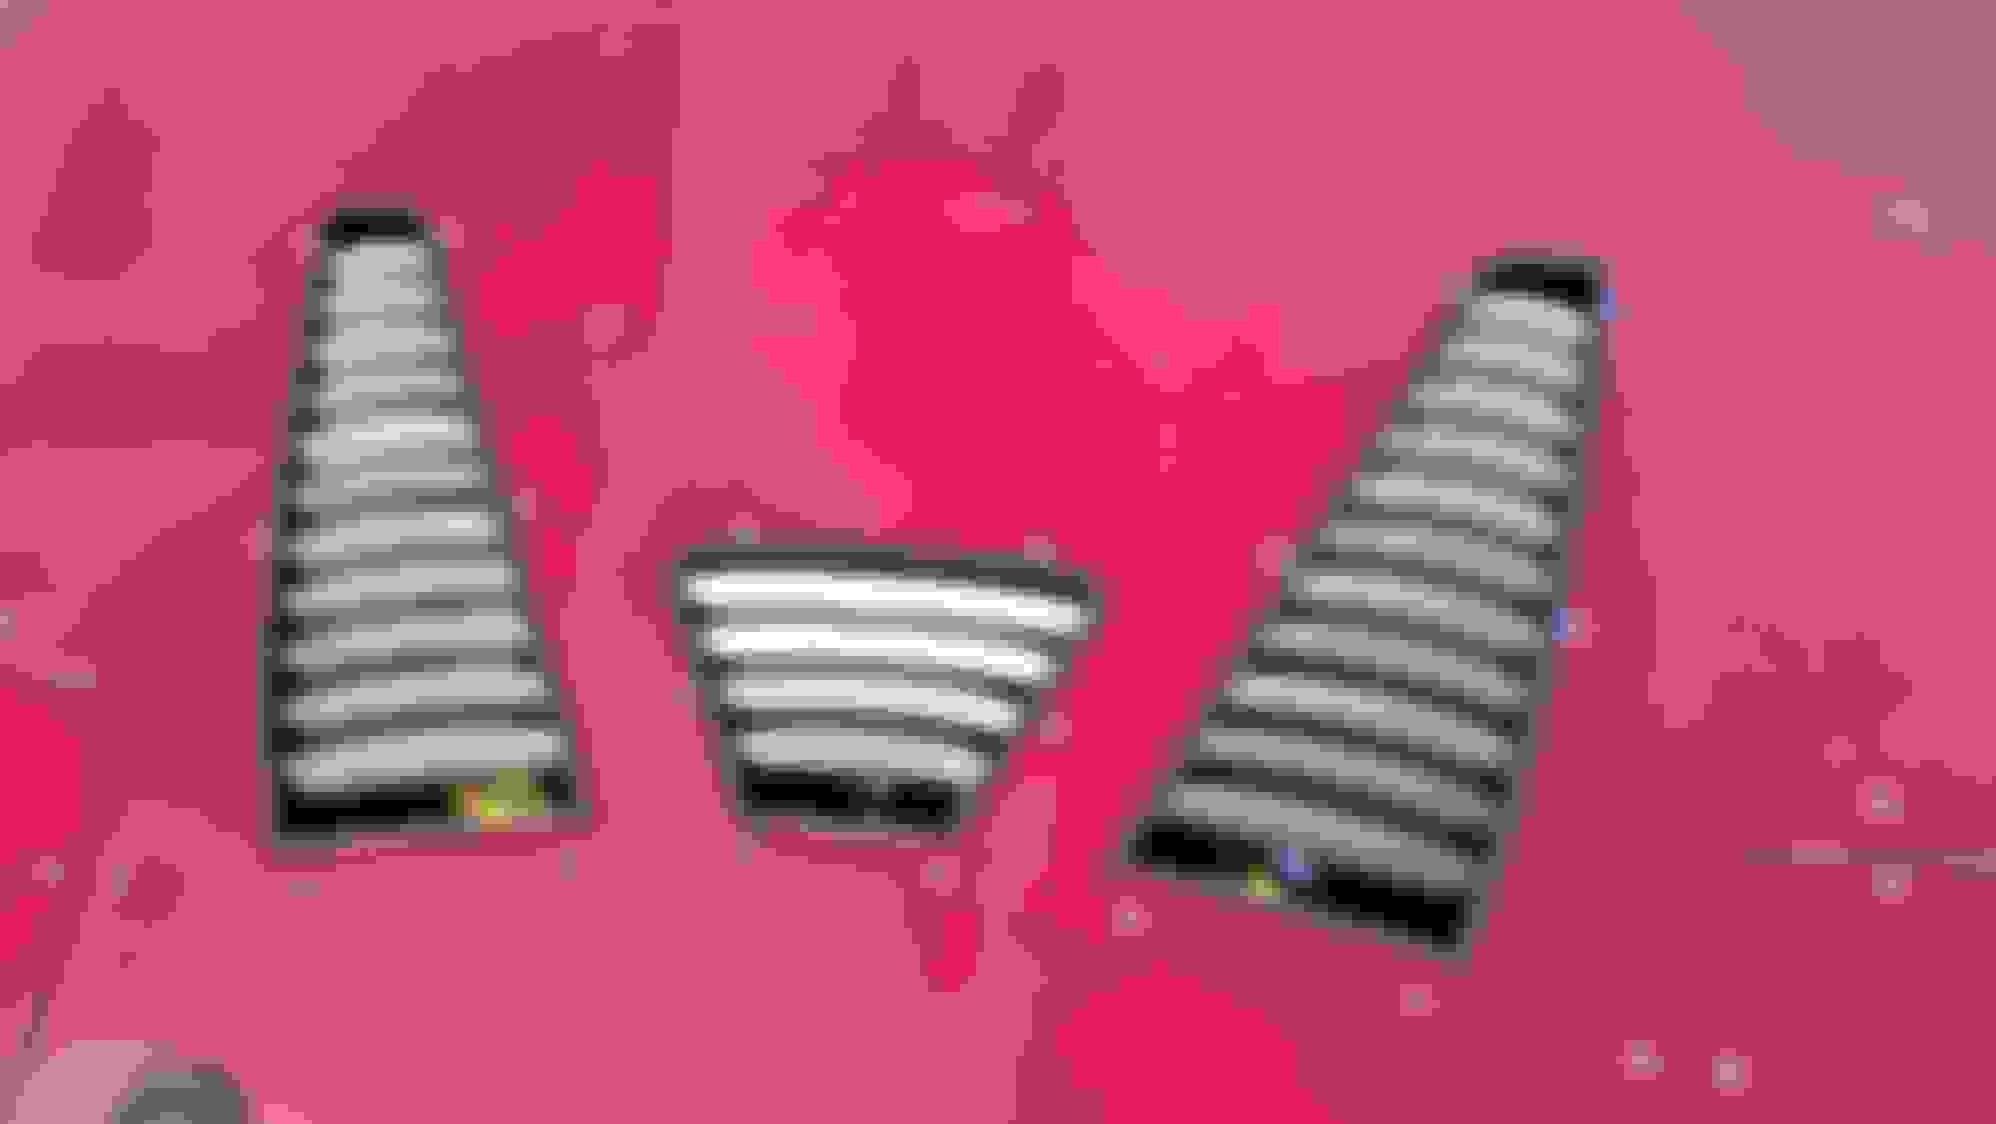
While not a completely fair comparison, here is the 7420 pad used in the C43 caliper alongside a 1.8 rear brake pad for reference.
I will let you guess which is which.
G-Loc R16 fronts and R12 rears.
Rotor comparison between the TSE kit and the Jerfspeed.
The hardware attaching the rotor to the hat is a 5/16-24 NAS. A jet nut, which is a single use nut with distorted elliptical threads, is used as a lock nut. It is a flanged nut, so no need to use additional washers but I used some anyways. The NAS bolt is unlike other hardware that I am accustomed to. Instead it has a "grip" length, reminding me of a rivet, which I often refer to as the shoulder of the bolt and will vary depending on length needed. The threaded portion of the bolt is standard at .531'' regardless of the length of the bolt. I am learning new things.
20mm Non-directional vs 32mm Directional rotor.
Installation.
Included with the kit were detailed instructions, even with part numbers for replacement parts should I need them in the future. Look at the amount of beef of the radial mount bracket. A small thing, but installing the calipers was effortless, much easier compared to installing a standard lug mount caliper.
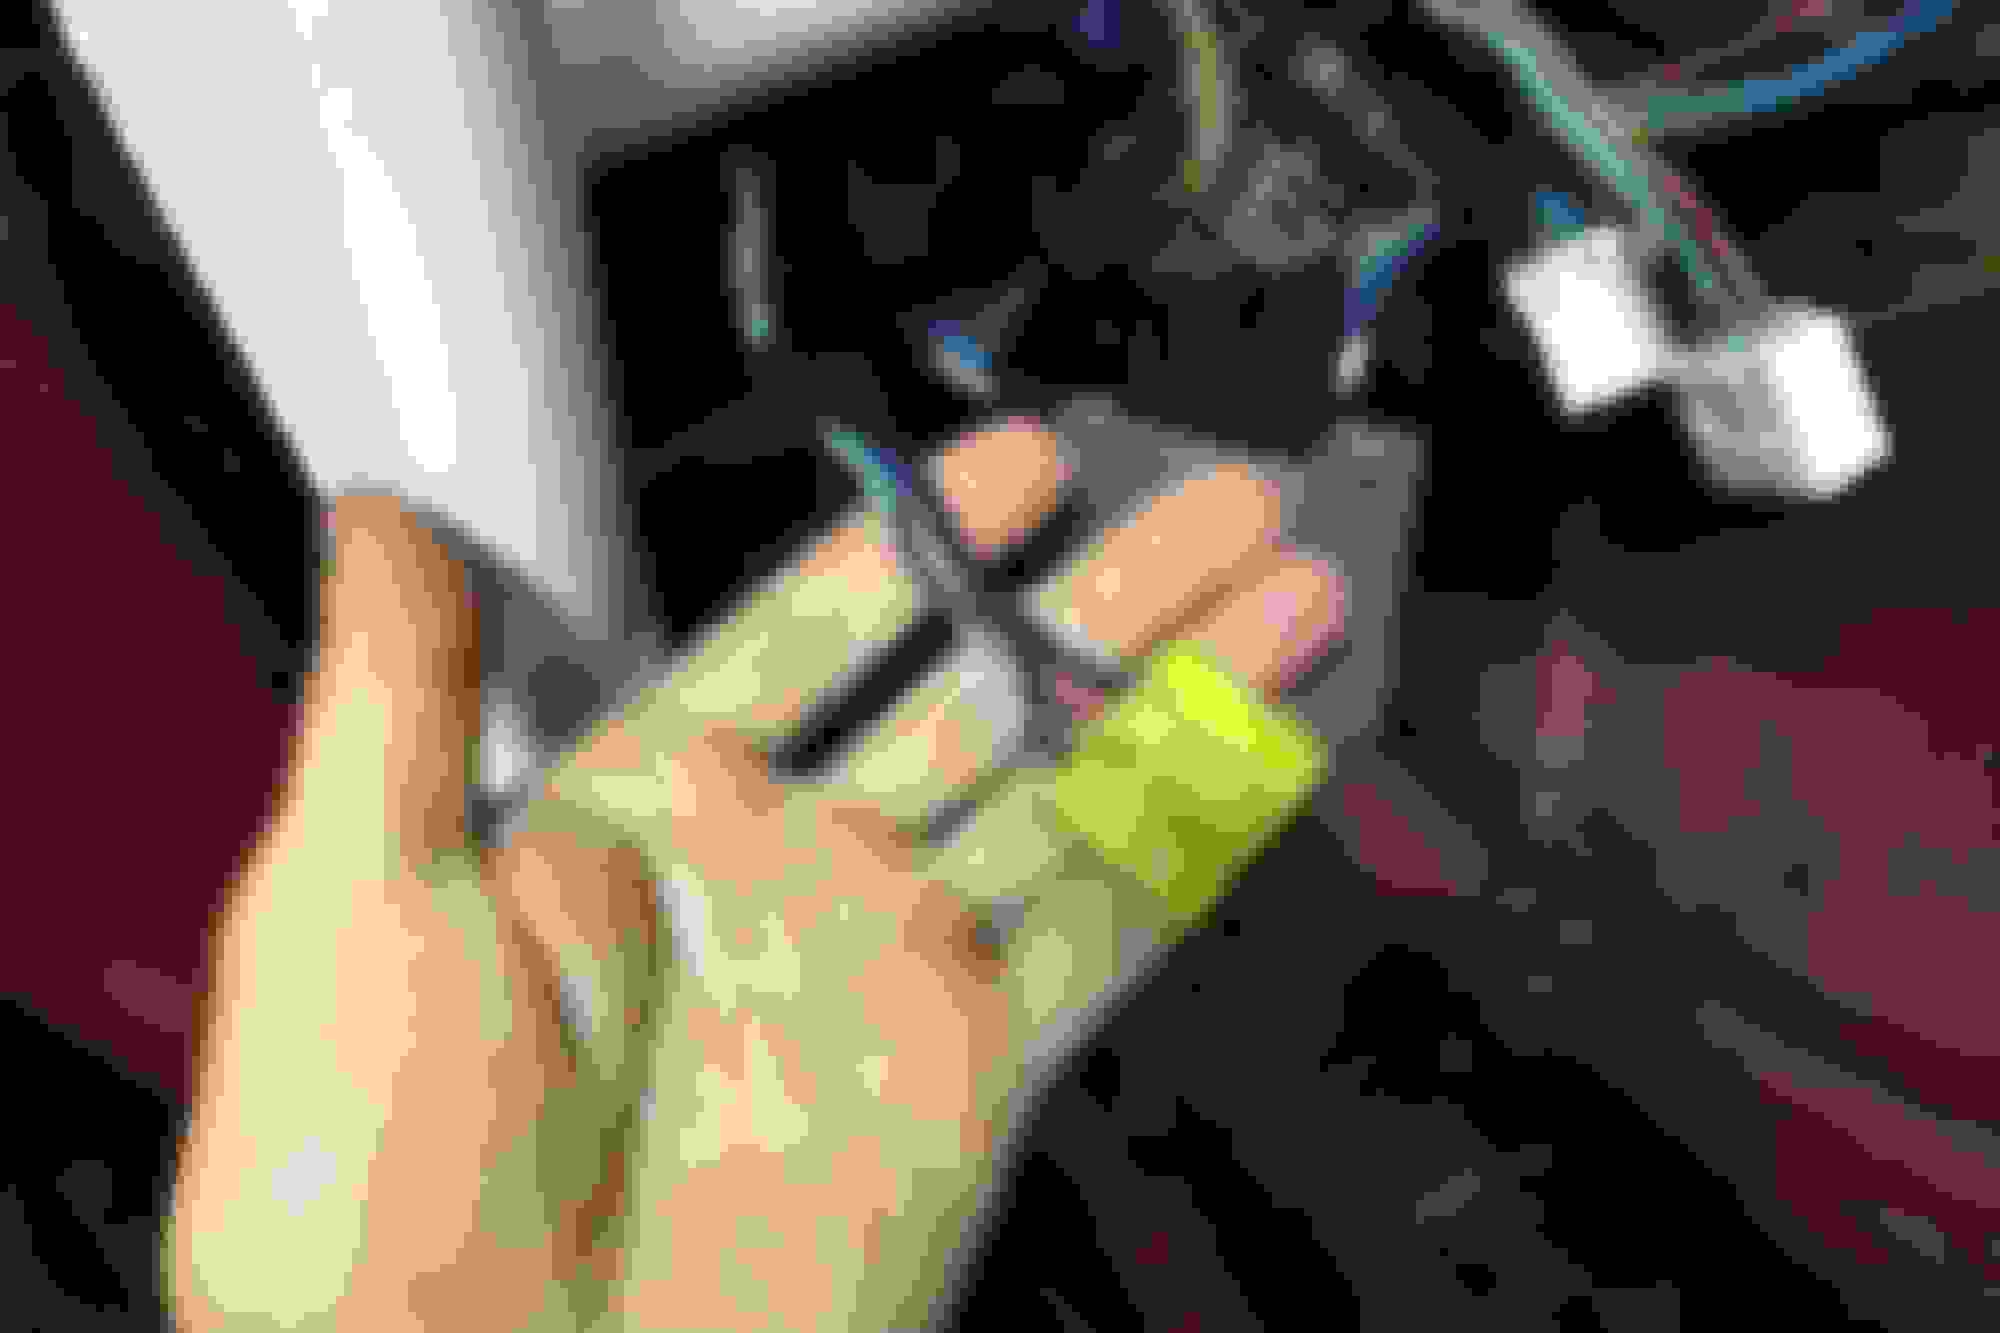
Red locktite on the hardware securing the mounting bracket to the upright, and two M12 socket head bolts, and the caliper was on.
Looking at this photo reminds me I need to add a shield to the outer tie rod to protect it from heat. You can also see the brake ducting feeding from the radiator duct.
Even the bridge bolt was massive. The new brake lines provided were a much more appropriate length, not to get tied up in the suspension components, or even worse come in contact with the wheel. That being said, they were routed and triple checked that they would not come into contact with anything through the full range of steering.
The 7420 pad is 20mm thick, and based on current wear rates, I am guesstimating the next pad change will be sometime in 2025.
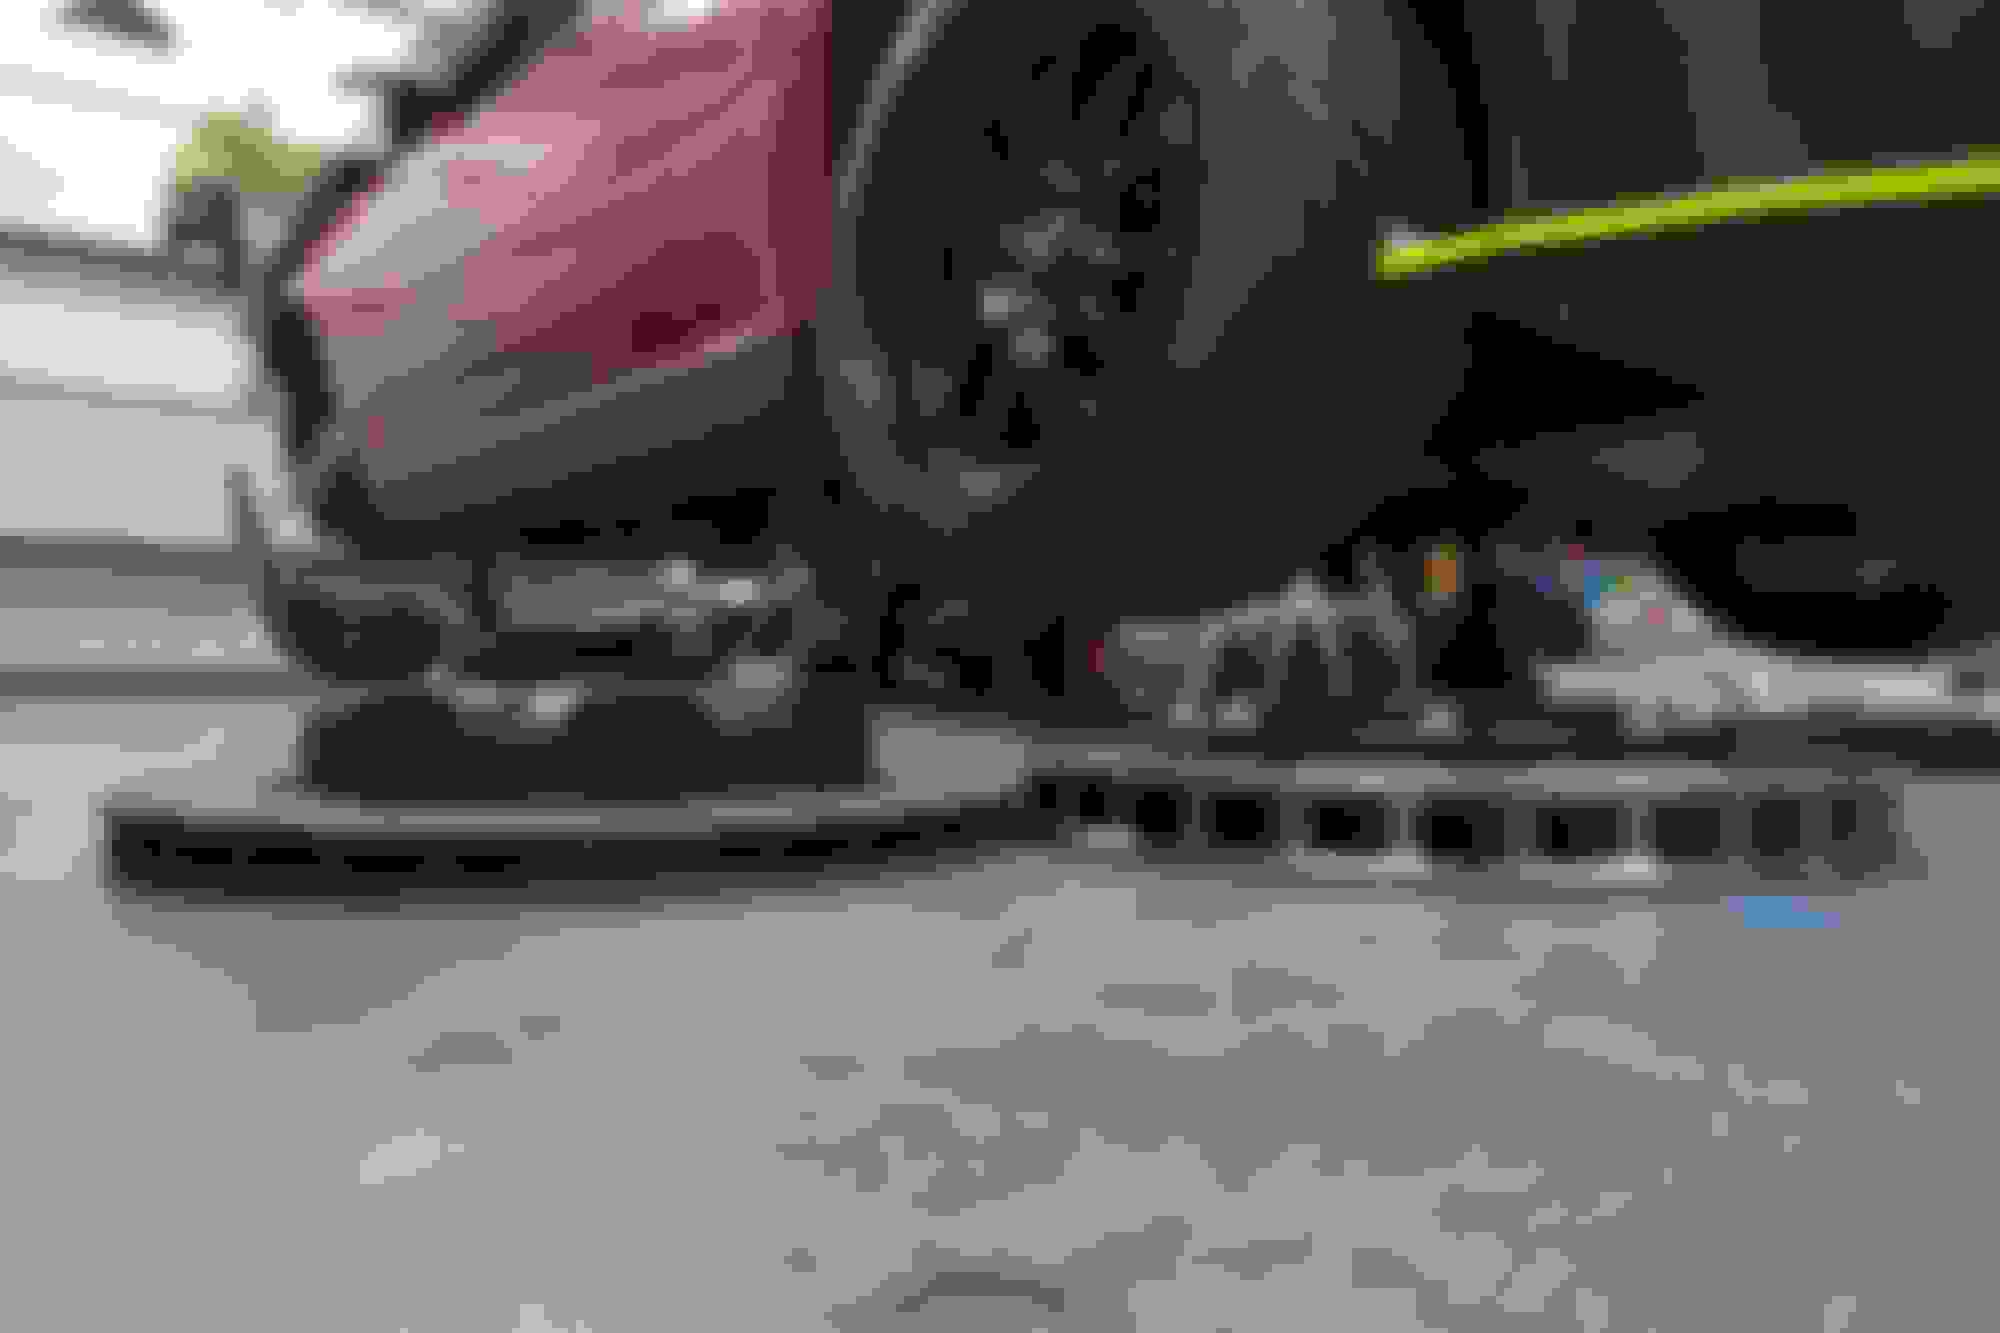
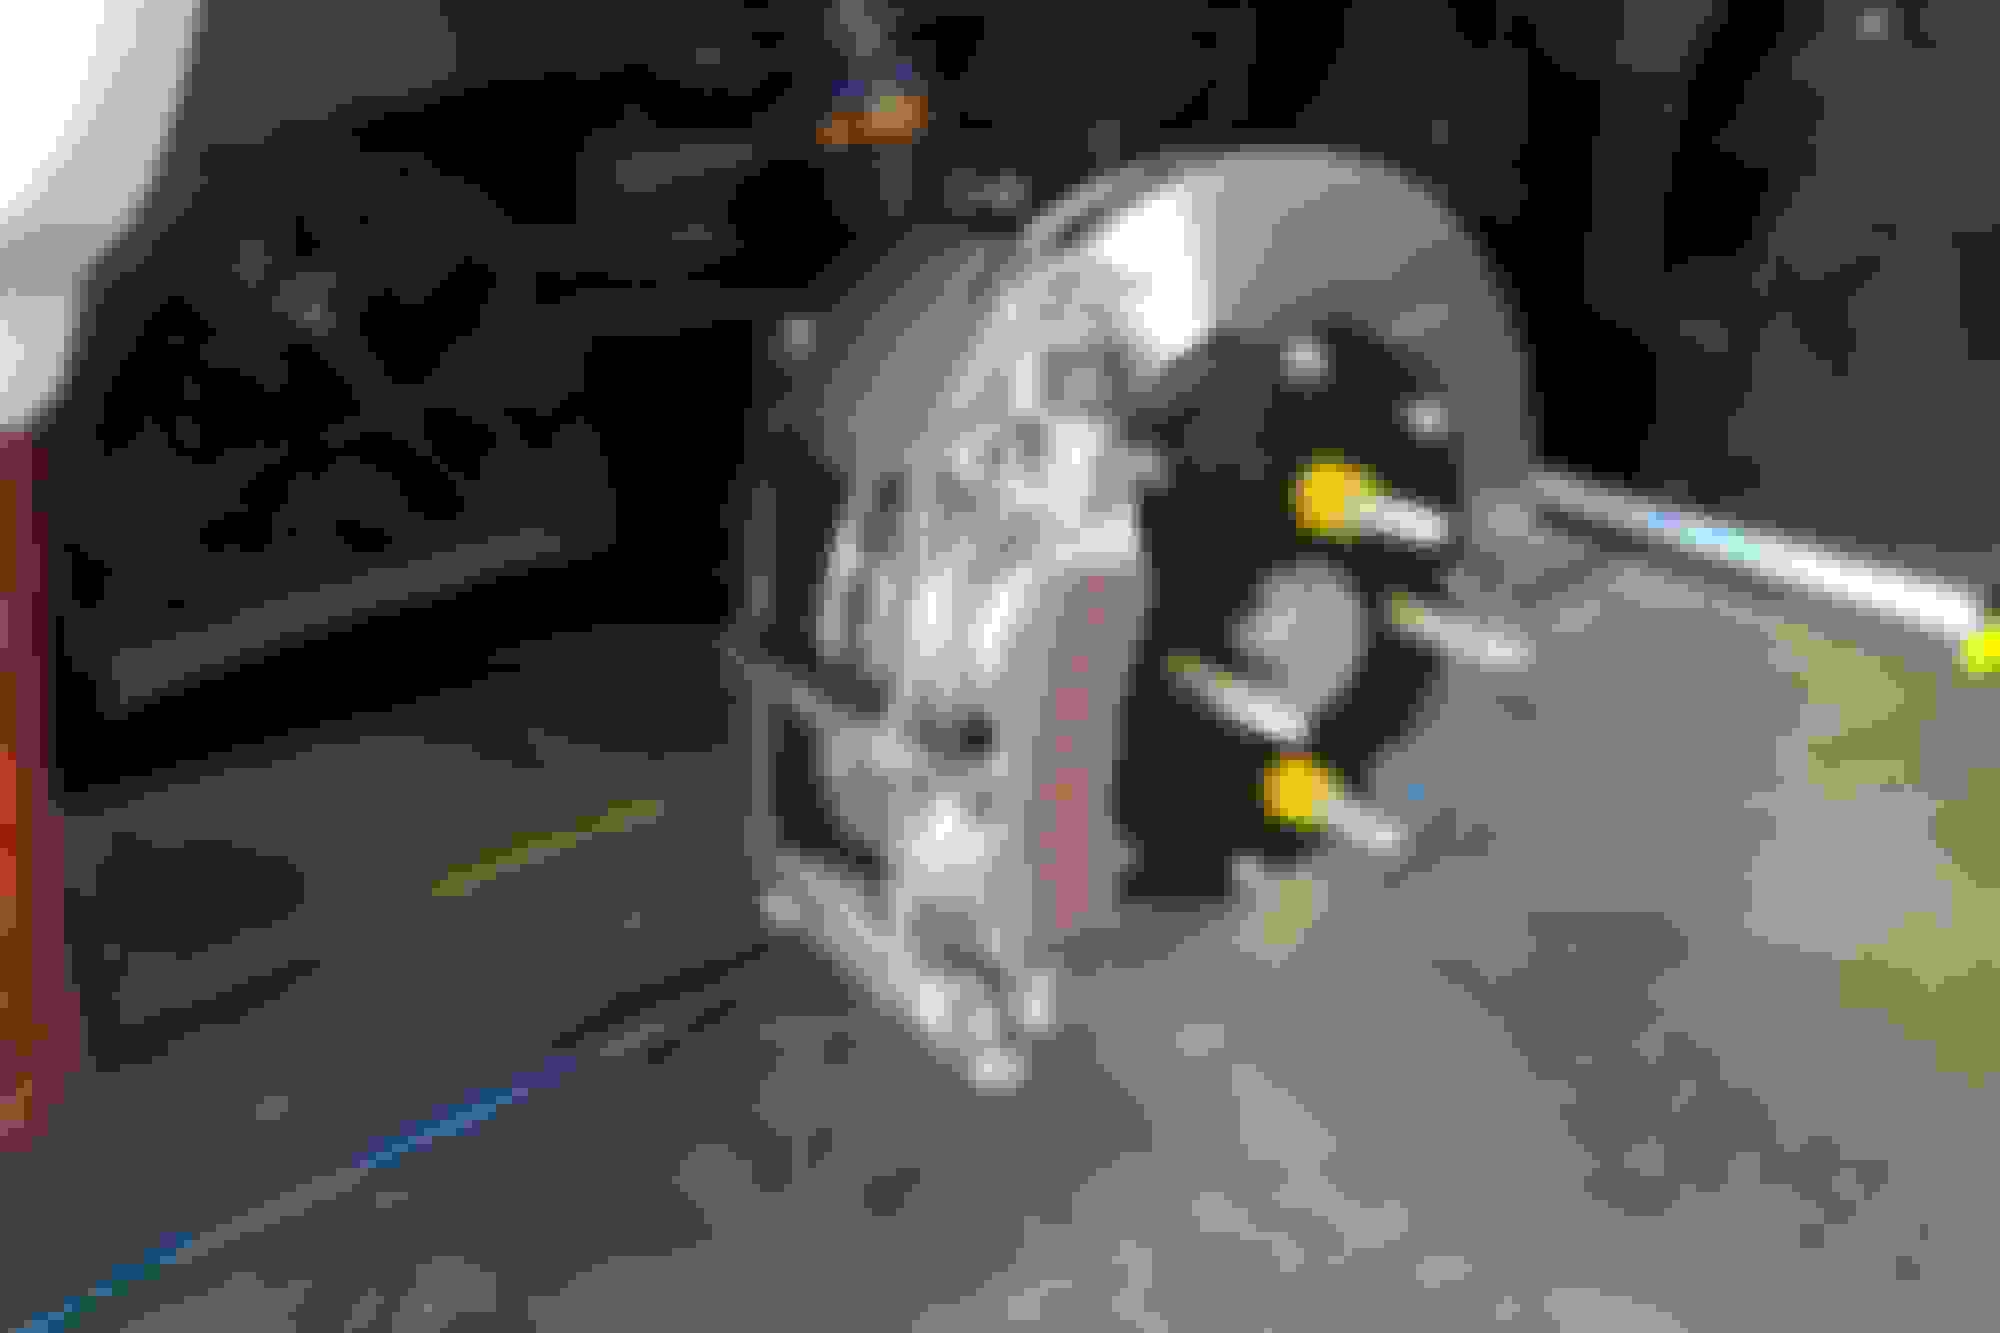
Installed.
If anyone is familiar with a Wilwood caliper, one of the first things they will notice is no longer will I have to deal with the pesky 1/4'' bleed screw. Again it is in the small details.
No doubt about it, this kit is the definition of overkill, especially for a N/A car (but will hopefully not be the case for much longer). The C43 caliper is a work of art, and weighs in around 4.4lbs. In addition the rotor have much more mass, they will have much more thermal capacity compared to the Wilwood rotors that were on the car. Towards the end of the session the old brakes would start to fade, and would also develop a strange pulsation in the pedal that I could not replicate other than when extremely hot.
This is one of those upgrades I am truly excited to test, and I personally feel safer having an excess of braking ability, and this should deliver. I debated between a few different kits the Supermiata Box Mount, and even Jerfspeeds kit with an AFCO caliper, before deciding on this one.
Thanks again to Jeff for all the help he provided and answering all of my numerous emails.
Last edited by Bryan Z.; Apr 26, 2022 at 06:17 PM.
After researching a few how to's, and more importantly how not to's, I was ready to start on the flares installation. The fronts require nothing more that cutting a portion of the stock fender away enlarging the radius of the fender to make room for the larger tire.
The flare would then be secured to the fender covering the newly cut metal hiding any imperfections left over from the trimming.
Fairly simple.
The rears however are much more complicated by comparison. The rear quarter panel is composed of two layers, an inner and outer layer. The outer layer needed to be trimmed and then inner layer needed to be bent and formed upwards to meet the outer layer. Only then can you weld the thin 90's Japanese sheet metal, not an easy task in itself, sealing them together preventing debris and water from being trapped inside. This was obviously a daunting task, where you only get one shot at and therefore something I wanted done correctly.
Judging my skill honestly, I came to the conclusion that I could complete the front half of the install, but it would be best to leave the more complicated rear to someone that has done this before. I messaged @Twibs415 hoping to schedule a date a few weeks out, but he told me to bring it by the next day.
He would message me updates periodically, and even staying late working on my car. The very next day he finished cutting and welding the rear and I picked it up that afternoon. Seriously, cannot thank him enough for taking on the job on such short notice, ridiculous short turn around time and quality of work. He also entertained my father and I showing us his monster of an NA that he was building.
Now the car was back in the garage it was time to complete the flares portion of the flares install.
Scary moment taking a drill to your quarter panel.
Drilling Rear Quarter Panel
With no access to the backside of the rear quarter panel rivnuts were needed.
Rivnut or nutserts as they are often referred to are a way to thread a fastener into a blind hole. It has a knurled section secures it to the metal and a threaded hole for most common sized fasteners. The hole size needed for an M6 sized rivnut required a 9mm drill bit or a more commonly found 23/64" bit. I found the 9mm bit to be slightly undersized and I could not easily fit the rivnut.
The trickiest part of the installation was installing the forward most rivnut. The inner and outer layer are the closest together at this point in the fender and getting the rivnut to sit flush on the quarter required a bit of trimming inside the fender.
Culprit of struggle.
I used a step bit to enlarge the hole from the inside of the fender allowing the rivnut to pass through so it would not foul the inner fender.
I then painted the bare metal with rubberized undercoating and sealed it up with metal tape hoping to prevent anything from becoming trapped in between the two layers. This was by far the most time consuming portion of the install because it is in an awkward location, and something that is not often covered in other flare guides. I believe you could position the flare in such a way that you could minimize the hole needing to be drilled by choosing a location where the two layers meet where they are more parallel to one another.
View of inside the fender.
The front install was much easier. I chose to remove the front fender entirely, so that I could get a cleaner cut as well as better access to each part of the fender. The fronts received the same painting treatment to further deter any rust. To cut the fenders I purchased a pneumatic body saw and it made quick work of the fender.
"New" fender radius to be cut.
Rivnut tool along with stainless steel M6 rivnuts.
I took the car out for a few track days over the past few months and the car has been nothing short of phenomenal. I must admit I forgot what new tires feel like and the amount of traction from non aged rubber, read not 5 year old RS4s, was a delight.
Although the most noticeable difference between the RC1 and the RS4 would be the amount of confidence you have under braking. The best way I could describe the RC1 characteristics would be linear, the tire does nothing abruptly, and if you do past it a little past its limits of adhesion, it is easy to bring it back under control.
It is a very well balanced tire.
First trip was out to Buttonwillow. I again went with a few friends and gave some rides. Whenever I have a passenger in the car, I limit myself to about 70% pace, to err on the side of caution. That being said, I was able to match my PB of a 2:04, with ease.
Parked in the paddock.
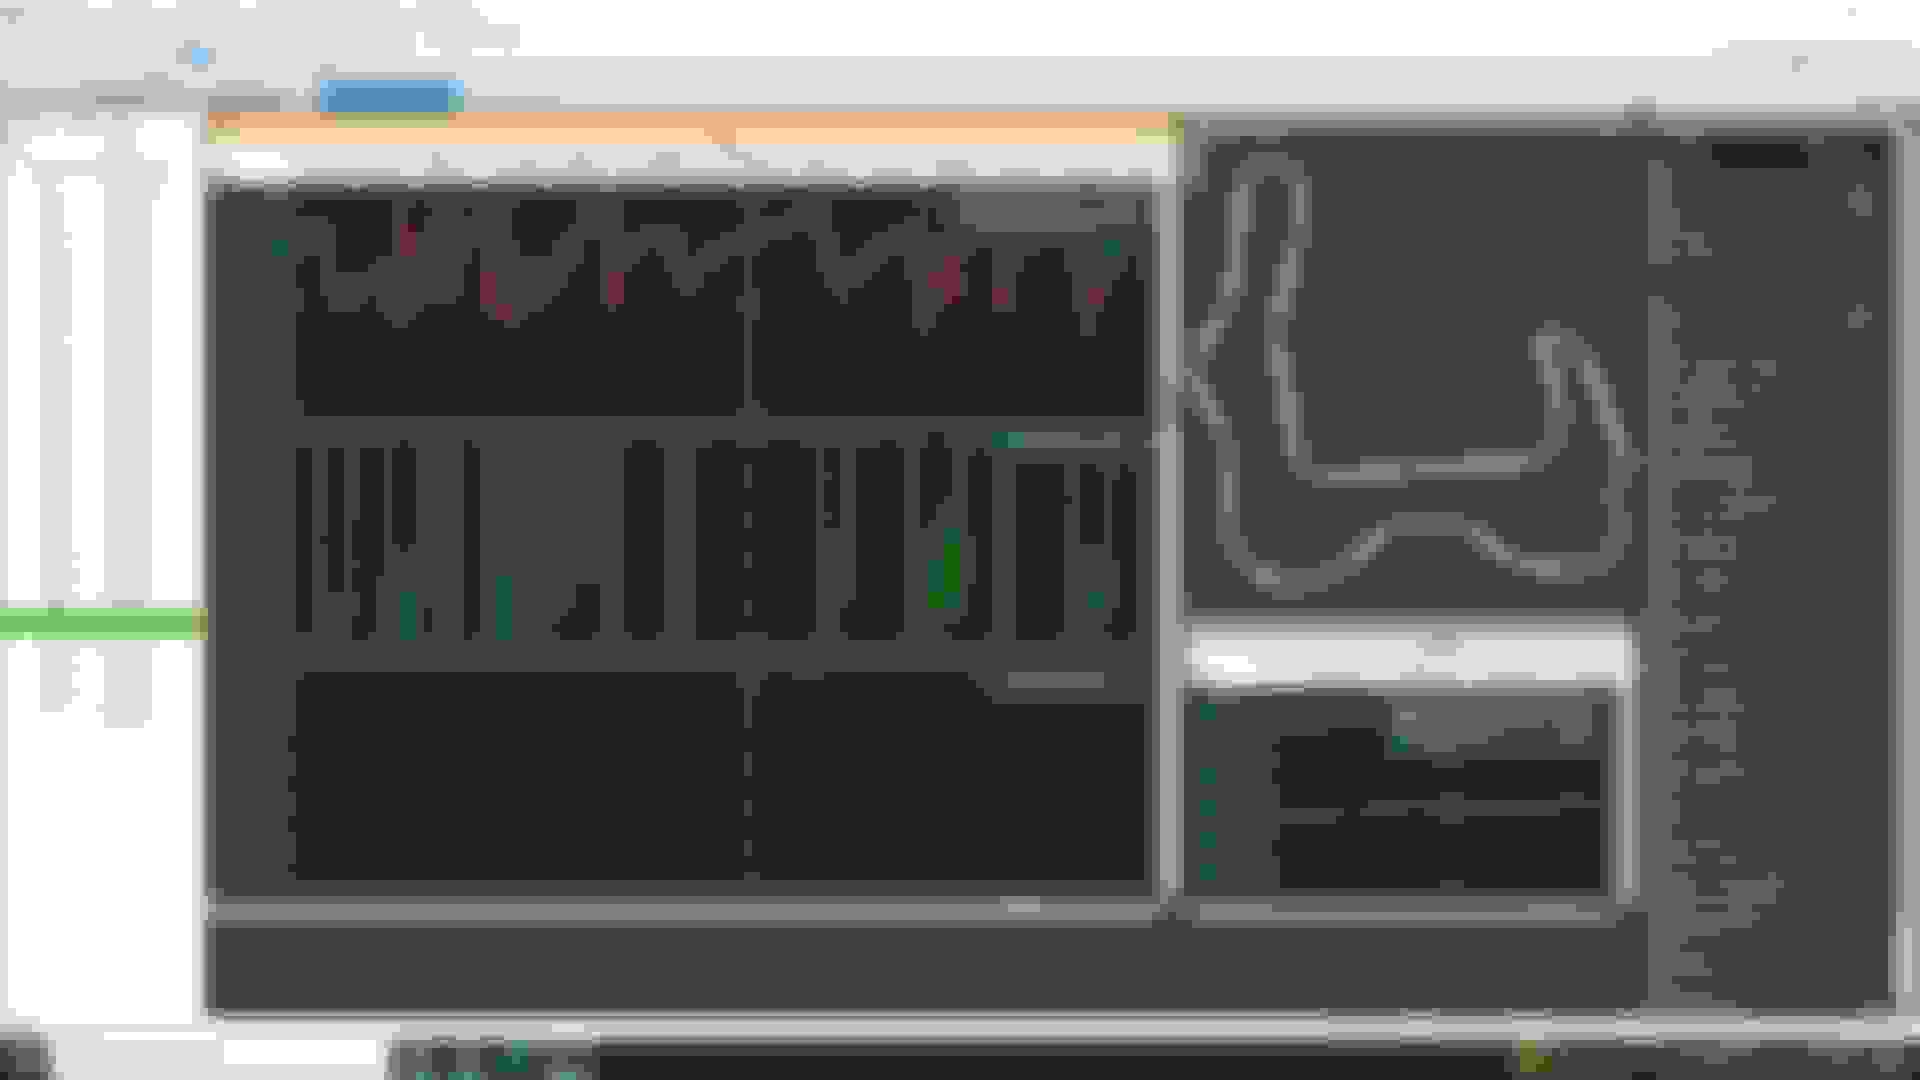
Also playing around with data. Highlights all the areas where I am slow.
I love data.
The Buttonwillow #CW13 lap.
Next was Thunderhill West.
This is a tight and technical track well suited to miatas. I signed up with CorsaClub which also happened to be a low car count day, so quality track time was abundant.
Without any long straights, with a measly 130whp I was still able to pester some GT3s and Corvettes around West.
It was a fun day.
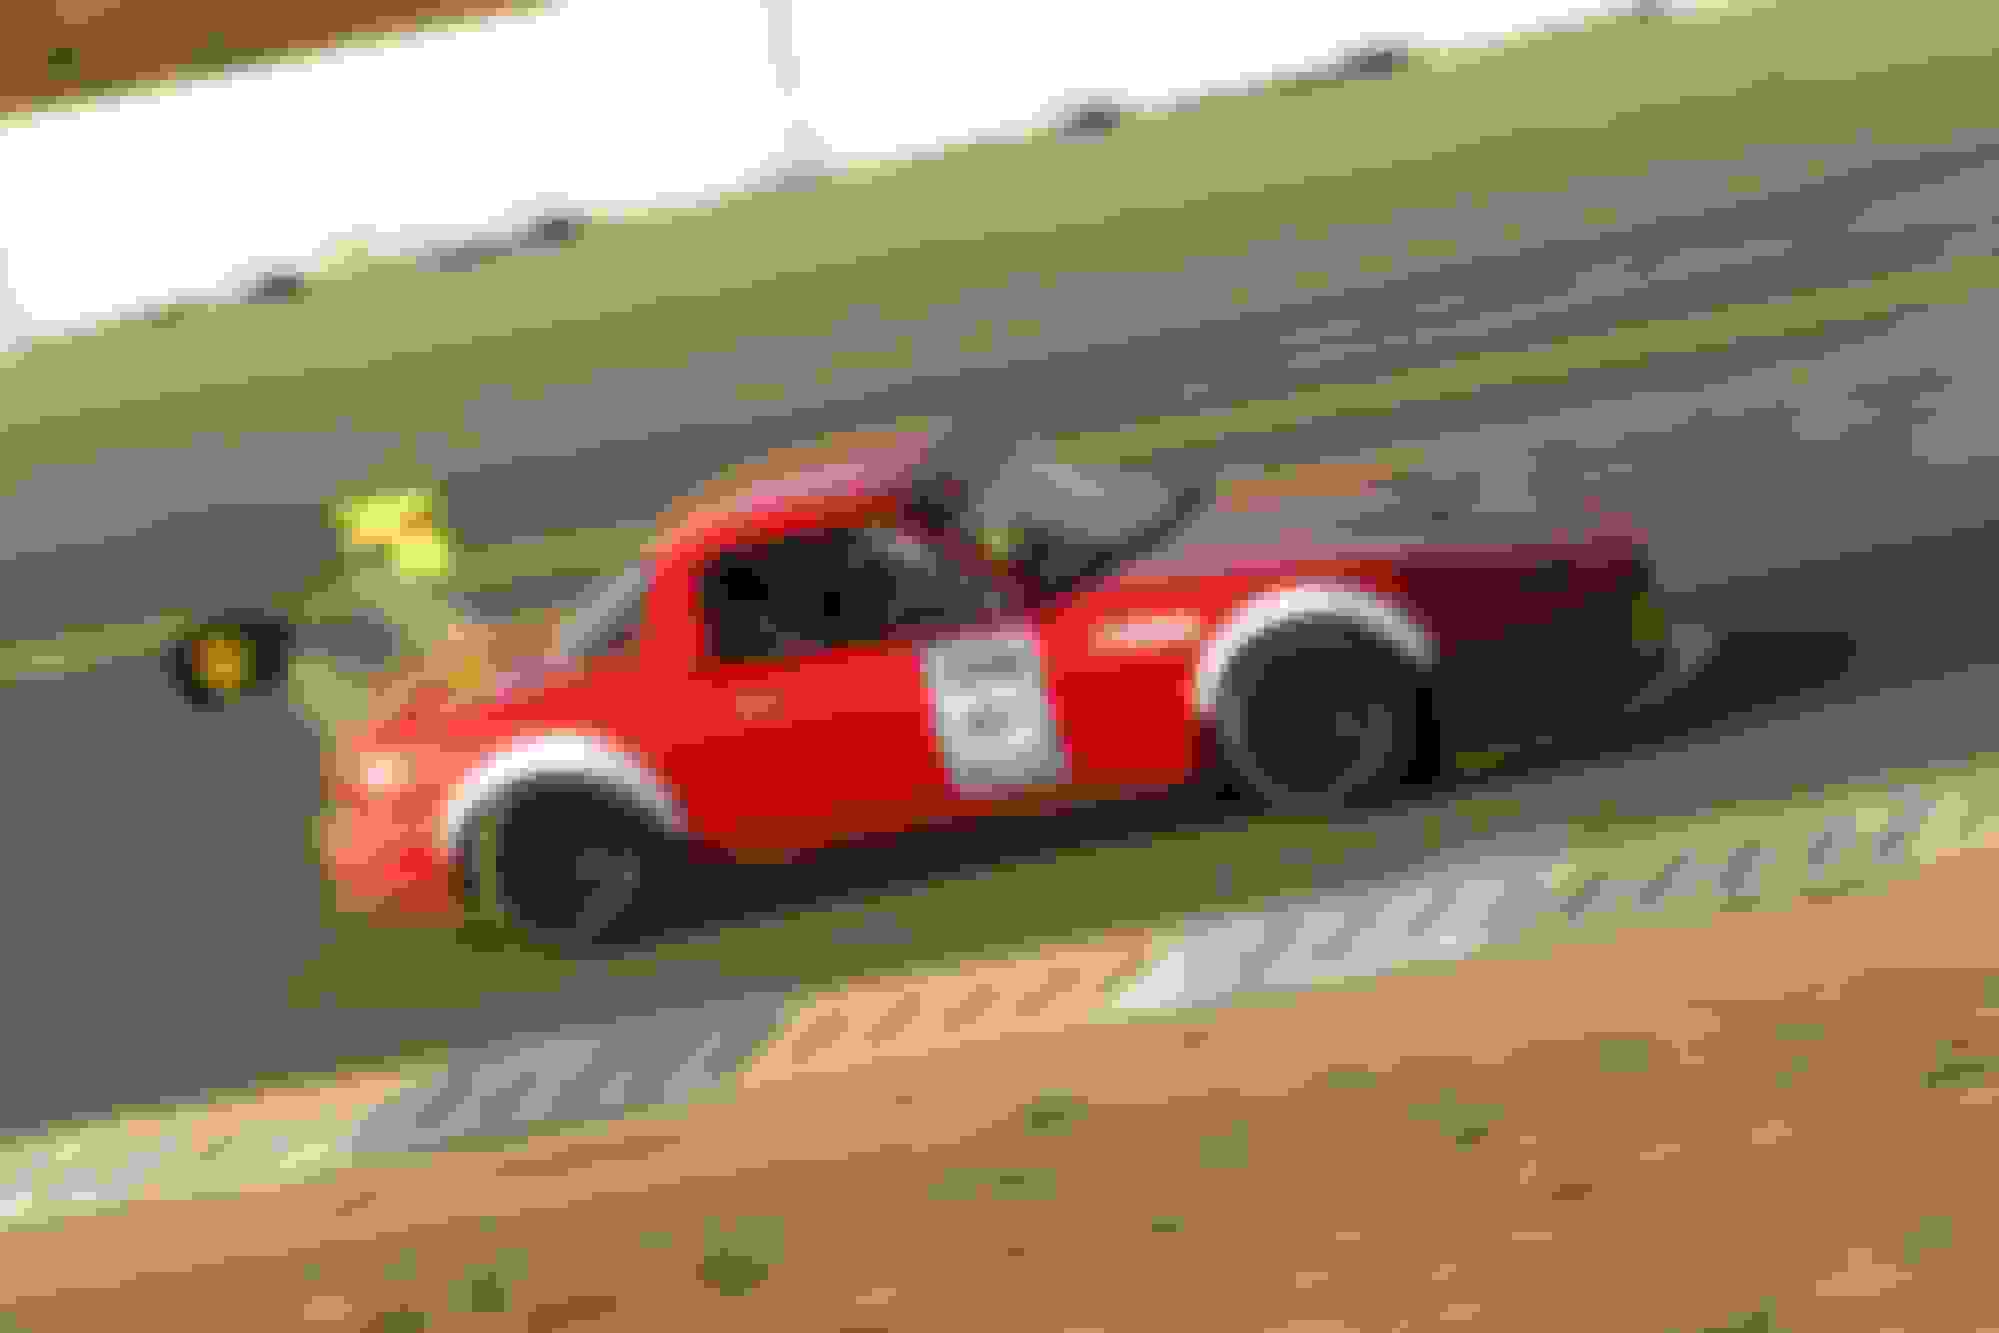
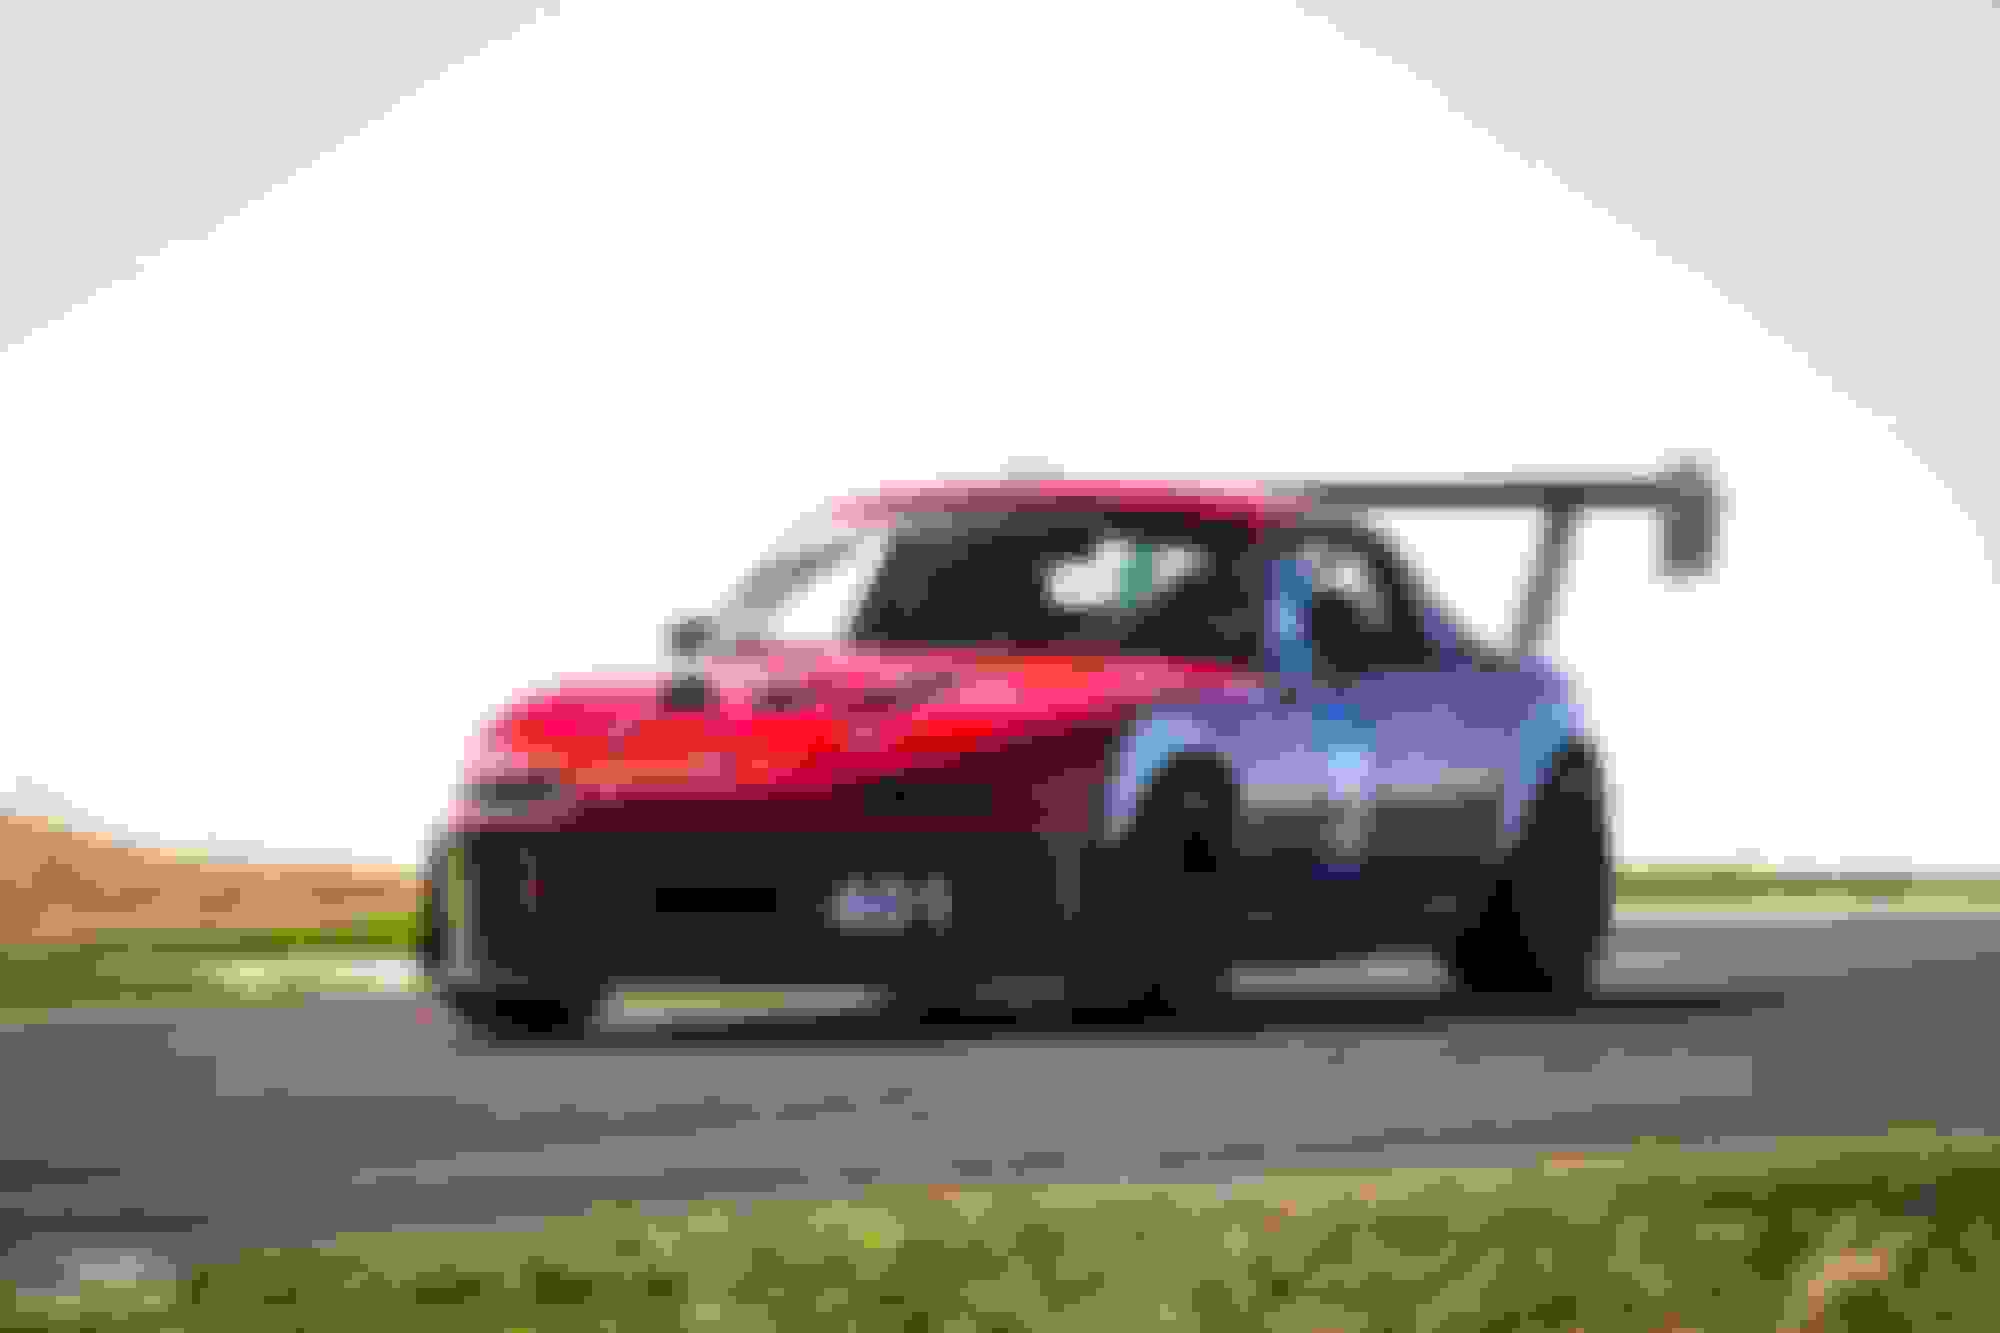
Blasting down to Turn 3.
I am more pleased with my driving in this video, although I failed to record my 1:25 lap earlier in the day, but I believe there is at least another second or more to find with better driving.
Thunderhill West CCW lap.
The last session of the day was 45 minutes, and I noticed that around 40 minutes in oil temps were around 240*. I am due for an oil cooler sooner rather than later. Coolant temps never went above 200* and brakes showed no indications of the slightest bit of fade. Development is coming along.
Even though the car is quick, I think I have too much tire for this power level. The 15x10 would be more suited to the car if it had around 200-220hp. Hopefully the lack of power will be remedied soon. I have since placed an order for a Kraken kit, and am now playing the waiting game.
In the meantime, I am going to enjoy the car as-is and improve my driving.
Now comes the fun part of tracking the car and finding the weak points that need to be addressed.
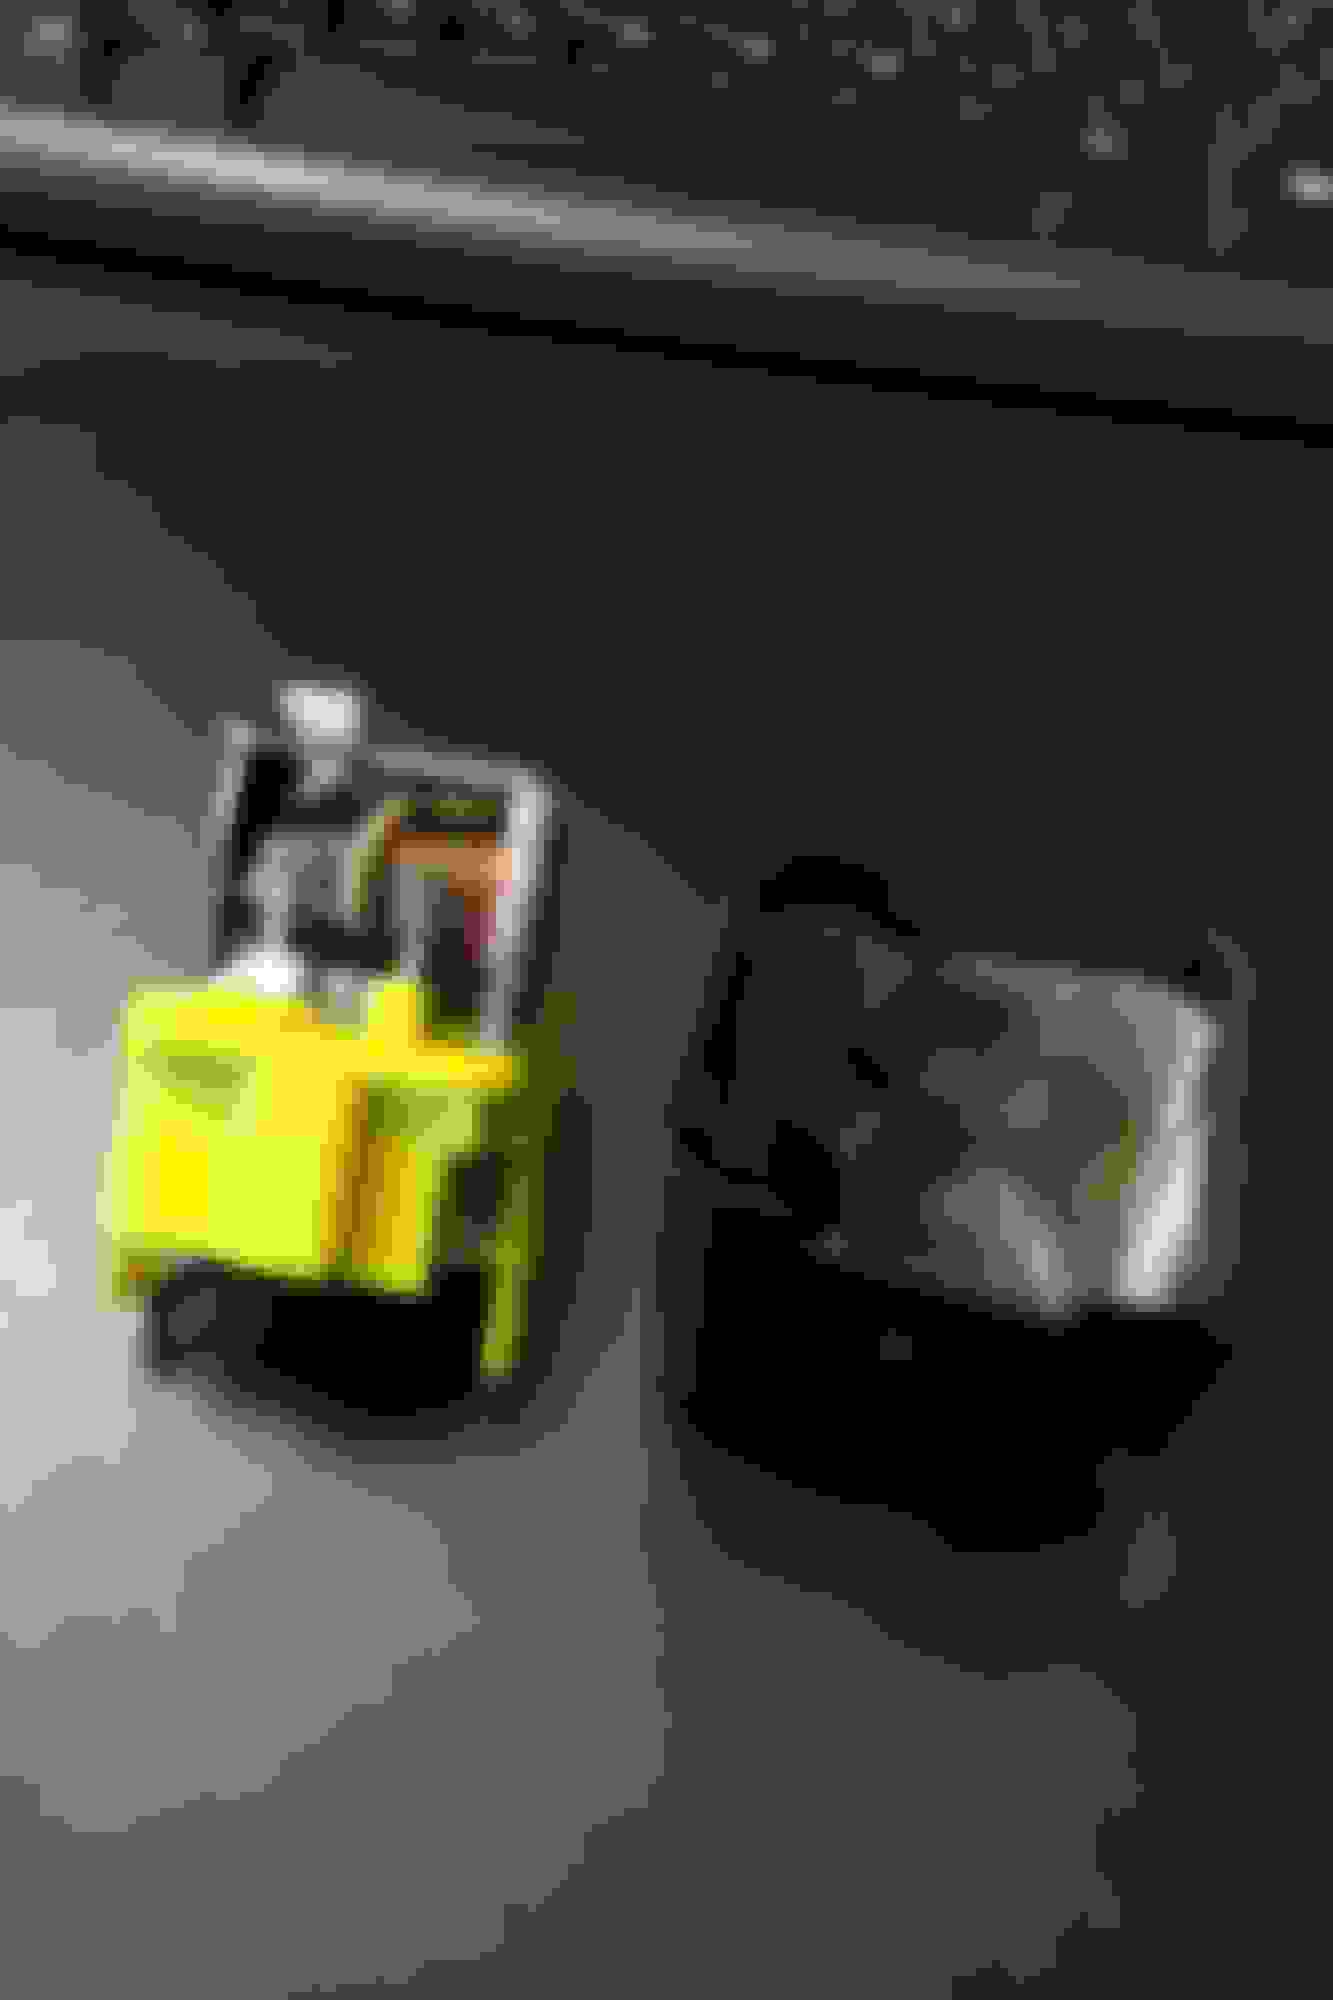
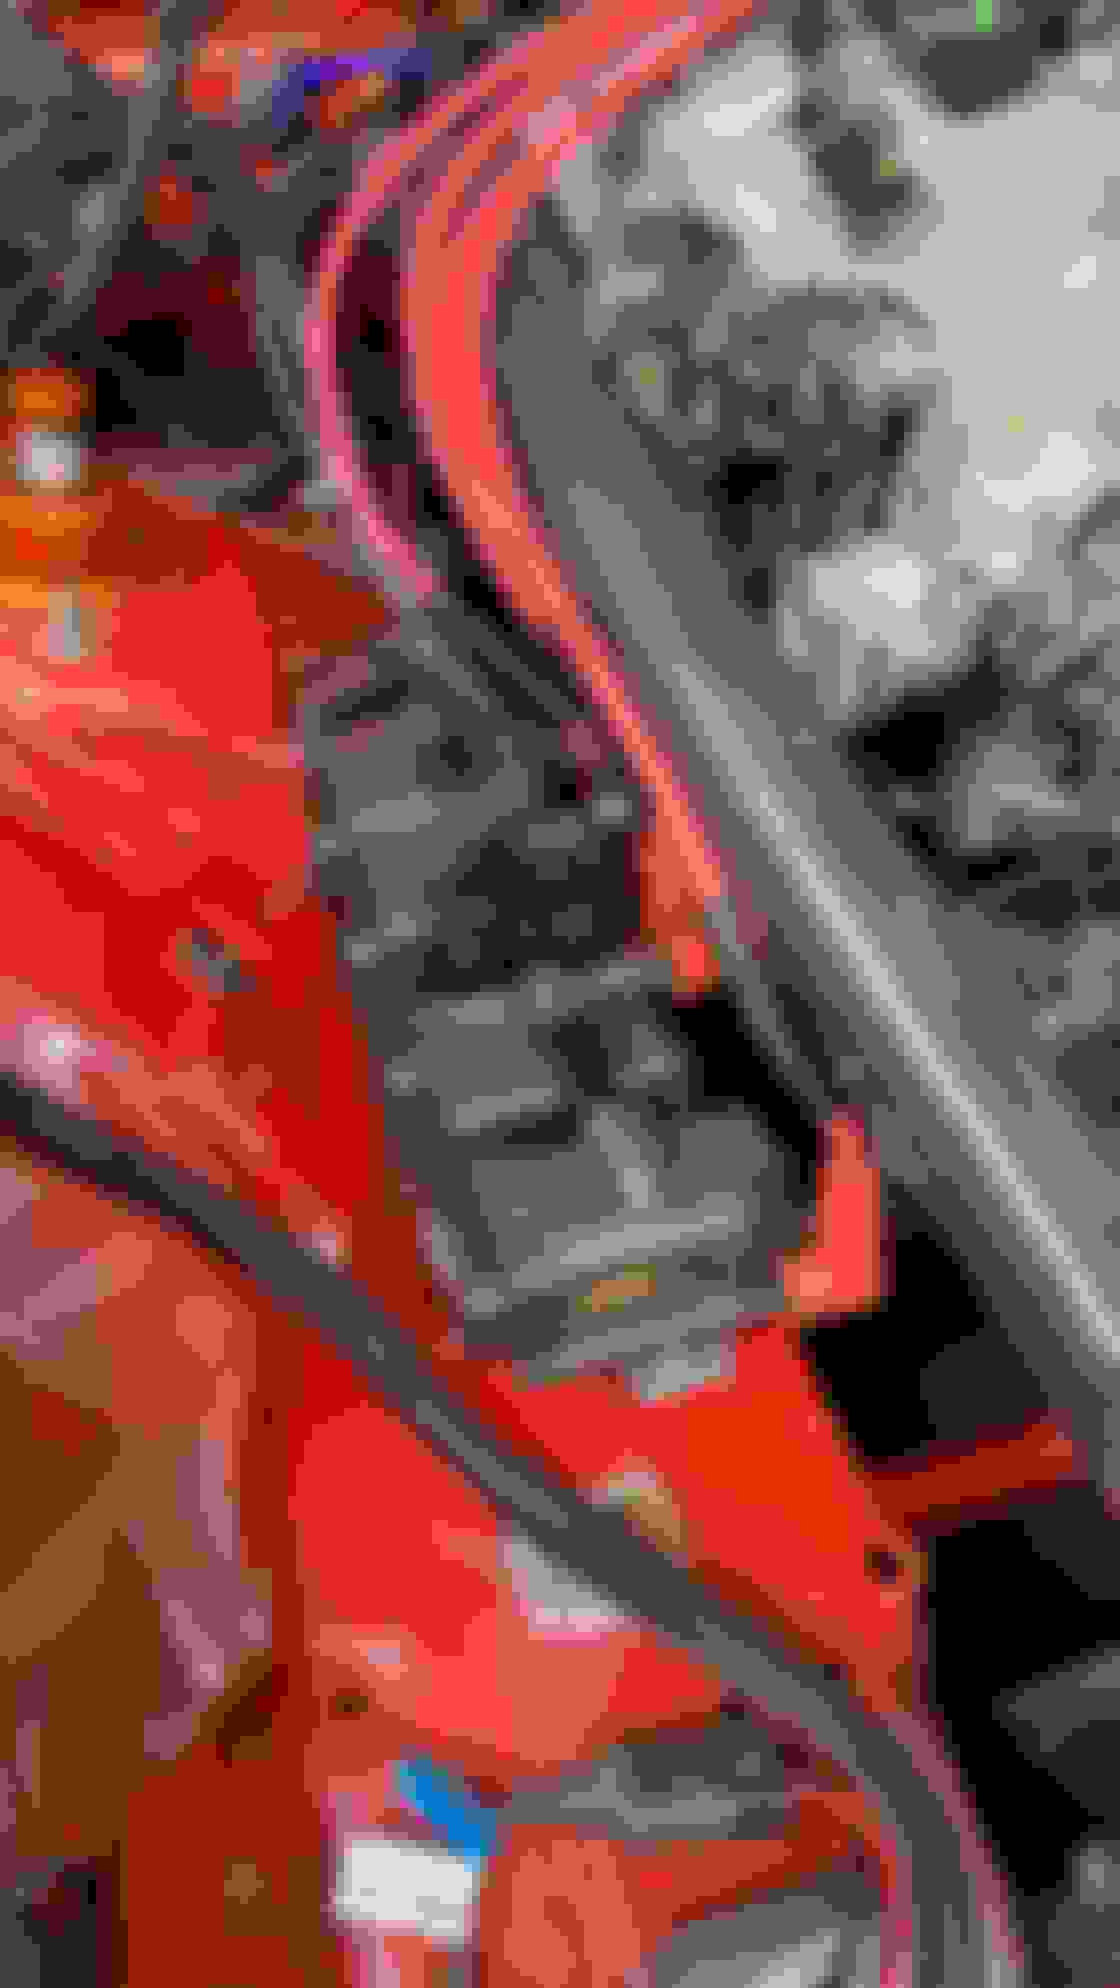
One of the trips to Thunderhill West resulted in a non starting car. After upgrading to the DW200 fuel pump the circuit opening relay decided to call it quits.
Crispy relay.
On the earlier cars, when switching over to a Megasquirt, the instructions require you to pull the ST Sign fuse, because it is this circuit that becomes the control side for the fuel pump. In addition when upgrading to a larger pump, that requires more amperage, the stock relay is grossly under equipped to handle the load demanded.
A fuel pump rewire is needed and the new relay will then supply power to the pump. I purchased a fuel pump rewire kit originally designed for a Mazda RX7, but both being a Mazda, share many of the same OEM connectors thus the re-pinning required was kept to a minimum.
Luckily, I did not damage the connector during the process, but the replacement receptacle is available on Ballenger Motorsports, part number CONN-75905. I tucked the relay under the parcel shelf keeping the install as tidy as possible.
Rewiring.
I originally wired the power to the new relay directly to the battery, but soon found that my alternator was overcharging the car somewhere in the neighborhood of 15.2 volts.
No bueno.
I first monitored this through my dash, and confirmed with a DMM. Reading through various rewire instructions and looking over the factory wiring diagrams I learned that I needed to crimp the wires going into the original circuit opening relay found underneath the dashboard. The Violet and Blue/Red wires need to be crimped together as the trigger, and the thicker gauge White/Red would supply power to the new relay. After these changes the alternator was happy and charging at 14.2-14.3 volts.
Wiring changes.
Connector found under the dash.
Along with the fuel pump issues the car would also make a high pitched squeak anytime the clutch was depressed. The clutch slave cylinder was on its way out and the dust boot had disintegrated. A quick two bolts and a bleed and the clutch hydraulics were as good as new.
Another quality of life upgrade that was far overdue was addressing the amount of heat entering the cabin, particularly by my right foot. Ever since removing the carpet, and swapping in an aftermarket header with no heat shield the heat in the cabin was almost unbearable as the header is literal inches from your right foot..
I purchased DEI Floor and Tunnel shield that had adhesive backing from Amazon and cleaned the inside of the transmission tunnel as well as I could.
Floor and Tunnel Shield installed.
I did a little A to B testing controlling as many variables as possible, driving same route, similar ambient temperatures and concluded with the following. (20 minute drive in town, alternating load, 86*F)
No heat shielding present. 151.3*F
Shielding installed. 115.6*F
Delta of 35.7*F after a short drive. I would chalk that up as a win. I believe any sort of quality and well implemented heat shielding is worth the effort. It pays dividends in driver comfort. The air gap between the woven fabric and the exhaust (air is a fantastic insulator) does help cut down on heat.
I recently tested both again at Thunderhill in July, read 105*F, and dare I say that the cabin was actually a pleasant place to be relatively speaking.
The car is developing slowly and ironing out the bugs is something I thoroughly enjoy.
Back at Thunderhill yet again. I must really like this place.
A few coworkers were going back to the track so I decided to tag along. In addition to the previous issues from the last track day, I also learned that my current alignment was atrocious.
The front had an obscene amount of toe out, camber differed across each side and the front caster was hovering somewhere around 6 degrees, which explained why it was such a bear to drive. At the end of a 20 minute session my arms would become noodles at would be drenched in sweat. The car would understeer, and no matter what I did would not want to rotate, and I now I understand why.
Lesson learned.
I aligned the car to my specs, changed front sway bar settings, and dialed out some rear wing. The result would hopefully be a more balanced car that would want to turn in.
My previous best at Thunderhill East Bypass was a 2:06.63 with a passenger. (Whenever I have a passenger I limit myself to around 75% pace for a larger margin of safety).
An actual decent alignment, thanks Andy!
It was going to be a warm one, as always with Thunderhill in the summer. Weather forecast was 98 degrees which actually is on the cooler side.
The first session of the day I wanted to see what I could do after all of the setup changes, with cooler morning weather and no passenger. I had to work my way through traffic, through the slower GT3RS, Cameros and Mustangs and finally got an open lap.
2:03.84
I was quite pleased with the time, and not bad considering it only has 130whp, but I have my sights set on Crushers lap of a 2:01.3 from 2012 despite being a bit down on power. Reviewing the video along with data, there are definitely areas which I can improve, and gain some time and will have to go back and try again. I will also pray for cooler weather, and schedule it for a different time of year.
The lap with telemetry. (Any critique on how to improve would be much appreciated)
The remainder of the day I gave rides to friends and helped coach them to improve in their own cars.
We parked next to a few other cars, most noticeably a Corvette C6. I asked the owner if I could have a ride along in one of the later sessions and he agreed. I was curious to ride in a car with actual power and straight line speed. The owner happily walked me through what was done to the car and that it was a fully optioned out C6 Z06 with all the bells and whistles. LS7 with 505hp, carbon ceramics you name it.
We went out, and the car absolutely warped space and time.
The amount of speed it gained down the straights, and the way it stopped was incredible. I was definitely hooked.
I joked with the owner how different of an experience this was to my miata and offered if he wanted a ride along in my session. He obliged and we headed out in the next session.
To my surprise, he enjoyed every second of it. He told me that my little miata was a "monster" and that he has never been around a corner so fast. Something along the lines of "through Turn 1 and Turn 2 you have over 10mph on me". Hearing this feedback was motivating and that all the hard work building this car is much more rewarding than simply just buying a "faster" car. He then told me he wanted to buy a miata himself.
Yes, I know that feeling. I was parked in the marshalling area with my NB8A (worked atmo 1.8) waiting for the track to be cleared of a breakdown or something, when the driver of the Mustang beside me wandered over and said, 'please tell me that thing is turboed ...' - priceless! He hosed me off on the long main straight, but I was always in his mirrors well before we got to the straight next time. Giant killing is what we do!!
On the return trip from Thunderhill I noticed the car was difficult to start and barely made it home. I parked the car for a few days, not thinking much of it, but when I tried to start it again the car would no longer start.
I was not getting power to any accessories nor the ecu, yet it would still crank (I should have known the culprit at this point). I started checking various fuses and relays and all fuses were intact and the relays were closing. Fearing the worst, I disassembled the ecu hoping I could spot signs of a failure.
Rigged up on a bench power supply.
Oddly enough the LEDs on the board illuminated when hooked up to the power supply and would connect to Tunerstudio, but the same could not be said when installed in the car. I then Macgyver'd a test with a few alligator clips and t-pins and was able to identify the problem.
The Main Relay contacts were closing and could hear an audible click, but the relay was broken internally.
Classic crank no-start.
Burned relays are a common theme around these parts it seems.
I am not sure what the stock relay is rated for, but I purchased an upgraded 80A main relay from Mazda, part number JE16-18-811. This should hopefully last a few years and even purchased a spare to keep in the parts bin as a backup.
In other news, I attended Seven Stock, a rotary car show held at Auto Club Speedway. This year we brought a few cars and even signed up for the track day put on by Speed Ventures.
The weekend was an experience in itself, and was also a weekend of a lot of firsts. First time driving a two car trailer, driving a FD, driving a car with a dogbox, driving a car with more than a miata's worth of power etc. It was a fun time all around.
Brief cliff notes, 1993 Mazda RX7, fully caged, 2500lbs, 450whp, dog box, animal of a car.
This was my first time towing to an event, and it was a life of luxury. It was not too difficult driving it through LA, but took a short time to get accustomed to the length of the trailer.
Tow rig.
Back to things miata, I attended SpeedSFs Black Friday event at Buttonwillow raceway. I always like this event, while everyone else is out shopping, I am avoiding the crowds at the racetrack.
The drive there went smoothly and was not too cold considering the time of year.
However, the morning of the event was a different story. Cruising along I-5 about a mile away from the track, I noticed a liquid forming on the front windshield. Almost immediately afterwards the car lost all power and I found myself involuntarily stopping on the shoulder.
The fuel line had removed itself from the fuel rail. It dumped a not insignificant amount of fuel in the engine bay and out of the hood vents onto my windshield.
Not the kind of CFD I was looking for.
One of the more questionable repairs I have done. A couple hose clamps and zip ties later I secured the hose and limped it to the track.
I am counting my blessings, and I feel I was extremely lucky it happened when it did, and while the car was still relatively cool.
Fuel everywhere.
I skipped a few of the morning sessions wanting to give the fuel enough time to evaporate next to all of the hot things was one of the wiser decisions I made that day. This meant missing the SpeedSF challenge competition and the optimal conditions of the morning session.
Oh well, better safe than sorry.
I did manage to make it out to some of the later sessions that day.
Fast lap of the day.
Not bad considering the state of the car, not to mention 40+ heat cycled RC1s, that were corded on the inside edge.
These tires owe me nothing.
I really want to go through the car with a fine tooth comb and perfect what I have. Up next on the chopping block will be the fuel system, and brake lines as those are areas I believe will be the biggest improvement of safety for the car. That and a fire suppression system along with a handheld bottle.
Still, I am really lucky that I get to experience all of these adventures, and that I am creating memories that I will look back on in the future.
Last edited by Bryan Z.; Dec 25, 2023 at 12:24 AM.
I have been acquiring turbo parts over the past few months and they are slowly trickling in.
While I am waiting, I figured it was time to fix some of the issues that had arose. Mostly fall into the category "surely I'll revisit this later after the initial start-up" kind of issues.
First and foremost was the fuel line debacle. When I originally swapped the fuel lines from the motor swap, I inverted a NA6 FPR on a NB1 fuel rail, yet the FPR did not have any sort of a barb for the hose clamp to secure to. This is a quick way to embrace a flaming death, and I was luckily able to have narrowly avoided such a fate.
One thing lead to another and I found myself revamping the entire fuel system. Radium rail, NB1 injectors (for the time being), Fuelab 545 Regulator, various Radium ORB fittings and fuel hose. I elected to stay with 5/16 fuel line with EFI clamp fittings instead of go the AN hose route.
Radium Rail with fuel damper.
The Radium Fuel Damper was purchased in the hopes that it would clear the intake manifold and head. Clearances were extremely tight with only a few mm to spare on either side.
I definitely got lucky with this one.
You can see the damper barely peaking through in the middle of the photo.
I mounted the regulator where the fluid washer bottle would typically reside. This seemed to have the optimal routing for the lines while being securely mounted out of harms way.
Wrapped the lines in corrugated sheathing, to hopefully avoid any abrasion from other brackets, or working in the engine bay. The line that was used was Radium's 5/16 fuel hose which is E85 compatible.
Ballenger Motorsports 0-100psi pressure sensor feeding information to the dash.
The second issues was the coil mount that a coworker had welded together was slowly starting to fail. I originally had the coils where the FPR is now mounted so I needed to find them a new home.
I had to fabricate a bracket to mount the coils just underneath the passenger headlight cover.
3/16 steel brackets cut and welded.
The IGN1A bracket then mounts to the steel bracket to complete the installation. Thankfully the wire lengths were long enough to not have to remake any of the spark plug wires.
The coils themselves are isolated from most of the heat of the engine, and most importantly the bracket is extremely sturdy. I still have full access to the oil filter, and in my opinion the location chosen is much nicer compared to mounting them on the valve cover.
Not pictured are the wire separators and thermal isolators between them and the intake manifold.
Funny story time. While working on the fuel system, when removing the rail one of the black plastic spacers launched themselves into oblivion. I spent a good hour searching for it, checking every nook and cranny in the engine bay and on the ground within a 20-30ft radius, to no avail. I was deathly afraid that it somehow made it way into the engine. I used a new spacer and started the car with no ill effects of it being where it shouldn't be.
A few months and a few track days passed, and when I was bleeding my brakes on jack stands I noticed something odd about my subframe.
Nestled into a hole in the subframe. Found at last.
In preparation for the turbo I recently picked up a 6 Speed transmission from an NB2.
After a thorough cleaning it was in a much more presentable shape. The stock shifter that came along with it had seen better days.
Rather than replacing the bushings I decided to purchase the CAE Ultra Shifter.
CAE offers shifters for both the early NB1 6 speeds and the NB2, with the only thing differing from the two being the ball shifter size in the shifter turret. NB1 is 19mm and NB2 is a 22mm. The CAE does not require any sort of bushing in the ball to turret interface, and looks to have a Type III Hard Anodized coating on the shifter ball. There are not many photos of this floating around the internet so I thought I would document it here. Only time will tell regarding the wear between the two parts, and it will be something I will be monitoring closely.
Type III Hard Anodize Coating
Having looked at other shifter options, what persuaded me to the CAE was the reverse lockout, rubber sealing boot, and most importantly the tolerancing and machining. This shifter is the definition of crisp. Each shift is definitive, even with the exceptionally short shifter throw. It has approximately a 55mm x 65mm window. The shifter has a rifle bolt feel and there is a positive and satisfying snick-snack between the gears.
Most shifters promise the engagement feel, but the CAE delivers.
Installation was relatively straightforward, but you could certainly tell the German to English translation was present in the manual.
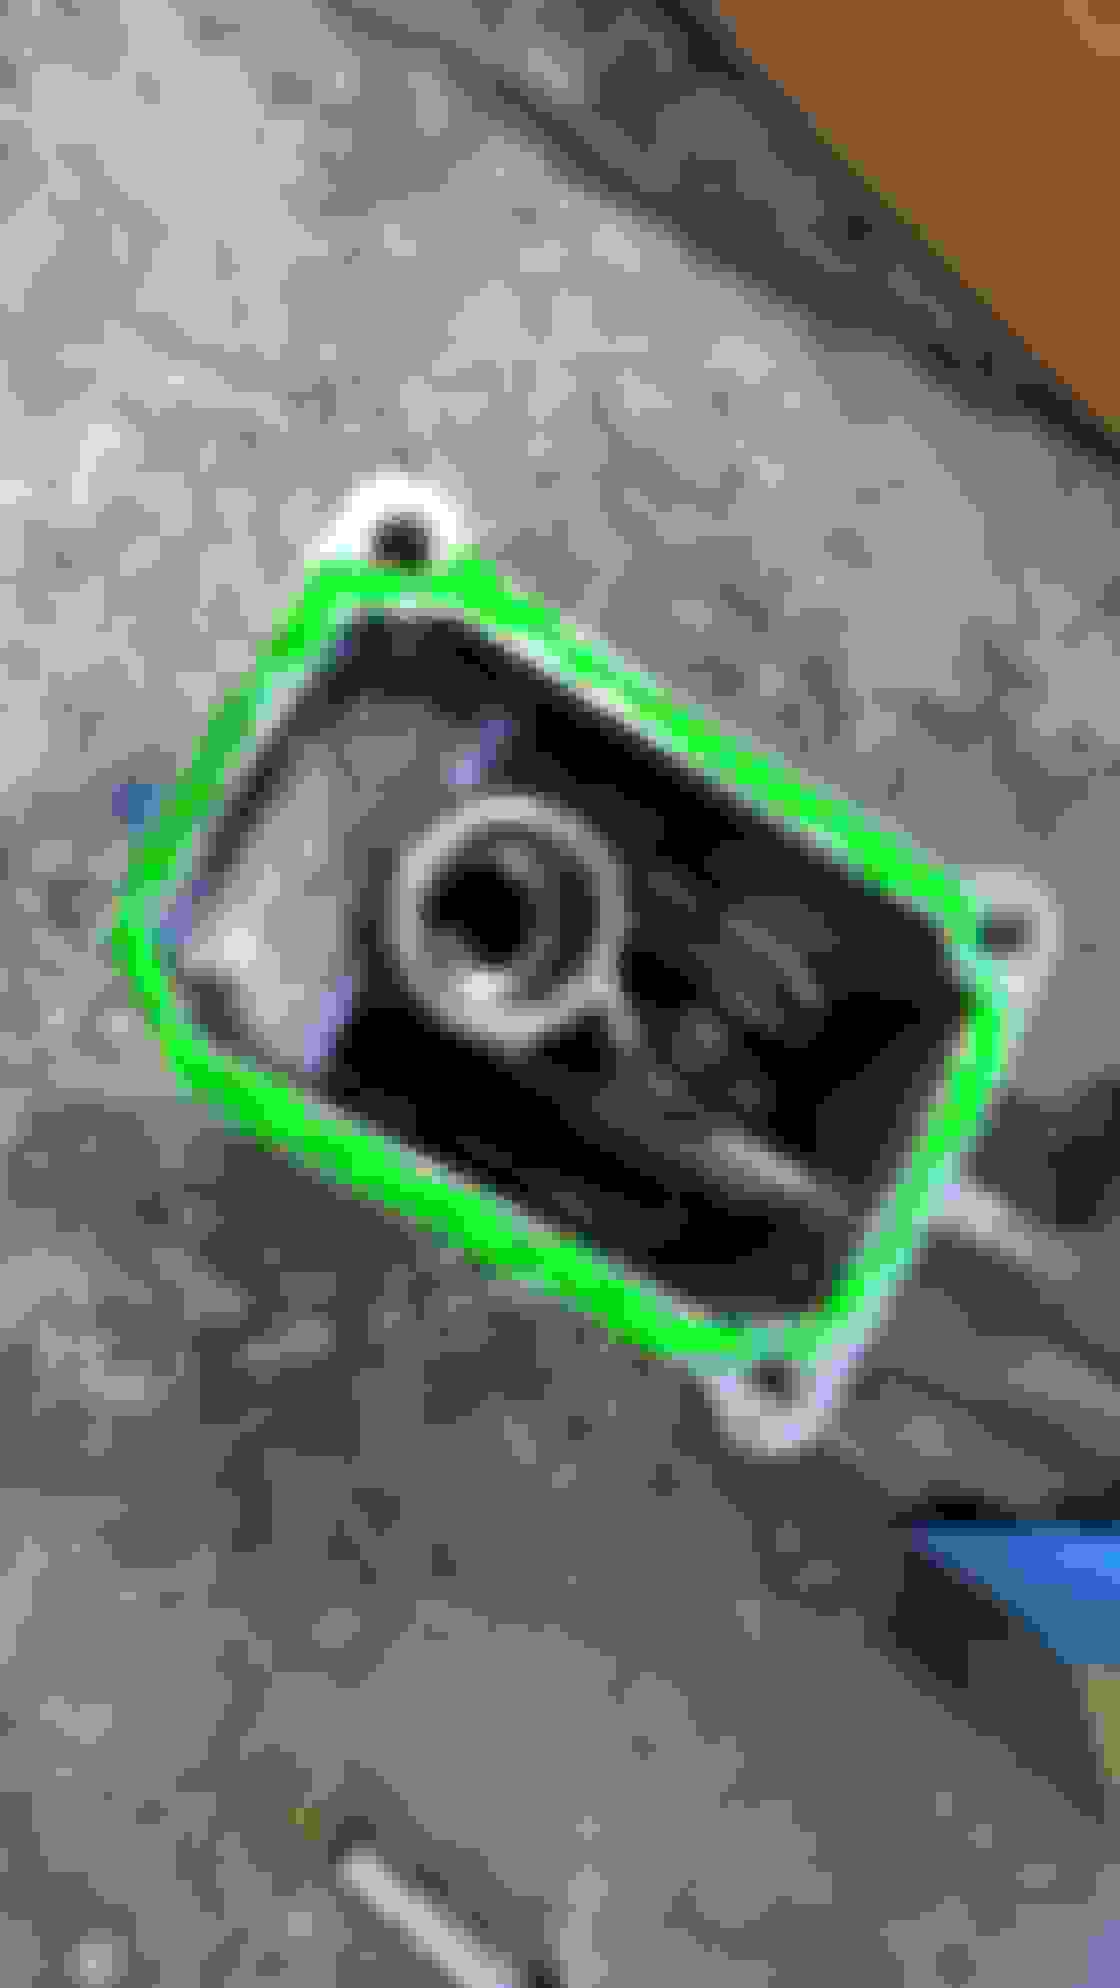
Thread locker and sealant were included in the kit, although it was difficult to tell which was which as both were a slightly different shade of green. The OEM upper housing of the shifter turret is removed in favor of the CAE upper plate that locates the shifter onto the transmission.
Neon Green gasket maker.
Flachendichtung
While I was at it all transmission seals were replaced with OEM parts to ensure no leaks.
6 speed partially installed.
CAE offers the unit in raw aluminum or the option to have it anodized. Anodizing will protect the finish over time and also cut down on glare in the cabin and it was only a slight additional cost. My experience with their customer service was great and the shipping from Germany was extremely quick. My order shipped out within a day, and arrived at my doorstep in 2-3 days from ordering.
CAE Ultra Shifter goodness.
The only issue I have now is that my gearing is on the short side with a 6 speed and a 4.3 Torsen. I will be on the lookout for a 3.9 or potentially a 3.6 Torsen.
It is about time that the car will finally receive a turbo. This is miataturbo.net after all. The car has all the supporting mods, and I believe my driving capabilities have reached a point where I am ready for a bump in power.
I have been acquiring parts for the last few months and wanted to build the car with high quality components from the outset.
Brief summary of the larger ticket items to be installed.
EFR 6258
Kraken Low Mount Manifold
3" Exhaust
ID1050
IWG Twin Port Actuator
Boundary Oil Pump
ATI SuperDamper
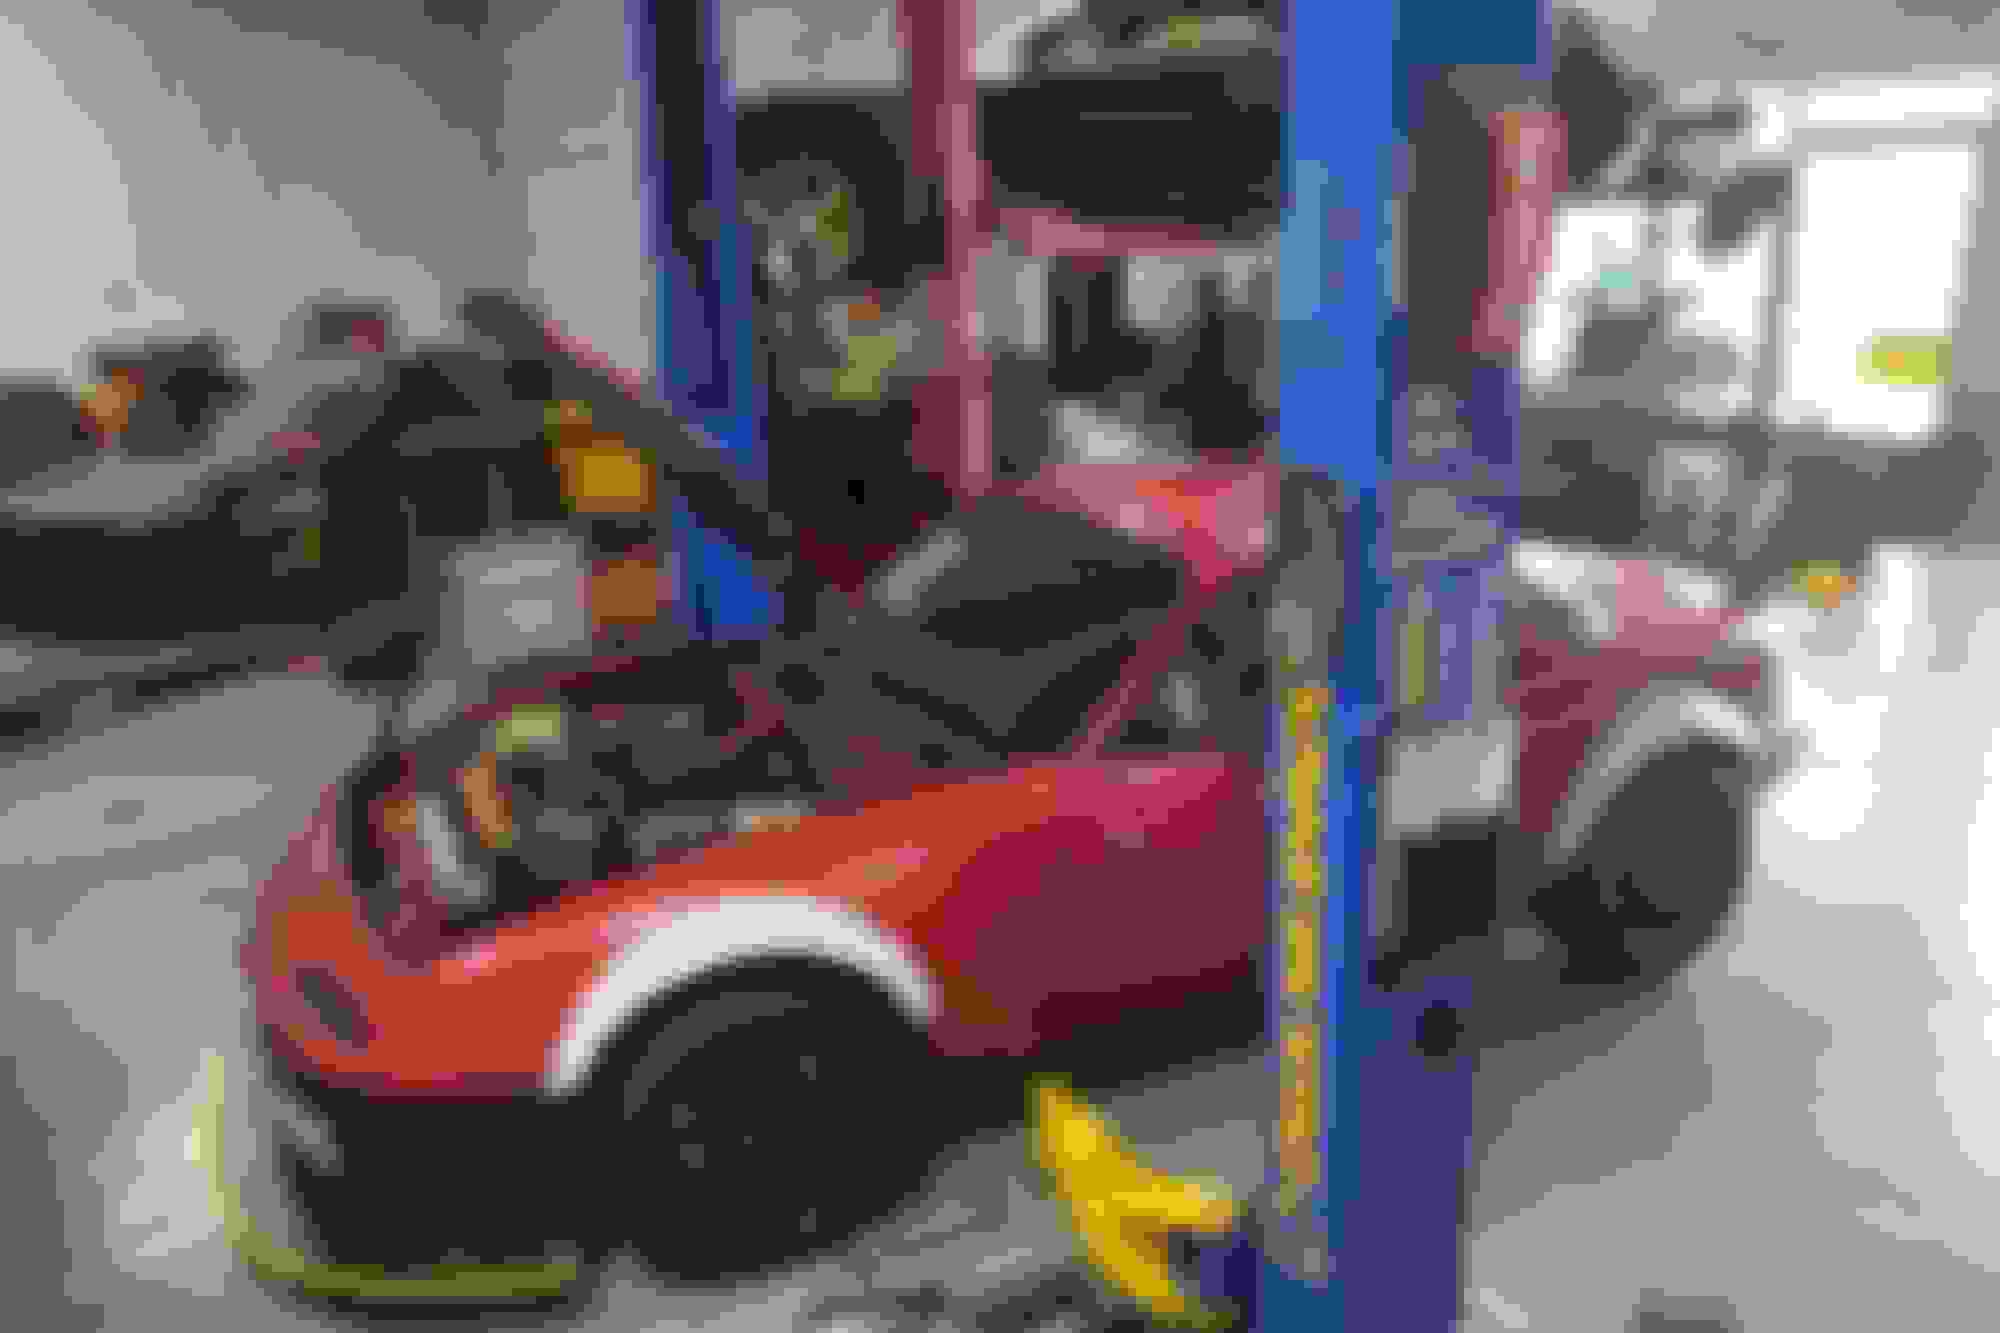
Firstly I wanted to pull the engine out of the car, even though I was not changing pistons or rods, I wanted to do a refresh of all gaskets and seals, and to make drilling the oil pan easier.
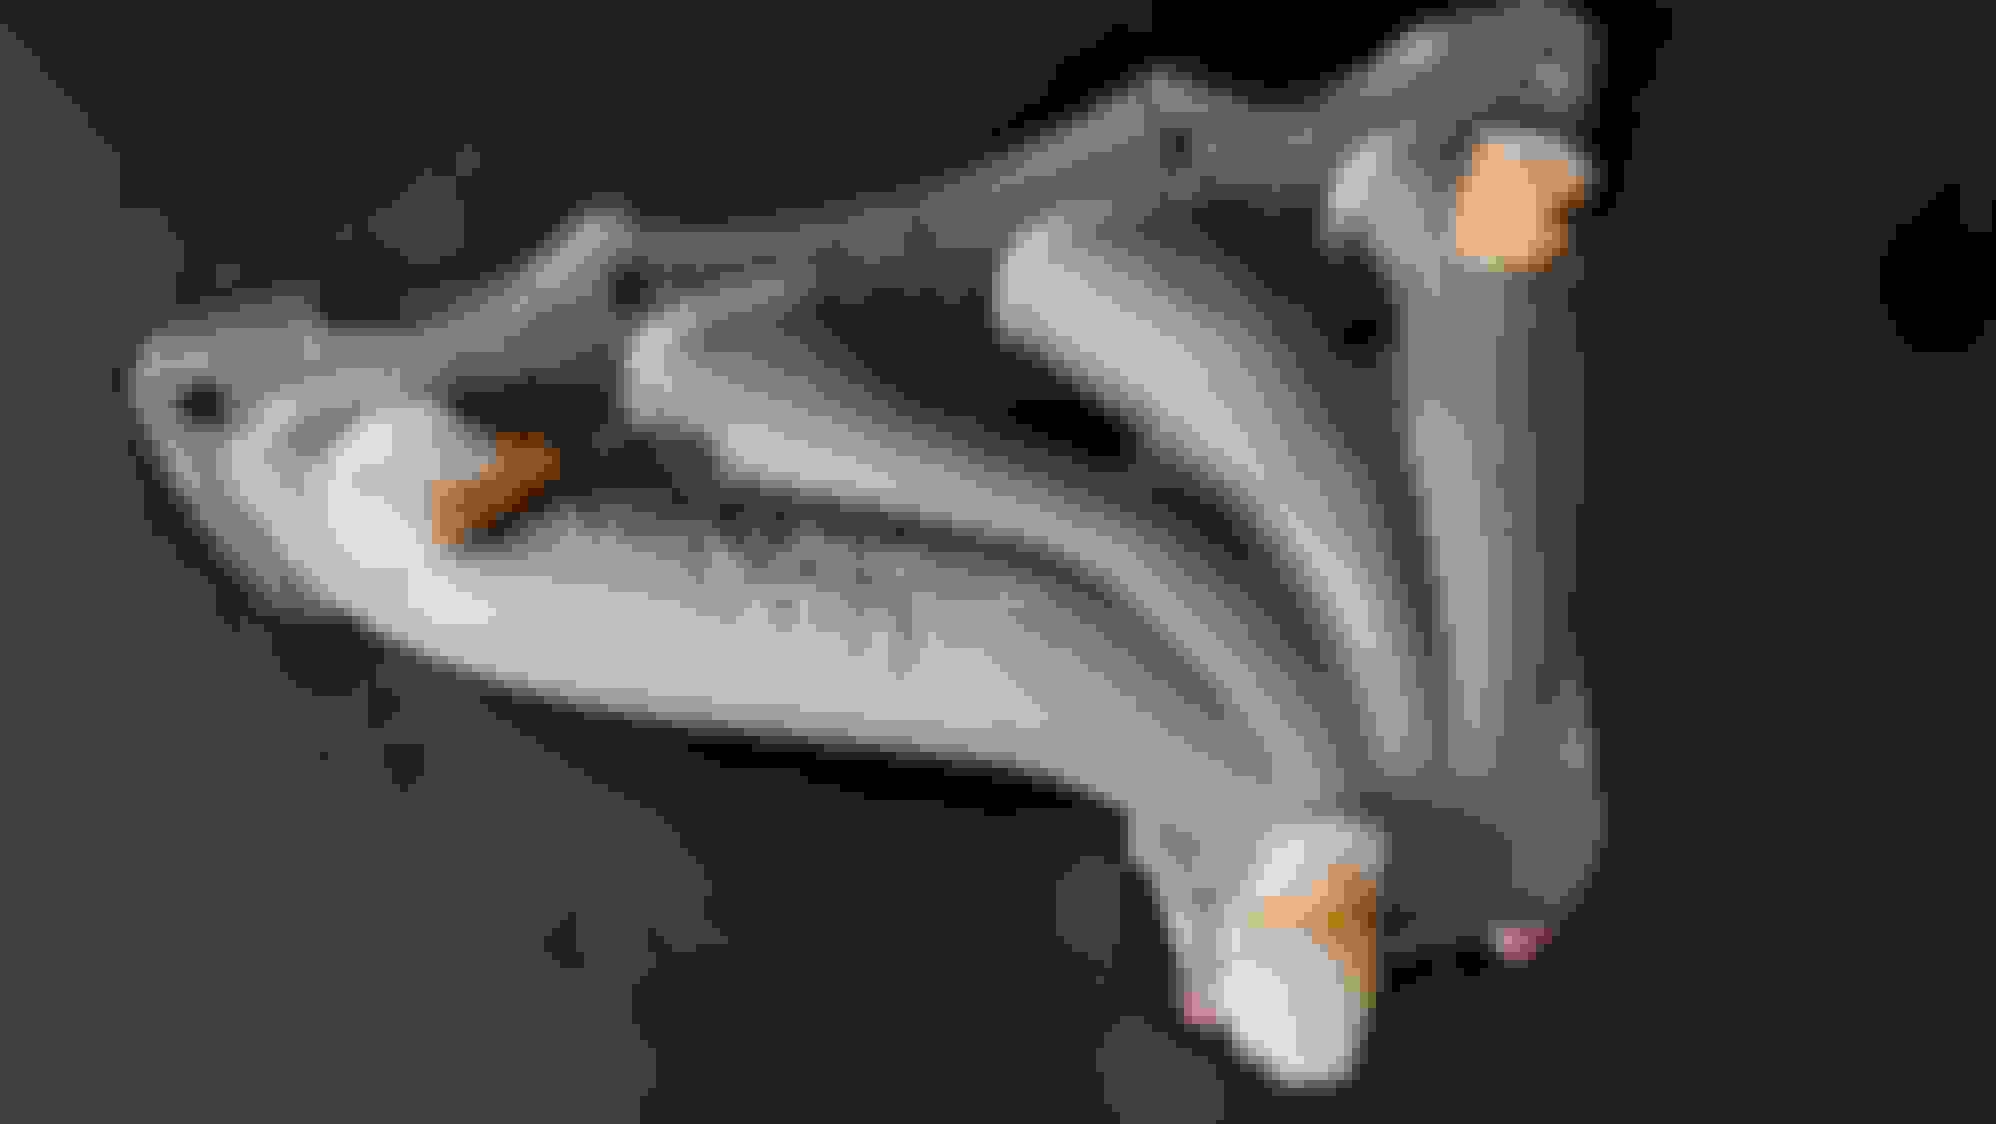
Out came the engine and transmission. The current header on the car requires the removal of the steering column and shaft to remove the transmission. It was always an added hassle, so the new turbo manifold should help make service in the future that much easier.
Manifold is a work of art.
I had both the manifold and the exhaust housing Cerakoted to hopefully reduce under the hood temps. This is their "C series" burnt bronze, that is the highest heat rating that they currently offer. I had it done locally and was quite affordable.
Burnt Bronze
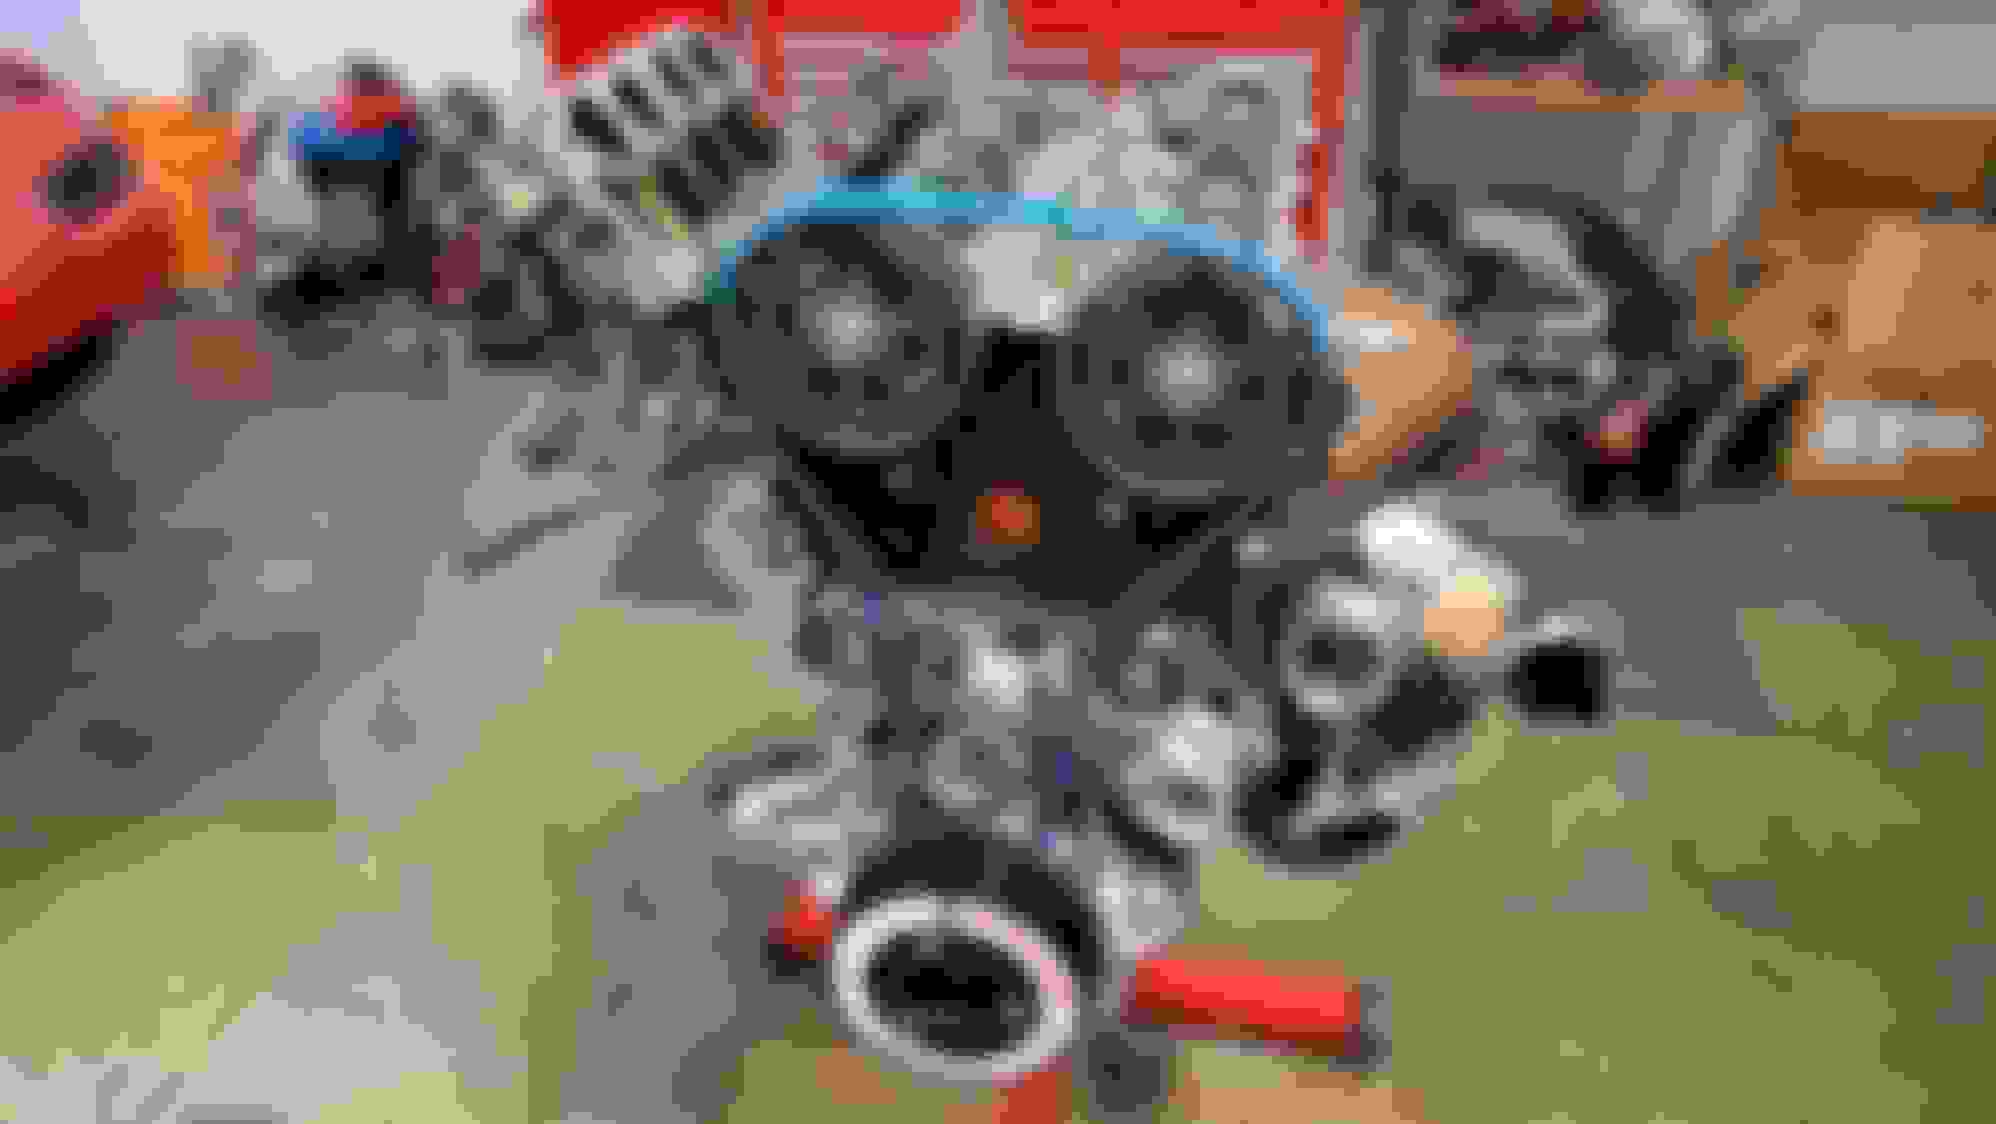
EFR goodness.
Out came the motor for a refresh and timing belt job, since the last maintenance was a few years ago.
The SuperDamper despite many people saying of the nightmare it is to install/remove slid on effortlessly. The low mount manifold locates the turbo very near the block requiring you to get creative with the mixing manifold. Instead of flipping and welding the stock part, I purchased the Overkill By Design piece which is an aluminum housing with a 6AN port on the back of the housing to plumb to the turbo. It was a win-win.
Blue Gates racing belt was a must.
I do like to document my mistakes because I feel it is a good learning opportunity and how to prevent them in the future. One of the things I struggled with was drilling the oil pan. I drilled and tapped the original pan but made a mistake when tapping and the threads were not salvageable.
I then ordered a new pan and found that I then drilled in the wrong spot only after trying to assemble the engine. The fitting would foul the baffle plate and was not going to work. I then made a plate to weld up the hole and drilled another hole a few inches below it and welded on a 3/4 -16 bung to the pan.
Two pans and many holes later.
Water lines were all PTFE 6AN line with Fragola fittings. Having never assembled PTFE line, especially one with the plastic sheathing on the outside my fingertips were in for a world of pain. It is quite a few degrees of difficultly above assembling standard AN line.
Having read the BorgWarner Technical document over and over, I was extra careful when it came to oiling, and orientation of the drain. Oil feed was again PTFE line but 4AN. The oil drain was a large 5/8'' Continental hose with minimal bends straight into the pan.
Mock up of the oil drain. All lines were then sheathed in DEI heat shield to further manage heat.
I was also very particular about wastegate rod alignment. The Turbosmart GenV has a misalignment ball joint that aids in slight angles but I still clocked, and re-clocked the housings many times to get the actuation as close to linear as possible.
Intercooler piping was ordered from Silicone Intakes and the core itself was the 250hp unit from Fab9.
2.5" throughout, and cleanly routed if I do say so myself.
Kraken 3" Exhaust complete with V bands, so so nice.
Don't mind the muffler missing, was just not installed for the photo.
Last but not least was Trackspeeds massive 52mm radiator to help keep the car cool during the hotter summer months. My end goal is to have a car I can drive at pace for a full session without having to worry about temps.
Please excuse the air filter and the way the EBC was mounted. It was a rush job to make it to the dyno session later that night, and will be fixed soon.
Not pictured is the Setrab Oil cooler mounted in the nose of the car. It is the 19 row unit with 10AN lines and should keep oil temps in check.
Quite pleased at the state of the car, and cannot wait to drive it and experience what a turbo miata can do.
Hey Bryan congrats on the turbo install! Looks great and very well thought out. Actually, the whole build seems well thought out and I appreciate you taking the time to share your thought process. Looking forward to future updates!
Were you able to get any seat time with the CAE Ultra Shifter yet? I hope it treats you well.
-Sherif
Looks great and very well thought out. Actually, the whole build seems well thought out and I appreciate you taking the time to share your thought process. Looking forward to future updates!
Were you able to get any seat time with the CAE Ultra Shifter yet? I hope it treats you well.
-Sherif
Thank you for the kind words.
Yes, I have spent some time with the CAE, and I can honestly say I am blown away by it. Each shift is crisp and confidence inspiring, and I am finding it difficult going back to a stock shifter in other cars. I will be updating the thread soon with tuning and track day impressions shortly.
Immediately after finishing torquing the last remaining bolts on the turbo setup, it was time for a late night tune and off to Thunderhill West the next day.
Final dyno numbers were 215WHP/175TQ. The torque curve is almost flat and I now know why everyone sings praises about the EFR.
The drive down to Thunderhill had no issues, but the first session on track the car would overheat. I chalked this up to not having time to finish the front ducting and thought nothing more of it. I skipped the remaining sessions for the day as ambient temps were only rising and hungout for the rest of the day. Packing up and on the drive home the water temp continued to climb. No bueno. A few hours wait on the side of I-5 and the car was on the back of a AAA truck.
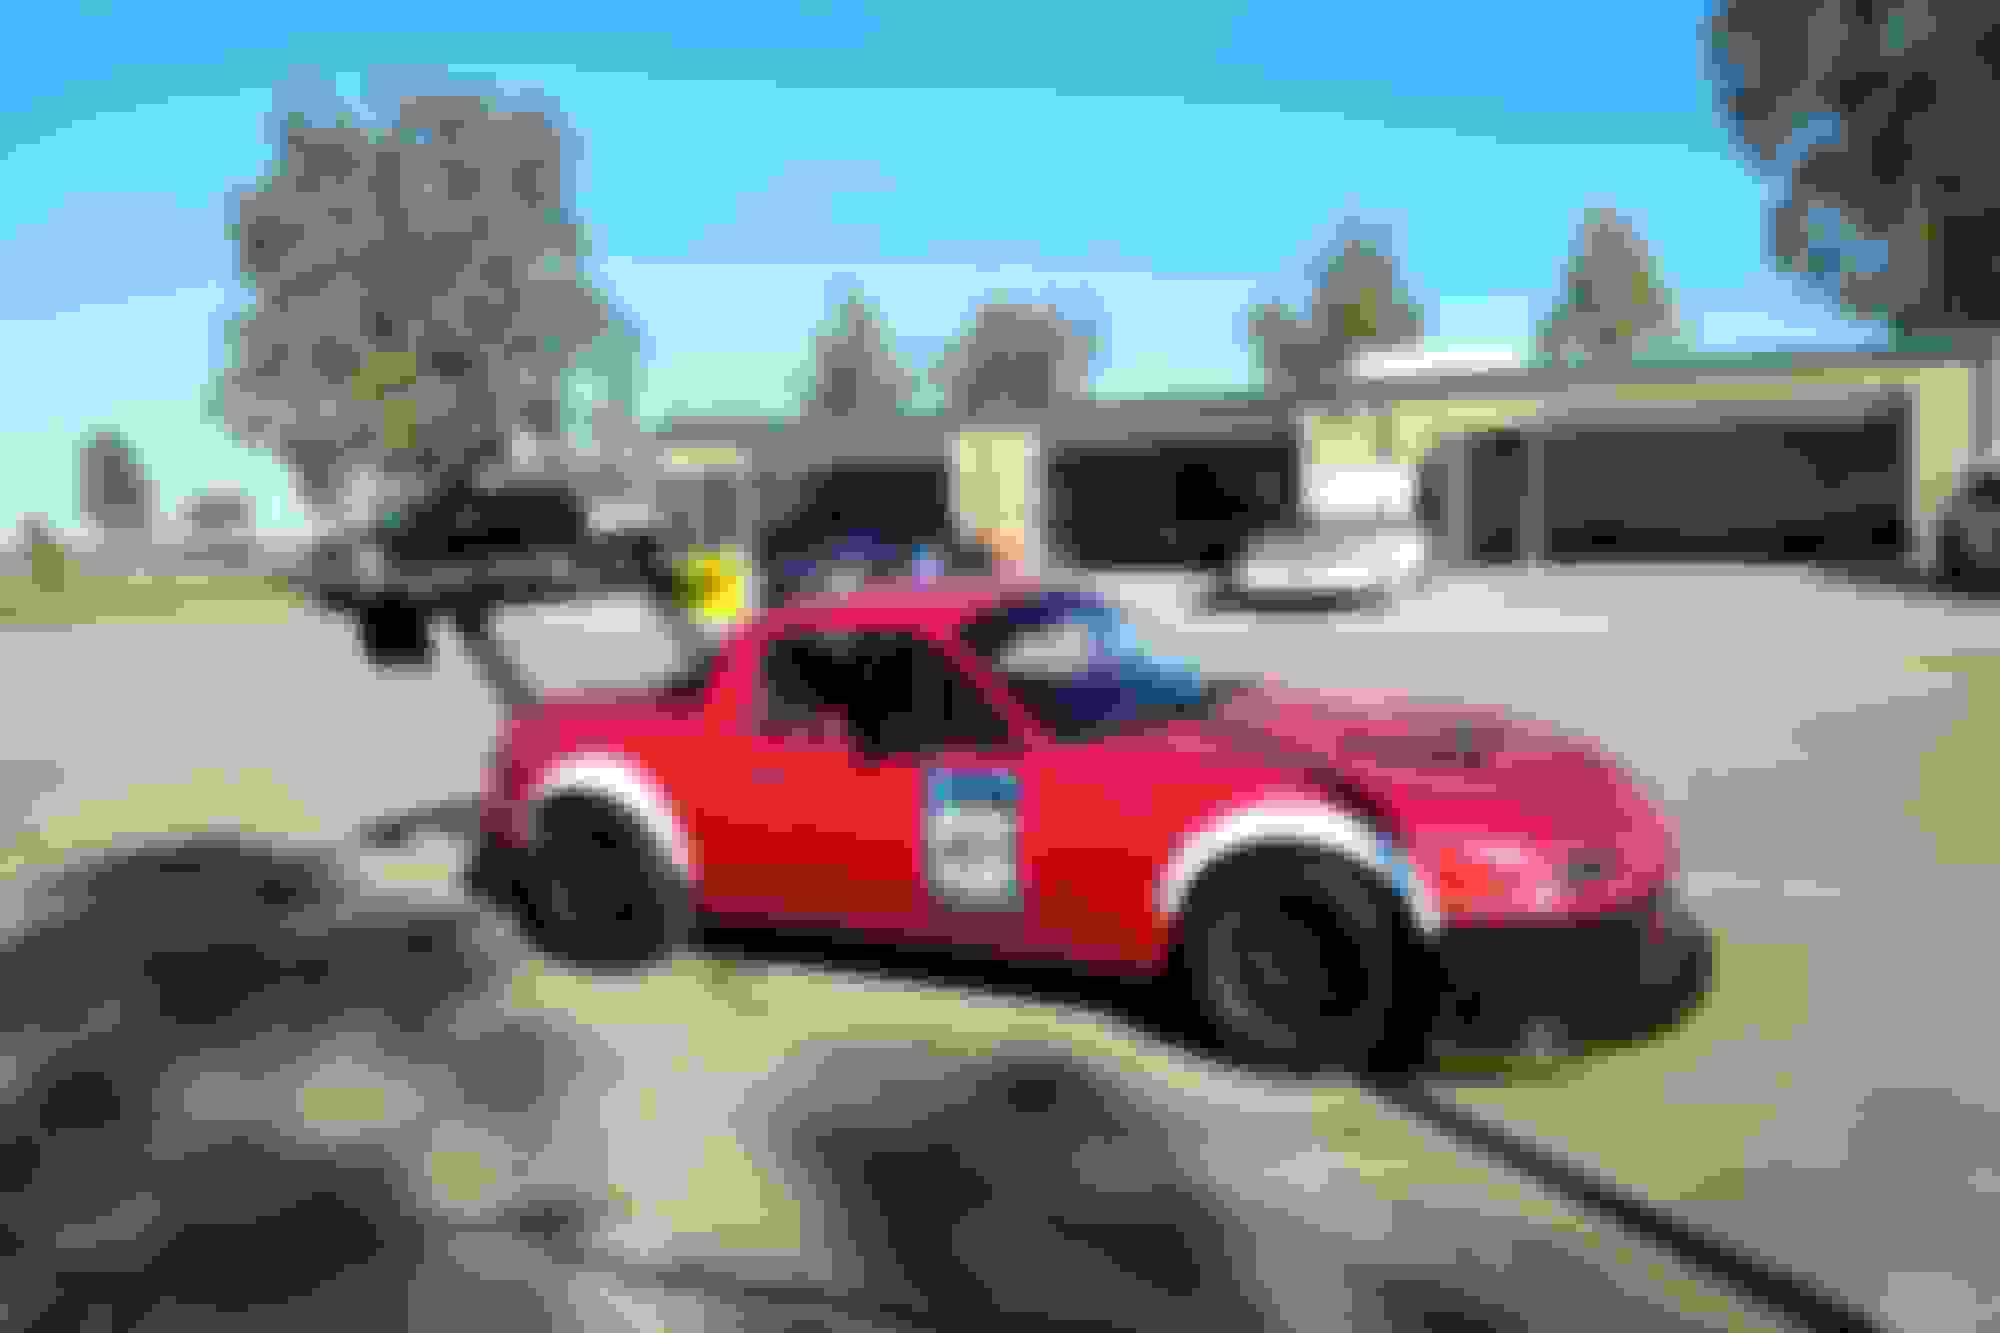
After pulling the splitter off loading the car on the truck was easy. Country mile of clearance.
Once home, I looked over the car and found that the thermostat had failed shut and no coolant was circulating. Initially, I was worried it was a larger issues having to due with turbo axillary items but that was not the case. What a time to have failed, $7 later and some gasket maker and we were back in business.
I quickly found another track day at Buttonwillow because I wanted to finally drive the car. Not fully trusting the car, I borrowed a trailer to tow the car down to err on the side of safety, and get some testing in. Towing allowed me to bring some friends with me, and a good time was had by all. I was able to take one of my friends out for his first time on track and he was giggling like a school girl.
We swapped suspension between sessions and ended up not missing a single session. Suspension swap in under 40mins, not bad.
Floating car.
Wow. It is astonishing how a slight increase in power changes the car. It is still so easy to drive, not changing the core characteristics of the miata, but now could keep up on the straight bits. I did have the GoPro this day, but the footage was overexposed and cannot see anything interesting so I decided not to upload the video.
Like everyone I was hunting for that elusive Sub 2, and not having achieved it naturally aspirated I knew it would be my goal for the day. It was mid June and getting hot, hovering around 100*, so I kept my expectations reasonable. Another benefit of the trailer, was it had AC and was a godsend on the hotter days. I have been doing this thing wrong all along it seems.
One thing I did not account for was how much more fuel a turbo car would use on track. I had to fill up more than usual and would keep my eye on the gas gauge throughout the day.
Filling up.
The day went without issue, and the car was reliable. AFRs were solid, coolant temps were at 185* and oil temps never went over 208*. Beautiful.
Ended the day with a 1:57.891.
Very happy with the results considering it was its first shakedown, and I am sure I will learn how to drive the car better at its new power levels over time. Next thing on the list was updating the hubs, considering the car is actually quick now and want that extra level of insurance and piece of mind that upgrading the hubs would bring.
Front and rear wheel hubs ordered and installed. The horror stories of loosing a hub or worse, at an inopportune time is the last thing I want. Albeit the cost, there truly is no downside.
It is difficult to describe the shear amount of material that these hubs have compared over stock. It makes the OEM hubs look like they belong on a small lightweight convertible from the 90's...
Beef.
Installing.
Between the calipers and the hubs, pad knockback is a thing of the past and there is no need to set the pads even after large curbing on track. The brakes are much more confidence inspiring as a bonus.
I did a few more track days and finally prepping for Miata Reunion in October at Sonoma Raceway.
Miata Reunion had returned to California after a few year hiatus and I was glad the even was back. It is always a pleasure meeting with like-minded individuals that continue to develop these little cars. I was giving rides all weekend long in the turbo NA, and saying hello to old friends that I had not seen in years.
Tucked in the garage for the night.
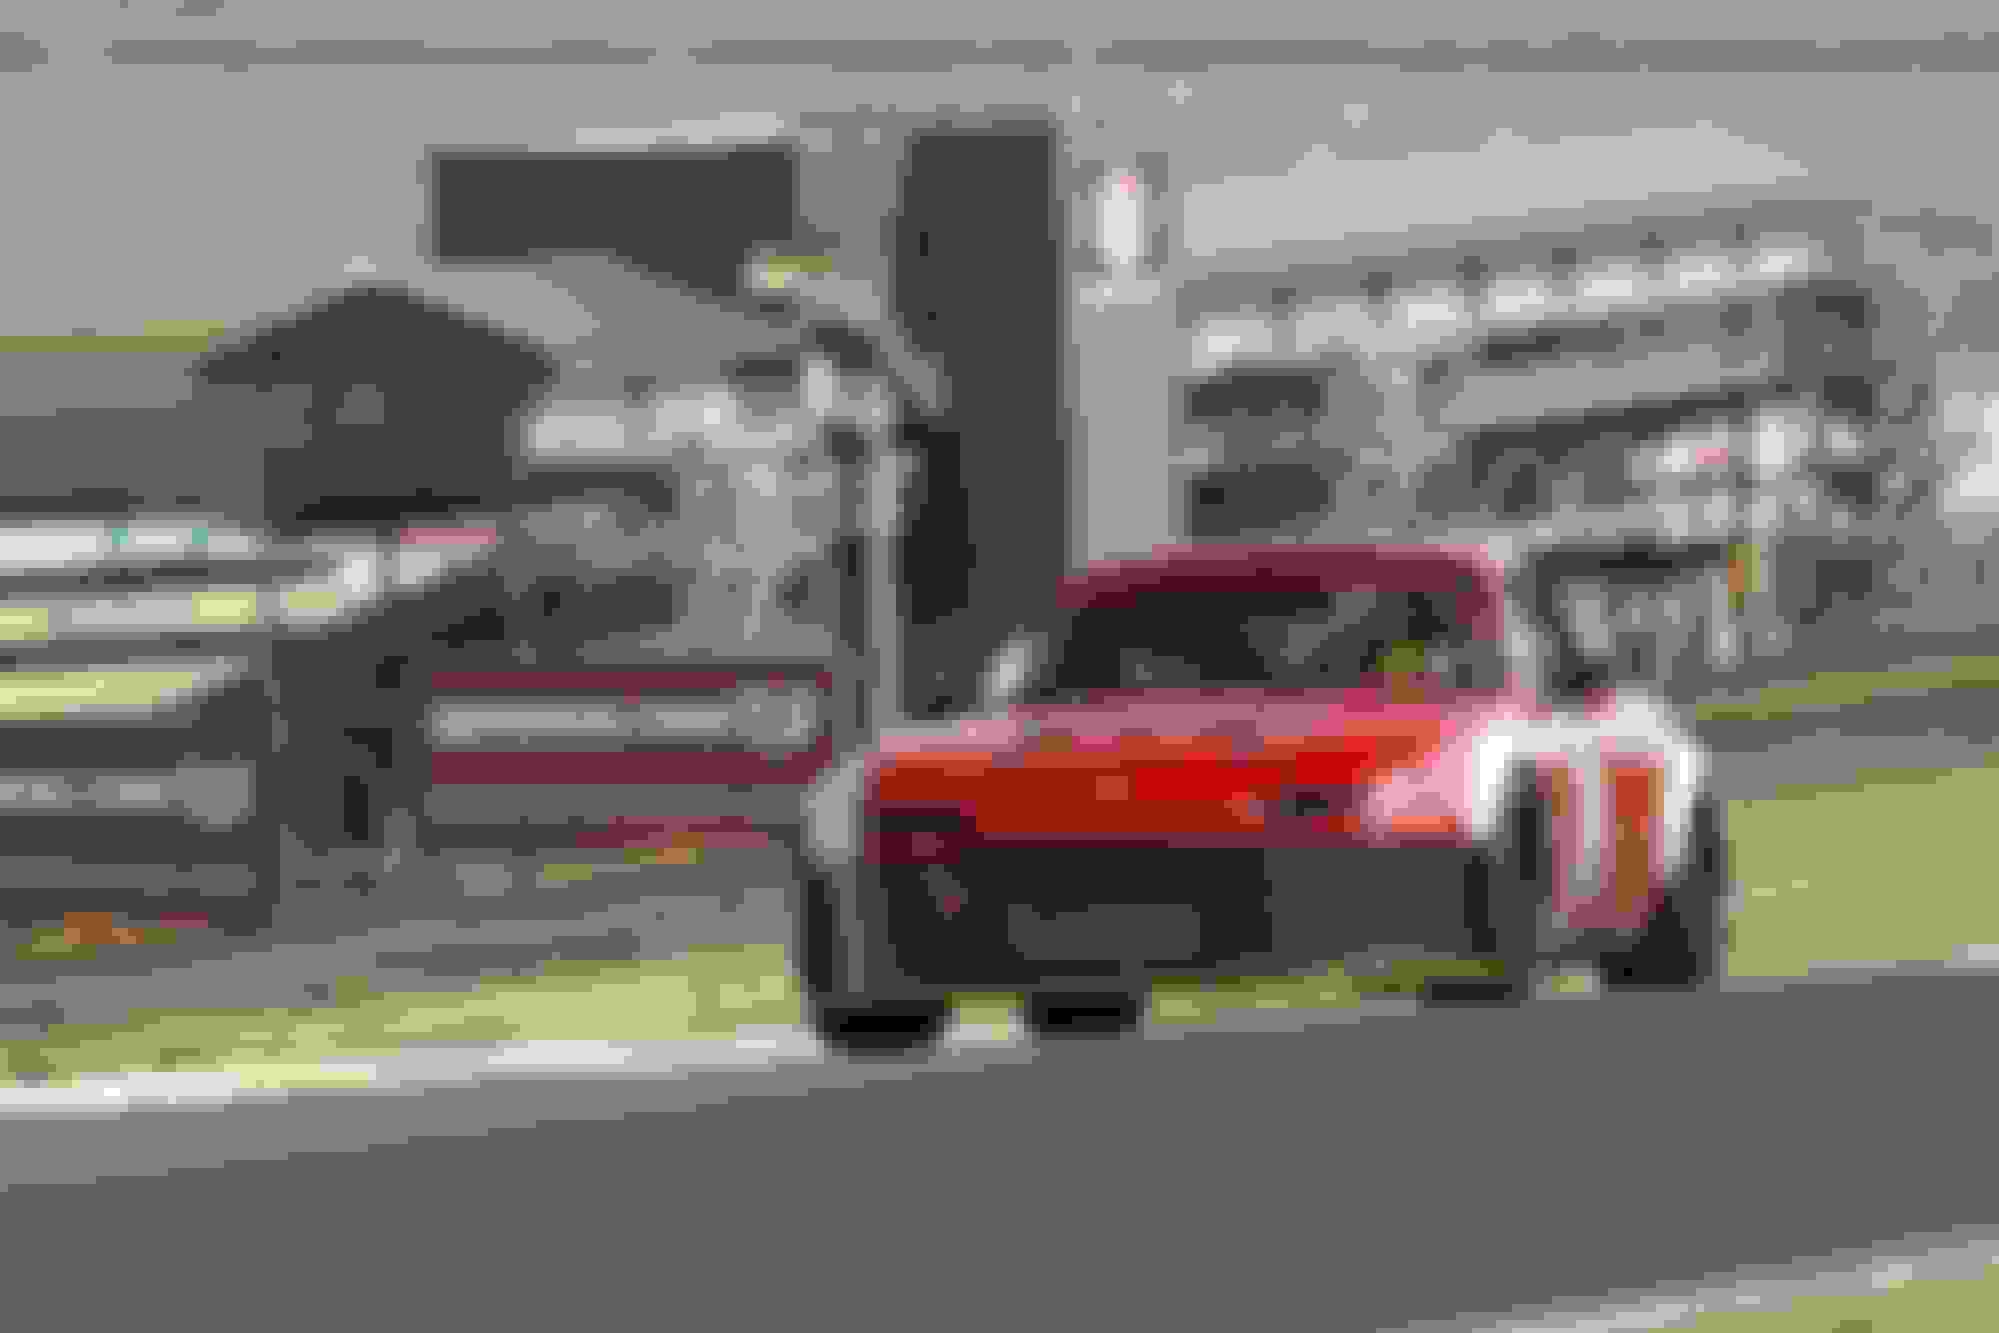
Blasting down to Turn 7.
I ended up giving my father a ride along in the later sessions of the day. It has been a few years since he has been in the car with me and quote, this is a lot faster than I remember.
A good time was had by all.
The last session of the day on Sunday I did have a scare. I thought I had lost the motor, on track only to find out that icanturn had pinched the vacuum line from the manifold to the ecu under his foot while riding passenger. It was too funny coasting into the paddock finding out the root cause.
Next few track days were at Laguna Seca where I developed a few issues.
Firstly I lost brakes into Turn 11 which made for an interesting time.
I lost all pressure in the brake system and the pedal had sunk to to floor. Some quick thinking, grabbing the emergency brake and flicking the car into a spin into the gravel trap saved the car and myself. No harm done aside from some rocks stuck between the caliper and the barrel of the wheel.
It turns out that I had not tightened the bleeder screws enough and in combination with the aggressive use of curbs caused them to vibrate loose resulting in all of the fluid to quickly exit the system. Not a good combination.
Aftermath and brake fluid everywhere.
The next Laguna day I developed a massive exhaust leak and pad deposits.
Like a dummy I installed a gasket between the turbo manifold and the exhaust housing and I proceeded to blow it into oblivion.
The car was much louder than usual and idling a point or two leaner than I remember. By the end of the day there was a 2-3mm gap between the two mating surfaces. Luckily the Stage 8 locking hardware prevented loosing any of the hardware.
I did notice that the car was much slower down the straights.
Not quite into the 39s, but with all the driver excuses out of the way now, and not dying, I'll take a 40.
Video.
I have been running G-Loc pads and have been less than pleased with them. I would find towards the end of the sessions I would get severe pulsation in the pedal and have major deposits on the face of the rotor. I am chalking this up to Laguna being torture on brakes and that brake temps are sky high. I have done my best to feed them cool air but nothing has worked thus far.
I am going to try a few other pads and see if I have better luck. Any suggestions as to which pad you prefer are more than welcome.
I am getting around to fixing the exhaust problem this week and replacing a few components which have melted as a consequence. Most notably the oil feed line, despite being wrapped in DEI thermal sleeving. I suppose being exposed to direct flame is a tall order and is most likely due to the gasket failure.
Turbo miata problems.
But I am loving every minute of it.
Last edited by Bryan Z.; Dec 25, 2023 at 12:37 AM.


 3
3


 Nice job.