When you click on links to various merchants on this site and make a purchase, this can result in this site earning a commission. Affiliate programs and affiliations include, but are not limited to, the eBay Partner Network.
Brake leak resolved. It was the banjo fitting on the right rear caliper. I actually bought a new caliper, thinking that was the problem, but it still leaked so I took off the banjo fitting, filed down both sides a bit with a jeweler's file, applied to "hydraulic-spec" loctite and voila...no more leak.
I've been noticing that I'm getting low oil pressure on hard stops. A bit of research indicates that this is "normal" for the BP engines and that baffling in the oil pan helps (now I see this after having the engine out twice now!).
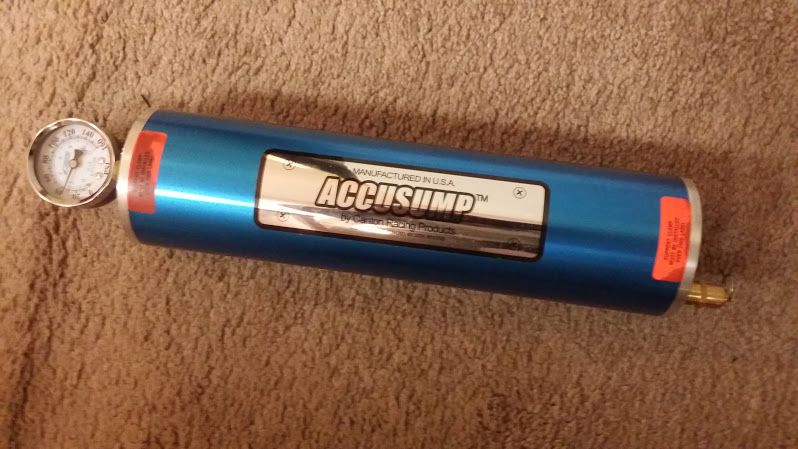
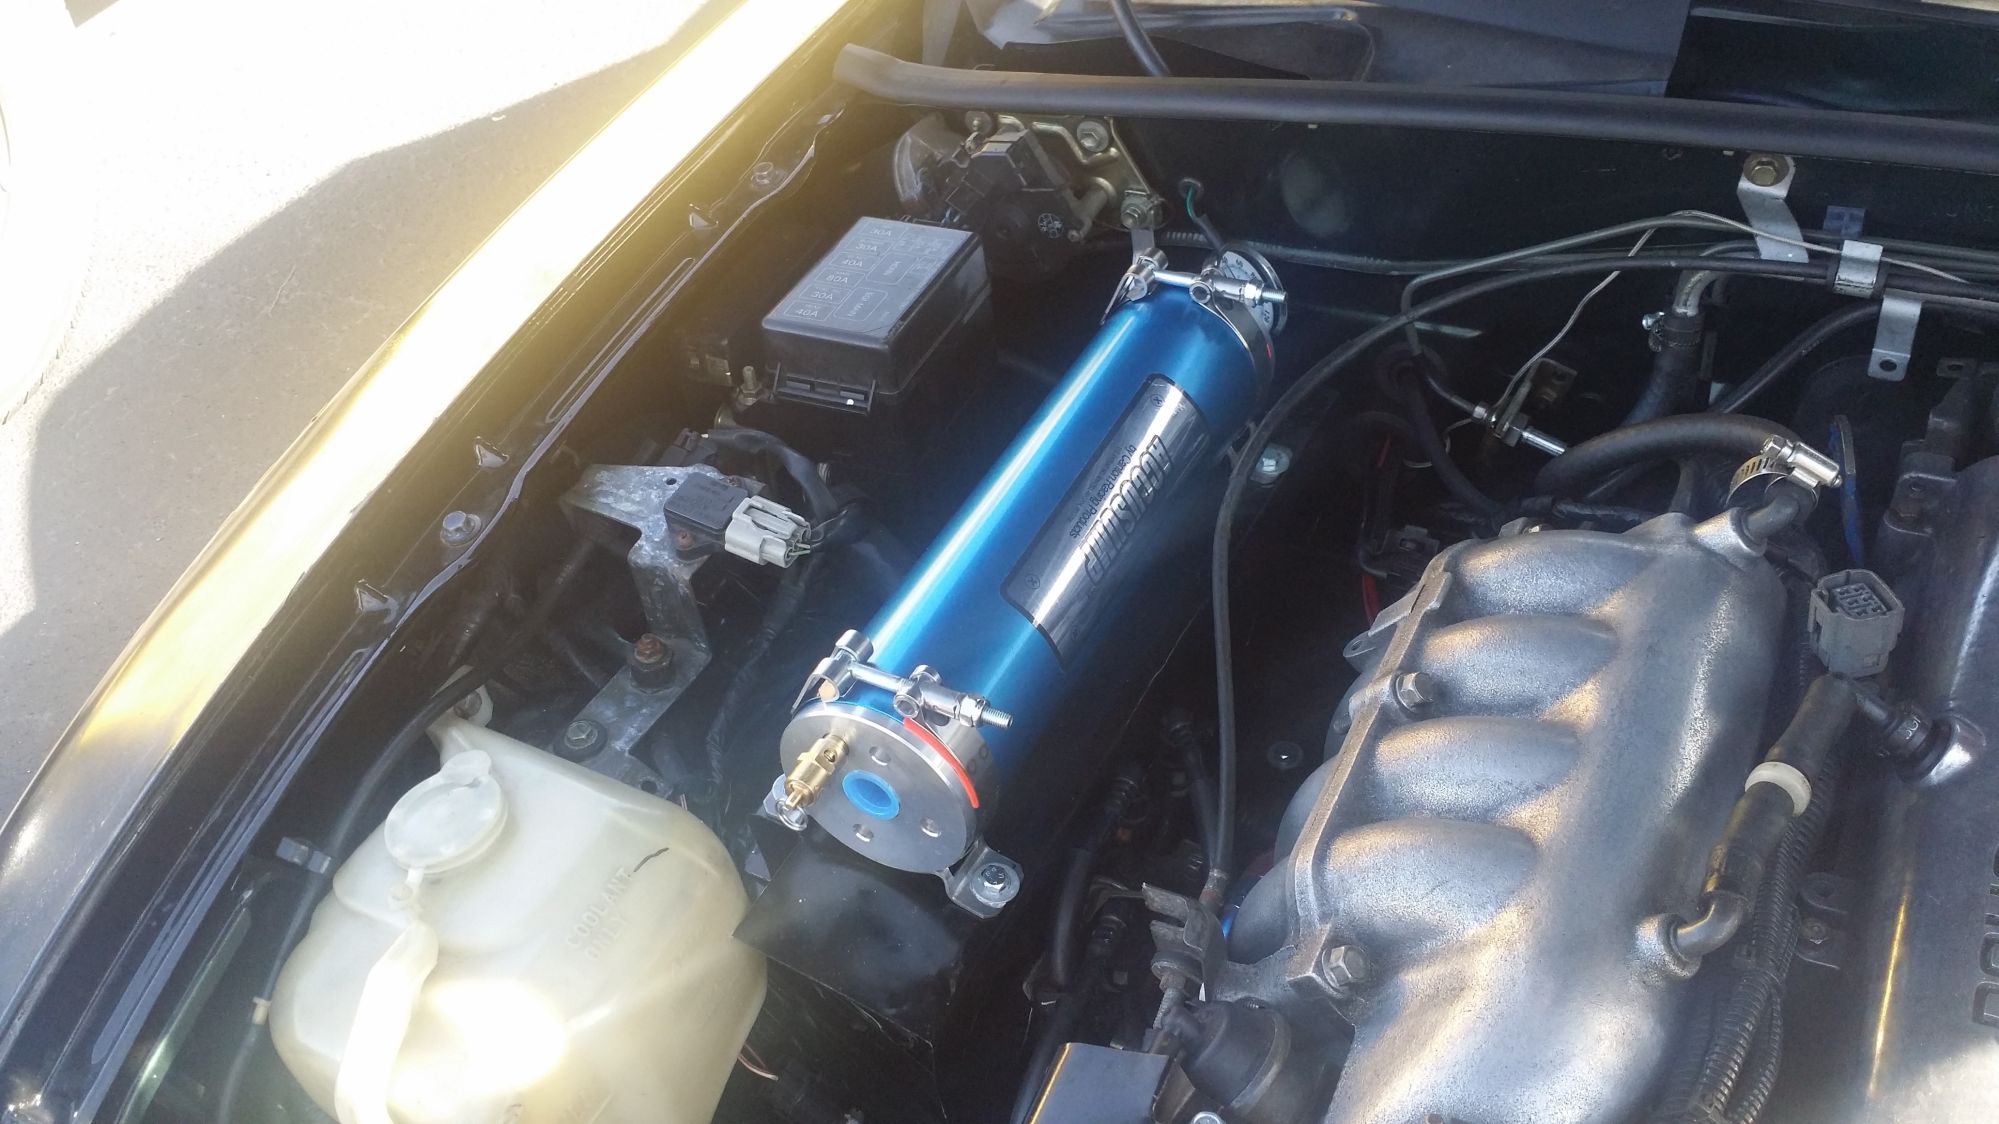
No way I'm taking the engine out AGAIN anytime soon, so I'm looking at an Accusump unit to deal with it until I can do better. This'll push back other mods 'cause I refuse to have any more oil-related issues.
And last but not least the one that had me thinking like you. The L terminal which is where the excite wire connects. Yes it does power the idiot light. It does this because current flows if there is a substantial difference between the system or batt voltage and the alternator charge voltage. This terminal/wire must be connected because it is in effect what "turns on" the alternator. BUT and this is a big but. YOU CANNOT JUST CONNECT IT TO A HOT WIRE OR THE BATTERY. It must have resistance or you will destroy the alternator voltage regulator and the alternator will need to be rebuilt because it will not regulate voltage, the voltage will just rise with RPM up to 16-17 volts. I don't have to tell you that is bad. SO, the factory dash has two parallel sources of internal resistance. One is a light, the other is a standard resistor. You CAN NOT skip the resistor because if you just use a light and the bulb burns out, guess what, your alternator shuts off. So, you have to wire this terminal back to +12v (again no relays upstream for this one too) but you must also put a roughly 120-150 ohm resistor on this wire. Up to you if you want a charge light in parallel. It appears in some cases (3rd gen rx-7 and other cars) the factory dashes just use multiple idiot lights as the redundant sources of resistance for this. So if one bulb burns out the alternator does not just quit working. If you do put a charge light in parallel you need to put a diode in also or the light will be on all the time. The diode should only allow current flow TO the alternator. It needs to BLOCK current flow back from the L terminal.
So, it's off to the electronics supply house to get some resistors and then to the garage to get this crap sorted out once and for all.
I found out that connecting the grey wire from the alternator (the "L terminal" on the RX7 alt) to the dash light does nothing. In effect, the alt doesn't "turn on" until it good and well decides to (i.e. it "self excites") - with the RX7 alt this happened at 4300 RPM.
Solution: connected the grey wire to a 12v source through a diode (to prevent battery drain down overnight) and a 4.6K resistor and, voila! - the voltage goes to 14.2v on start up and stays there. Profit.
Anyone want a "lightly used" NA alternator (I'm keeping the RX7 one)? It's only been on the car since the last rebuild (about 4.5 months). I'm sending back the old NB alternator to Rock Auto as a core so I don't really NEED the NA alternator. Or maybe I'll just keep it as a spare.
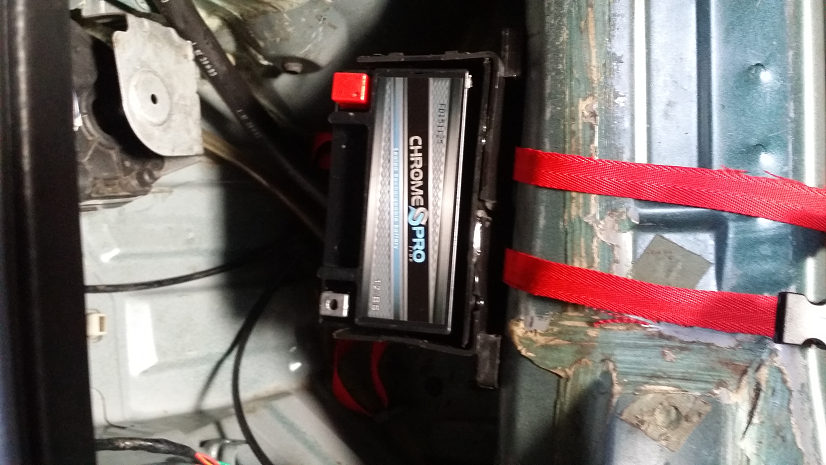
Going to create a box containing battery "lugs" that is accessible from the outside; a) because I don't have a cig lighter plug on the inside any more, and b) so I can quickly connect up my compressor when I'm at the track.
The box itself will be a Radio Shack project box that will be cut to fit the contour of the rear fender, just above the battery (WARNING; fuzzy cell phone pictures follow)
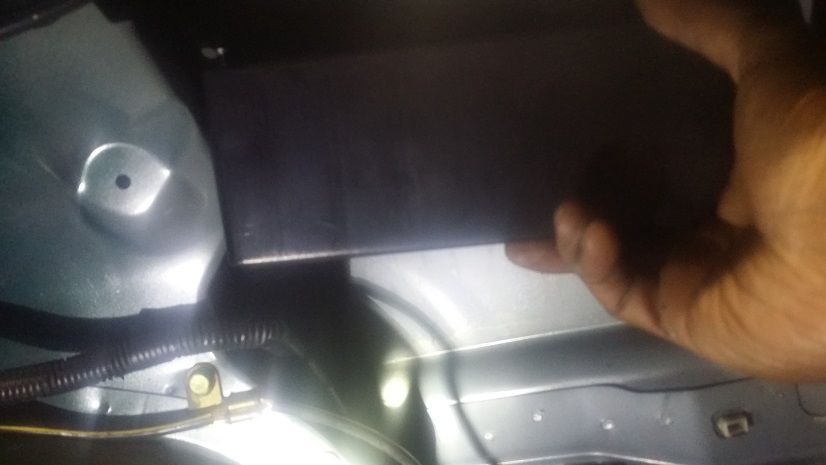
Here's the trimmed box with the lugs just laying inside;
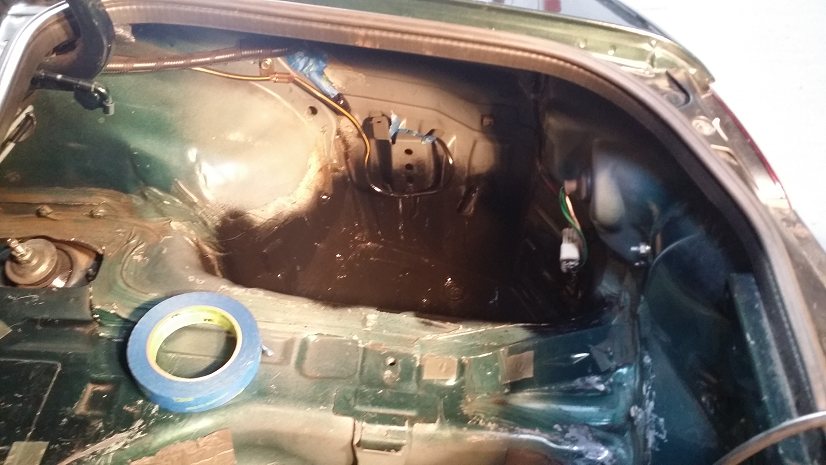
This is a really bad pic of where the box will go inside the trunk - this is directly above the battery;
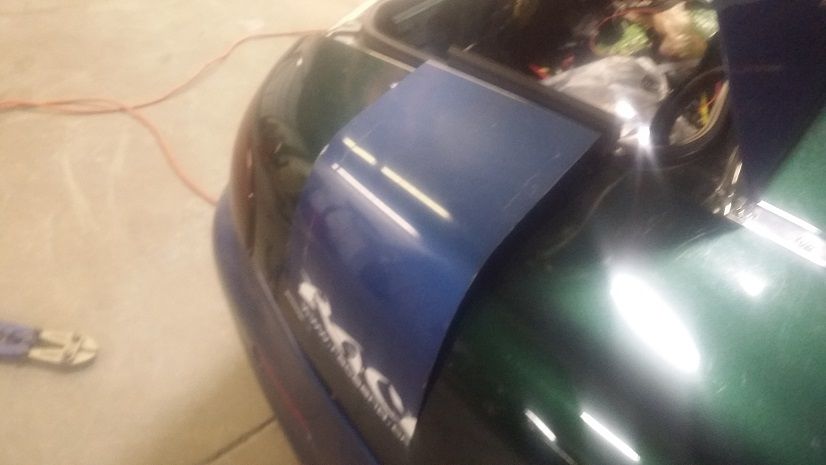
And here is what will become the cover (it's a section from the same part of the fender from my "donor" car;
I'll cut a square hole in the side of the car where the box will be located. The project box will be mounted inside the trunk and sealed to prevent water incursion. I'll attach the "cover" with a piano hinge at the top, and seal it with rubber weatherproofing to keep water from getting under it and secure it with slide latches. The rubber gasket - which should be in compression - between the body and the cover (the weatherproofing) should keep water out of the box.
Two holes in the back of the box (inside the trunk) for the lugs, and then some cables to the battery and, voila - external access to battery power without having to open the trunk.
FWIW - I just ticked over 300K miles this past weekend.
Two other projects:
1) Install an auxiliary battery; cold starts these days are a bitch, and cold cranking and warmup is enough to pull the existing battery down to 11V. So I'm going to install a second, "helper" battery (a small motorcycle battery) that will assist with the cold start but will be isolated during normal operation. I'm going to use a "Battery Doctor" to provide the battery isolation - it incorporates a switch that will connect it in parallel to the main battery then automatically disconnect it when it senses greater than 13V. A small weight penalty to achieve better cold starts.
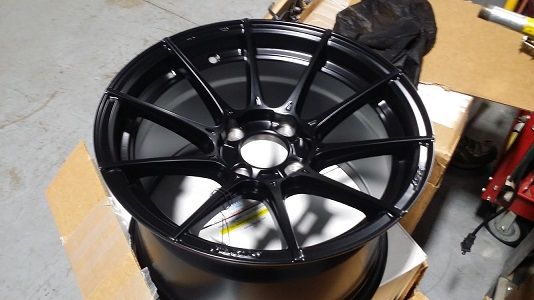
2) Some new 15x9 Advanti wheels in preparation for new track-dedicated tires. I'm leaning heavily towards the 245 RC1's for the new shoes.
Last edited by rwyatt365; Jan 14, 2016 at 01:15 PM.
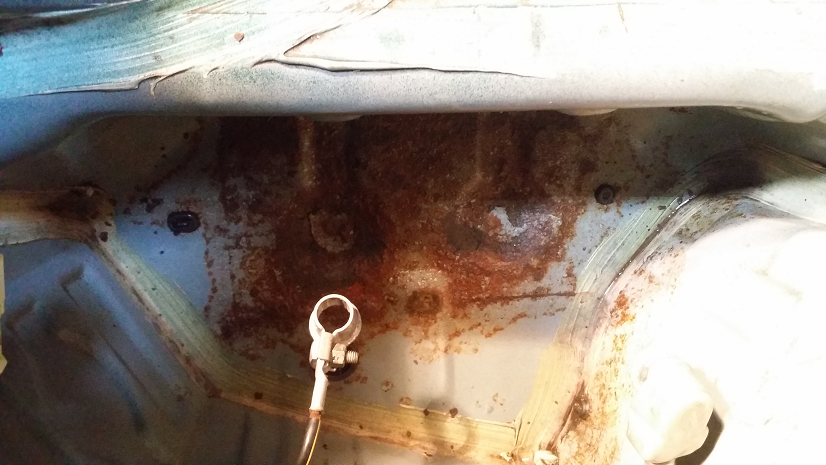
Starting point...remove regular battery - I noticed that there was about 1/4 inch of water in the bottom of the box so I cleared that out and found this;
Rusty as hell, so I drilled a couple of drain holes, cleaned it out, painted it with "rust killer" and then topped that with some undercoating. The result ain't pretty but hopefully it won't rust any further;
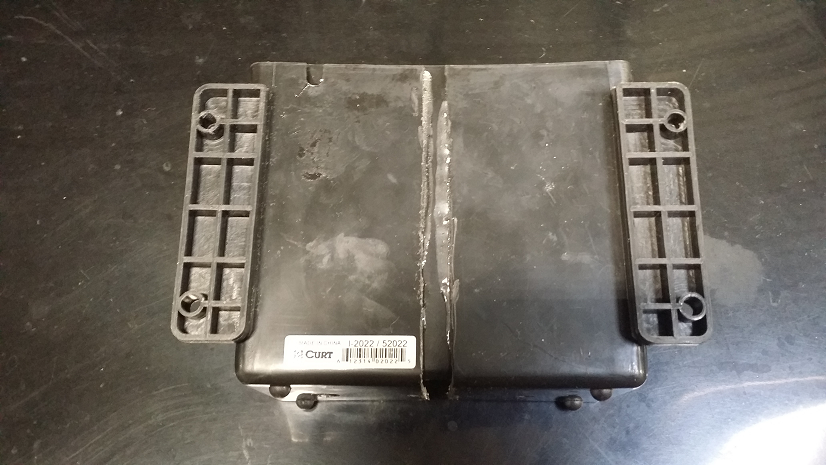
Next, I cut up a plastic battery box from Summit (it was about 1/2 inch too small). I cut off the front, then cut it in half, epoxied in the front to the back with about a 1/2 inch gap.
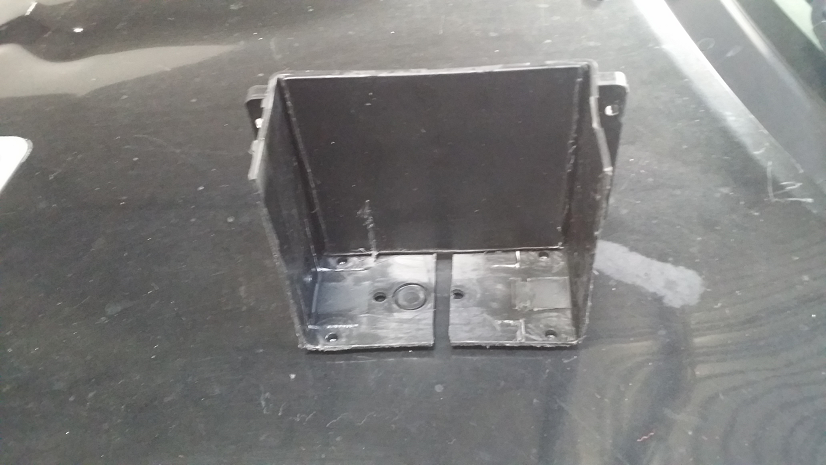
Back side;
Front side;
Test fit in the car w/ the motorcycle battery;
The red straps will secure the battery in the new box. They're made from nylon straps and "Parachute buckles" from the fabric shop.
" to isolate the second battery from the stock one. I chose this one because it incorporates a switch that will put both batteries in parallel and then isolate them when it senses greater than 13V on the circuit. This way I can push the switch on cold mornings and have both batteries run the starter and then when the alternator kicks in, both batteries get charged. When everything shuts off, the two batteries are isolated form each other.
I mounted the isolator on the the rear package shelf;
I replaced the "hot" connector for the stock battery with one that has places for two wires;
Next, came wiring up the second battery. FYI - I used 2-gauge wire for all battery connections;
Then wired up the isolator;
(yes, there is no carpet on the rear shelf and the cover to the fuel pump is not there)
All that was left was to put covers on the terminals so that stuff in the trunk won't inadvertently short anything out (yes, there are no pressboard covers in the trunk either). Finally, connect everything up and test it out.
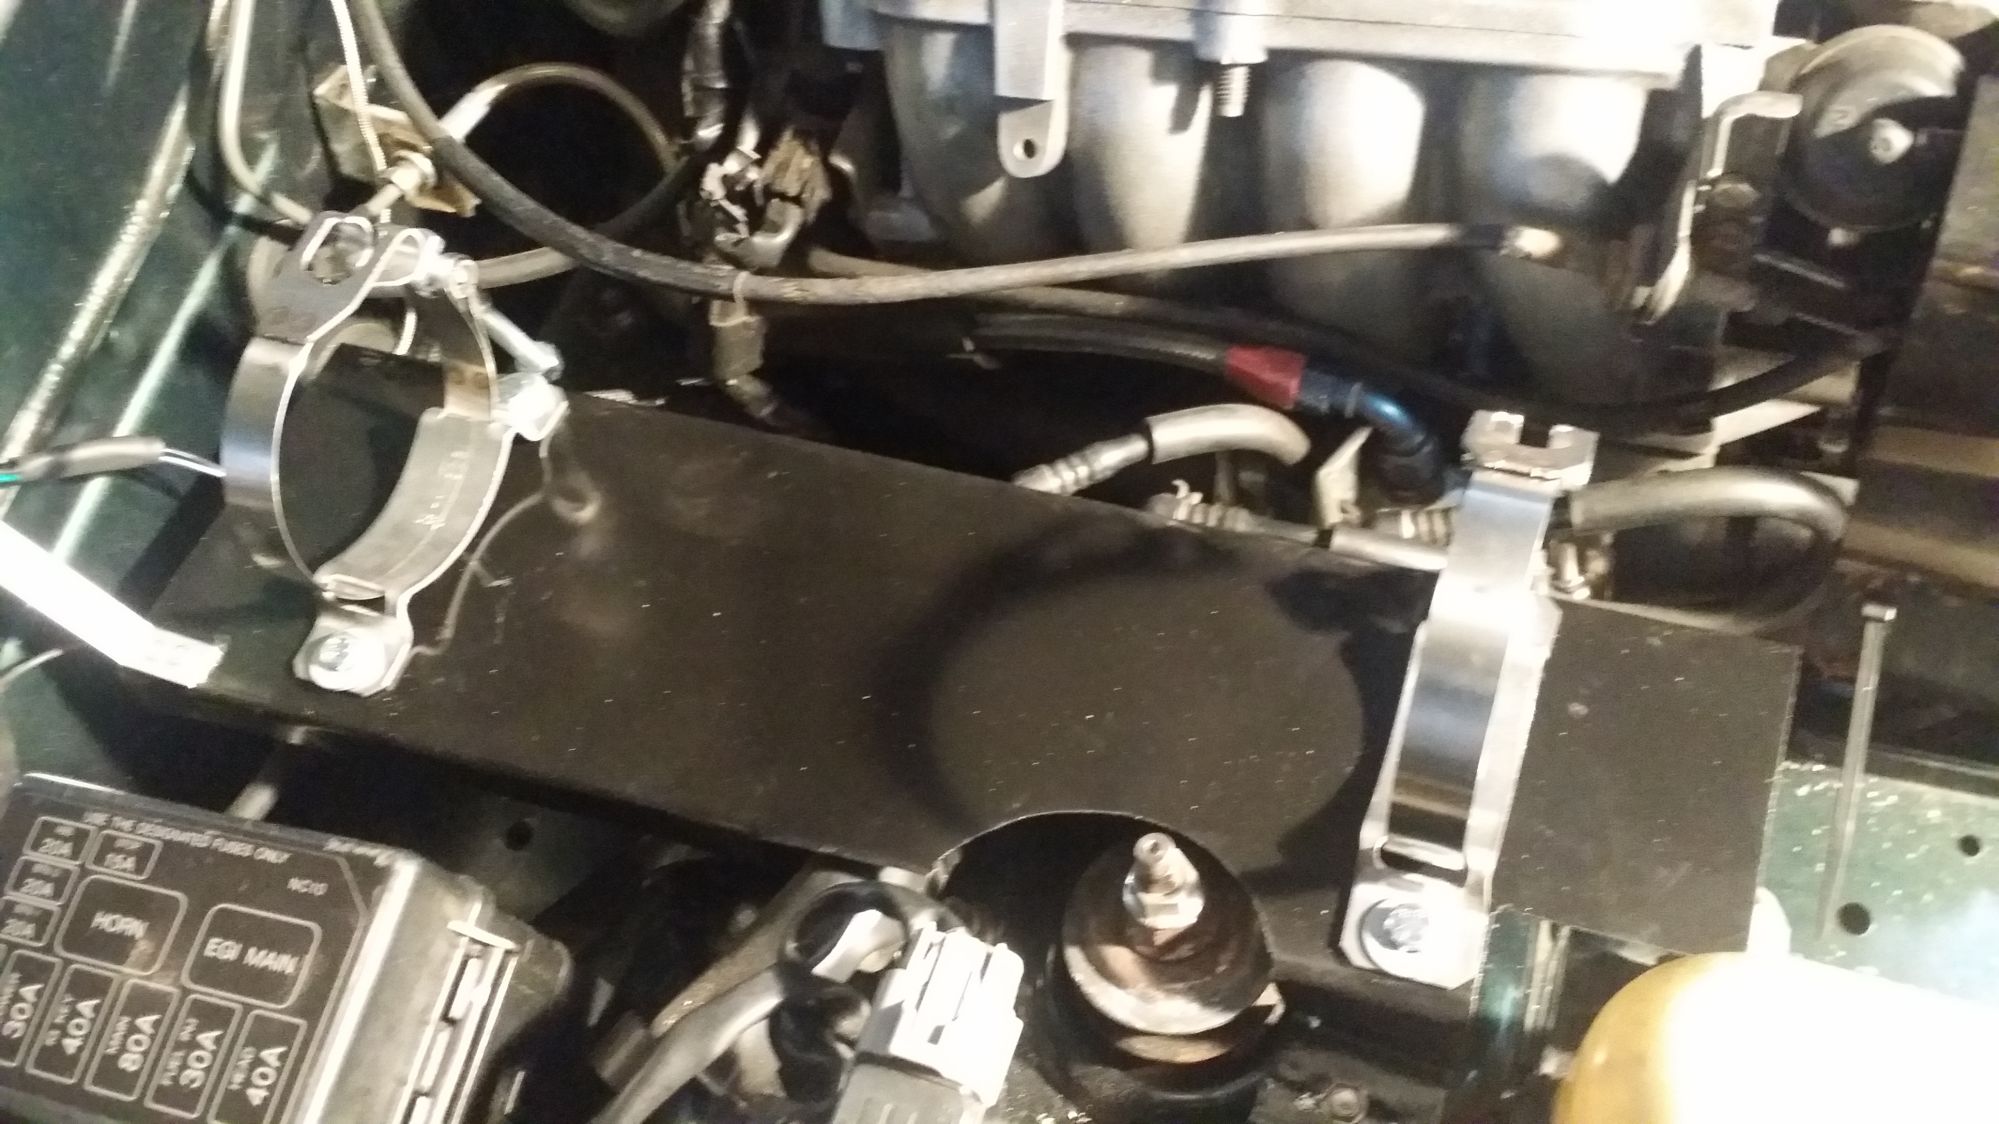
Nice thought Pat, but that's where my oil cooler lives;
MAYBE I can squeeze it in front of the cooler (just behind the IC) on the plate where the oil cooler is mounted. Second choice is vertically next to the radiator. Other than that, I think I'm gonna be stuck with it snuggled next to the PPF in the trans tunnel (somehow). Worst case is all the way in the trunk - but that's a LOT of hose to have to manage (and buy).
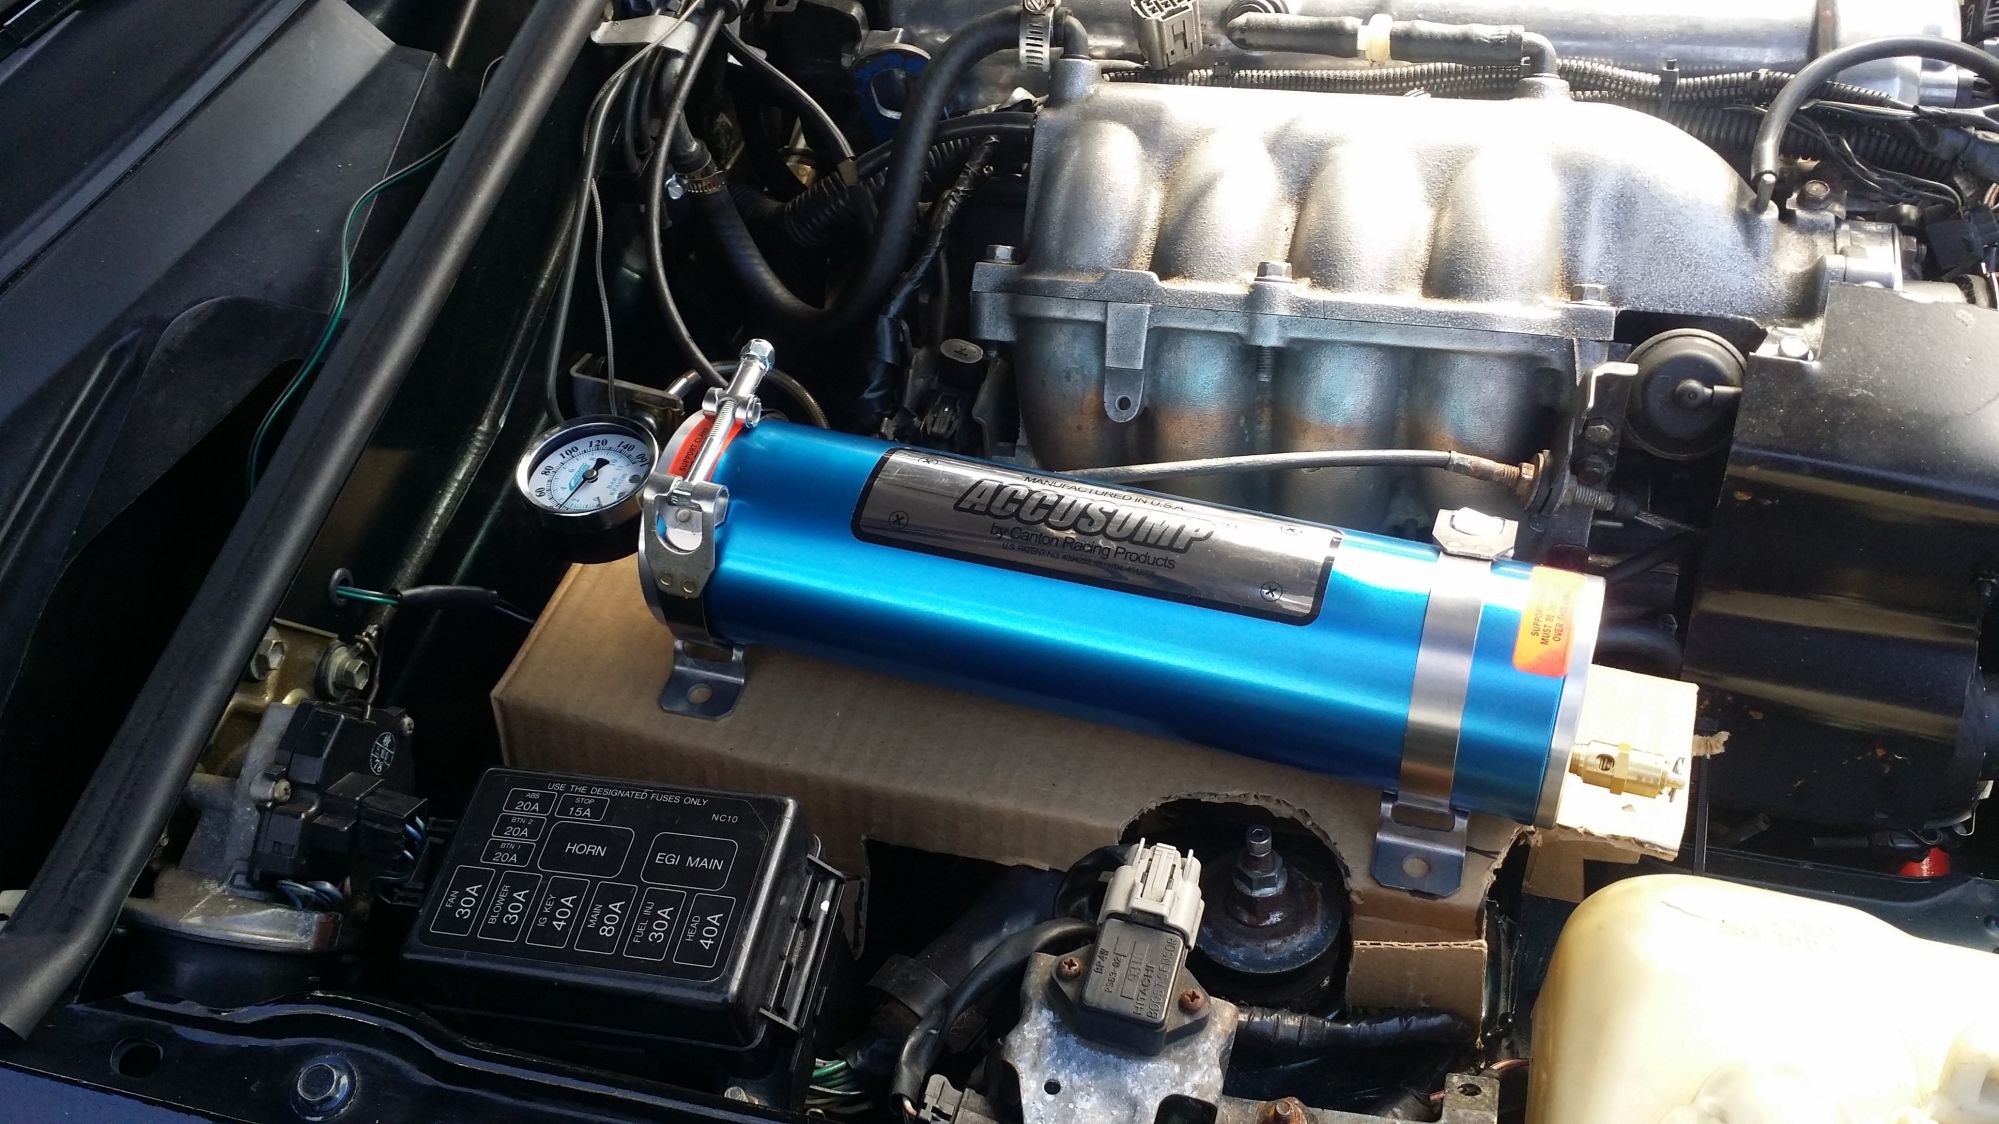
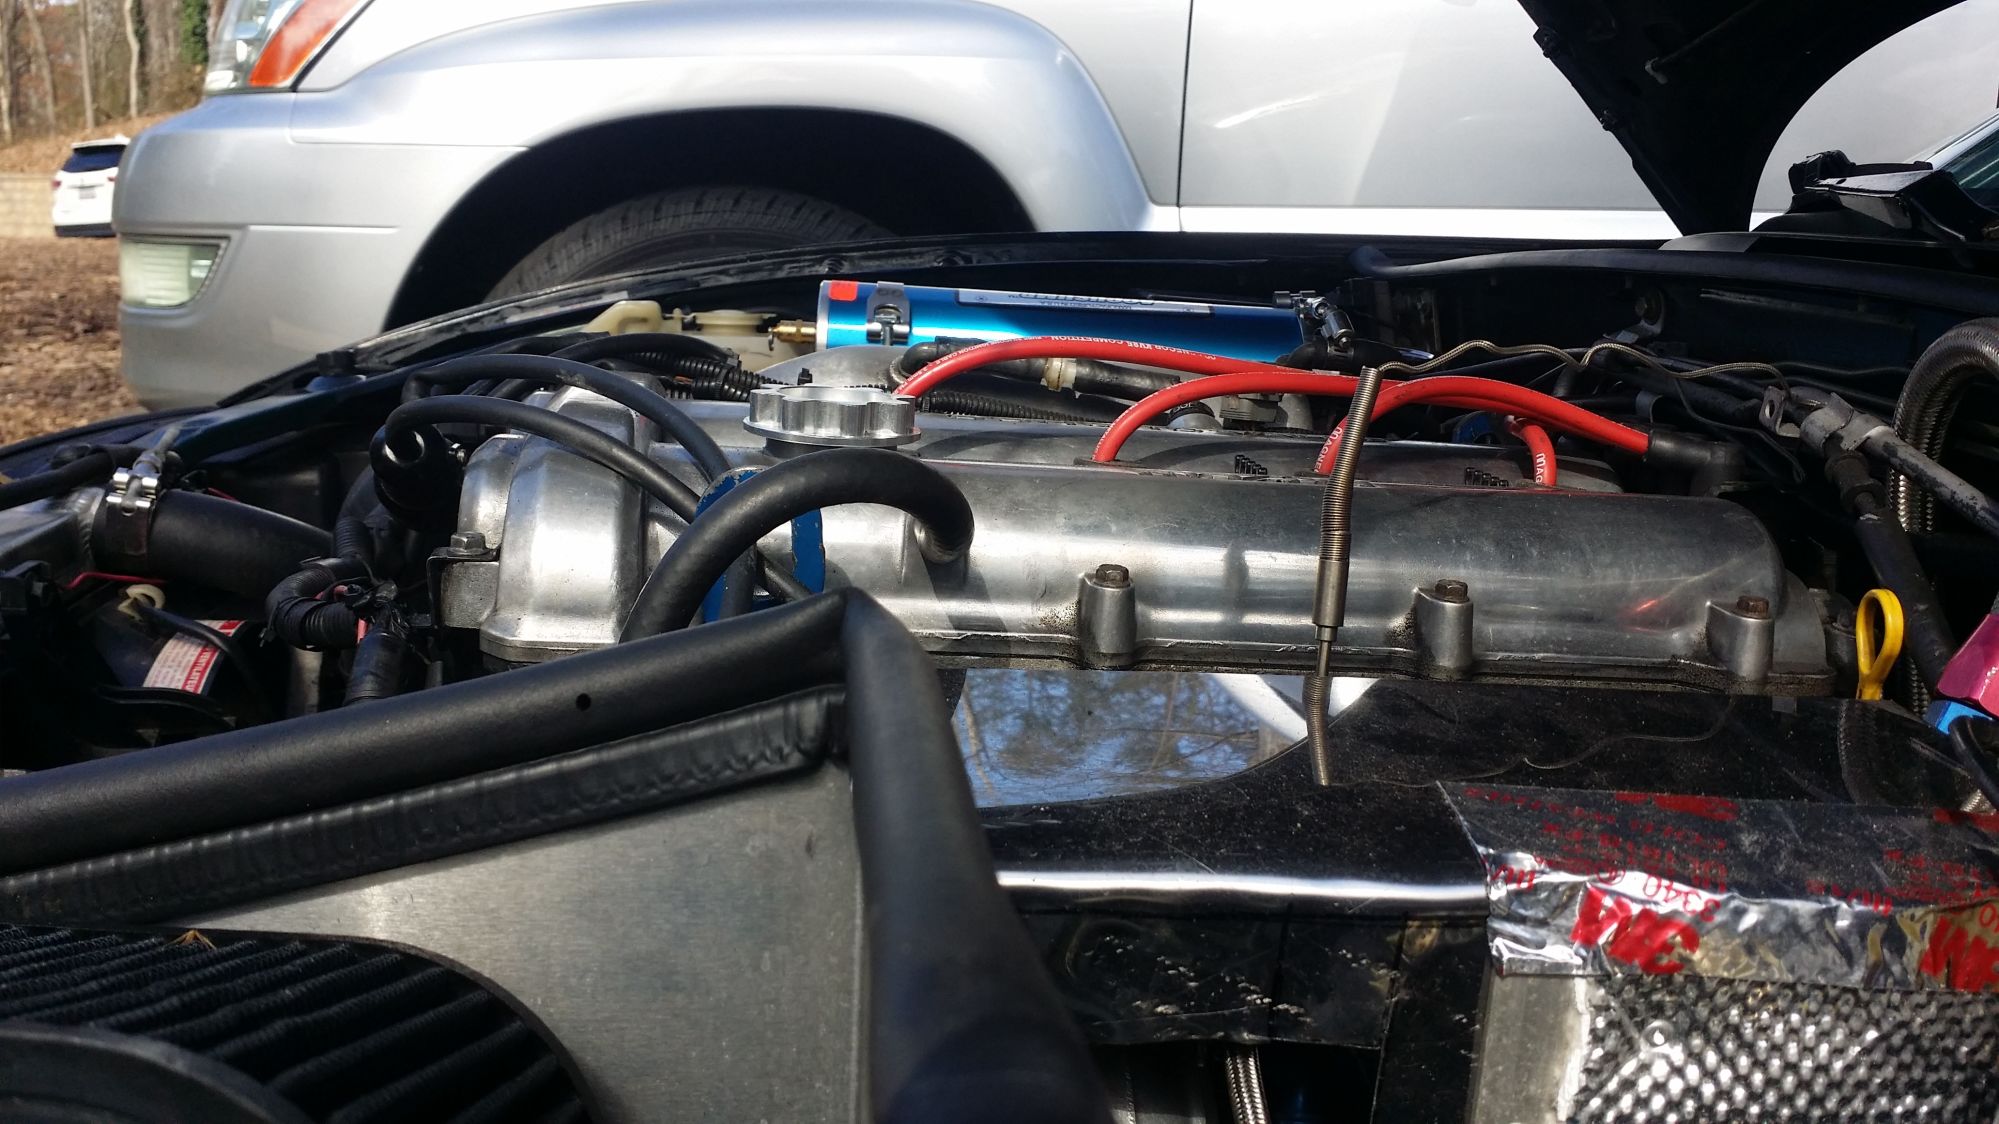
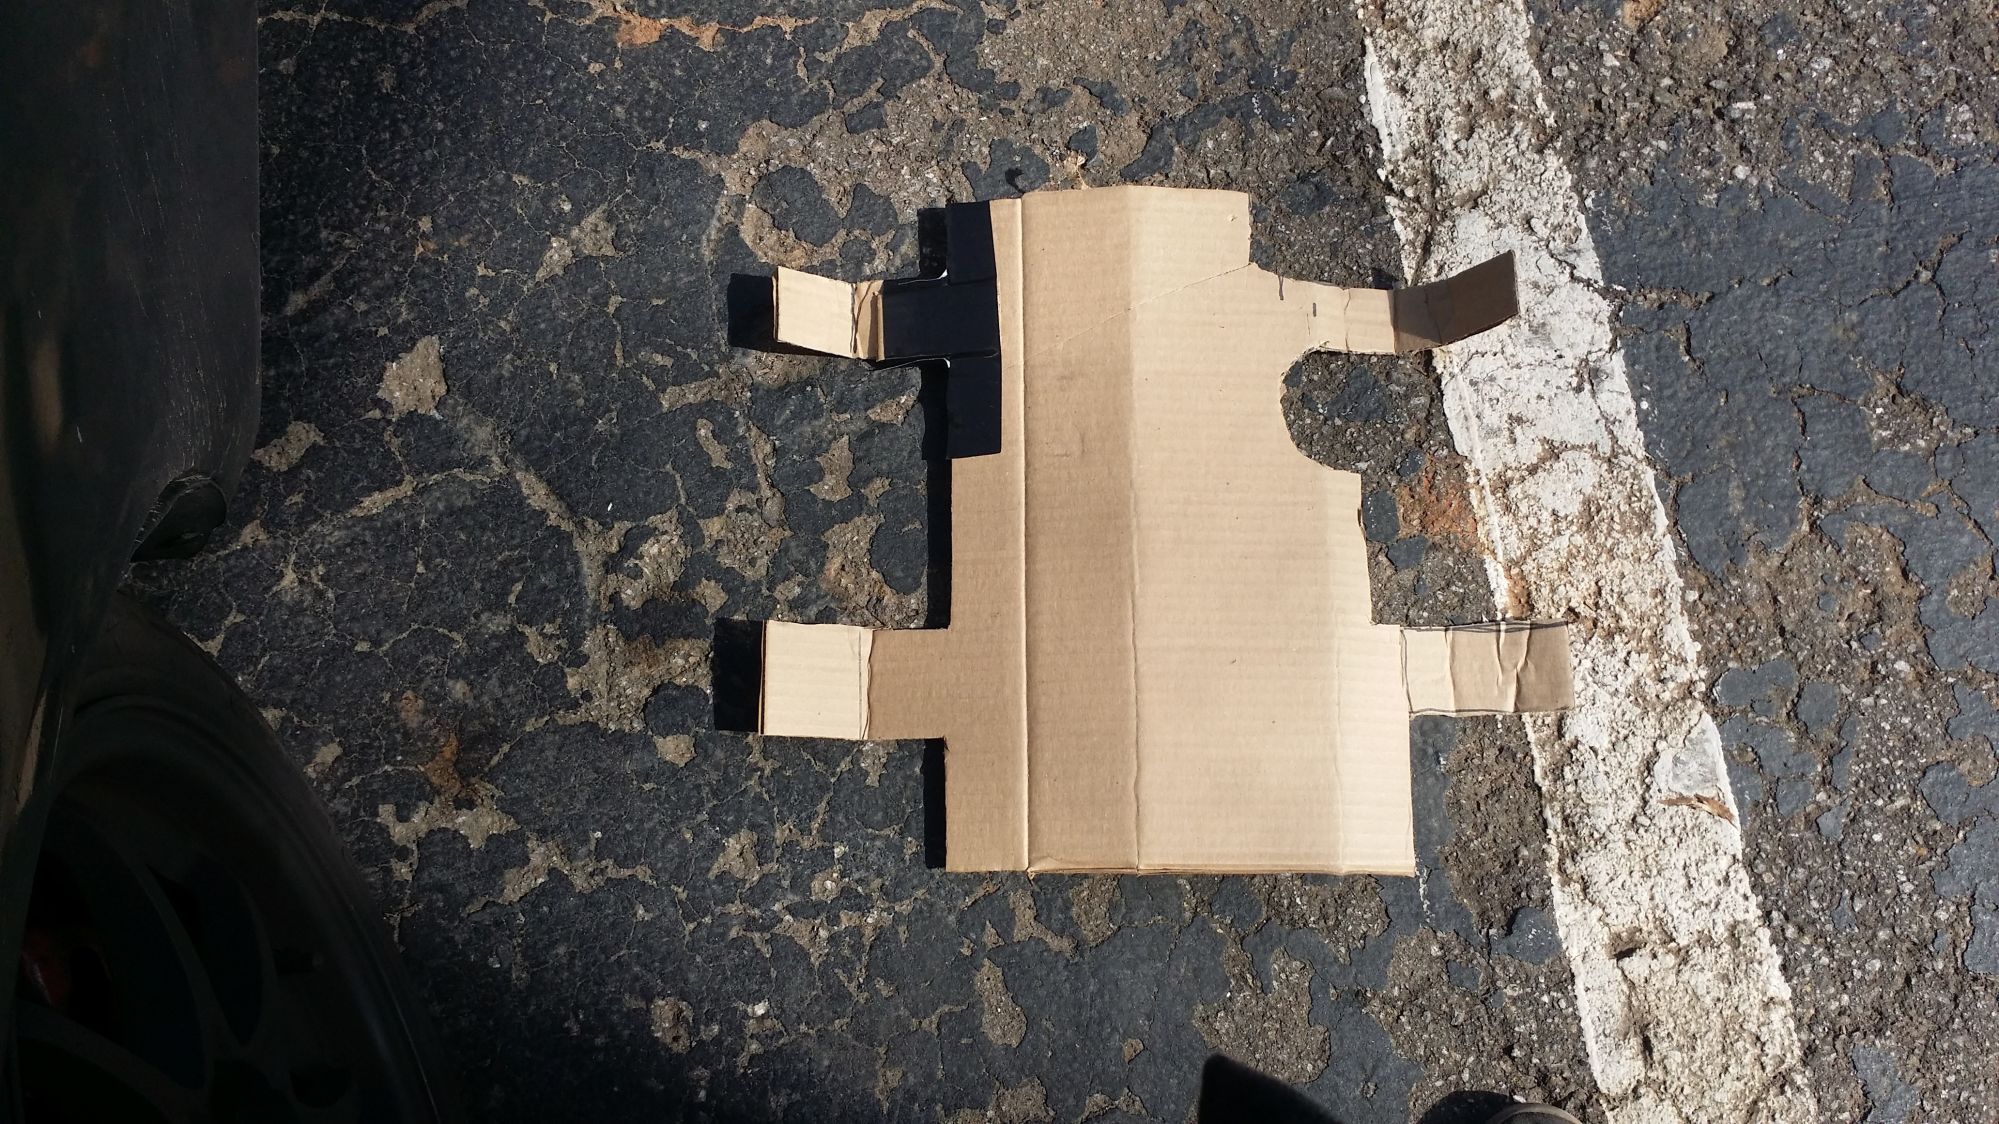
So, I was doing some checking for possible mounting locations for the Accusump and came up with this idea;
...in the engine bay on a custom mount.
Checking for hood clearance...
Cardboard template laid out.
I'm planning on making this out of 1/16-in sheet steel with some lightening holes cut out, and some interior reinforcing struts to prevent lozenging. It'll use some existing, unused bolt holes to attach, and I can mount the check valve (haven't decided on manual, or electric) where the washer bottle used to be and plumb the feed line into the oil cooler lines.
NOW it looks like my CAS is crapping out. Got a few #32 lost sync reasons on the way home from work; steady-state cruise, 70MPH on the freeway. I'm thinking it was a heat problem - got a spare (whew).
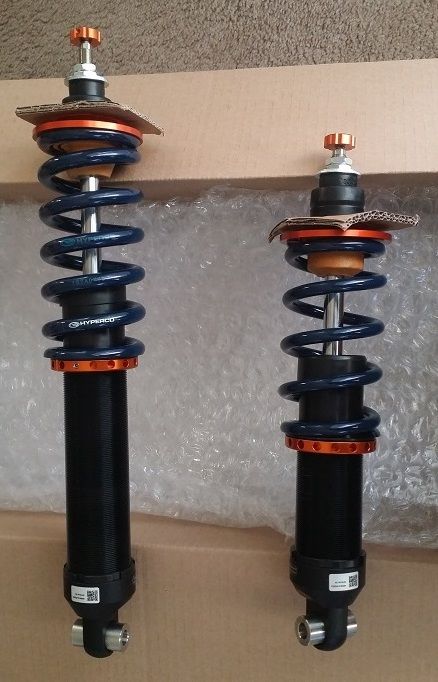
Had a minor (self-induced) installation glitch yesterday, but going home afterwards I was wondering if I was in the same car!! I heard stories about people saying, "Bumps that jarred my teeth before were barely noticeable", but I was skeptical. Now...not so much.
These things are f**king amazing! Doing a "Test 'n Tune" this Saturday so I'll get a chance to get them dialed in (kinda) - at least I can "get to know" them and how they feel under AX conditions.
Minor update;
- Went to a Test 'N Tune session on Saturday and the car worked spectacularly! Even with the 205 BFG Comp 2's on, I was able to get around the course in good fashion. I wasn't the fastest, but I was far from the slowest. The point was to see what effect different settings would have on the handling. These Xida's are impressive - can't say enough good things.
- I didn't do the AX on Sunday. Instead, I began the arduous process of preparing for the annual drudge-work of getting the OBD2 check so I can get re-registered. That means swapping out the bigger injectors for the stockers, wiring the wastegate open and putting the stock ECU back in charge. It also means slogging around in NA mode (OH, the humanity!).
- The biggest issue is finding and fixing all the stupid little s**t that causes the ECU to throw codes (and thus, not pass the check). So far, I forgot to reconnect the stock MAP sensor (stupid), and this morning it's reporting that it sees no activity on the stock O2 sensor. That means putting it up on a lift and checking the wiring (that sits dormant for 50 weeks a year). After that gets fixed - we'll see what else crops up. Last year there was a problem with the VSS signal that took several weeks to track down and fix. Three more years and I won't have to deal with this foolishness any more.


 0
0