When you click on links to various merchants on this site and make a purchase, this can result in this site earning a commission. Affiliate programs and affiliations include, but are not limited to, the eBay Partner Network.
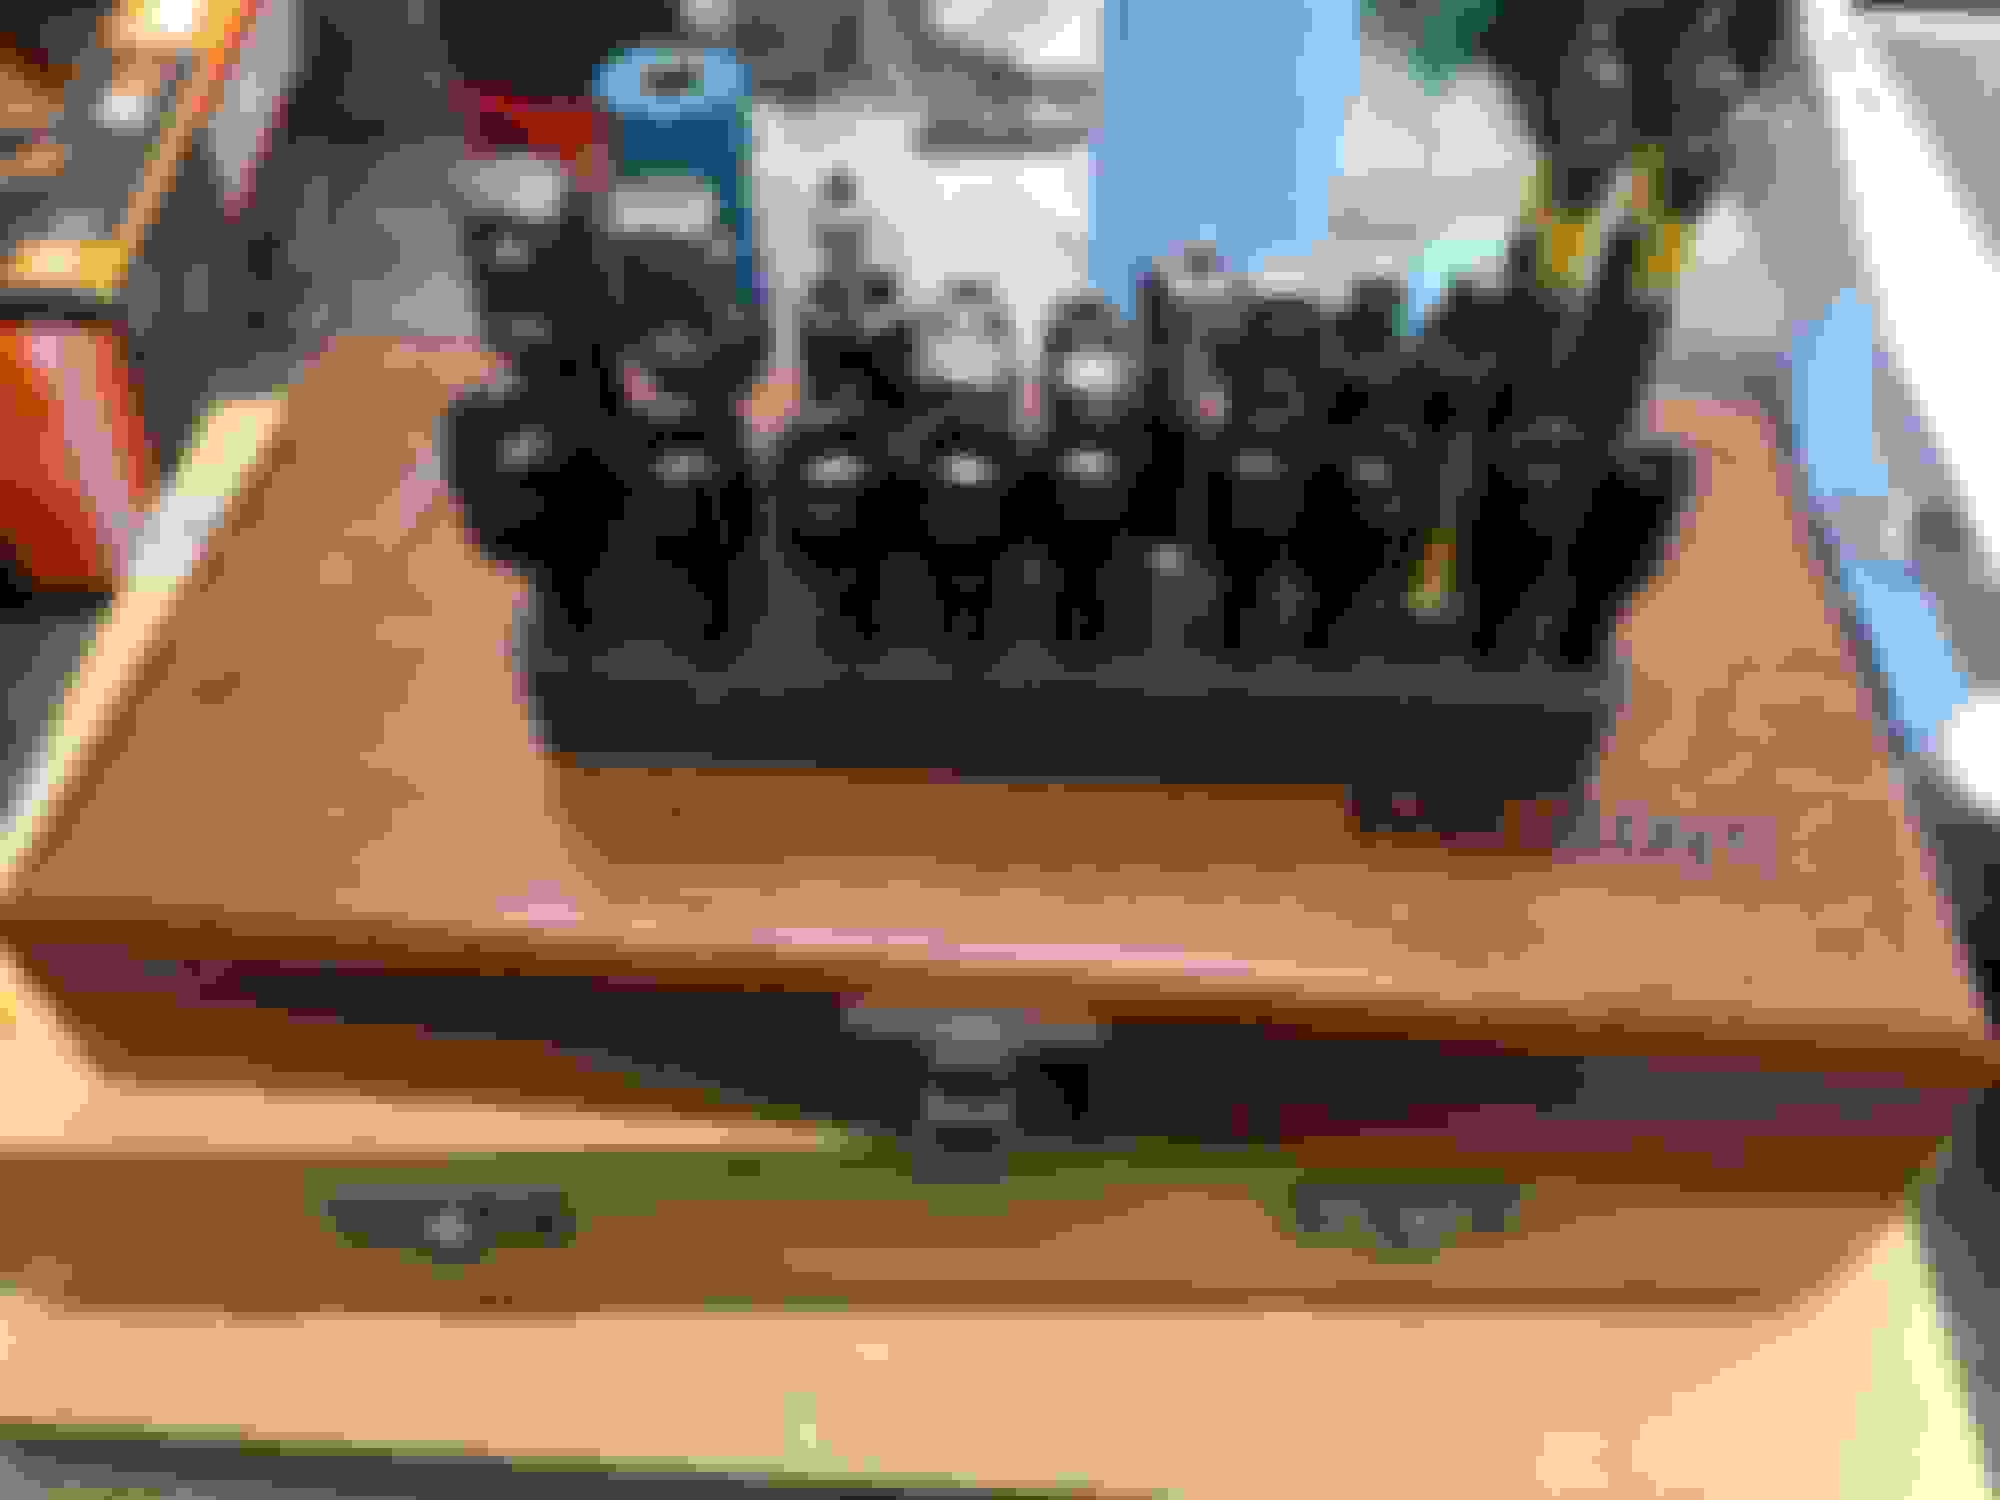
Gonna have to eat my words some on DSS, maybe they've gotten a better handle on their business in the last few years since I dealt with them. The quote process had some confusion/funkiness but they ended up getting them made and shipped out pretty quick. UPS of course lost them for 4 or 5 days which was kinda lolz, but they eventually found them and dropped them off yesterday. I promptly took them out of the box and stuck them into the diff I have on my desk aaaaaaand engaged the circlip like a dumb *** lol. So I got to go drag them out into the shop and smack the diff back off. New hubs with a different spline count as well, you can kinda see them under the box. This stuff is all basically the same stuff I had before other than the axles being a bit higher rated (not that it was needed) but now for the 8.8 instead of the getrag.
I also picked up an NB left rear knuckle with ABS. Still watching for the other side, but this will at least allow me to feed the ecu/dash wheel speed. No plans for ABS or TC at this point and no real plans for it in the future
I drove up to DSS about 2 weeks ago to drop off my set of V8R axles to get ABS rings installed. They seemed very busy, and claimed it would probably take them 2 or 3 days to get to installing the rings and then shipping. They ended up shipping the next day. I was super happy with the service. They did have now hiring signs out front.
I pressed studs into the hubs I got from DSS. I have no pictures, so I could be lying, you might never know. I also fabbed up a bracket to mount the dry sump tank. I love the plasma table lol, makes life great for these kinds of things. Hopefully stronk enough, it's held down with 4x M8s, I may add and additional support on the other side of the tank or on the bottom, we'll see.
Not car-related, but something that I'm pretty happy with/proud of. Did a lot of jewelry in HS and a bit last minute I decided I wanted to make a ring. We're getting officially married tomorrow and then doing stuff with friends and whatnot next year. Anyway, since it's related to building stuff, thought people here might enjoy it too.
Started out with a 1" cube of Titanium. Stuck it in the drill press and drilled away. I have a 4:1 reduction pulley on my drill press which was super helpful for this. The biggest drill bit I had was a 5/8 HSS bit so I went up to that and then pondered how to go larger. Ti is a bit interesting to cut, it feels a bit like stainless but with enough cutting fluid, a good amount of pressure, and low speed, it cut very nicely (just like stainless lol).
At this point, I decided to cut off the part amount I needed. That turned out to be a total bitch because titanium galls super badly and eats cutoff wheels. I ended up dunking the block in the plasma table every few cuts. That was kind of a shitty process but whatever. Next up was a bit of time with a grinding disk, flap disk, and belt sander to get it flat on the side I cut off.
My ring size was a little larger than 11/16 so I went ahead and did something that will give @EO2K nightmares. Used a step bit. Not only did it do the job, but it also did the job well. The horror! Once it was 11/16 I took a stepless(?) step bit and tapered the inside of the ring. That maxed out at 3/4, so I took it all the way down at the ends of the ring. At this point the ring almost fit, so I finished off the inside with a dremel to get it to the right diameter. The edges were still more square than optimal, so I rounded those off with a set of very small files that I have from HS. The tapered inside definitely helps it slide on and off a bit better.
It gets a bit ugly for this part. I had to make a square a circle which without a lathe can be an interesting task. The hardness of Ti really lent a hand here since it means that you can work very slowly. It also means the work is very slow lol. I did the bulk of the work with a grinding disk and then switched over to the belt sander with an 80 grit belt on it. The "x" marked sections on the ring are where the thickness was smallest (about 3mm) and the rest is where it was over. Once I got everything down to 3mm, I cut it a little bit further down to 2.75+-.05mm. At this point, I was pretty happy with how circular it was, so I rounded the top side on the belt sander.
From there, it was a matter of a lot of hand sanding. Worked on it for a long time with 220 to get the initial scratches from the previous processes out and then once I was satisfied with that, I stepped through 320, 400, 600, 800, 1000, 1500, and 2000. Last but not least, I finished it off with some green buffing compound. I figured this would be best with the hardness of the material and was pretty happy with the finish on it
Overall, I was happy with how the project came out and I finished it just in time I forgot how much I enjoyed this type of work and getting to really dive into the detail-oriented things. I'm sure I could have bought a titanium ring for like $50 on amazon or something dumb, but I think this one is a bit more special. Rings are ready for tomorrow now!
Well. It's been a whirlwind of a year. Going back to school has been a huge drain on time and resources. It's been fulfilling though, and I've enjoyed the material. Summer and Fall quarter were absolutely brutal with around 35-40 hours a week of work outside of work and classes. This quarter has been a bit better and most weekends I've gotten some time to screw around in the shop a little. I've poked at things a little on the LS, winter break was mostly spent getting the new mill we picked up running as well as re-organizing and cleaning the shop. I also acquired a foster lathe this summer, so between those two, the shop is pretty well-equipped to handle most stuff at this point.
From one of my earlier posts, I was struggling to get fittings that would work on the top of the primaries. Turns out, if you procrastinate on your projects long enough, companies will make solutions for you! Tilton now carries fittings that work, so I promptly bought three of them.
I'm trying to buy all the fittings and hoses for the dry sump this spring, so I at least have that chunk of money finished off. I bought a couple of Fragola fittings to model up. I made the nut on top split so that it can be printed in two parts and then glued together. Katy has a bit of experience printing functioning threads, so she helped me out with those. I modeled the entire range so that I can print each fitting as needed while I plan the routing.
They work pretty dang well and are certainly cheaper to print than buying the fittings I think I need and then having to buy more when I inevitably realize they don't work how I wanted. I'm sure there will still be some extent of that, but I'd like to minimize it.
Next up on the list of things to get done was install the diff. One of my coworkers got me a good deal on a setup kit and our gear guy offered to do it for pretty cheap. I had initially planned on setting up the gears myself, but it'll probably take me forever, and using used gears/aluminum housings makes things super finicky. So I'm taking the cheater route and just passing the diff off to him.
I brought the diff into work this week to clean out and all that good stuff. Snagged backlash on the gears that were in it just in case I ever wanted them or something. Came in right at .012" (this is more for my reference than anything). Got everything torn down and all the bearings out, so I'll hand it off sometime in the next week or two and then it should be done! Then I just need to actually mount the dumb thing.
The car is back under the lift, but my dad/I did a dumb thing and bought another car and put it under the lift which makes it harder to work on lol. I'll probably move that car into the empty bay when I get the carbs on my bike done since I currently have the bike hogging that area. Not much progress, but it's been a busy year. We're also getting married this summer (or having the party part of it at least), so trying to plan that/spending money there lol
I got this foster lathe from a guy that drives with us once in a while. Was clearing out the shop since he didn't use anything anymore. Stipulation is that he can ask for it back at any time, which is fine and totally fair in exchange for not having to pay for it! It actually holds pretty decent tolerances for a small lathe of unknown maintenance or hours. I can generally hit within .001-.002" without trying hard, which is usually plenty for what I'm doing. I did get a quick-release tool holder for it which is pretty much a must-have, I had to machine a t-nut in order to fit that, which leads me to.....
We got a small cnc mill (Langmuir MR1) this year as well. It's from the same company that makes the plasma table I got. So far I've been really impressed with it. Most of the small mills I've seen are useless on steel and really slow on aluminum, but this one chomps through pretty much all of it at a decent pace (for a small mill). Obviously you're not gonna be anywhere close to a big boy, but most of the time, my roughing passes in aluminum are .500" DOC, .050" WOC, and at 60ipm, so it moves along decently. As mentioned, we spent most of winter break getting that setup and then I machined some tophats for my shitty car that allow it to run long boi springs that lift it but aren't crazy high spring rate.
The machine gets its ability to machine at decent speeds through the base design. It's a pretty neat idea, but basically, there's a bunch of anchors and you fill the whole base with concrete. So the concrete ties the whole thing together as well as providing quite a bit of damping. Then you pour epoxy on top of that. The XY work area is pretty awesome at around 20" x 20" but where it's mainly lacking in is the Z travel. It only has 6" of travel there and a tip-to-table height of 9ish". Of course, some of that gets eaten up by work holding as well as the endmill. So you're not machining anything too tall on it, but it does do great on stuff that's shorter height! Overall, we're happy with the purchase and I'm looking forward to machining more dumb **** in the future.
After we built the mill, the shop was fucked. Because of school, I've pounded out a few projects between quarters but never really did a clean up. So the last time the shop was organized and cleaned was back in like April when we put down the deposit on the mill and got offered the lathe. There were a few things I've wanted to build to better organize the shop, one of them I had bought the materials for about 3-4 years ago, but never actually did, so I took the time and finished those projects.
The first was a metal organization cart. It has spaces for thick aluminum, thin aluminum, thick steel, thin steel, stainless, and then various compartments for longer stock <= 4'. It rolls around so I can pull it out to access things like the press and it has a pretty decent top on it that I use to store all our machining stuff and use as a workbench while doing things with the mill. Pretty useful and it cleared up a big space where I just had a bunch of metal sitting against the wall!
Next was organizers for all my tig rod. If I were to do it again, I would have just made holders out of PVC, but I had bought most of these when I was feeling fancy, so I guess I'm stuck now. Holds plenty of containers and allows me to keep the ones I use most in their own containers. Previously, these had just been kind of kicking around on the floor which was pretty annoying. It's also easily removable in the future if needed since it's just sitting on top with angle aluminum to keep it located.
I printed a small little bit organizer, that's been useful for getting the toolbox cleaned up. Which also leads me to my next part. Finally got a new toolbox. Old one was pretty small and starting to fall apart. It was home depots cheapest level and lasted over 10 years, so I think it was well worth the money. Got a new Husky box that I still haven't totally filled, but god it made things more organized and I used to keep different tools in different areas of the shop because they were too heavy or didn't fit in the current toolbox. Now everything is in one place and I freed up all those areas. Win.
That's pretty much it on the shop updates. I need to print some wrench organizers because my wrench drawers are a little bit chaotic. I had come up with a couple of modular designs, but they need some refining before I print batches of them.
Last edited by Scaxx; 03-13-2023 at 12:58 PM.
Reason: Added name of mill
Ooooh, now that's an interesting mill! I too have struggled with wanting a CNC mill for small projects, but everything seems to be designed for either fru-fru artist types who are working with soft material or people who are doing serious production runs. I like the concrete/epoxy solution, that's smart.
I have an old Craftsman 12x24 lathe that has served me well. You'd be nuts to spin something 12" diameter on it, but it's been mighty handy. I had some gears 3d printed for it so I can cut metric threads. The first thing I machined on it was a T-nut for the quick-change tool-post. The result was ugly, but still going strong years later.
In terms of wrench organization, I've gone to a hybrid system - I have small bins for each wrench size, with a bin next to it for matching sockets. All wrenches of a size are tossed into the bin, so if you need "a" wrench, it's there, but if you need a specific wrench (12/6/ratcheting/stubby) then you have to dig. I keep the JIS 10/12/14/17/19/21 in one drawer and non-JIS in another. Probably less effective if you're working on both BMW and Miata.
Made a small amount of progress this weekend. Got new bearings and seals for the rear so that I could press in the new hubs. I had gotten sphericals from Sean a while back, so I put those in while I was doing the other work. With bearings in and hubs pressed in, I was actually able to test fit the axle. Not a huge accomplishment, but it's something at least.
Need to do some maintenance on the printer this week so I can print some more fittings for test fit. I made a new end for the fittings so I can also test "direct fit" style fittings.
 04-20-2022, 01:19 PM


 0
0


 Dick! Hahahaha


 I forgot how much I enjoyed this type of work and getting to really dive into the detail-oriented things. I'm sure I could have bought a titanium ring for like $50 on amazon or something dumb, but I think this one is a bit more special. Rings are ready for tomorrow now!