When you click on links to various merchants on this site and make a purchase, this can result in this site earning a commission. Affiliate programs and affiliations include, but are not limited to, the eBay Partner Network.
Make sure that when you redo the hardlines, you use the nickel-copper stuff. Anything else is just painful and unnecessary. You may want to make yourself a line-straightening tool from some patio door rollers too. Worth the effort.
Good call on the patio door rollers! I was thinking about making one since I was slightly offended at the prices for how simple they are lol. And yeah, I did spring for NiCopp as well, I've done some test flares and bends with it so far and it's soooo much nicer to work with
I worked on the car some over the long weekend. Started off by cutting off the swaybar mounts and finishing the bushing install. Didn't really take any pictures because it's not that exciting and everyone knows what bushings look like, but glad that those are done. Such a massive improvement over the glued in polys. I did get some Christmas goodies, way more than I expected too, so I was pretty thankful for those. Weird cat that we adopted a few months ago wanted to be part of the picture as well. That's a metal clutch spline tool because the plastic ones are kinda trash
Next, I moved to the rear of the car and decided to try to get the tank positioned. I spent a bit of time earlier in the year trying to find another position for the tank with no luck. If I nixed the passenger seat I could put it there, but taking passengers for rides is fun and I don't want to put it there. Therefore, the trunk is pretty much the only option. I don't like putting weight outside of the wheelbase, but it's the only option that I see. Since the tank itself is too tall to put in the trunk without cutting, I cut a hole. Because the vent lines are at 45* angles off the can, I may need to further lower the tank, but this is the position I want it in for now. The fastback trunk lid now closes, and I need to take some clay to measure the actual clearance, but I think I'm happy with it.
After that, I moved on to the pedals. I had tacked them on....a long time ago. I'm fairly sure I built the mounts like a year ago lol. I pulled my seat out of the spare bedroom and threw it back in the car to 100% verify I liked where they were at and then welded them in. I was really worried about the mounts warping and then the pedal assembly no longer being able to slide in/out, but apparently, my worries were in vain. The pedals slide in and out with ease, which is good. I have a video, but I don't feel like uploading it to youtube and then to MT, so **** it.
Next I moved to moving some metal for the starter. I swung a 5lb mini-sledge at the car for a while. Then I moved to the air hammer with planishing attachments. Then I swung a hammer some more. Then I got out the grinder and said **** it. I think I need to cut more still, but I was tired of all the fumes and was kinda done for the day, so I need to finish that sometime this week.
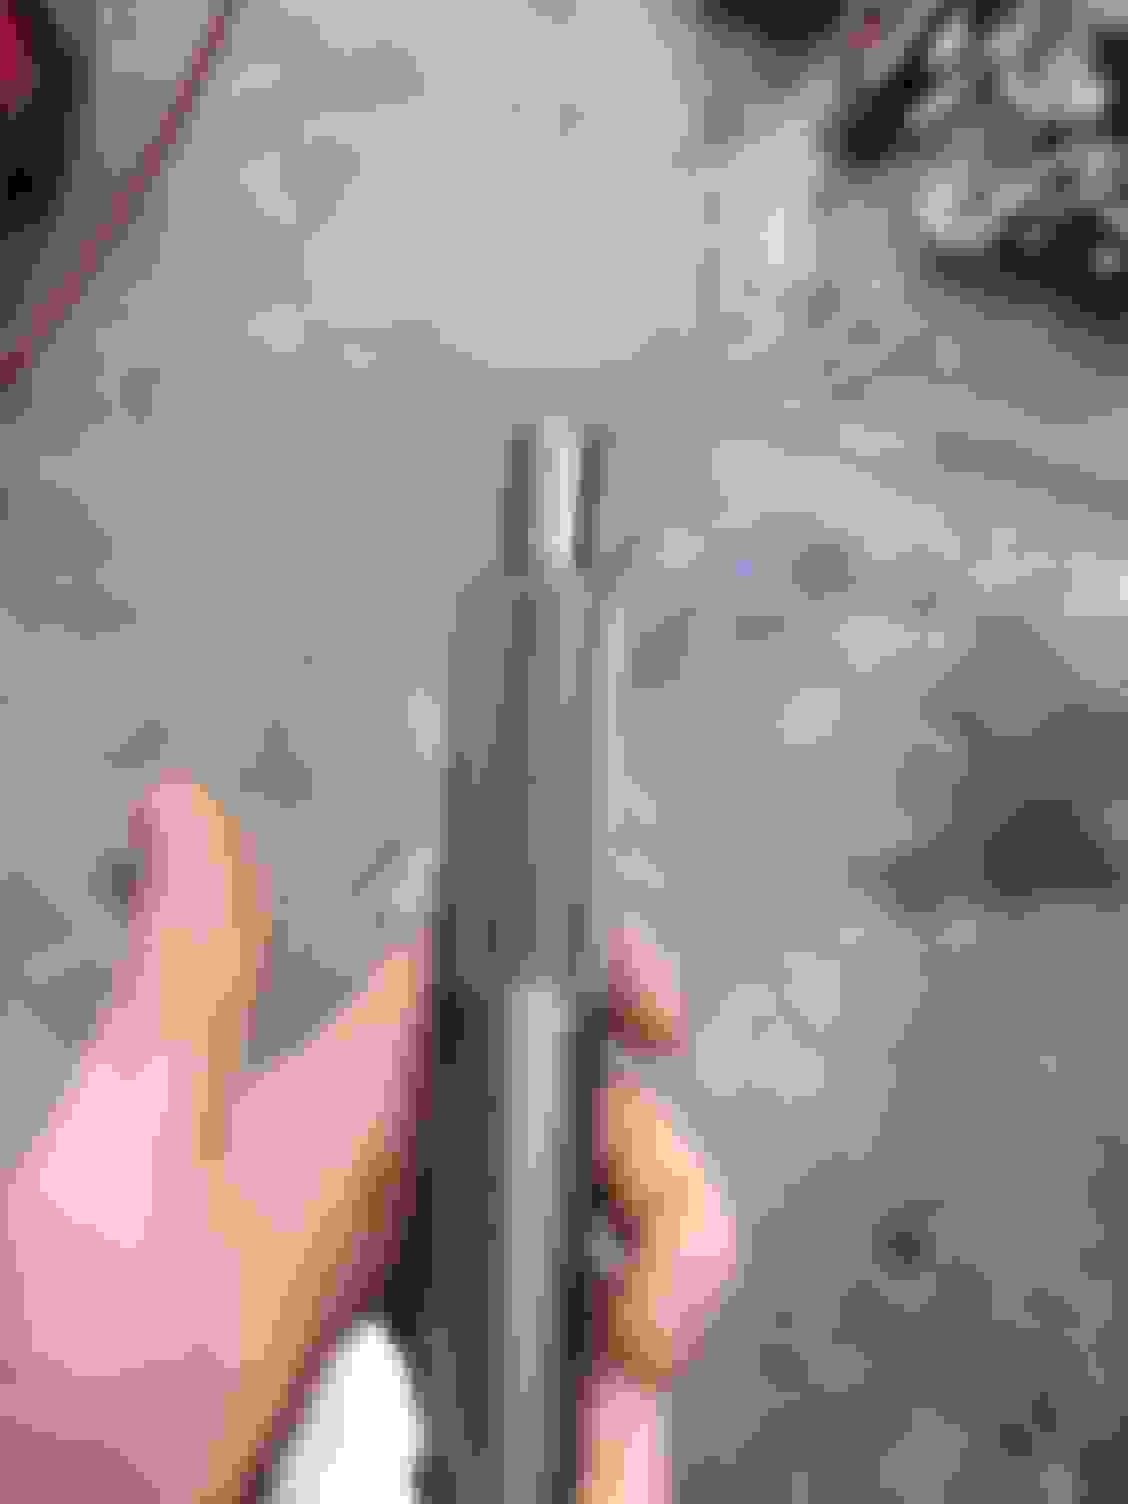
Yesterday, I didn't go into the office due to the snow we got up here. I shouldn't have gone today either, especially since the lift I needed to use is being hogged by some marketing bullshit project. But whatever. I got a chance to use my new flaring tool and made some clutch lines for the inside of the bellhousing/slave. That short line was a real bitch to make since there was 0 play in it. I think a good alternative way to build it would be two 90s and a 180* and just make it a rather large loop. But overall, I'm happy with how they came out. I want to add some sort of p-clamp off of the foot there for strain relief, but other than that I'm done with it. I'd need to do some sort of standoff for that, so we'll see.
That's about it for right now. I'm decently happy with what I got done this weekend. I had hoped to get a touch more done, but my parents got us a carpet cleaner for Christmas so I spent a bunch of time washing carpets this weekend too. A friend was supposed to come over for New Years, but he got Covid, so he's gonna be stuck in Canada for some time. I might just try to spend the weekend in the shop. It's rather cold out there though, yesterday it was 41* inside, I'm sure it's only going to lose more temperature over the week since I think Saturday is going to be the first day with highs over 32.
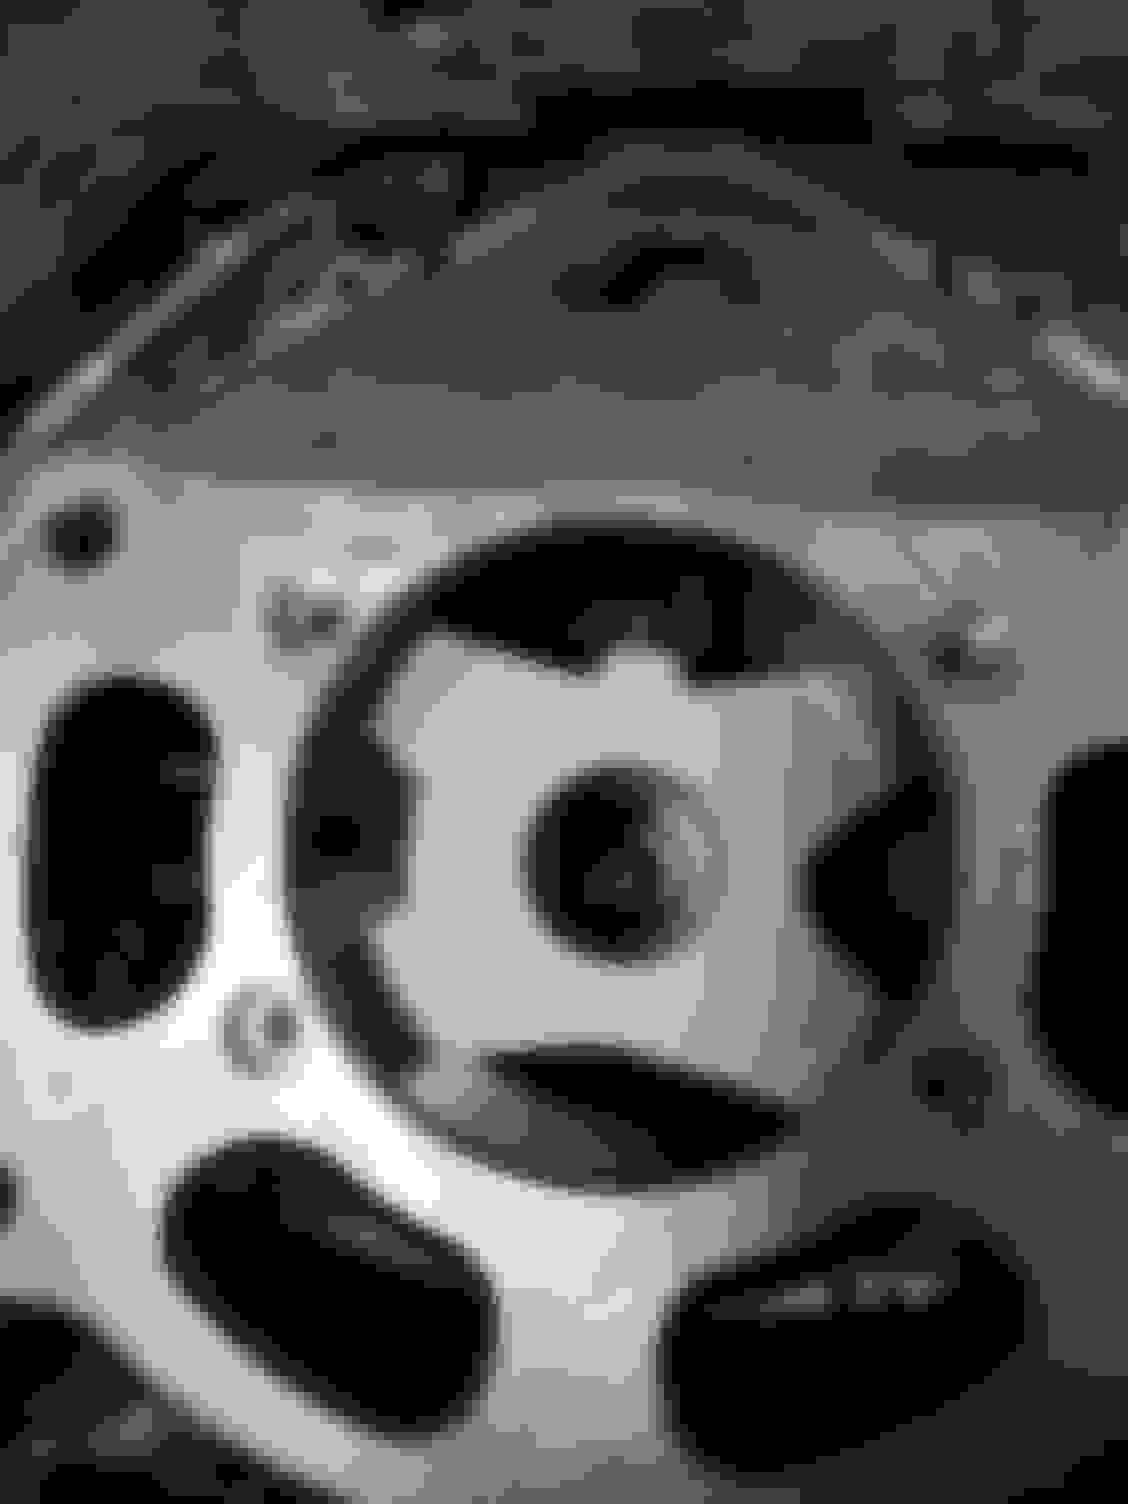
I bought some tools again last week in order to remove my pilot bearing which was something that was holding up the clutch actually being bolted down. I got a slide hammer kit and an internal bearing attachment. The main problem with most of these is that they're too wide to actually fit in an LS pilot bearing. A common trick is to punch the pin out on one side and then put both through before putting the pin back in. Unfortunately, that didn't work, so I took a small amount of material off on the belt sander. Finally got it in and after a few good hits, it popped right out.
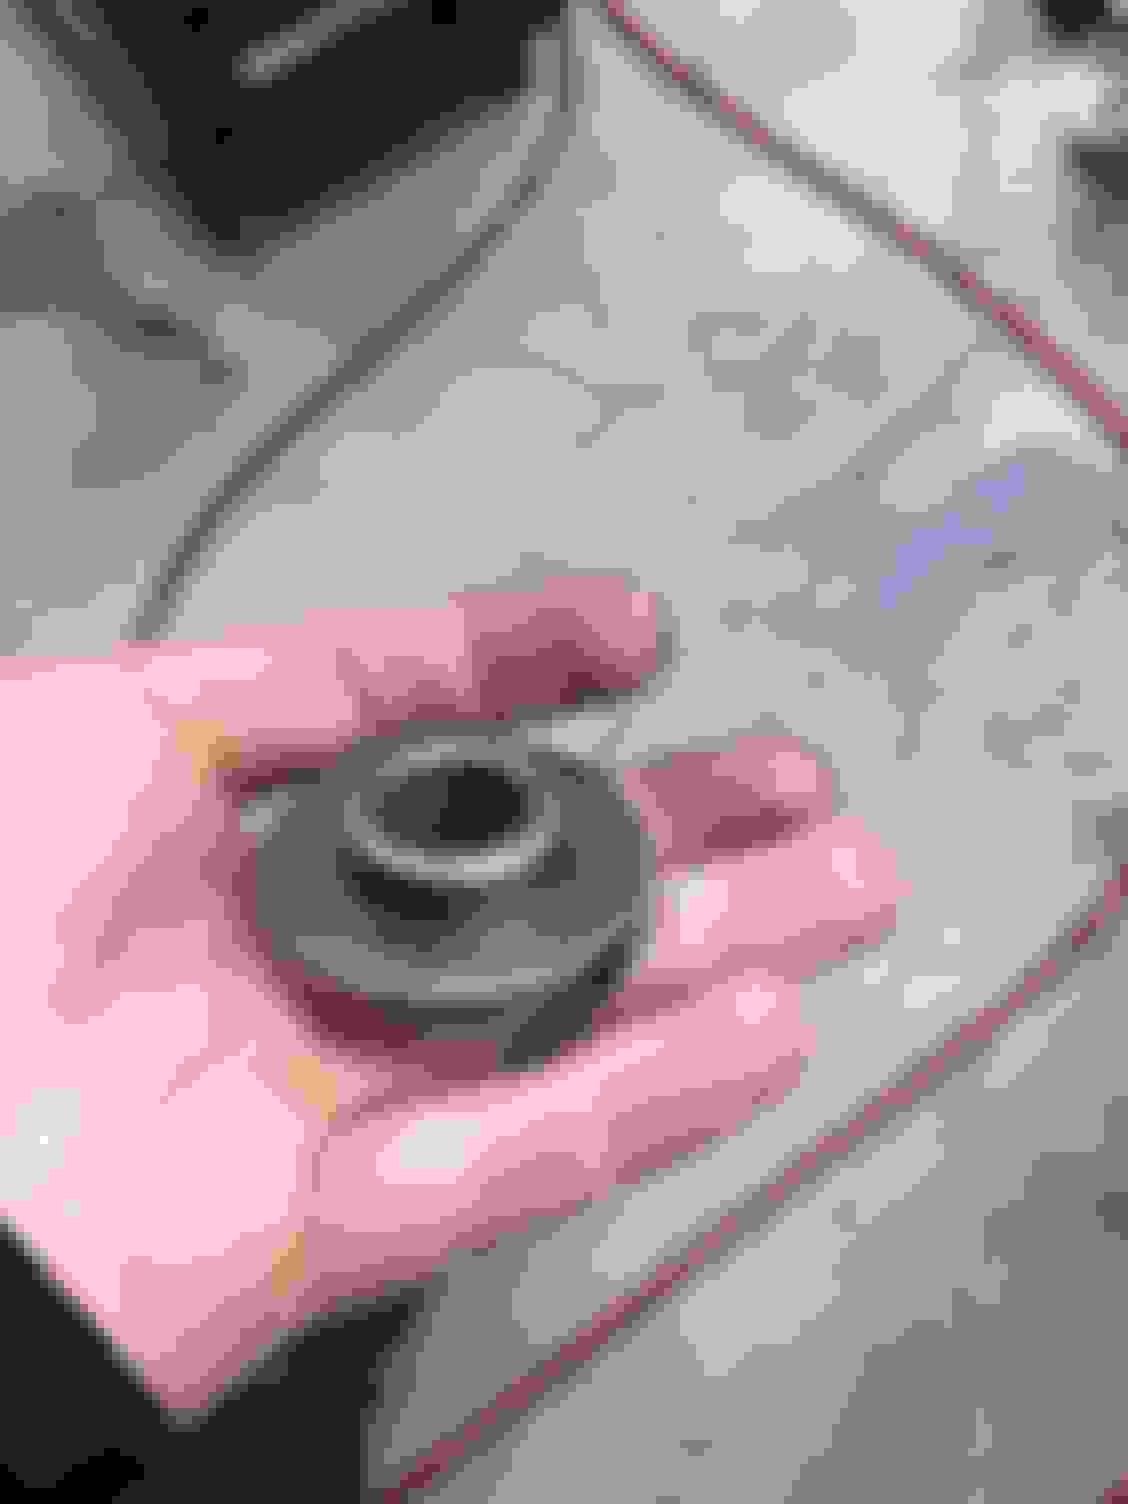
Next up was the new pilot bushing. I installed that and then took some measurements to make sure that it was going to be sitting at the correct height. Everything measured out correct, so I moved on.
I had gotten some crap on the fw, so I pulled that off and cleaned it on the bench. Being nice and clean, it was ready for the final bolt down. At which point I realized that, despite putting the fw bolts in a bin, I'm missing one. Rather annoying that I lost one, I've looked in all the other containers with no luck as well, so I guess I need to get a new one, or maybe just a new set. Annoying either way, I'll just have to put off checking the clutch totally off the list.
This weekend I received @concealer404's Diesel Dozer from our friend in the hat. It makes lots of turbo noises. Once covid chills the **** out we'll get together and replace that ******* ugly *** bumper before he heads back to the middle of nowhere with it.
Bit the (small) bullet and picked up some hardware on Friday and just got a couple of new bolts for the flywheel from the local dealership. I hated doing it, but whatever, I wanted to get the flywheel and clutch on. Spent some time that evening focusing on getting that wrapped up. I don't have a flywheel holder, and normally I just jam a screwdriver in and brace it against a bolt. However, with how small the flywheel is and the engine being in the car, that wasn't really doable. So as I looked around the shop for a way to hold it I came up with....rope. Wasn't really sure if it would work or not, but it actually worked pretty well.
Saturday I sandblasted my trans mount and painted it since that was on my list. Not a huge undertaking, but it was progress.
Made another hardware run, and although I hate buying in non-bulk, I figure I won't need that many M5x40 SHCS in the future, so I got enough to attach my throwout bearing
Have a cat for
* Creative flywheel-holding solution
* Making progress, however small
* Being allergic to buying fasteners in packages of less than one lifetime.
Stripped some more of the heat/sound insulation **** off and then cut more room for the starter. It officially fits now. With that, I put the bellhousing up and tightened down a couple of the bolts. Then I was on to the transmission. I put that up last night and to my relief, and ran some random bolts I had laying around through mount. Lots of metal missing out of the car, probably gonna hate patching all of this down the line lol, sounds like a project for future me though. Excuse the absolute **** show that the inside of the car is currently
With the trans mounted for a while (I'm sure it'll come out again before the car runs) I can officially move on to the rear end. I really need to order axles from DSS so that I can hopefully get them before the end of summer, but I'm probably just going to get the rear end in first and order axles after.

 12-23-2021, 02:09 PM


 0
0